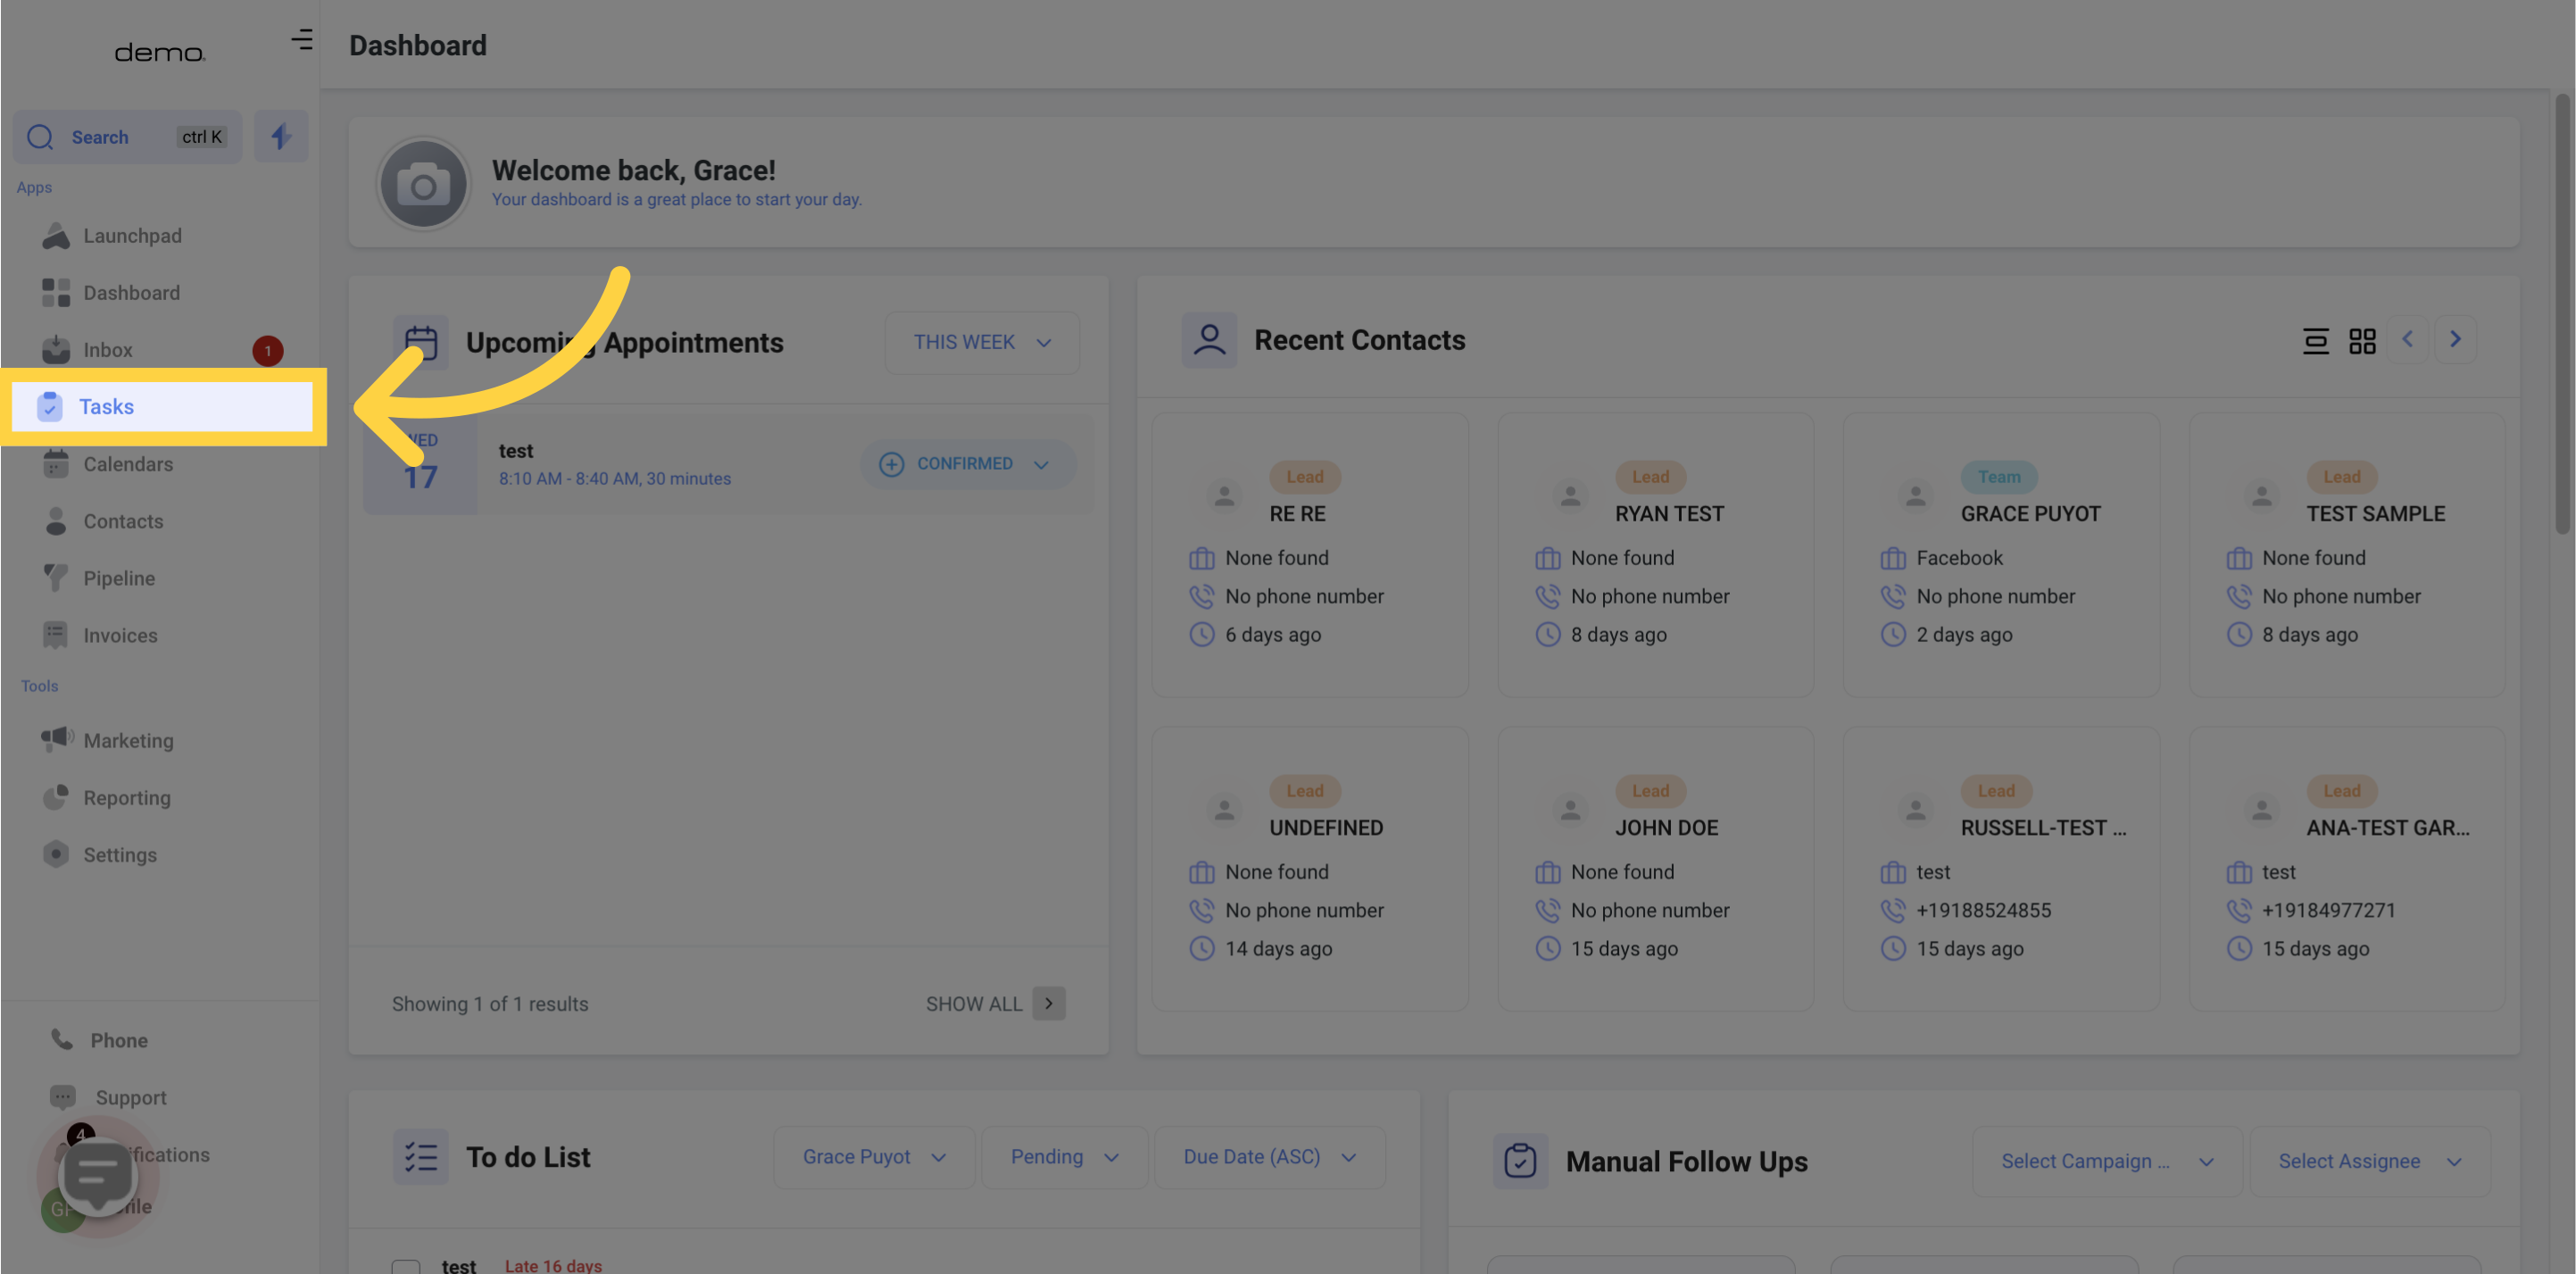
Access your to-do list.
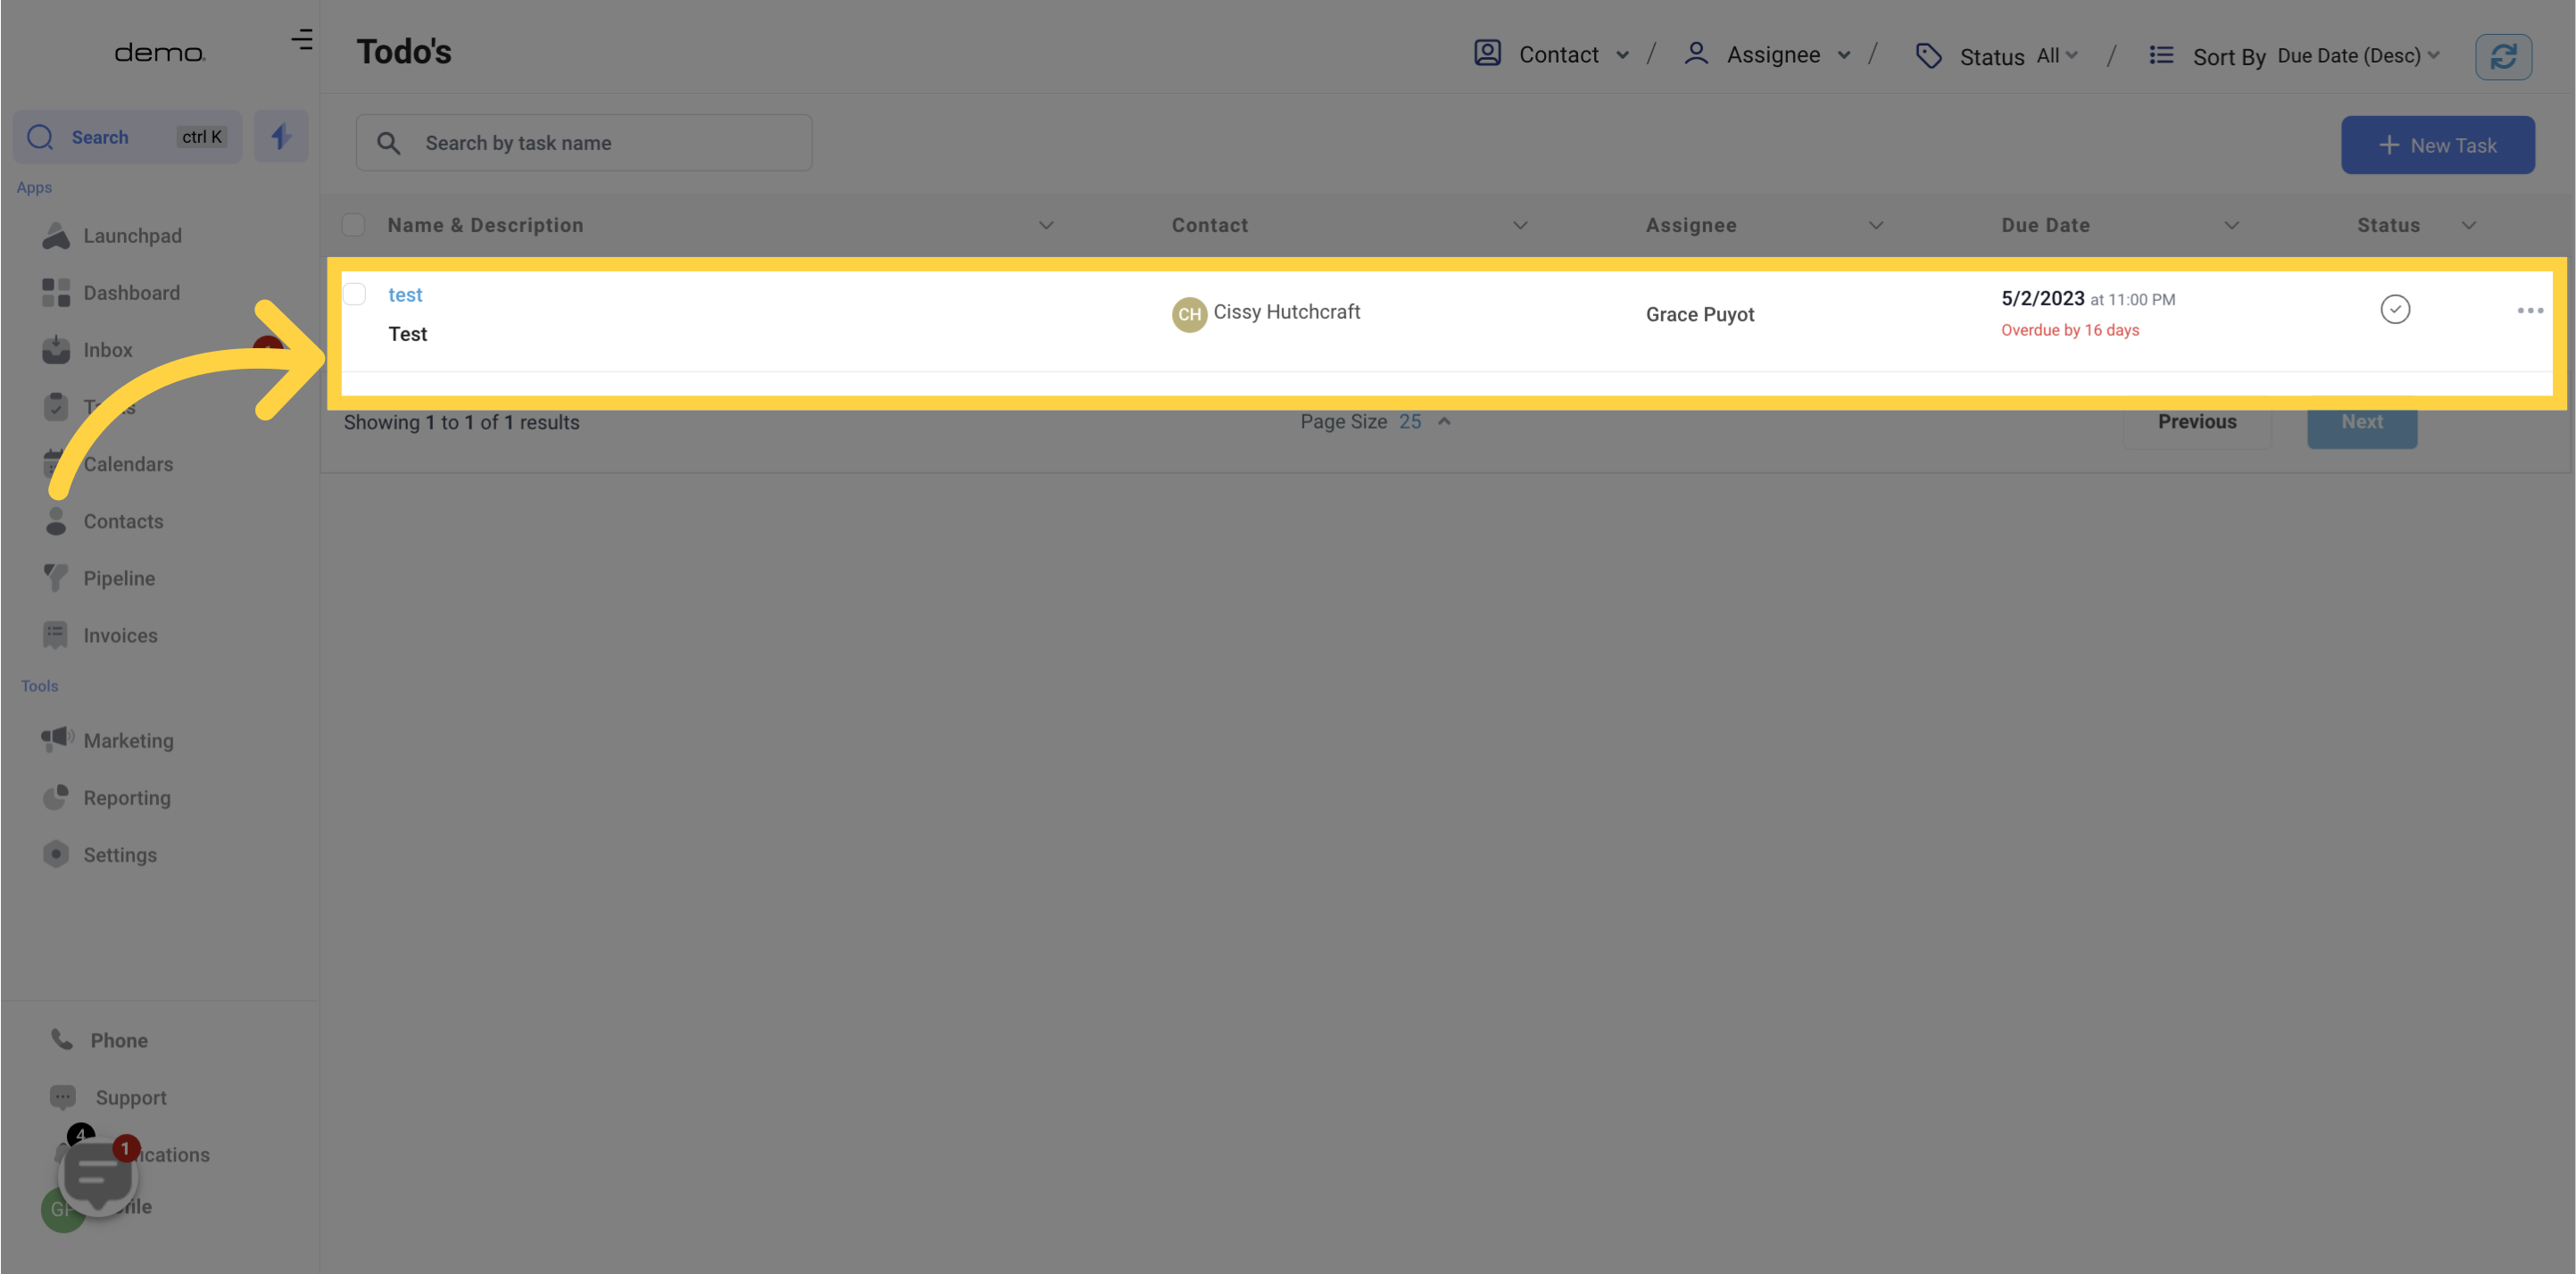
View the task details.
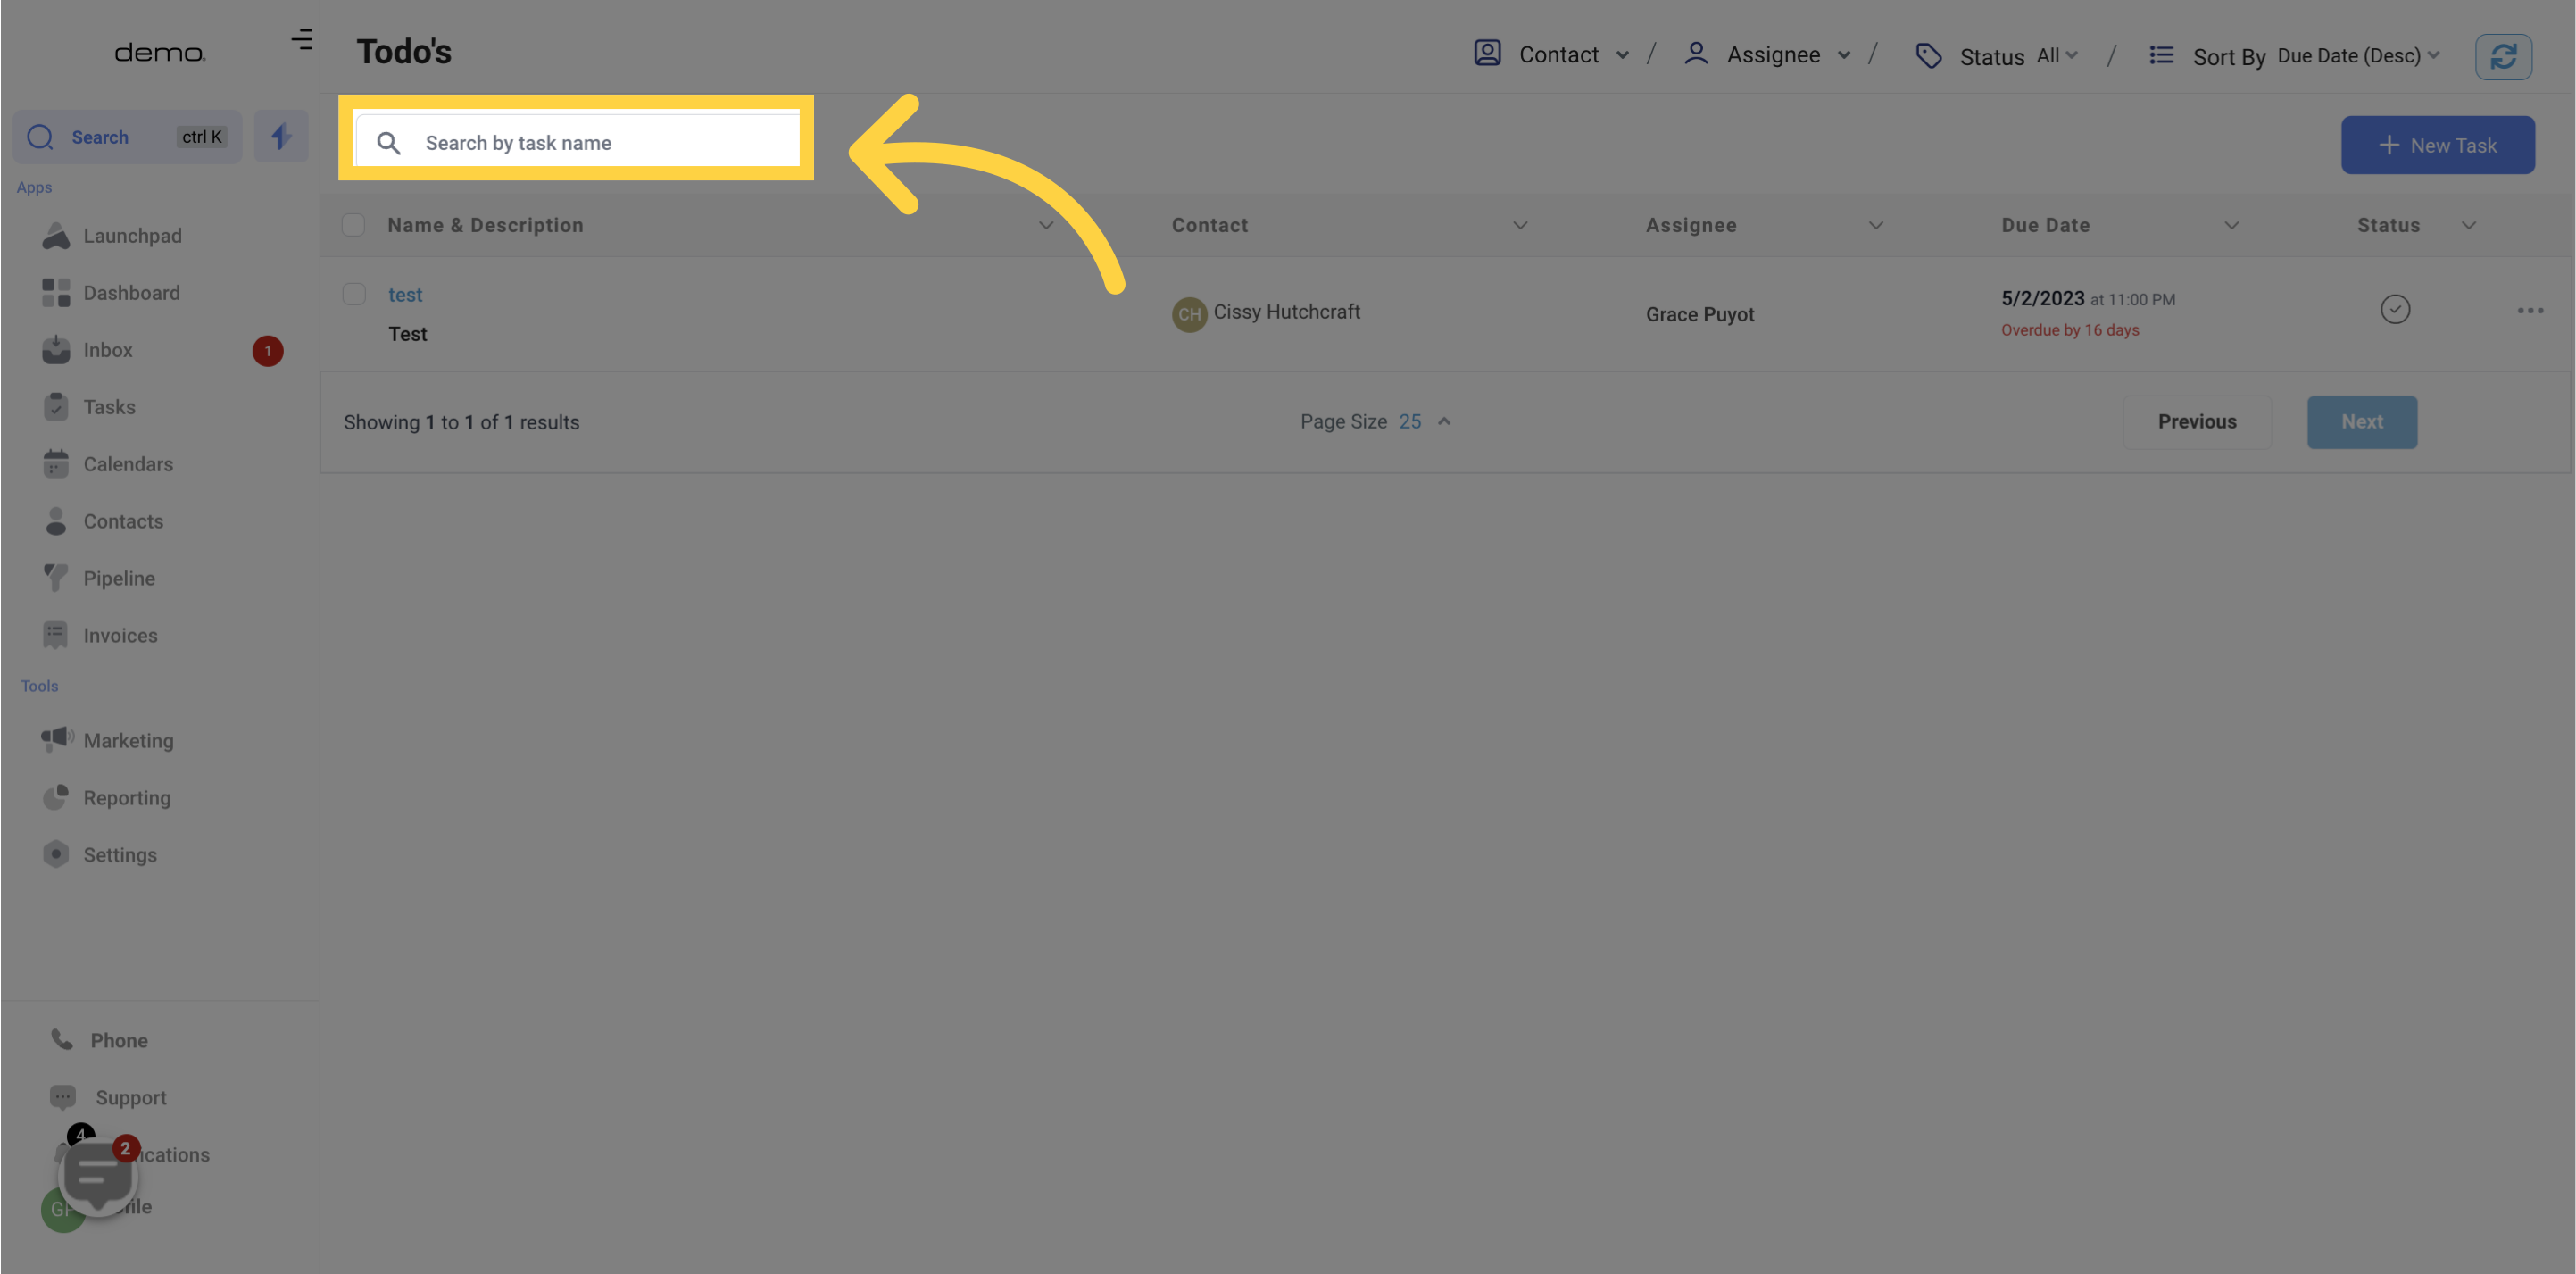
You can easily discover any task by utilizing the search bar.
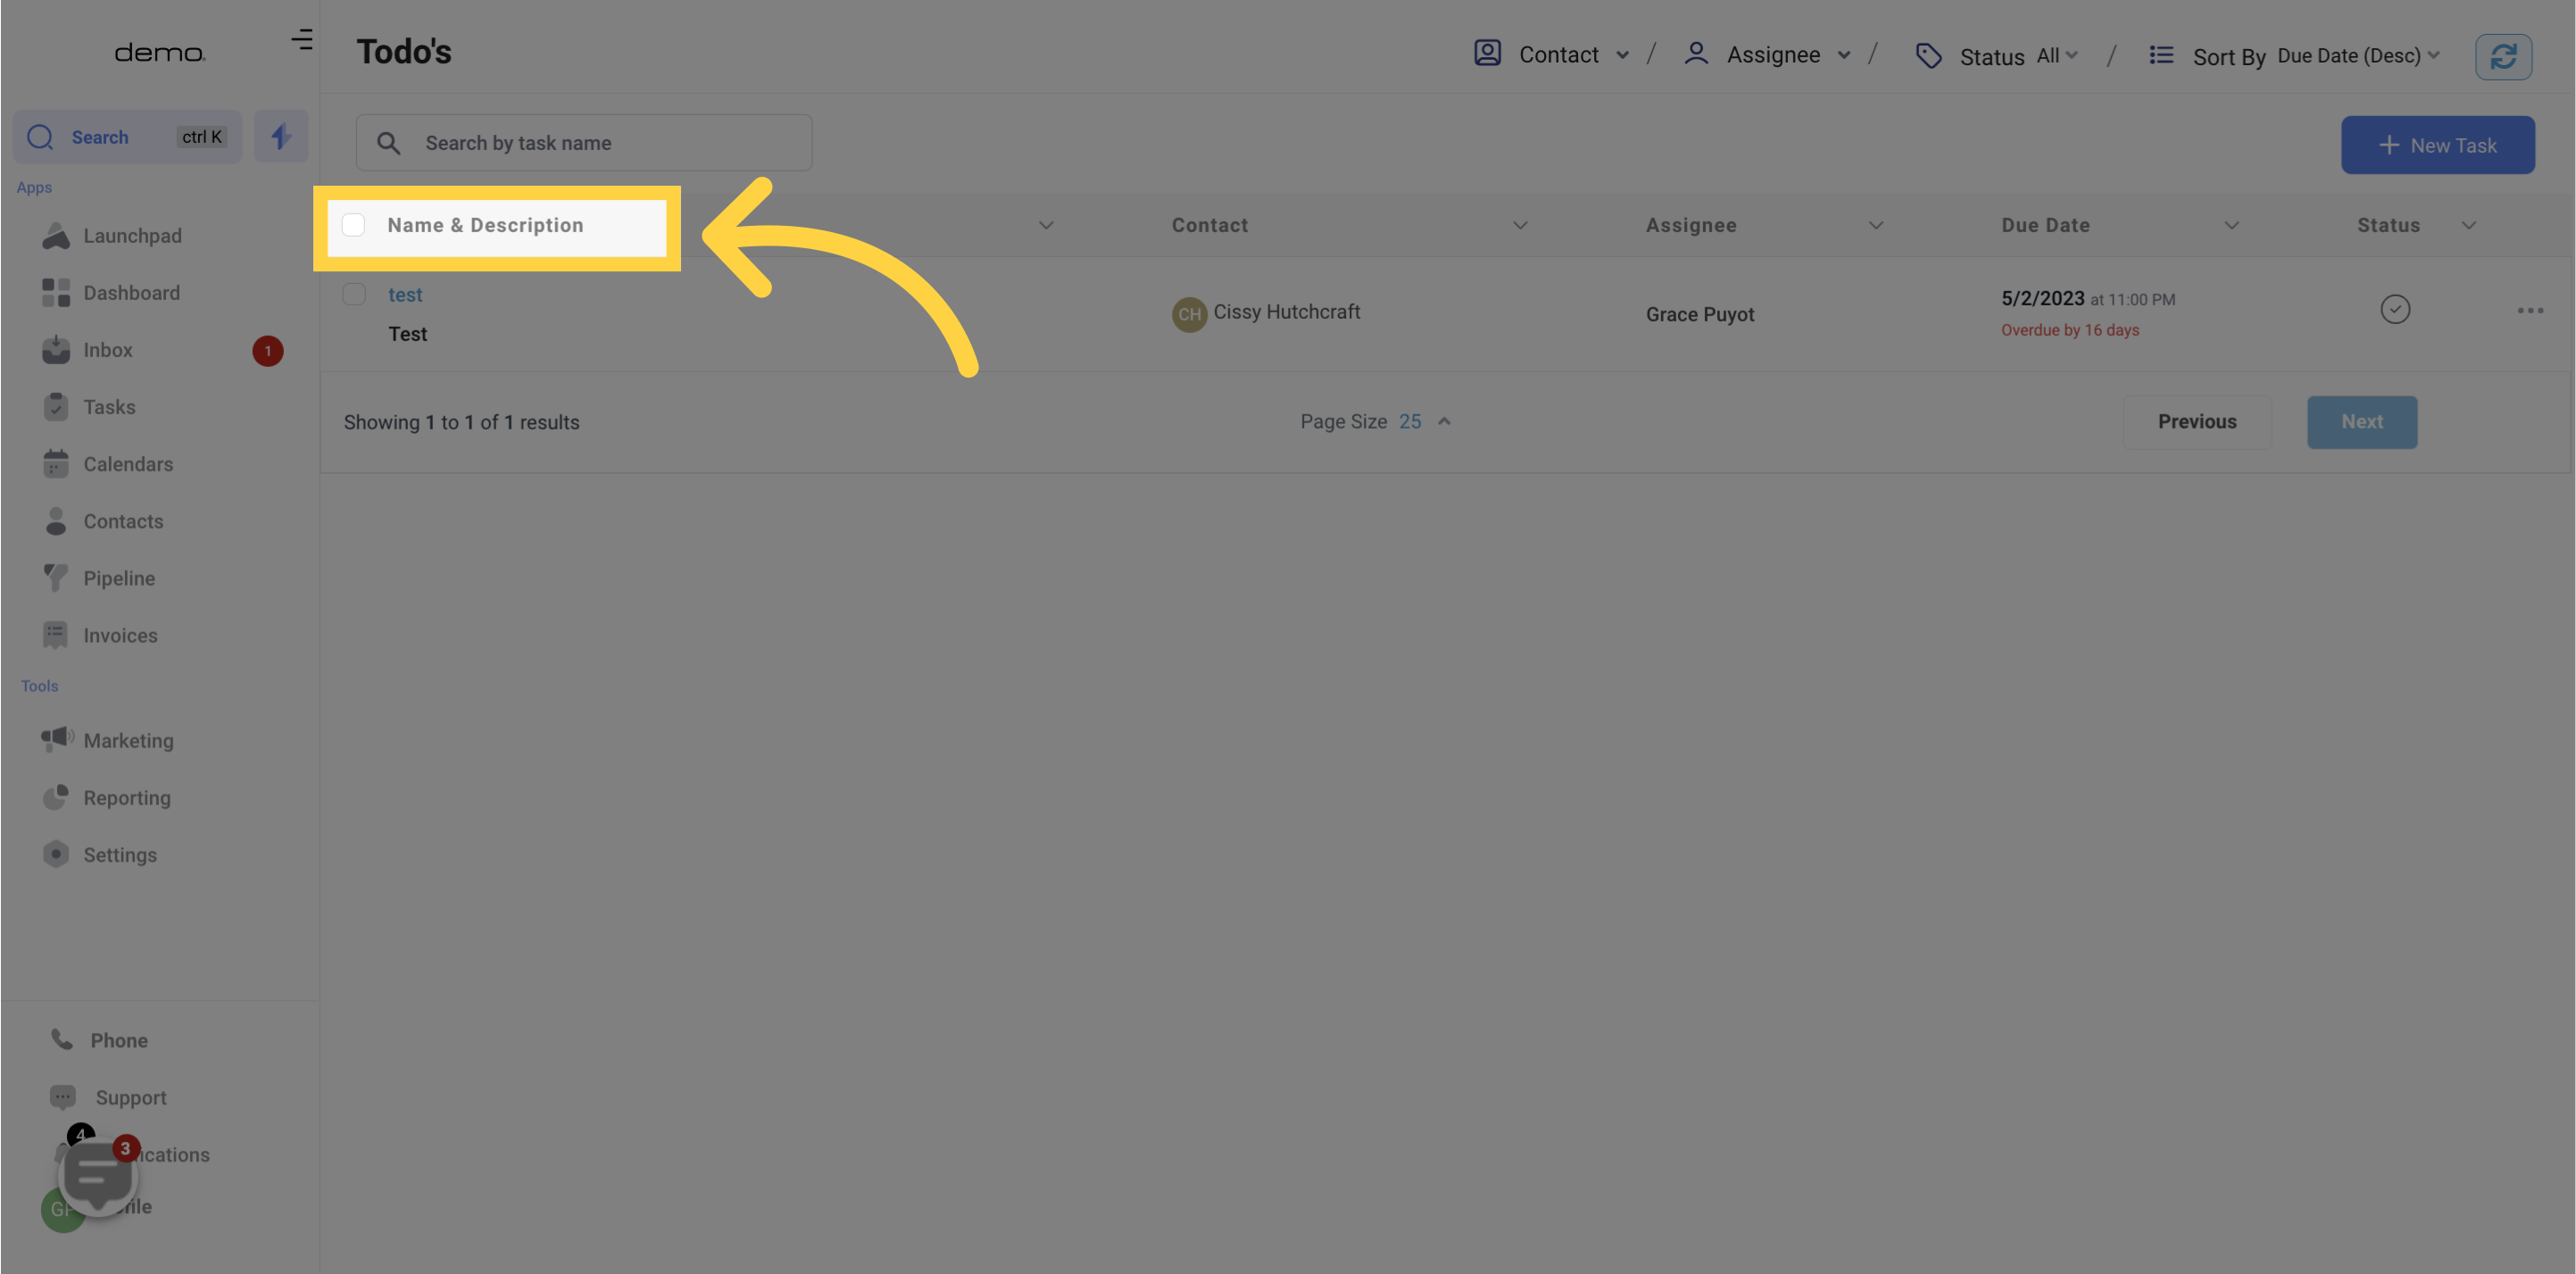
Under the task column in your table, you'll find the "Task Name" and its corresponding description. Clicking on any listed task will direct you to the contacts section, where you can access further comprehensive details about the task.
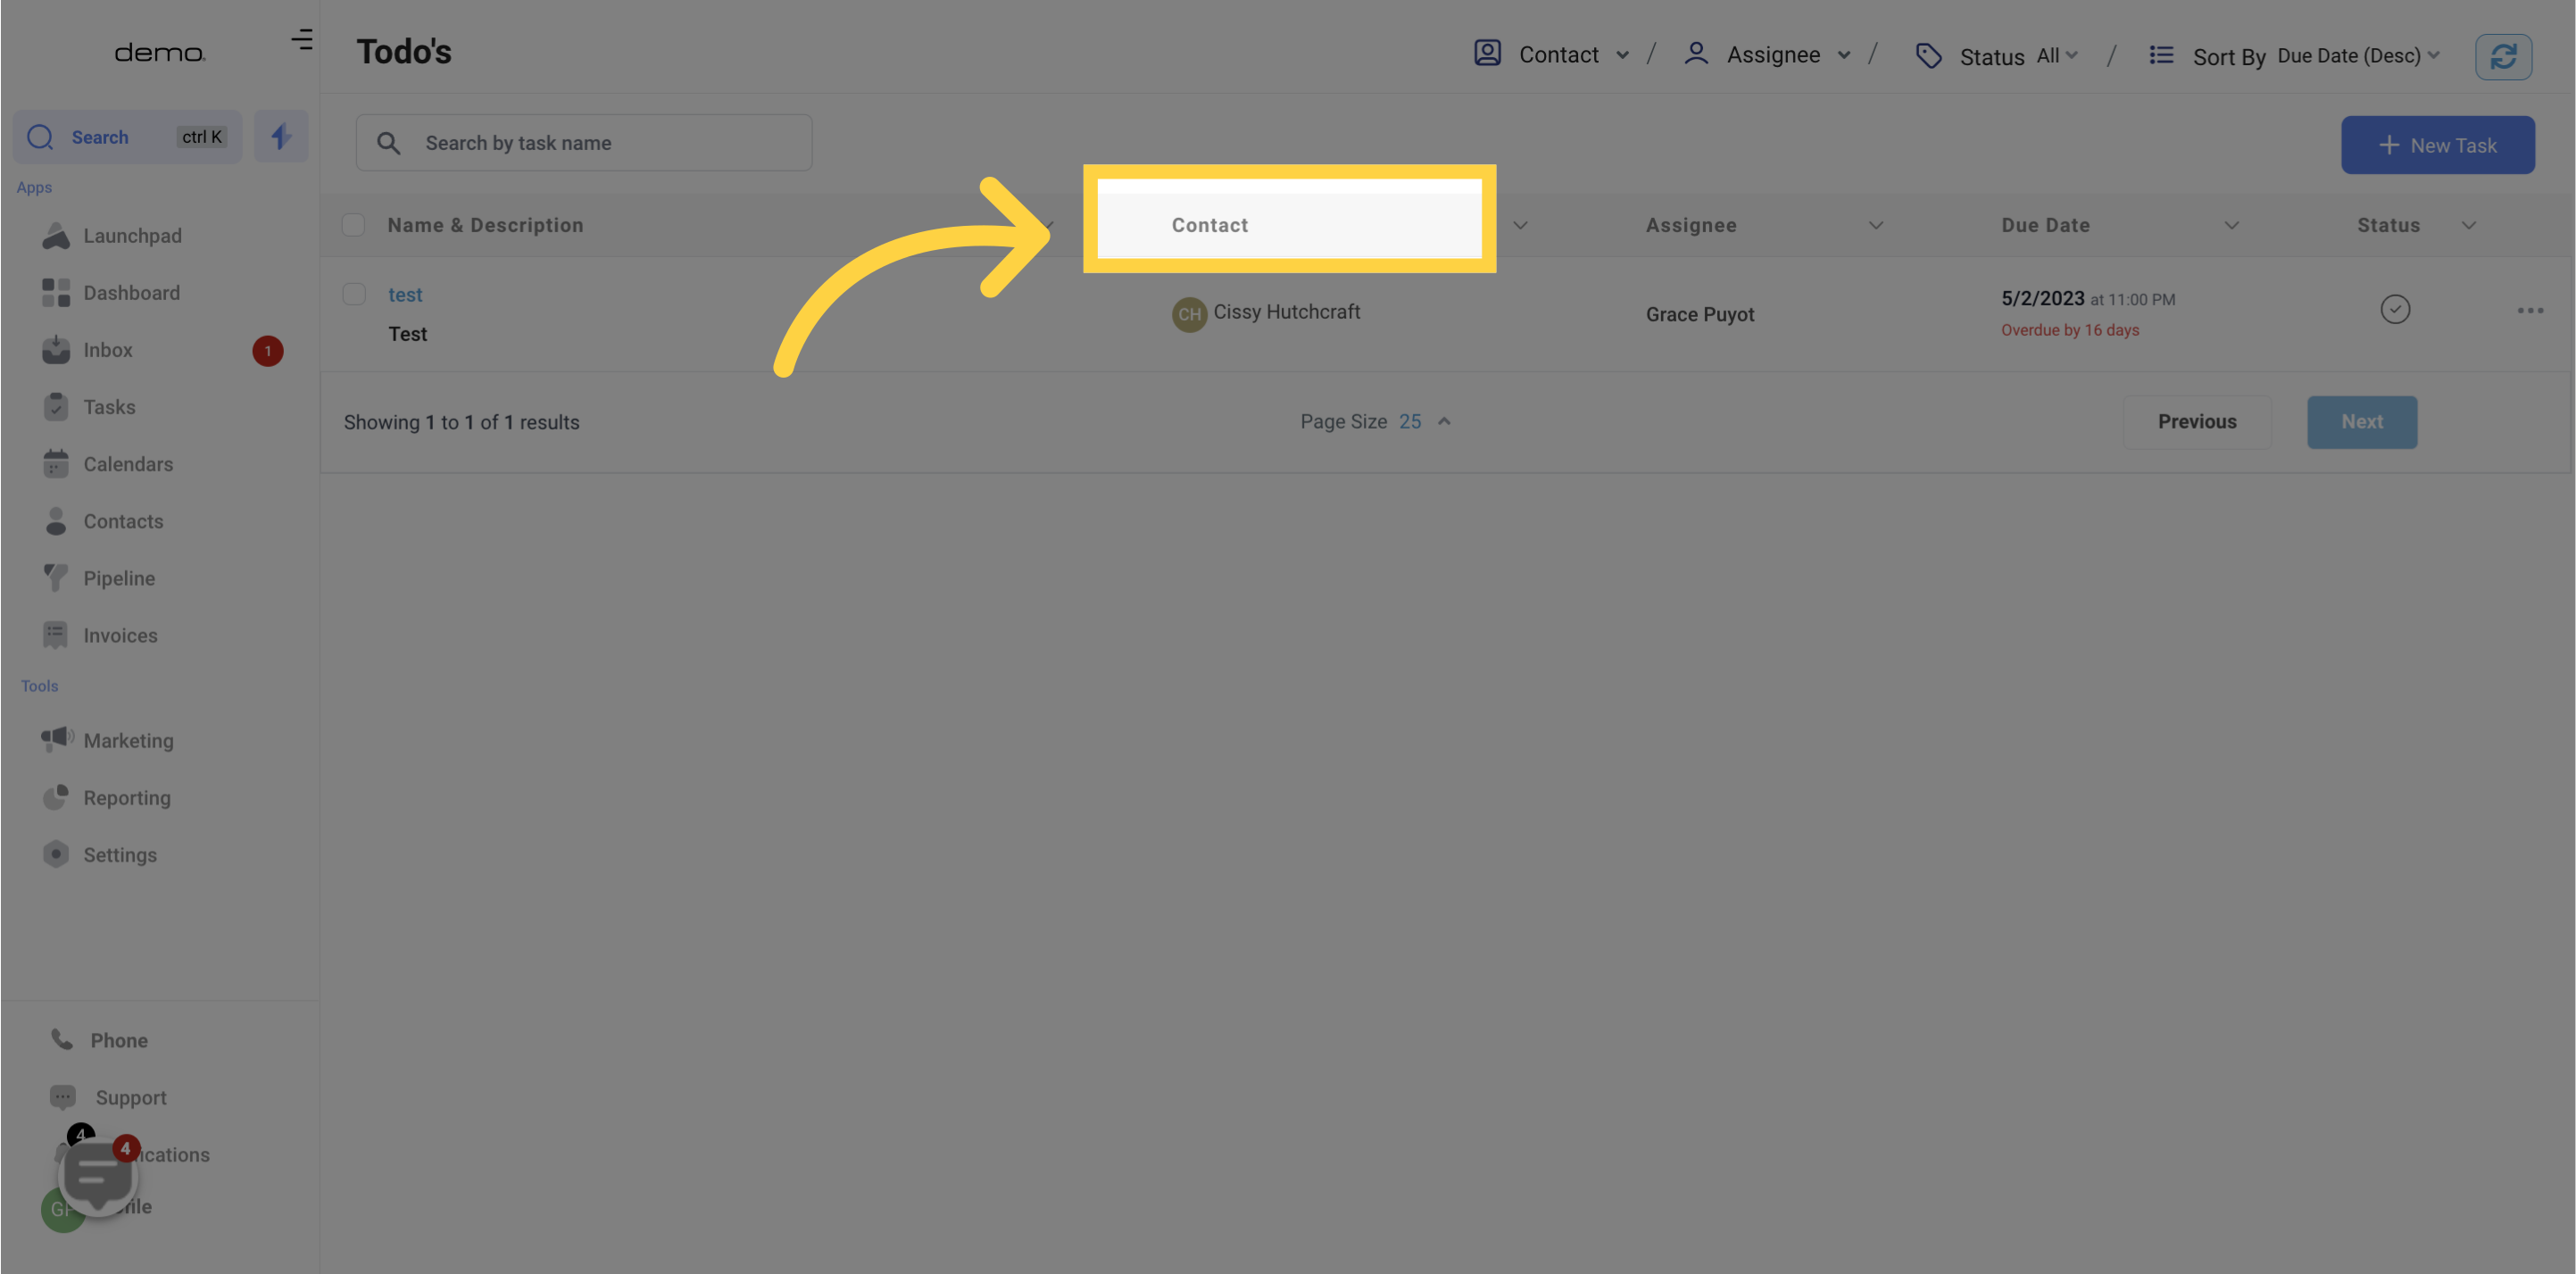
Under the task column in your table, you'll find the assigned contact for each task.
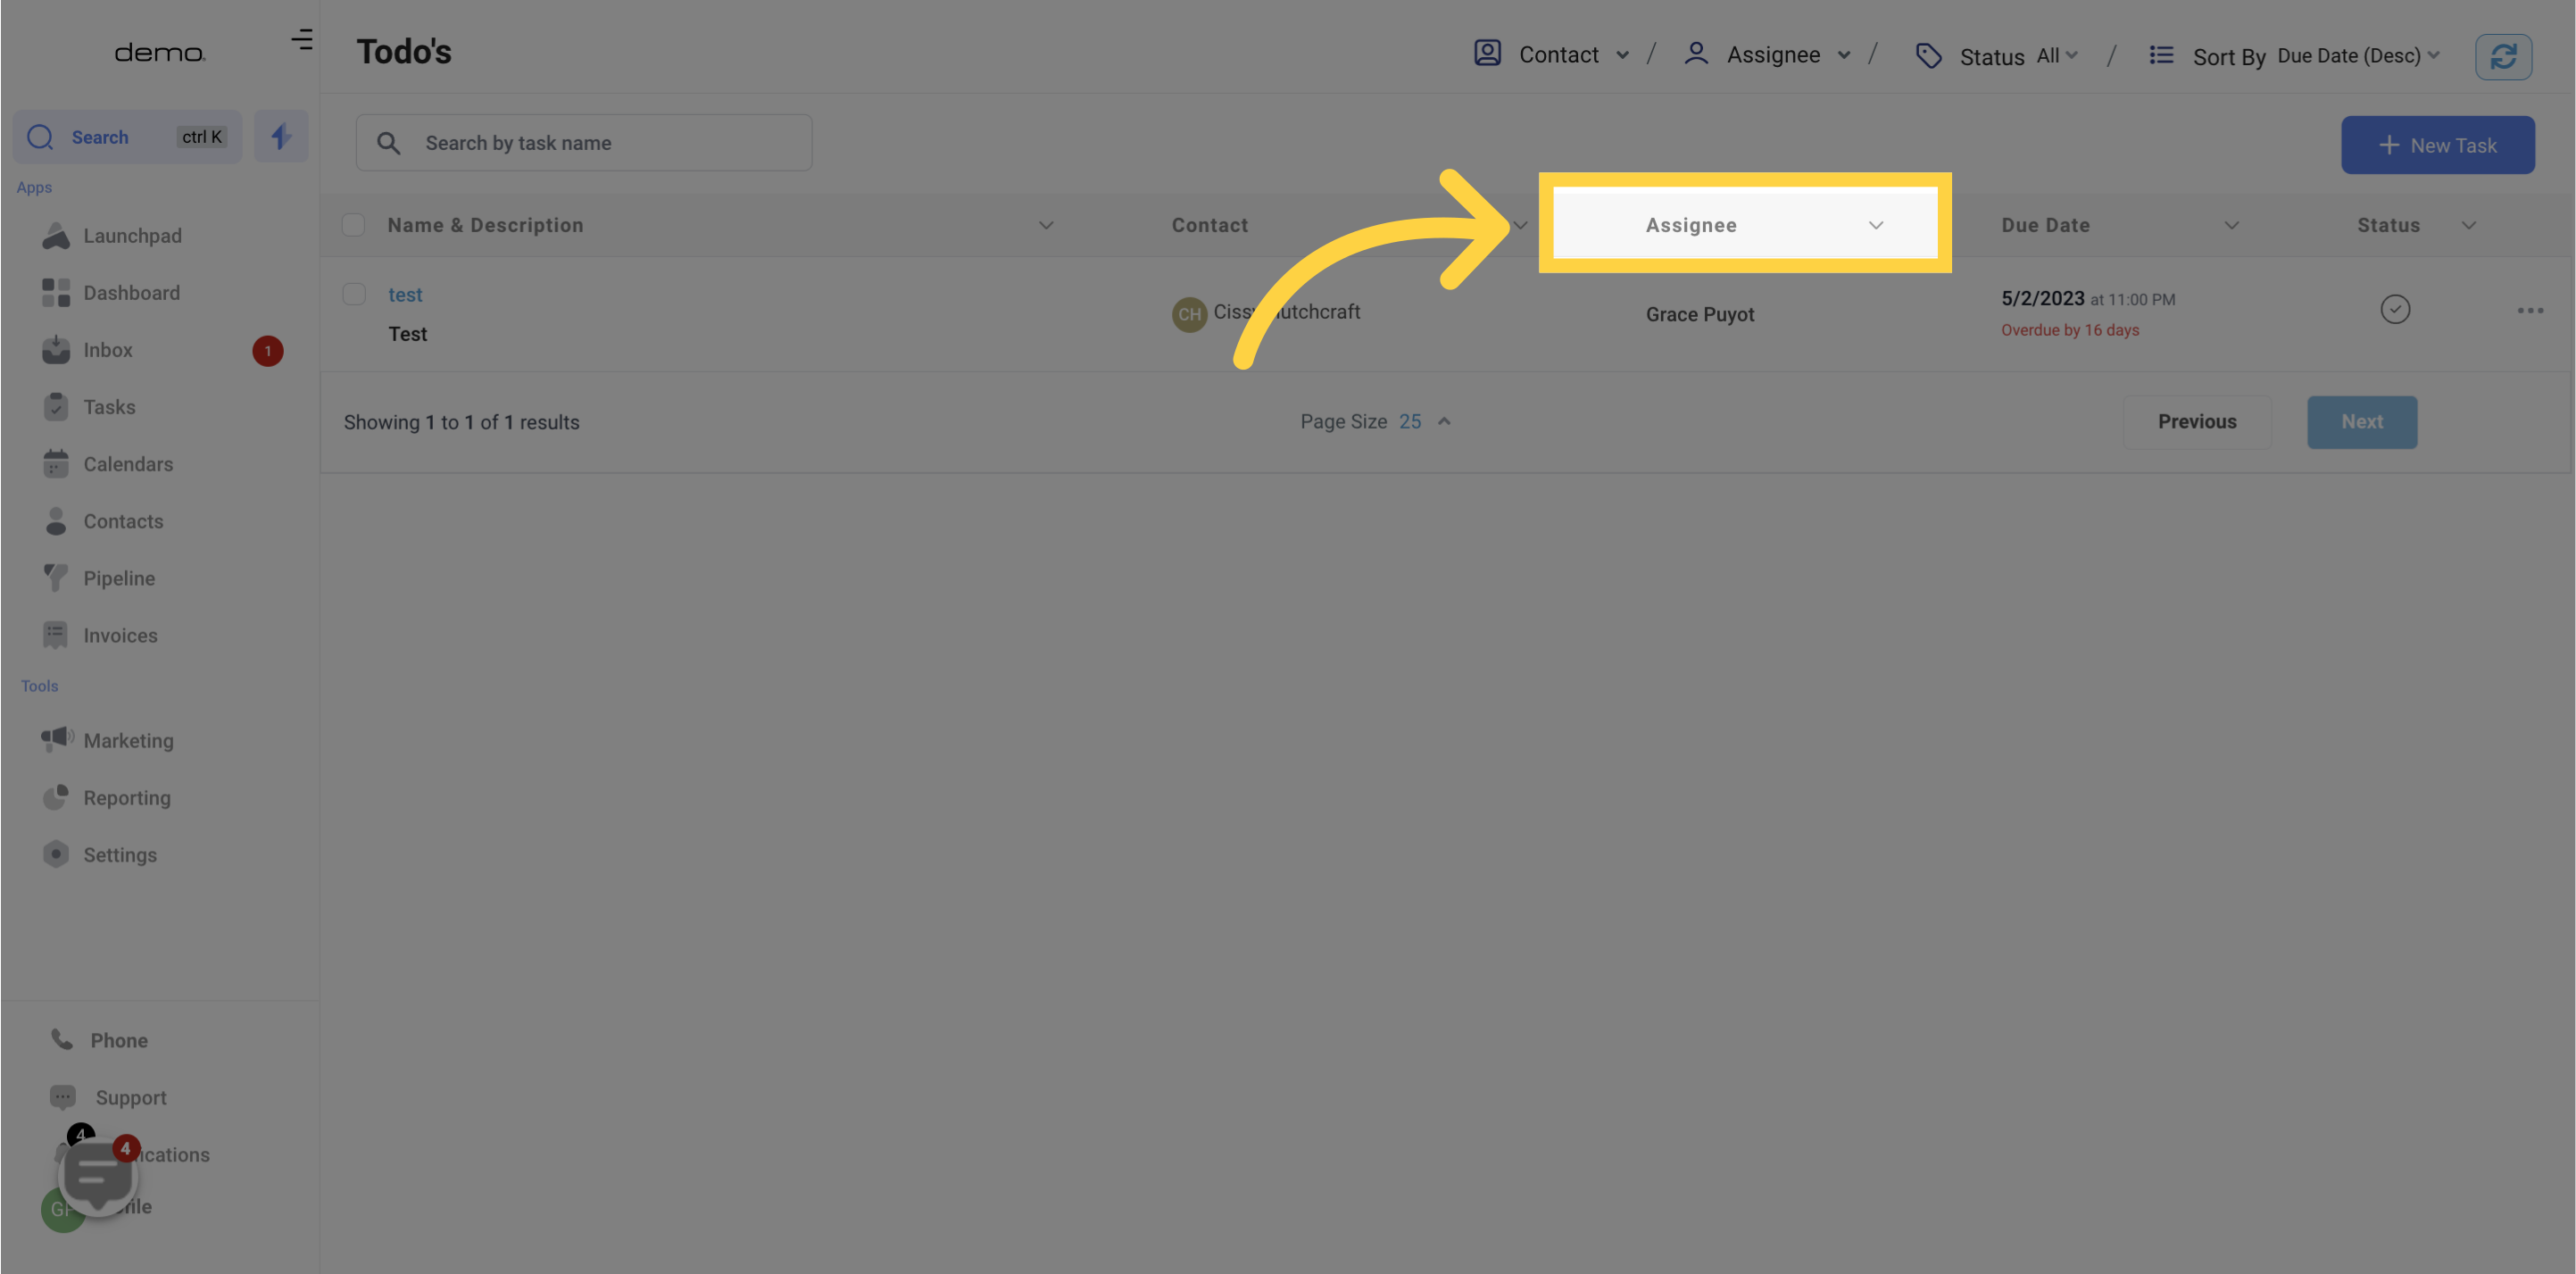
Under the task column in your table, you'll find the assigned team member for each task.
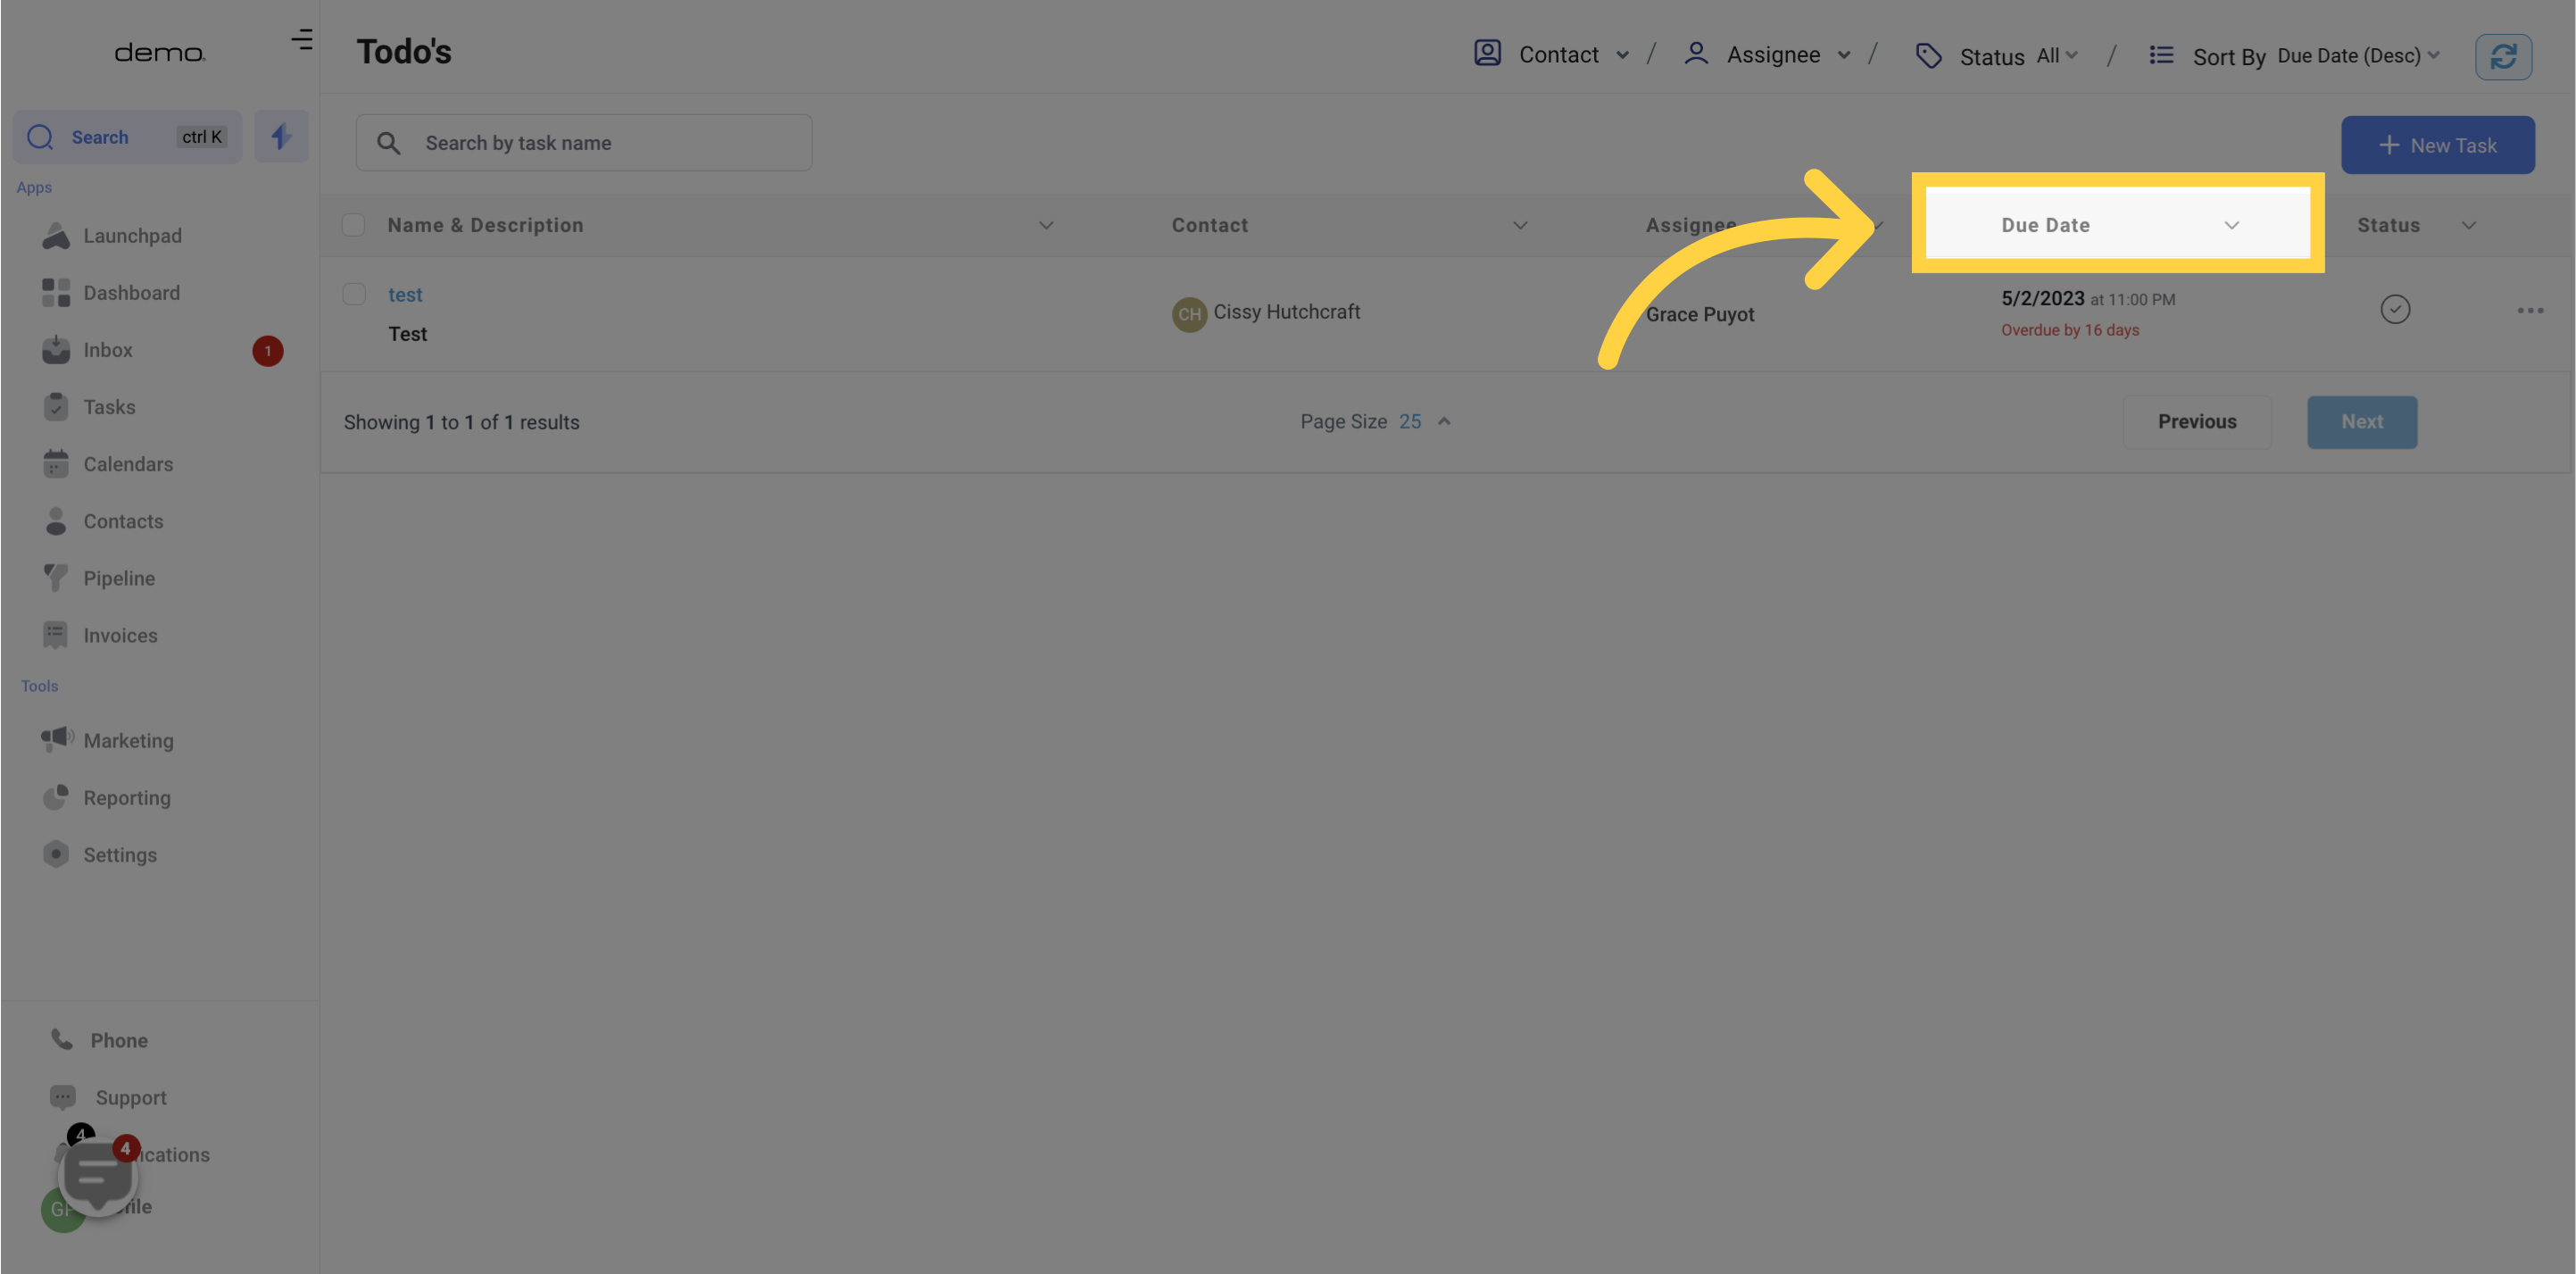
Under the task column in your table, you'll find the Task Due Date.
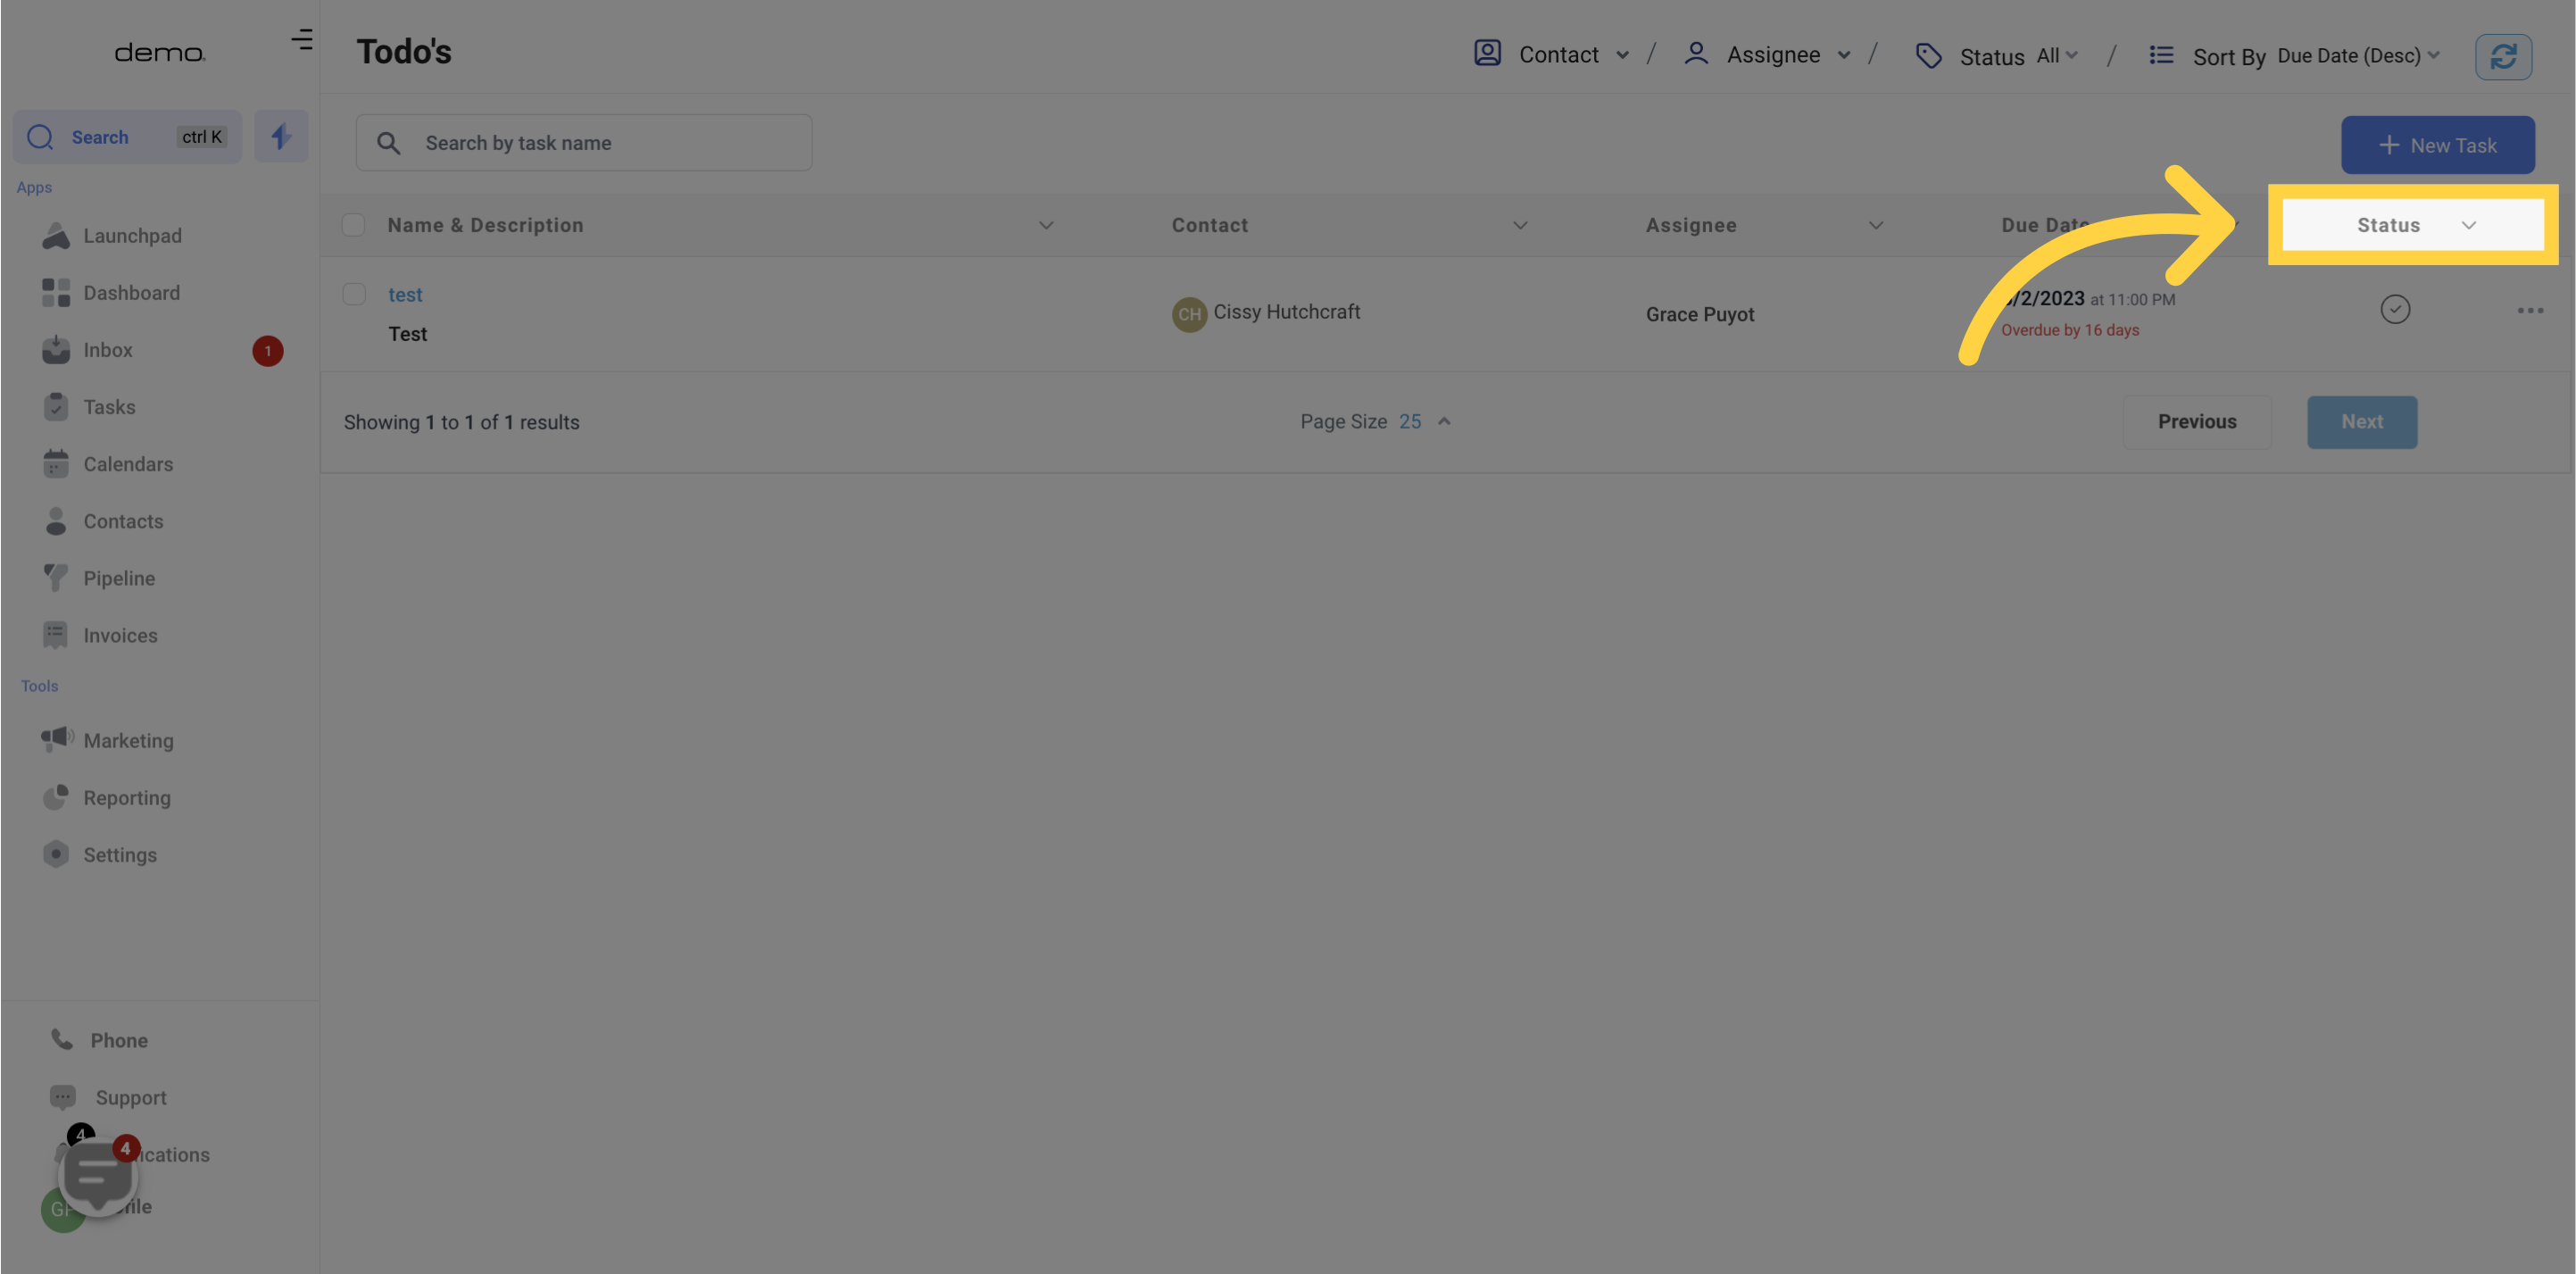
Under the task column in your table, you'll find the Task Status. To mark a task as complete, simply click on the corresponding tick icon.
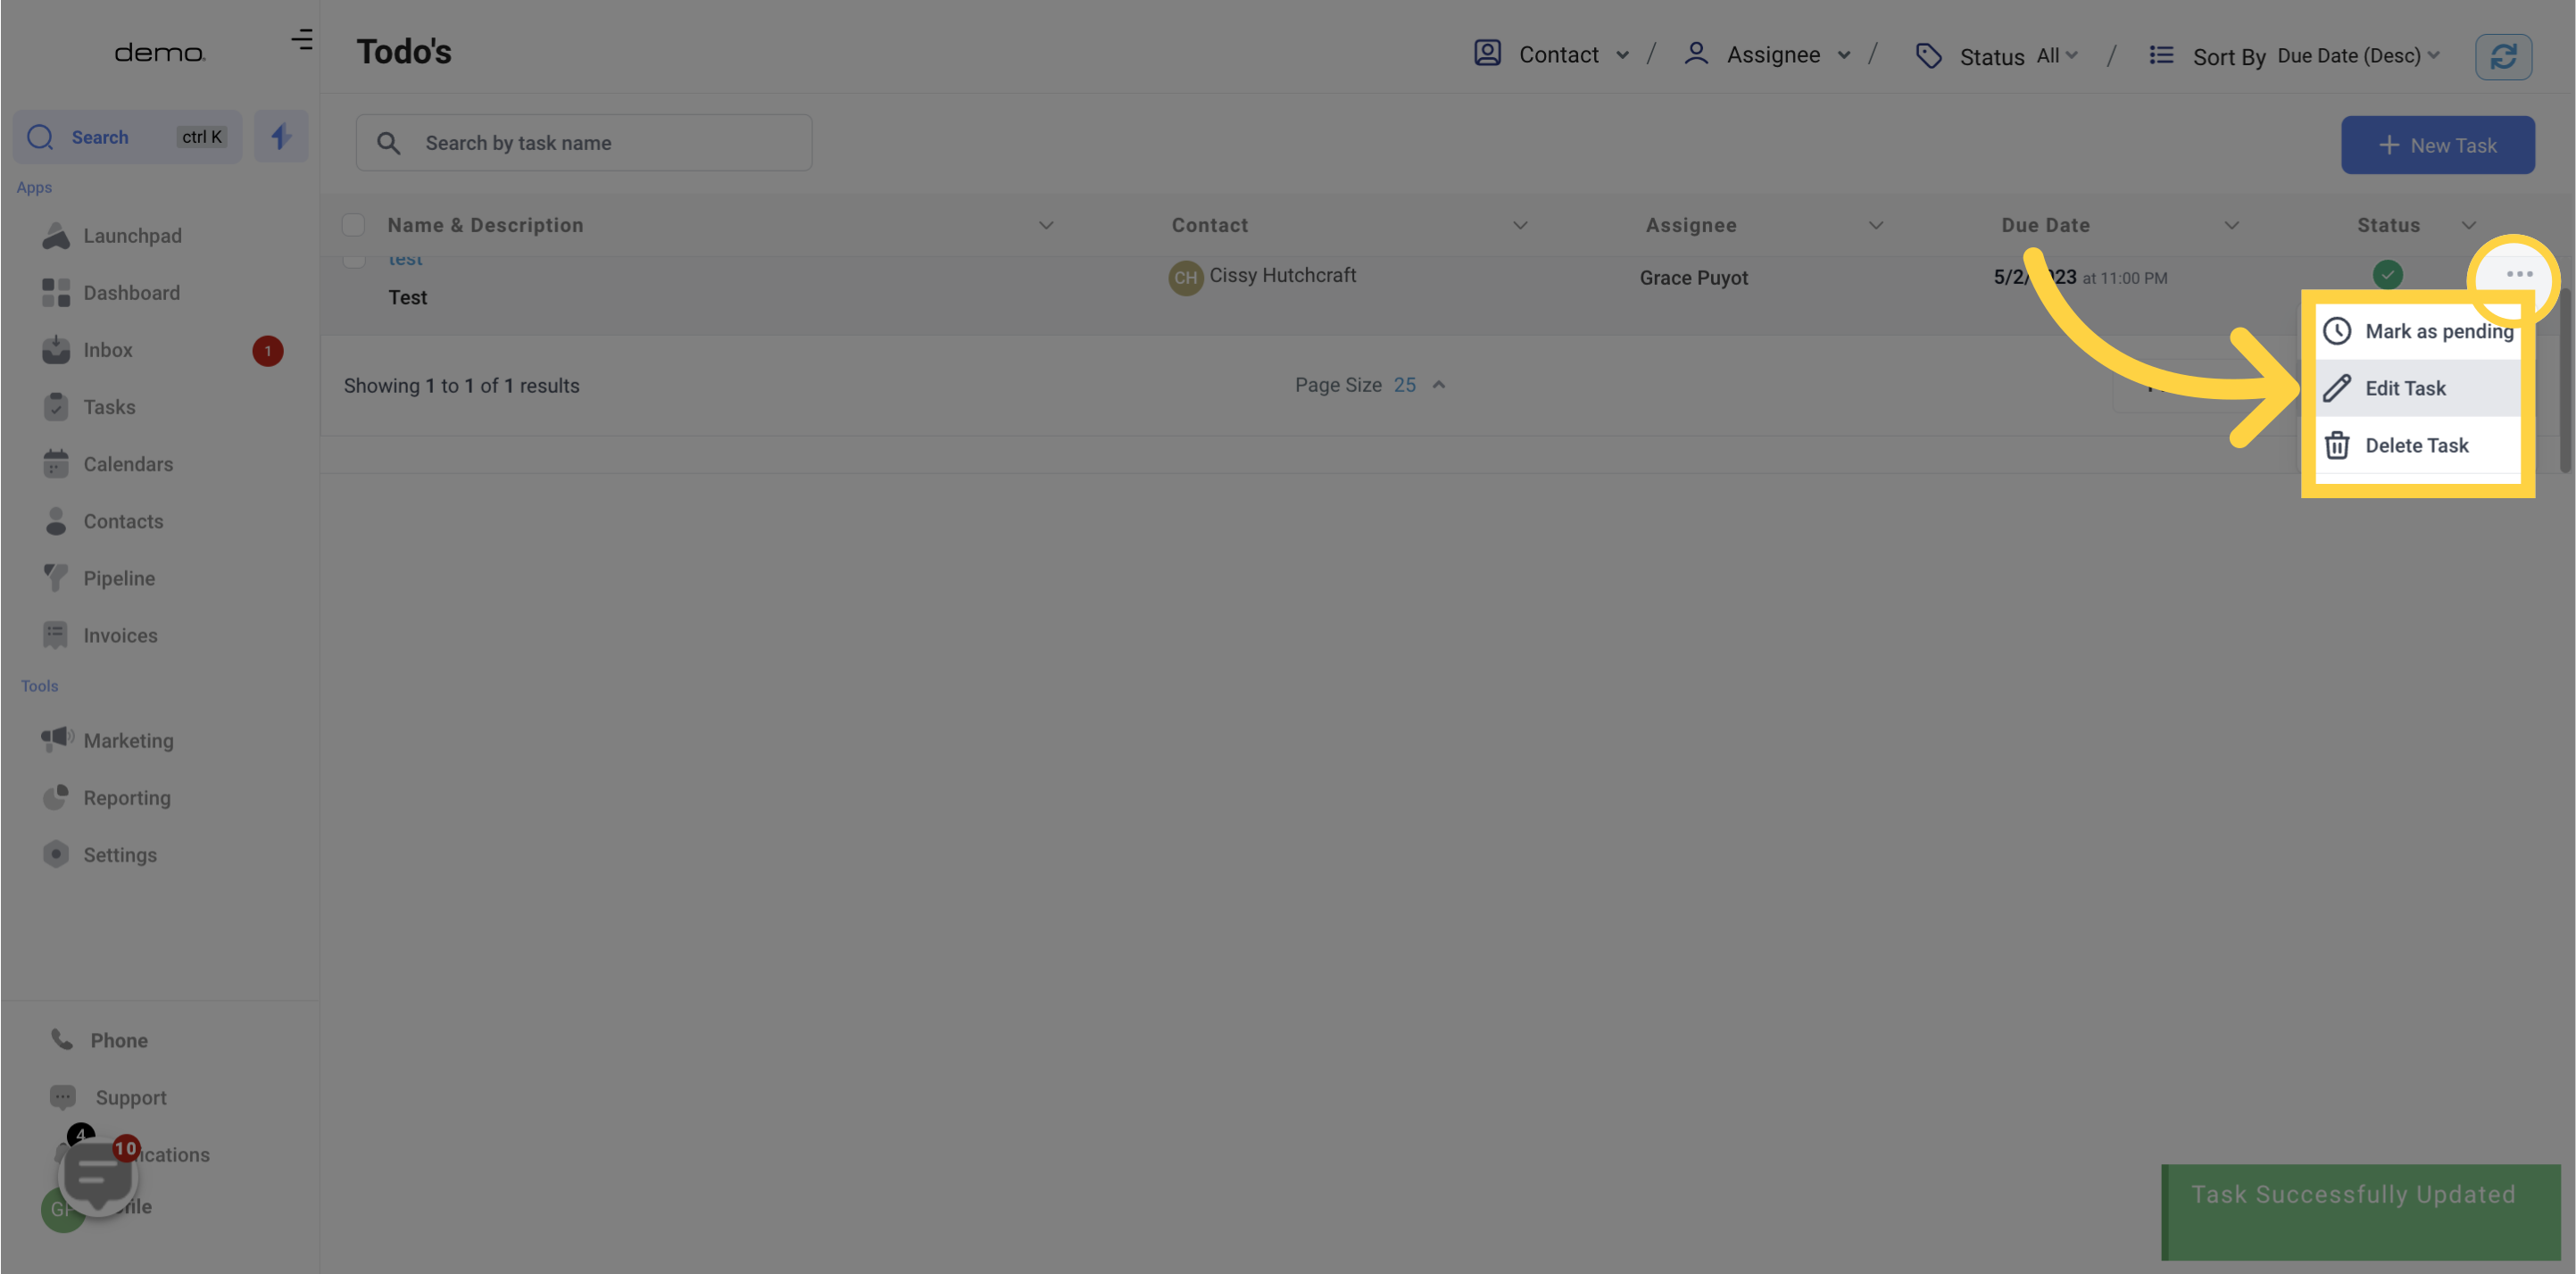
To manage tasks, click on the three dots located on the far right side of any given task to reveal the task actions menu. From this menu, you can perform various task-related actions, including:
1. Mark a task as complete
2. Edit selected task
3. Delete a selected task
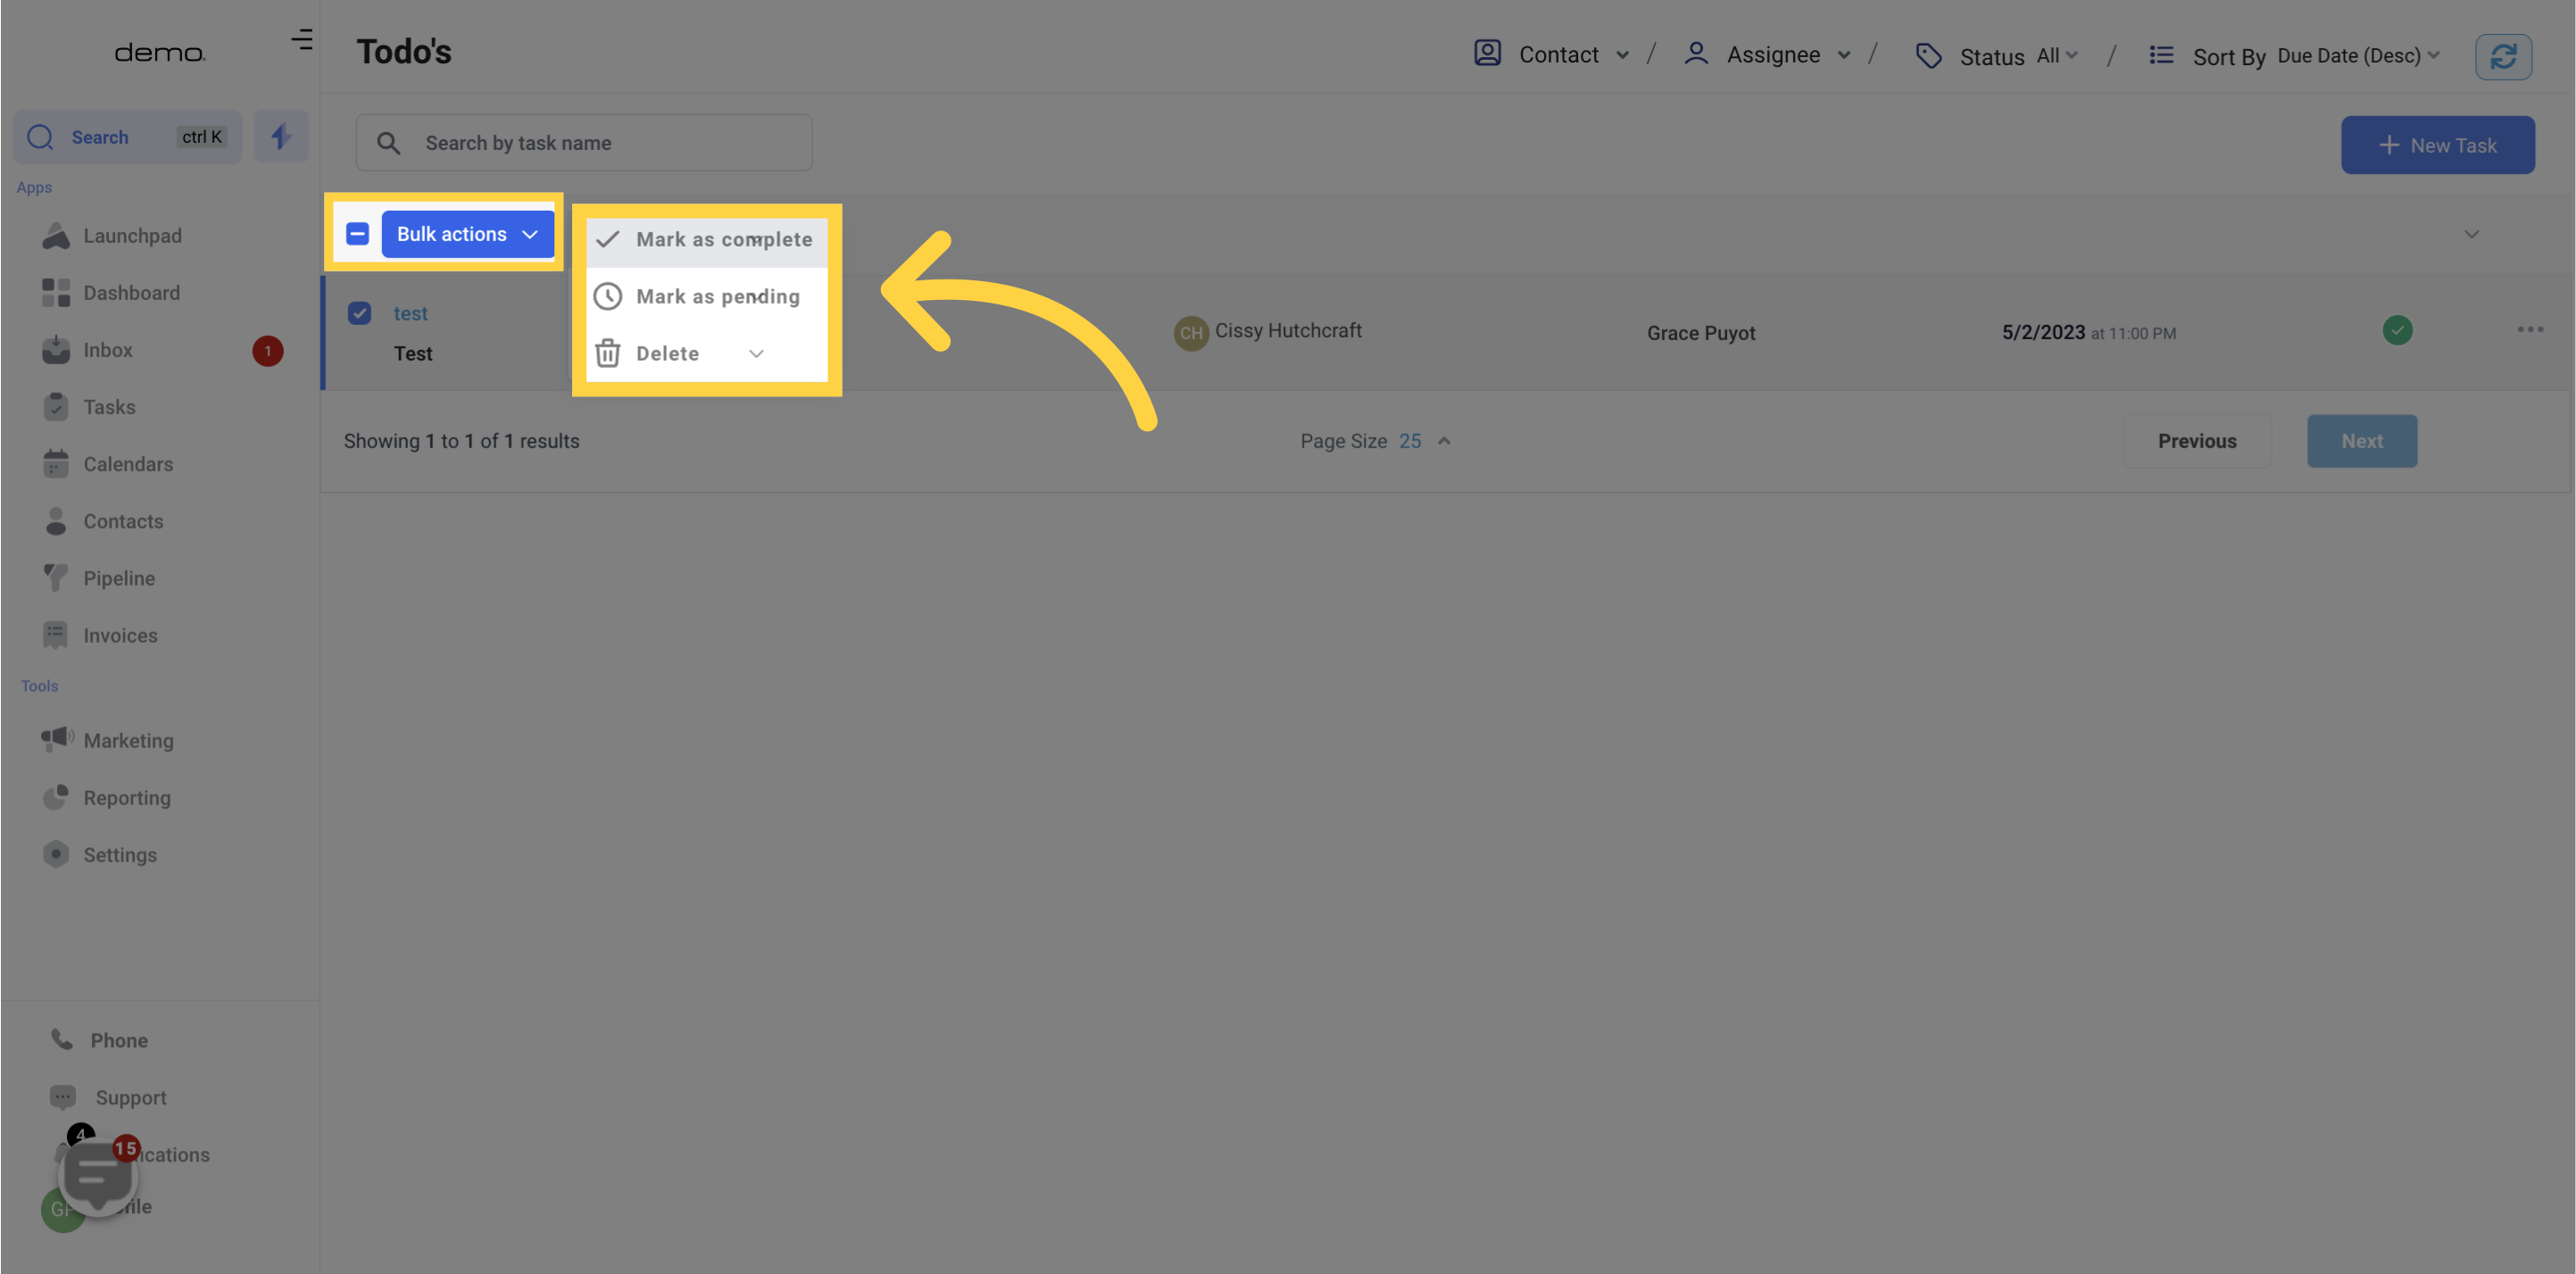
To choose all tasks at once, just click on the checkbox at the top left of the task table, located above all other tasks and checkboxes. Selecting all tasks will enable you to perform bulk actions.
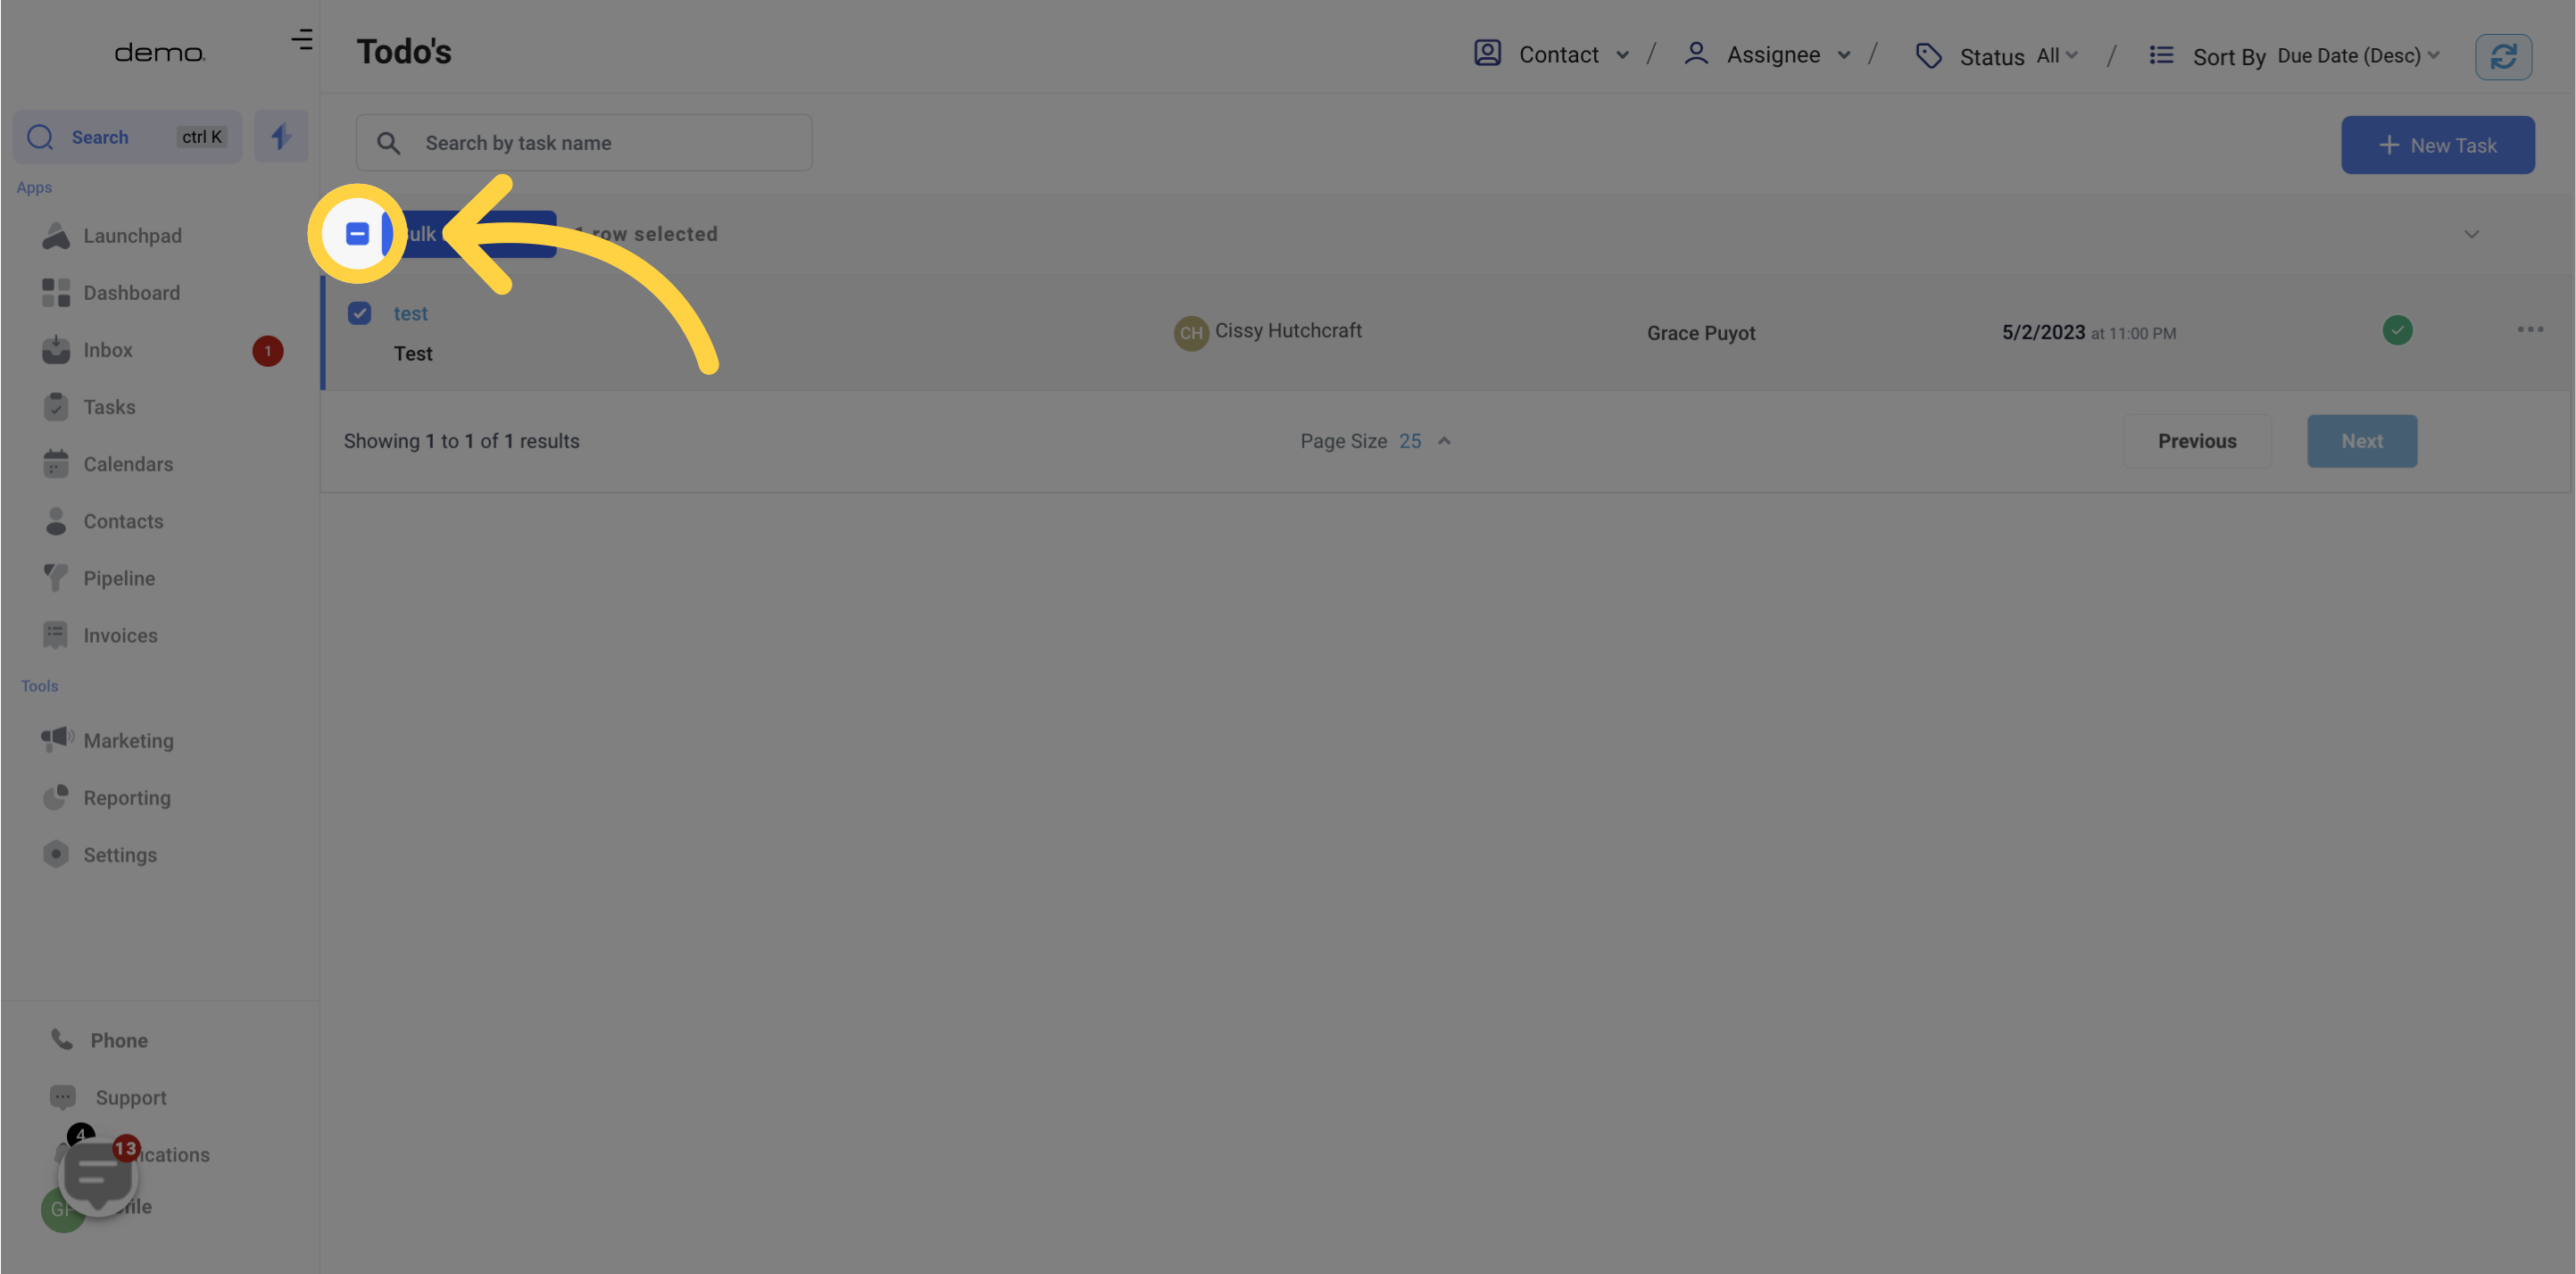
Once you have selected multiple tasks, you can apply bulk actions to all of them at once. This time-saving feature eliminates the need for managing each task individually.