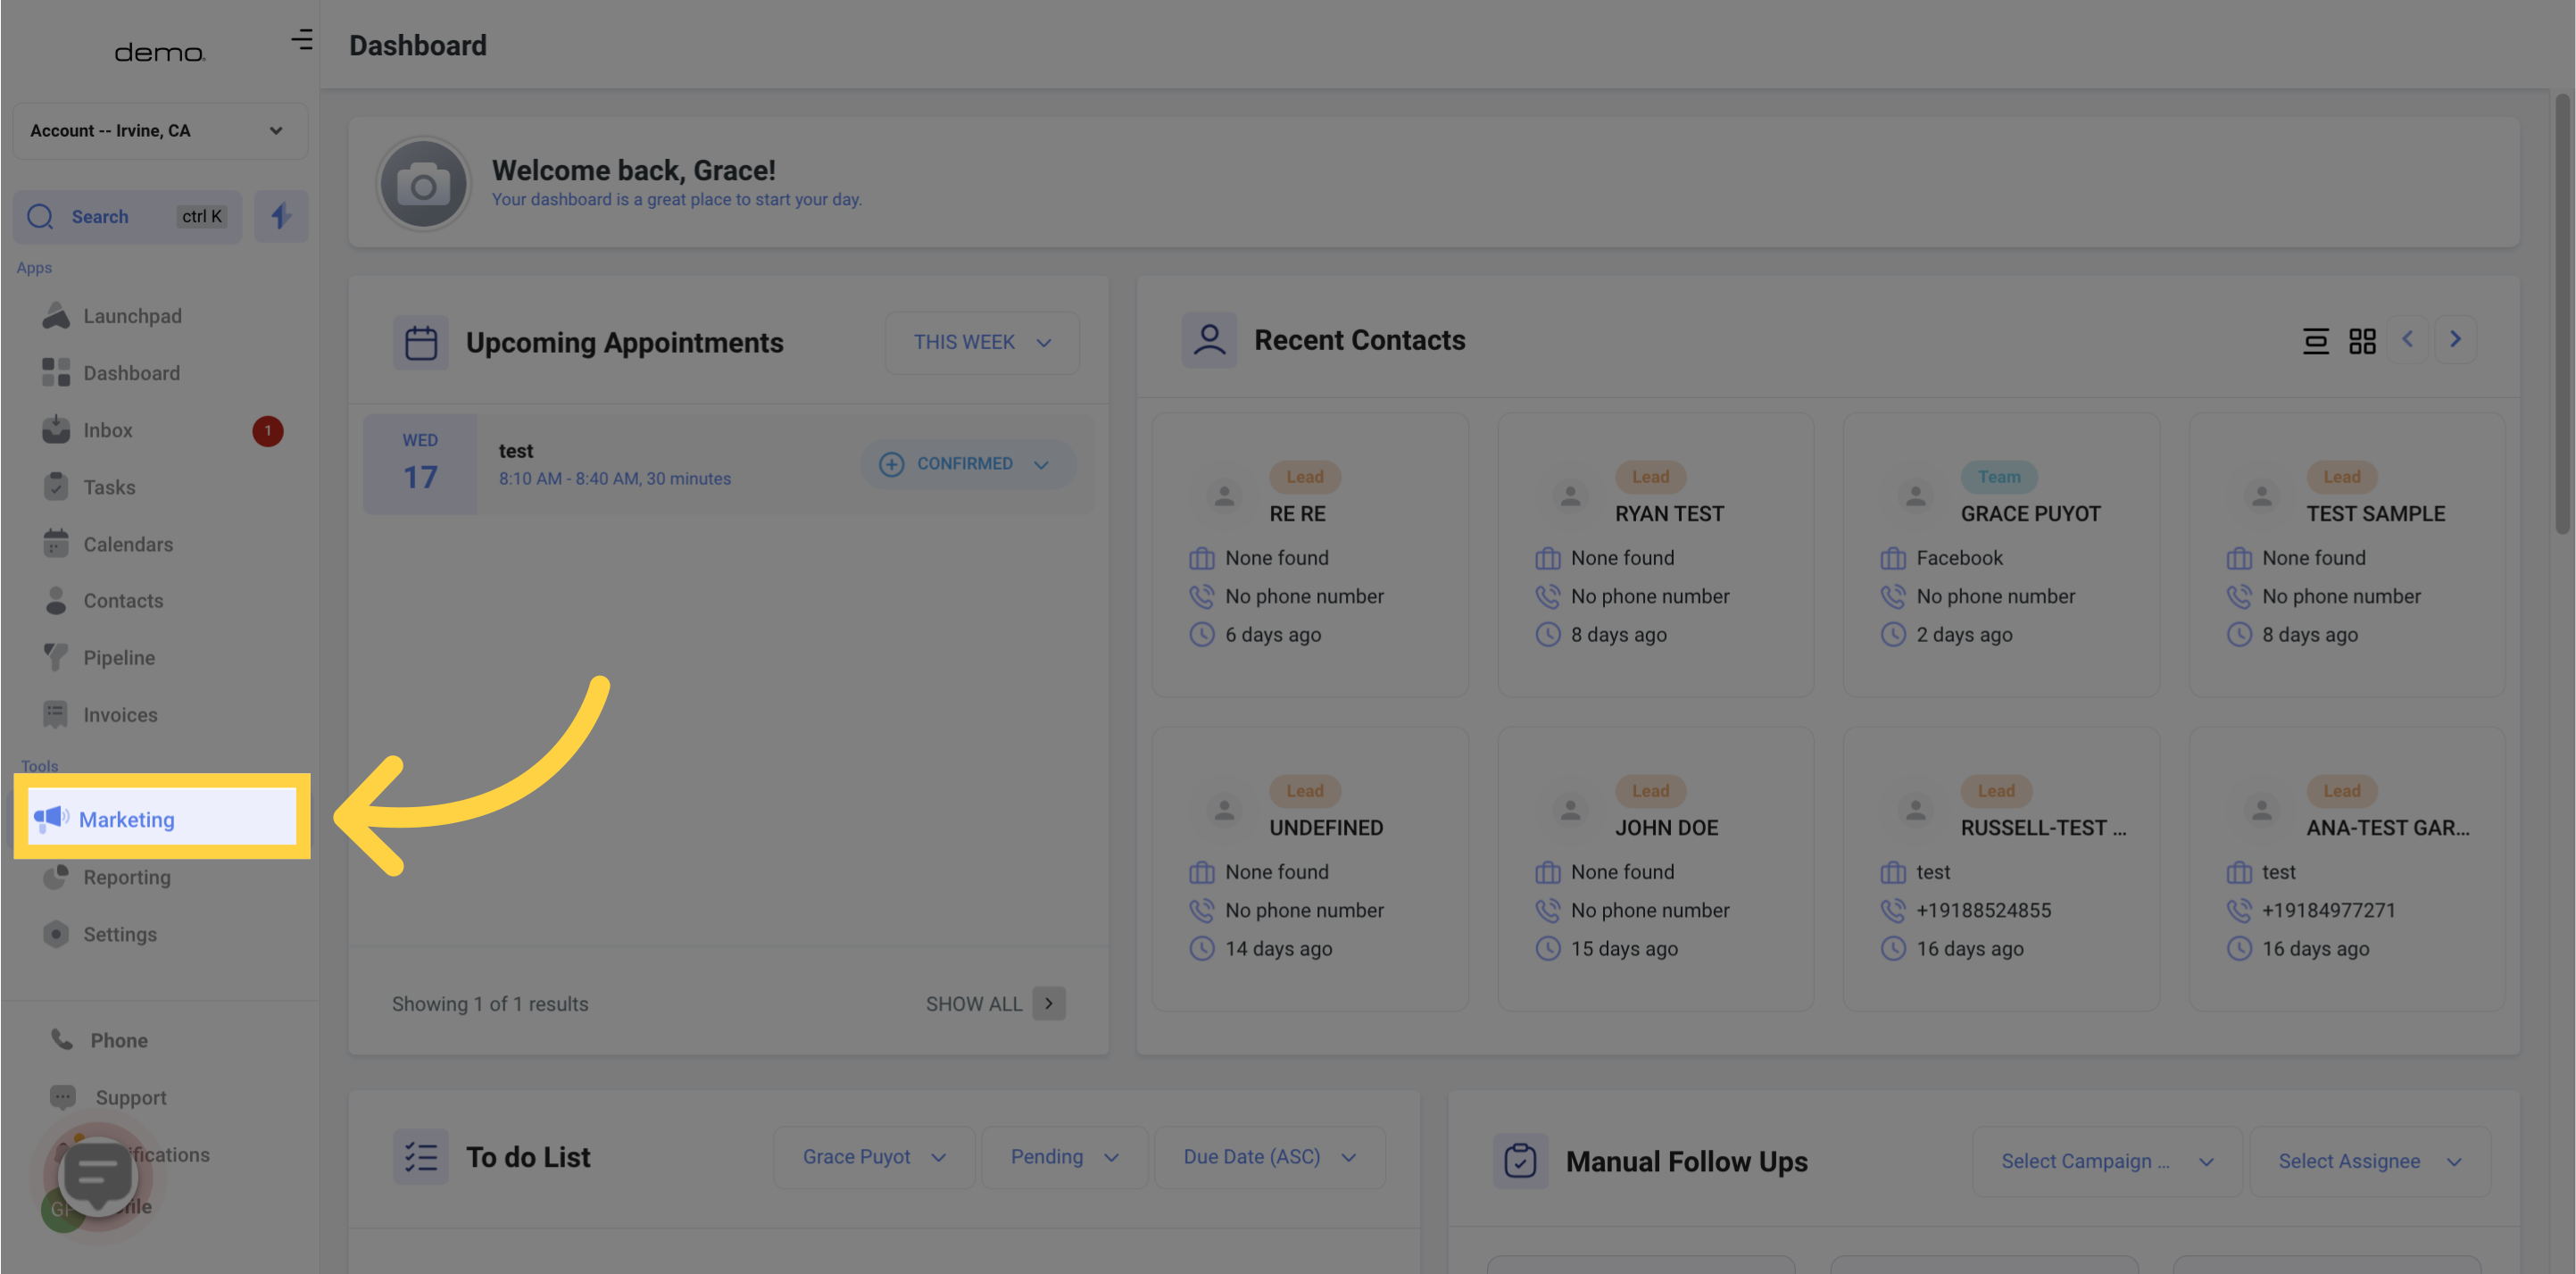
1. Click "Marketing"
Go to the Marketing section
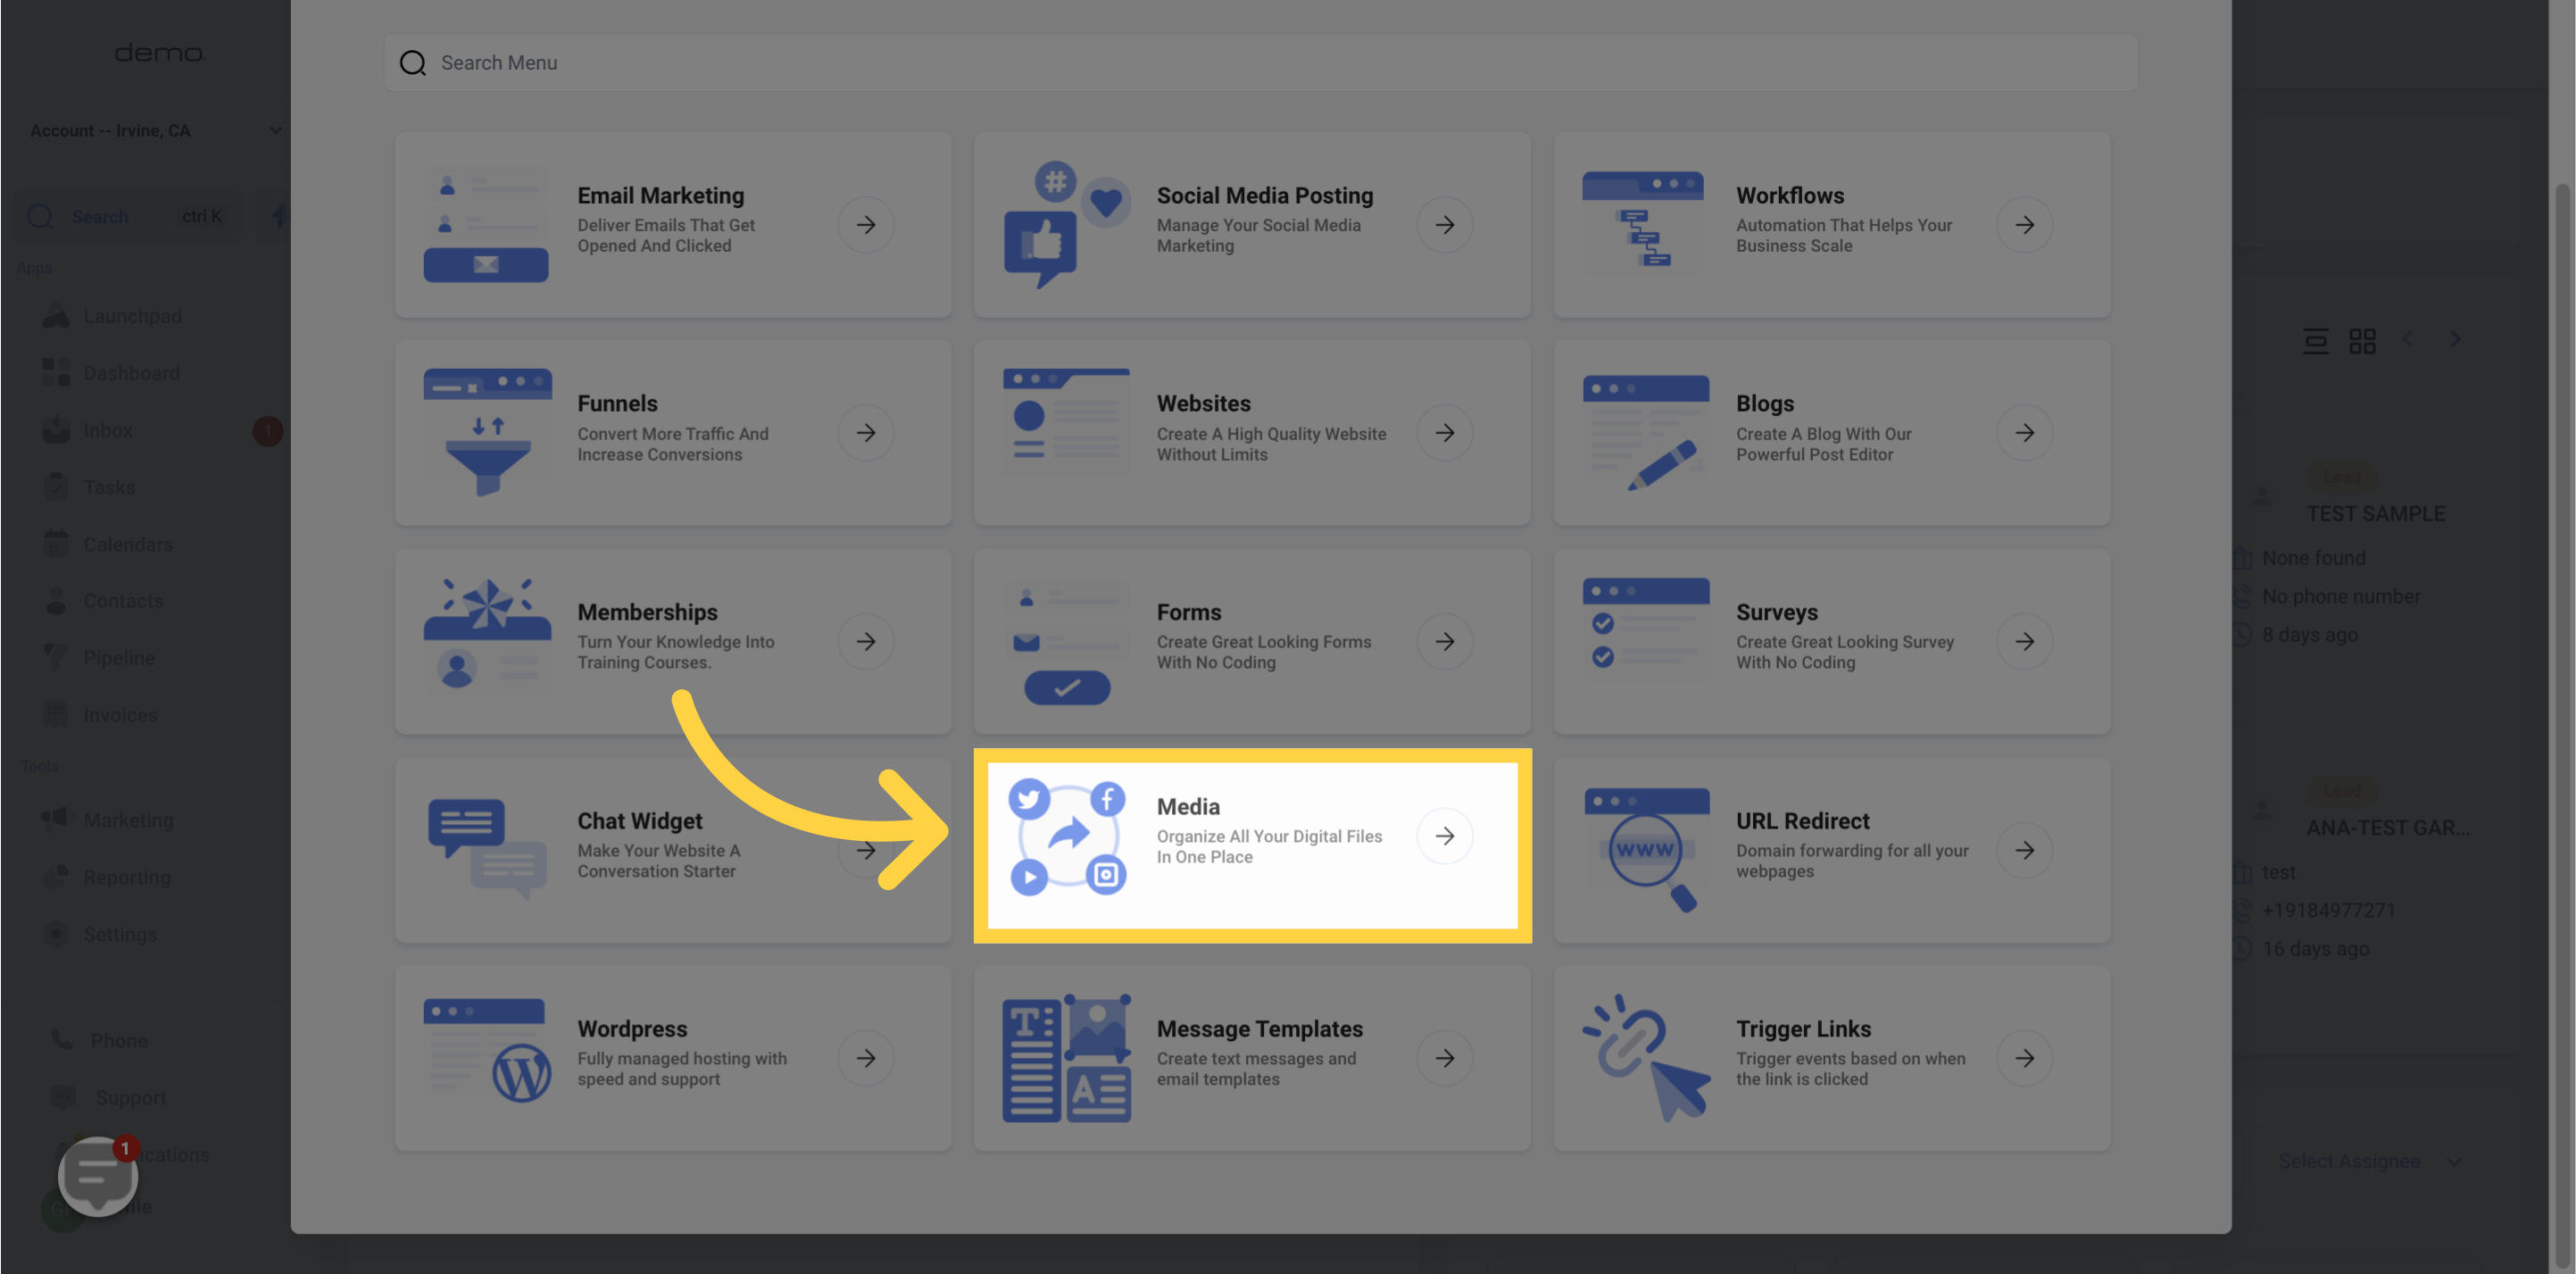
2. Click "media"
Click on the media tab.
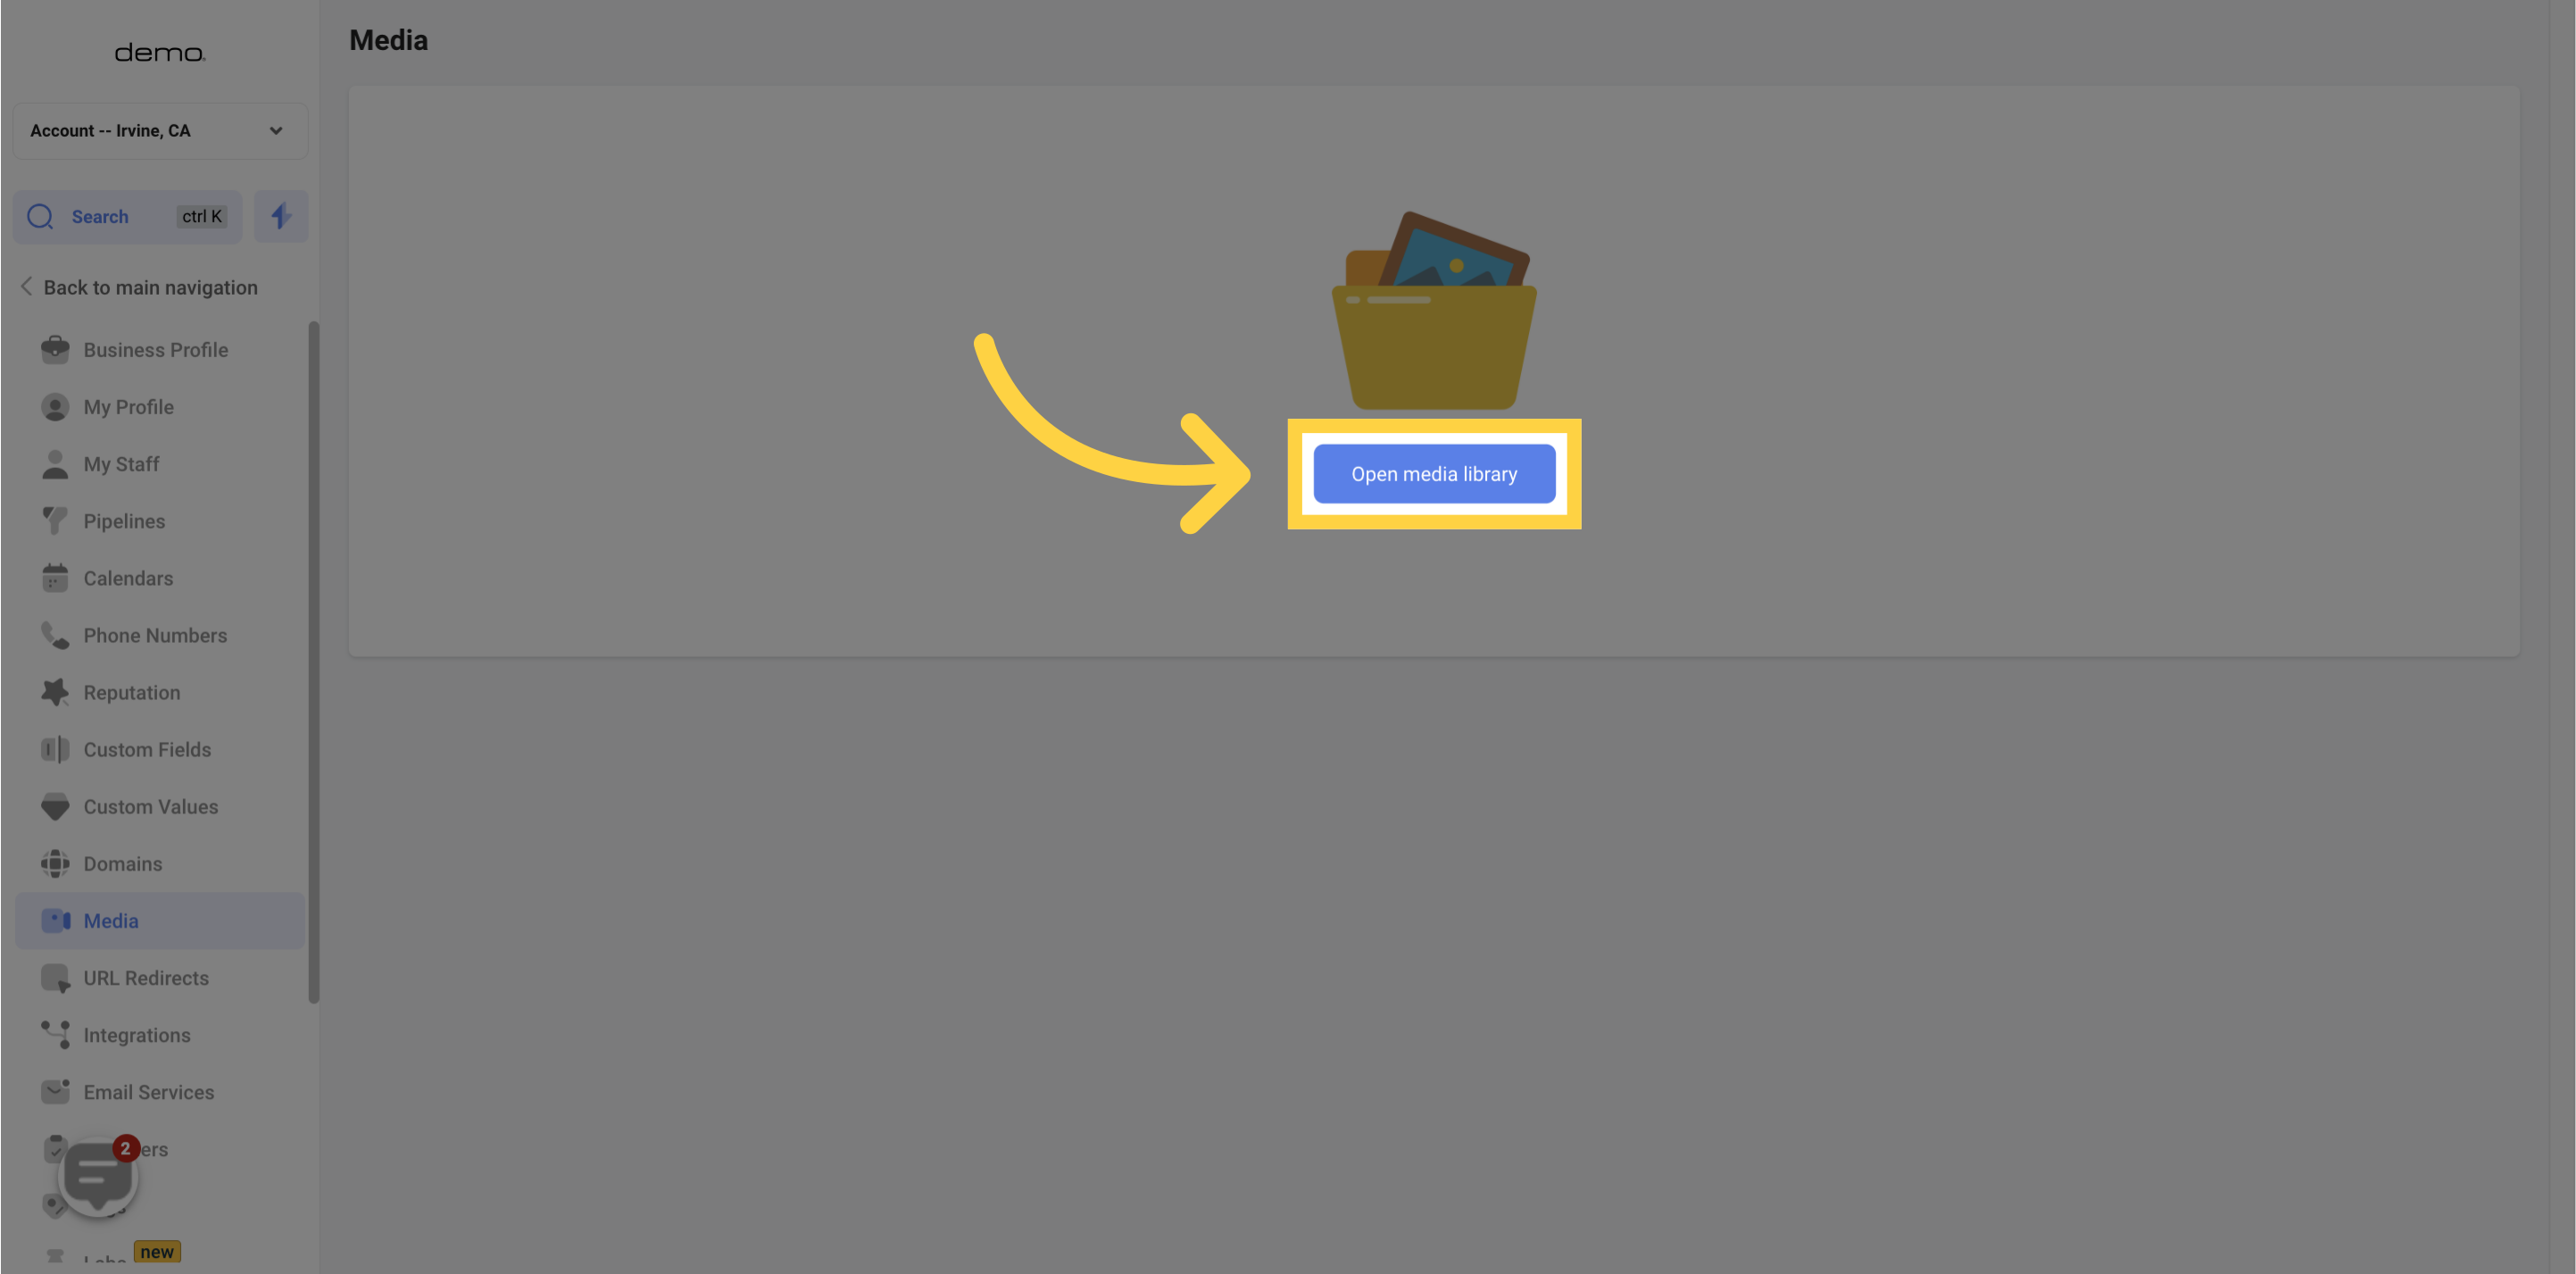
3. Click "Open media library"
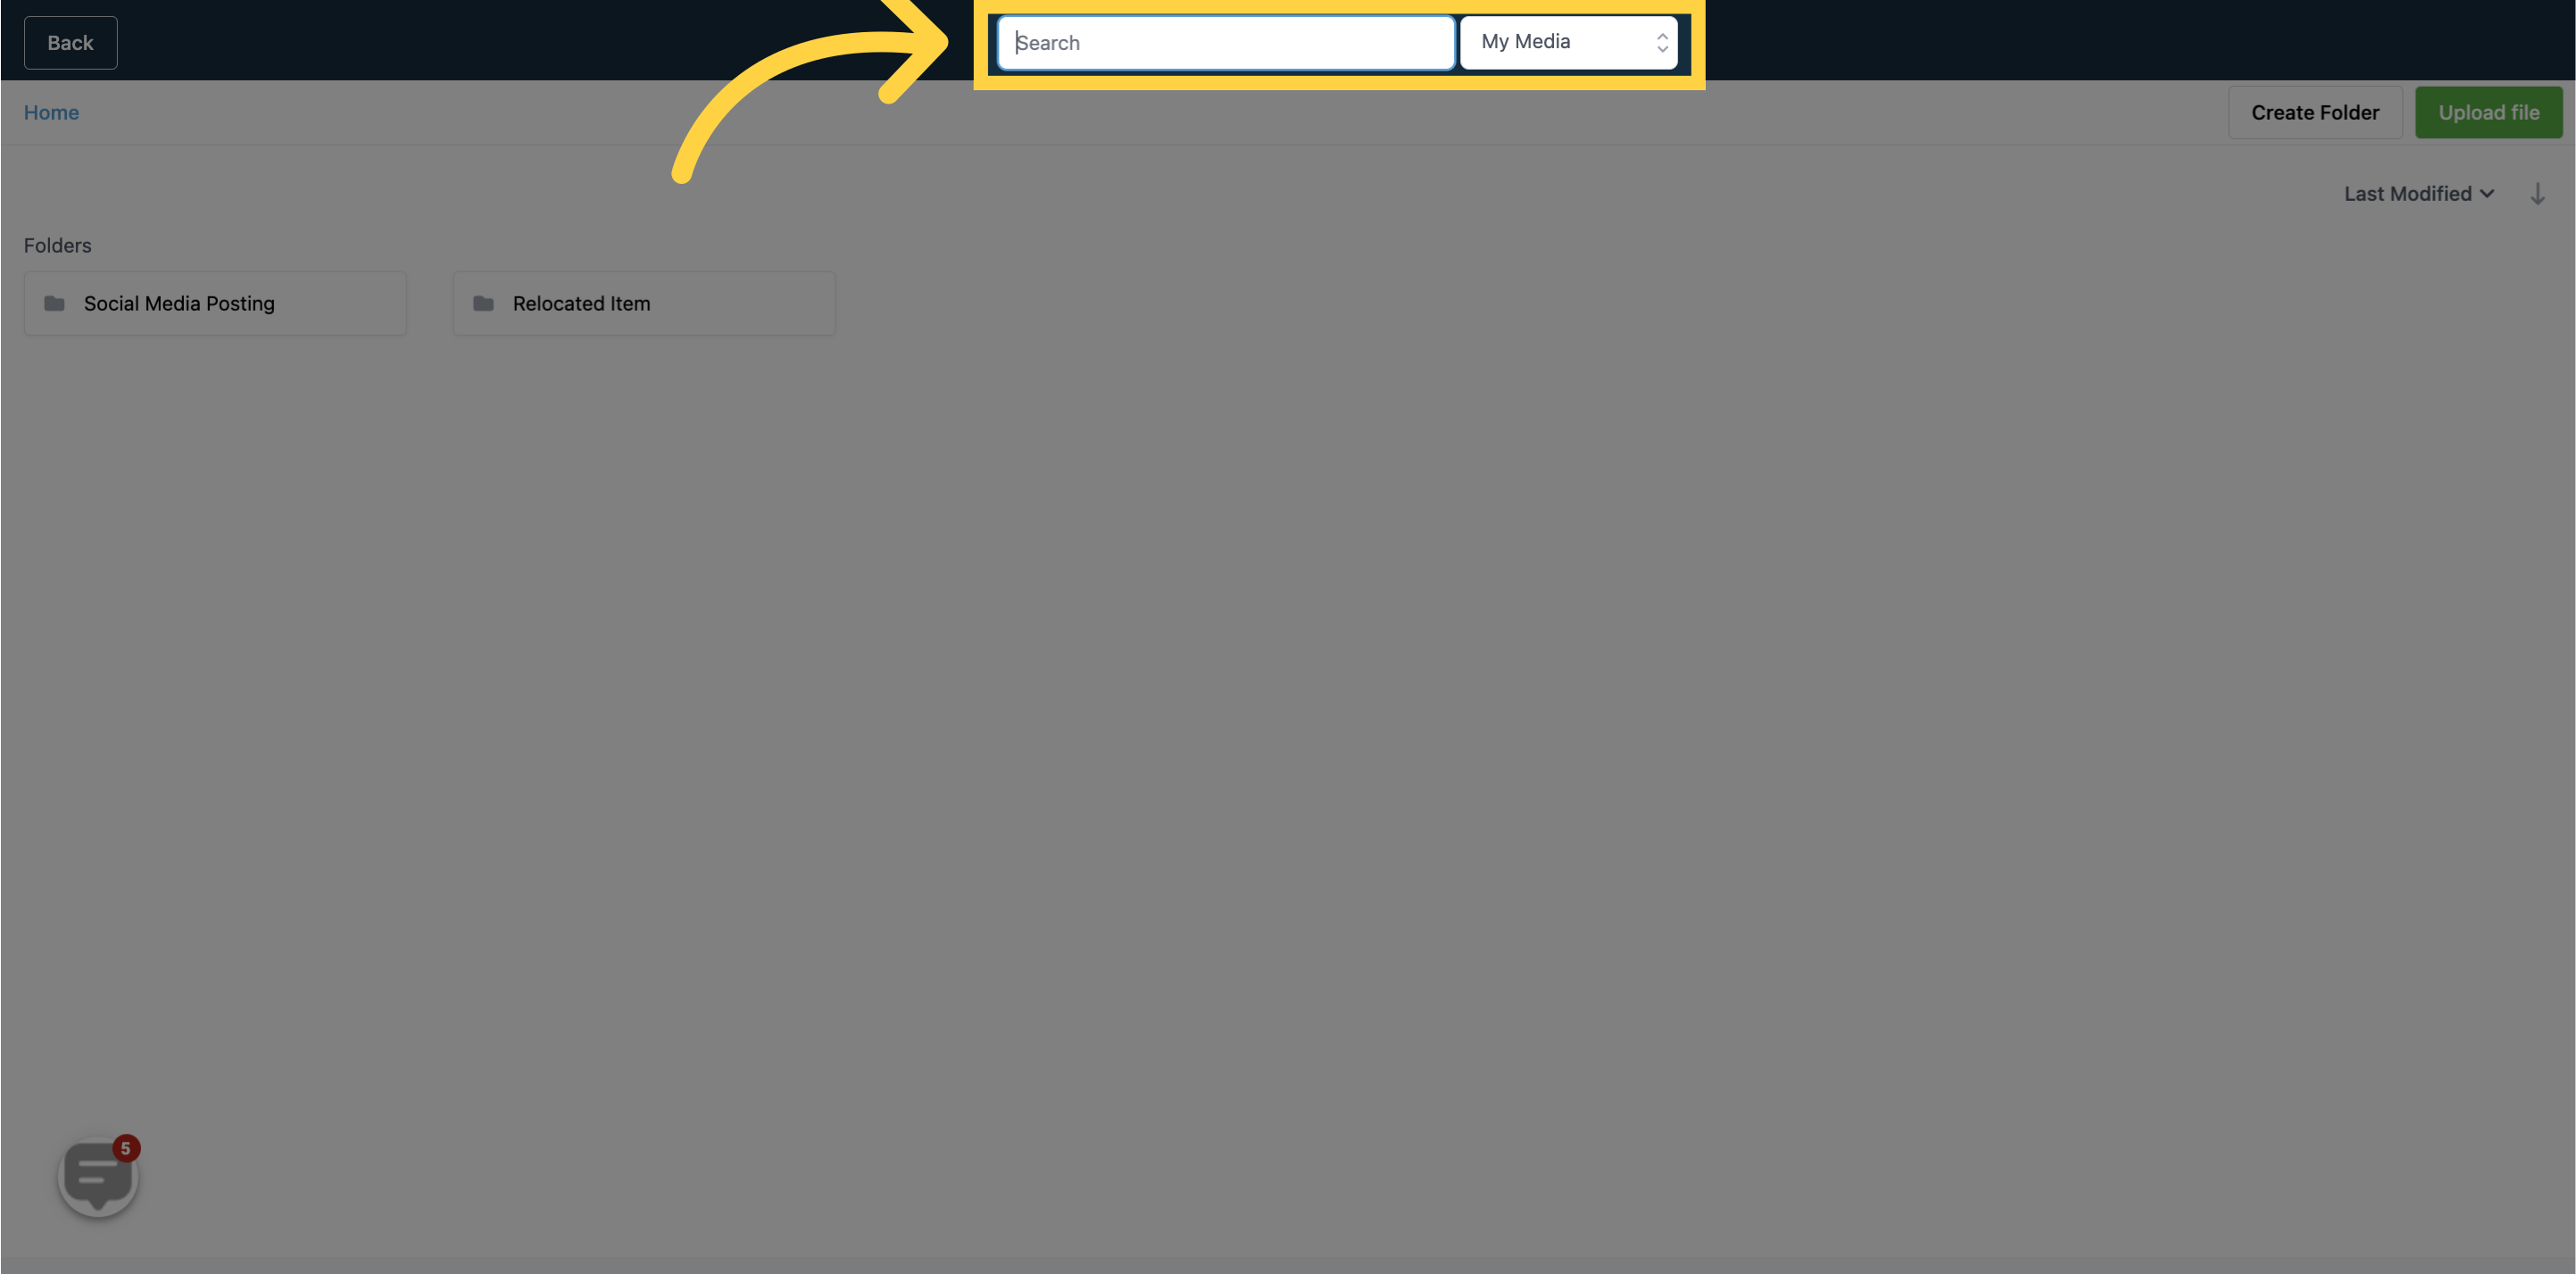
4. Searching Media Files
Using the search tab, you can easily find a particular media file from your CRM.
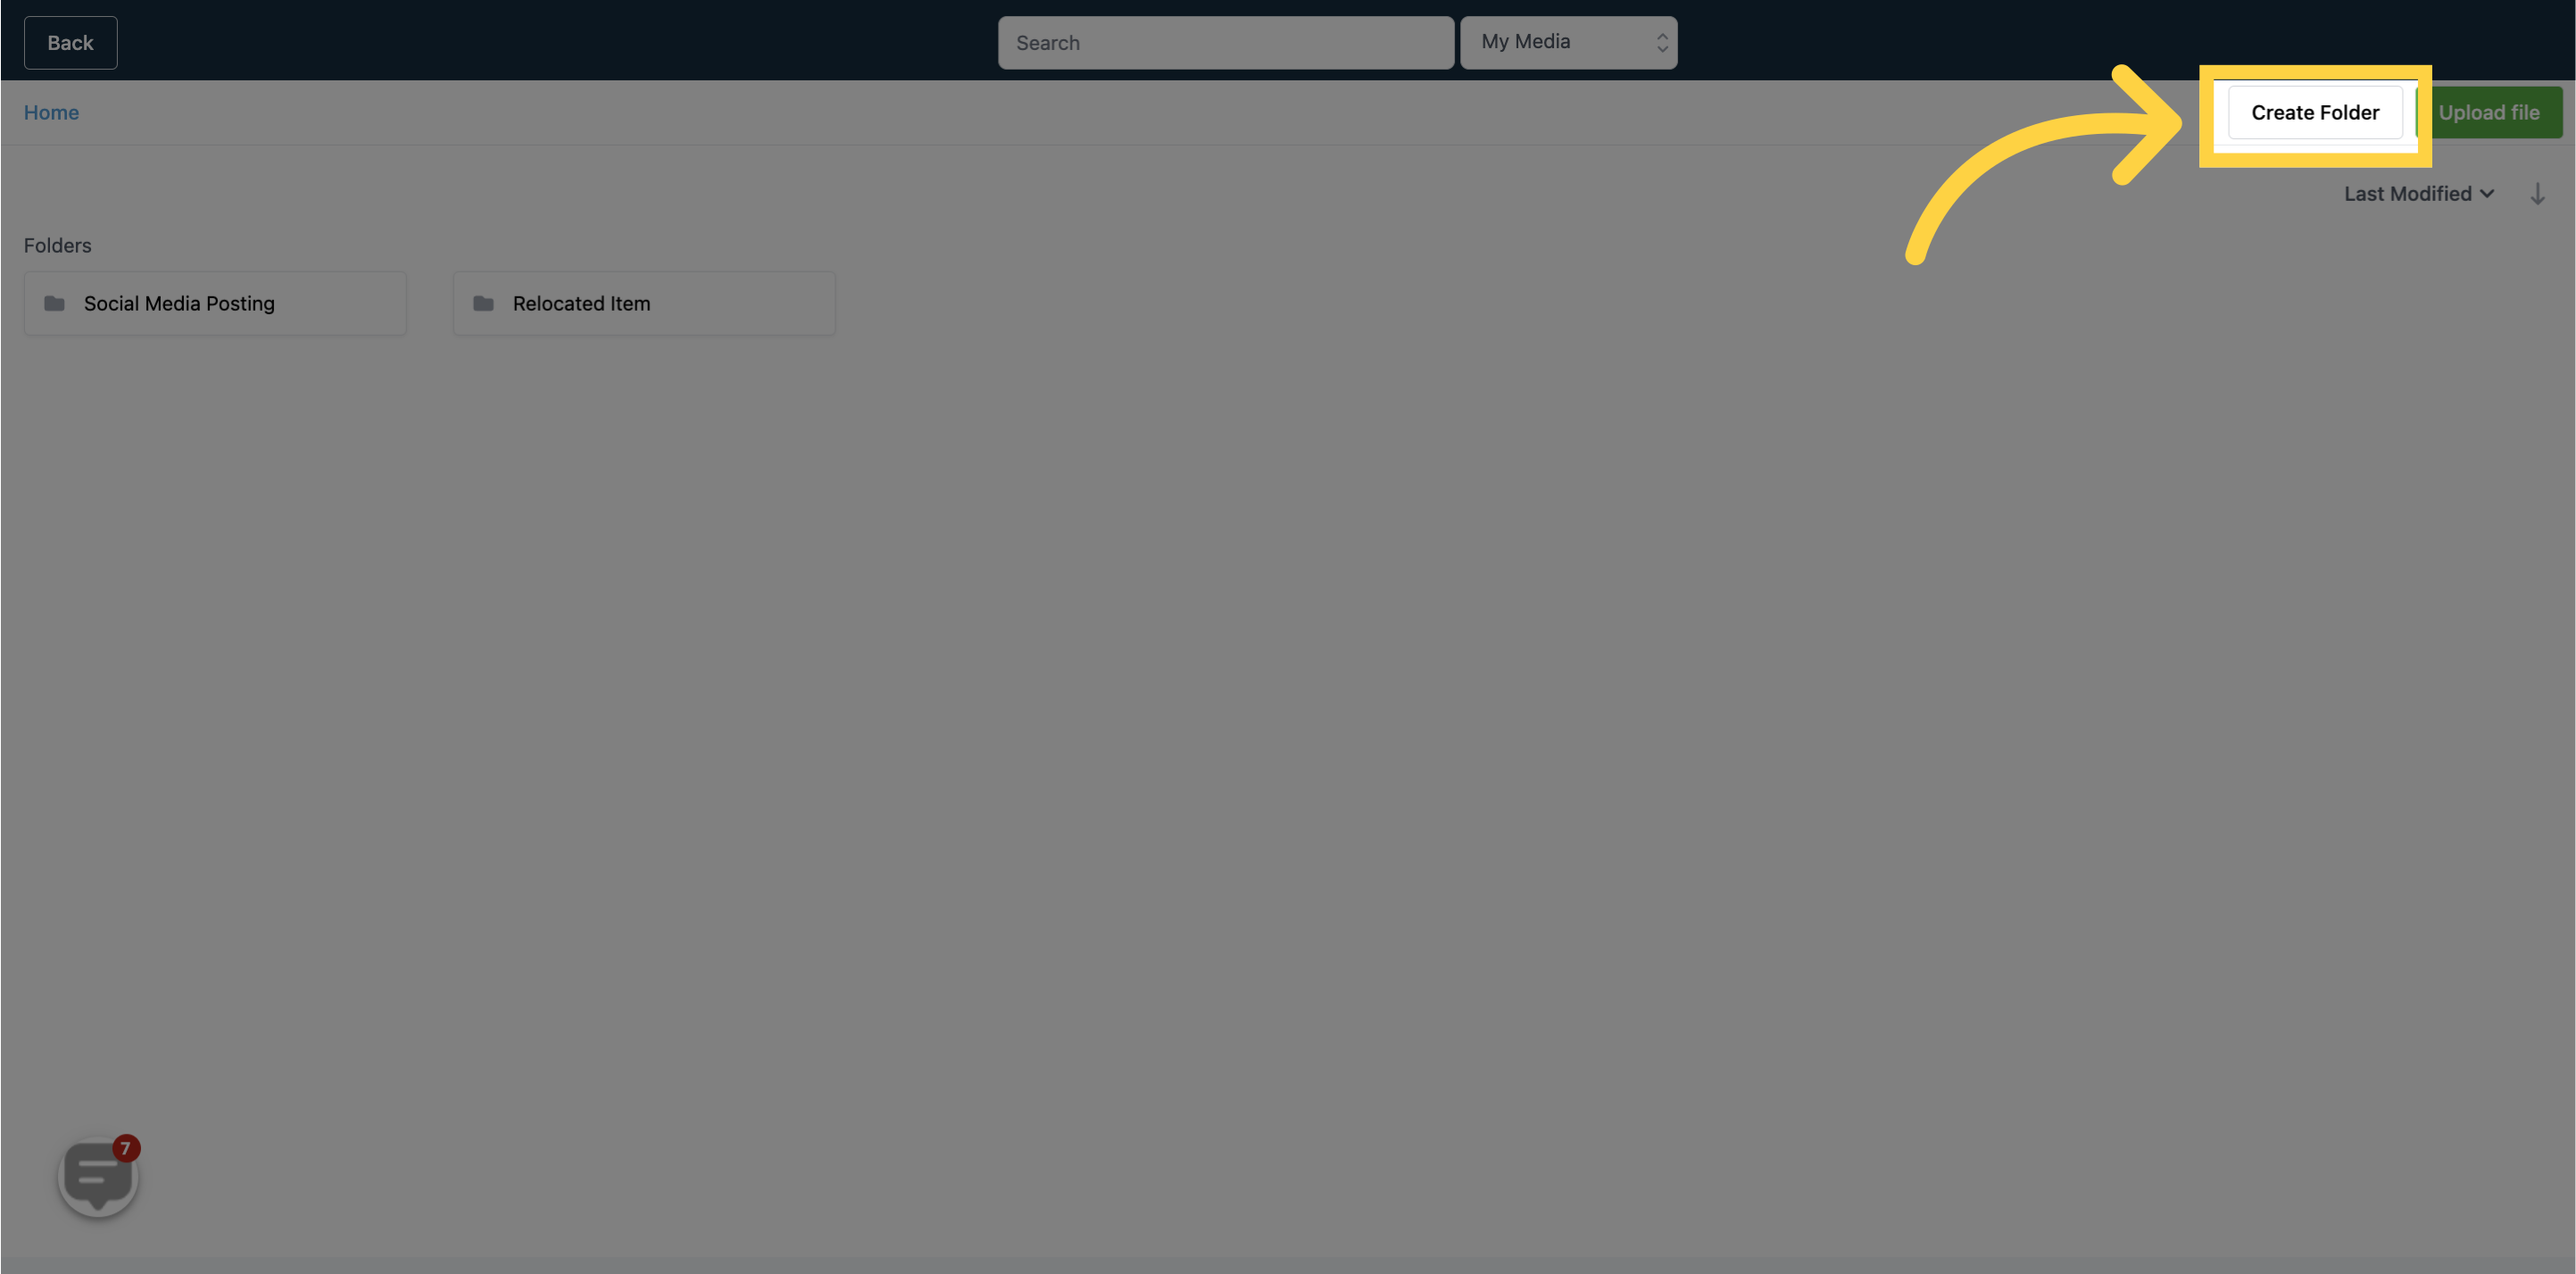
5. Click "Create Folder"
The Media Library lets you create folders to efficiently organize your content.
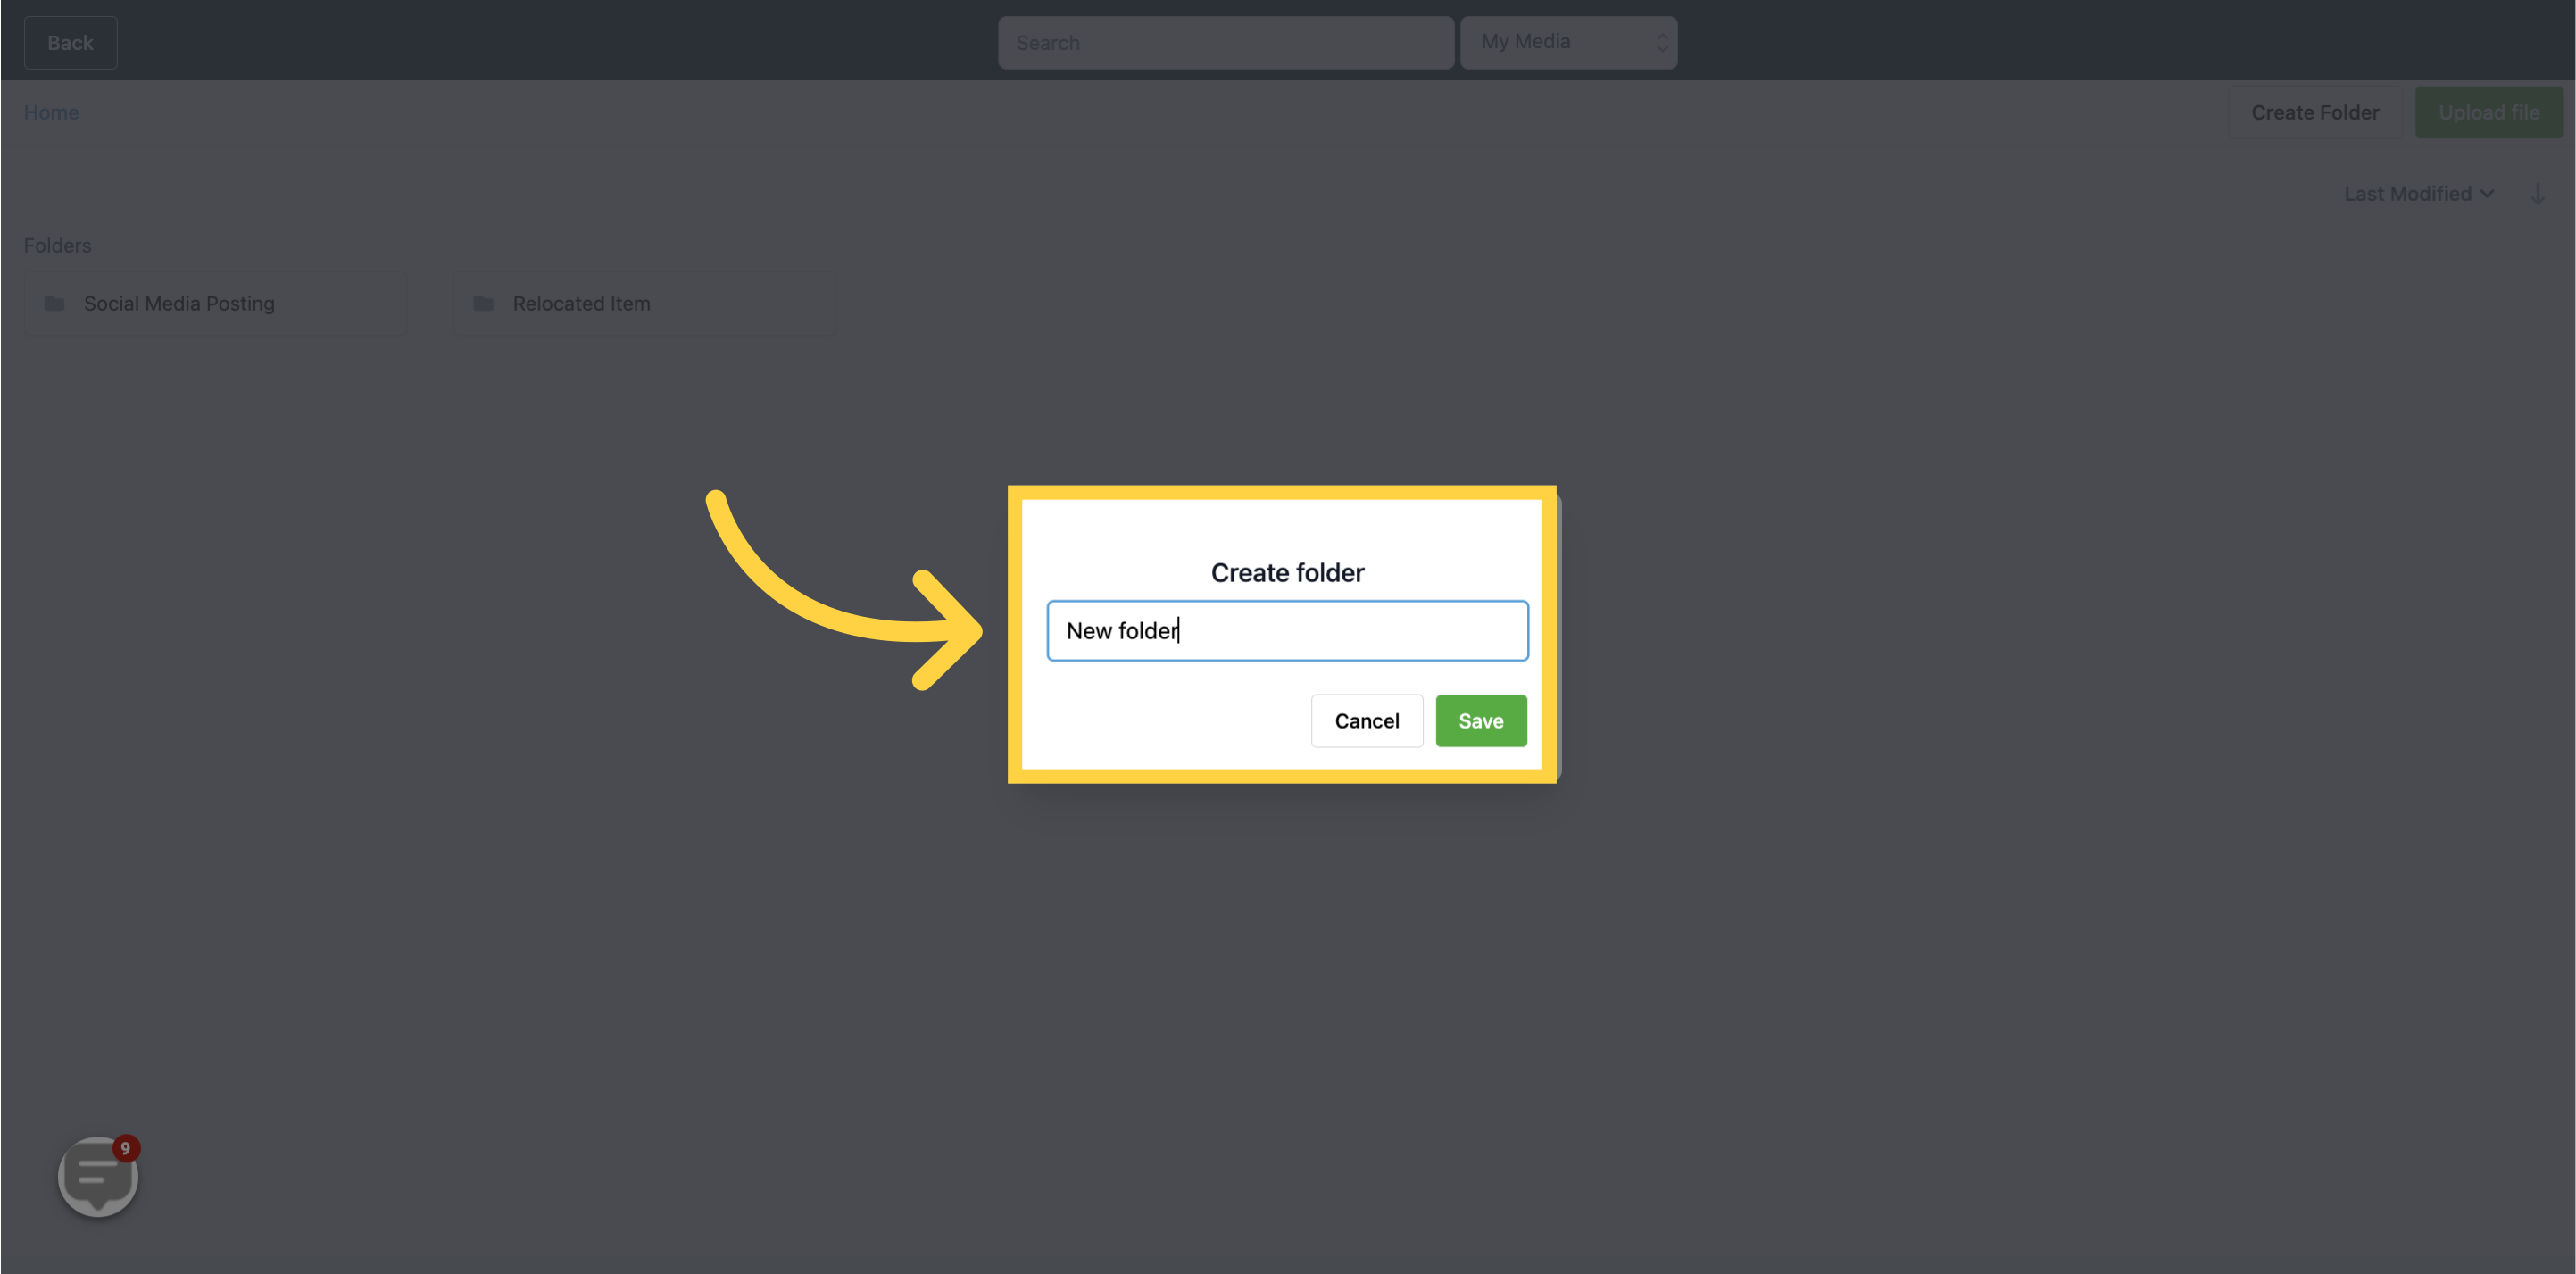
6. Naming Your New Folder
To name your newly created folder, click on the "Create Folder" tab. This will open a window where you can enter the name for your new folder. See the screenshot below for a better understanding:
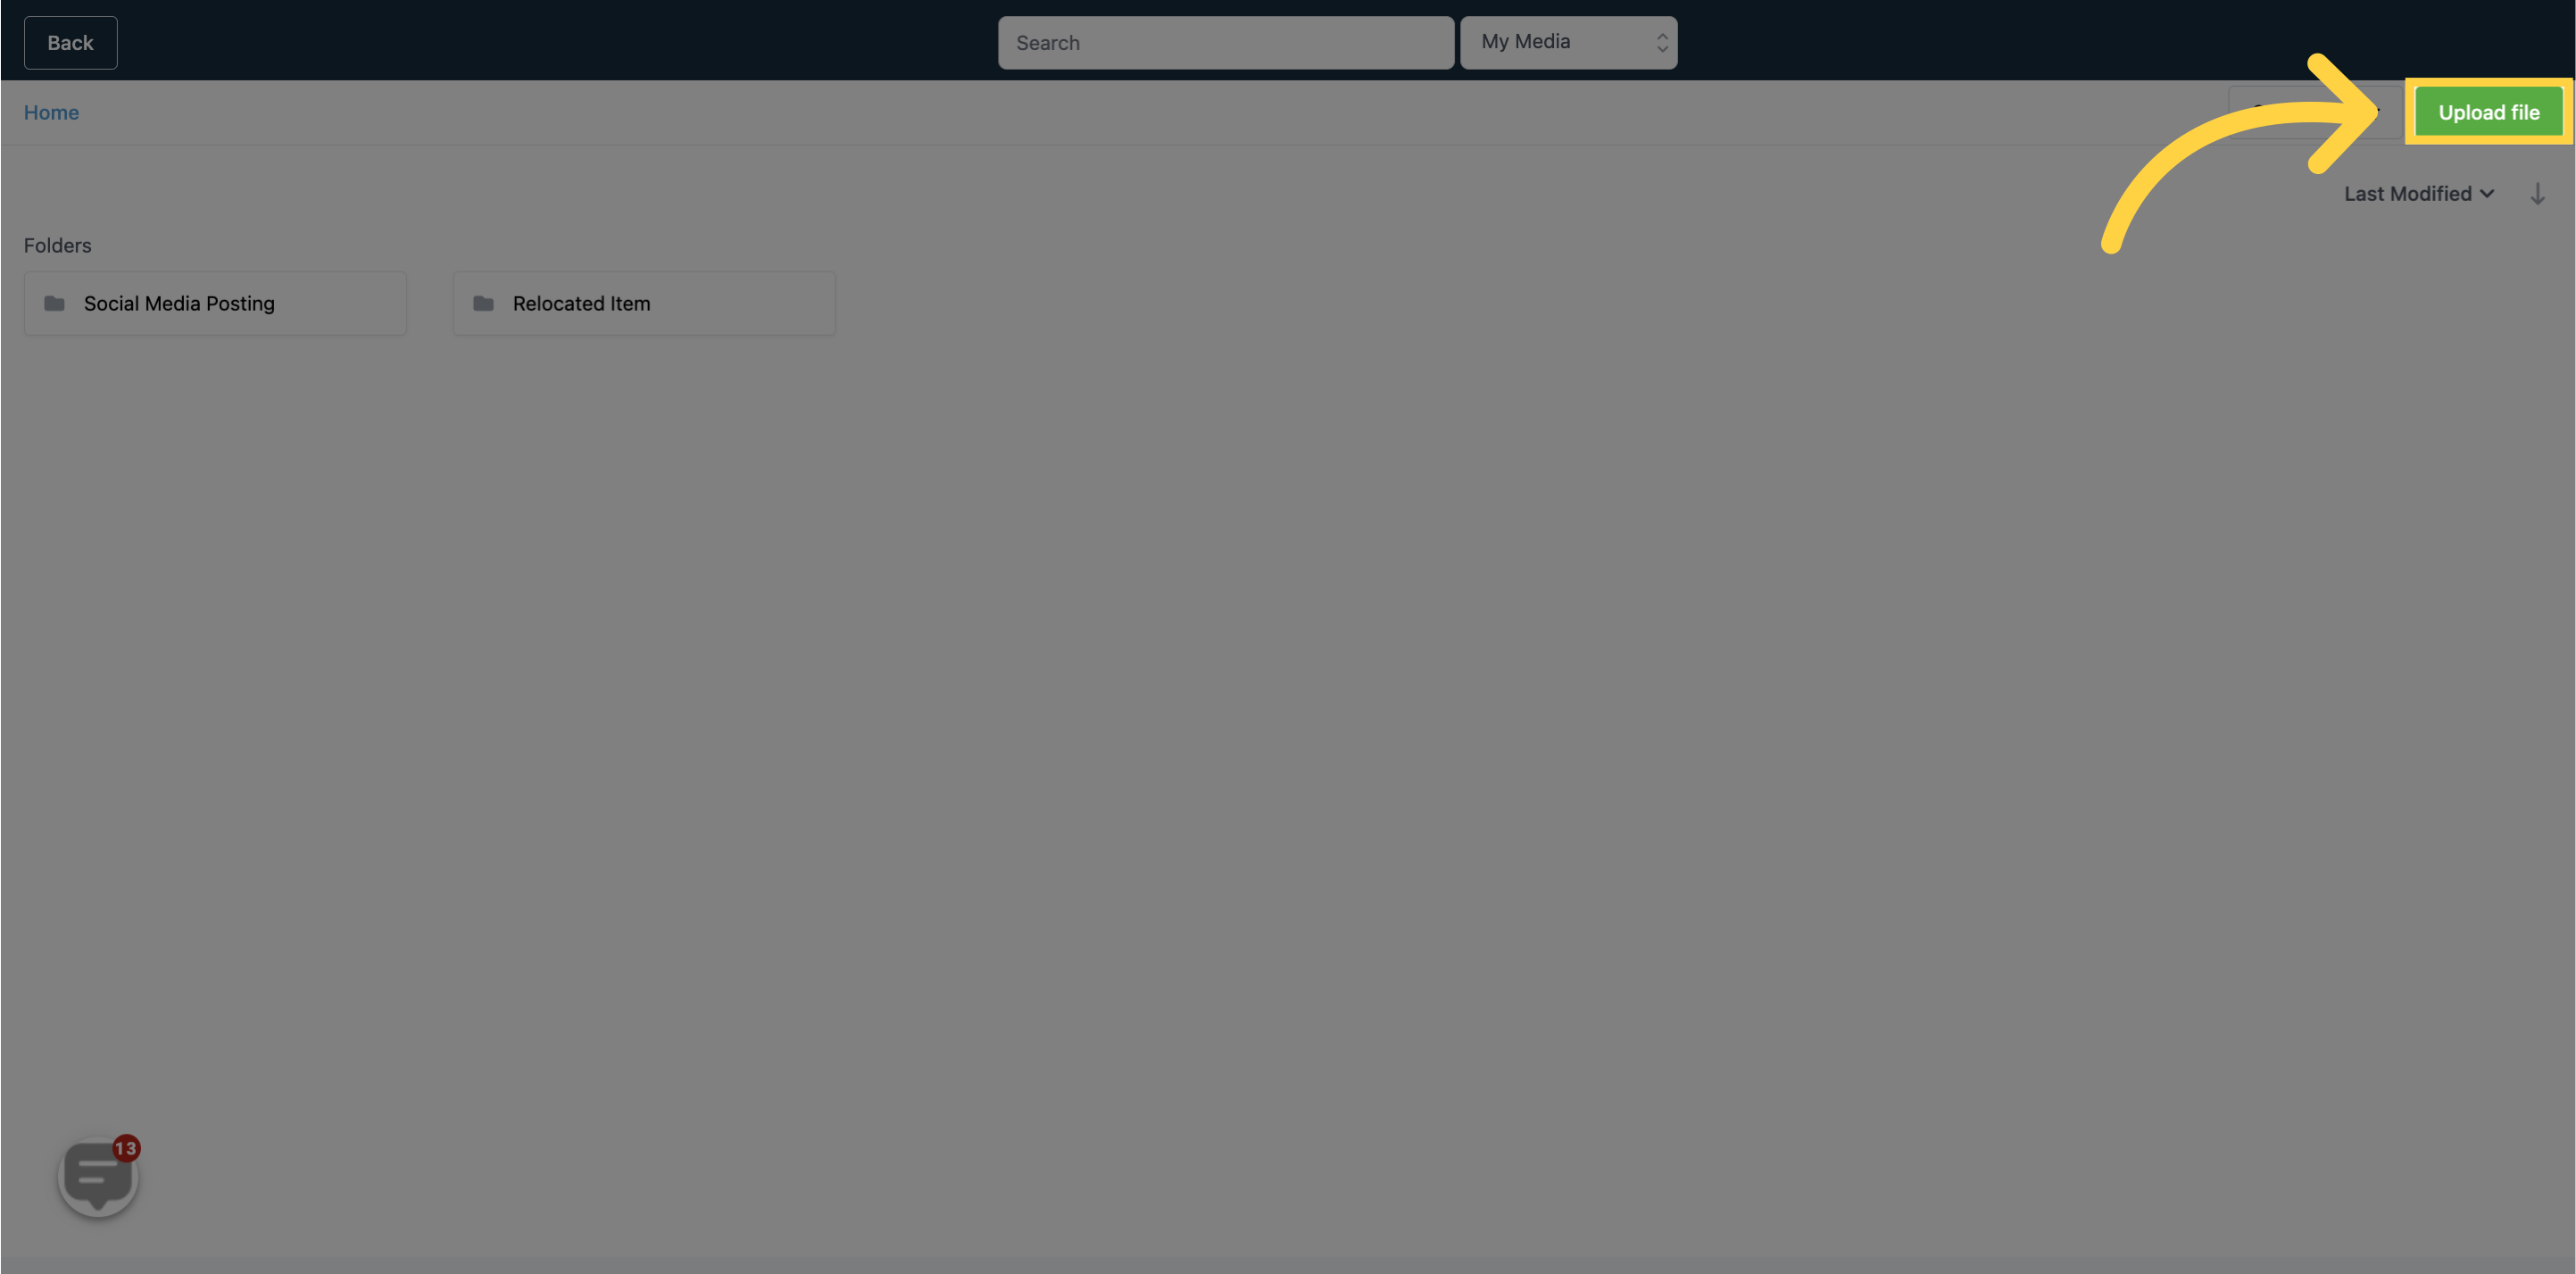
7. Click "Upload file"
To upload a file from your computer, simply click on the designated tab. A new window will appear, displaying your computer's stored files. From there, you can easily upload your desired media files into the system.
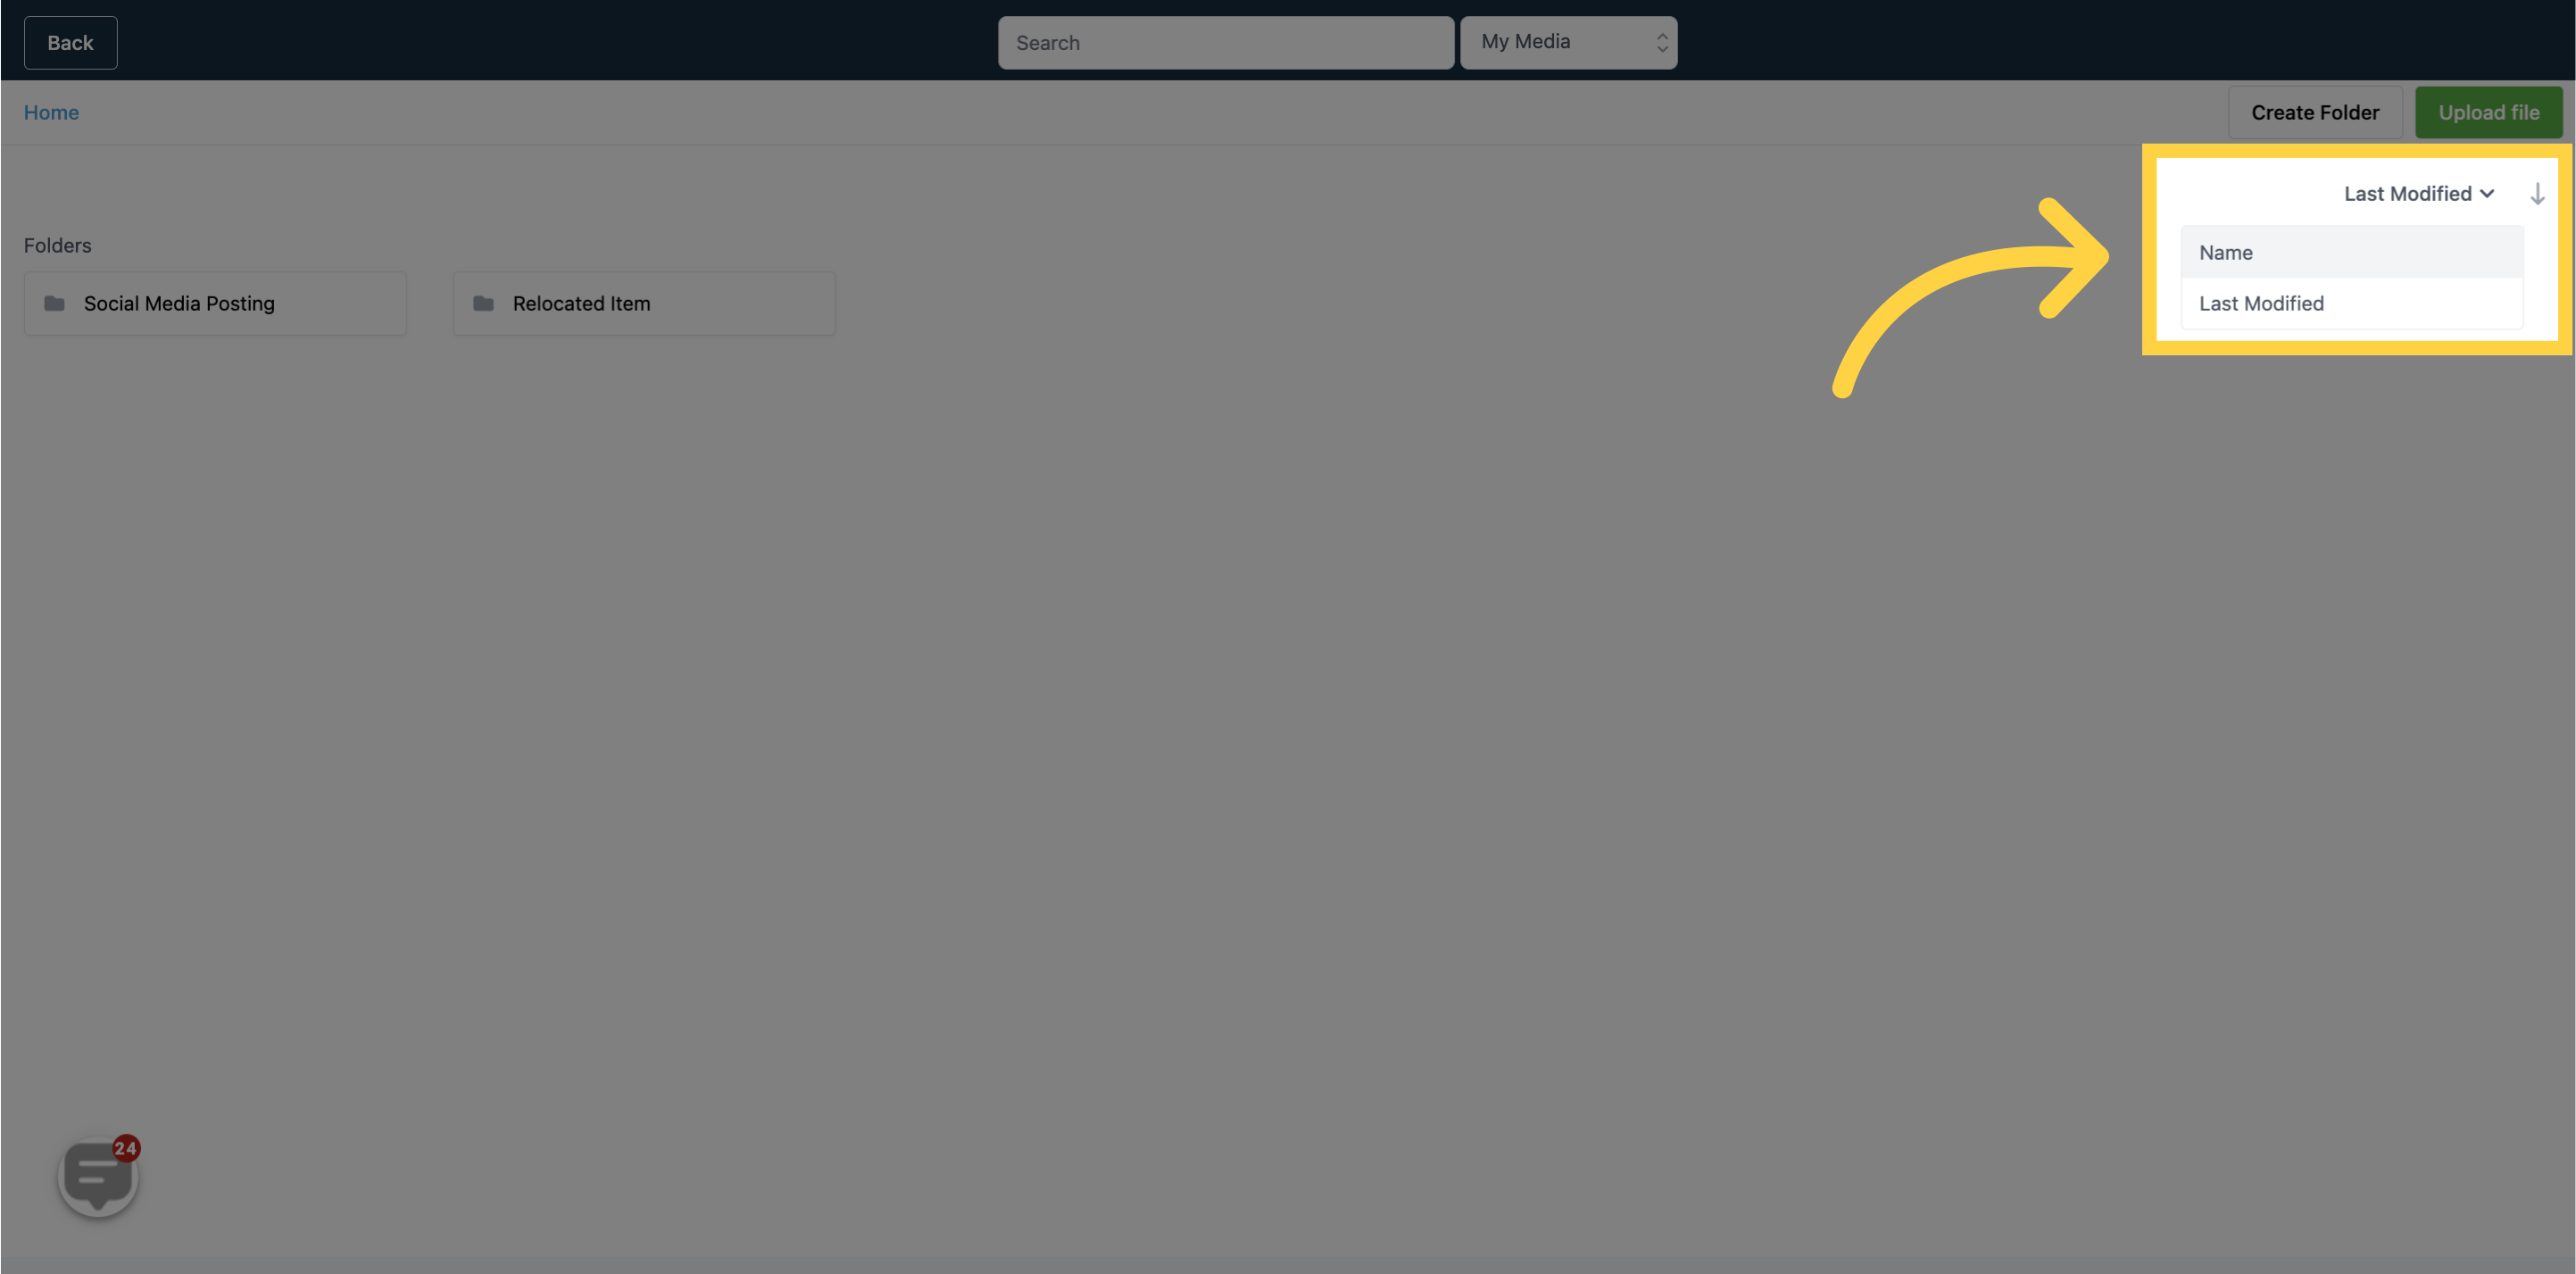
8. Filters
You can easily adjust the appearance of files and folders in the library by sorting them either by "Name" or "Last Modified". This gives you the flexibility to organize your files and folders in a way that best suits your needs.
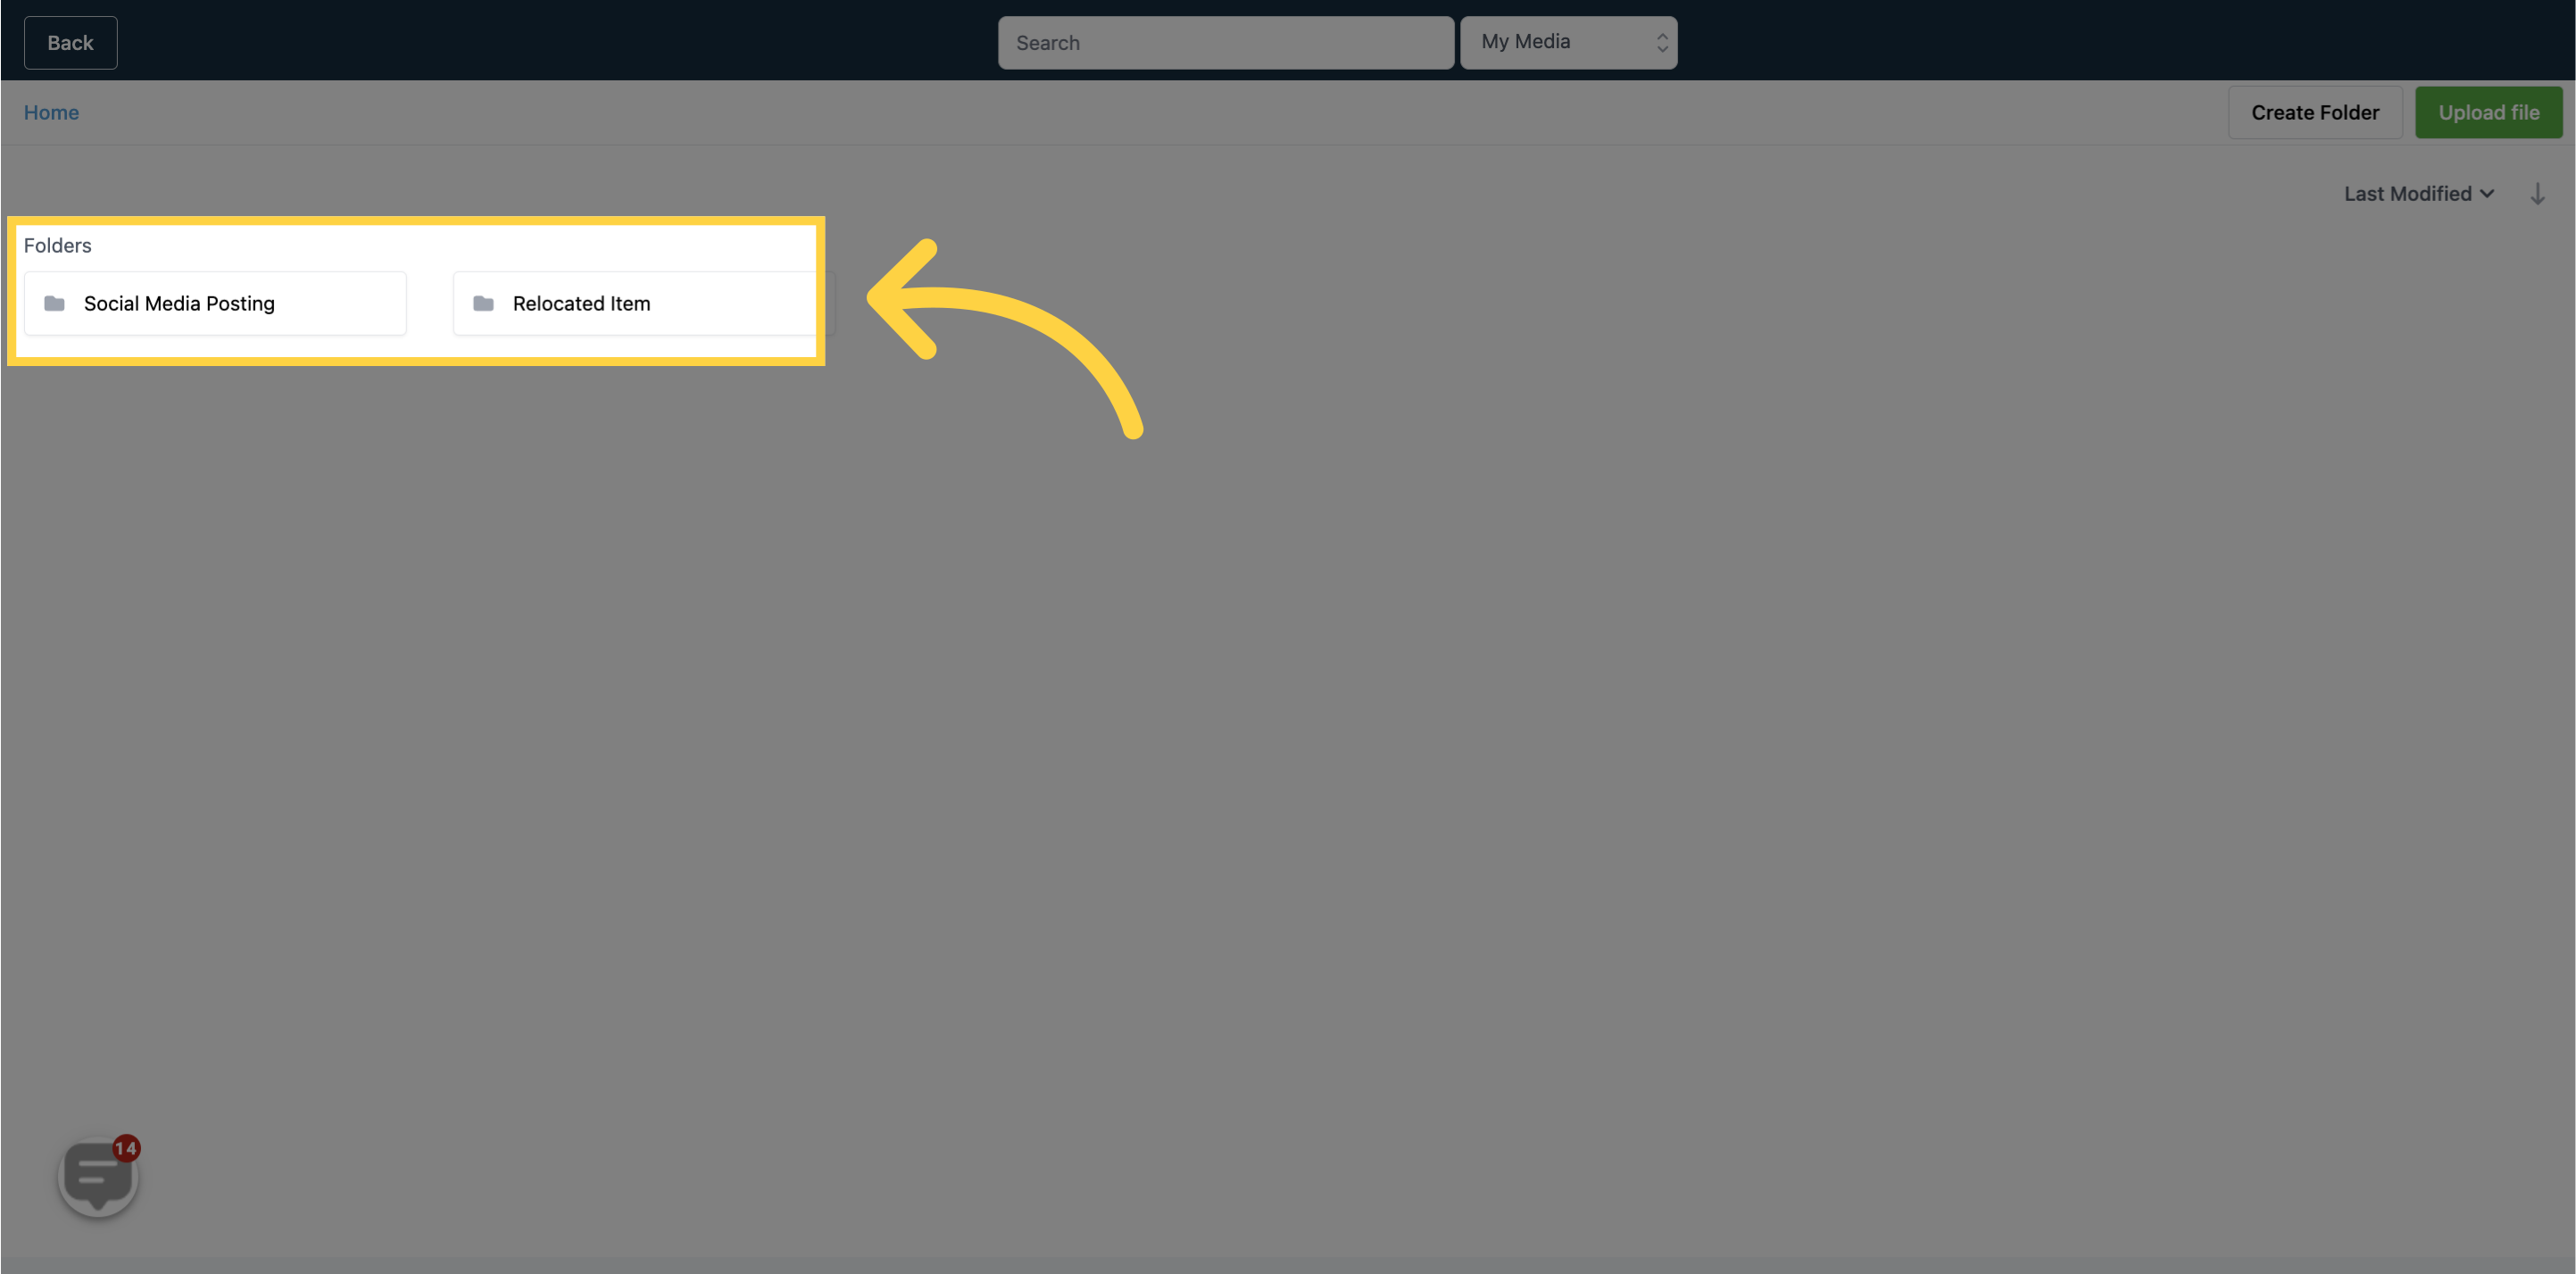
9. Folders
All of your created folders will be displayed here.
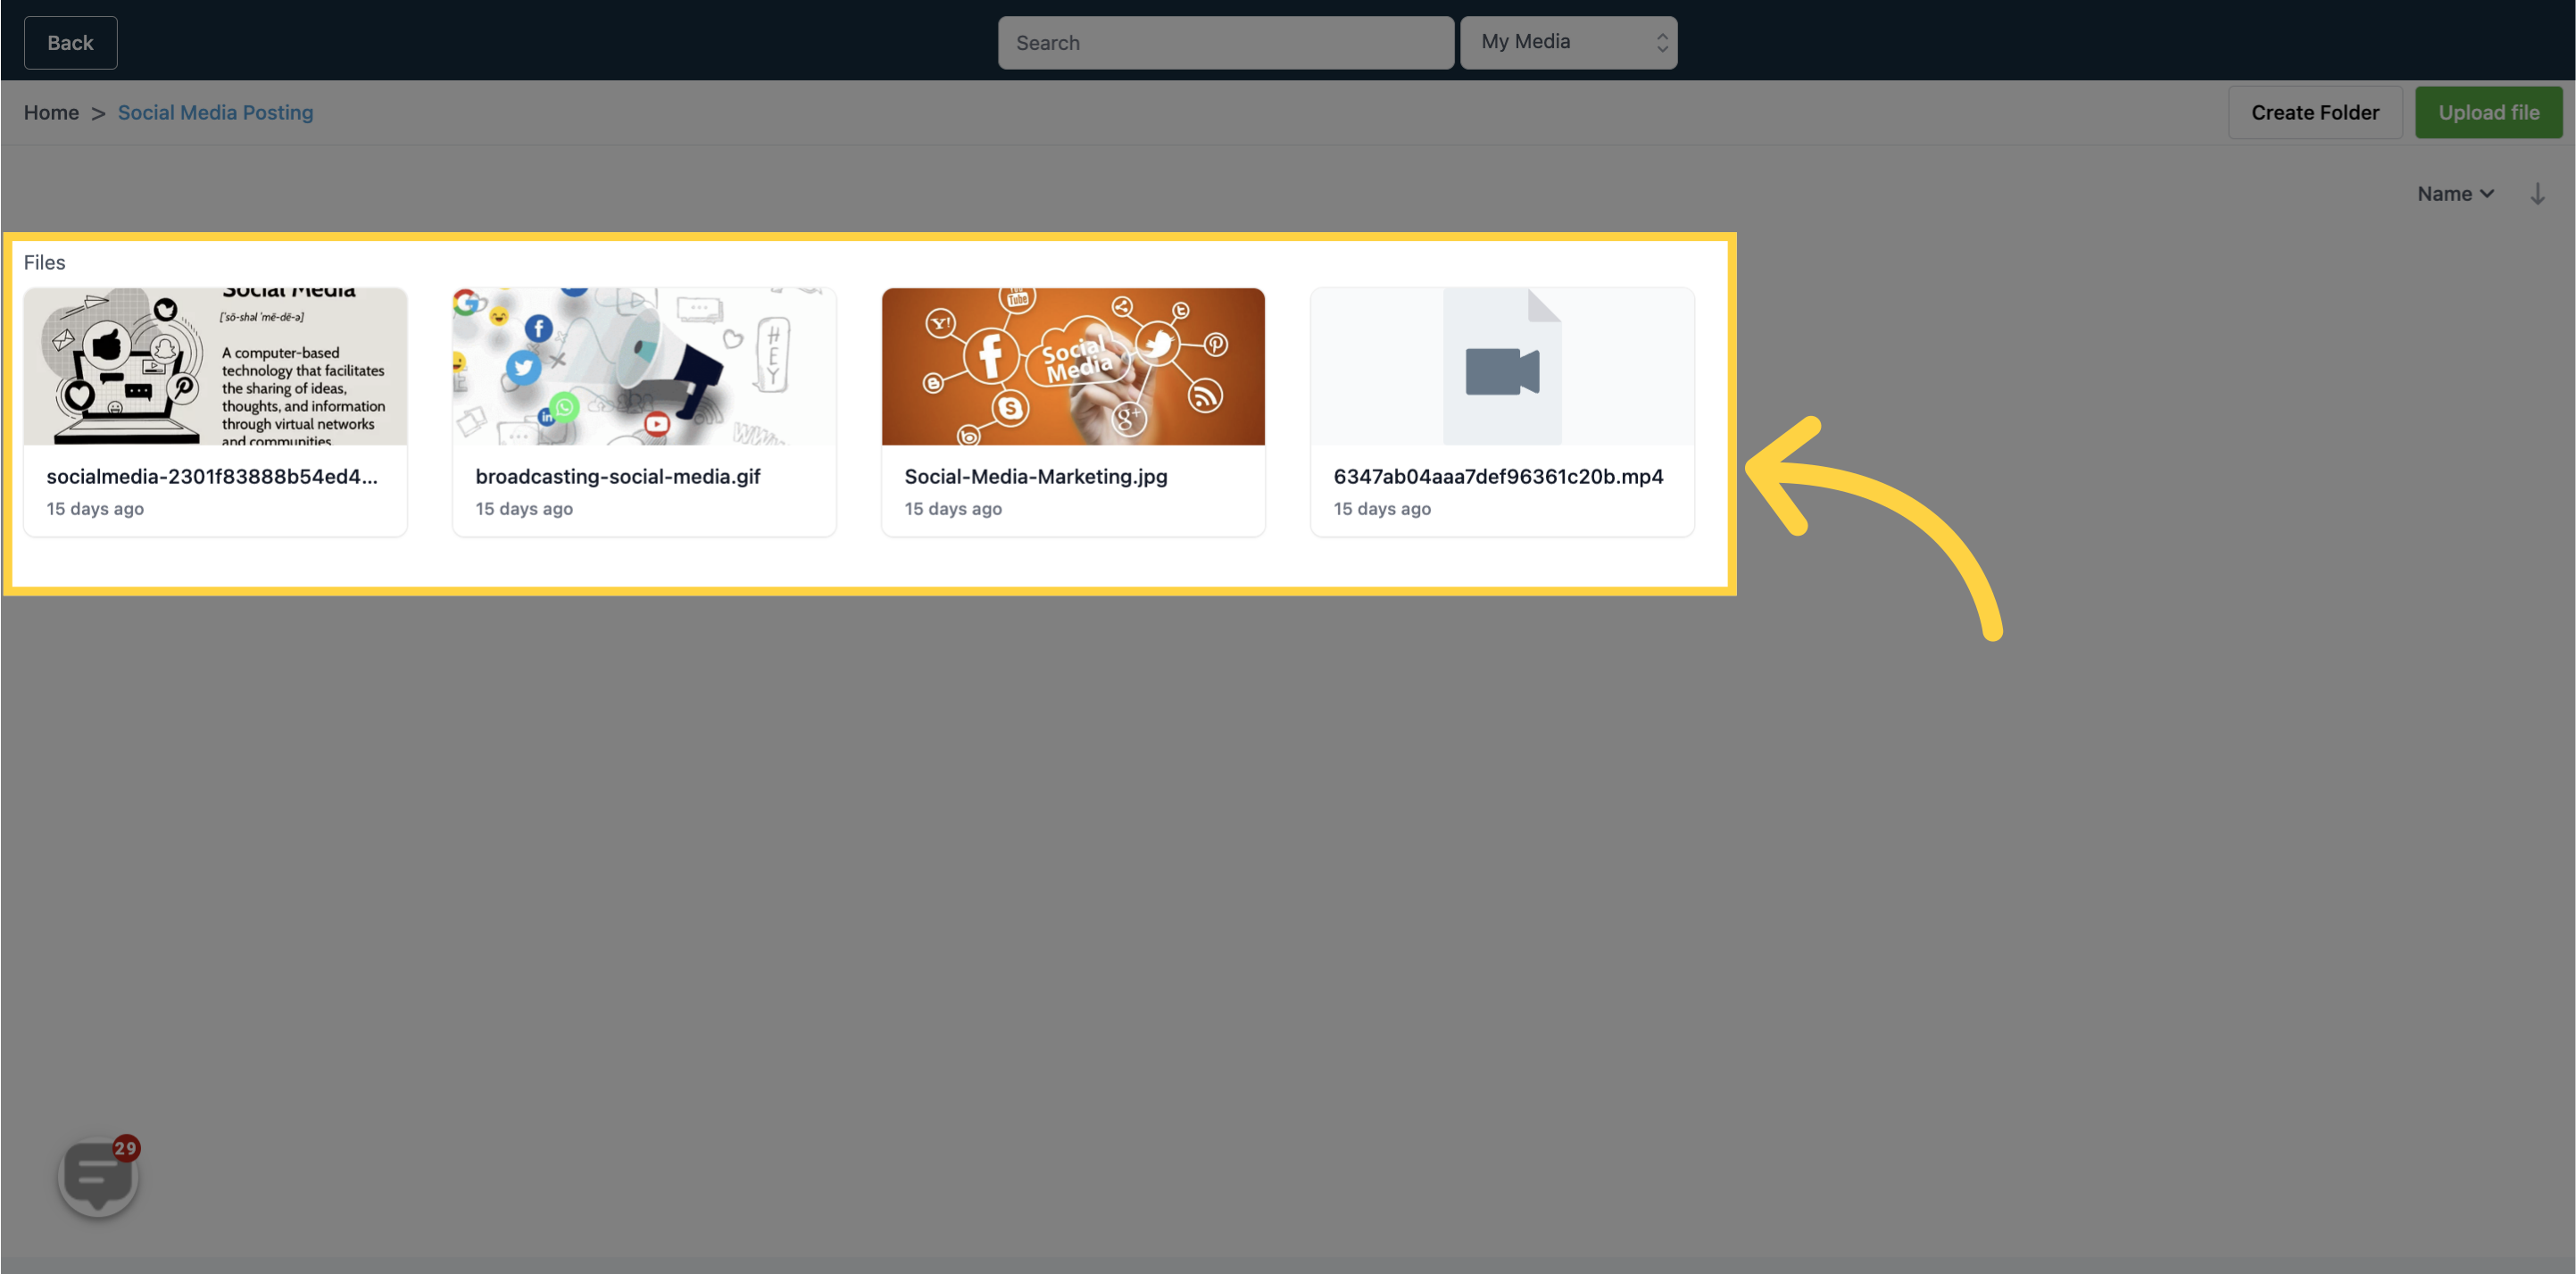
10. Files
Here you can easily view and access every file in your media library.
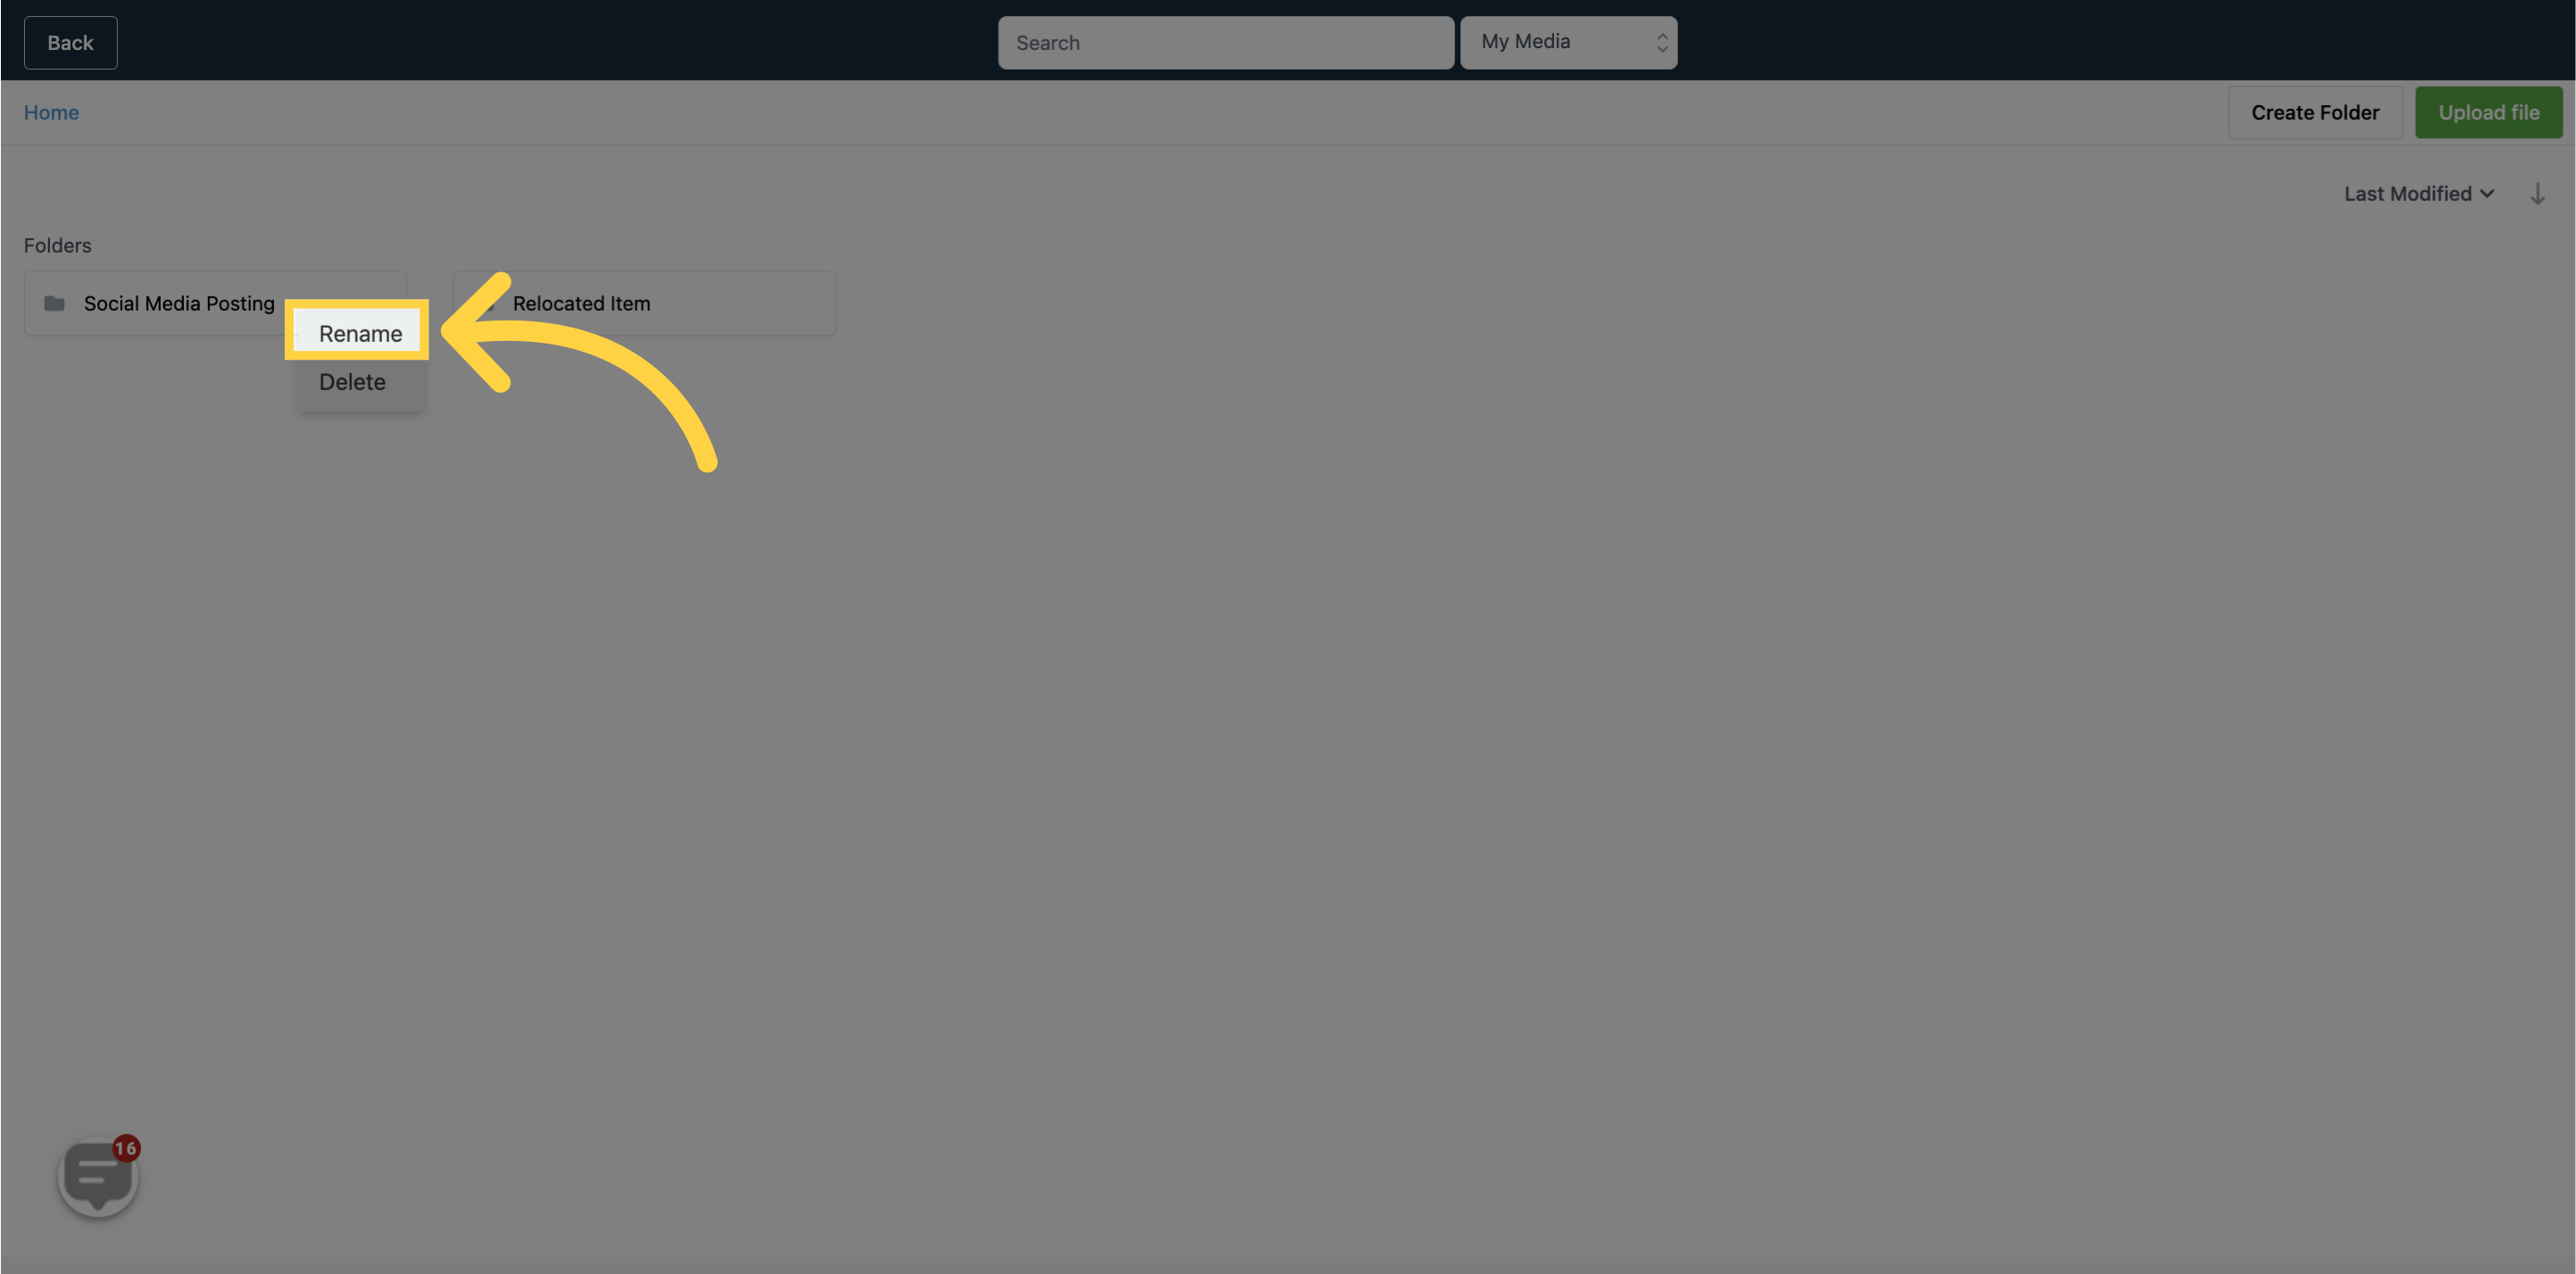
11. Managing Files and Folders Individually
In the Media Library, you have the ability to manage individual files and folders in several ways. Simply right-click on the desired file and a menu will appear, providing you with various options to organize and manage the file.
12. Click here to "Rename" a folder
To rename a folder in your Media Library, simply right-click on the desired folder, and select the "Rename" option as shown in the screenshot below.
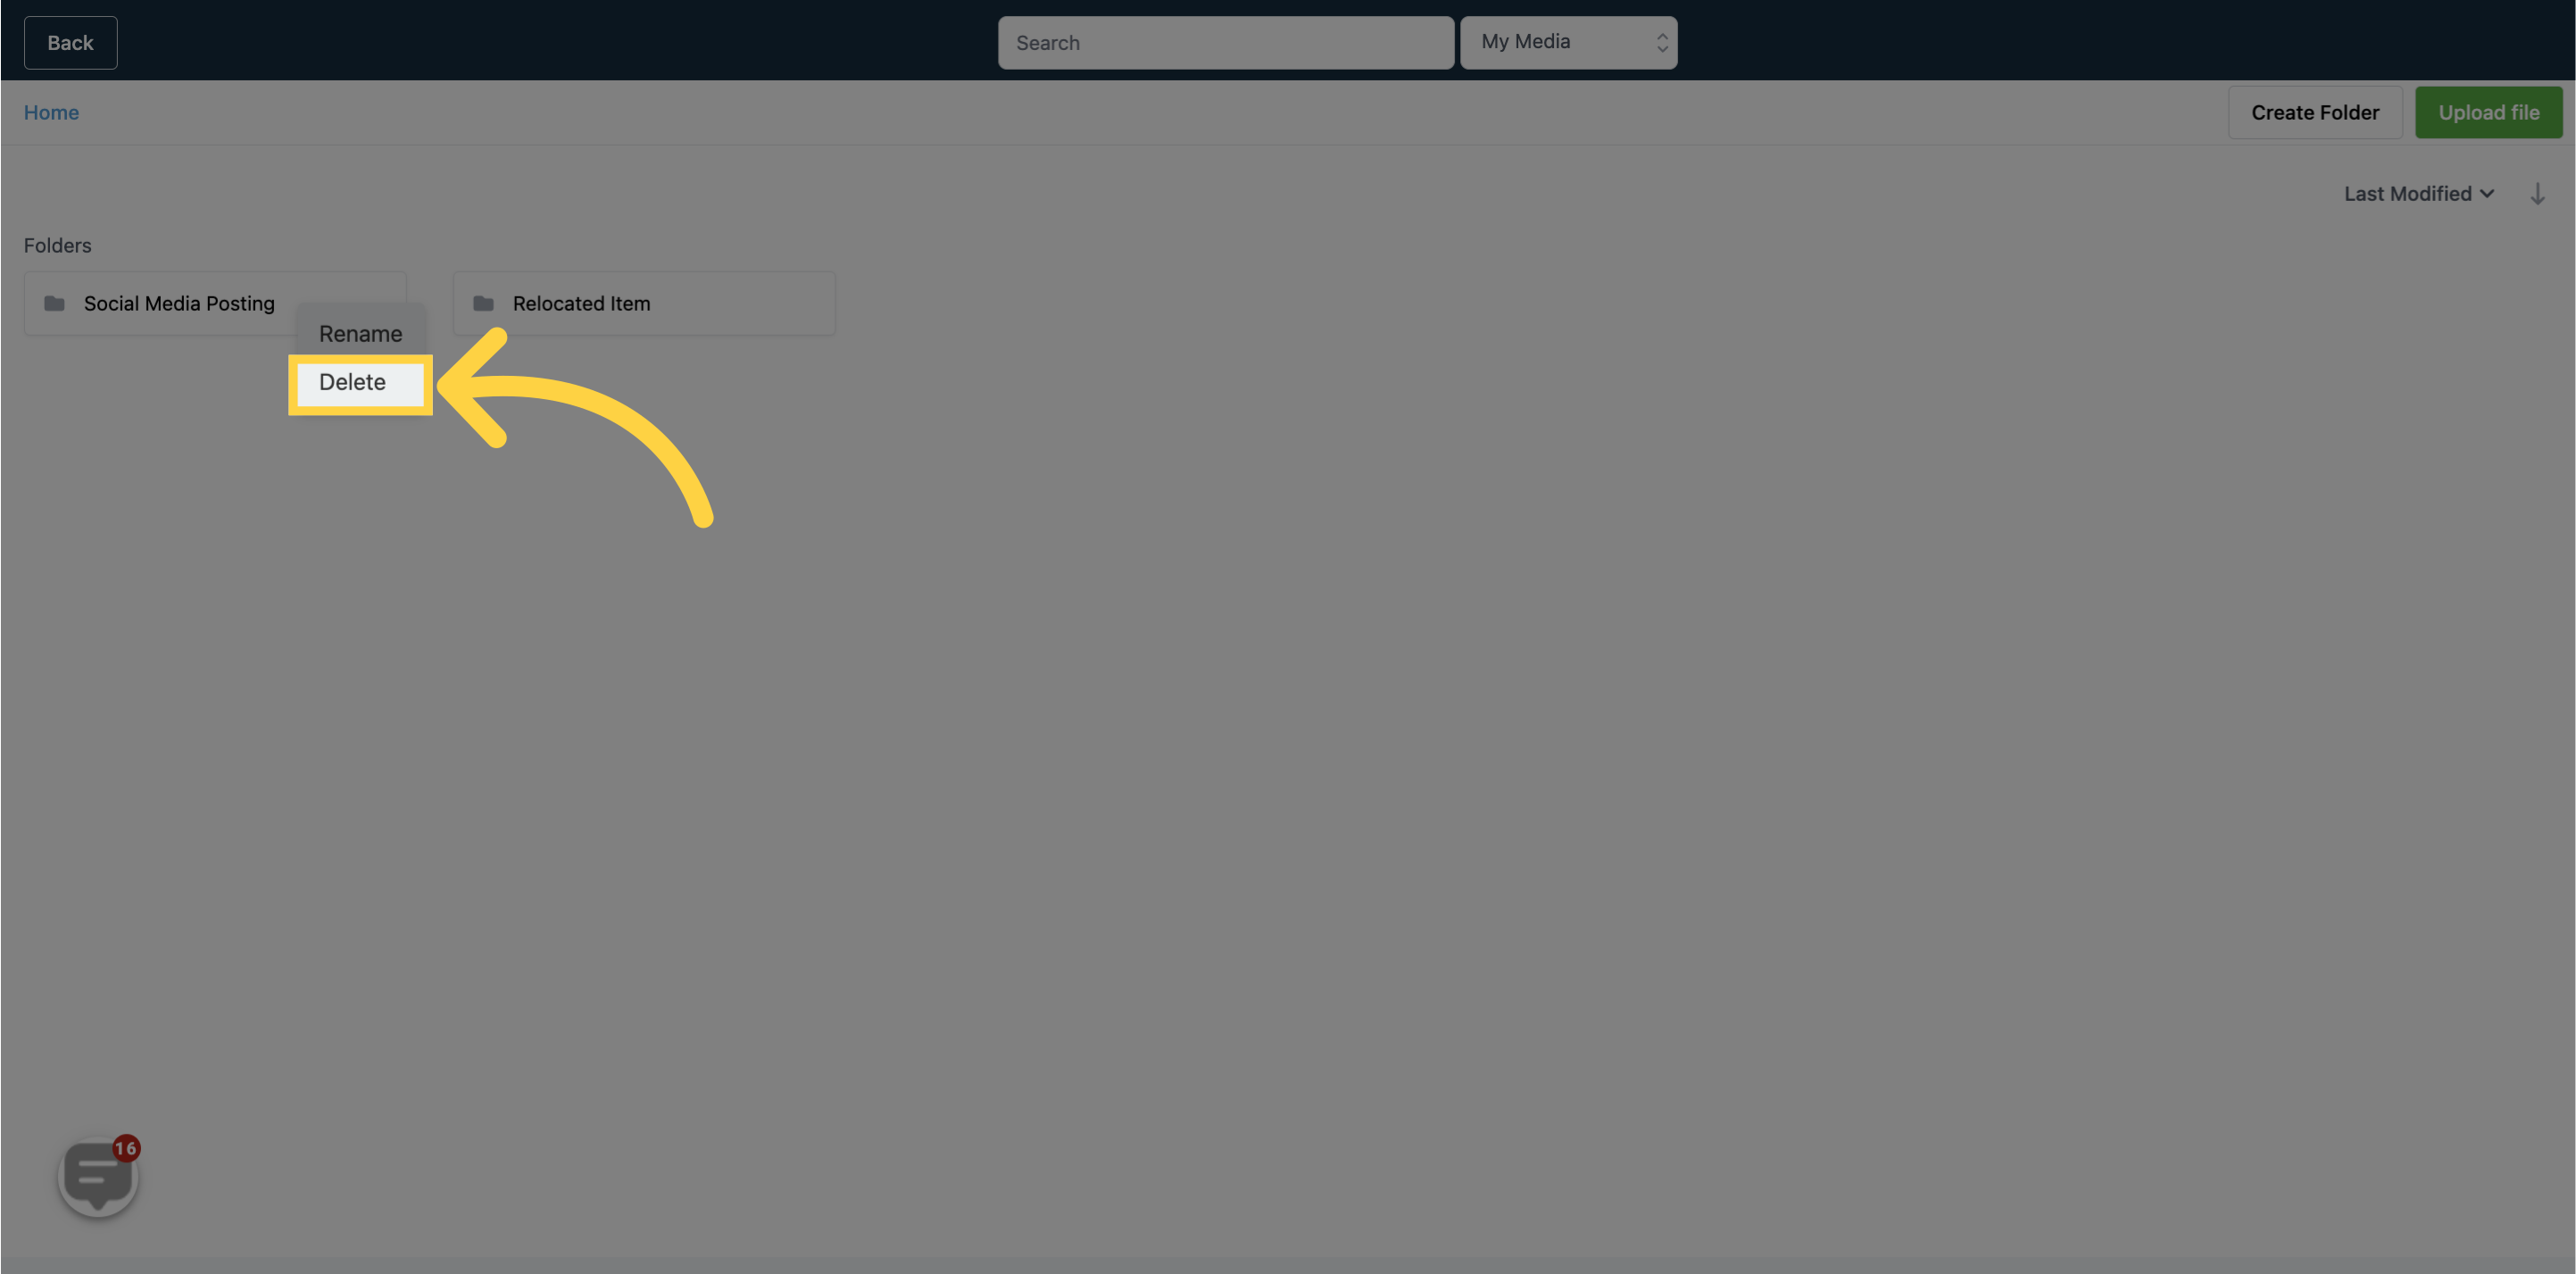
13. Click here to "Delete" a folder
To delete a folder from your media library, use the "Delete" function that appears when you right-click on the selected folder.
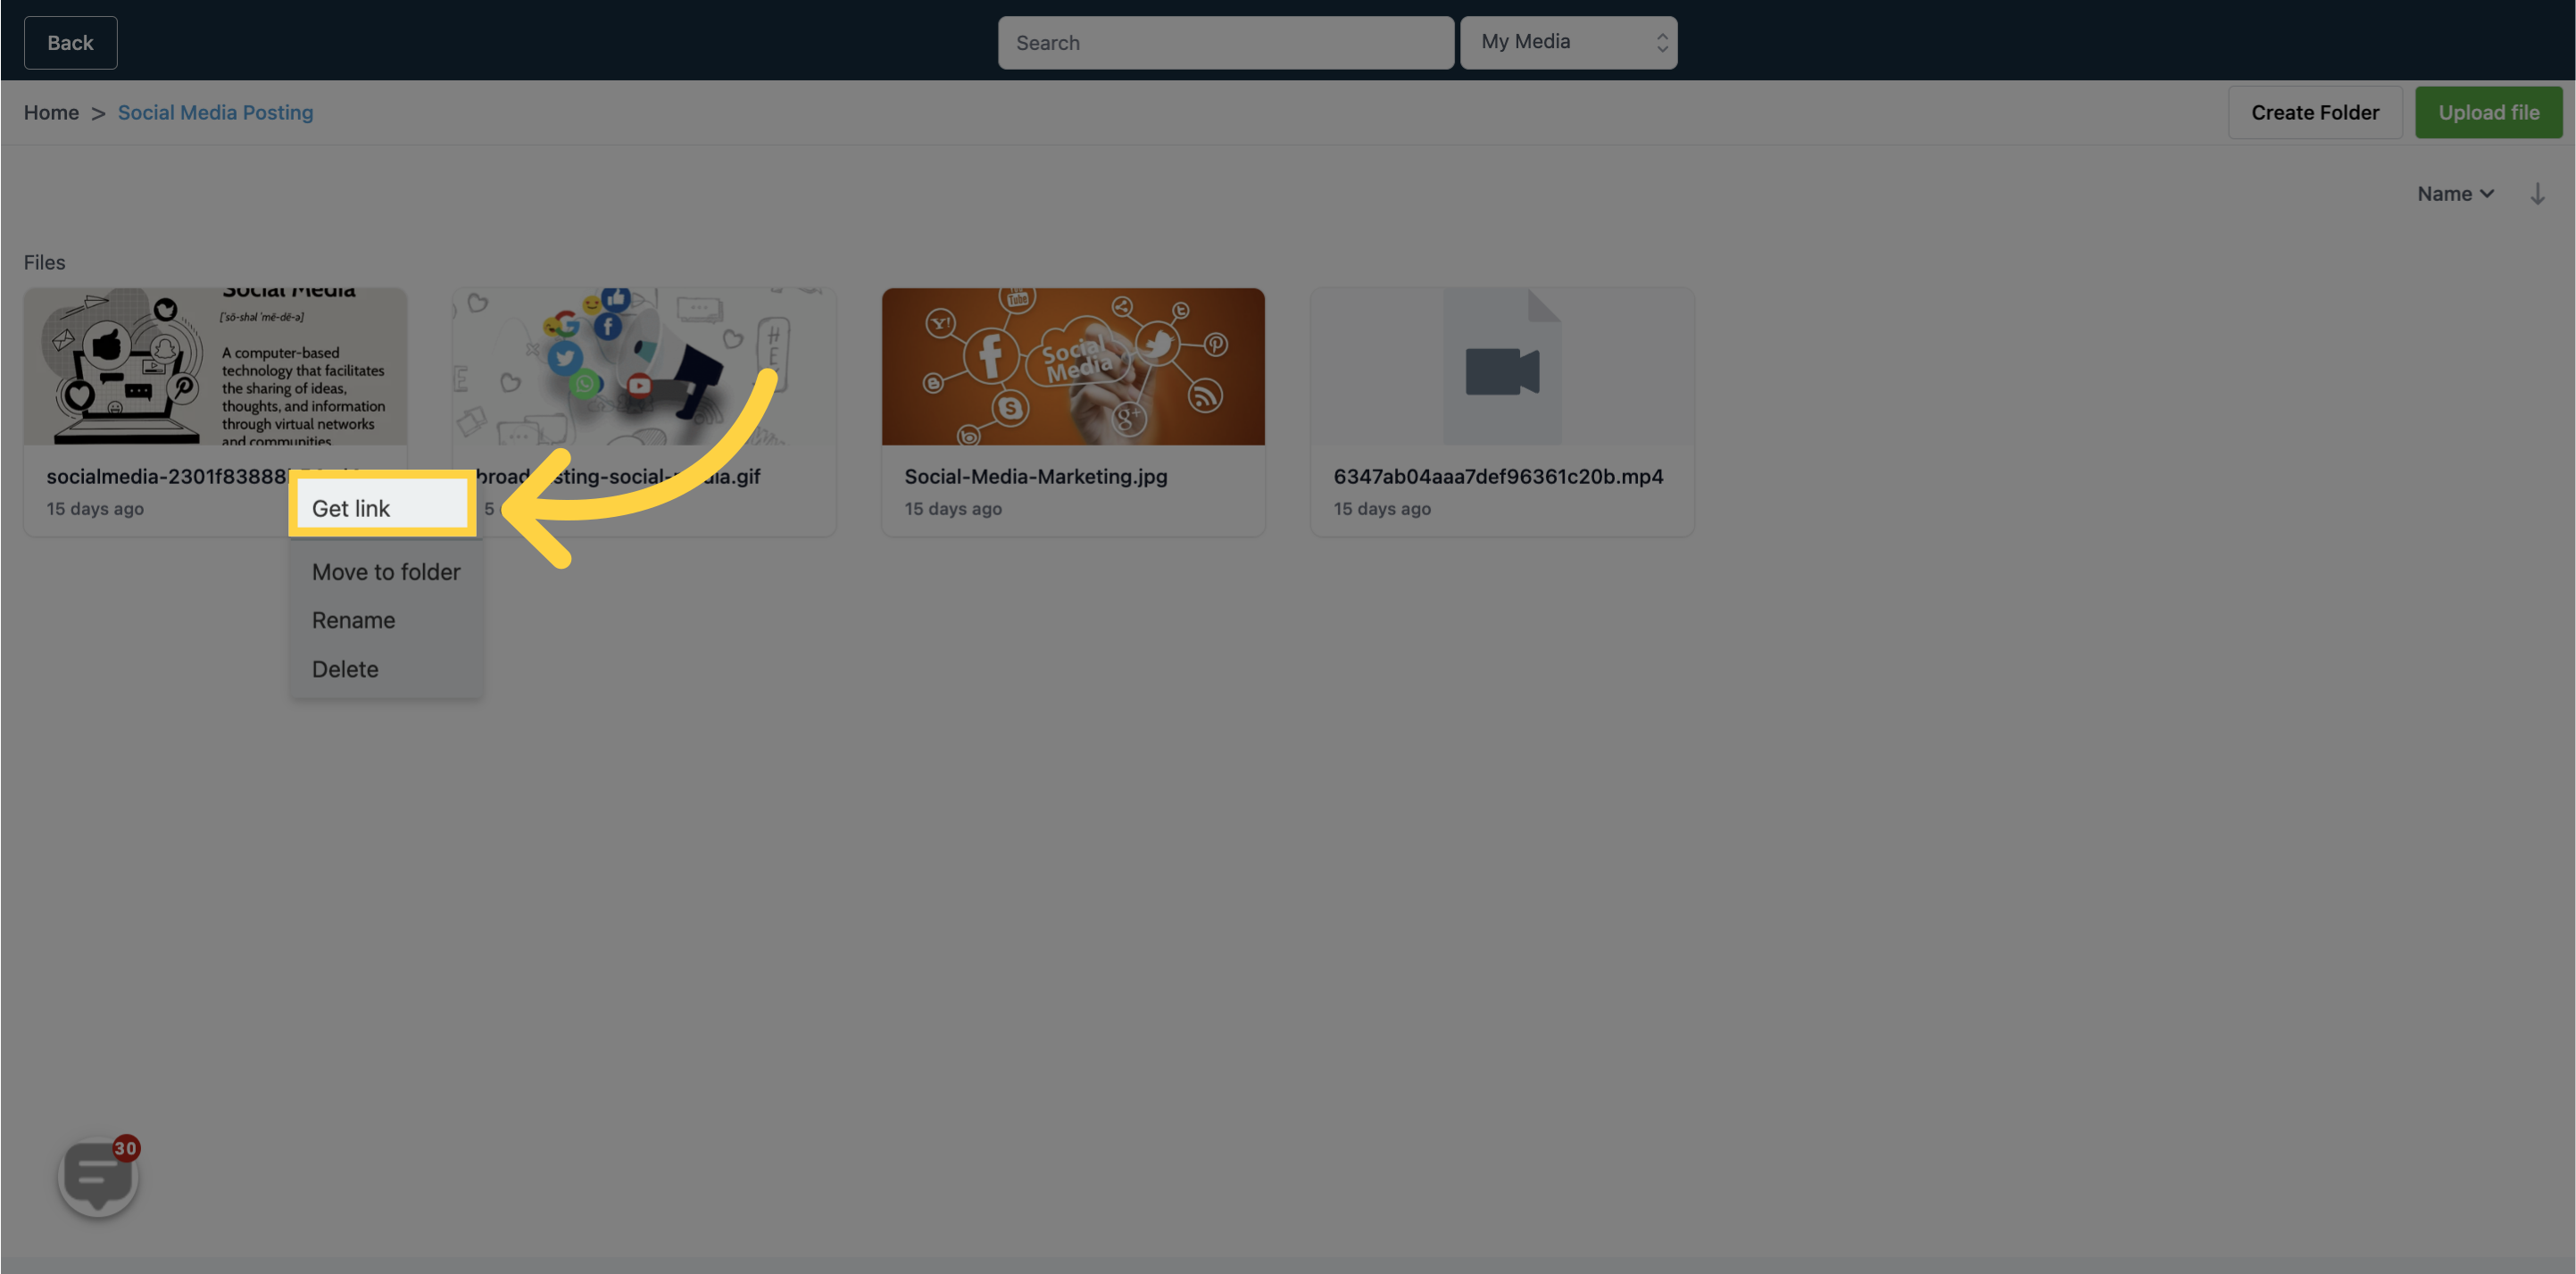
14. Click here to "Get File Links"
If you want to use a specific image from your media library in a website project or funnel, you can easily retrieve its unique link. Simply right-click on the desired image, and select the "Get Link" option. The system will copy the unique link to the clipboard, allowing you to paste it wherever you need.
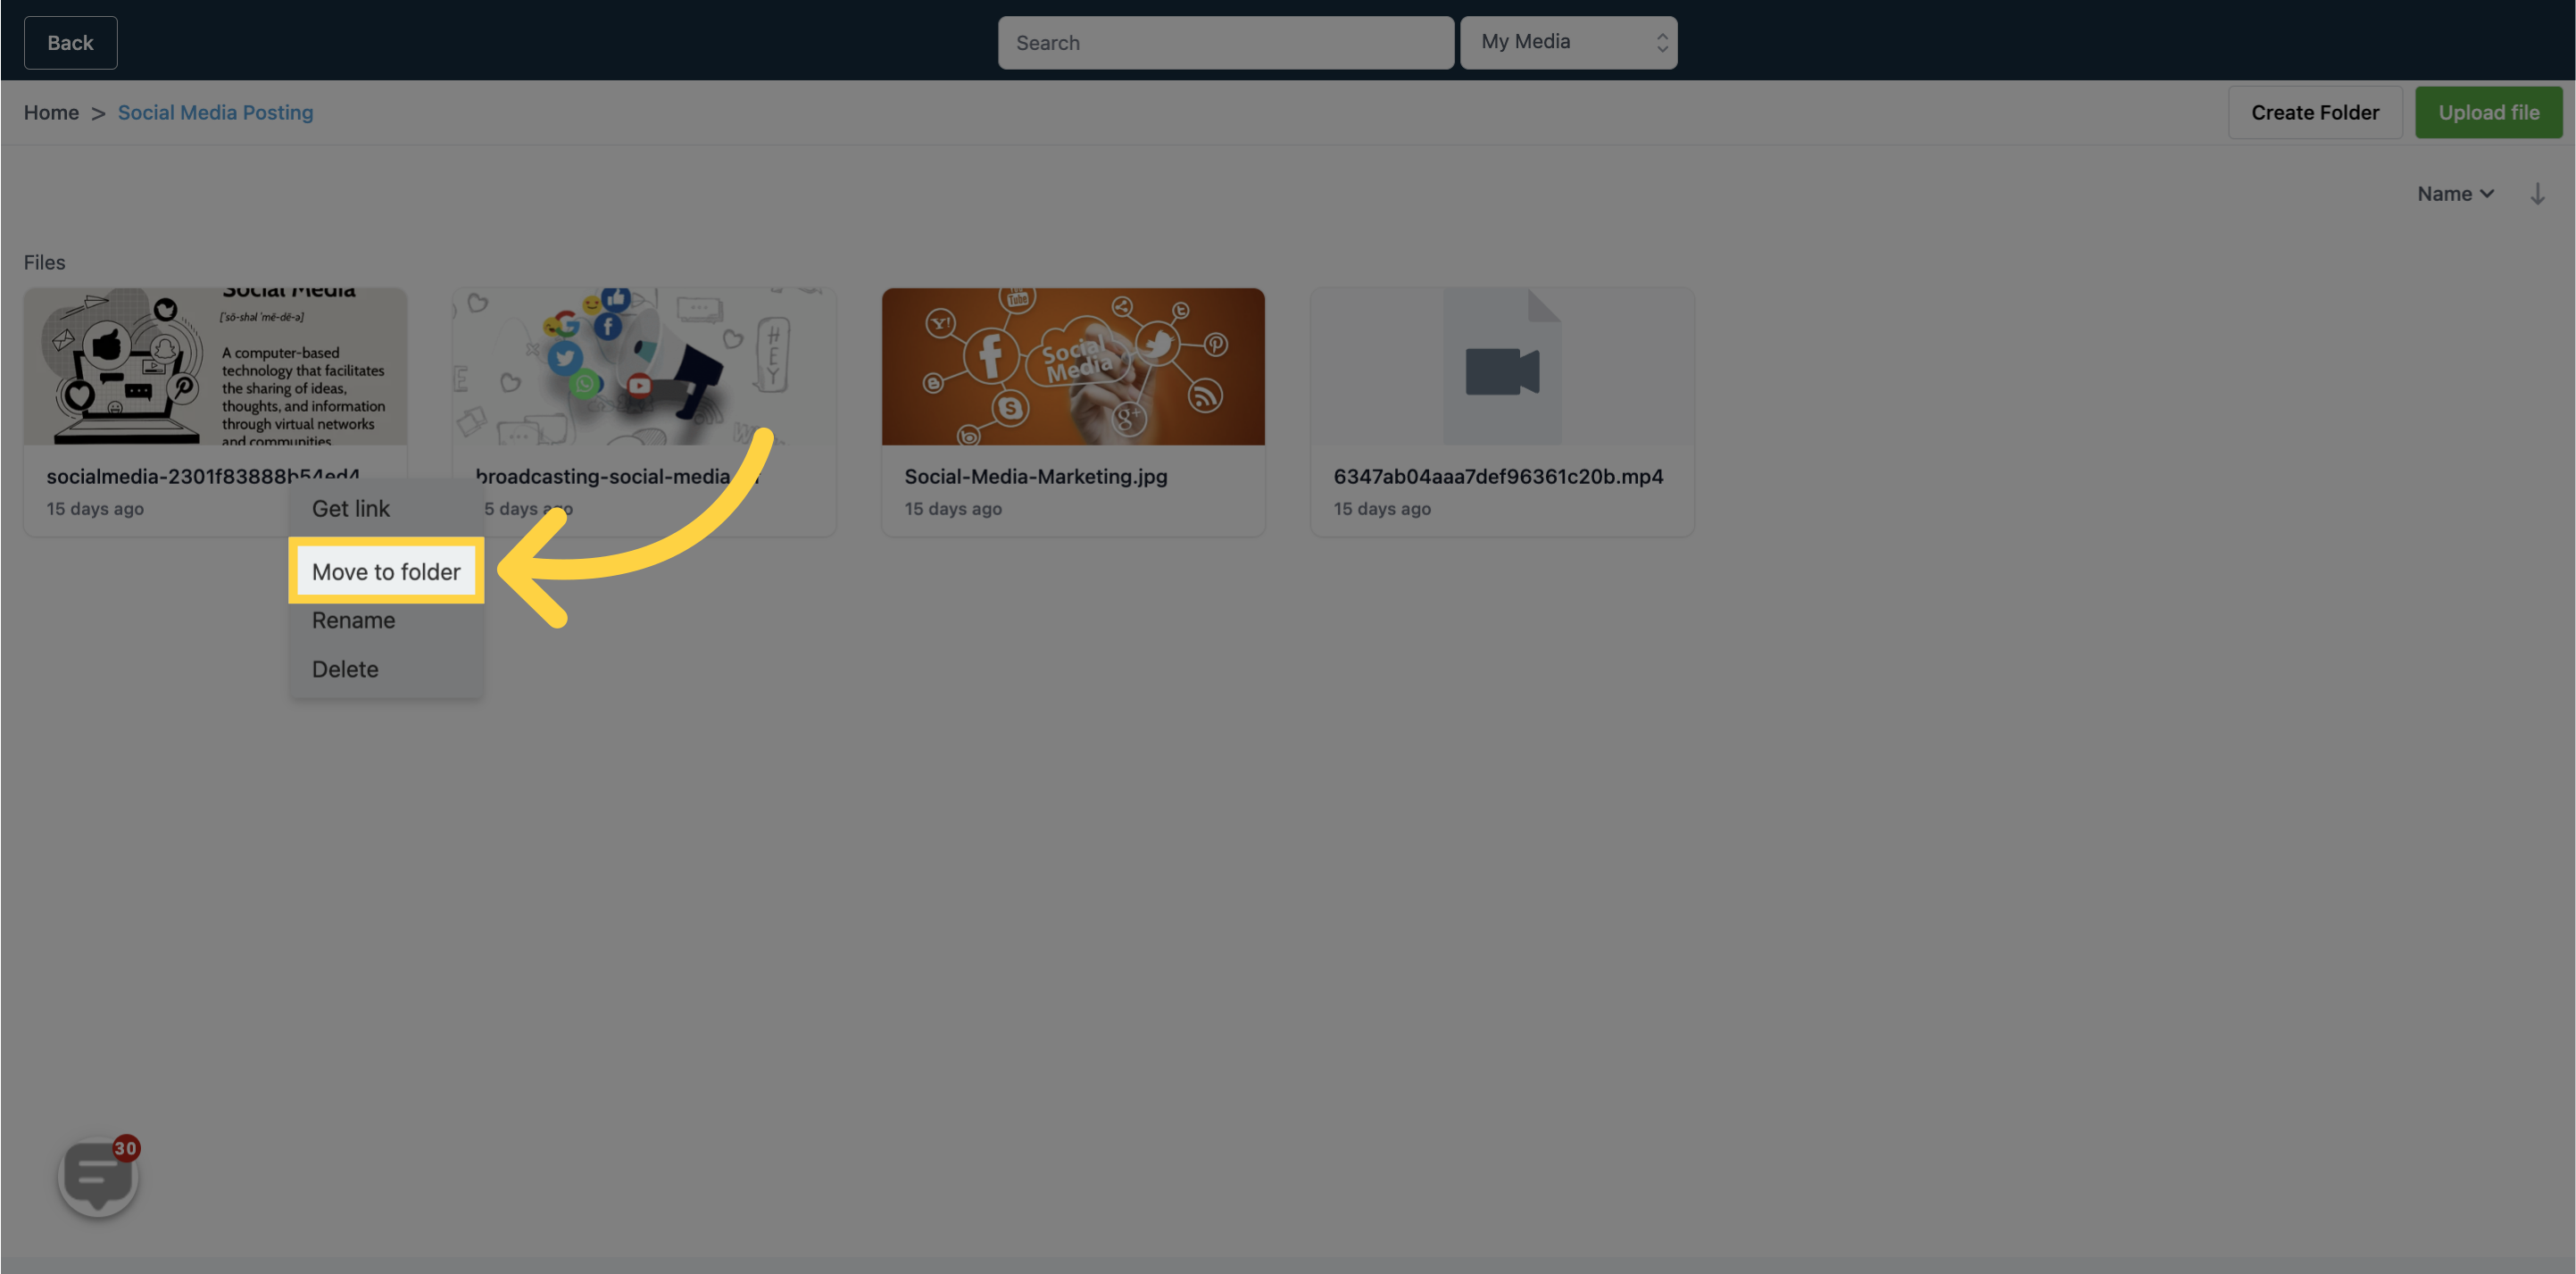
15. Click here to "Move to folder"
The Media Library allows you to quickly move selected files to different locations or specific folders with ease. Simply select the desired file, right-click and choose the "Move" option. You can then choose the destination folder or location and the file will be transferred accordingly.
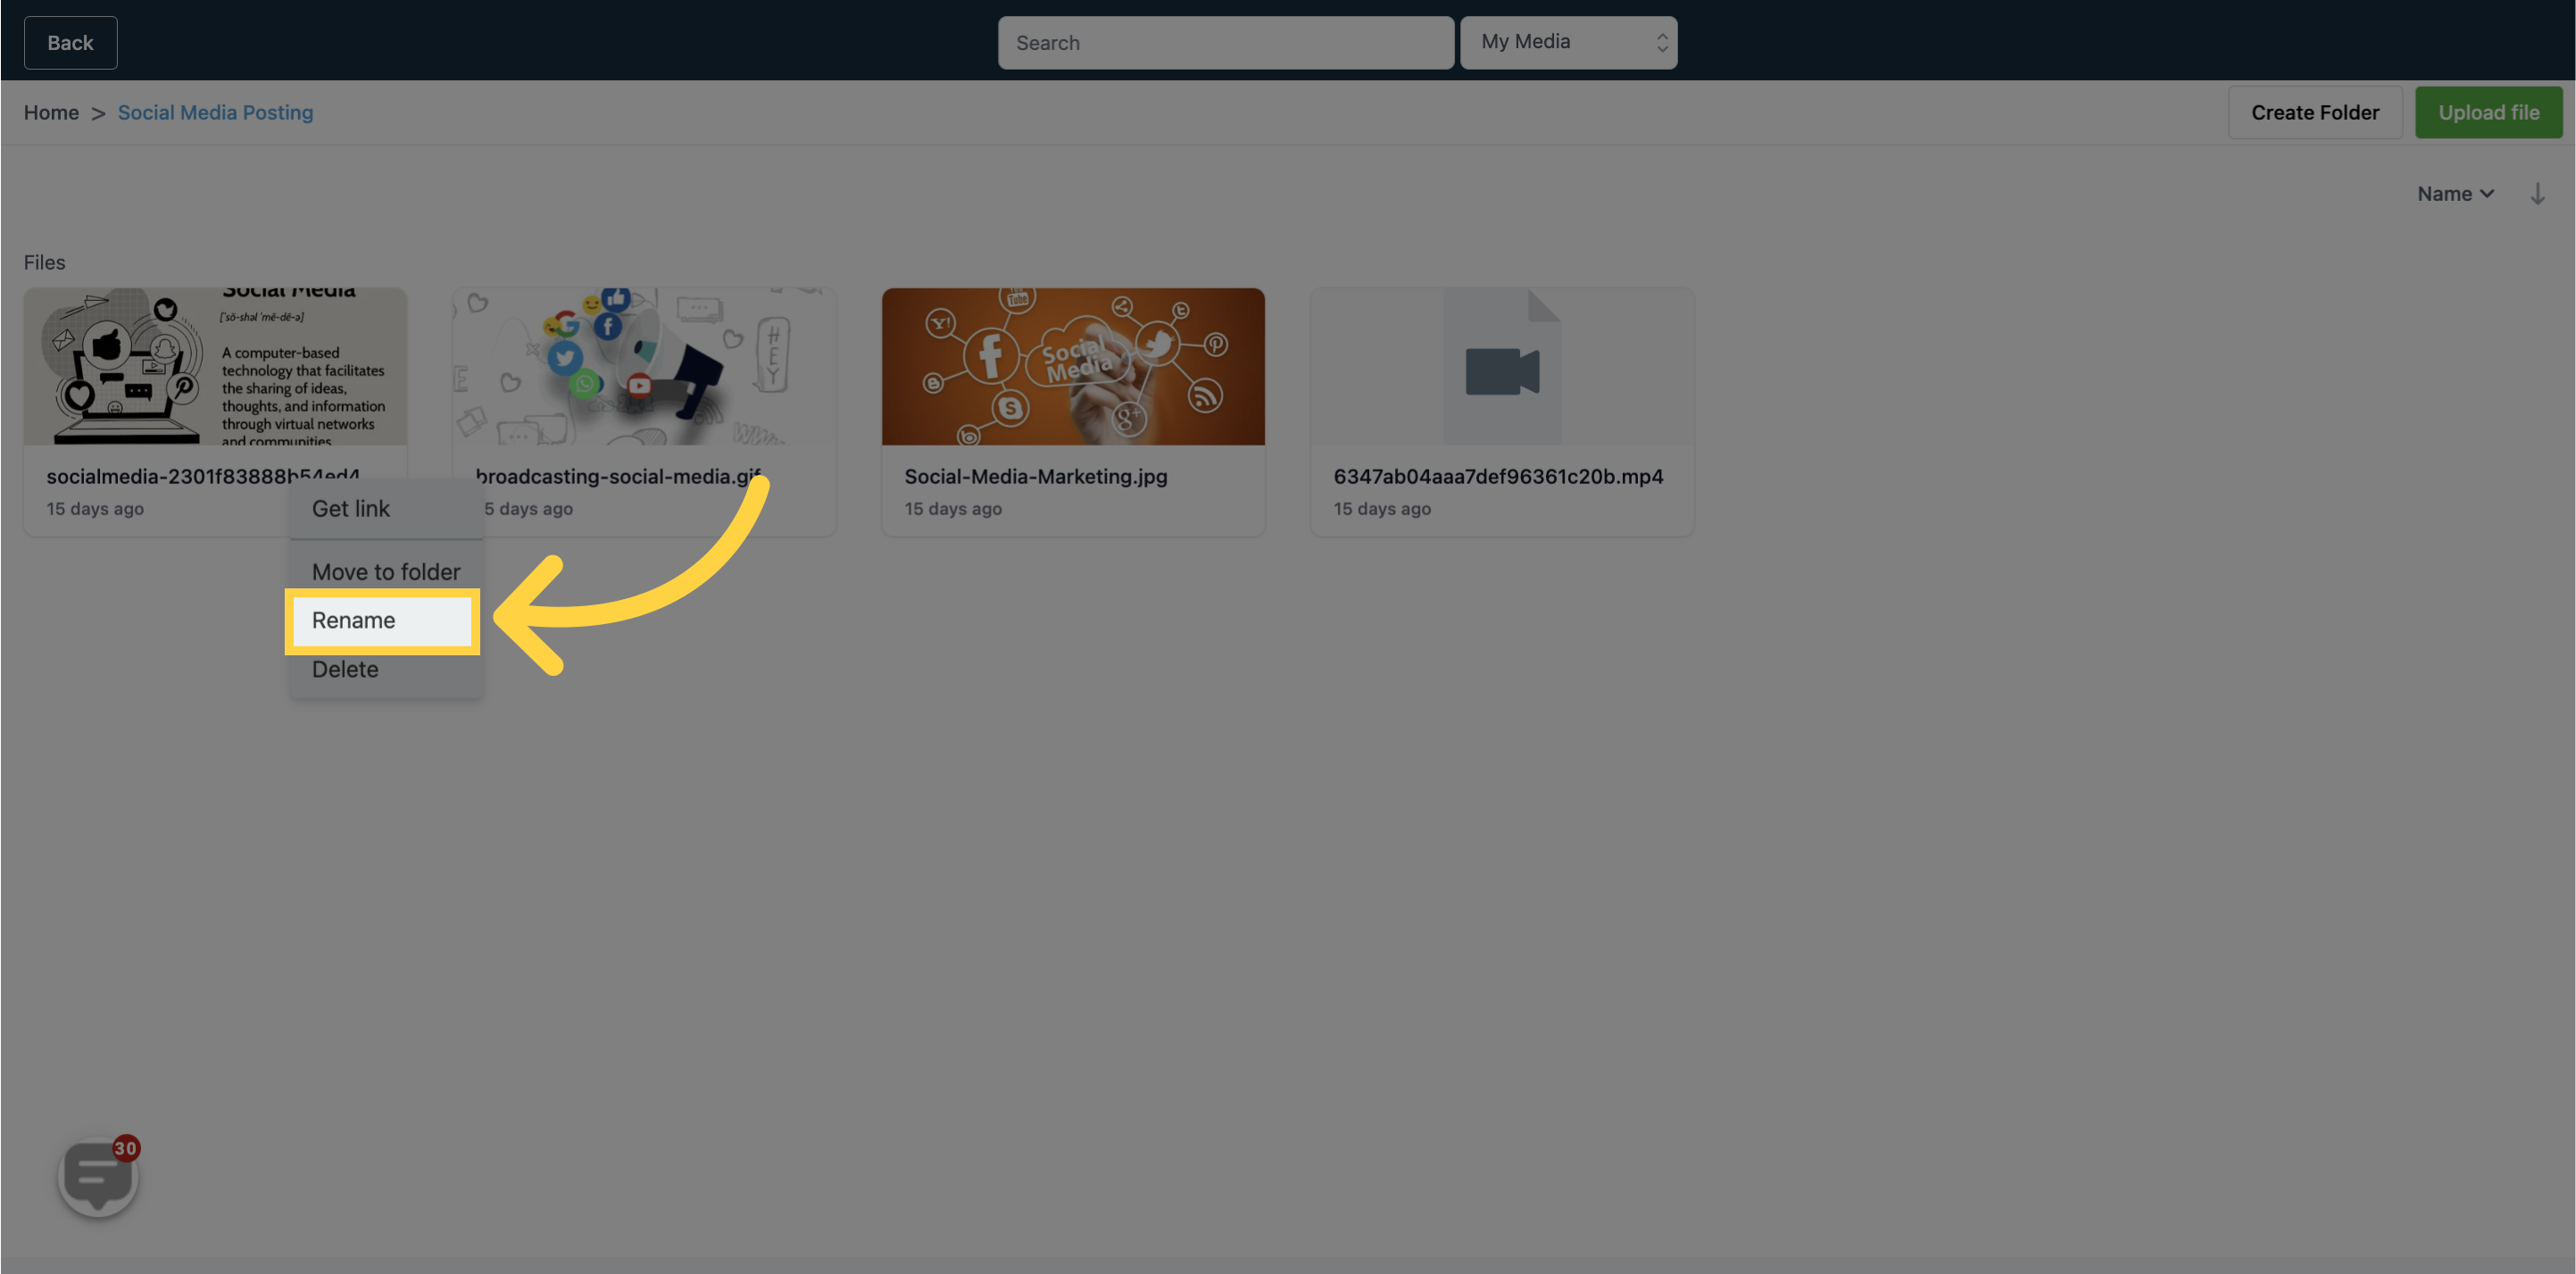
15. Click here to "Rename files"
If you need to rename a file in your Media Library, you can do so easily by right-clicking on the selected file and choosing the "Rename" option. This will allow you to change the name of the file as desired.
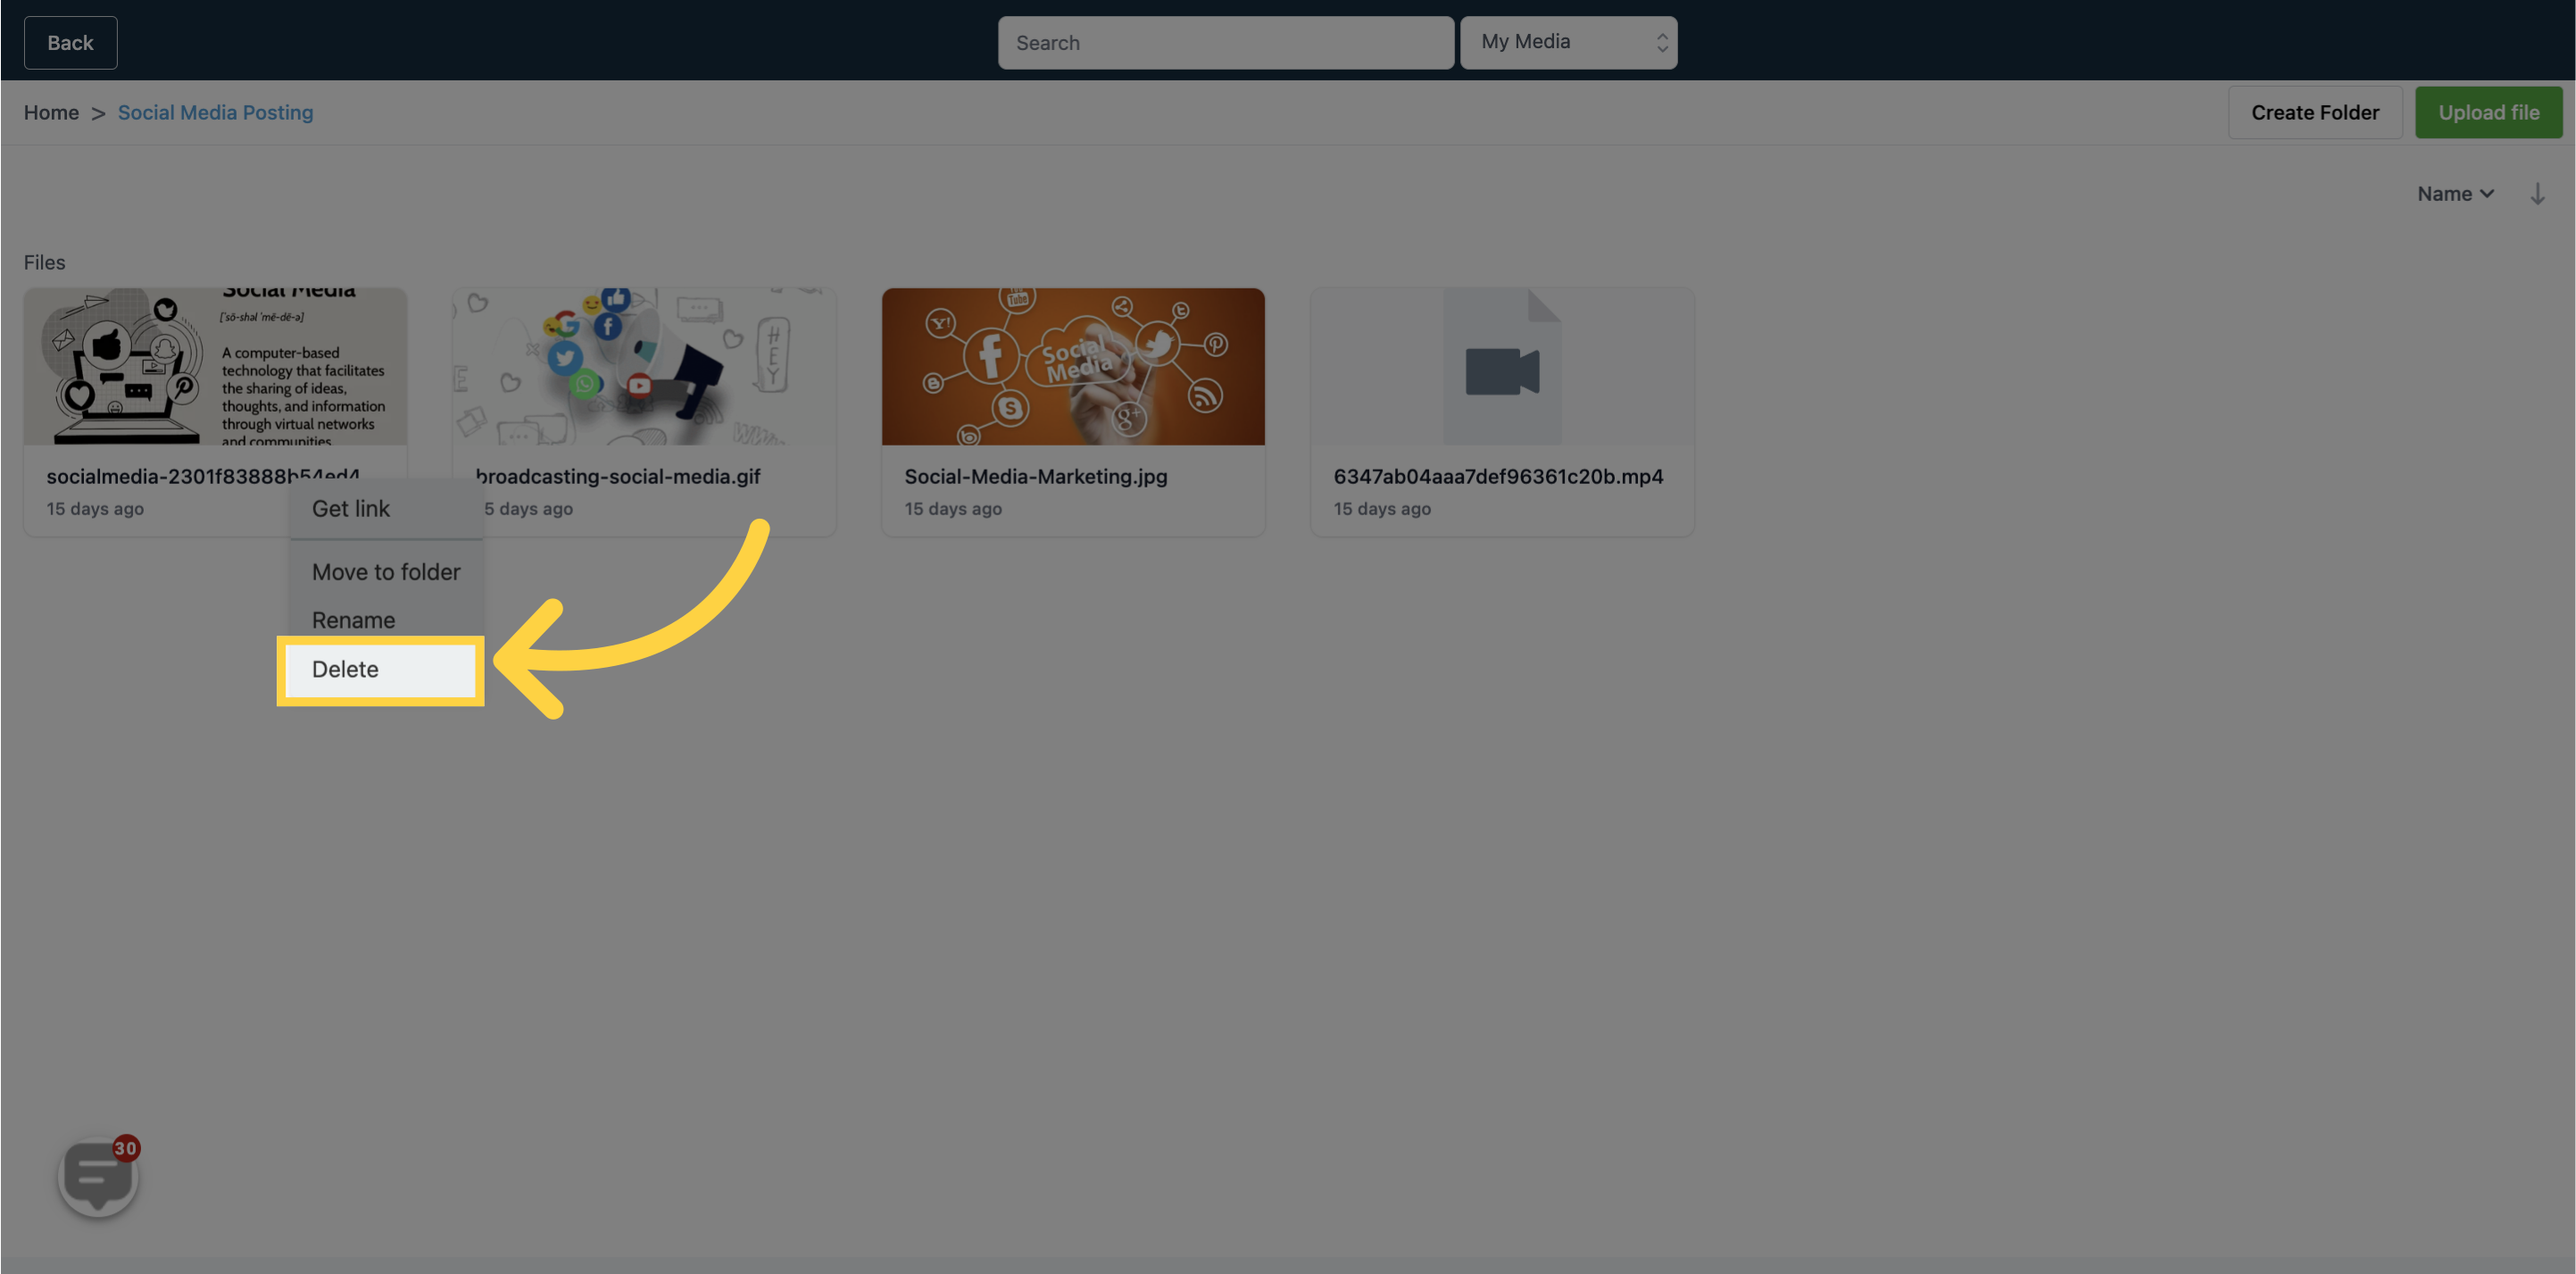
16. Click here to "Delete files"
To delete a file from your Media Library, simply right-click on the desired file, and select the "Delete" option. This will remove the file from your library permanently.