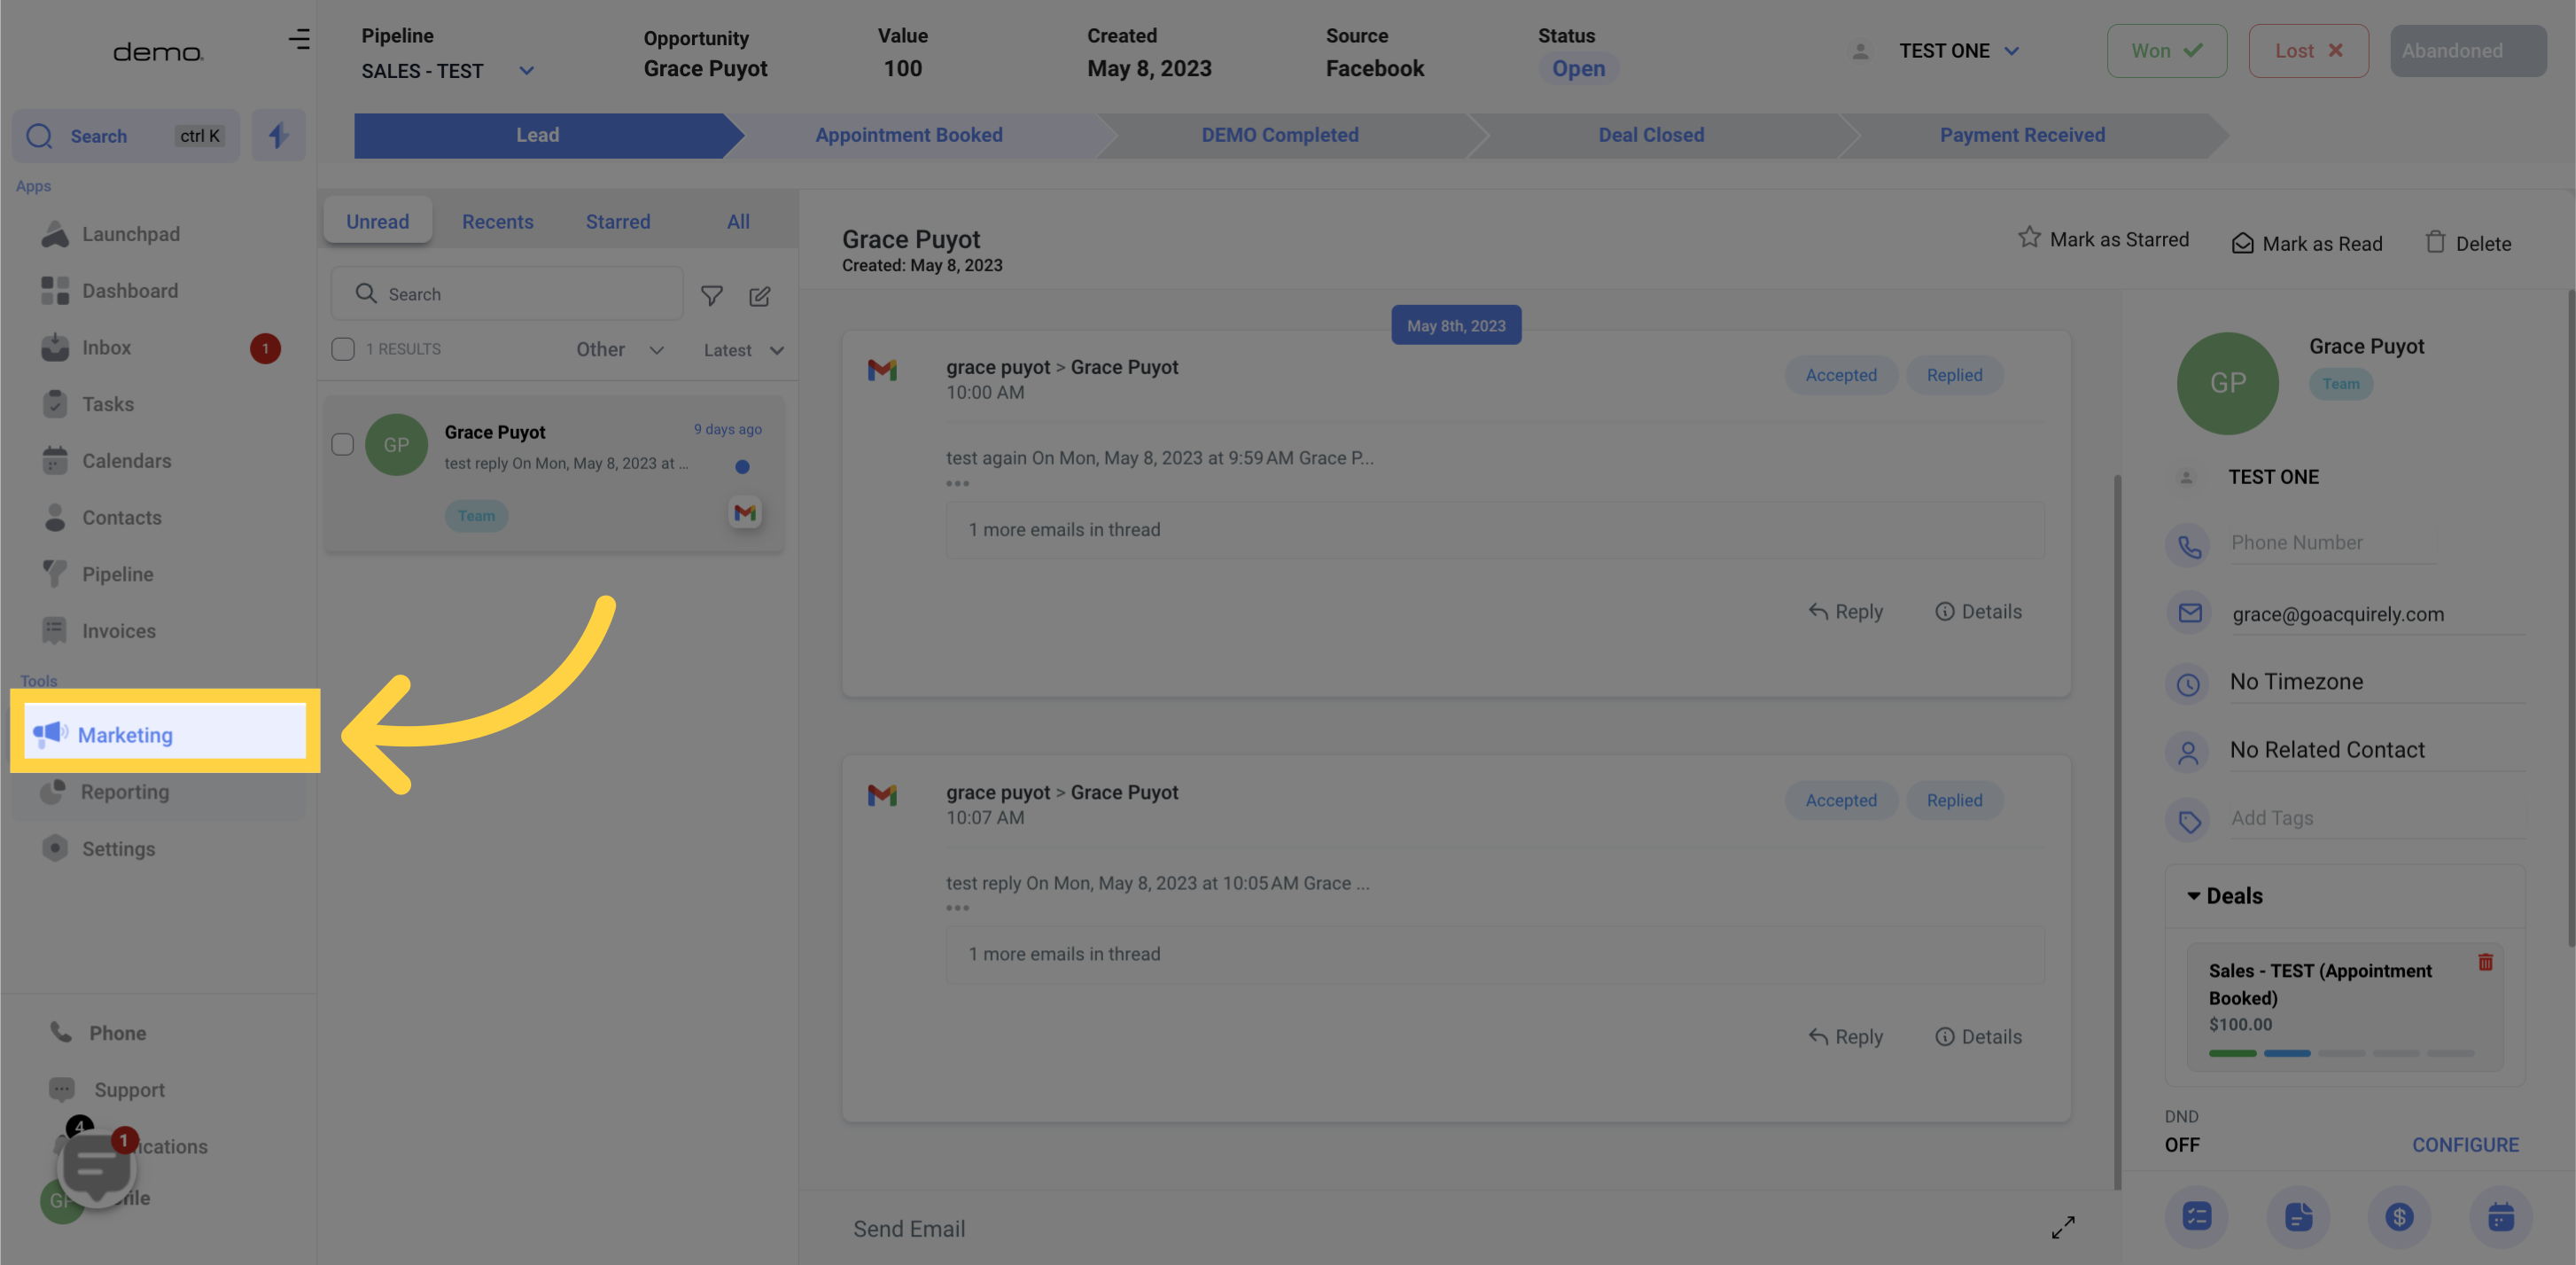
Navigate to the Marketing section
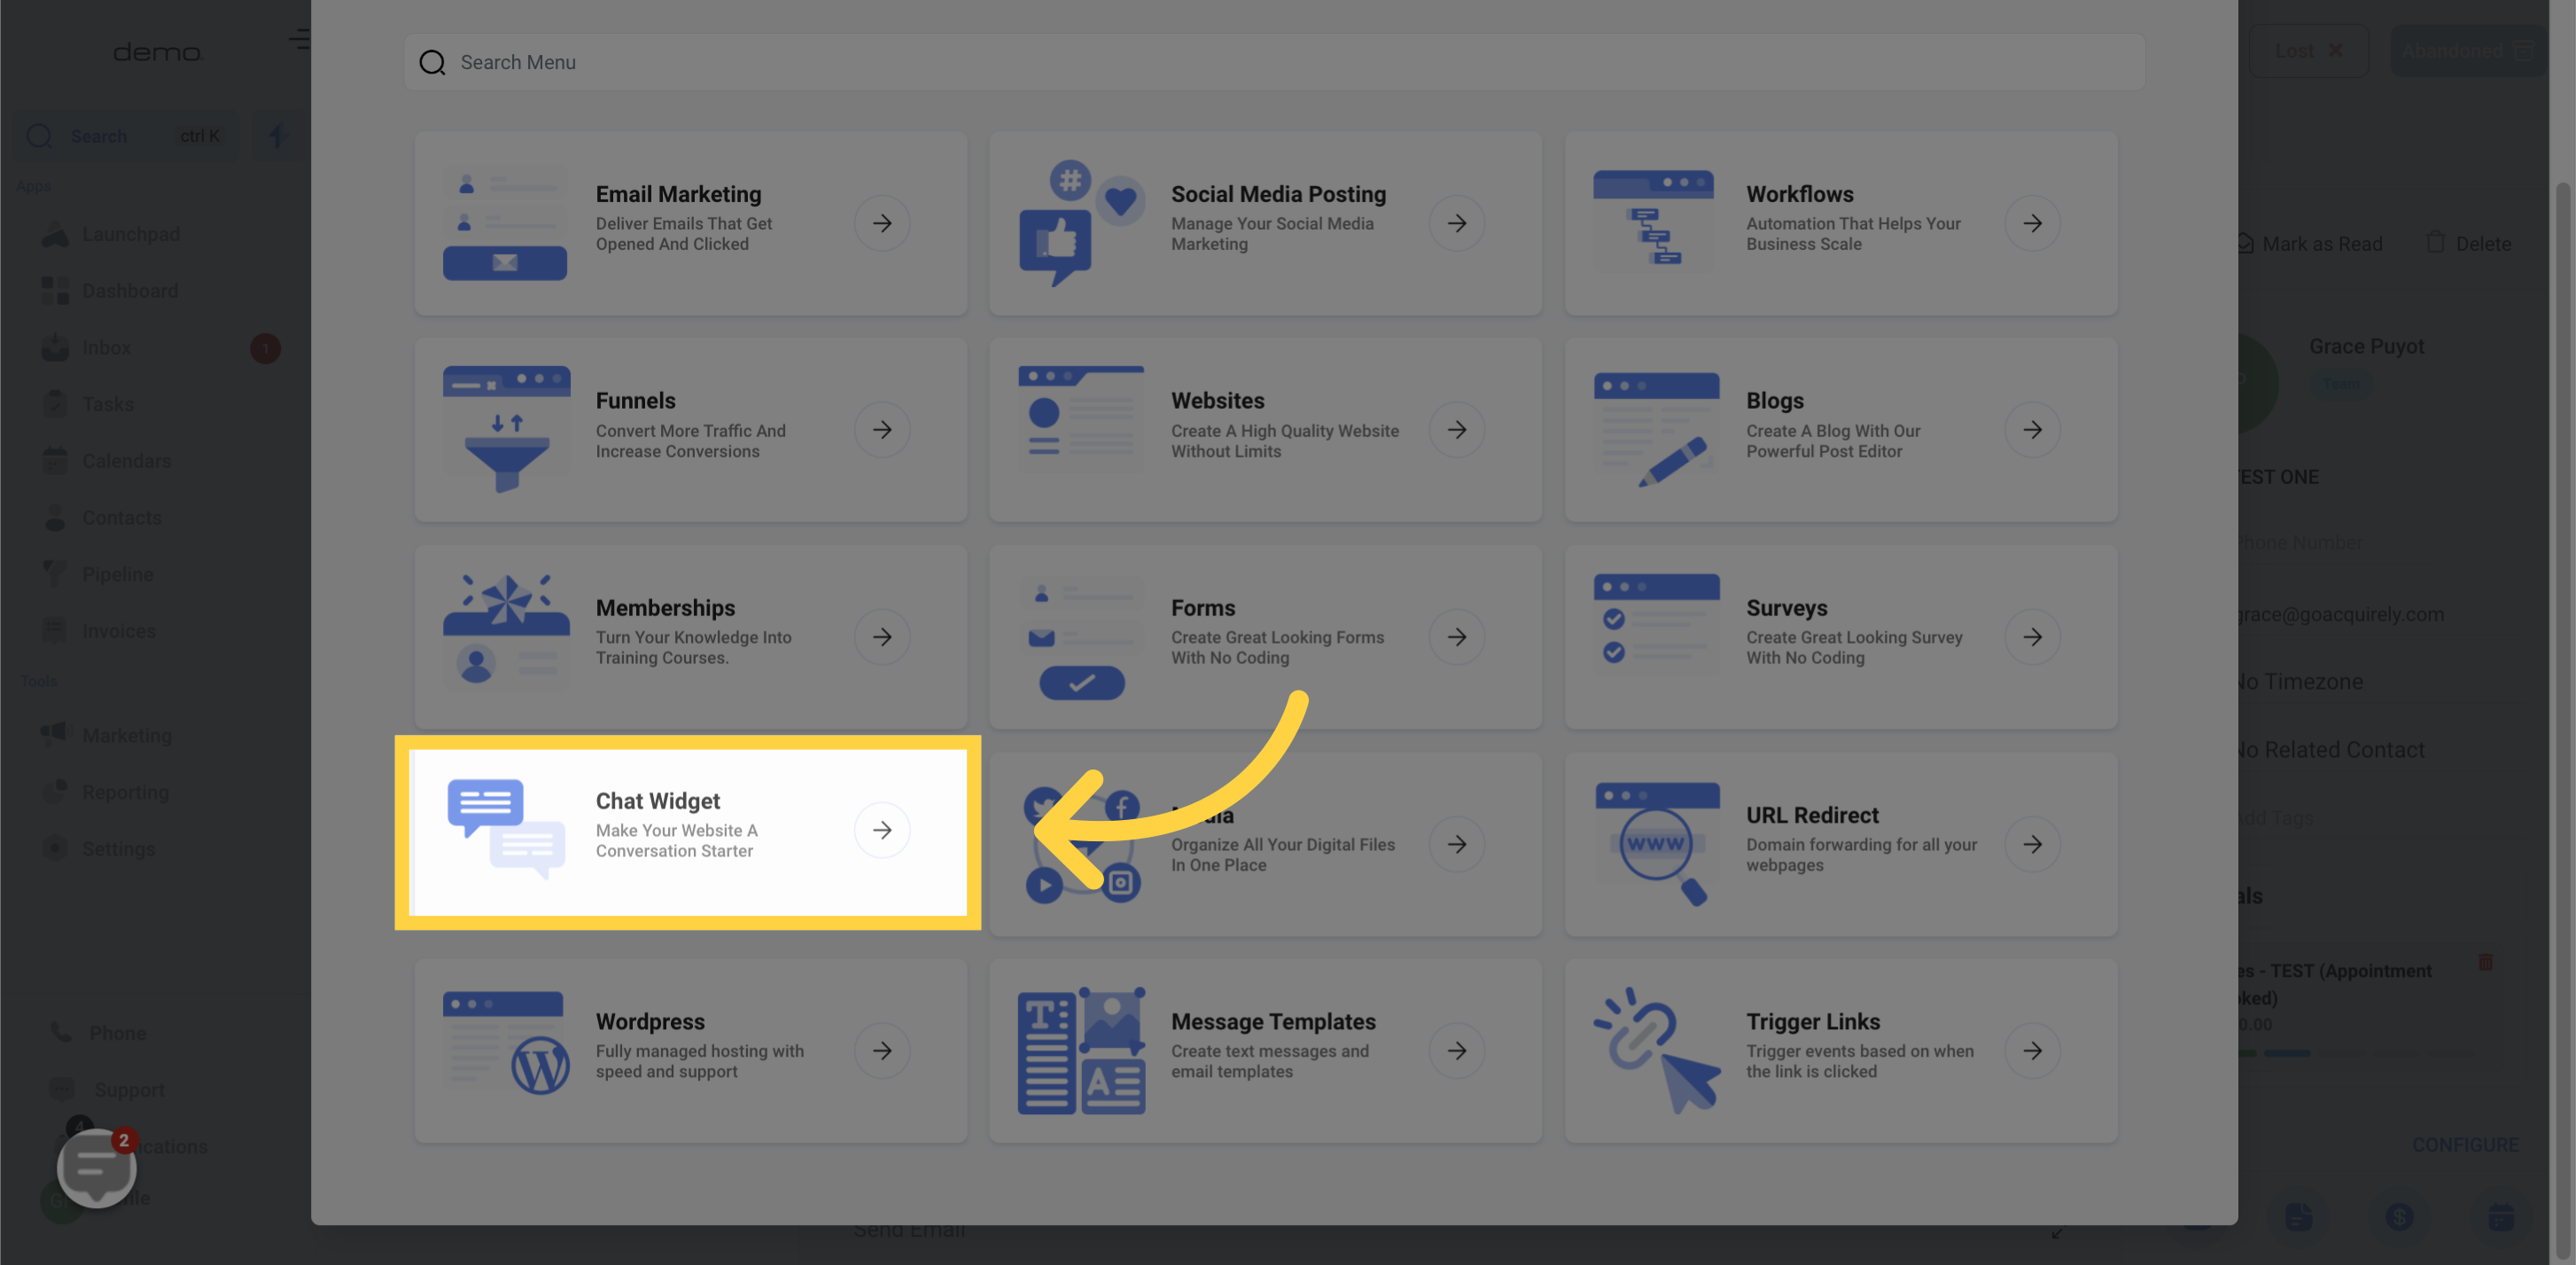
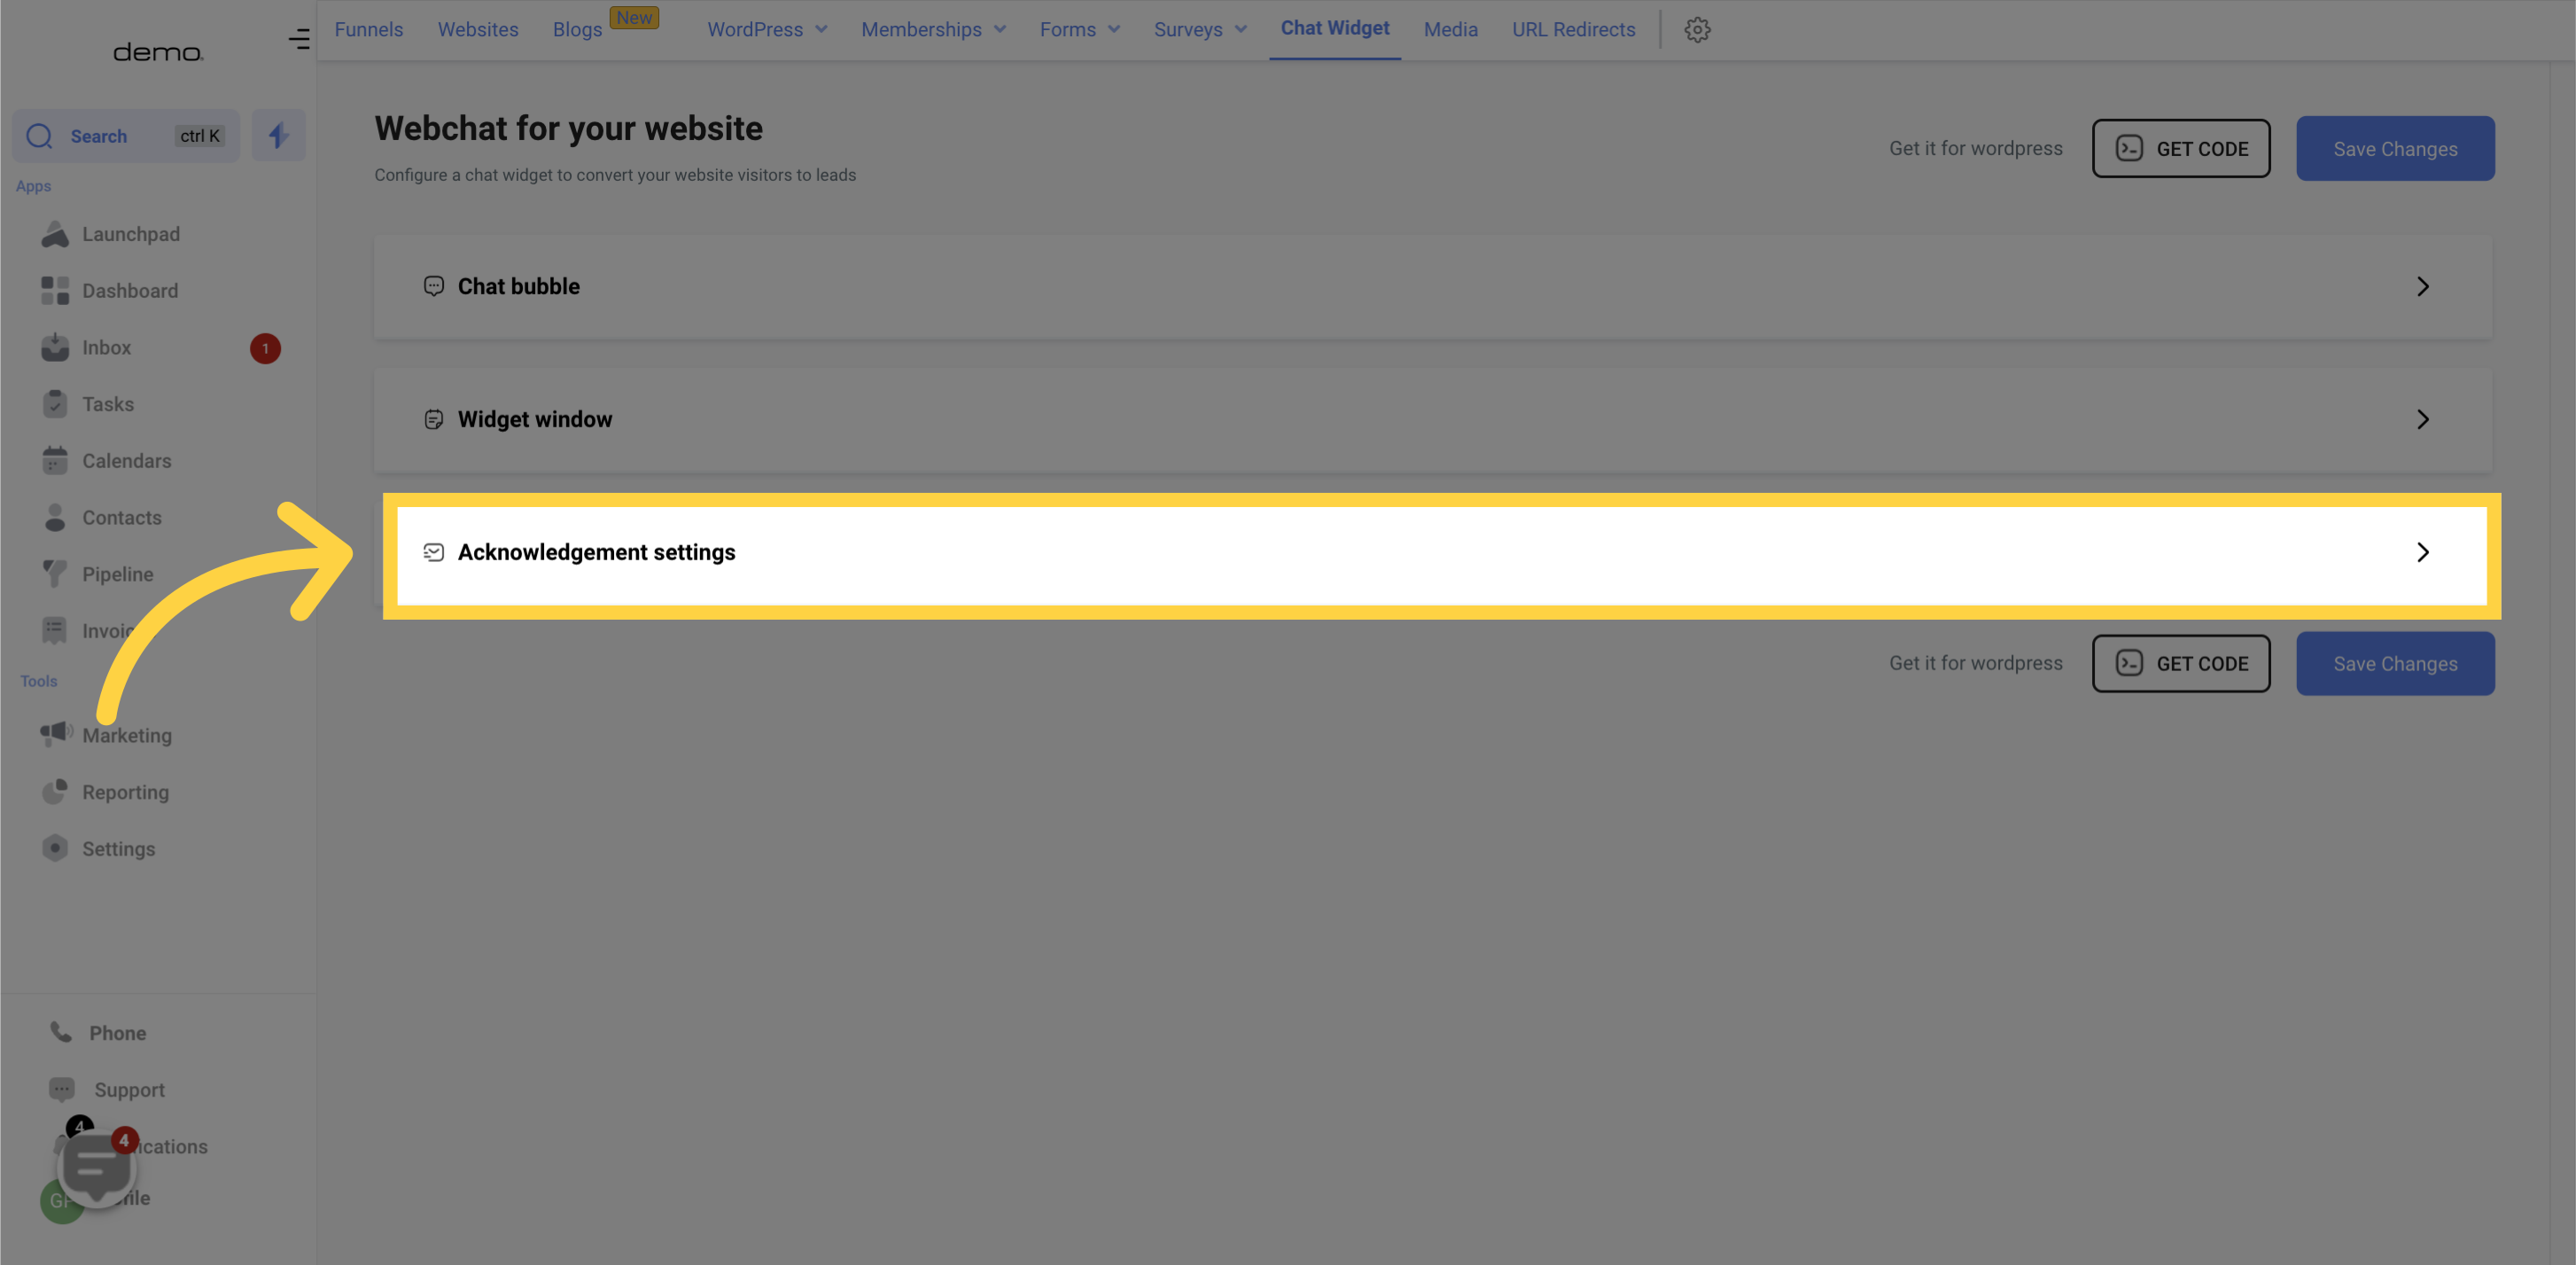
Access the Acknowledgment settings in Marketsimple.
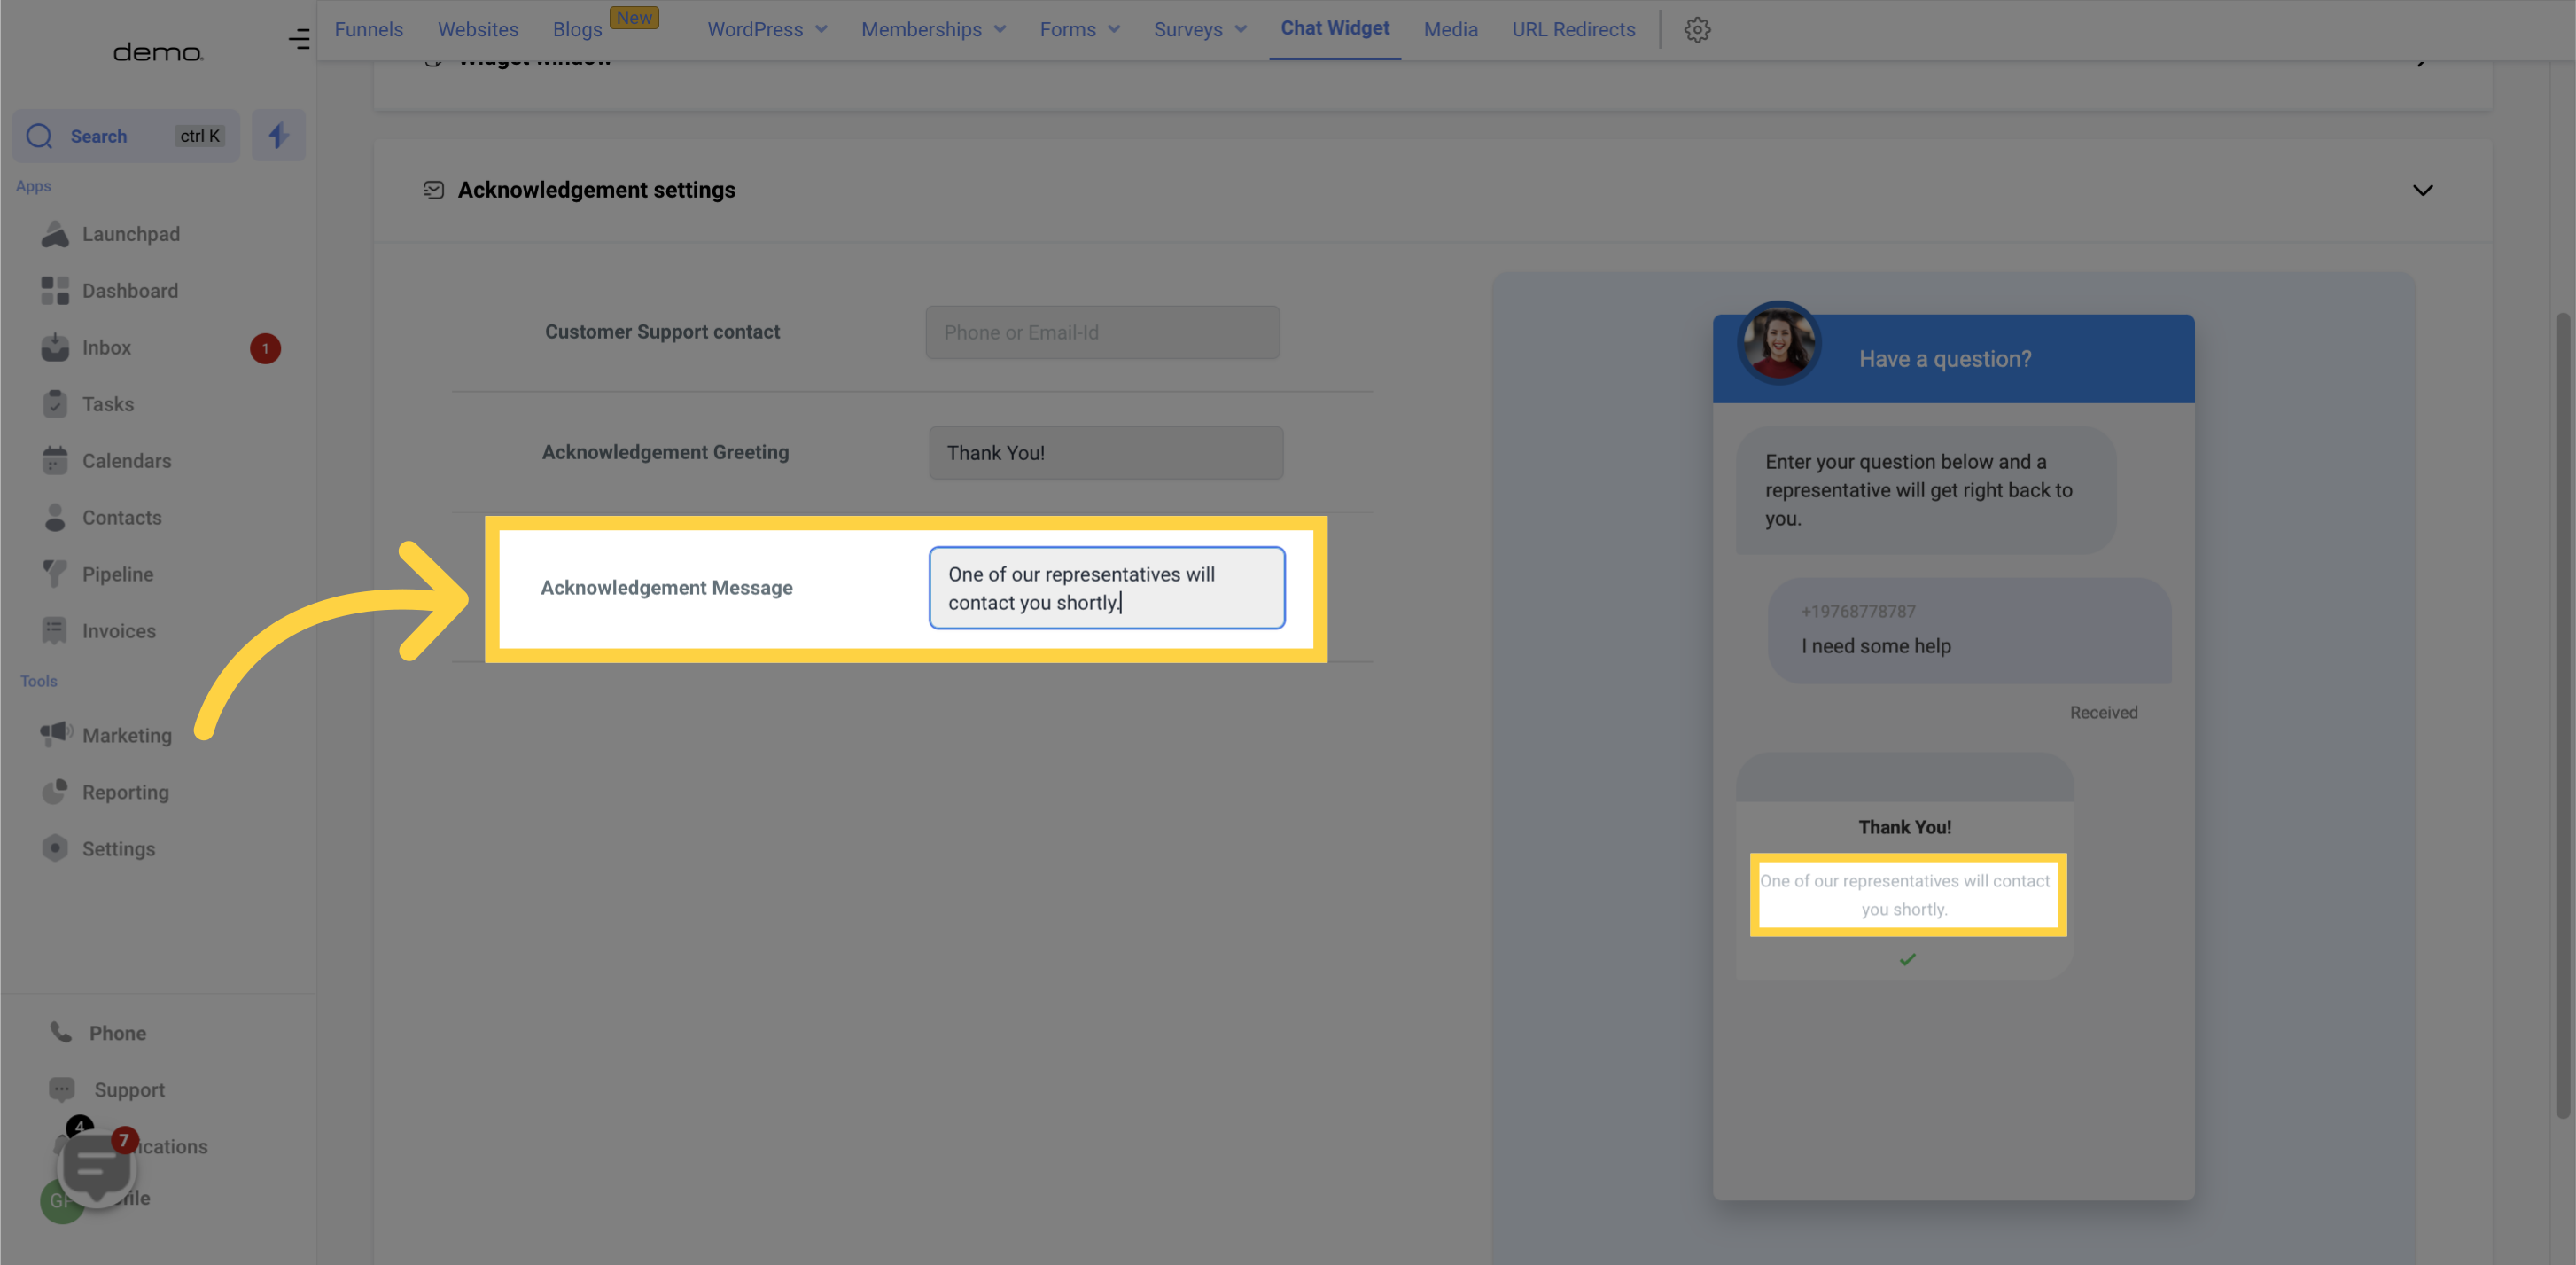
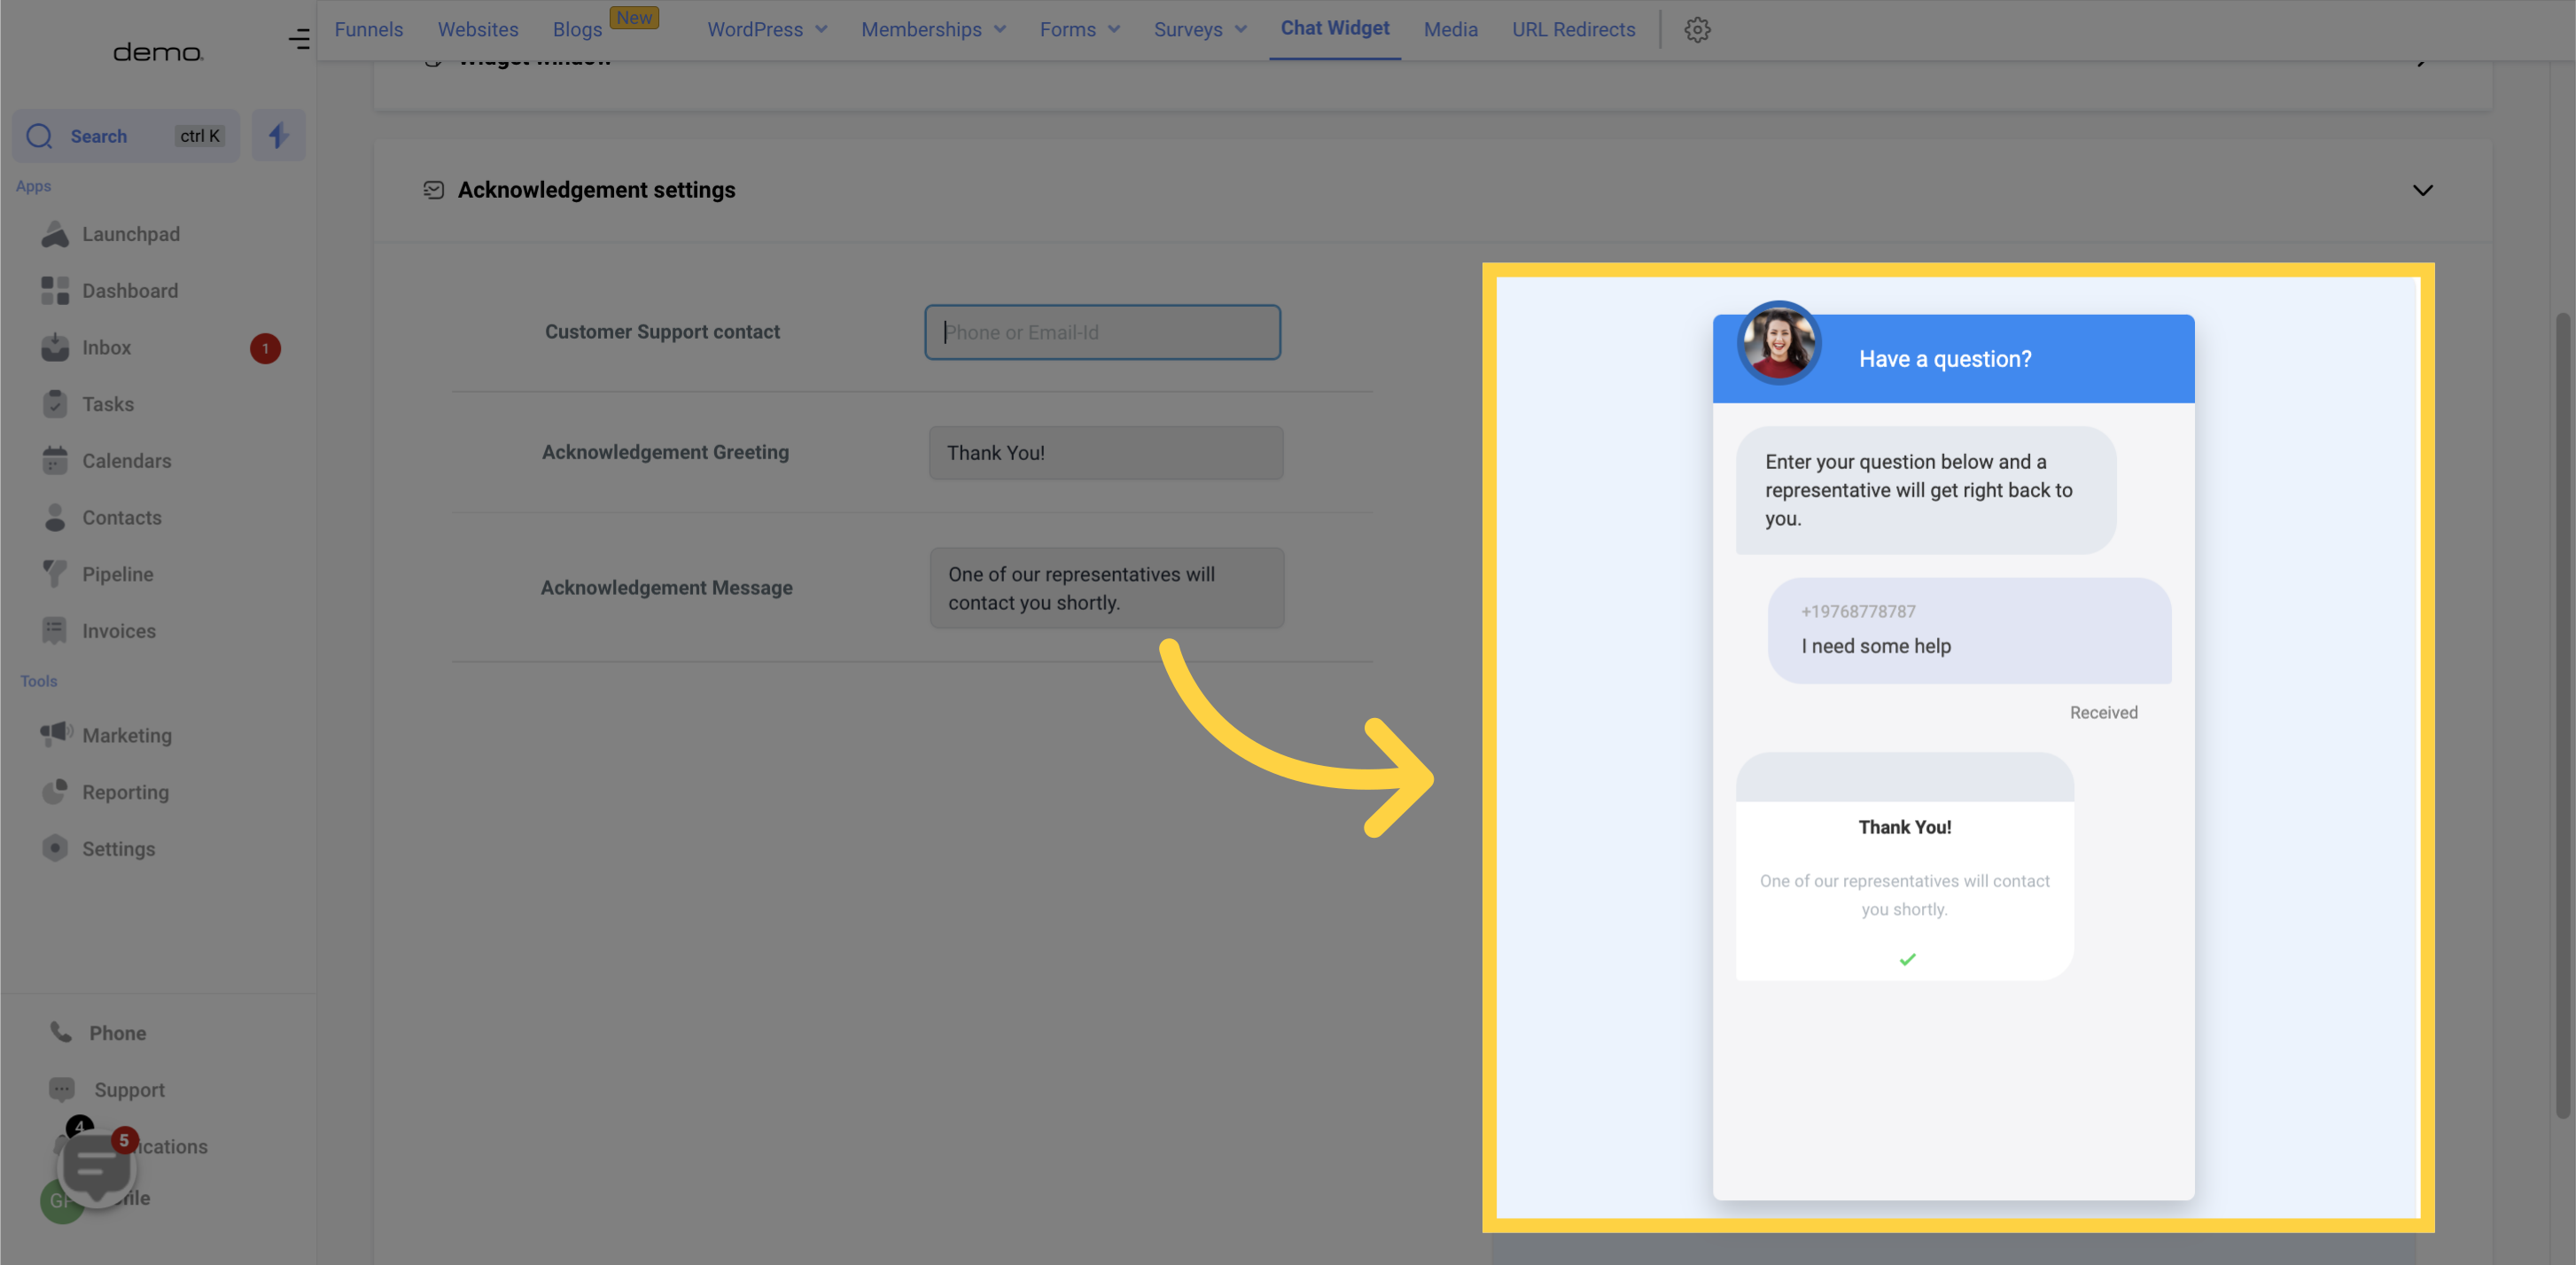
Get a sneak peek of how your thank you message will look as you customize it! With real-time preview updates, you can instantly see the changes to your message and ensure it looks just right before sending.
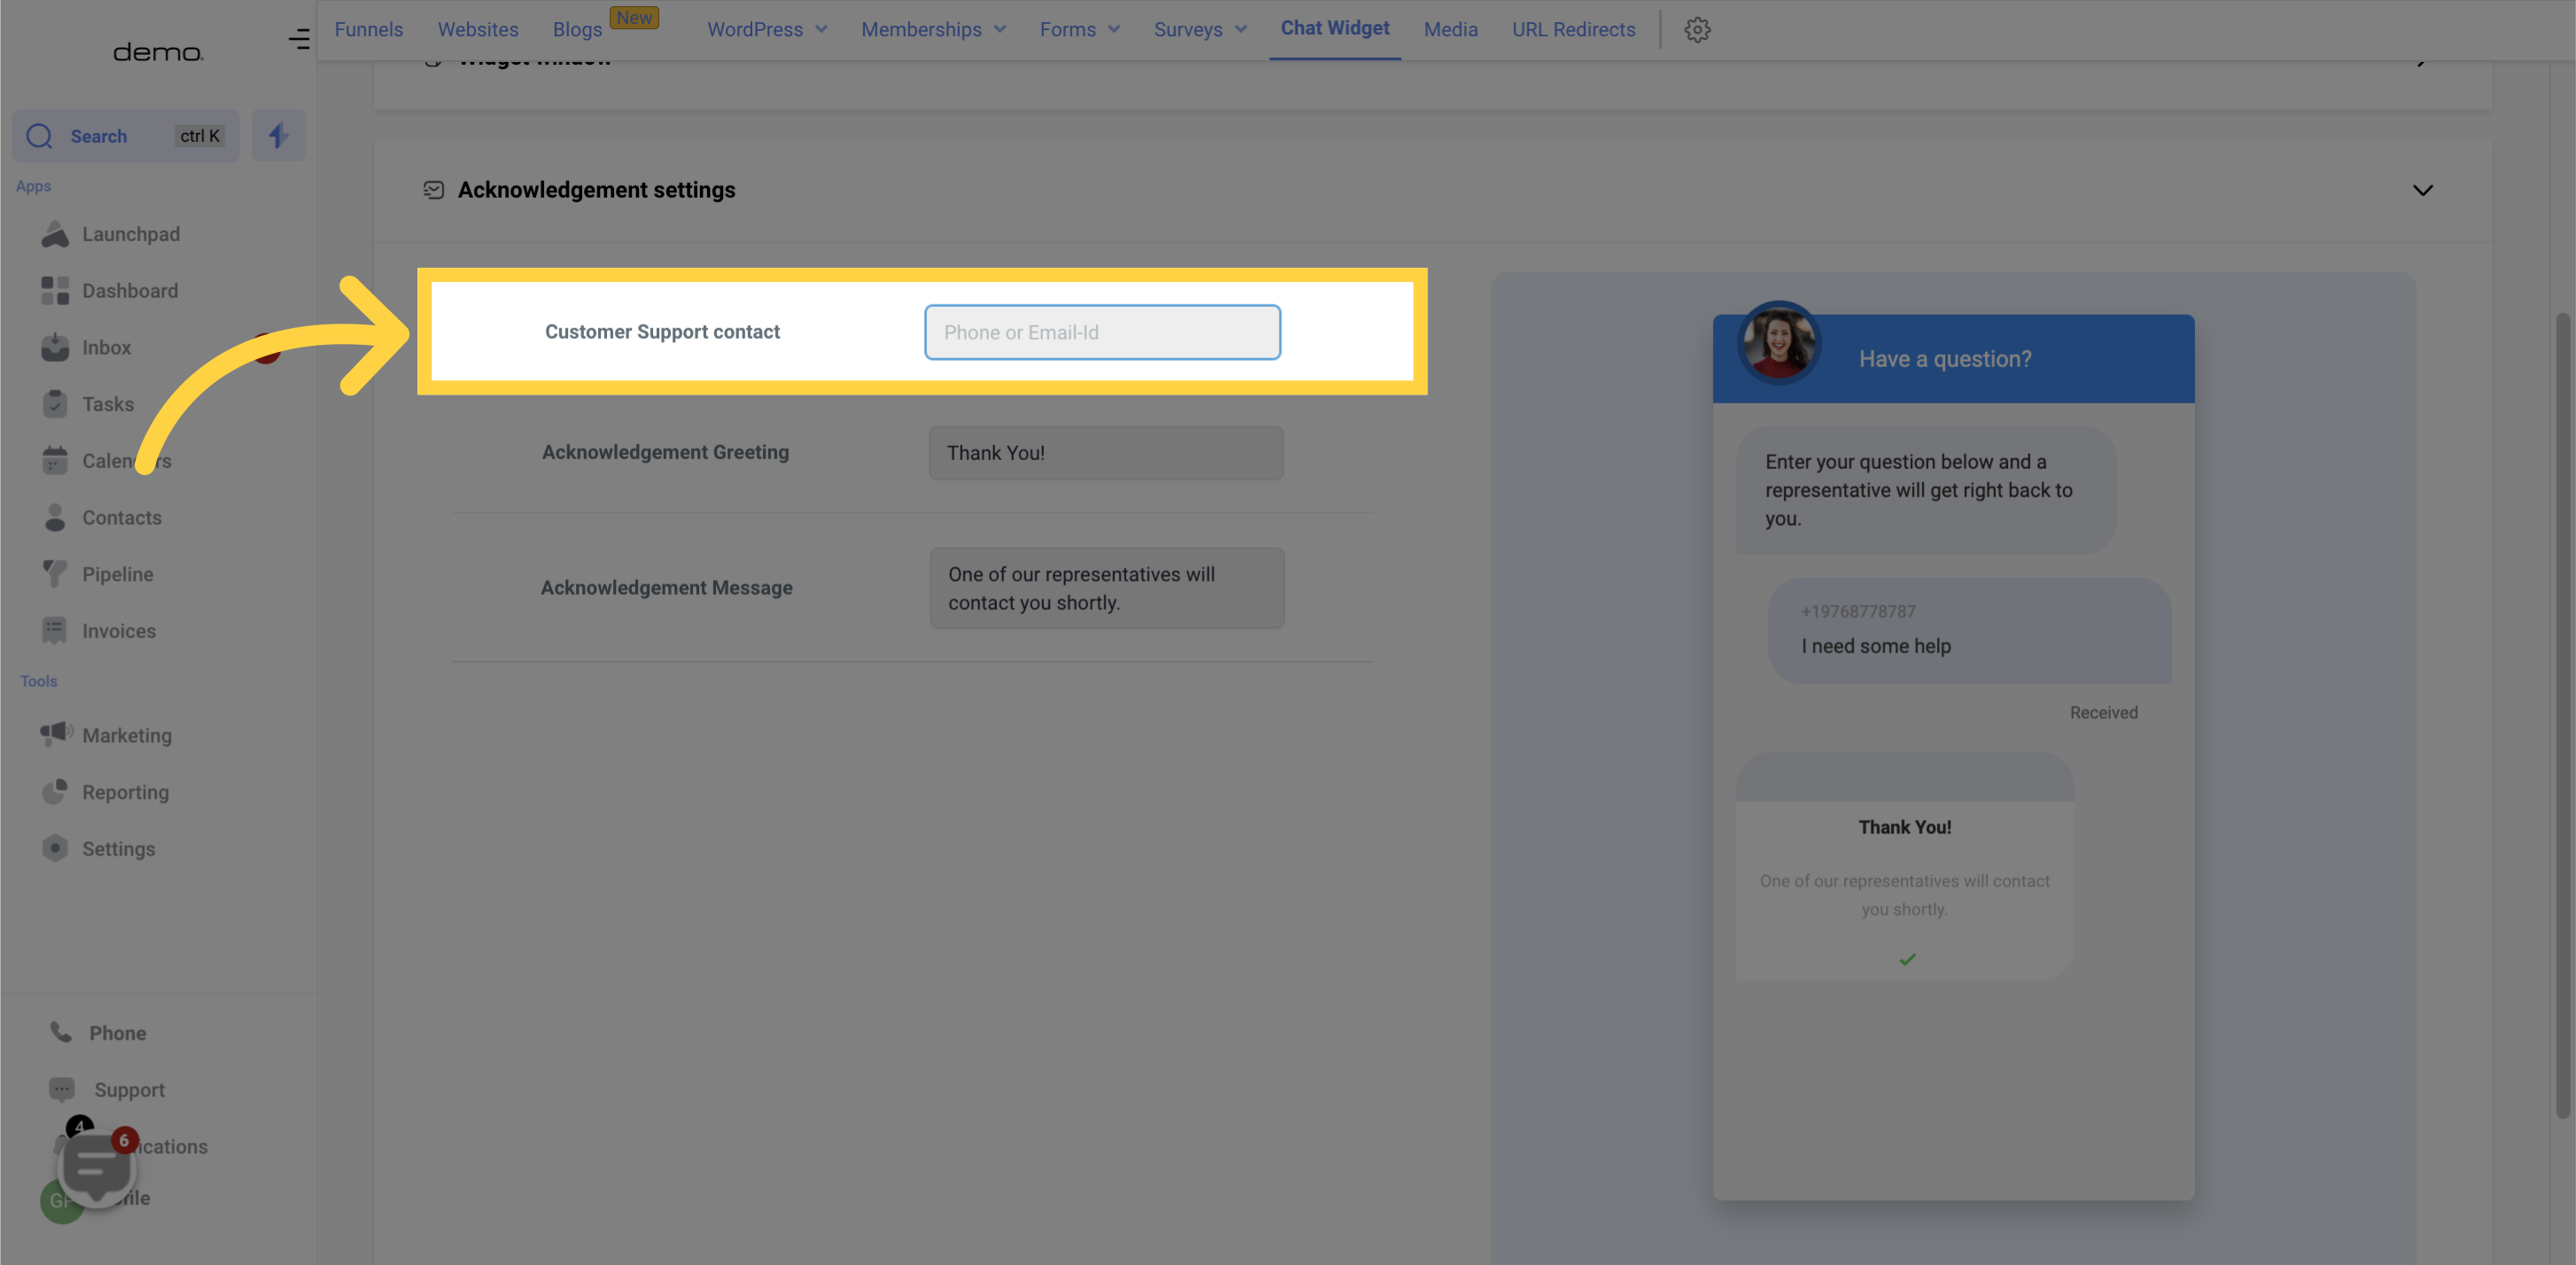
Make it easy for website visitors to get in touch with you by adding your company phone number or email. By providing these contact options upfront, visitors can choose to reach out immediately instead of waiting for a call, text or email. This can greatly improve the user experience and lead to more conversions for your business.
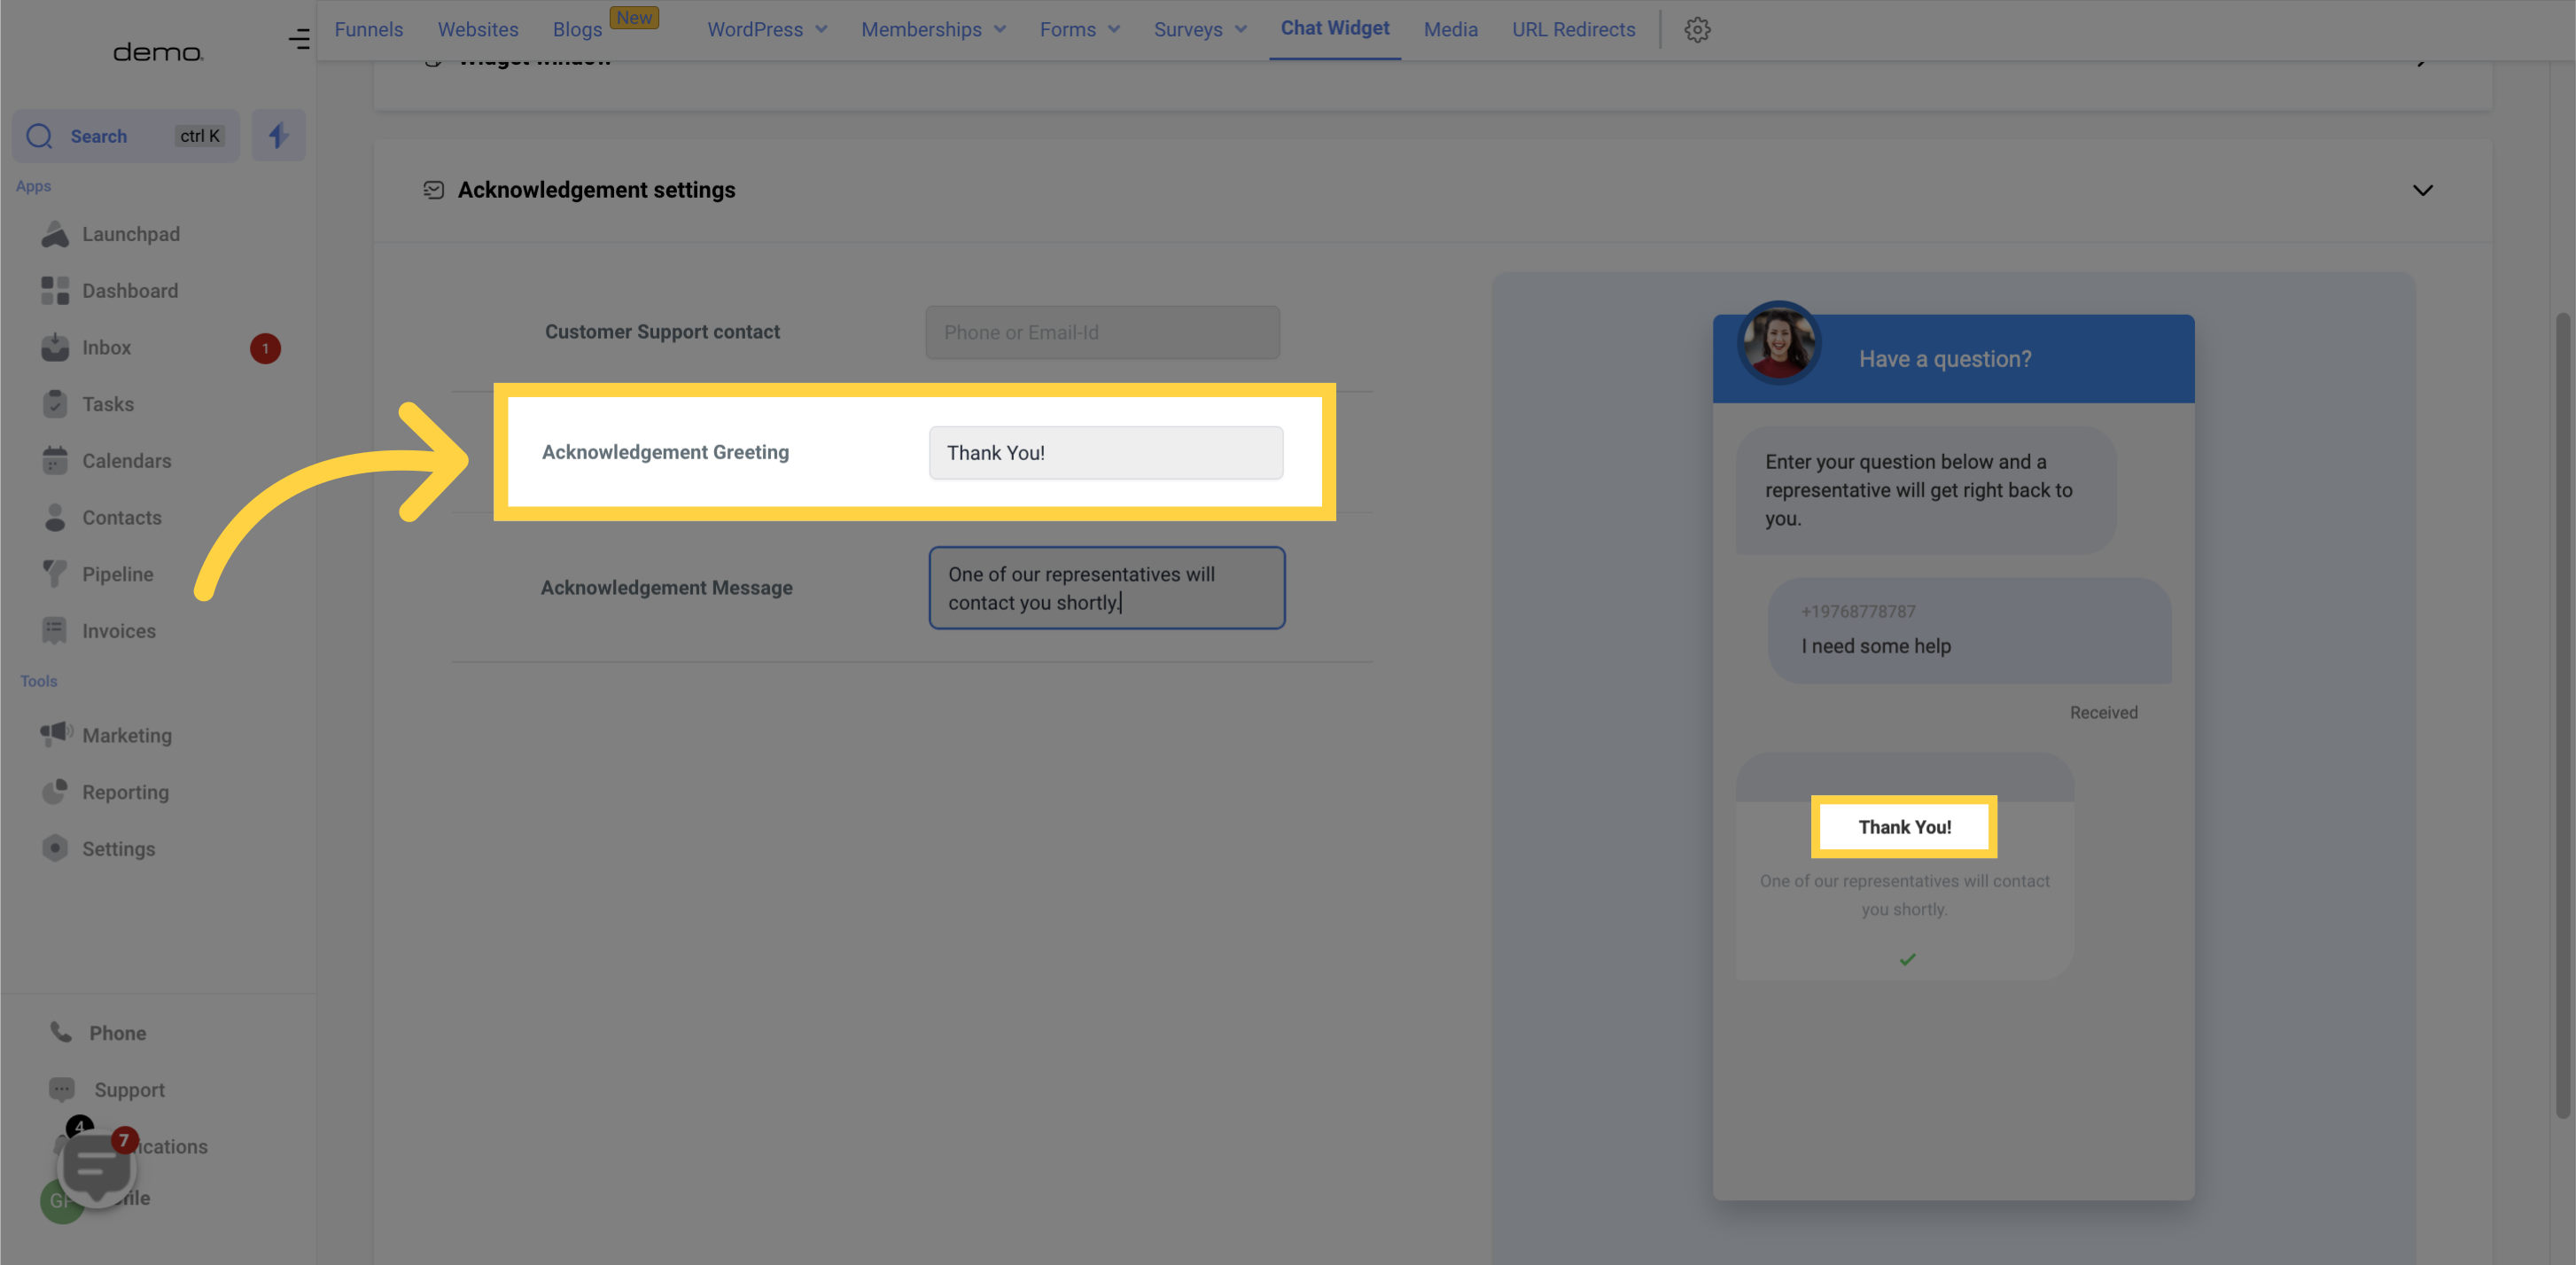
Make your thank you message stand out by adding a custom heading! With a unique and attention-grabbing title, your message will be sure to stand out and leave a lasting impression on the recipient
Let your new leads know that their information has been successfully passed on and that your team is excited to get in touch with them! Customize the thank you message to make it as personal or general as you see fit. This will not only help build a stronger relationship with the leads, but also let them know that their business is valued. By reassuring them to sit tight and wait for a call, text, or email from your team, you are setting the right expectations and creating a positive experience for your potential customers.