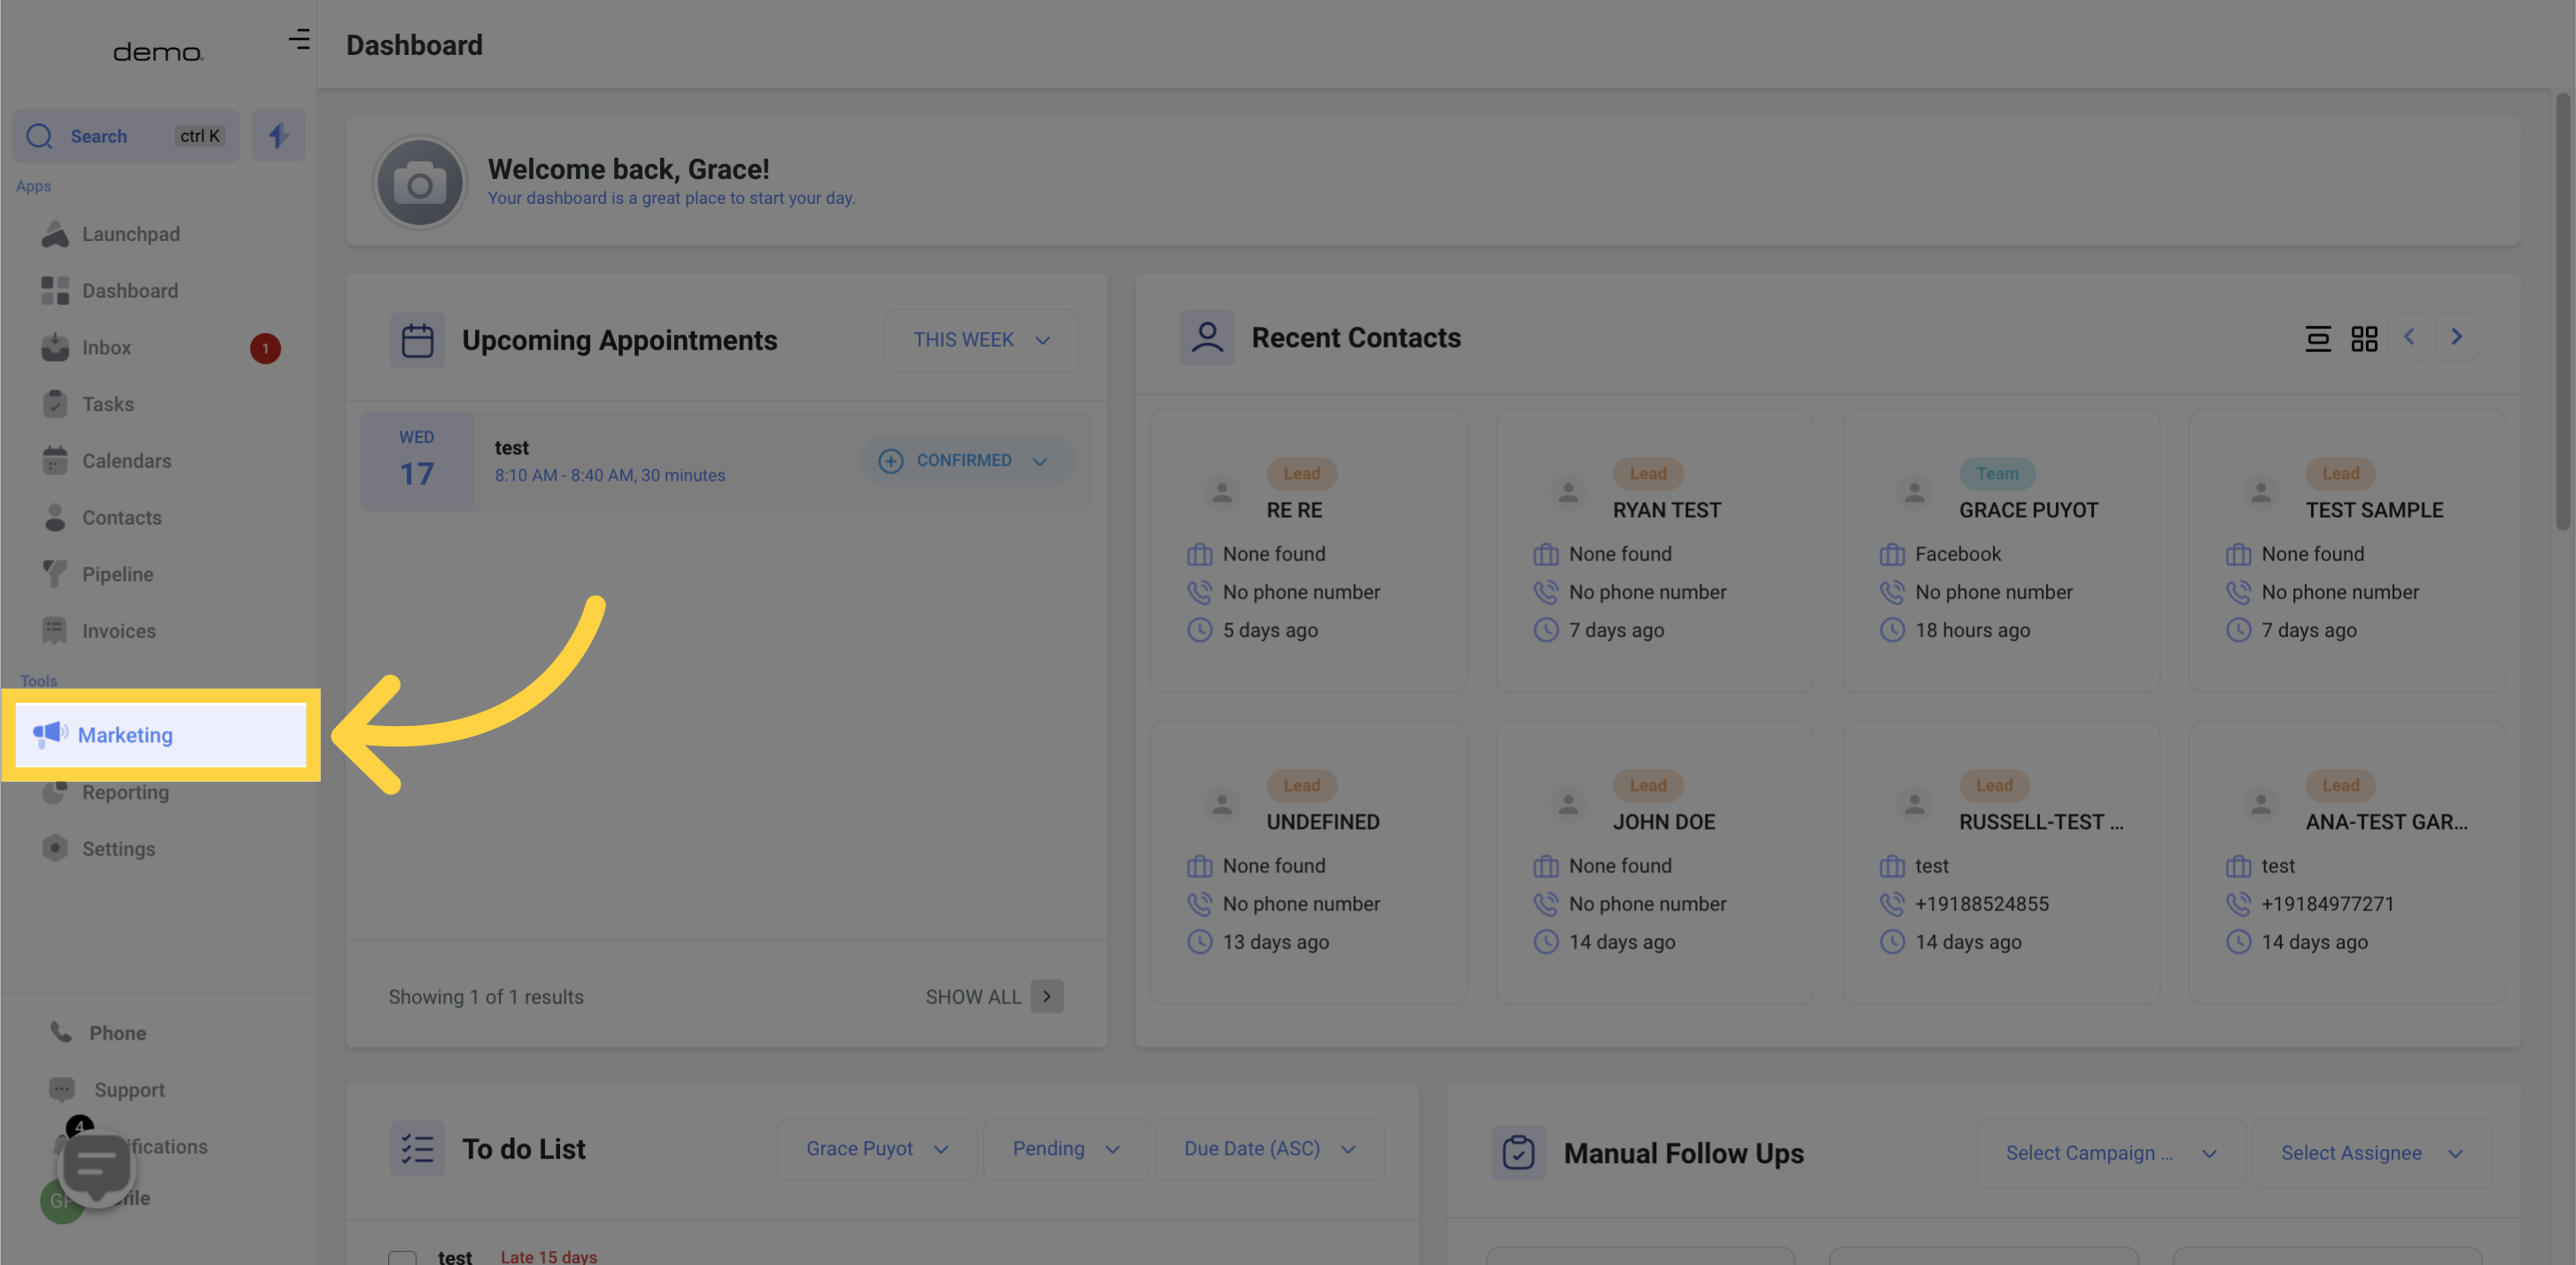
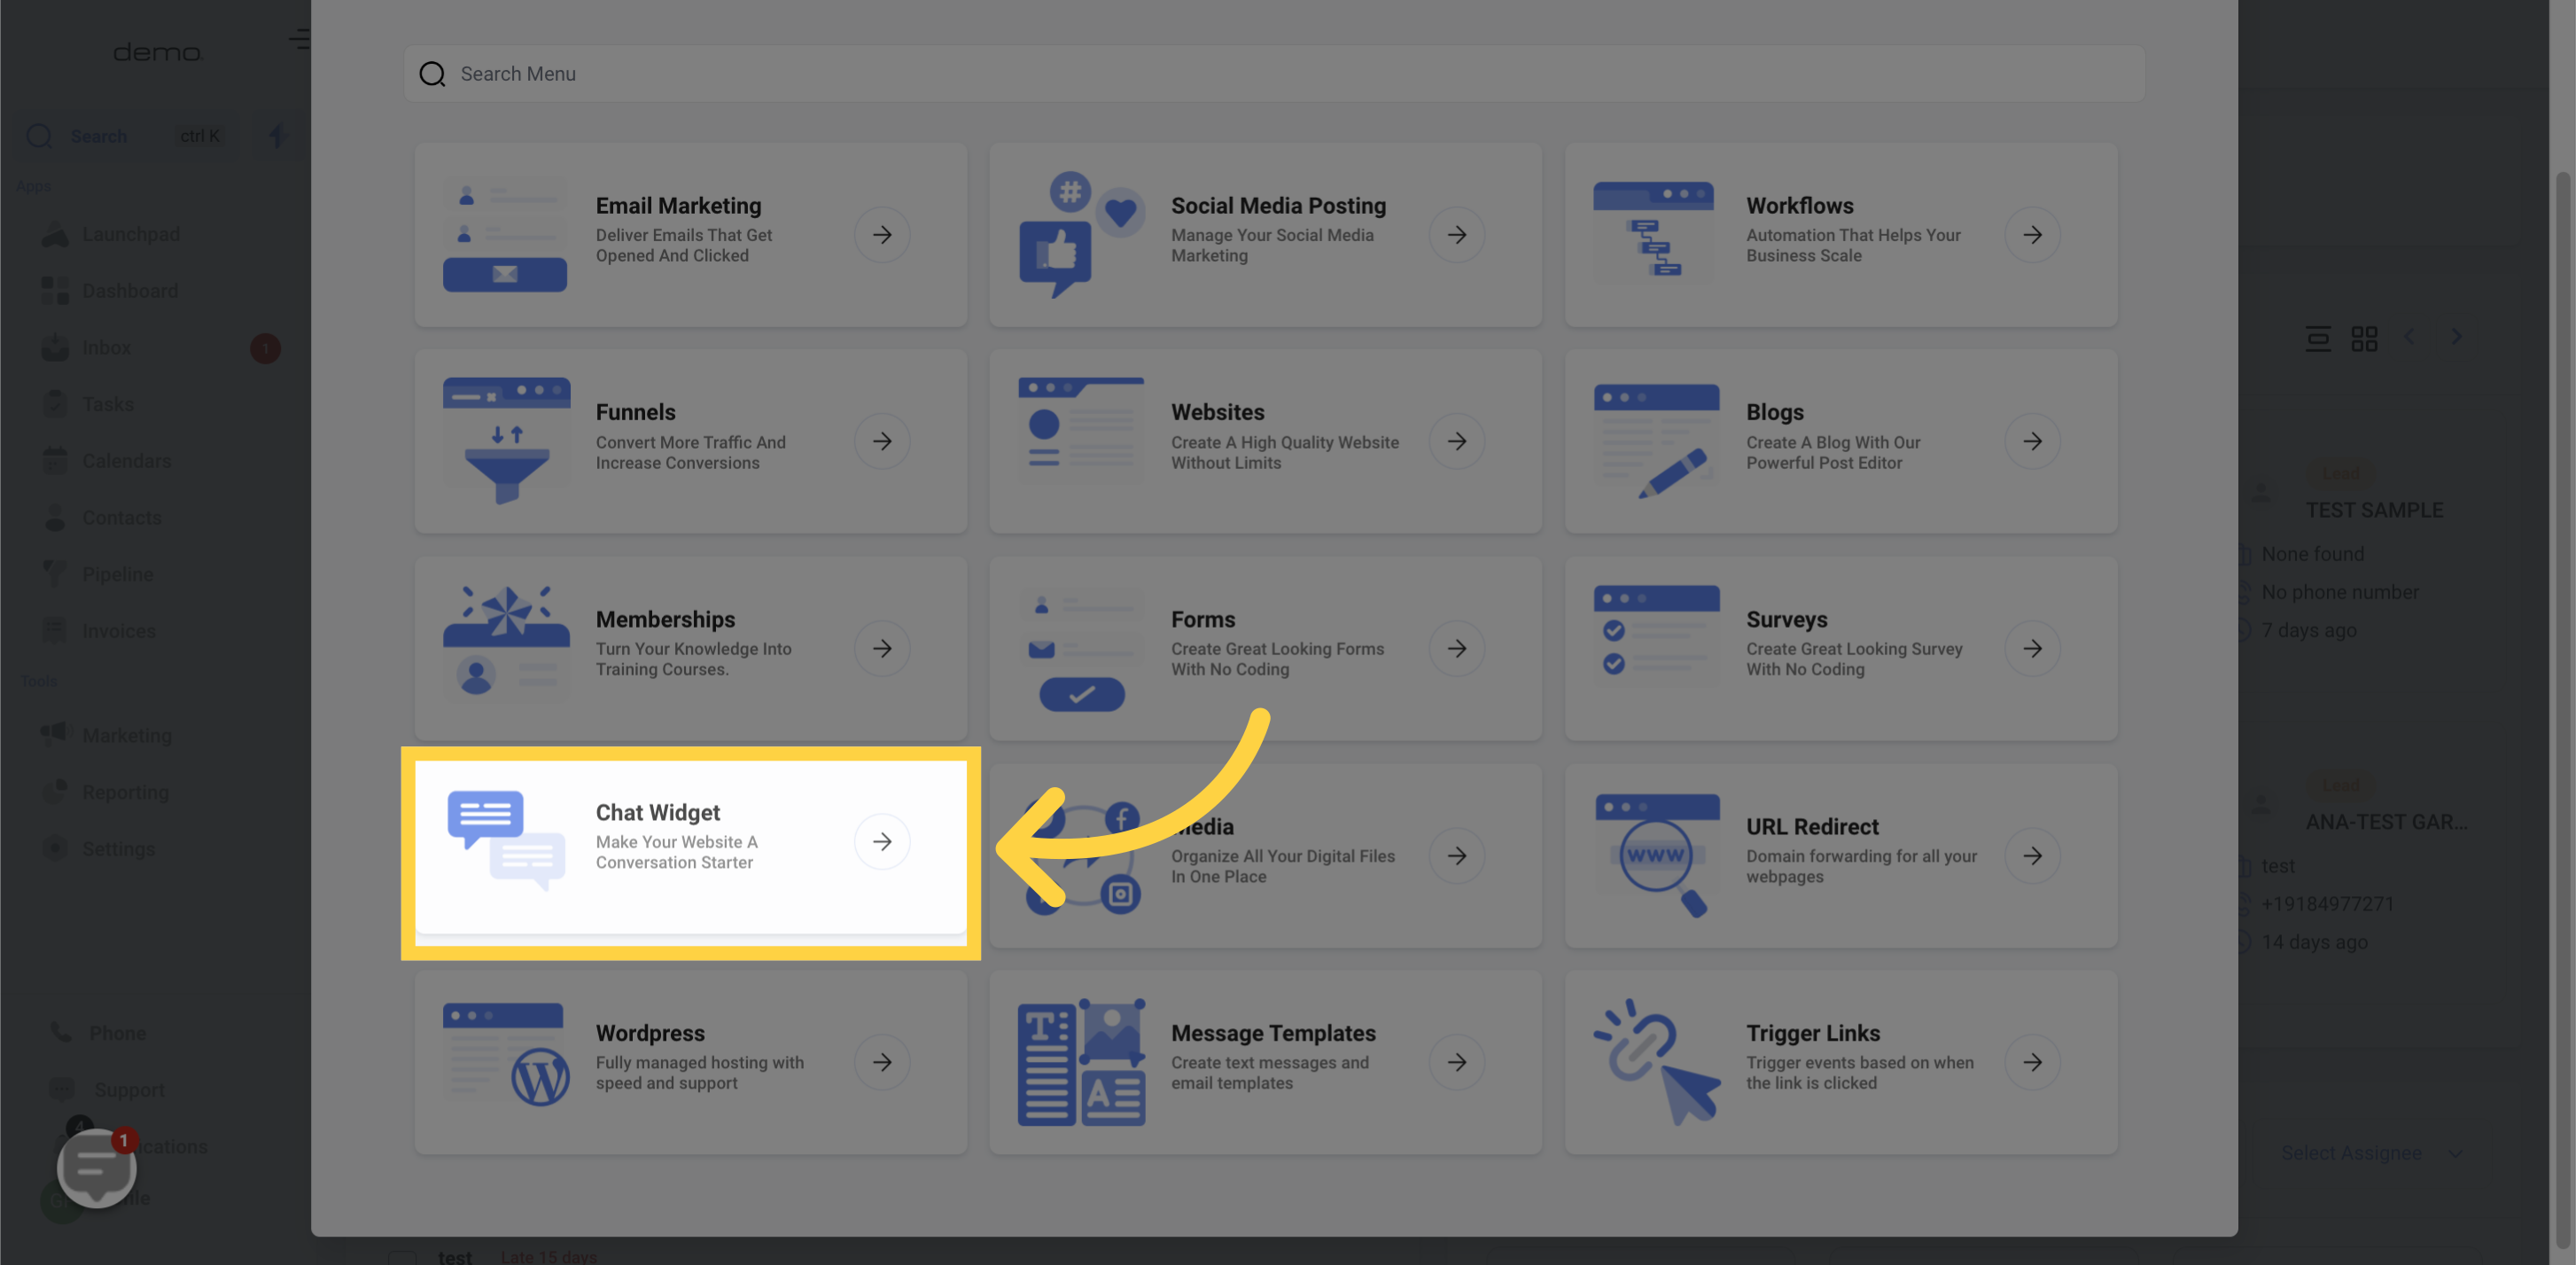
Go to the Marketing section
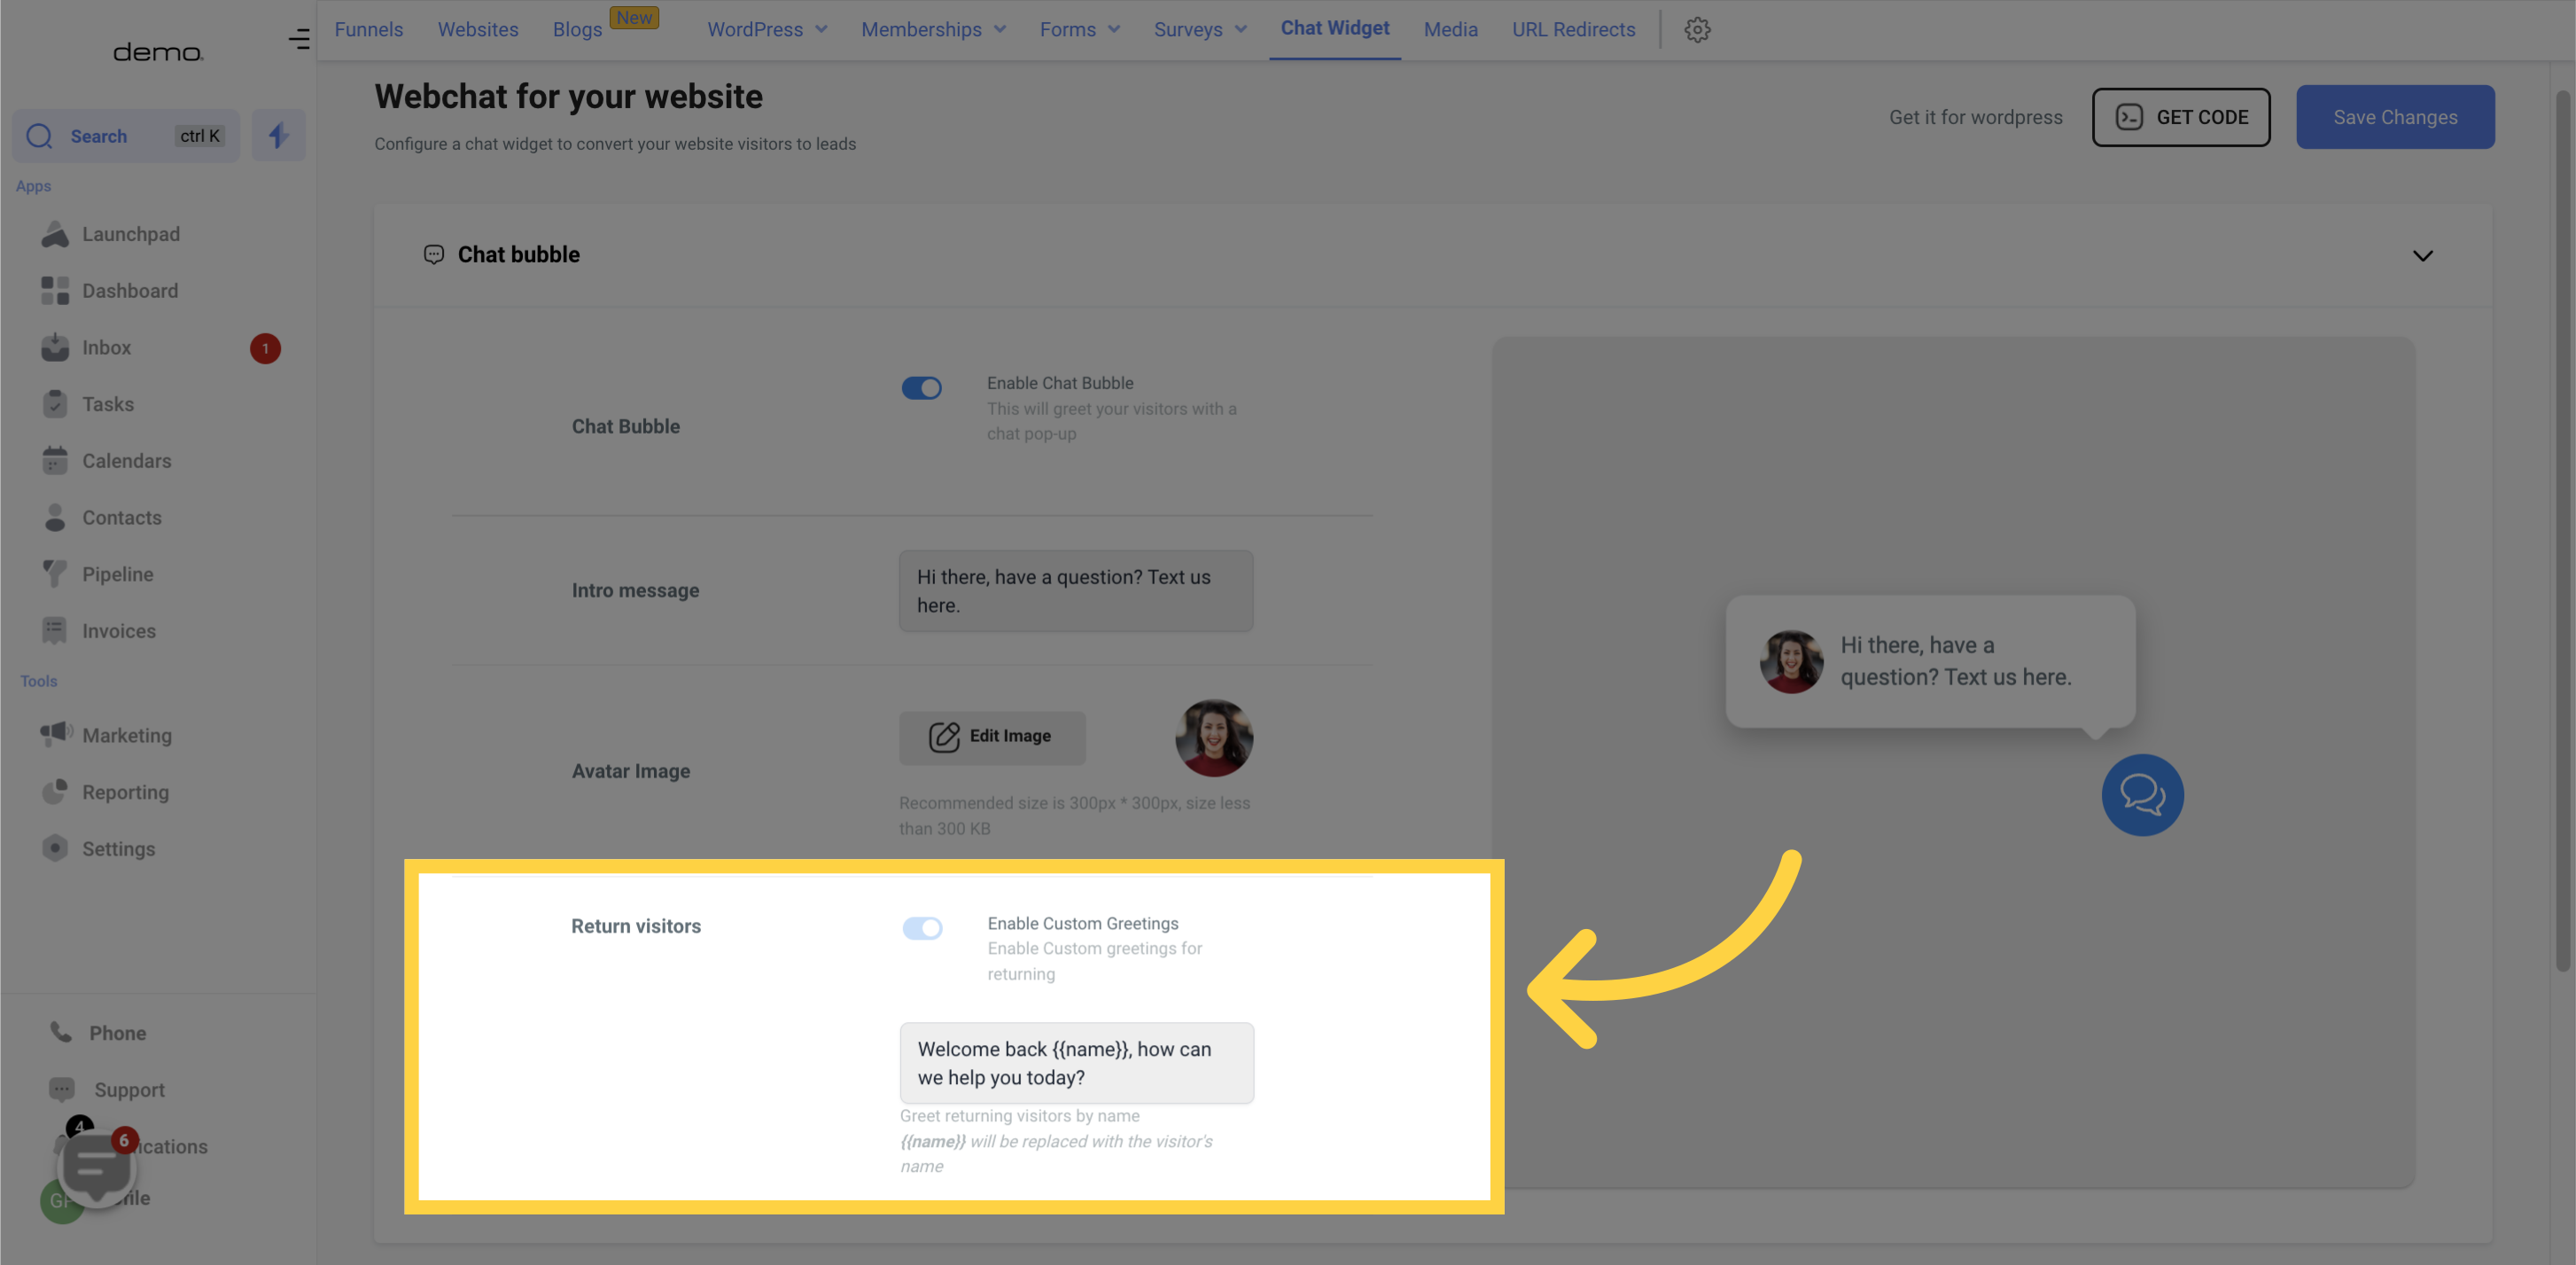
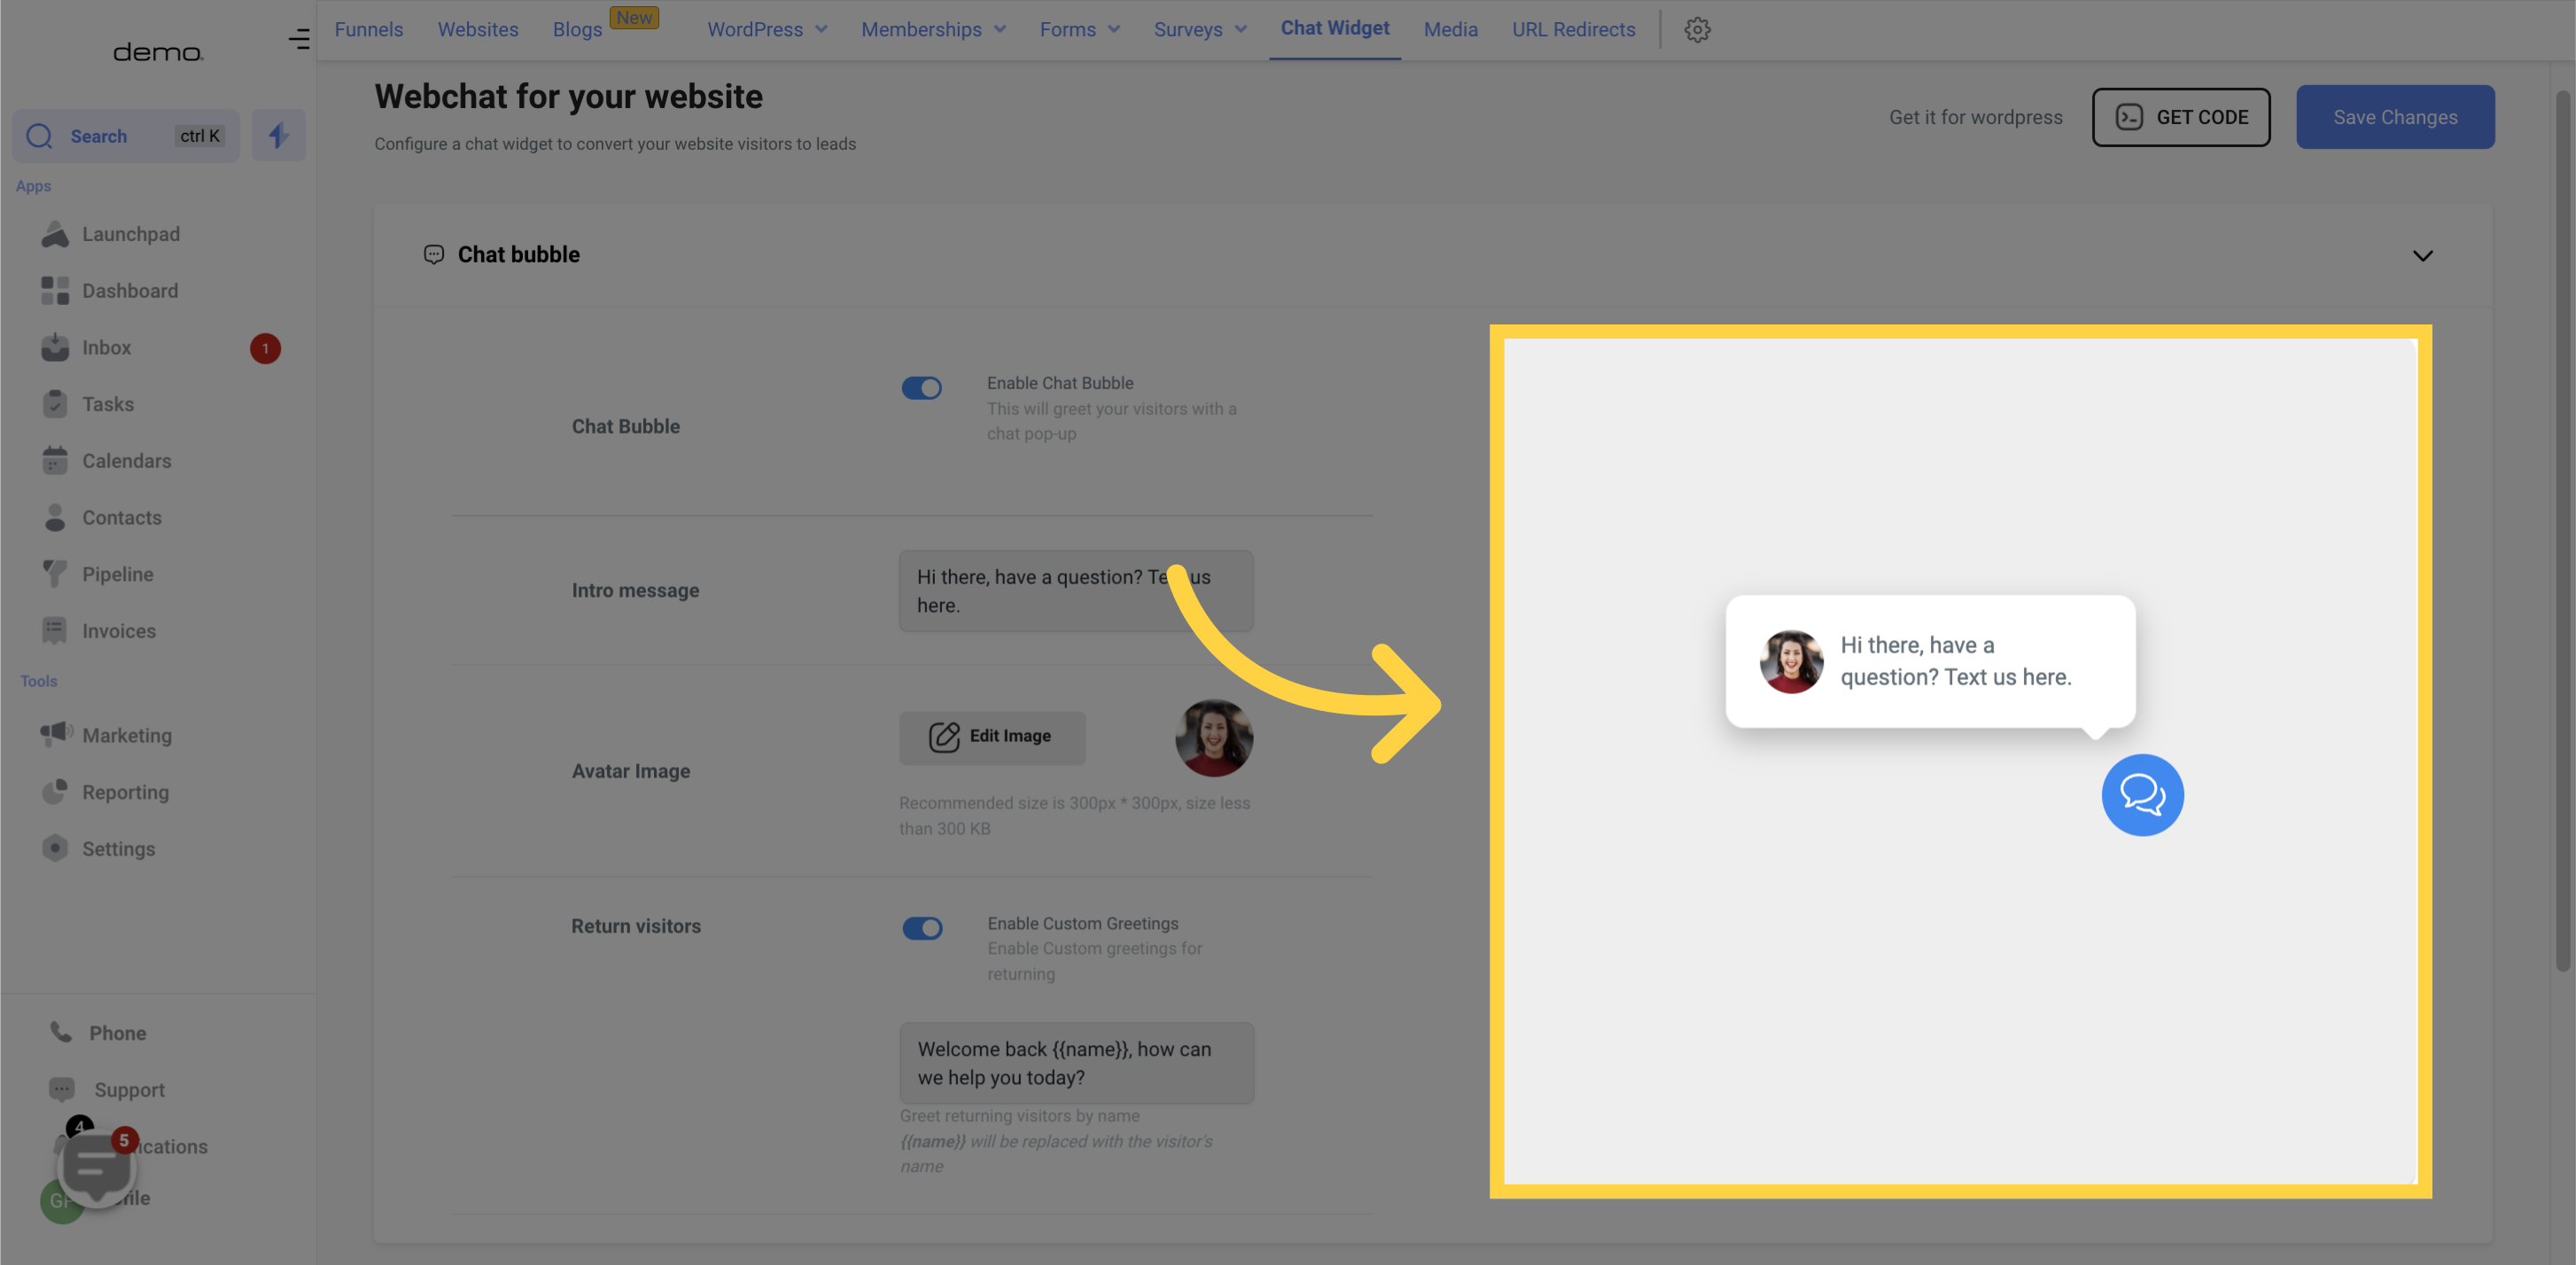
Get a glimpse of what your website chat widget bubble will look like with our preview feature. As you customize your chat widget, you can see the changes happening in real-time with this handy preview tool.
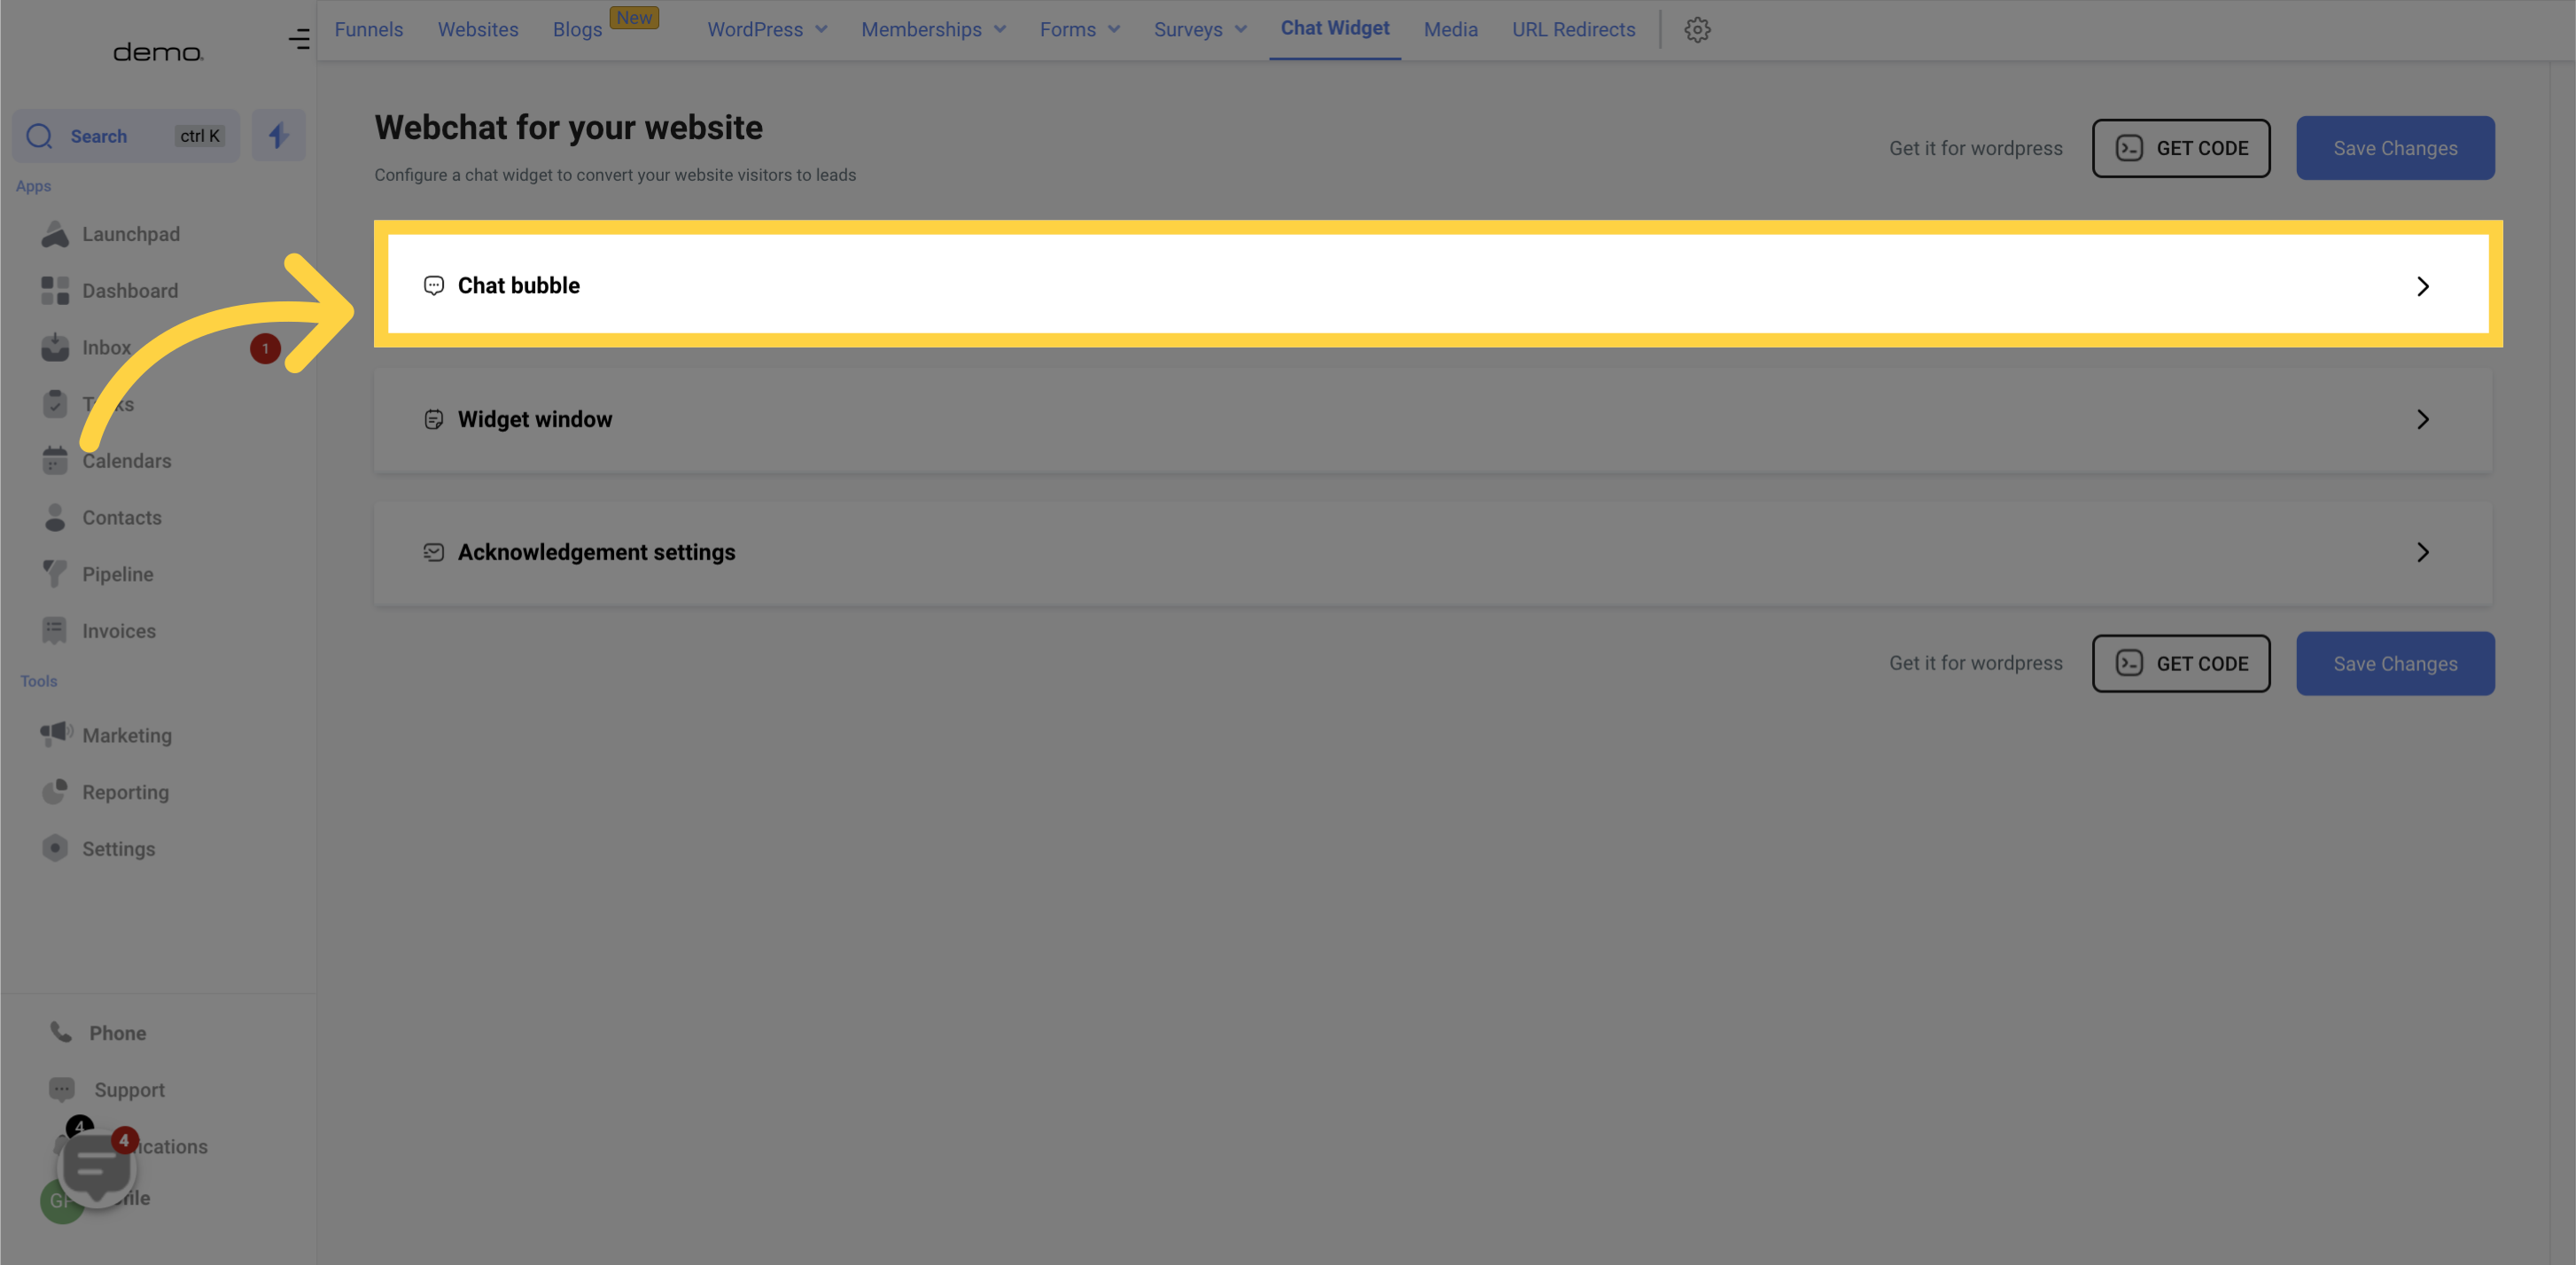
To use the chat widget, toggle this to enable it.

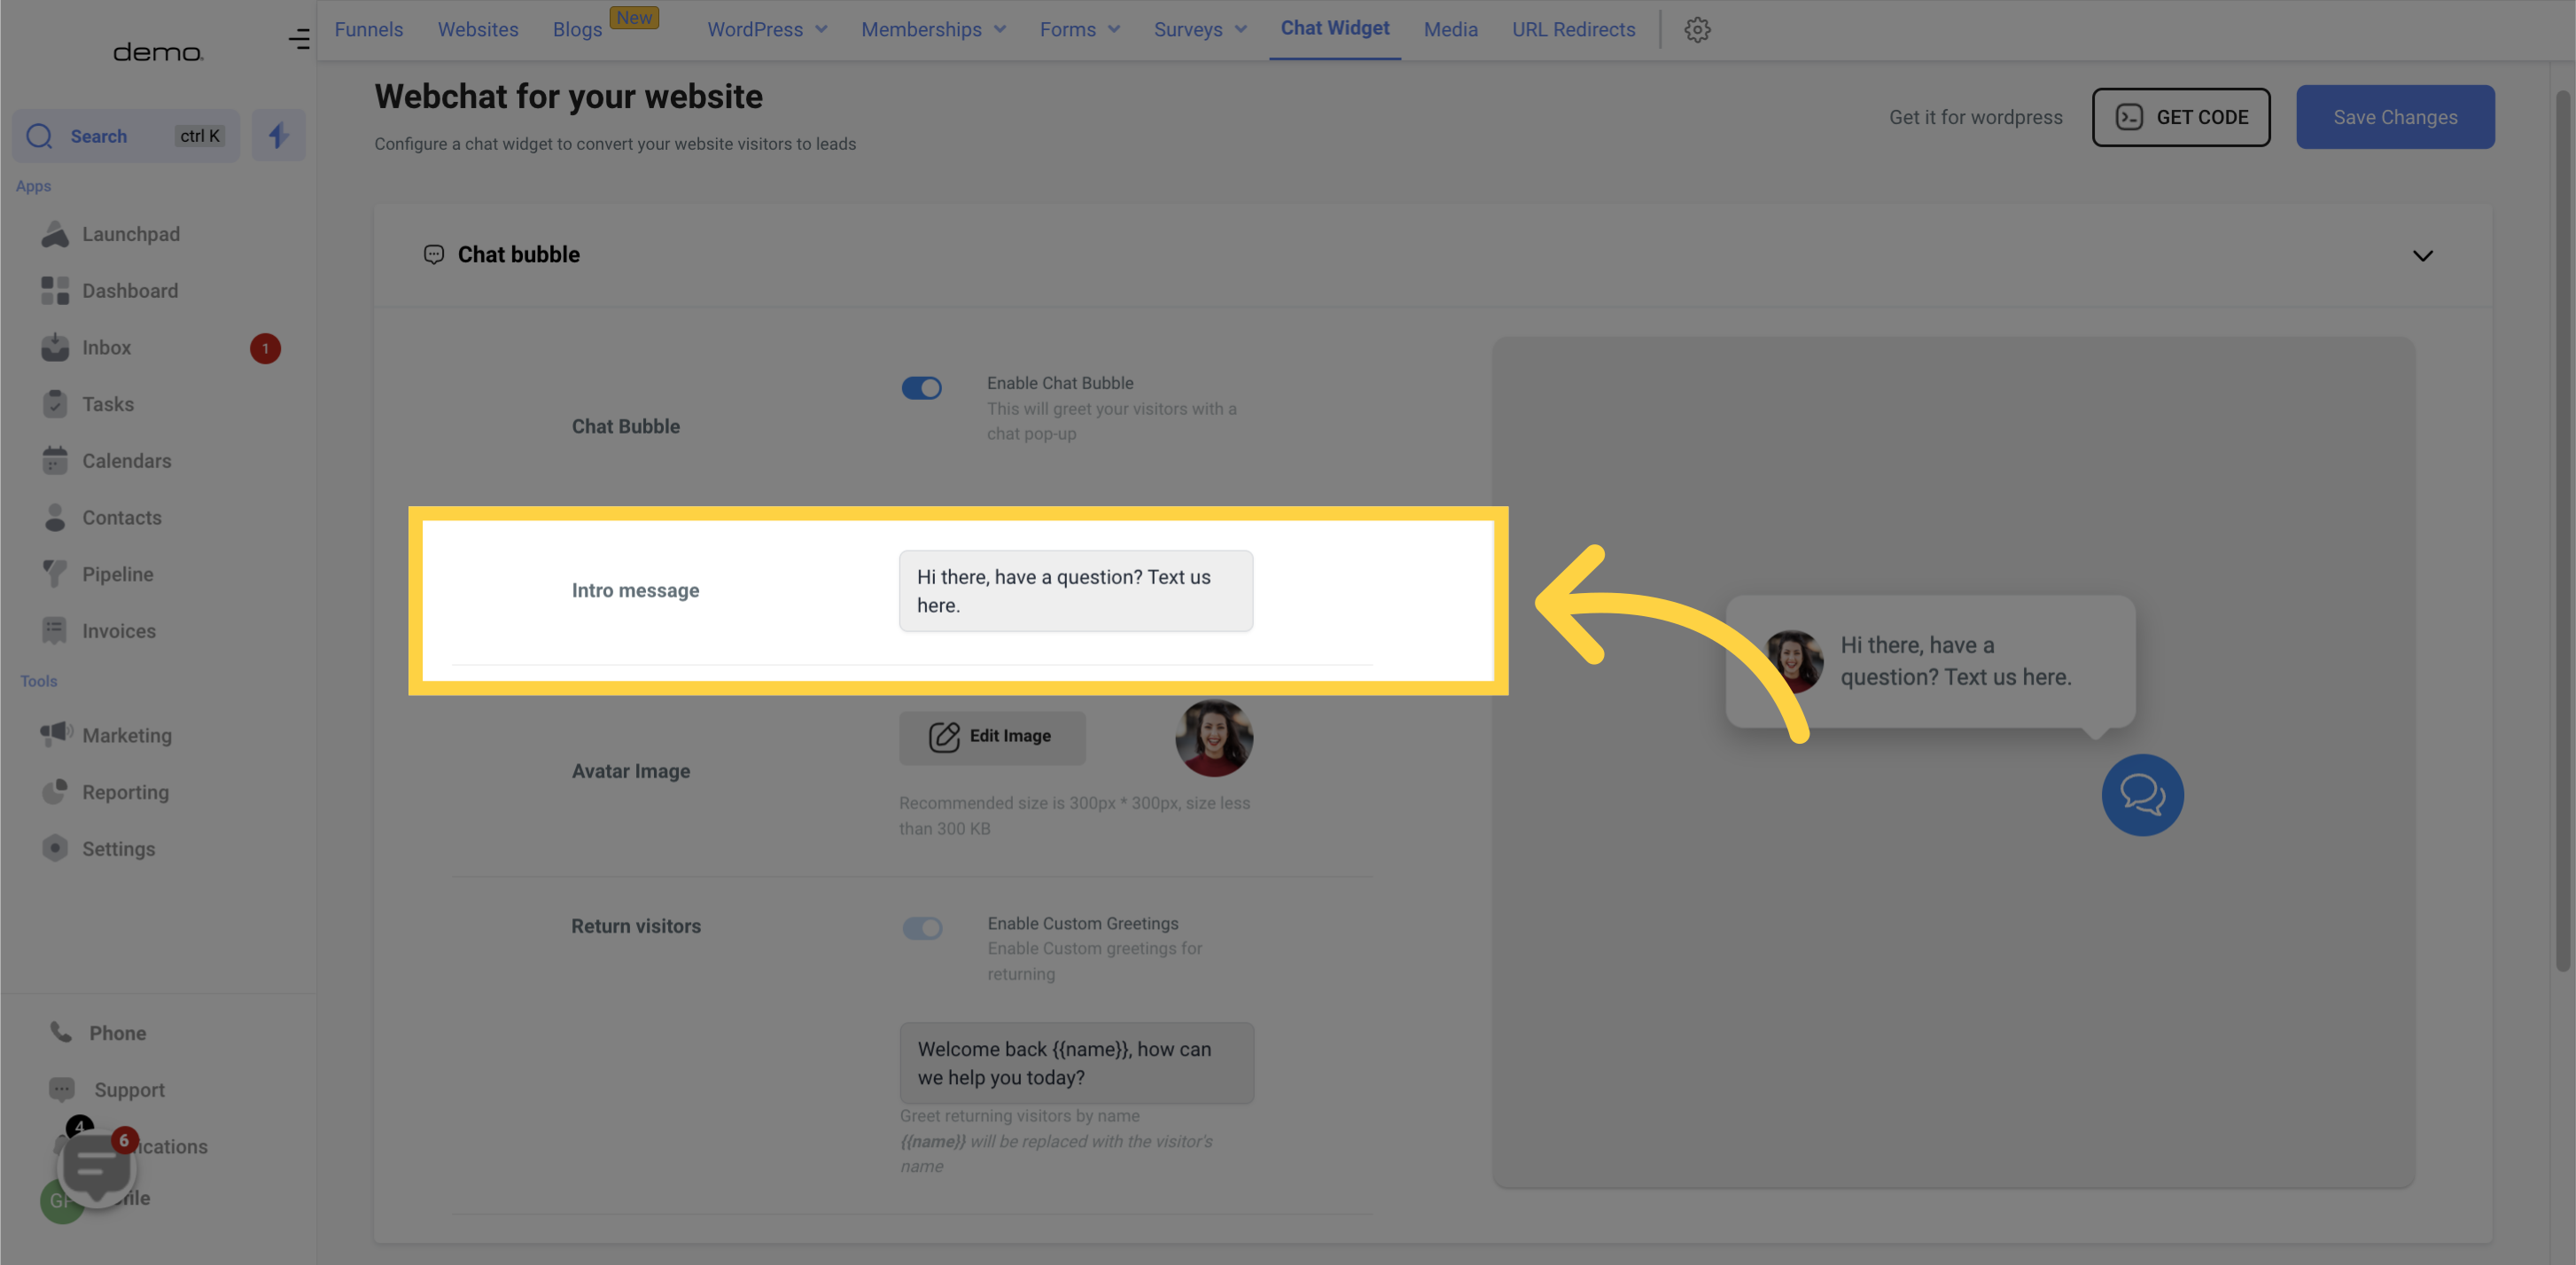
This feature allows you to customize the welcome message that appears for new website visitors. You can use this text to either offer support or a marketing message to encourage visitors to click on the chat widget.
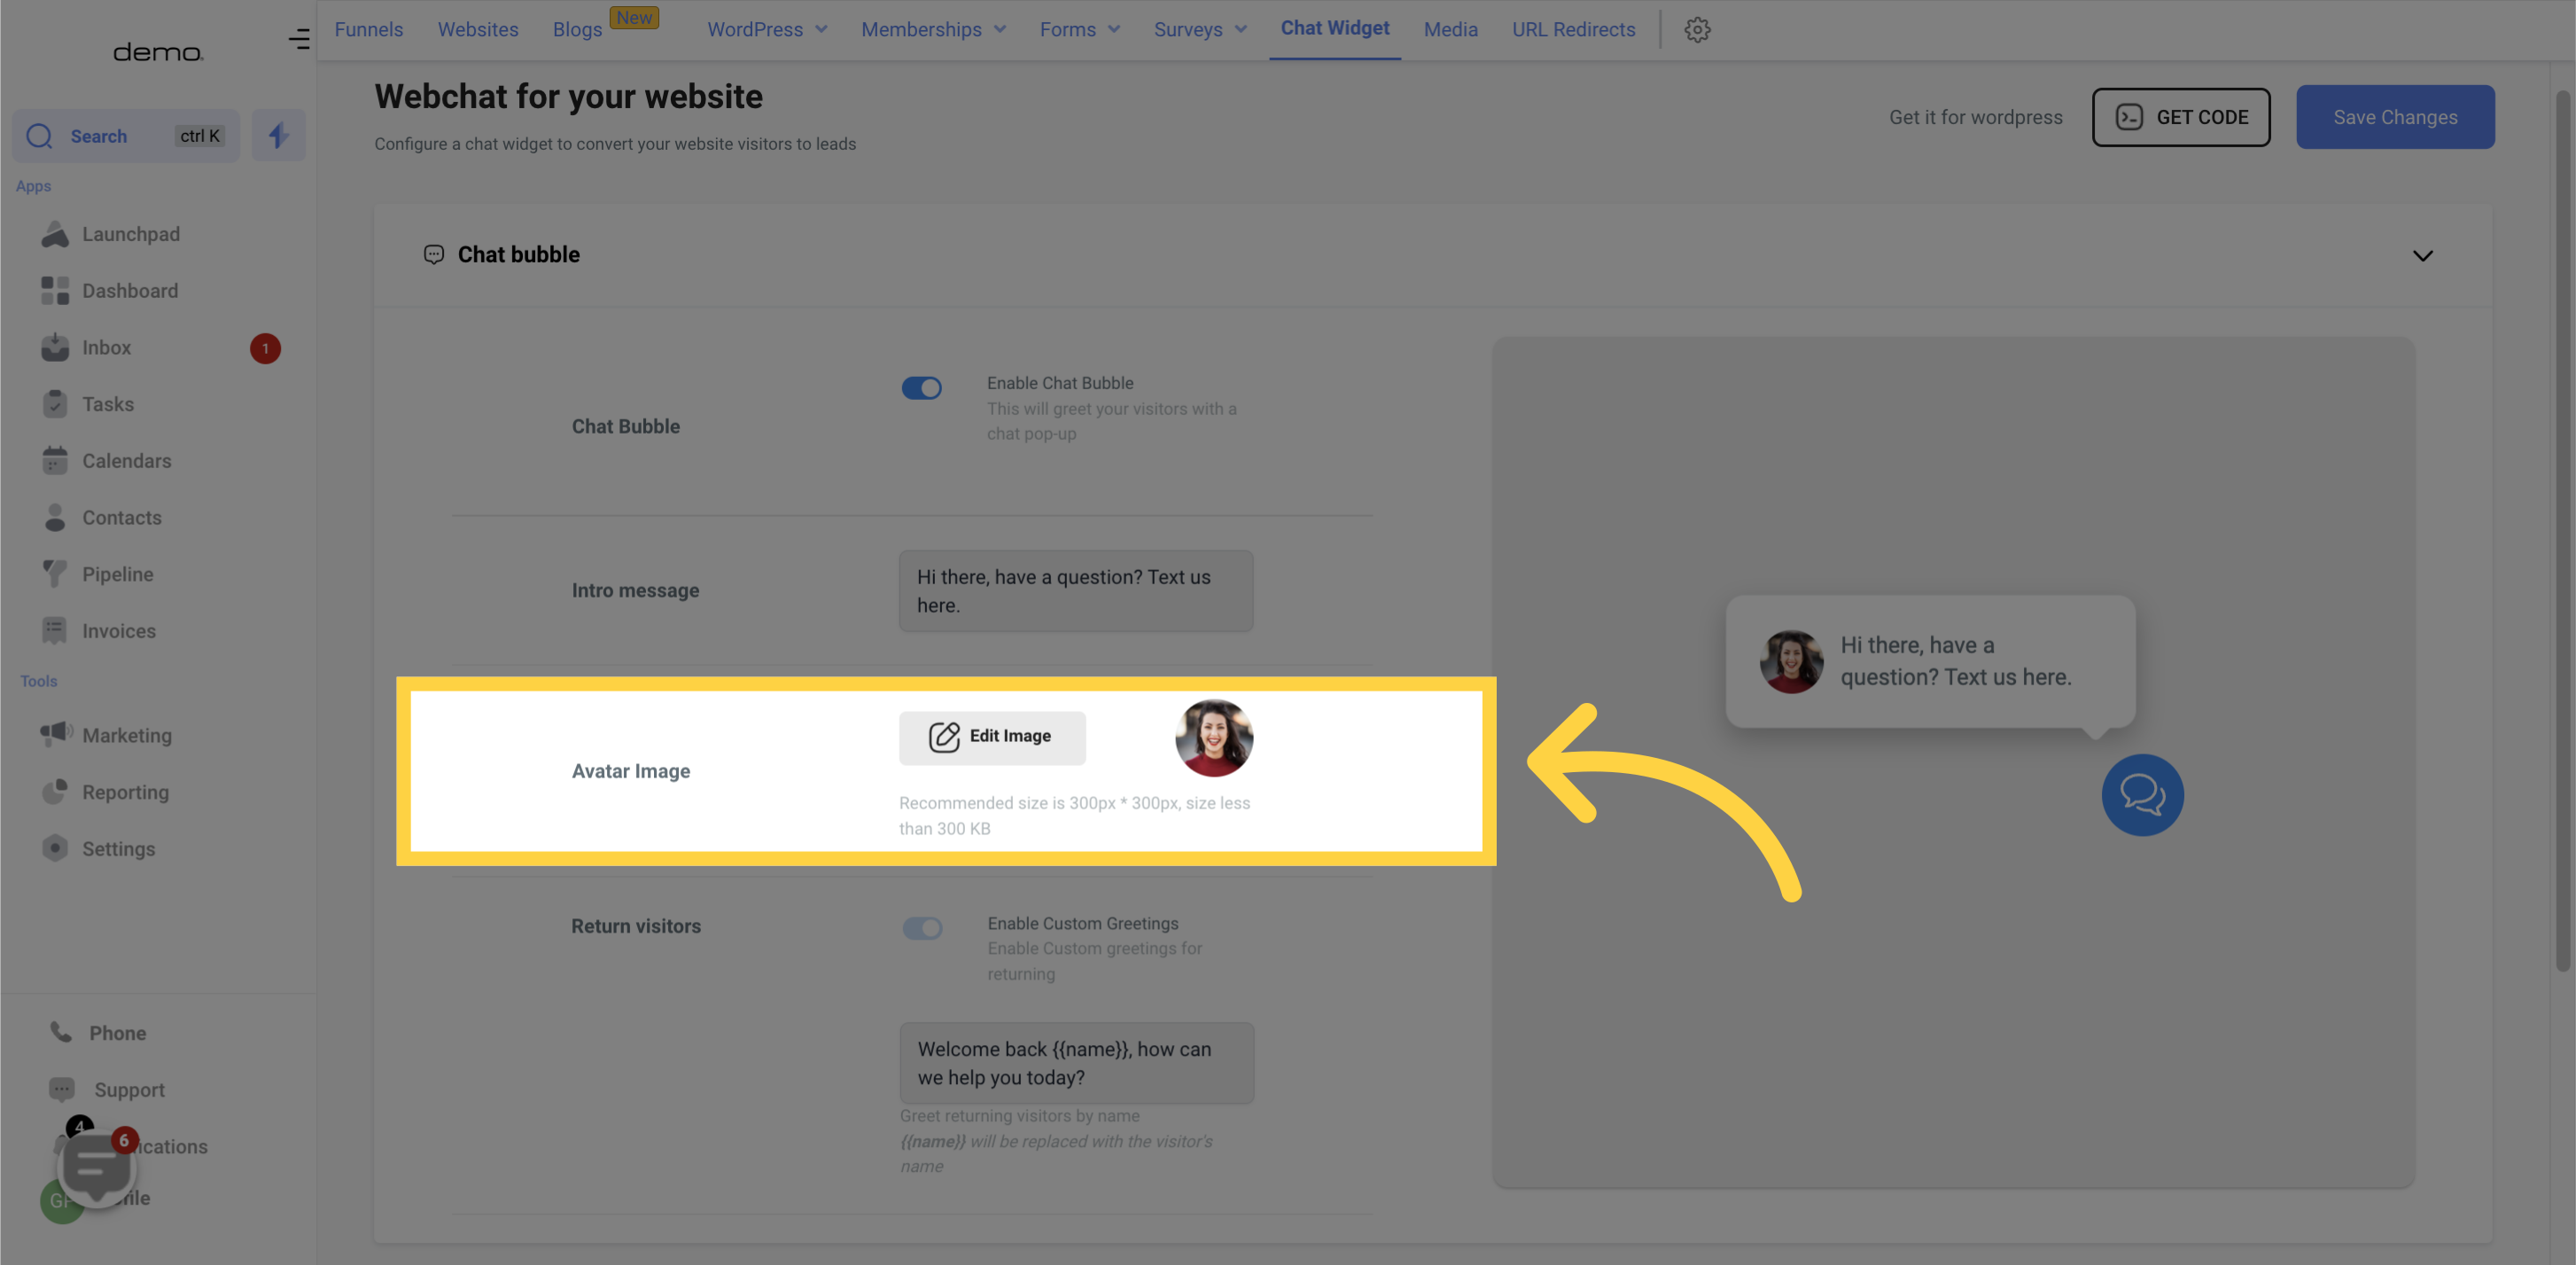
Personalize the user experience by changing the image that website visitors see when they interact with your chat widget. We suggest adding your company logo or a friendly face to establish a stronger connection.
If you have visitor tracking enabled on your website, take advantage of this powerful feature to create custom messages for return visitors. You can tailor your welcome message to add a touch of personalization and create a stronger connection with your audience.