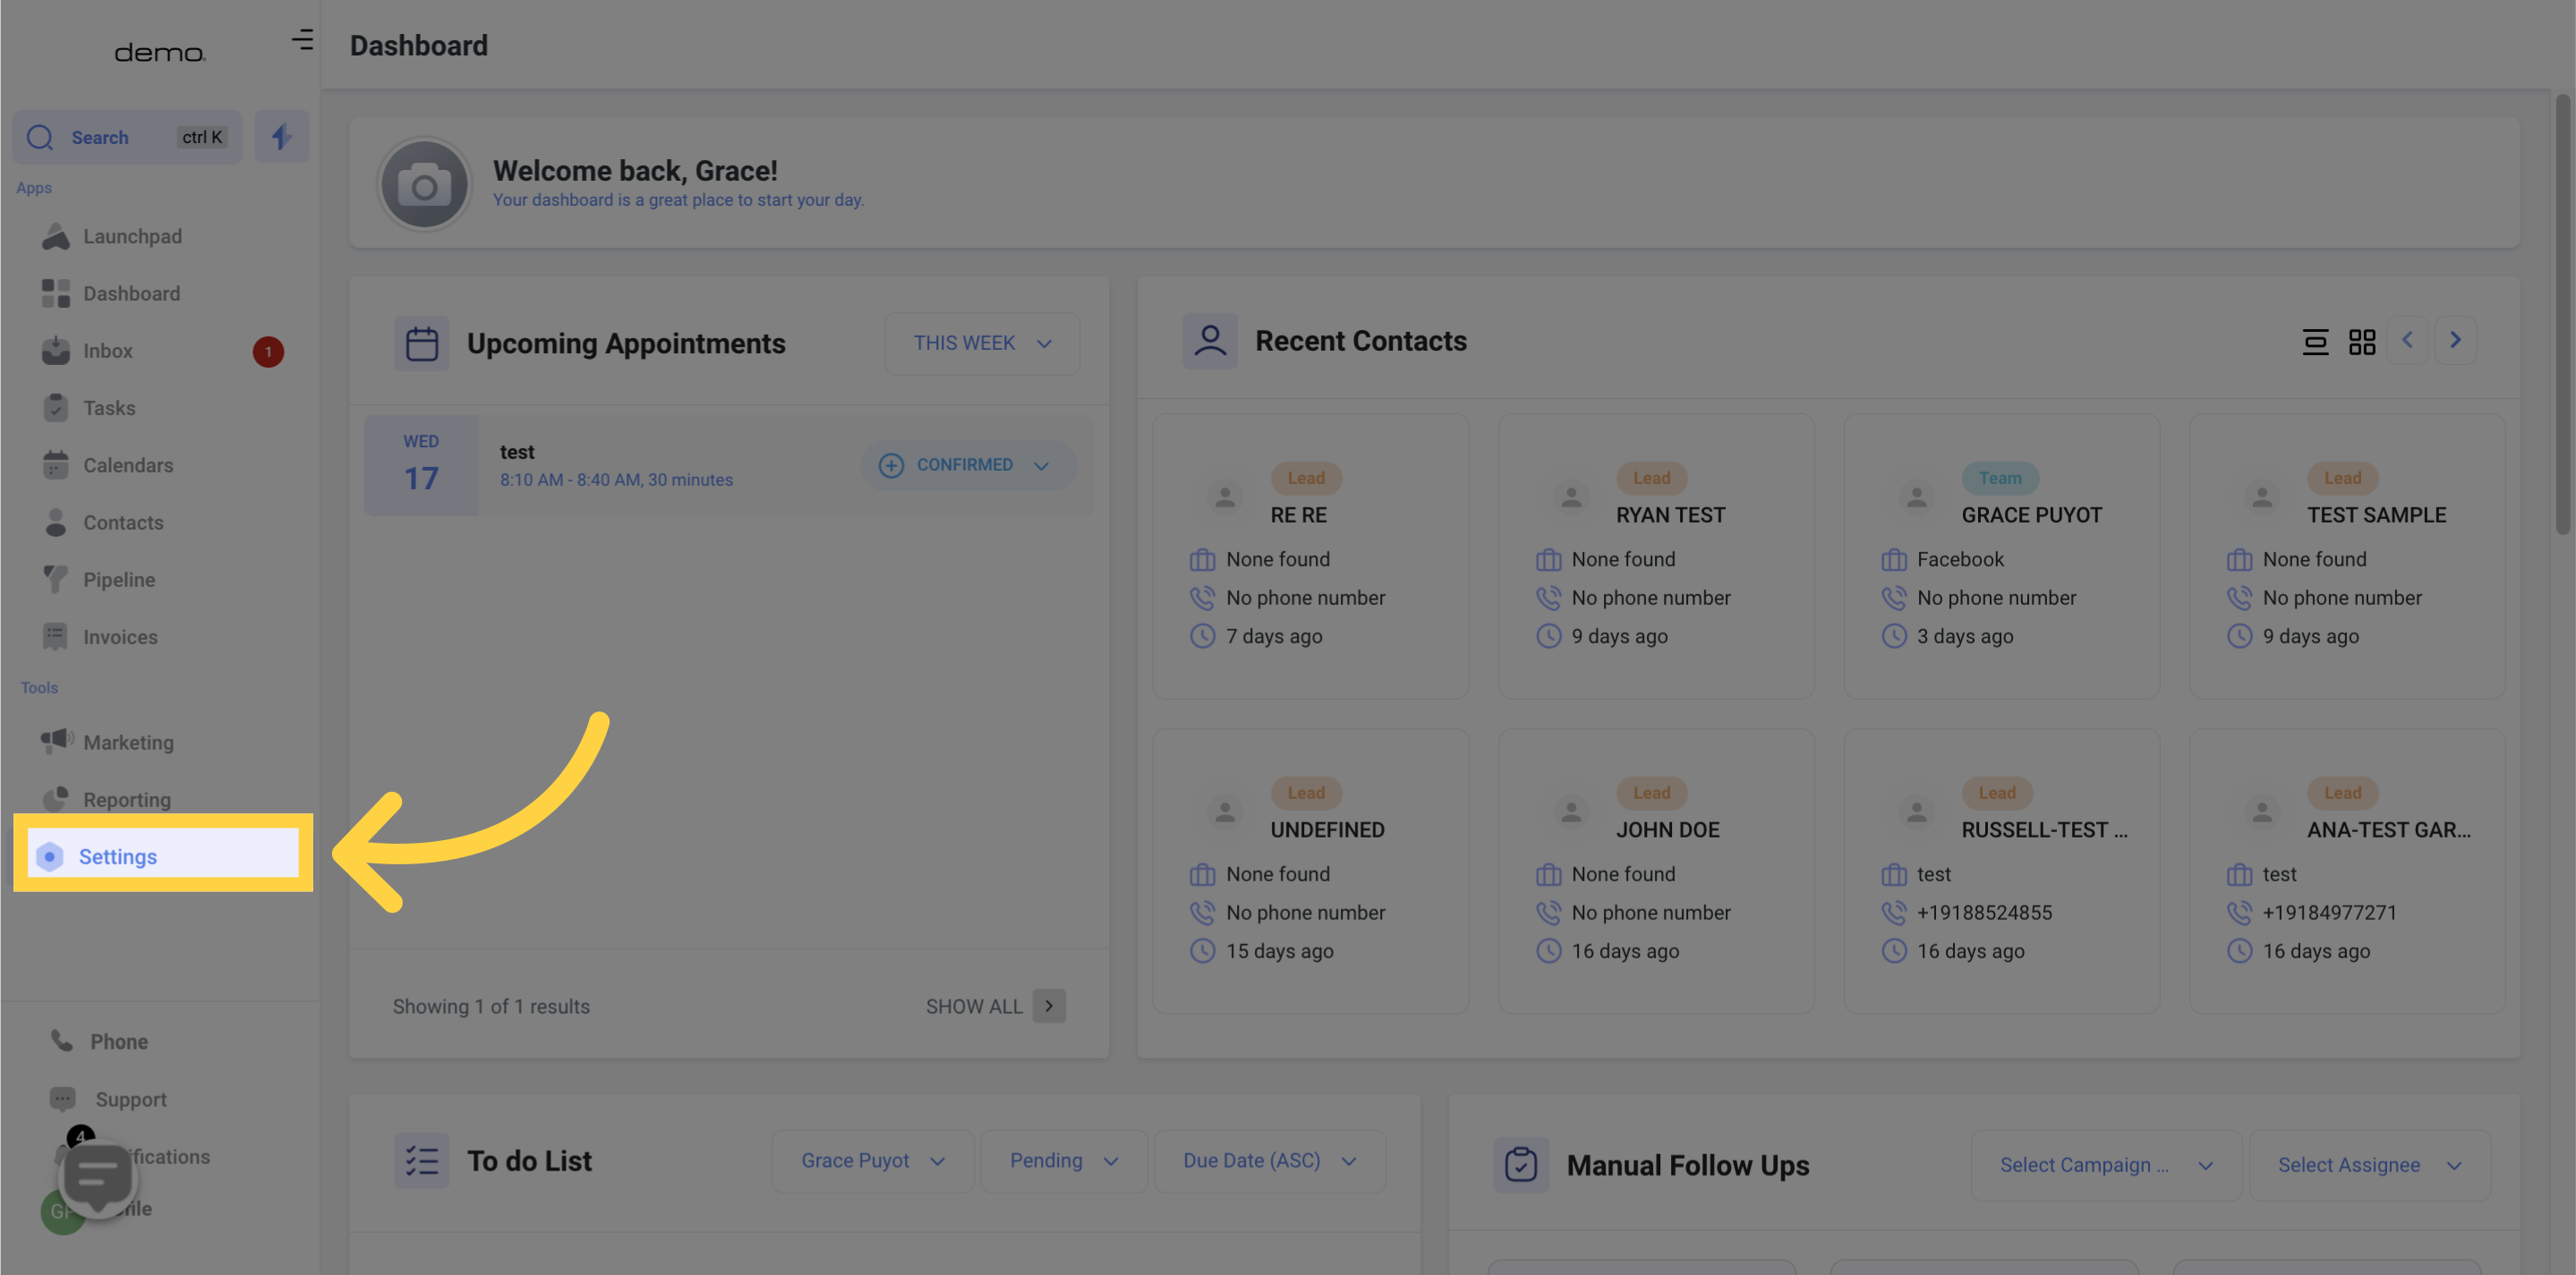
Access the settings section.
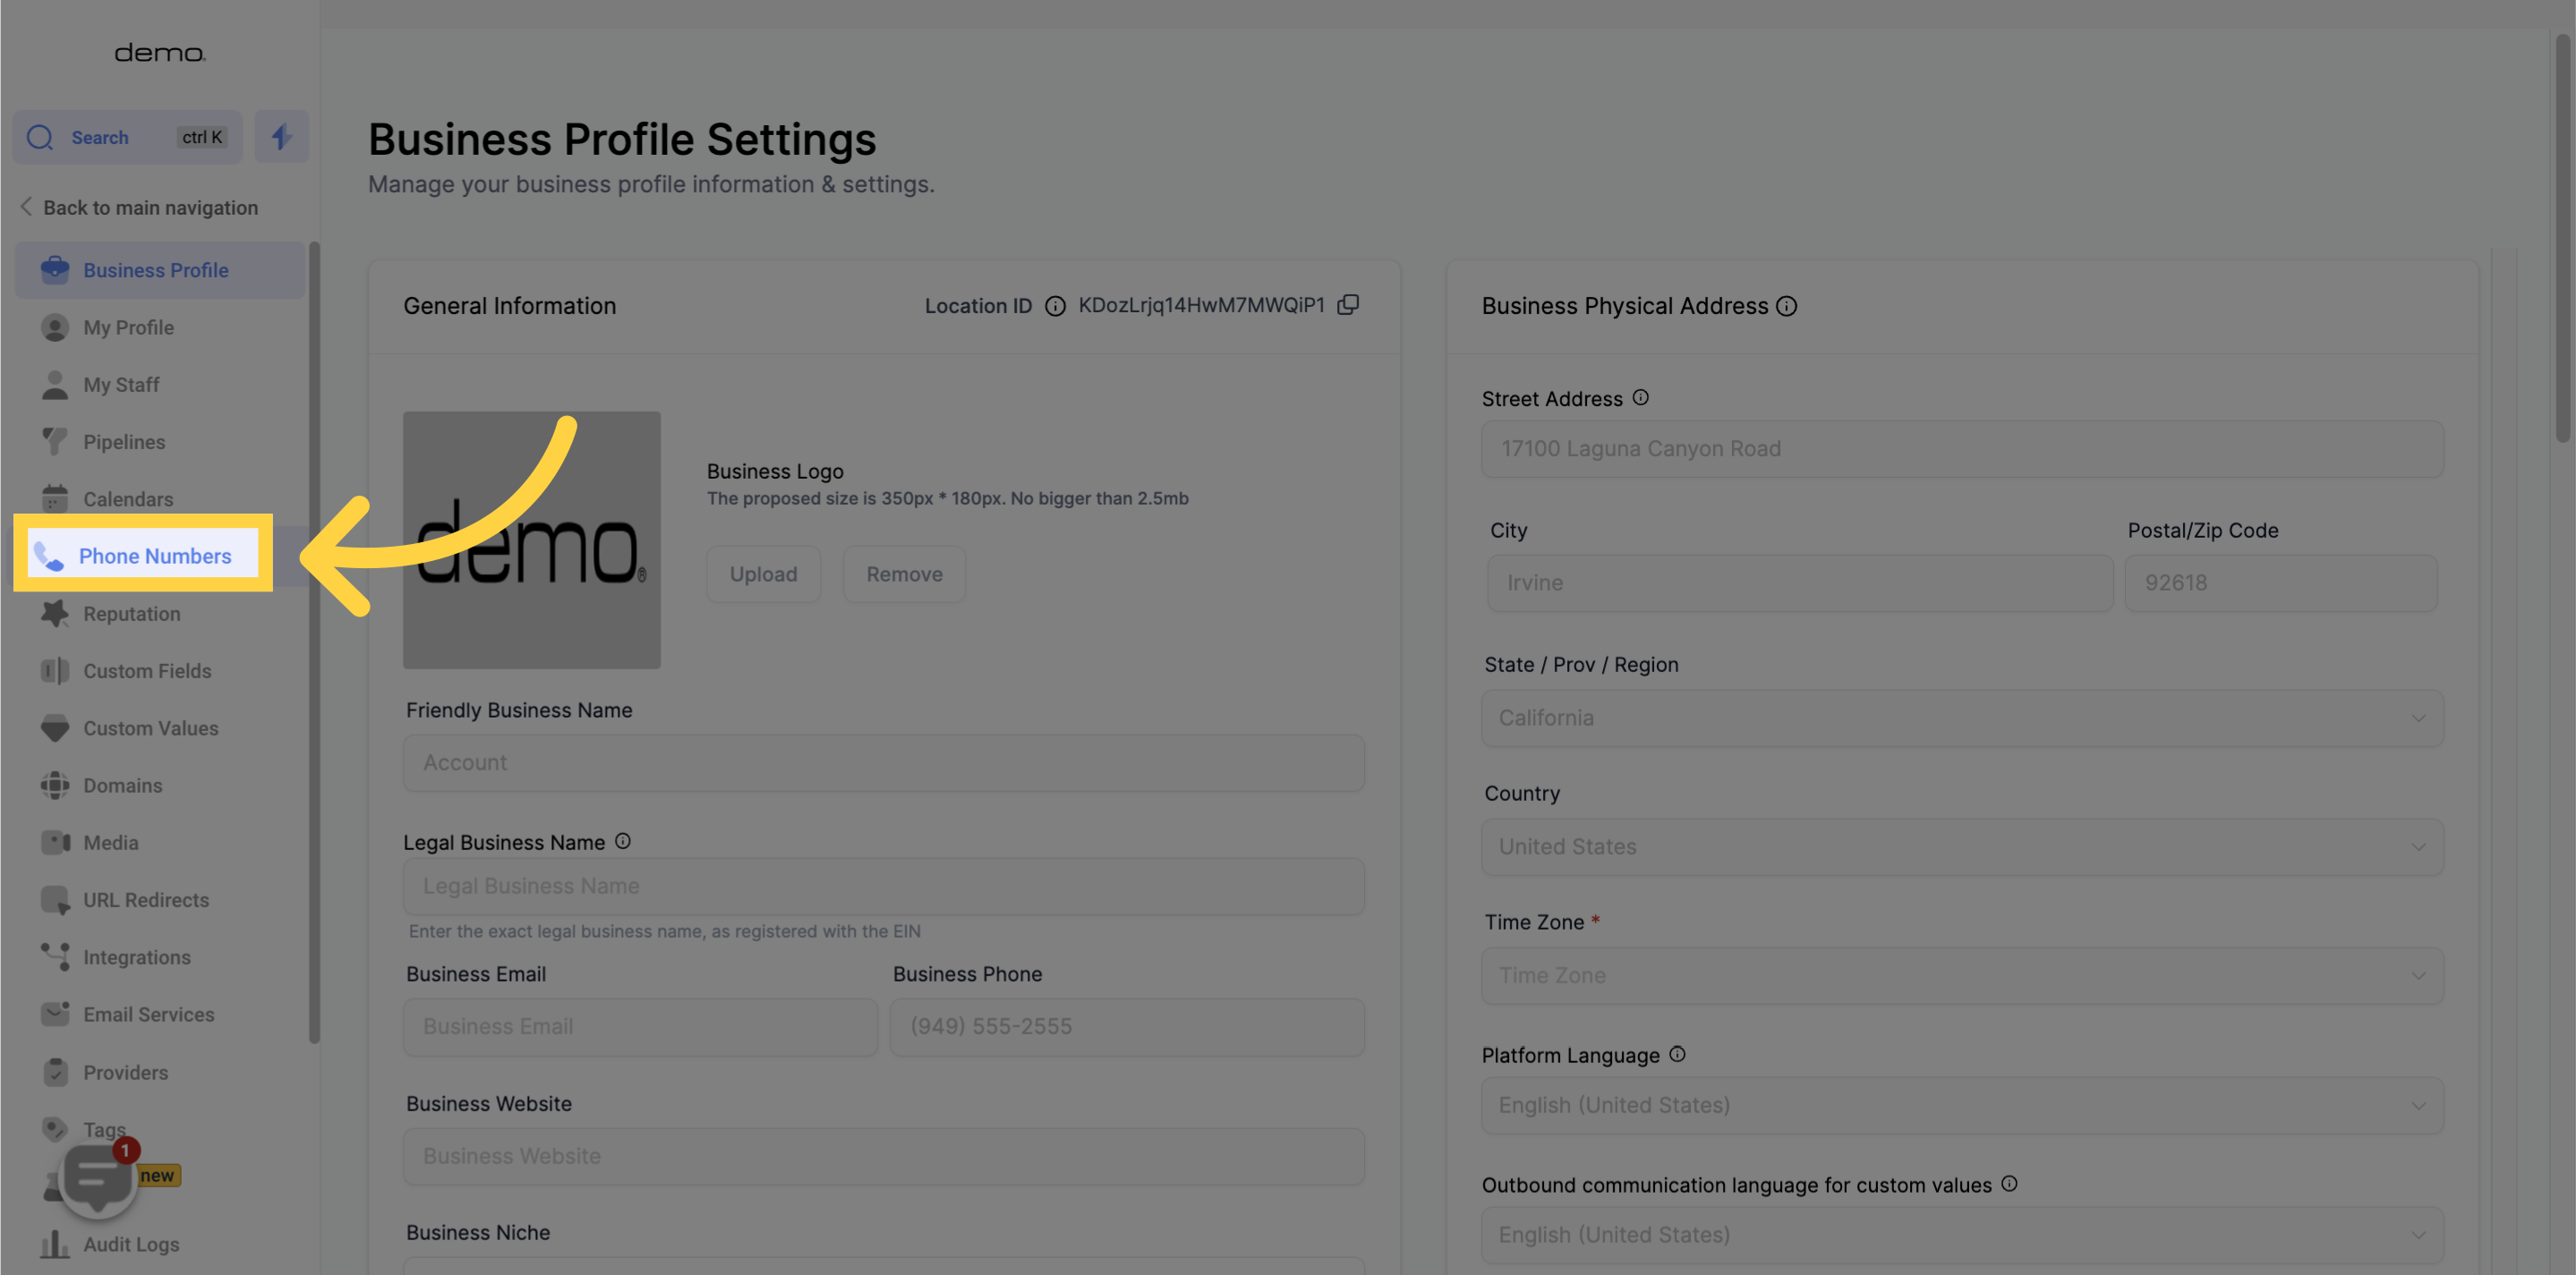
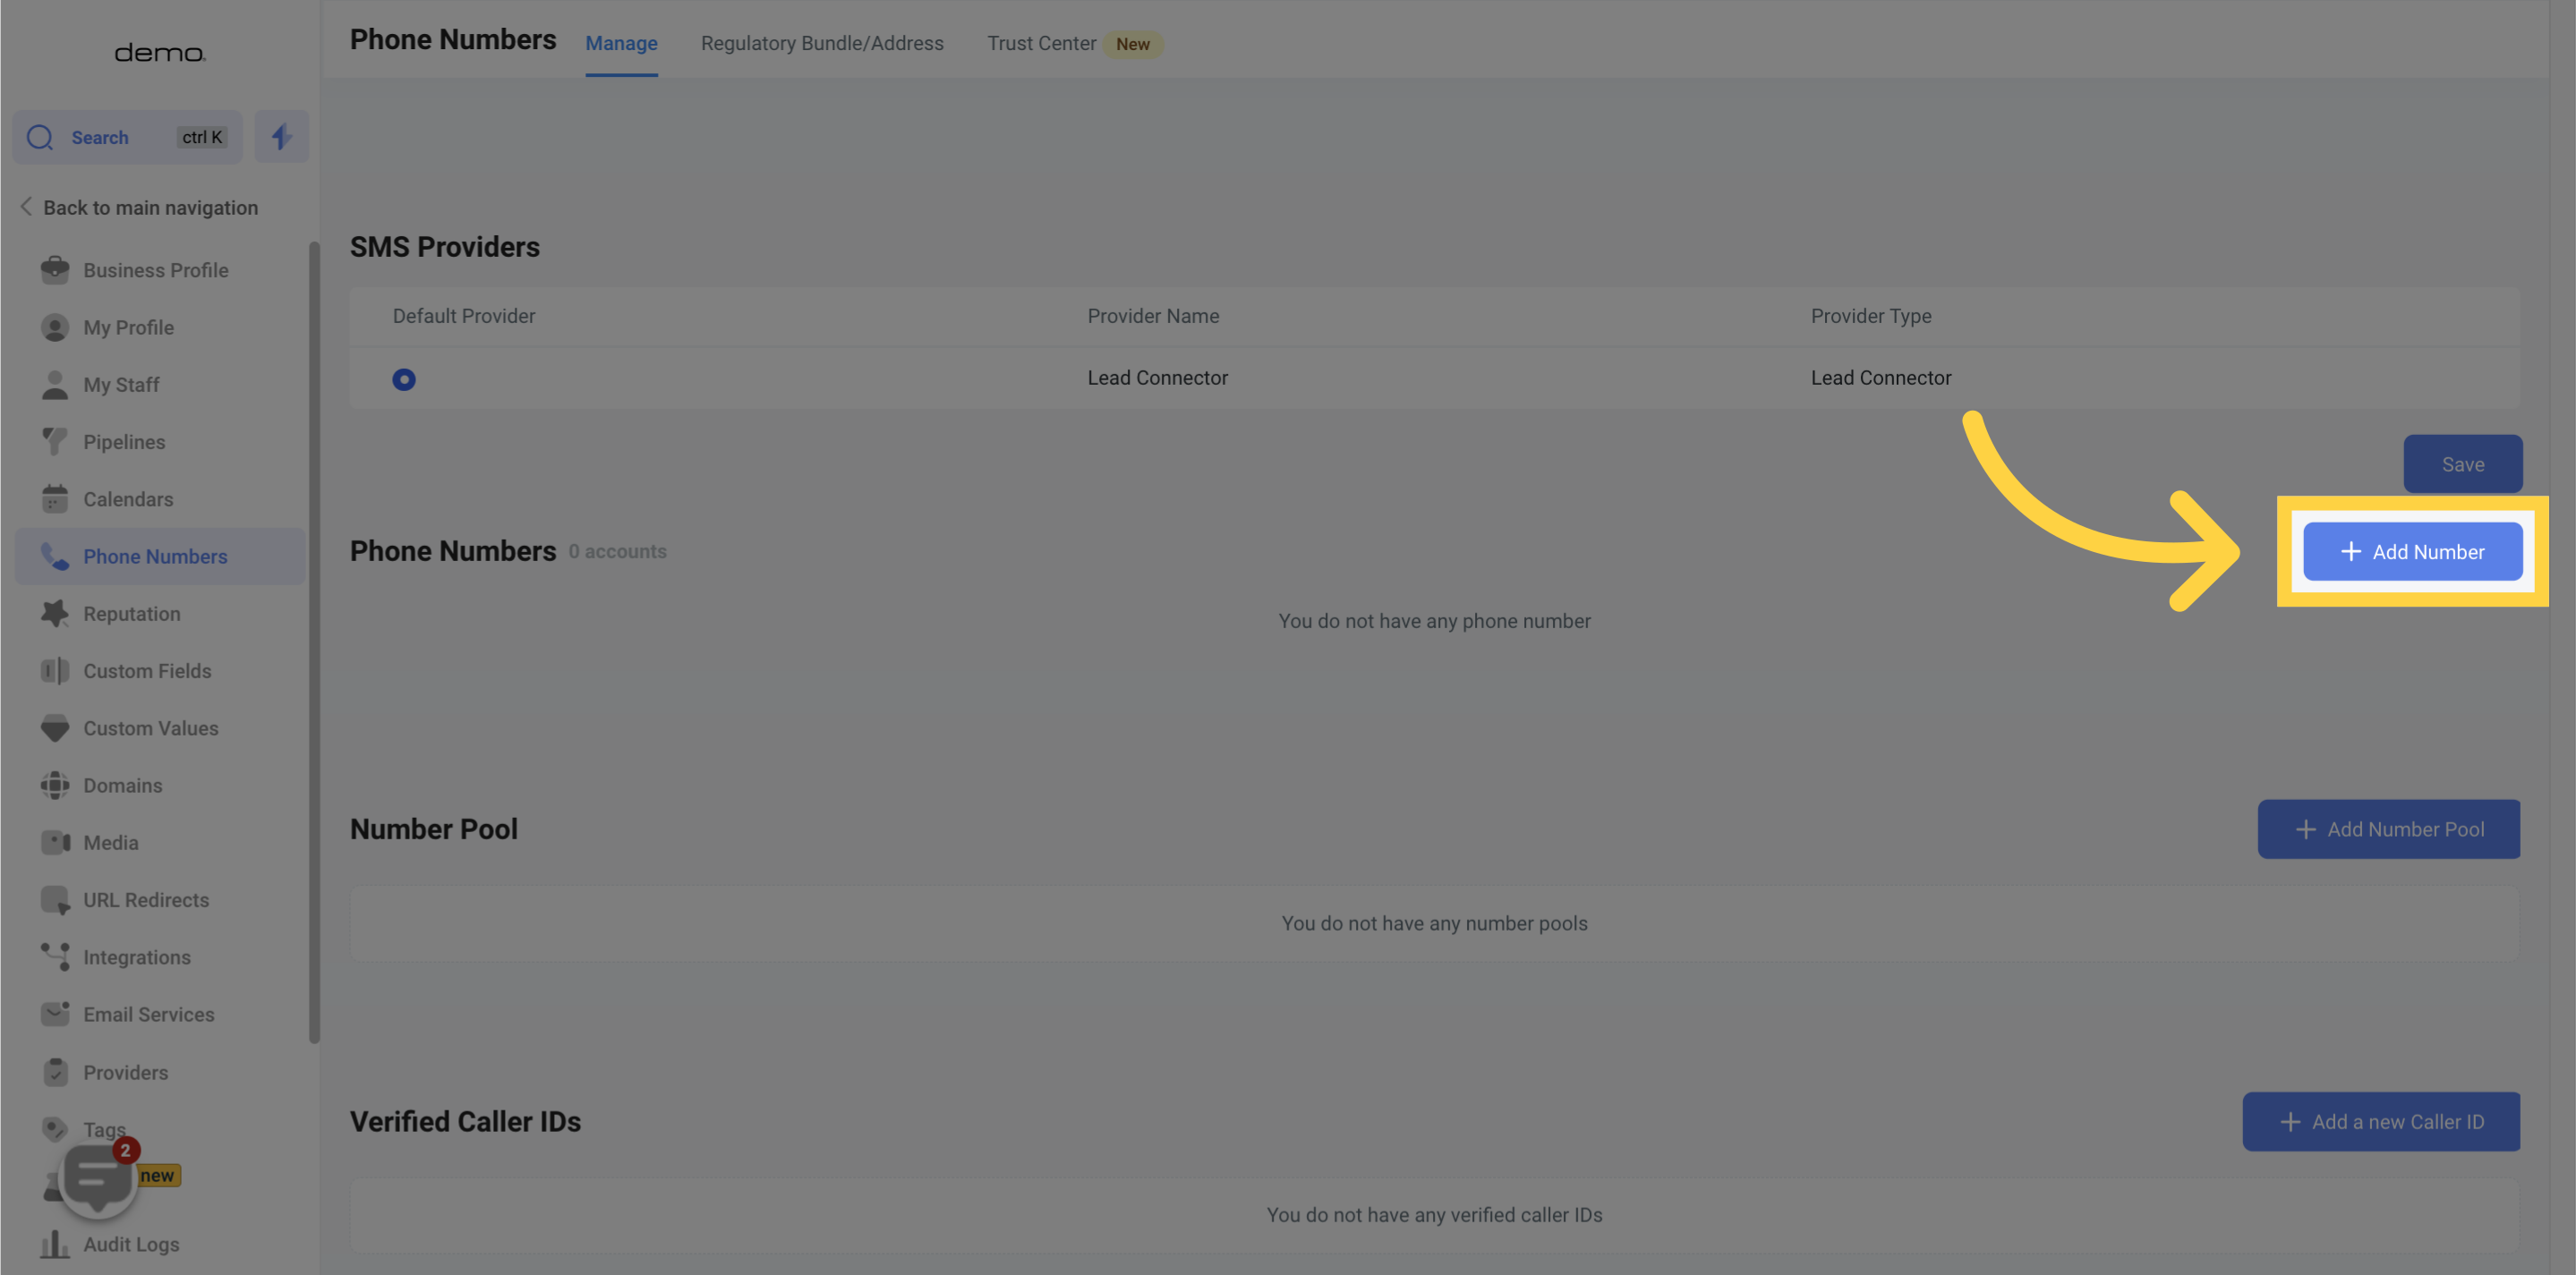
Select the "Phone Numbers" option.
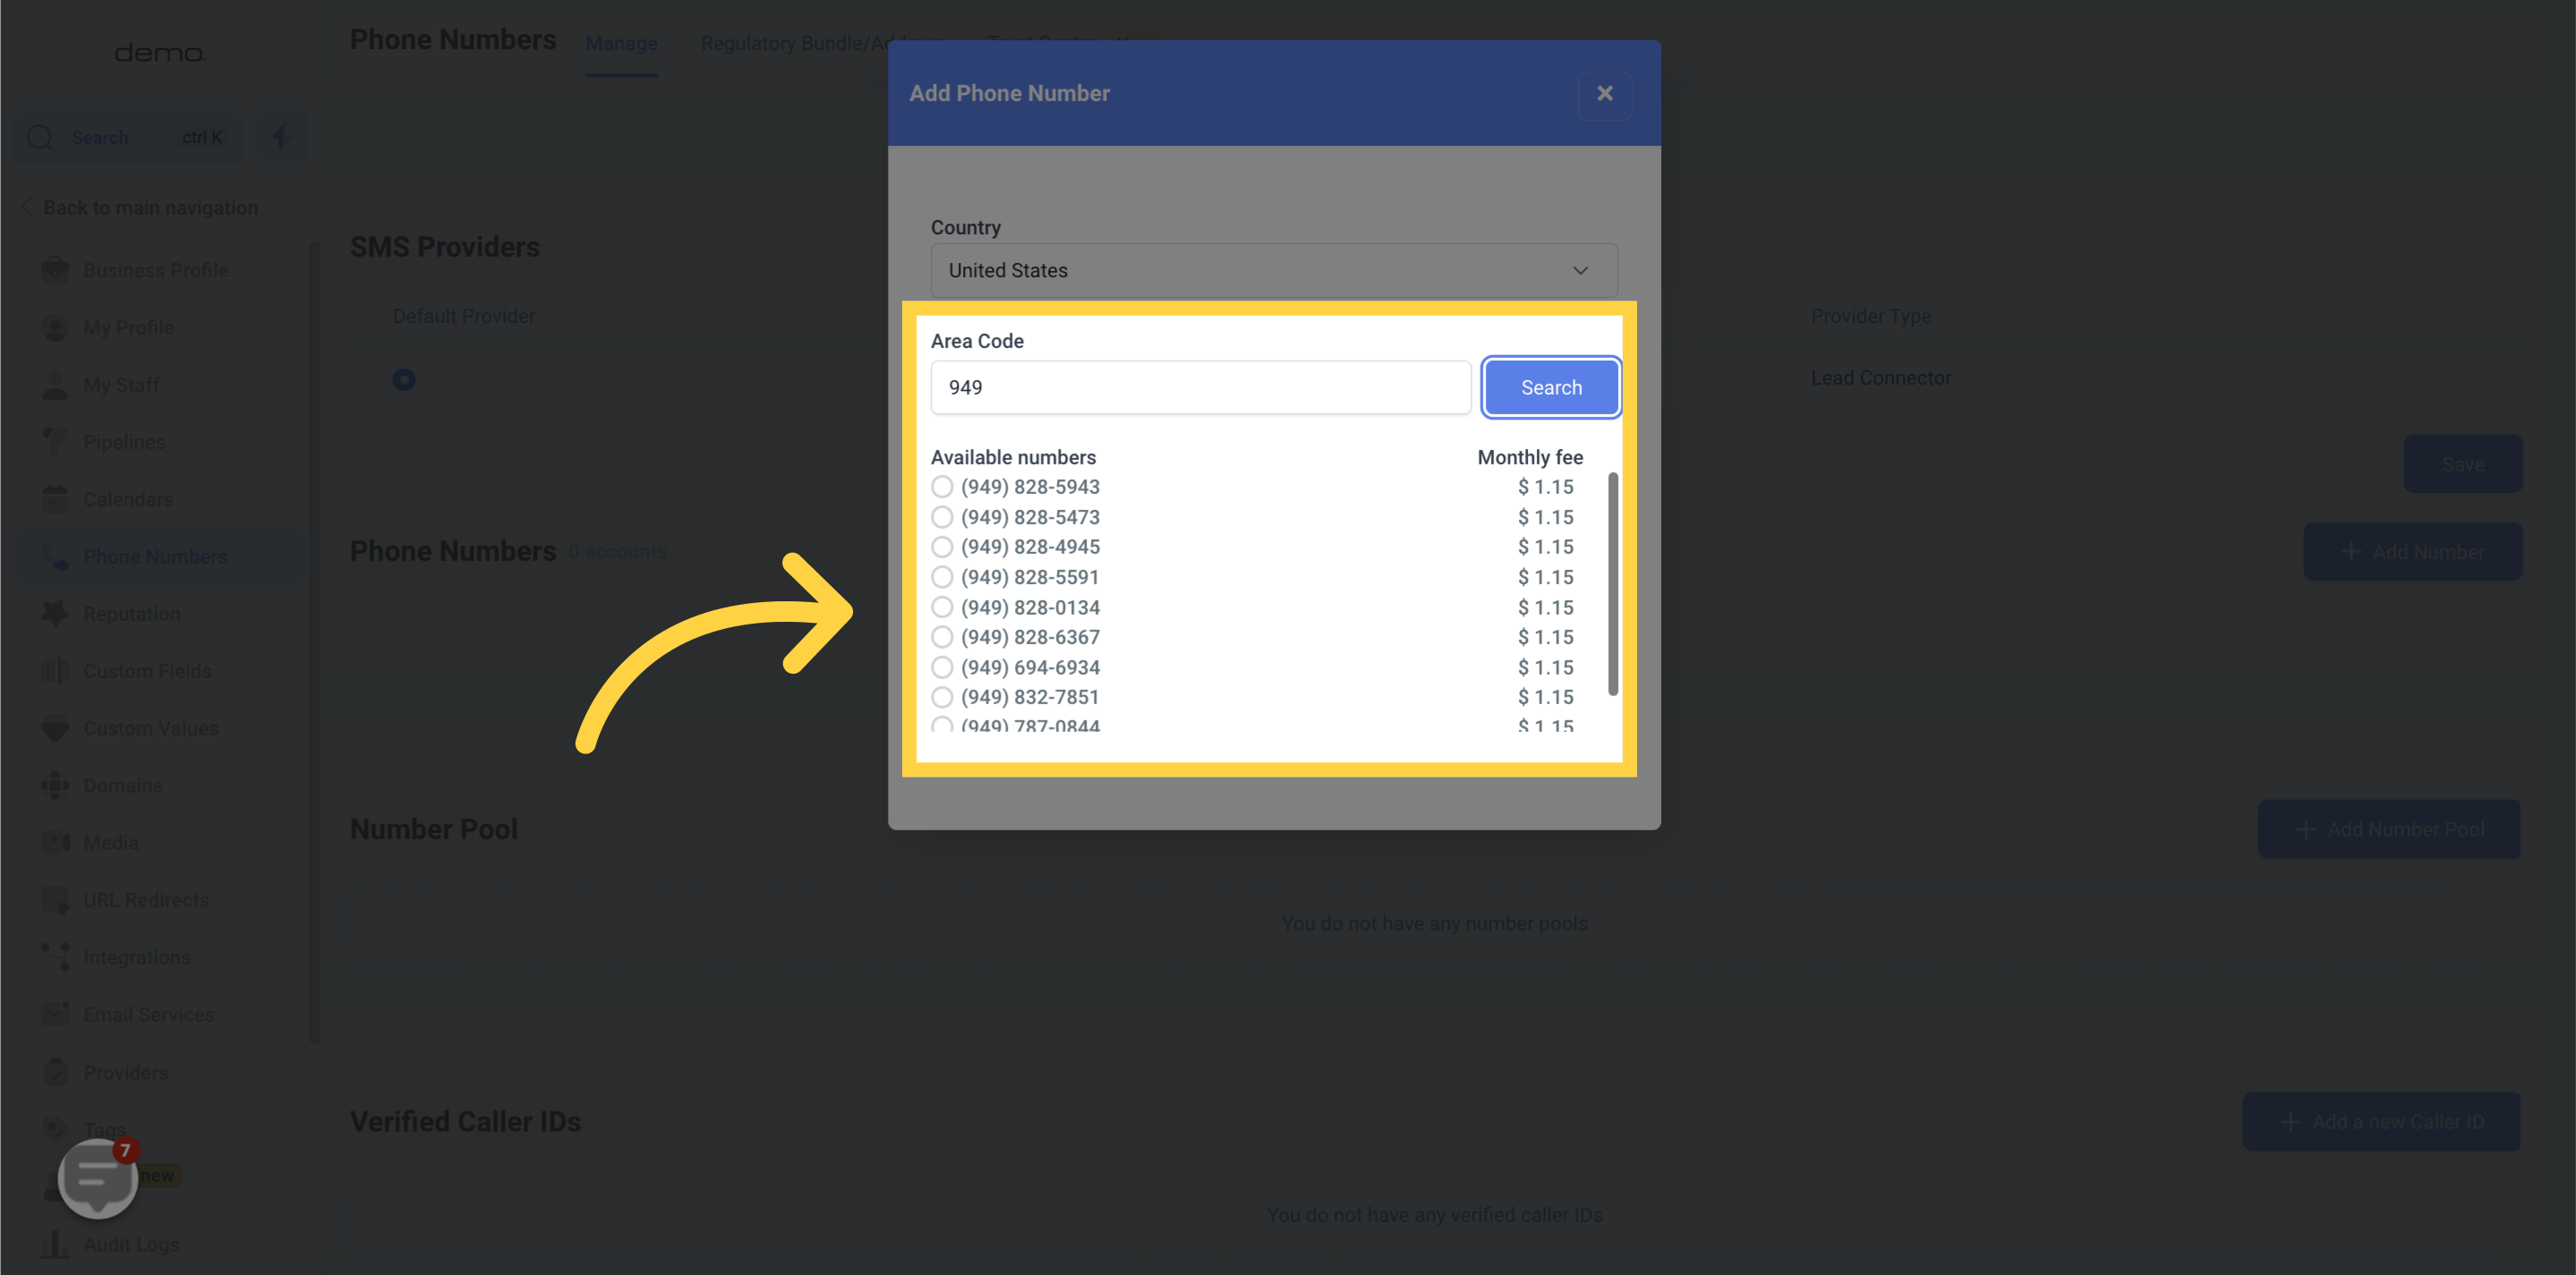
Enter your desired area code, then select a phone number from the available options. You can select the "Search" option again to generate additional phone numbers to choose from.
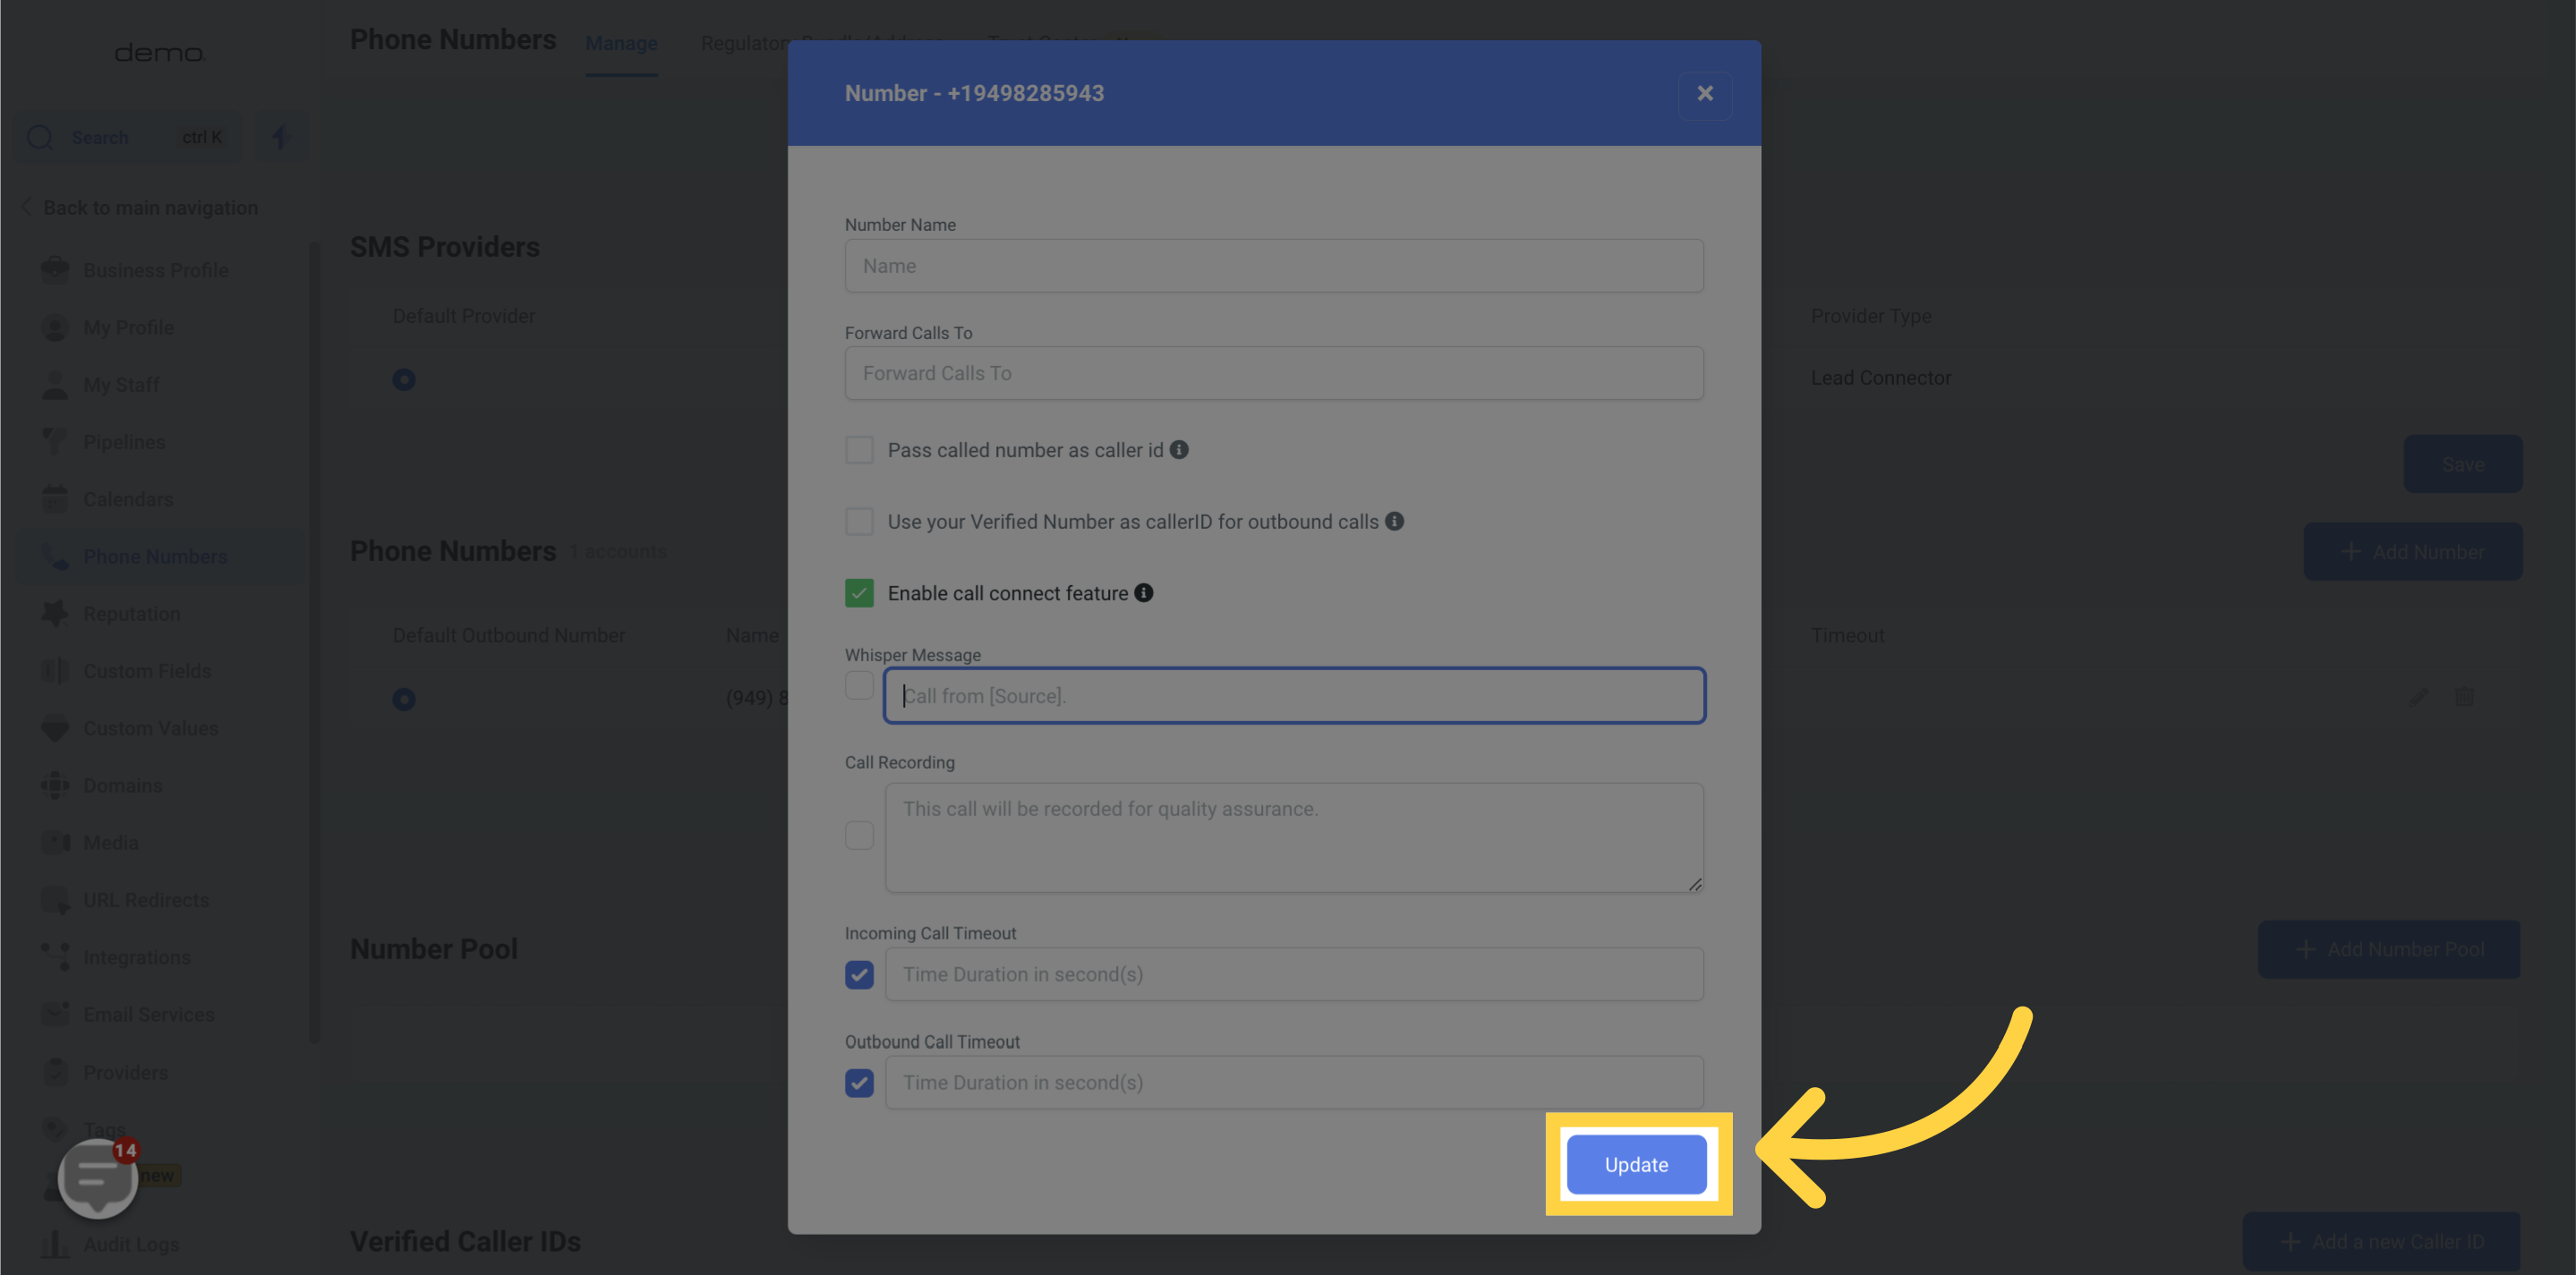
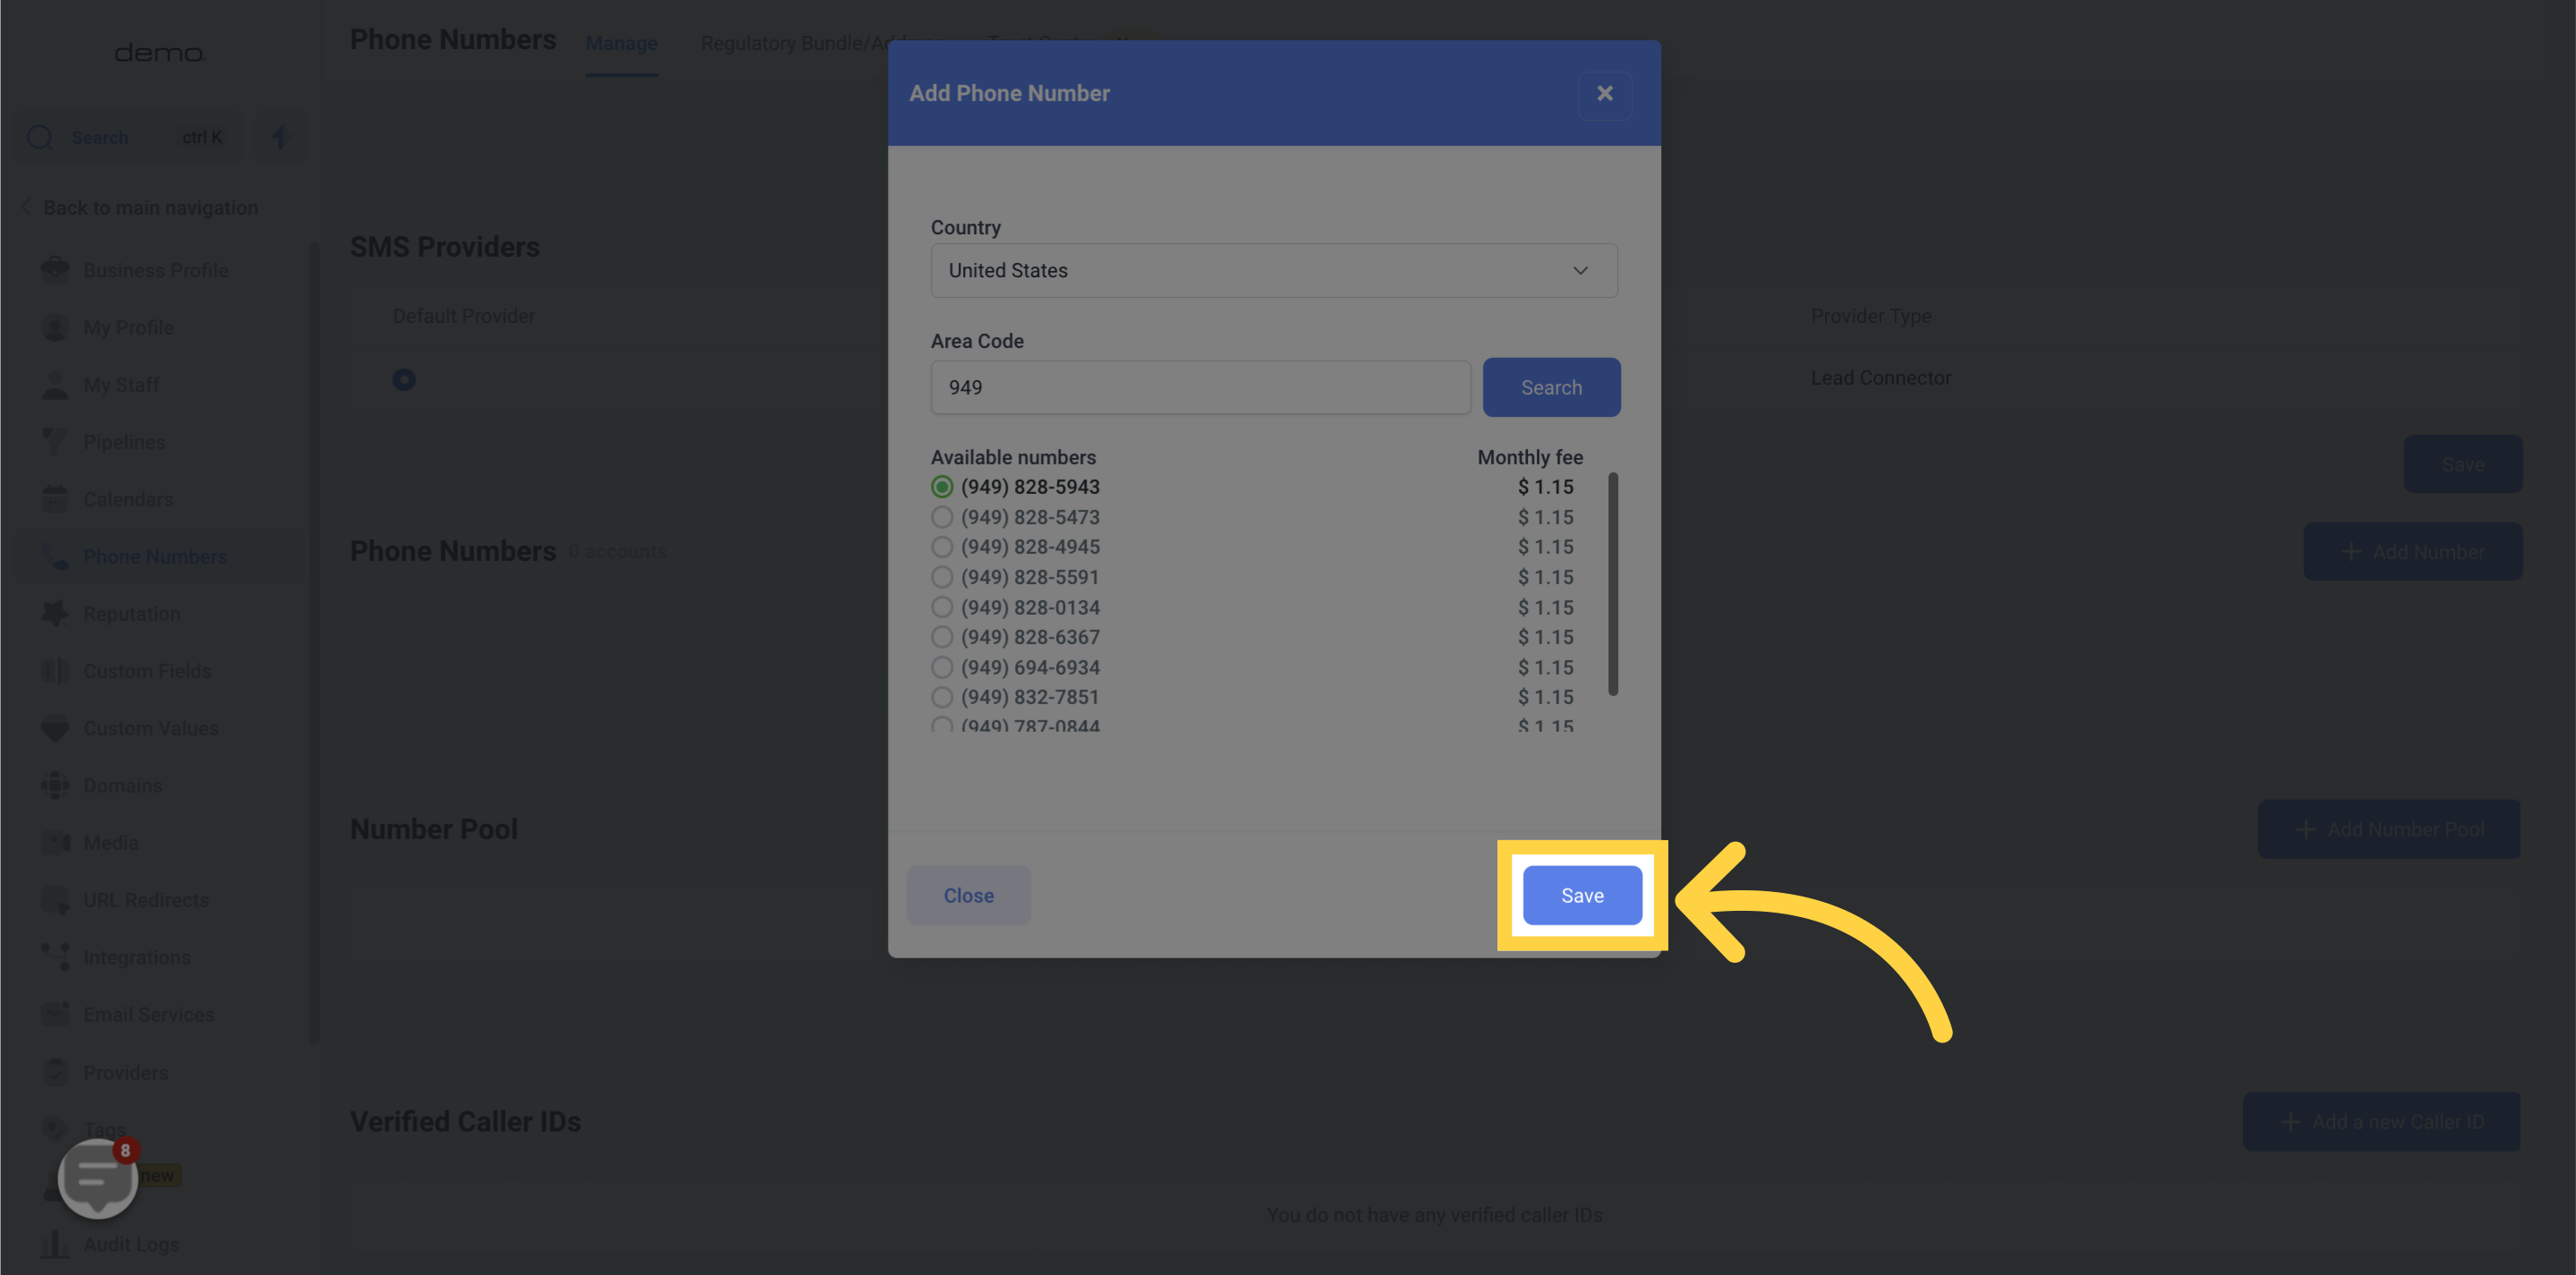
Save the changes made.
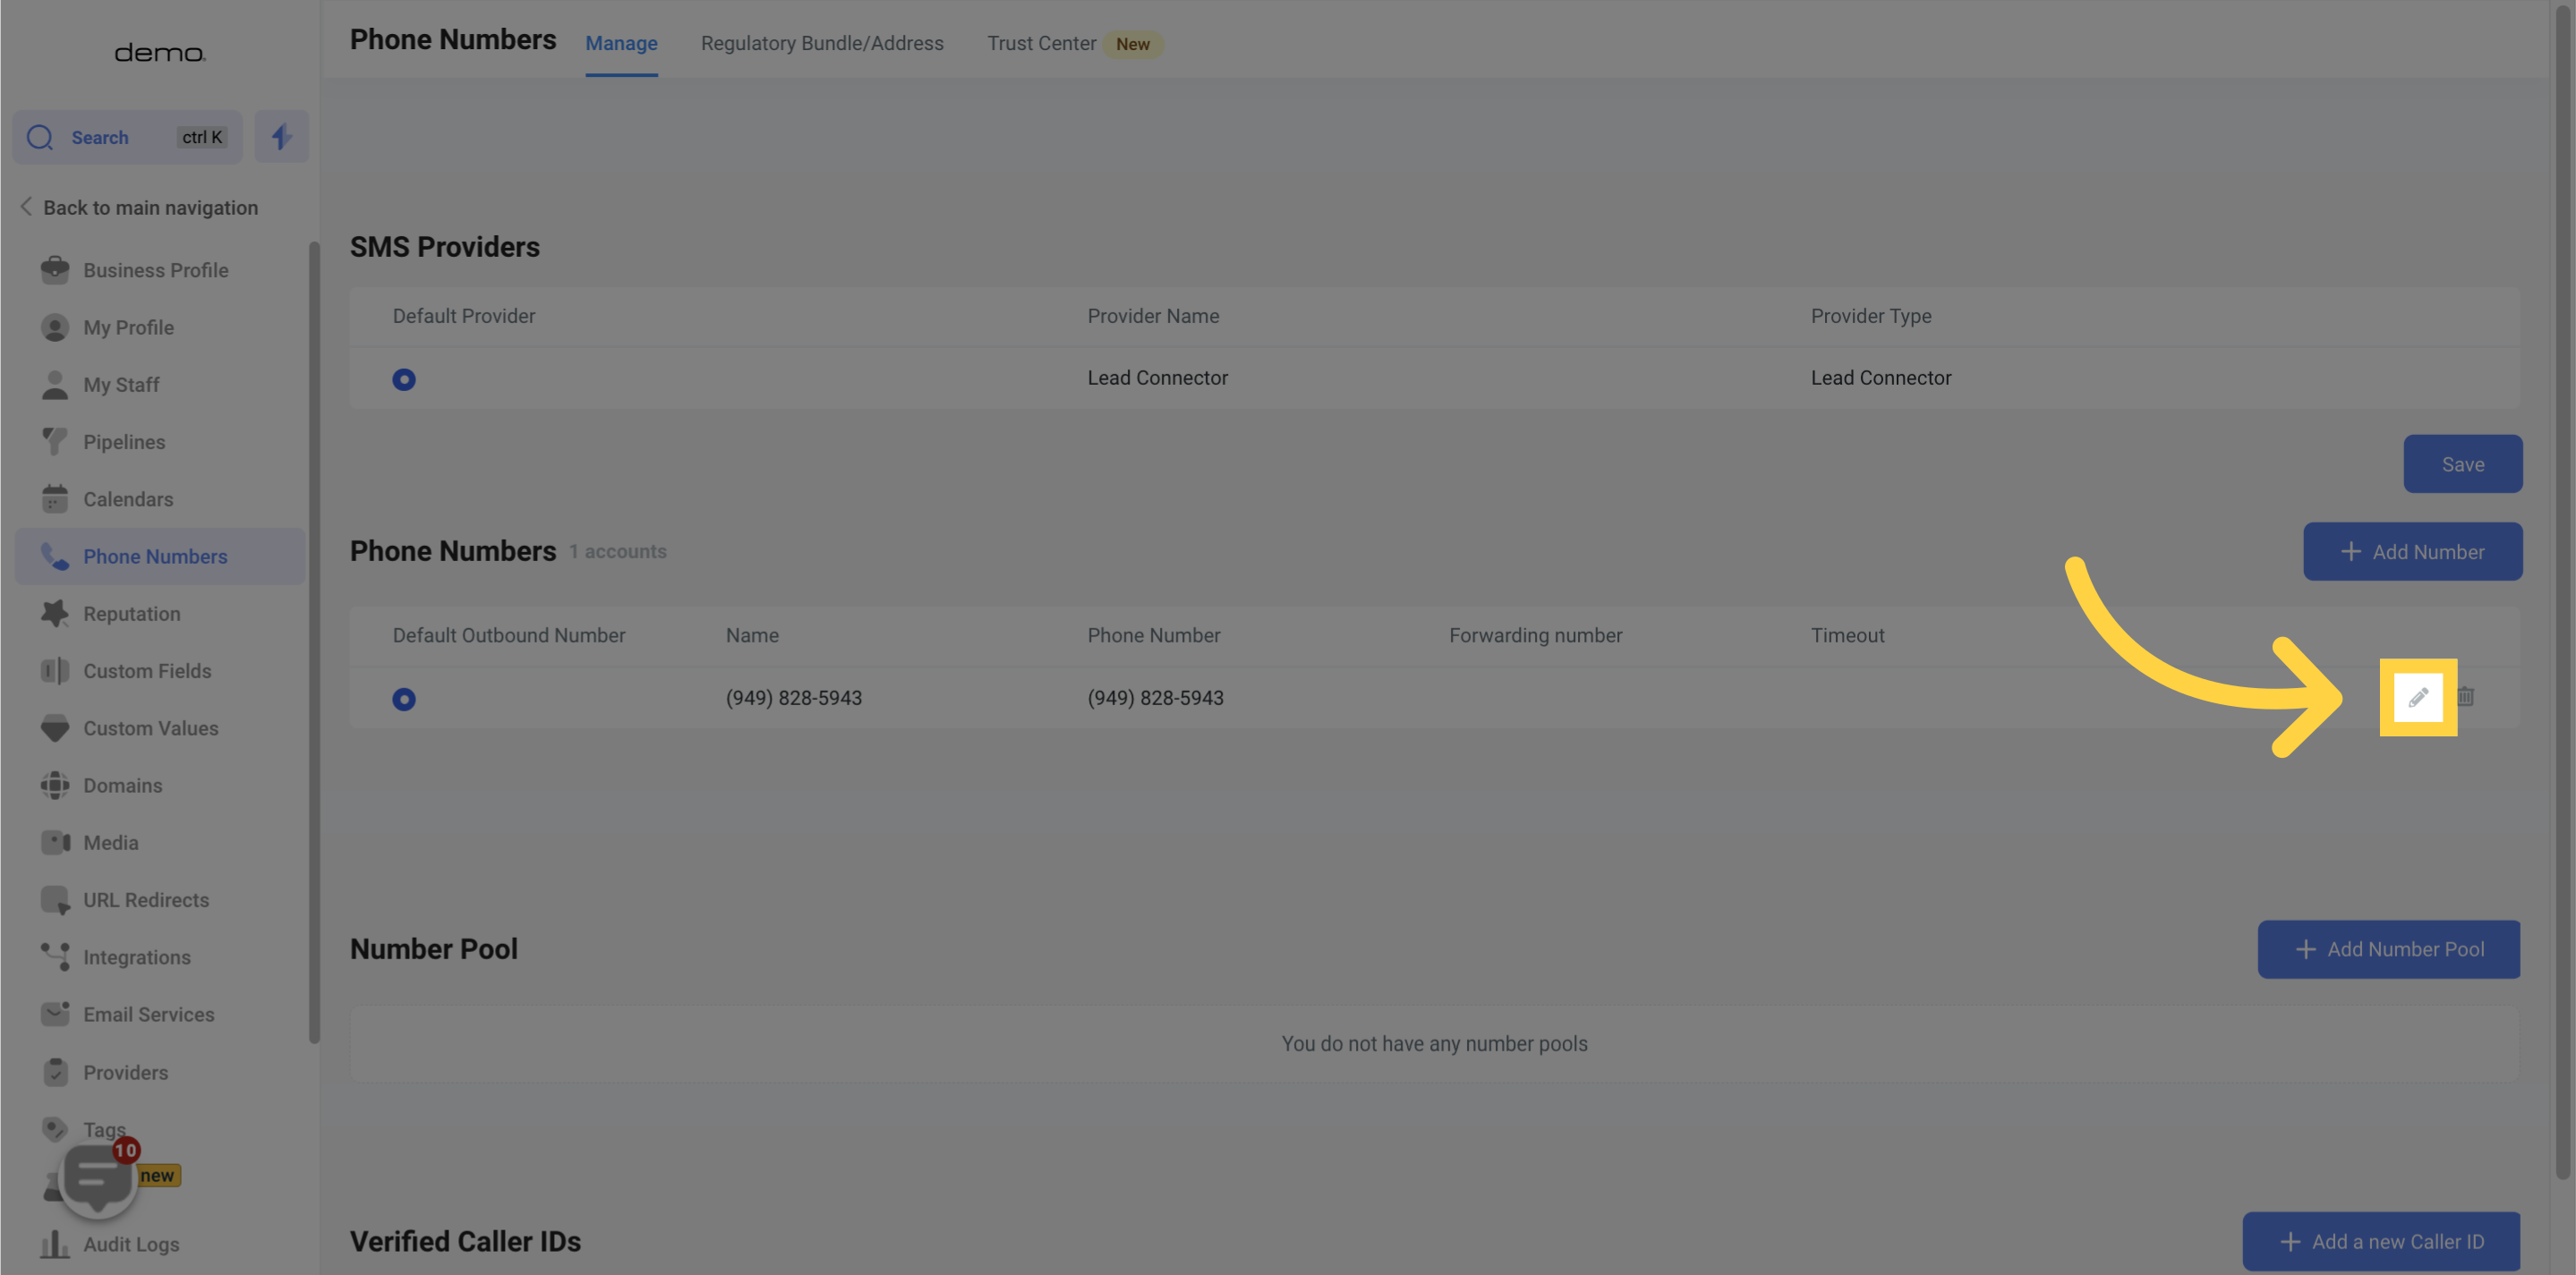
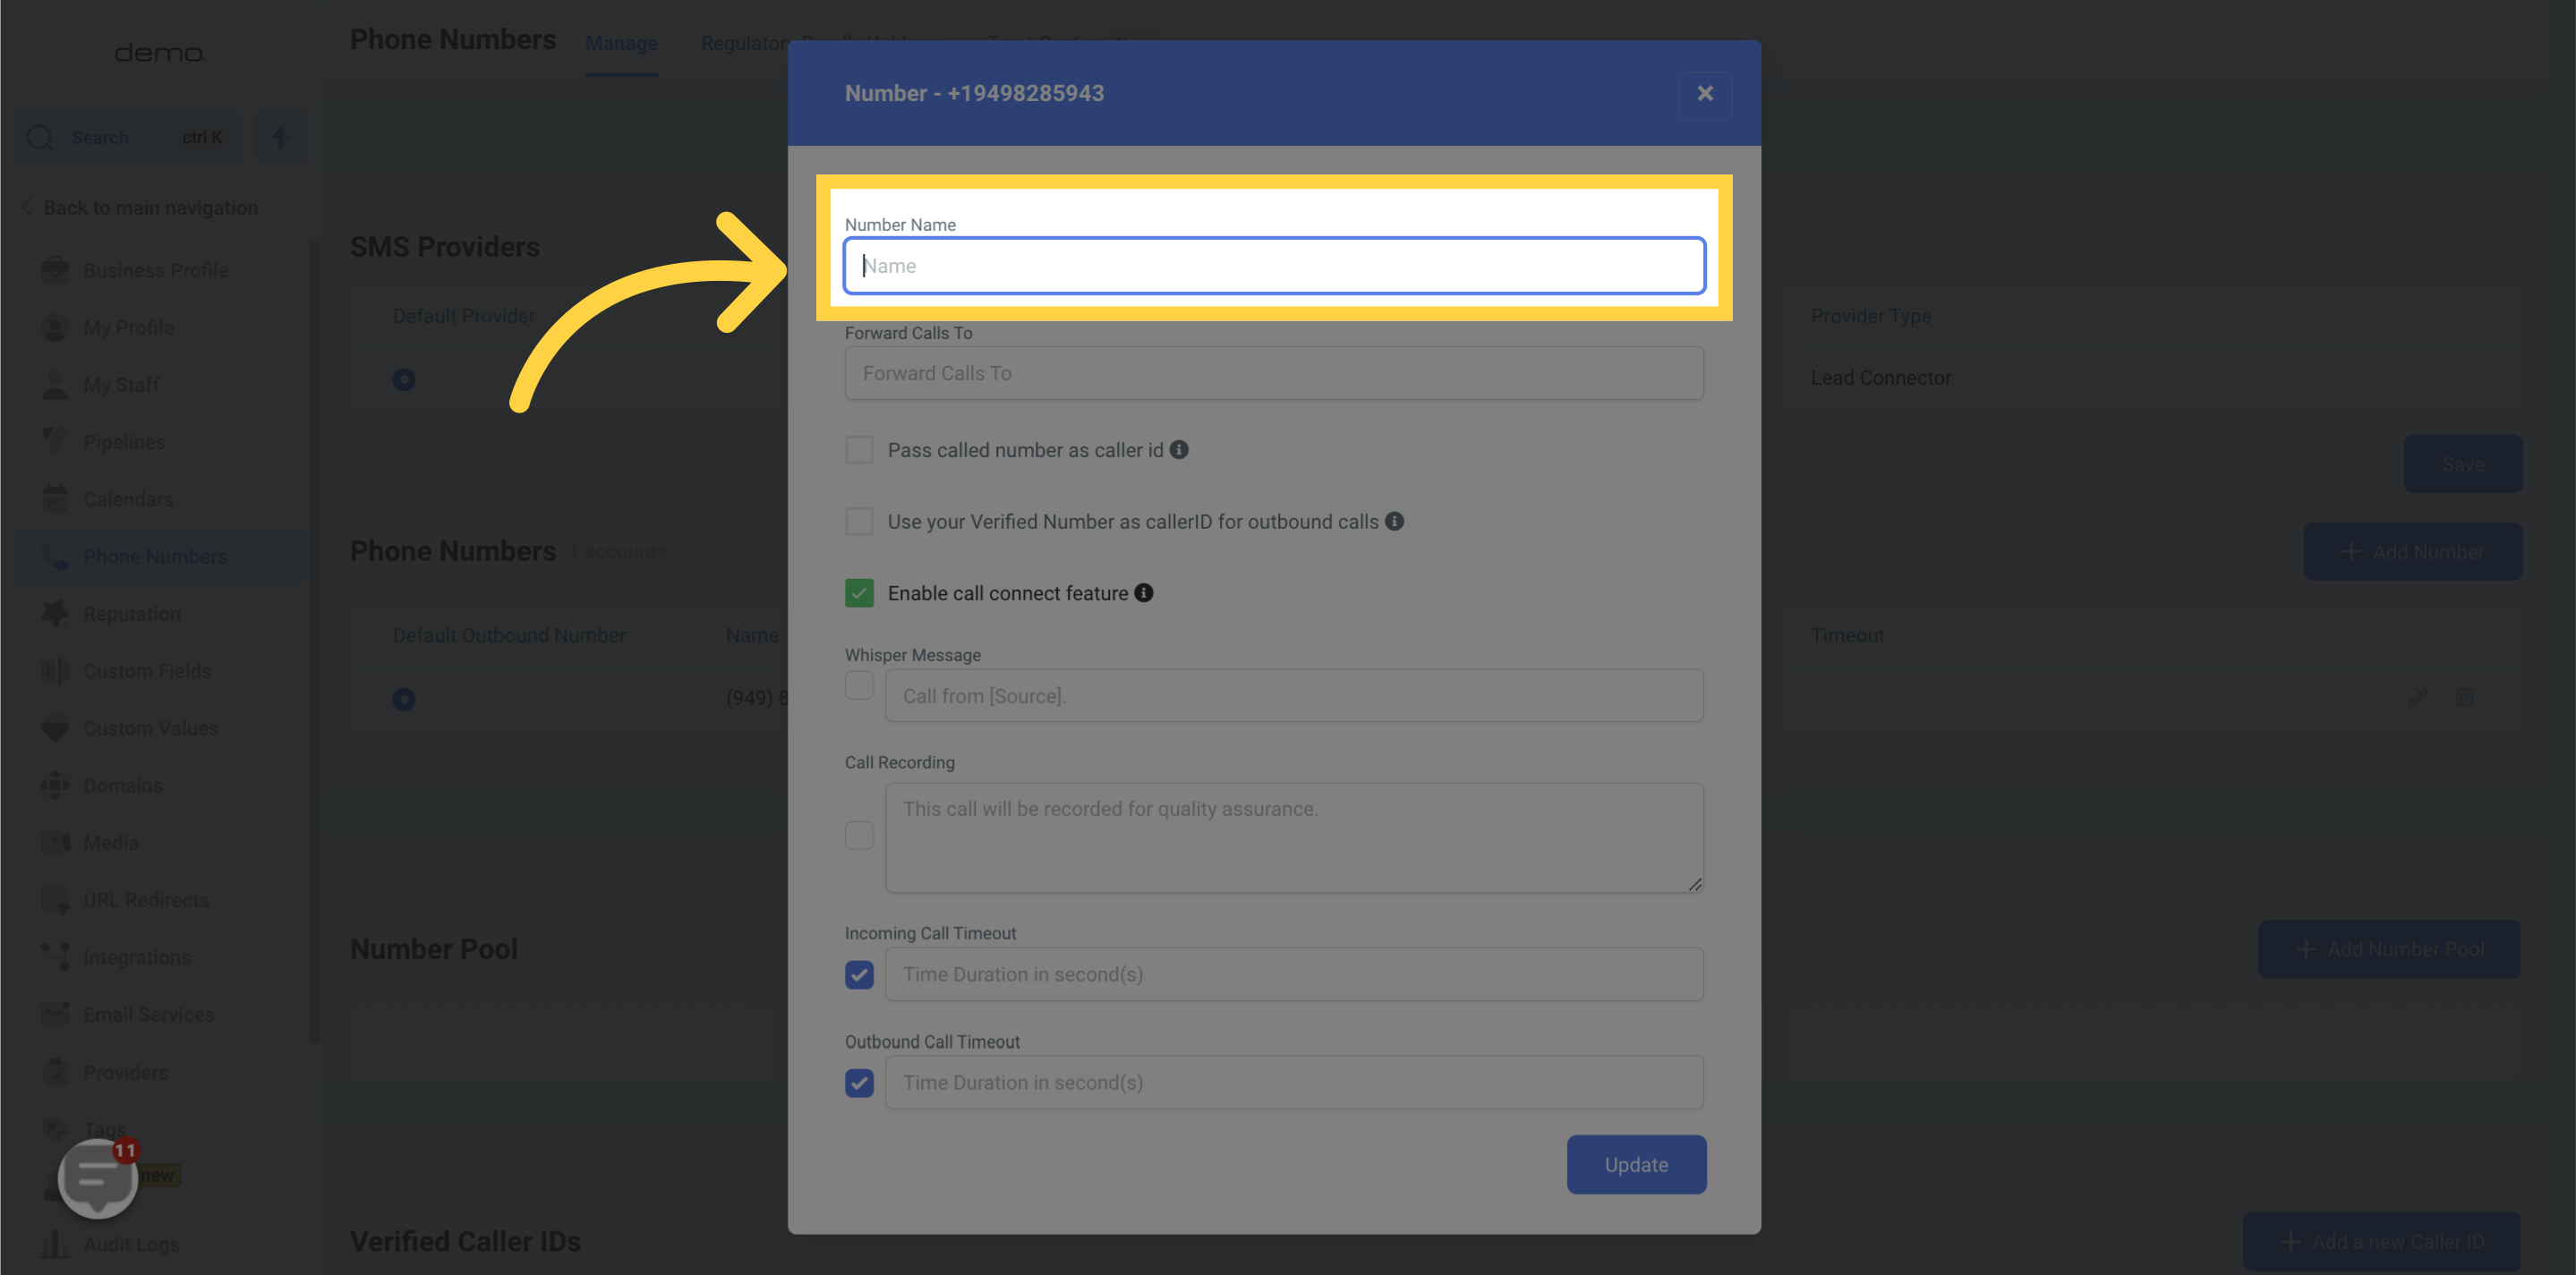
The internal name for the phone number (maybe it’s ‘main marketing number,’ or maybe you’ll name it after an employee who will get assigned this number)
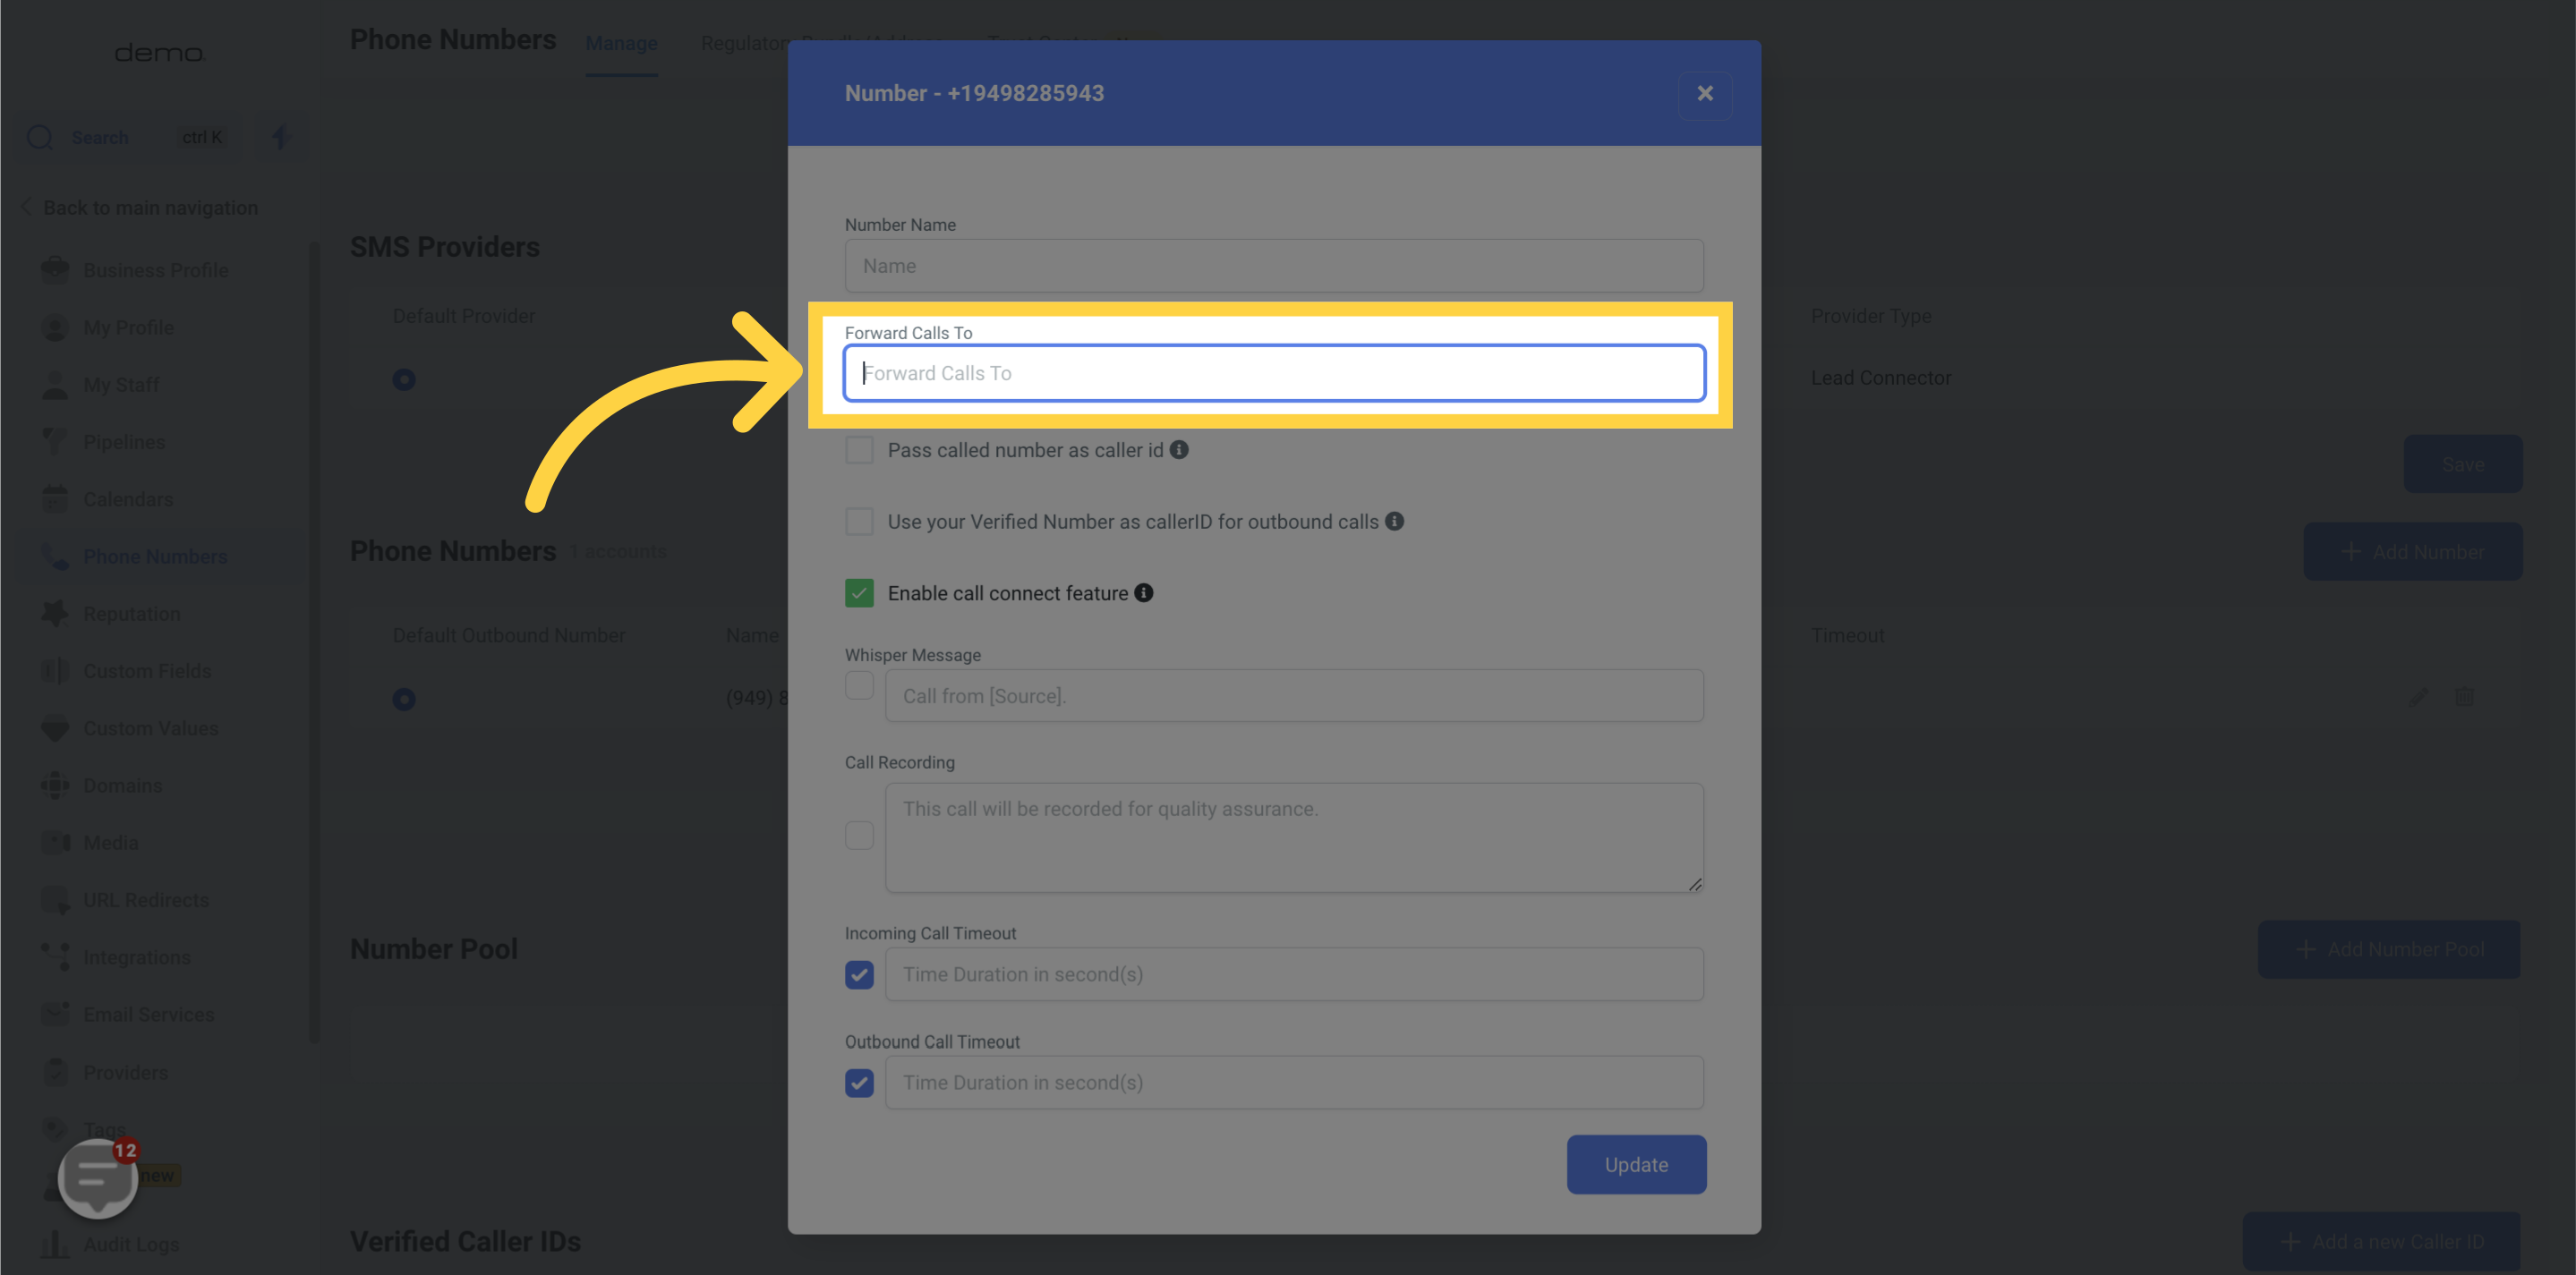
The phone number to which inbound calls are made to this new number should route (when someone calls the new number we just purchased, the call will be redirected to whatever number we save here).
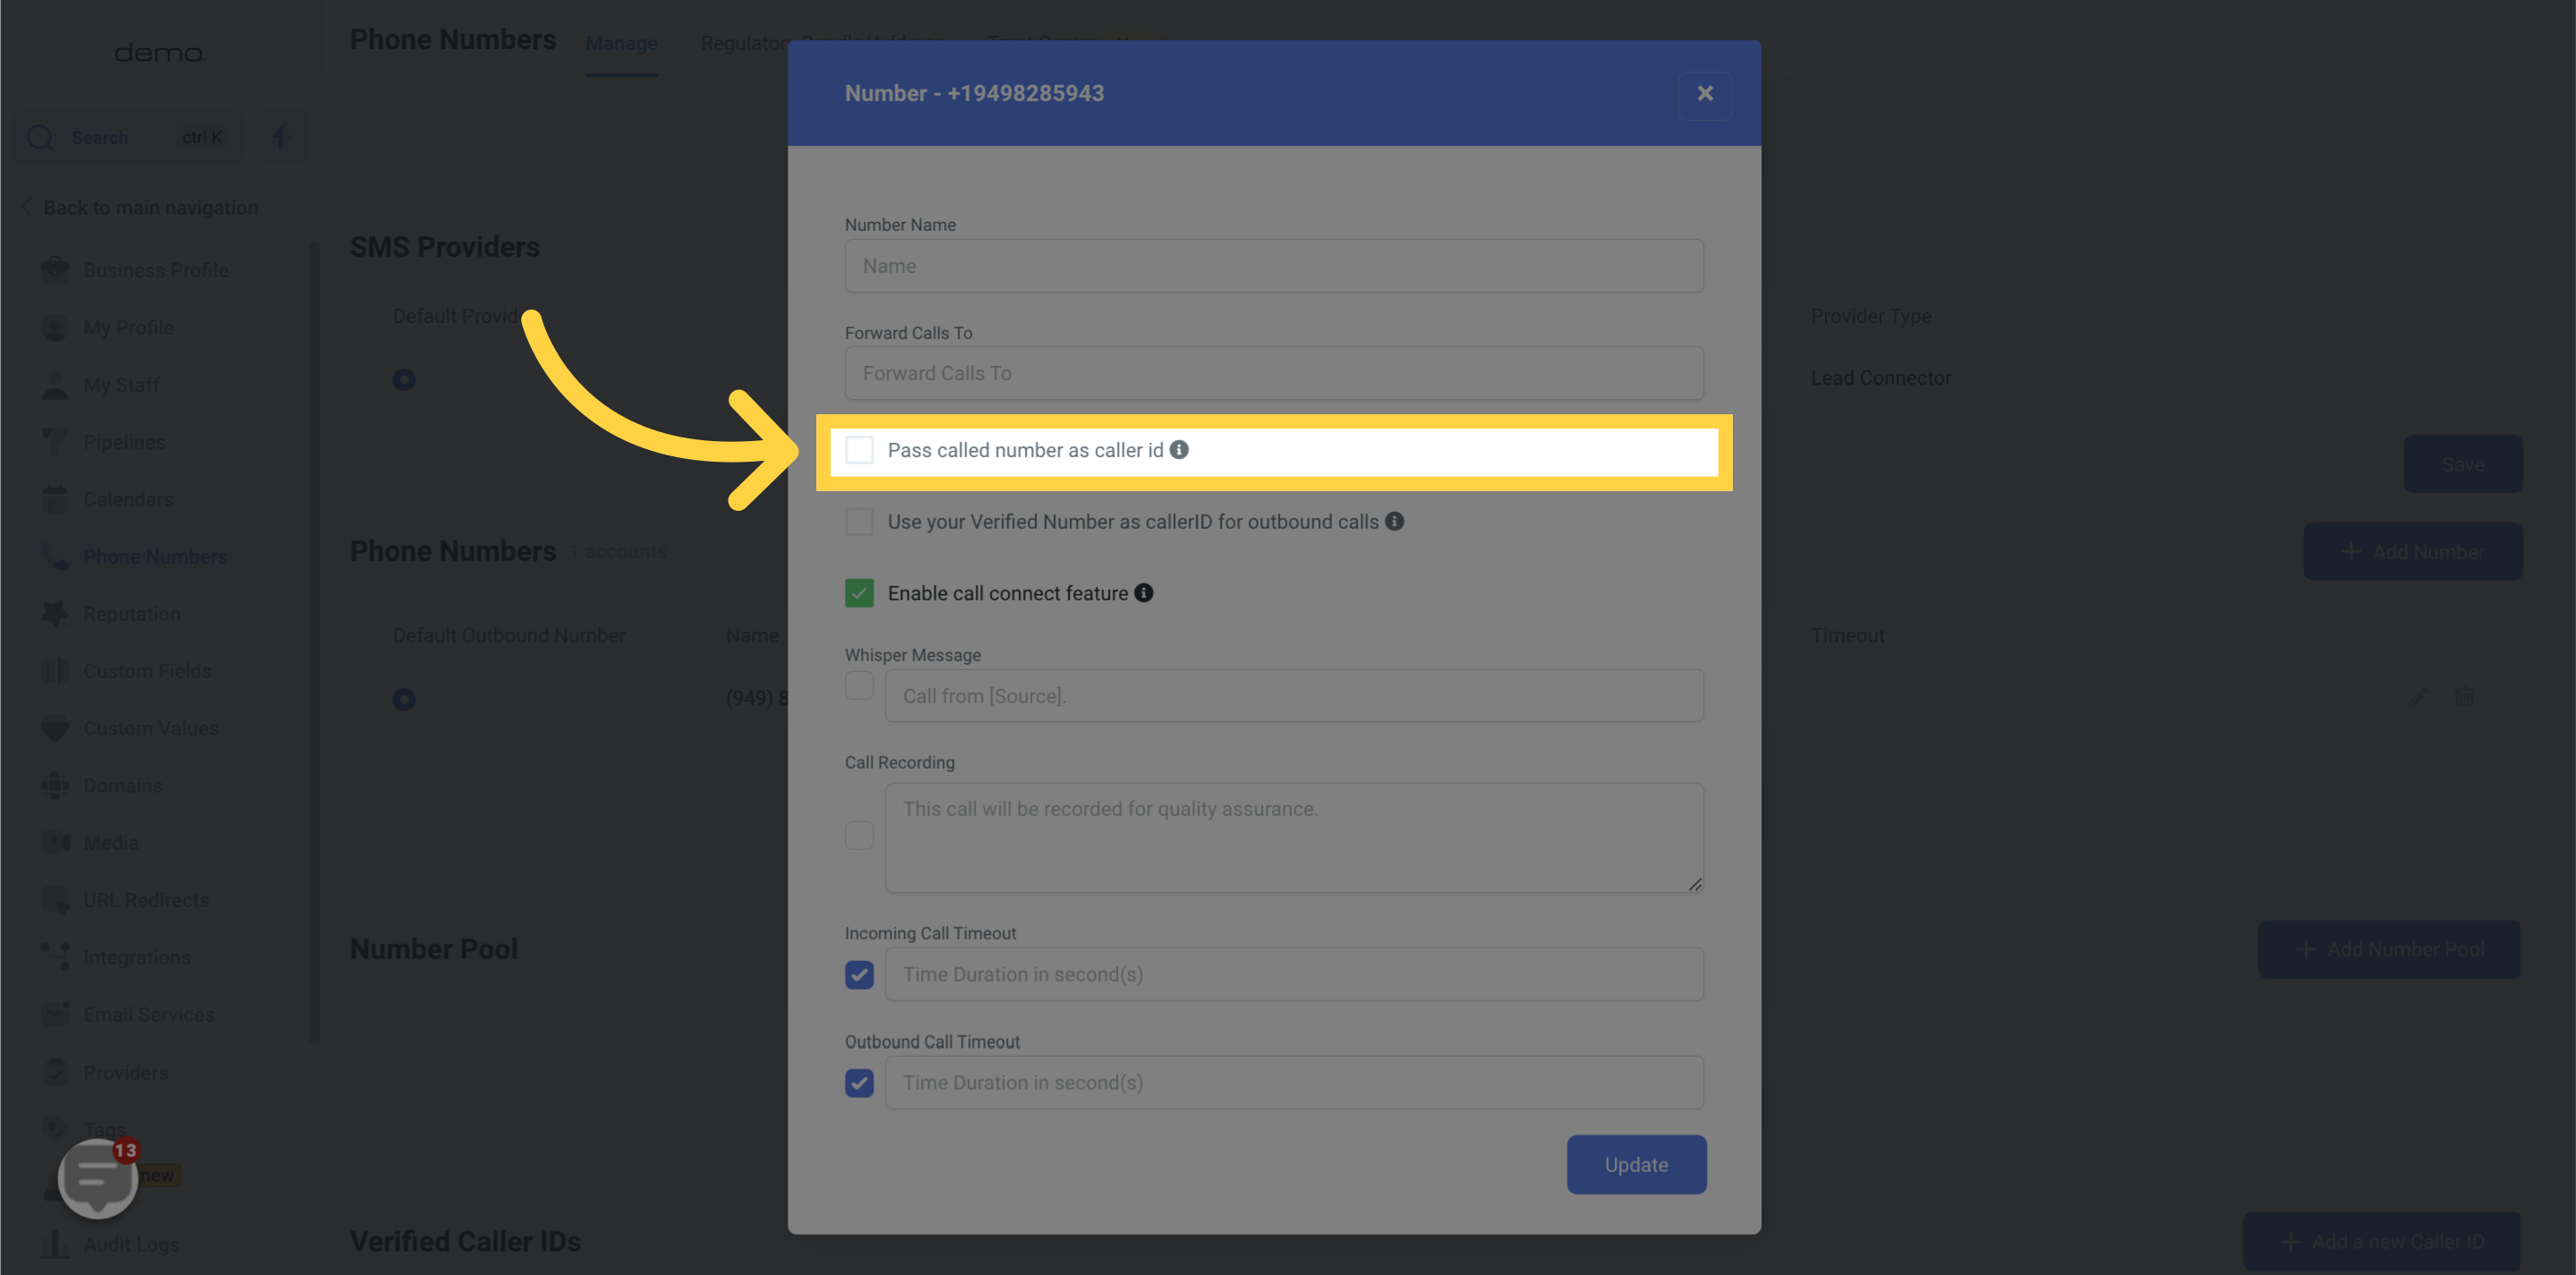
By default, meaning if we leave this box unchecked, the phone number of whoever is calling gets passed along to show in Caller Id. If we check this box, however, the system will pass the number we just purchased as the Caller ID number, which can be helpful as you’ll always know you’re about to answer a call from this sub-account.
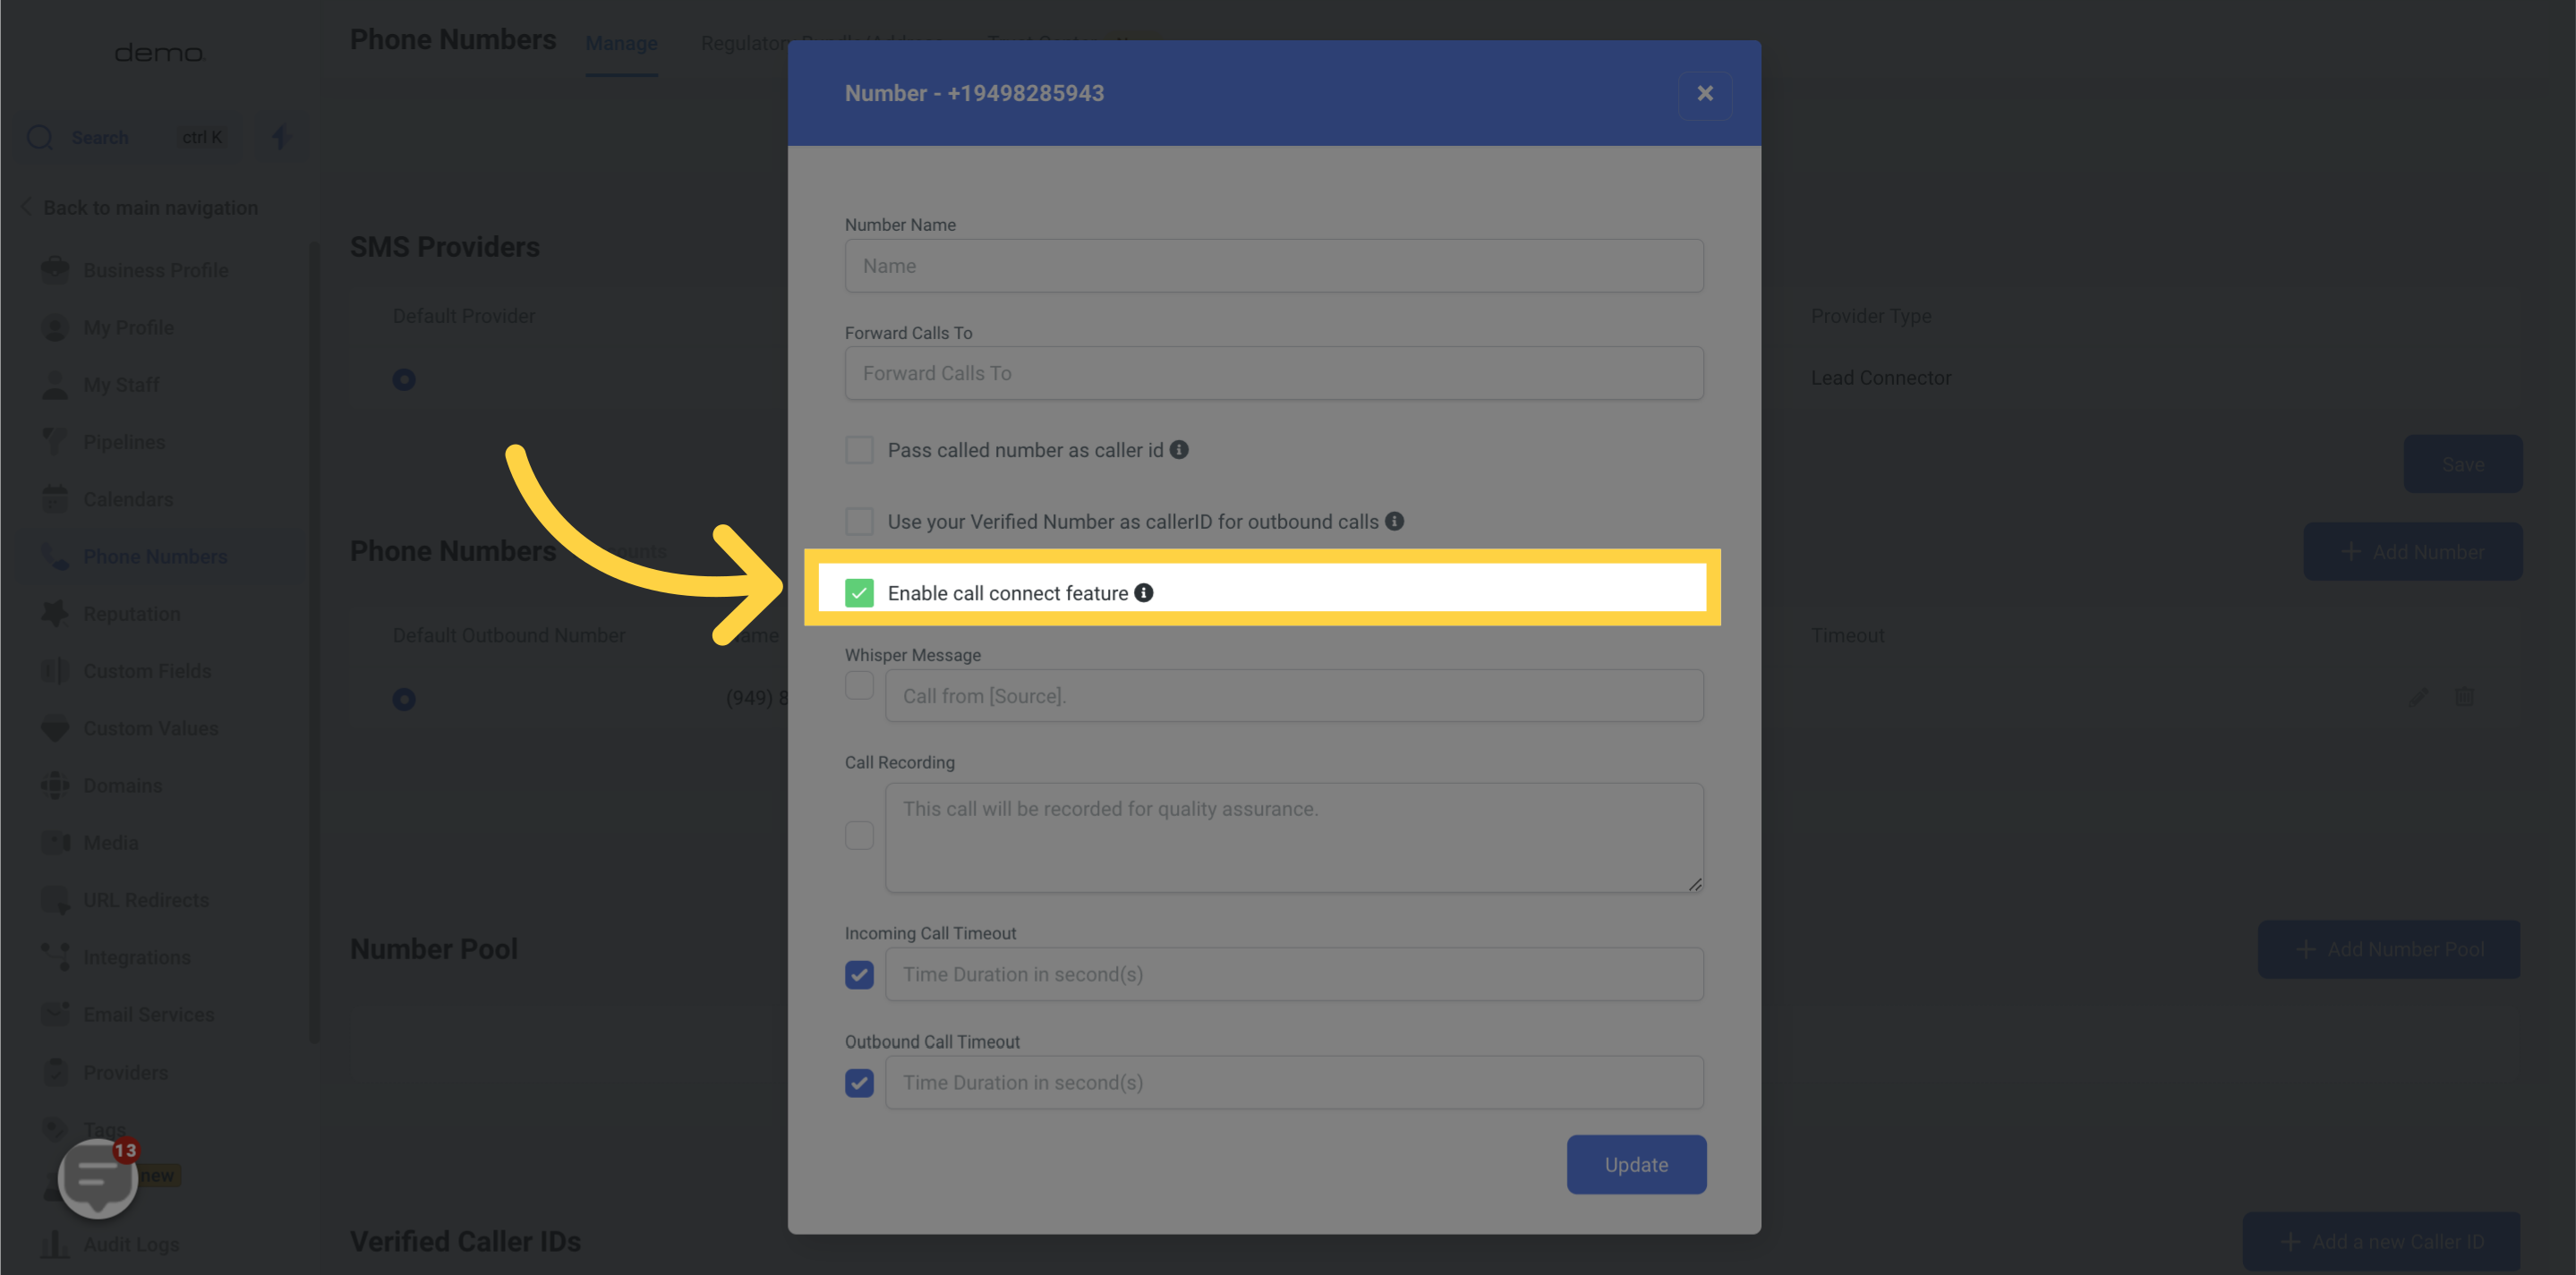
If this box is not checked, incoming calls will function as normal so that the call immediately connects when you answer. If we check this box, however, you’ll hear a whisper message prompting you to push a button on your phone to accept the incoming call.
Throughout the CRM, you can automate off-call statuses such as connected vs. not connected, which enables you to do powerful things like automatically sending a text message back to any inbound calls that go unanswered. We call that the Missed-Call Text-Back, which we’ll learn to set up next.
To execute automation like that, the system needs to know if a call is connected, and often it can get confused by thinking that a voicemail recording is actually a person. When that happens, the call is categorized as connected even though it really didn’t connect to a human.
We can eliminate the possibility of confusion by checking the checkbox. By checking the box, the receiver of the inbound call must press a key to connect. That way, the system always knows whether or not a call was actually answered by a human, which is why we
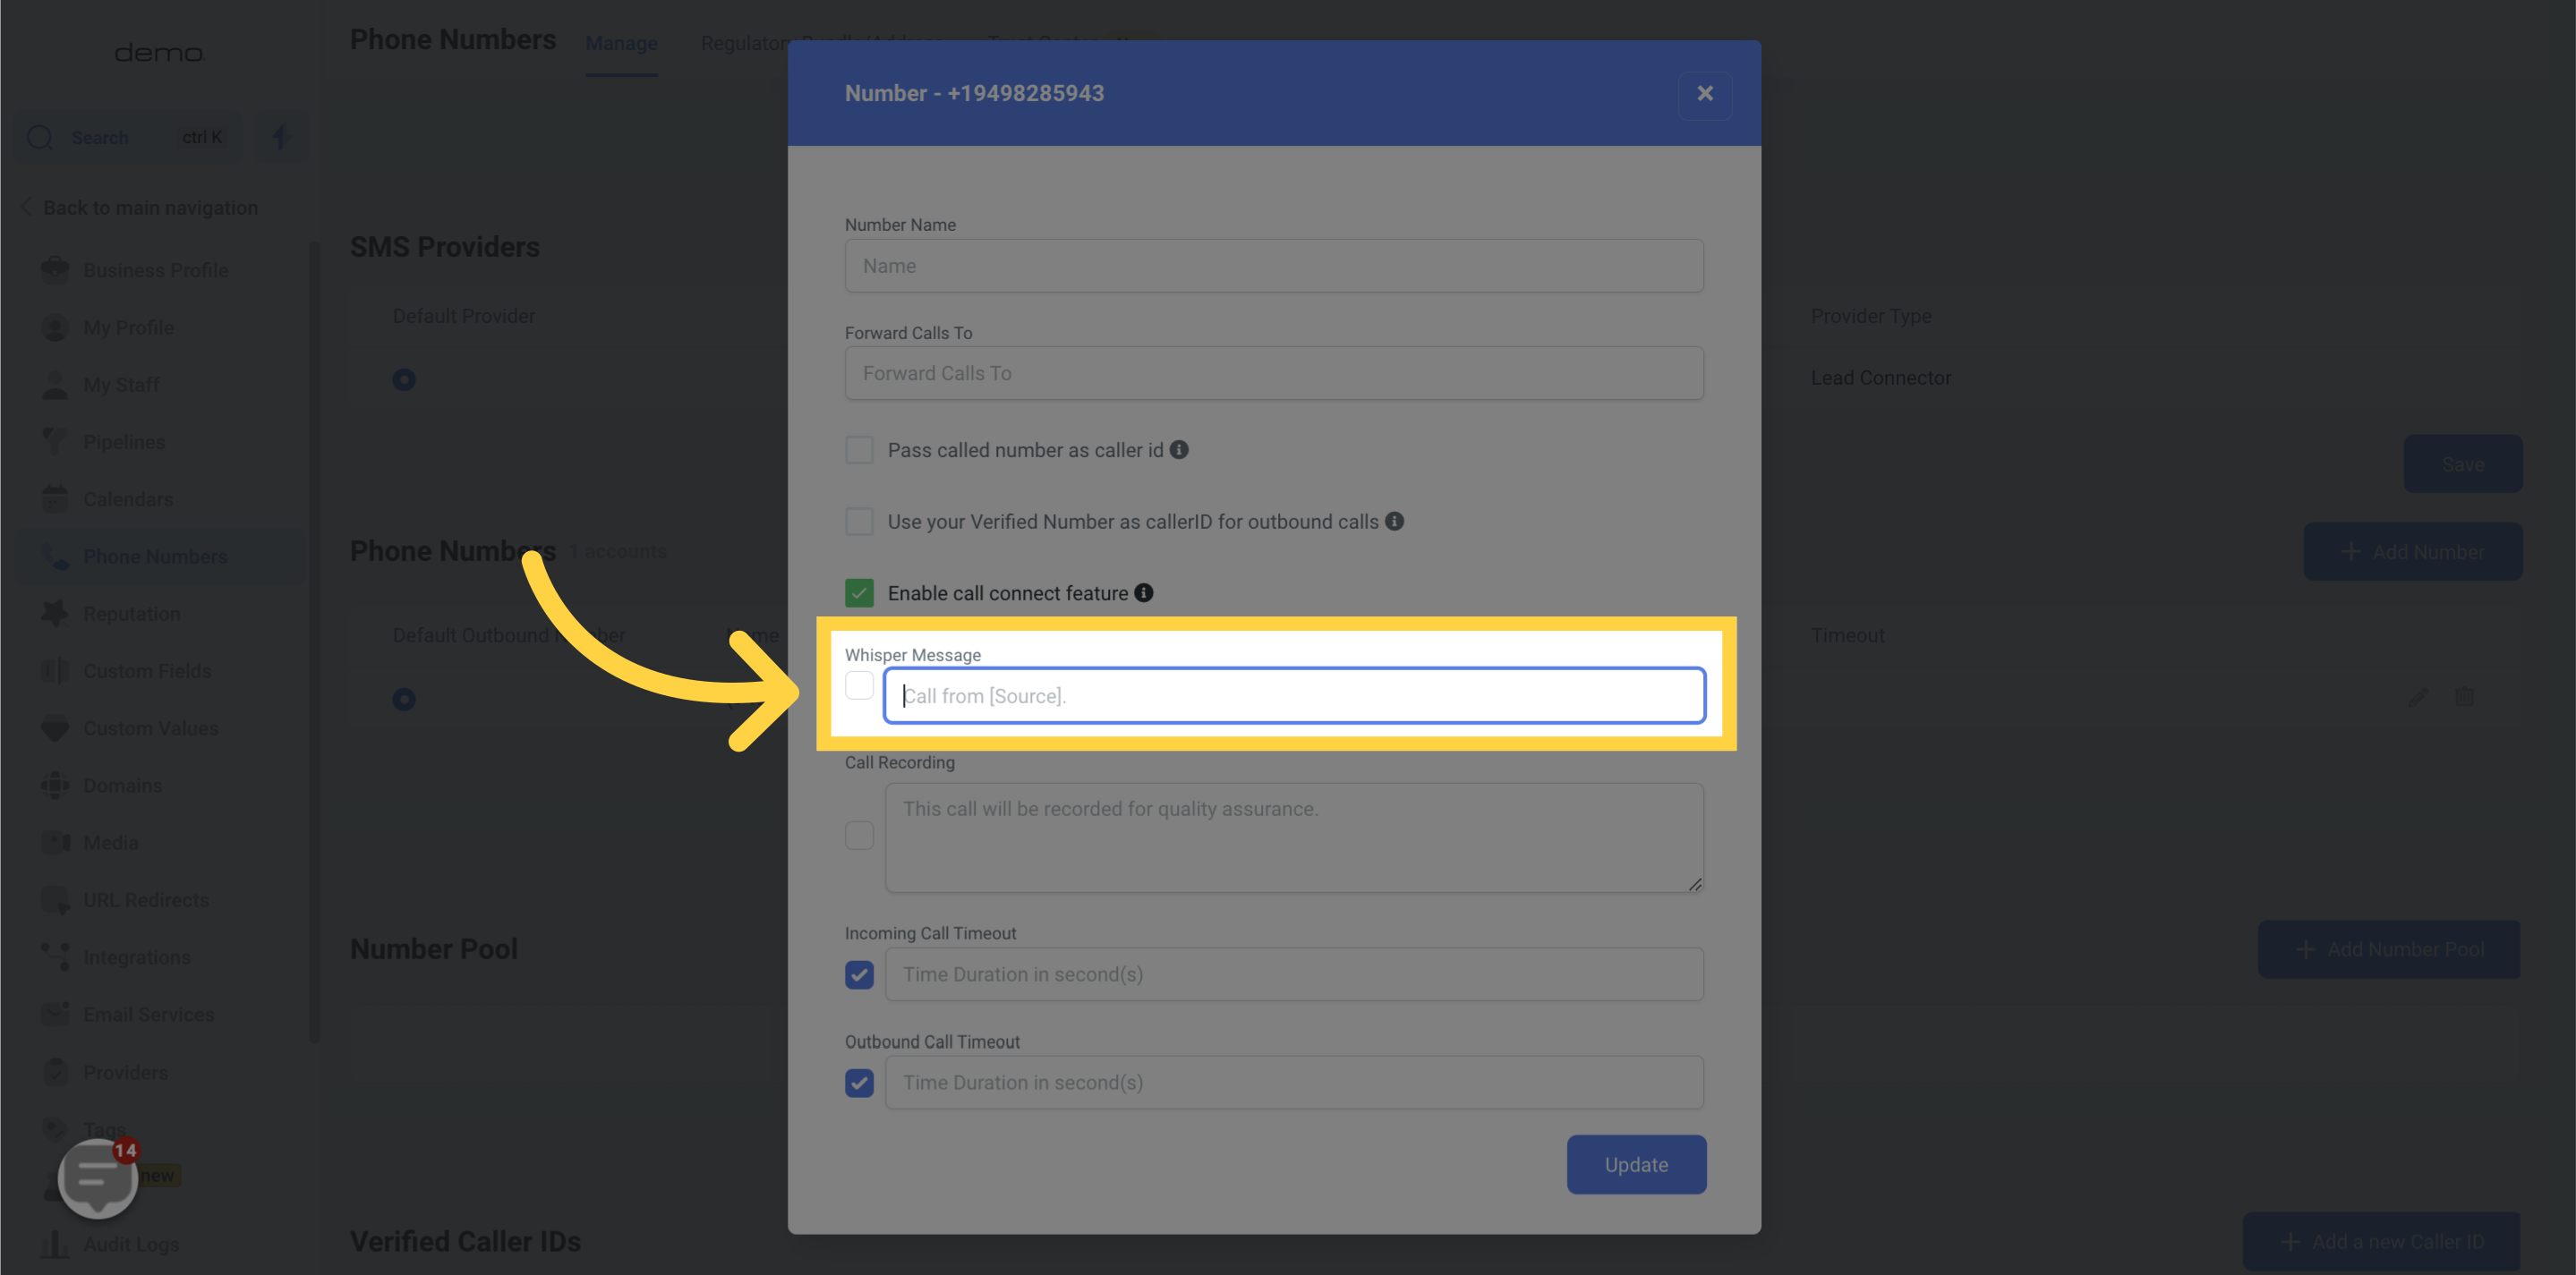
The Whisper Message controls the message played to the person who answers the call when the Call-Connect features are enabled. So we would put something like “CRM call” or “Call from your agency name, press a key” so that you know you’re about to hop on a call from the system and that you need to press a key to connect.
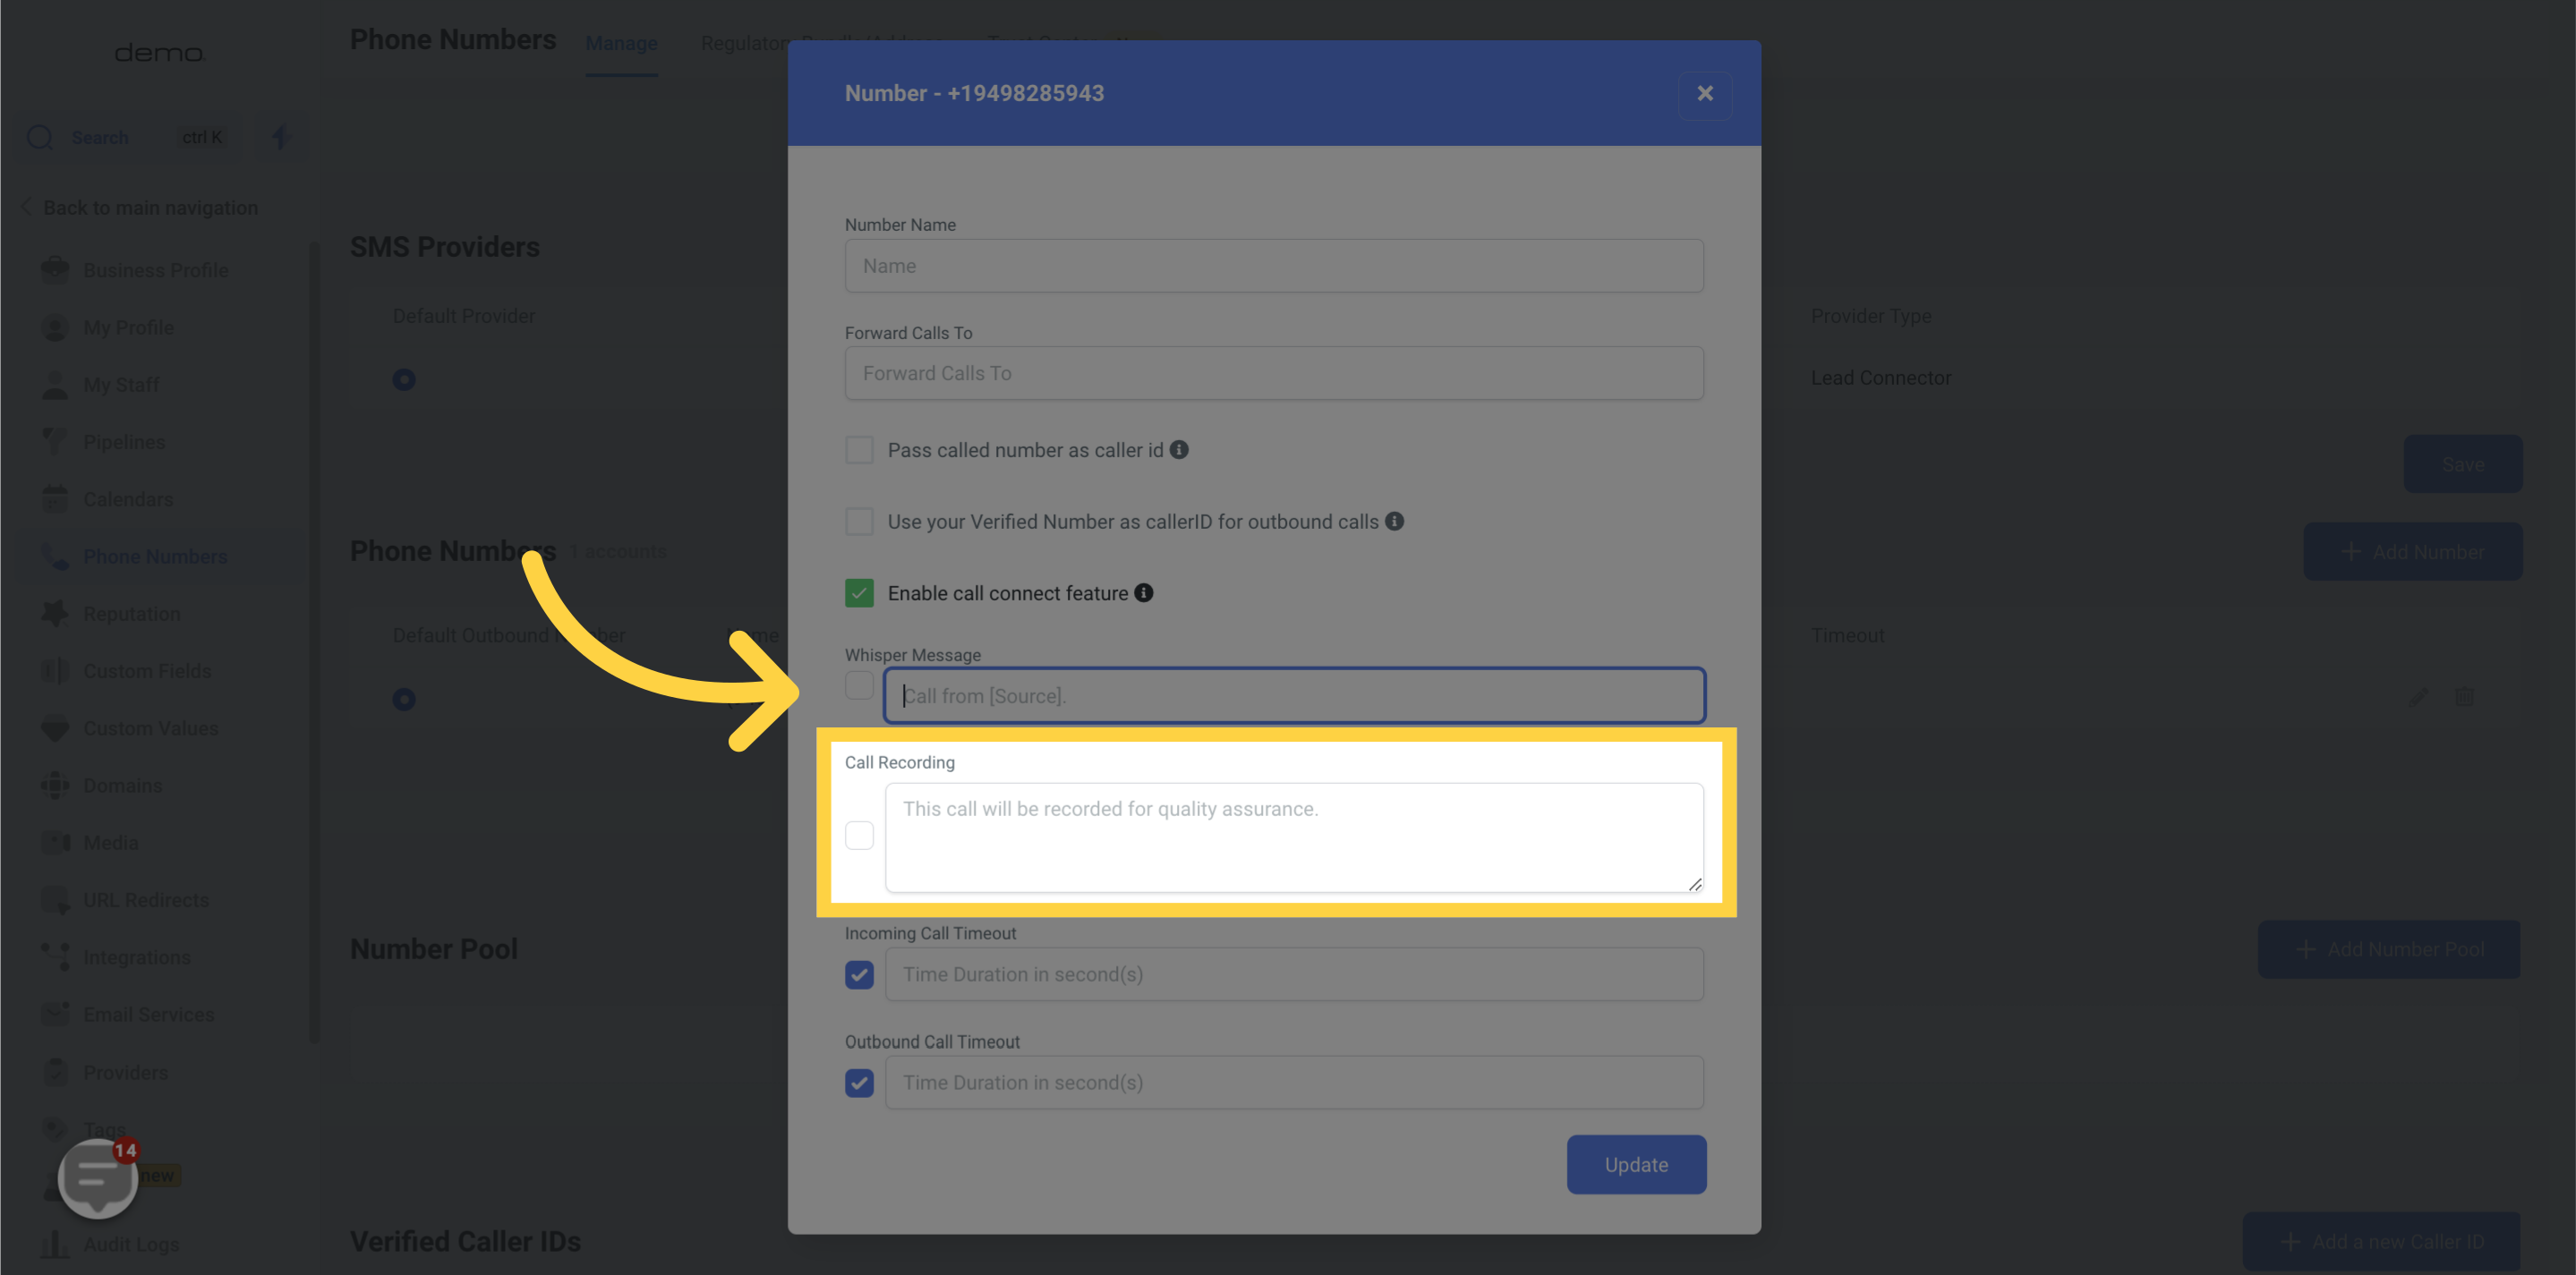
The ability to turn on call recording is incredibly powerful as we will not only record the calls, but we will also publish the recording right into the conversation stream of each contact, along with all the emails, text messages, Facebook messages, Instagram DMs, and more! If you turn this on, please be aware that most states require that you enter a whisper message here, like “this call will be recorded for quality purposes,” so that the caller is aware.
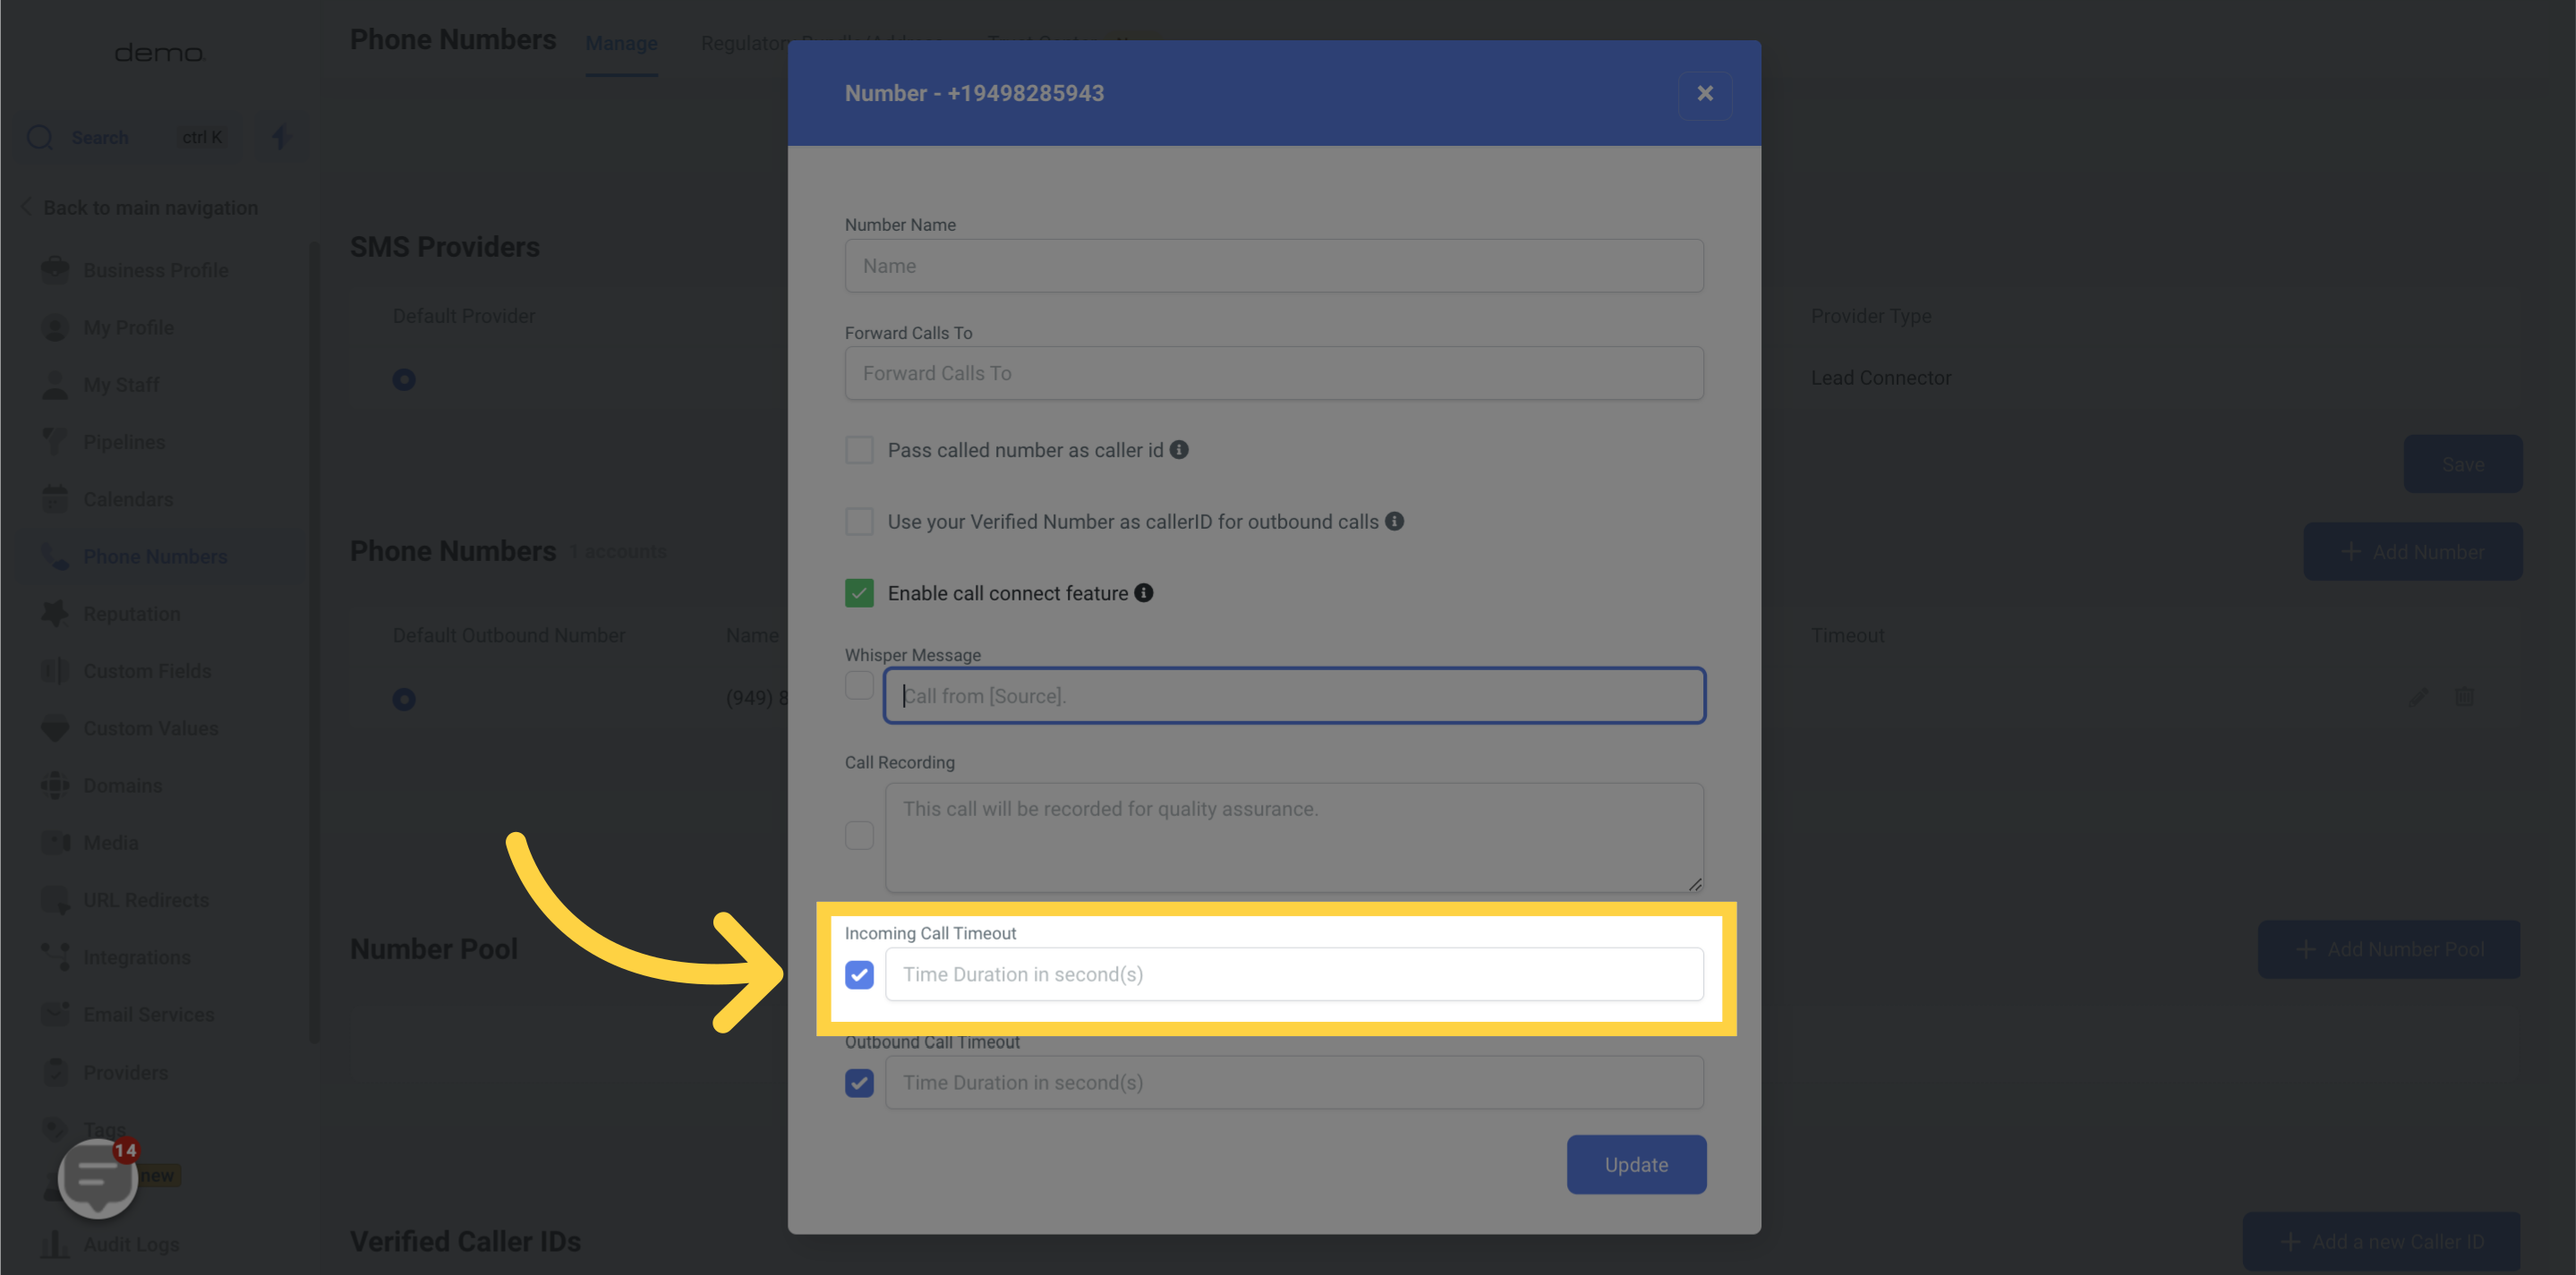
Inbound timeout:
The amount of time (in seconds) the system lets the inbound call ring before being dropped or forwarded to a voicemail (personal voicemail or pre-recorded voicemail within the CRM).
Scenario 1: If you want the lead to reach your cellphone voicemail, you can leave this field blank or add 60 secs.
Scenario 2: If you want the line to ring and the lead to reach a pre-recorded voicemail set within the CRM, add the inbound call timeout to around 20+/- seconds. Setting a short timeout will ensure the line doesn't ring long enough to reach your personal voicemail recording.
Scenario 3: If you want inbound calls to go straight to the pre-recorded voicemail within the CRM, set the inbound call timeout to 1-4 seconds. This will ensure that the voicemail set within the CRM is used. If that is the case, you will want to ensure that you have uploaded a voicemail (MP3/WAV file) within the Business Info tab or the assigned users' profile settings.
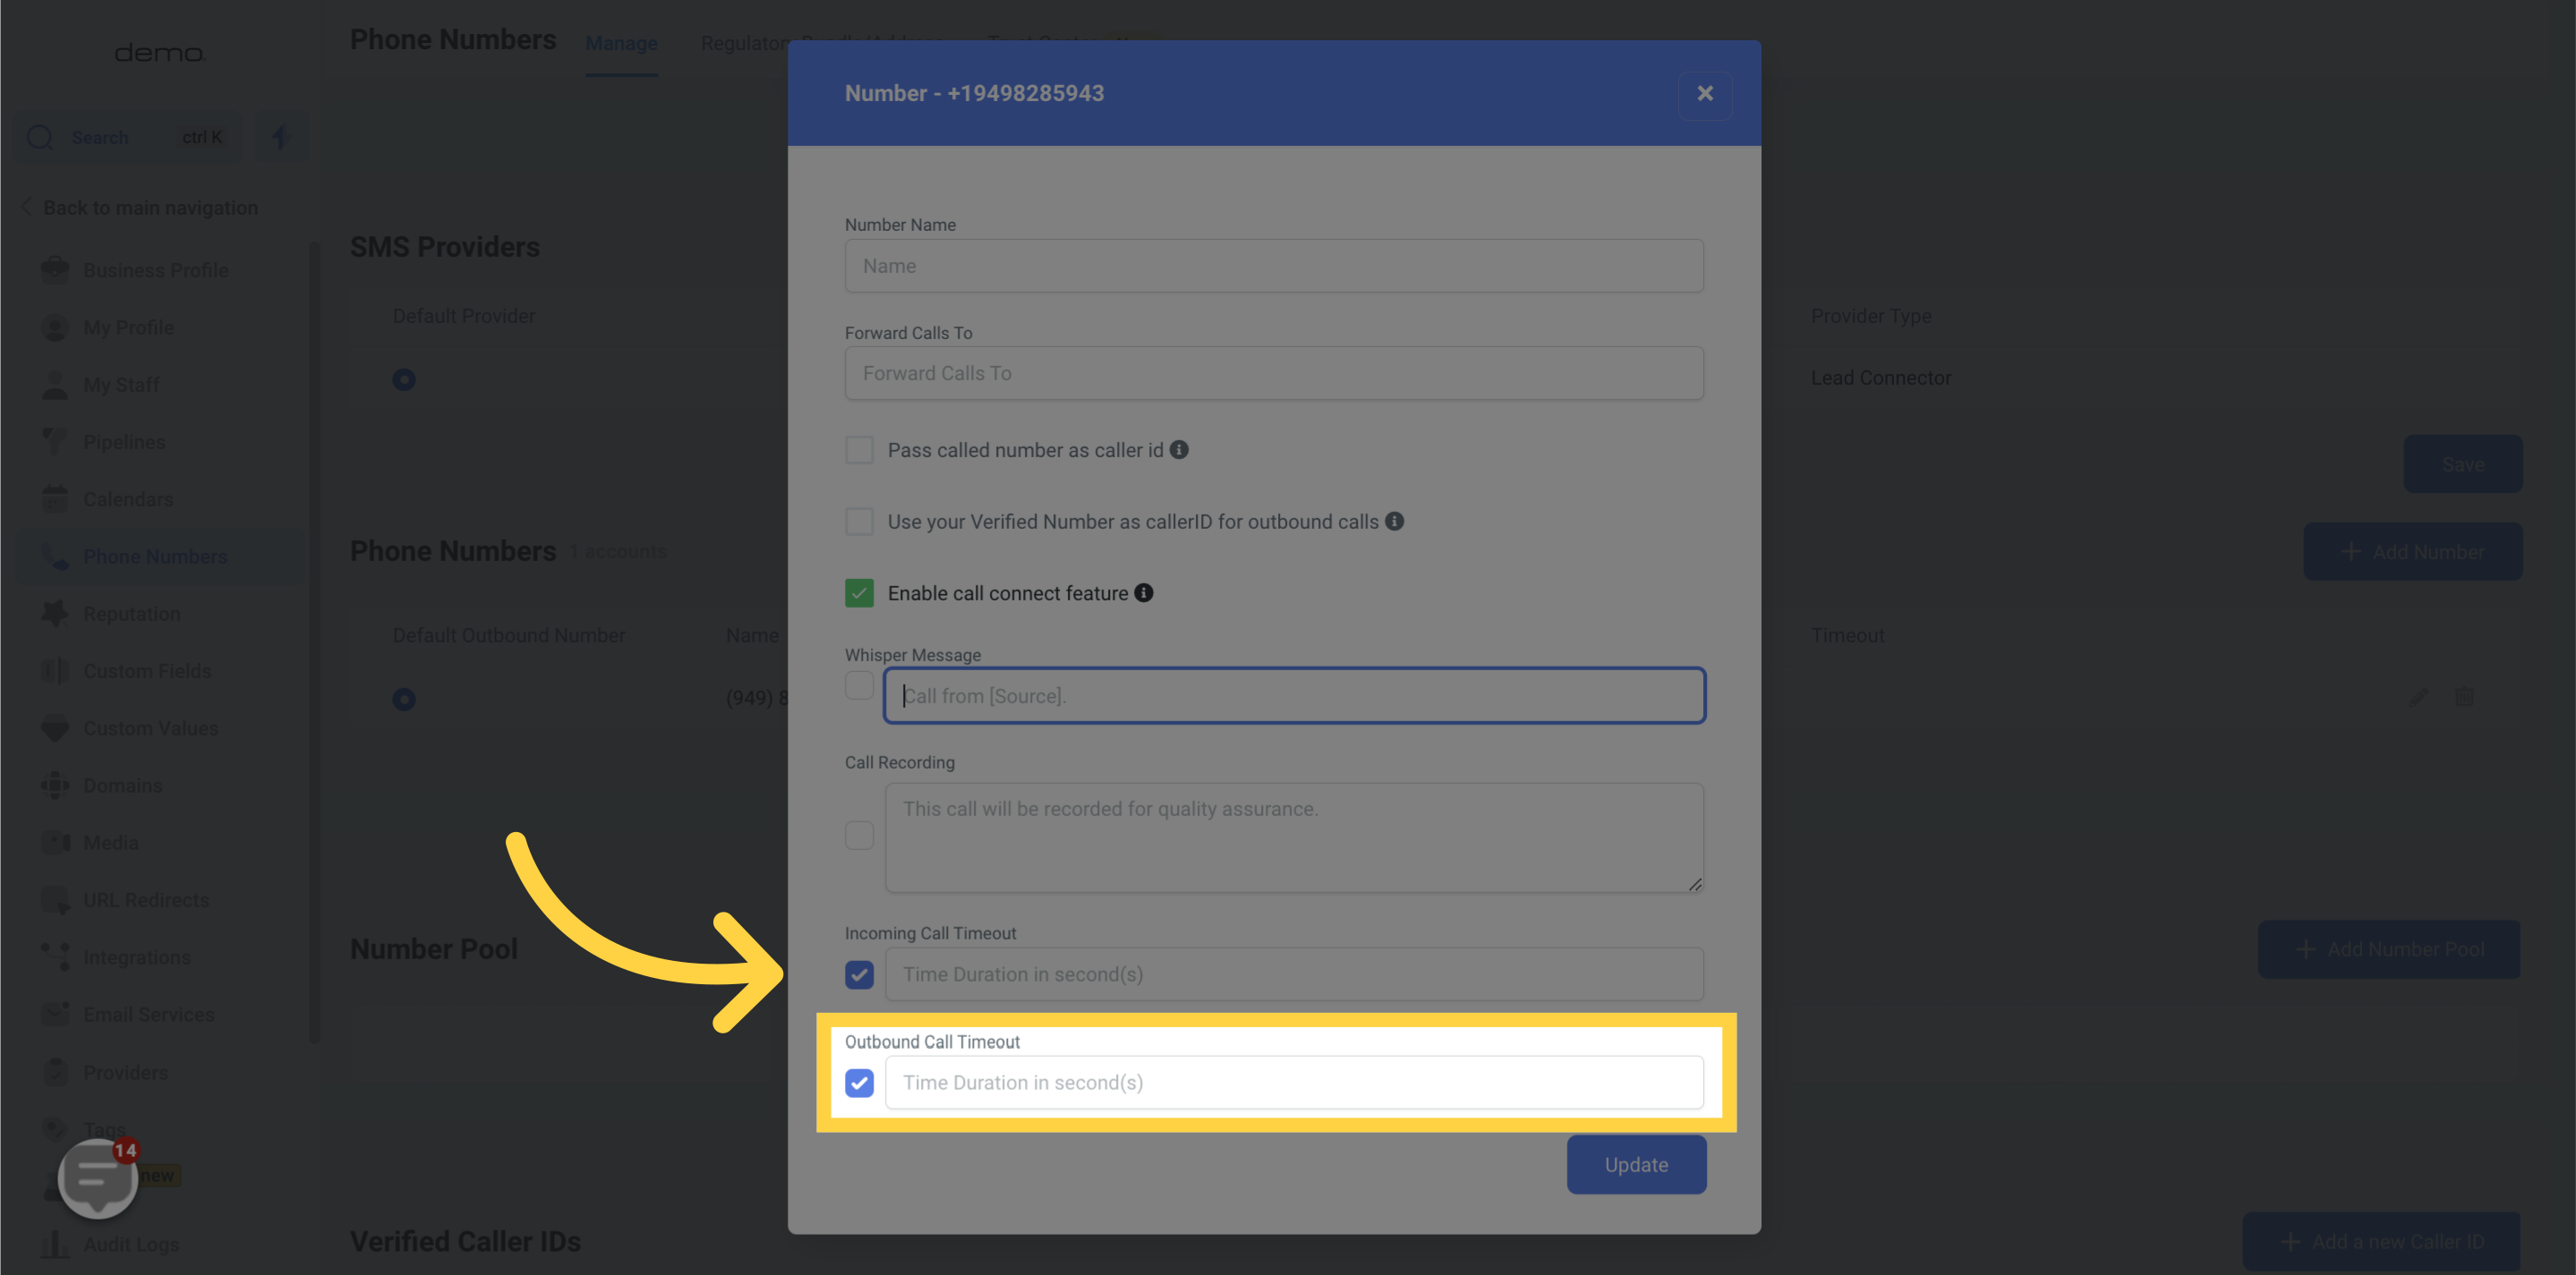
The amount of time (in seconds) the system lets the outbound call ring before dropping the call. Setting a shorter outbound timeout to 30 +/- seconds will reduce your chances of reaching the customer's/leads voicemail. This is ideal if you run voicemail drop campaigns or your agents have large lists and only want to speak to readily available leads.