Using tags is an ideal way to organize your contacts effectively. Adding or removing tags from a contact can provide you with valuable information on specific actions or stages this contact has gone through (similar to, but more detailed than pipeline stages). You have the ability to attach more than one tag to a contact, further enhancing its organization.
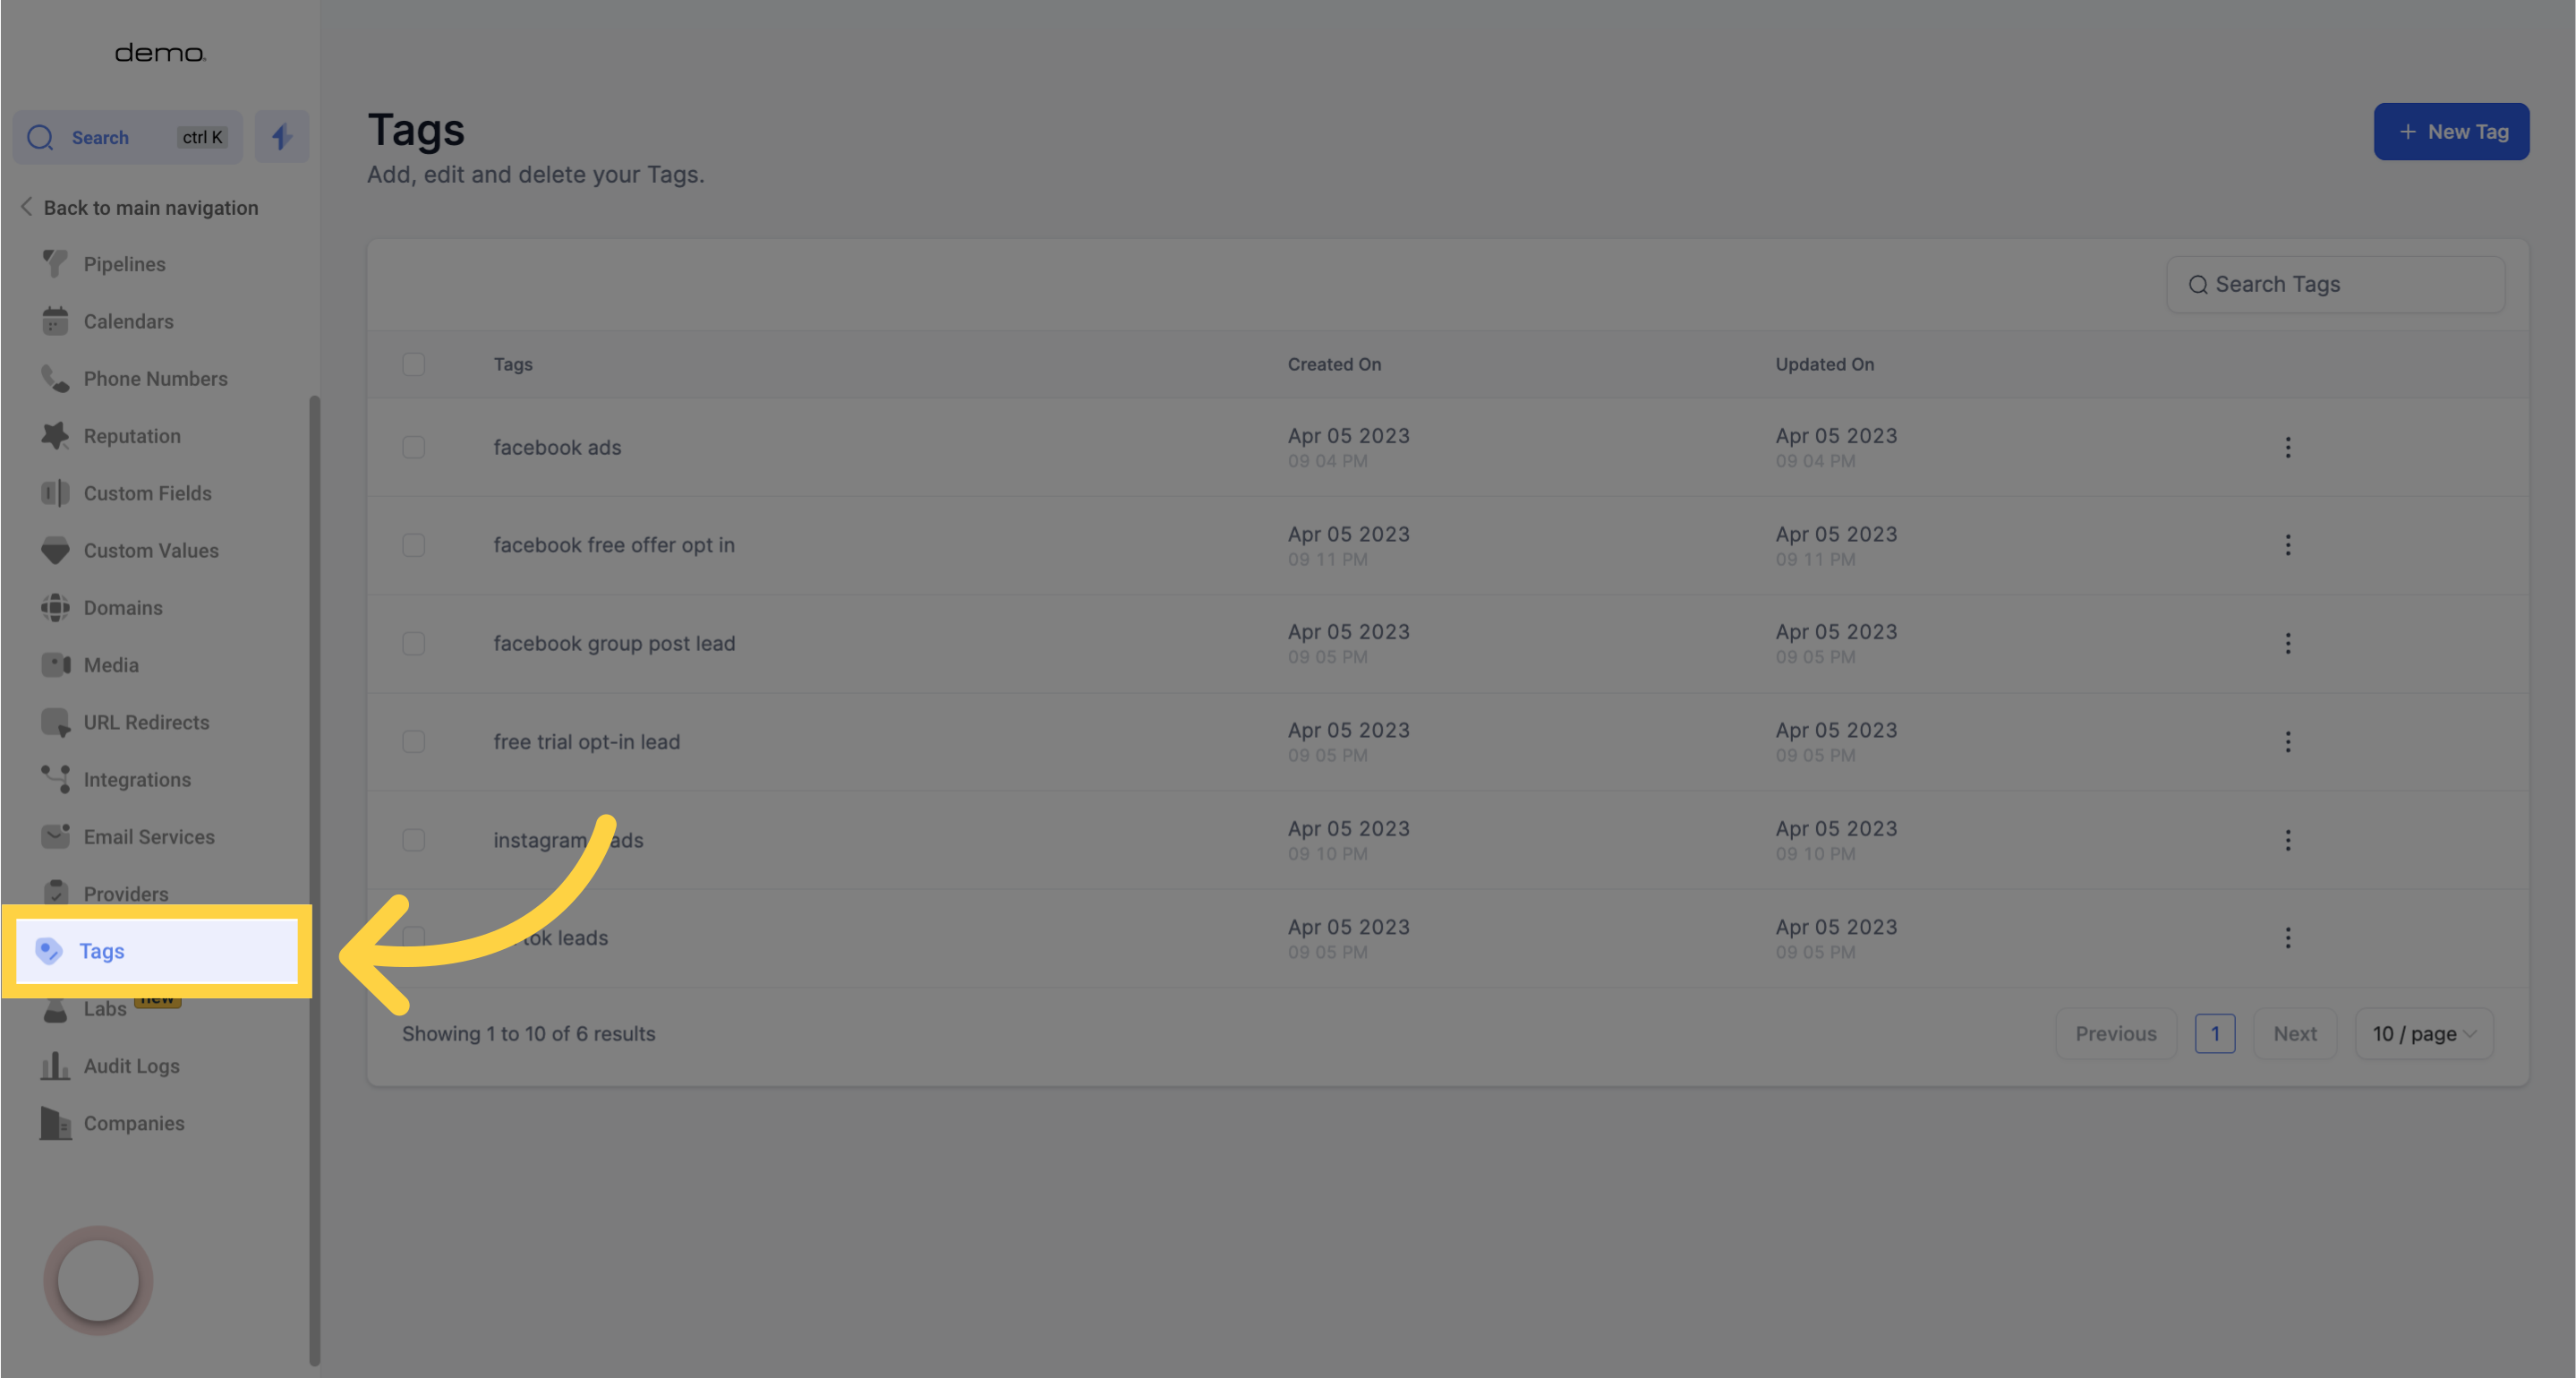
Open the tags section.
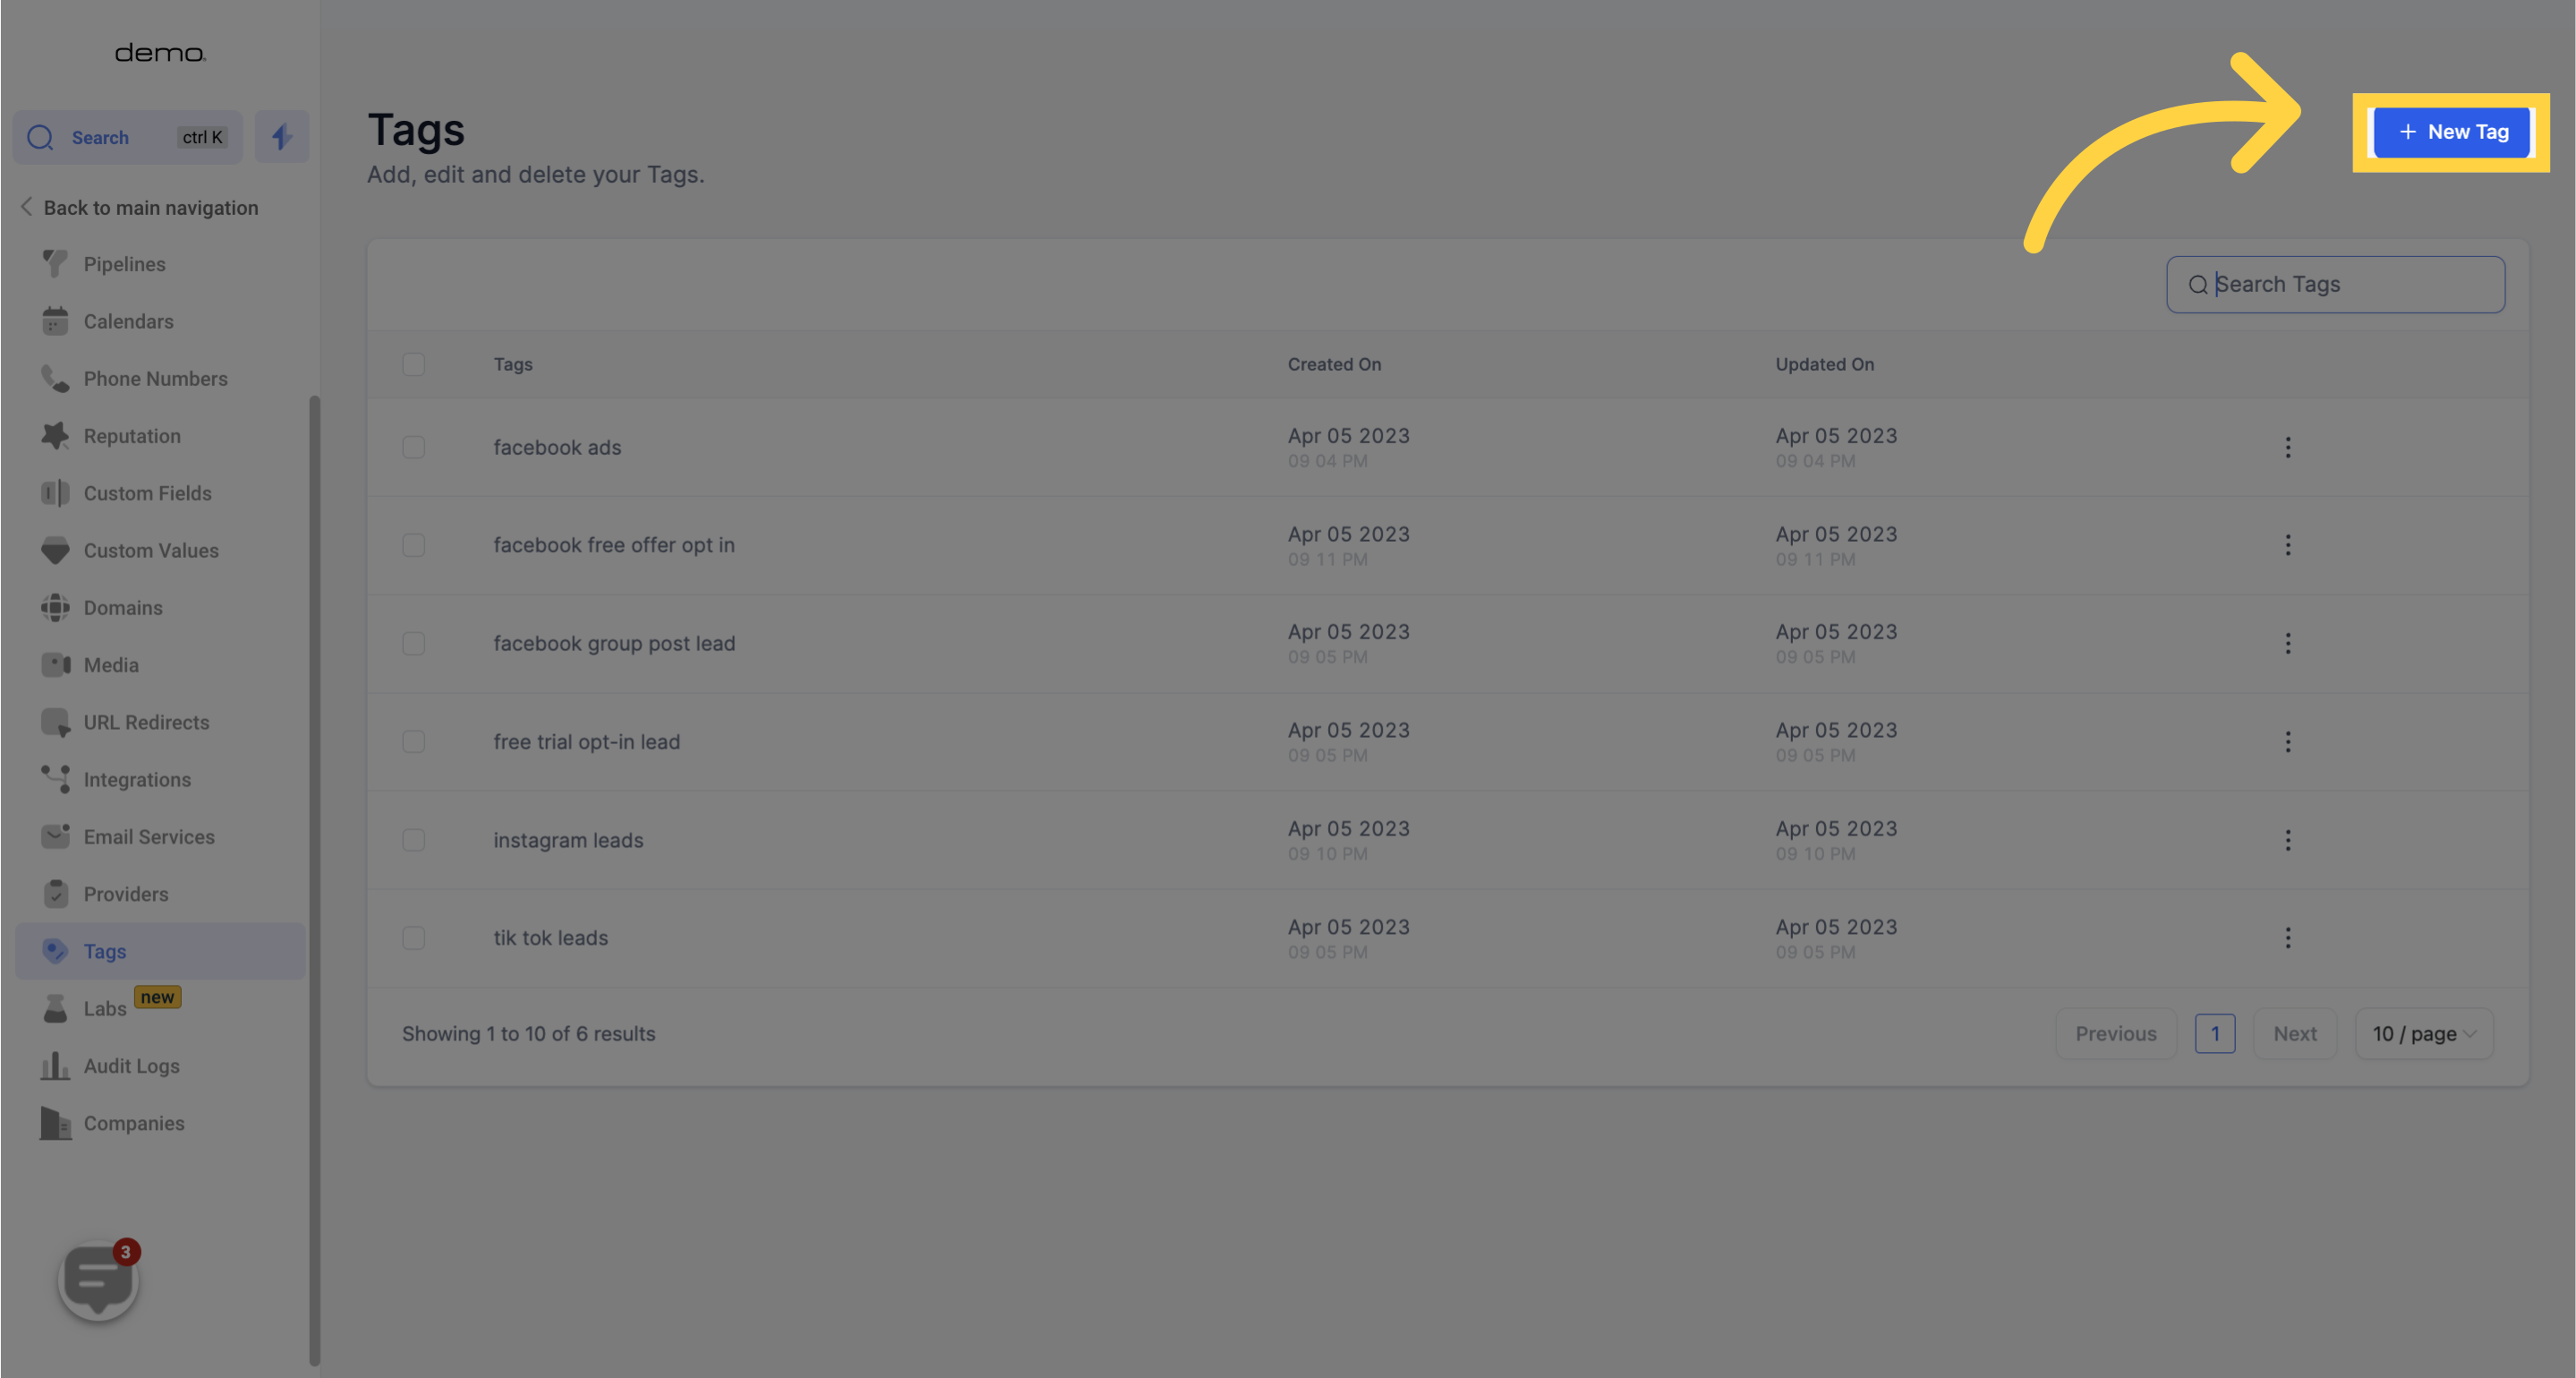
To add a new contact tag to your CRM, click on this button.
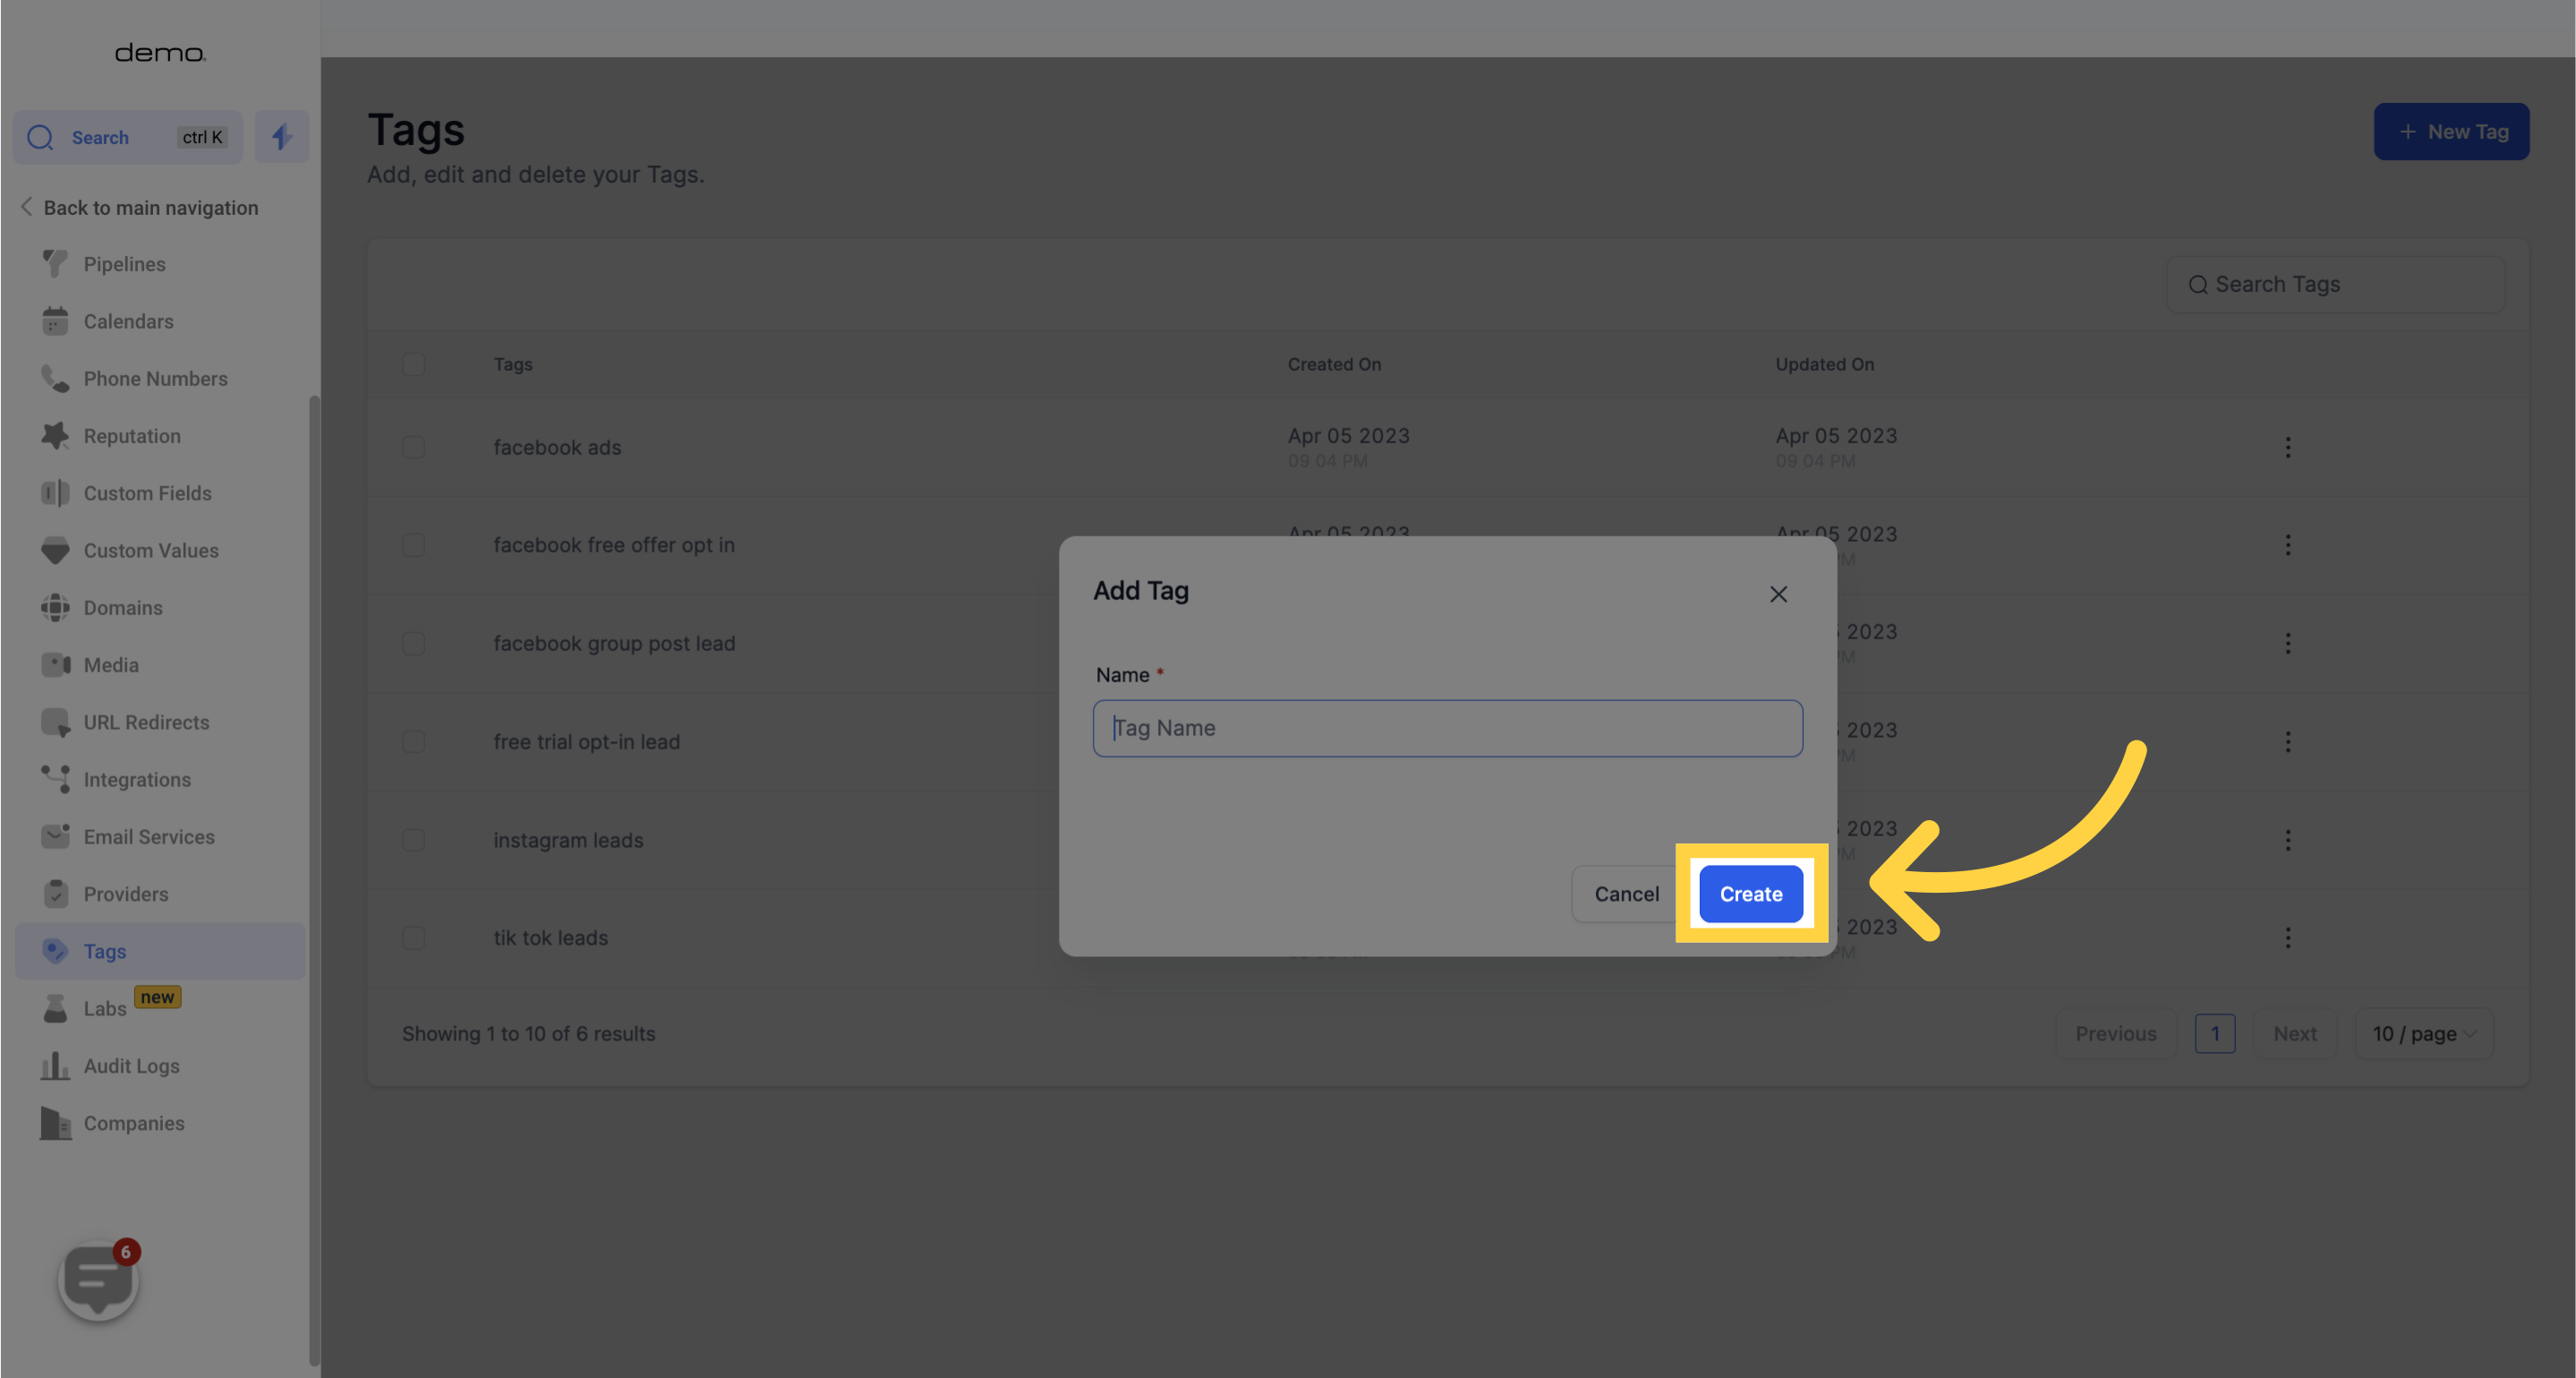
You can create a new tag and assign a unique name such as "New Lead", "Paid Customer", or any other relevant name. In the screenshot provided below, simply enter the desired tag name, and click on the "Create" button to save the changes.
The search box can be used to easily locate a specific tag from a large list of tags in the system, providing a convenient way to quickly access a specific Tag.

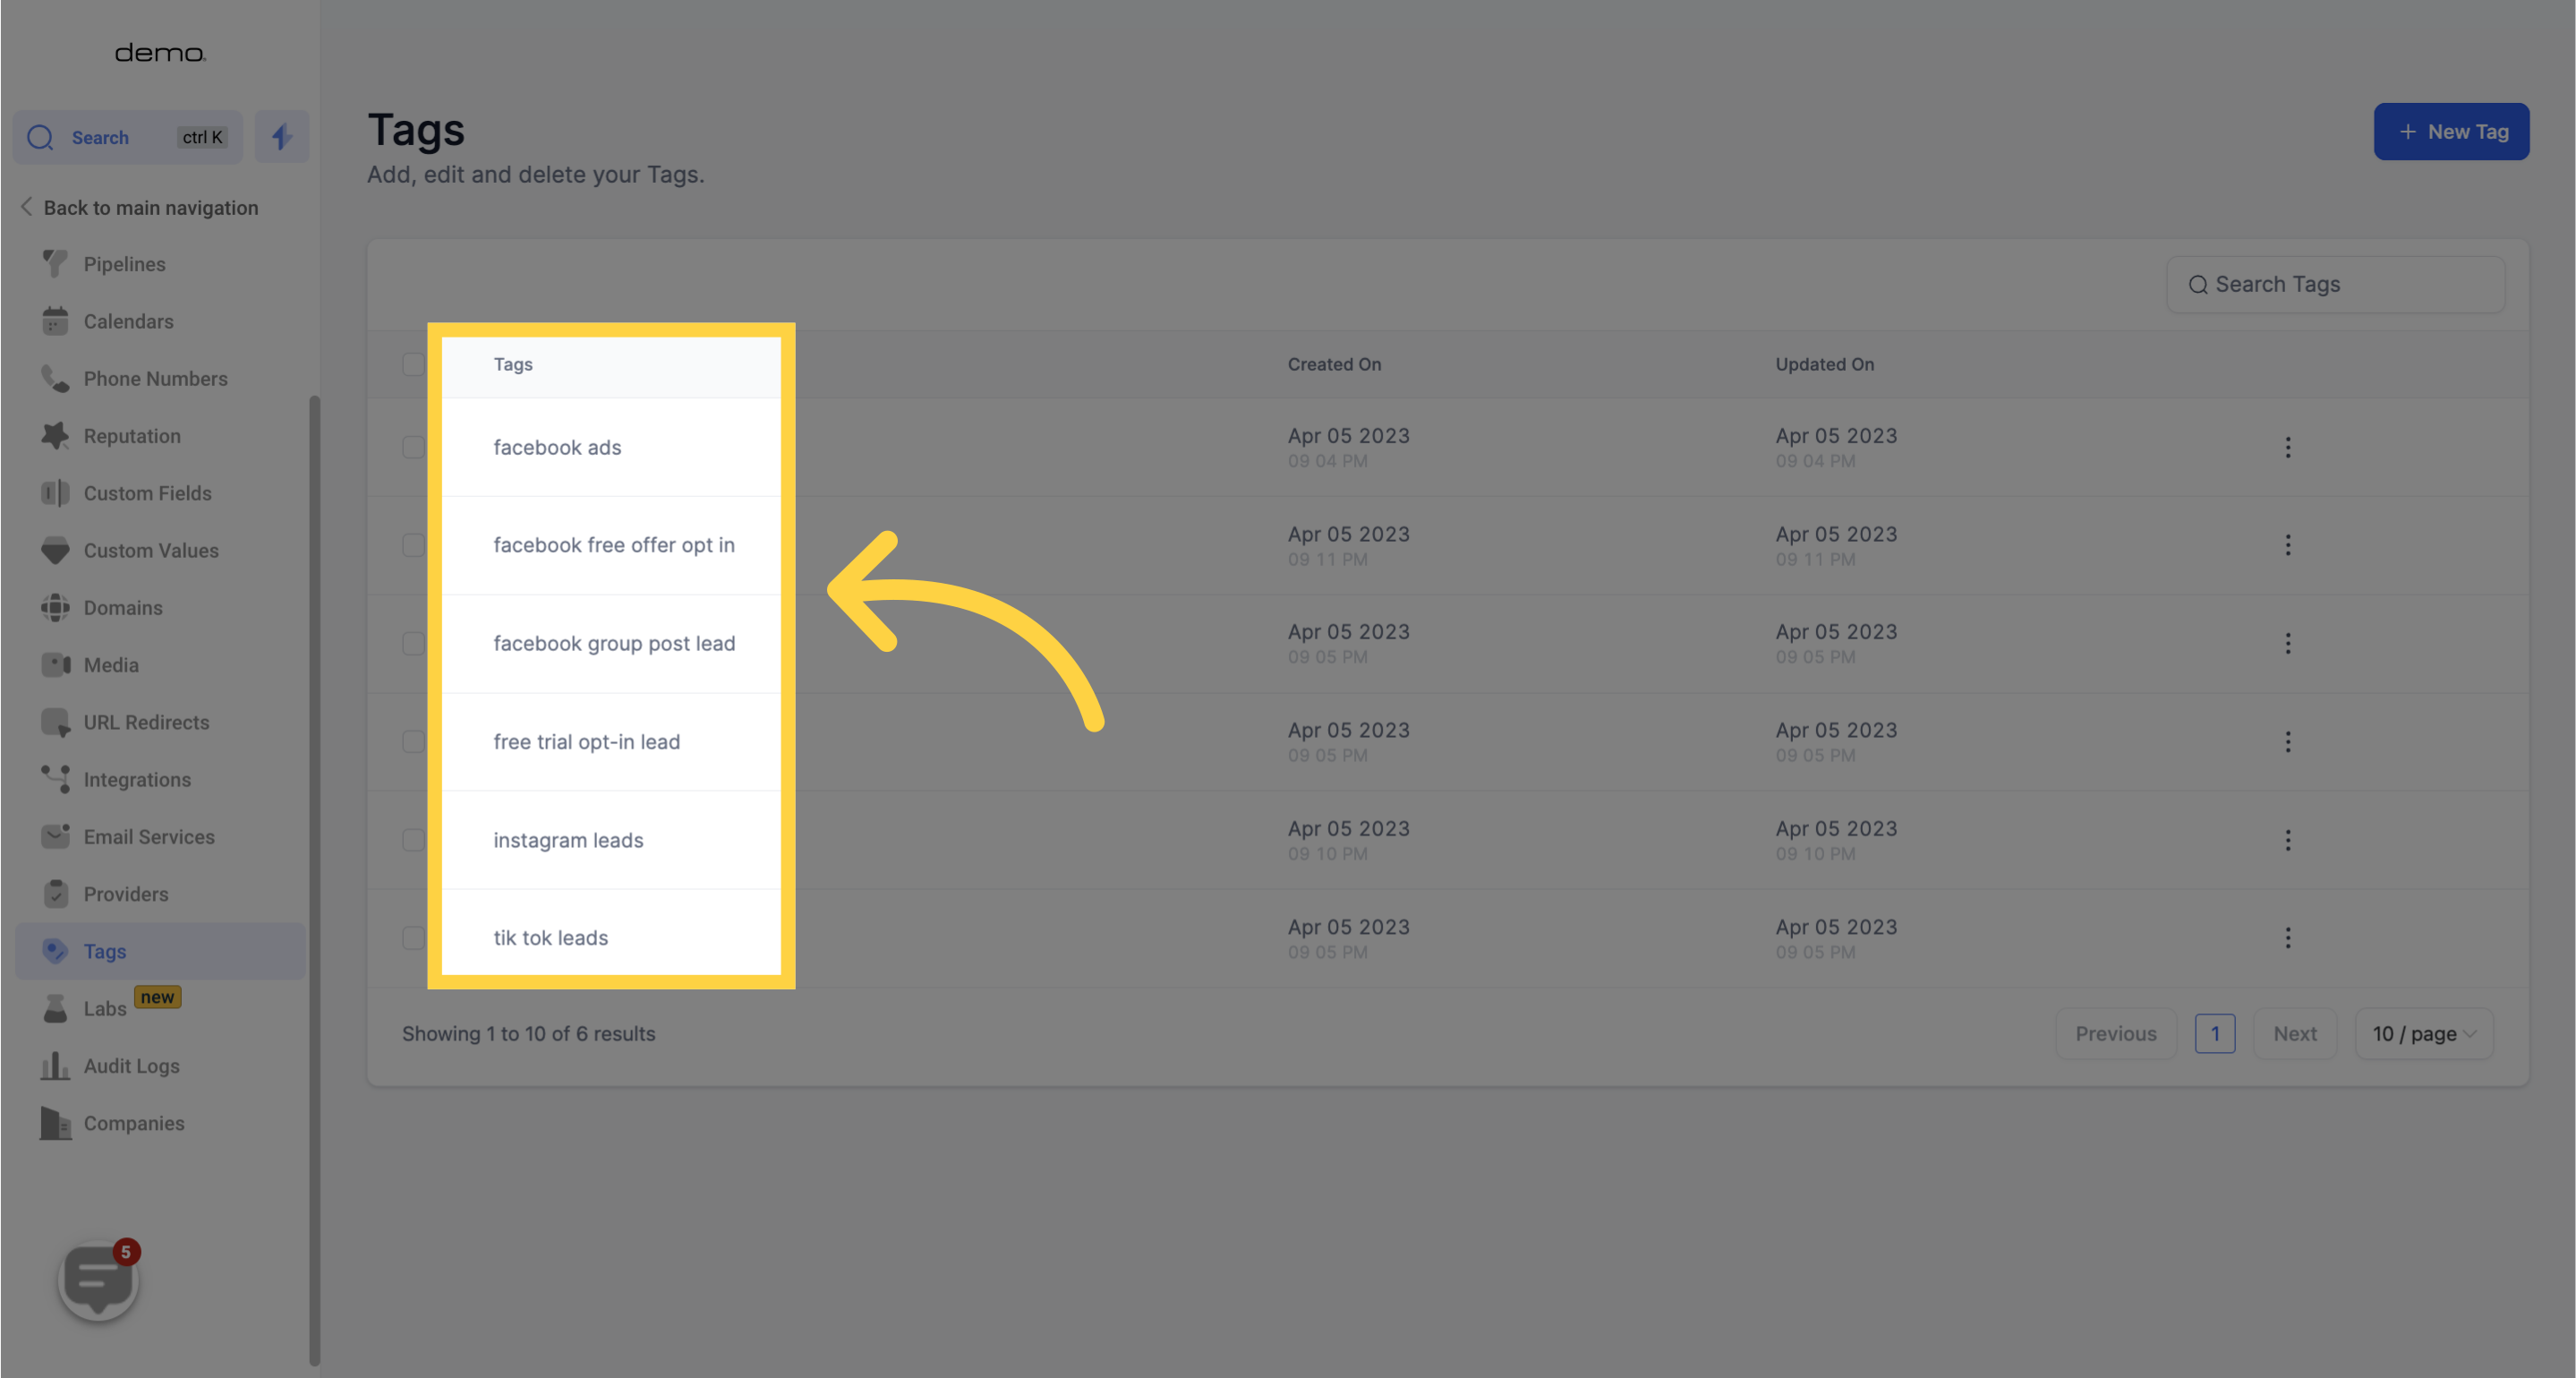
This column displays a list of all the tags you have created and their corresponding names.
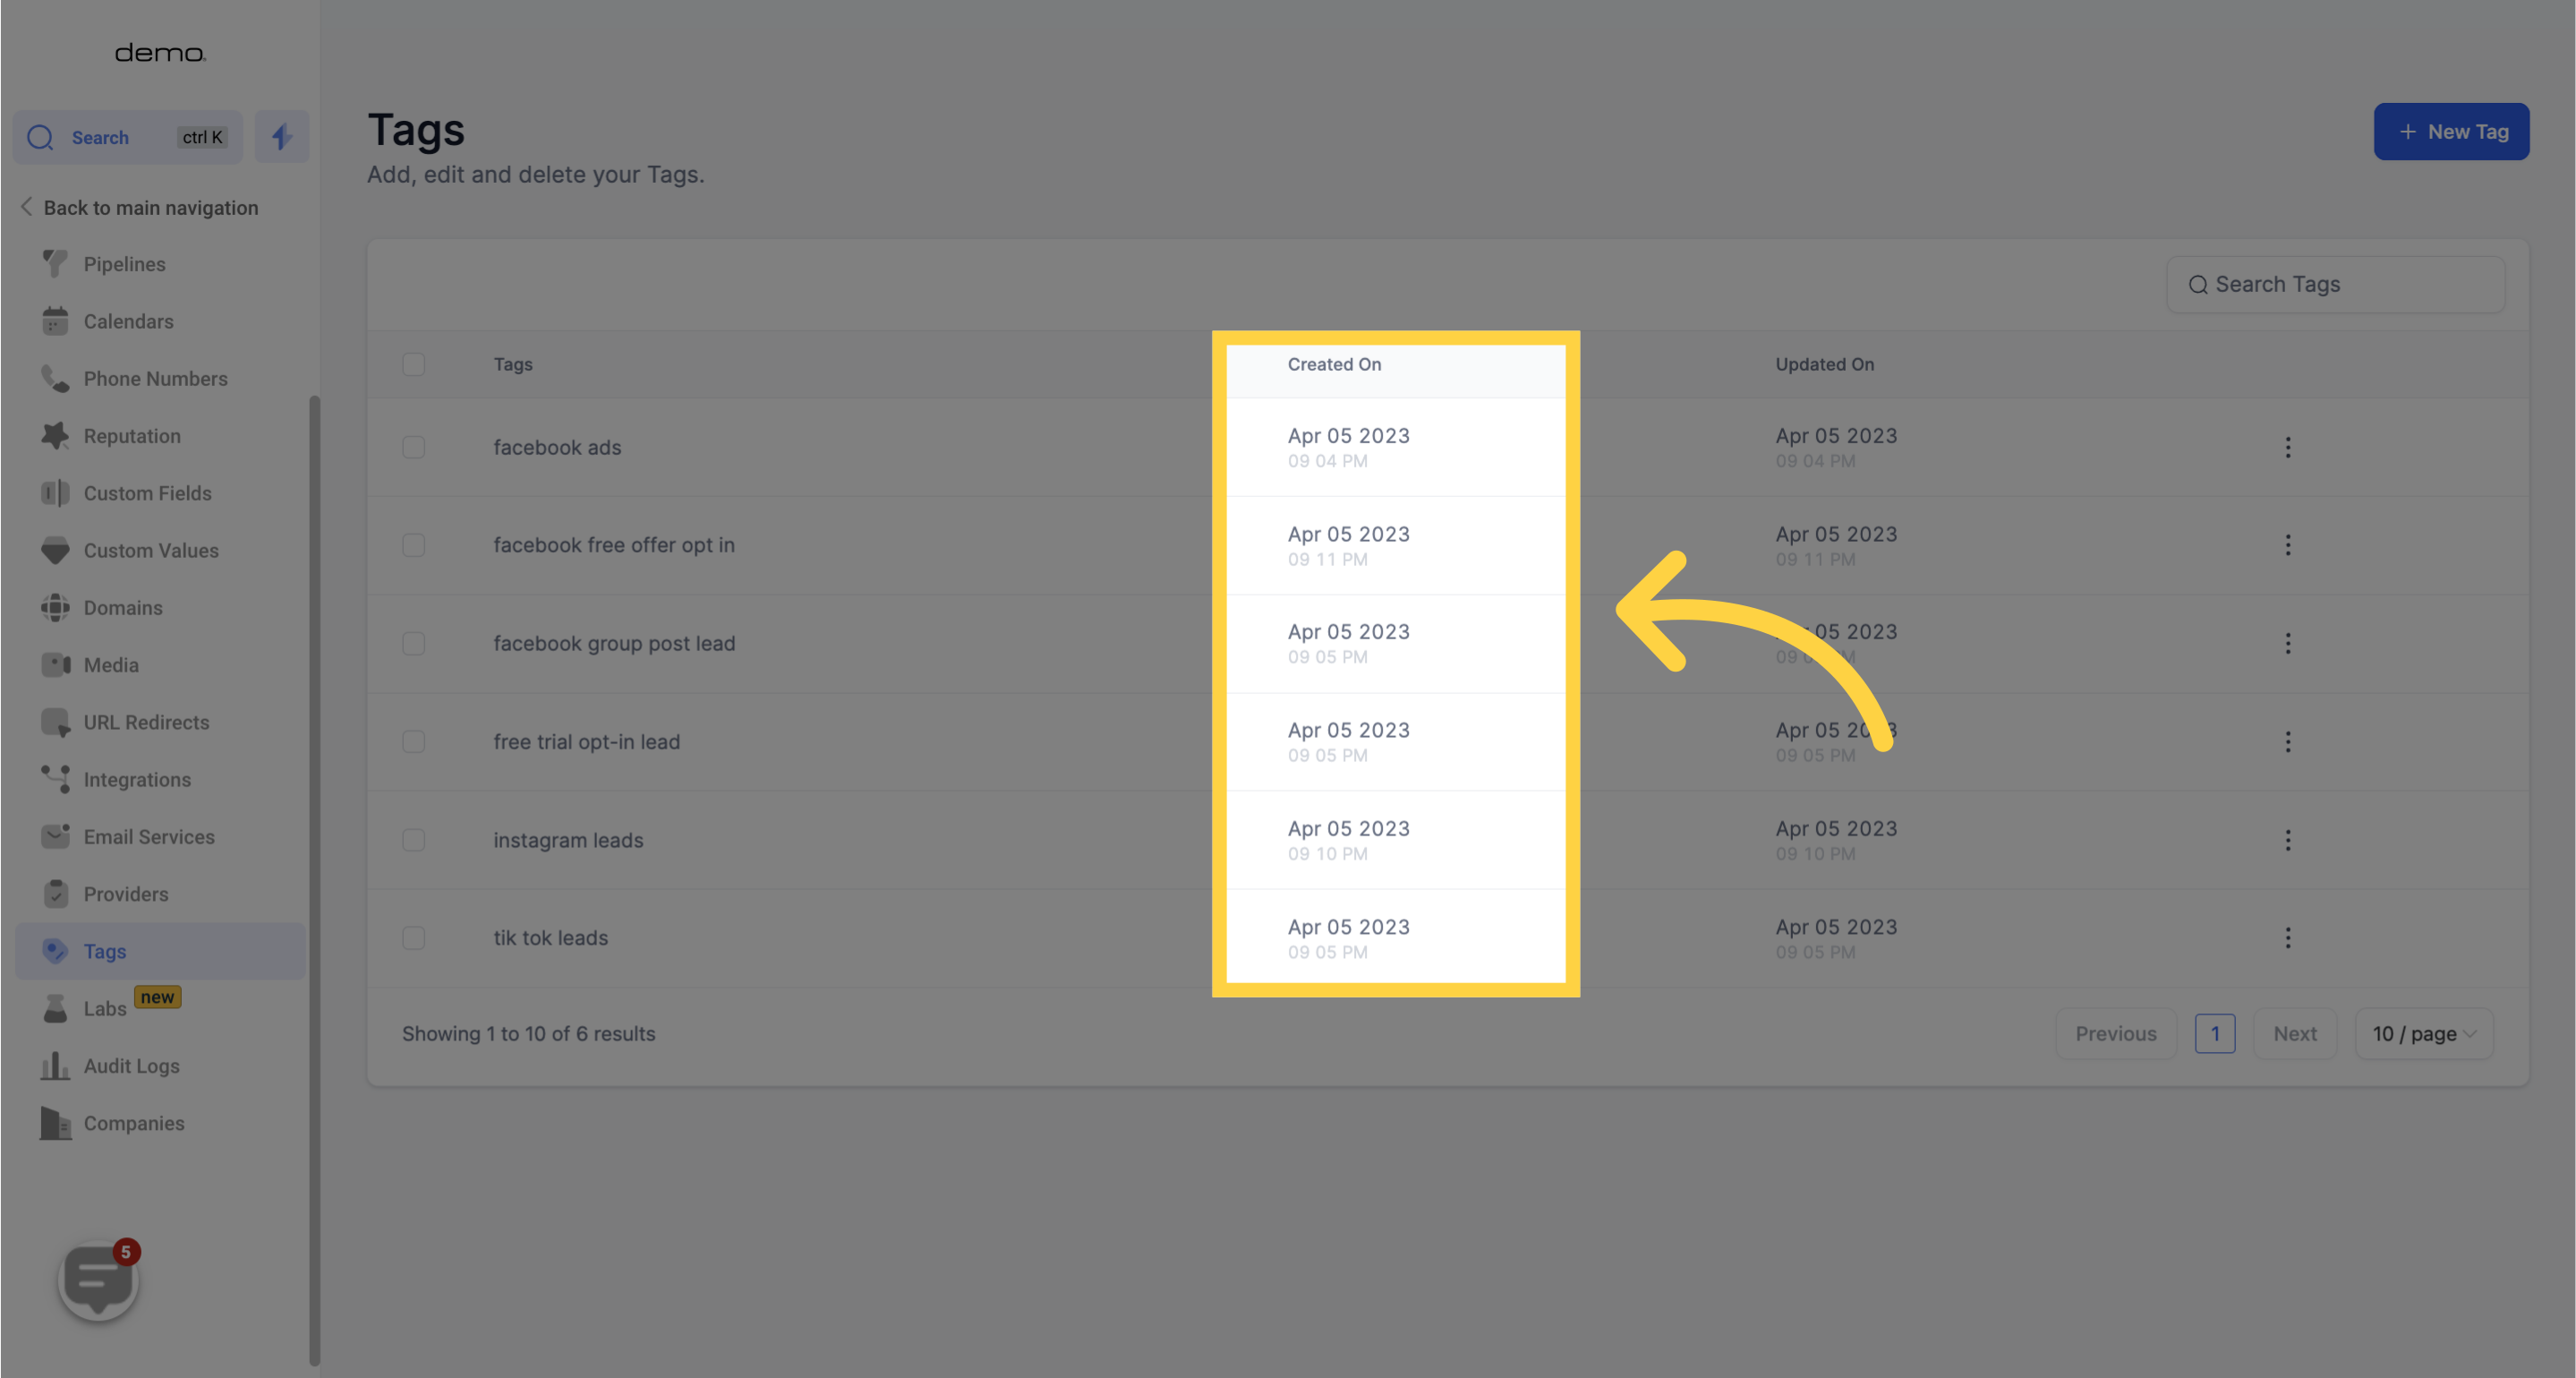
This column displays the date and time when the tag was initially created.
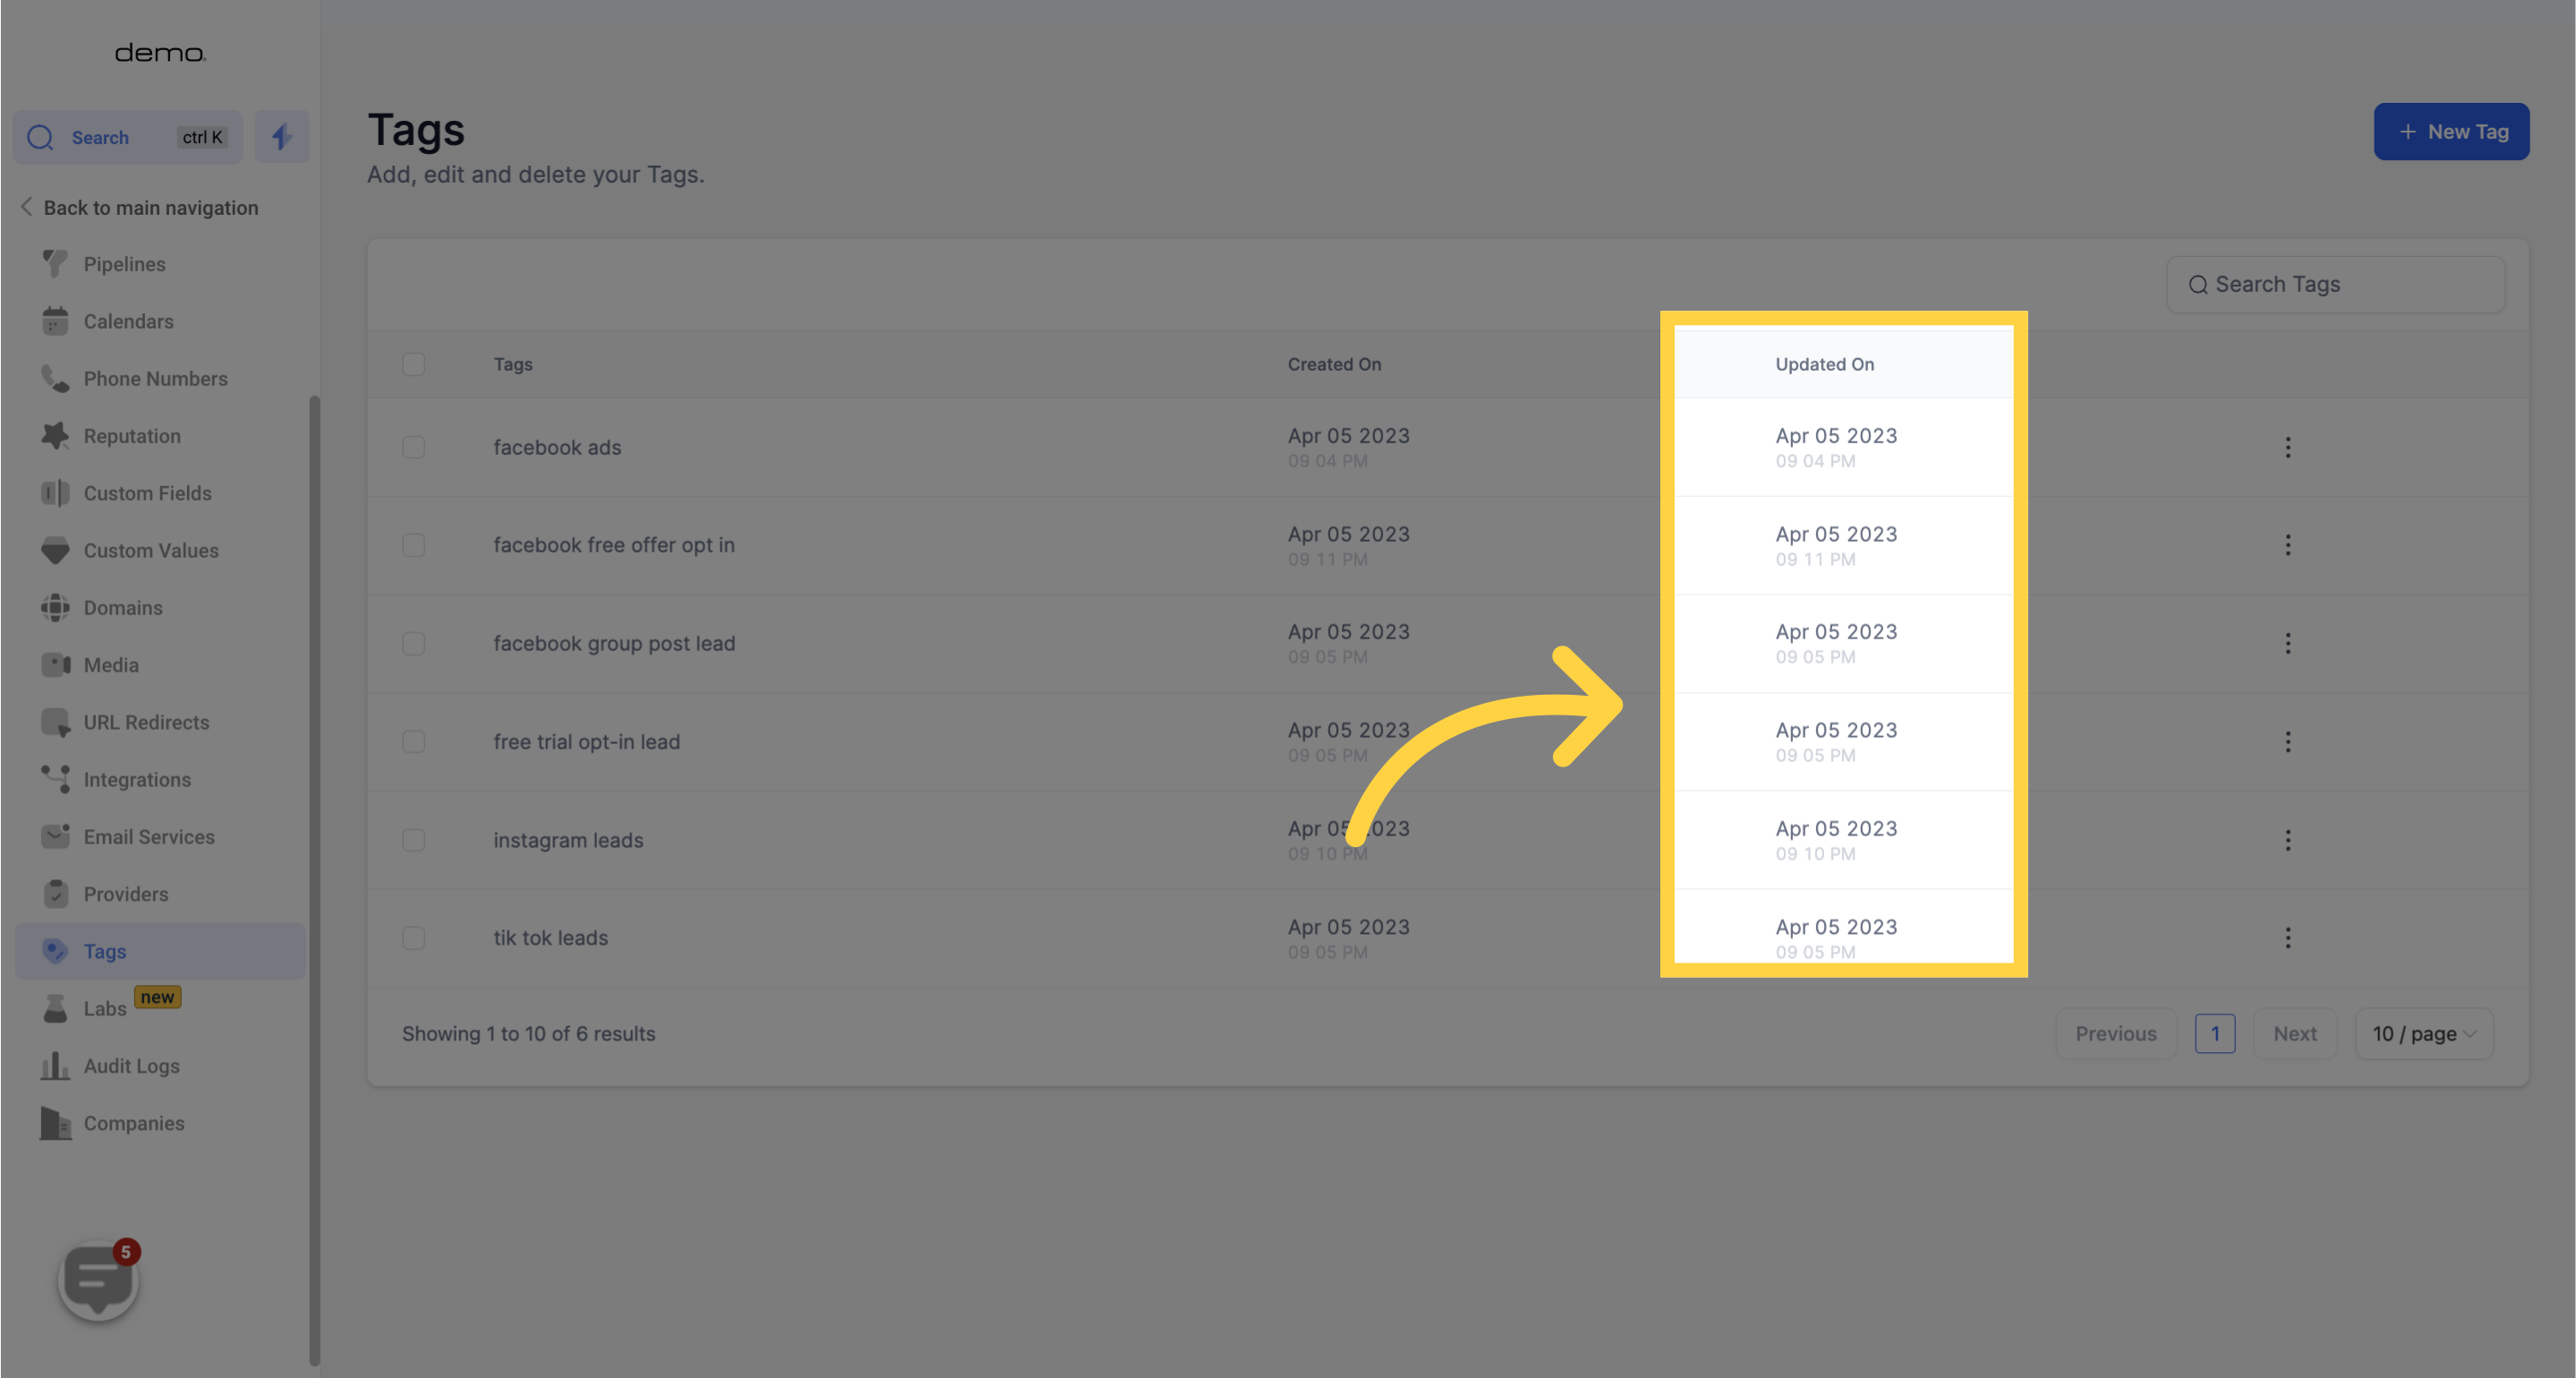
This column shows the date and time of the most recent update made to each tag.
In the screenshot below, you can find the three dots menu that offers several settings for each tag on the list.
By selecting the "Edit" tab, you can modify the name of the chosen tag. This will open a new window where you can make your desired changes.
Additionally, the "Delete" option can be used to remove a particular tag from the list.

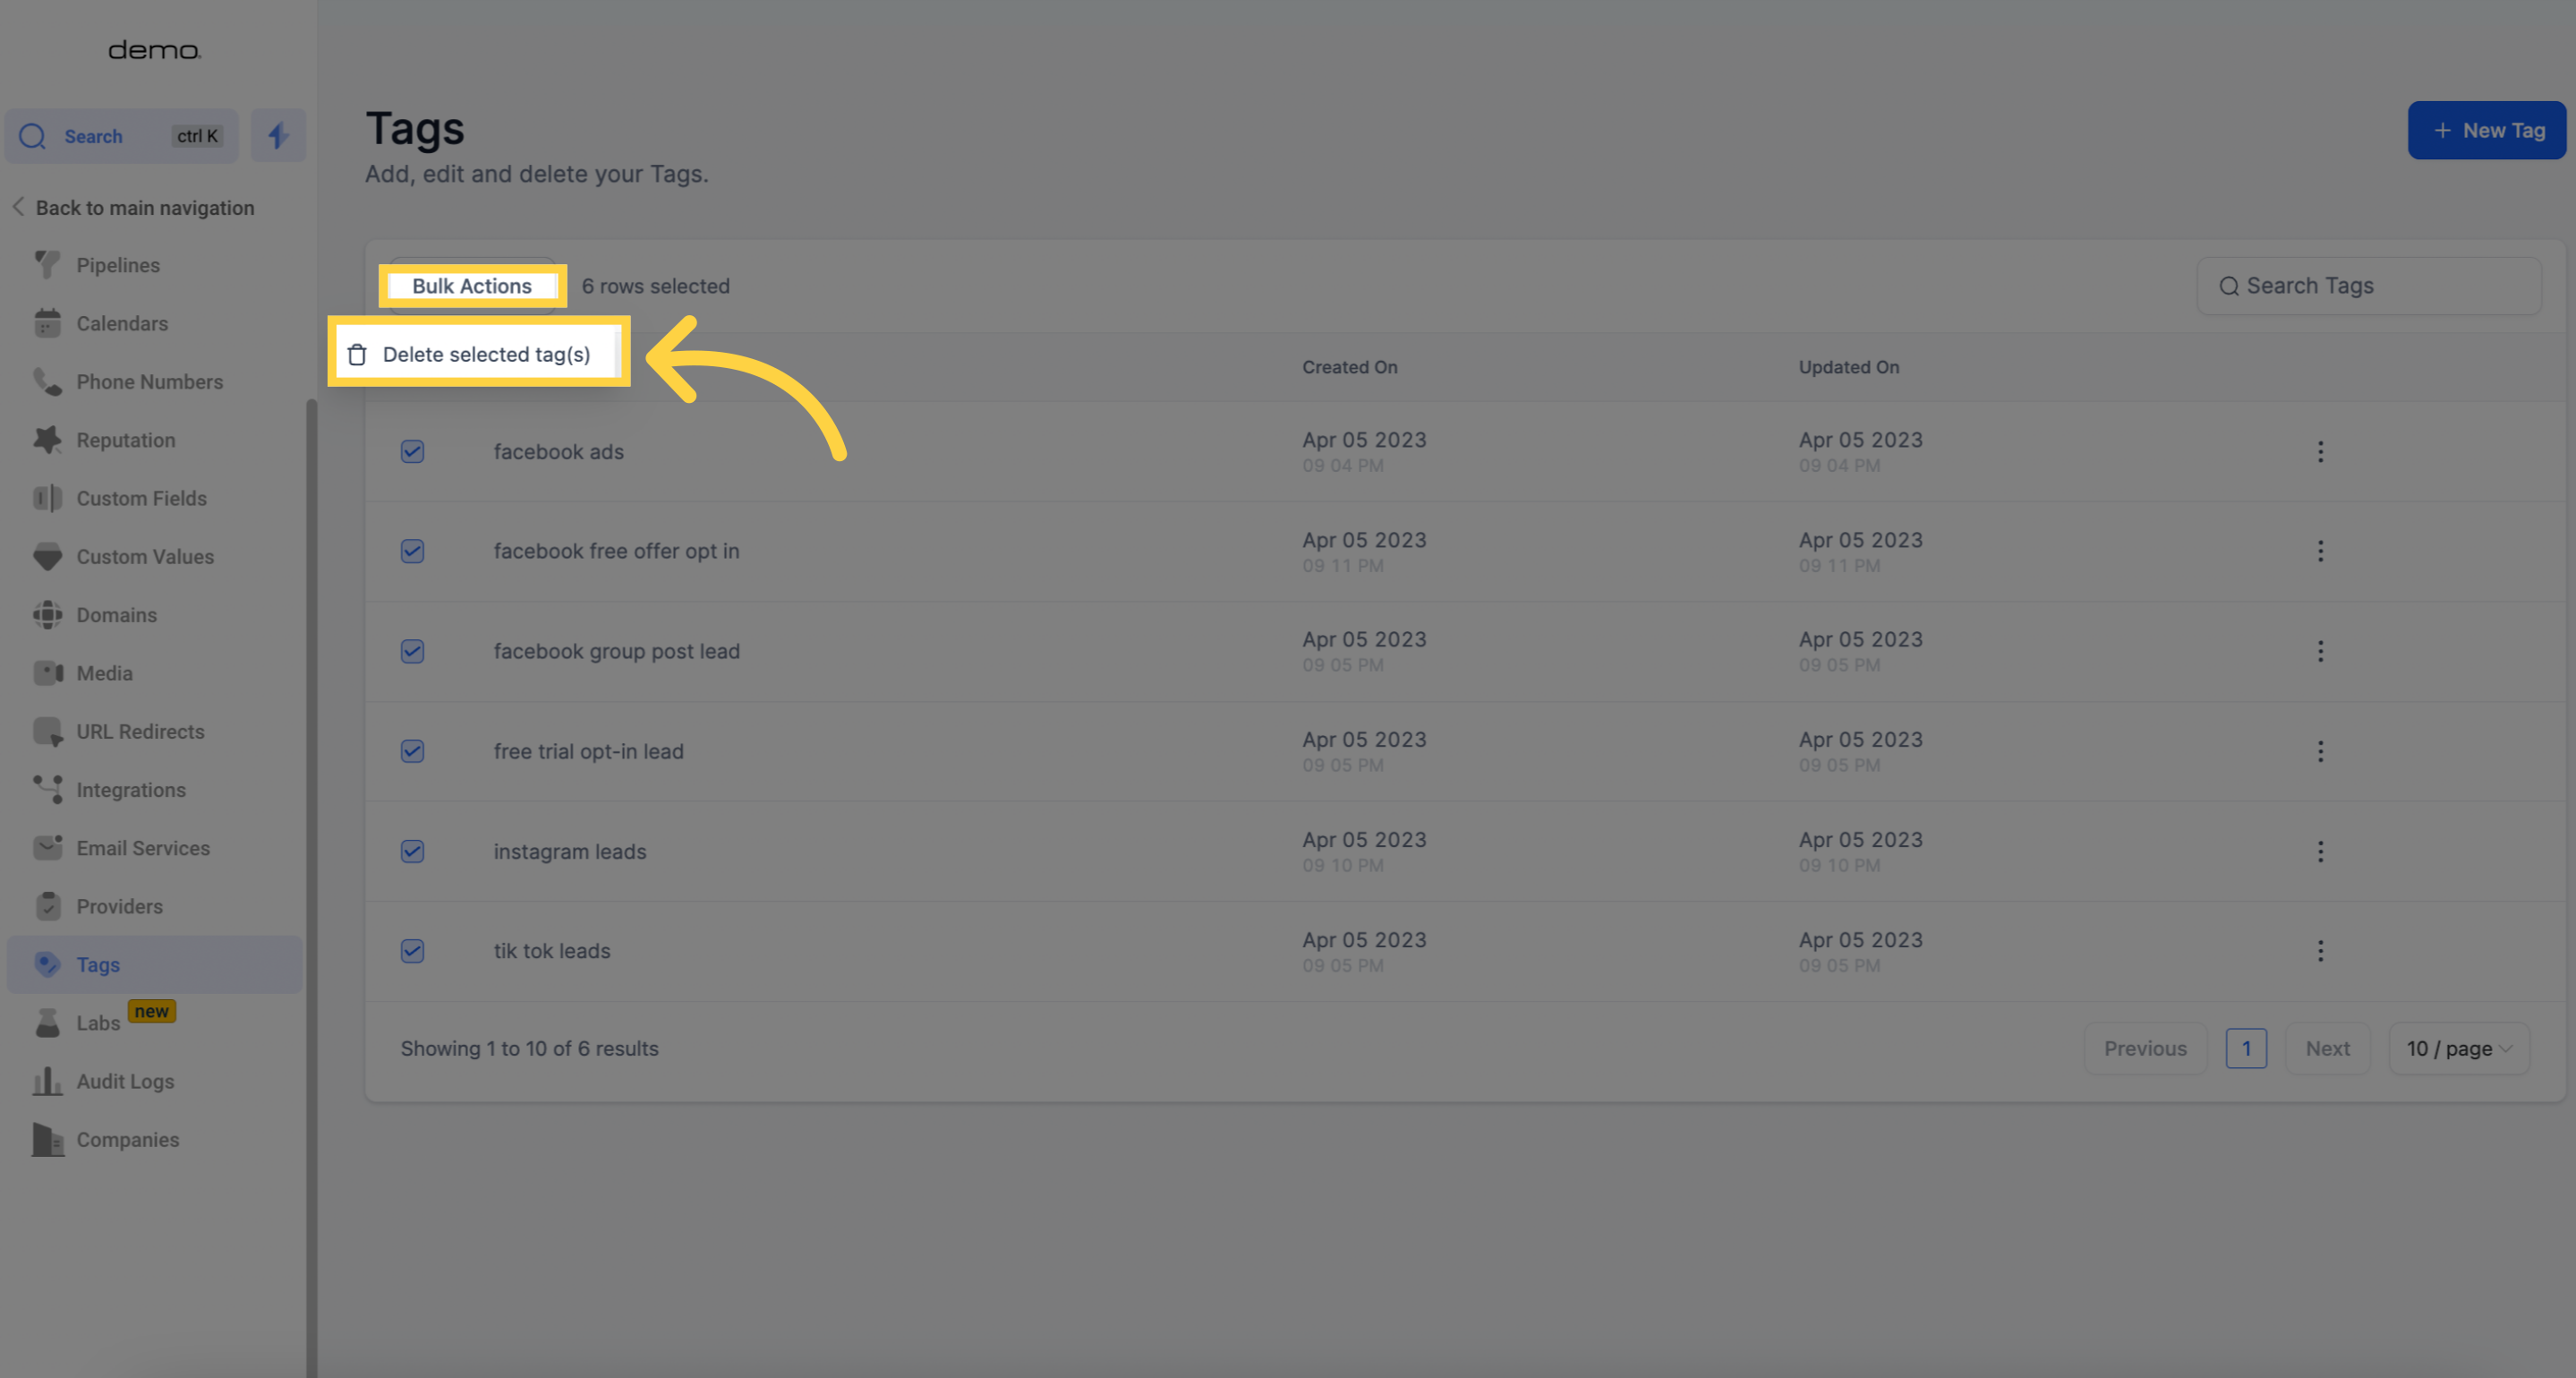
You have the ability to select multiple tags in the list and delete them simultaneously by checking the corresponding boxes.