How to Automatically add, remove, and update an Affiliate using Workflows

This guide provides a step by step walkthrough of How to Automatically add, remove, and update an Affiliate using Workflows

1. Click "Marketing"

Click 'Marketing'

2. Click "Workflows"

Click 'Workflows'

3. Click "Start from the scratch"

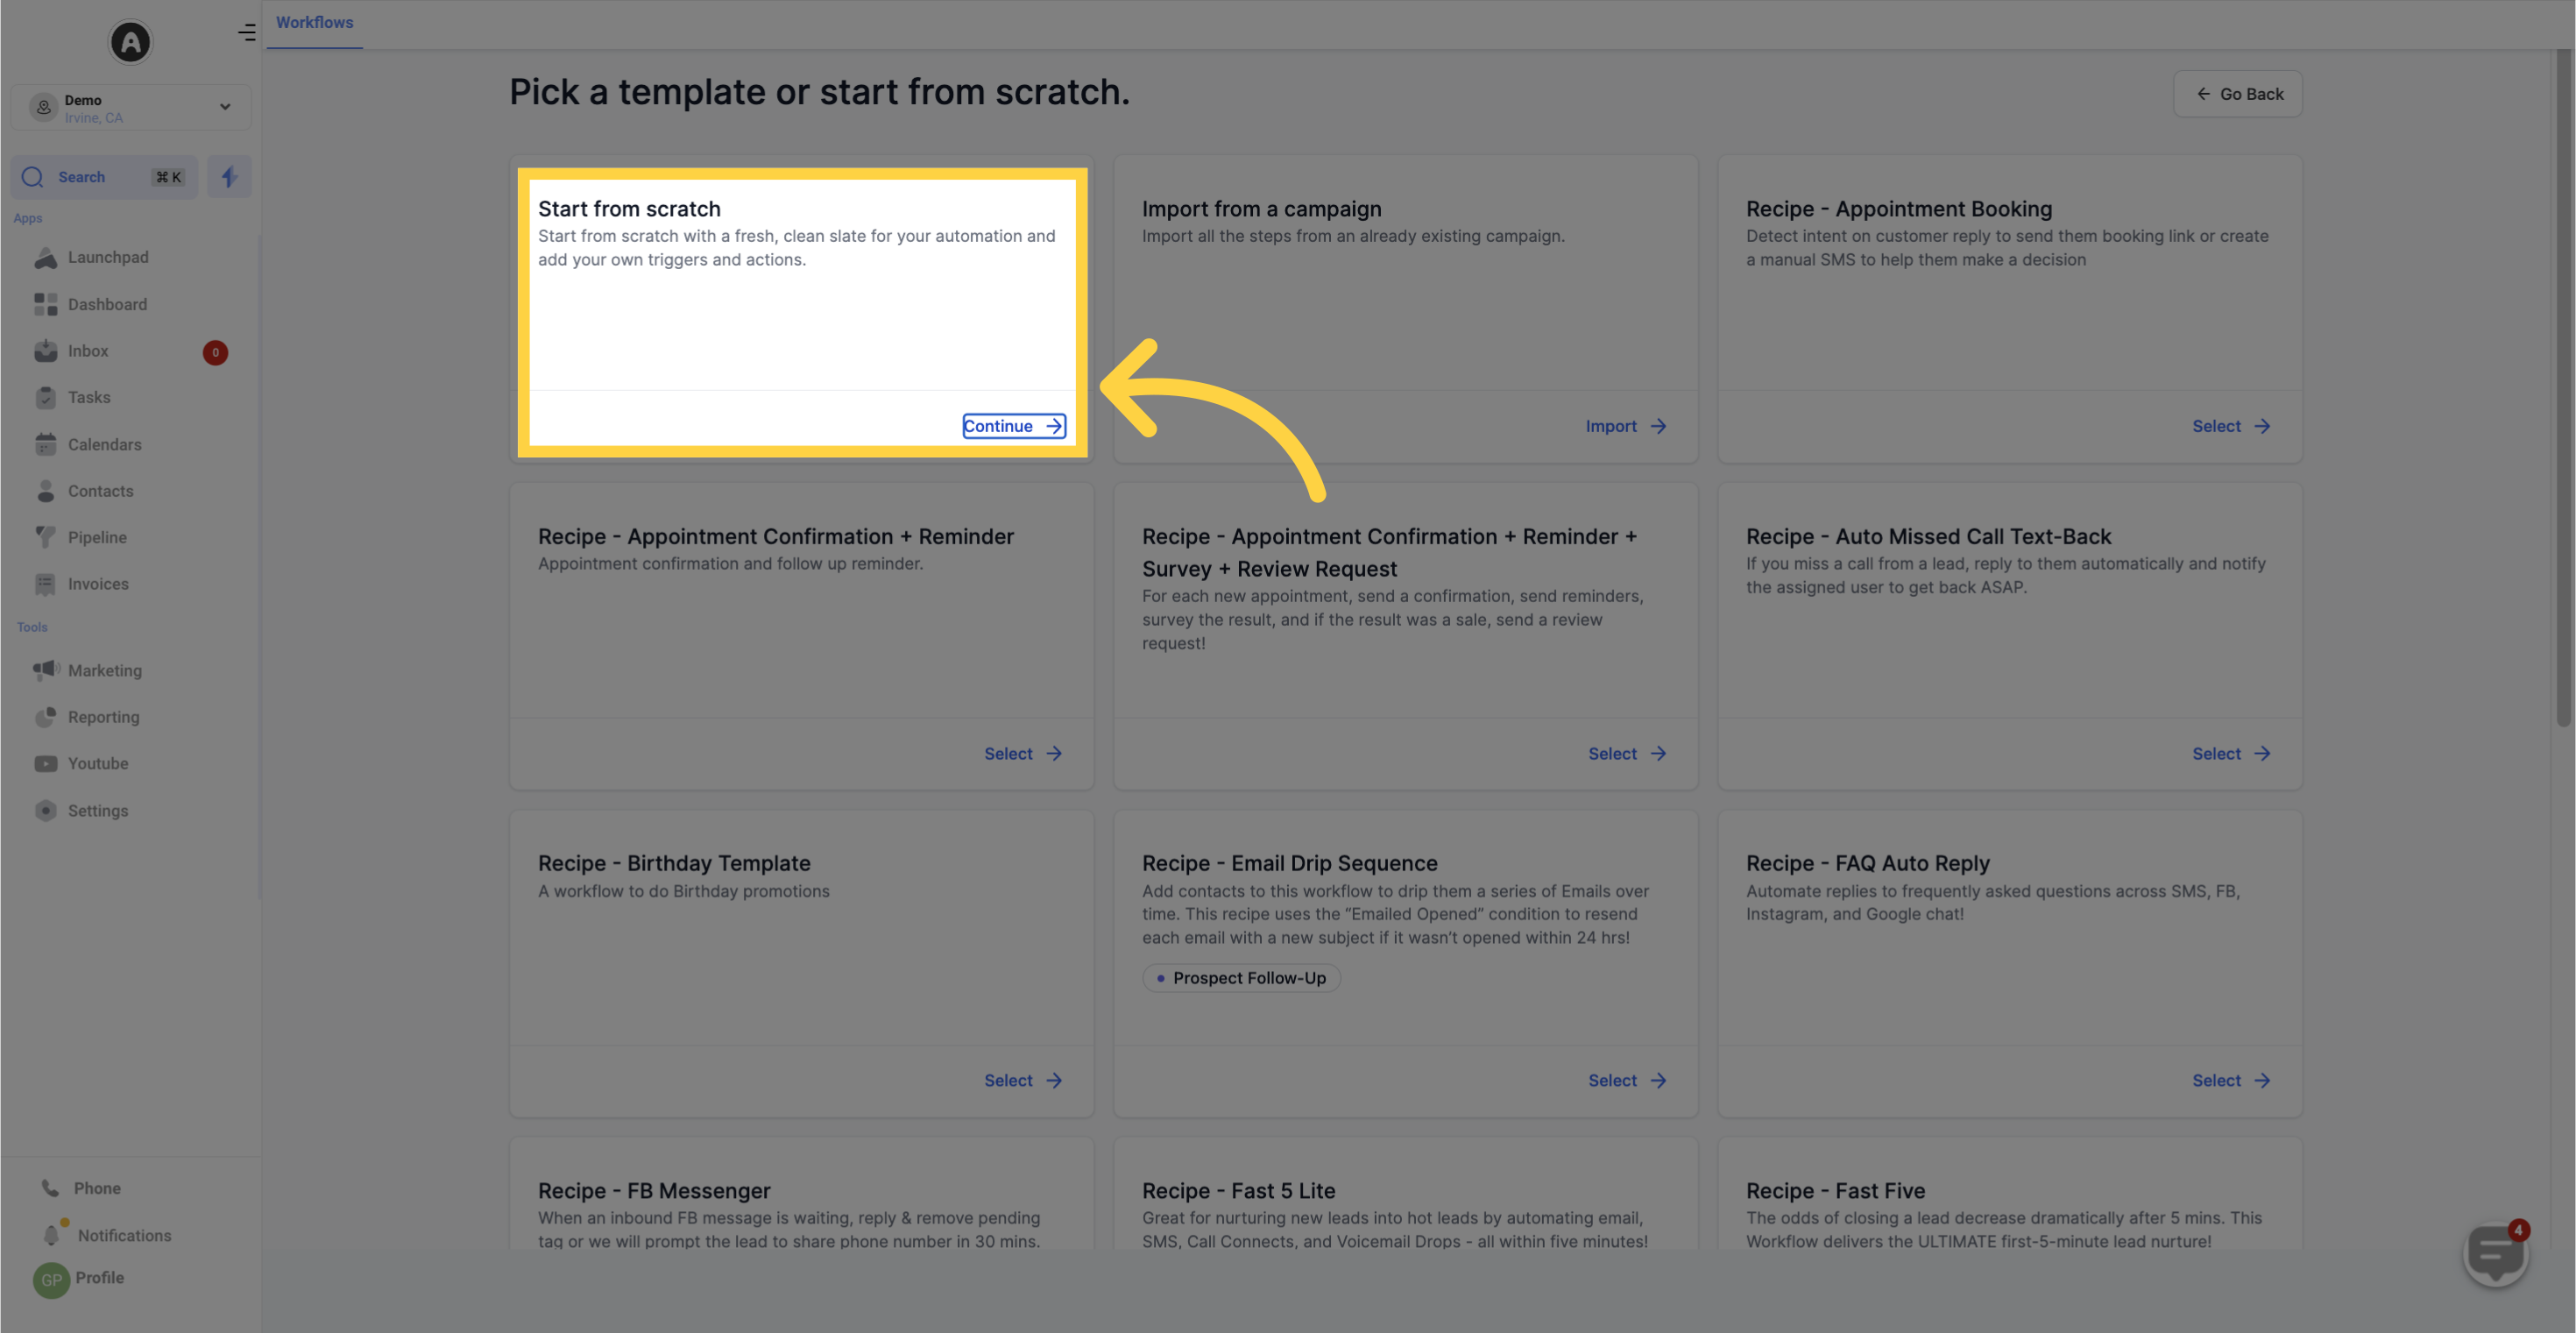
Choose "Start from Scratch" and select "Create New Workflow" if the desired workflow does not already exist.

Click 'Start from the scratch'

4. Click "Add New Workflow Trigger"

Click 'Add New Workflow Trigger'

5. Click "Affiliate Created"

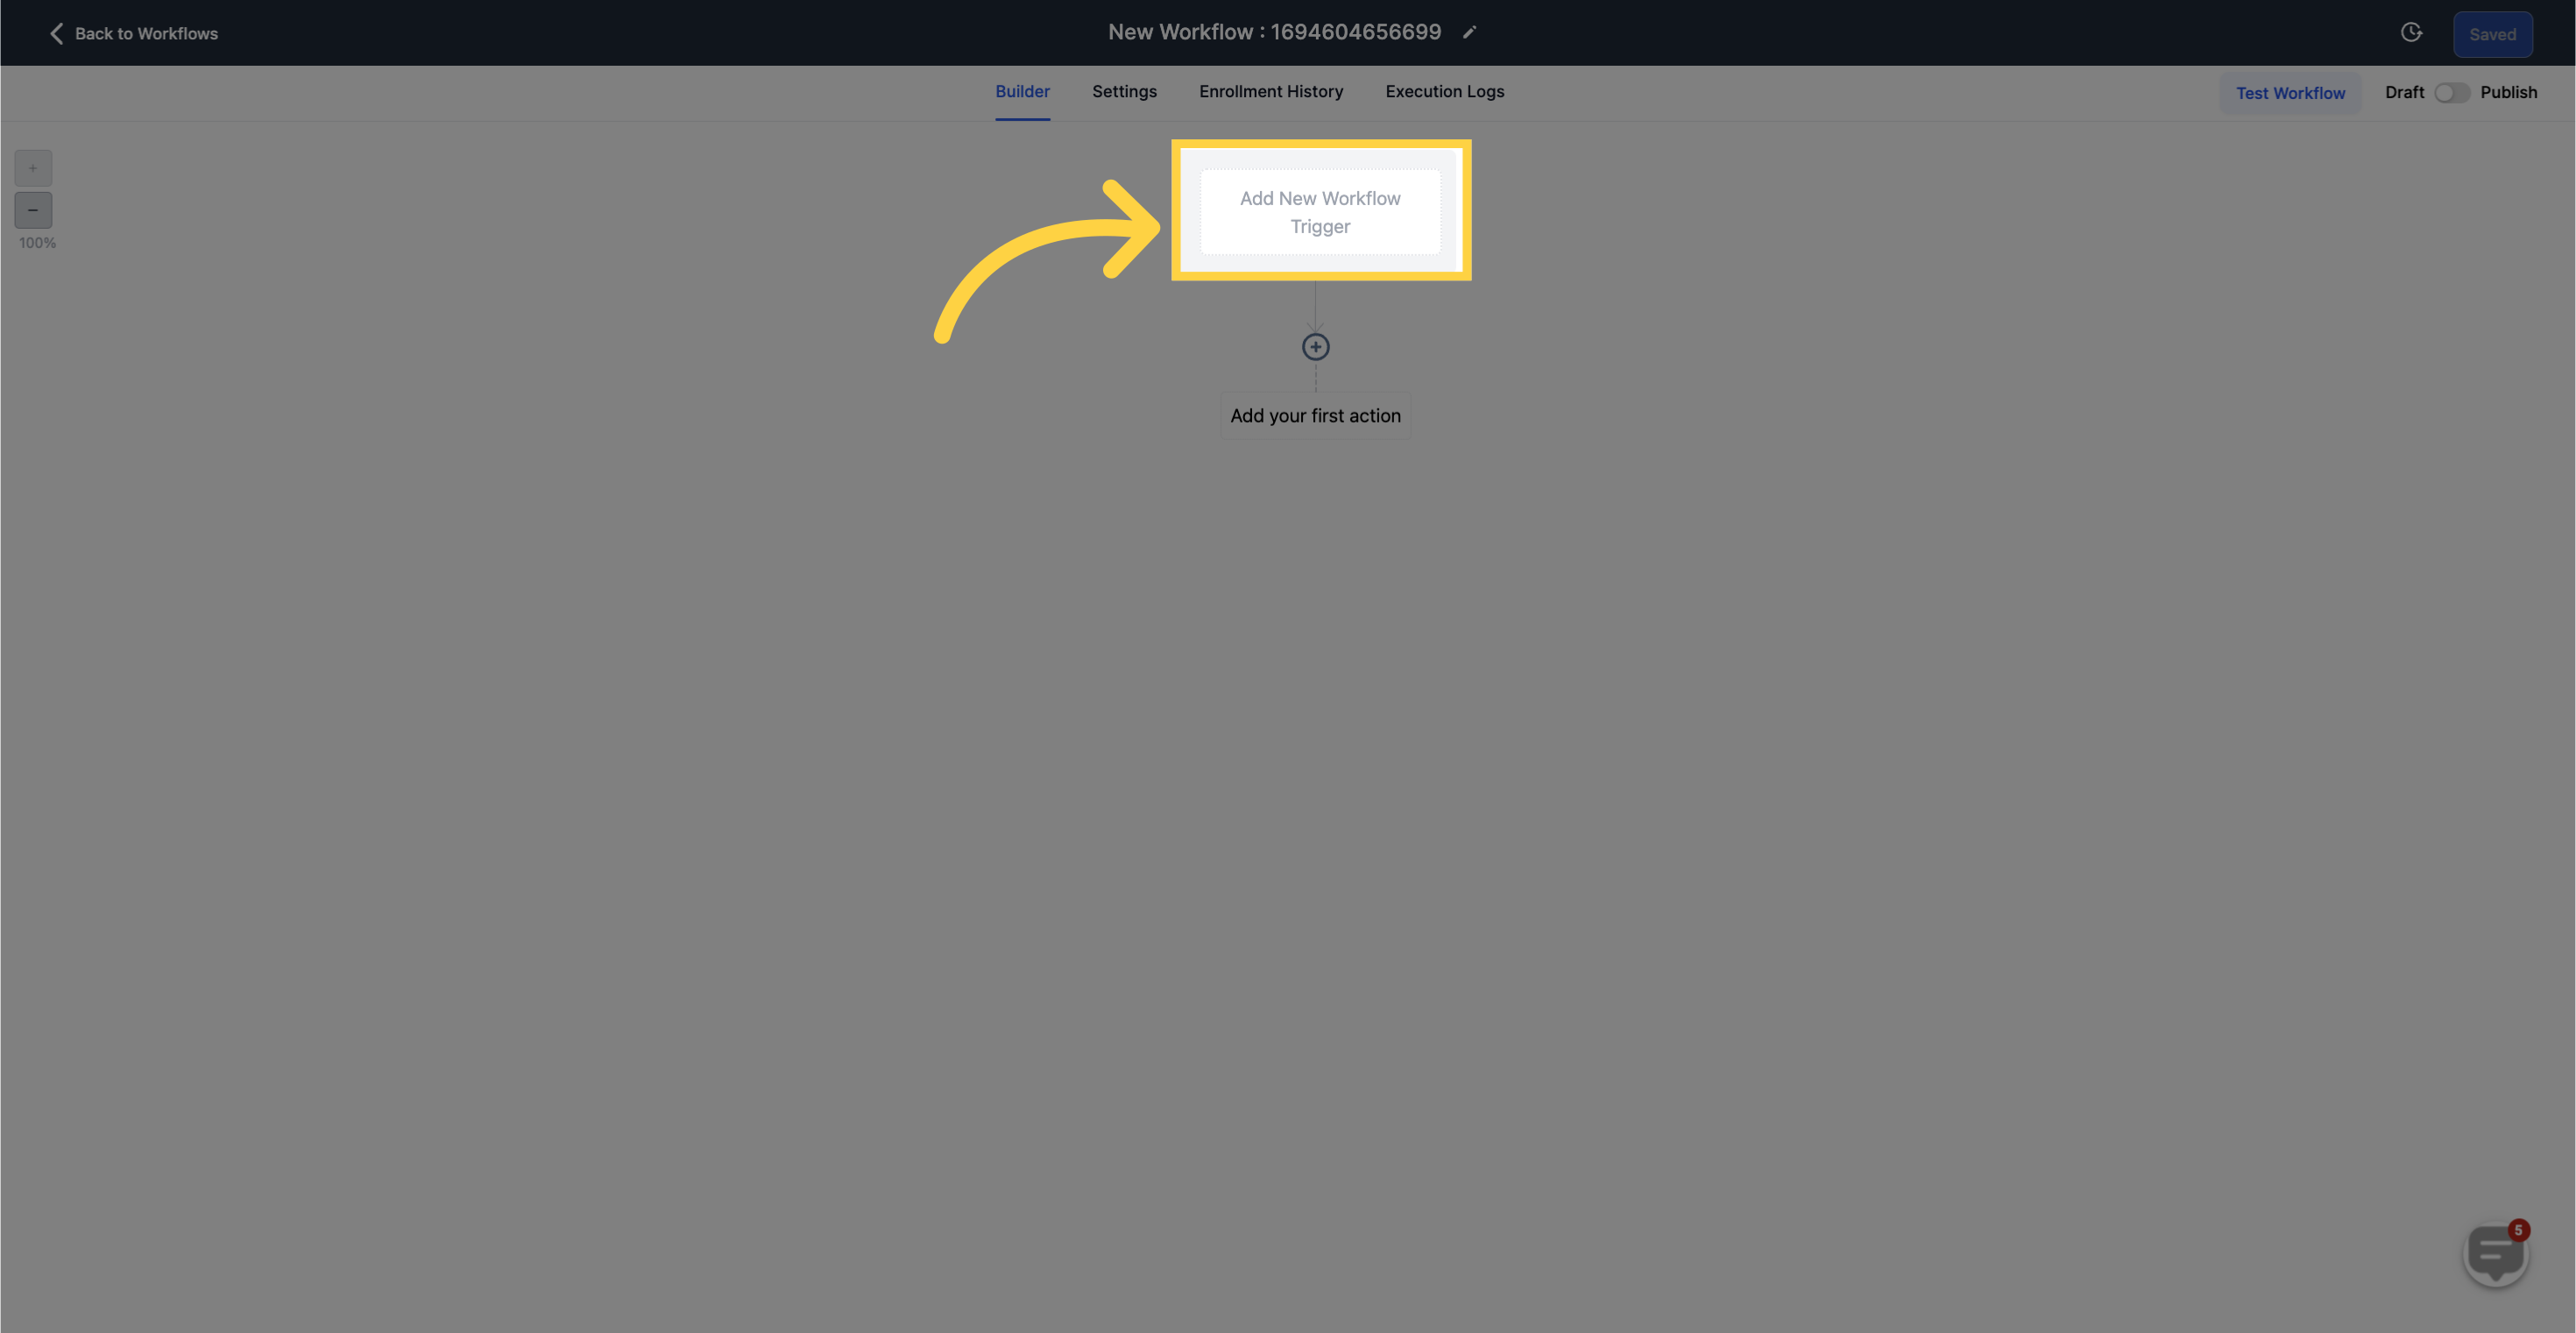
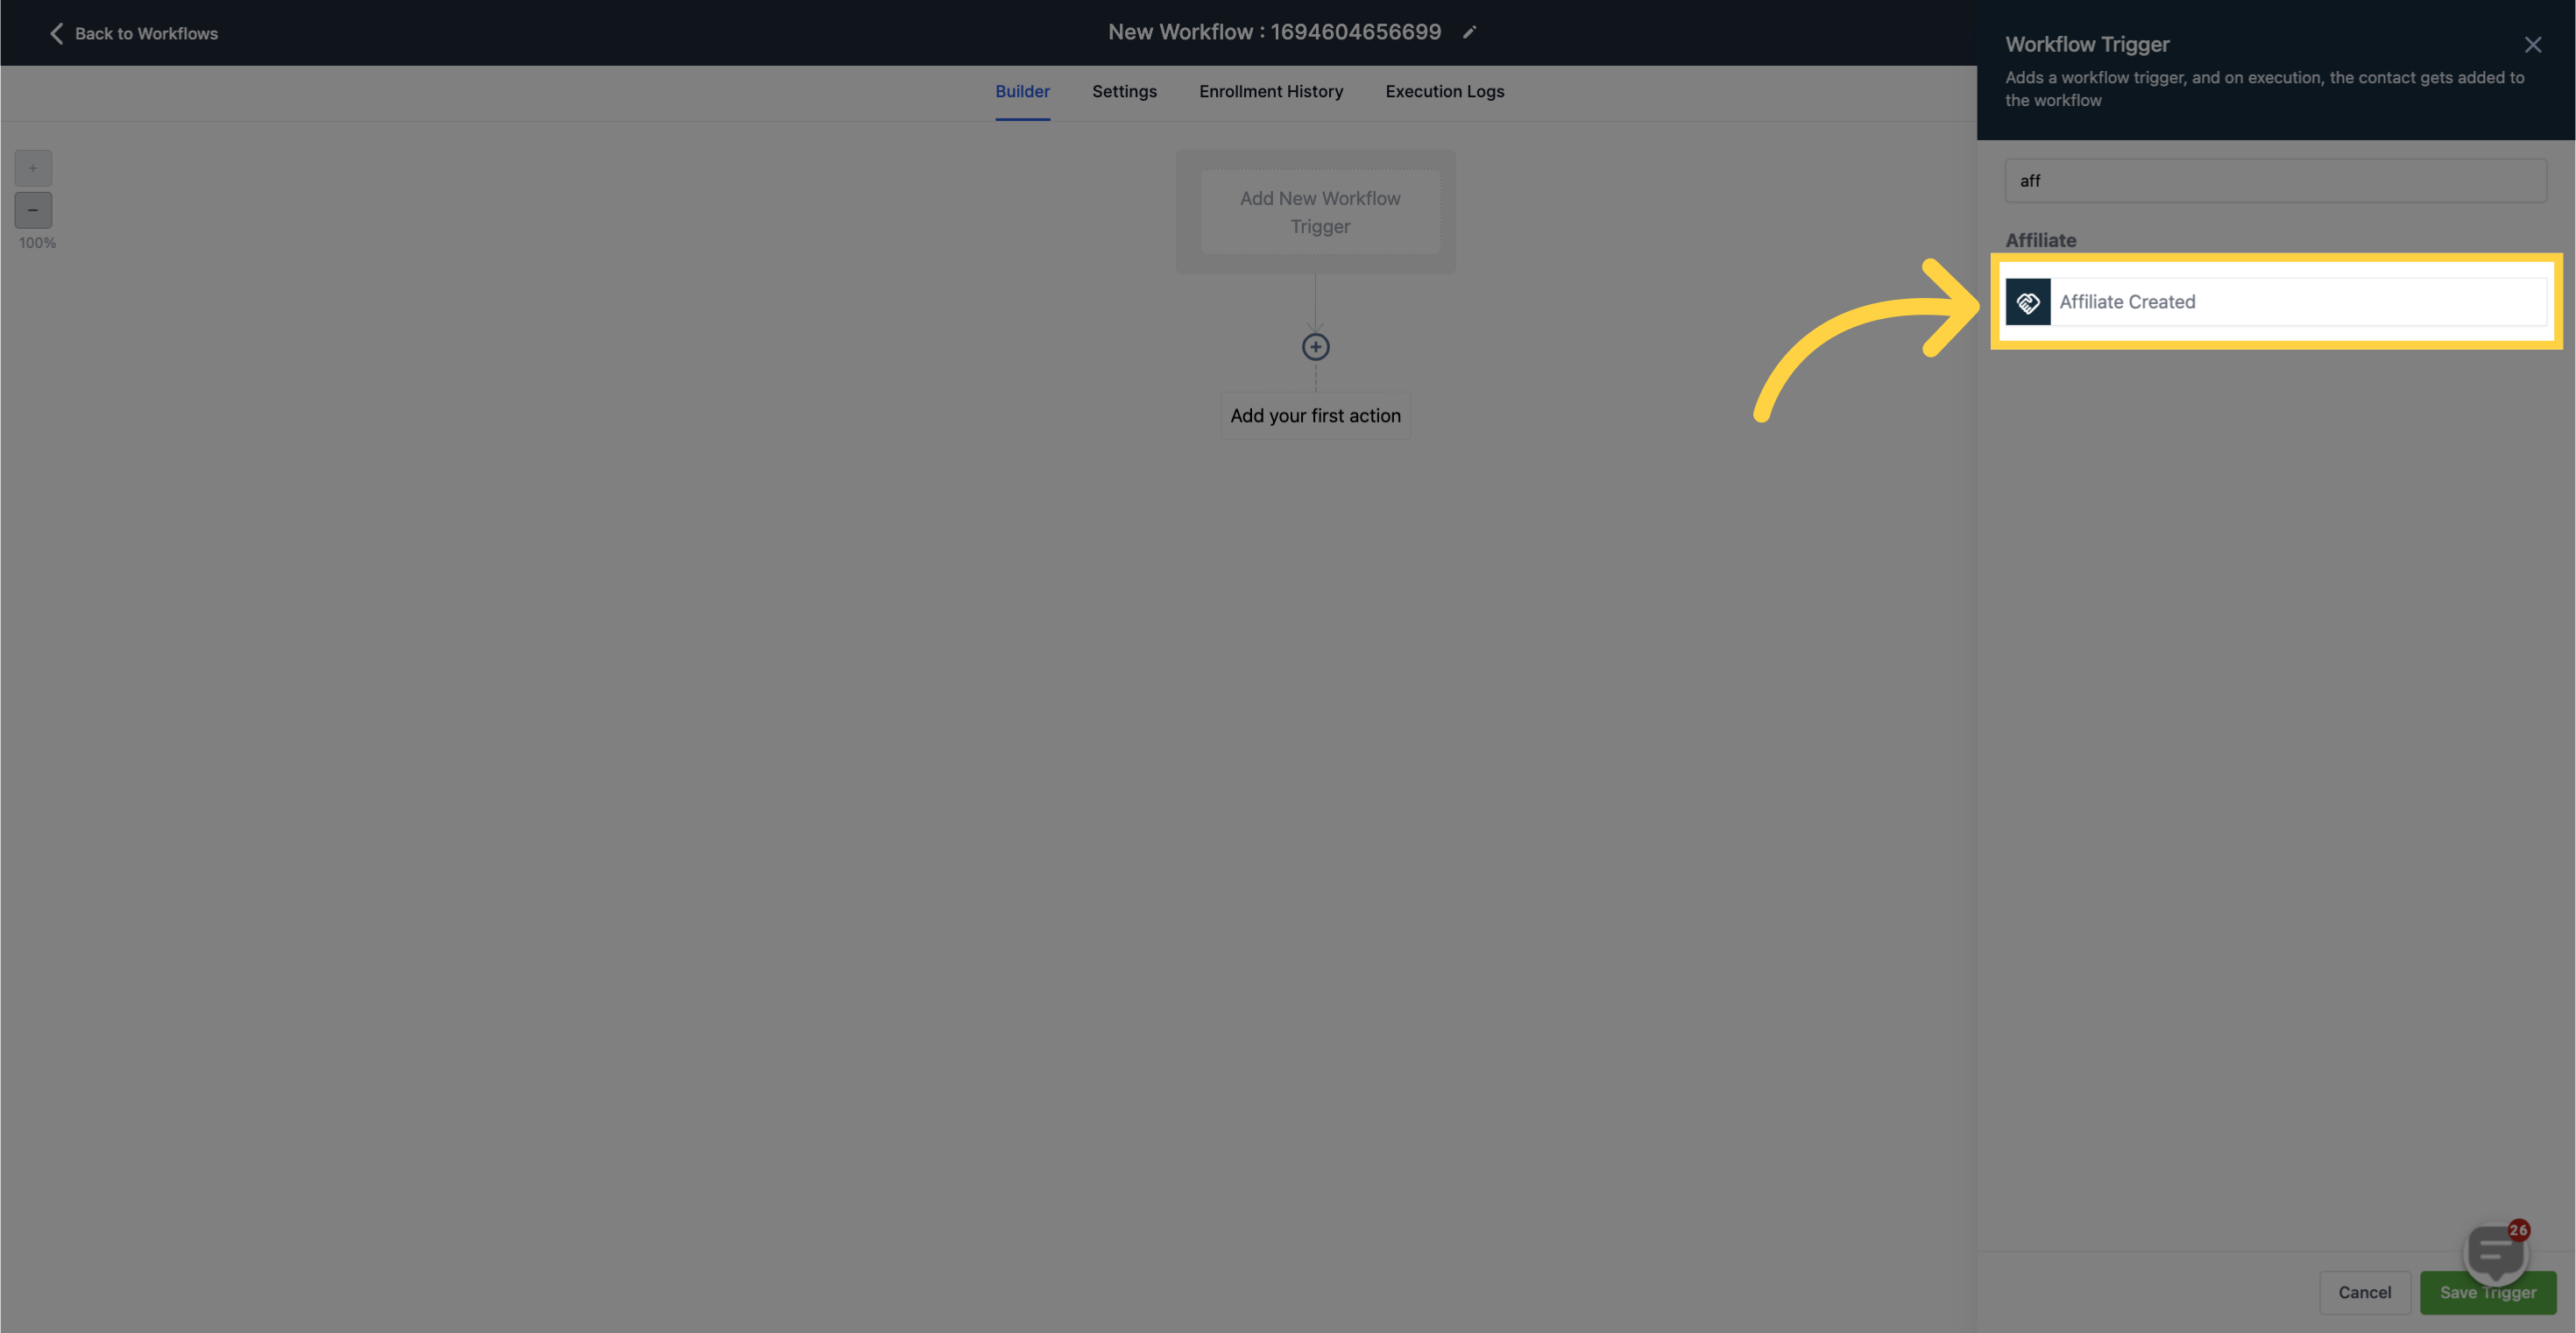
Click on "Save Trigger" to save the Affiliate Created Workflow Trigger.

Click 'Affiliate Created'

6. Click "Add your first action"

Click 'Add your first action'

7. Click "Add To Affiliate Manager"

Click 'Add To Affiliate Manager'

Affiliate manager

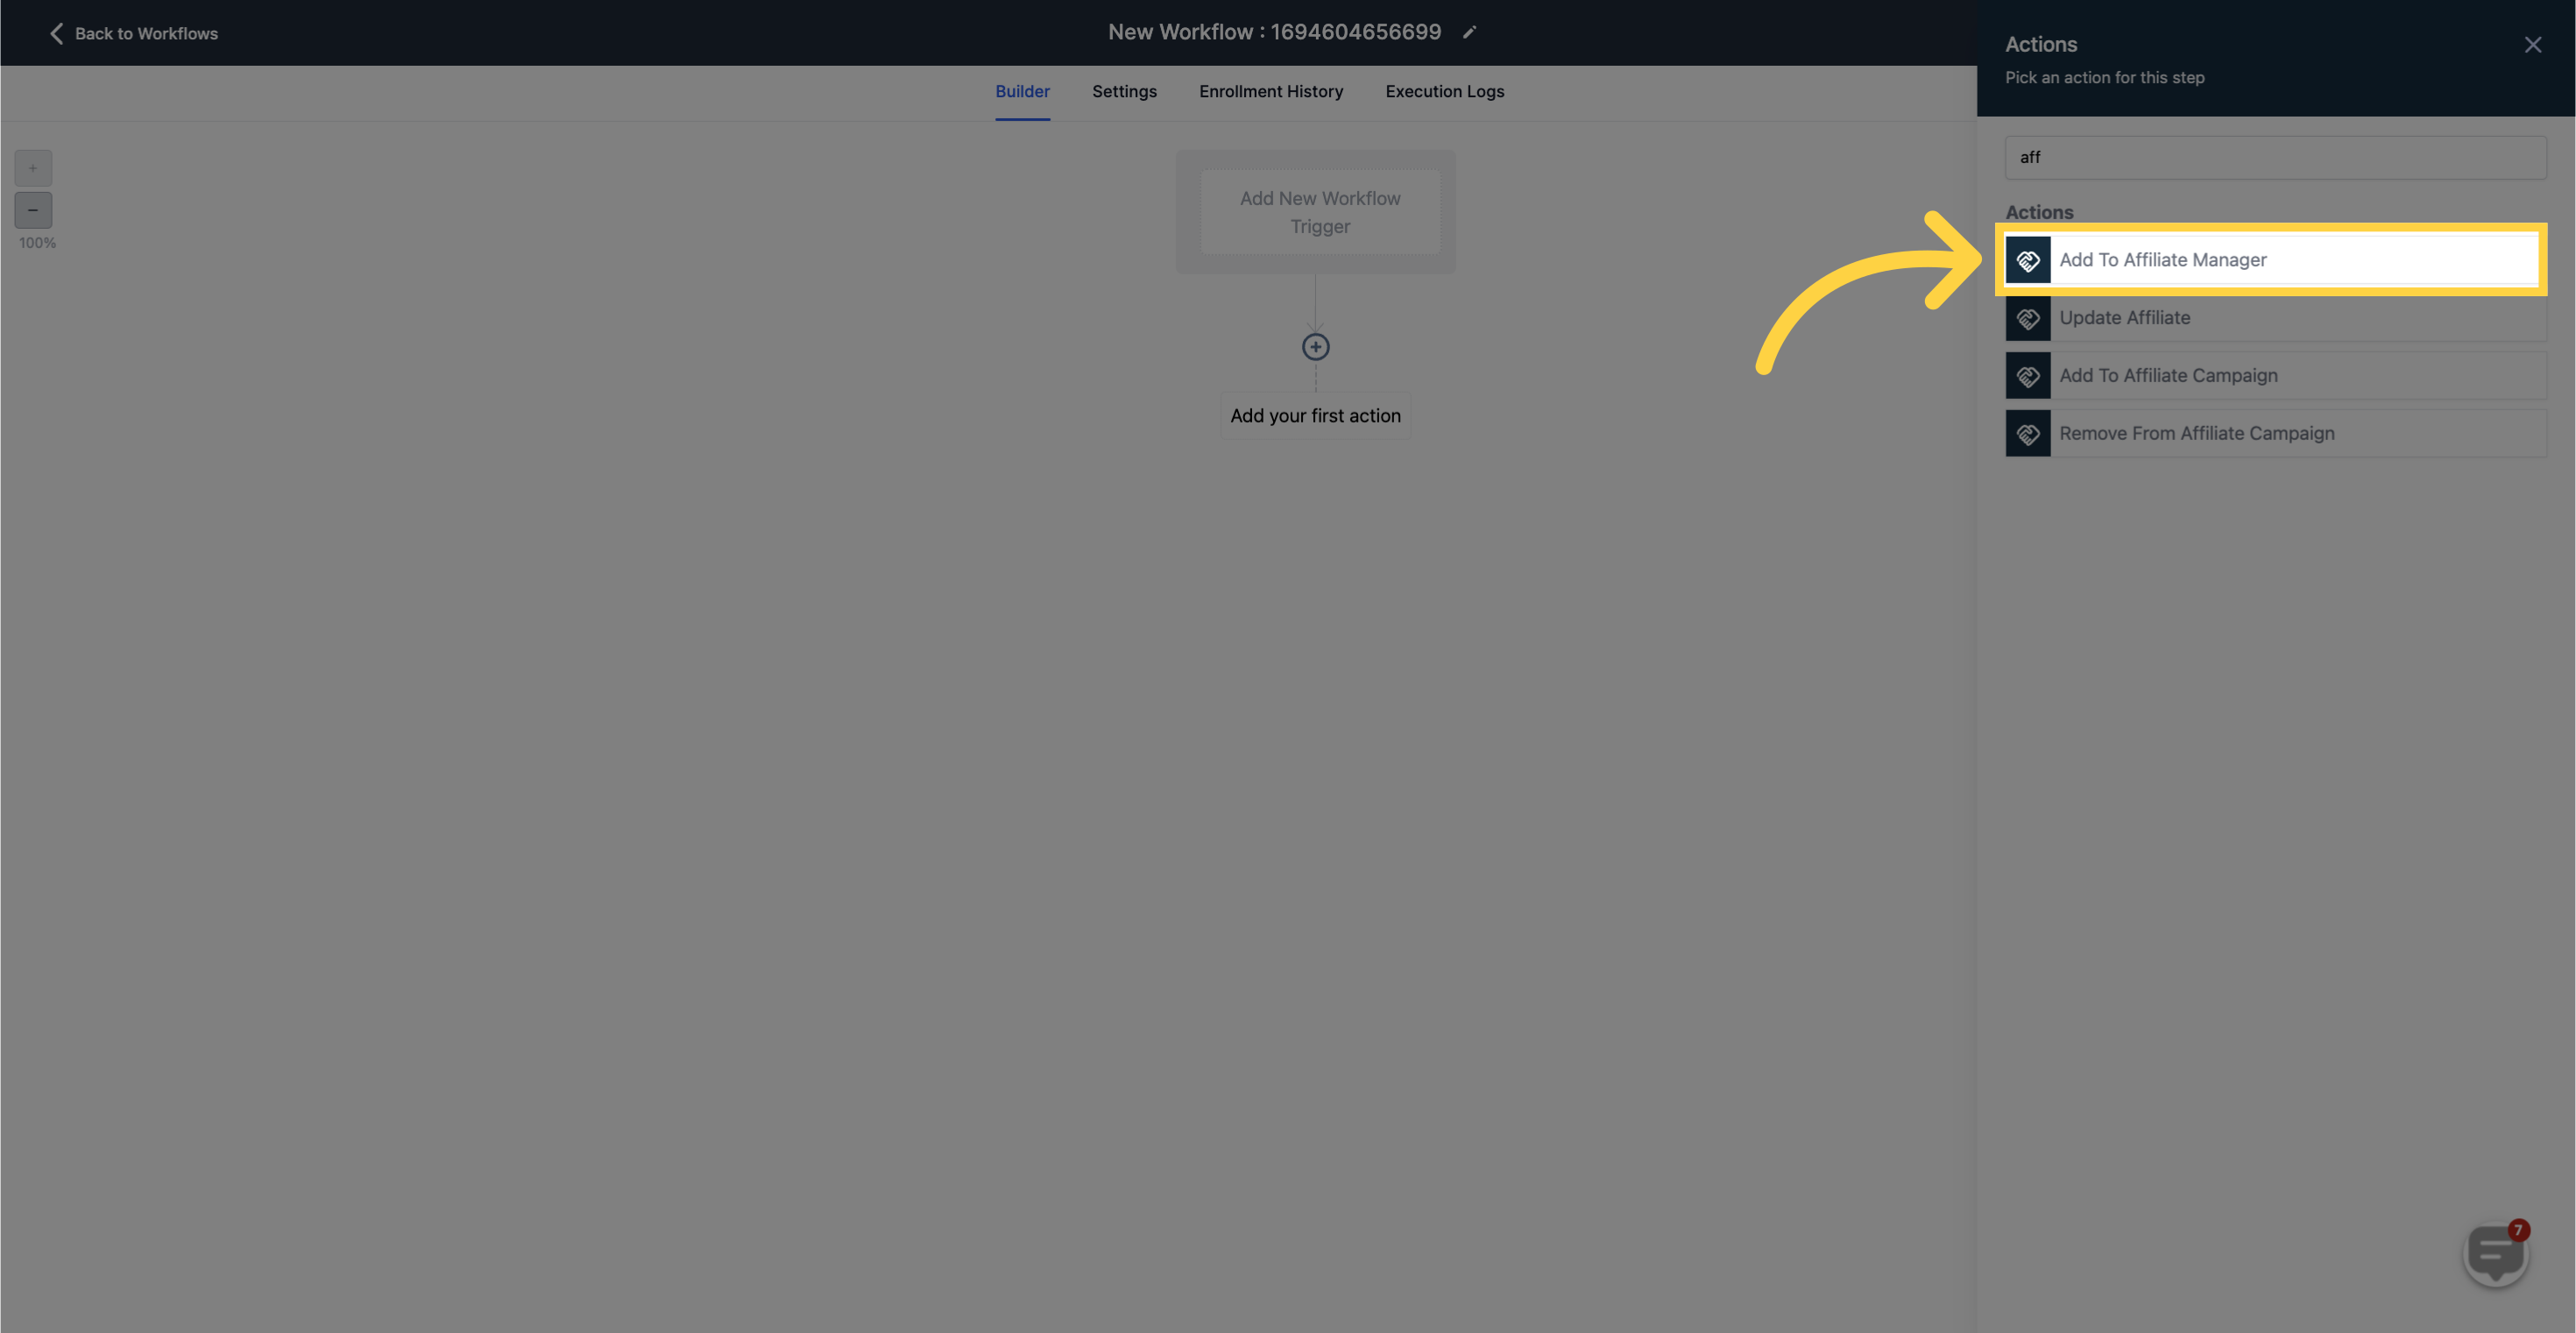
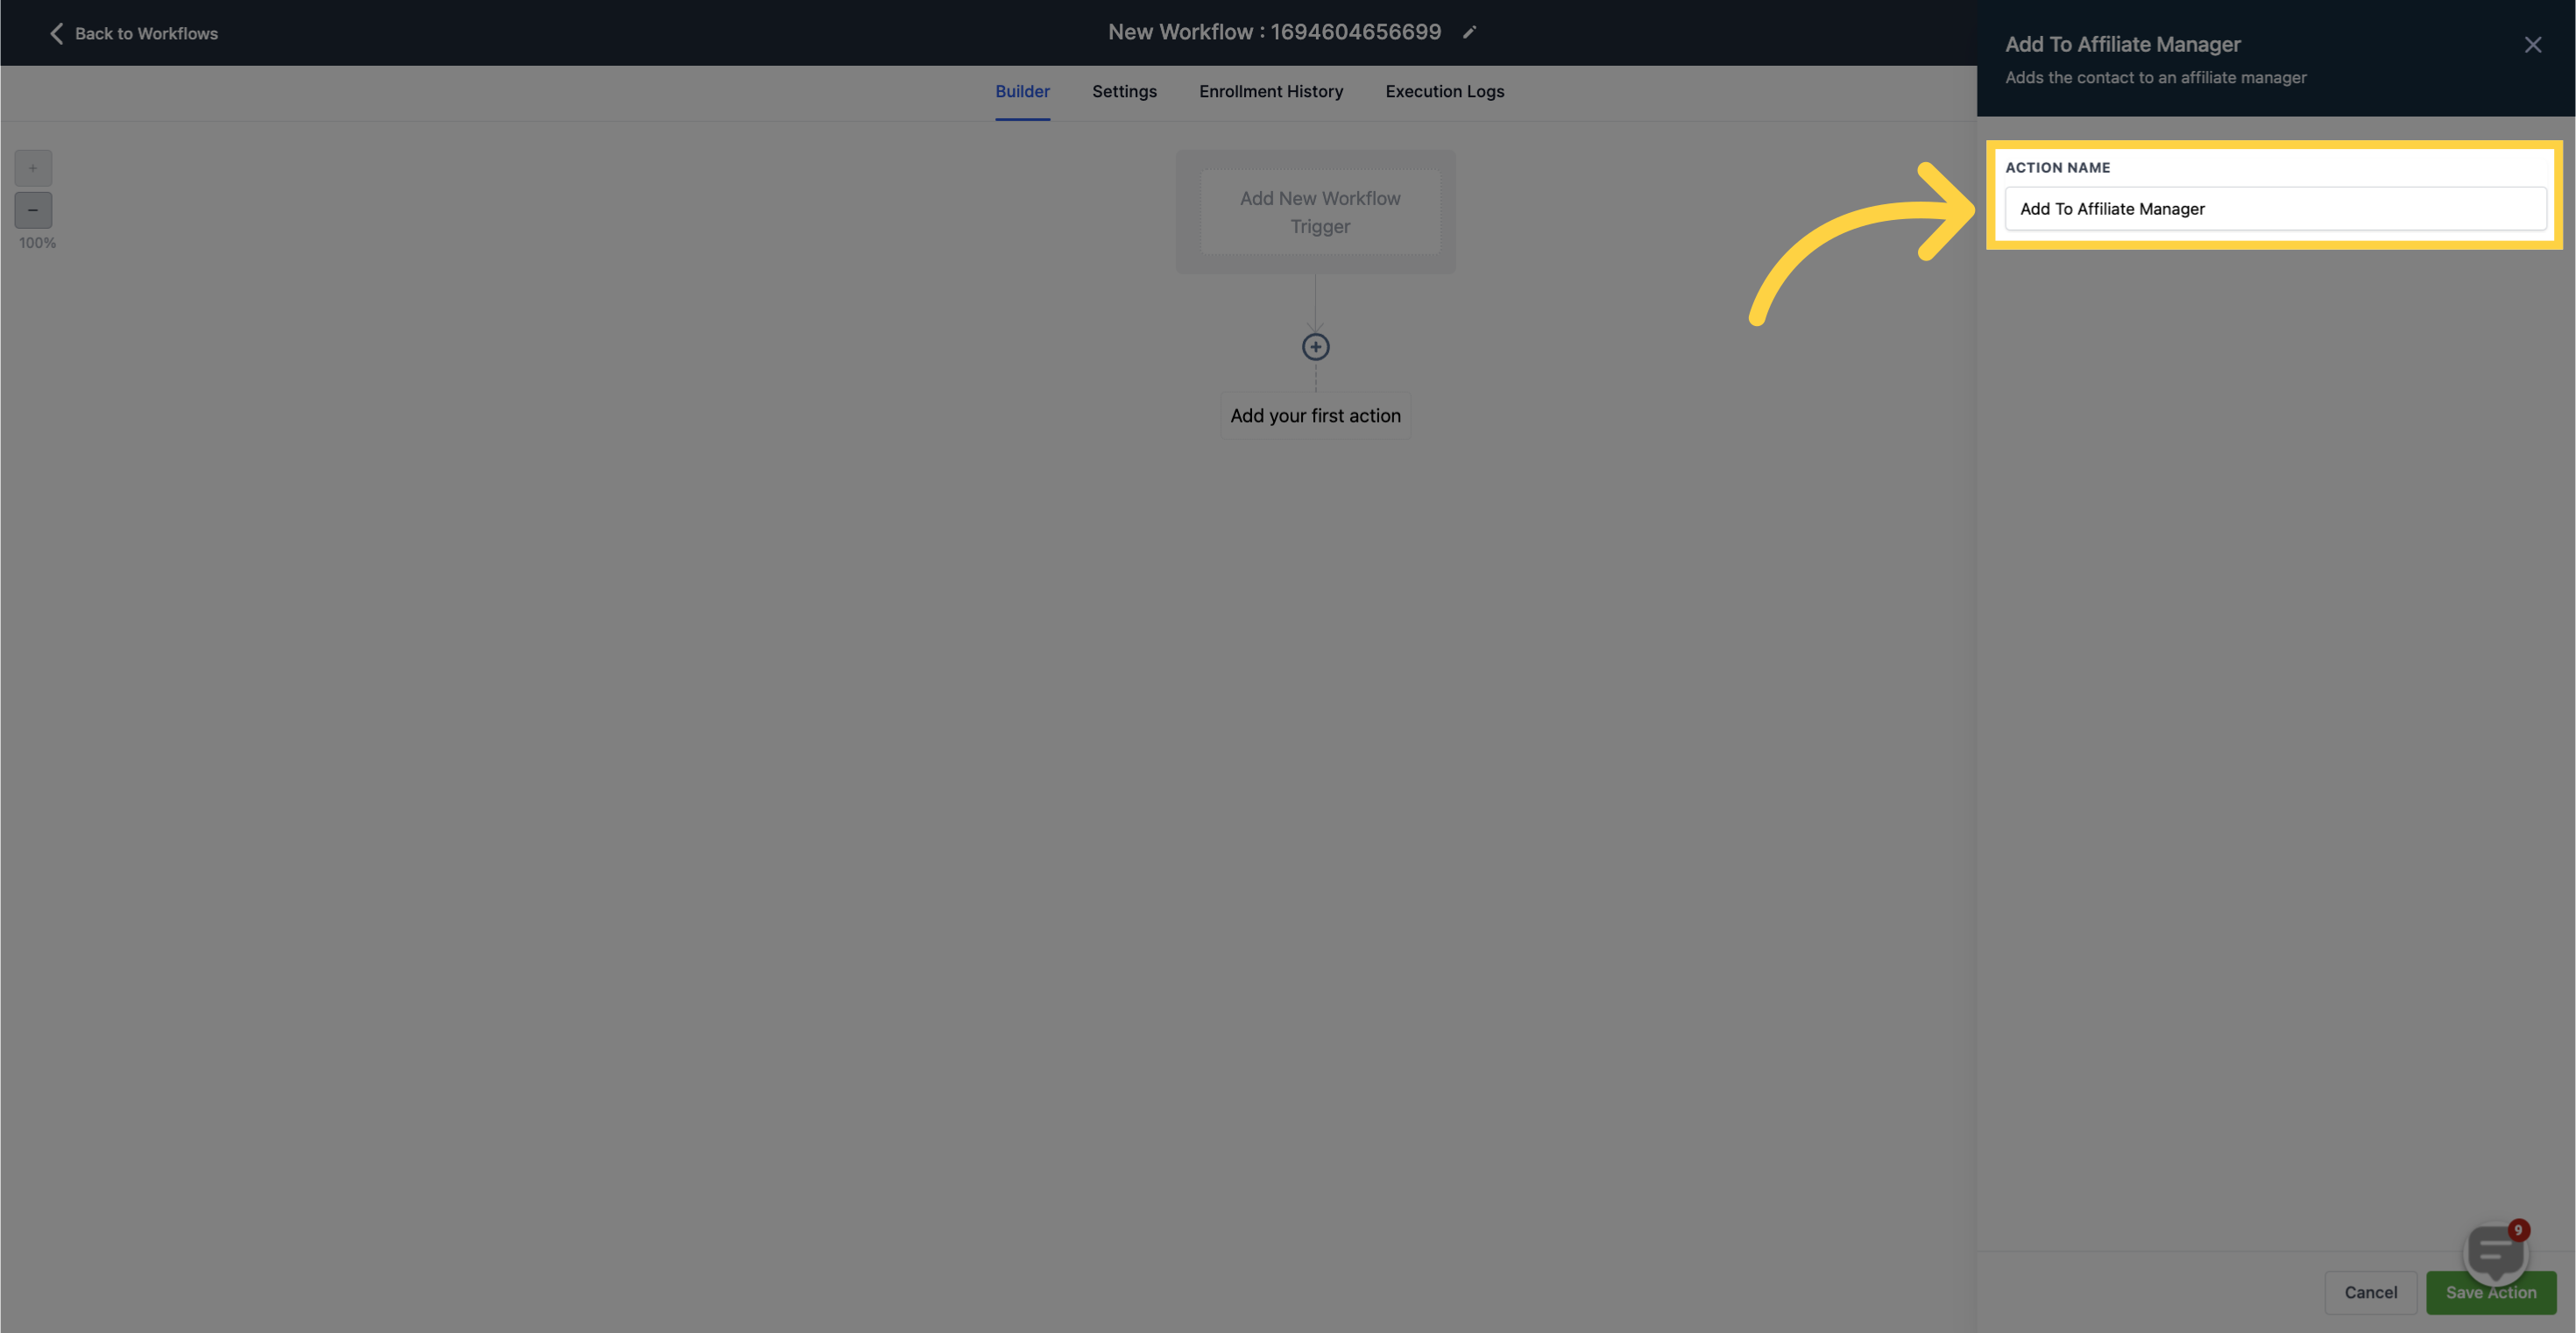
This action adds a contact to the Affiliates list in the Affiliate Manager with the default status set as active.

Affiliate manager

8. Click "Update Affiliate"

Click 'Update Affiliate'

Select "Affiliate State""

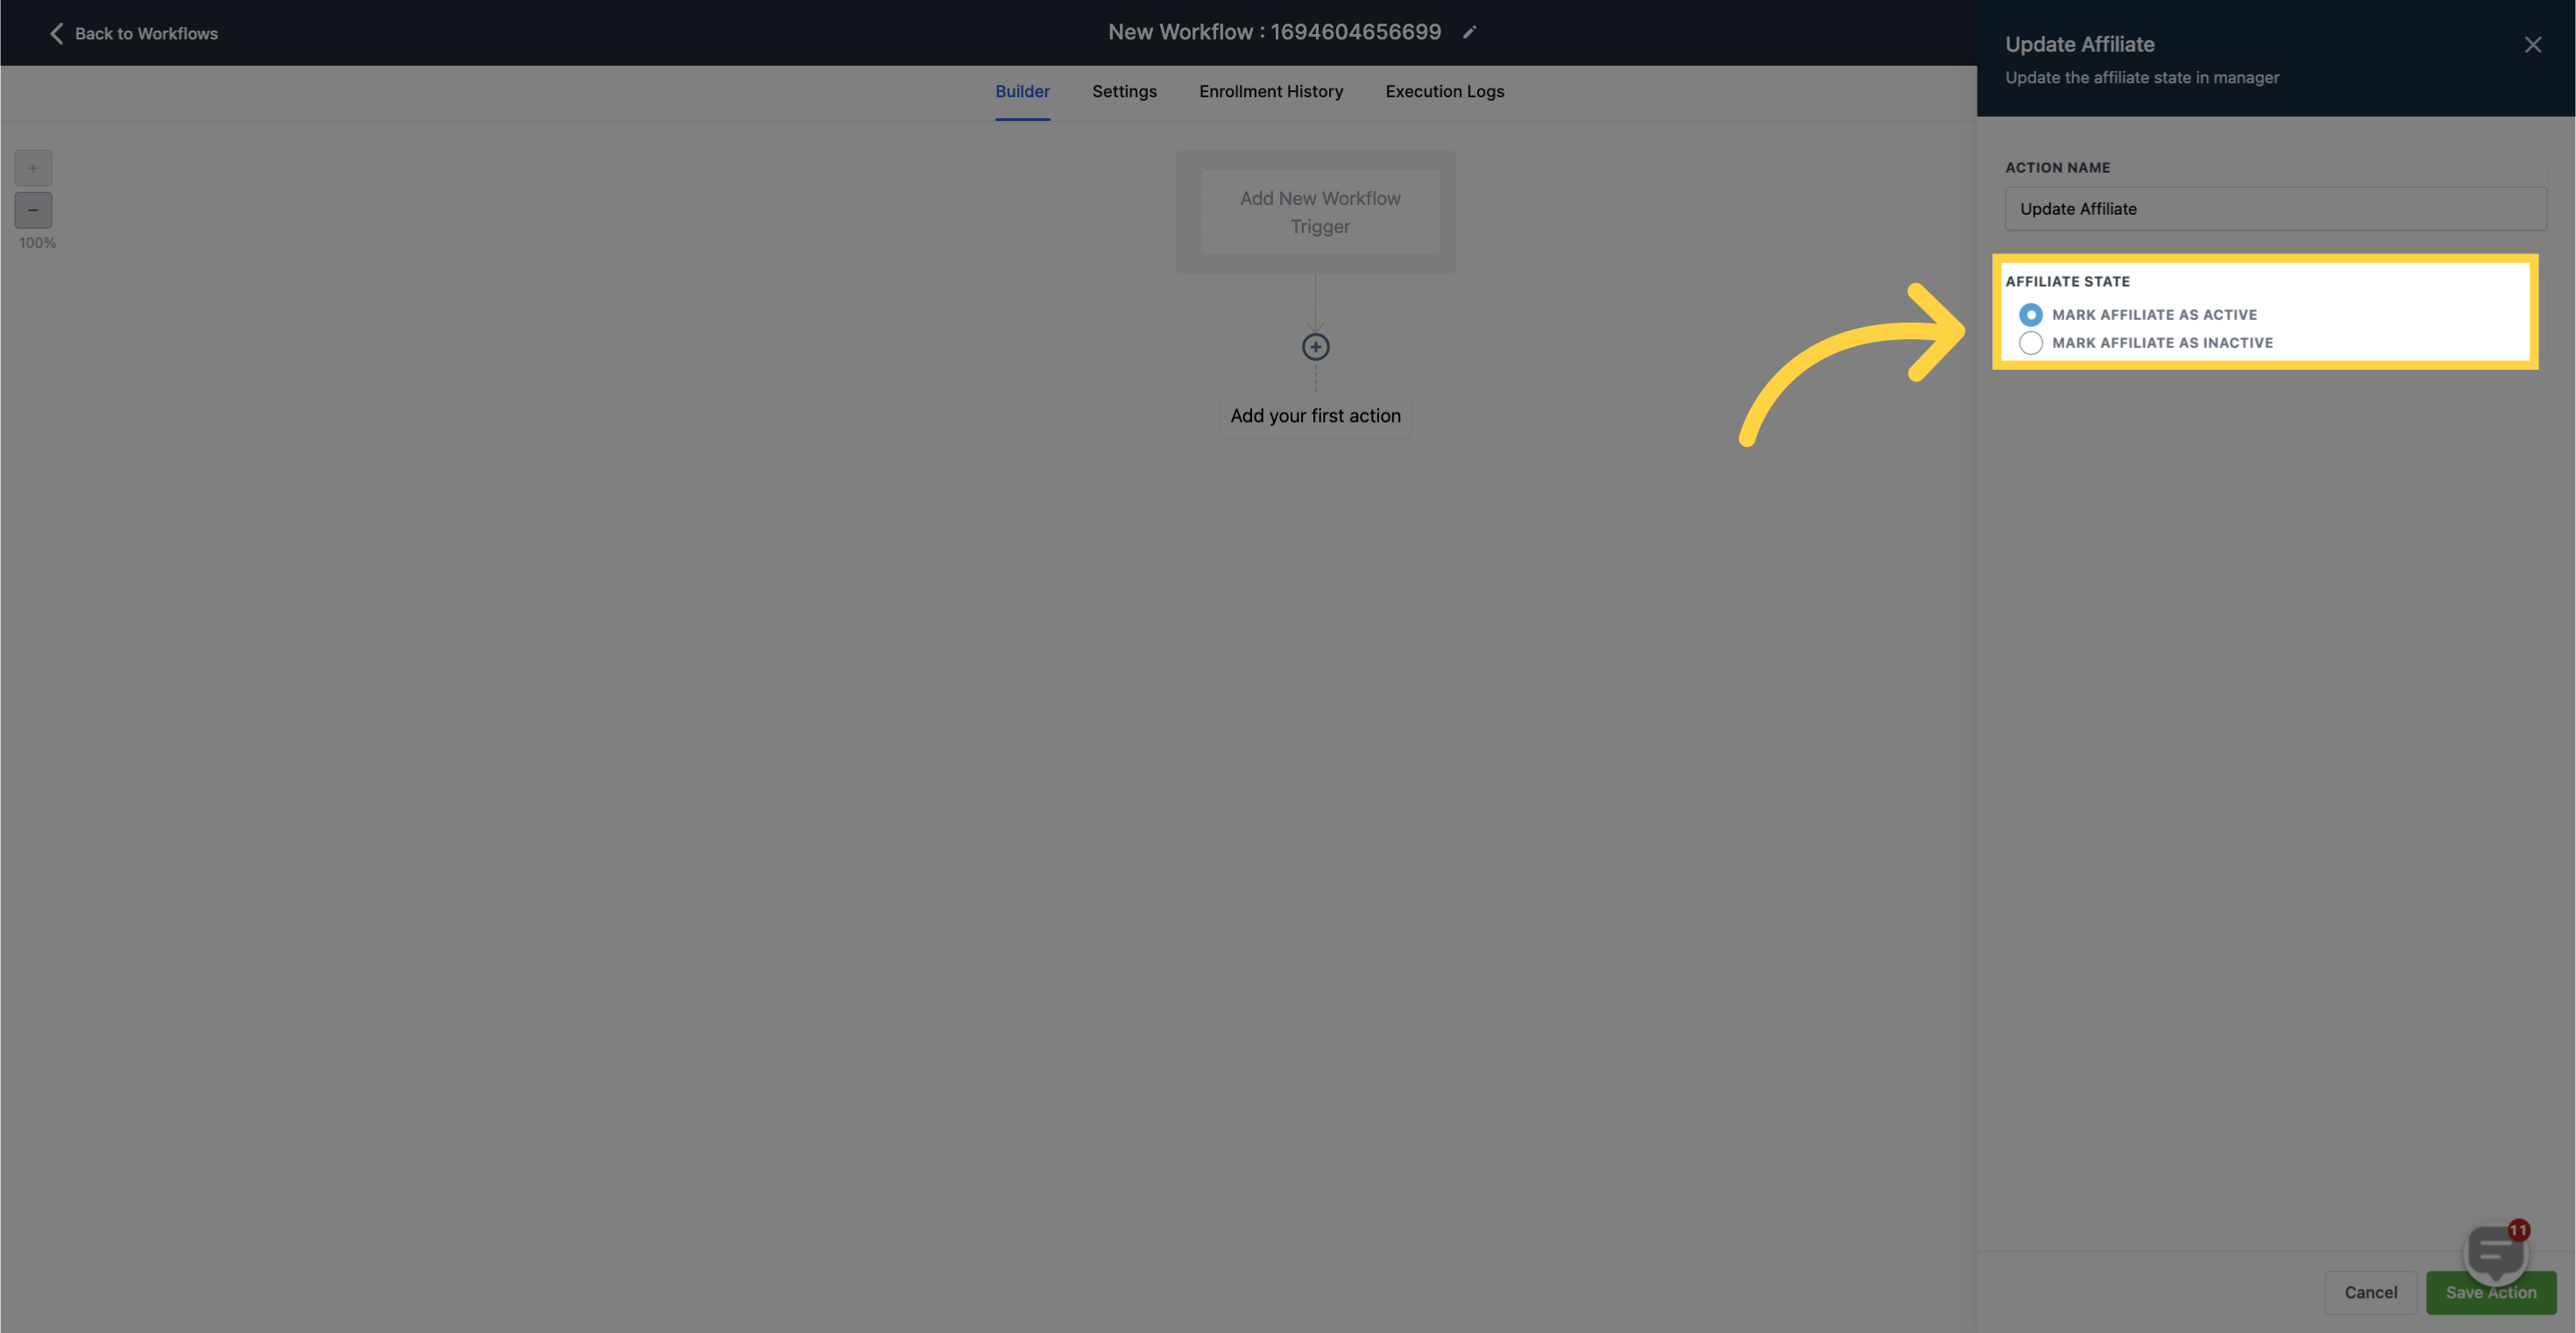
This action allows you to update the status of an affiliate, either marking them as active or inactive

Select 'Affiliate State'

9. Click "Add To Affiliate Campaign"

Click 'Add To Affiliate Campaign'

Click here to Select "Affiliate Campaign"

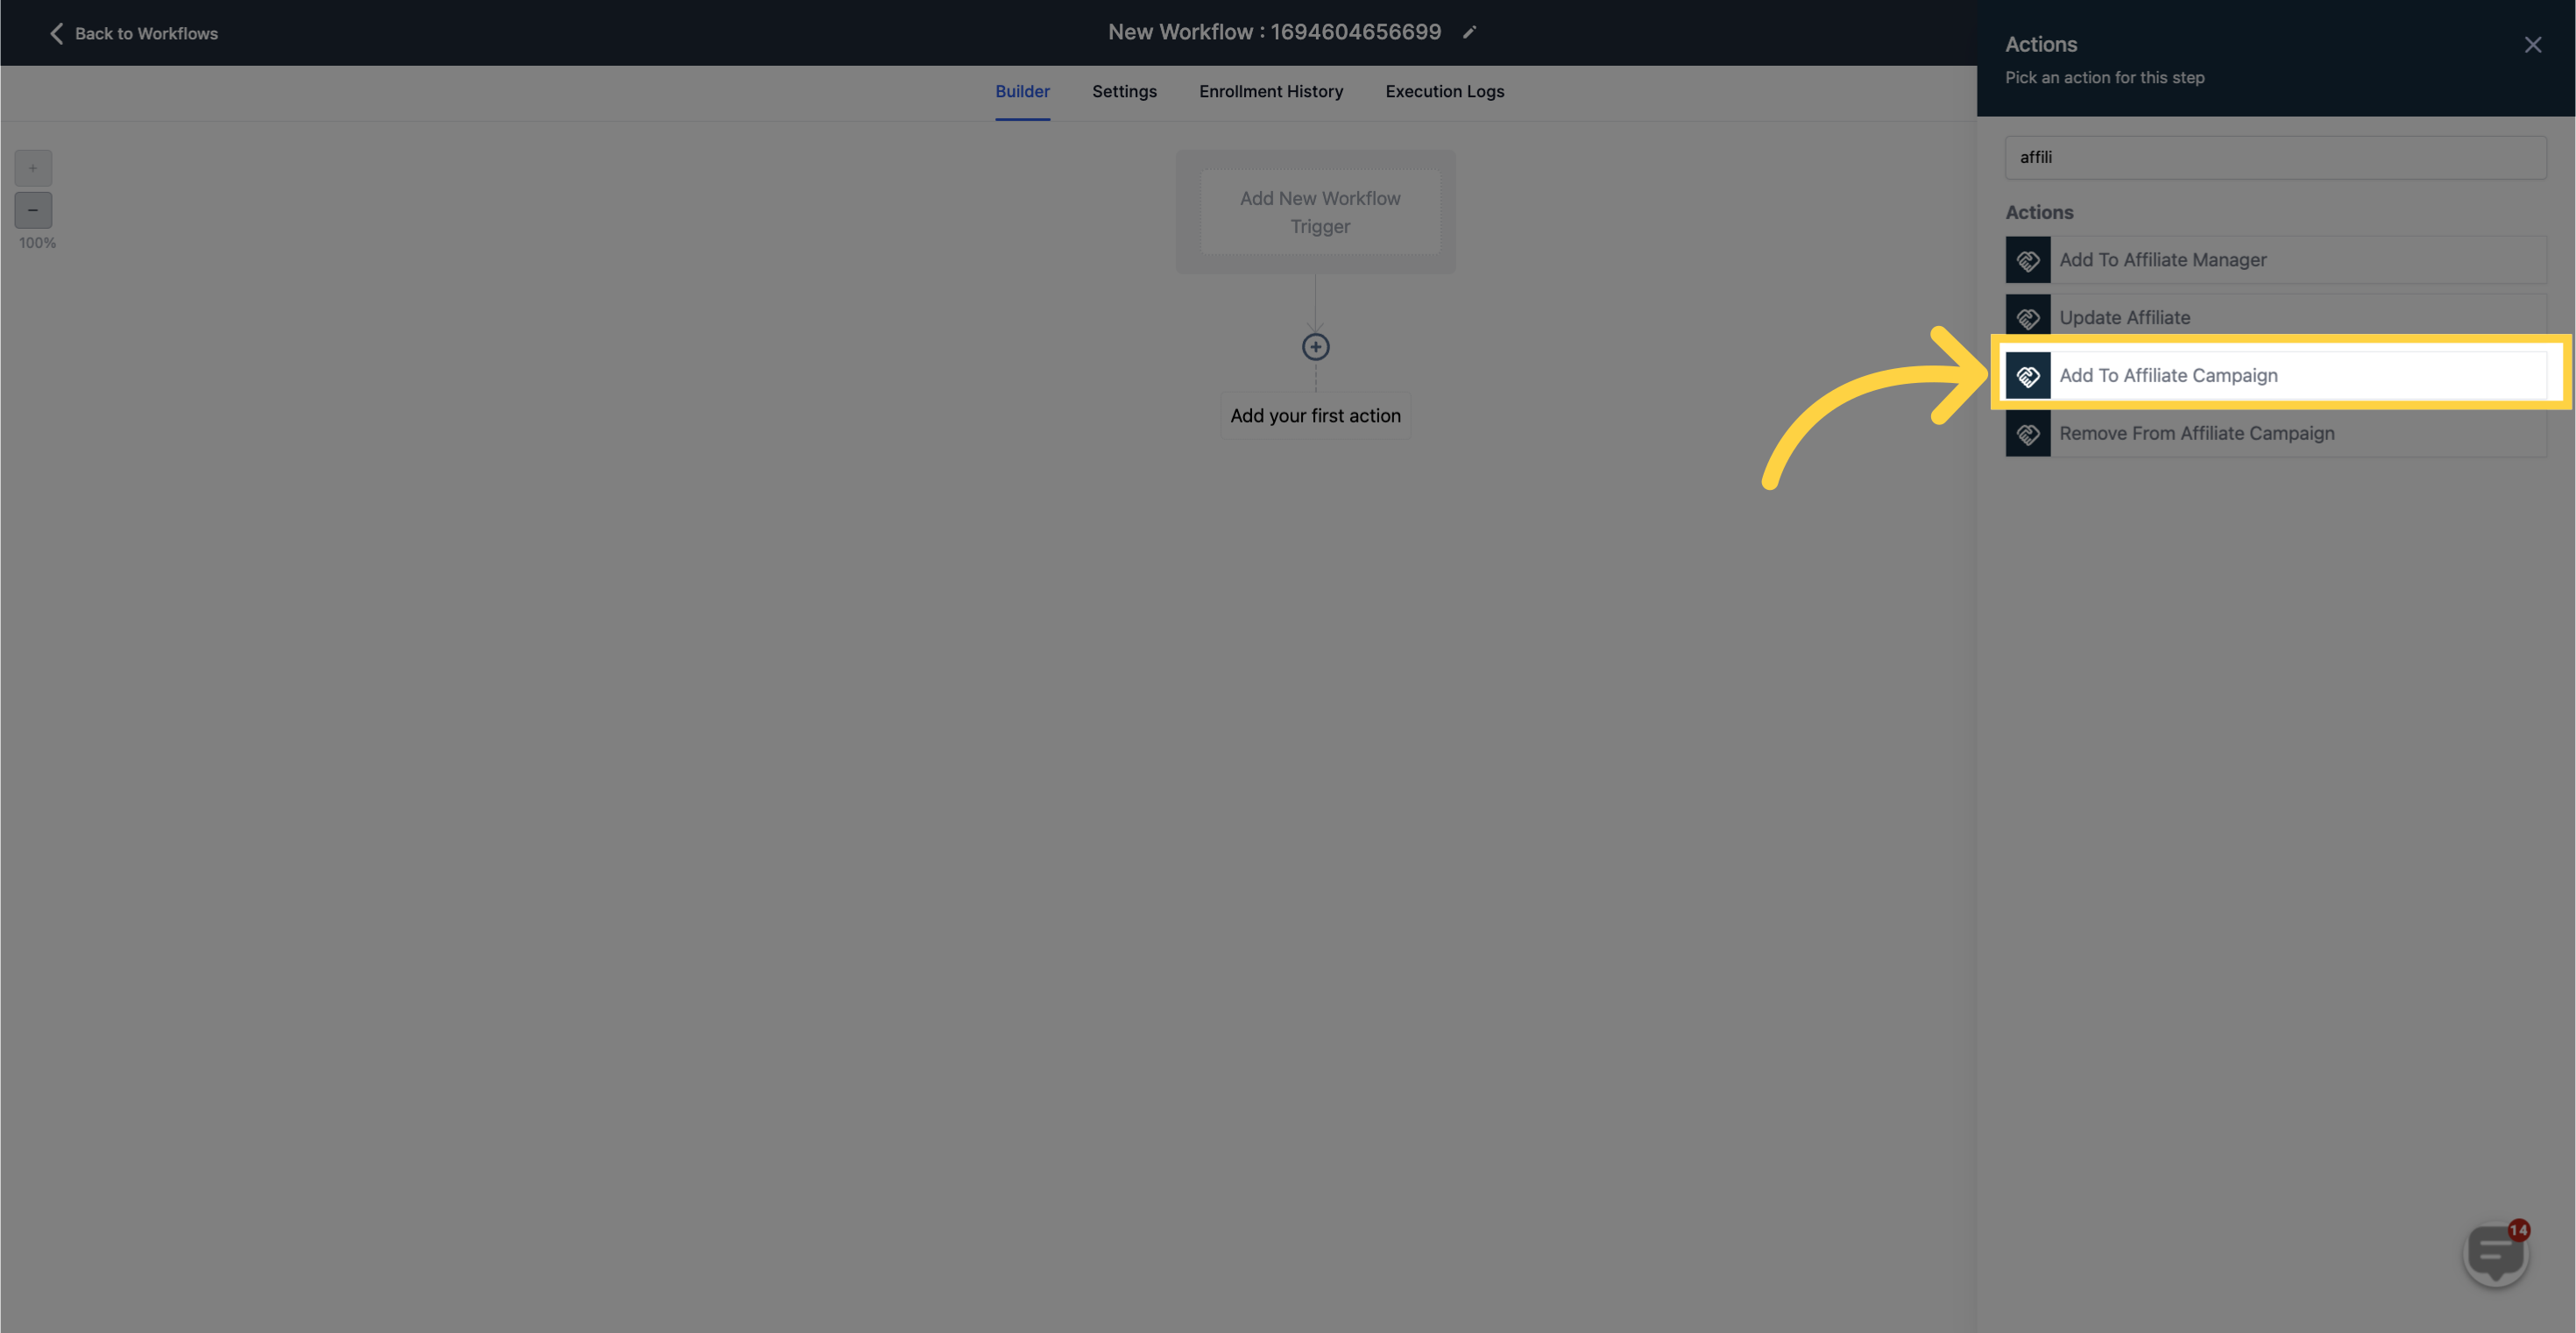
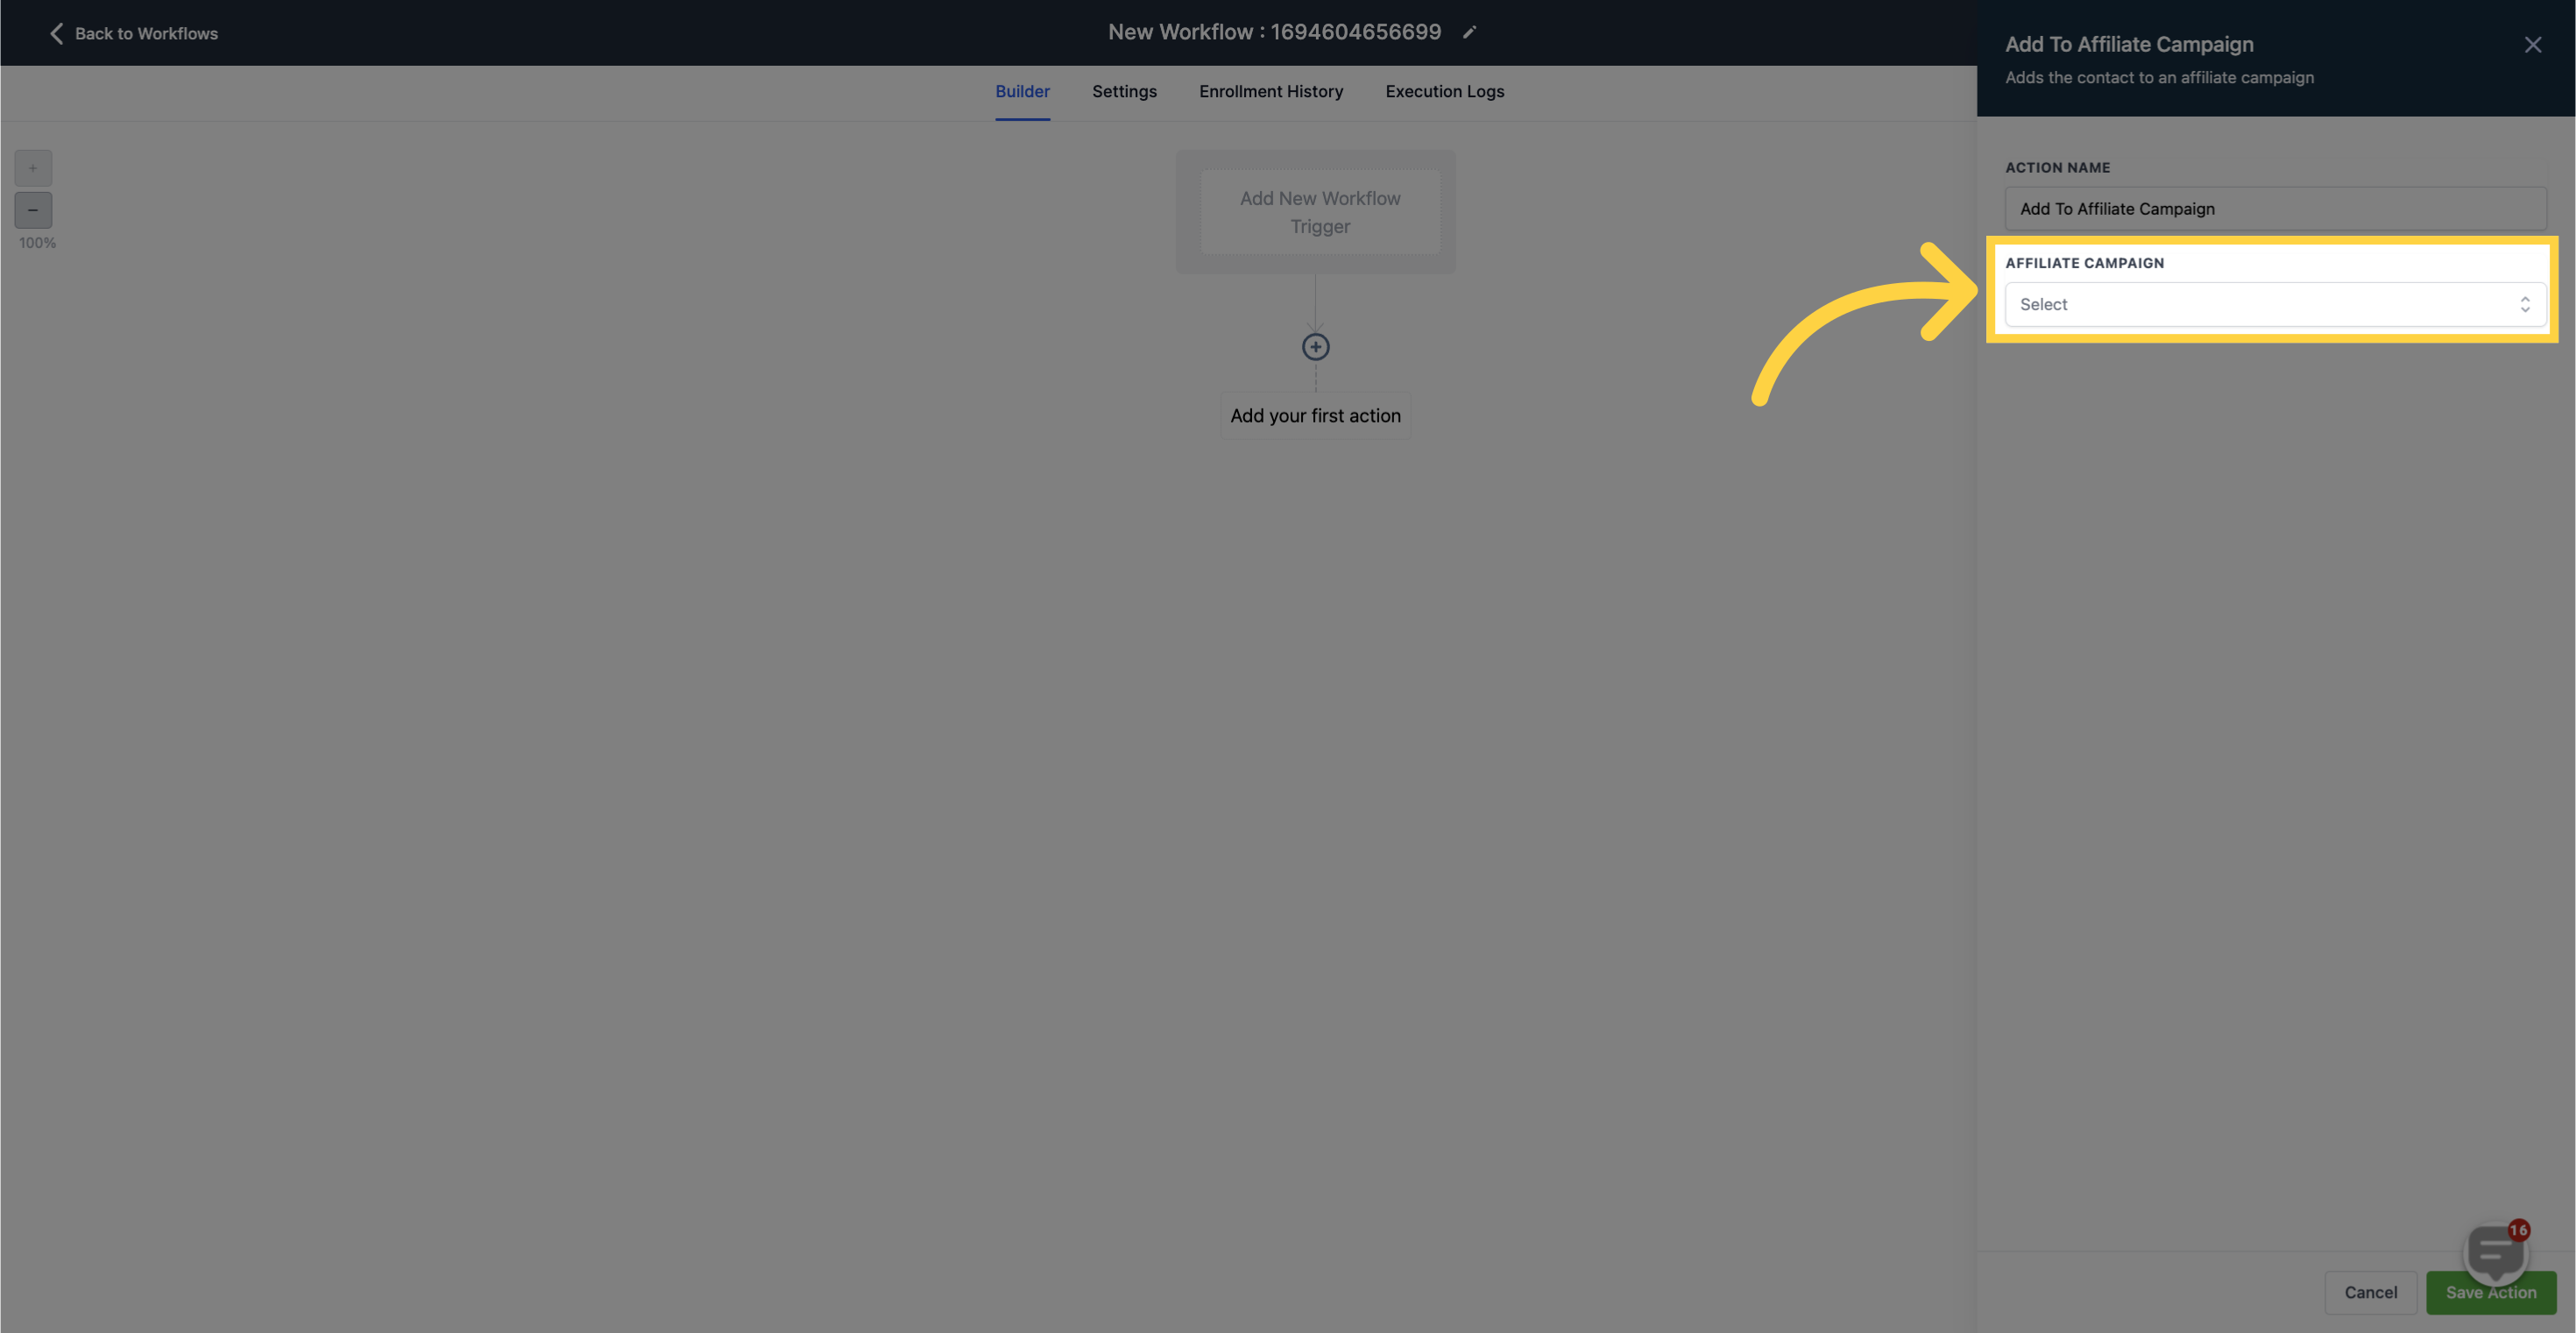
This action adds an affiliate to a specific campaign in the Affiliate Manager's Campaigns tab. You can choose the desired campaign from a dropdown menu.

Click here to Select 'Affiliate Campaign'

10. Click "Remove From Affiliate Campaign"

Click 'Remove From Affiliate Campaign'

Click here to Select "Affiliate Campaign"

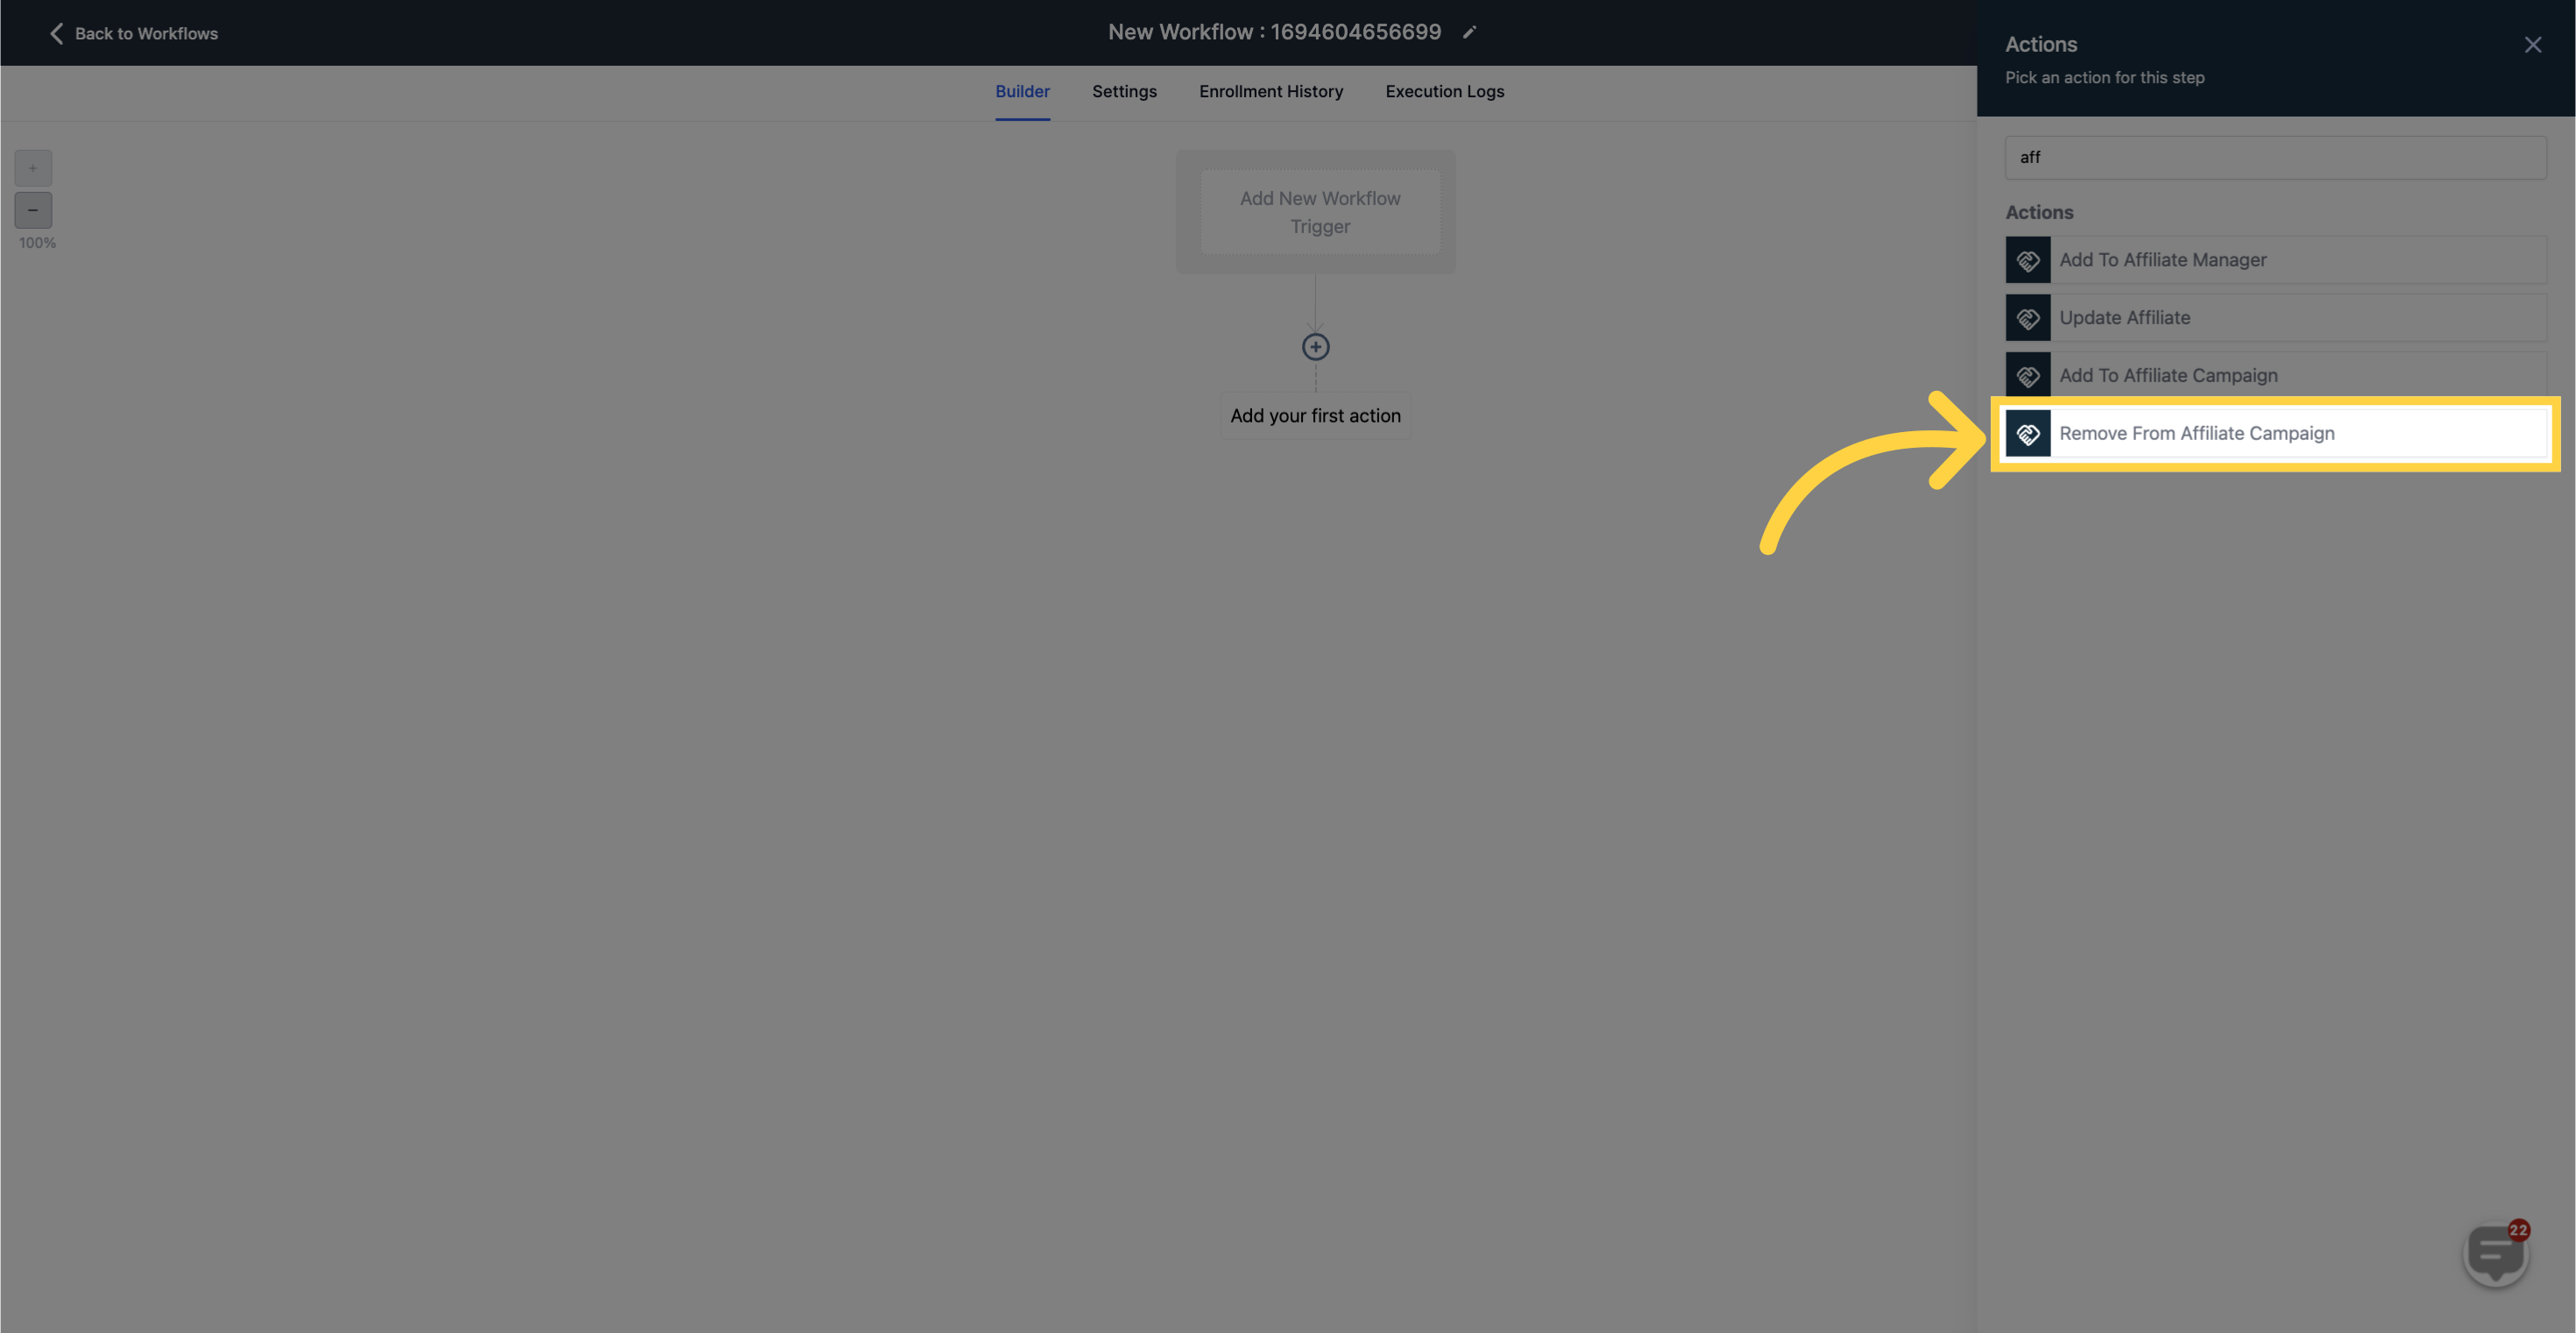
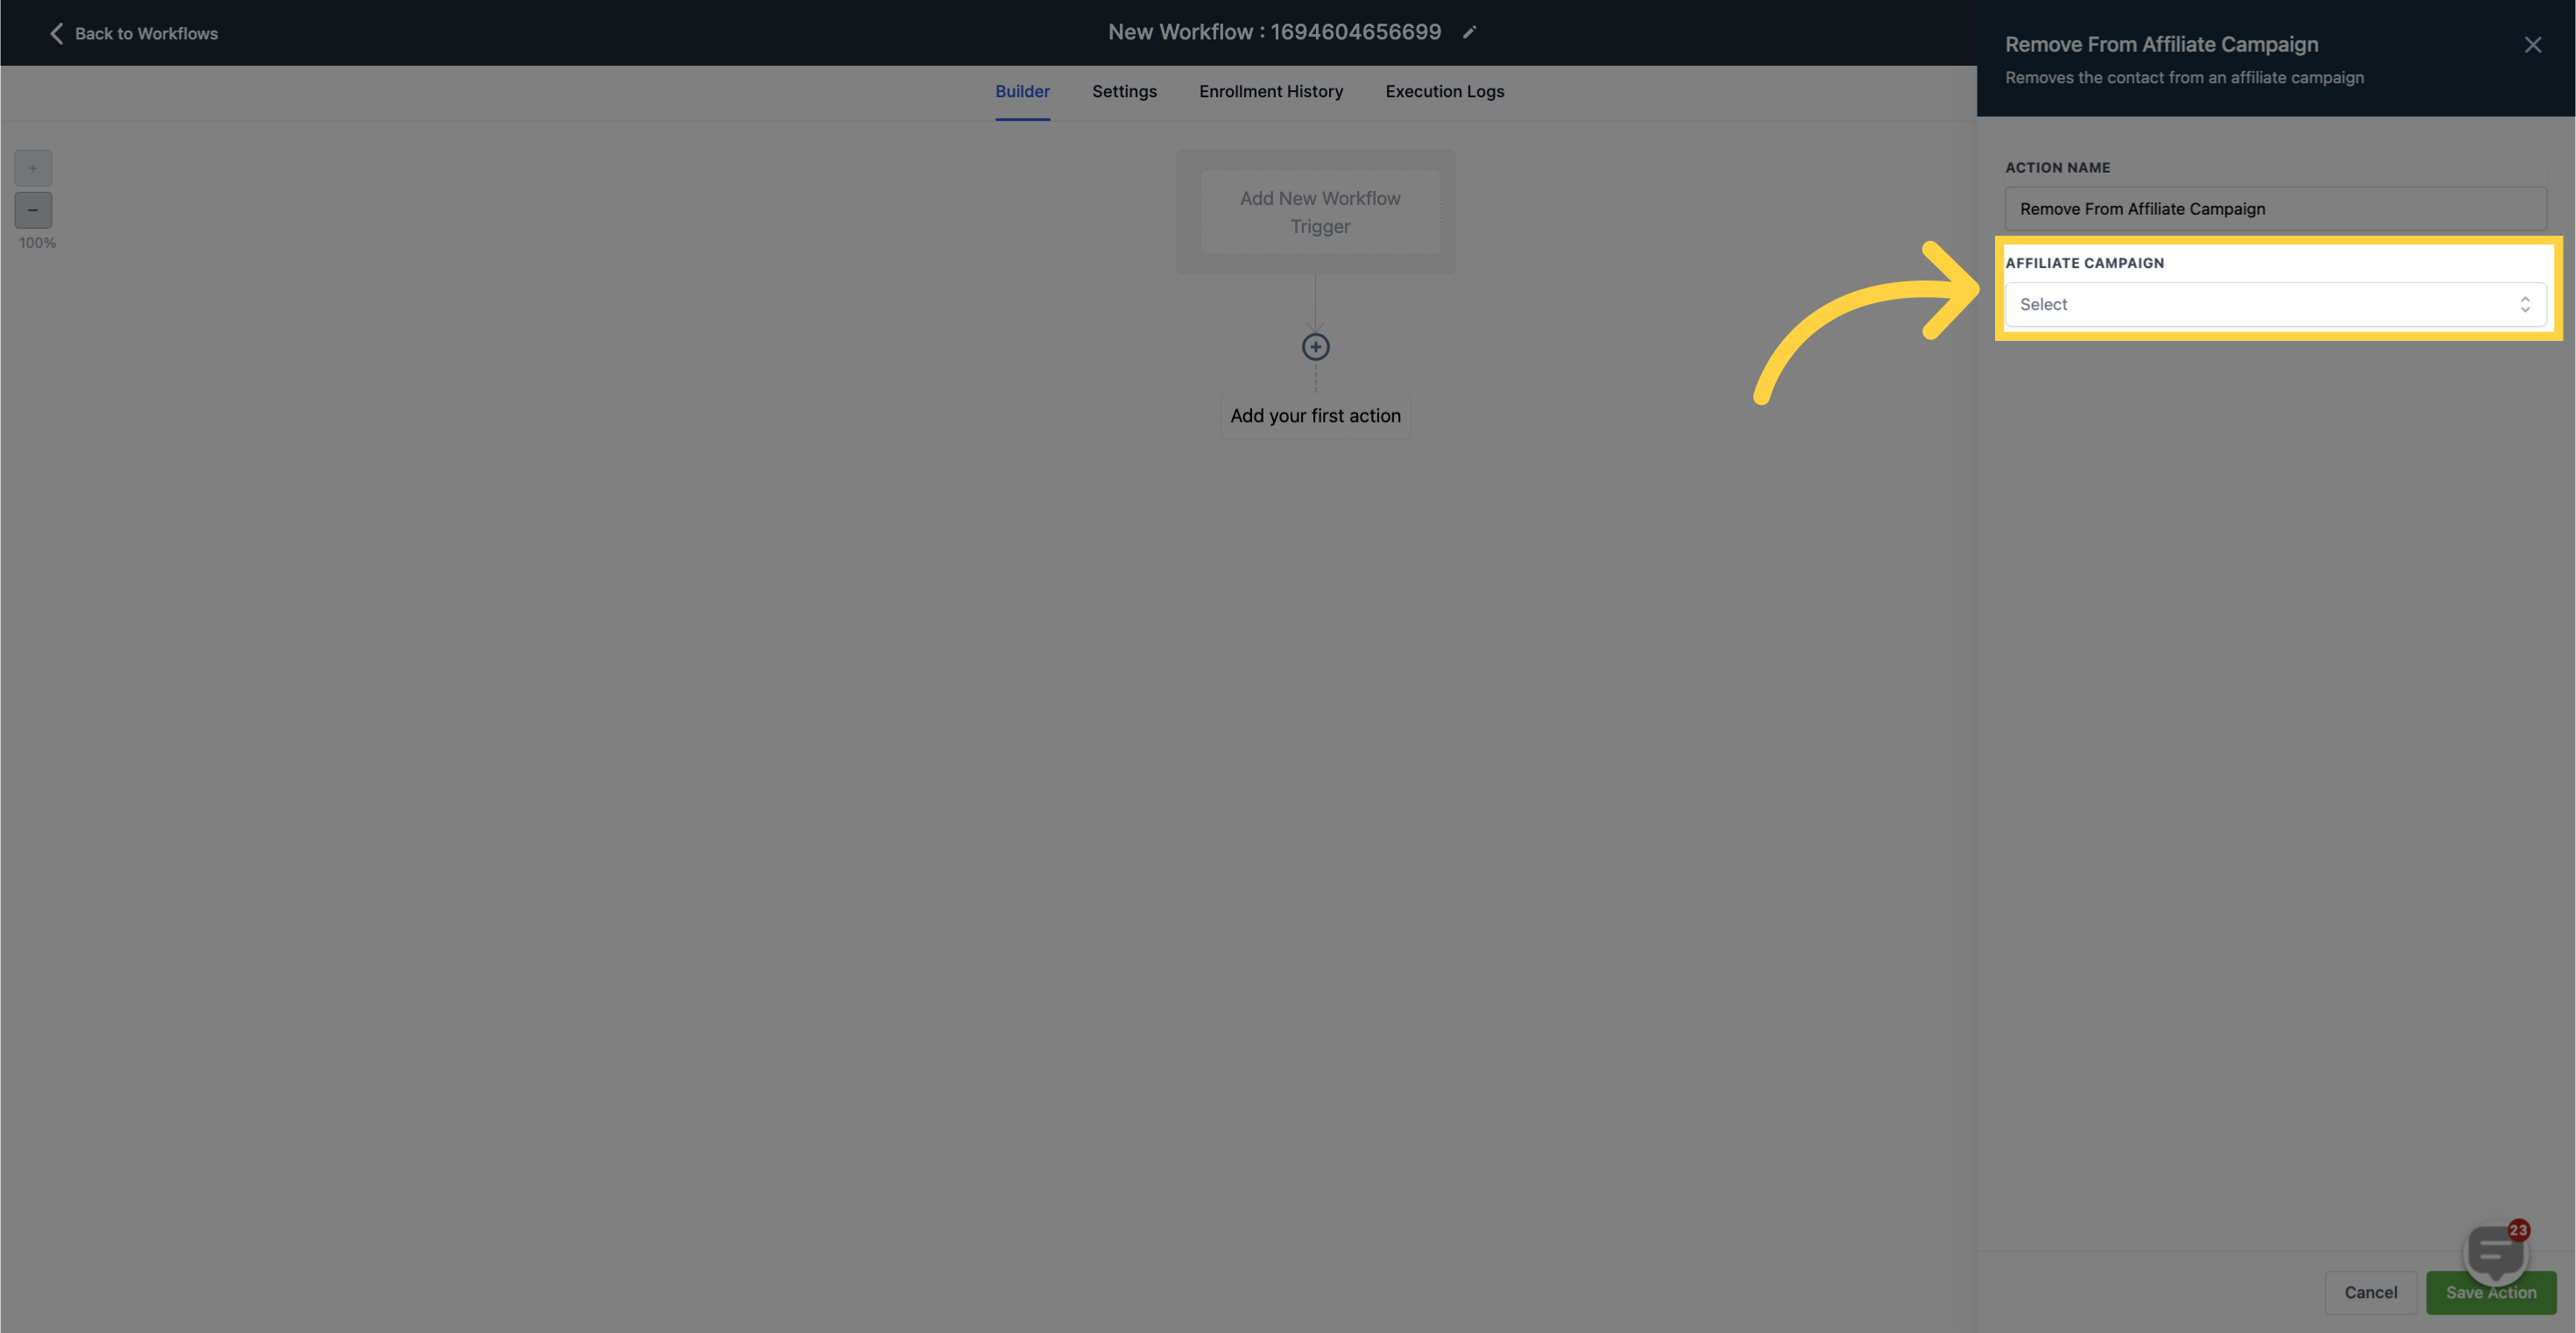
This action removes an affiliate from a campaign. You can choose the campaign from which you want to remove the affiliate using a dropdown menu.

Click here to Select 'Affiliate Campaign'

These actions provide you with the flexibility to manage affiliates and their campaigns effectively.

Did this answer your question?
😞
😐
😁