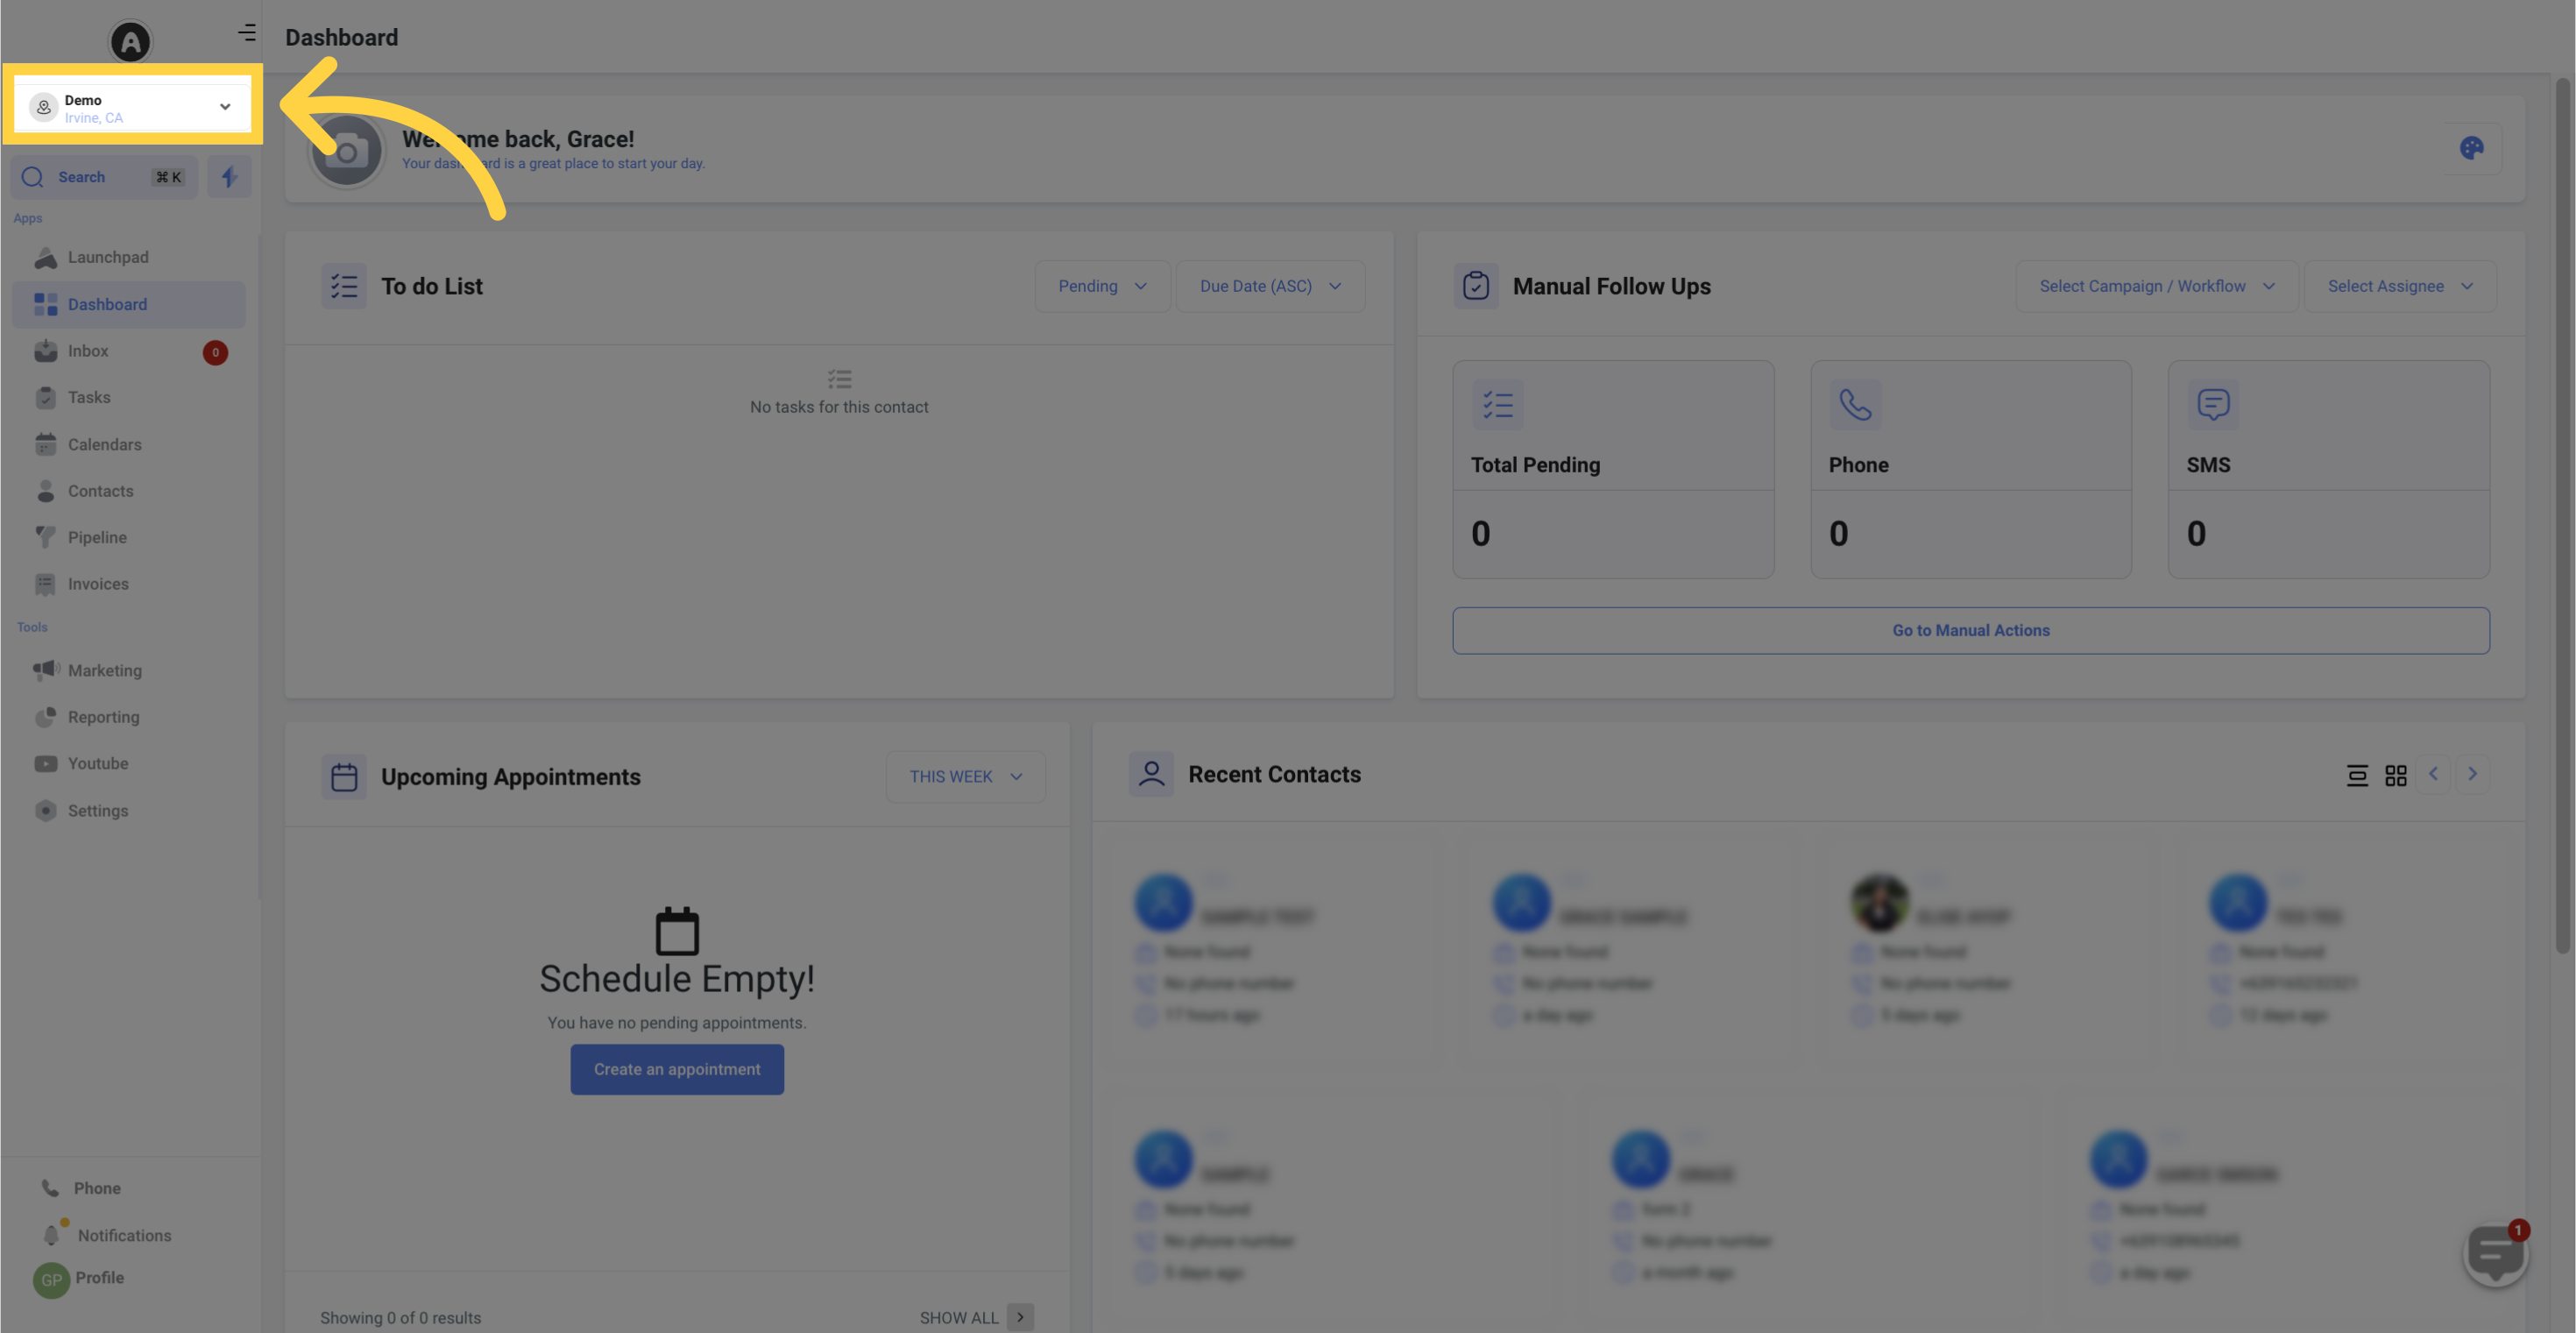
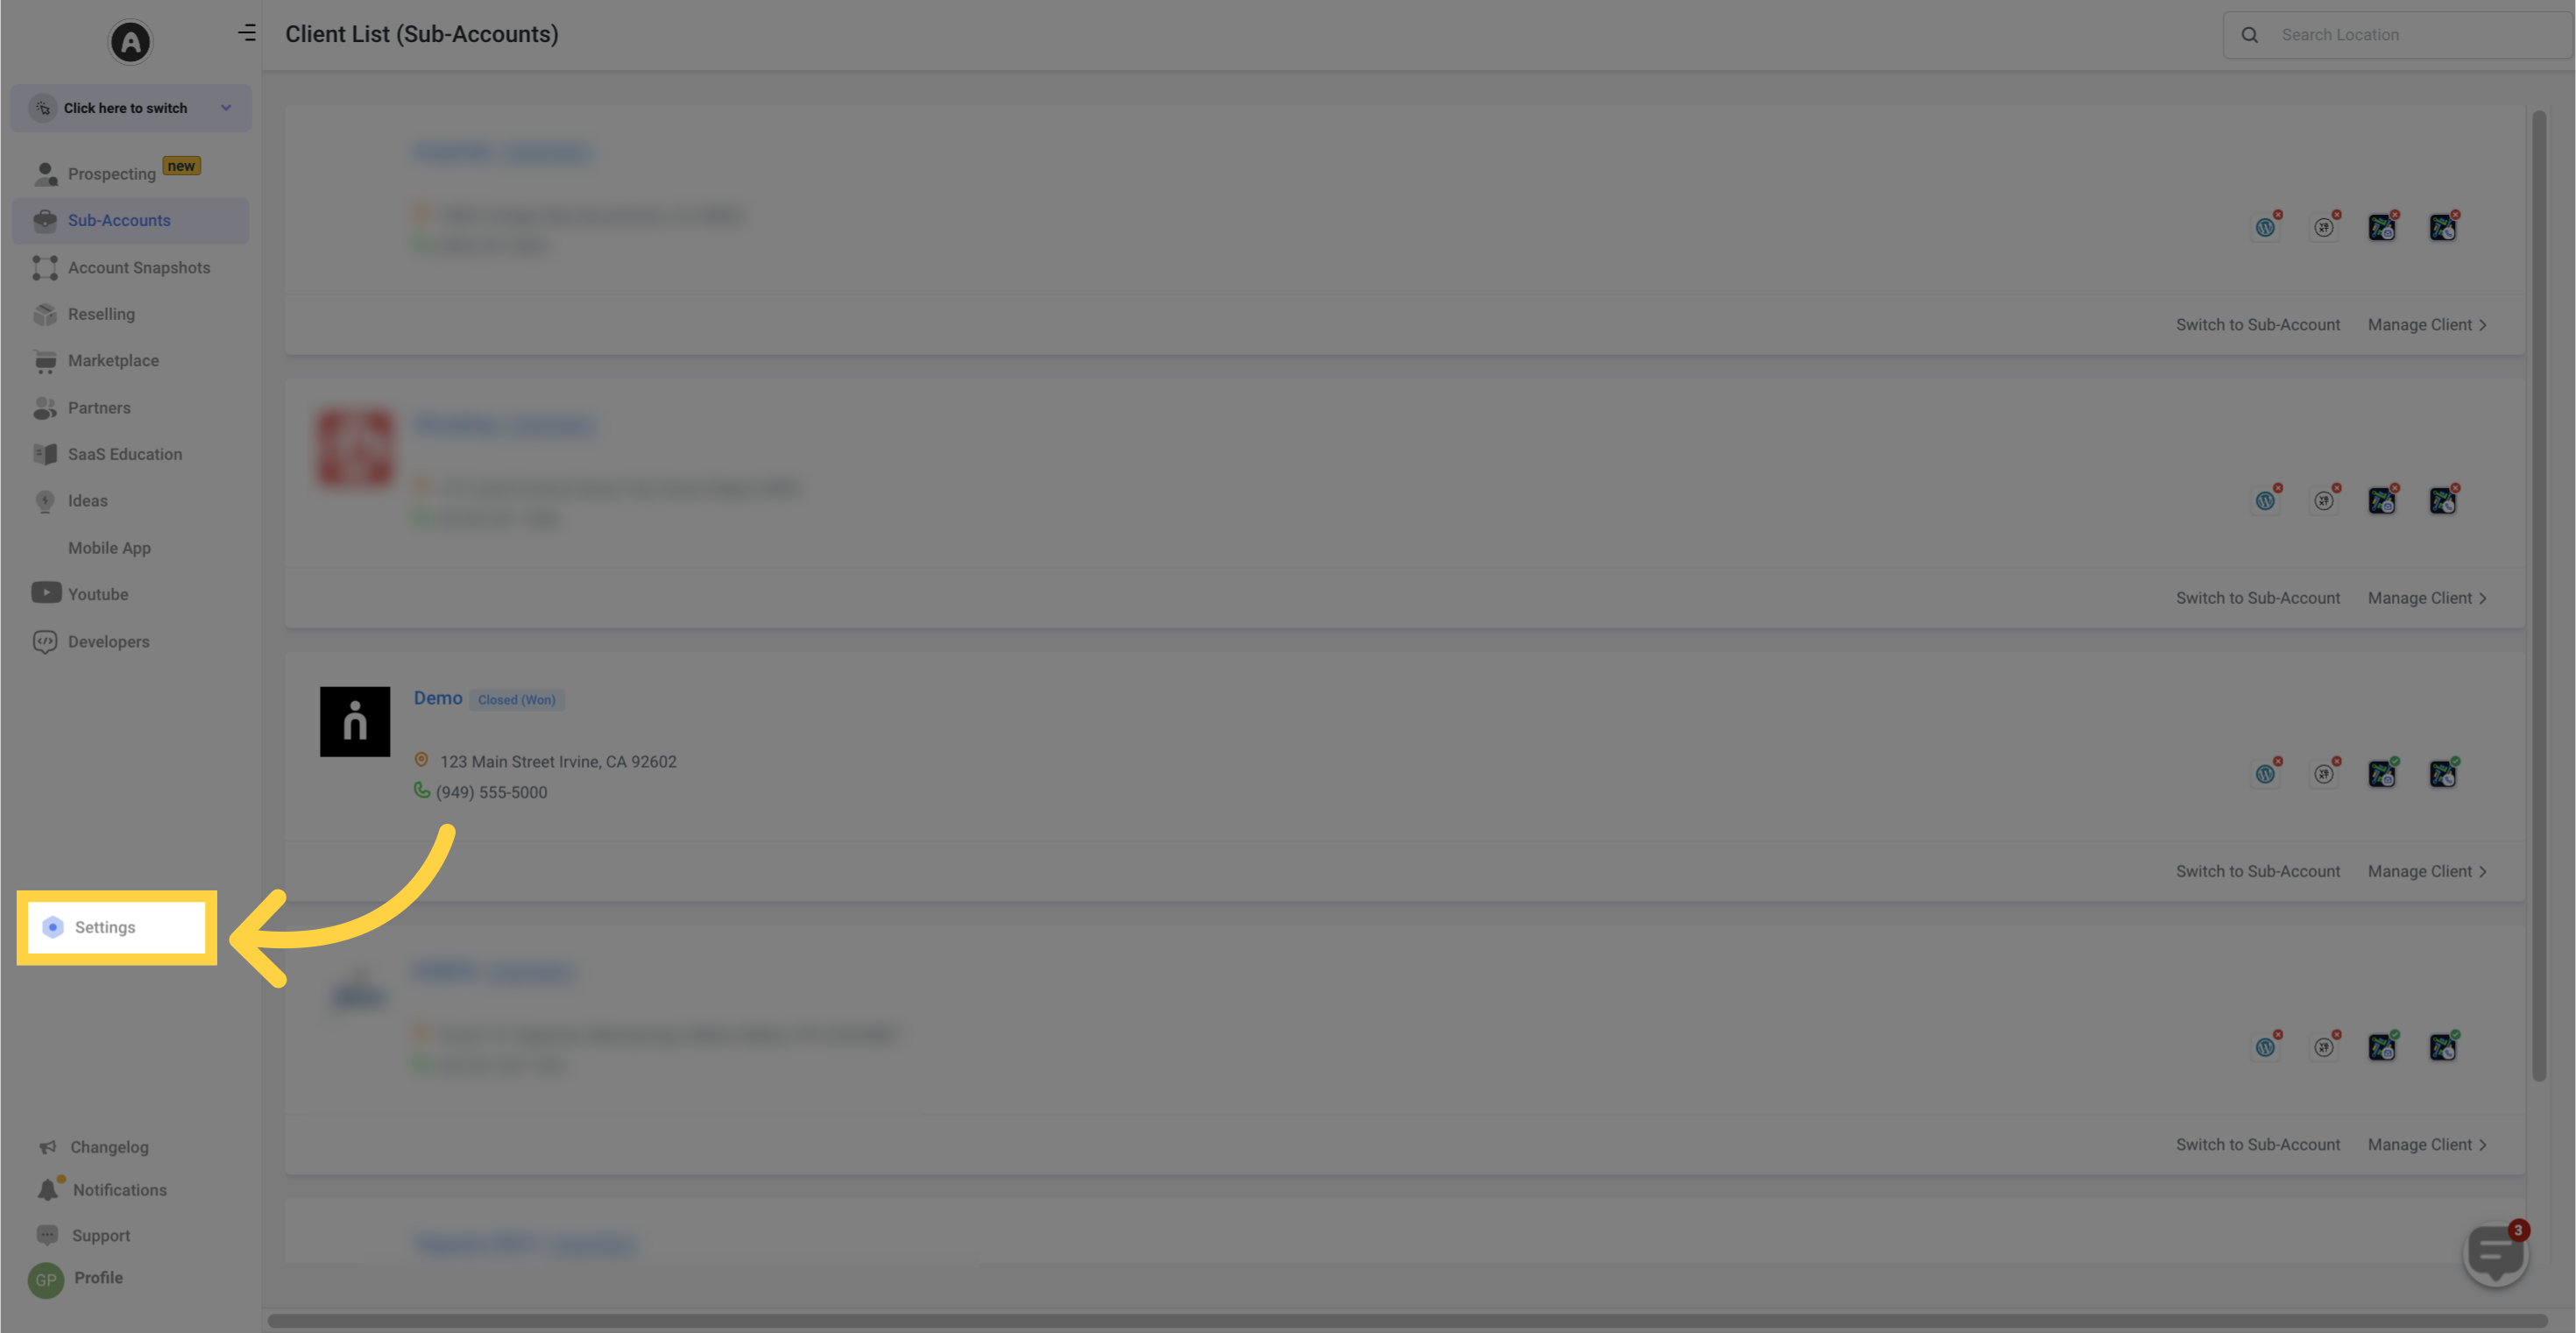
Go to your agency settings by clicking on the left sidebar

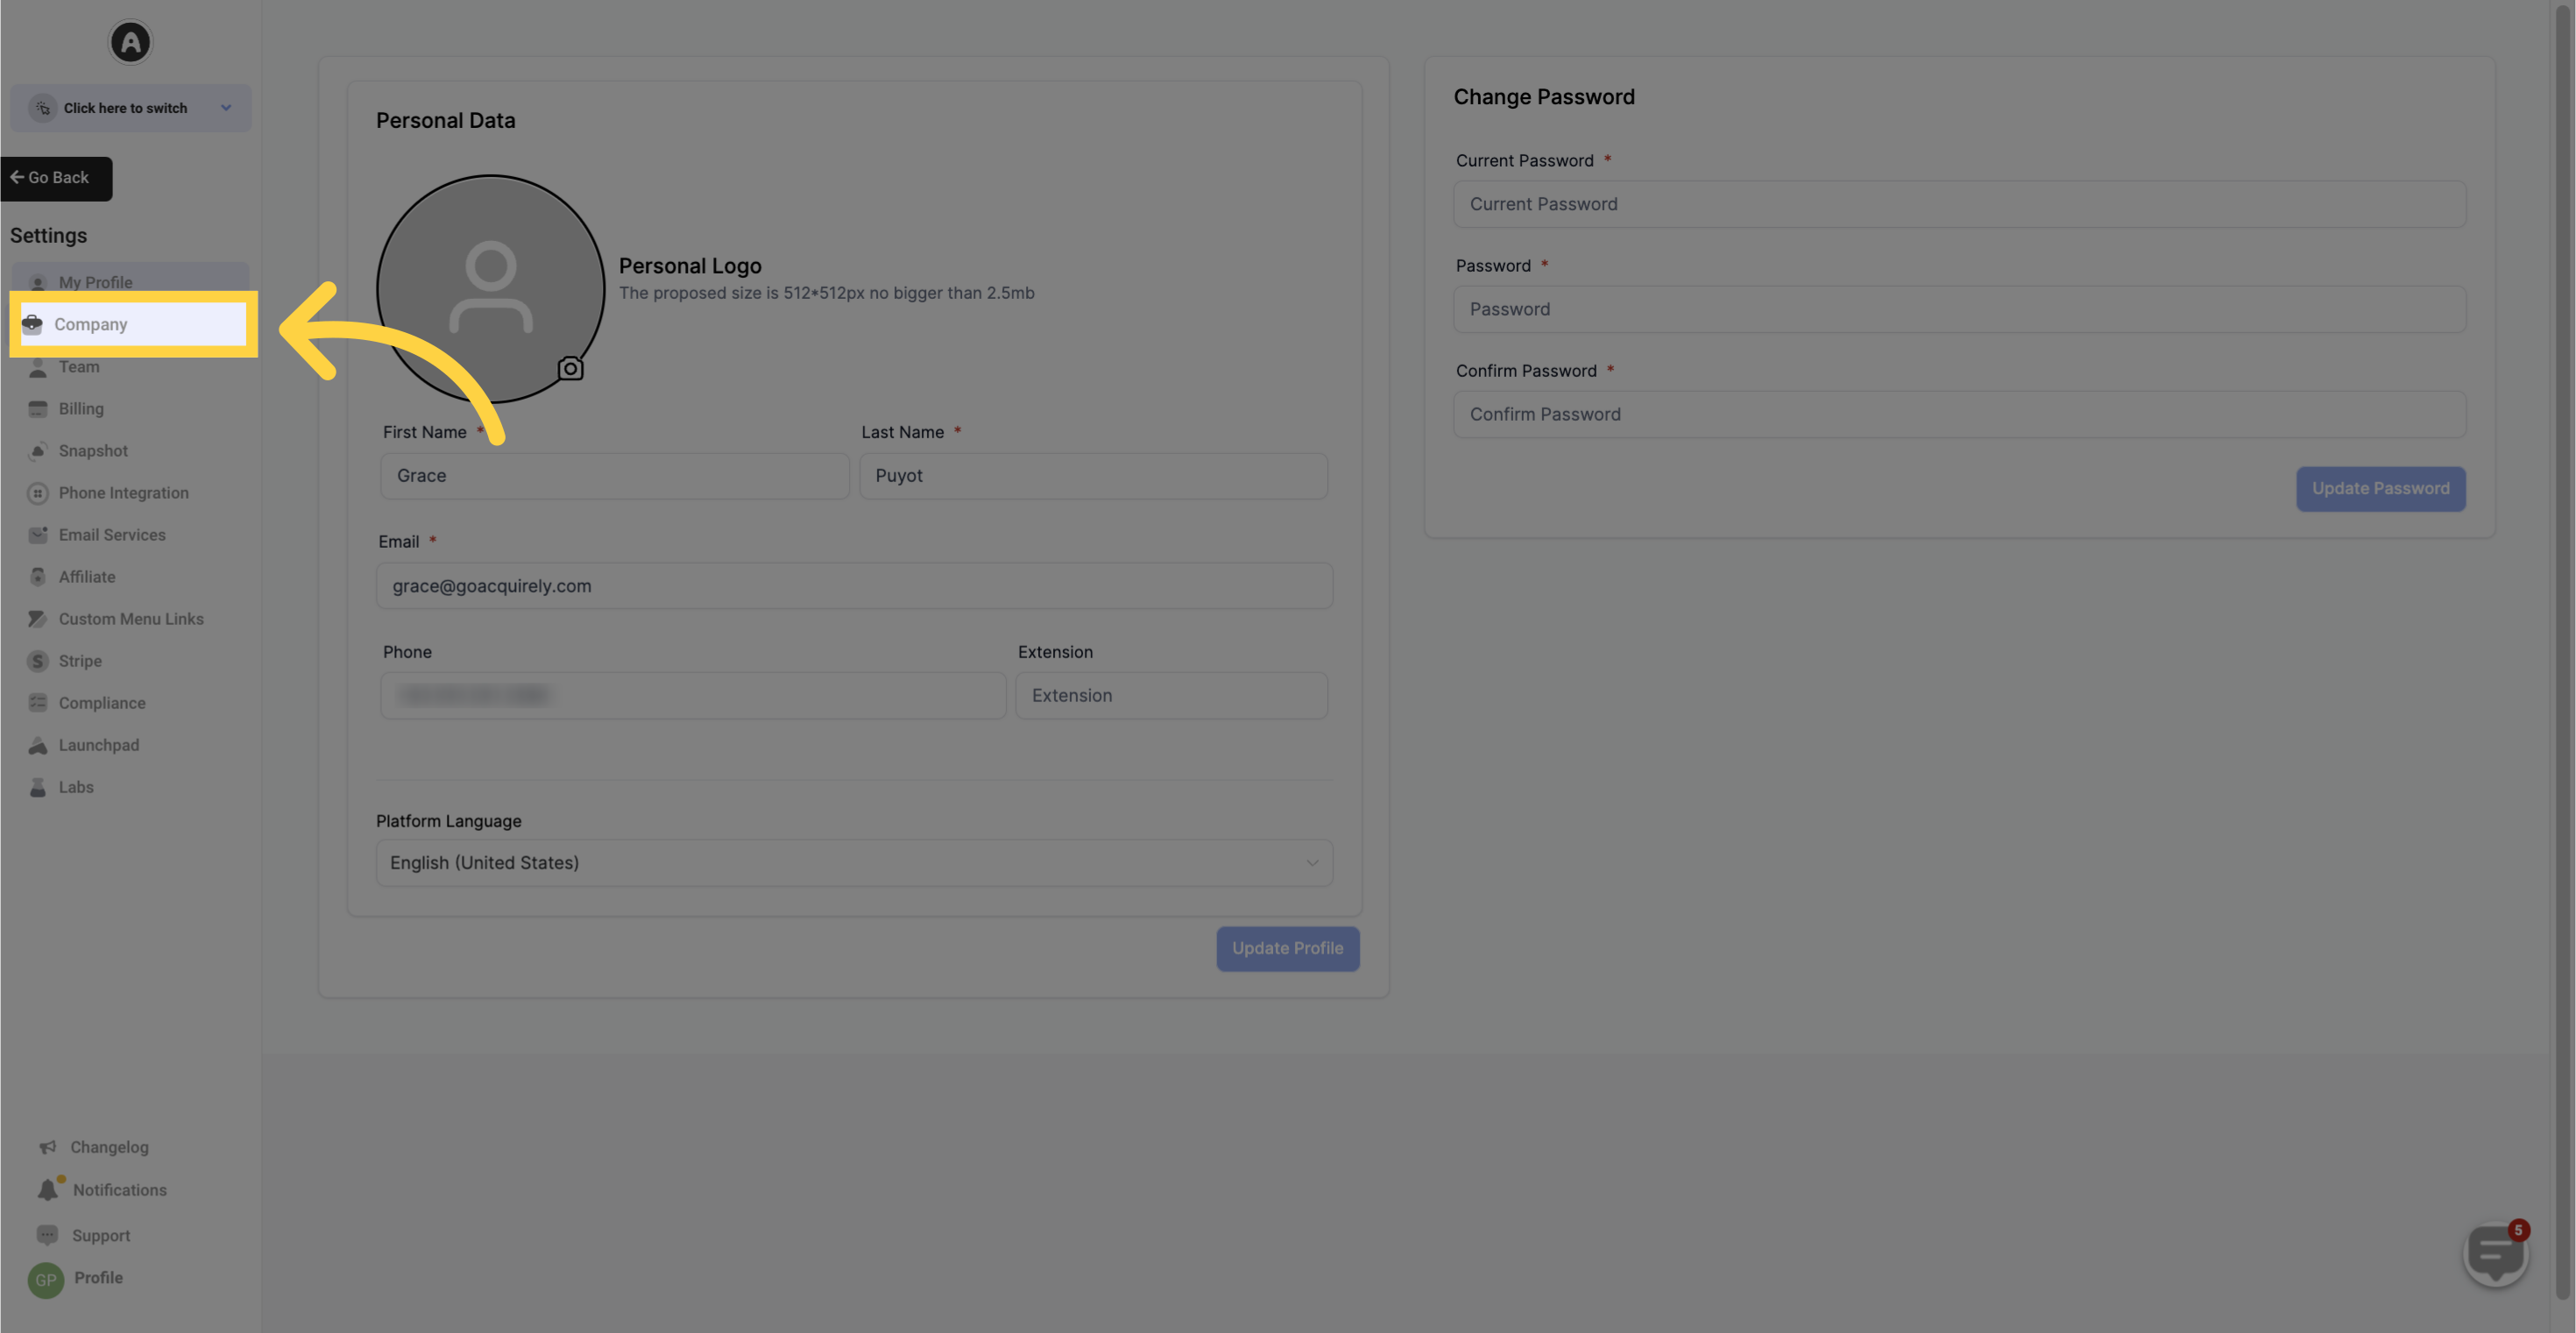
Navigate to Company Settings and scroll down on the right side.
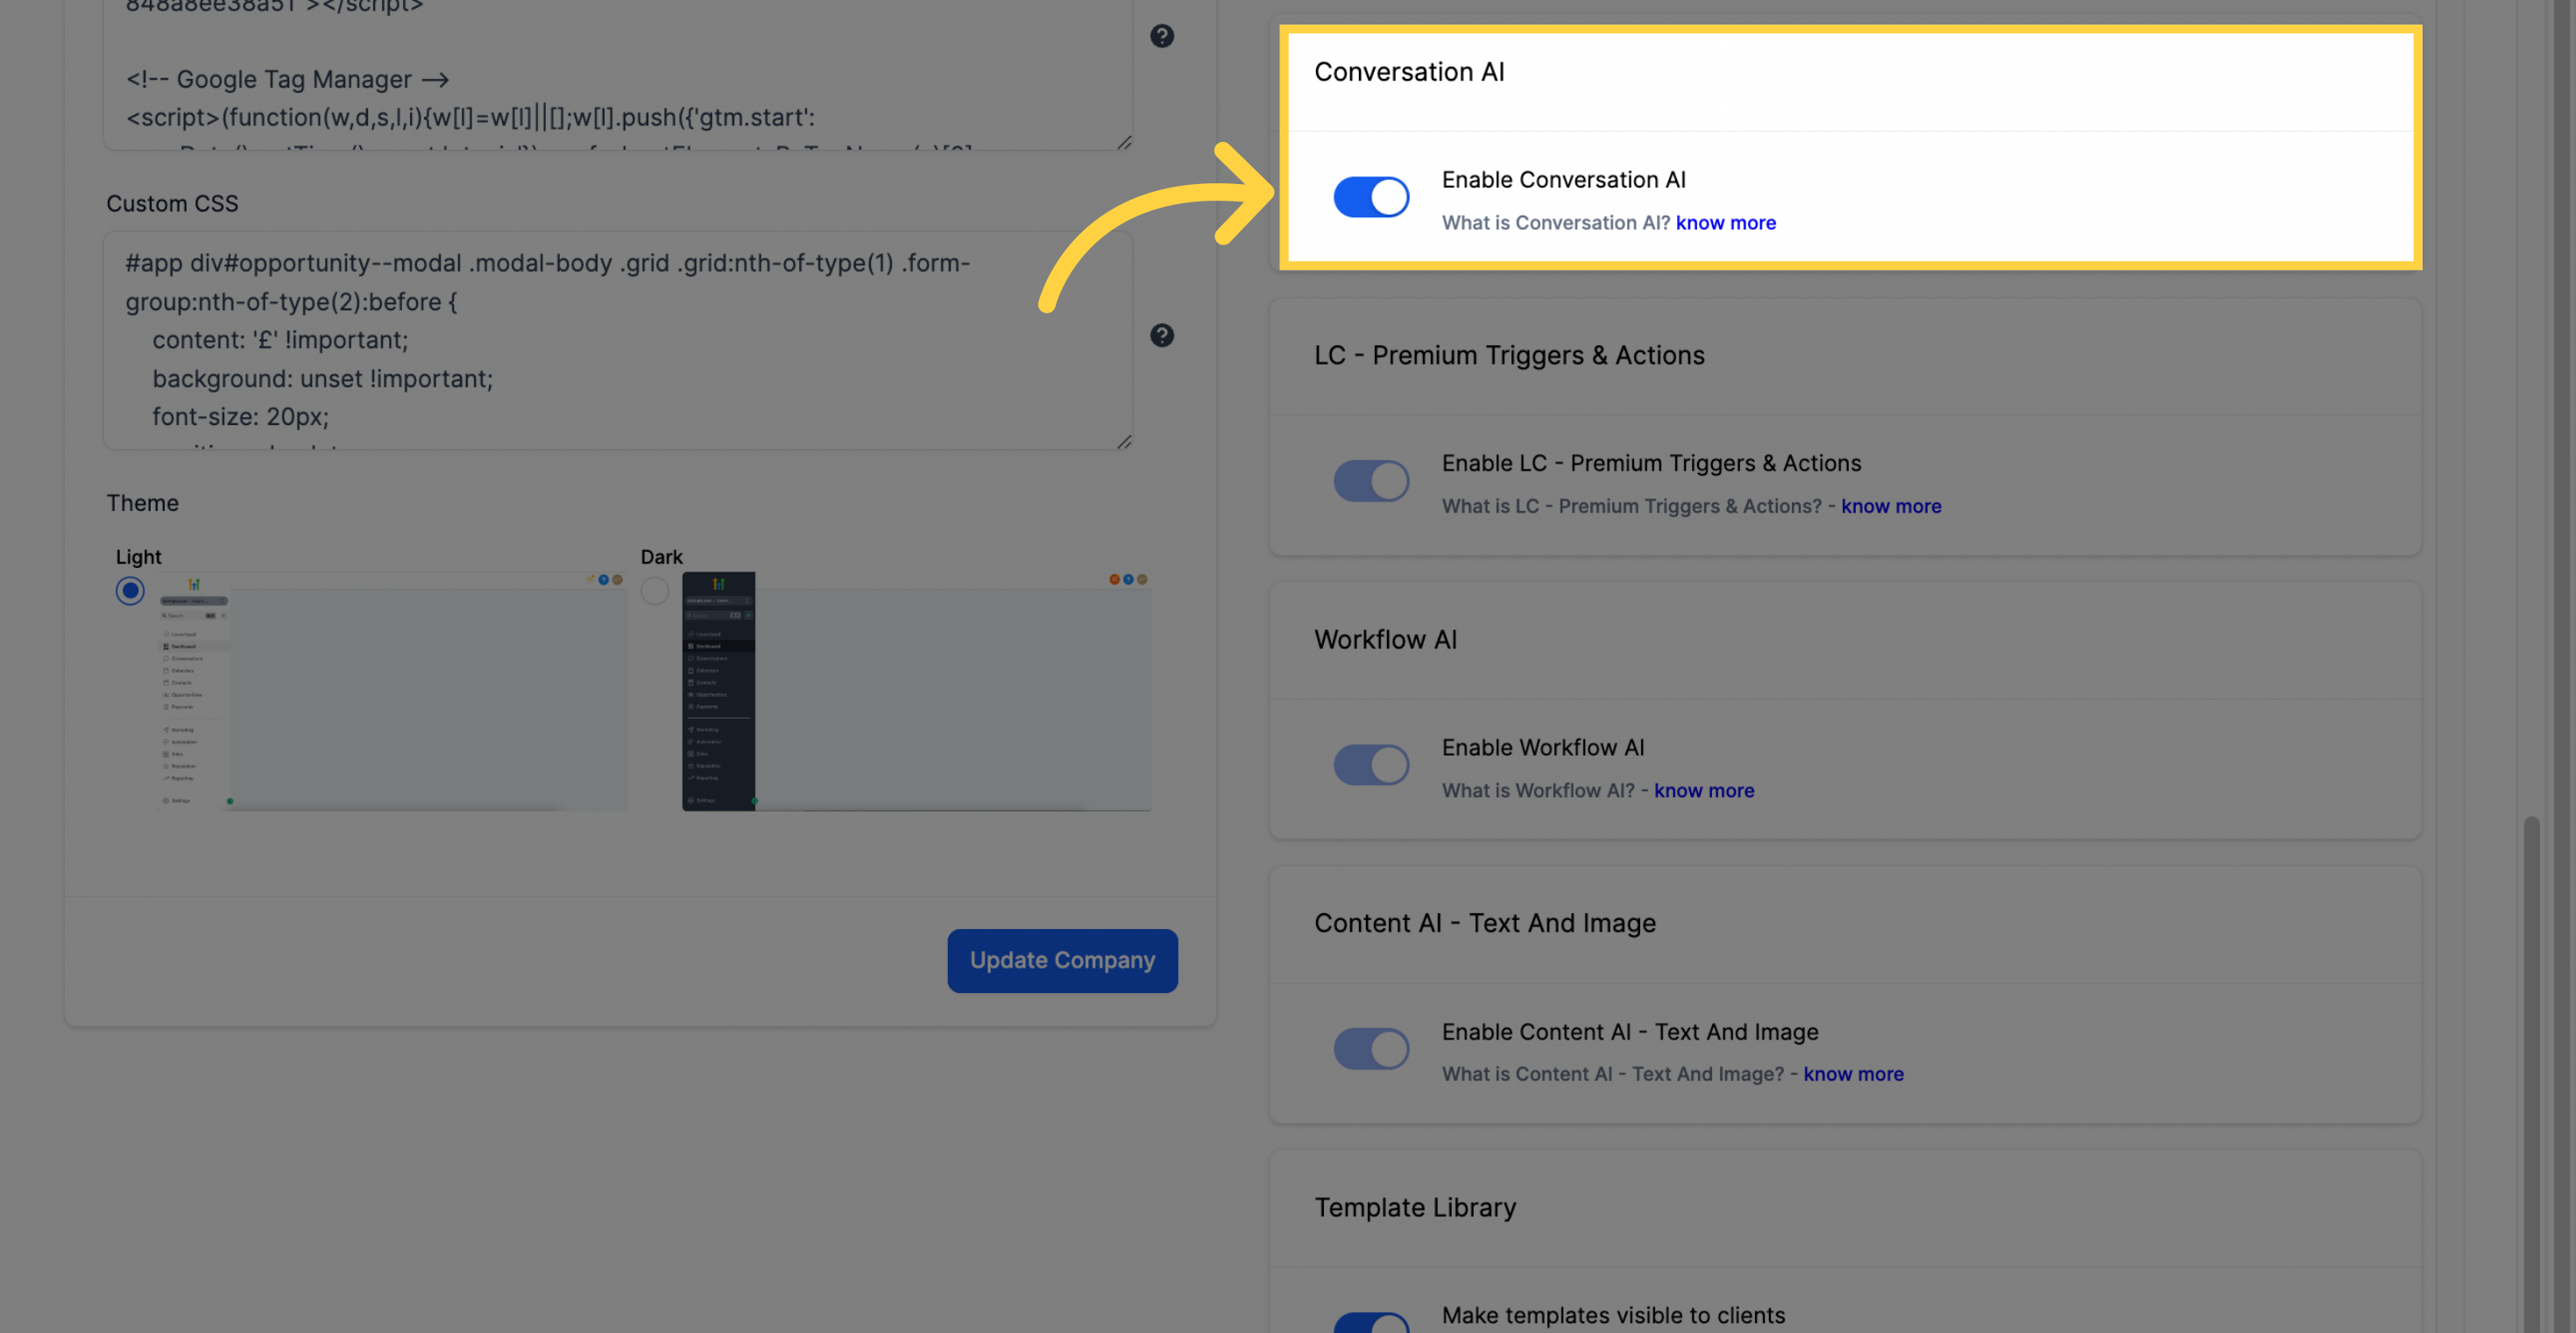
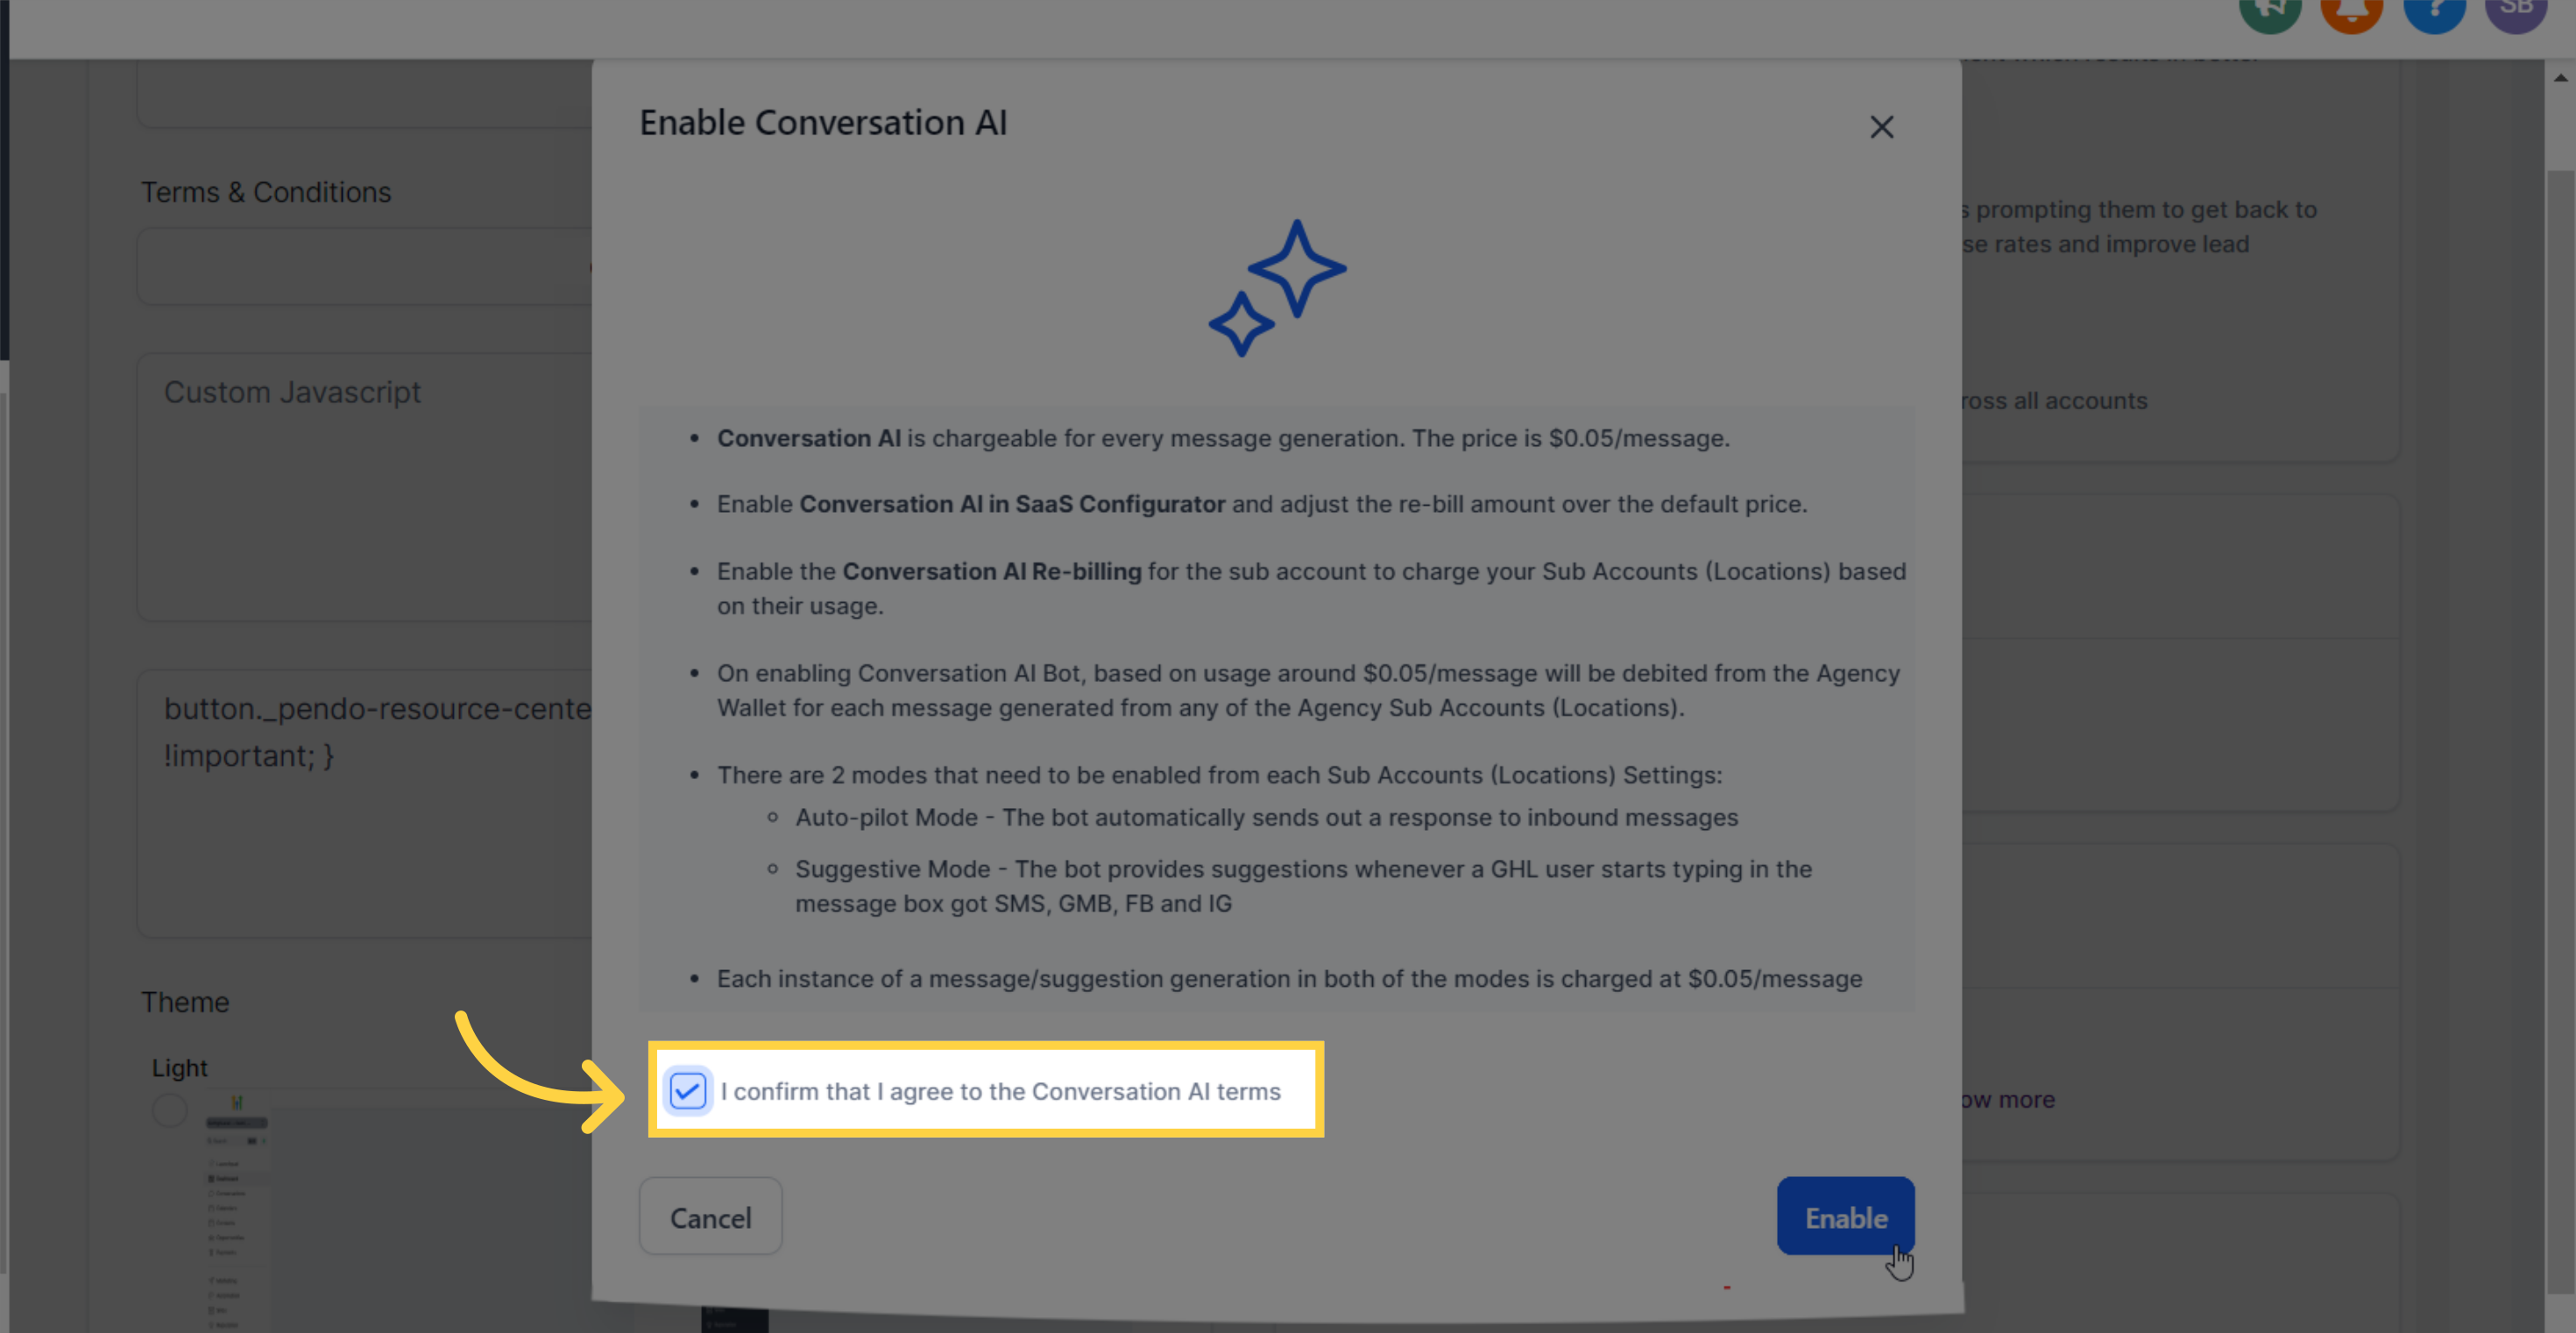
Look for the option or checkbox to enable or activate Conversation AI
Click on it to turn on the feature
Make sure to accept the terms and conditions or acknowledge any associated costs.
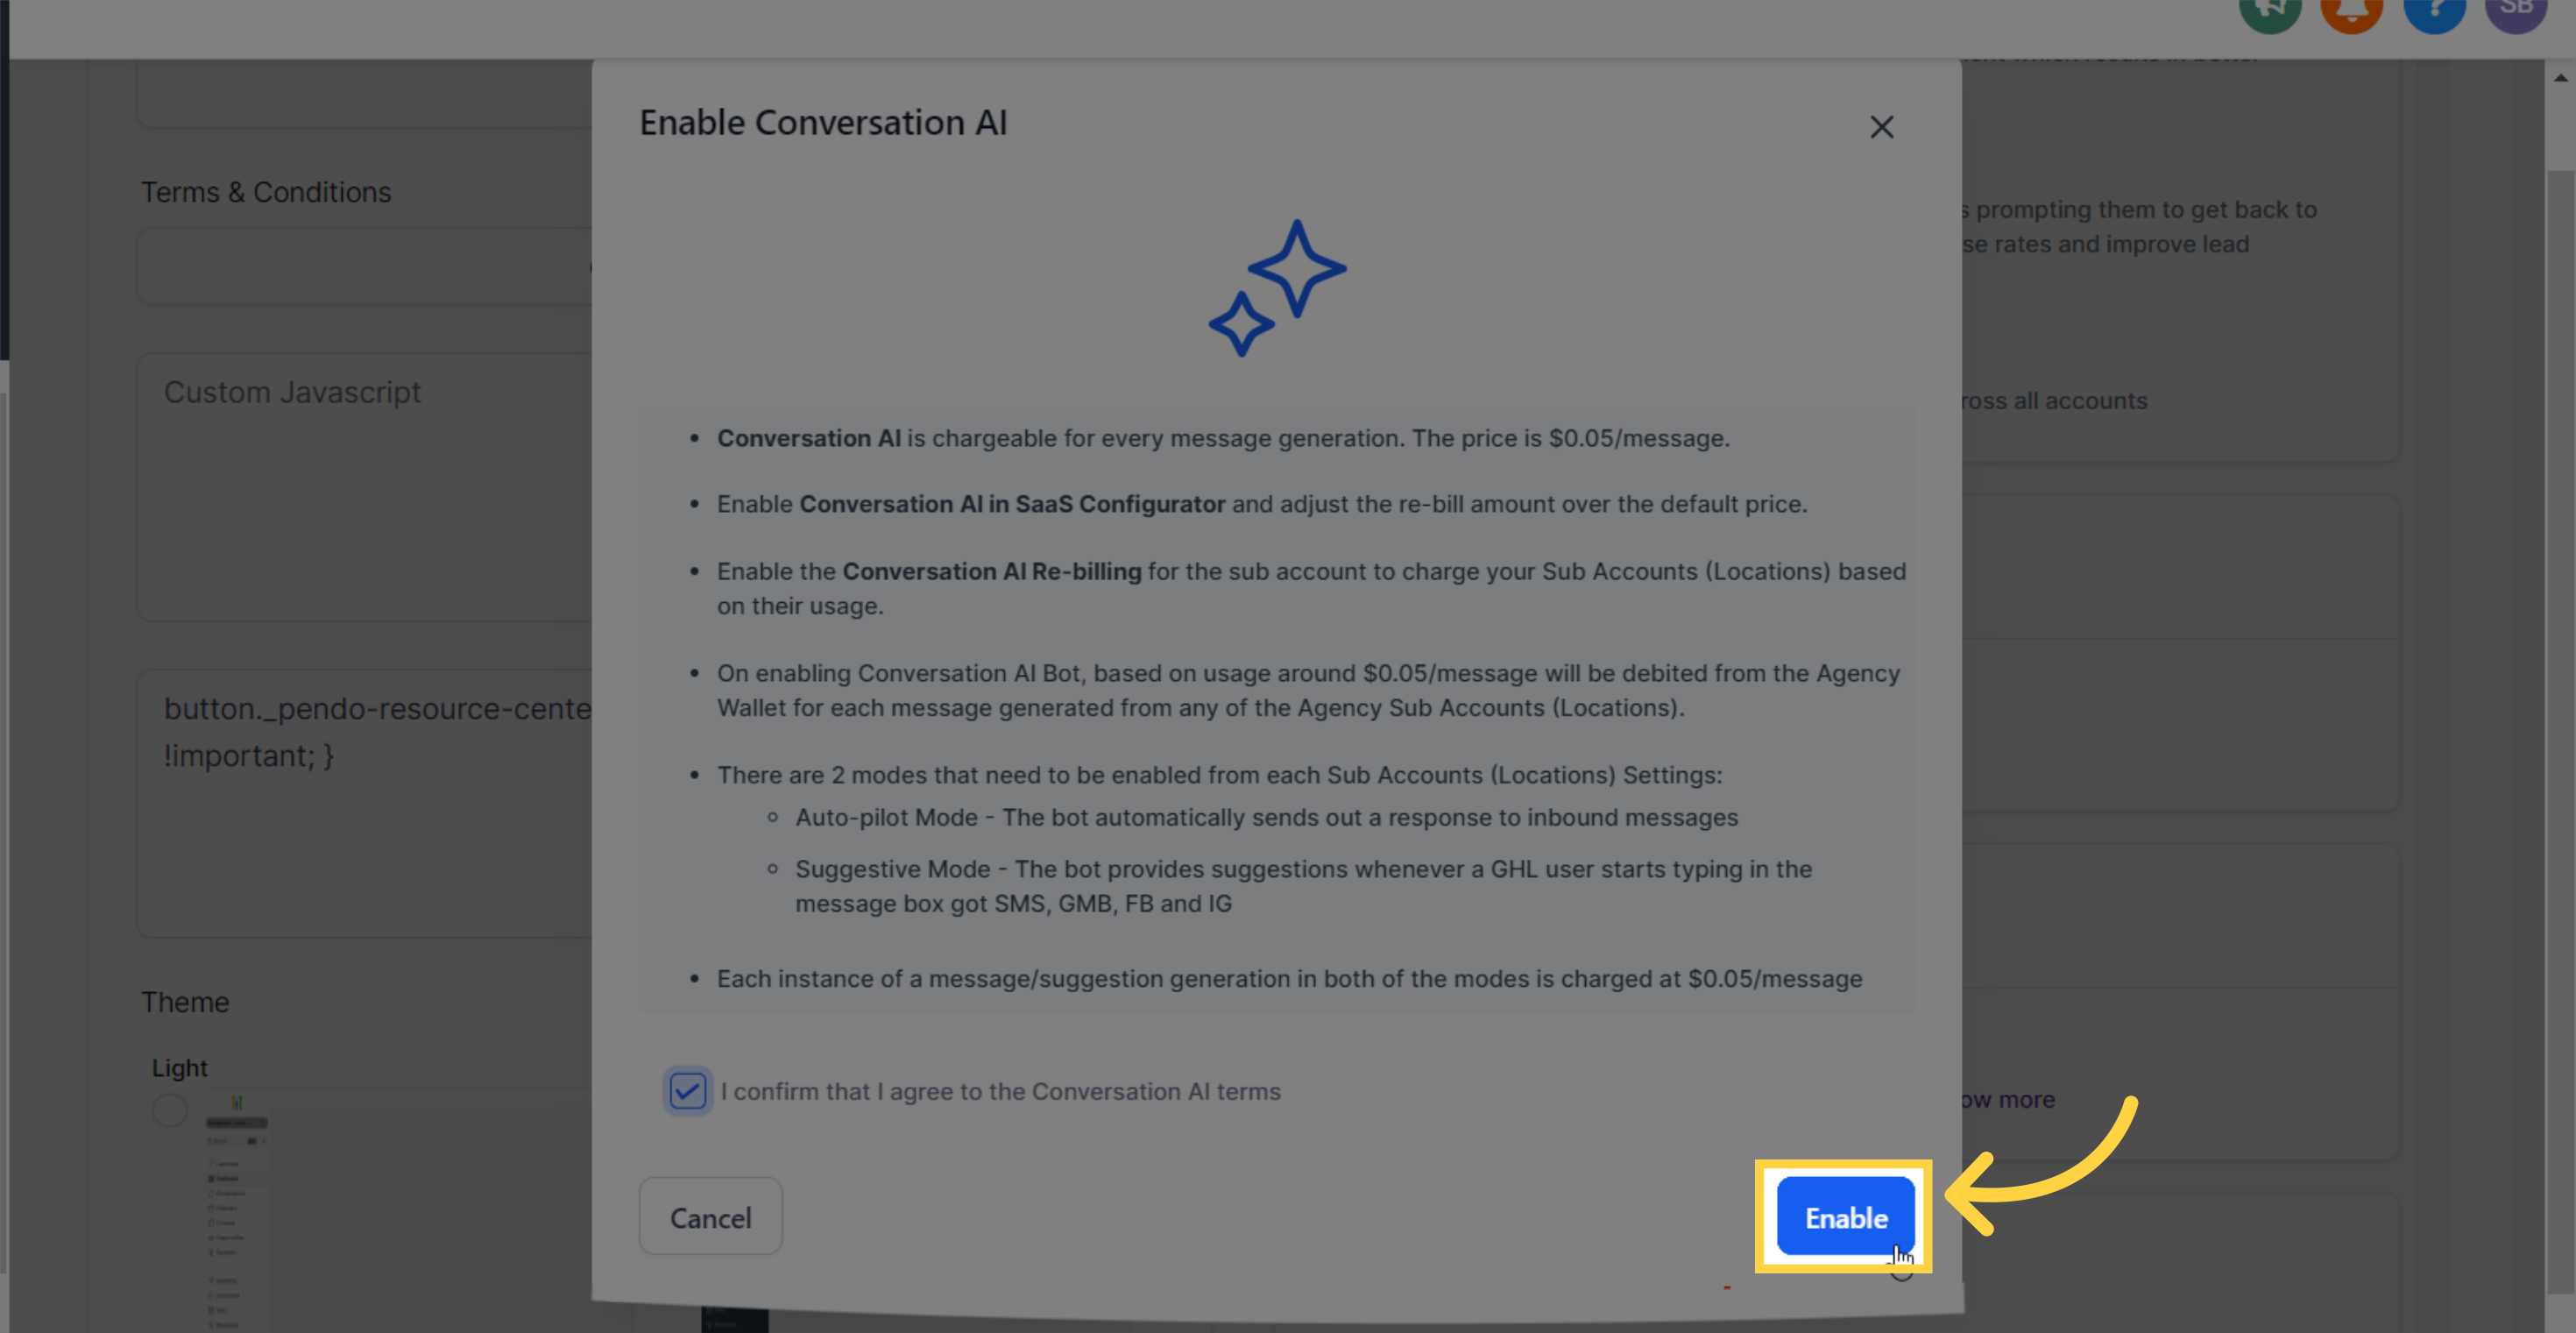
Finally, click on the "Enable" button.
That's it! You have successfully enabled Conversation AI in your agency. Enjoy the benefits of this powerful tool.
