The 'Update Custom Value' Workflow Action is a potent tool that streamlines the process of updating custom values in the CRM. Its capacity to revise sub-account level custom values makes it instrumental in the efficient management and automation of recurring services, subscription oversight, and beyond.
The Update Custom Value Workflow Action in the CRM - What is it?
The Update Custom Value Workflow Action in our CRM serves as an efficient tool for altering custom values in a sub-account. Its functionality isn't confined to updating a single contact's custom field; instead, it has a more expansive impact. Custom values operate as markers that record and monitor diverse types of data at the sub-account level. By automating these values' updating process, this action can instigate further actions based on the newly updated data.
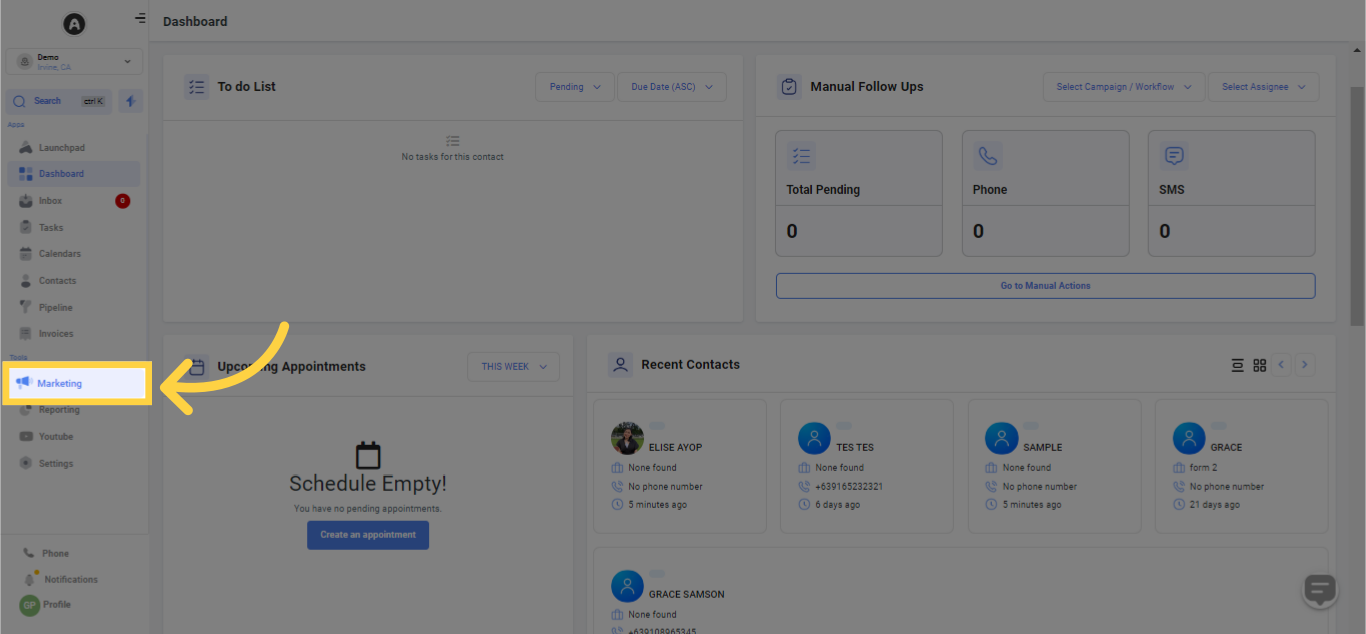
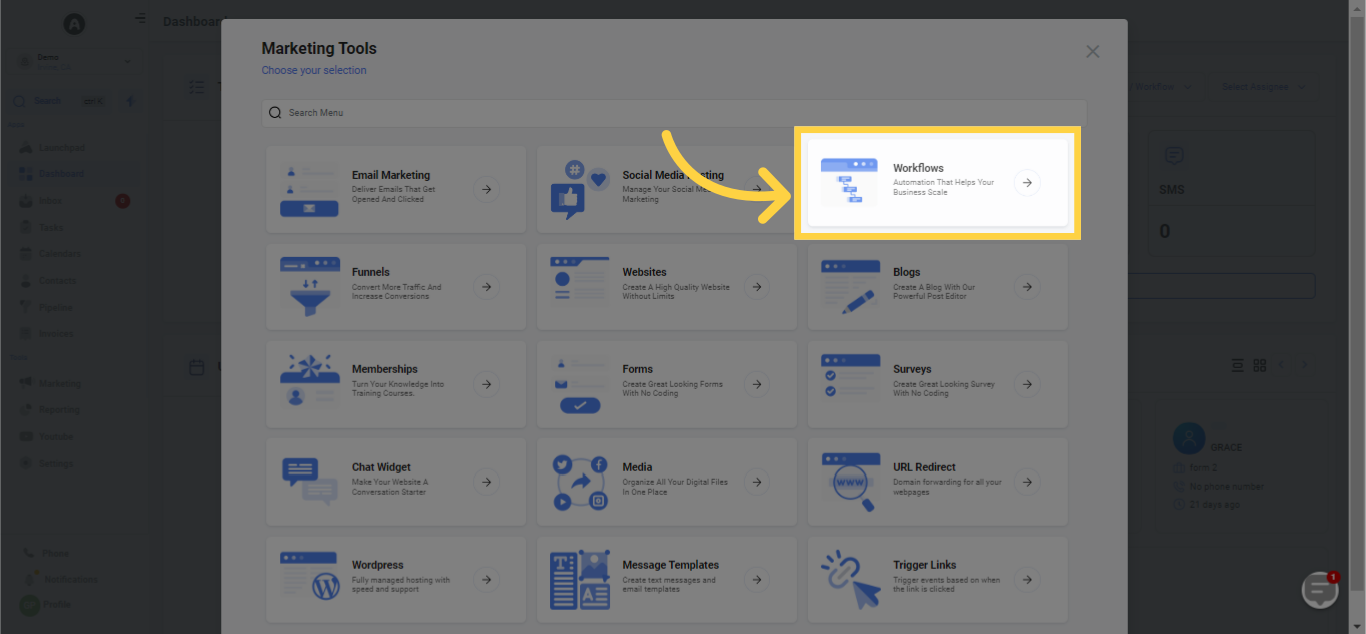
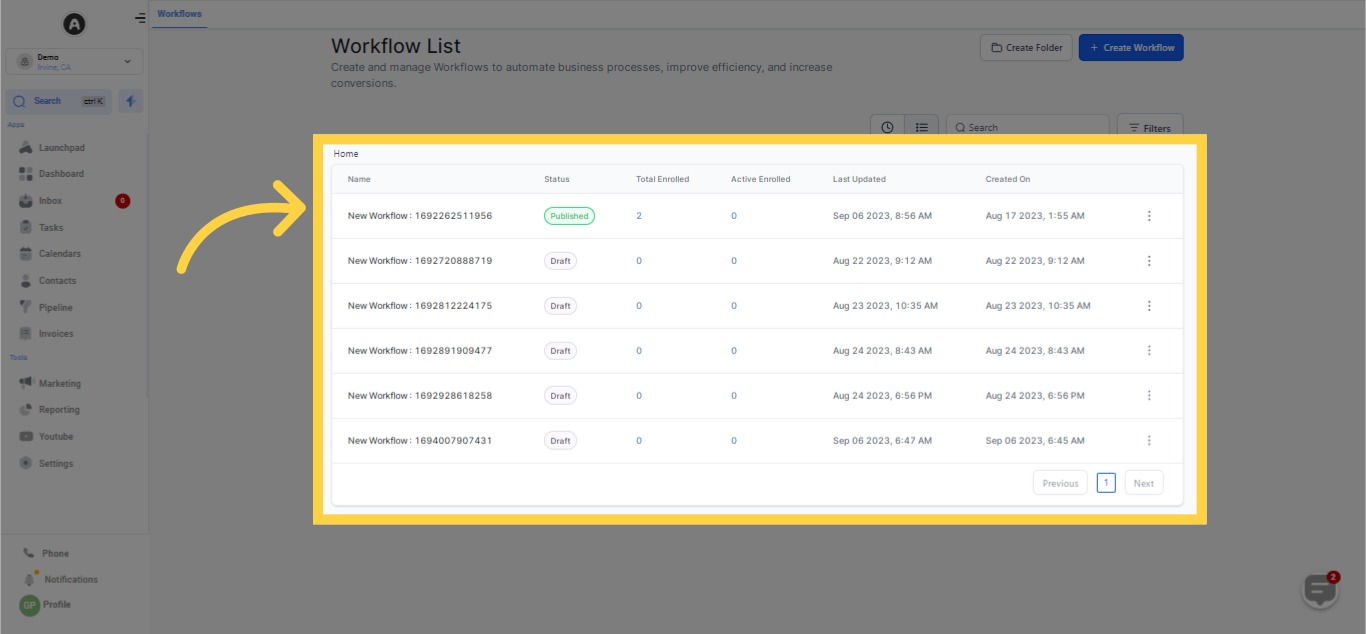
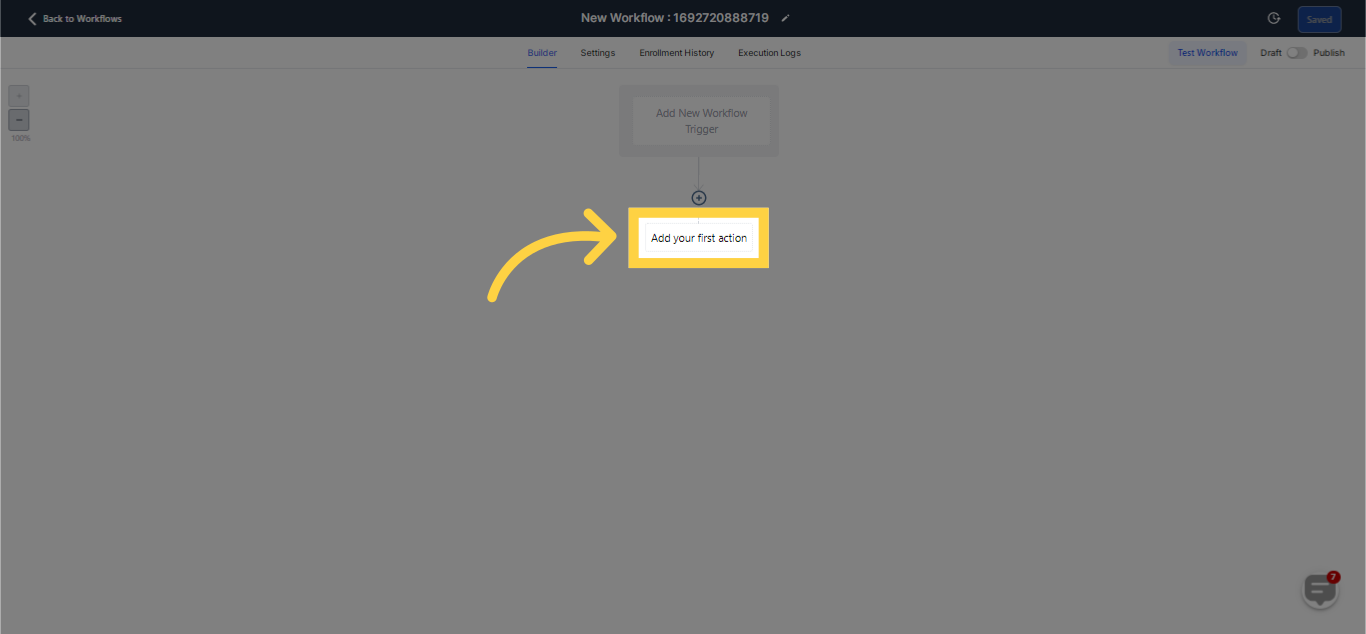
To leverage the Update Custom Value Workflow Action, a CRM platform supporting this function is a necessity. Provided you have access to such a platform, adhere to the following steps


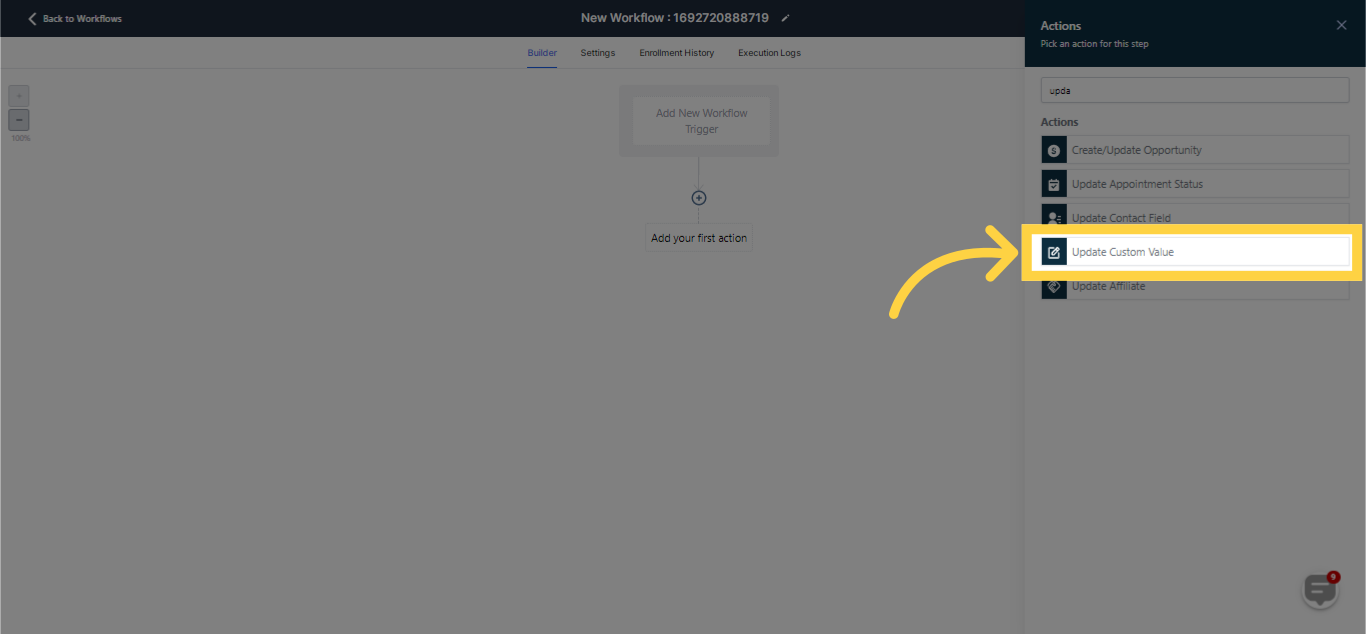
Select the custom value you want to update from the list of available custom values.
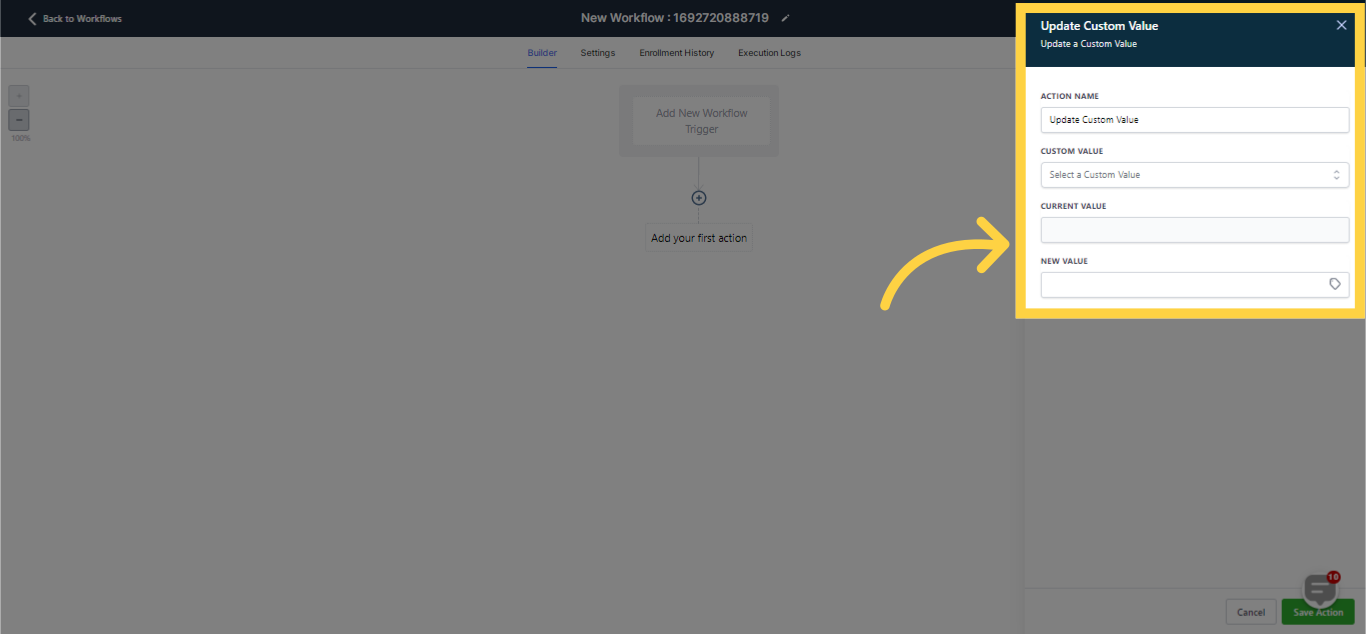
From the array of available custom values, choose the specific one you wish to update.
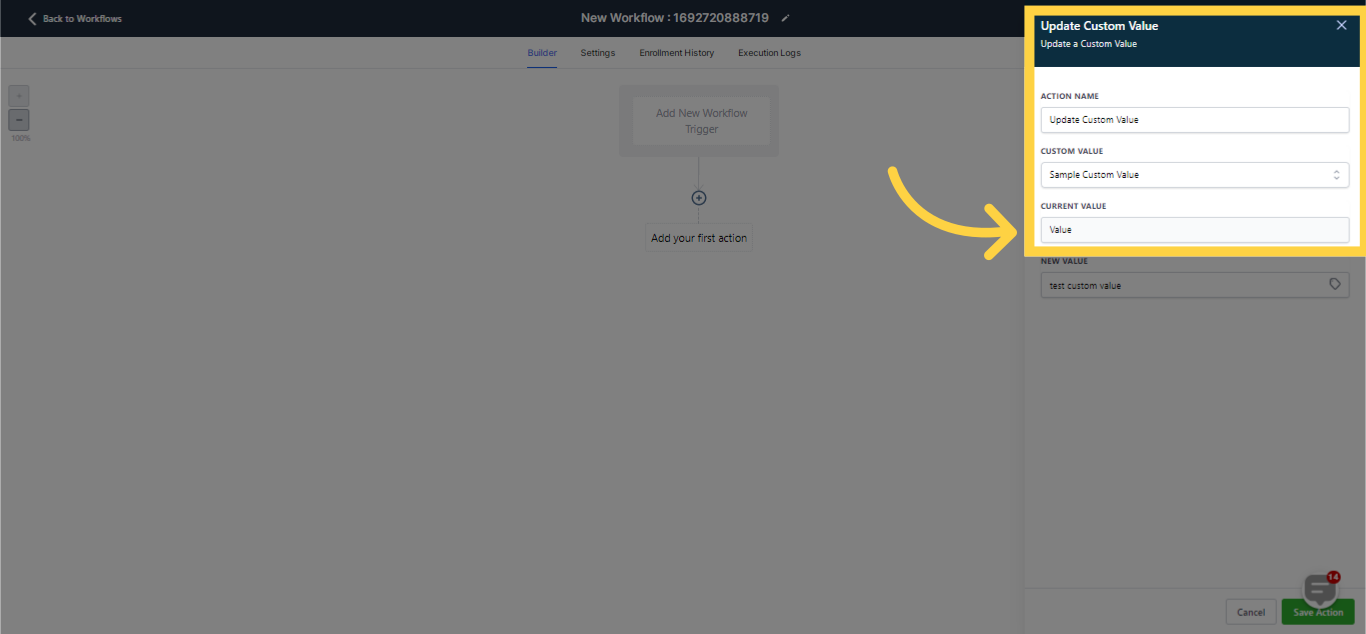
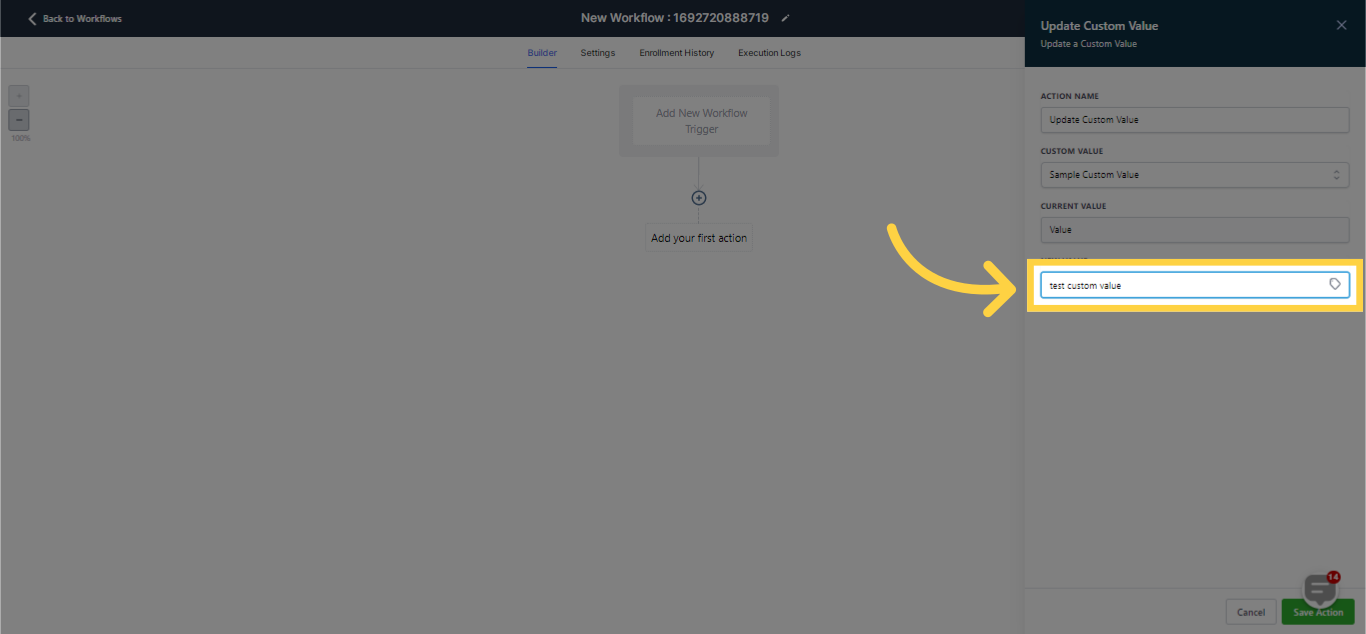
Indentify the new value: Input the new value that the custom value should be updated to.
The custom value can either be updated with a static value, which is a constant value you determine in the workflow, or a custom value. A custom value is a value that's dynamically produced based on other data within your workflow.
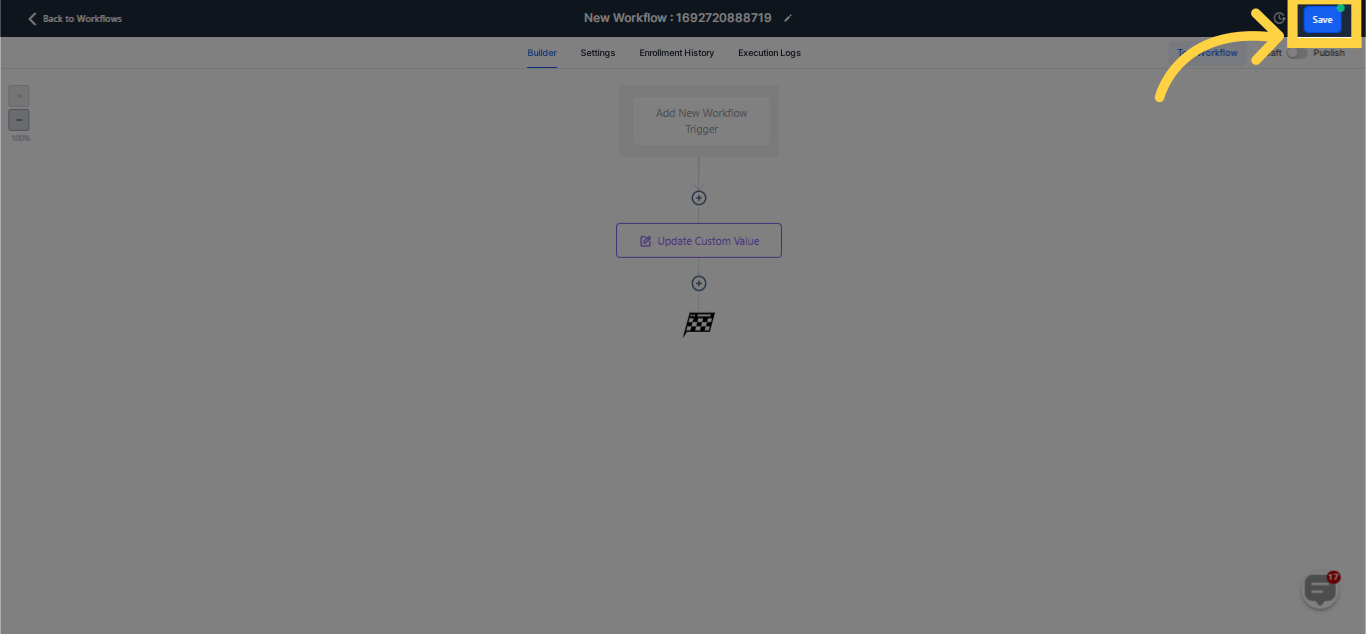
Store the action along with any additional actions or conditions you wish to incorporate within the workflow.
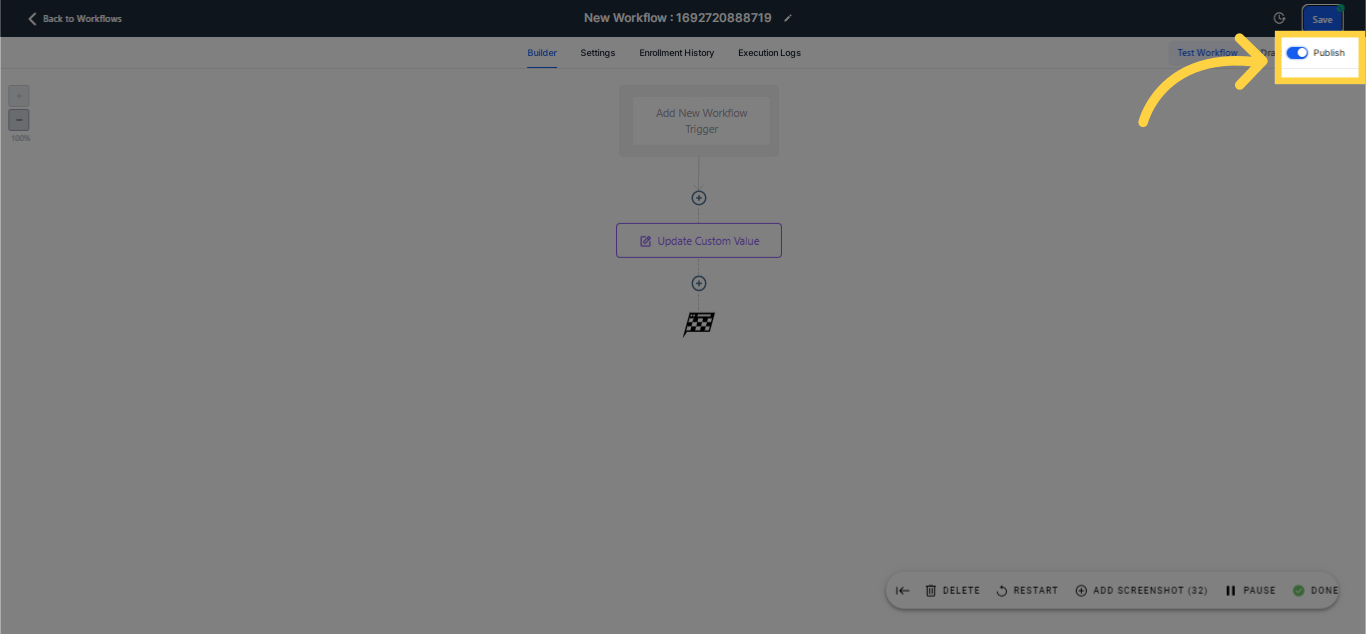
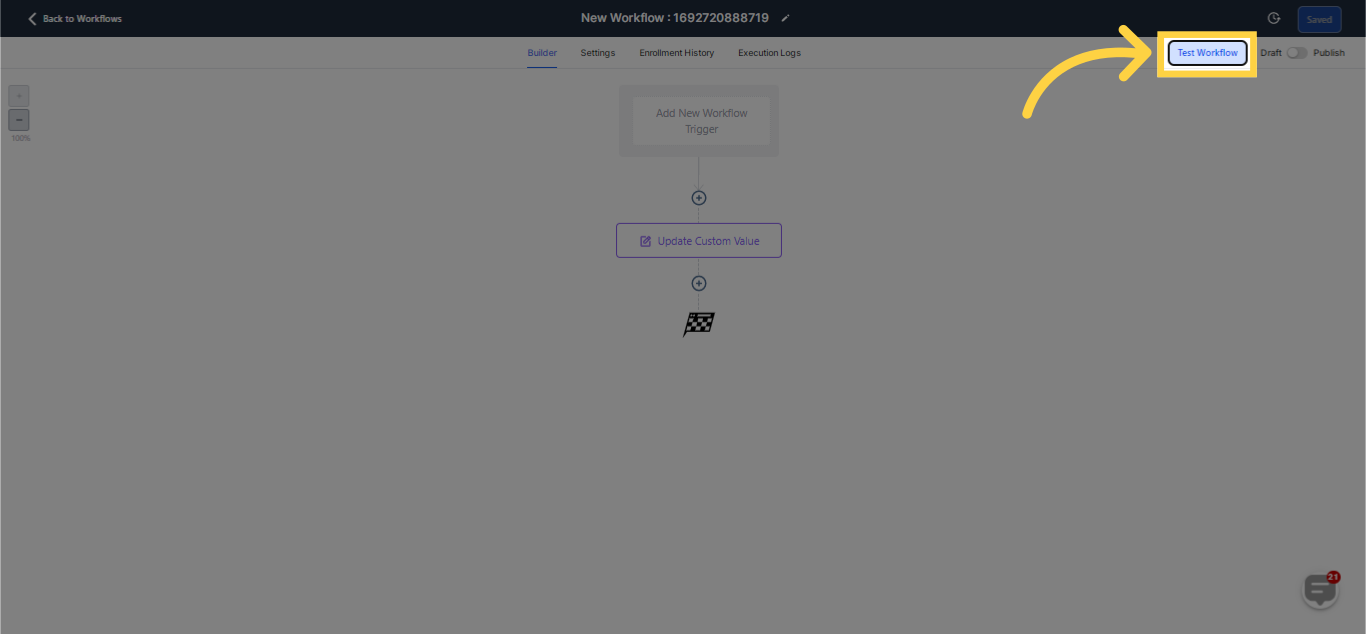
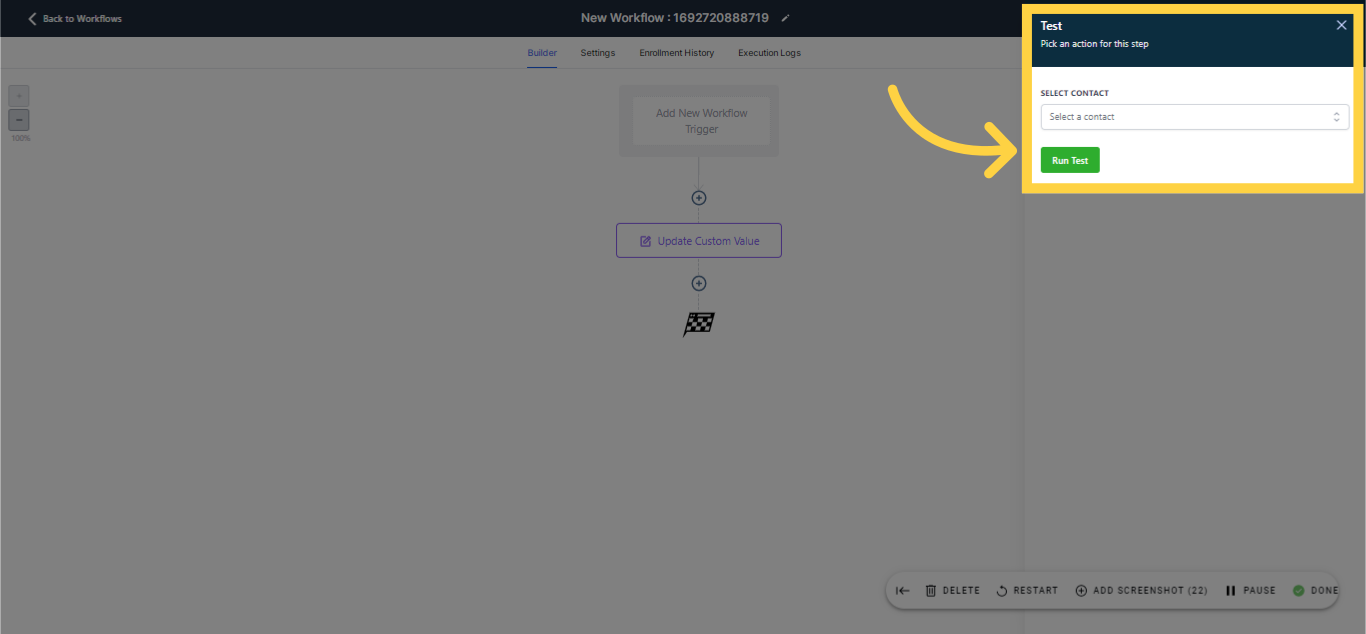
Conduct a workflow test to confirm its proper functioning. This can be achieved by instigating the workflow using a test contact or establishing a test environment with the "Test Workflow" button.
Once the workflow meets your requirements, proceed to publish it The workflow will then automatically activate based on the conditions you've determined.