Running Facebook lead generation ads can help expand your business, but it's crucial to ensure that the information collected from those ads is easily transferred to your CRM. By mapping out the process correctly, you can automate the extraction of details from each Facebook form and seamlessly integrate them into your CRM storage system.
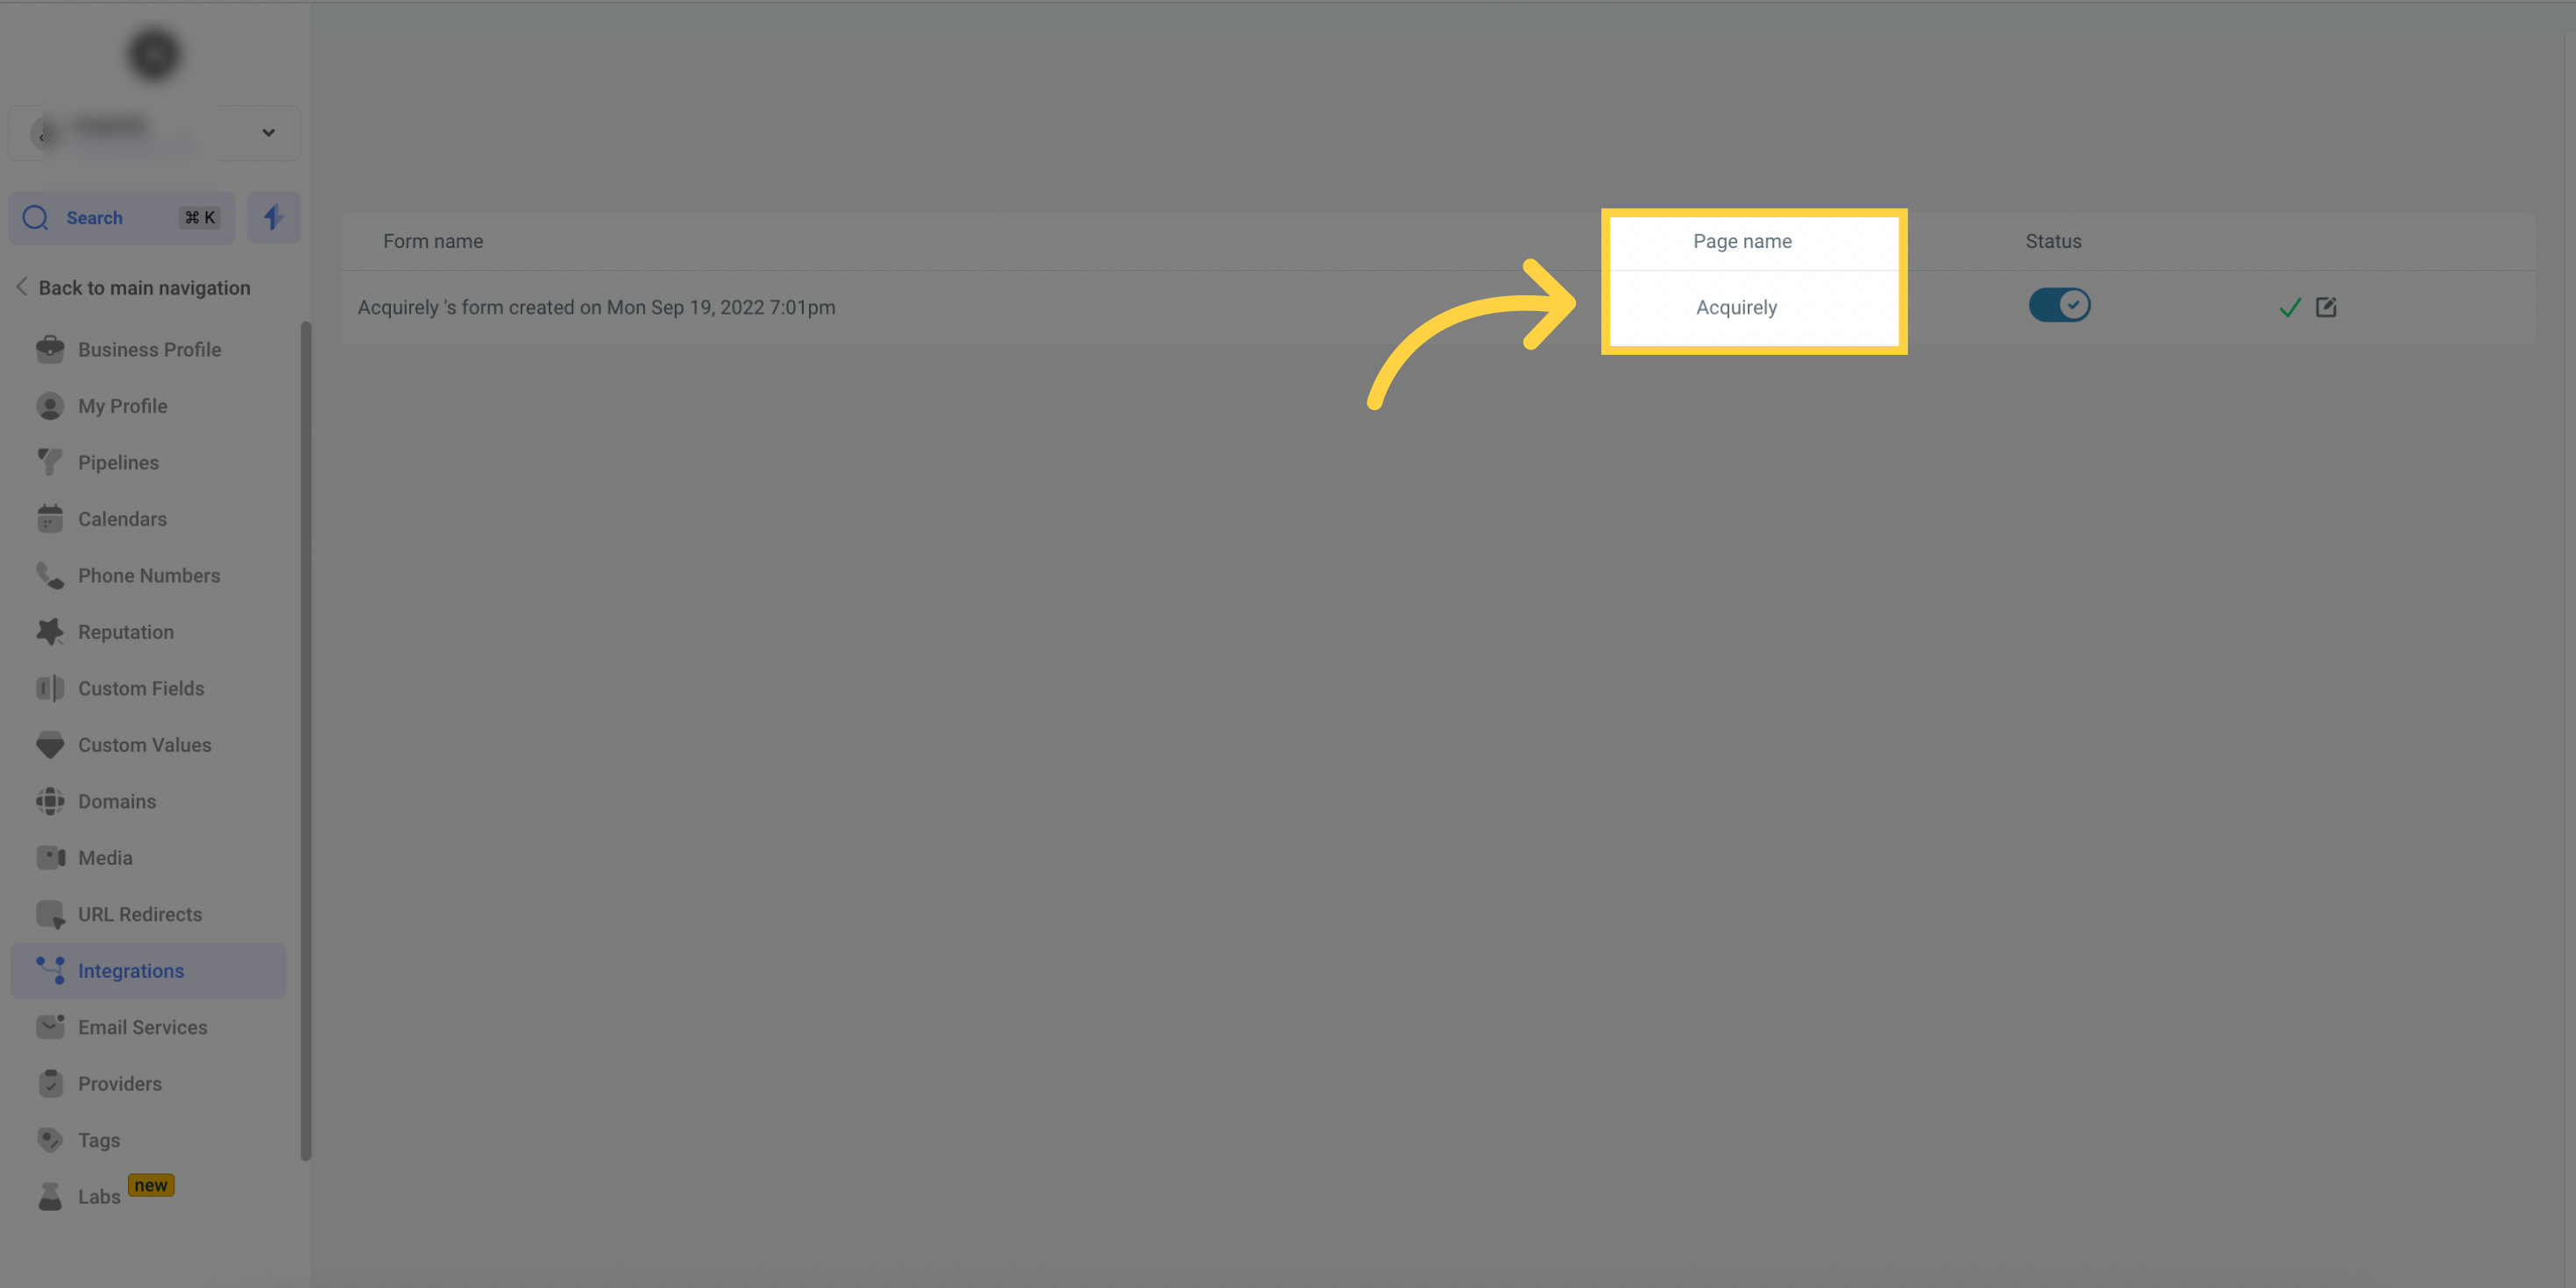
Upon selecting the appropriate CRM location, you will be provided with a list of Facebook forms associated with your connected Facebook account.
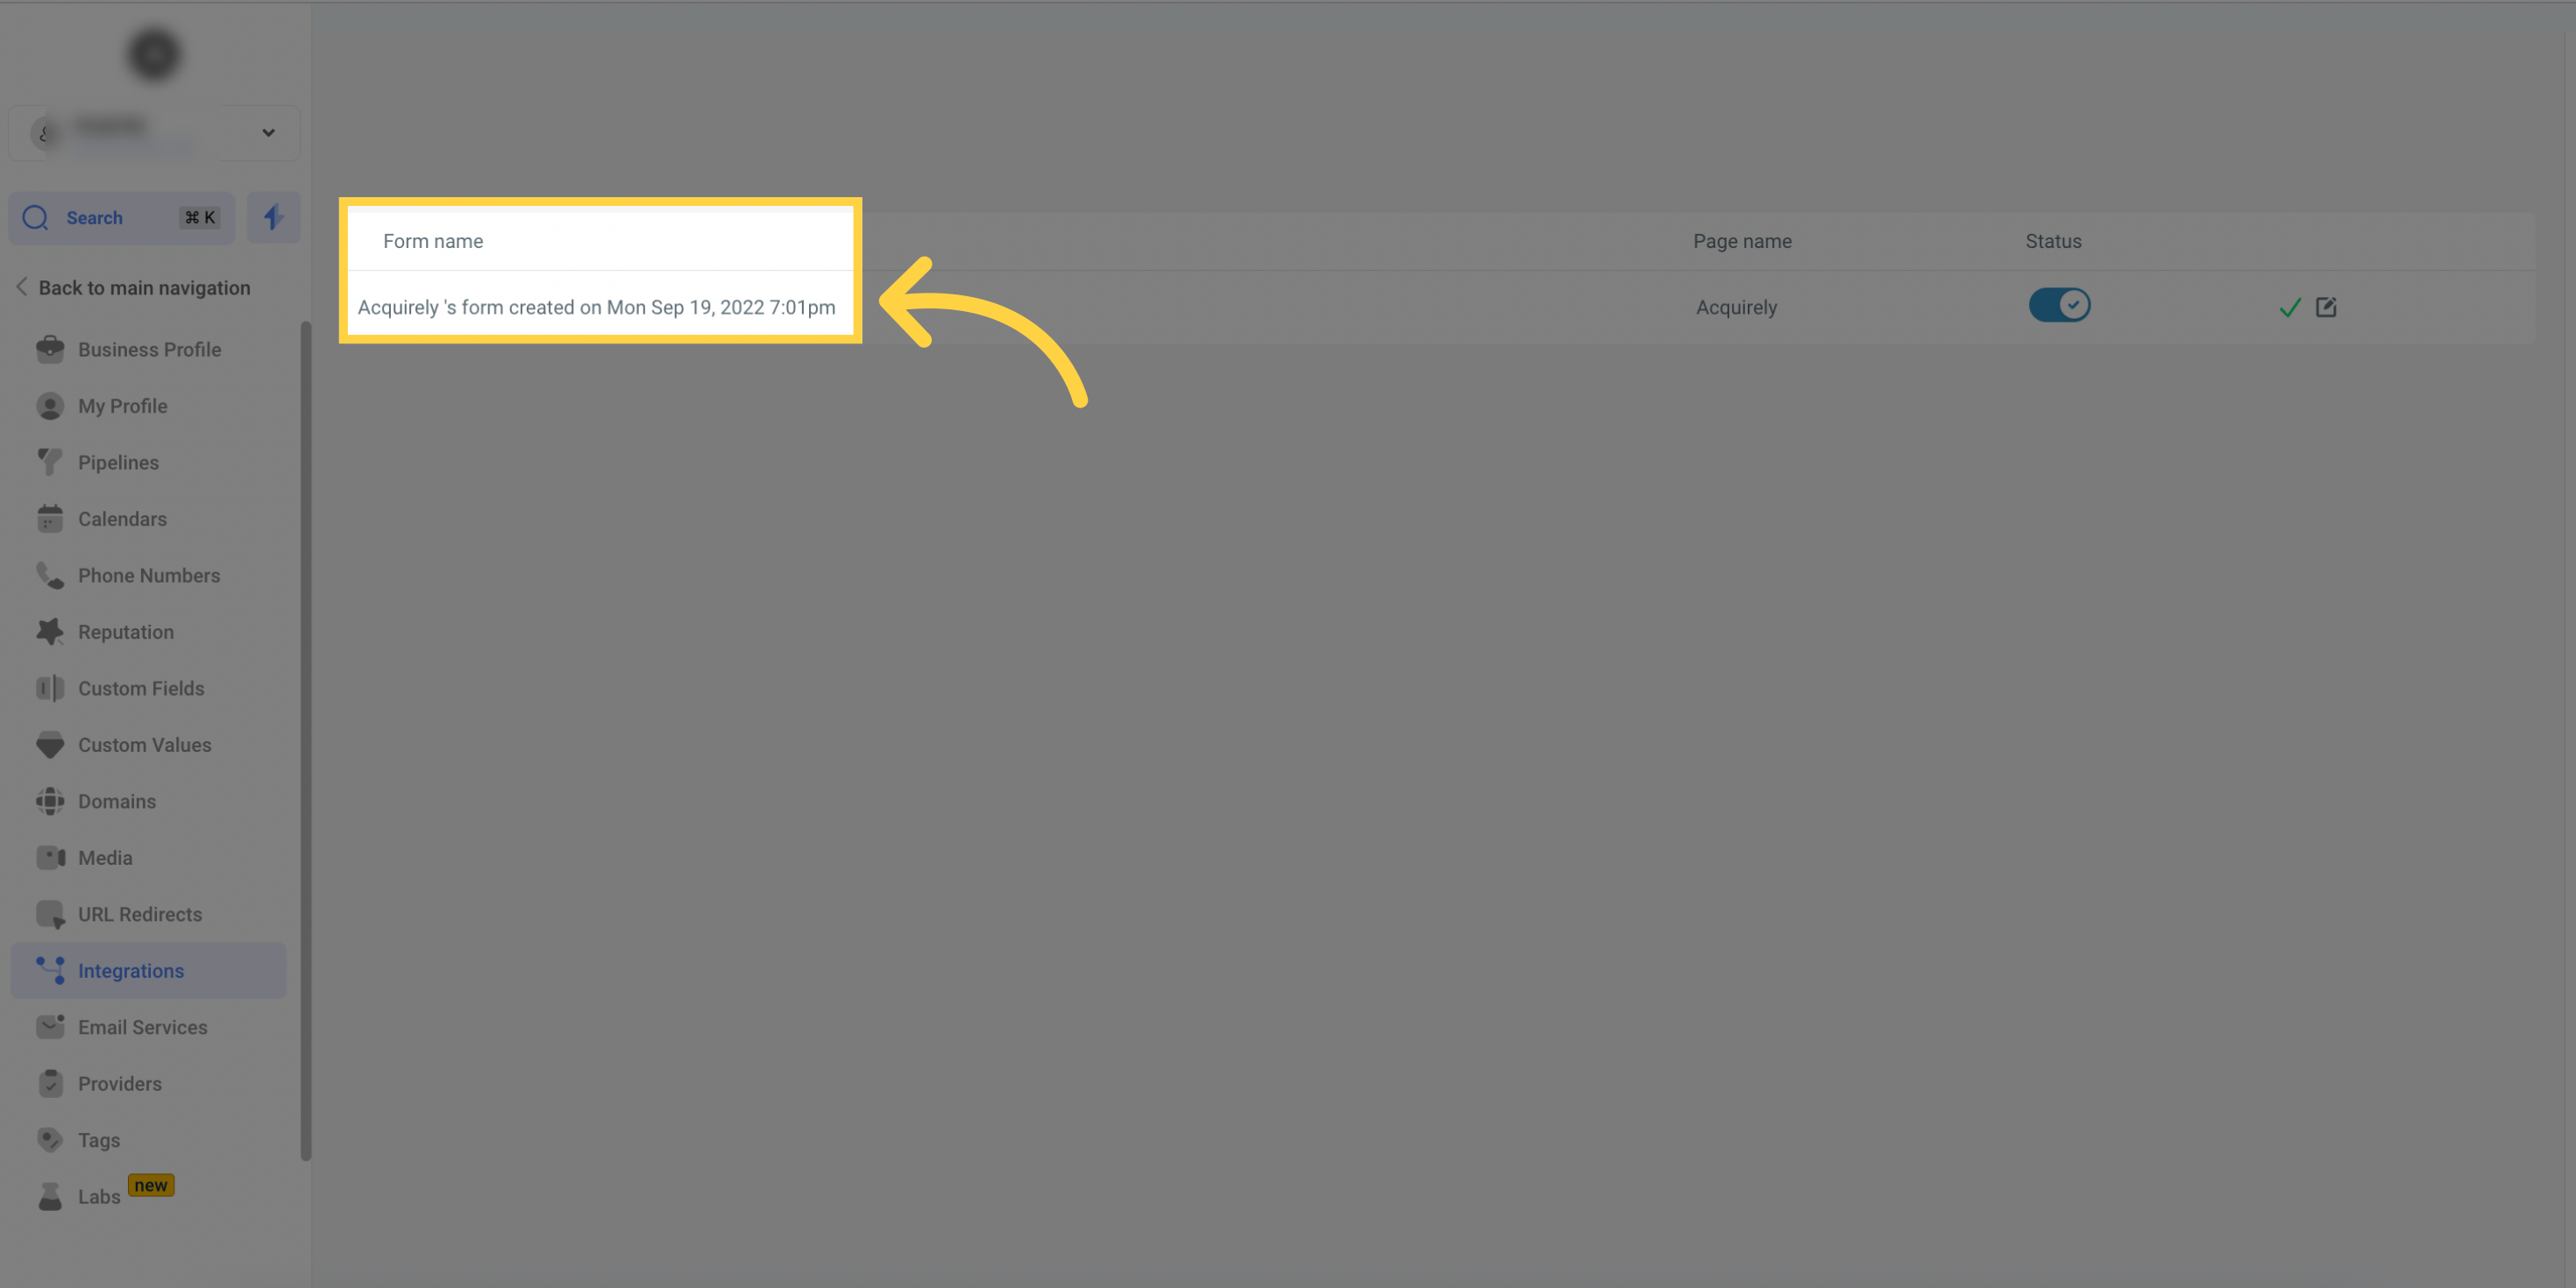
The display will show the Facebook page linked to each form in the list, giving you a clear overview of the connections between the forms and their respective pages.
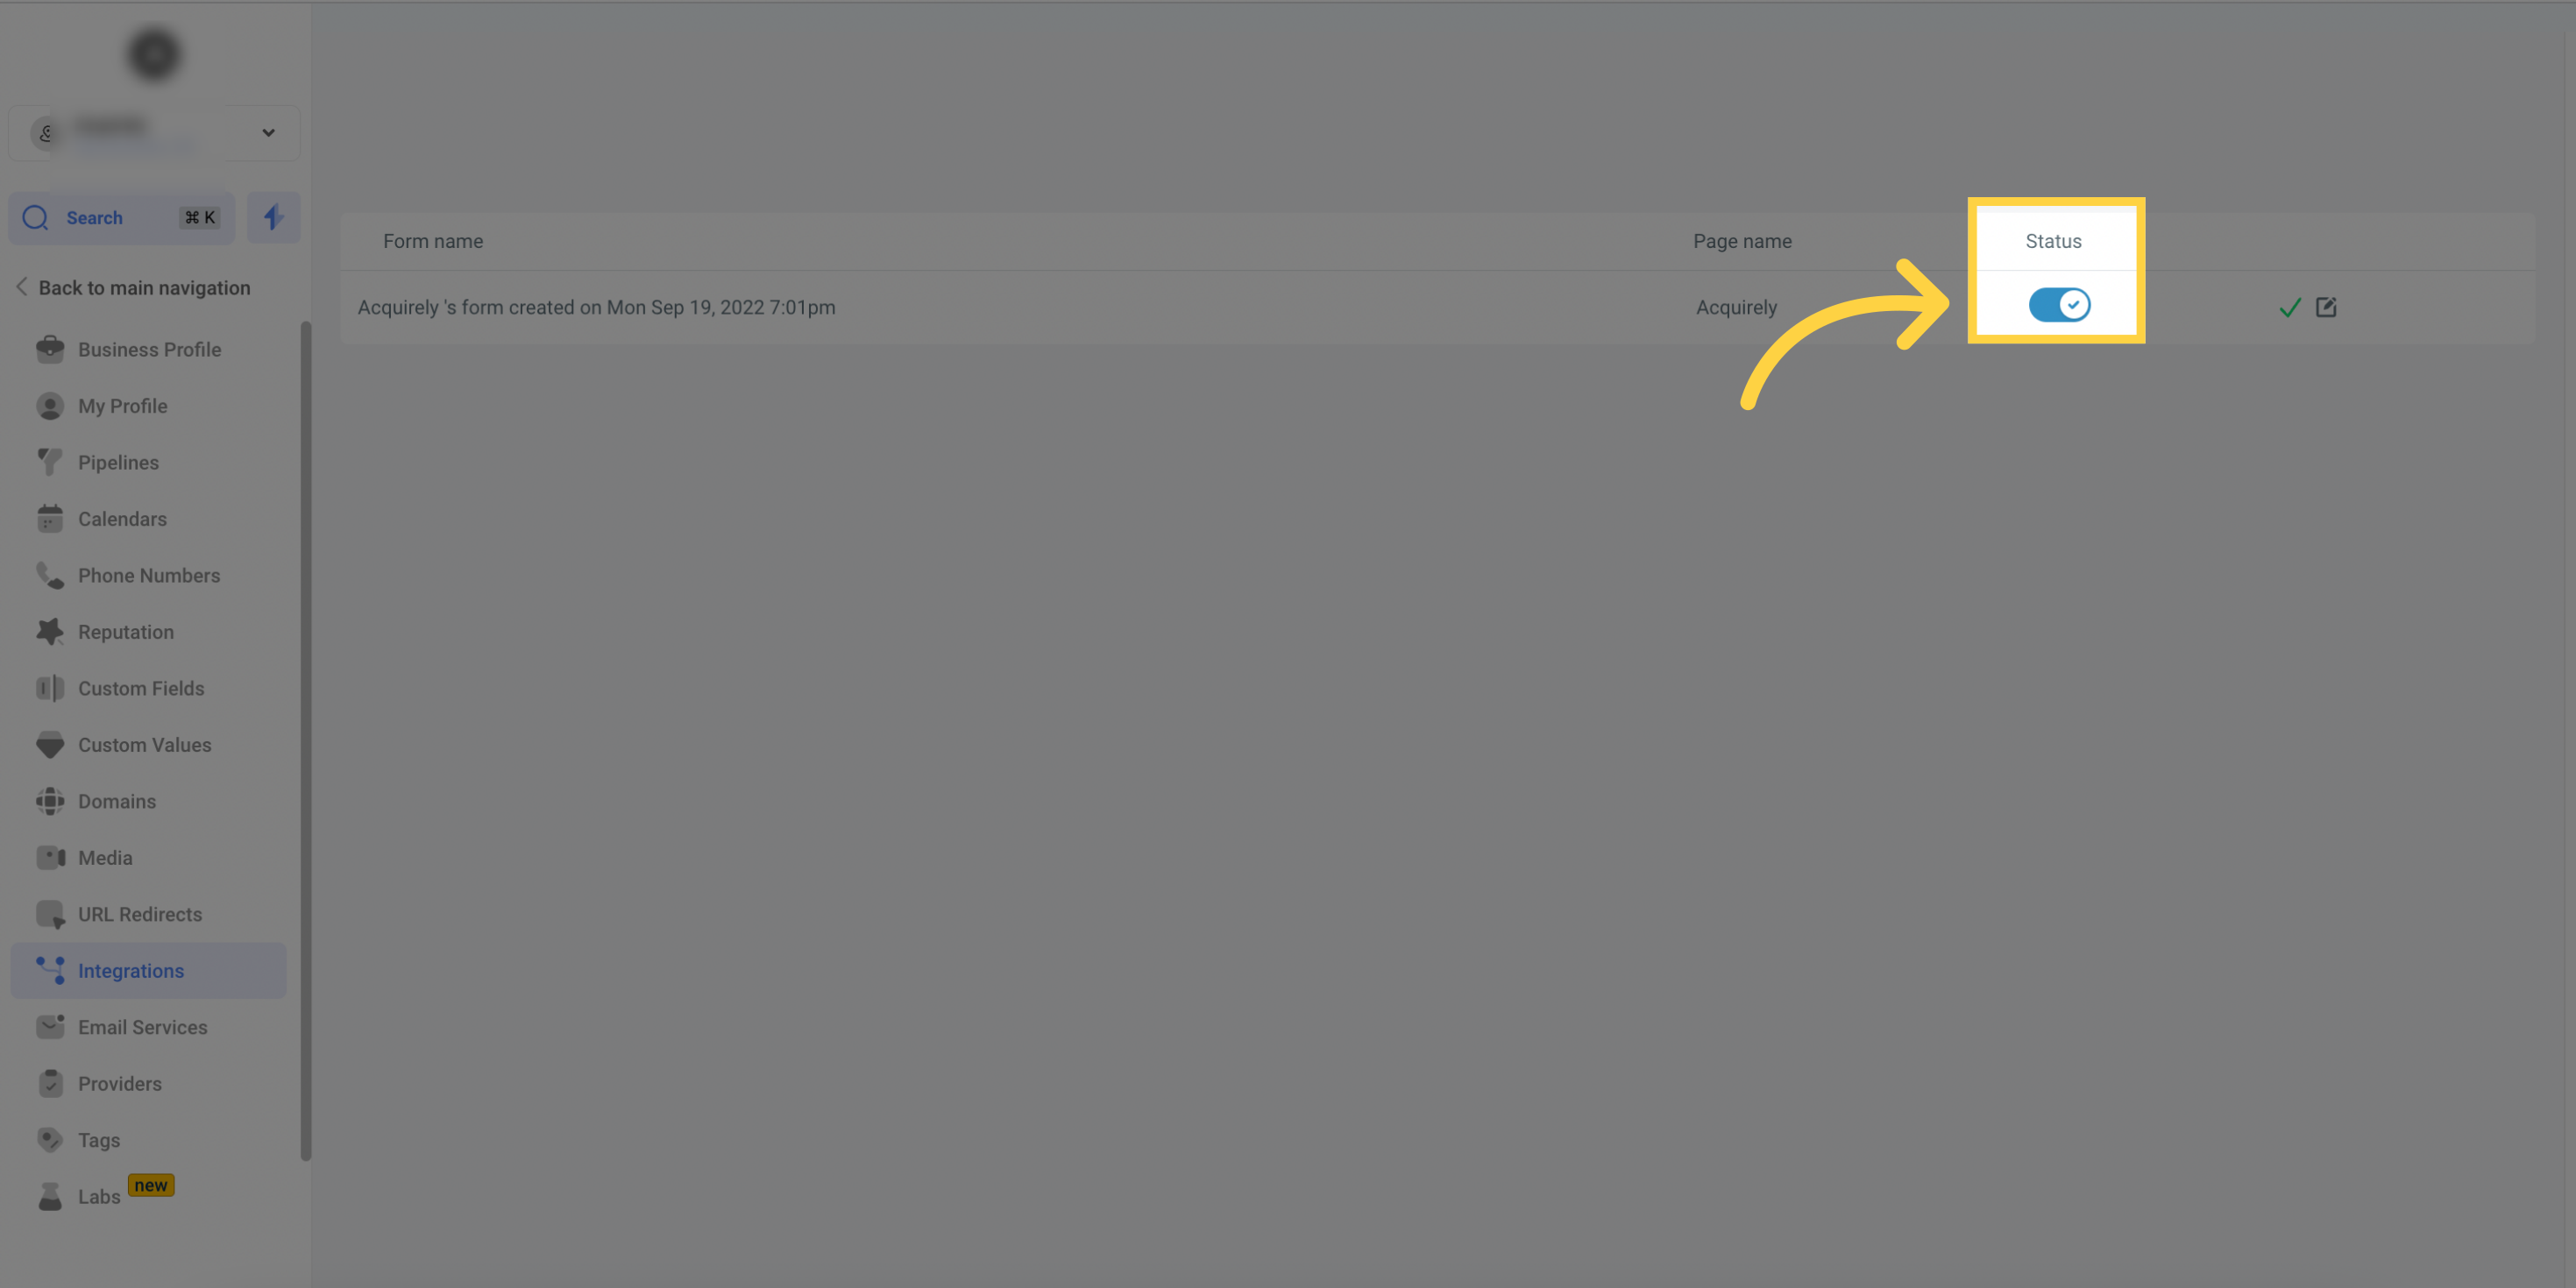
Once you have successfully mapped the Facebook form fields with your CRM, you can activate the toggle switch. This will enable seamless data transfer between the two platforms. If you need to make any modifications to the form fields in the future, simply turn off the toggle, make the necessary changes, and reactivate it when you're ready.
When your form has been accurately mapped and is functioning seamlessly, a green tick mark will appear as a visual representation of its successful setup.
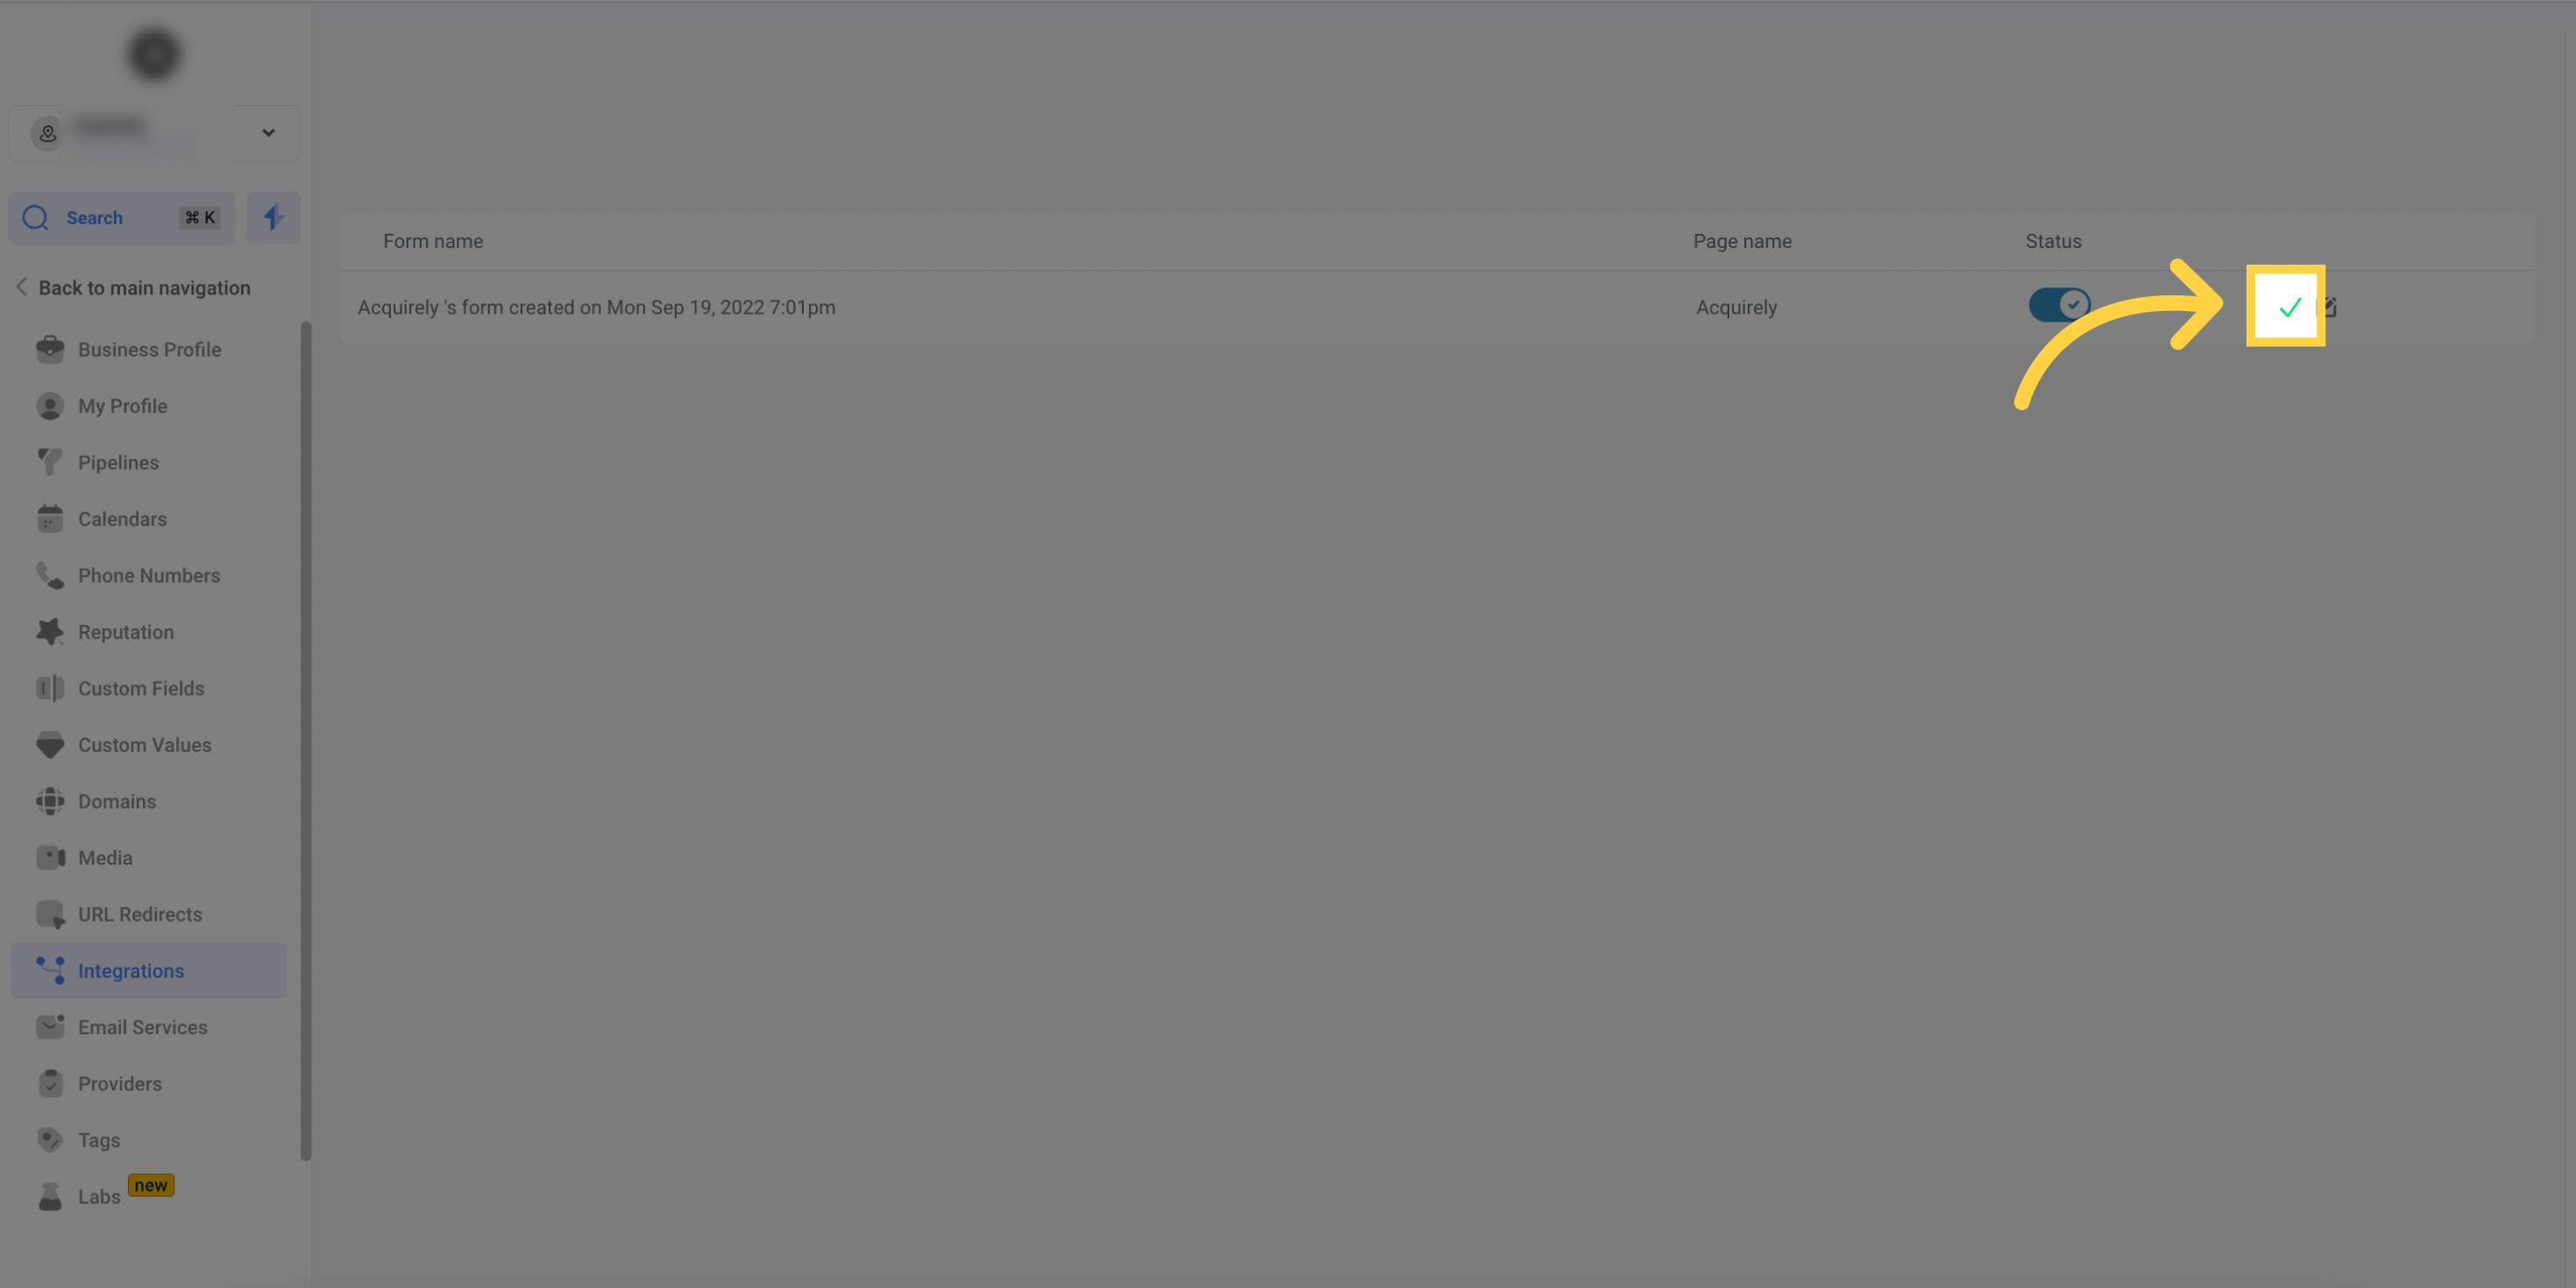
Using the Edit option allows you to modify the settings for the Facebook form fields that have been mapped to your CRM platform.

