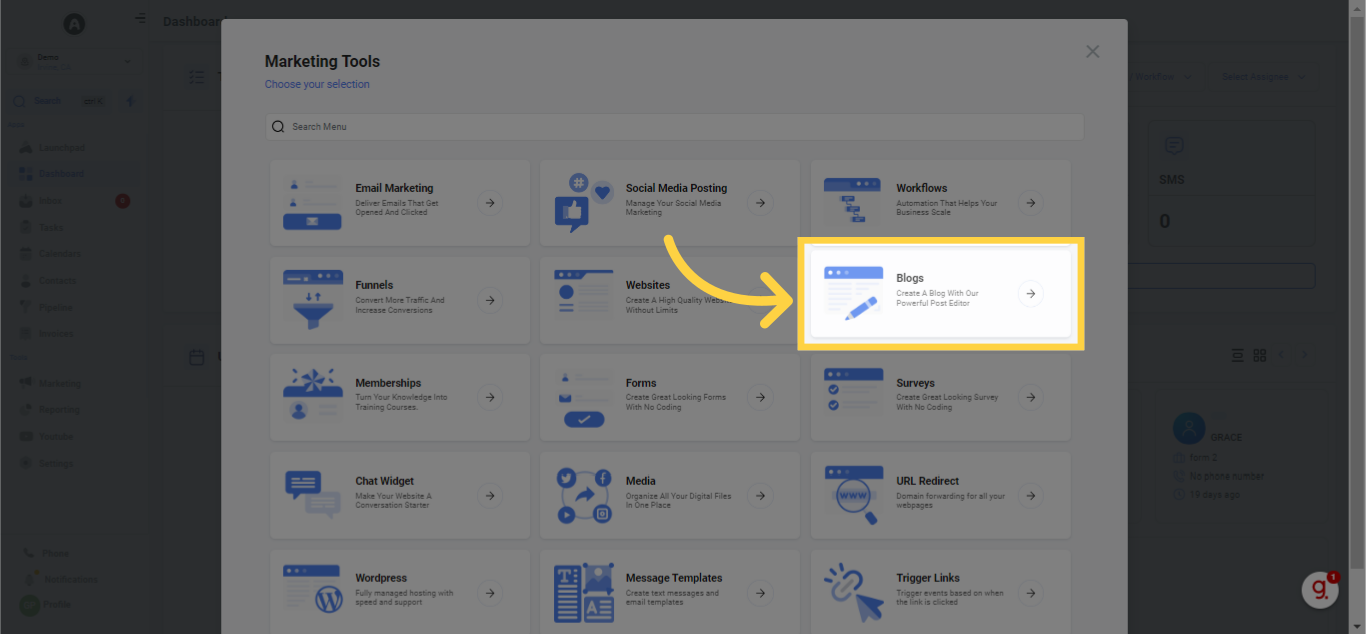
A blog post generally focuses on a particular topic or question, serving as an educational piece. Establishing blog posts is also a way to interact with your visitors.
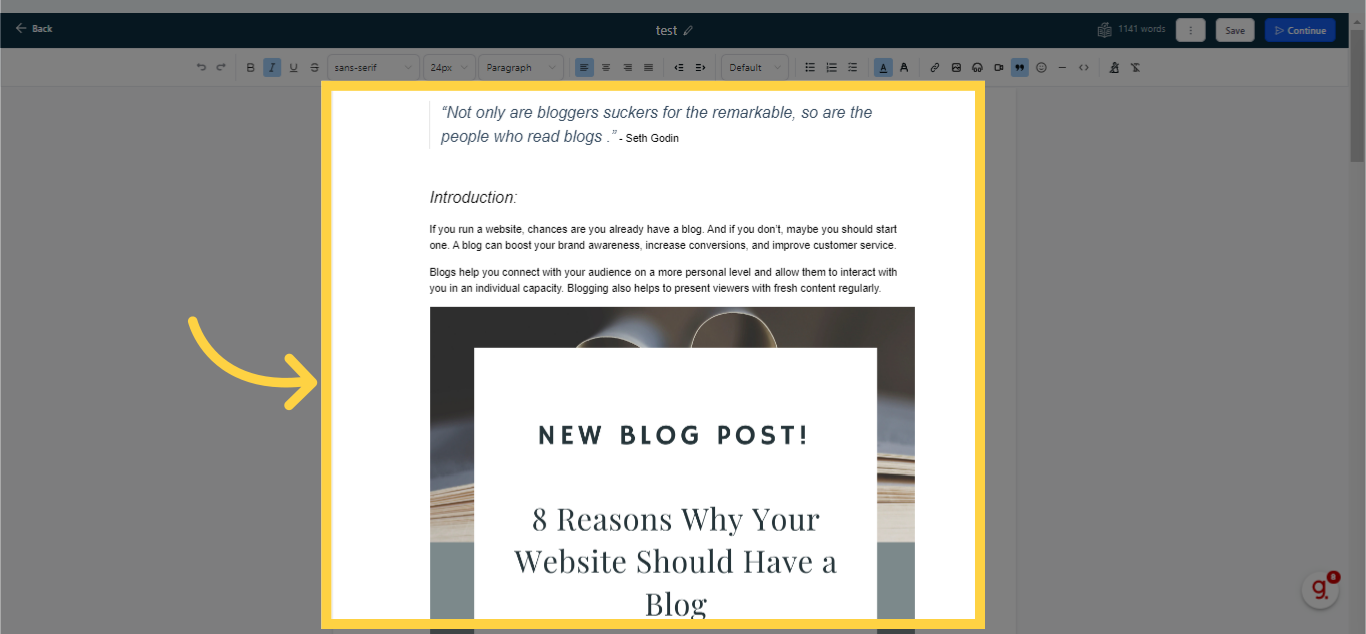
If you're a newcomer to blogging or wish to start your own blog but are unsure where to start, this segment will assist you in taking the first steps. Upon creating a blog post, your page should resemble the given example. In this view, you can observe the editing tools, filter search, and blog updates.
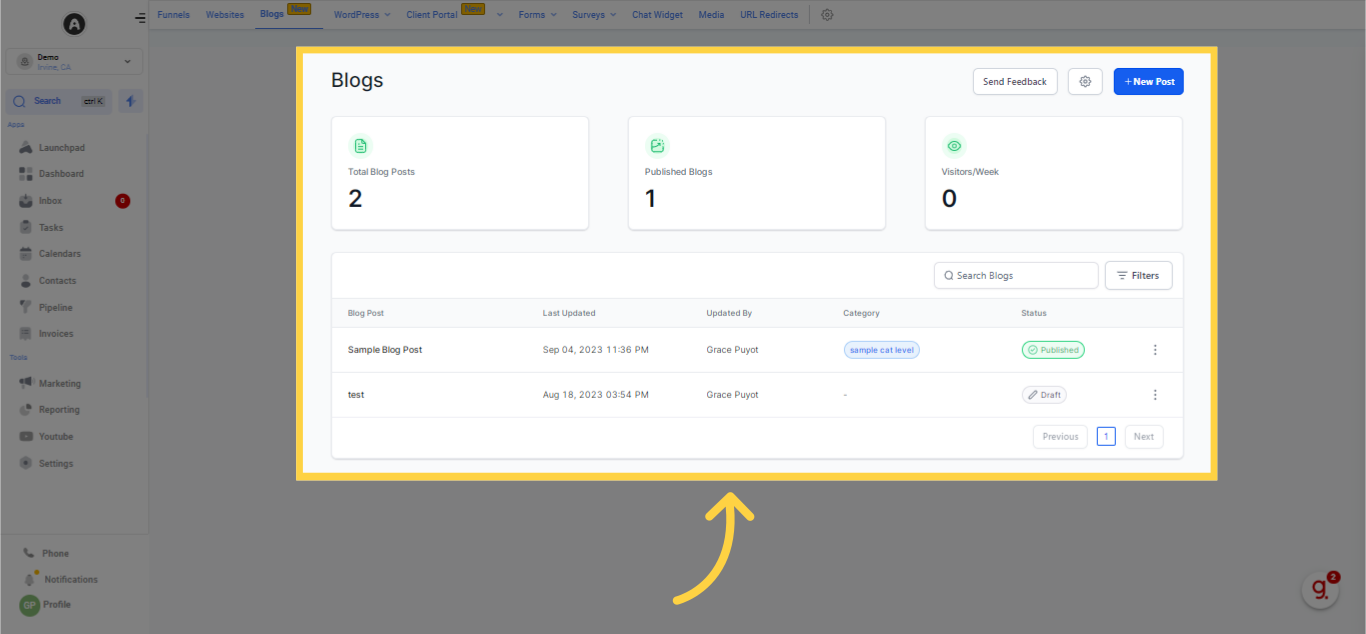
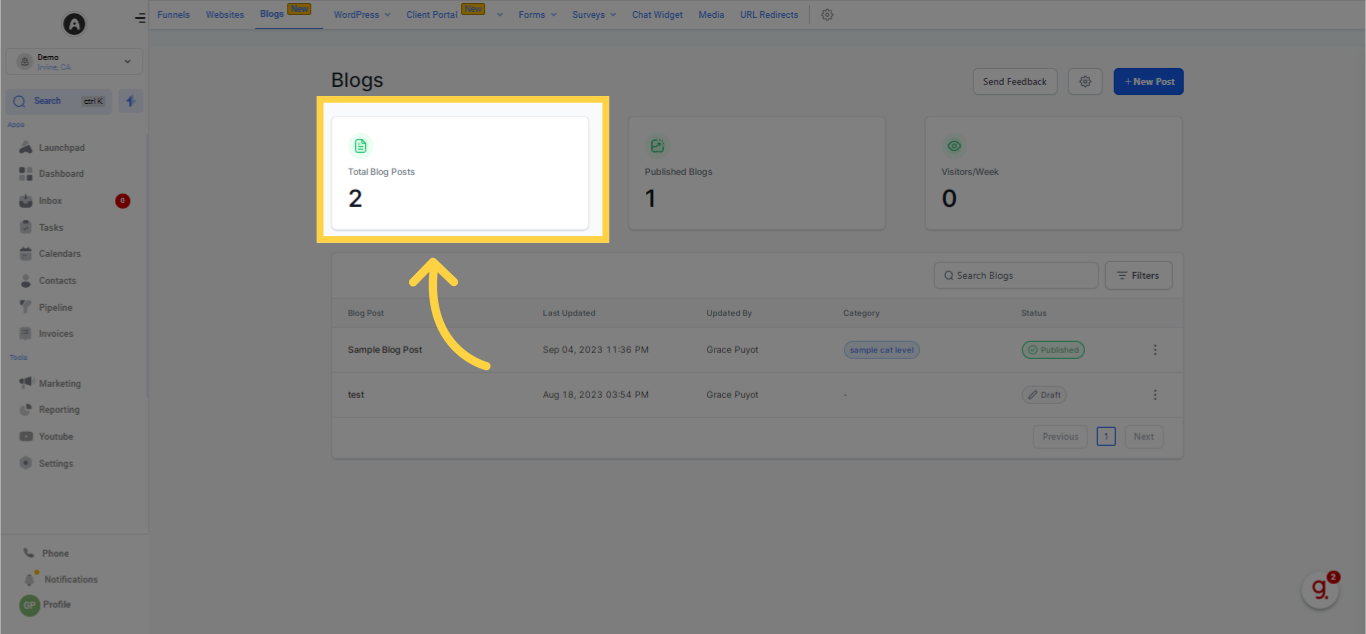
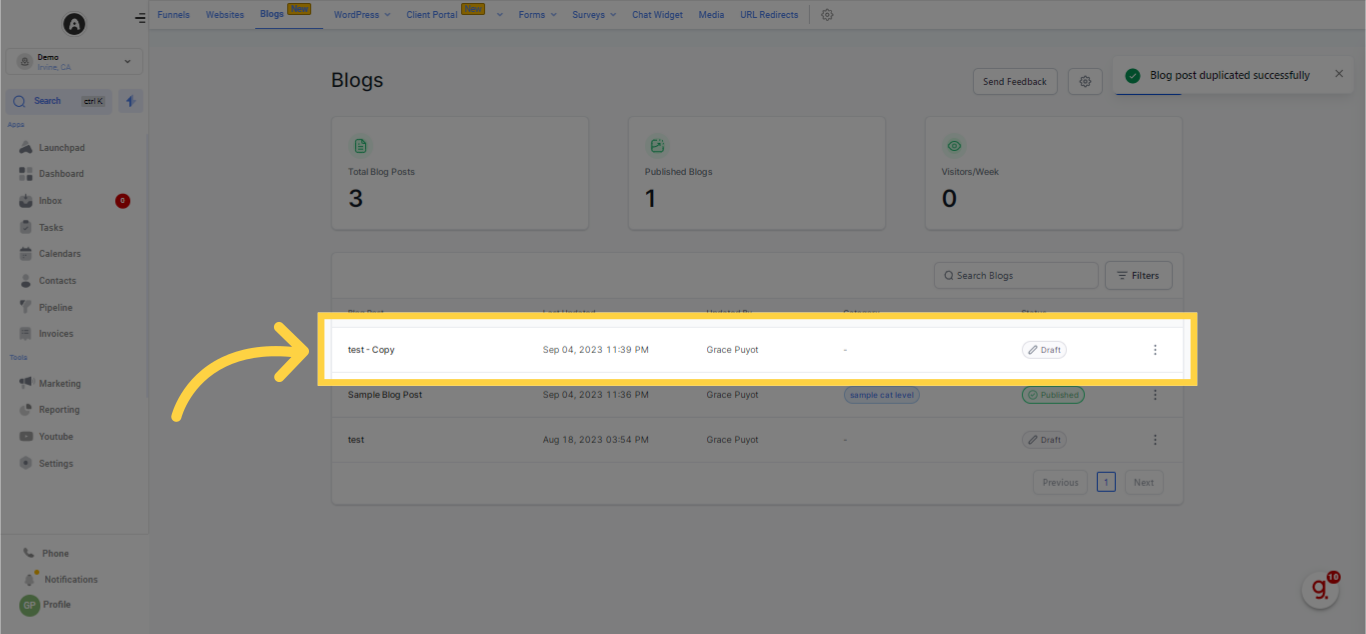
This section displays the total count of blog posts you and your team have created. It serves as a useful tool to keep tabs on all your collective blog contributions.
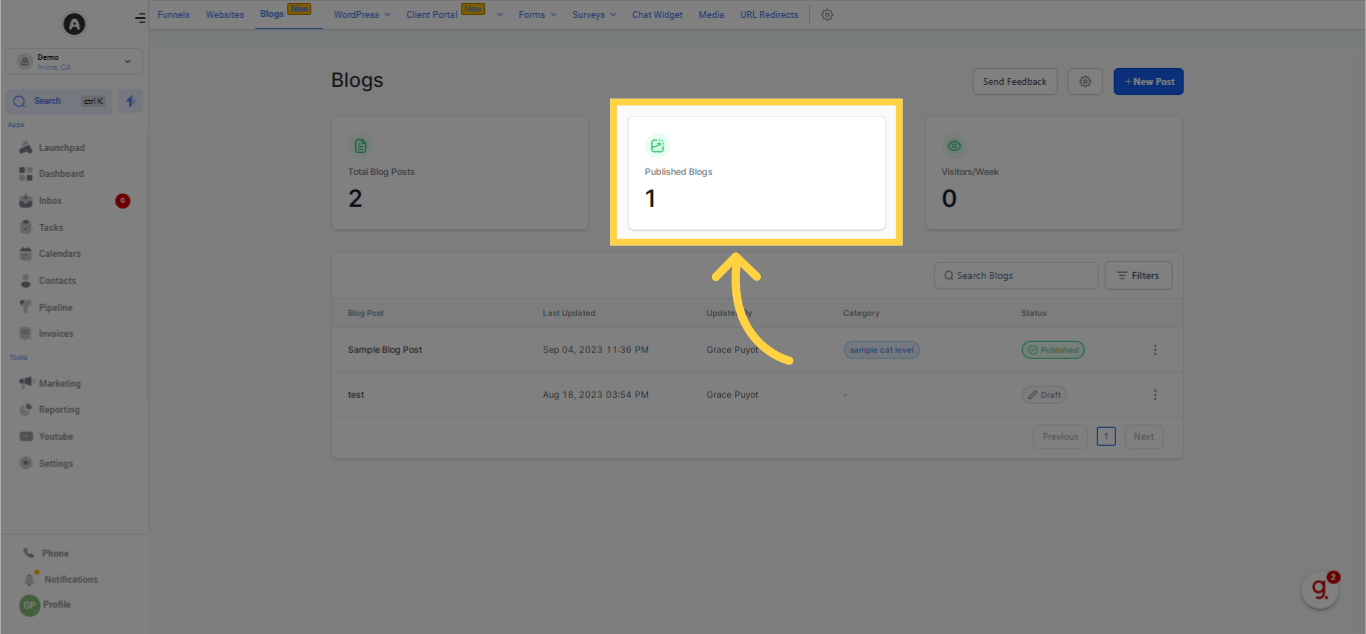
In this section, you'll find the total count of your published blog posts.
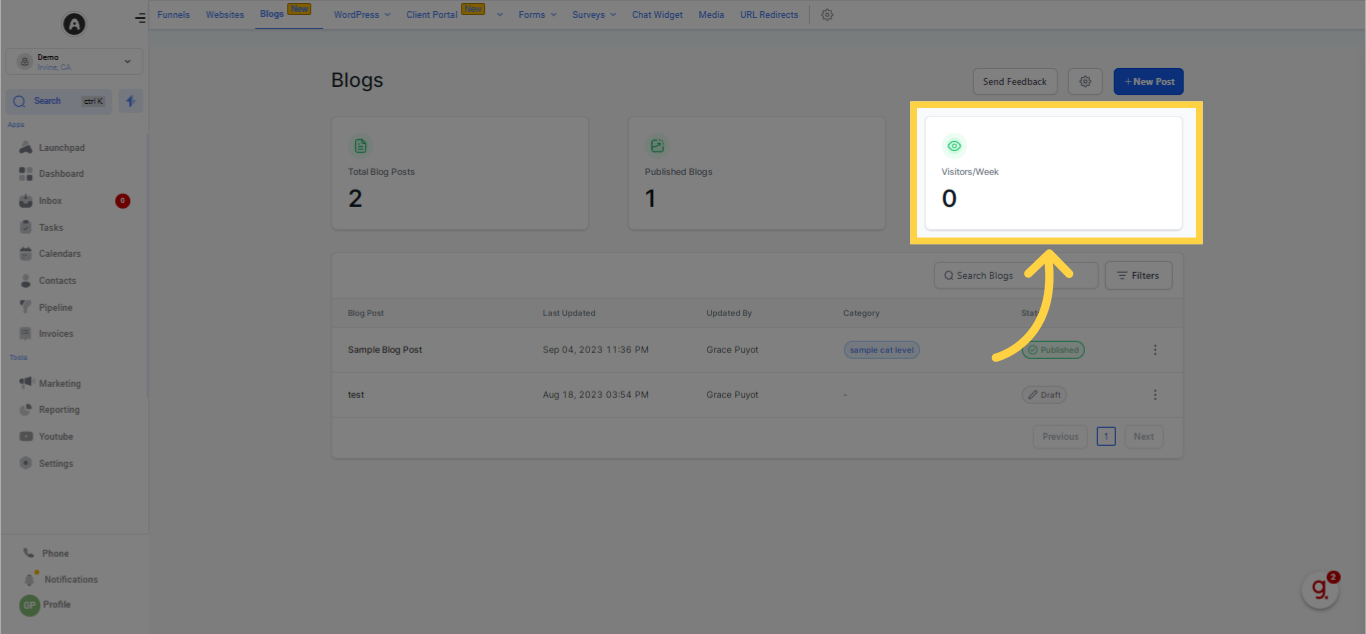
This segment enables you to monitor the weekly visitation count for your post, recording all activity associated with the post within each week.
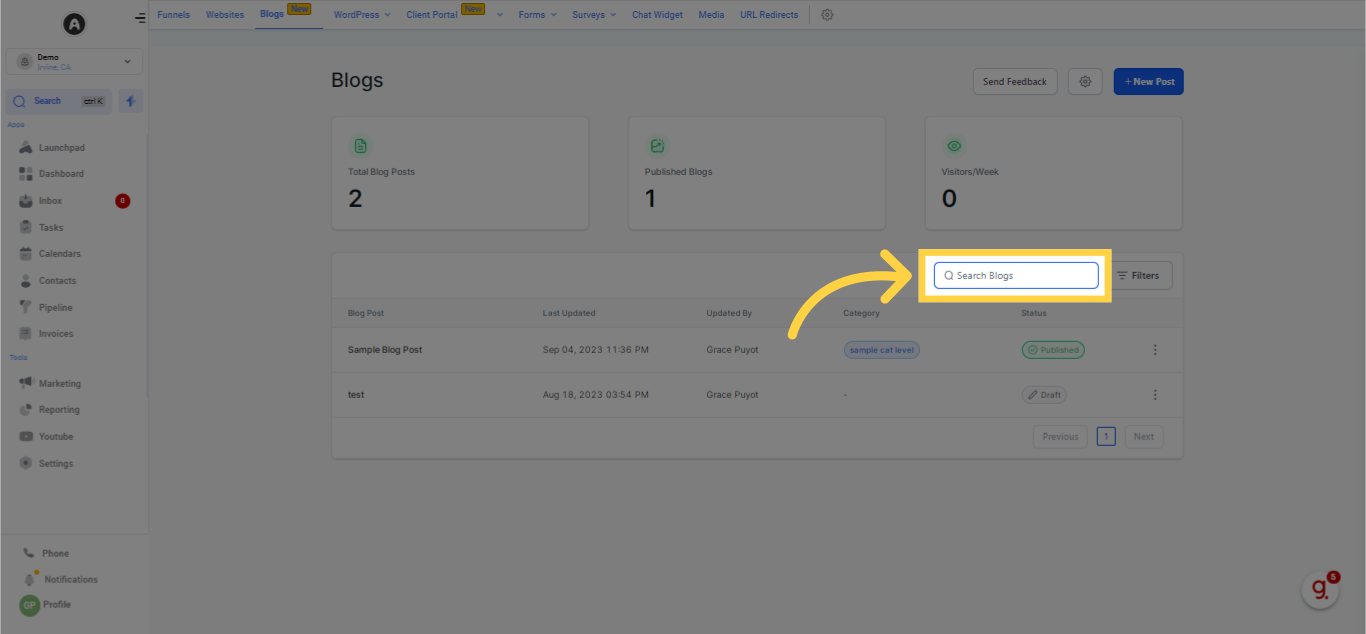
If you're dealing with an extensive array of blogs and need to locate a specific one, you can utilize this feature to streamline your search by the blog's name.
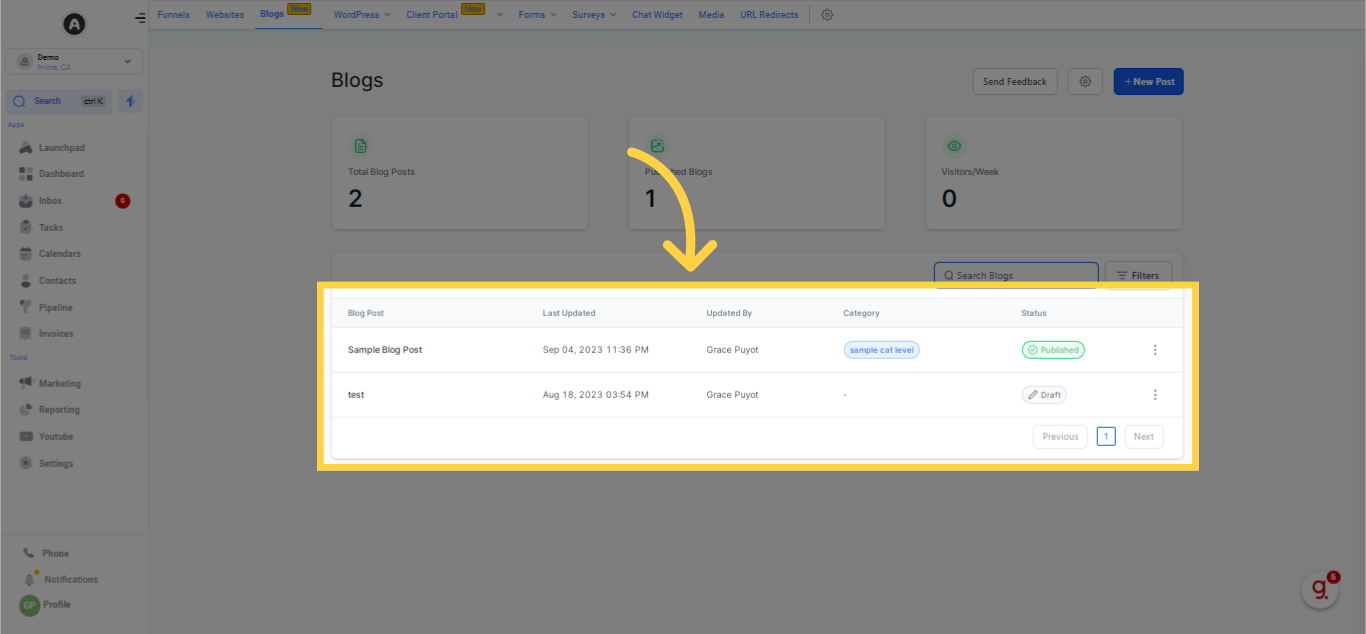
This column showcases the title of the blog.

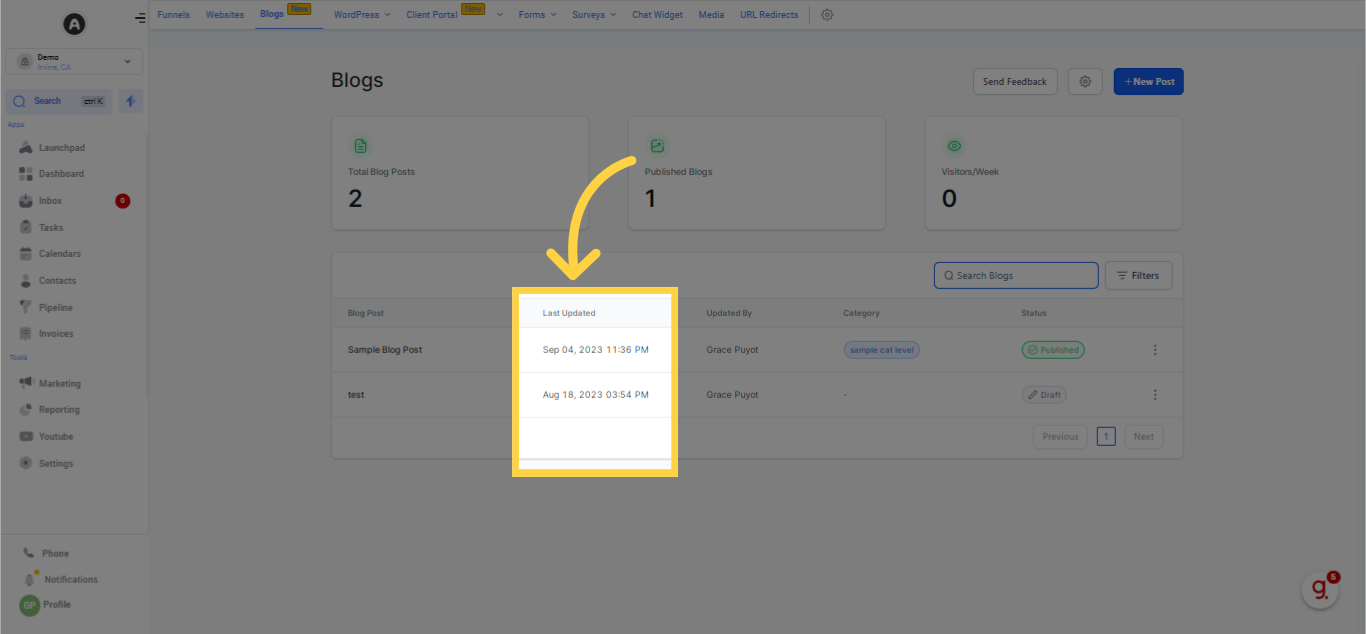
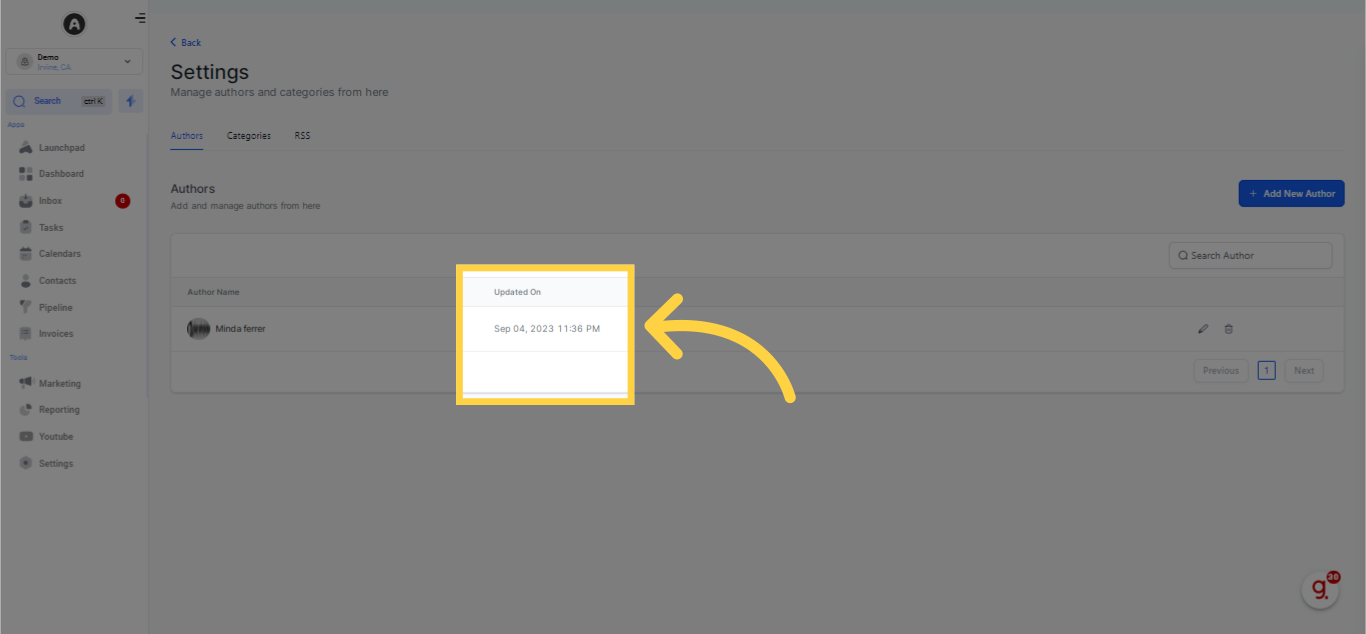
This section displays the date, time, and the name of the user who performed the most recent update on each post.
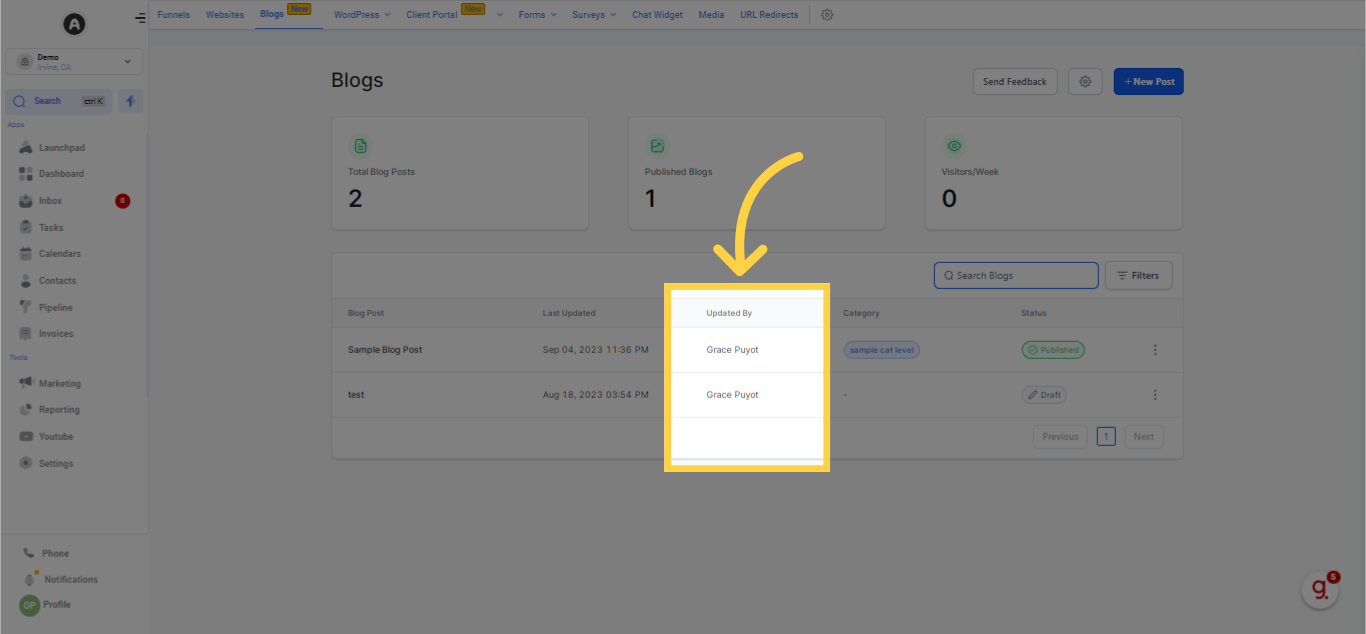
This section displays the individual who performed the latest update on the blog.
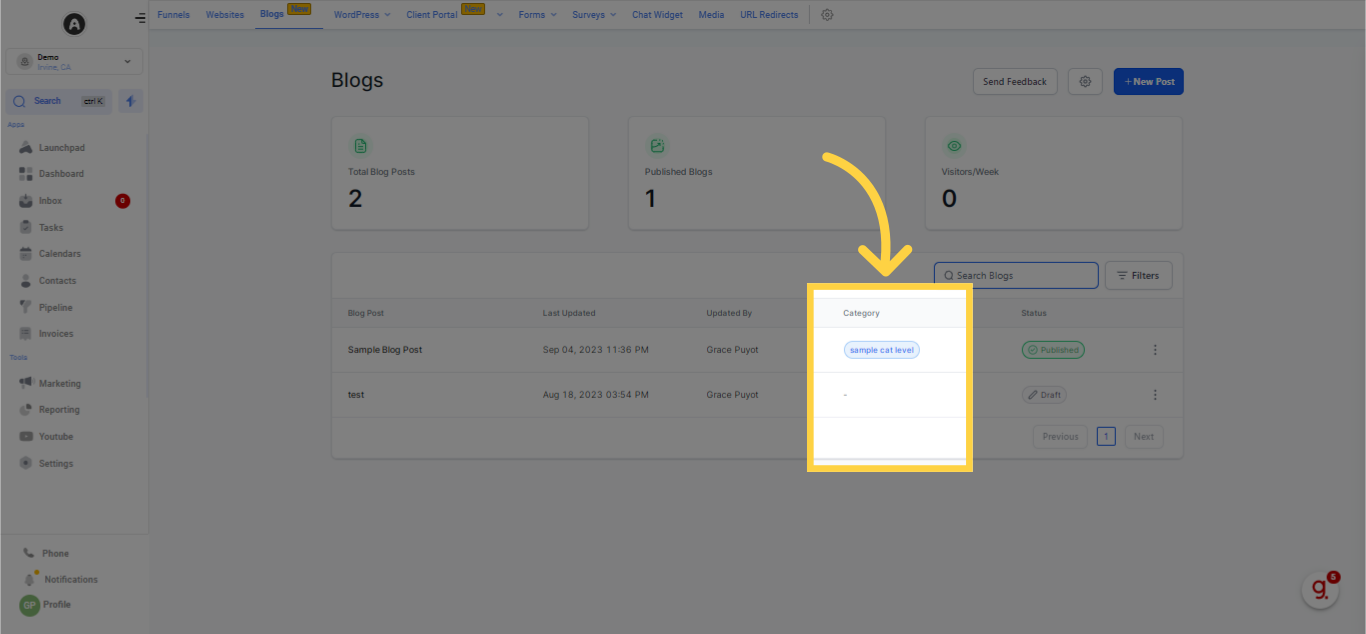
This section allows you to view the different categories each blog post falls under.
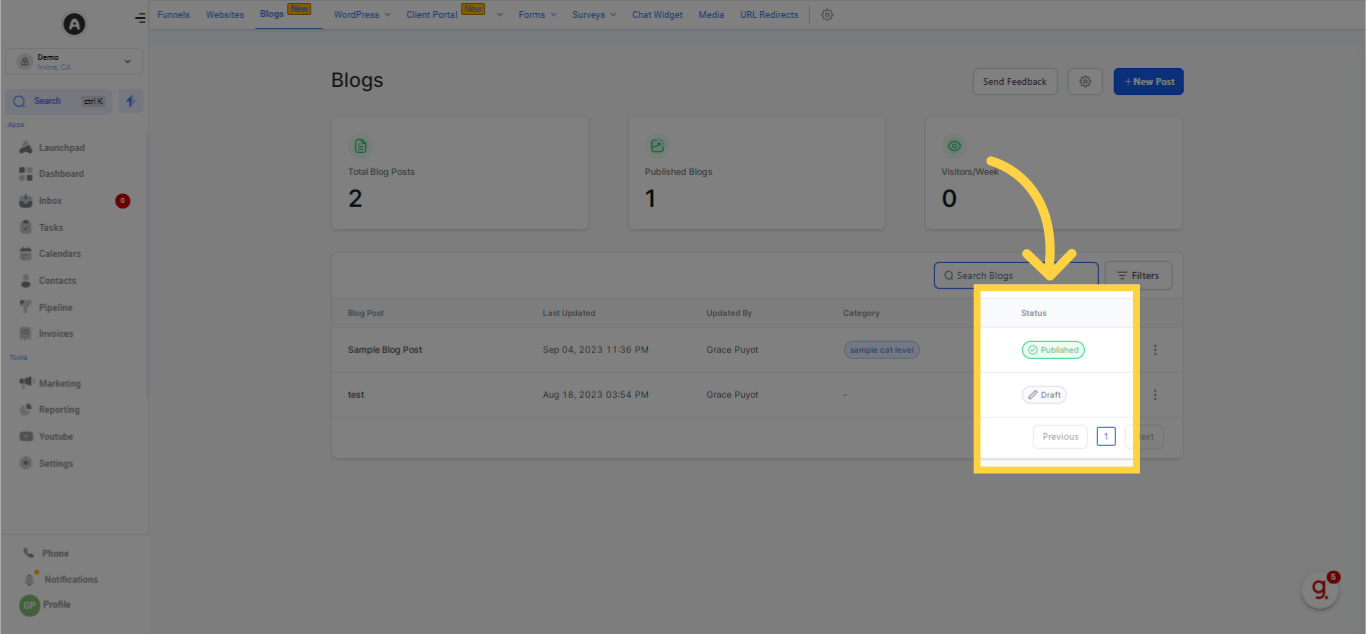
This section will indicate whether a post is a "Draft" or "Published." It allows for swift identification of published posts.
This enables you to modify existing post content, as well as manage additional details.
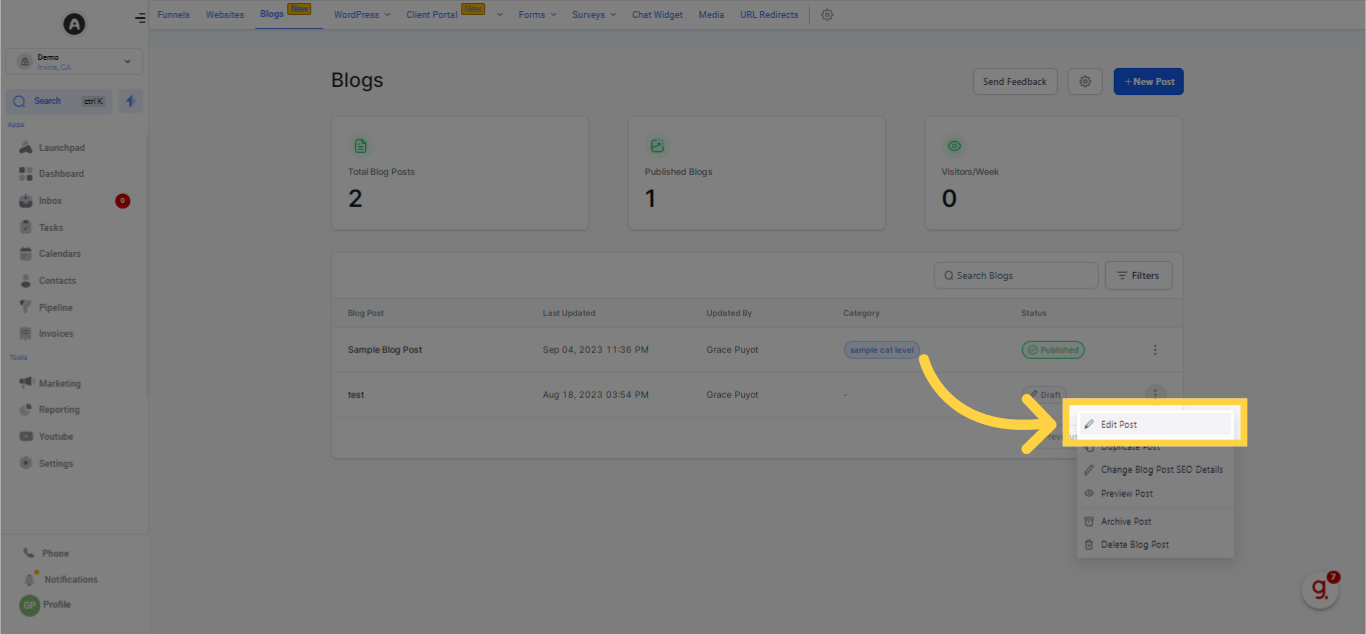
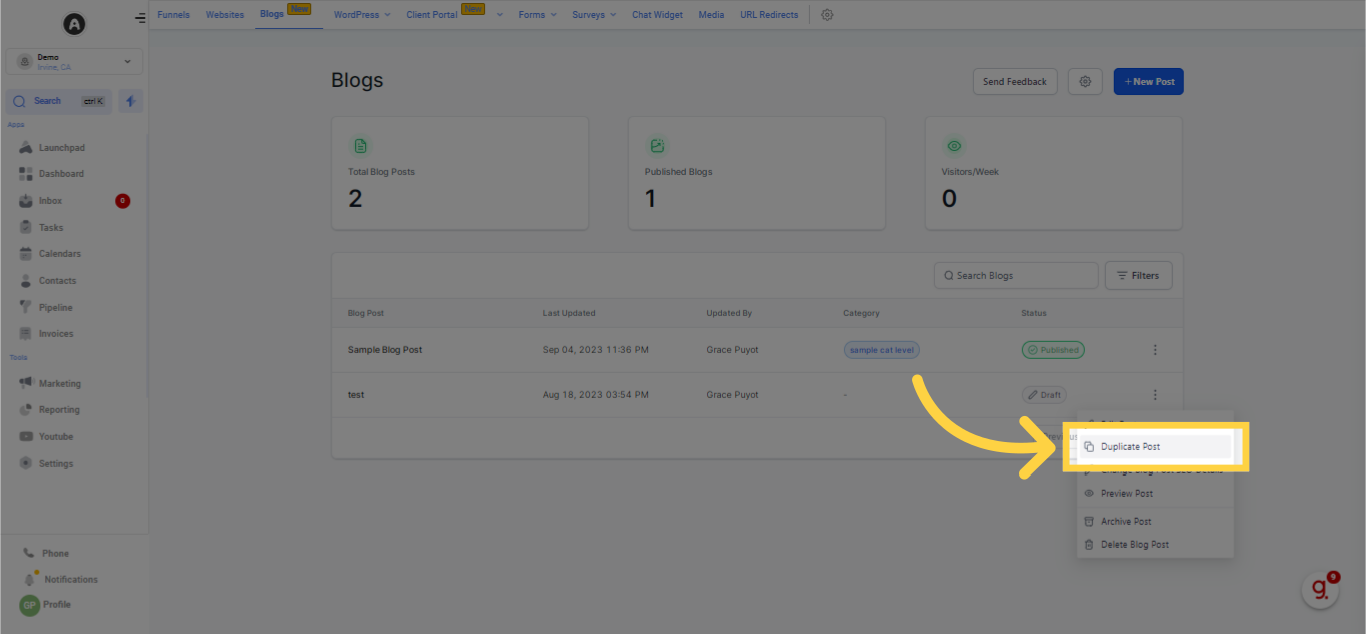
This function creates a duplicate of the Blog Post's content.
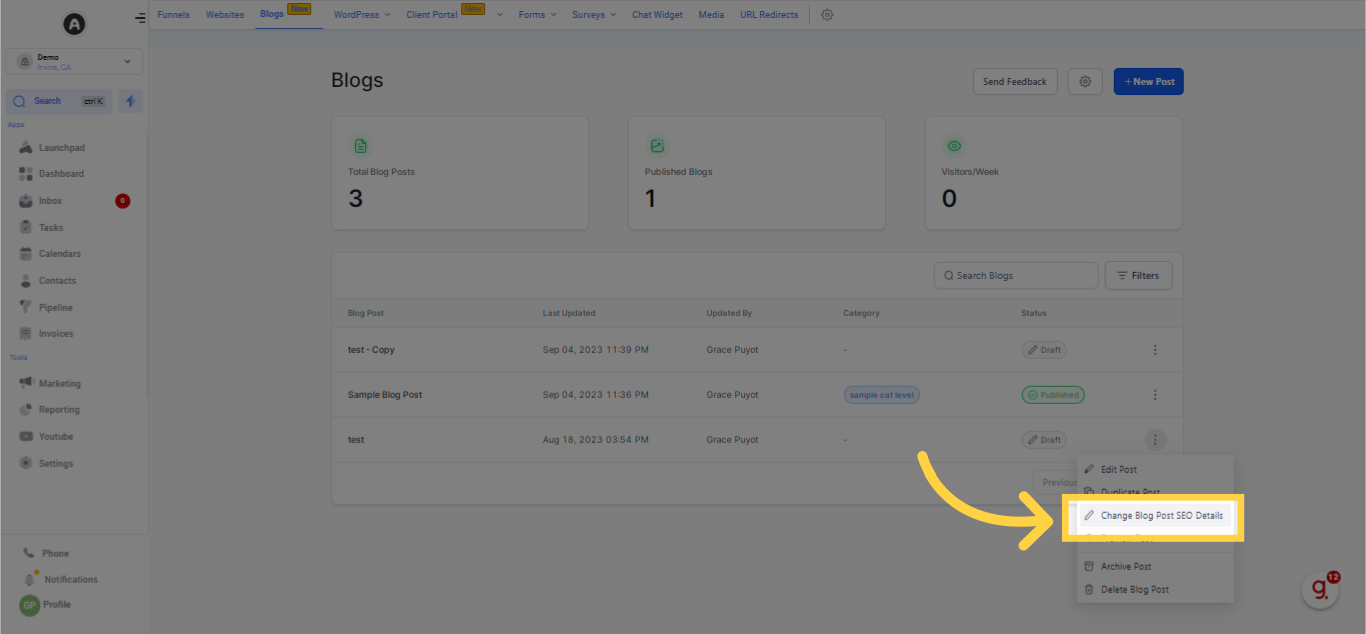
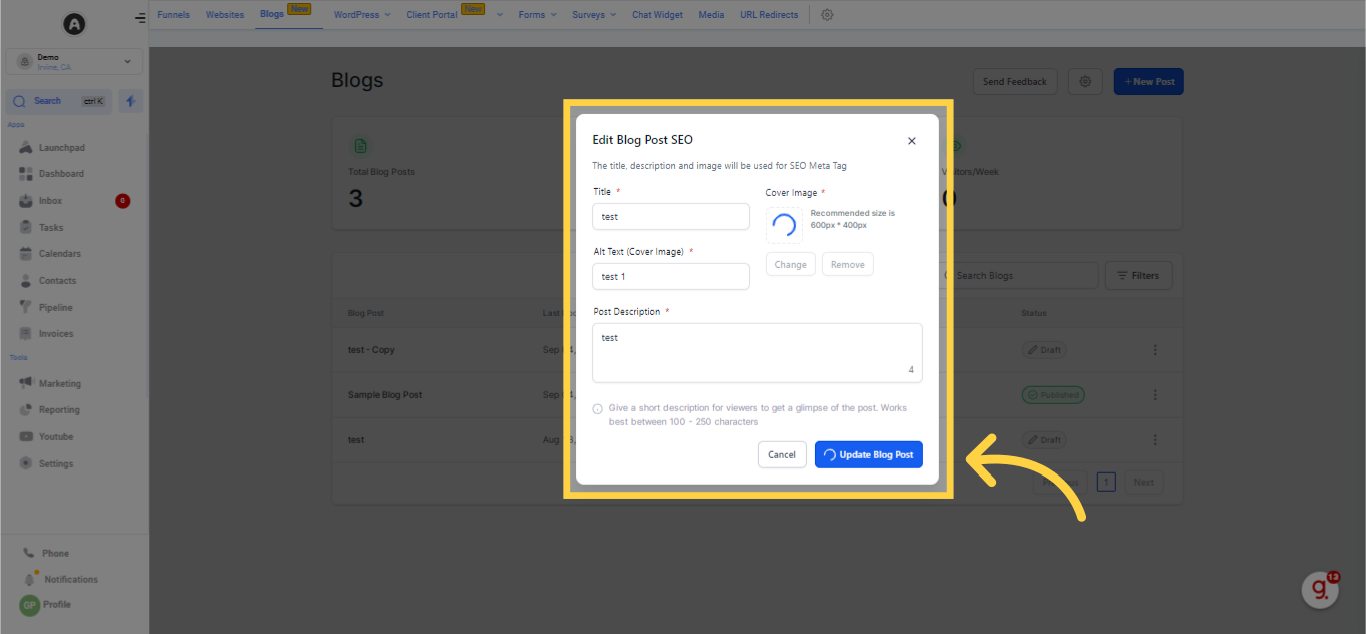
In this section, you are able to alter the title, URL, description, and associated imagery of your blog post.
Select this option to view a preview of your post.
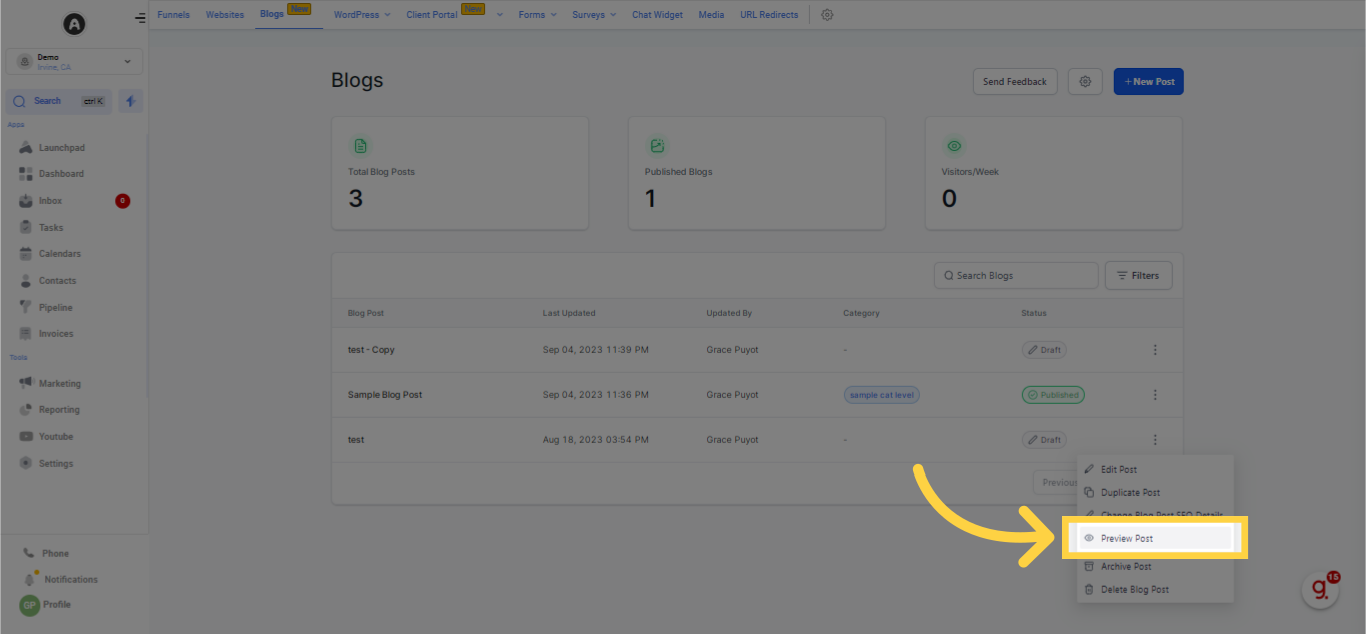

This function enables you to conceal a Blog Post.

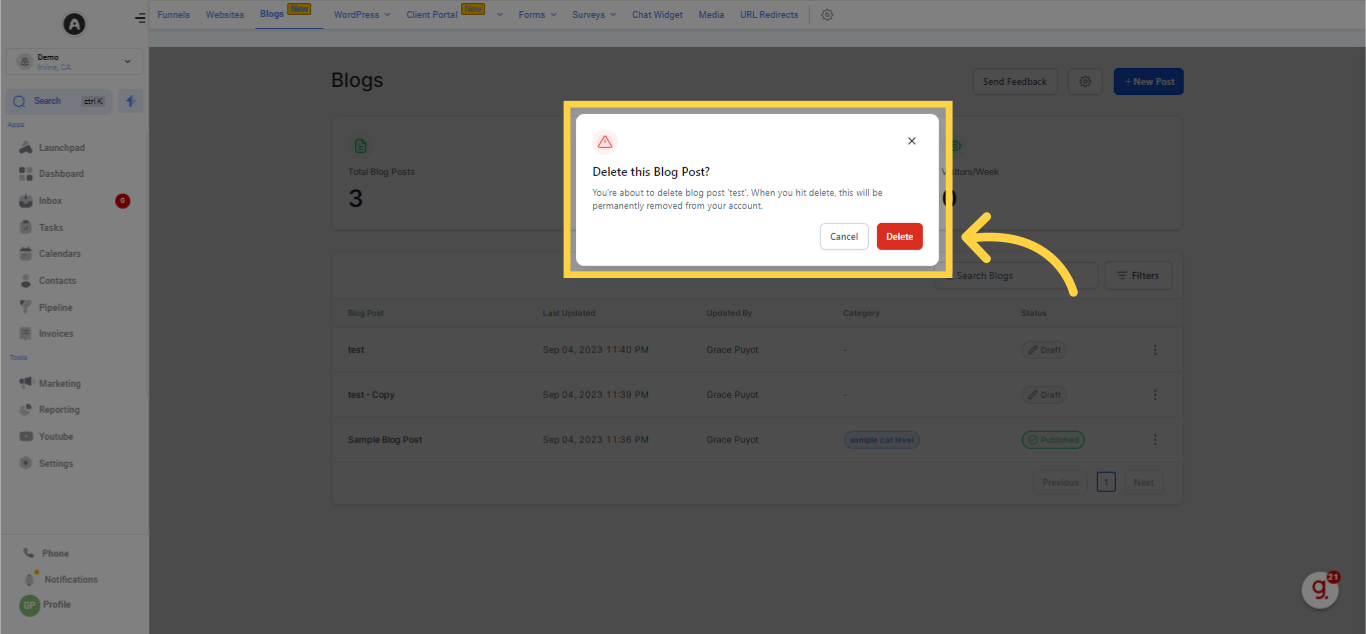
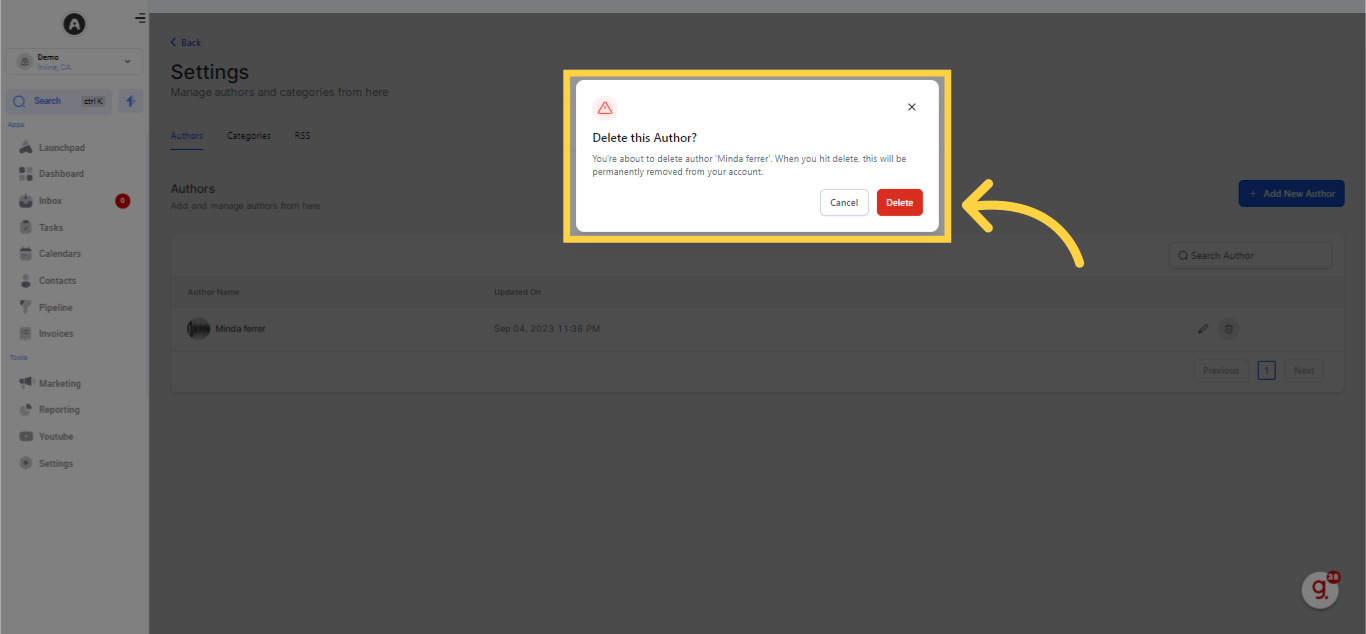
By clicking on Delete, you will permanently remove the Blog Post, thus ensure this is intended before proceeding. If certainty is lacking, it is recommended to first archive the post.

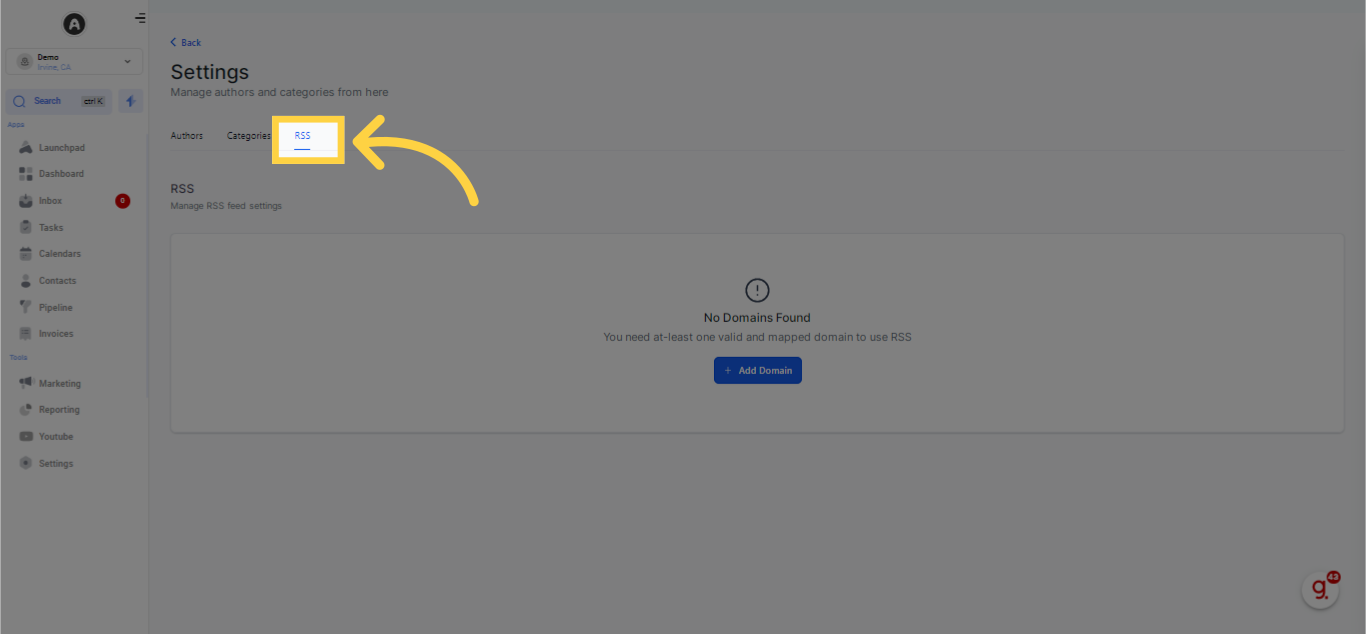
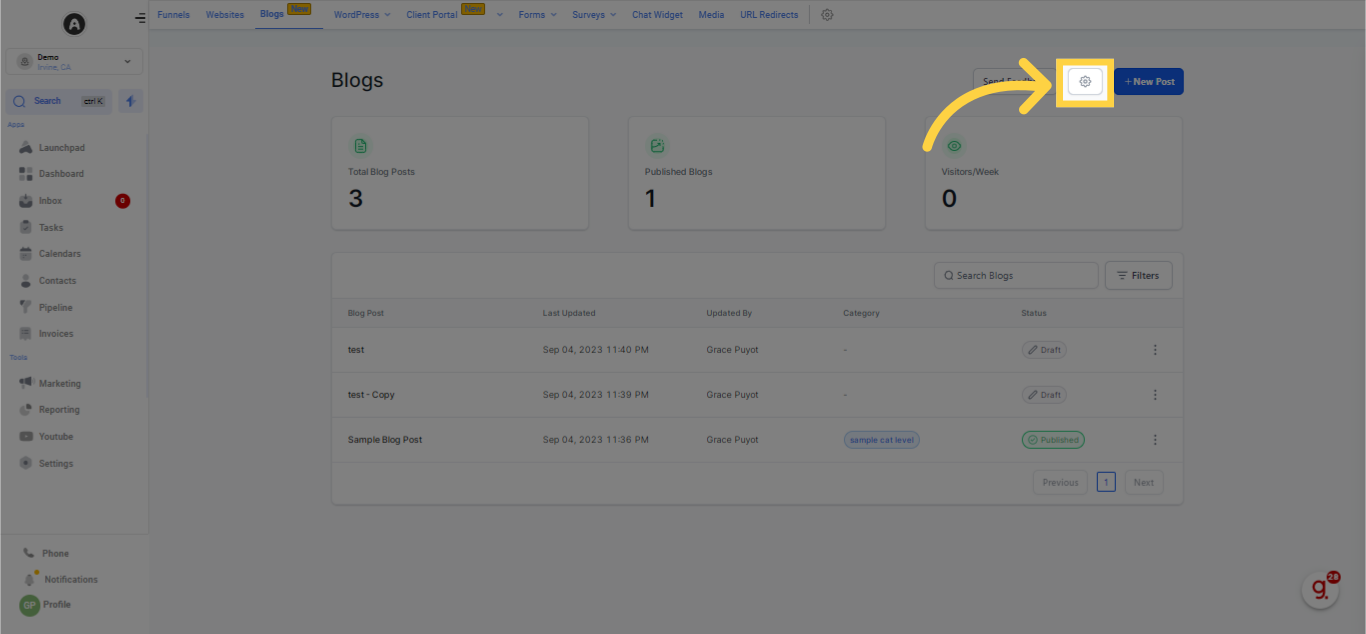
By clicking the easily accessible Settings icon located at the top right corner of the page, you are redirected to the Settings page. Here, you have a variety of useful adjustments at your disposal. You have the liberty to change the Authors, edit existing or create new Categories, and oversee or manage the RSS feed settings.

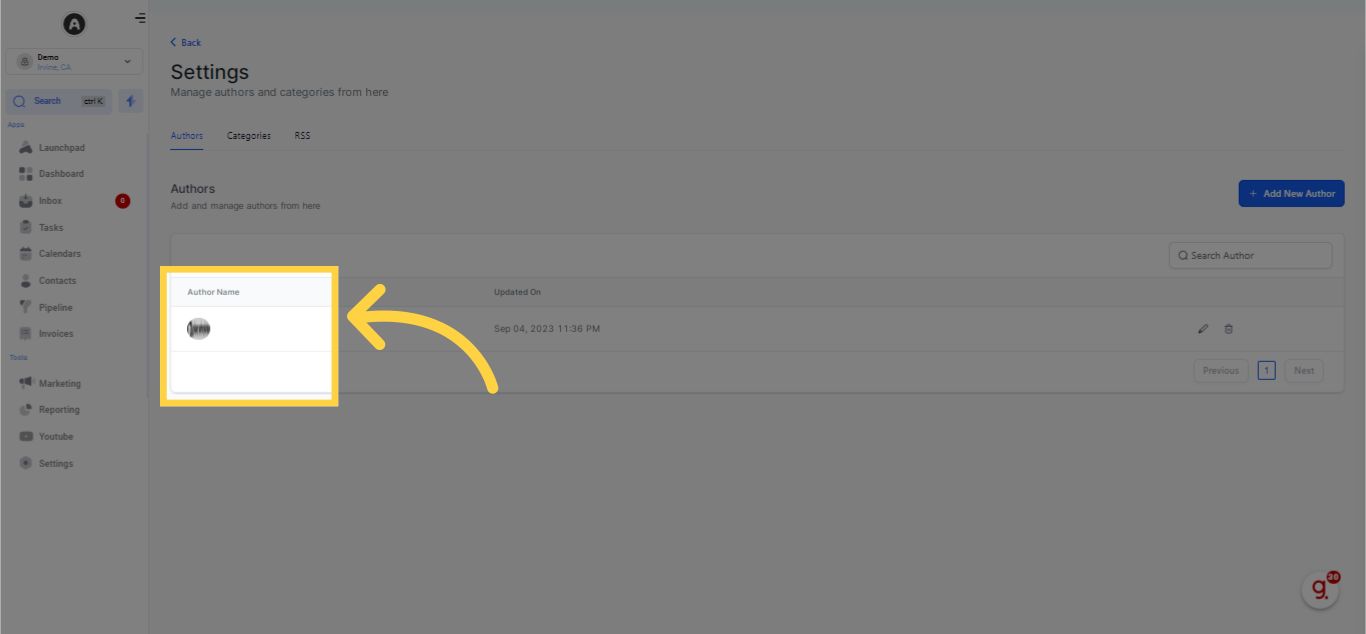
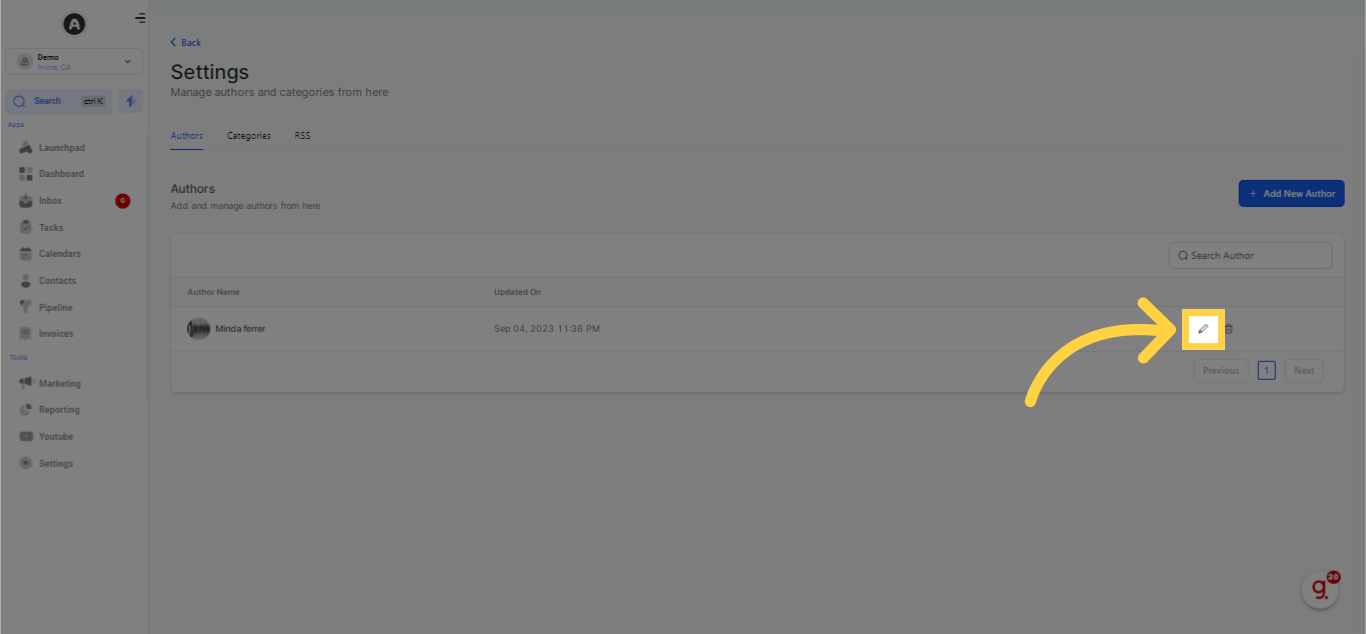

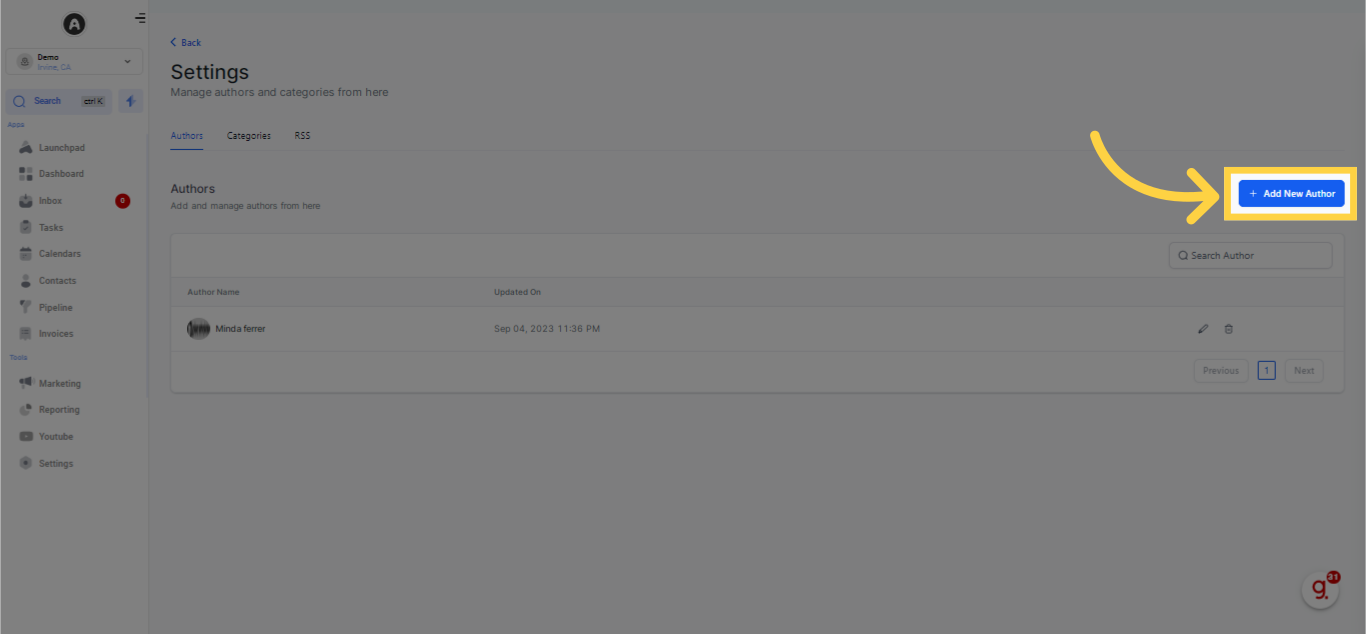
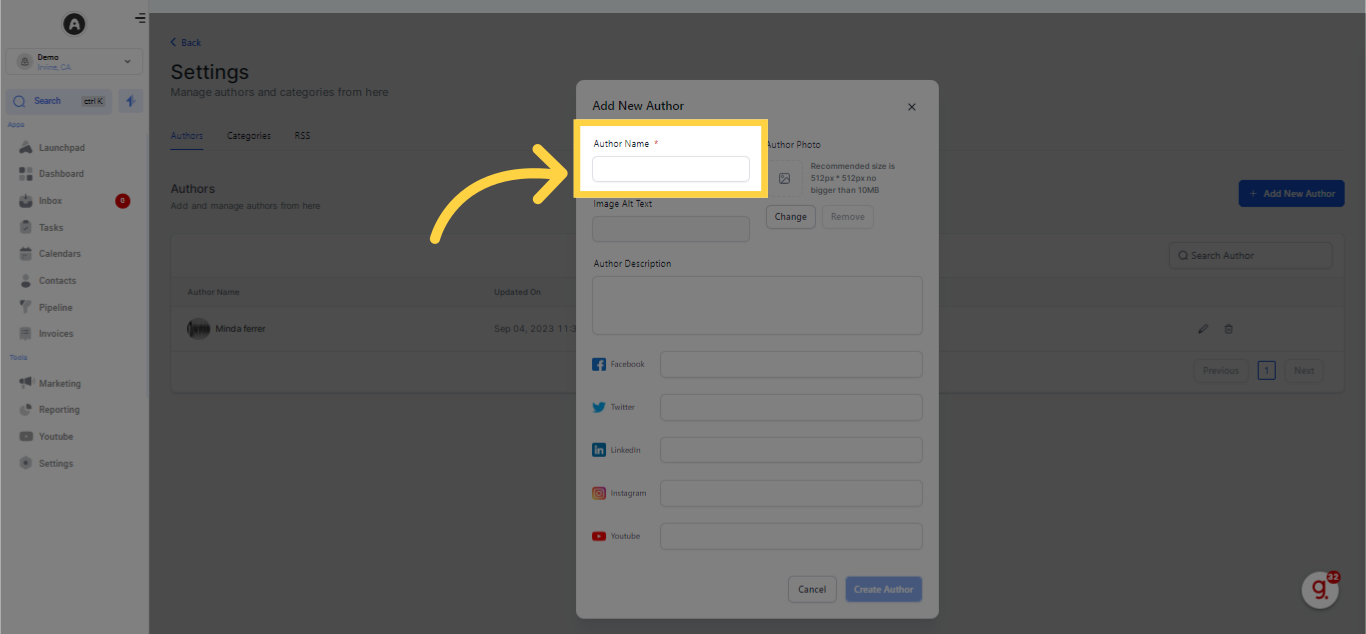
In order to credit a new author for a blog post, click on "Add New Author" found at the top right of the page. Afterward, you will be requested to enter supplementary information:
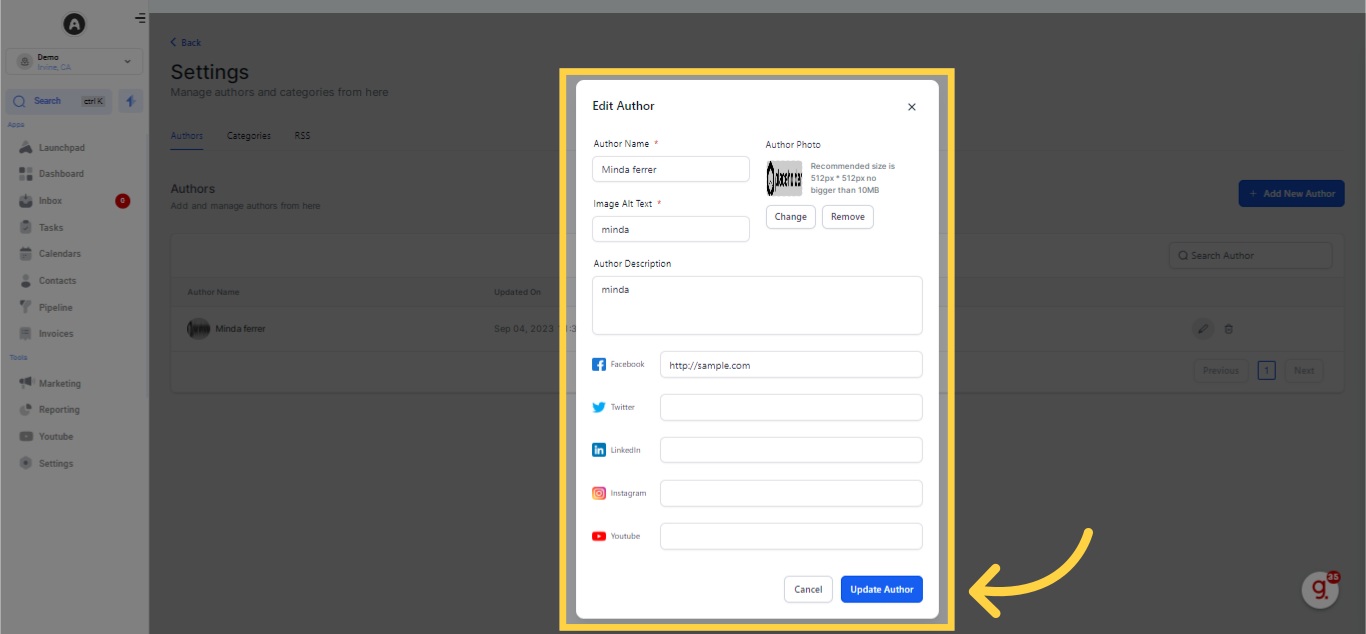
Ensure that the author's name you're adding consists of a minimum of three (3) letters to prevent any error codes from appearing.
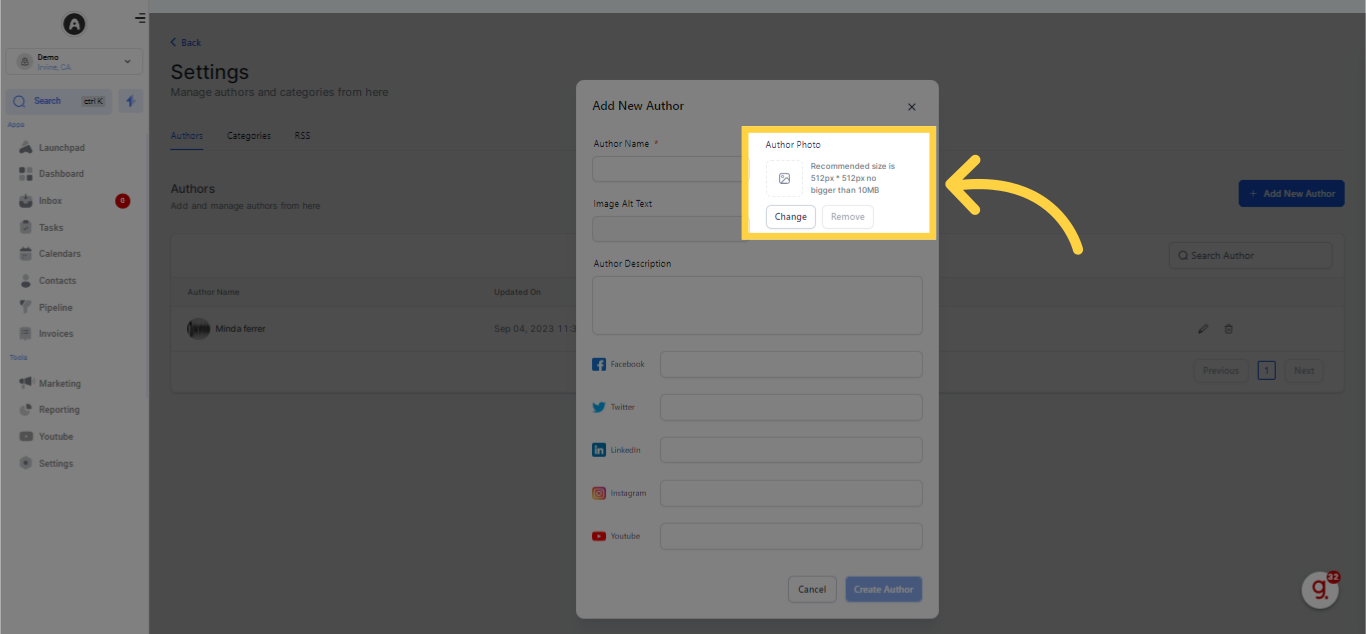
Here, you have the option to add the author's image. Simply click the "Change" button to navigate to the storage page for image uploads. After uploading the desired image, double-click on it to add. If you want to alter or delete the uploaded image, click on the "Change" or "Remove" buttons respectively. Remember, the suggested image size is 512px * 512px, and it shouldn't exceed 10MB in size.
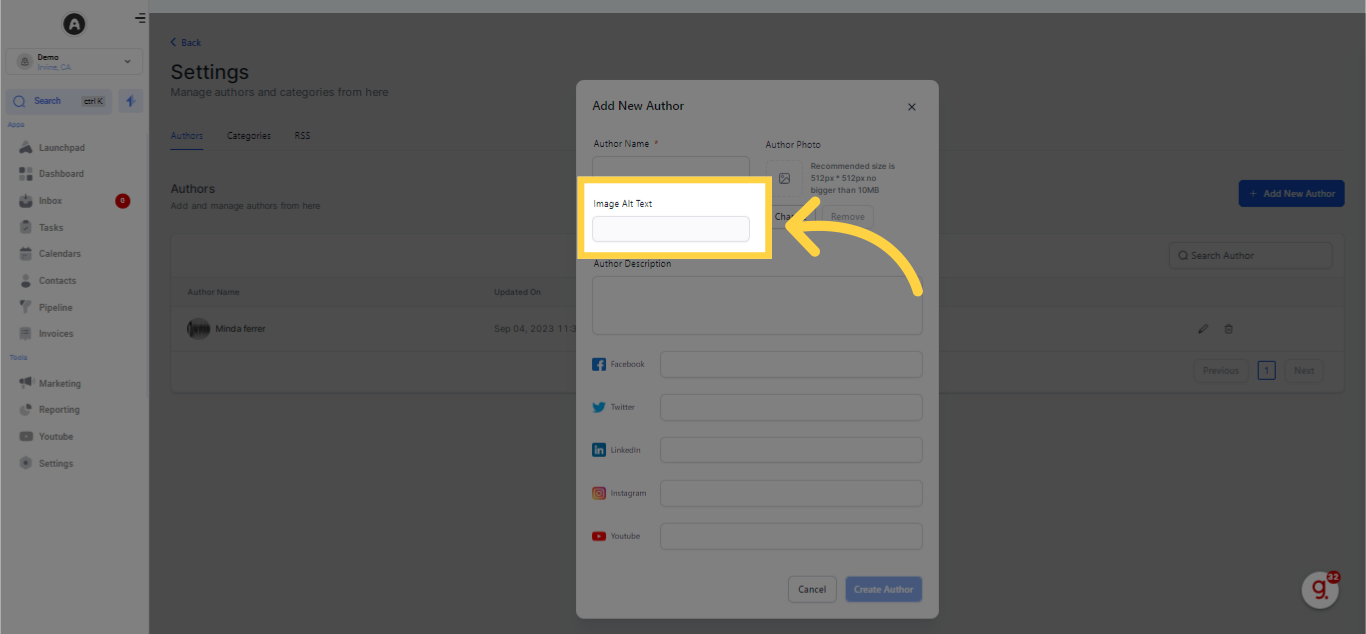
In this area, you have the option to input target keywords for your image.
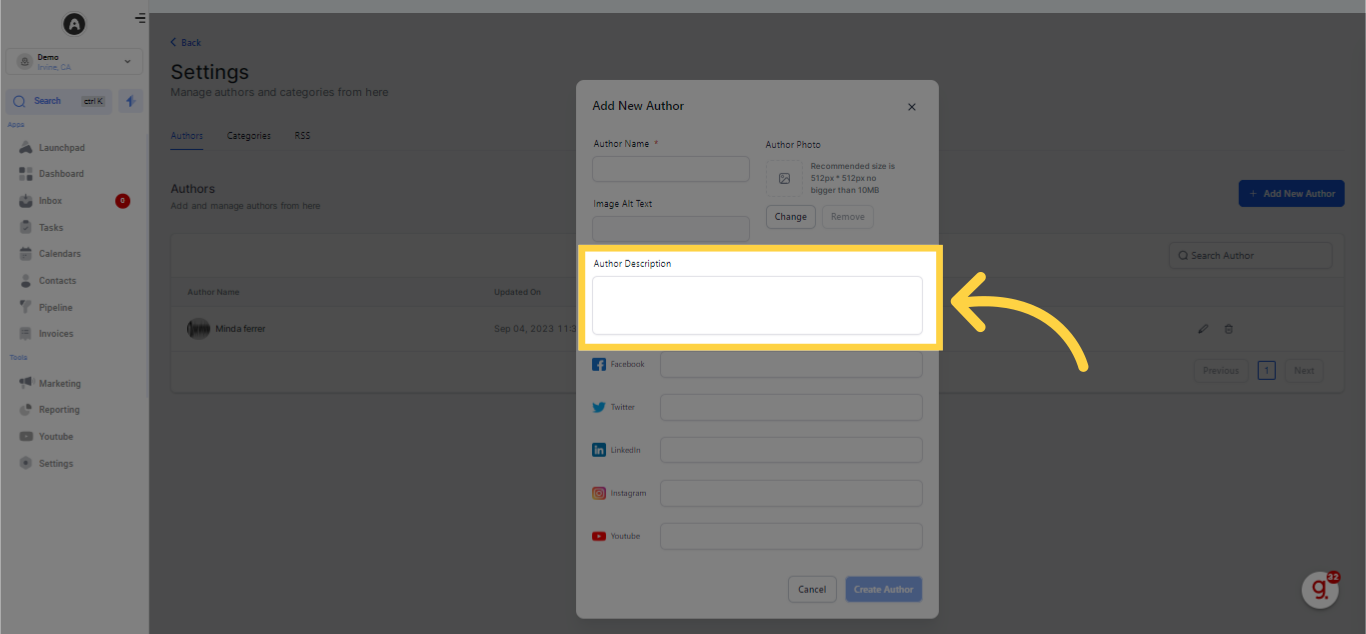
It is required to provide a brief description here for your readers' glance at the post. Ideally, the description should be between 100 - 250 characters.
You have the option to input or paste the URLs of the author's social media sites, including Facebook, Twitter, LinkedIn, Instagram, and YouTube.

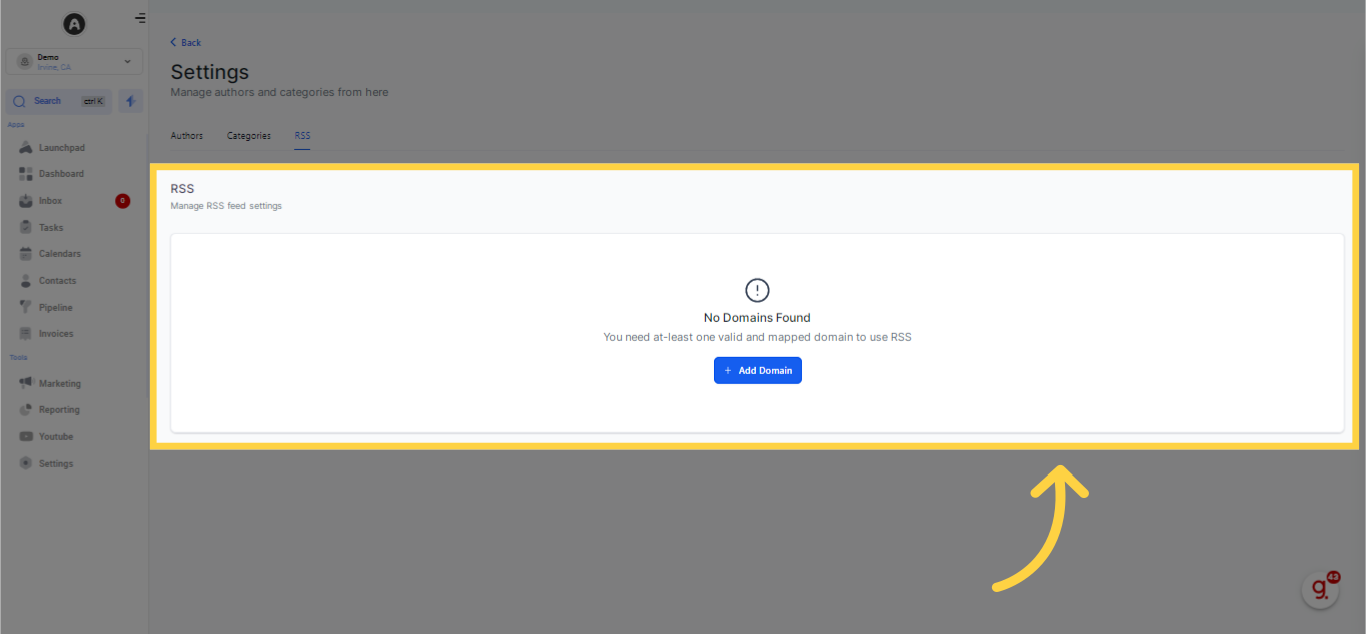
This is the section where you can oversee your RSS feed settings. It's essential to add a Domain to utilize your RSS.