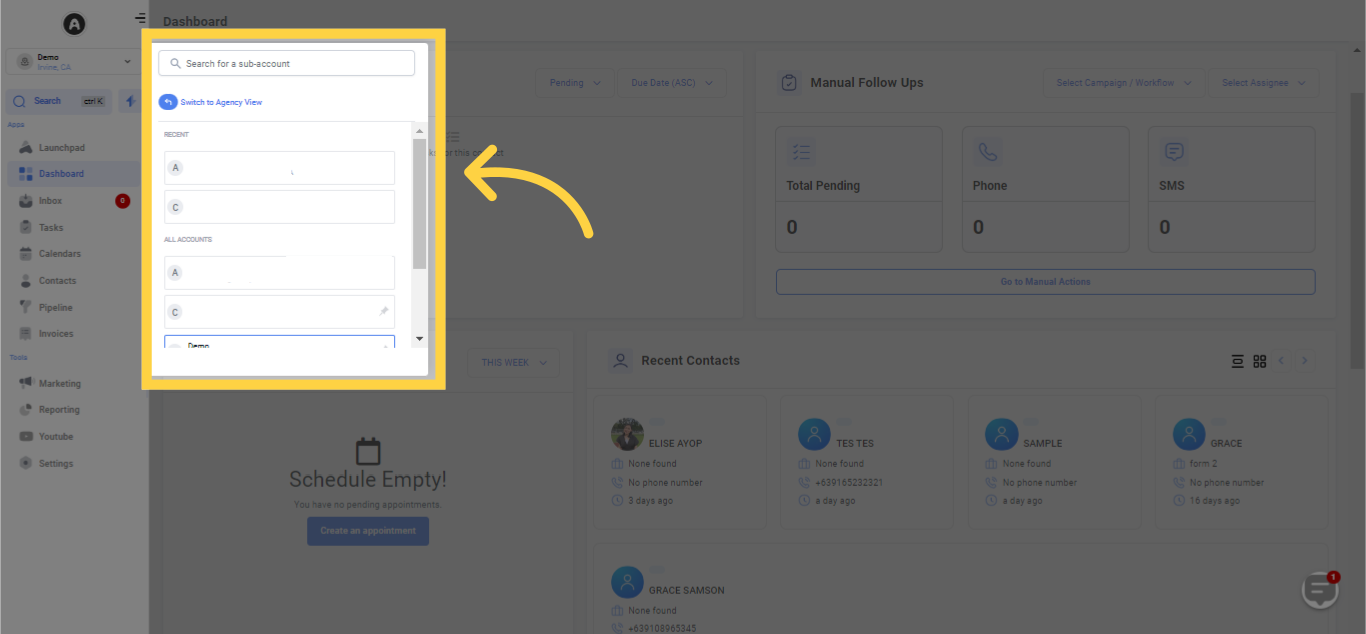
Within the agency view, click the "Click here to switch" option located in the top left corner to navigate into the sub-account.
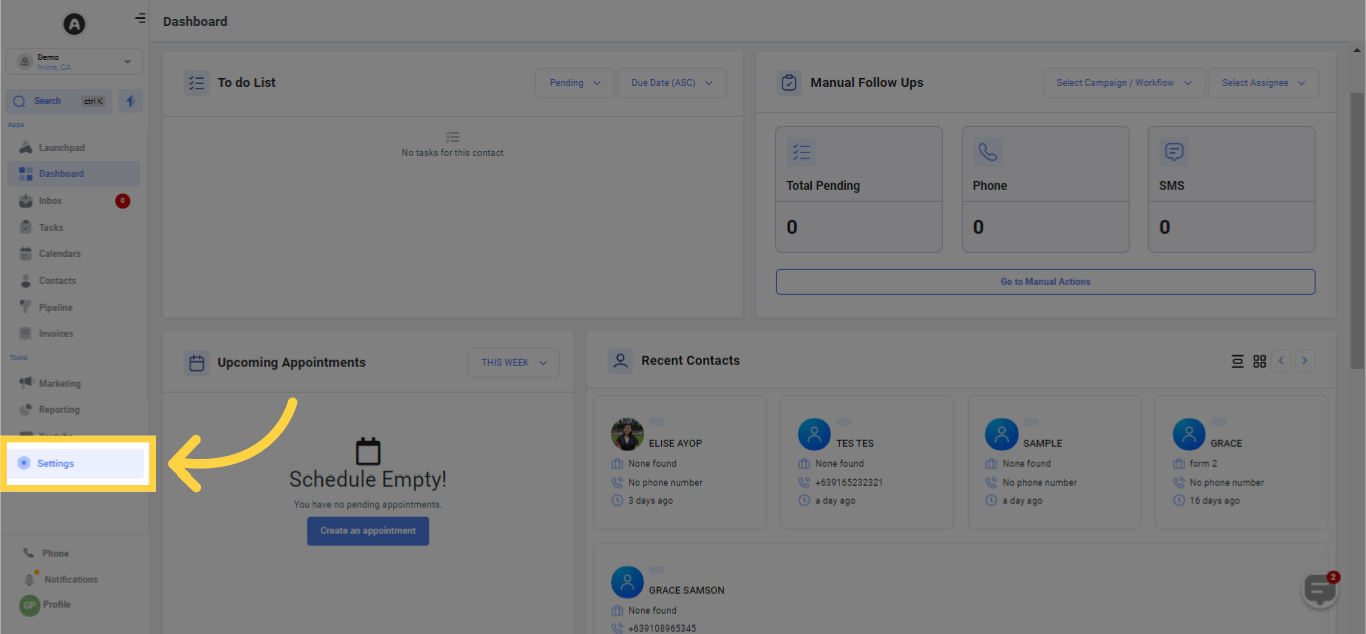
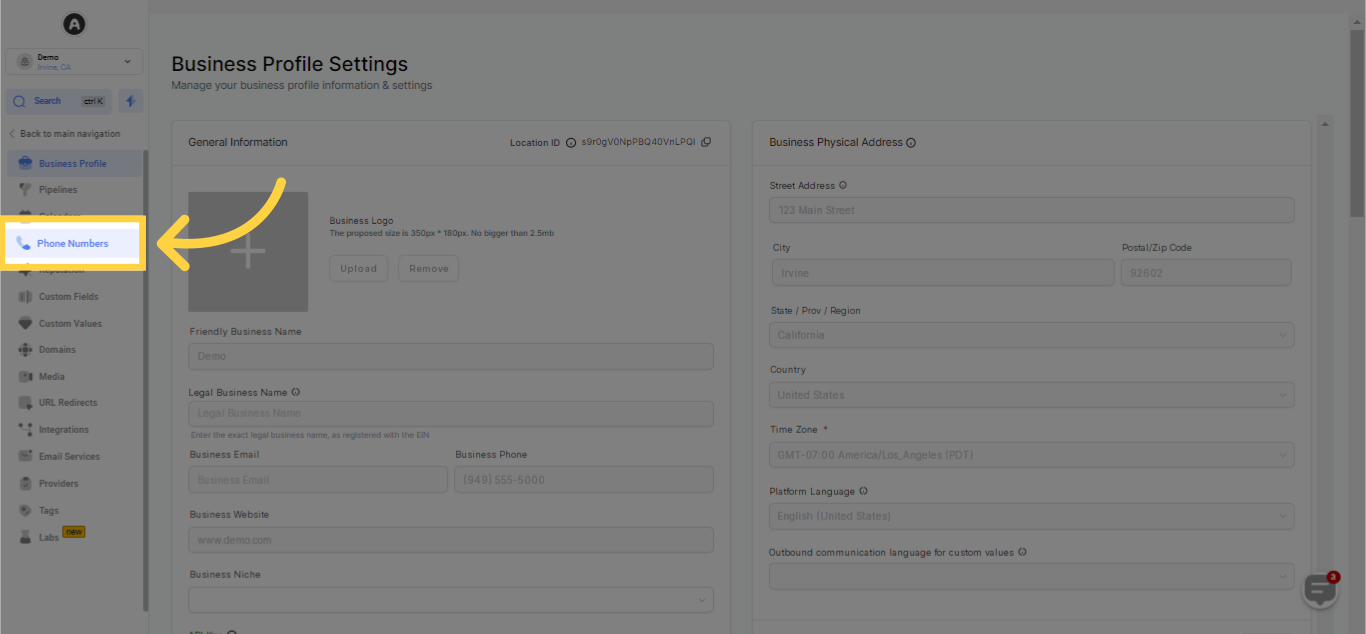
After entering the sub-account, select 'Settings', which is located at the bottom left of the page.
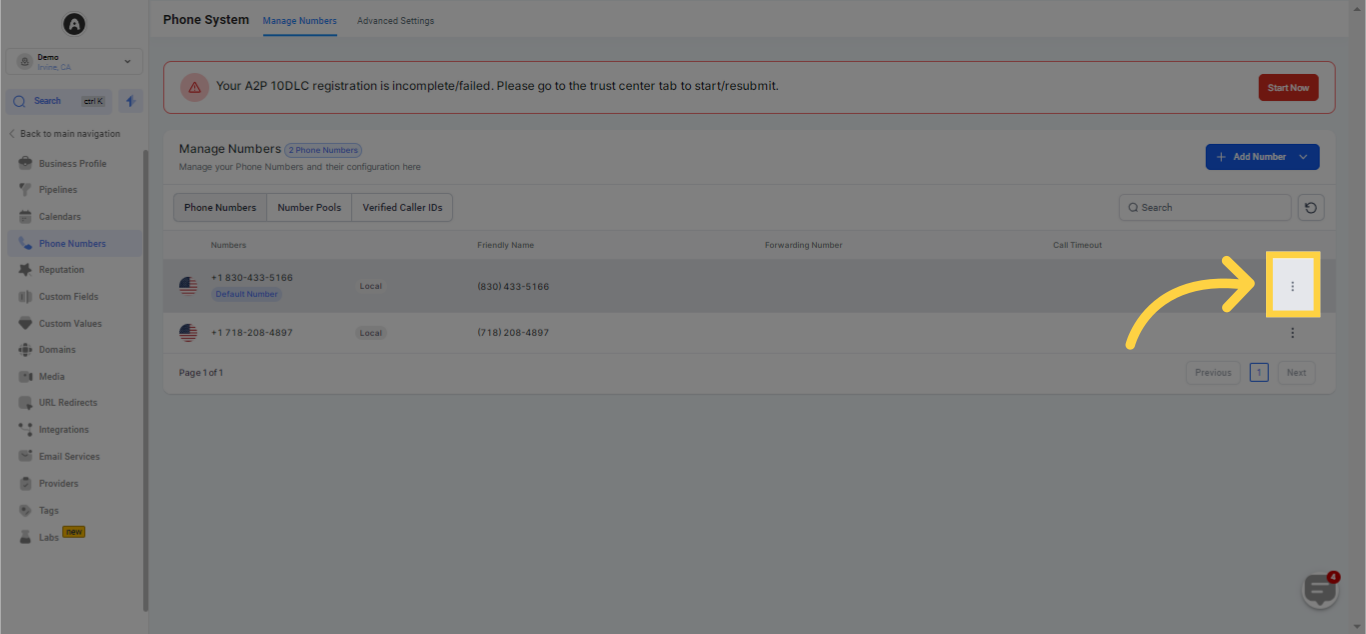
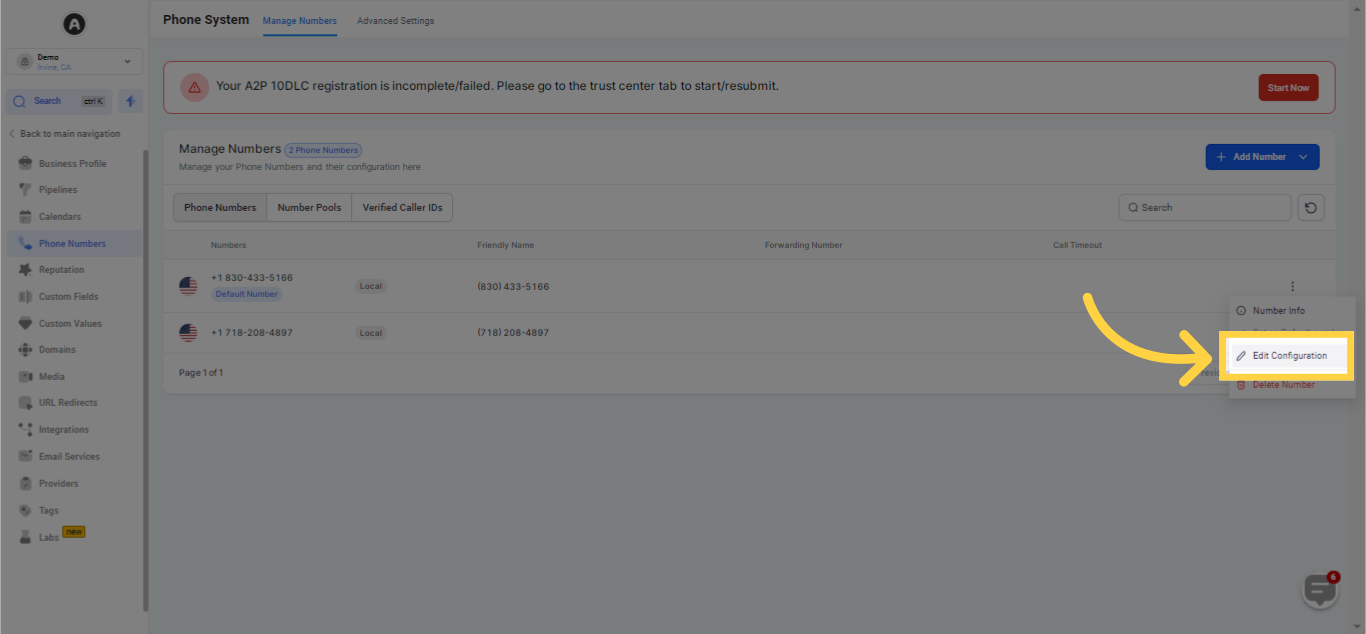
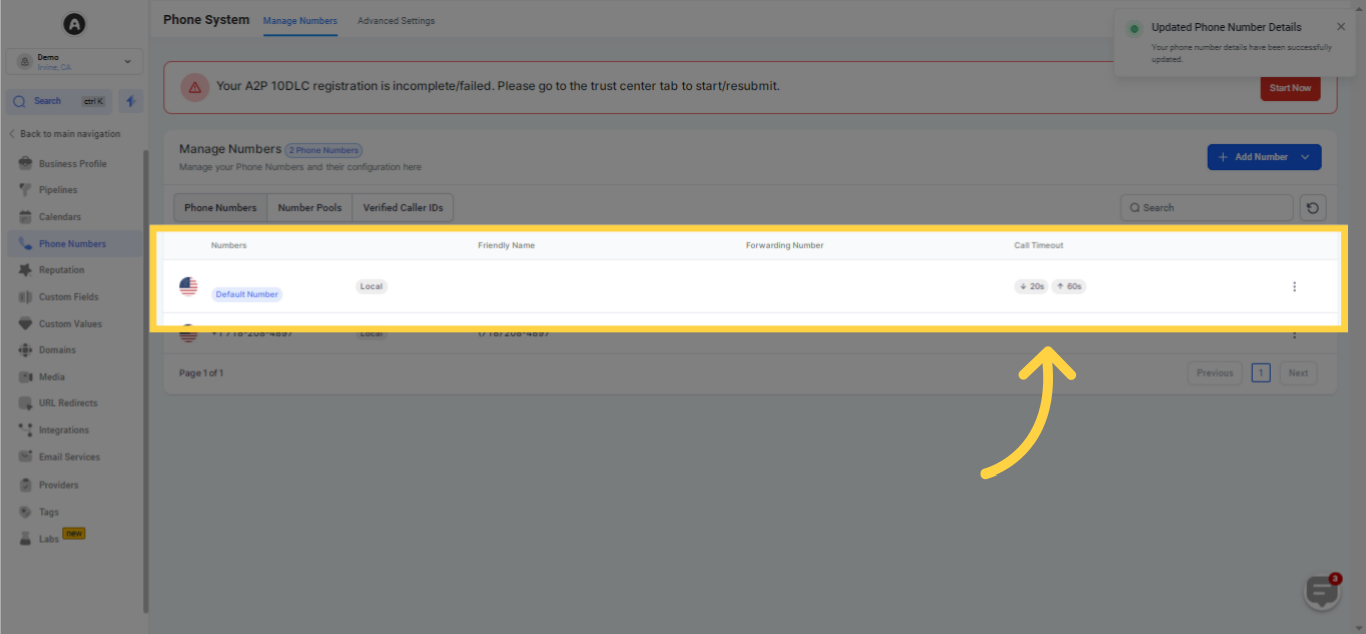
Select the Edit icon corresponding to the Twilio number for which you want to activate call recording.
Mark the checkbox associated with Call Recording (the default message usually reads: This call will be recorded for quality assurance).
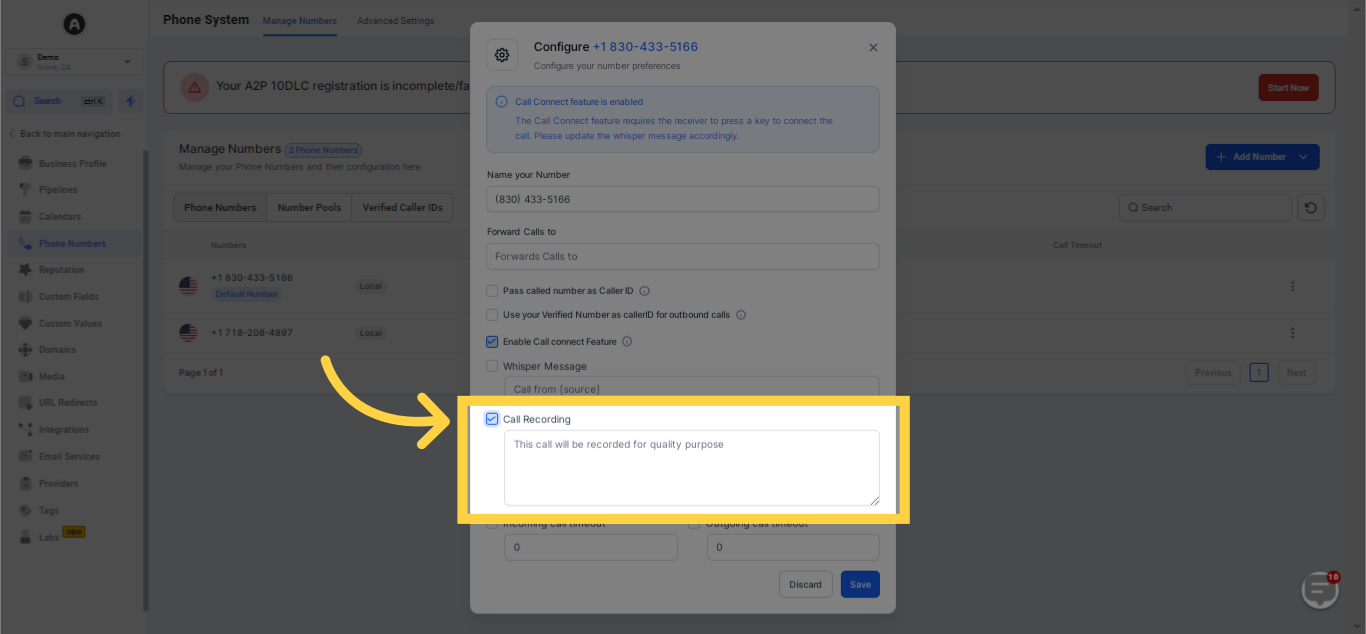
If local regulations permit, you may add a few blank spaces here, which will prevent any announcement from being made.
However, please note that for workflow action Call steps, the call recording announcement will still be made, regardless of the above setting.
To enable call recording, every HighLevel location should be linked to an individual Twilio sub-account. Should you mistakenly utilize your main Twilio SID and Authentication Key for any of the sub-accounts, it will prevent the call recording feature from functioning properly.
