Custom fields are a versatile tool that allows you to gather specific information from customers through surveys or forms. They go beyond the standard inquiries like name, email, and phone number, enabling you to collect personalized and targeted data that is relevant to your business needs.
In the Custom Fields section, you can generate your own custom fields to capture unique data. These fields play a crucial role in forms and surveys, providing flexibility in tailoring your data collection tools to your specific requirements. Whether you need to know a respondent's job title, their favorite product from your line, or any other piece of information not typically requested, custom fields allow you to gather insights that matter.
When you access the Custom Values tab, you'll find a comprehensive overview of all the custom fields you've created so far. This makes it easy to review and manage your custom fields in one place.
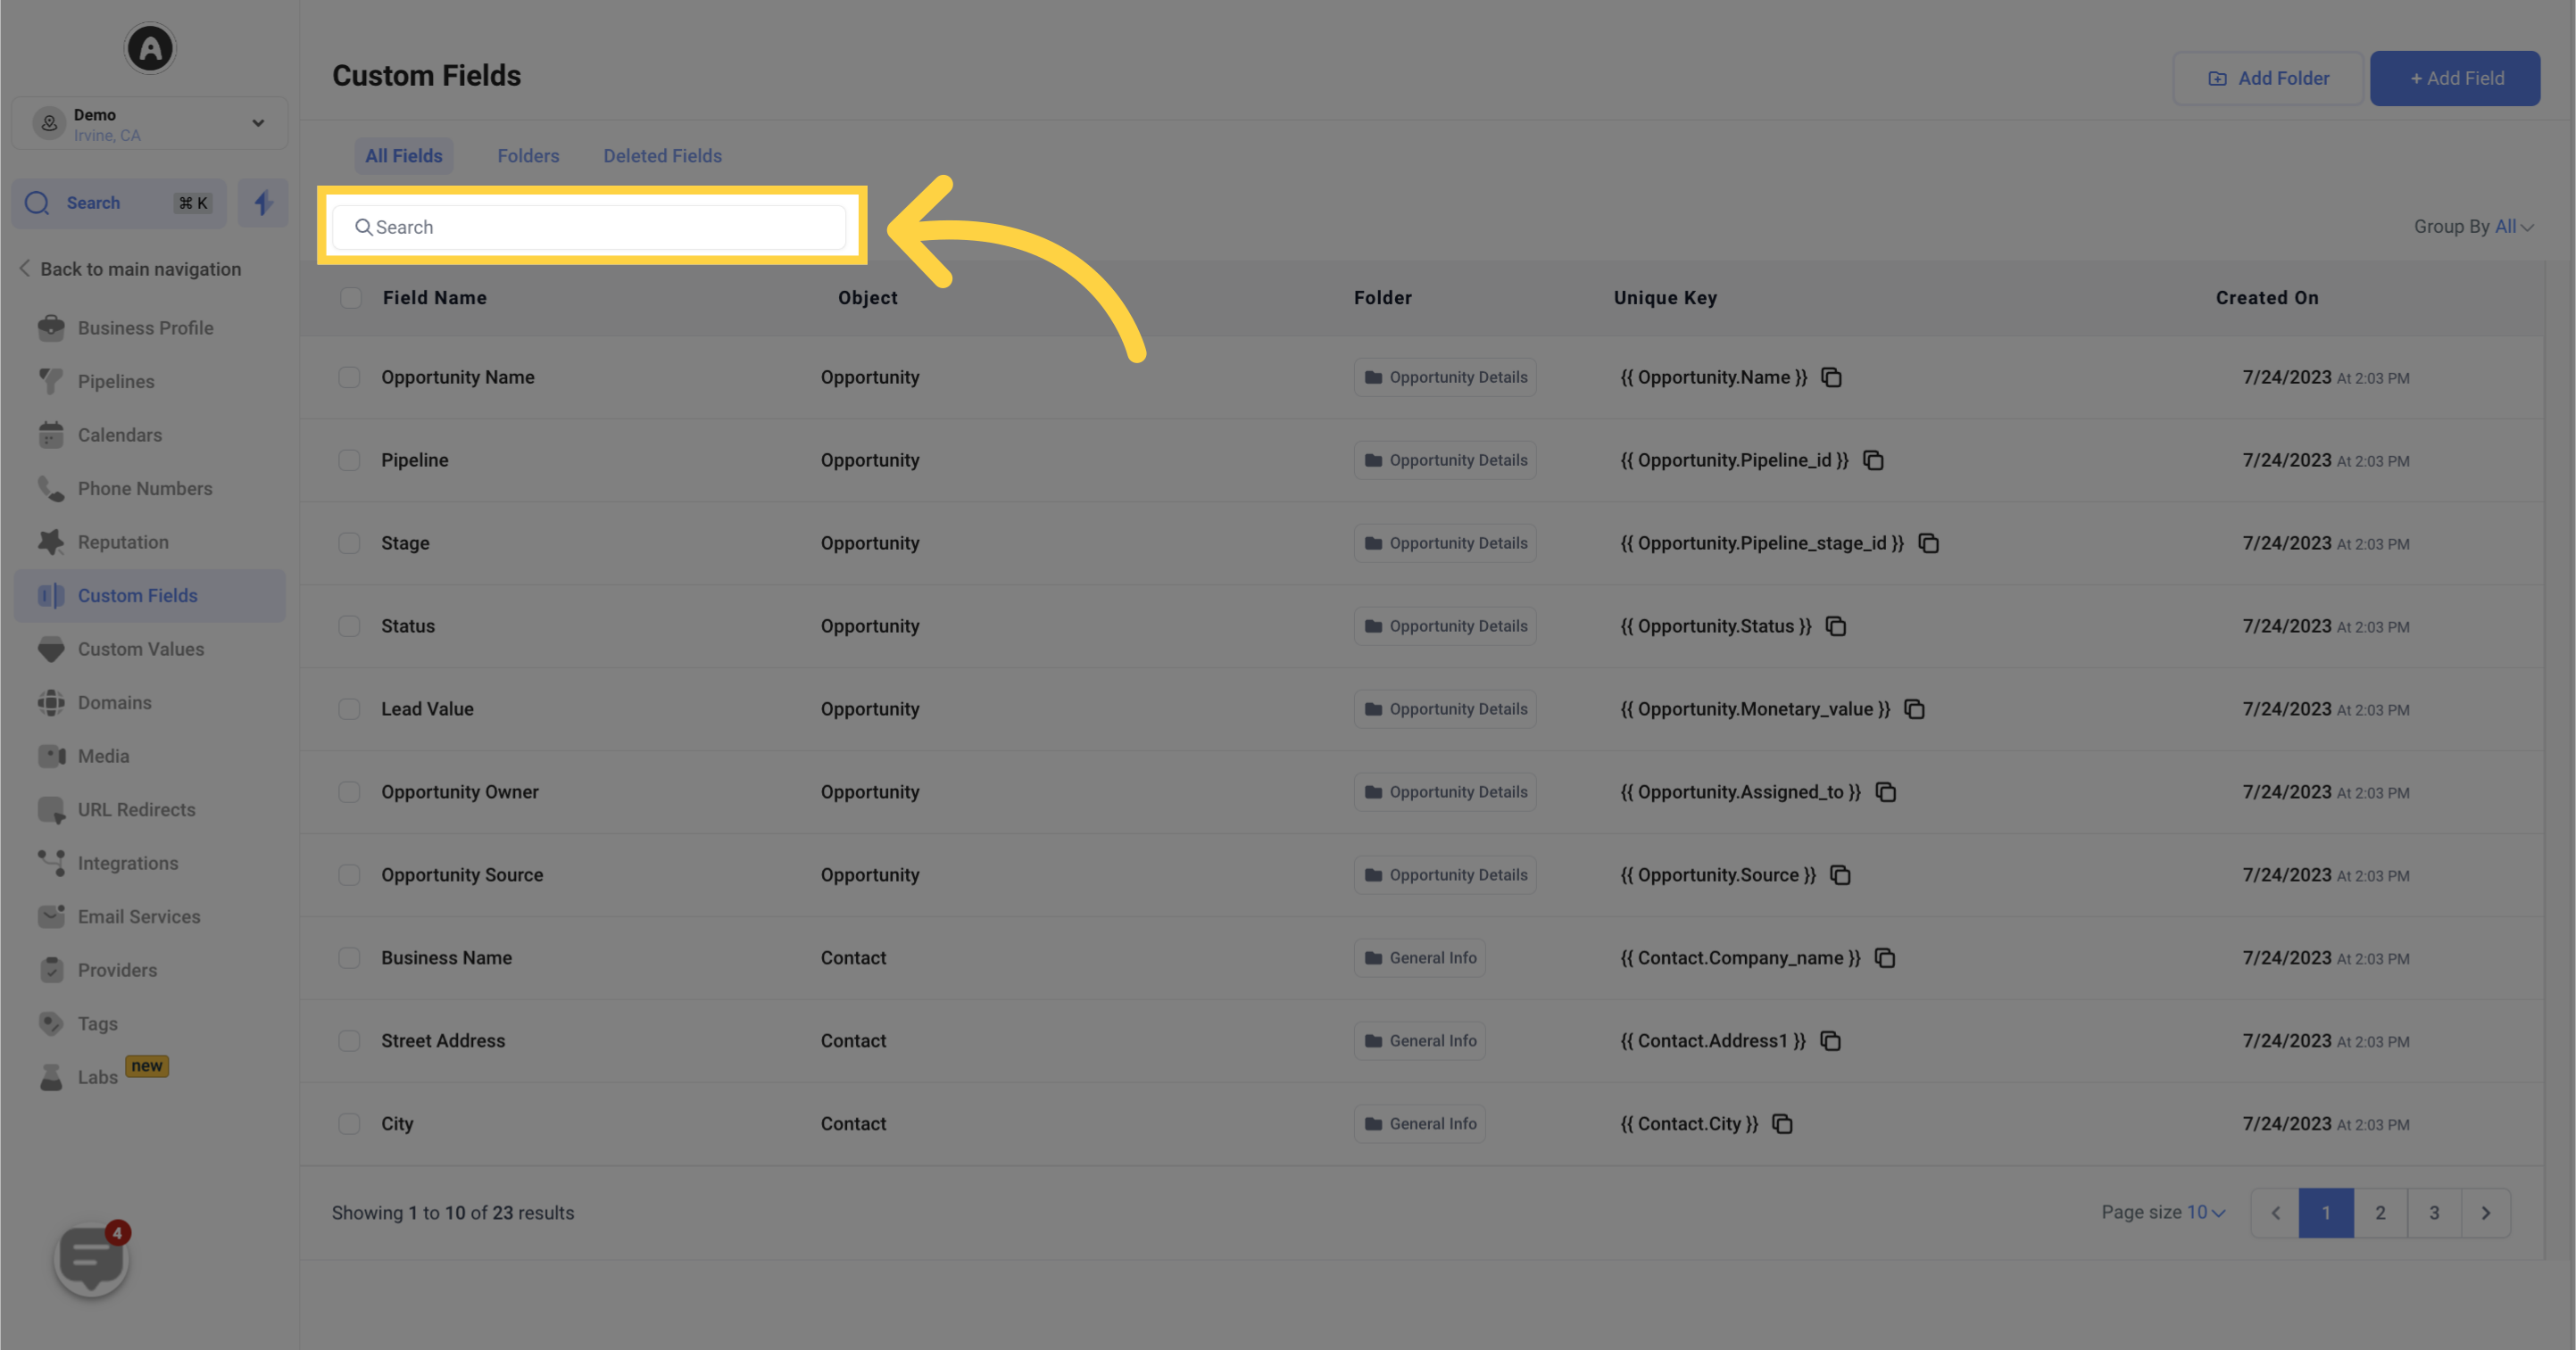
The search bar feature in the Custom Fields section allows you to quickly find specific custom fields without the need for scrolling through the entire list. Simply enter your desired field name or keyword to streamline the process of locating the information you're looking for.
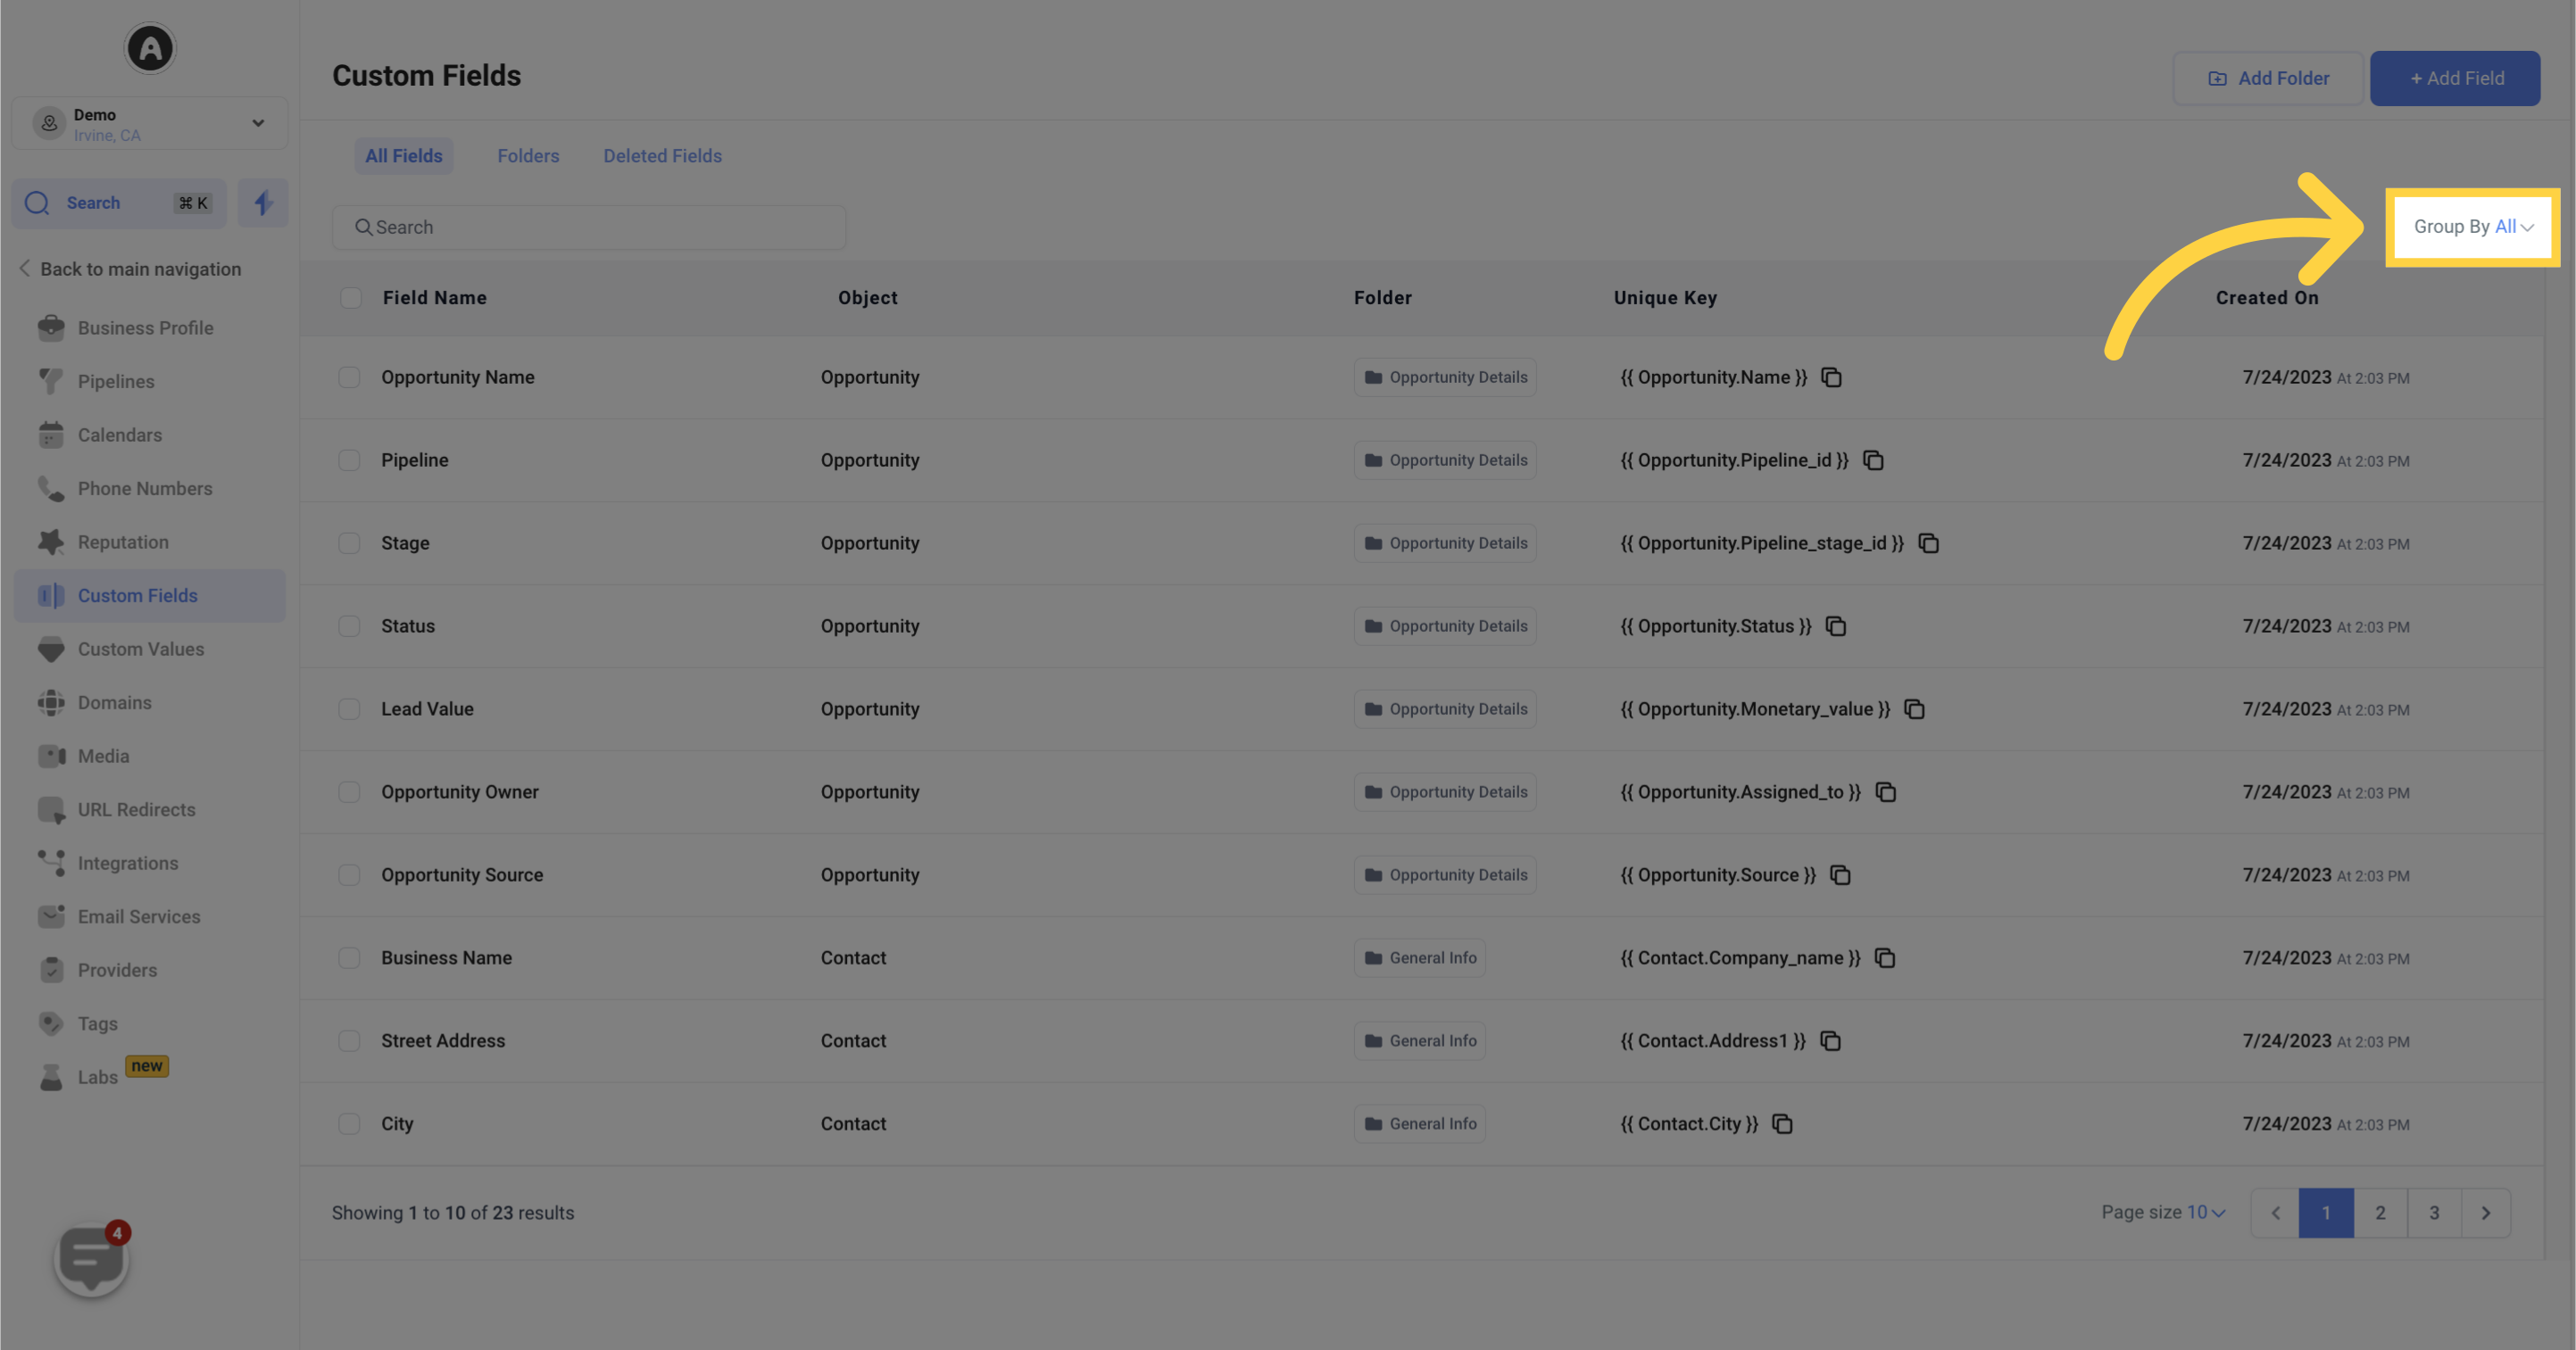
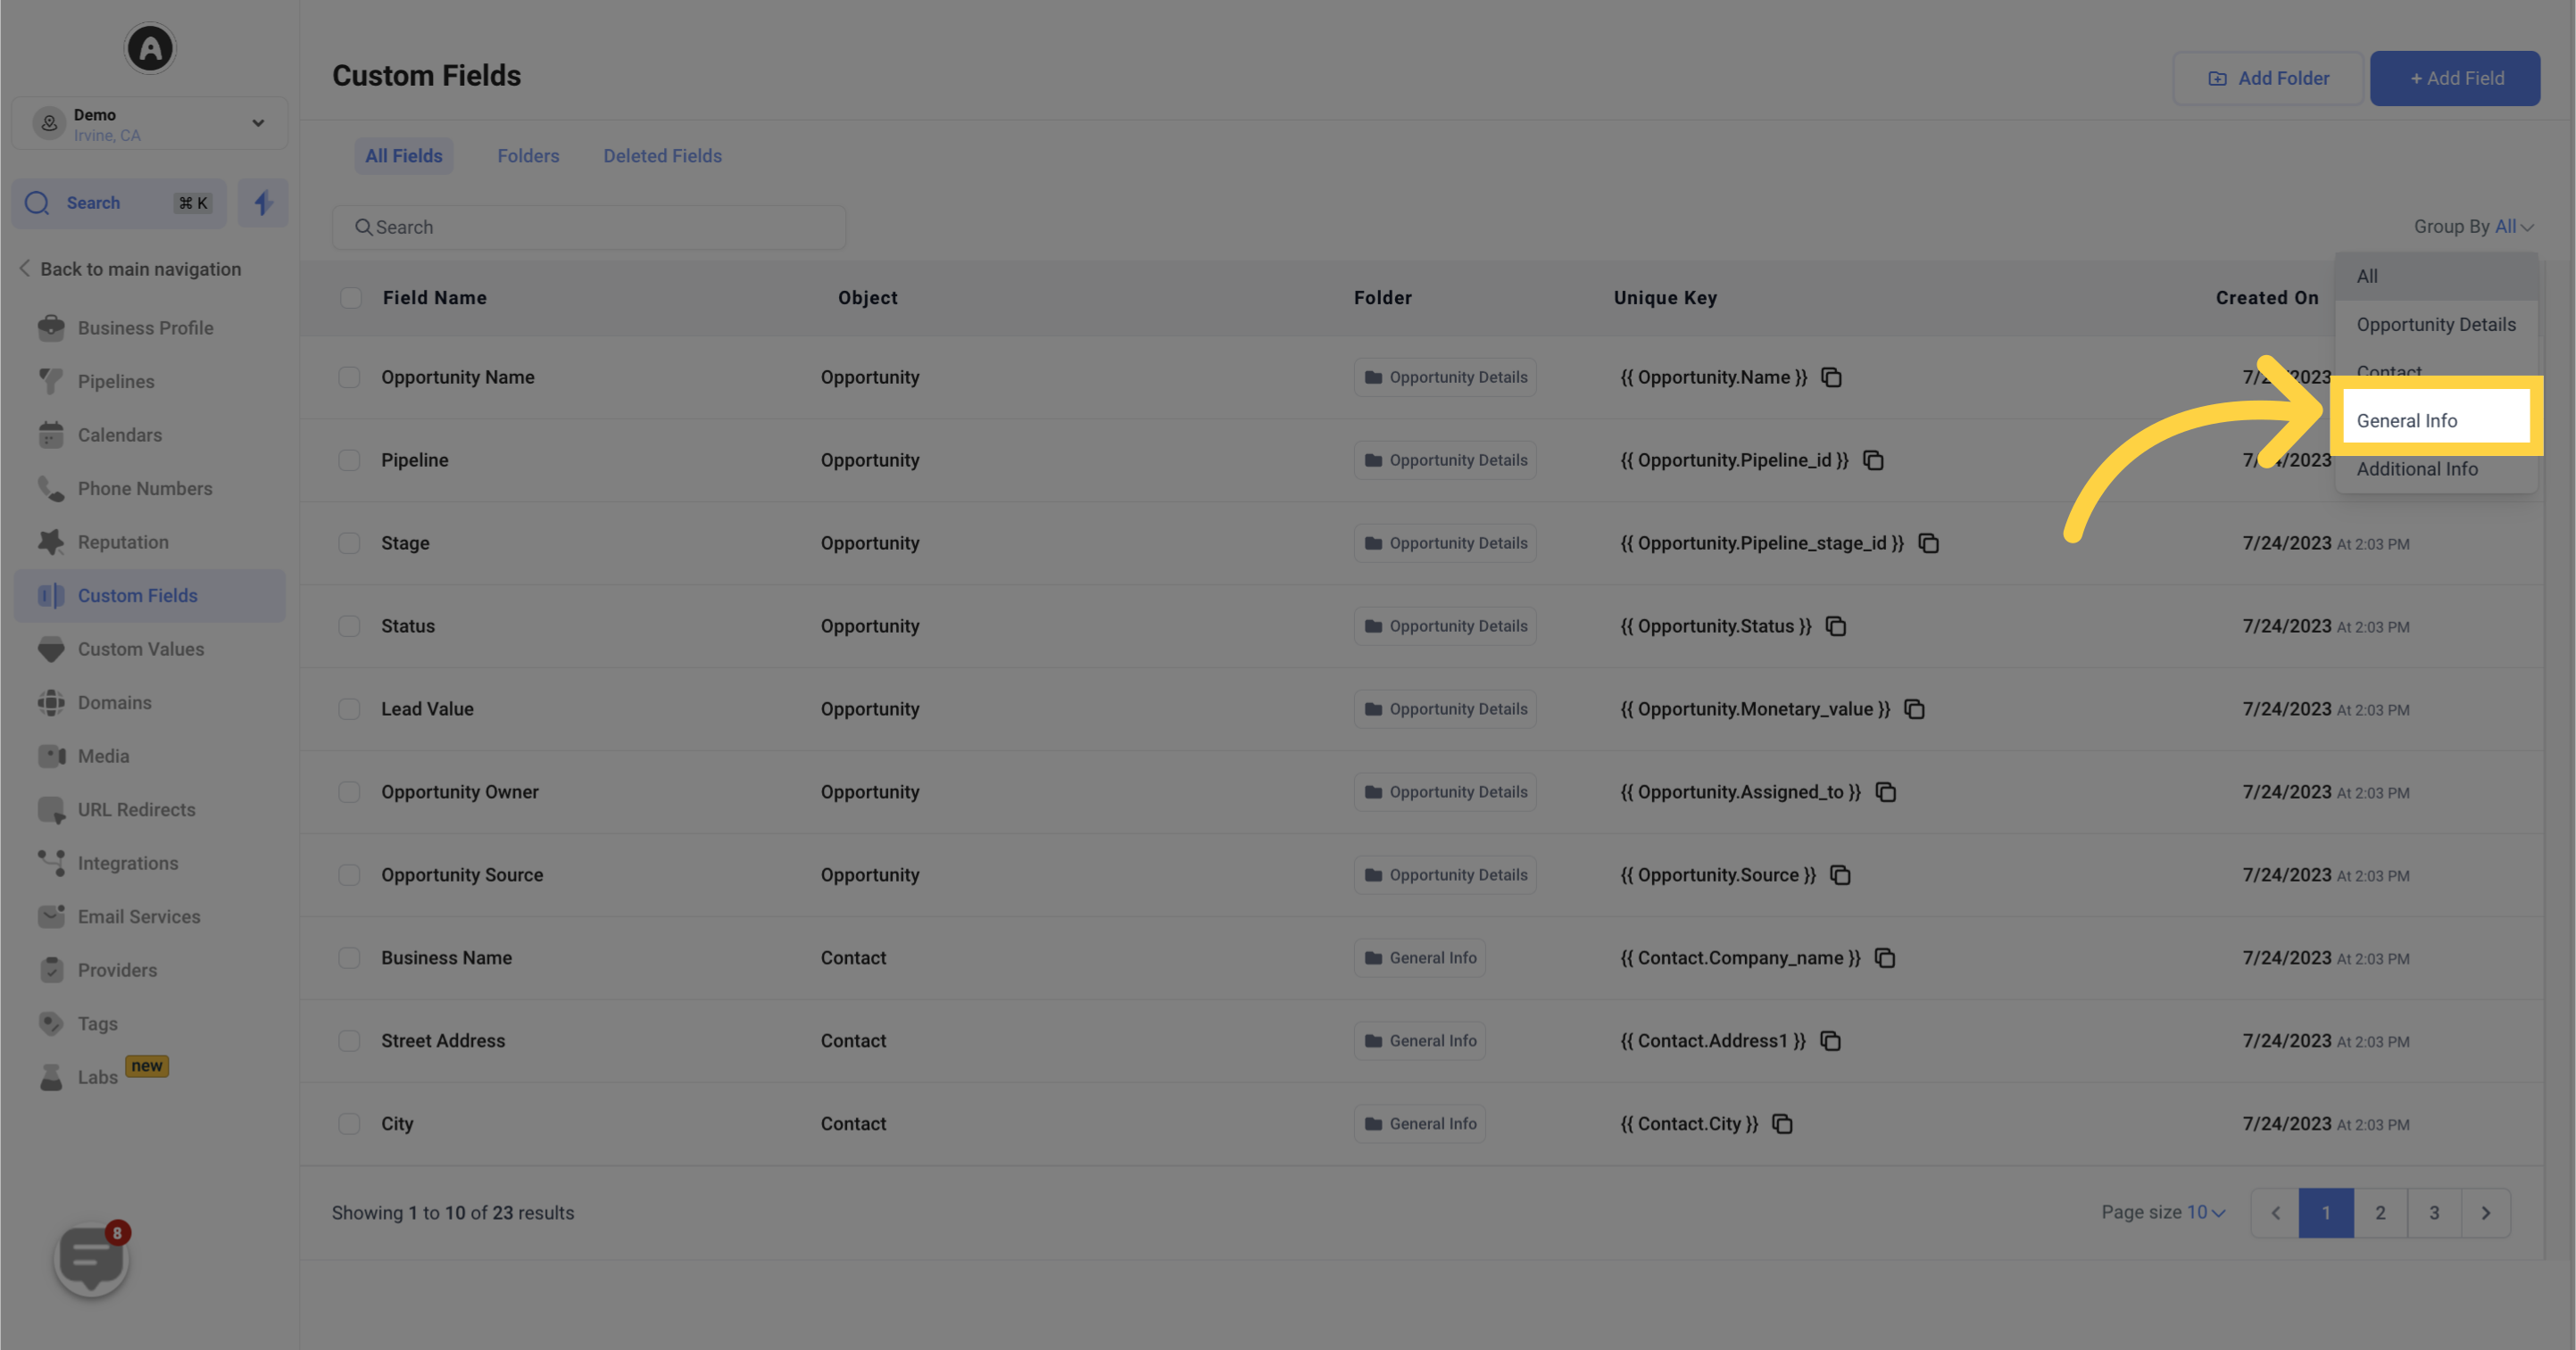
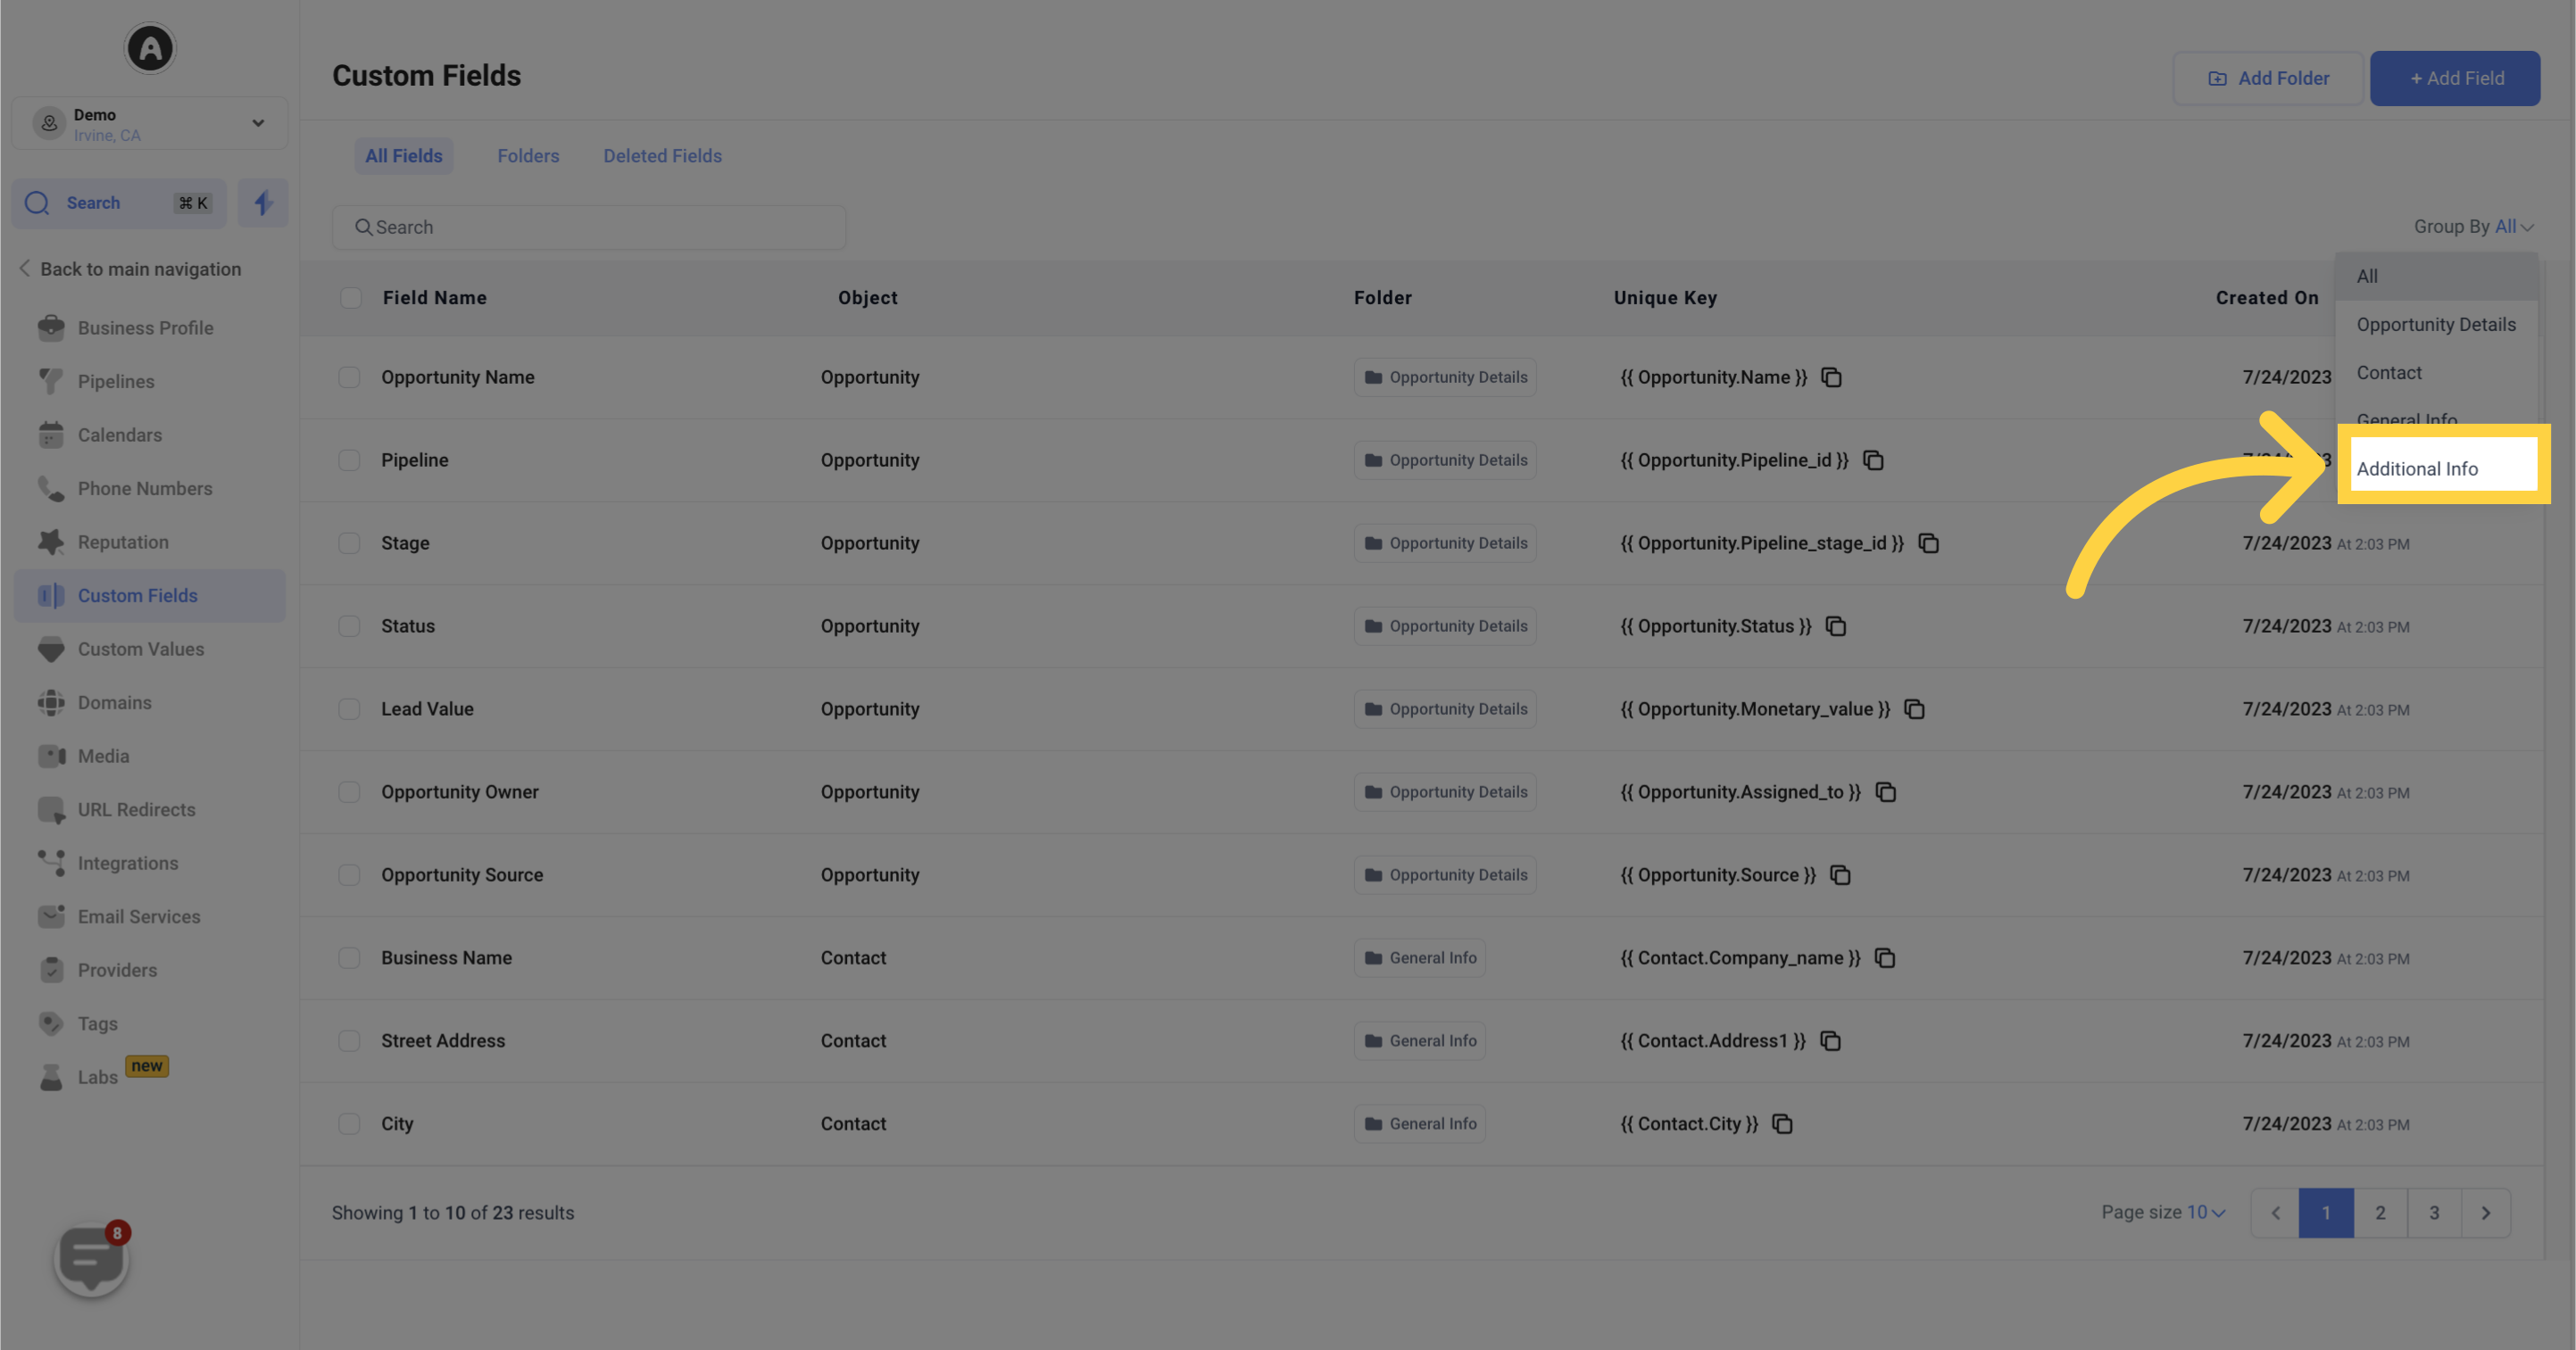
The group filter tab enables you to specify how you want the system to display the custom fields. You have the following options:
This filter shows all custom fields from all groups.
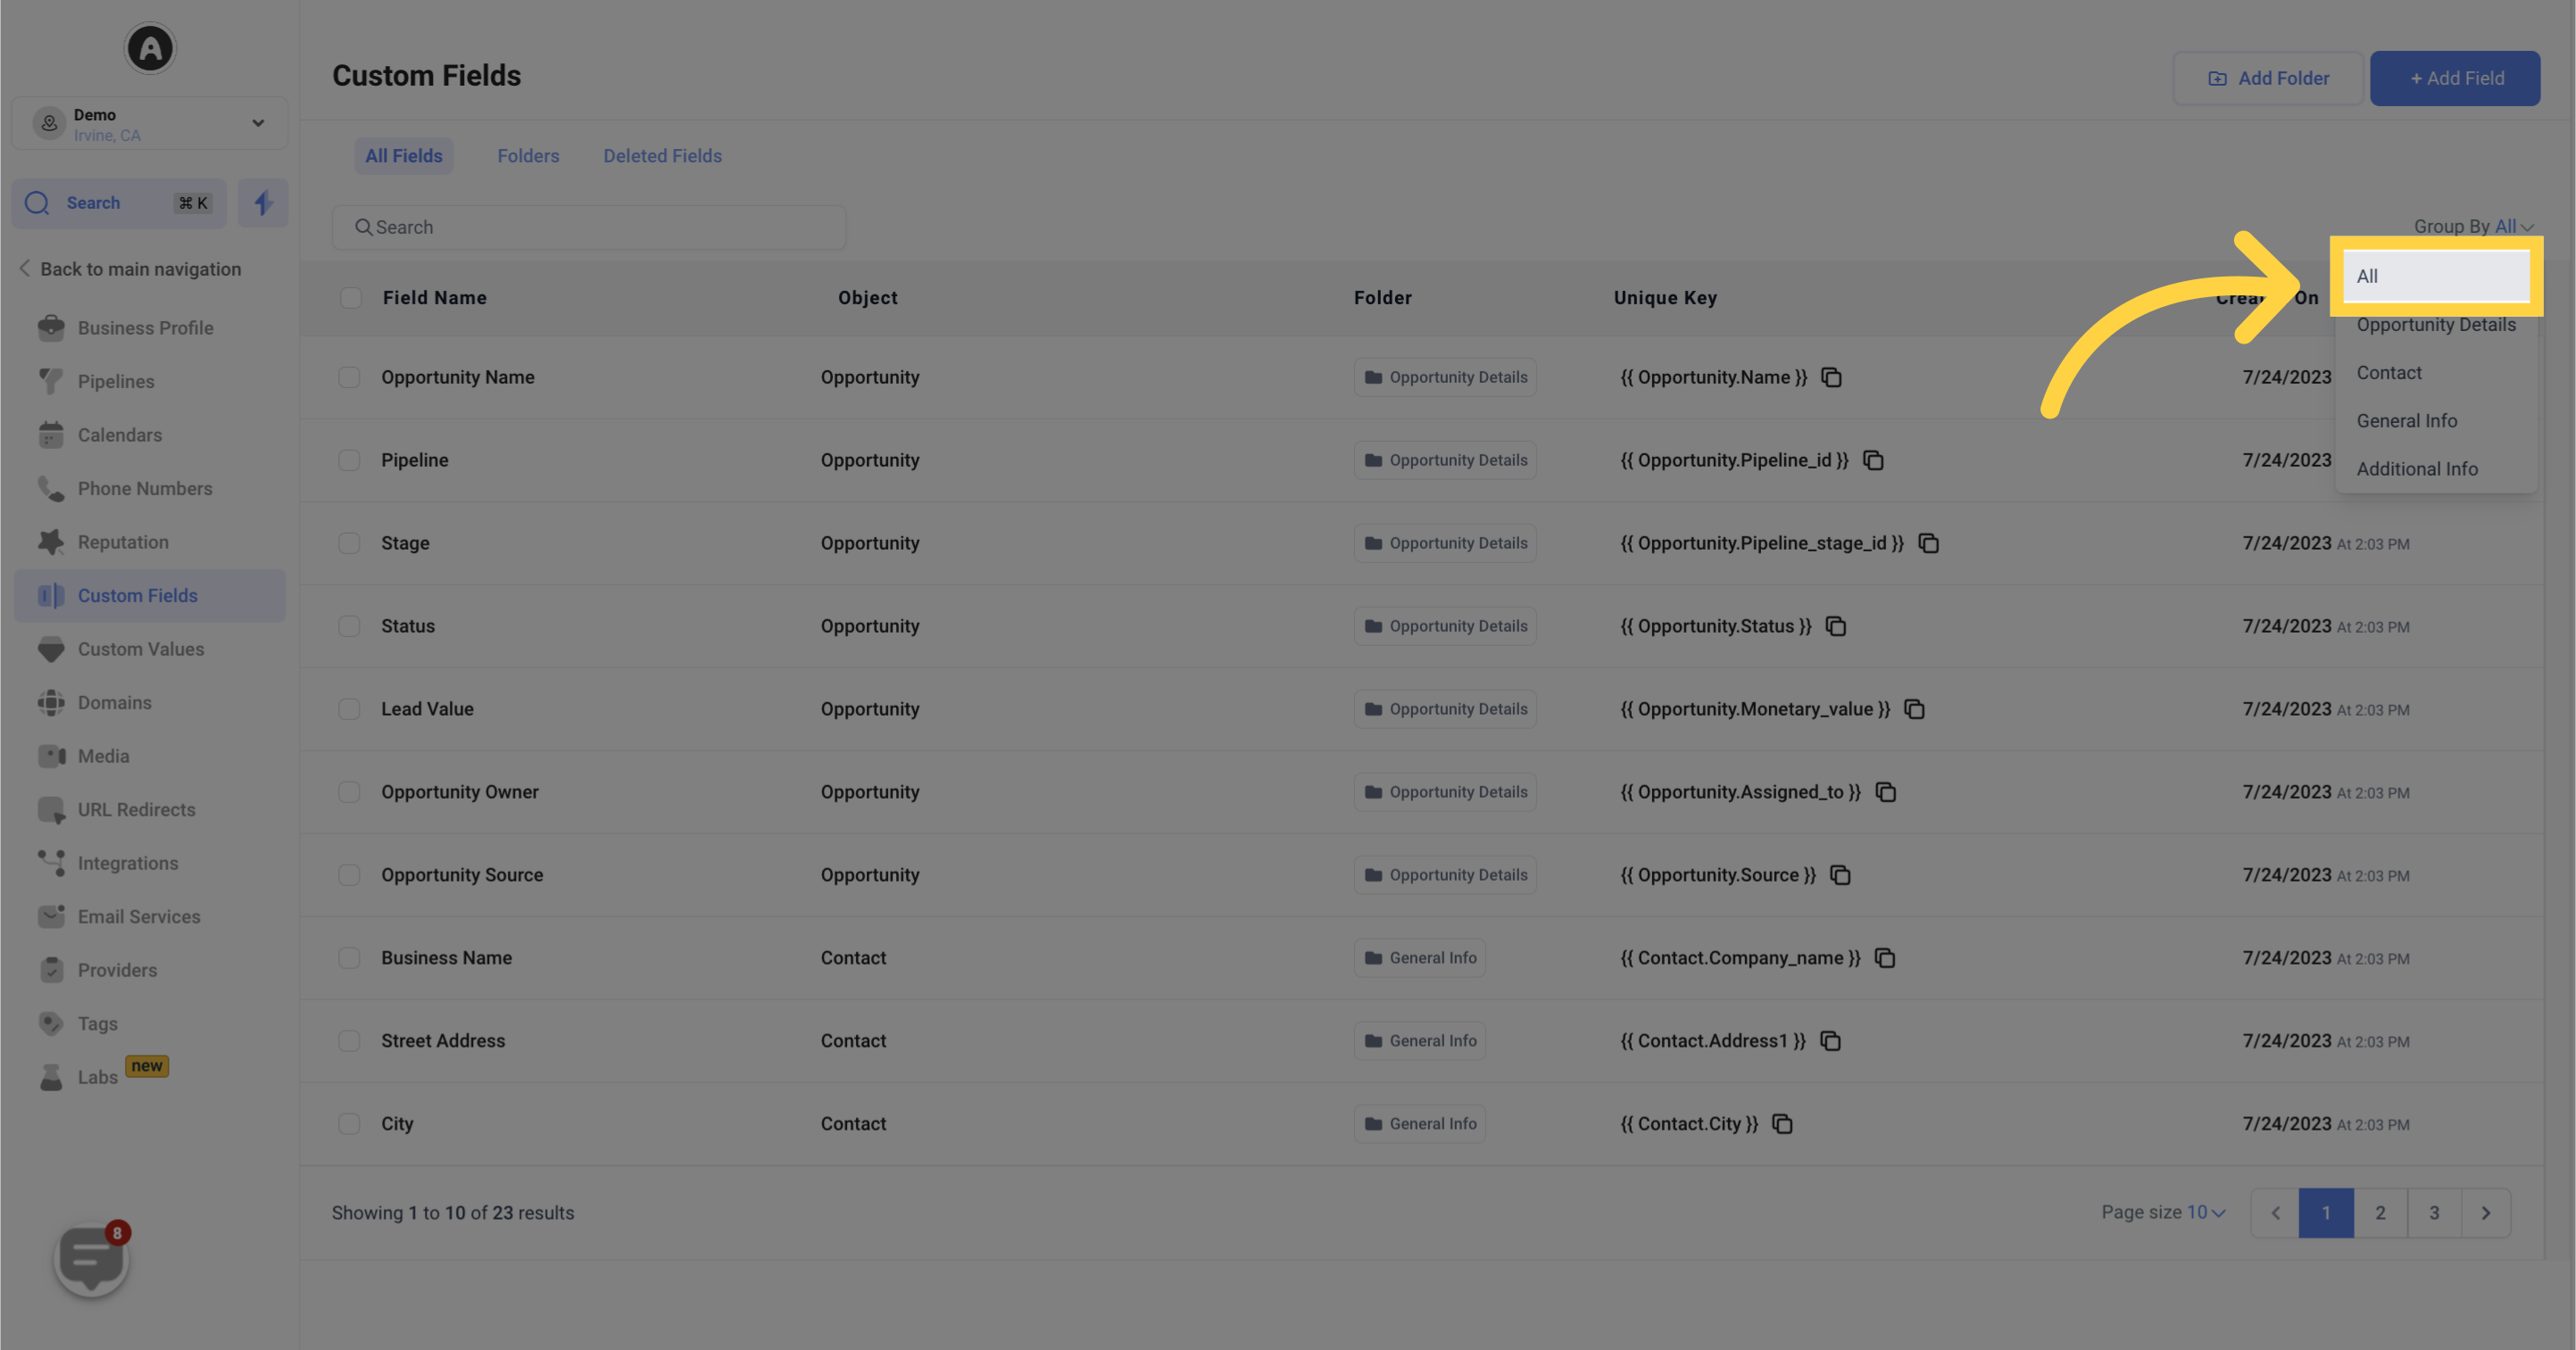

This filter shows custom fields created for Contacts.

This filter shows custom fields created for General Info.
This filter shows custom fields created for Additional Info.
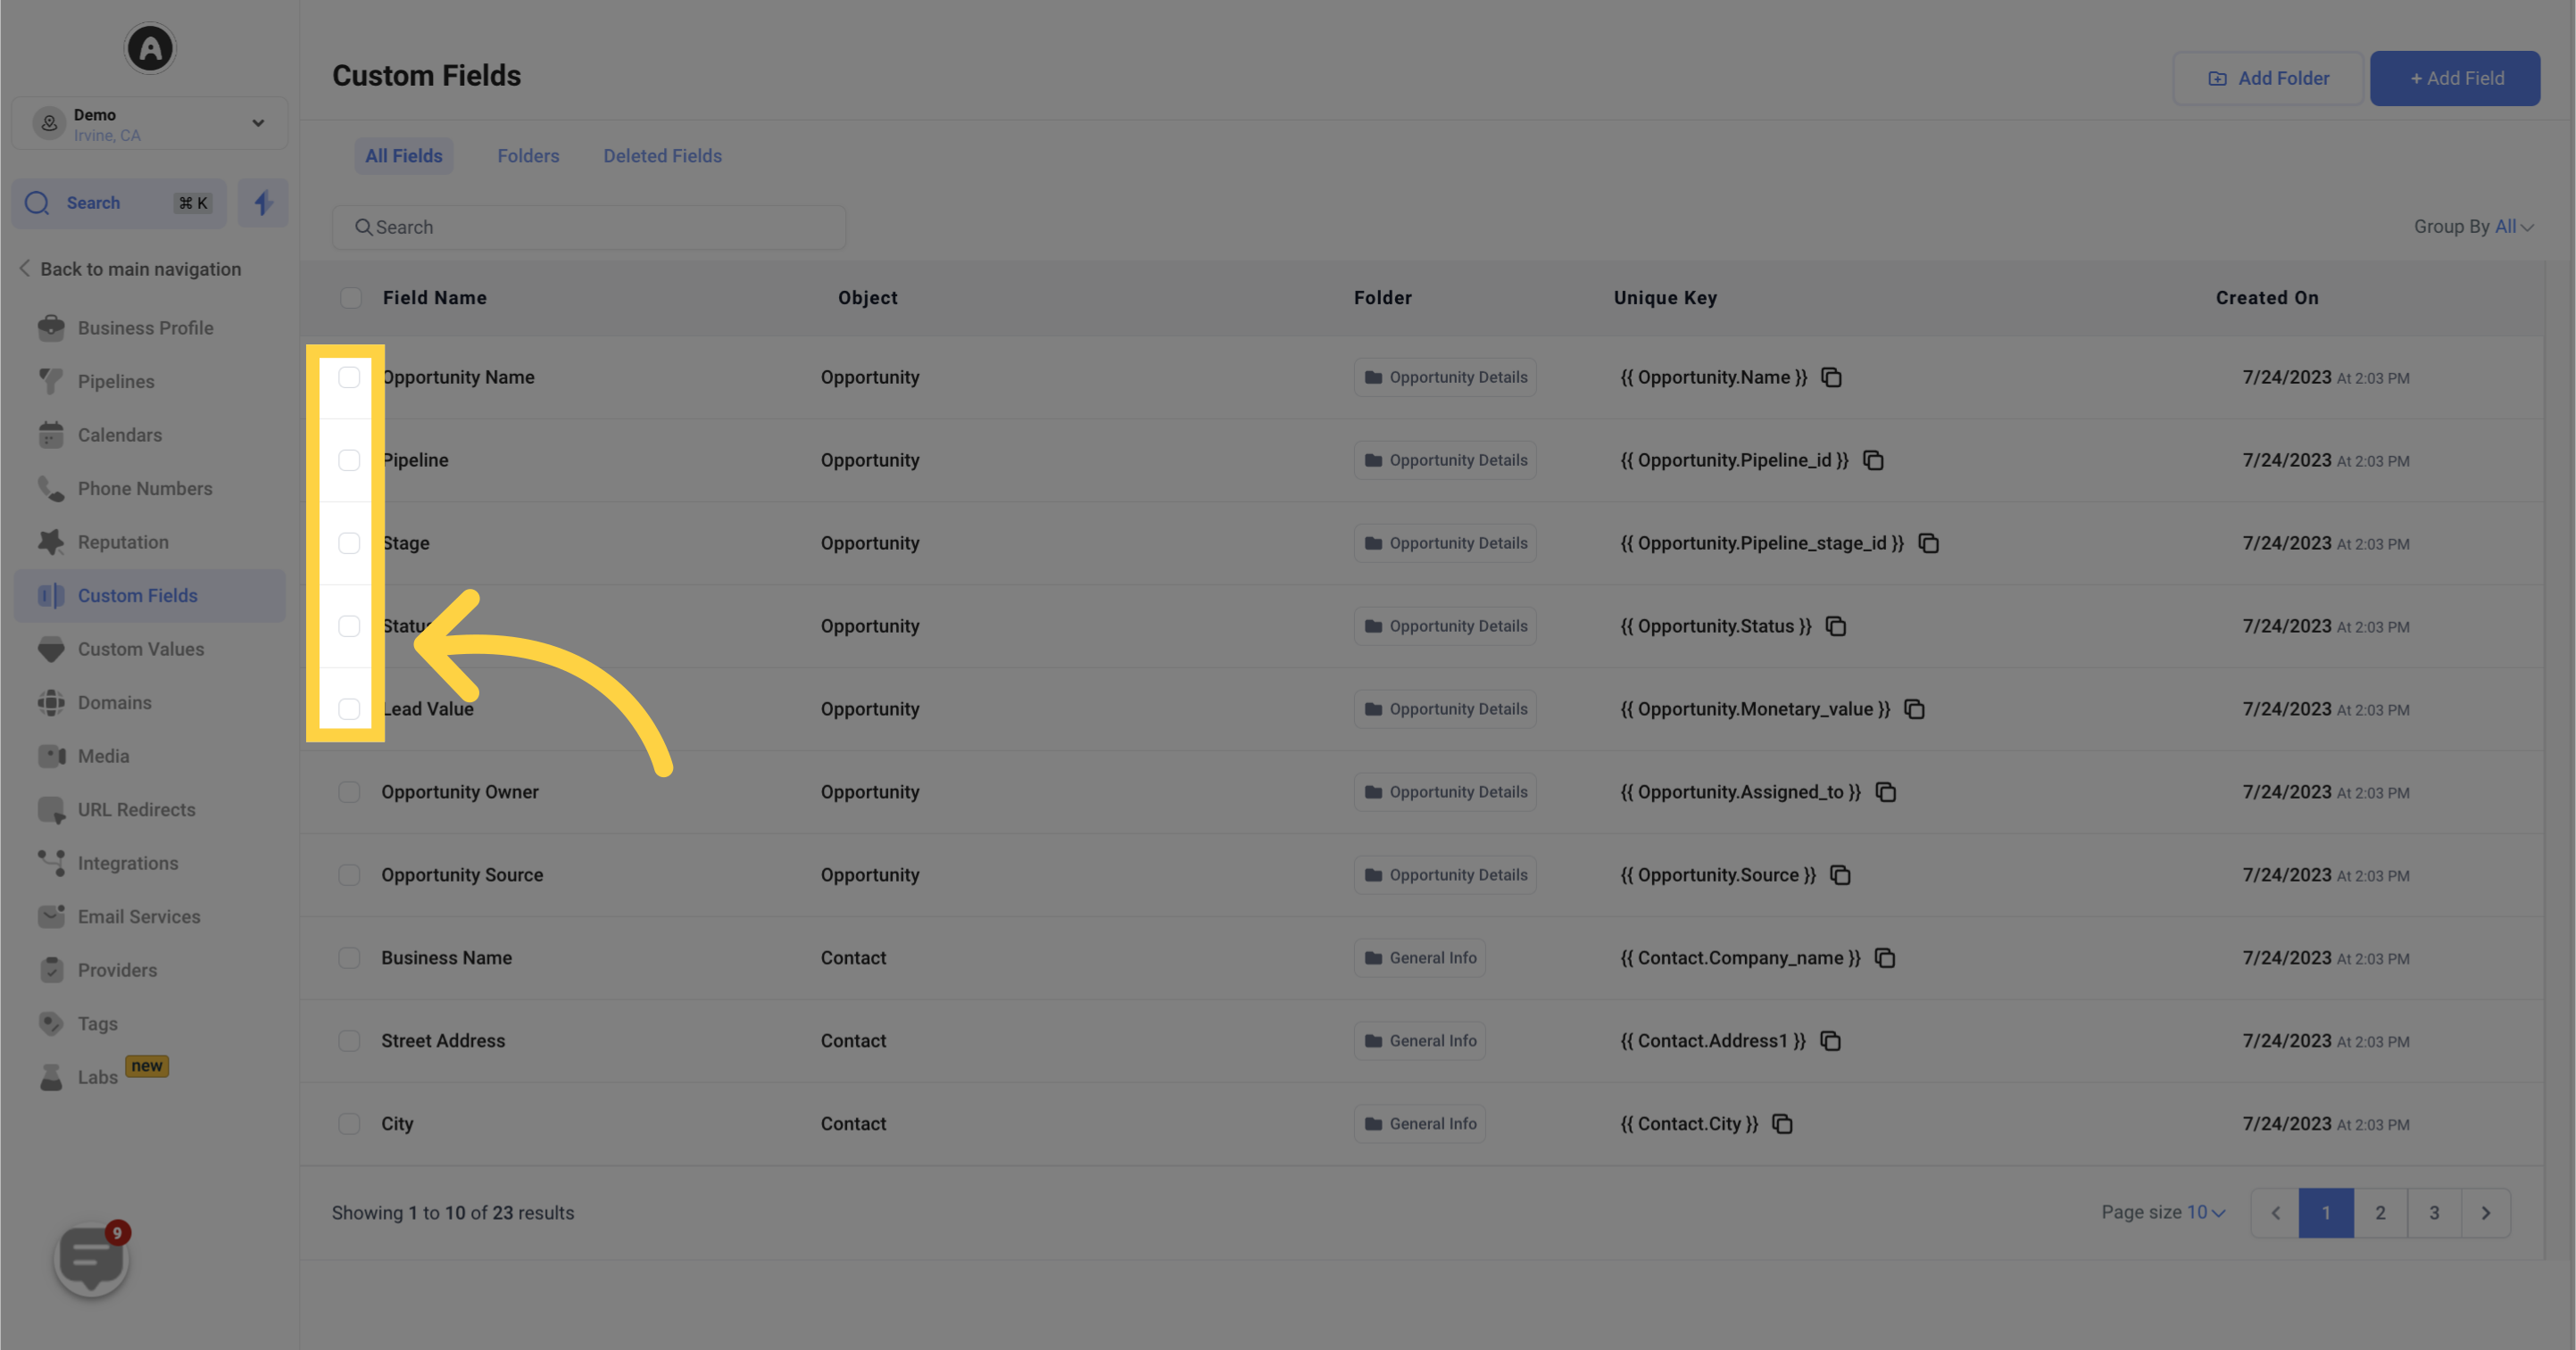
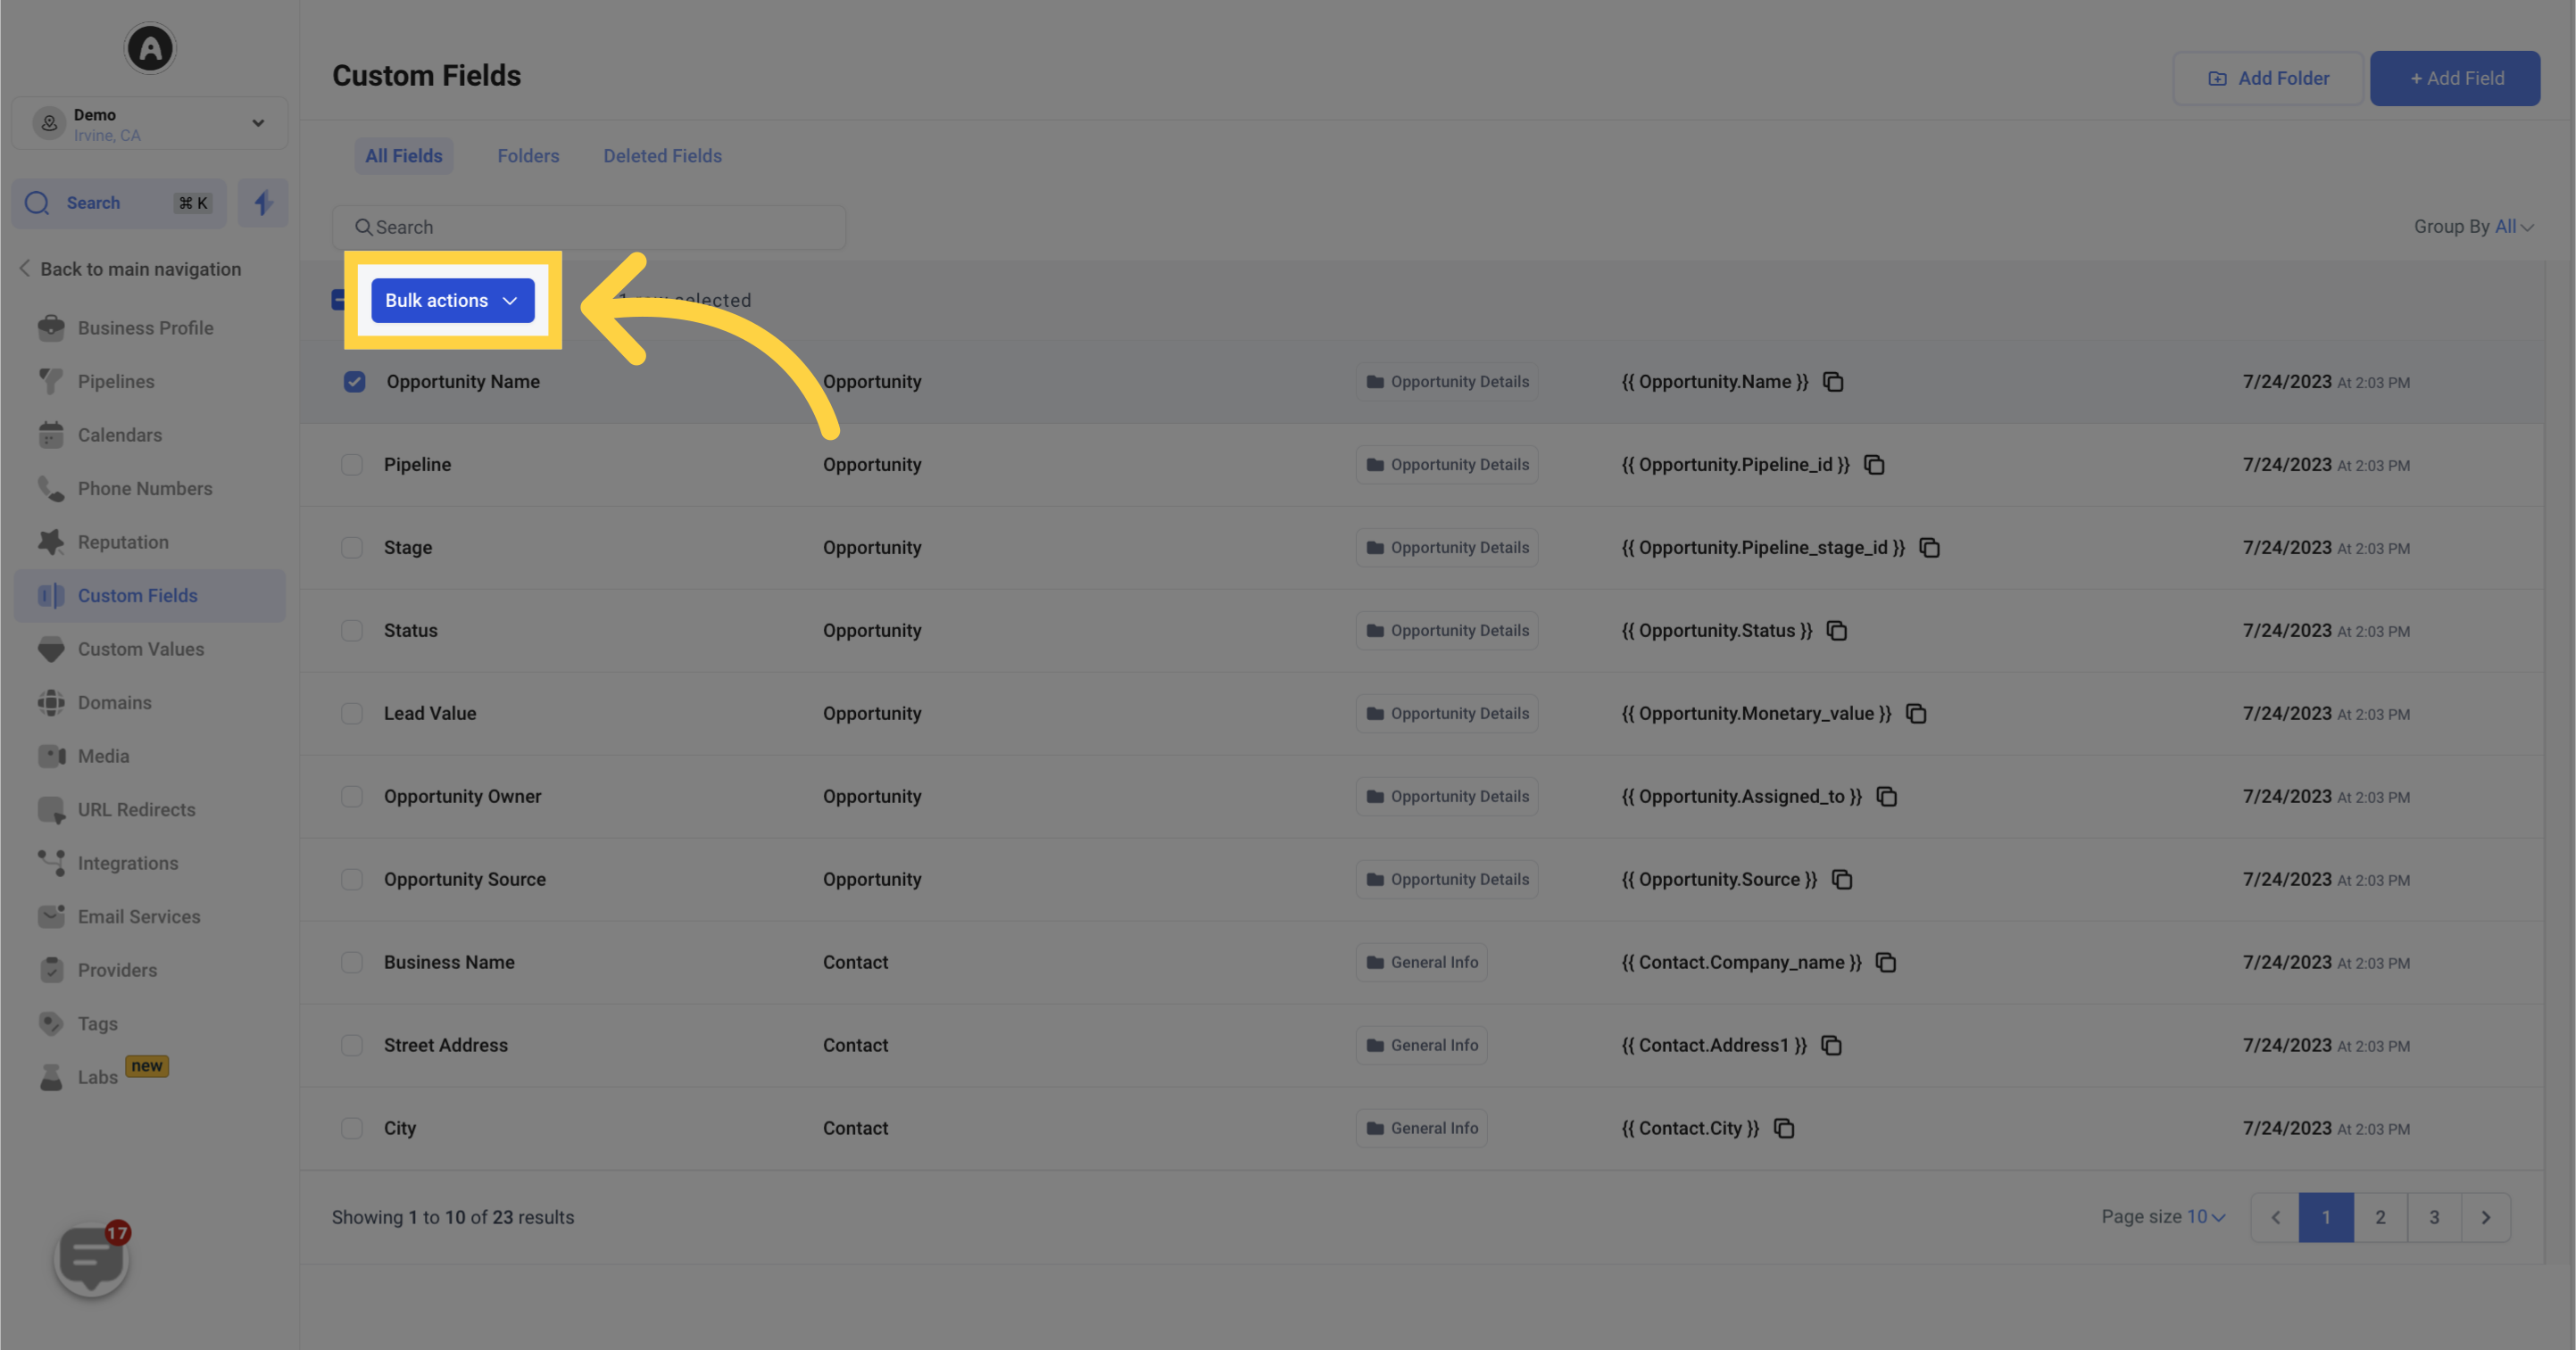
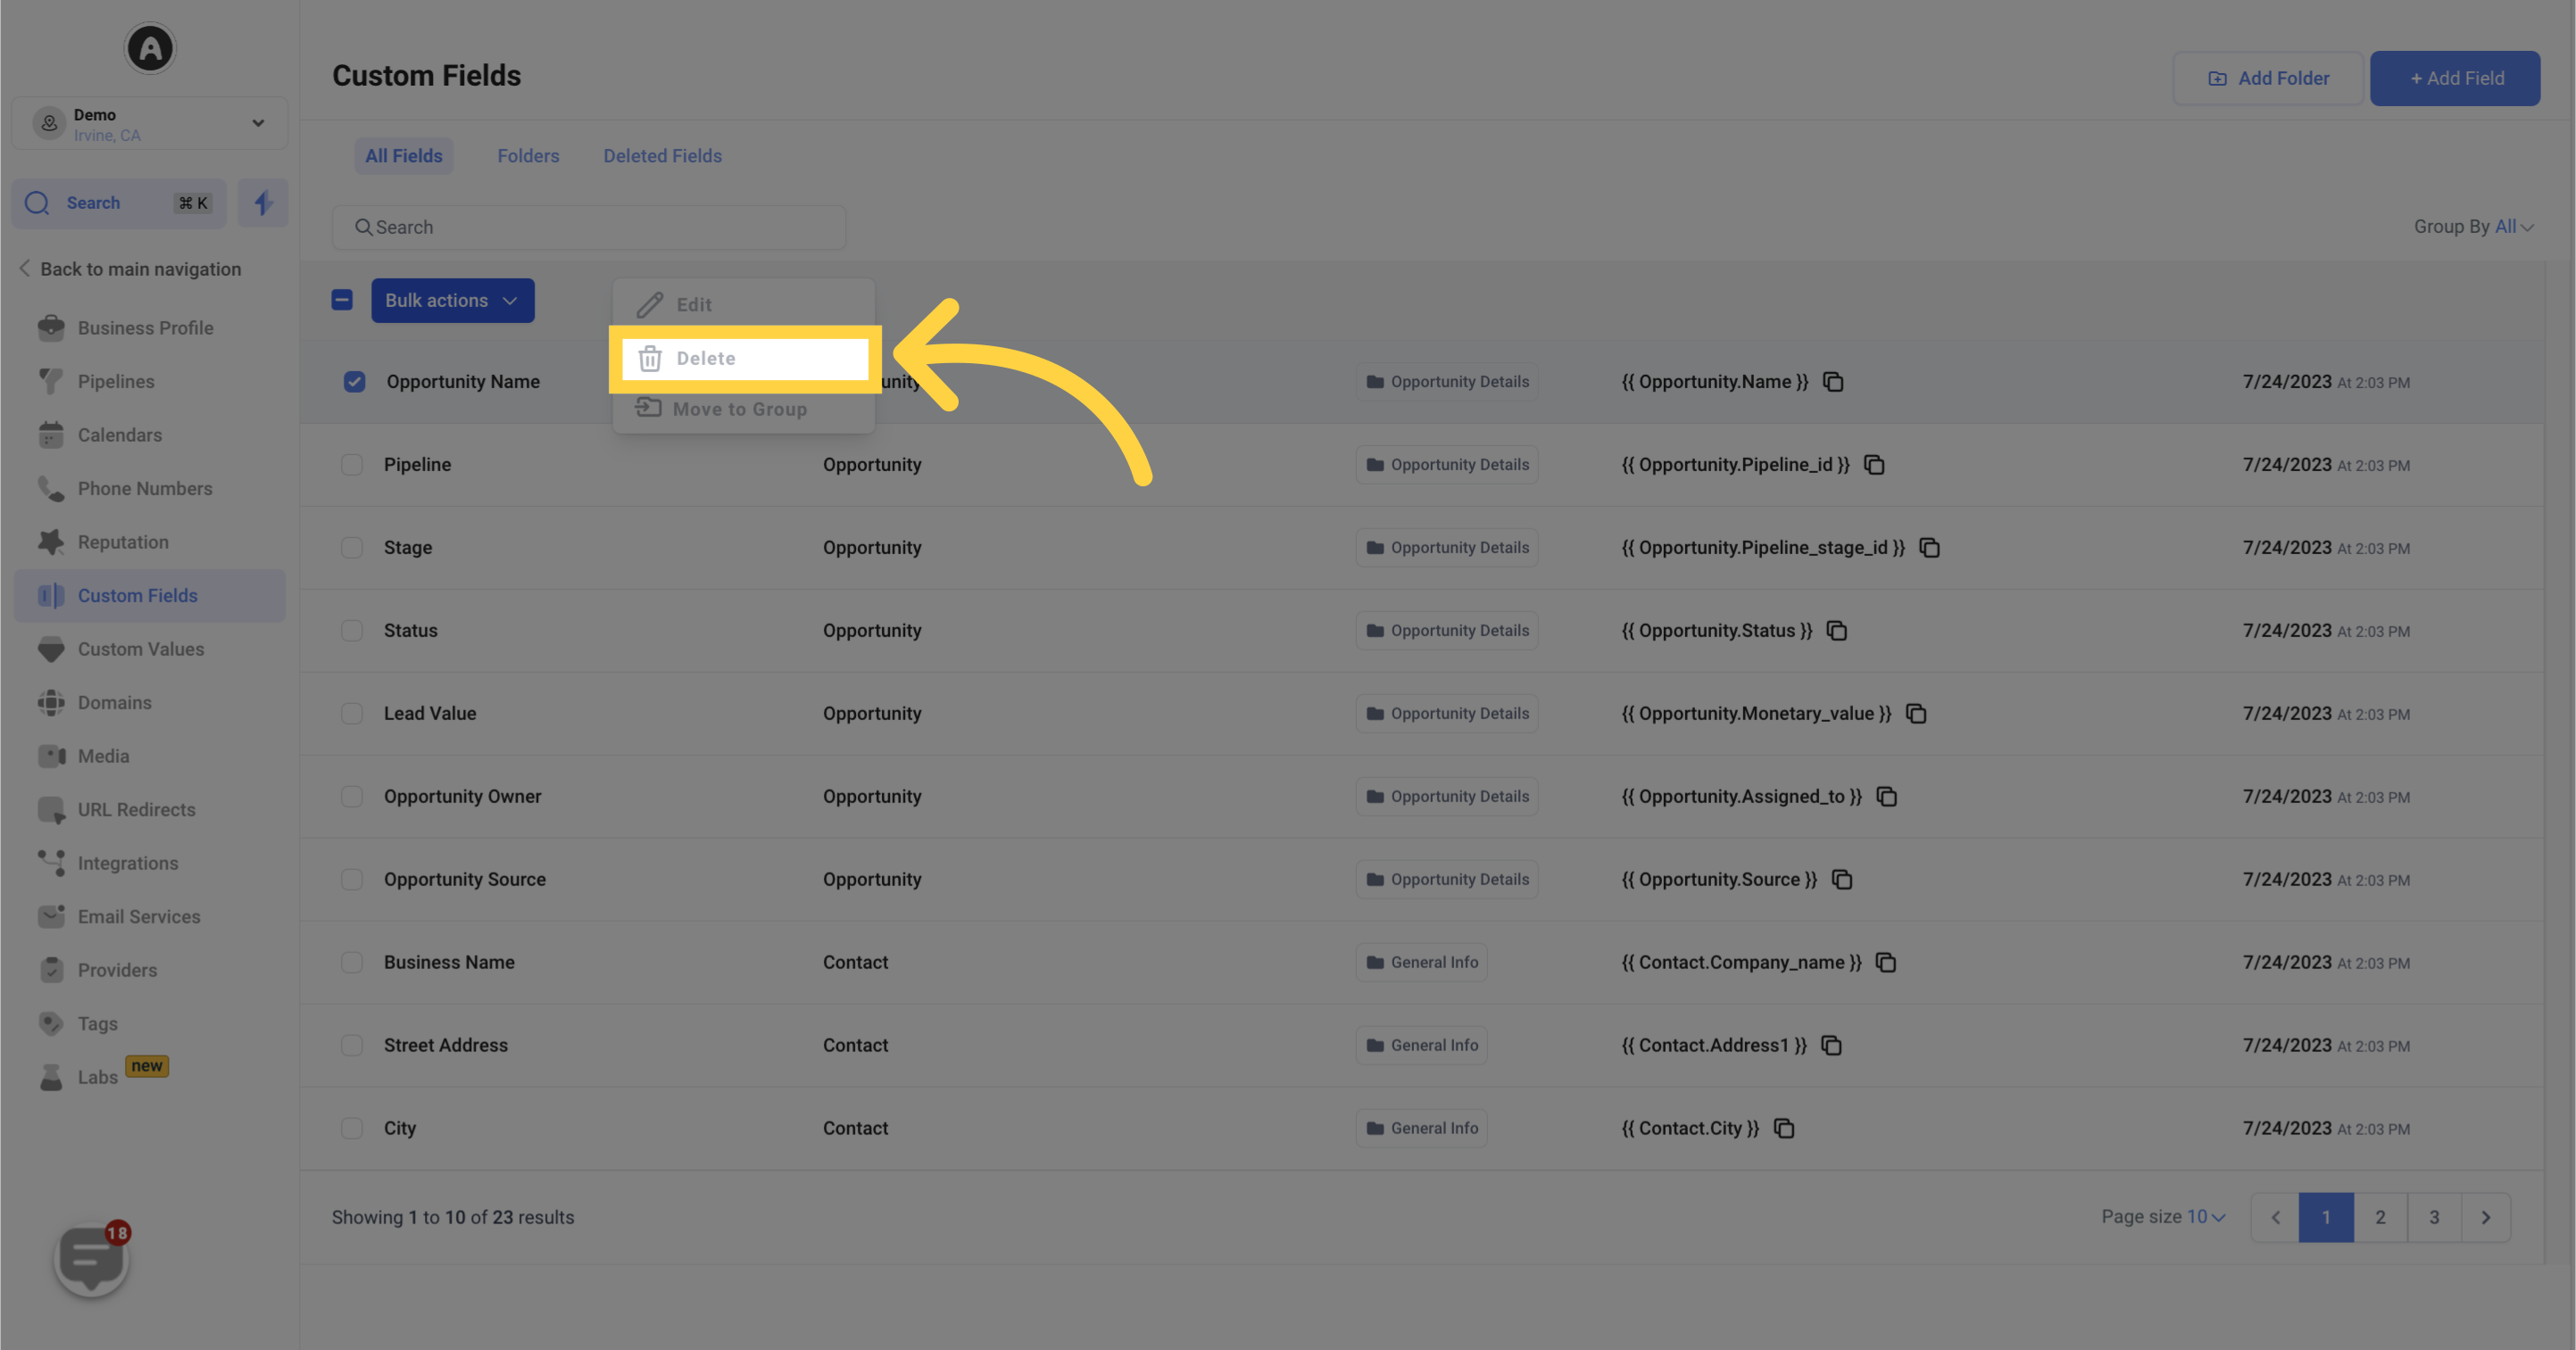
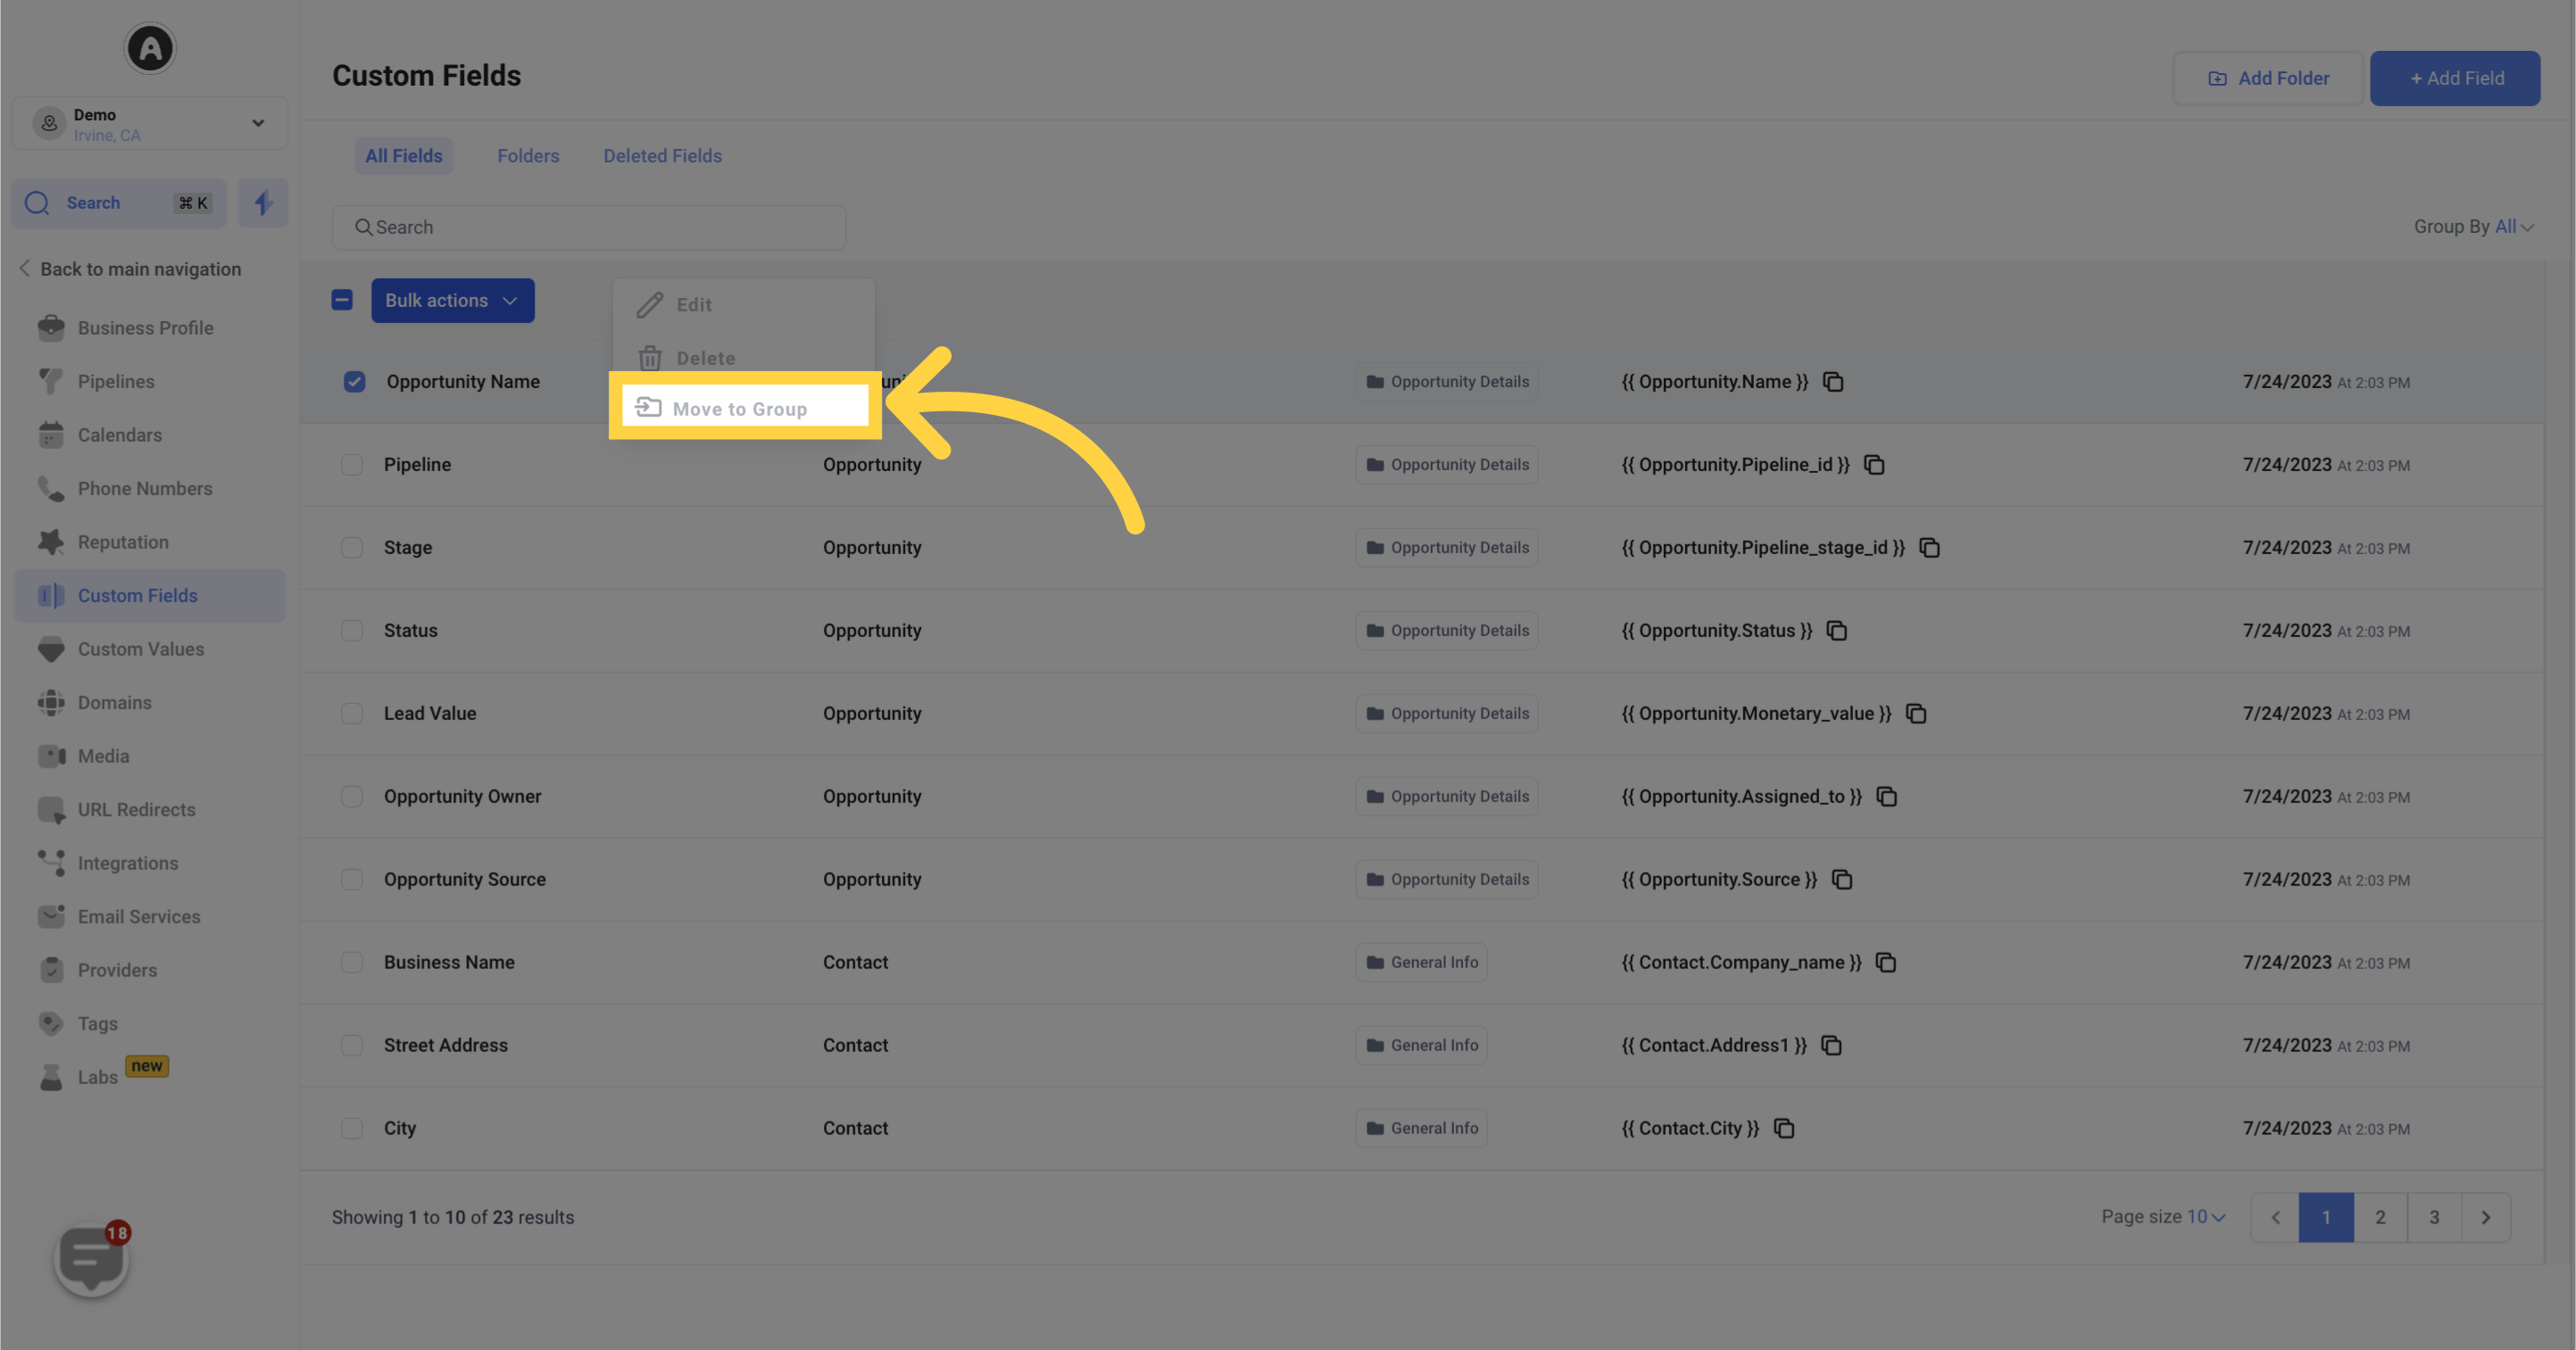
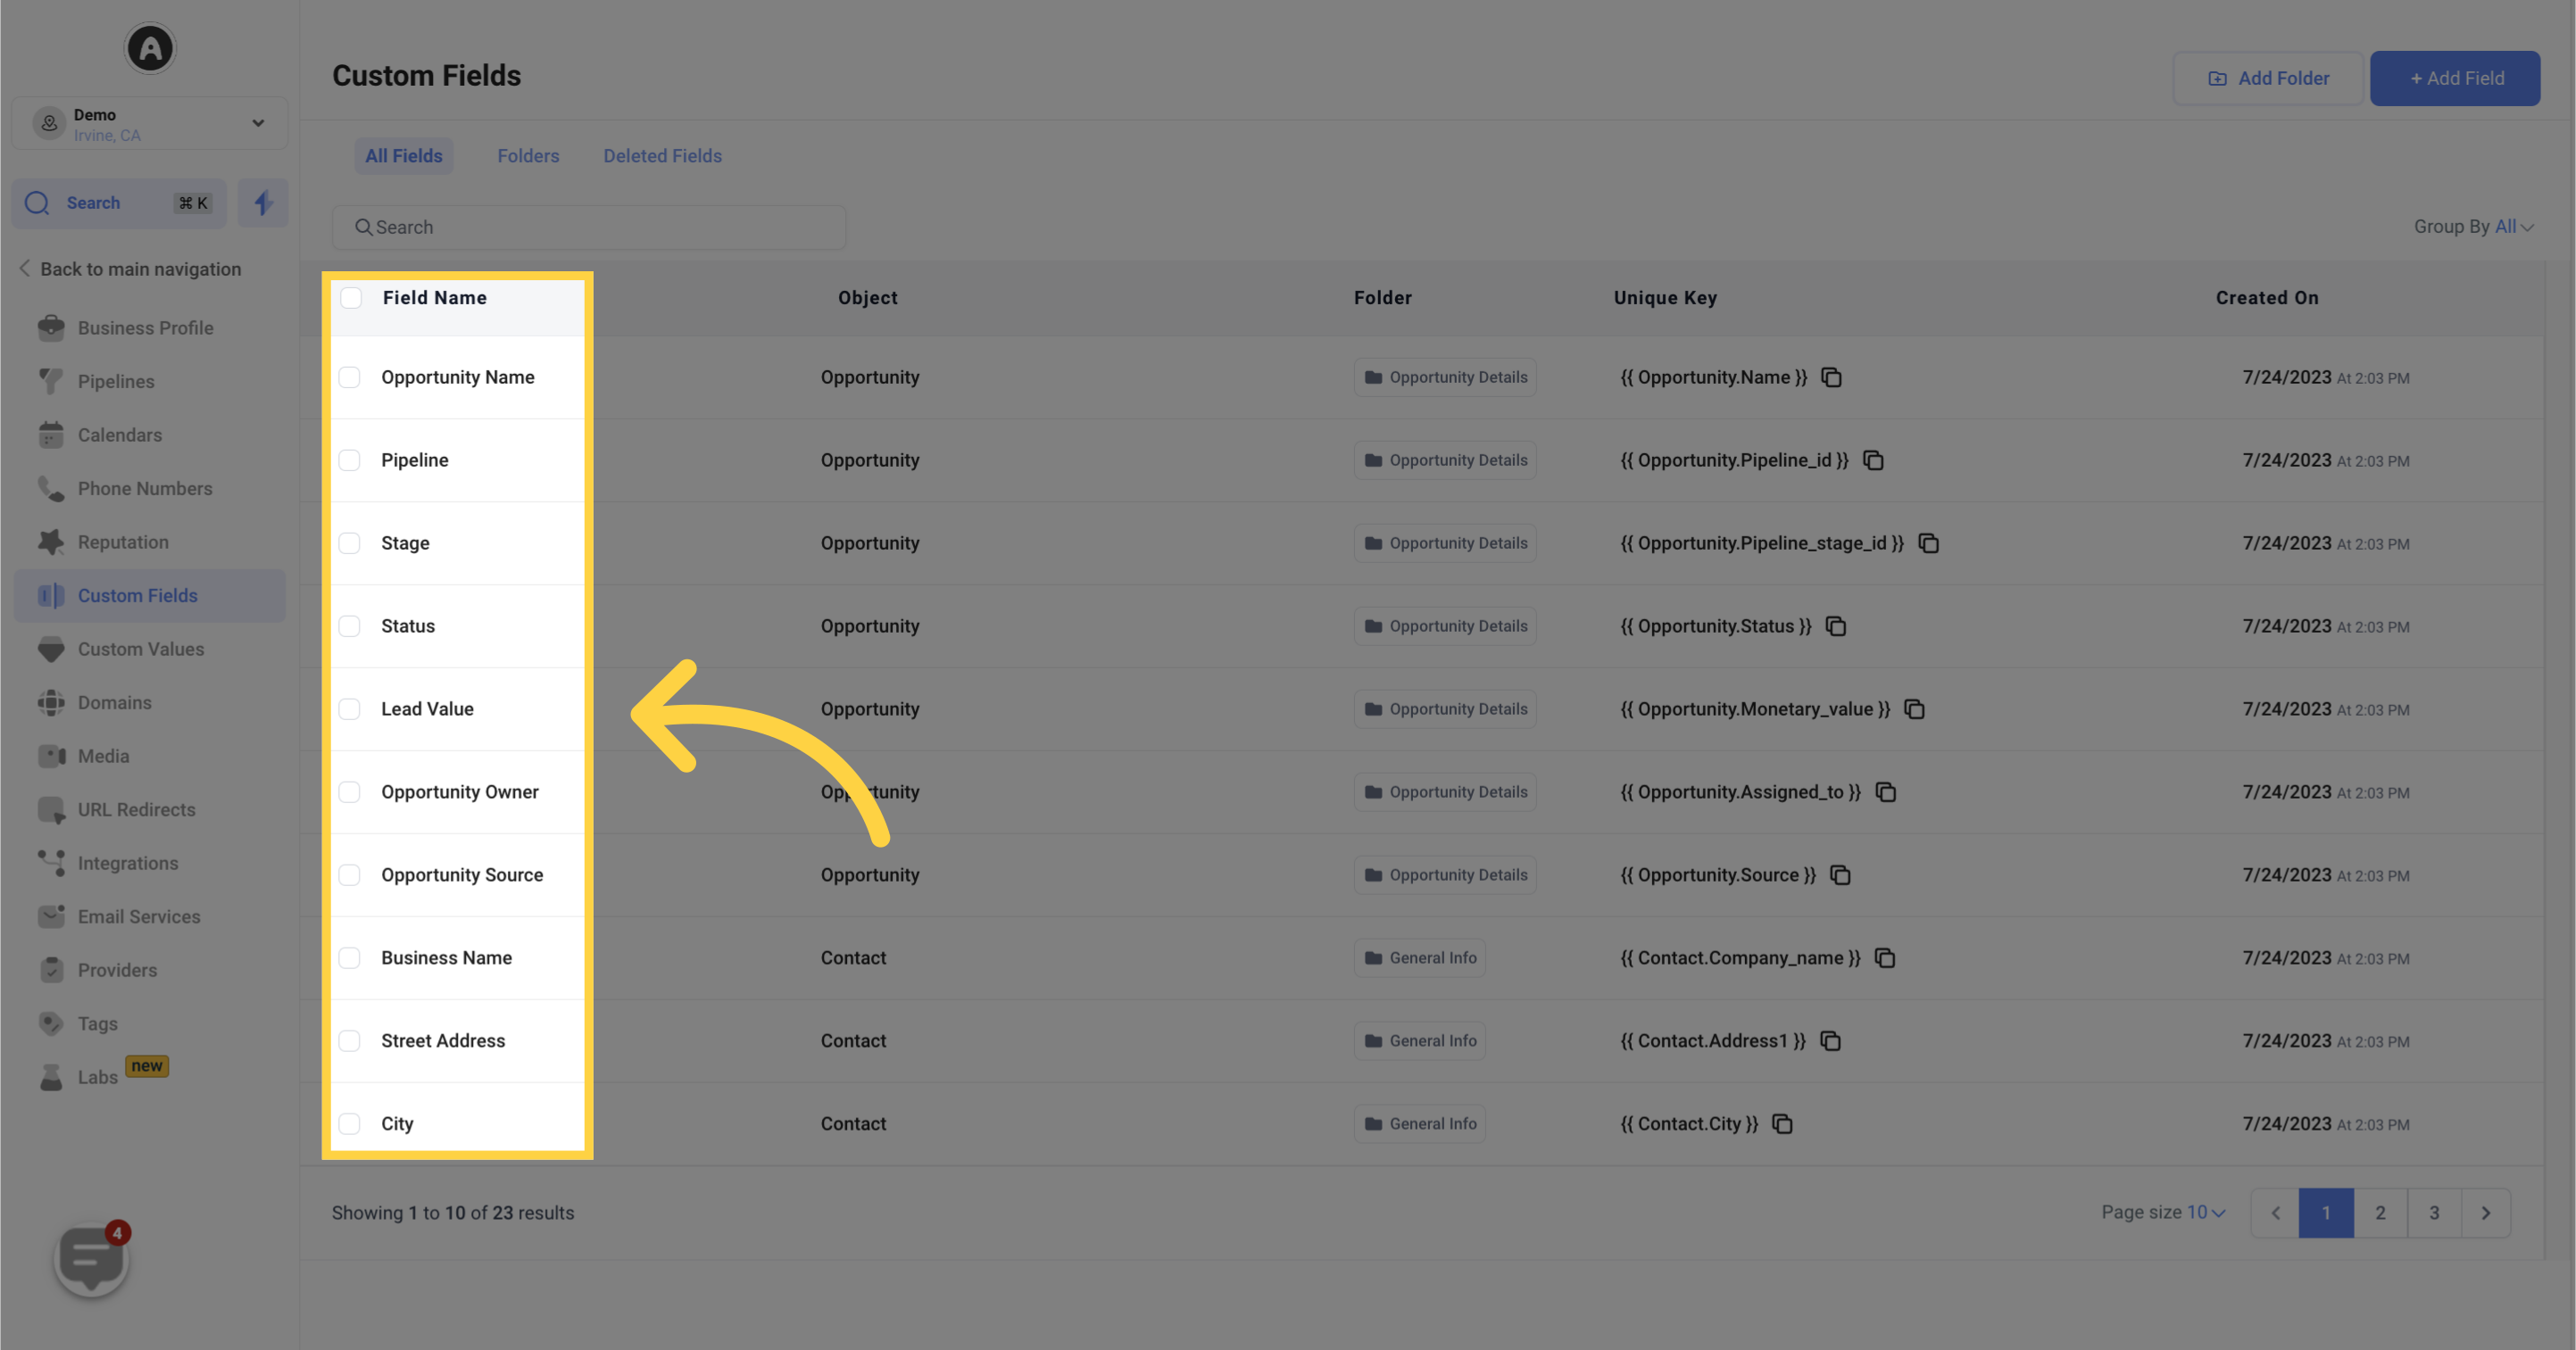
The checkboxes next to each custom field give you the power to perform different actions. You can select one or multiple fields depending on the action you want to take.
Once you select the custom fields, you have three bulk actions available:
Click this icon to edit existing custom fields.
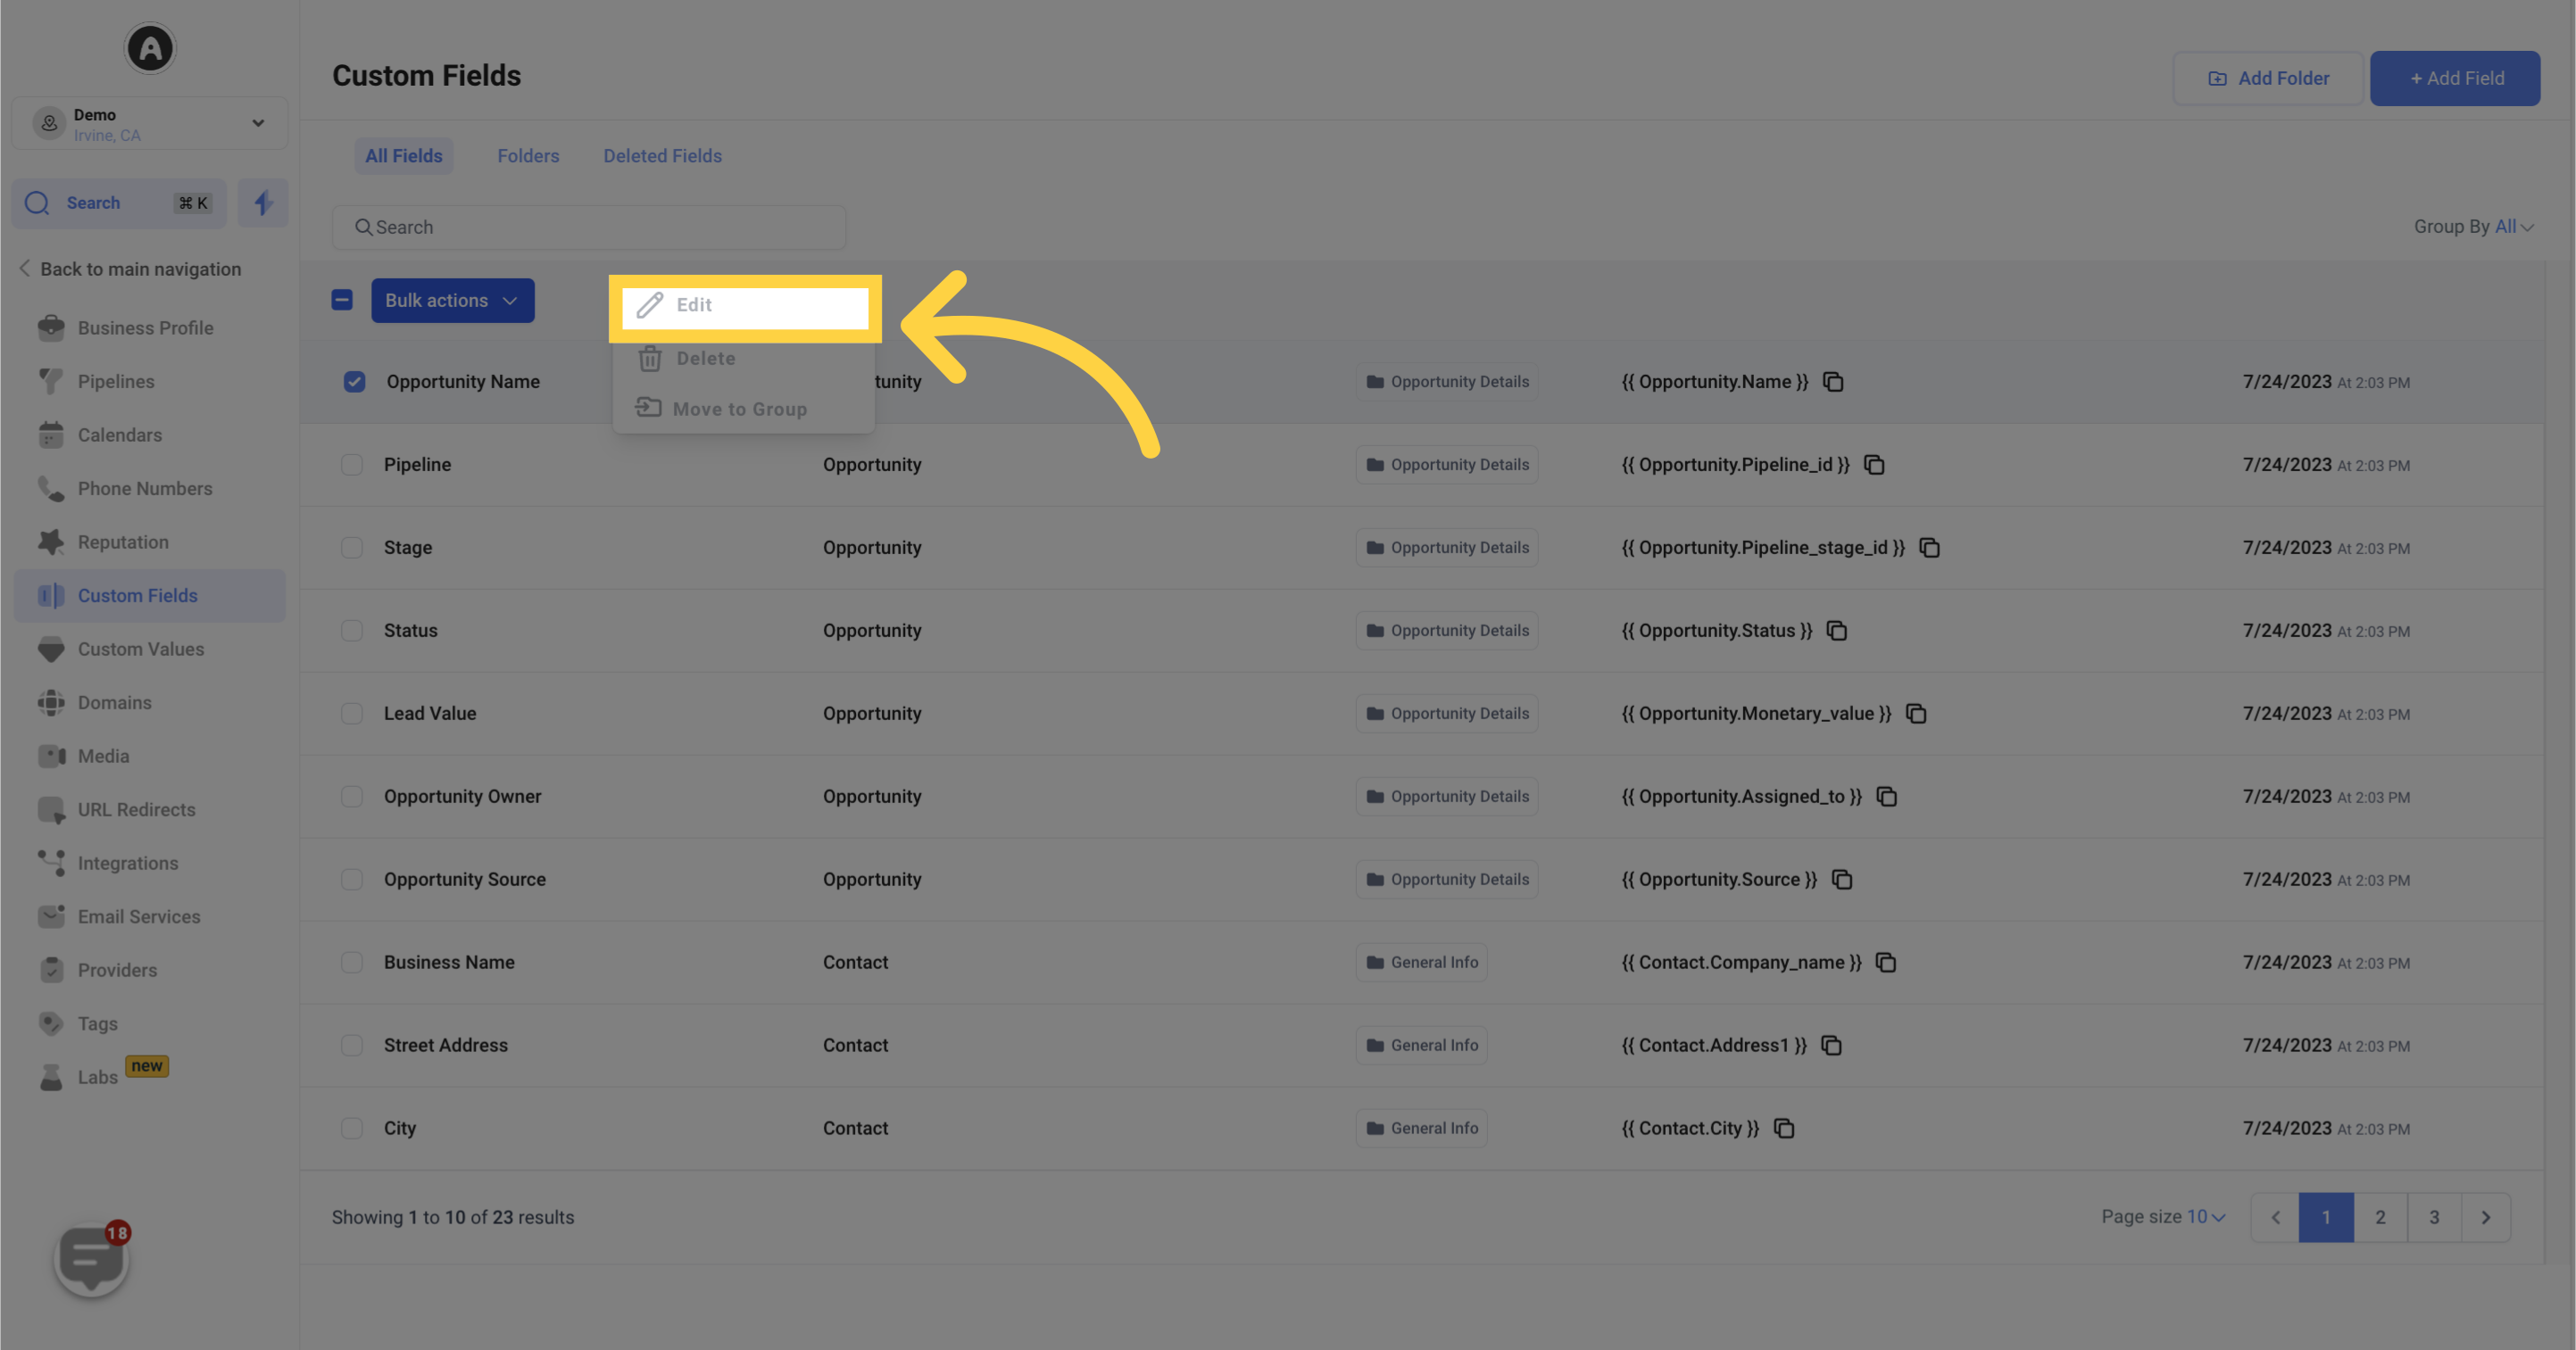
Click this icon to permanently delete a custom field.
Use this option to move a custom field to a different group.
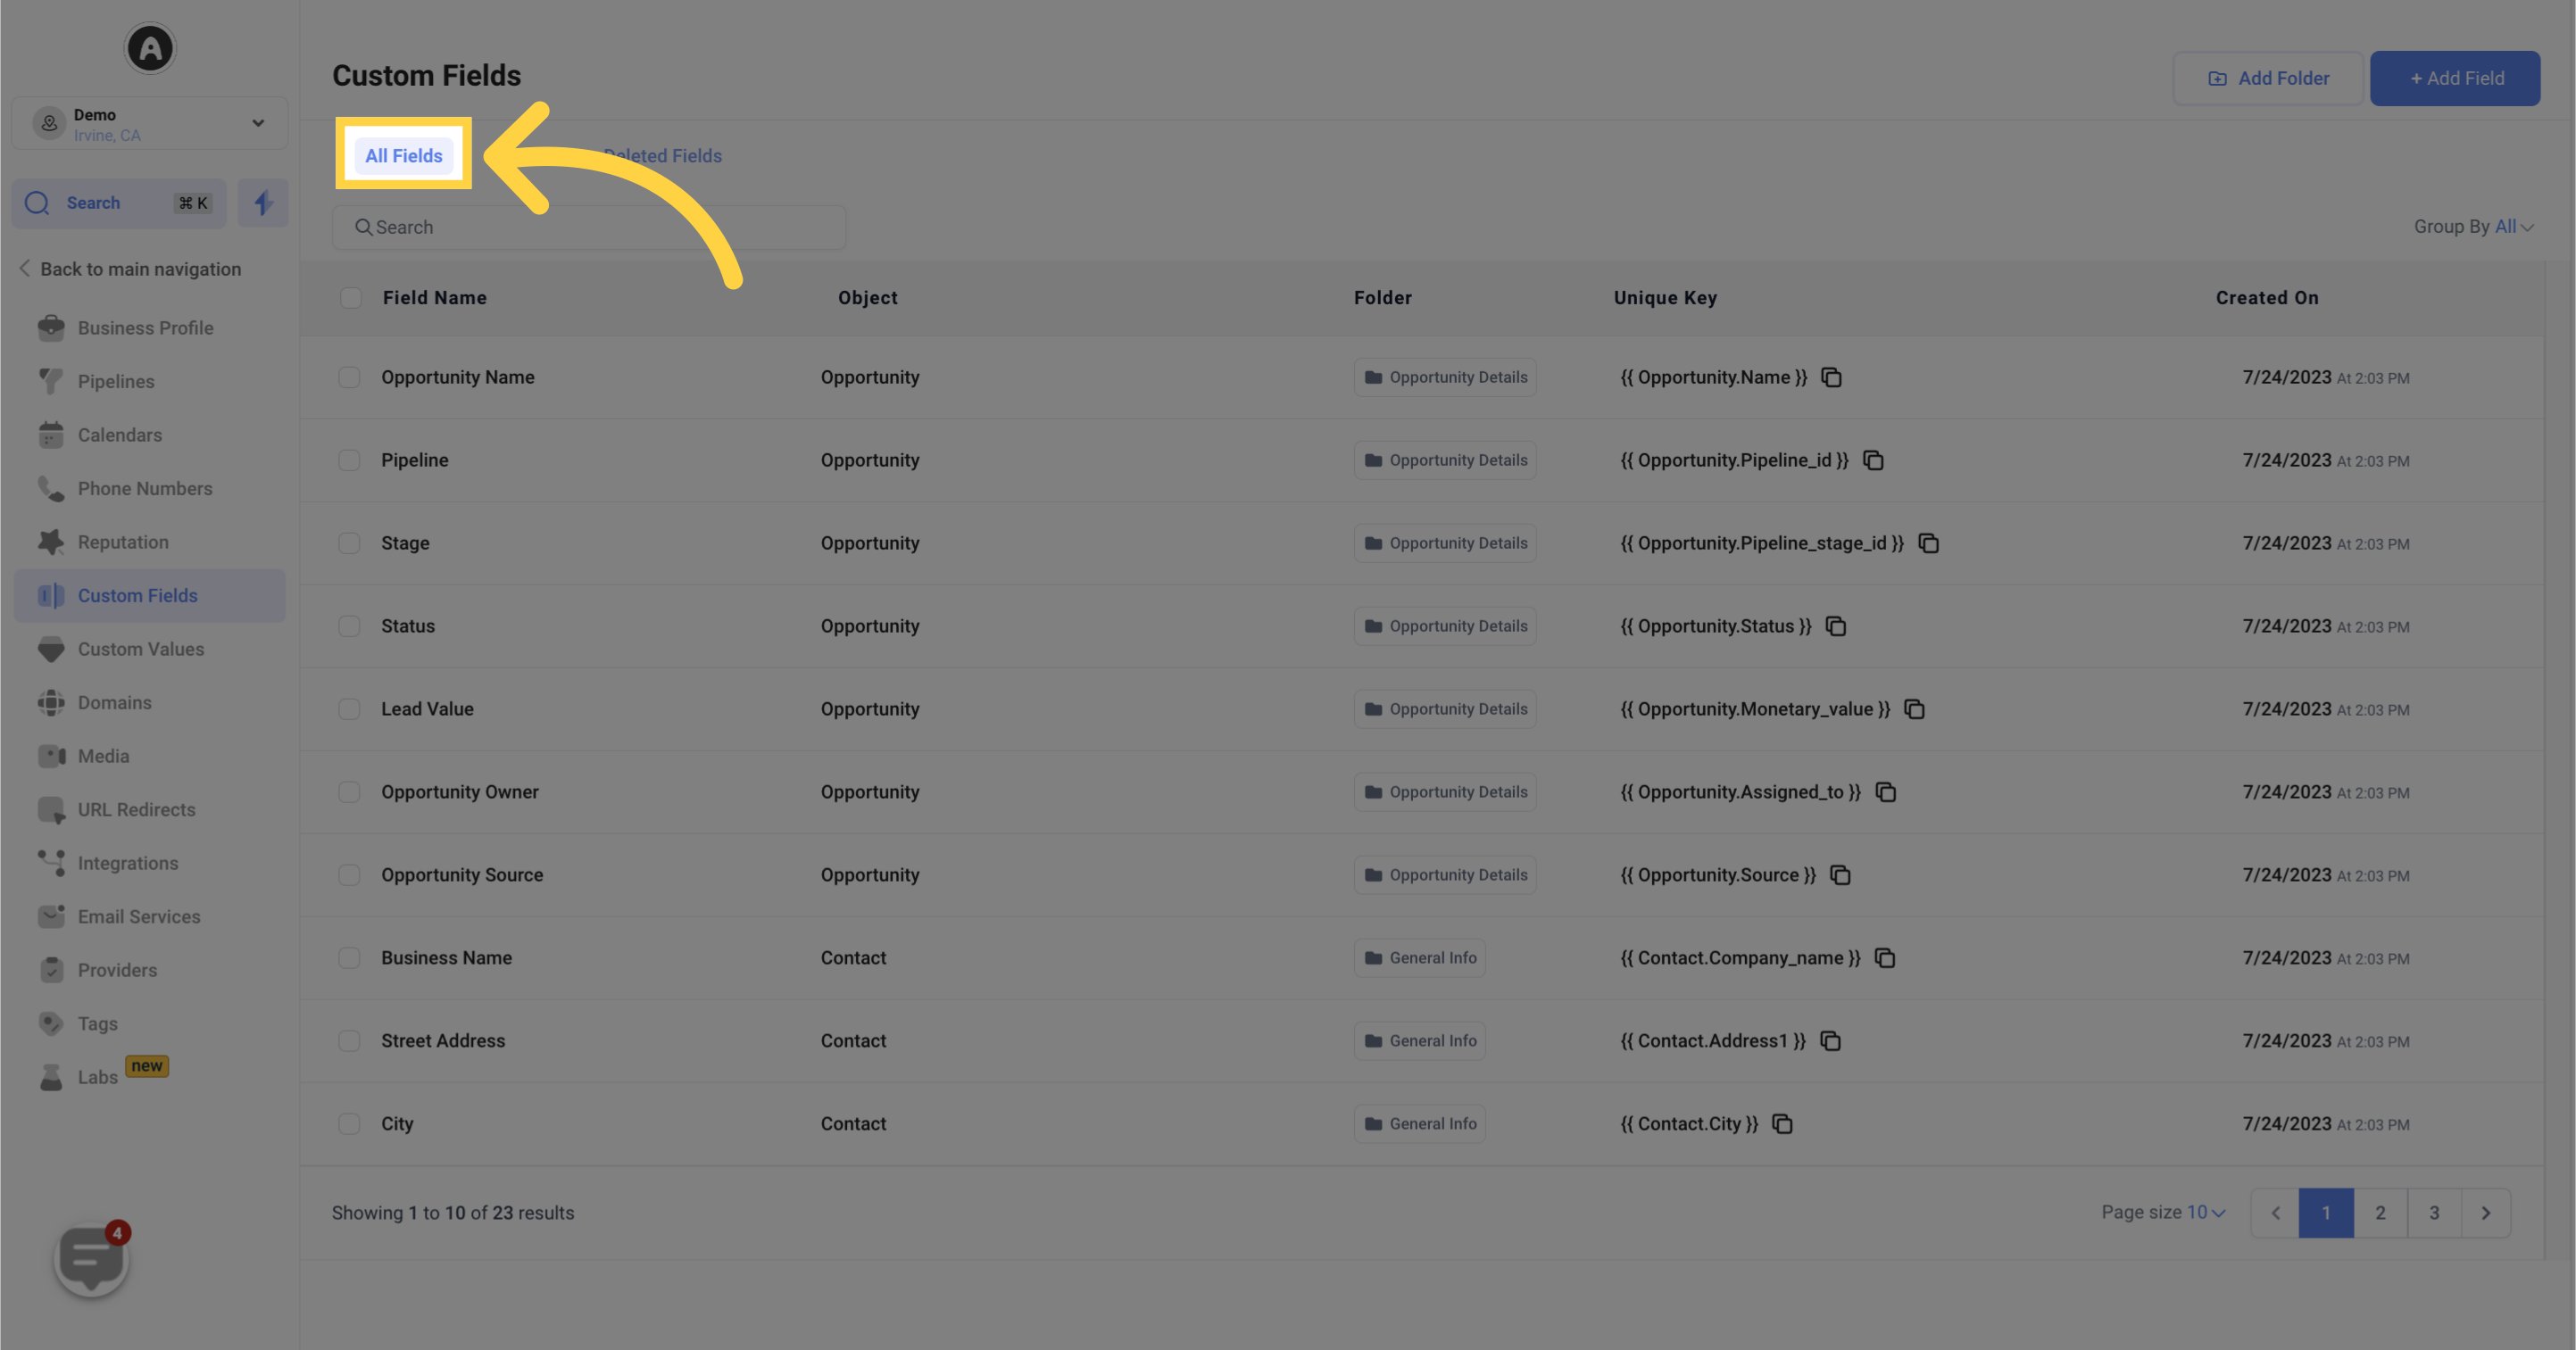
The Field Name column displays the labels assigned to your various custom fields, helping you easily identify them.
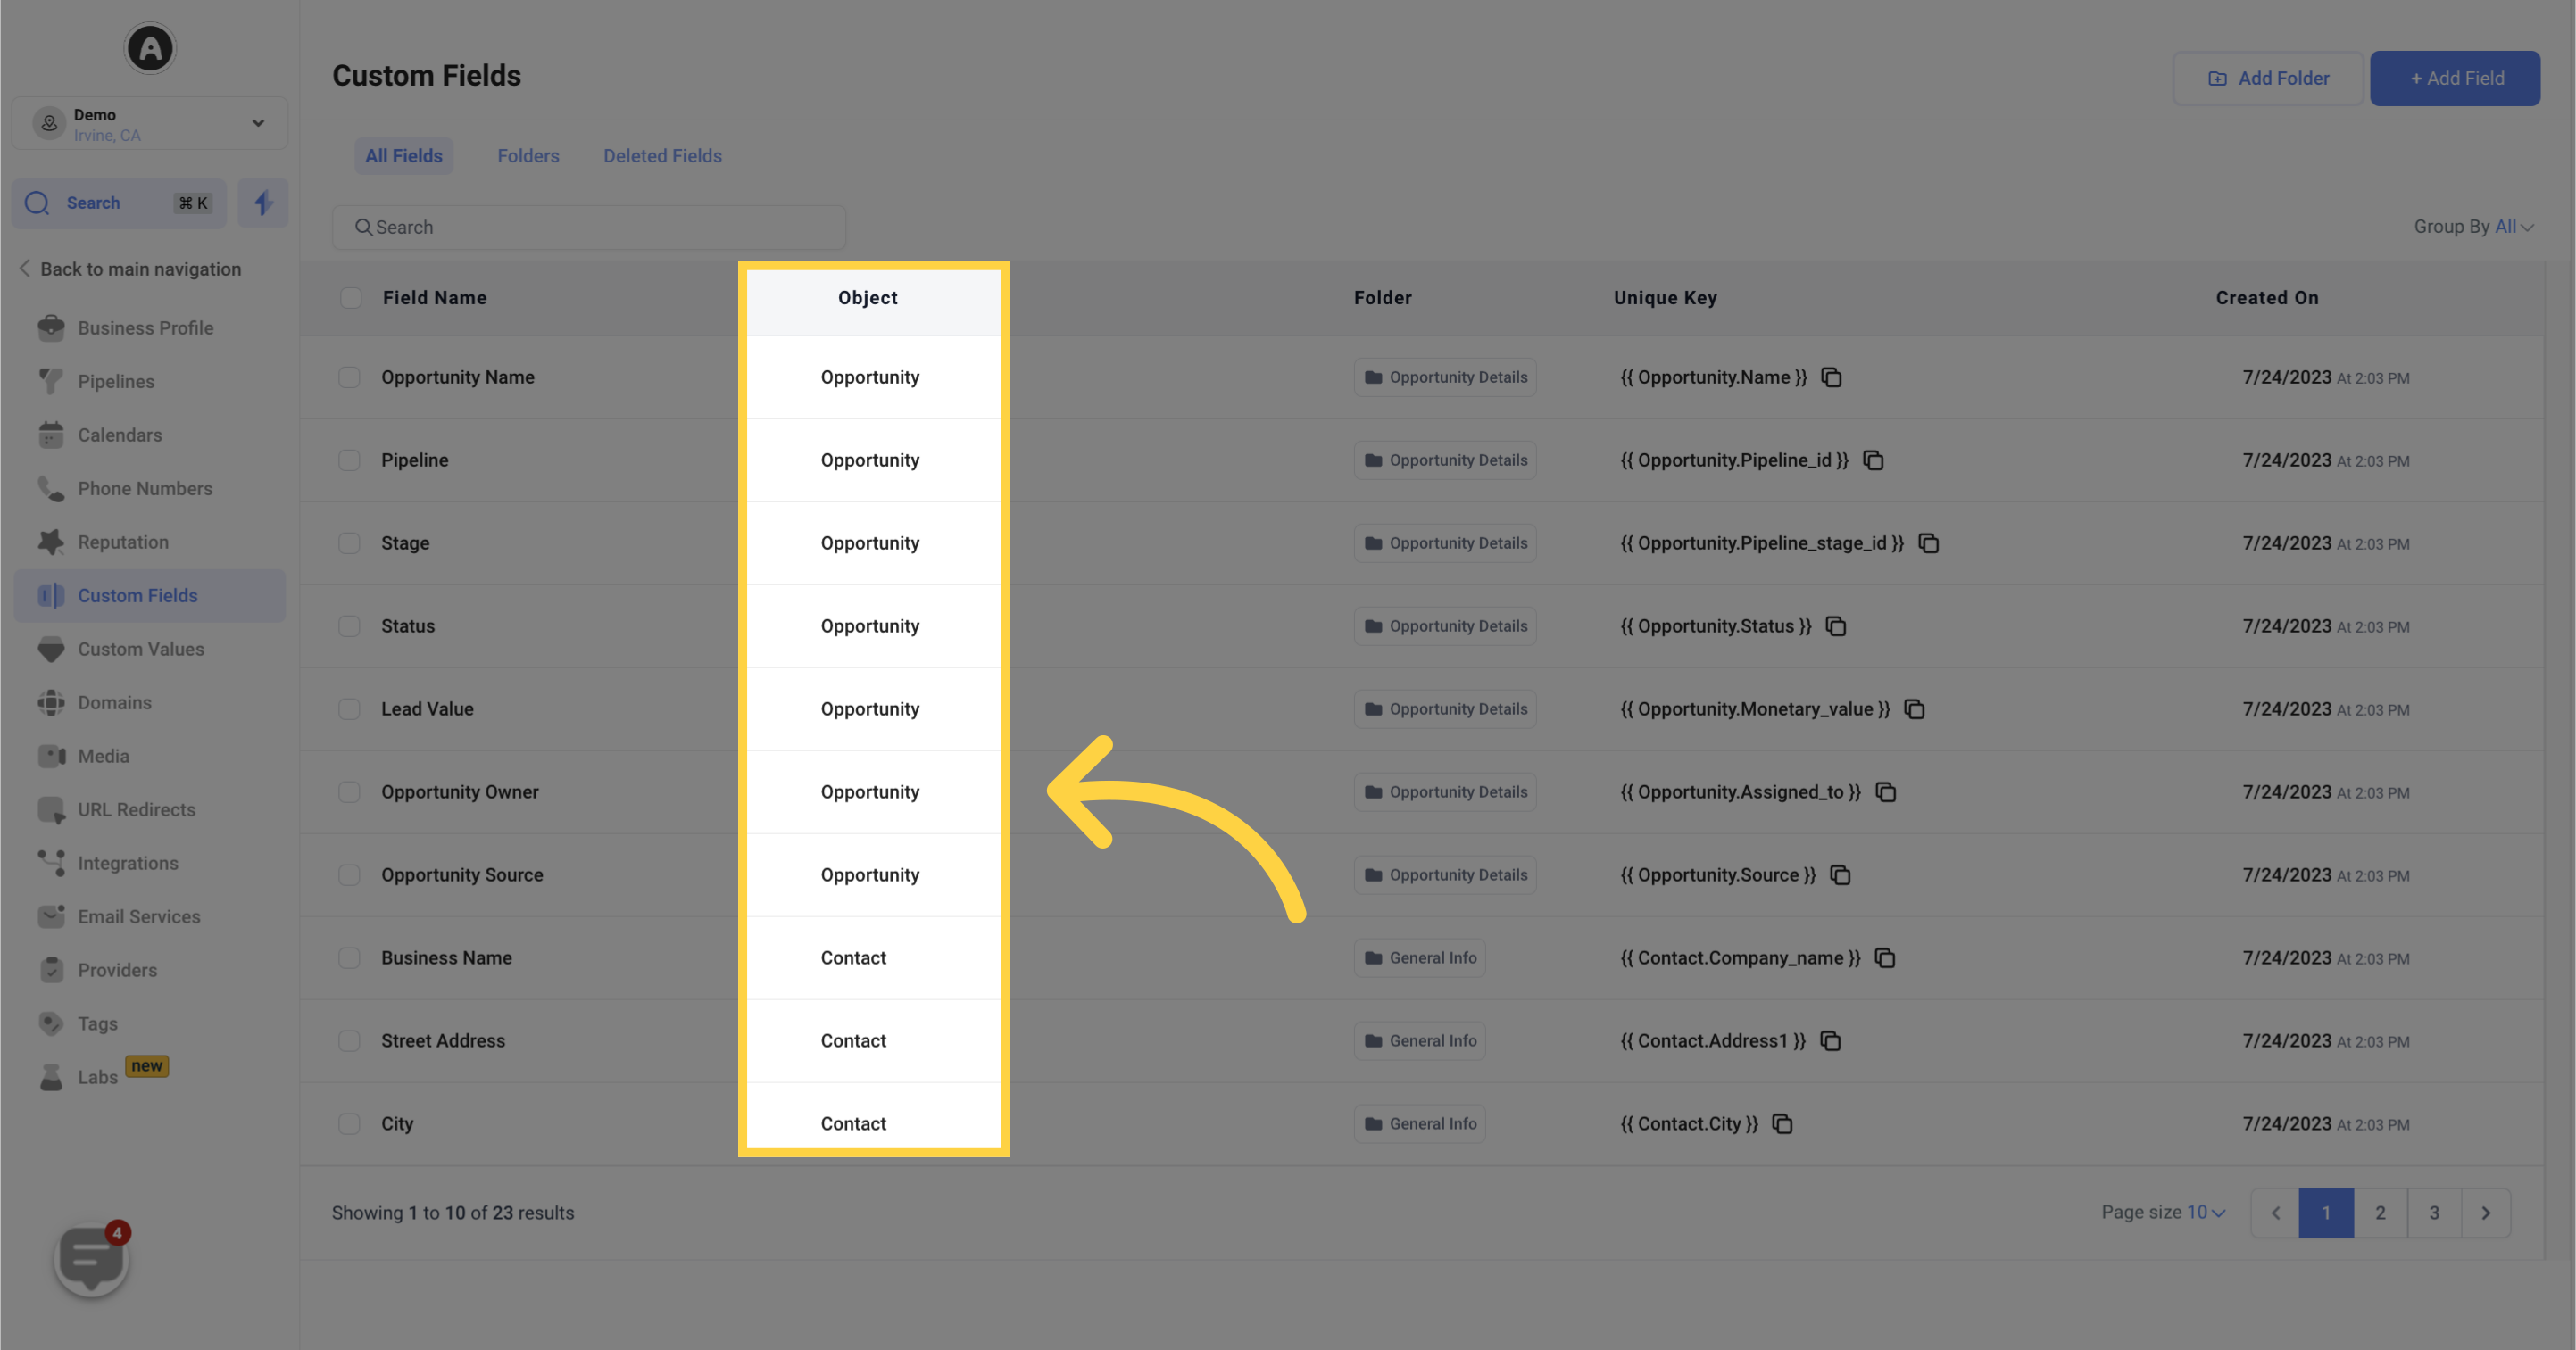
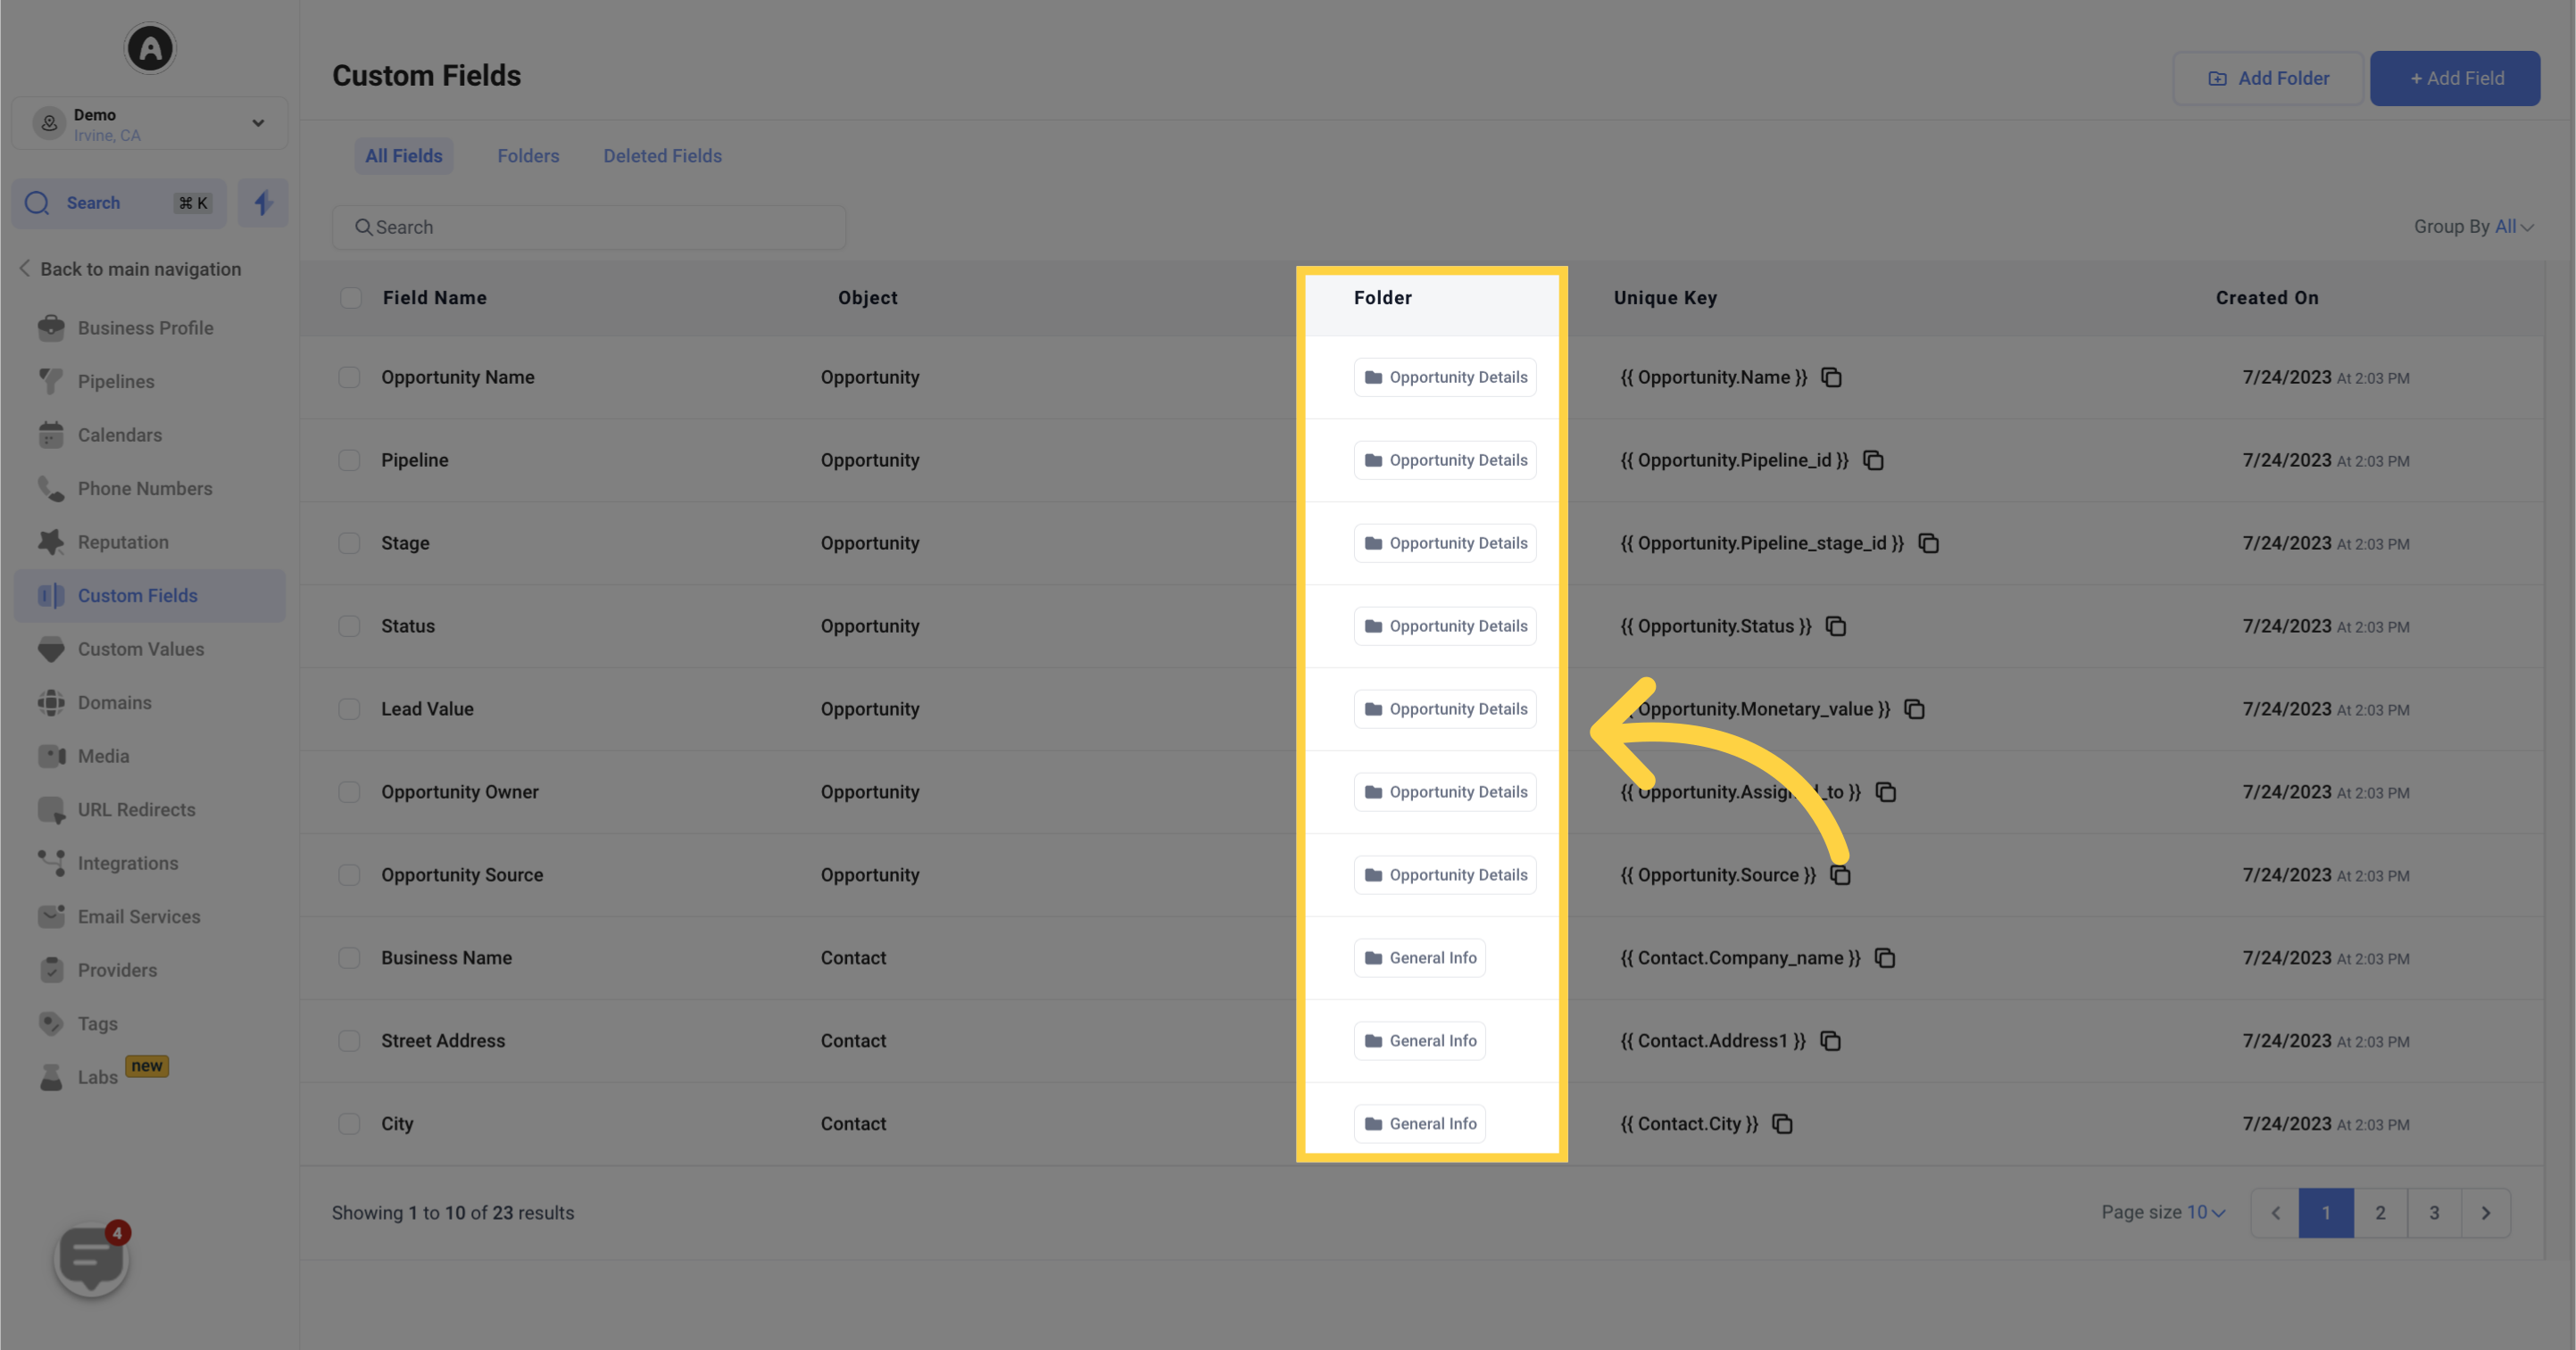
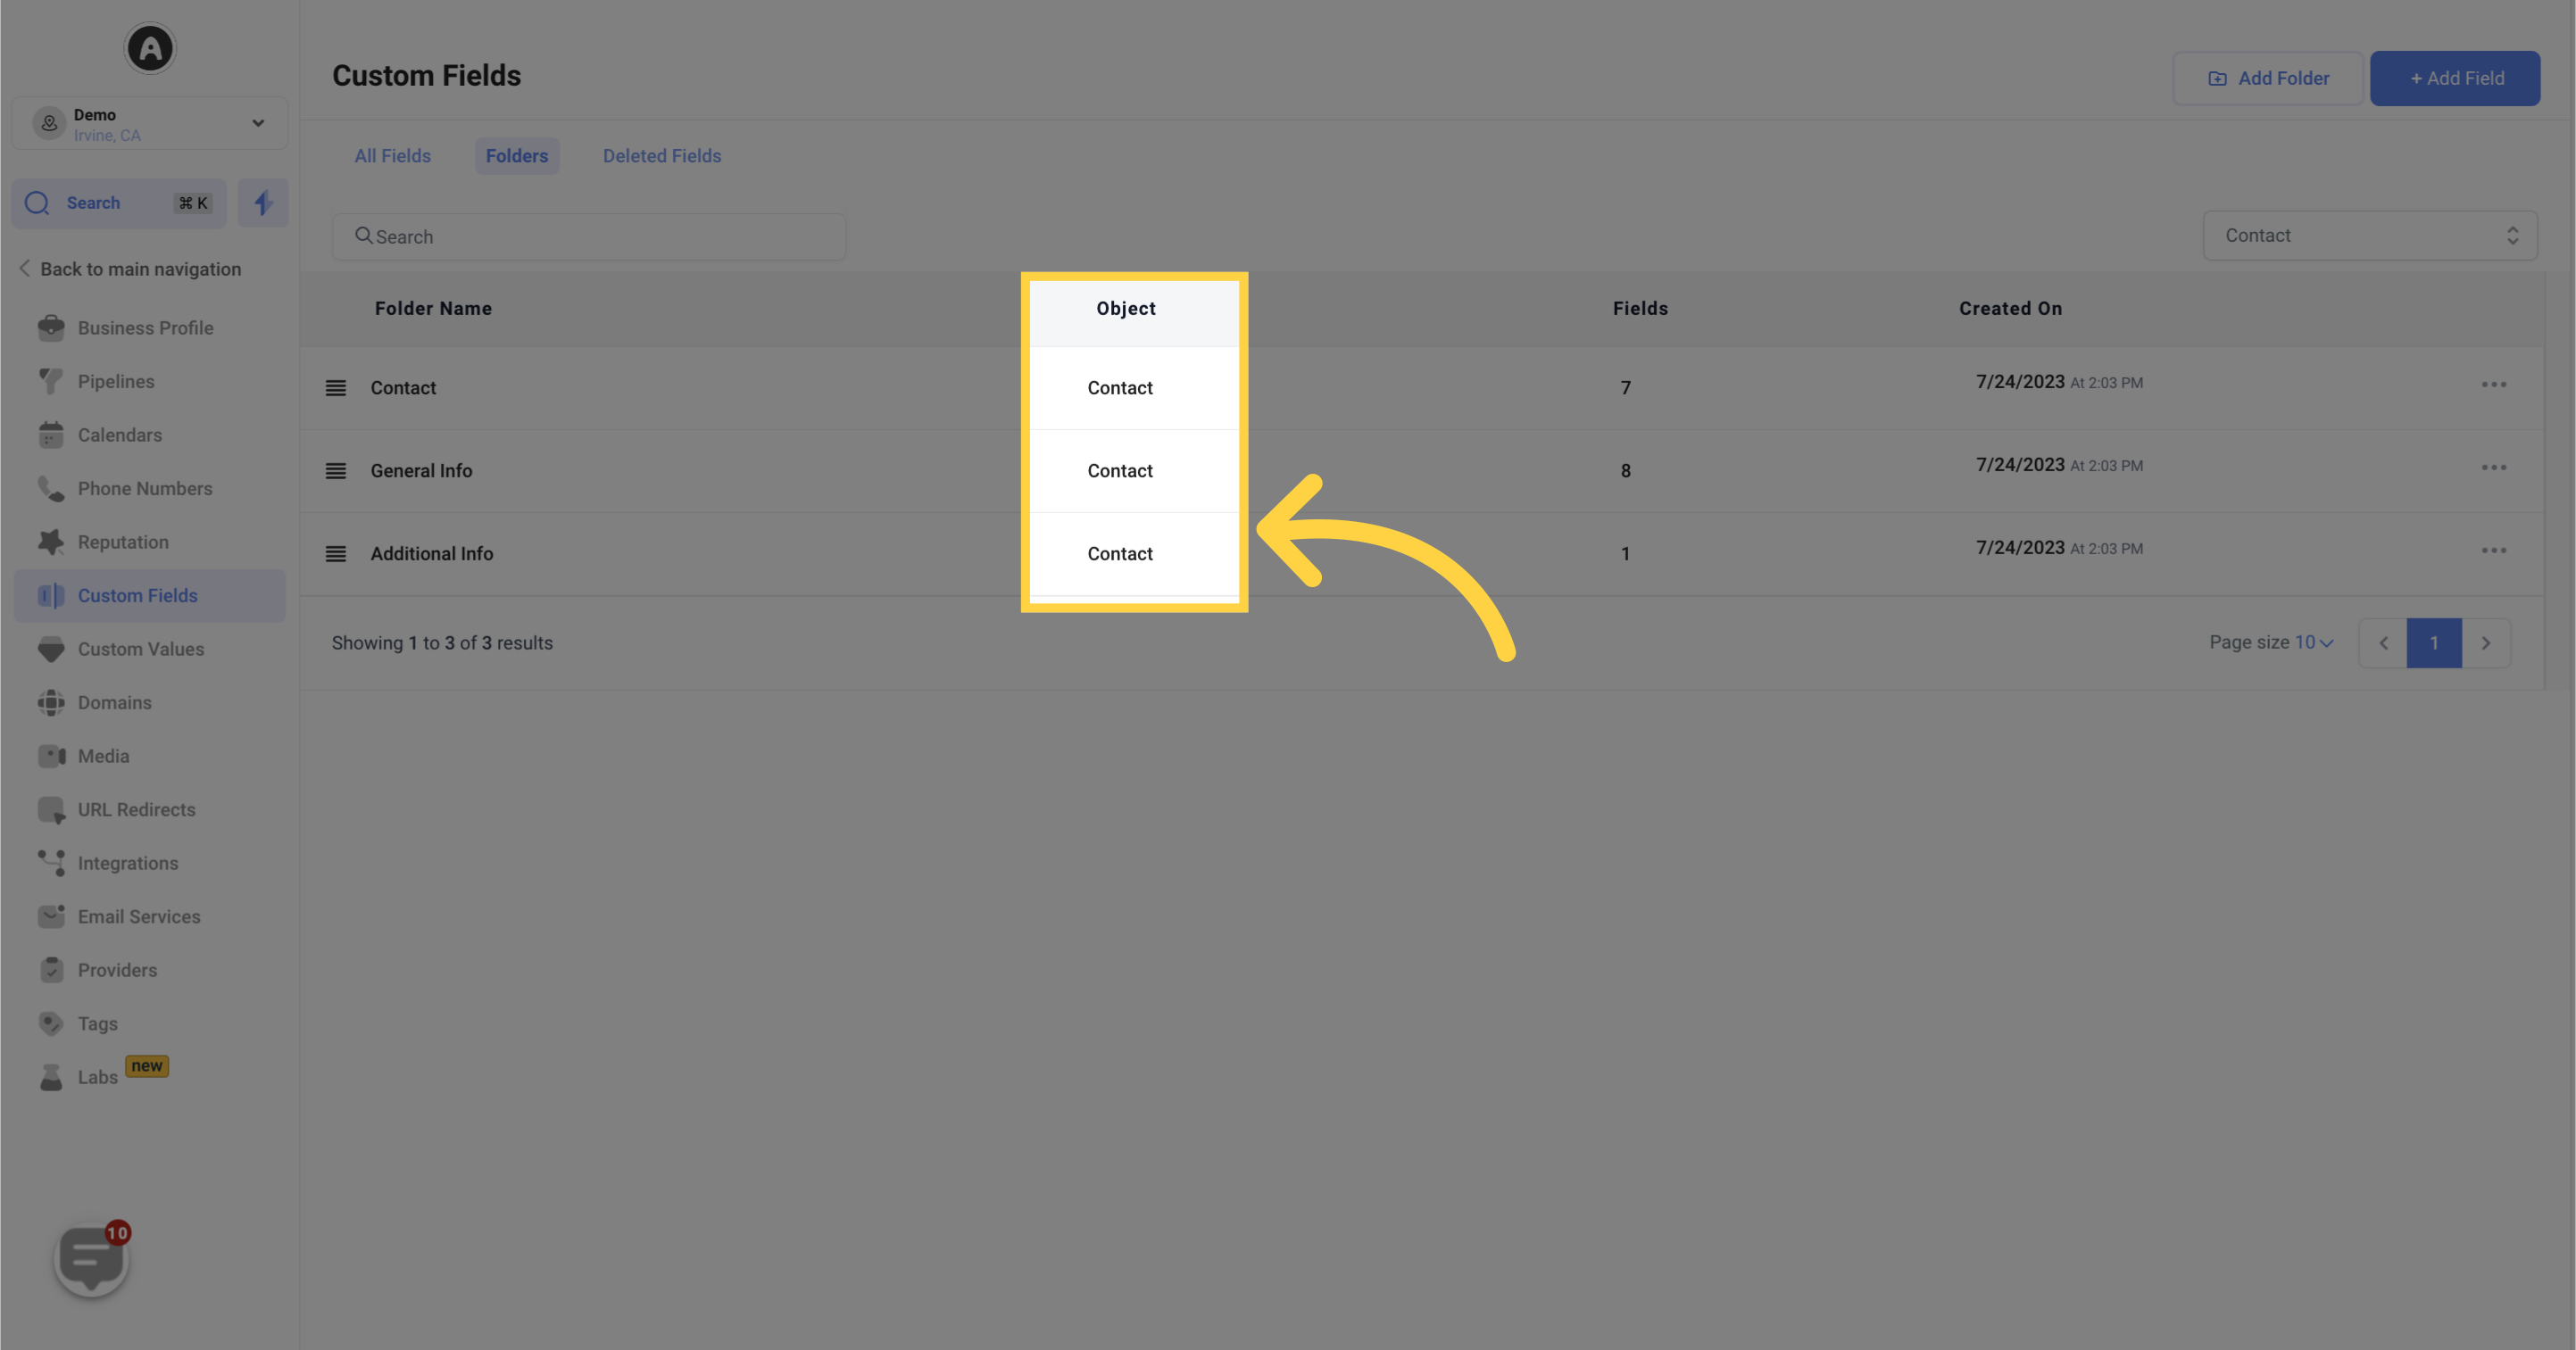
In this section, you'll find the corresponding folders linked to each custom field. This allows for easy organization and identification of which folder is connected to a specific custom field.
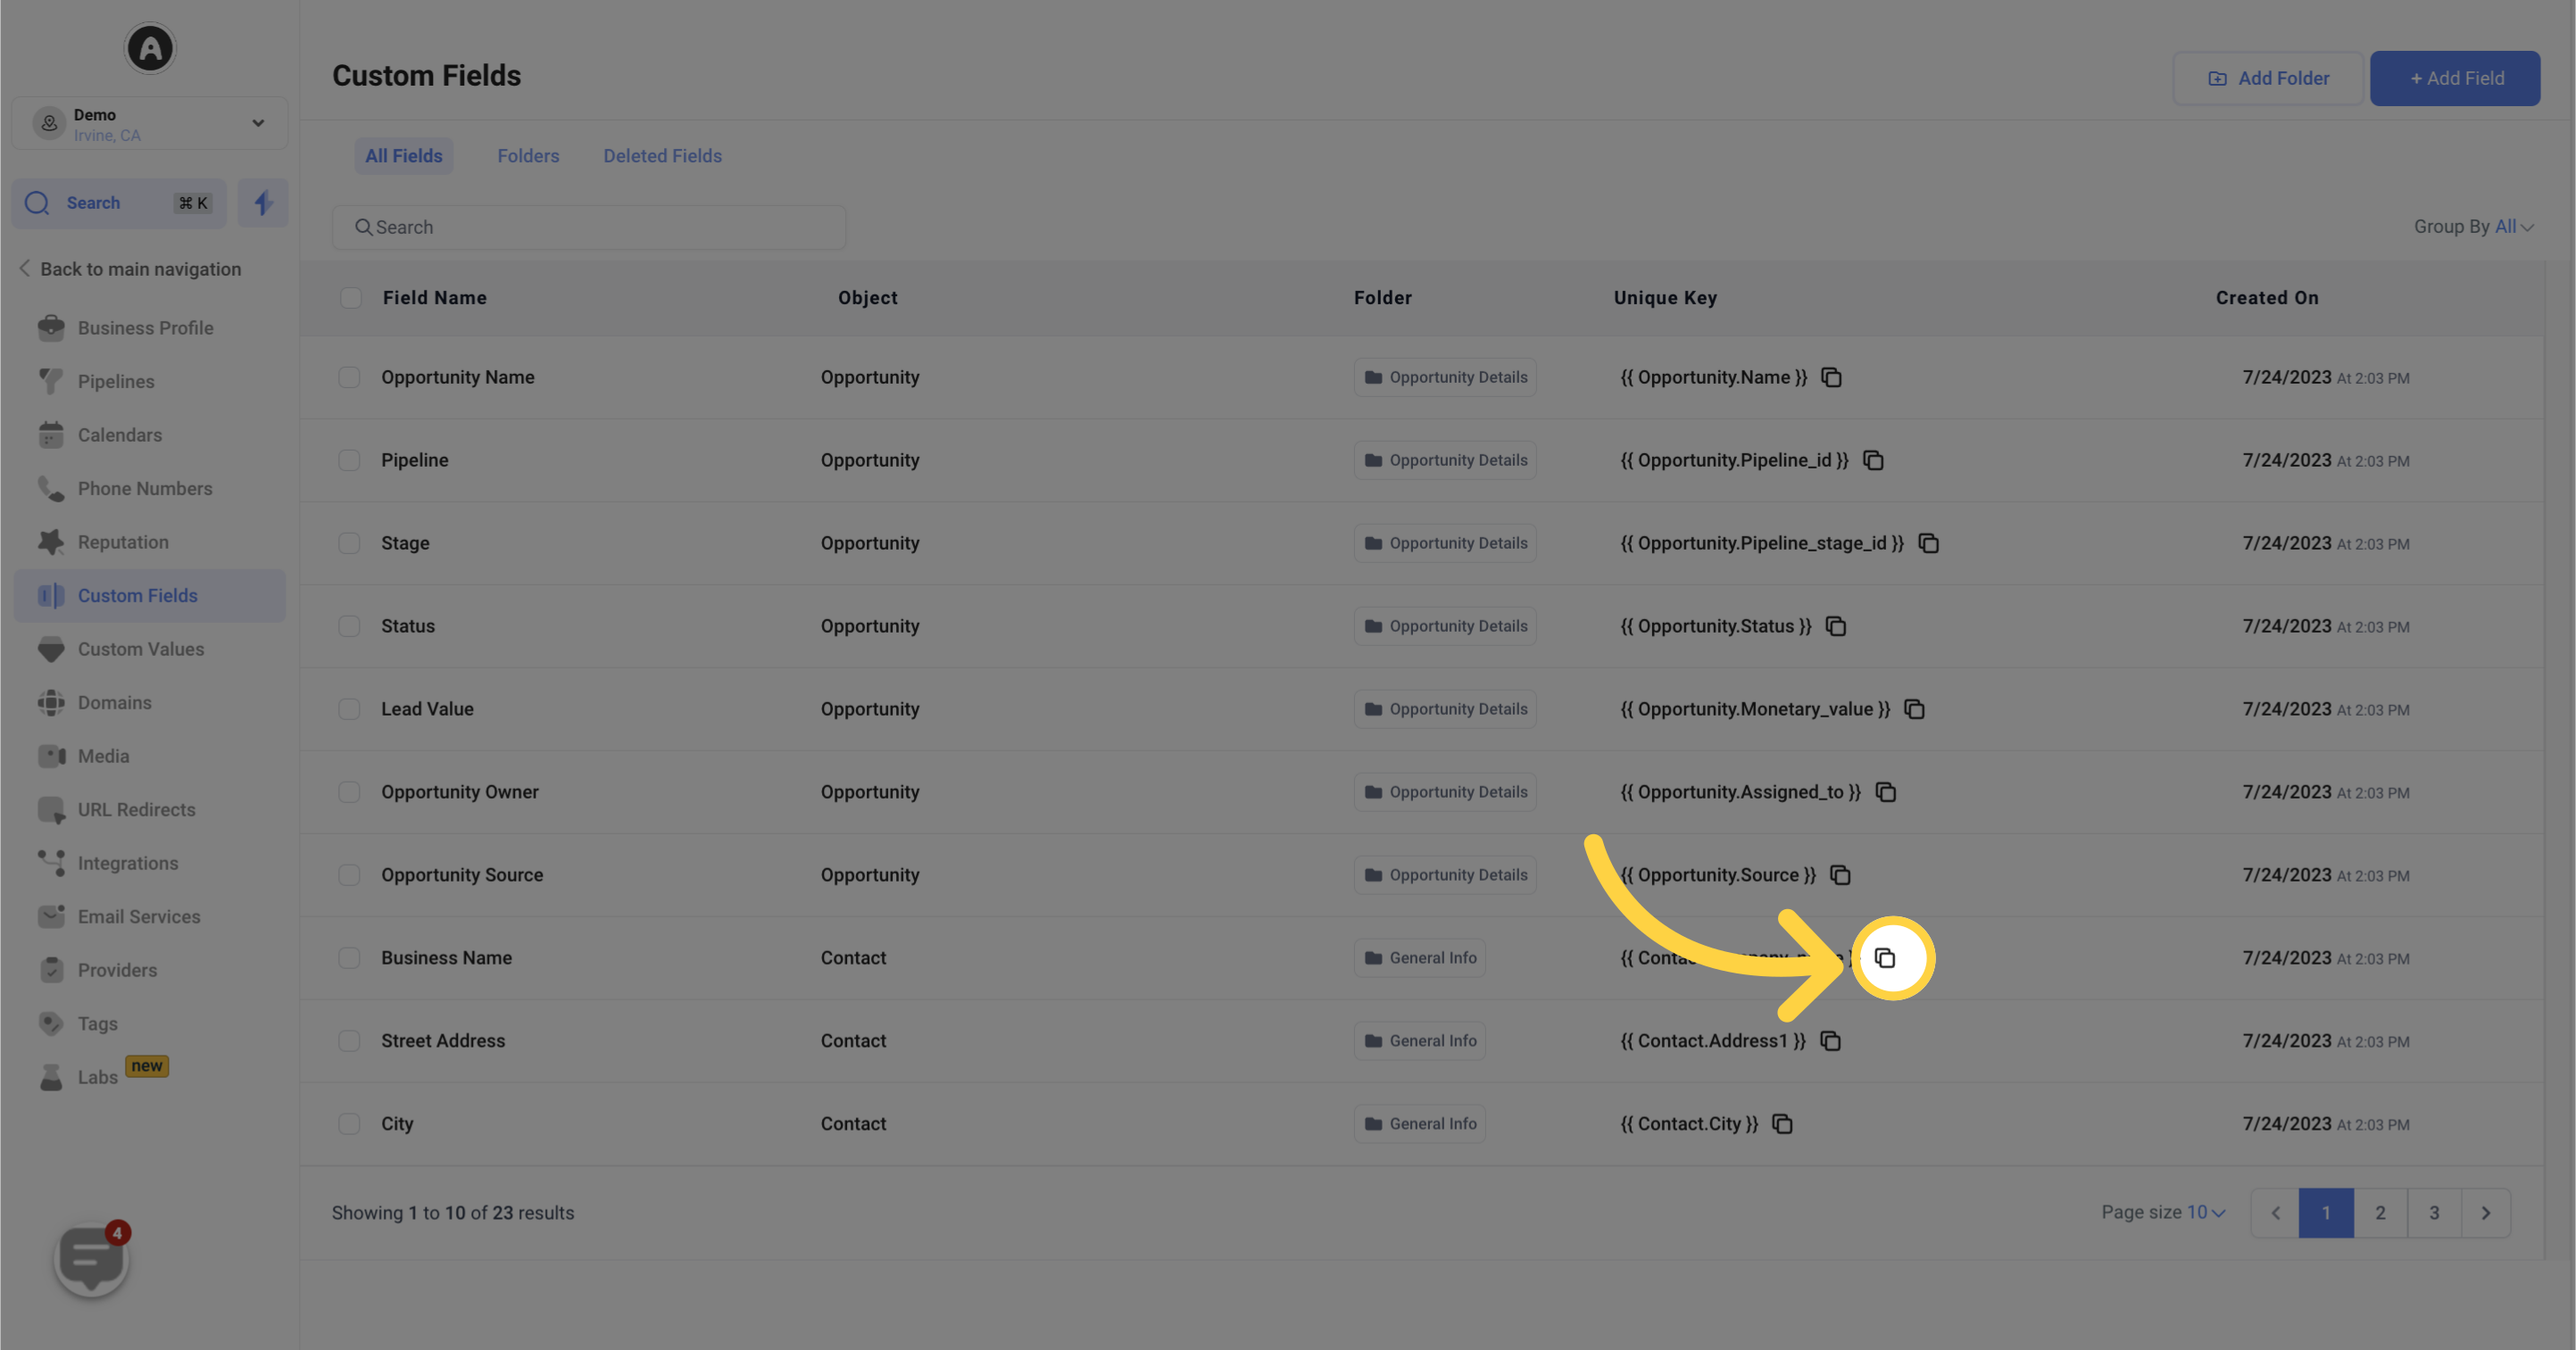
The Unique Key serves as an identifier when obtaining data through webhooks or incorporating custom information into communication channels like emails and text messages. It is automatically generated based on the name assigned to your custom field, ensuring seamless integration.
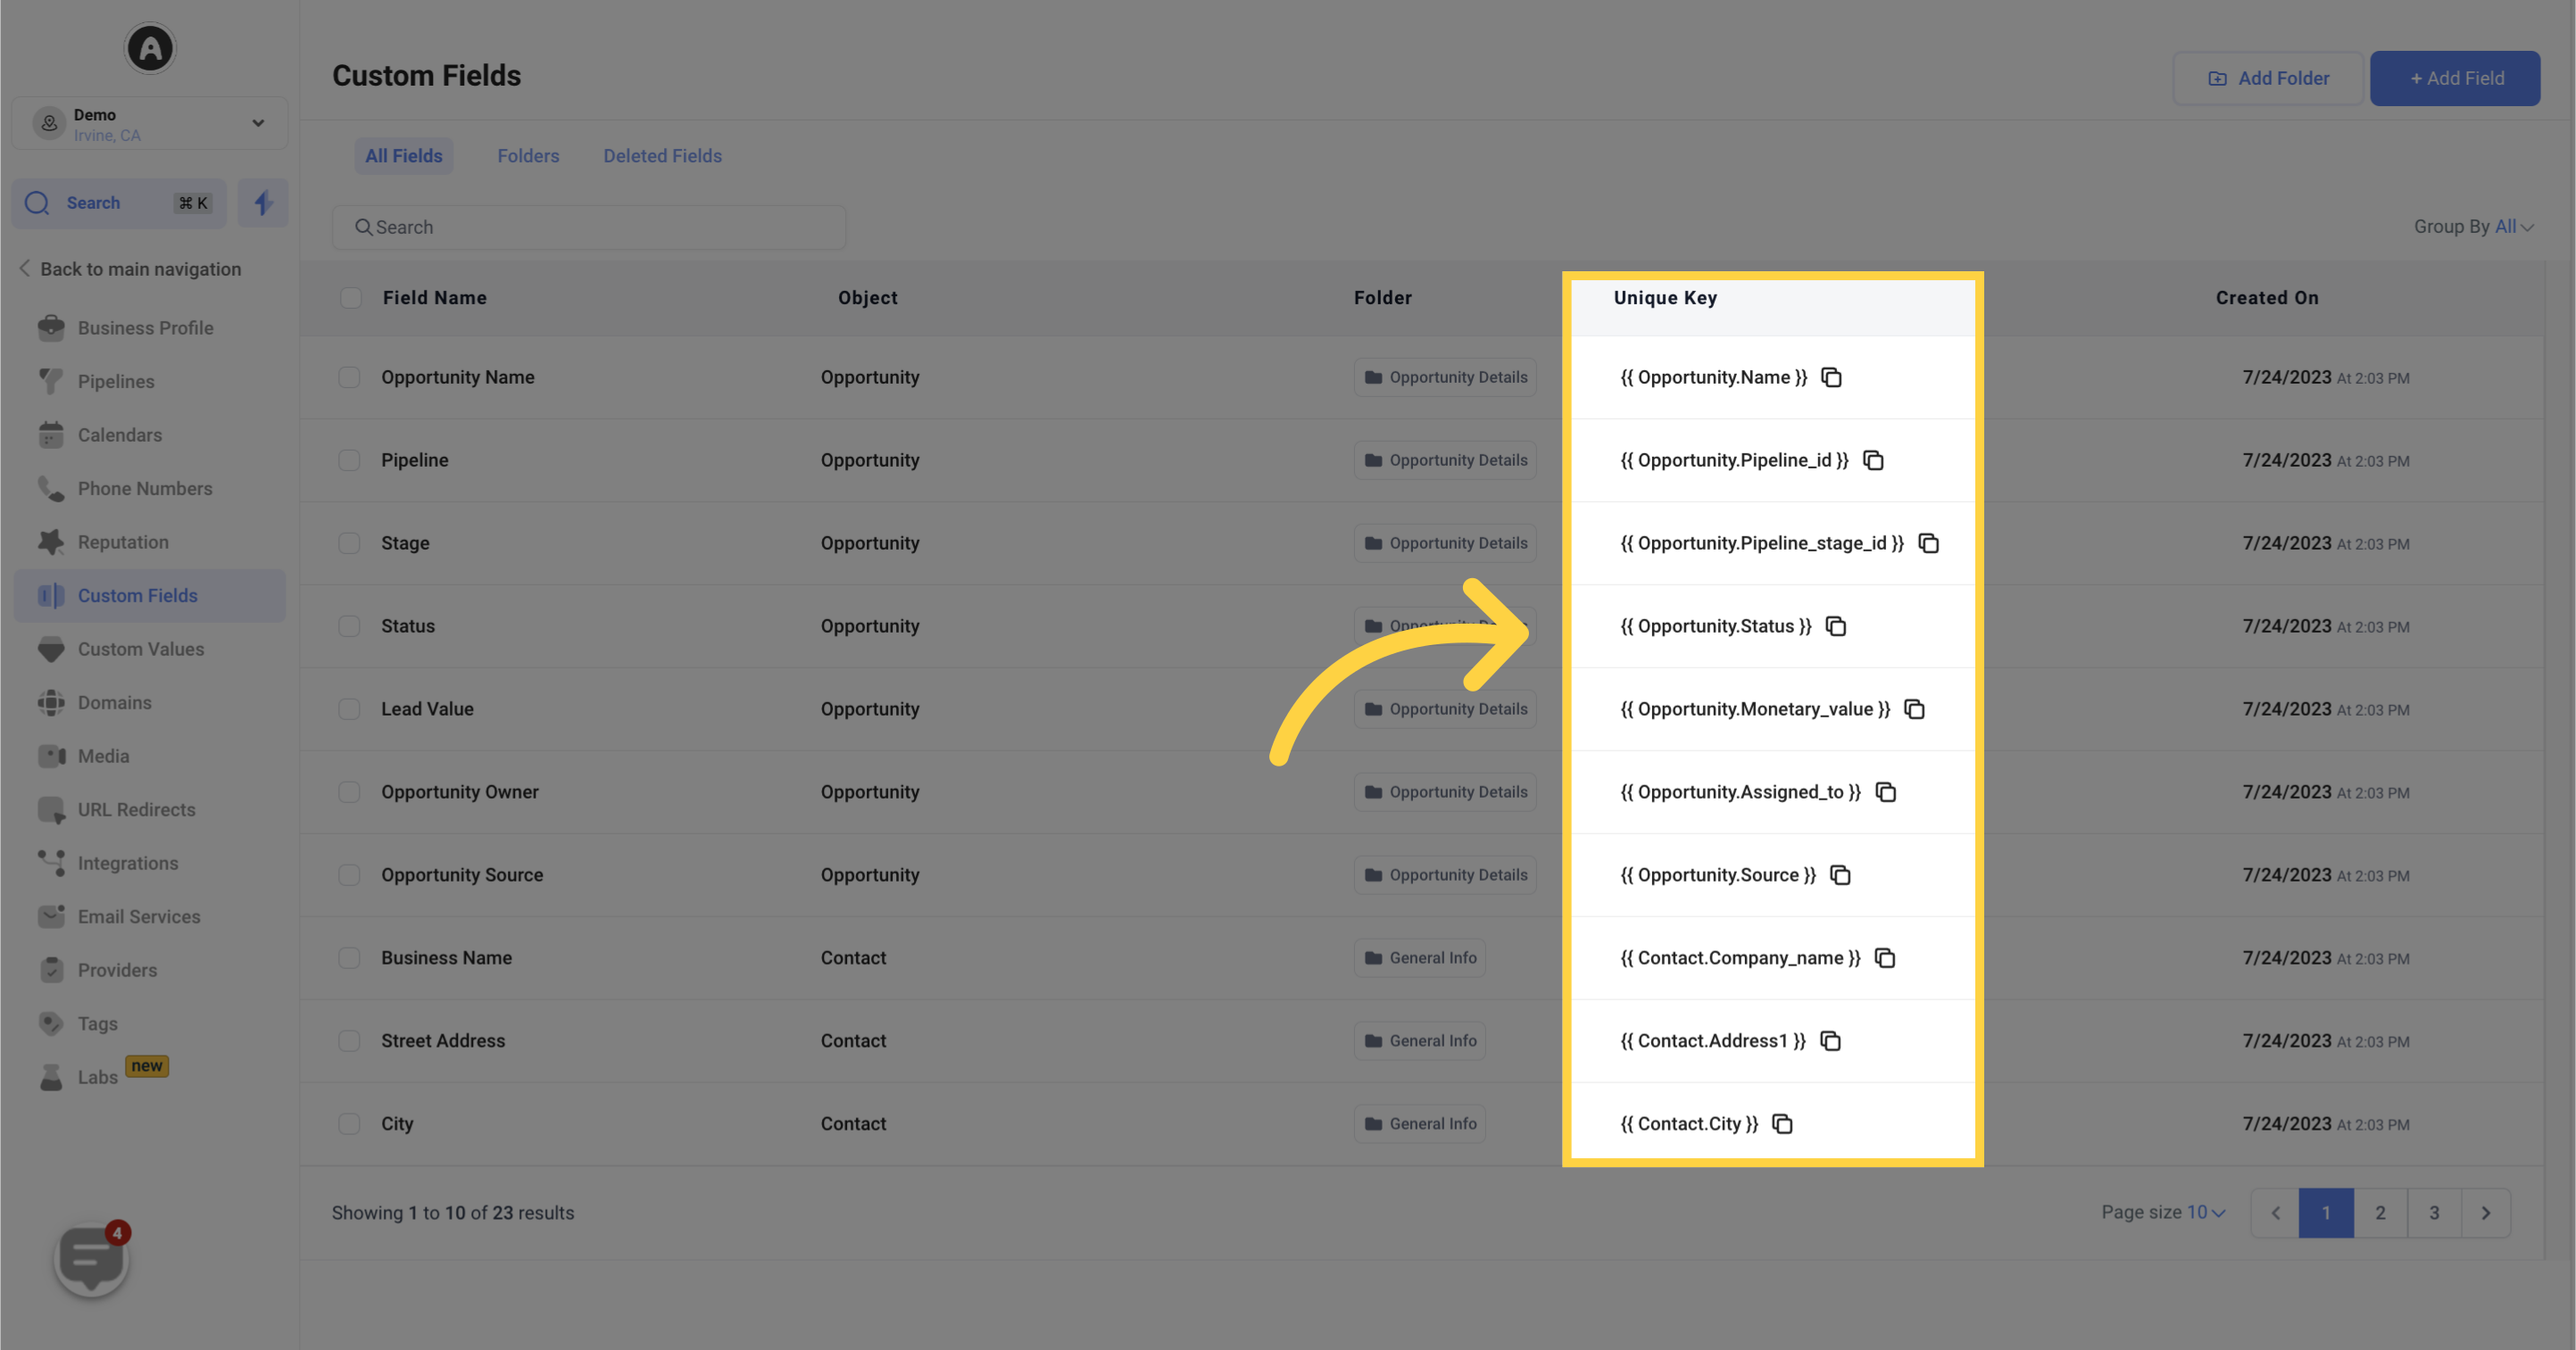
By clicking on the dual square icon, you can effortlessly copy the unique key and paste it into the desired location.
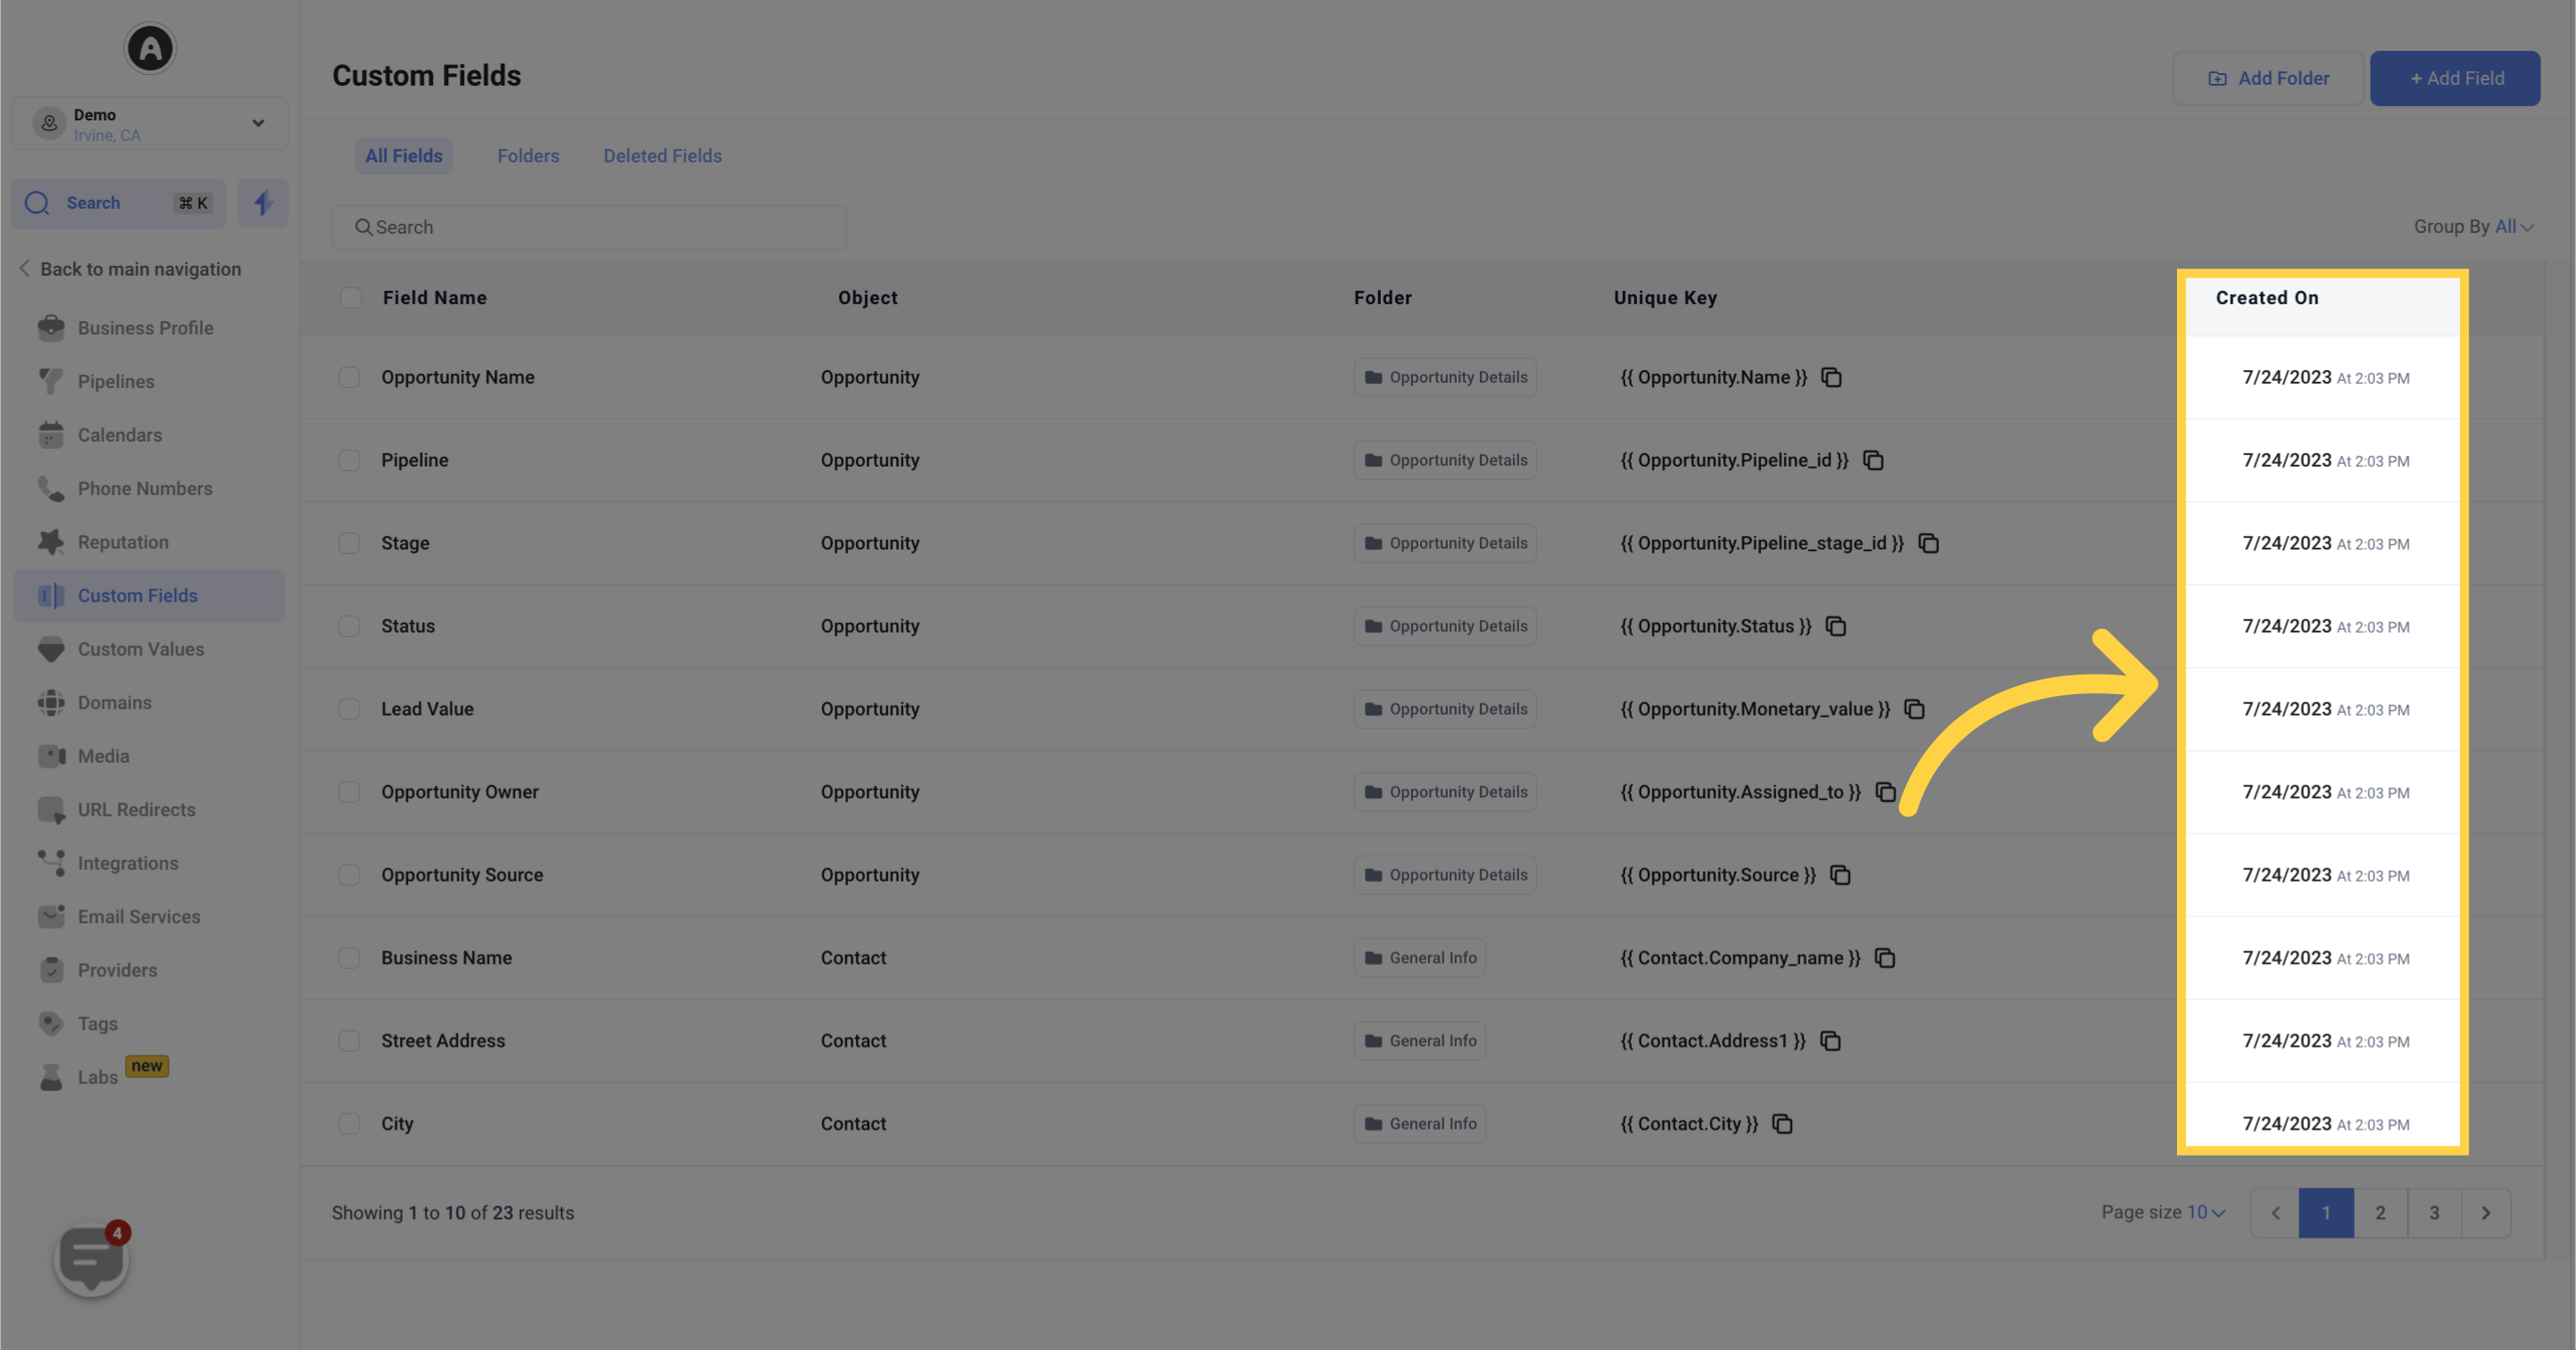
The Creation Date column displays the specific date and time when each custom field was initially generated.
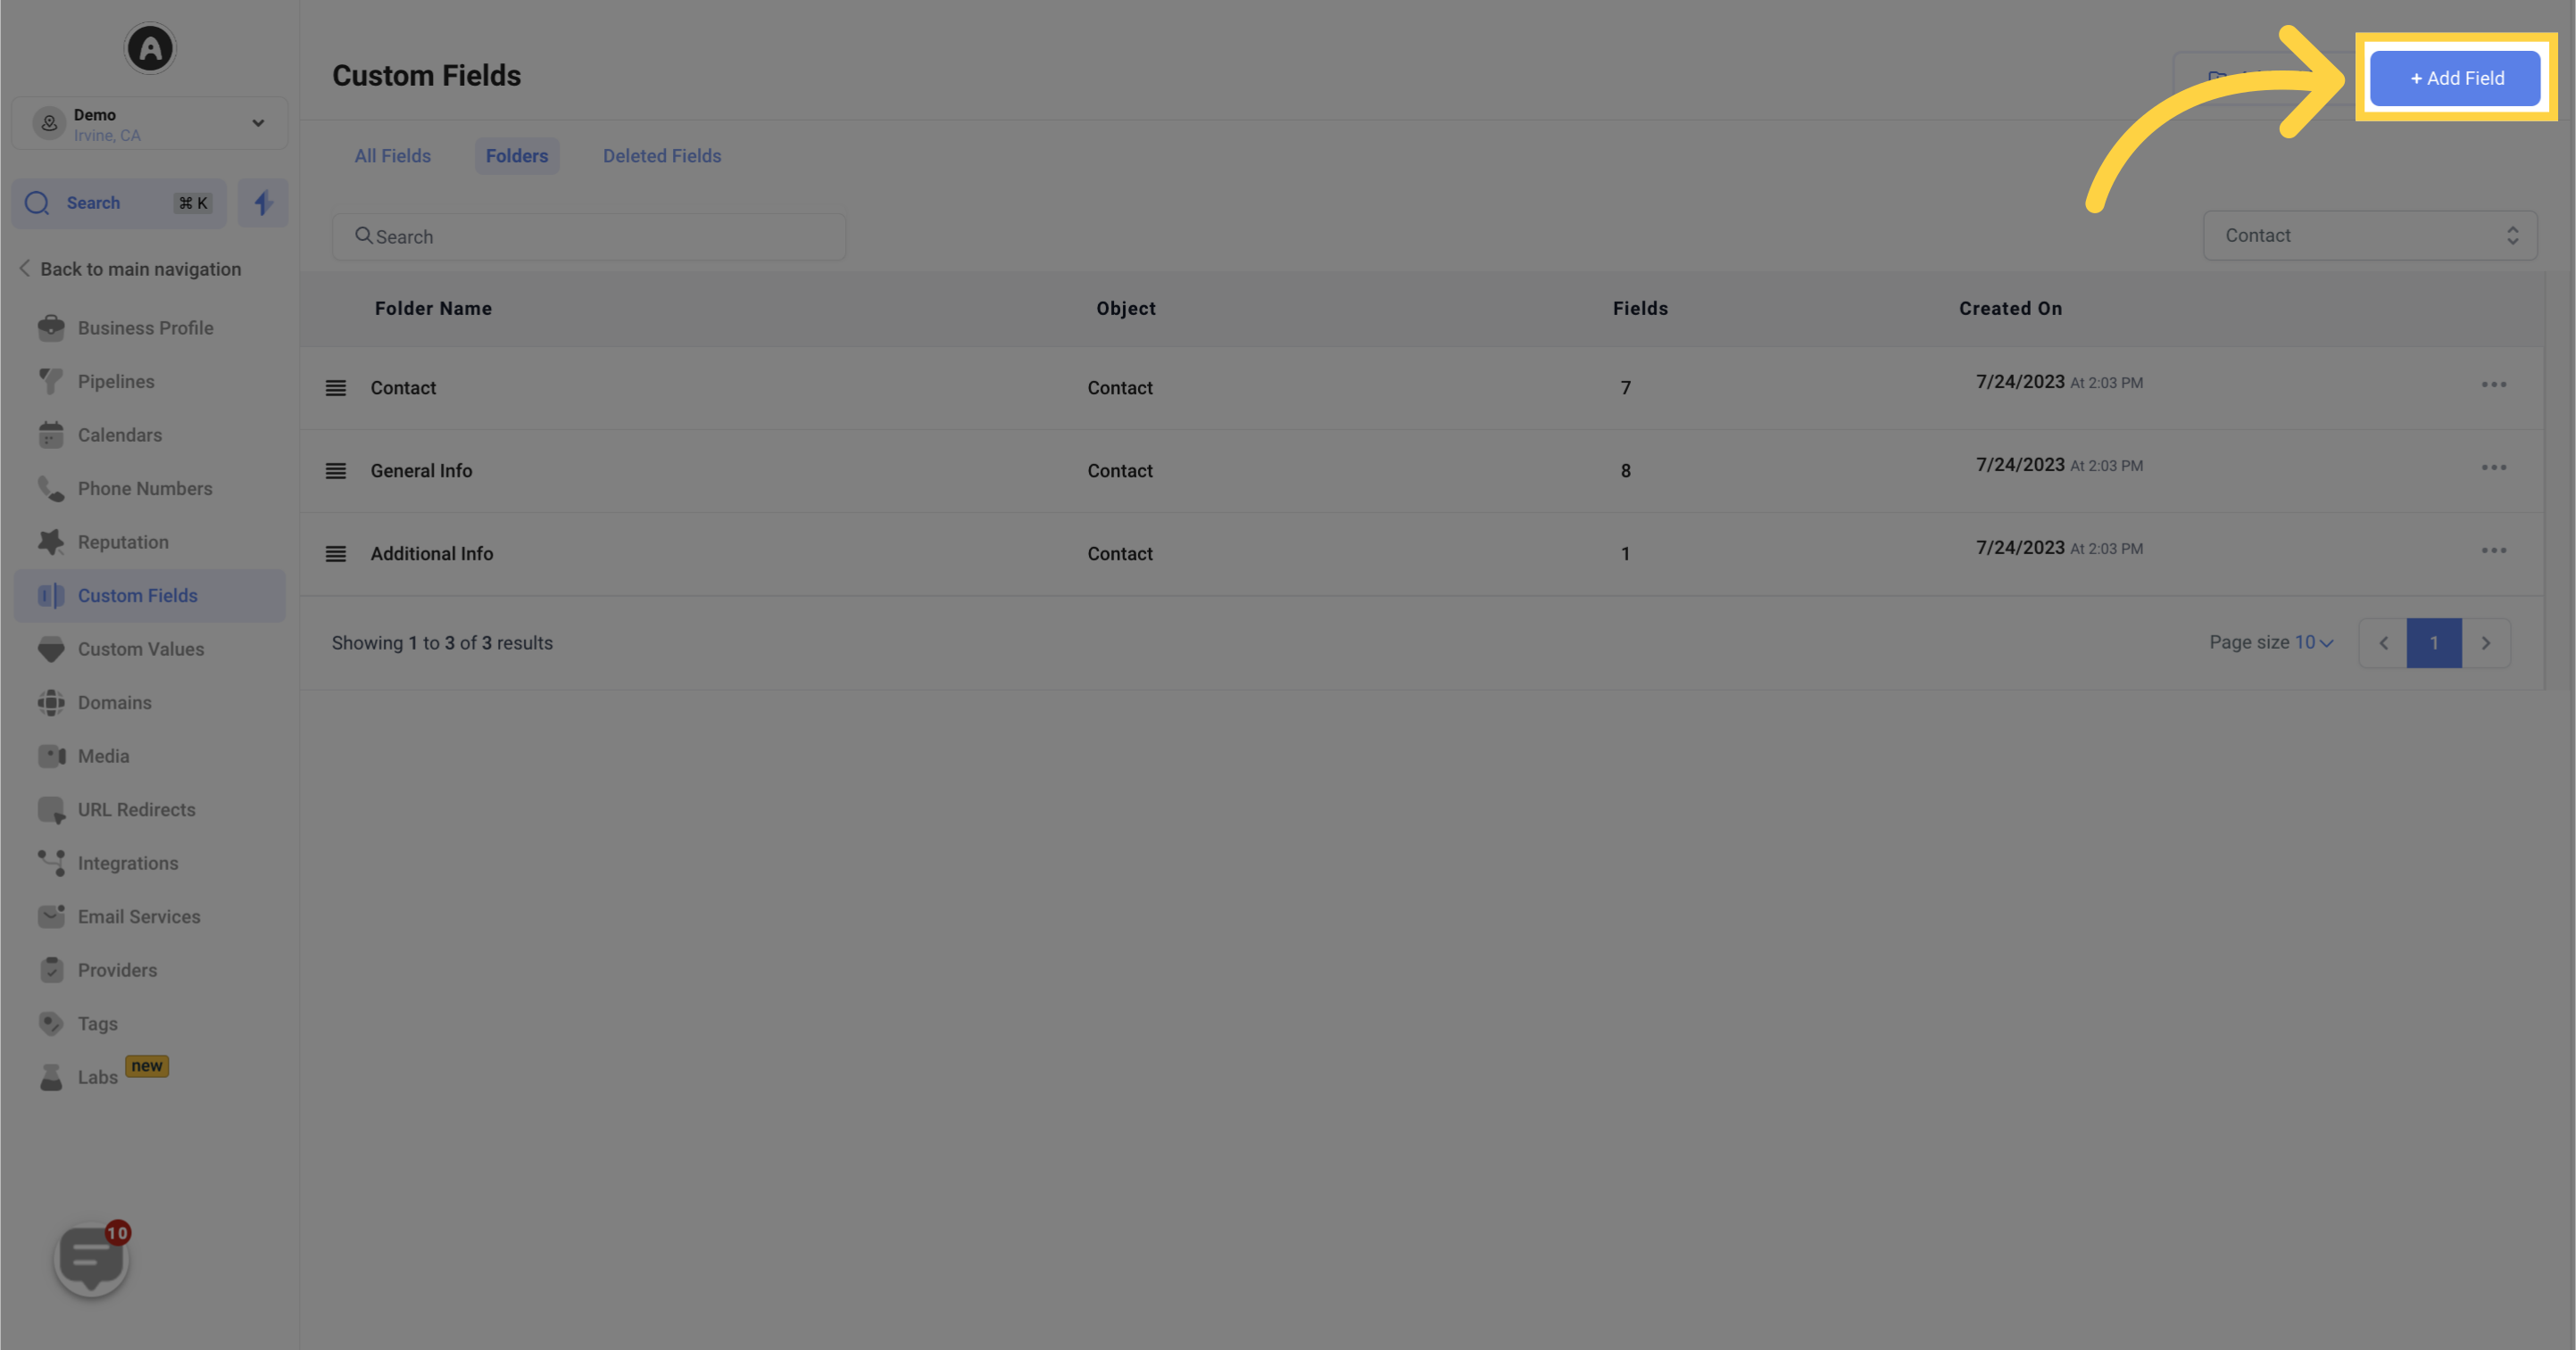
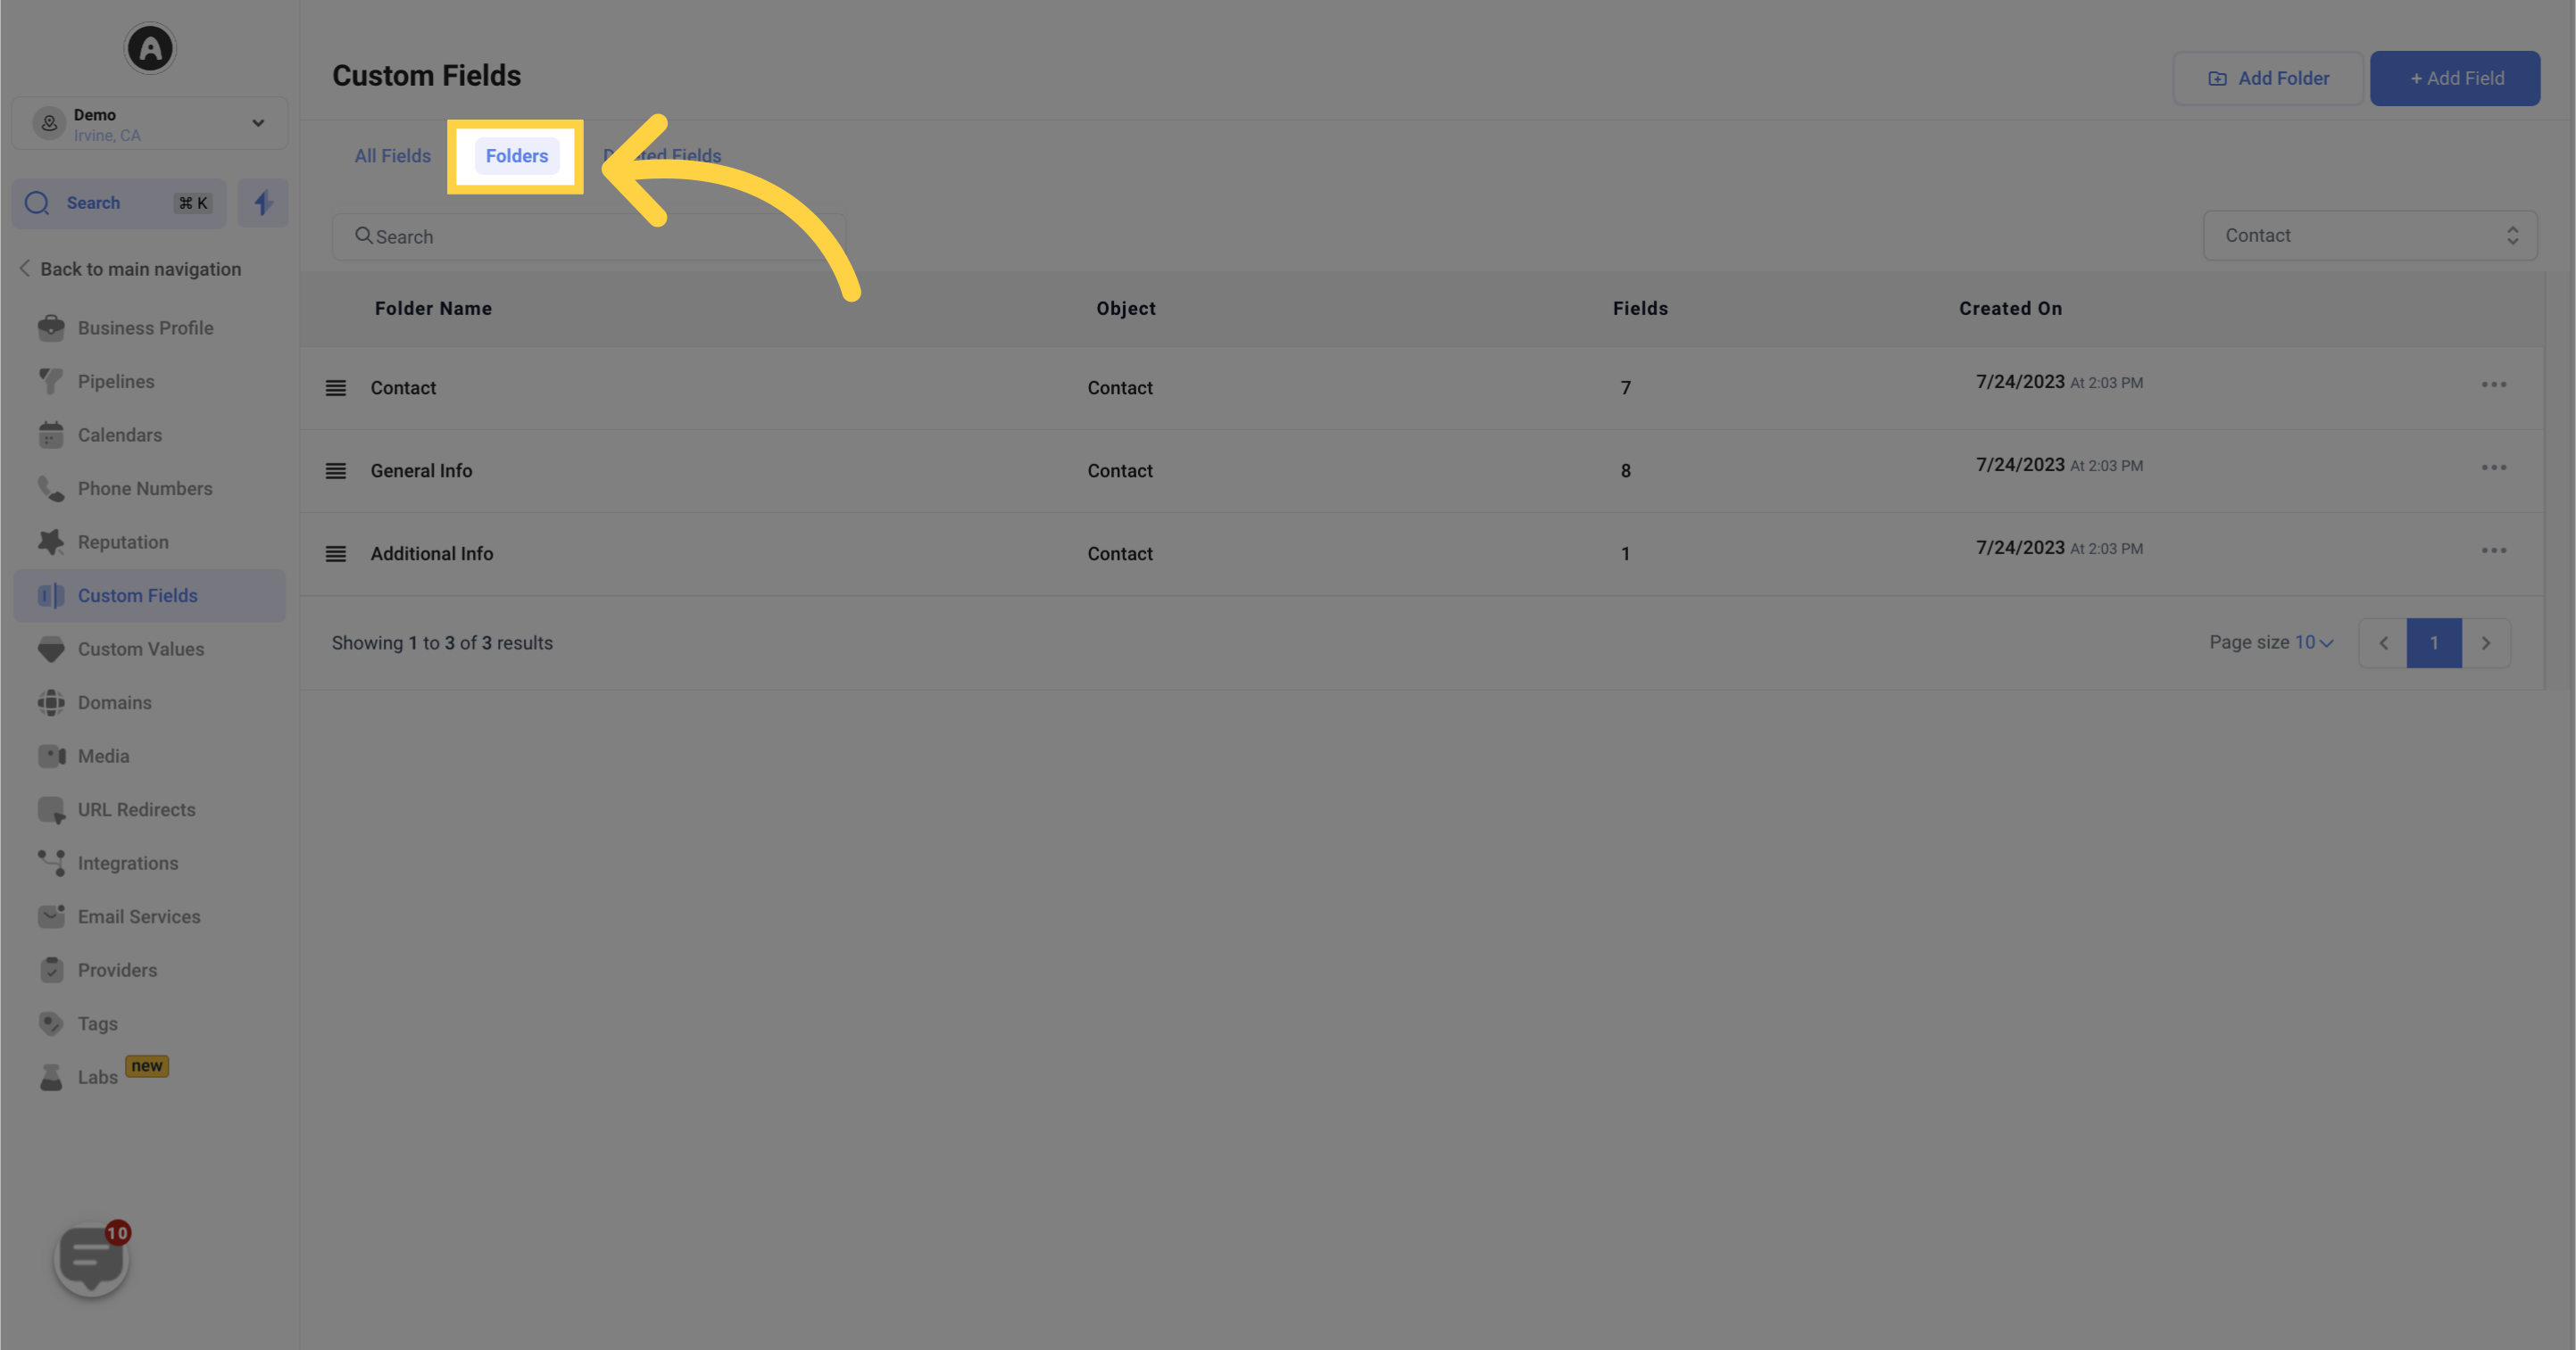
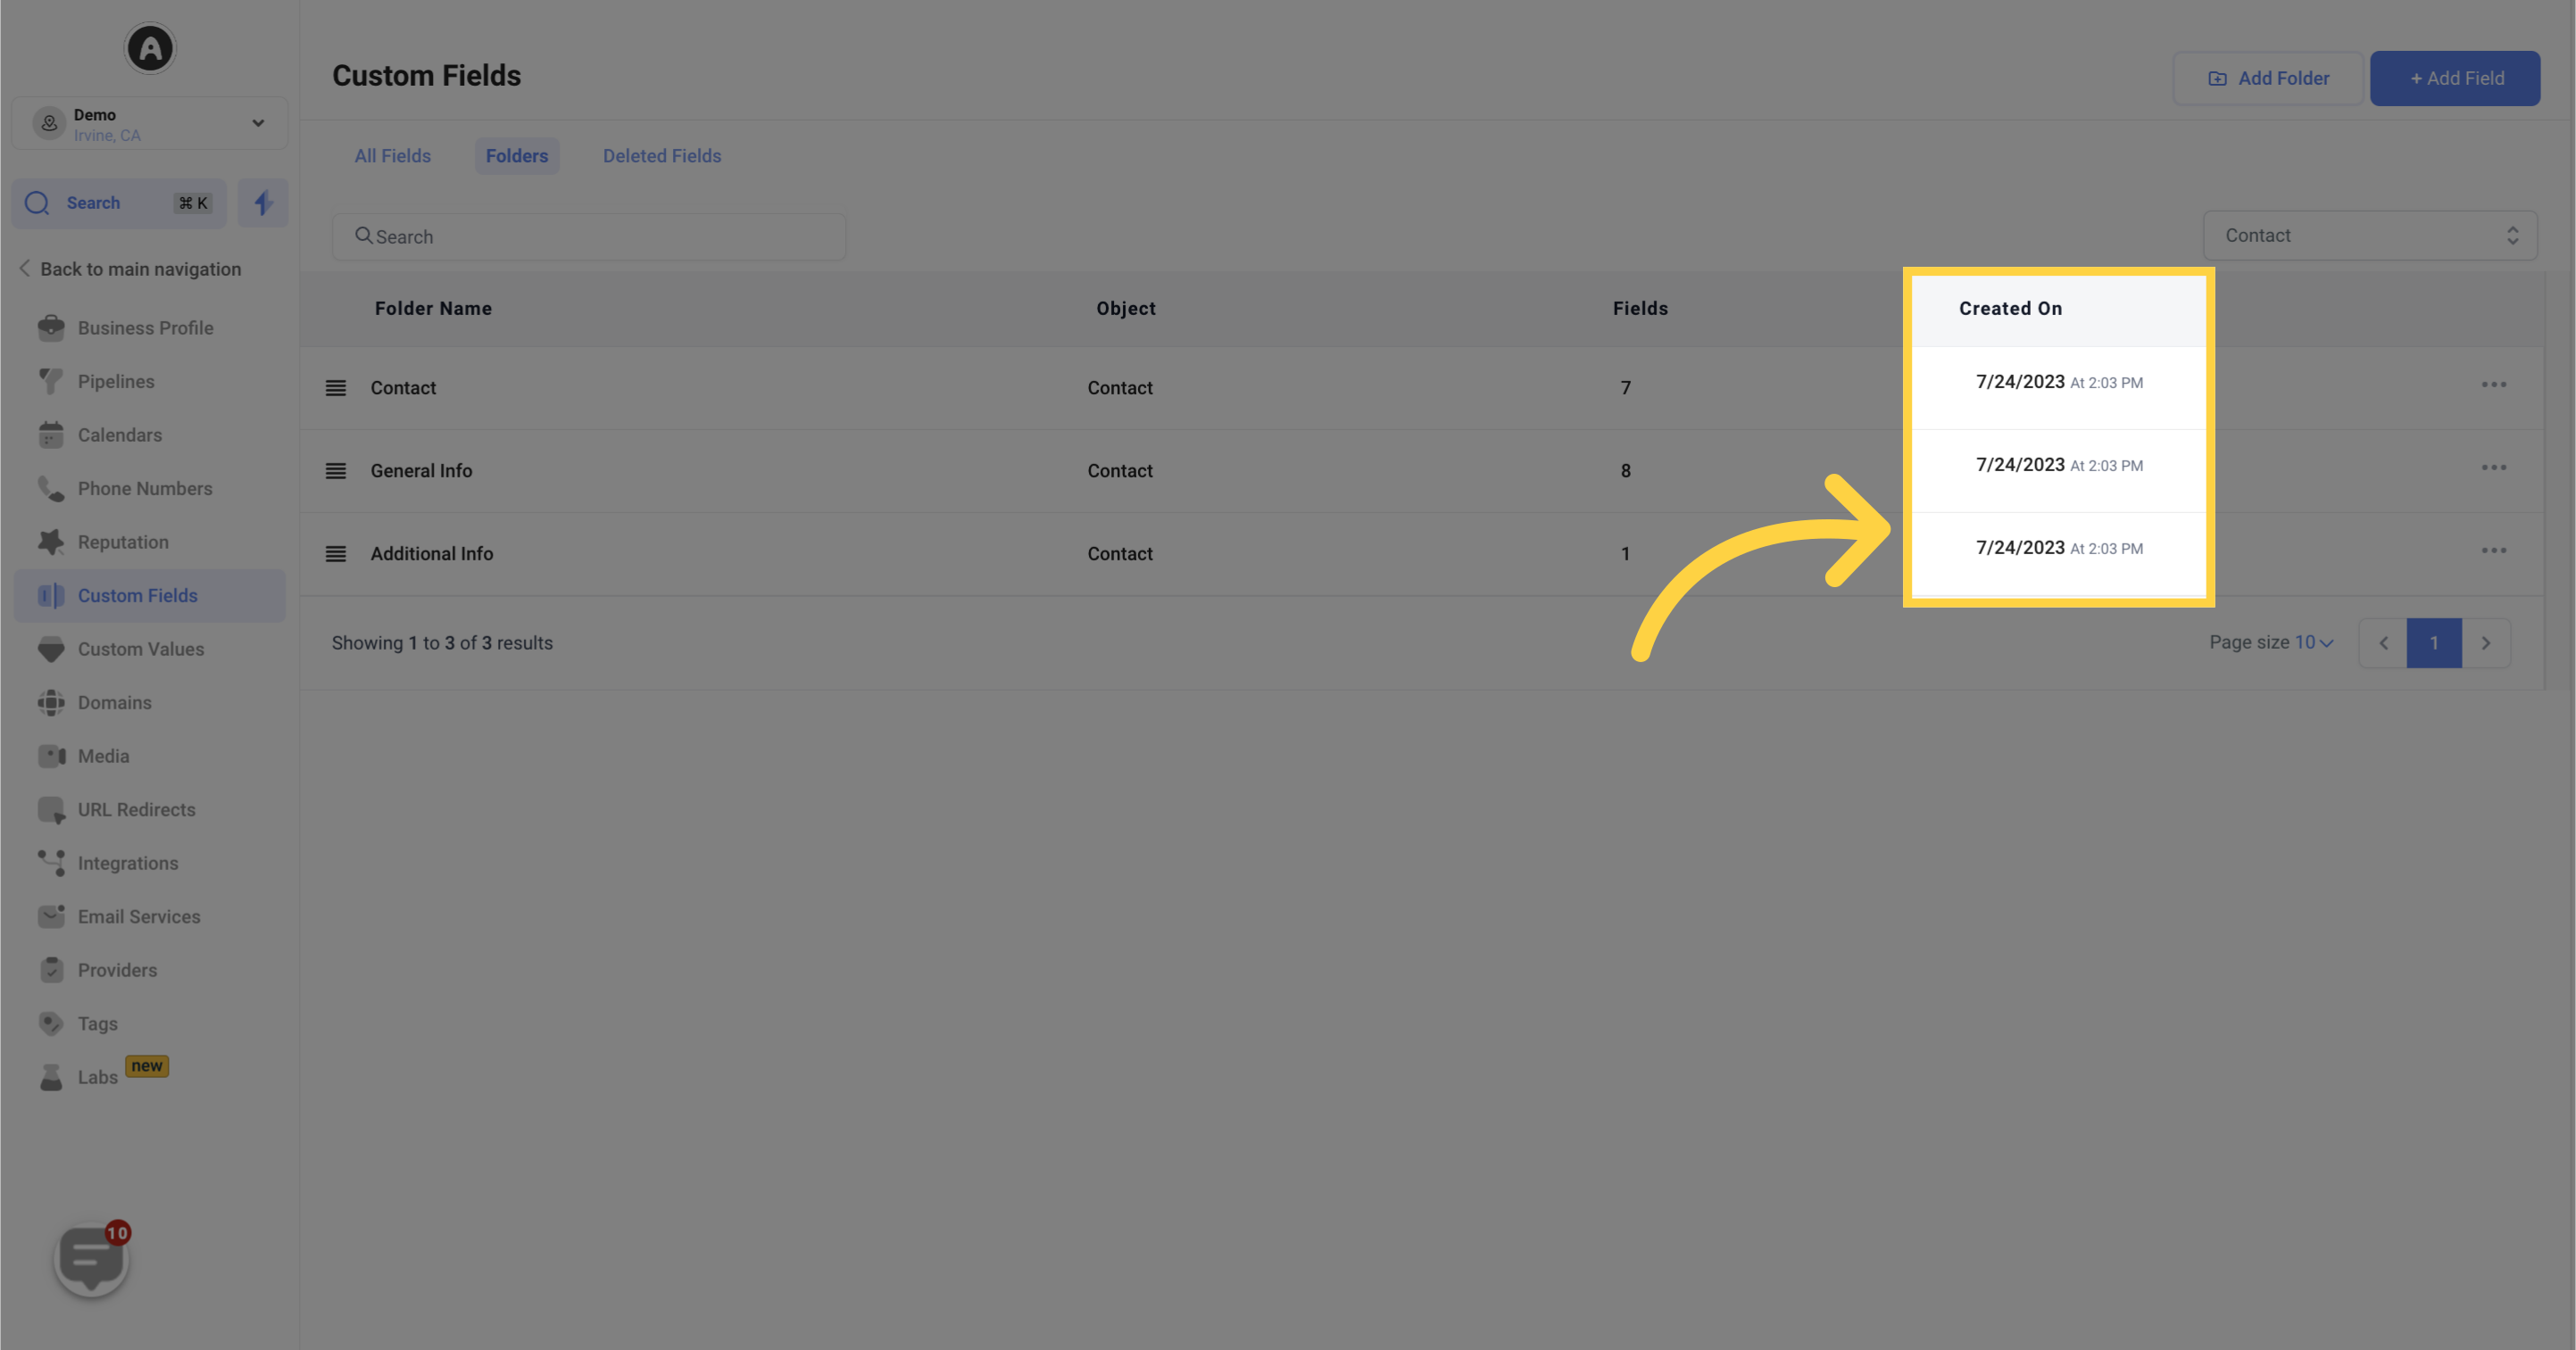
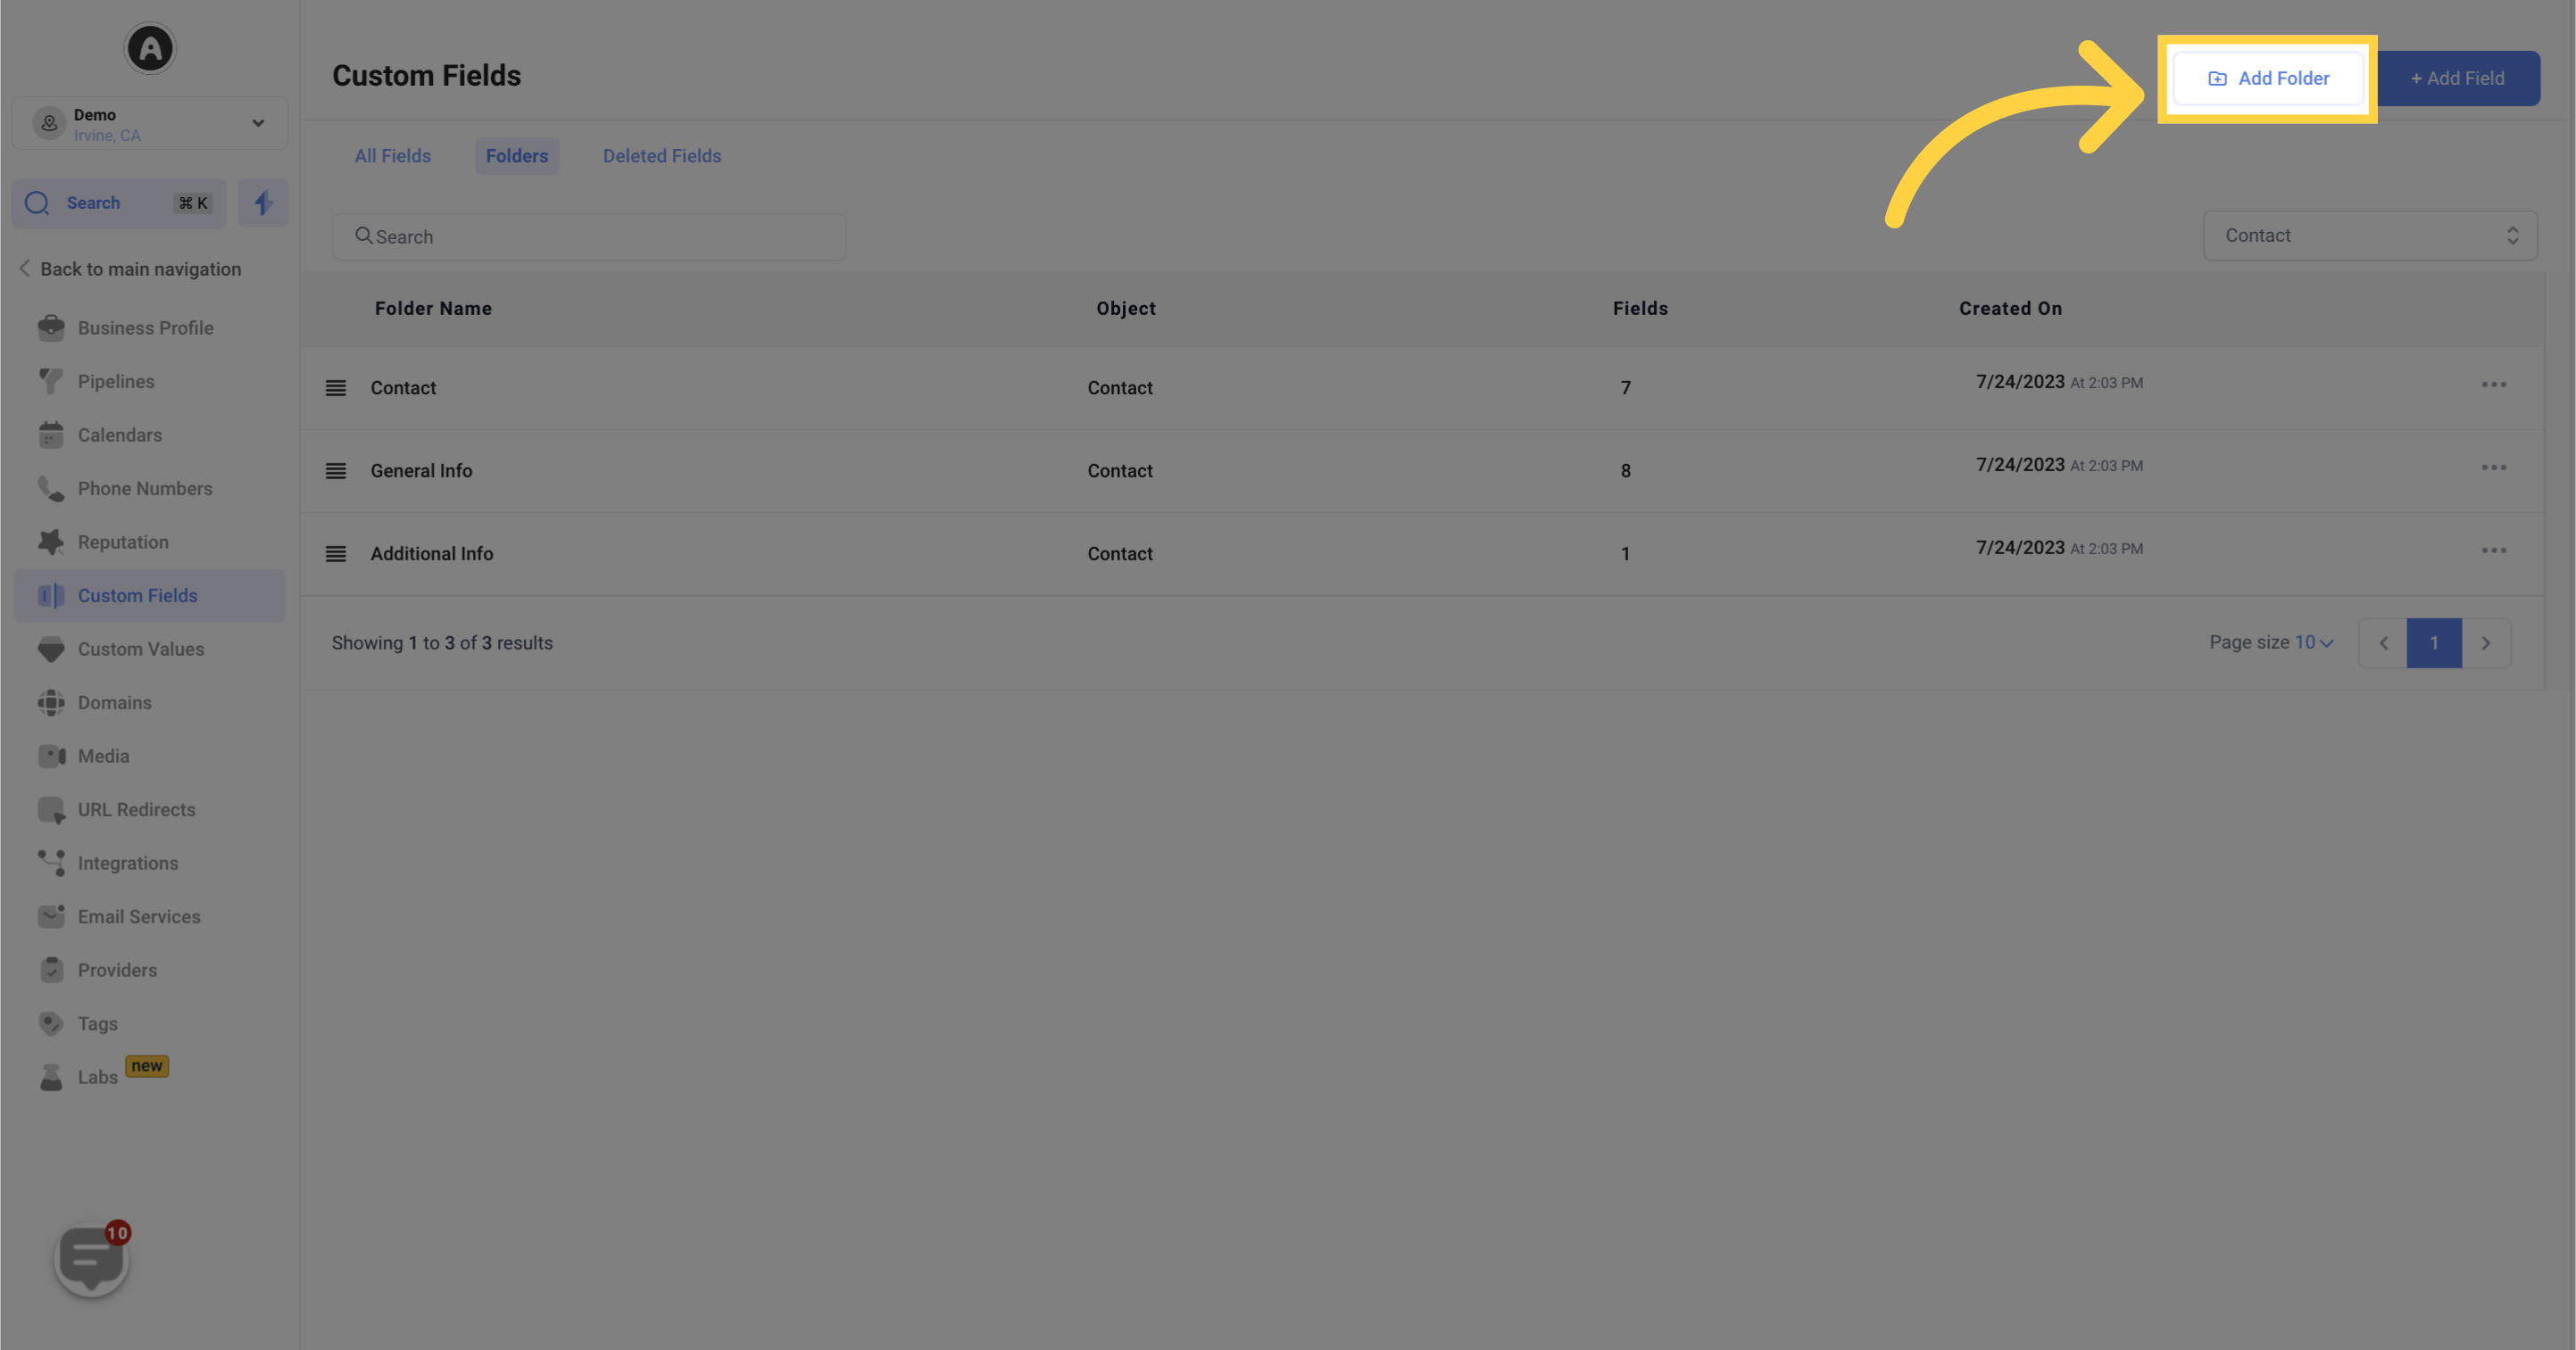
To access the folders you have created, navigate to the Folders tab. This section displays a list of all the folders you have created for organizing your custom fields.
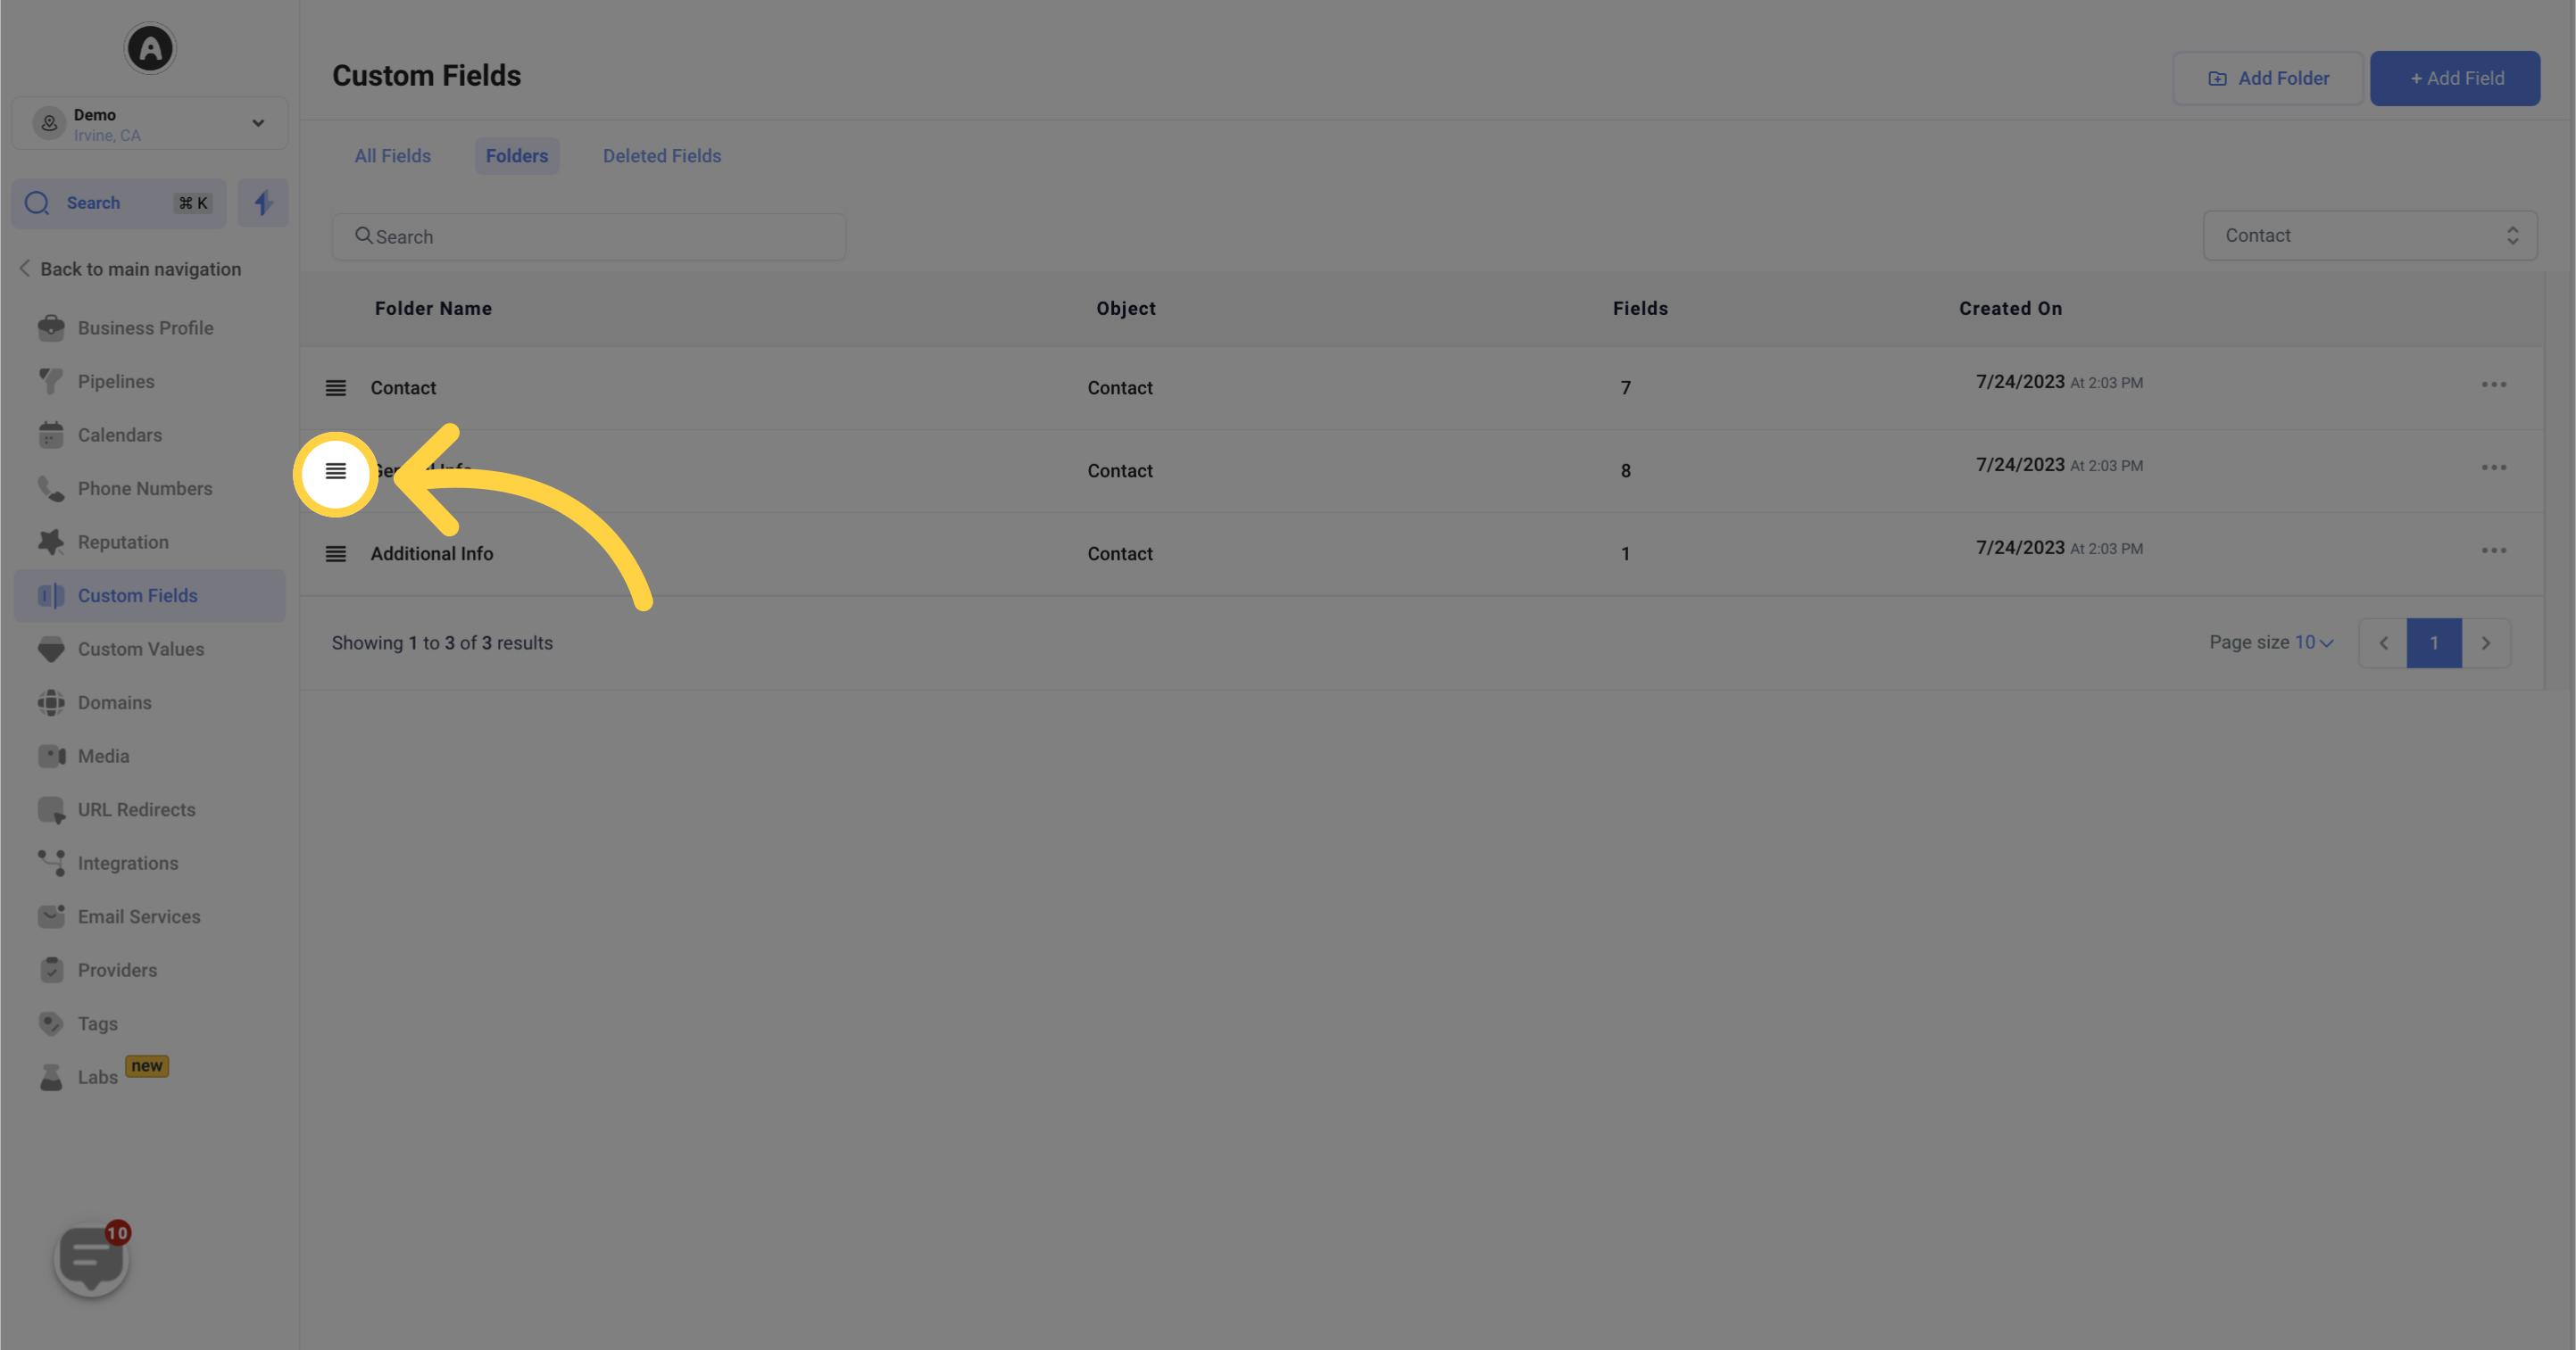
You can use the hamburger menu icon to easily drag and drop your custom fields for seamless organization. This allows you to arrange your fields in a way that makes sense to you.
The Folder Name column indicates the name of each folder. If needed, you can edit the folder name to better suit your needs.
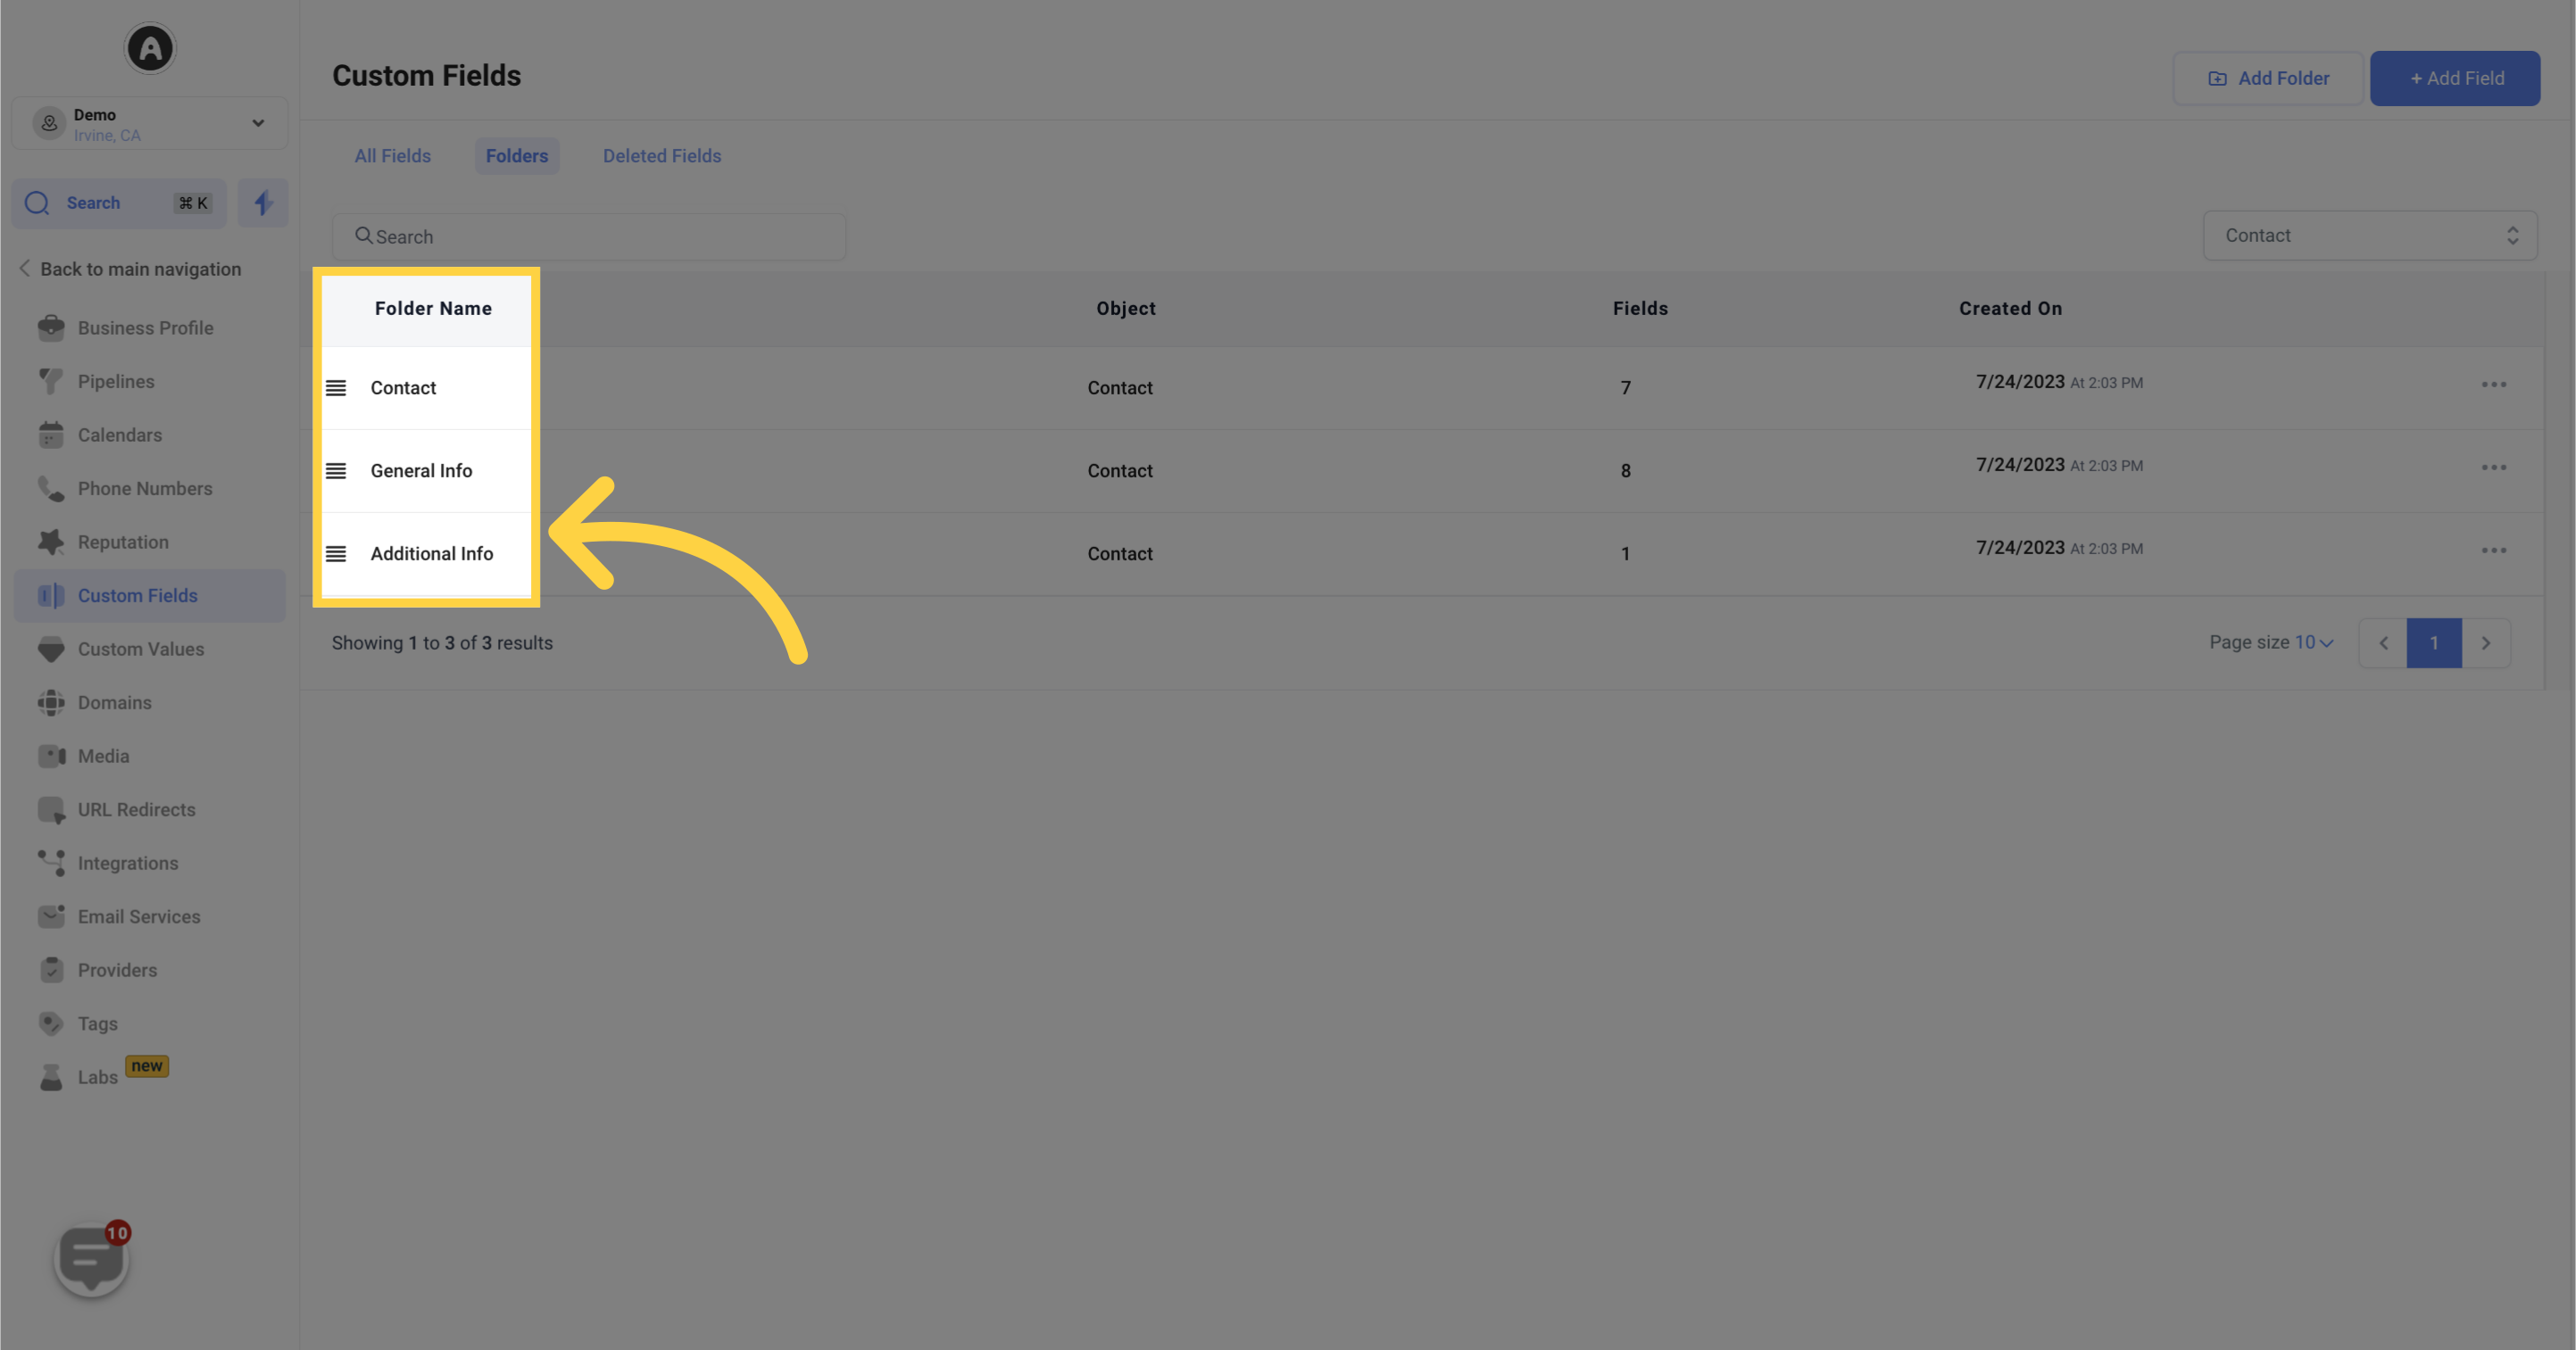
In the Fields section, you can see the number of fields created within each folder. This provides an overview of the contents of each folder.

The Created On column shows the date and time when each folder was initially created. It helps you track the creation history of your folders.
By clicking the three dots menu icon, you can access a range of actions for each folder. The available options include:
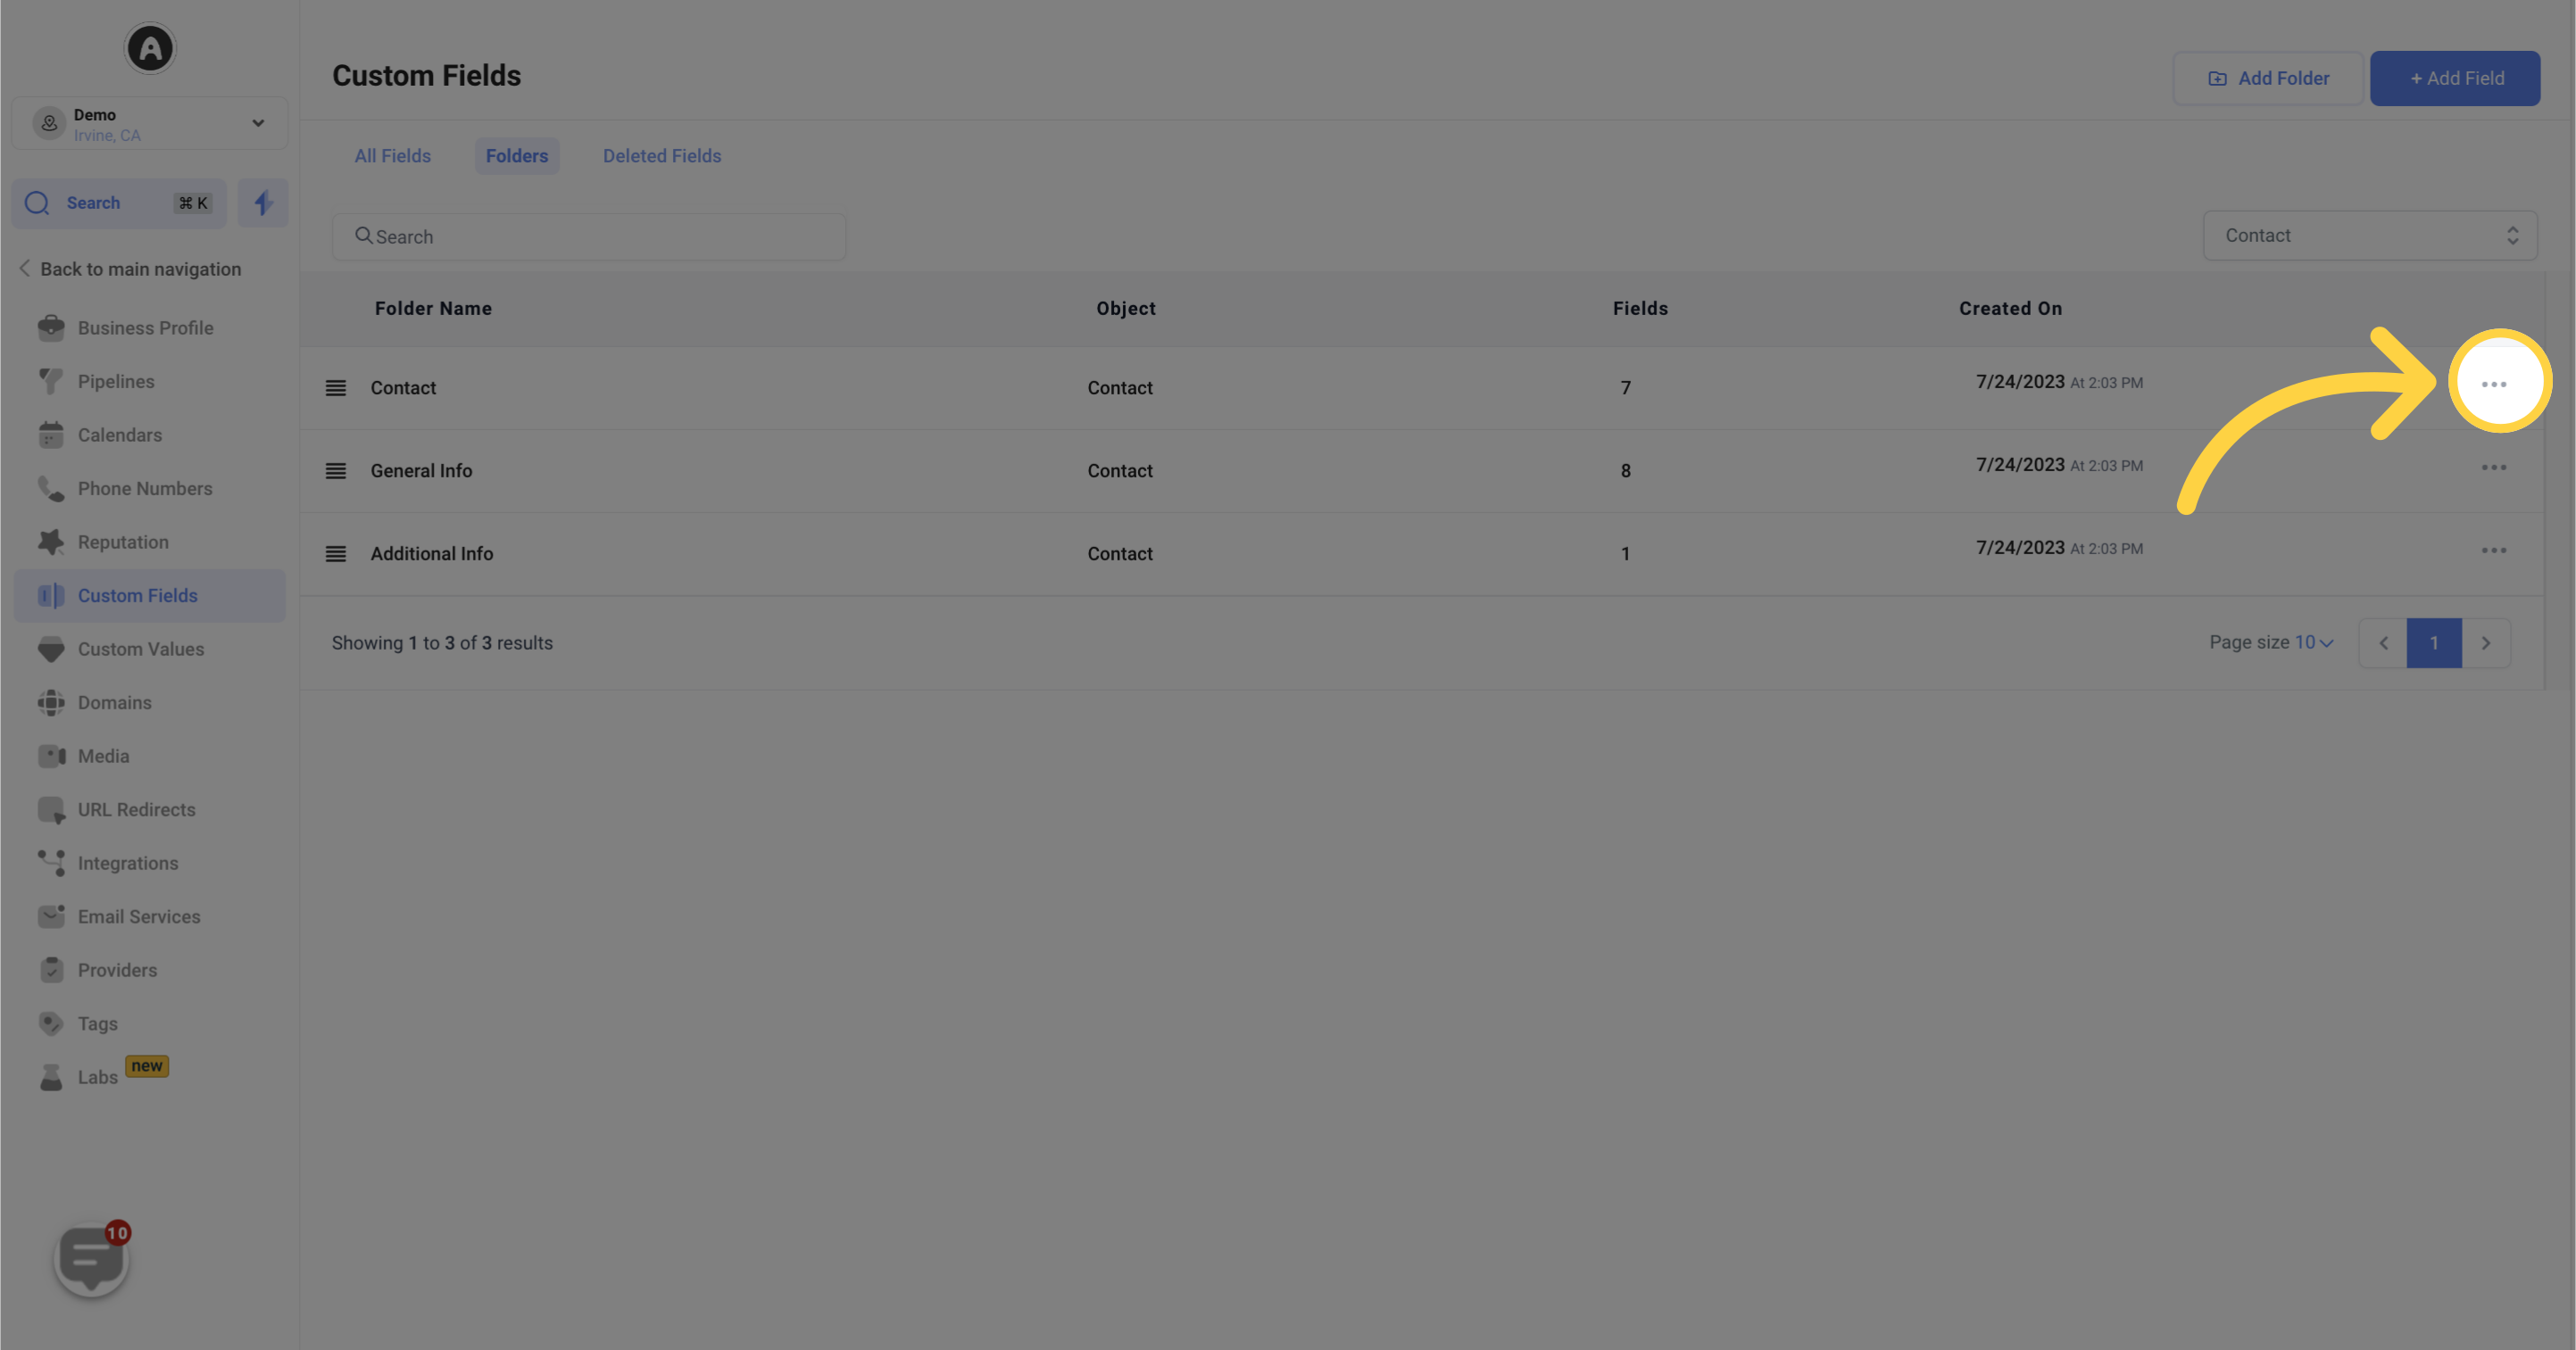
This allows you to change the name of the folder
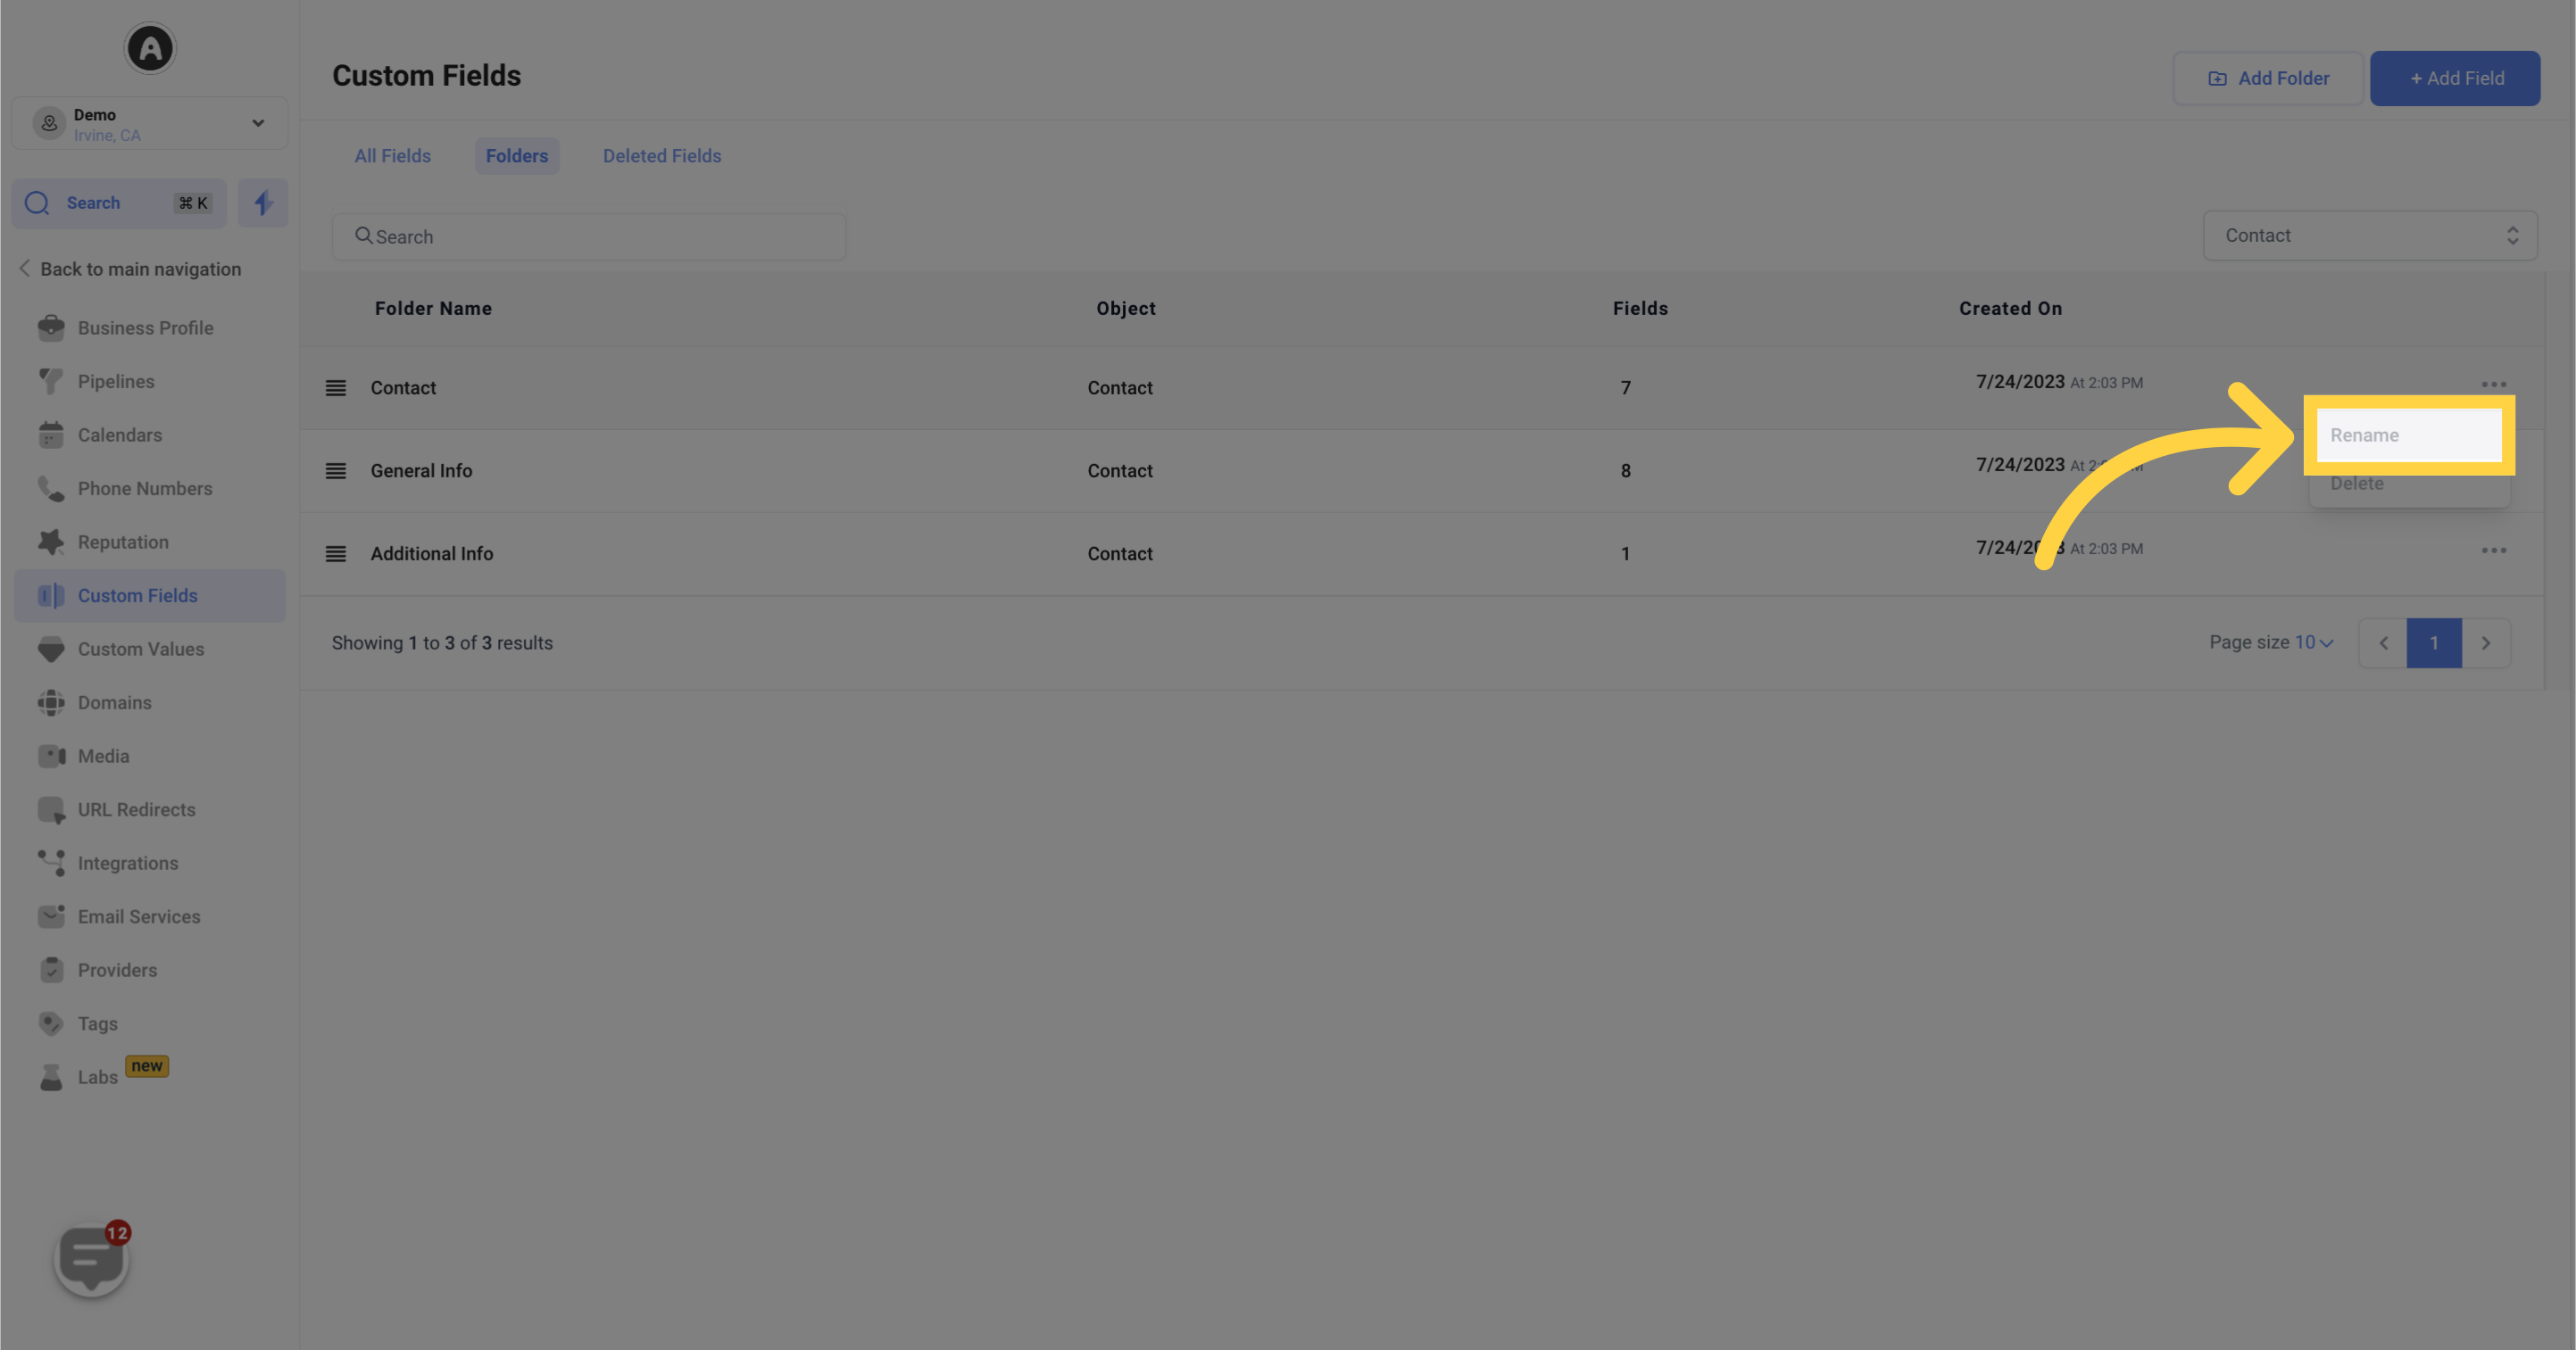
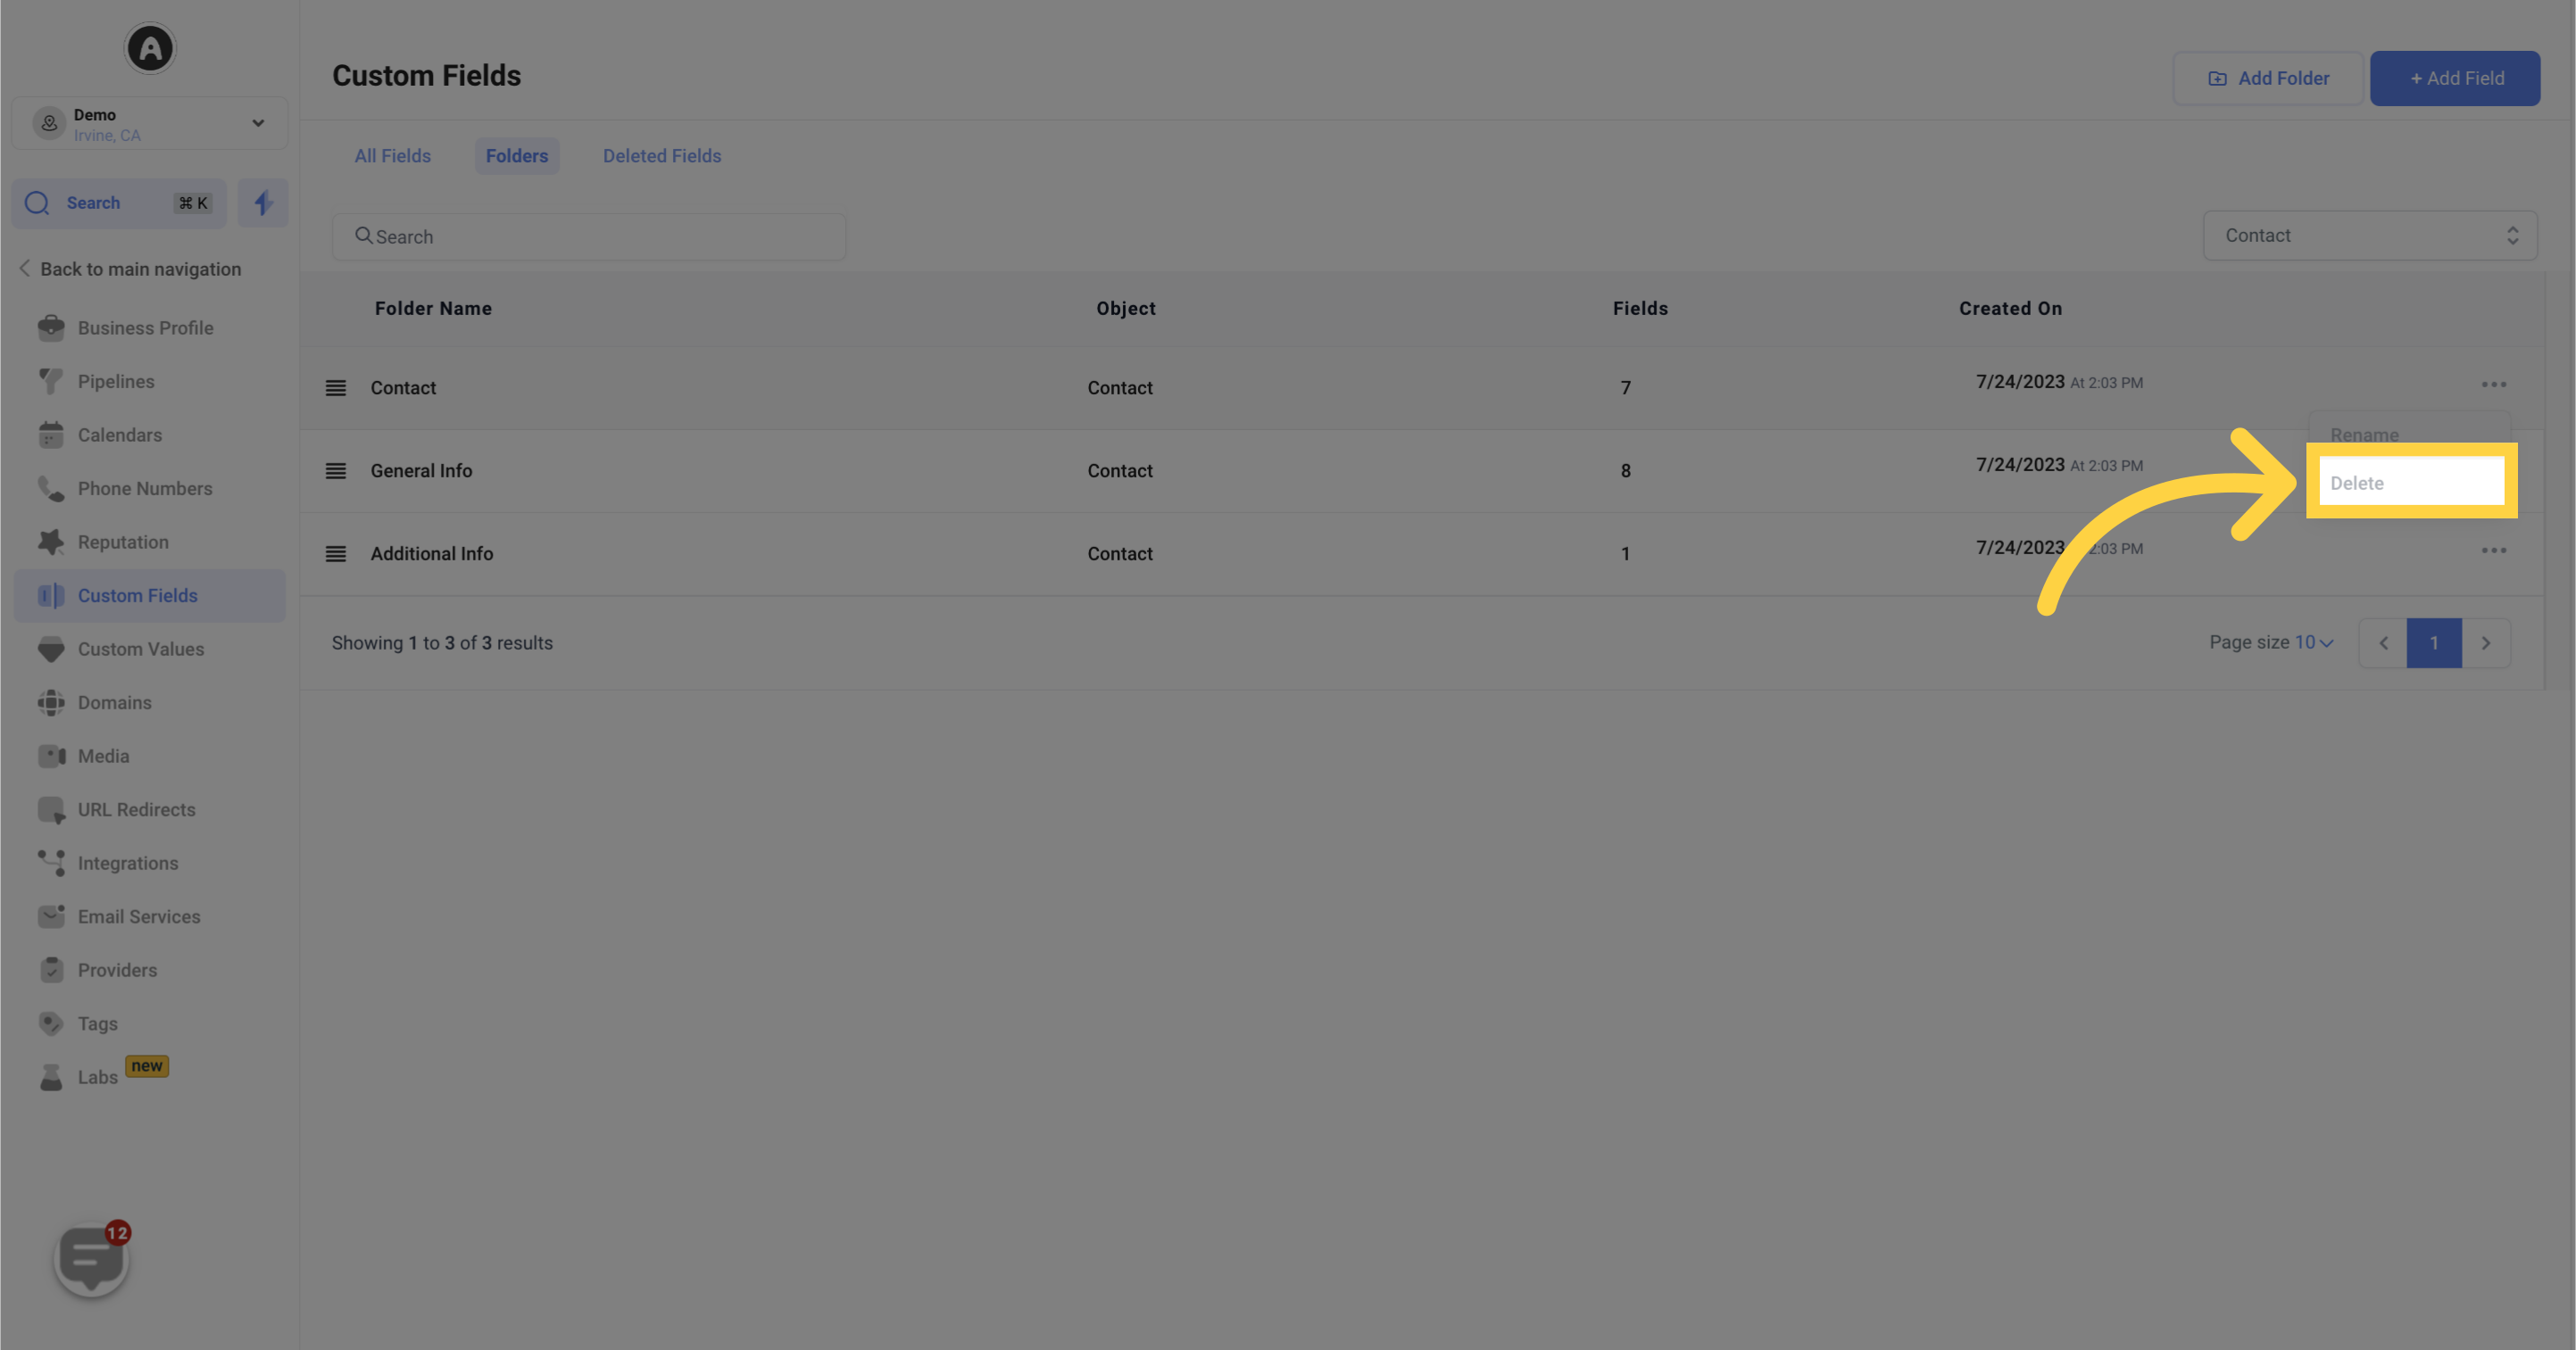
This option enables you to delete an individual folder.
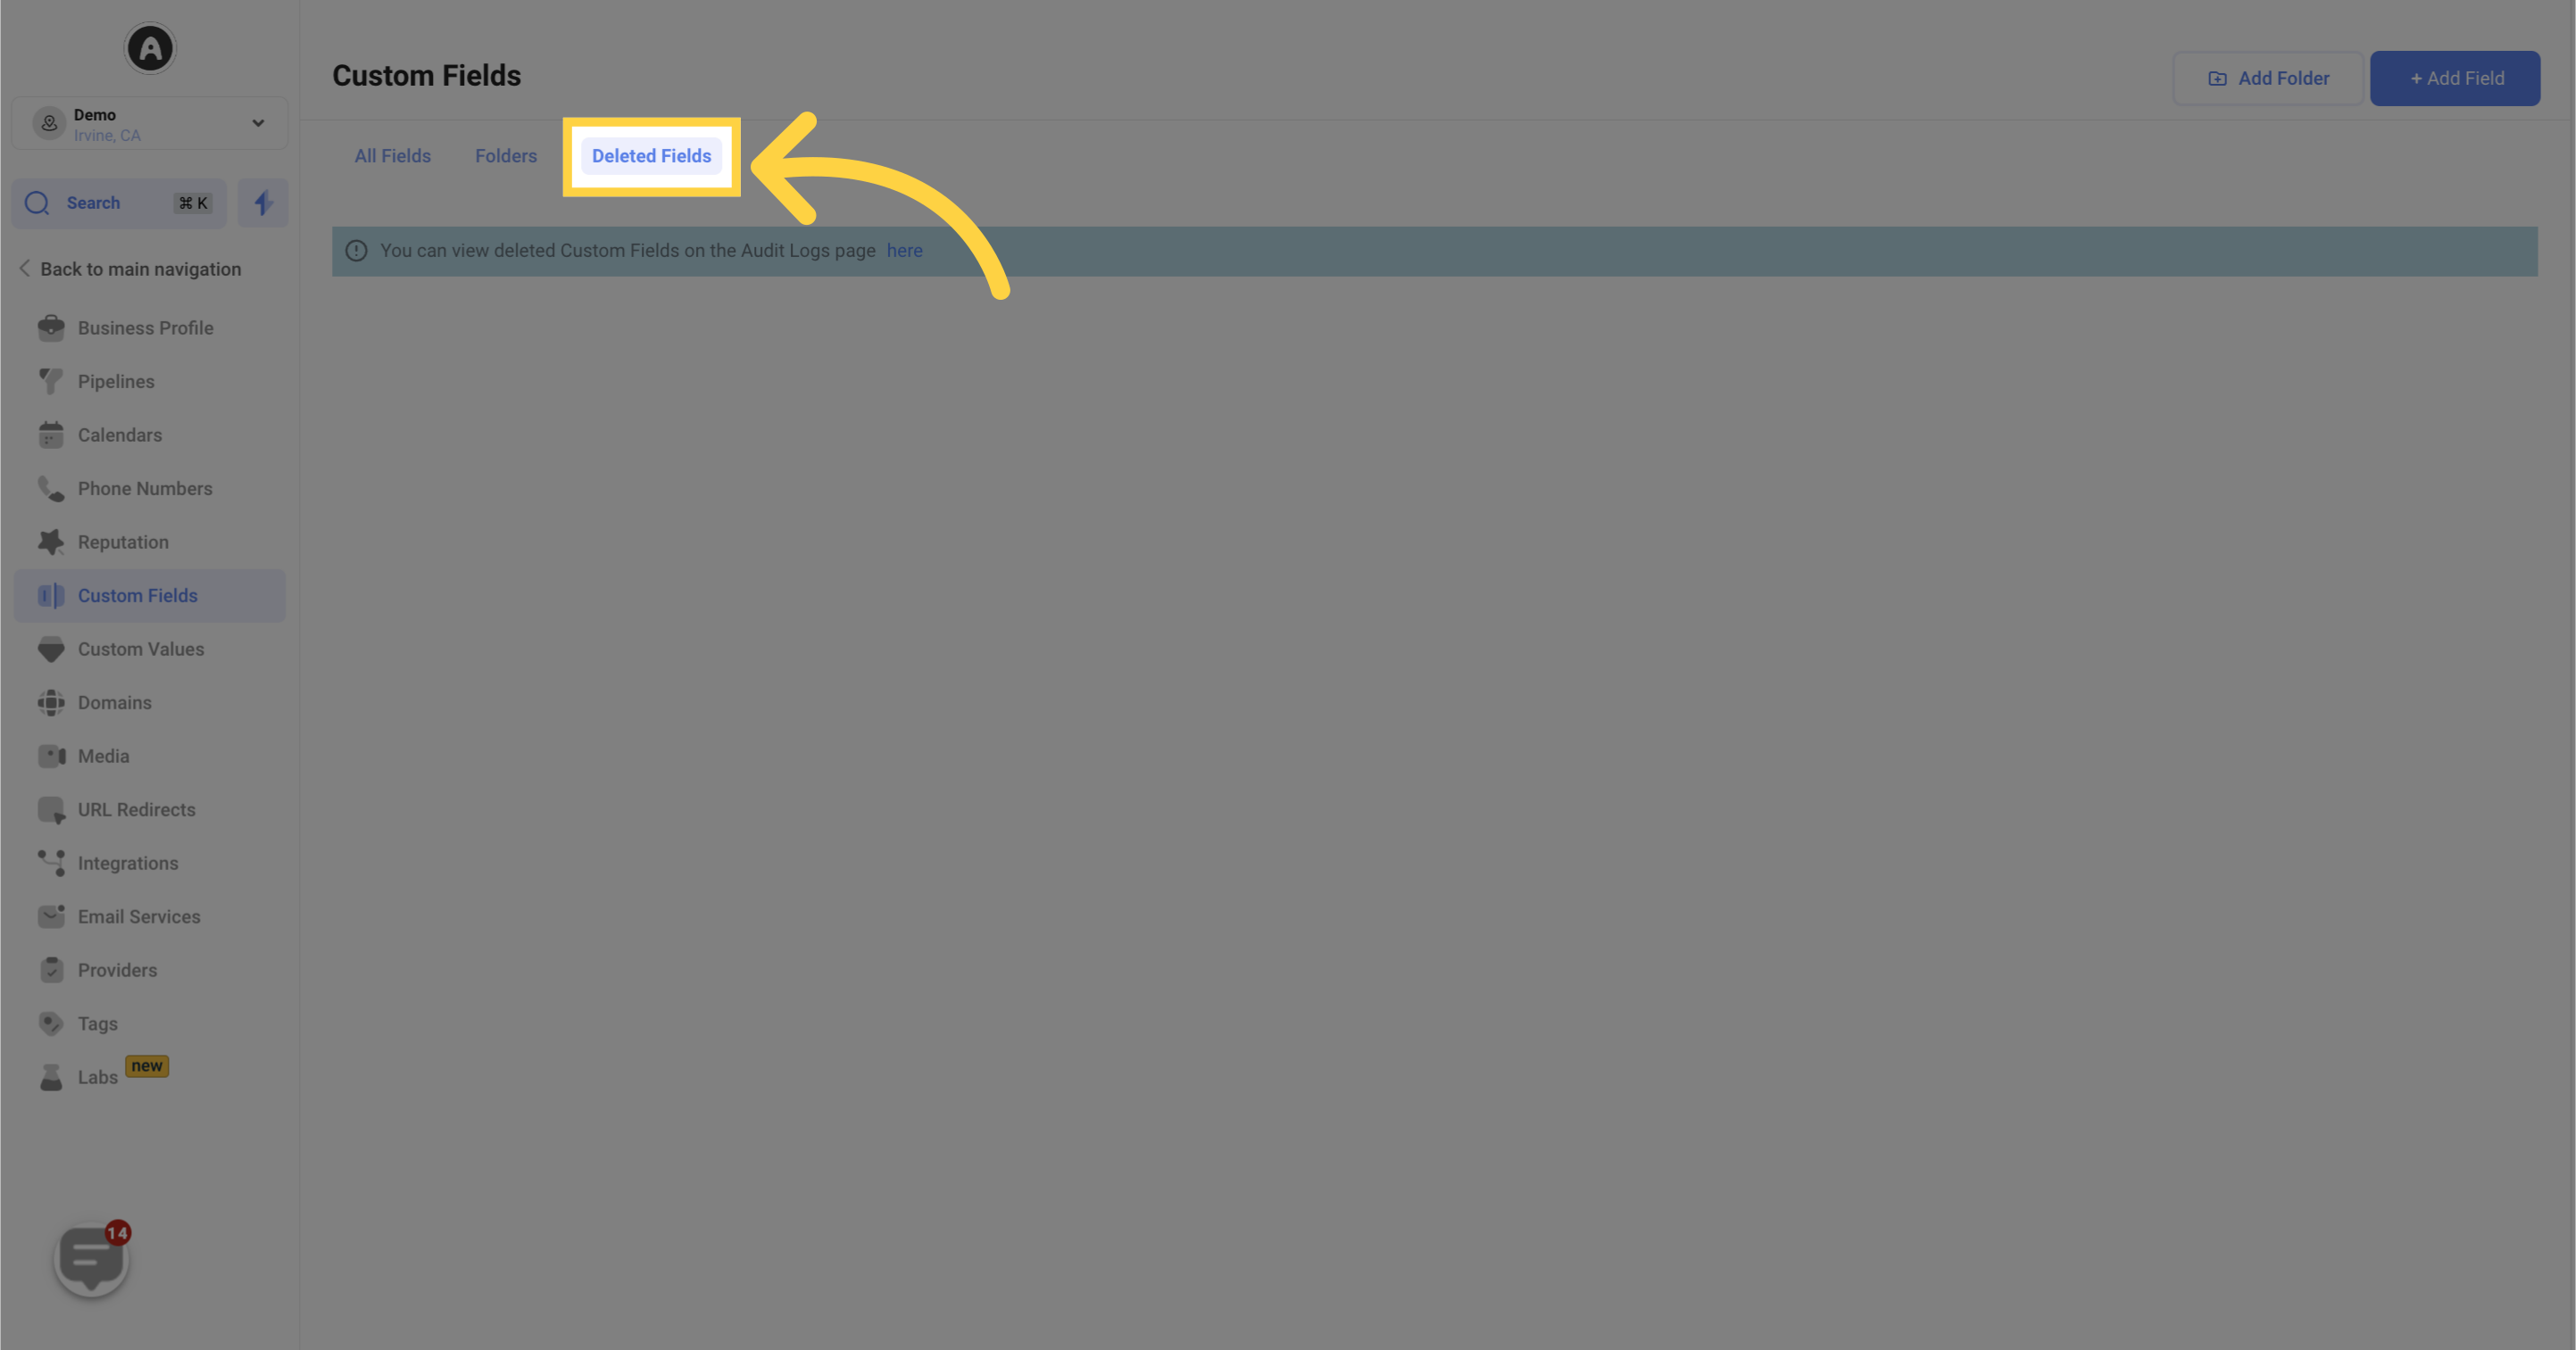
Under the Deleted Fields tab, you can view previously deleted custom fields. Clicking on the redirect link will take you to the audit page in your CRM, where you can review items that were deleted.
To create a new folder for organizing your customized fields, simply click on the "Add Folder" button. This enables you to tailor your organization system to suit your specific needs.
To create a custom field, locate the green "Add Field" button at the top right of the screen and click on it. This action will open a popup that allows you to define and configure the details of your custom field