Custom values are a powerful feature that allows your CRM to automate repetitive tasks. By setting them up correctly, you can streamline your email sending, website building, and funnel creation processes.
The name section represents the label assigned to each custom value for easy identification and reference. It helps you quickly locate and use the custom value within your system or during various operations.
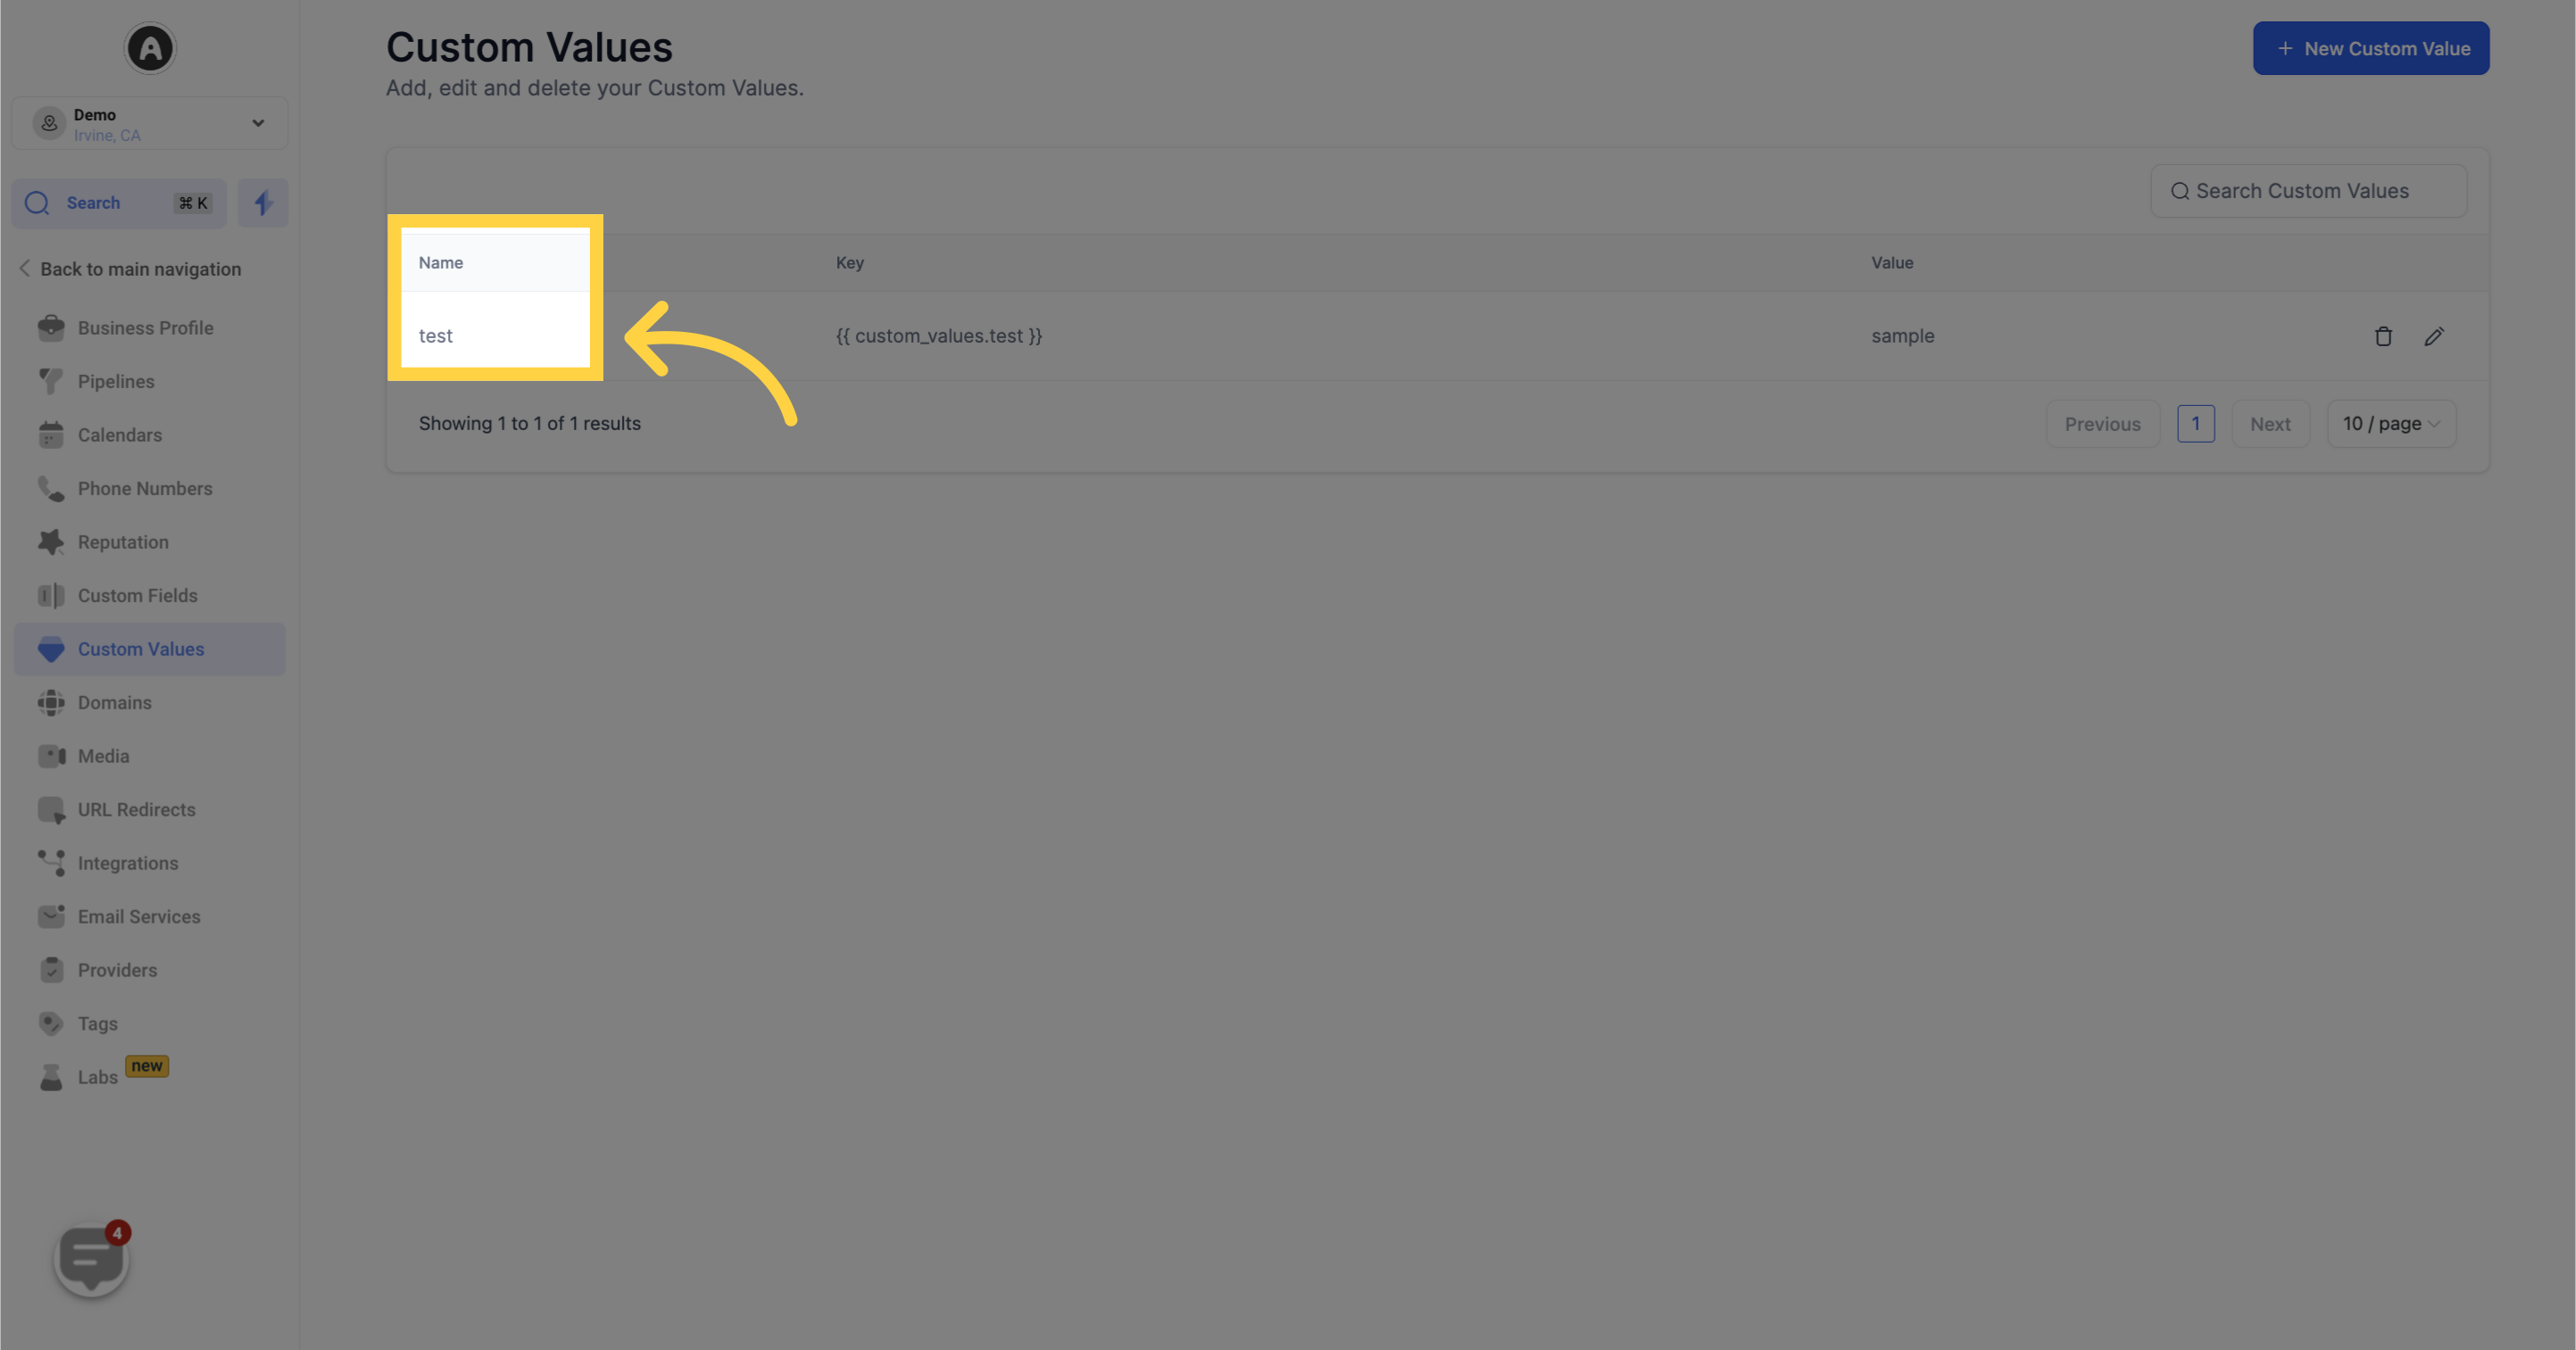
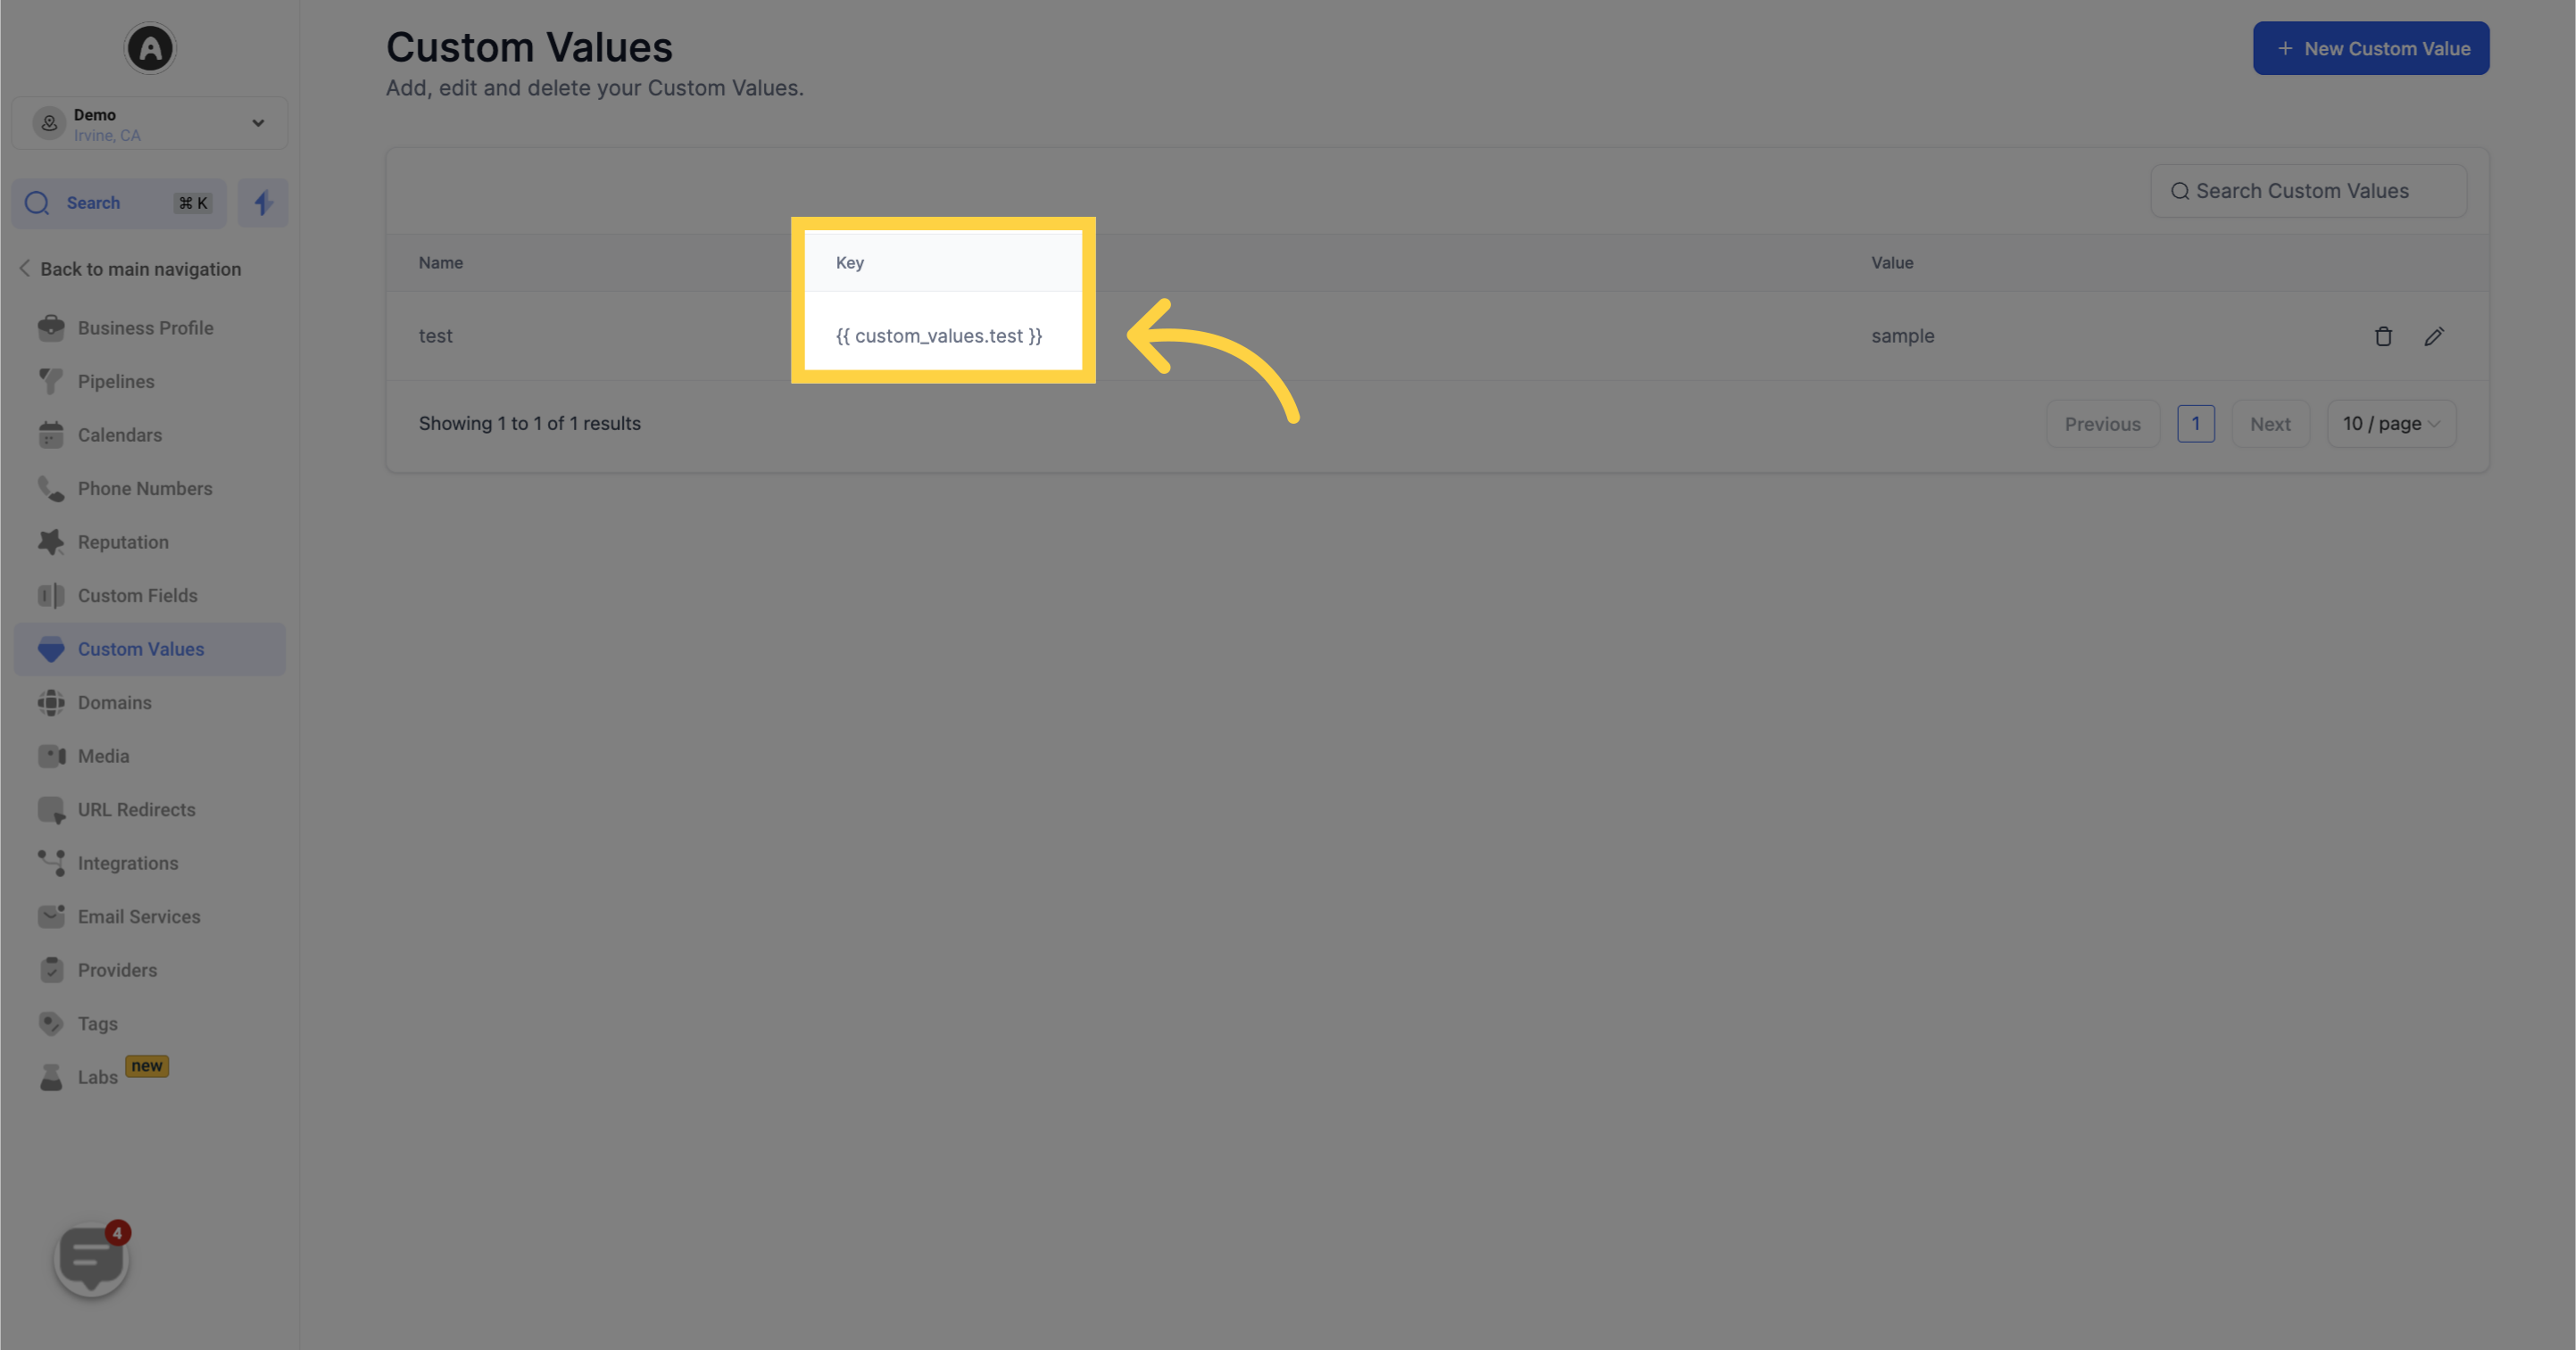
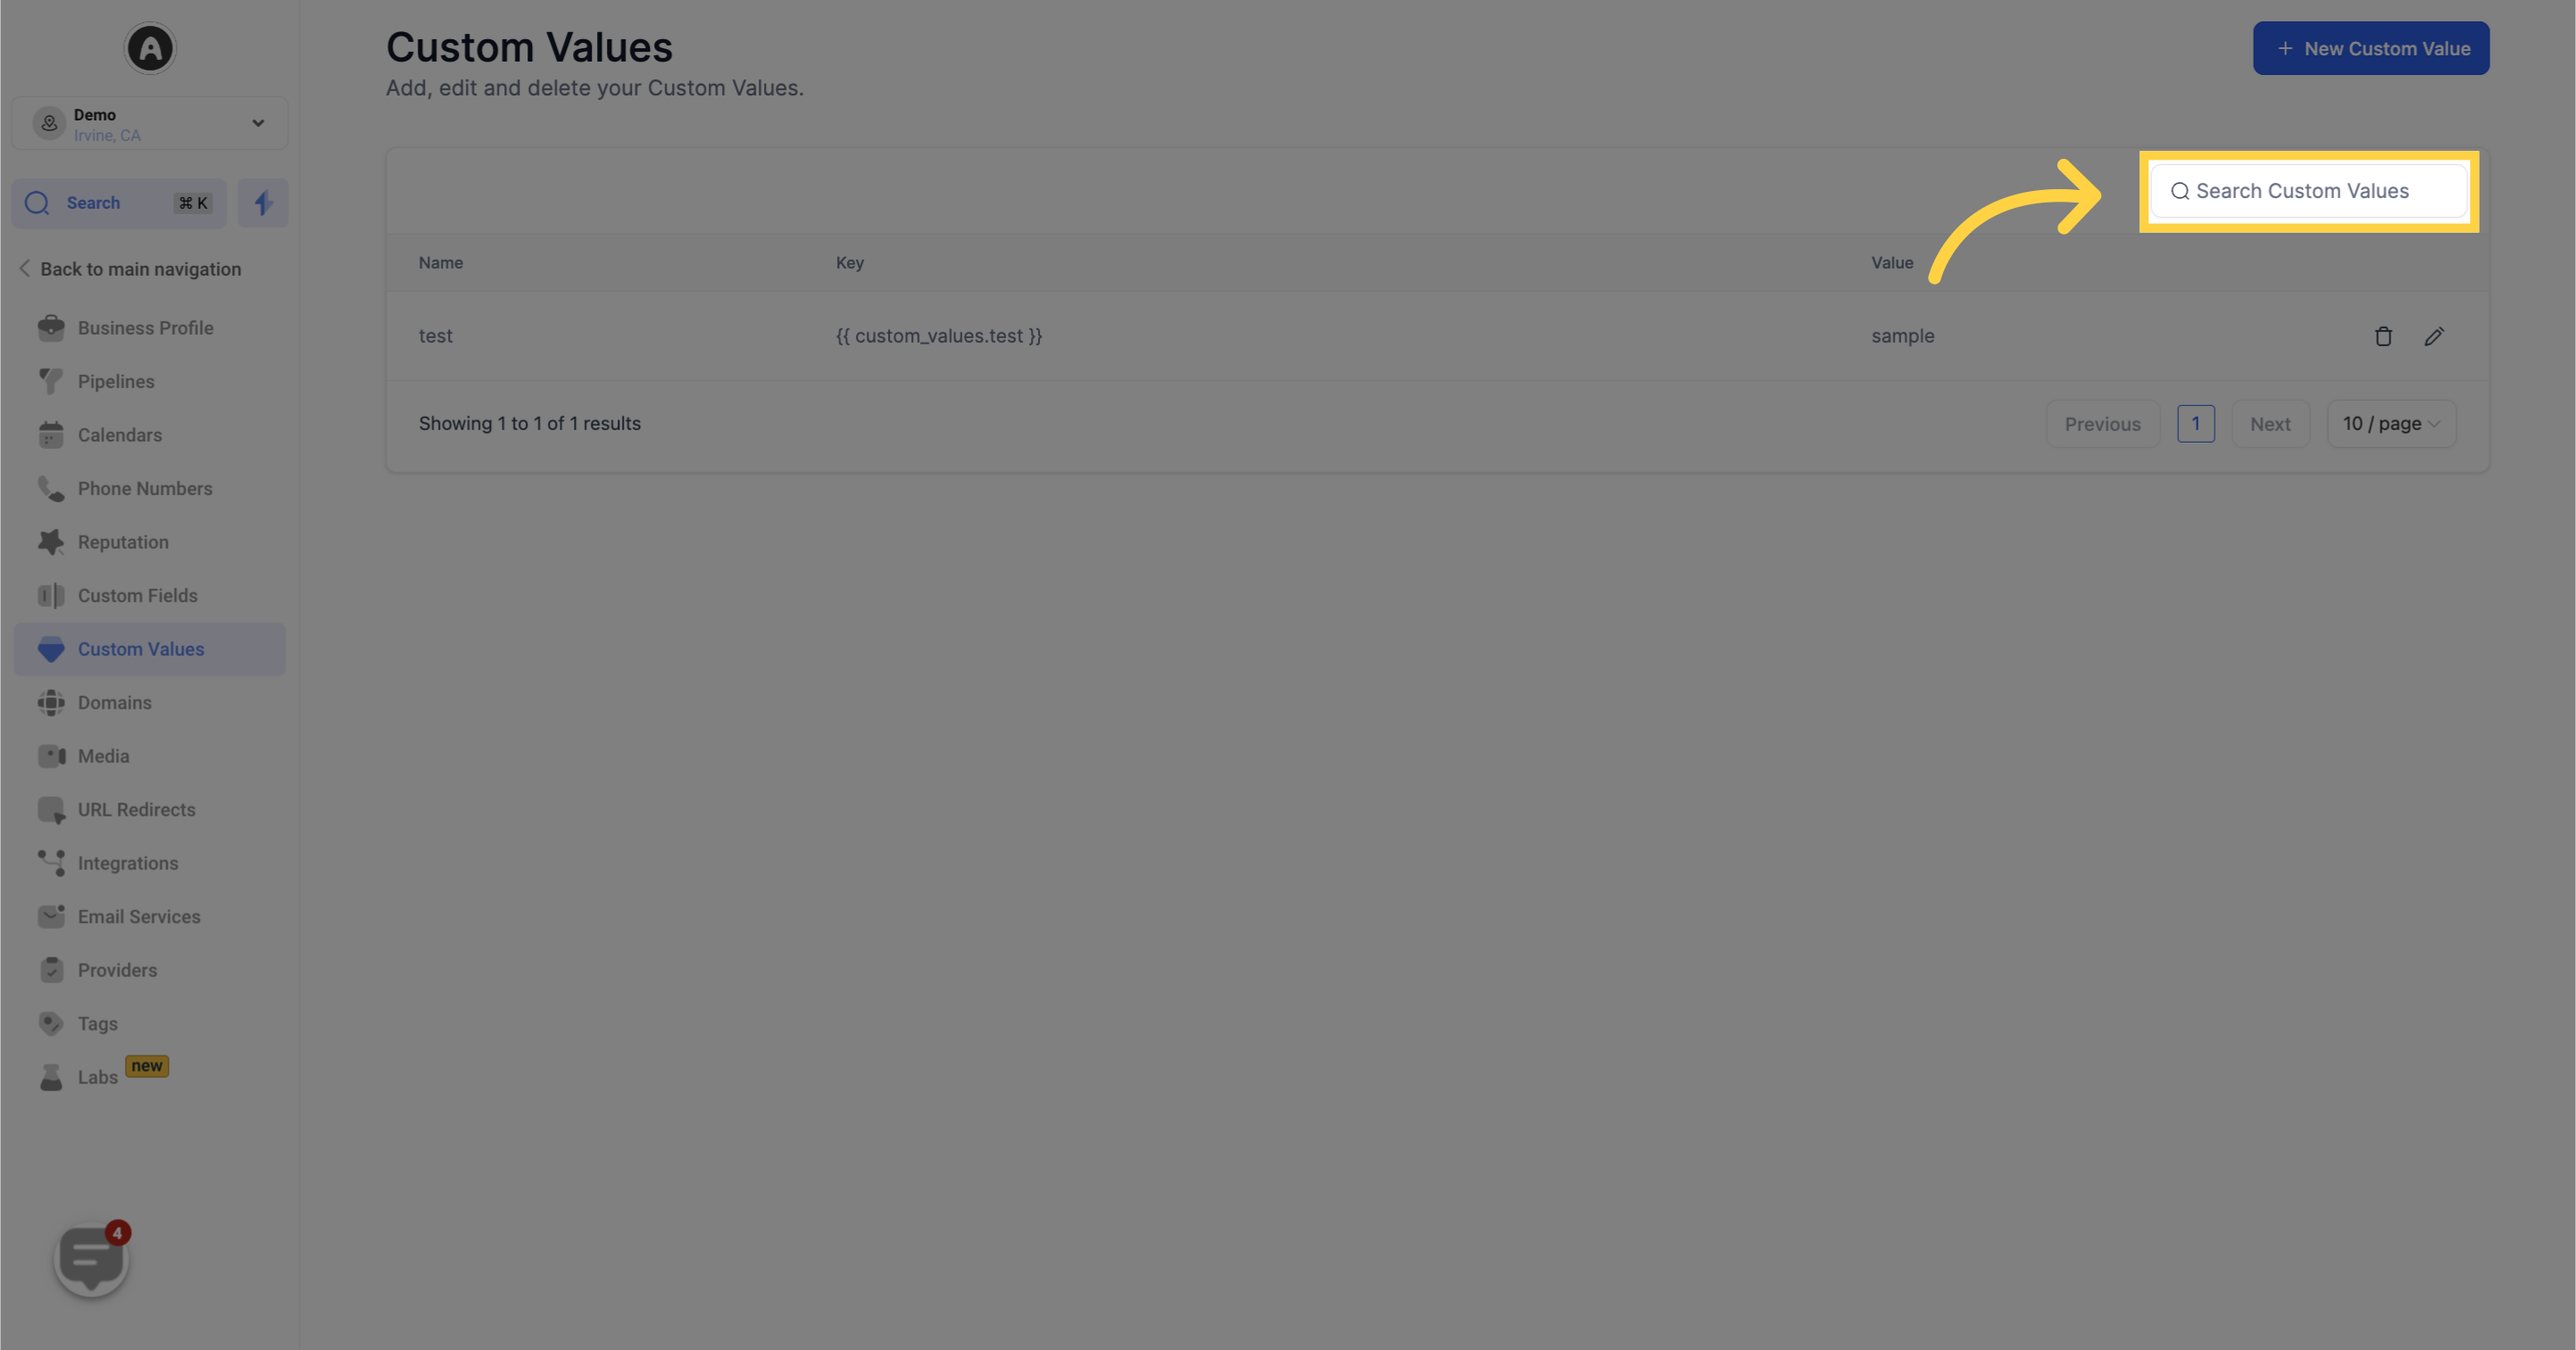
A key is a unique identifier generated by the system for each custom value. You should reference this key whenever you need to access or utilize your custom values.
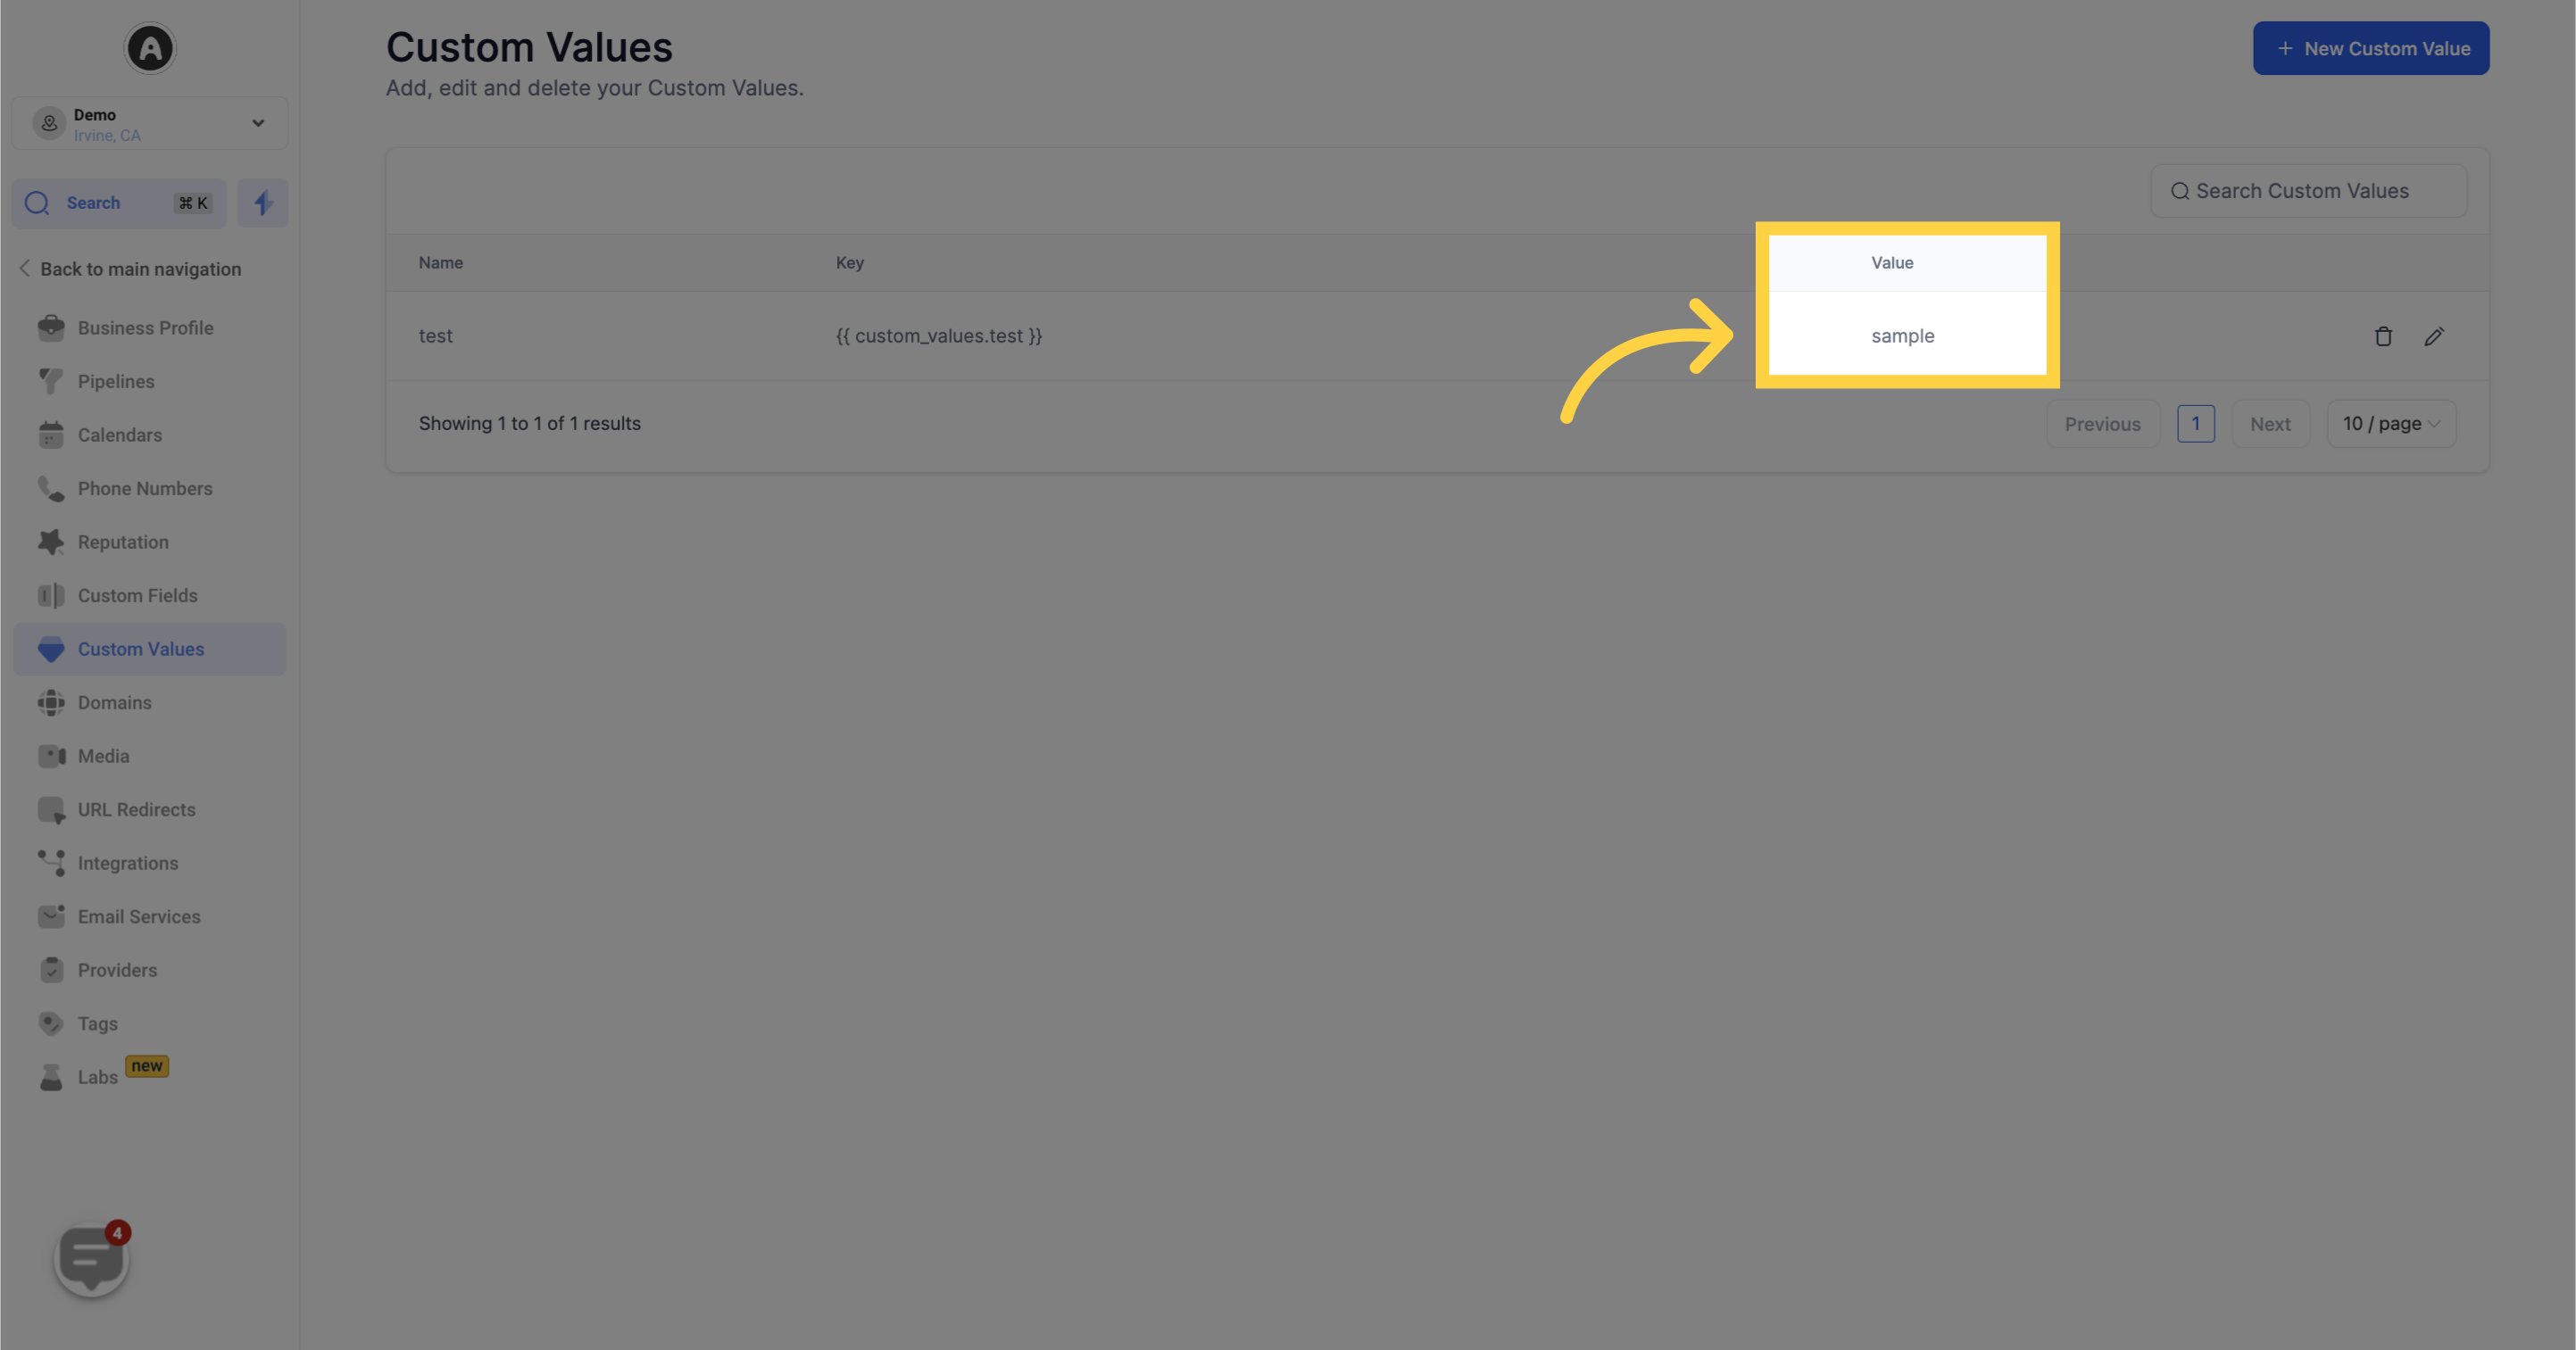
The value refers to the information that you want the system to populate when you select a specific custom value. Users need to input this information based on their objectives. For example, if you have a custom value named "phone number," you would need to add the actual phone number for the system to use it.
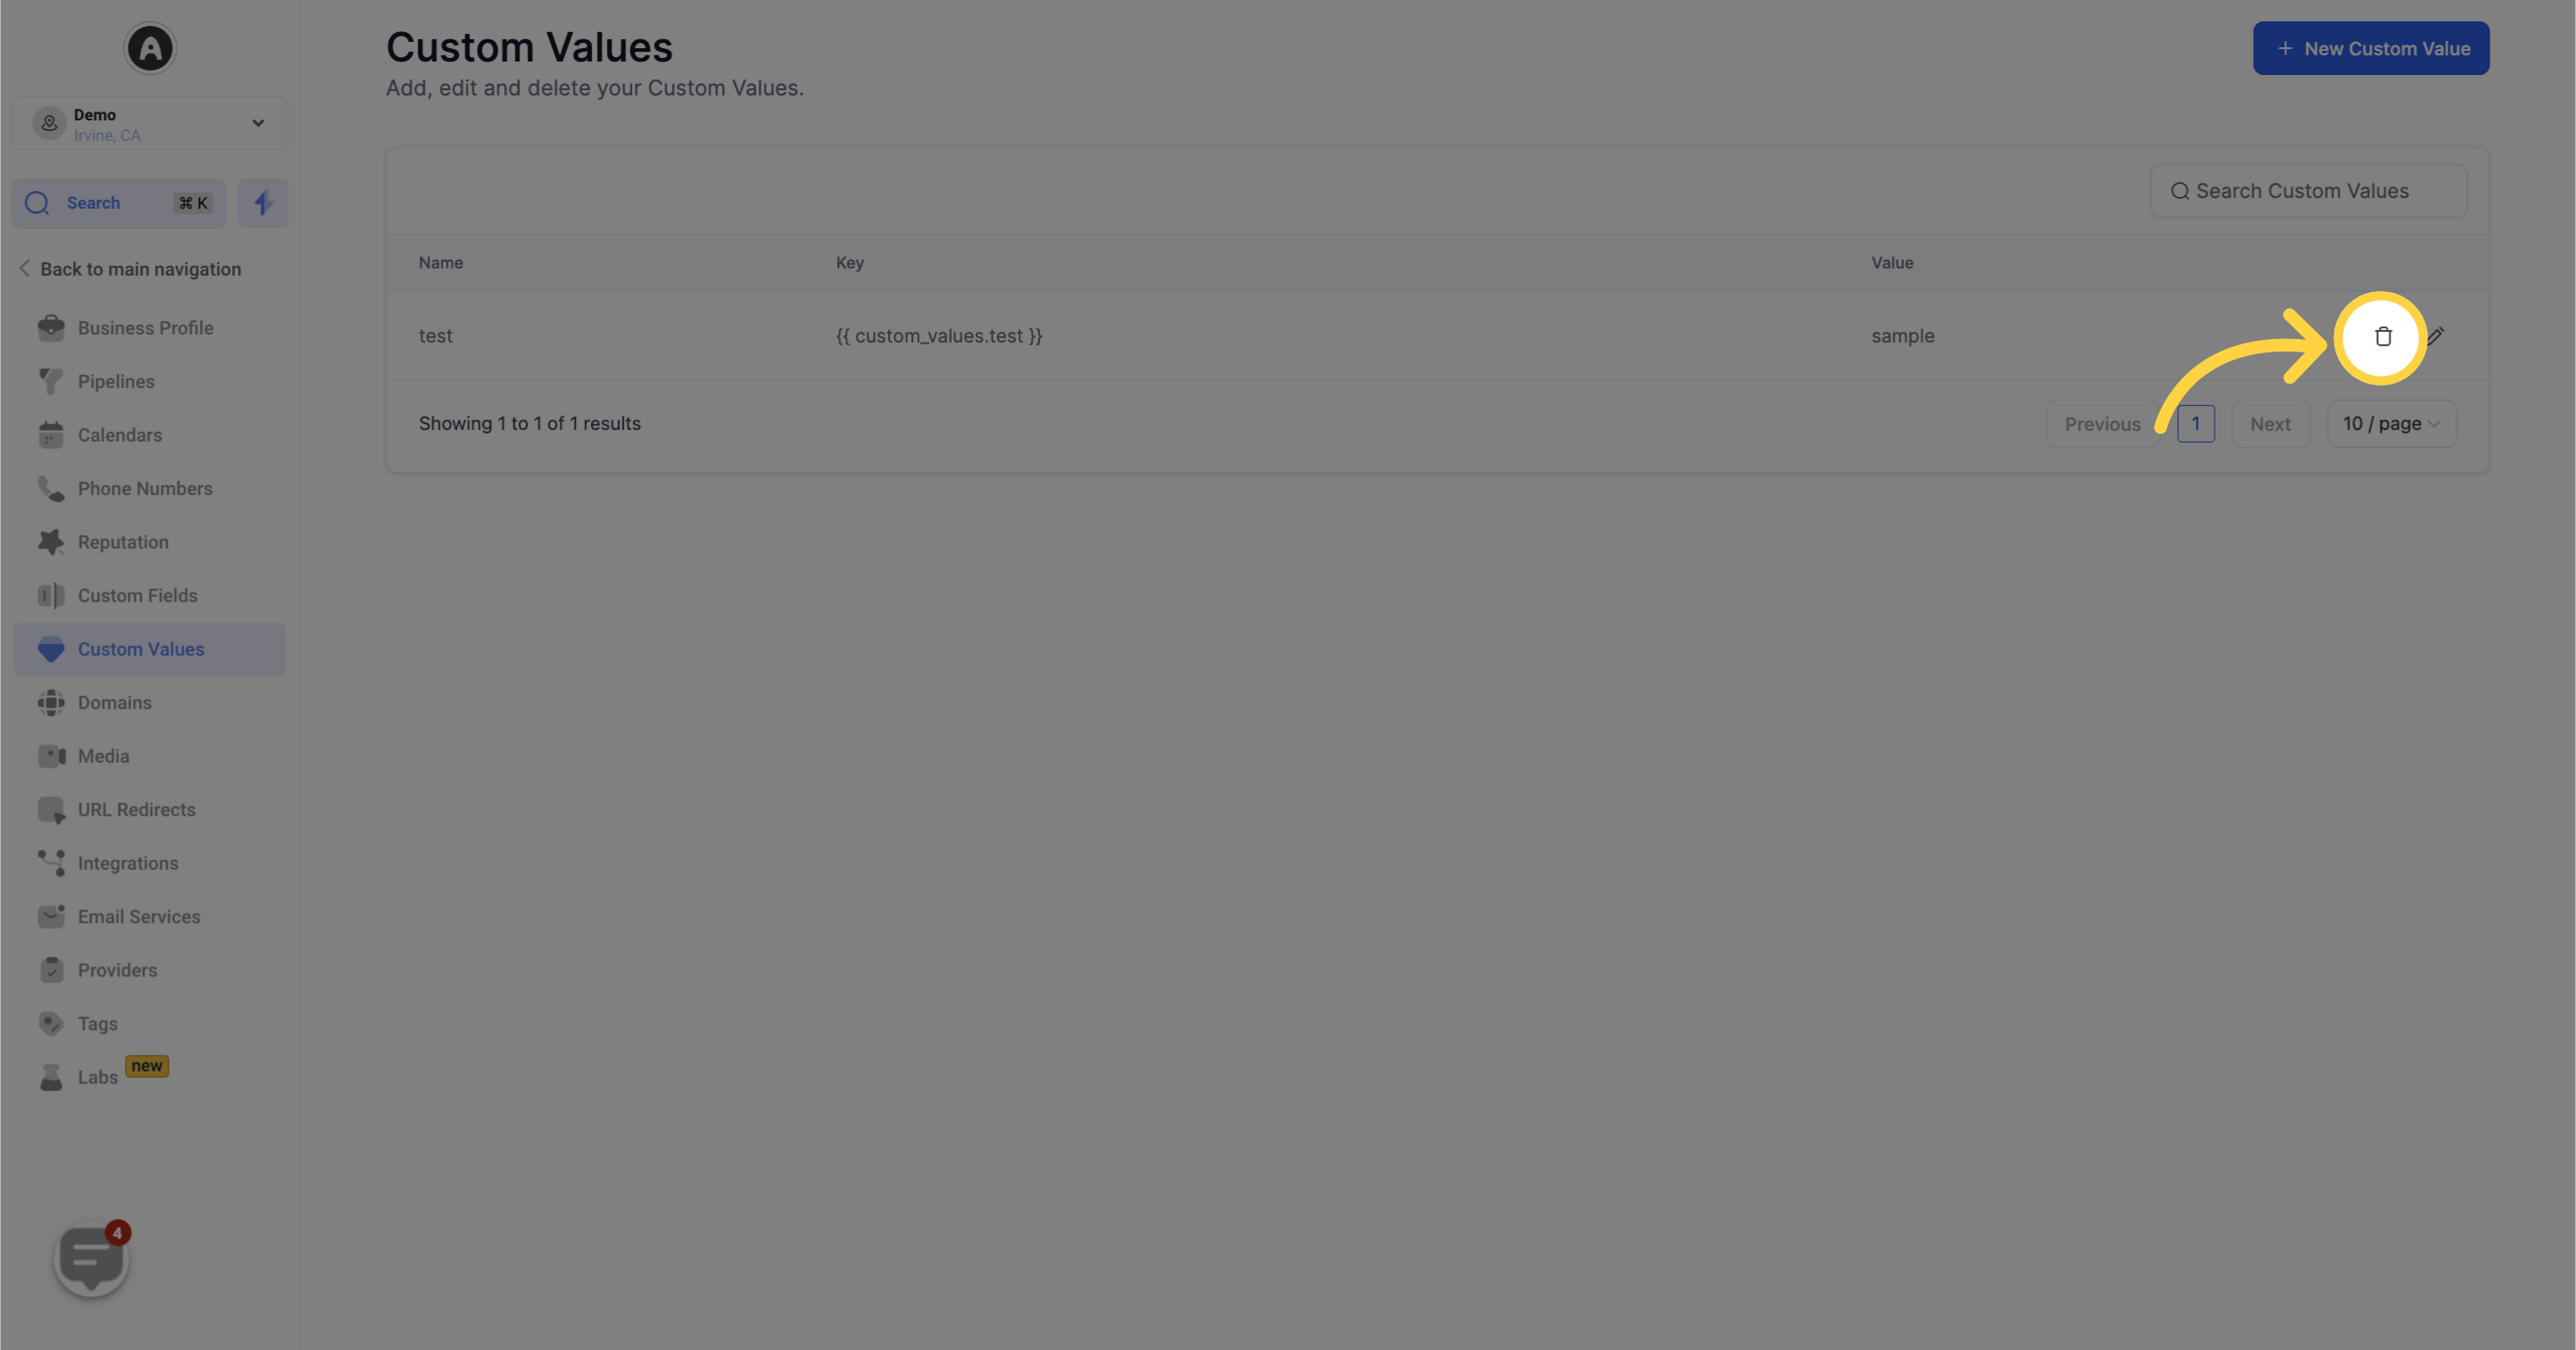
To delete a custom value, click on the trashcan icon located on the far right of the custom value. A popup will appear asking you to confirm or cancel the action. Please note that once deleted, a custom value cannot be restored.
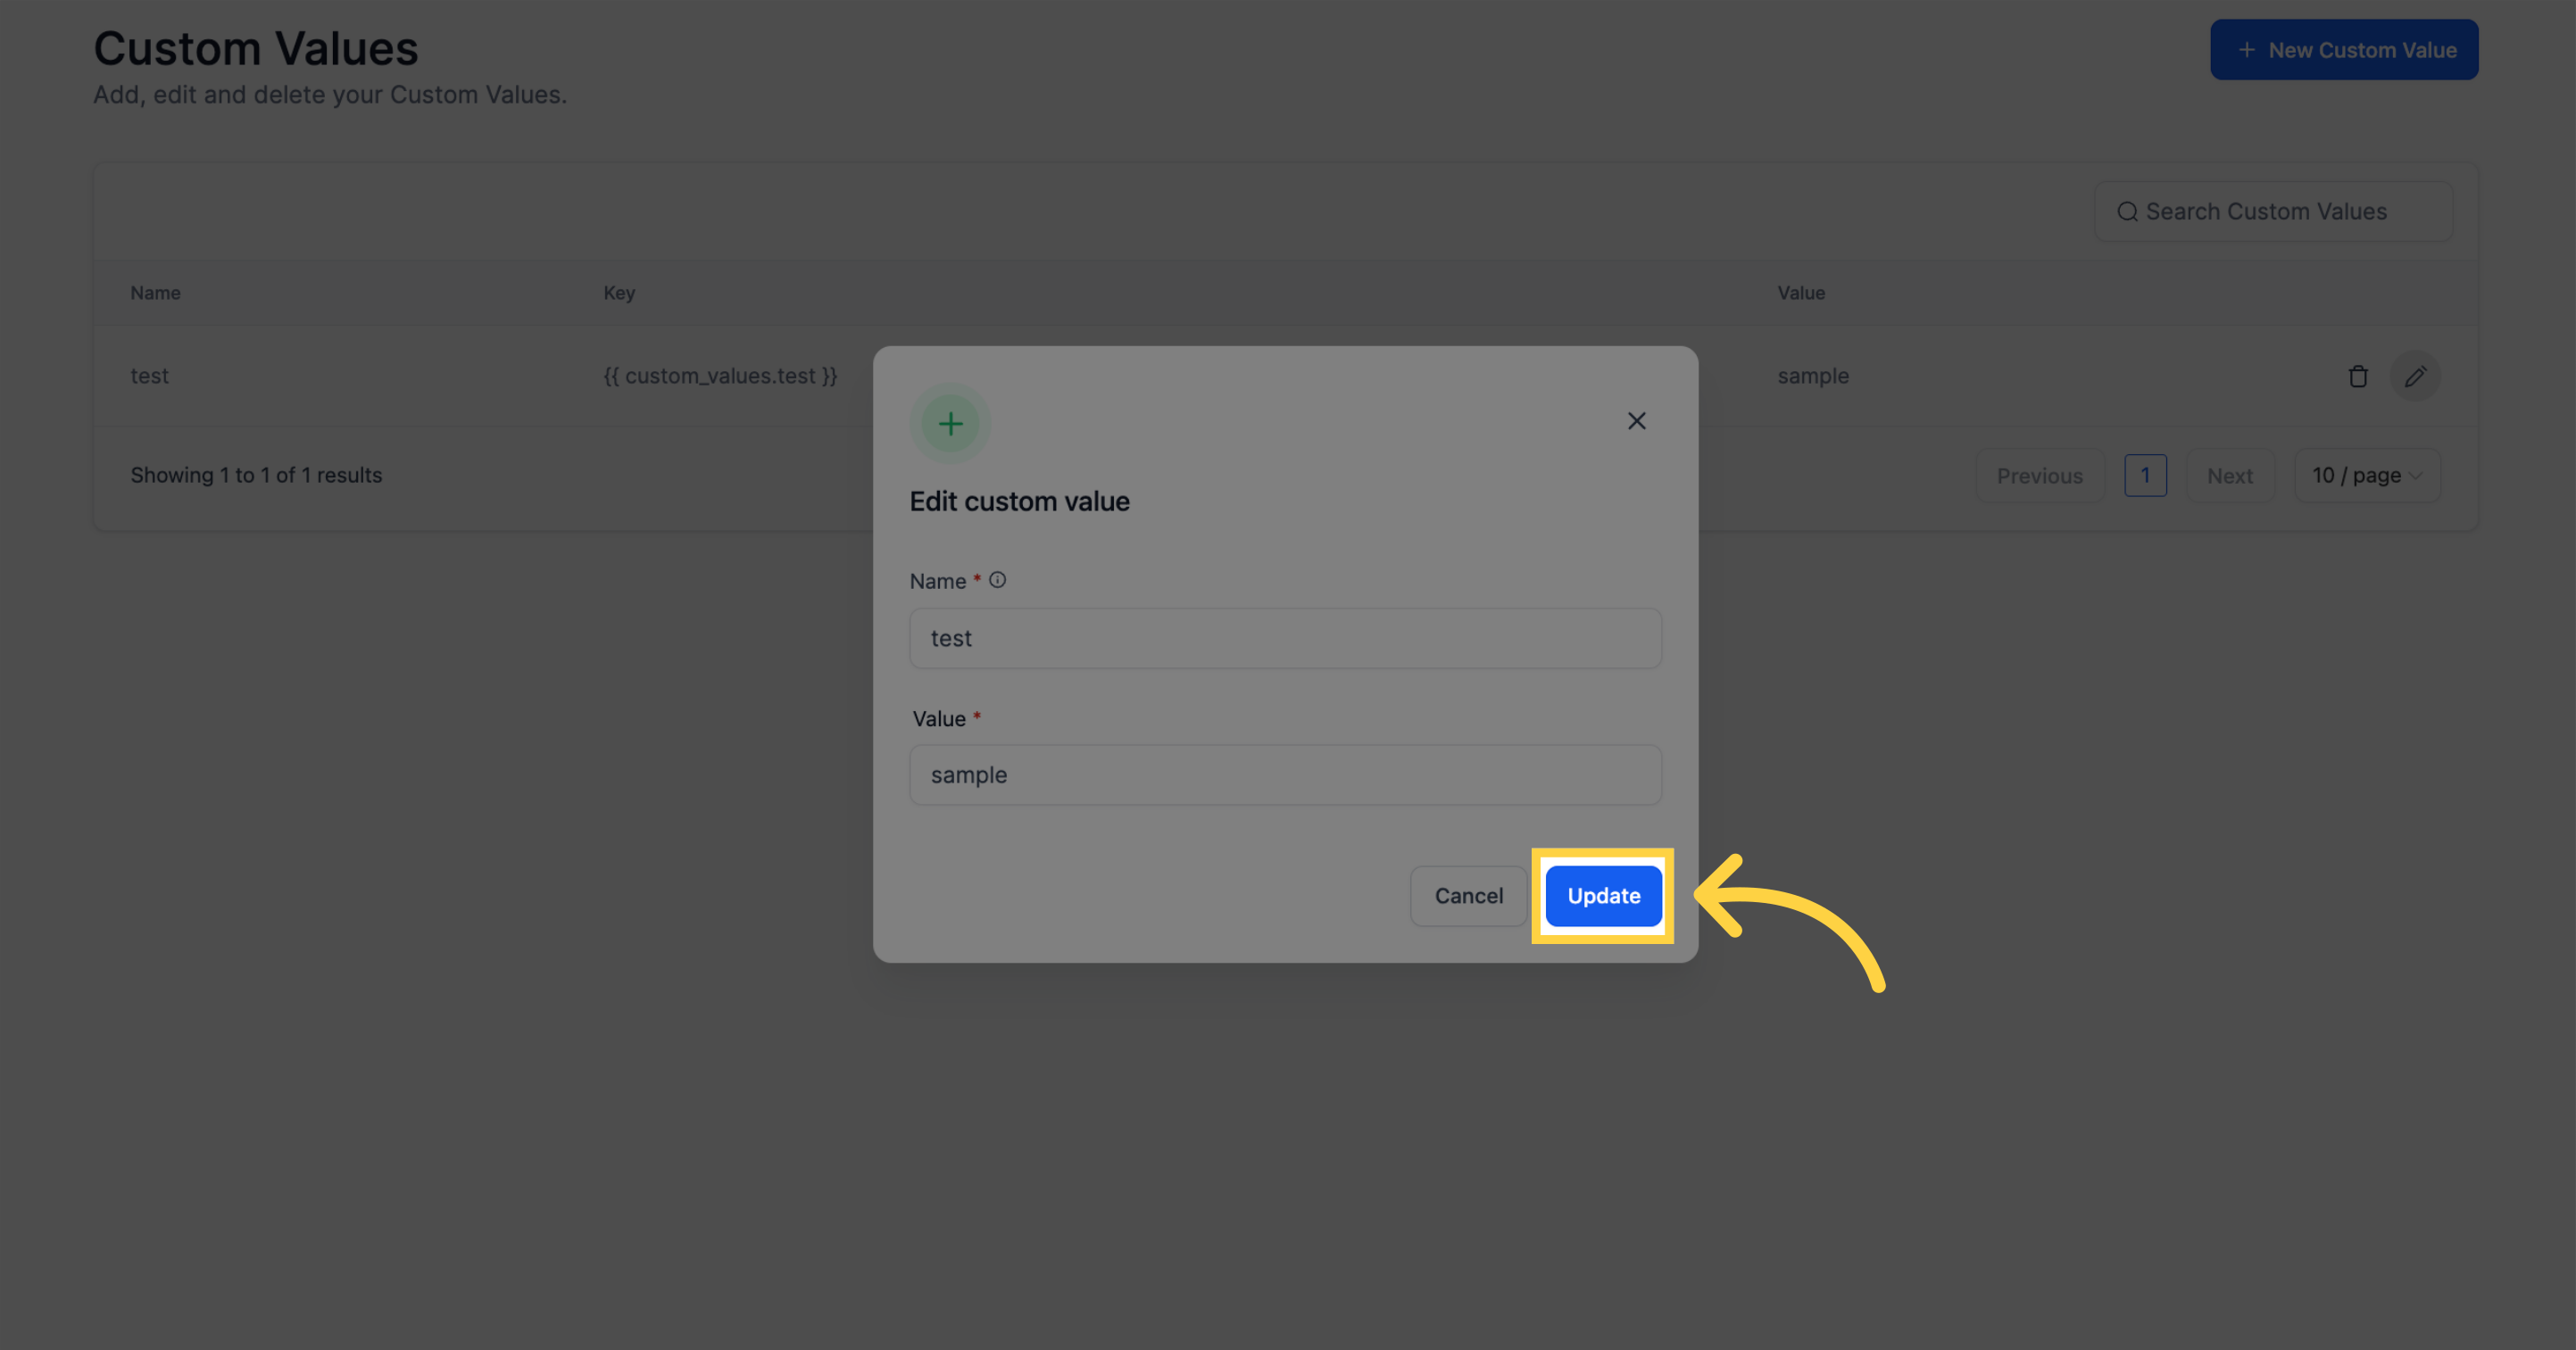
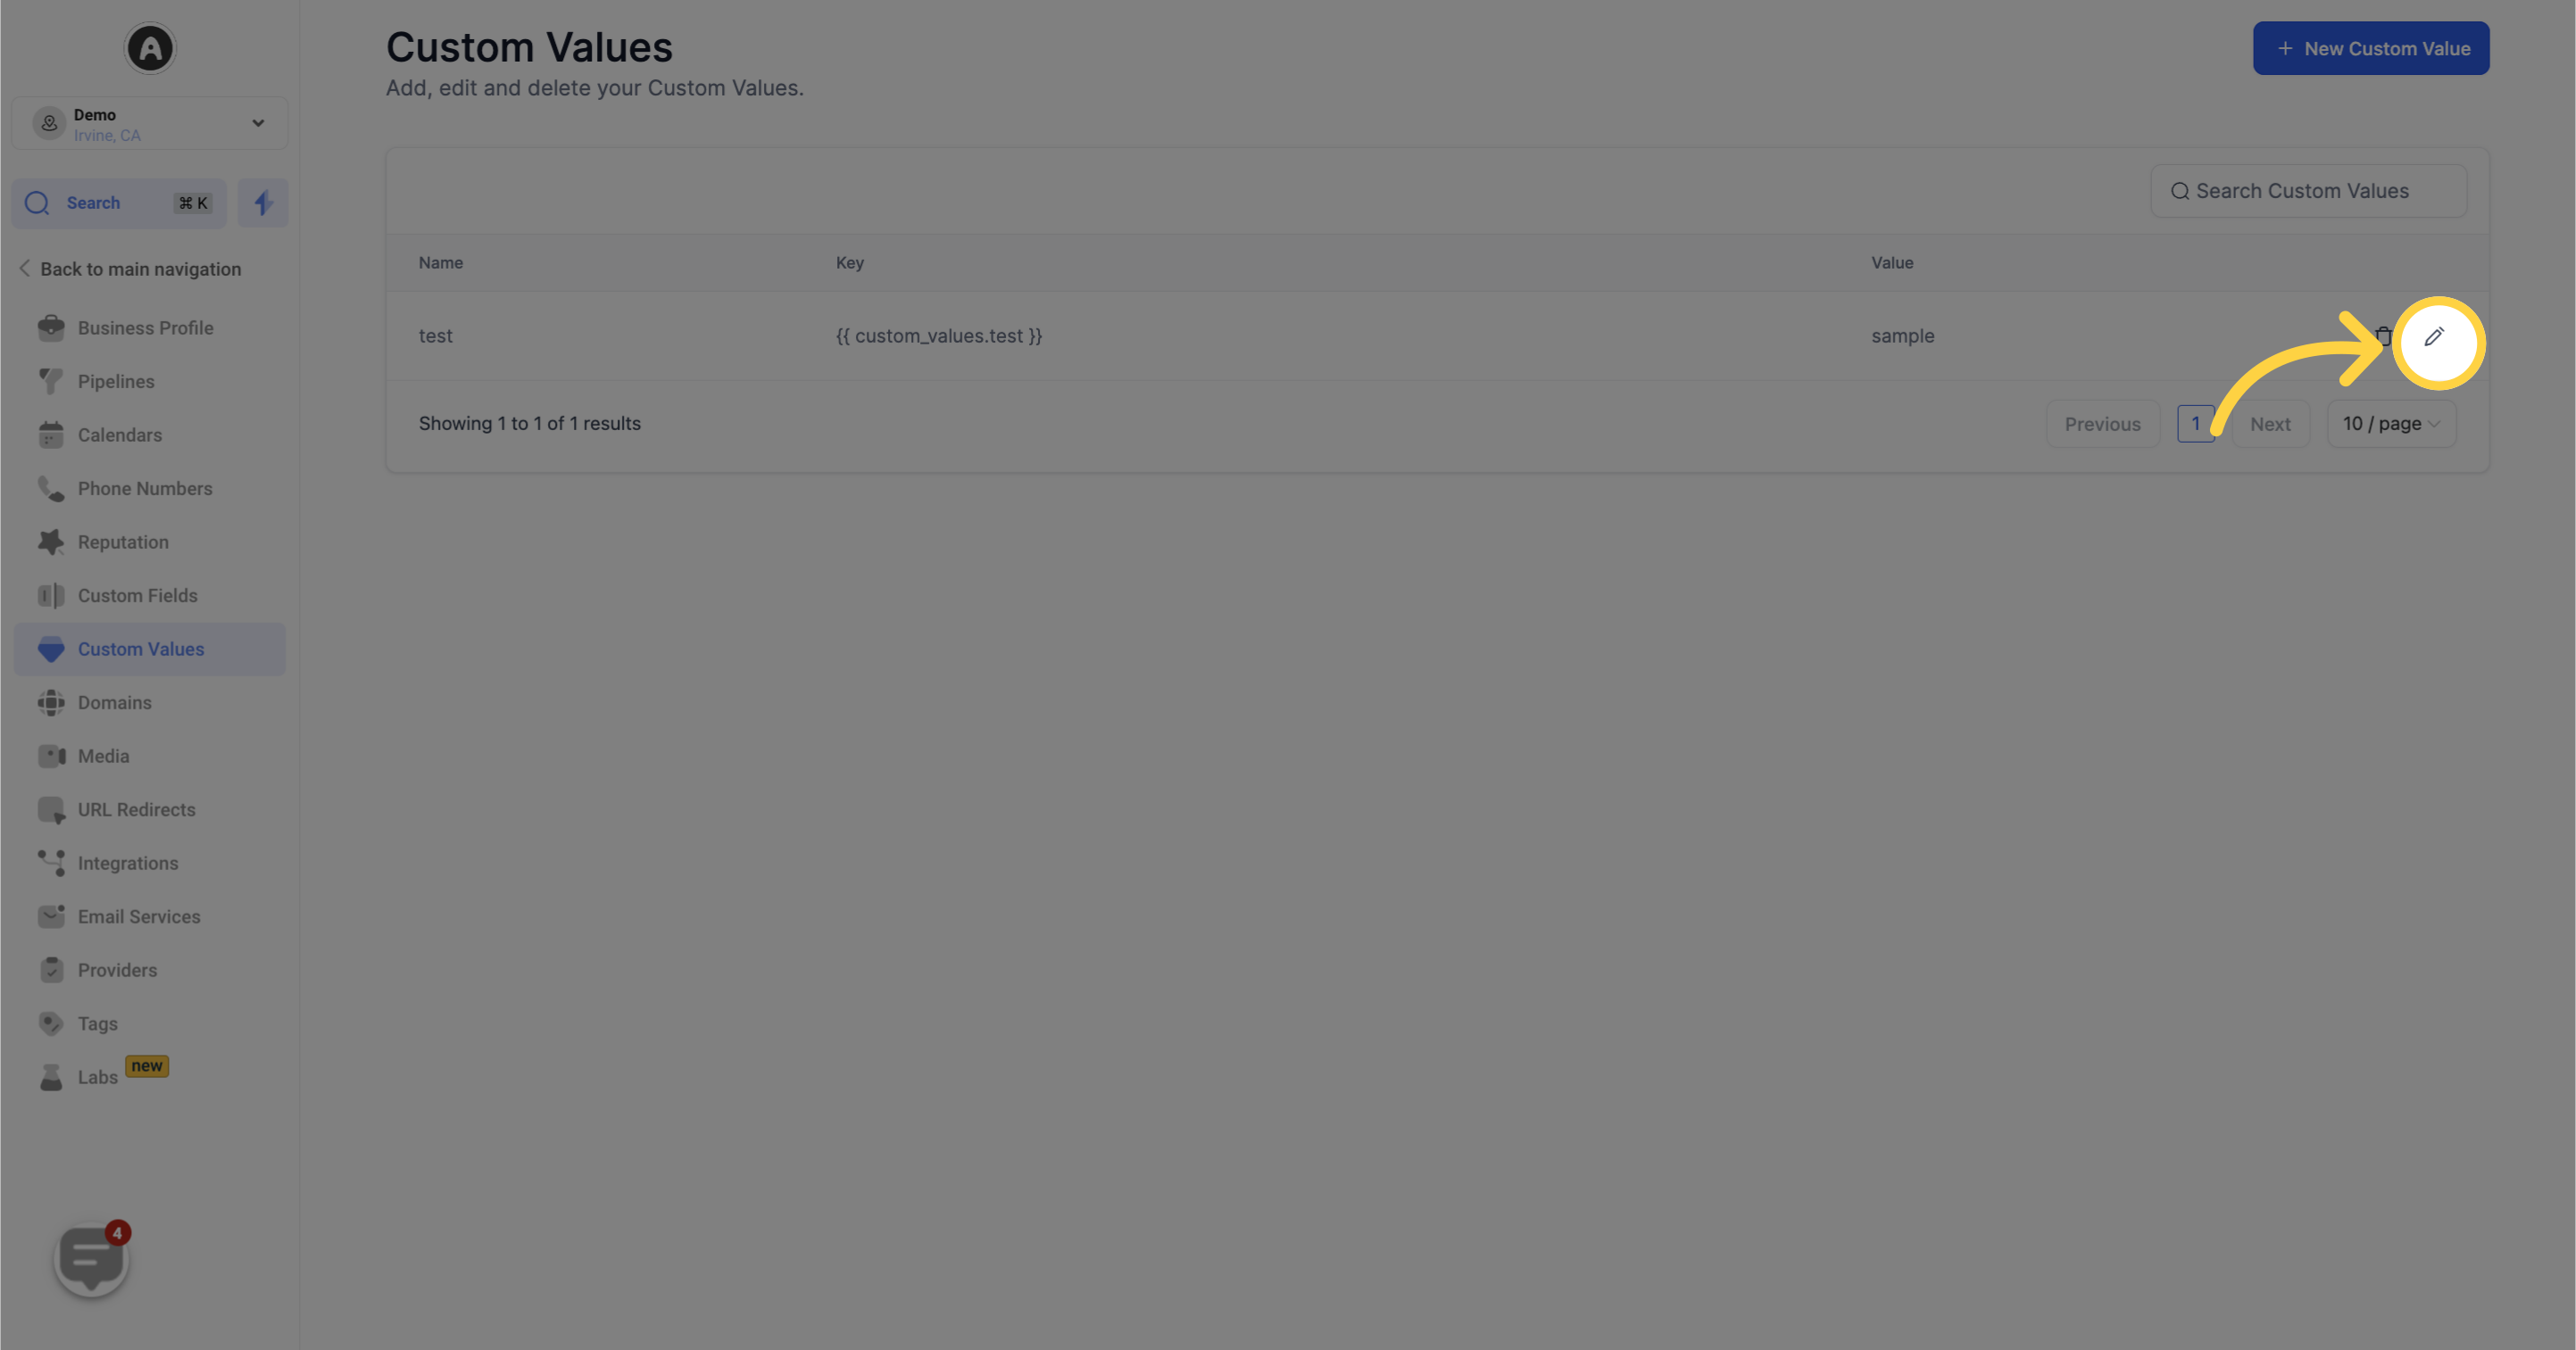
To edit an existing custom value, click on the pencil icon on the far right. This will open a new tab where you can modify the name and/or value. Remember to click the blue "Update" button after making your changes.
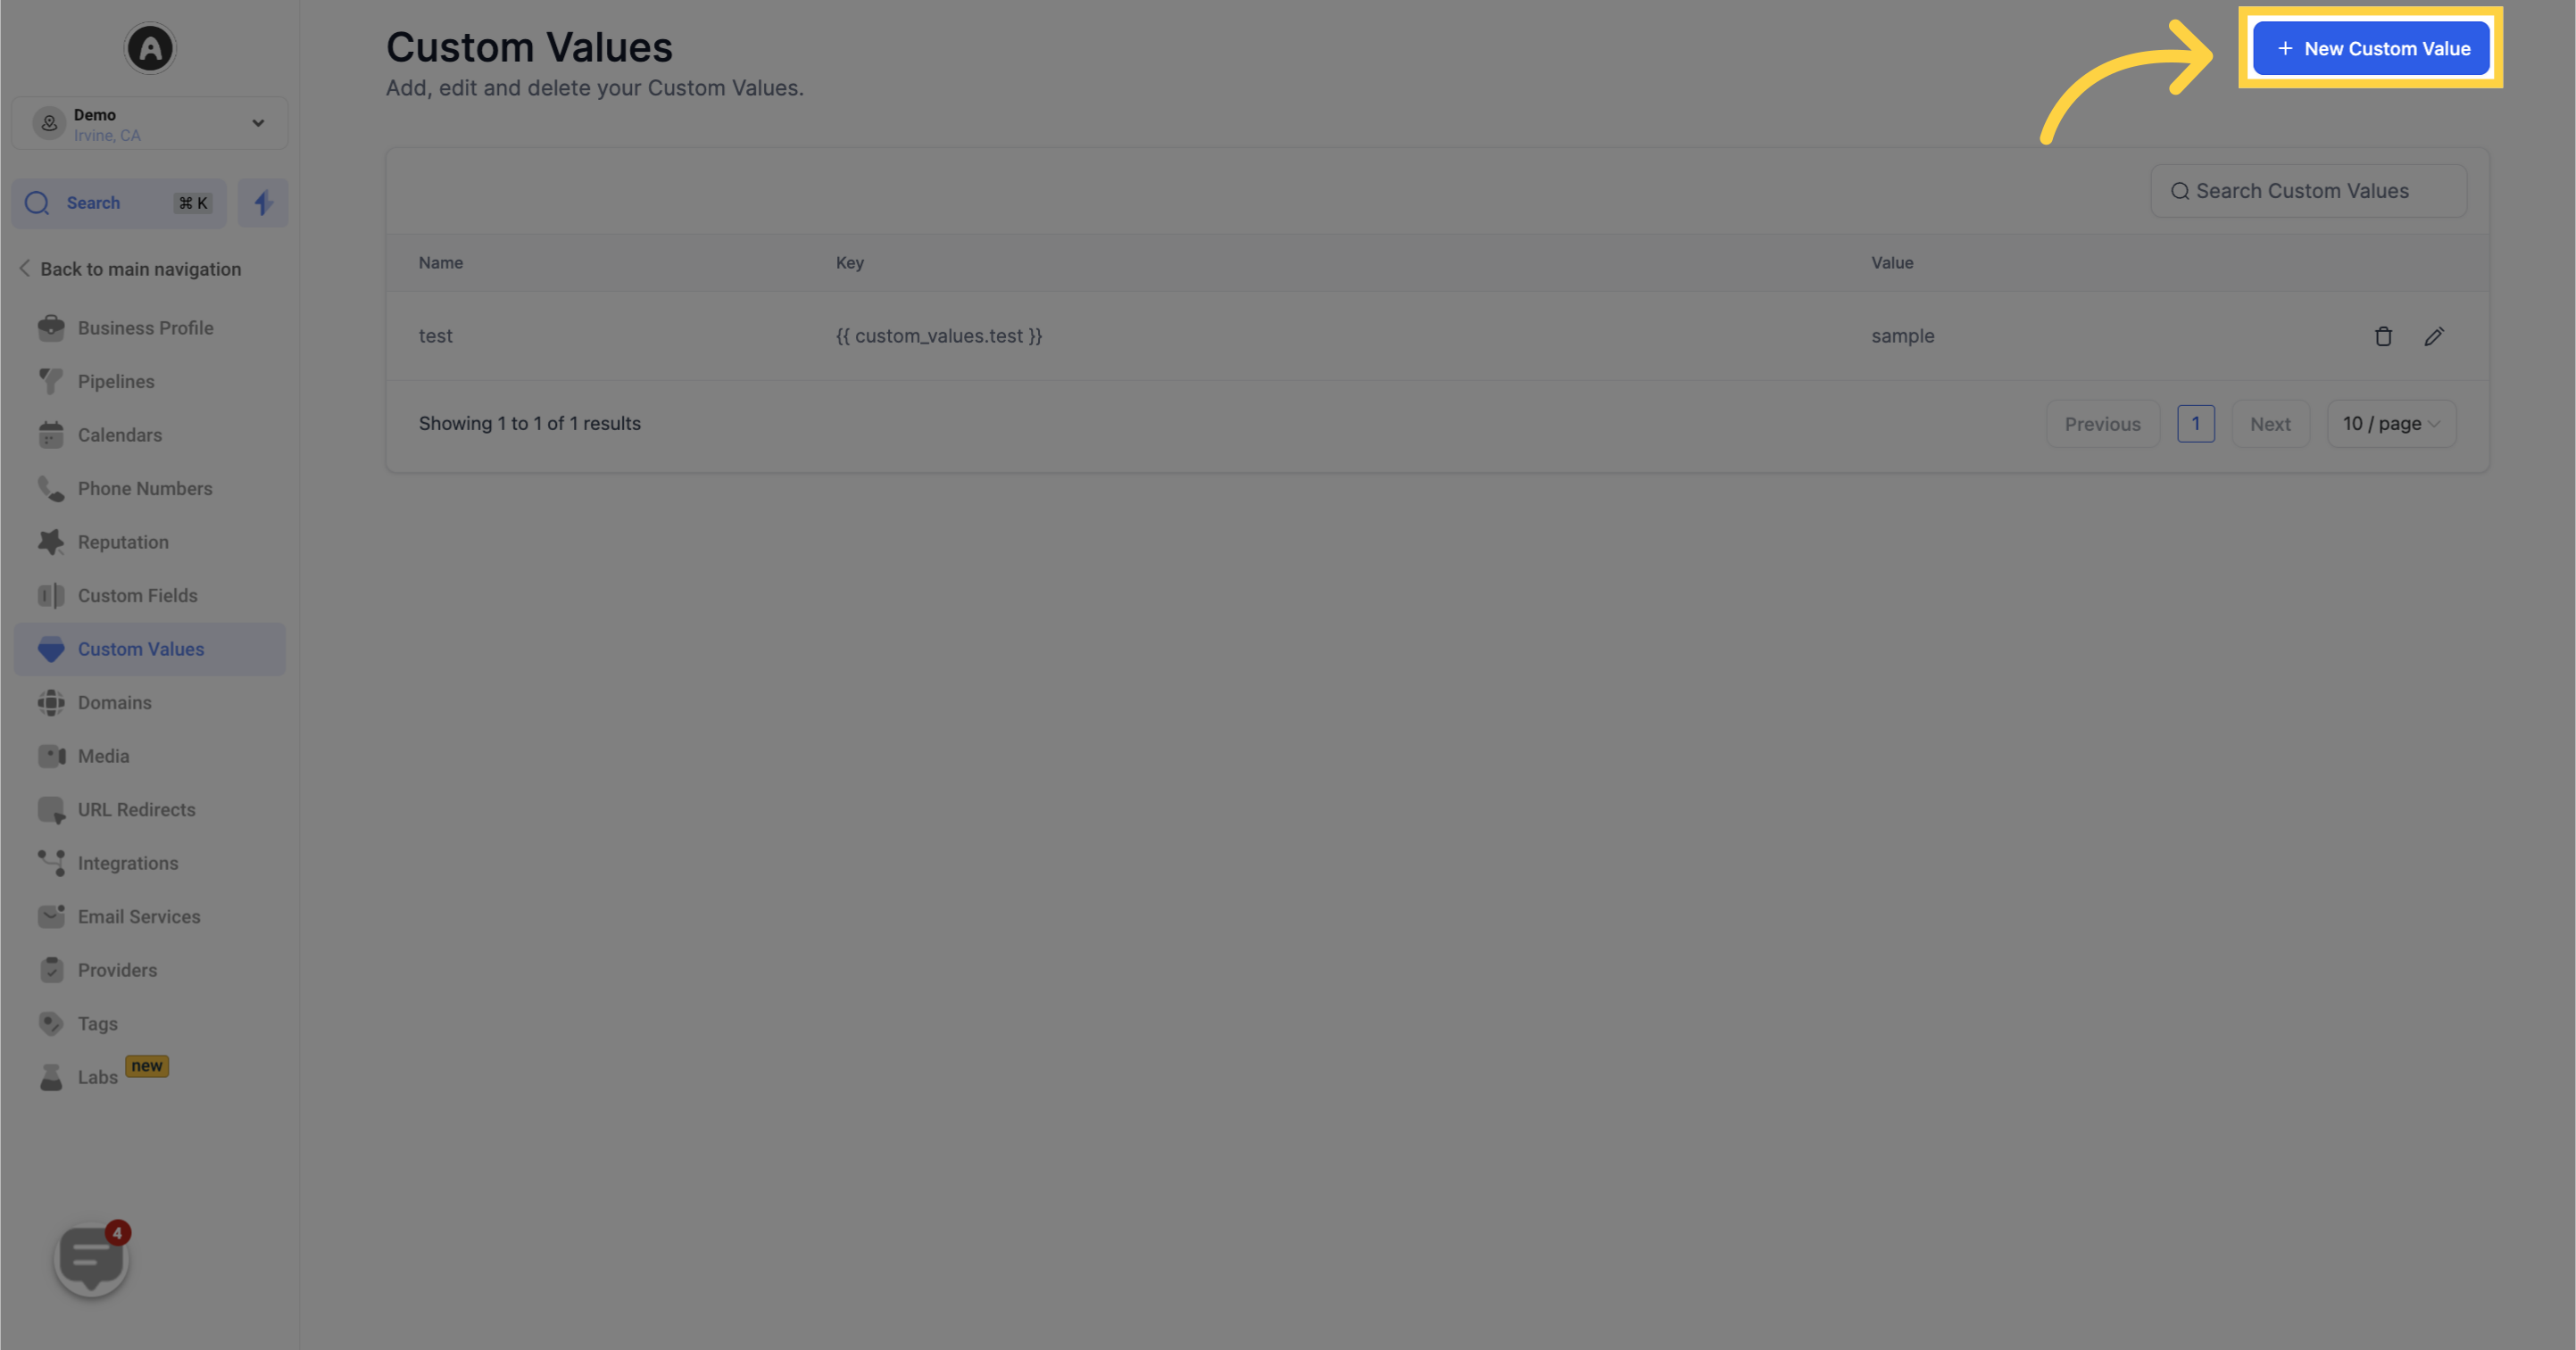
To create a custom value tailored to your needs, simply click the green "Add Custom Value" button. This will open a text box where you can enter both the name and value for your custom creation.
Assign a name that accurately represents the purpose of the value.
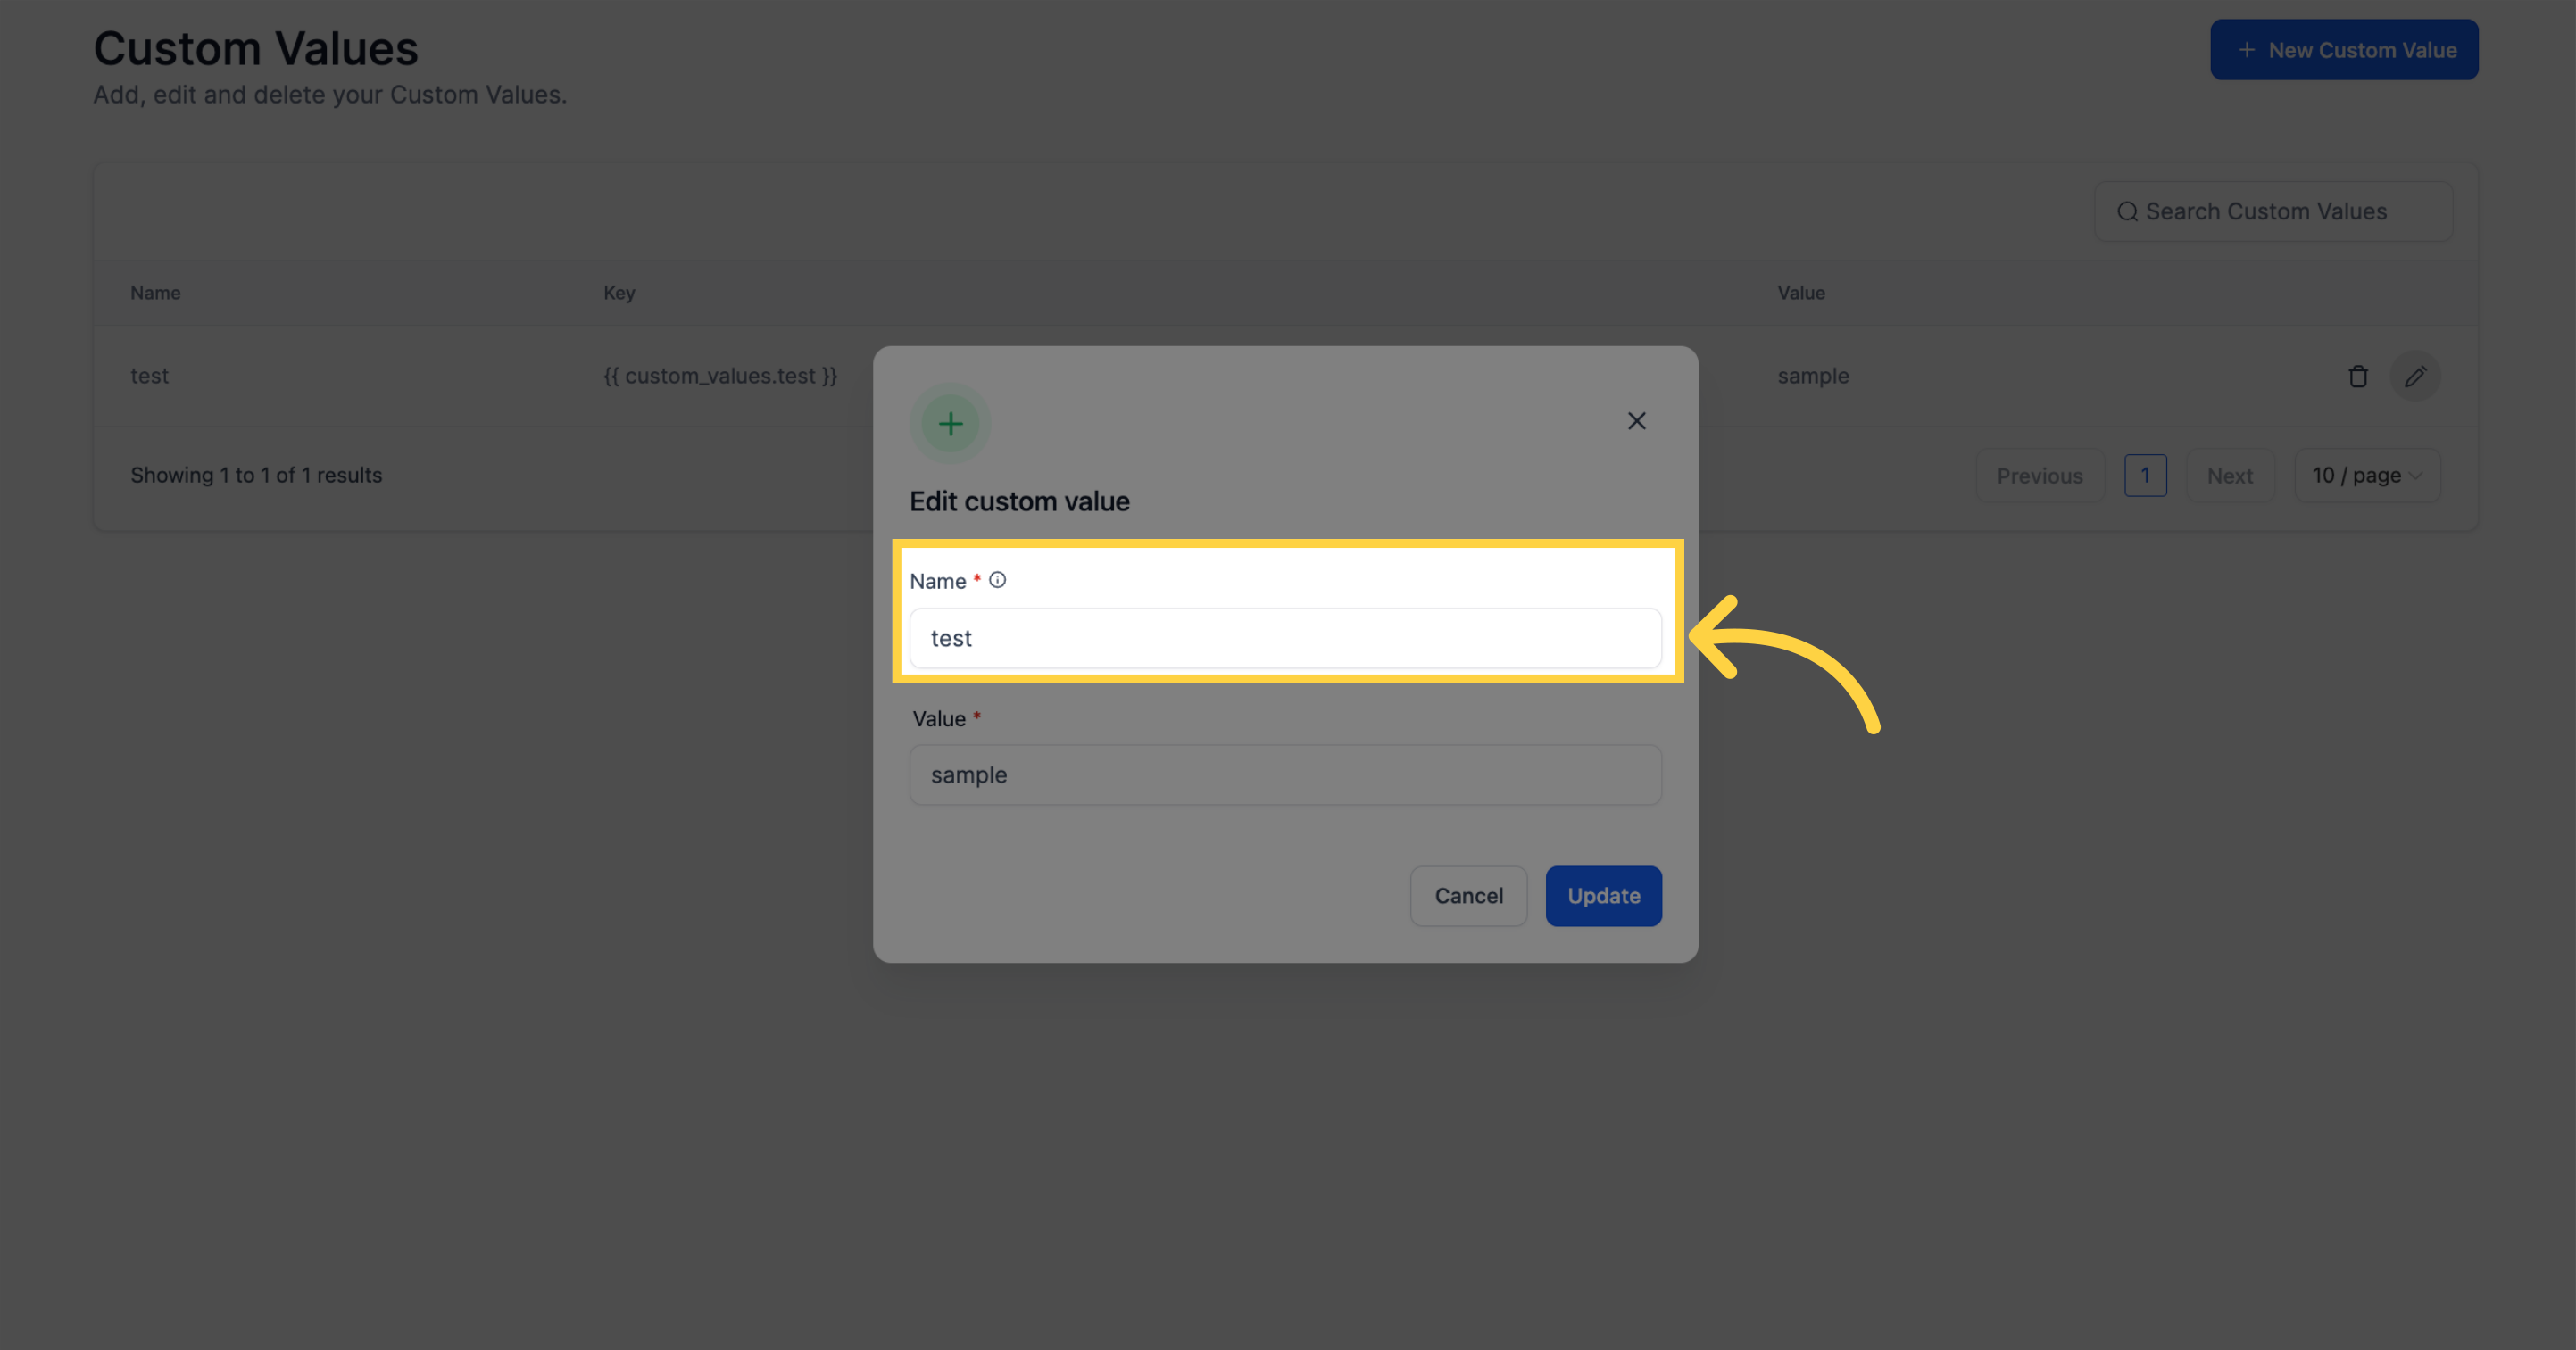
Input the specific data or information you want associated with this custom value.

Save the settings to store and implement the custom value effectively within your system.