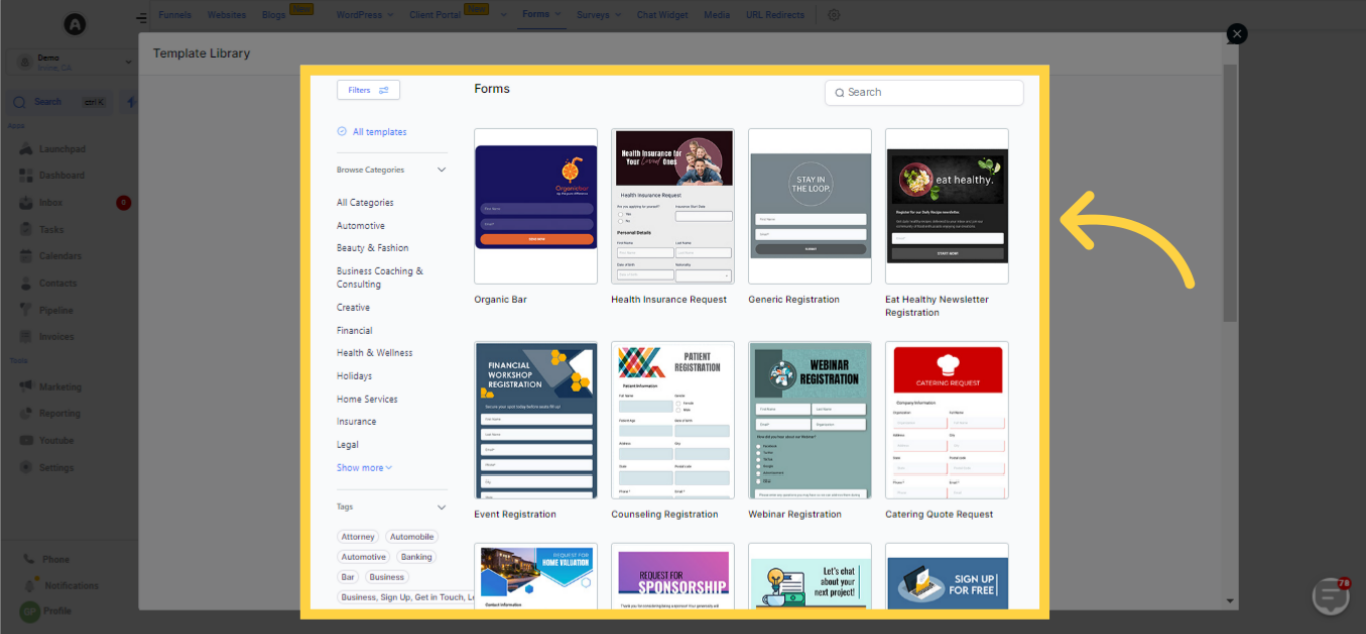
The form builder segment presents an array of form types that can be tailored to collect data in line with your business aims. For instance, you can create forms to attract website visitors and compile lead information, or fabricate forms to collect crucial particulars when someone schedules an appointment on your calendar.
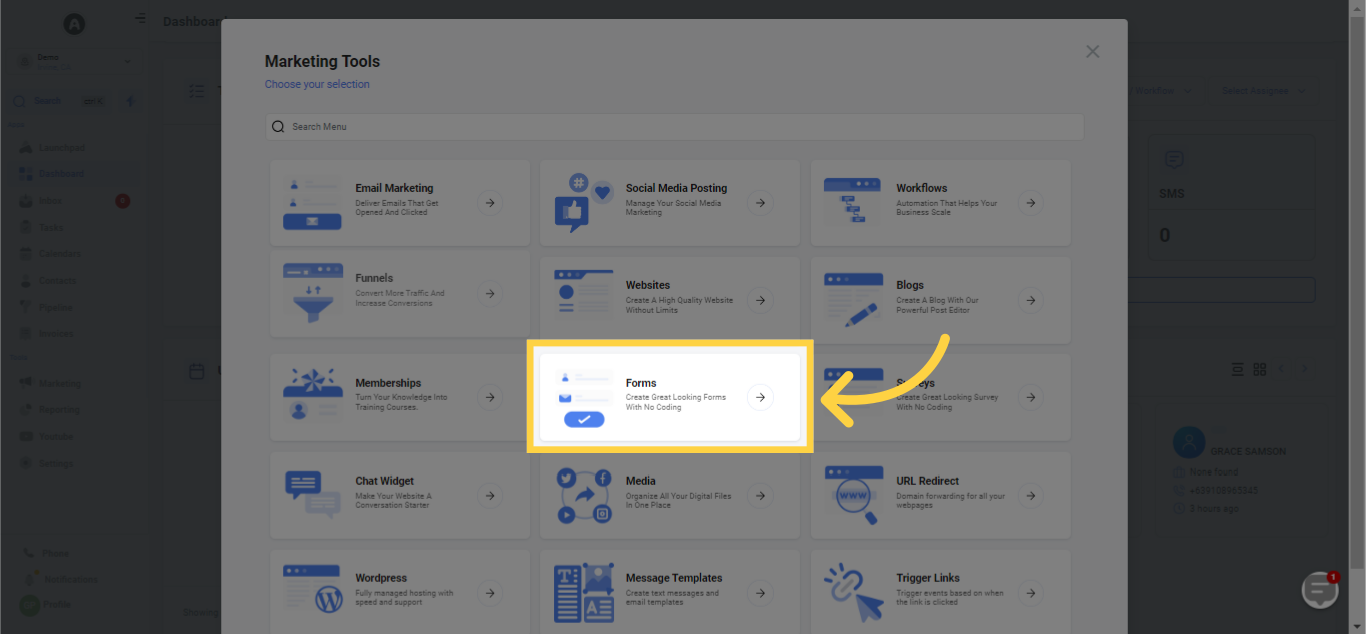)
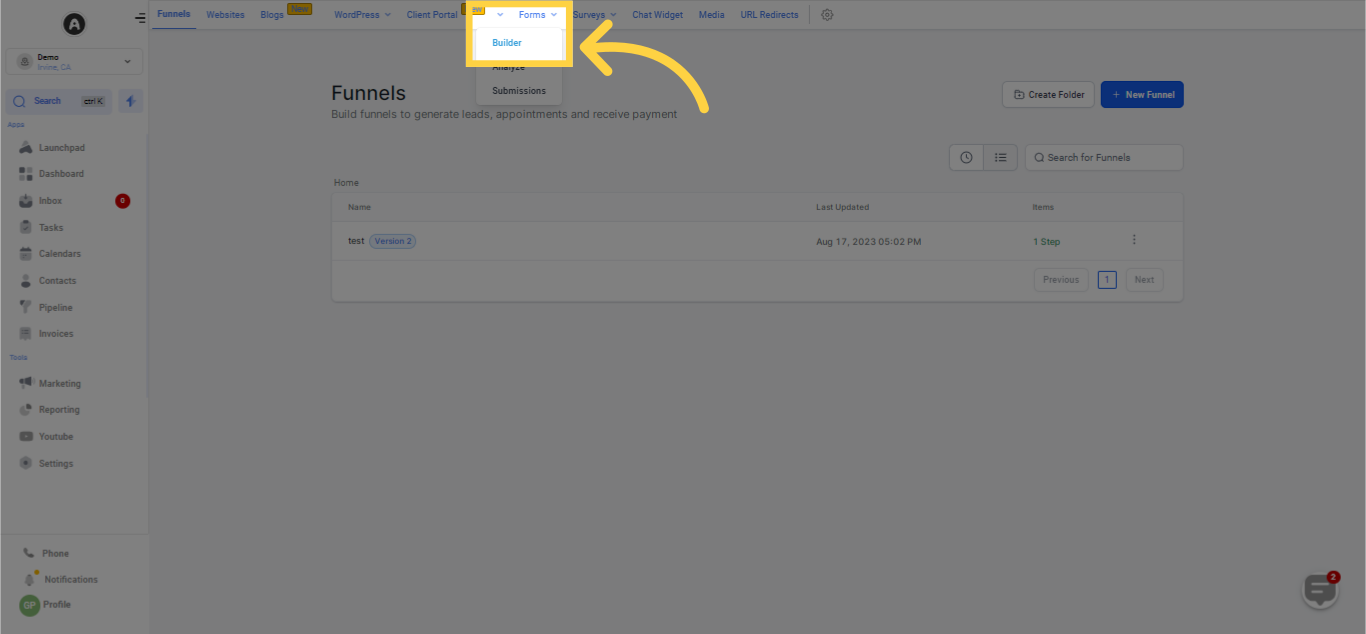
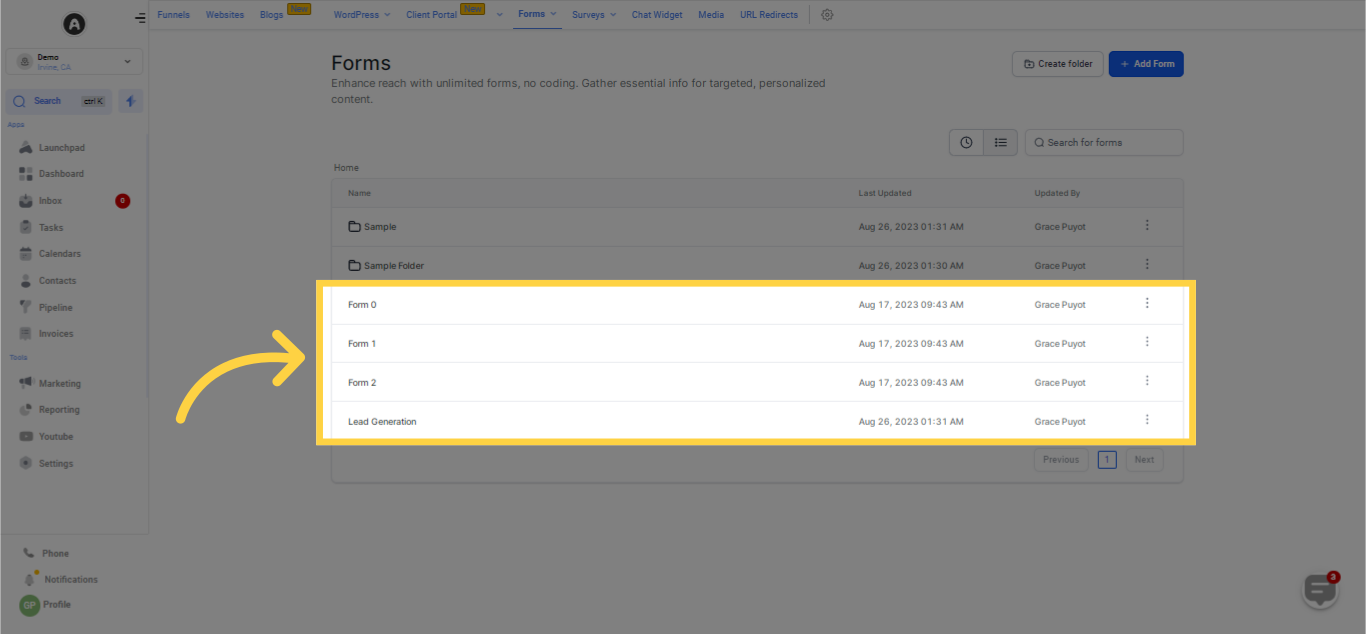
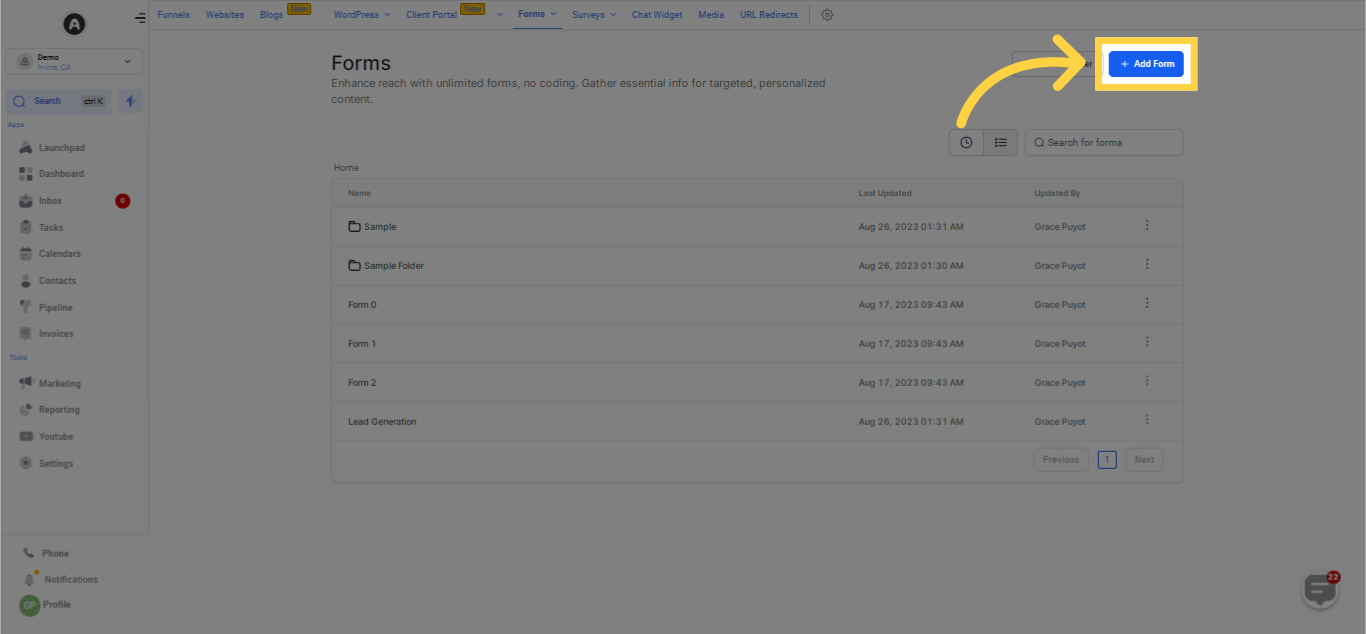
Upon accessing the builder segment found under 'forms', you'll be able to view a list of previously designed forms and their respective folders.
)
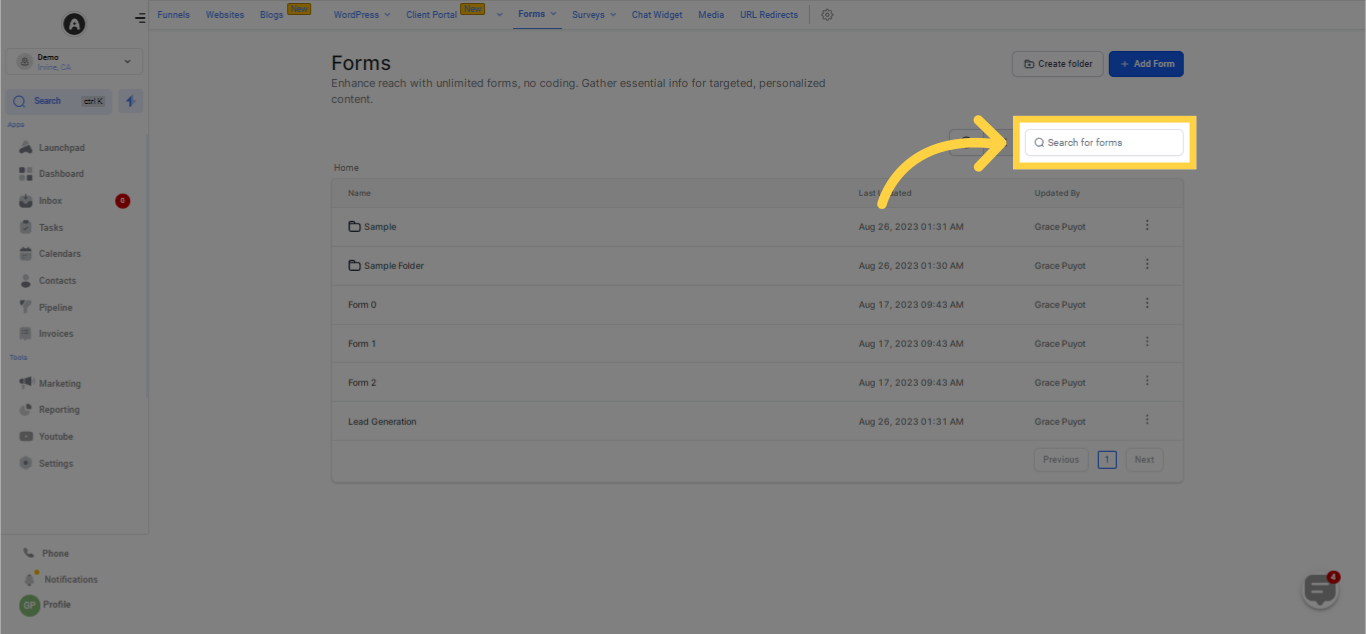
In case your list of forms is extensive, you can pinpoint a specific form by entering its name into the search bar.
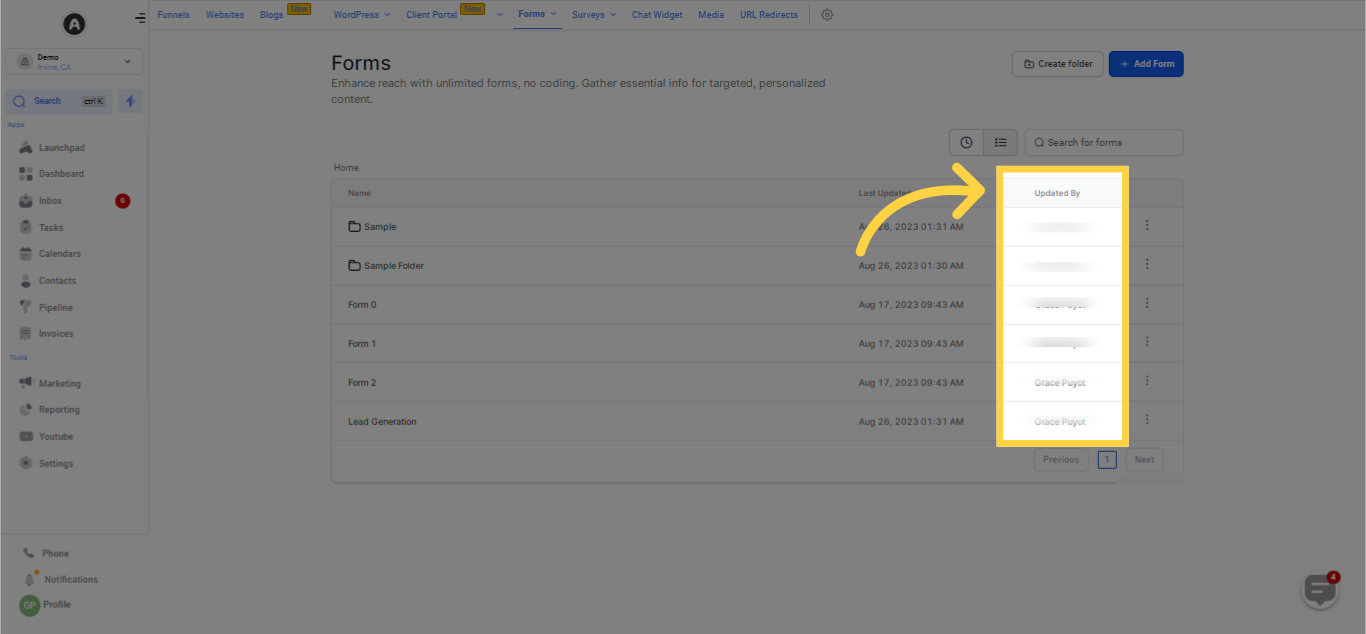
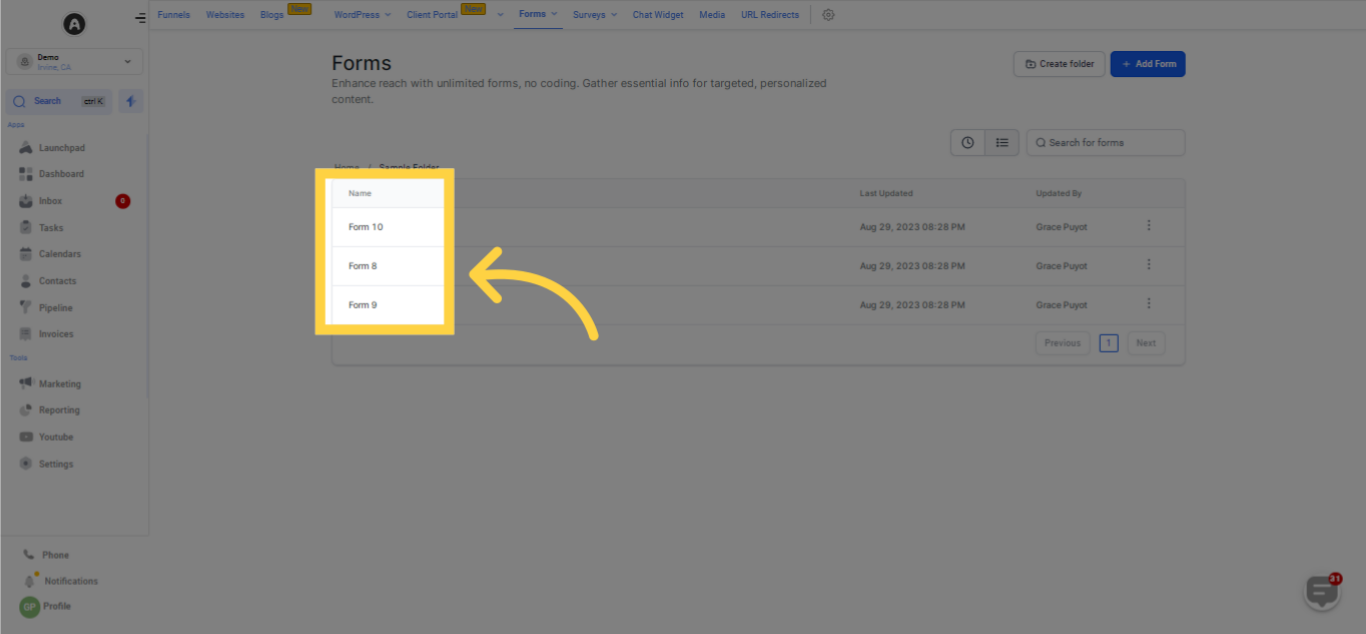
The name of each form can be viewed in this area.
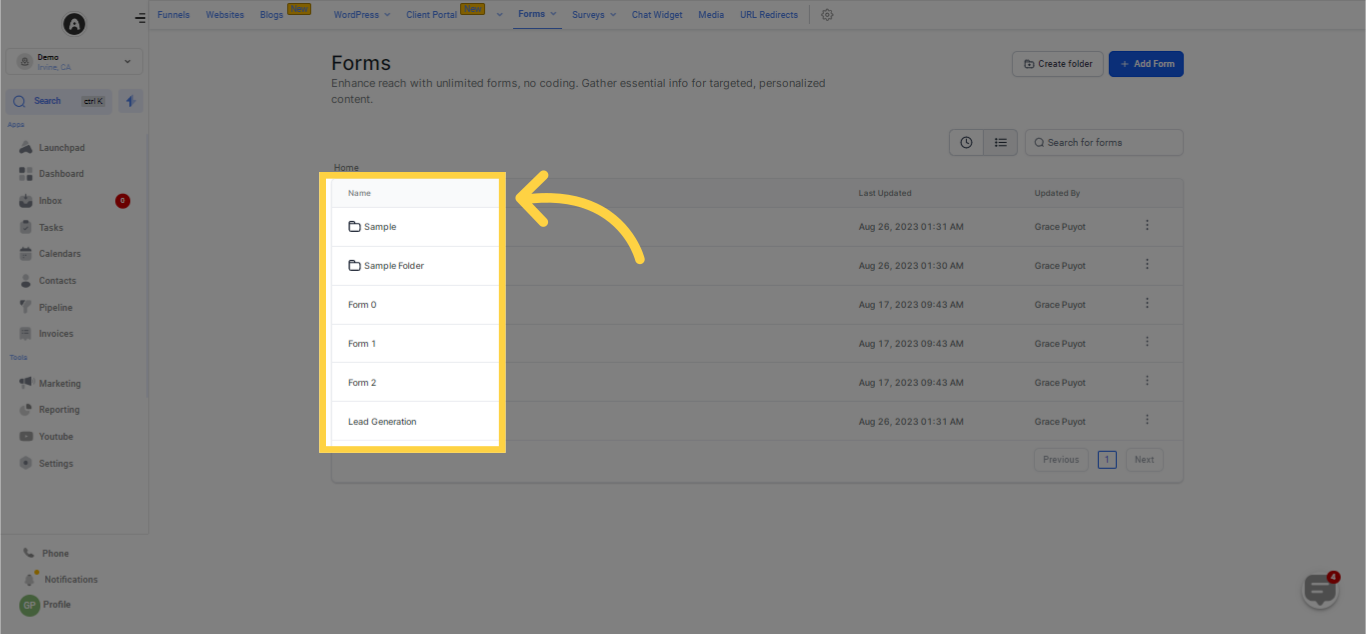
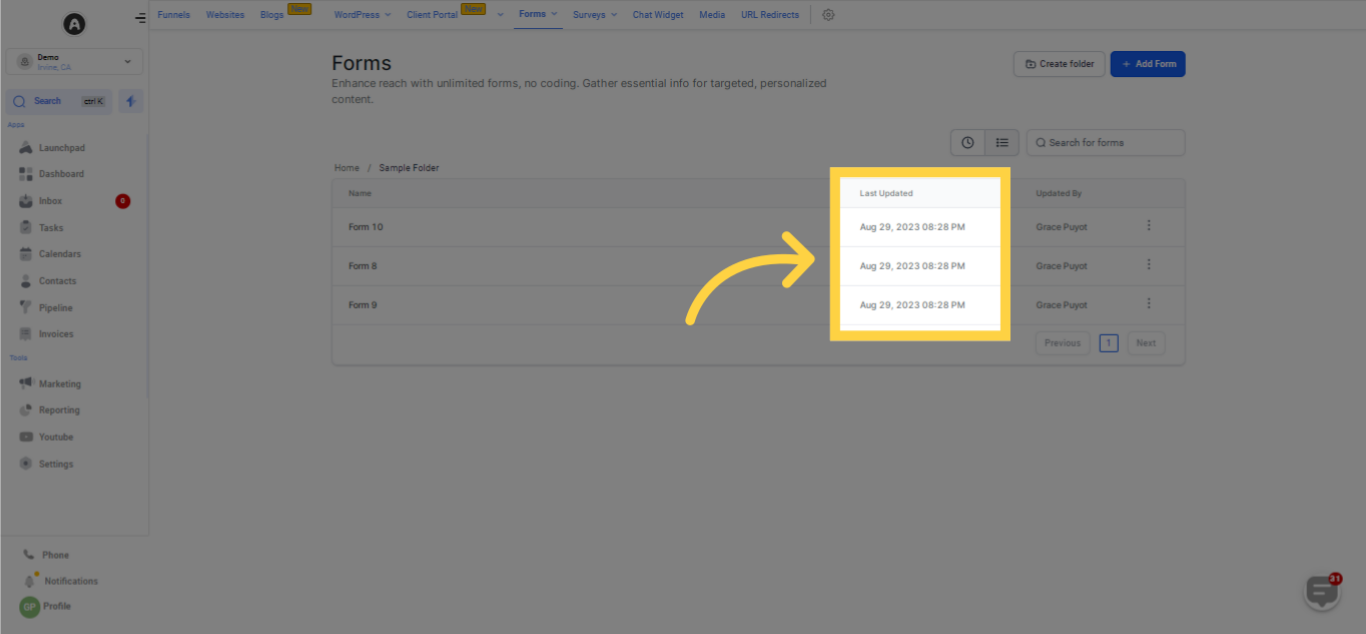
This column presents the date and time indicating when each form was last modified.

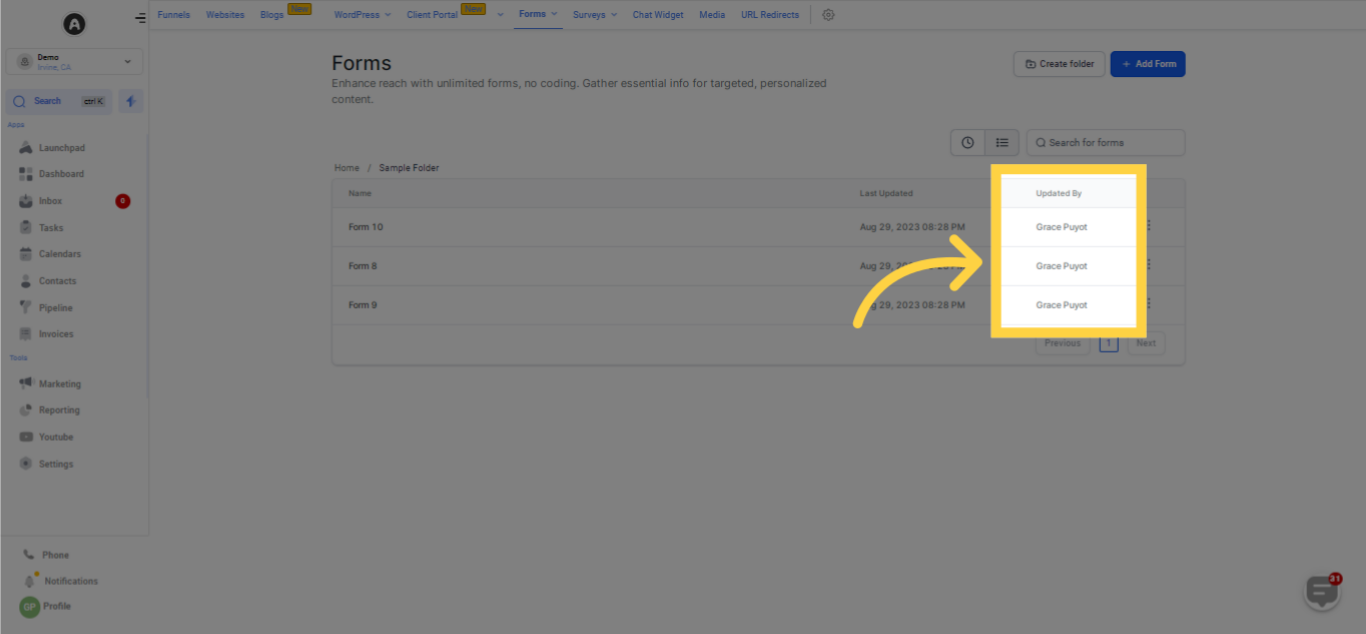
Within this column, you can see the names of the last user who updated each form.
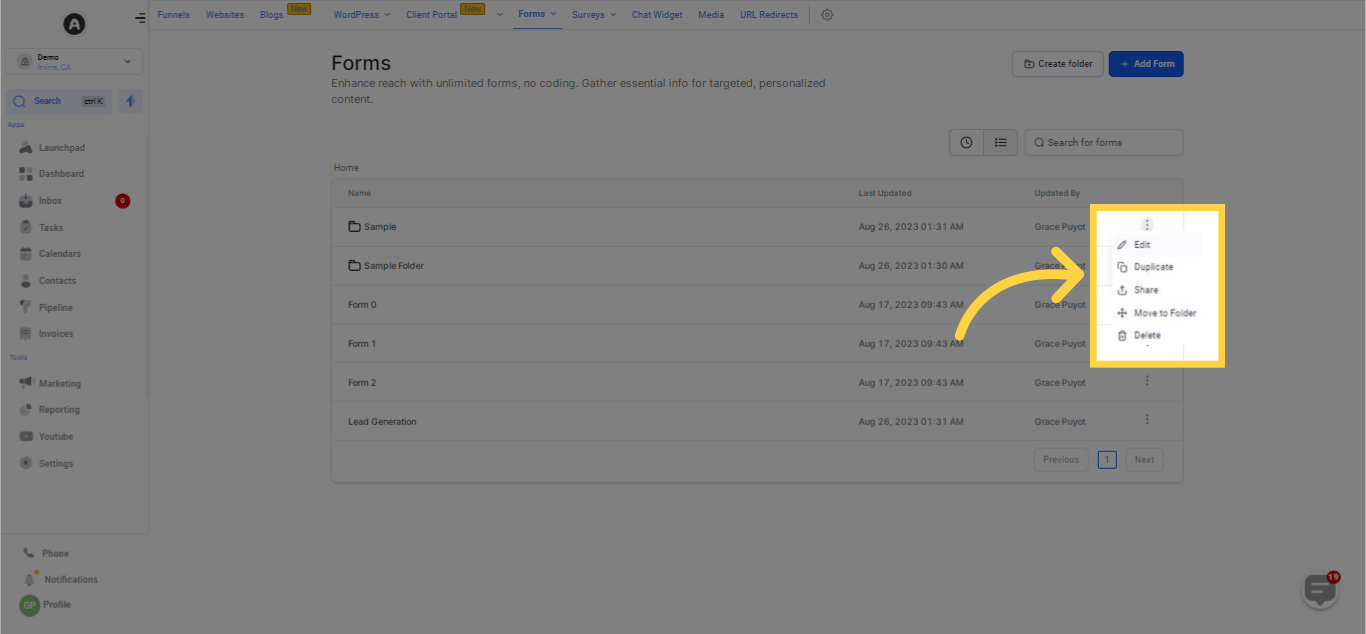
Click this button if you wish to make modifications to an existing form.
)
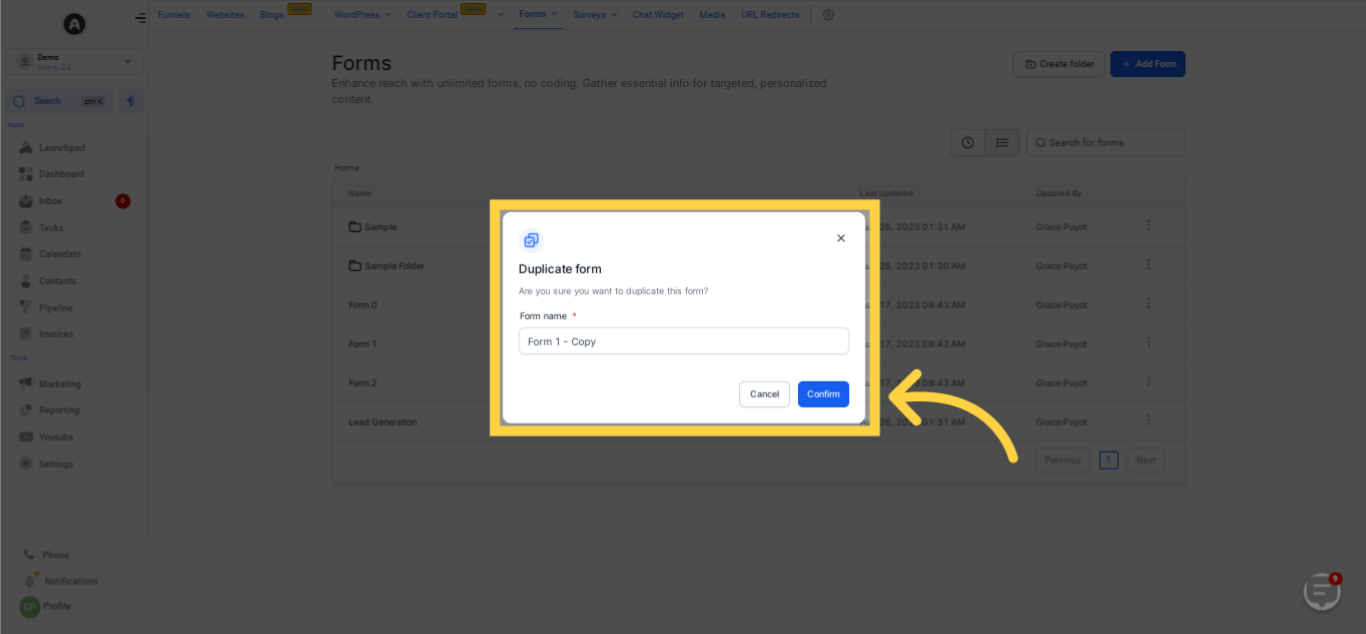
If you want to create a copy of a form, simply click on the "duplicate" button.
)
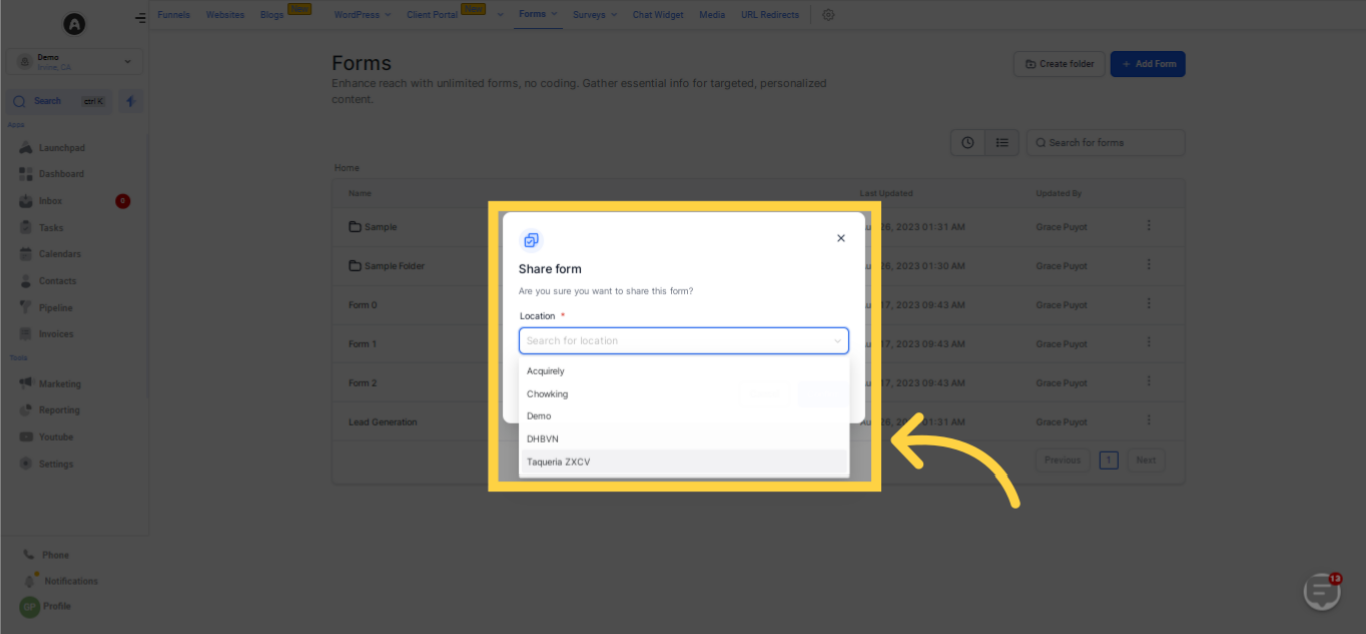
To share a form from this location or another within your CRM, click on the "Share" button and choose the desired location.
)
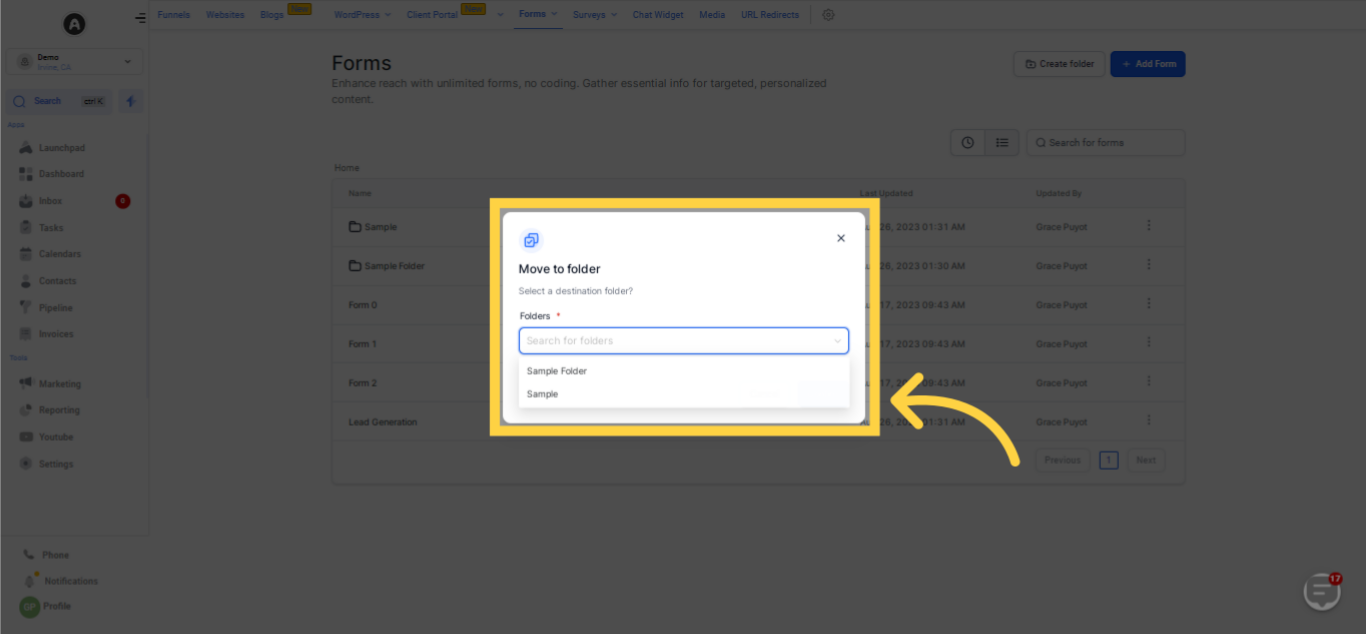
To move a form from your list to a specific folder, just click on this button and select the appropriate folder.
)
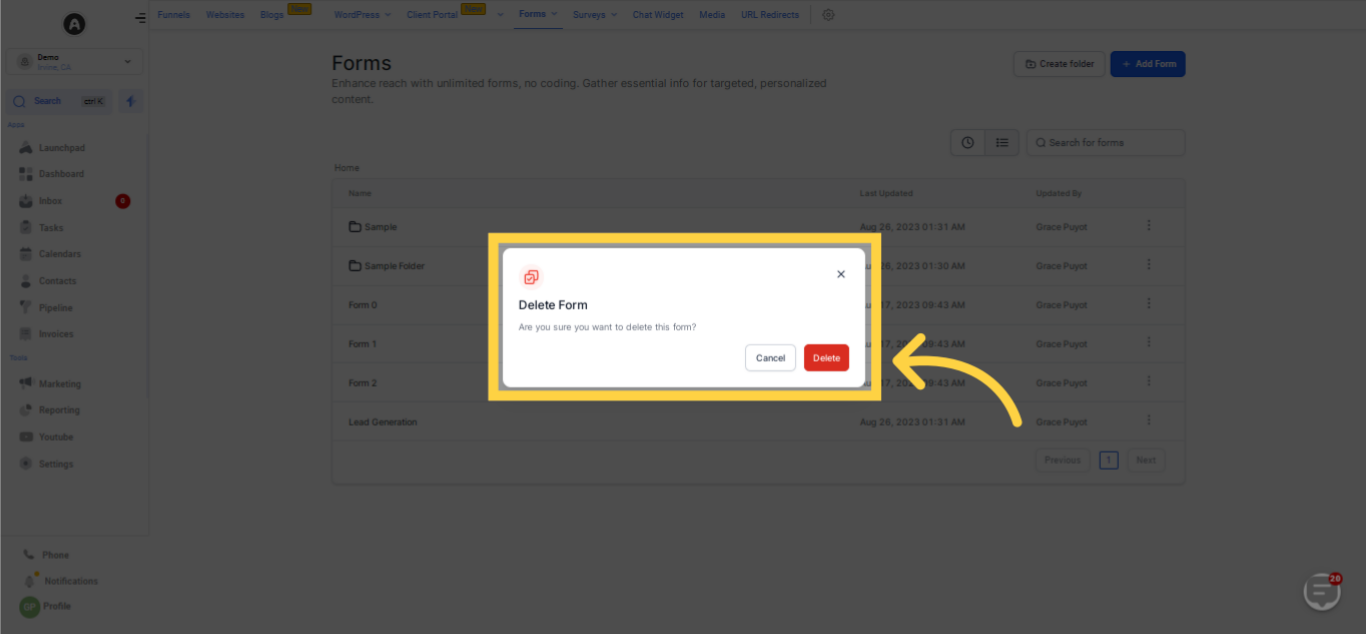
If you intend to remove a particular form, you can select the "delete" option.
)
The Form Folder segment arranges all your folders, showcasing the name of each individual form folder.
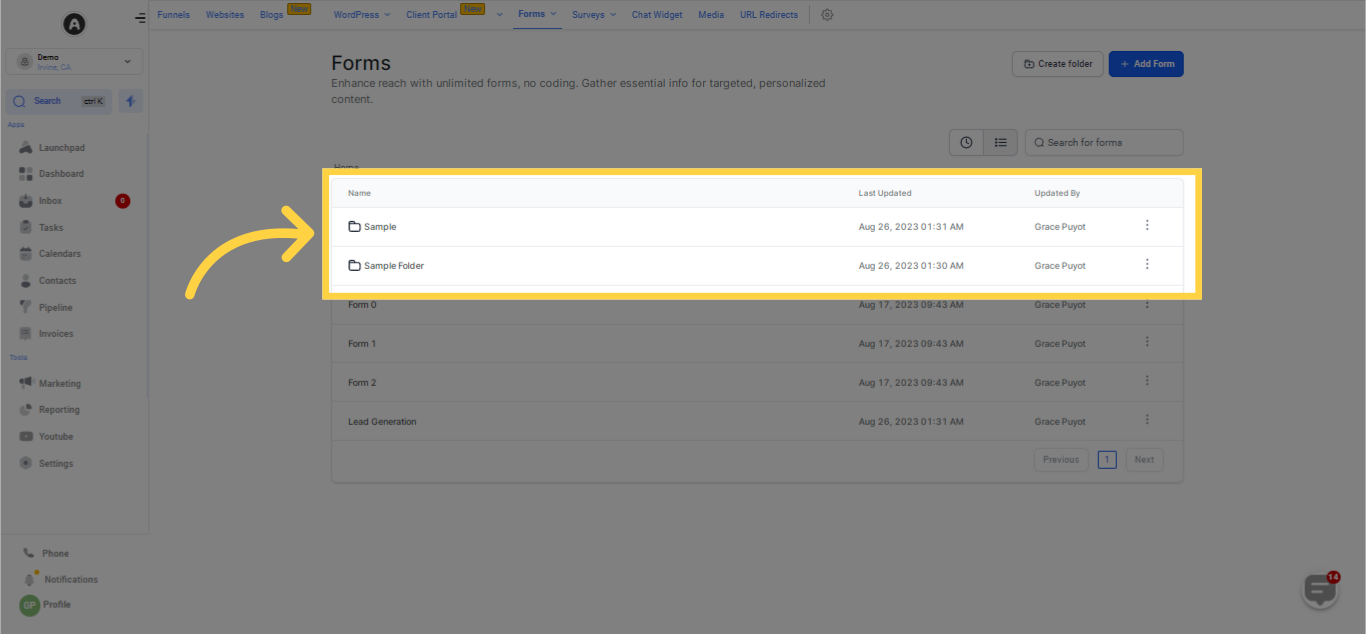
The name of each form folder can be viewed in this section. Upon clicking the name of any folder, you'll be able to view the following:
Names of each form contained in the folder
)
)
)
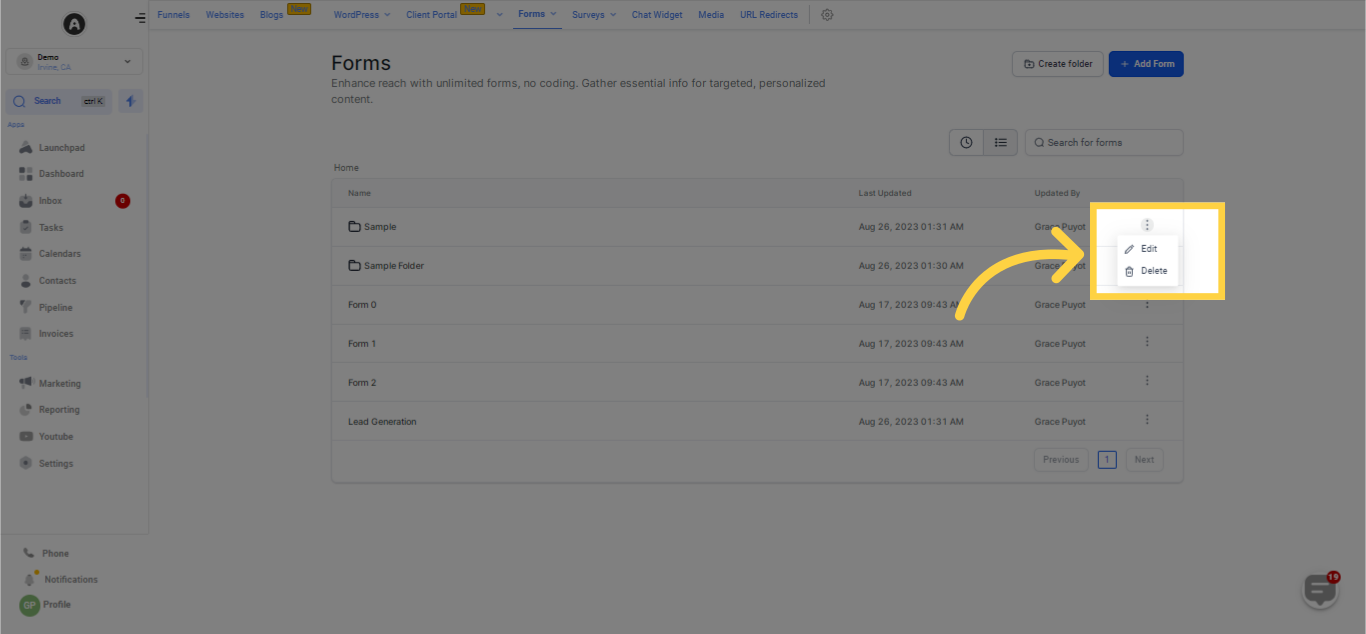
To make alterations to an existing form, click on this button.
)
If you seek to eliminate a particular form, you can select the "delete" option.
)
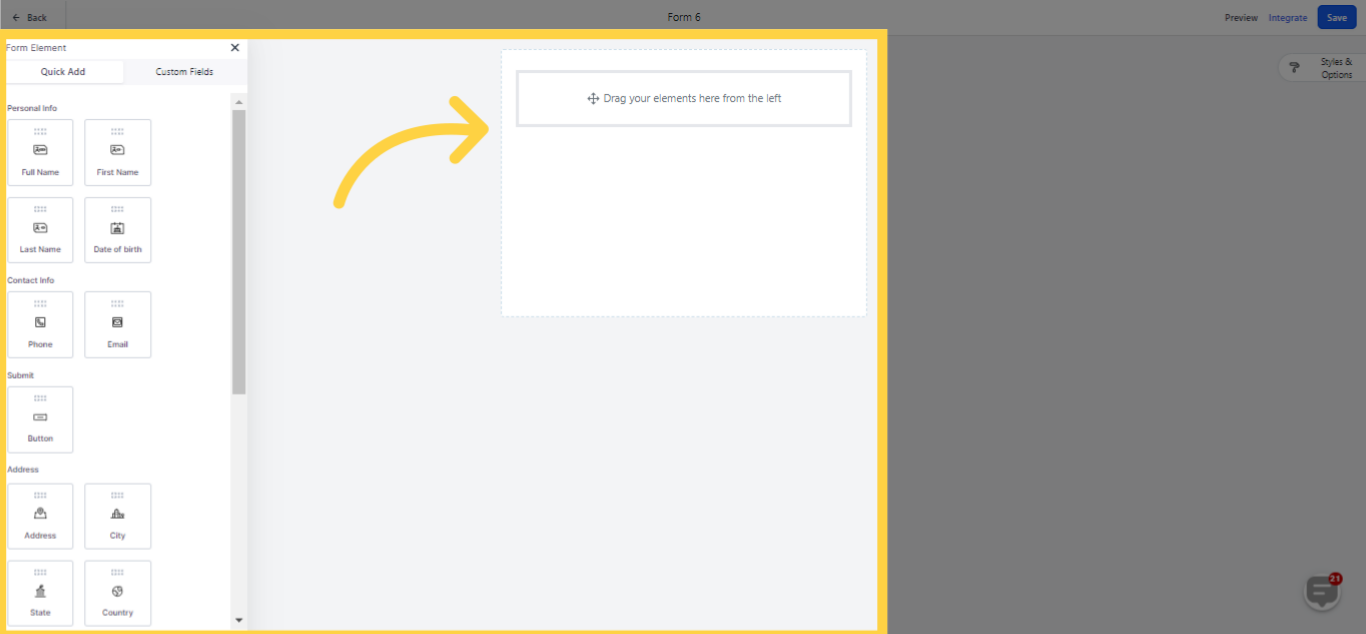
When you're ready to construct a custom form, simply select the 'Add New Form' button. This action commences the process of creating a bespoke form tailored to your distinct needs and goals. To learn more about form creation
)
)
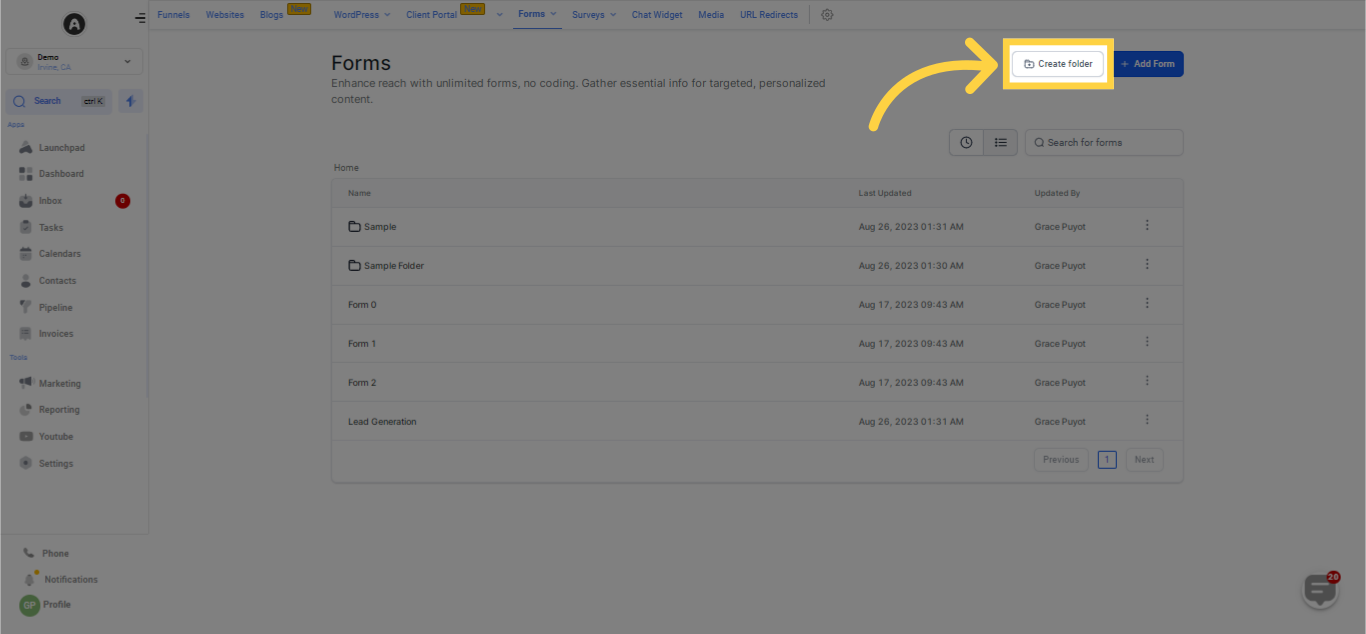
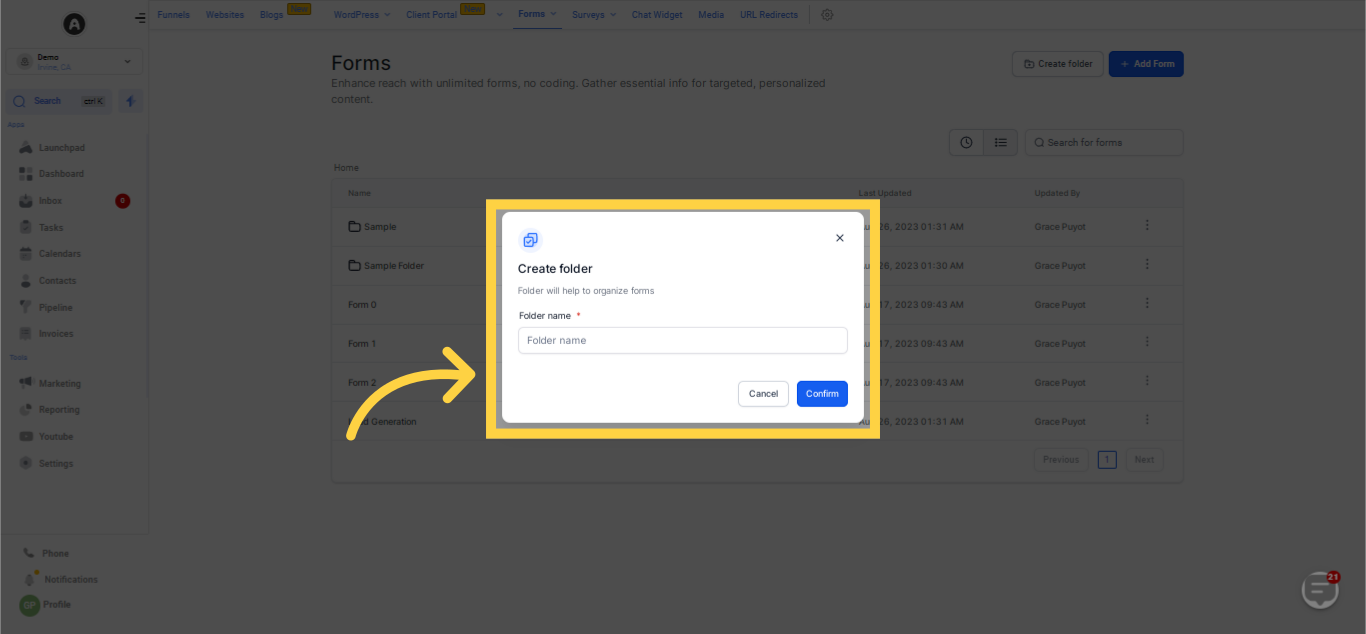
To create a new folder, simply select the 'Create Folder' button, allocate an appropriate name for the folder, and finally click 'Confirm' to secure your changes. This simple procedure facilitates effortless organization and administration of your files and documents.