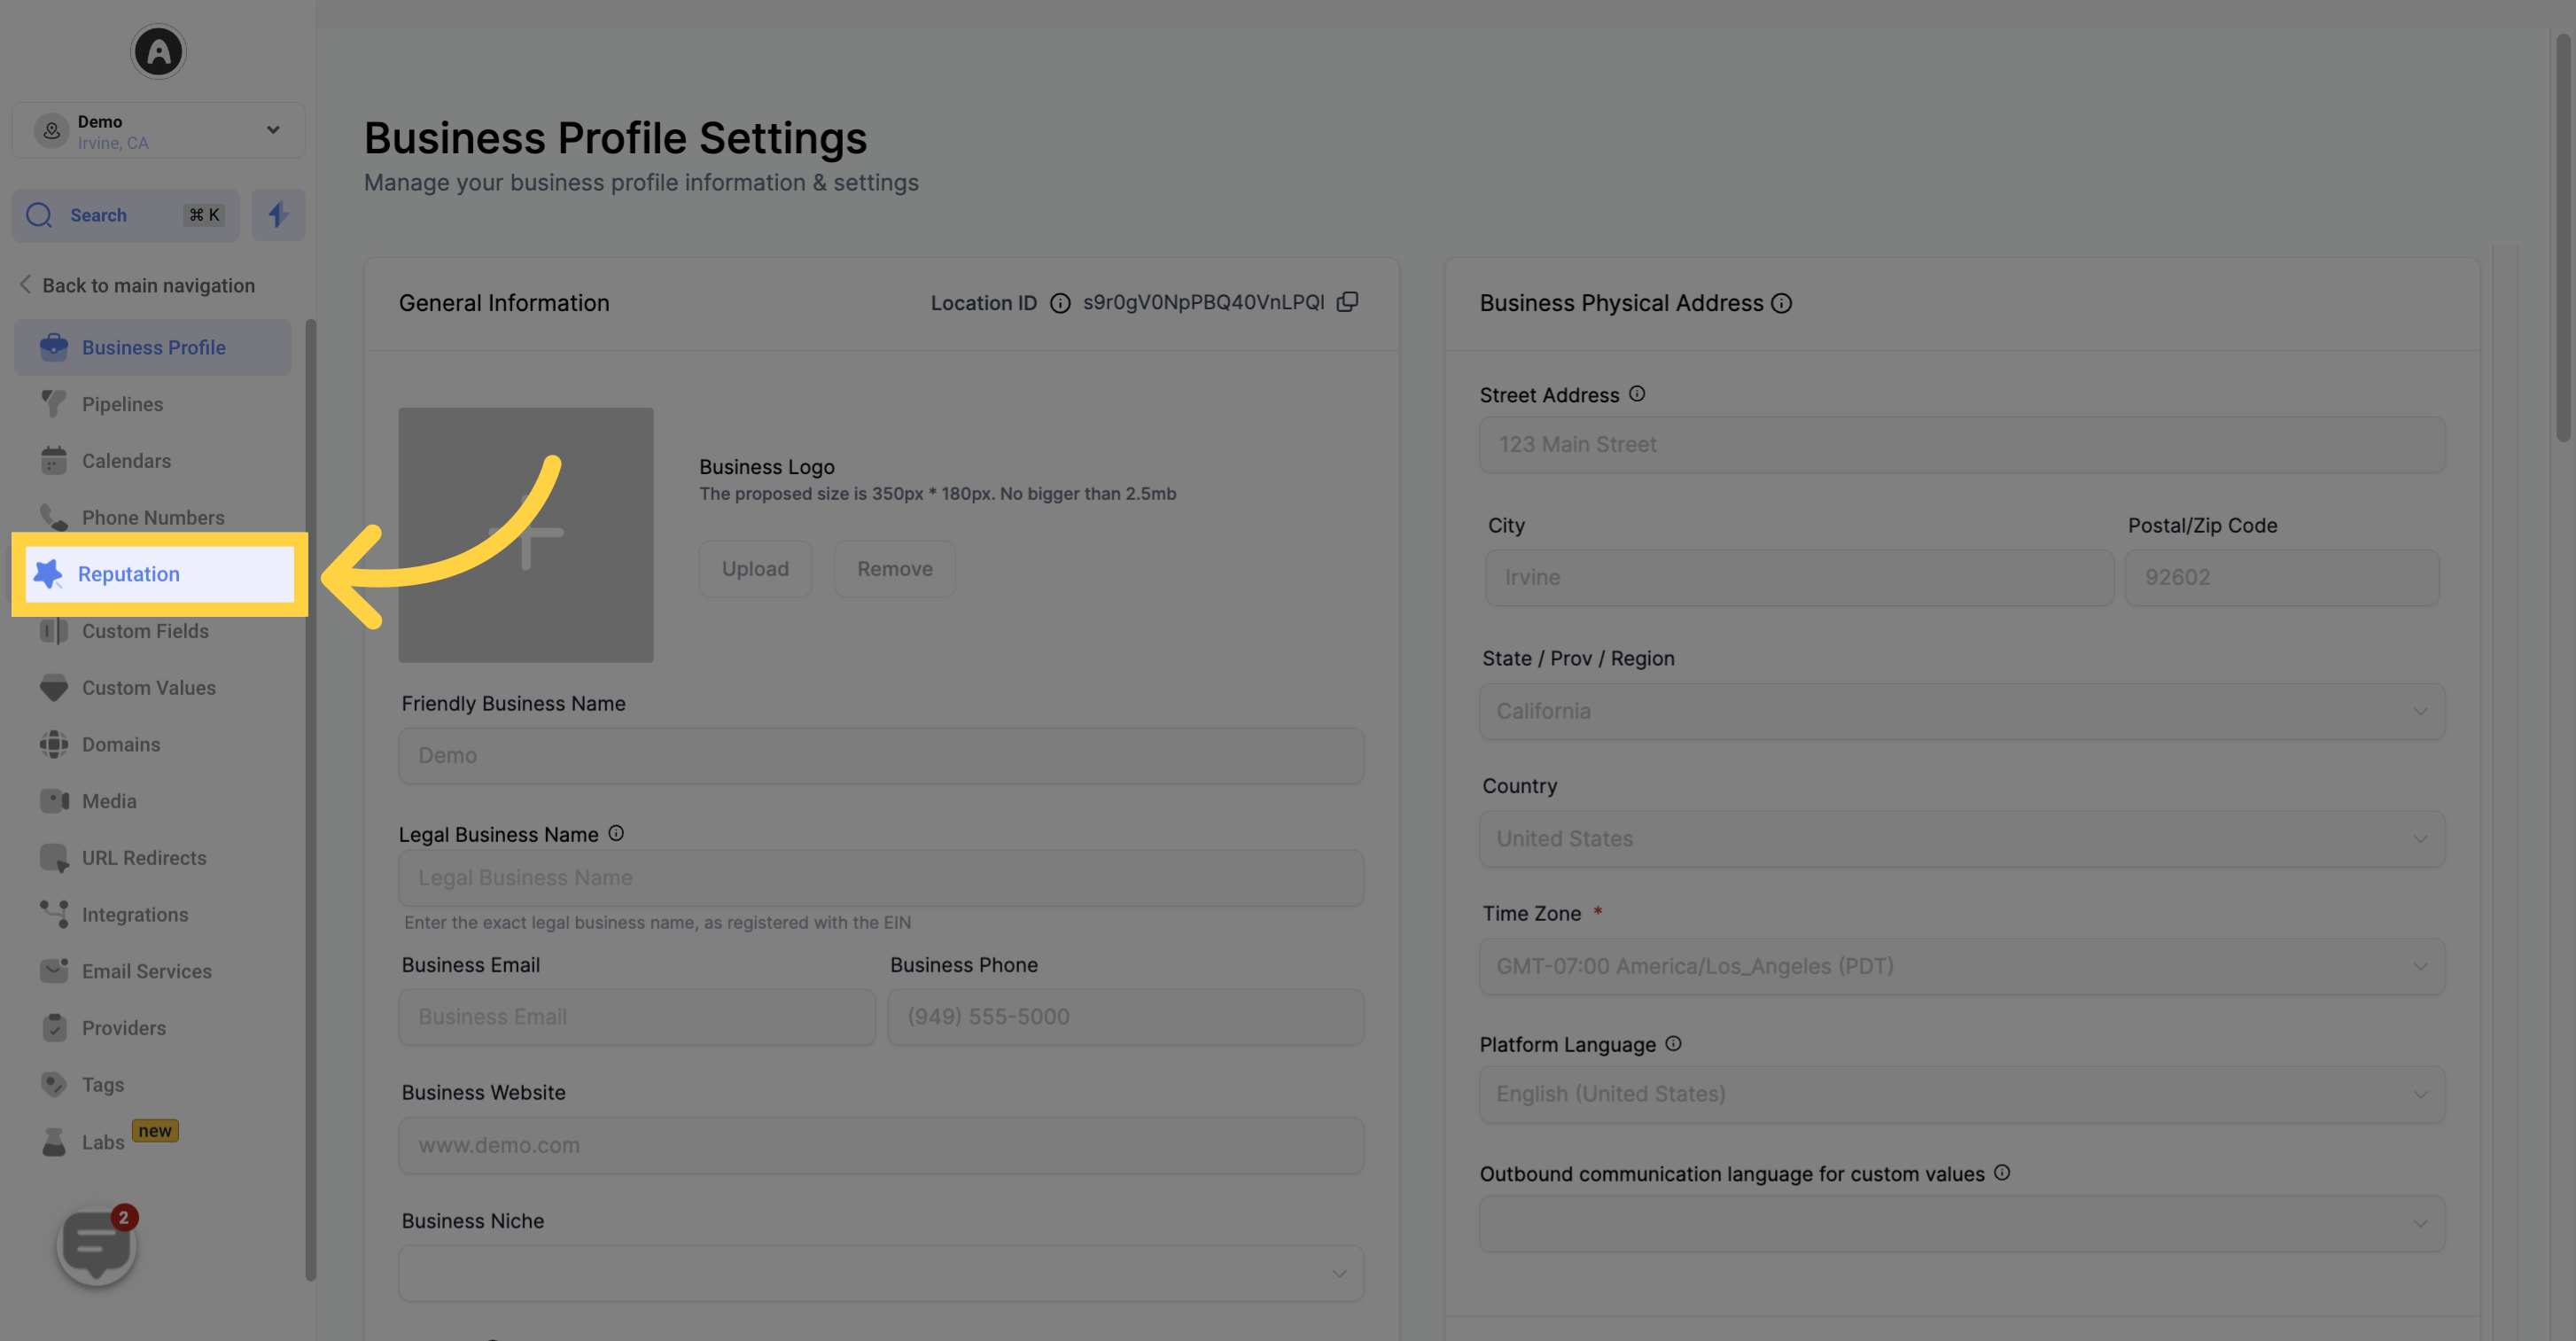
The Reputation tab offers a comprehensive Reputation Management section that empowers users to enhance the presentation of their review requests and showcase their company's reviews using an engaging website widget. It allows users to create personalized review links to send to customers and customize SMS and email templates for their review requests.
Please note that access to certain components may depend on user permissions.
Users have the option to send review requests manually to individual contacts by clicking on the "Send Review Request" button. Upon clicking the button, users will need to input the contact's information, including their name and either a valid email address or phone number.
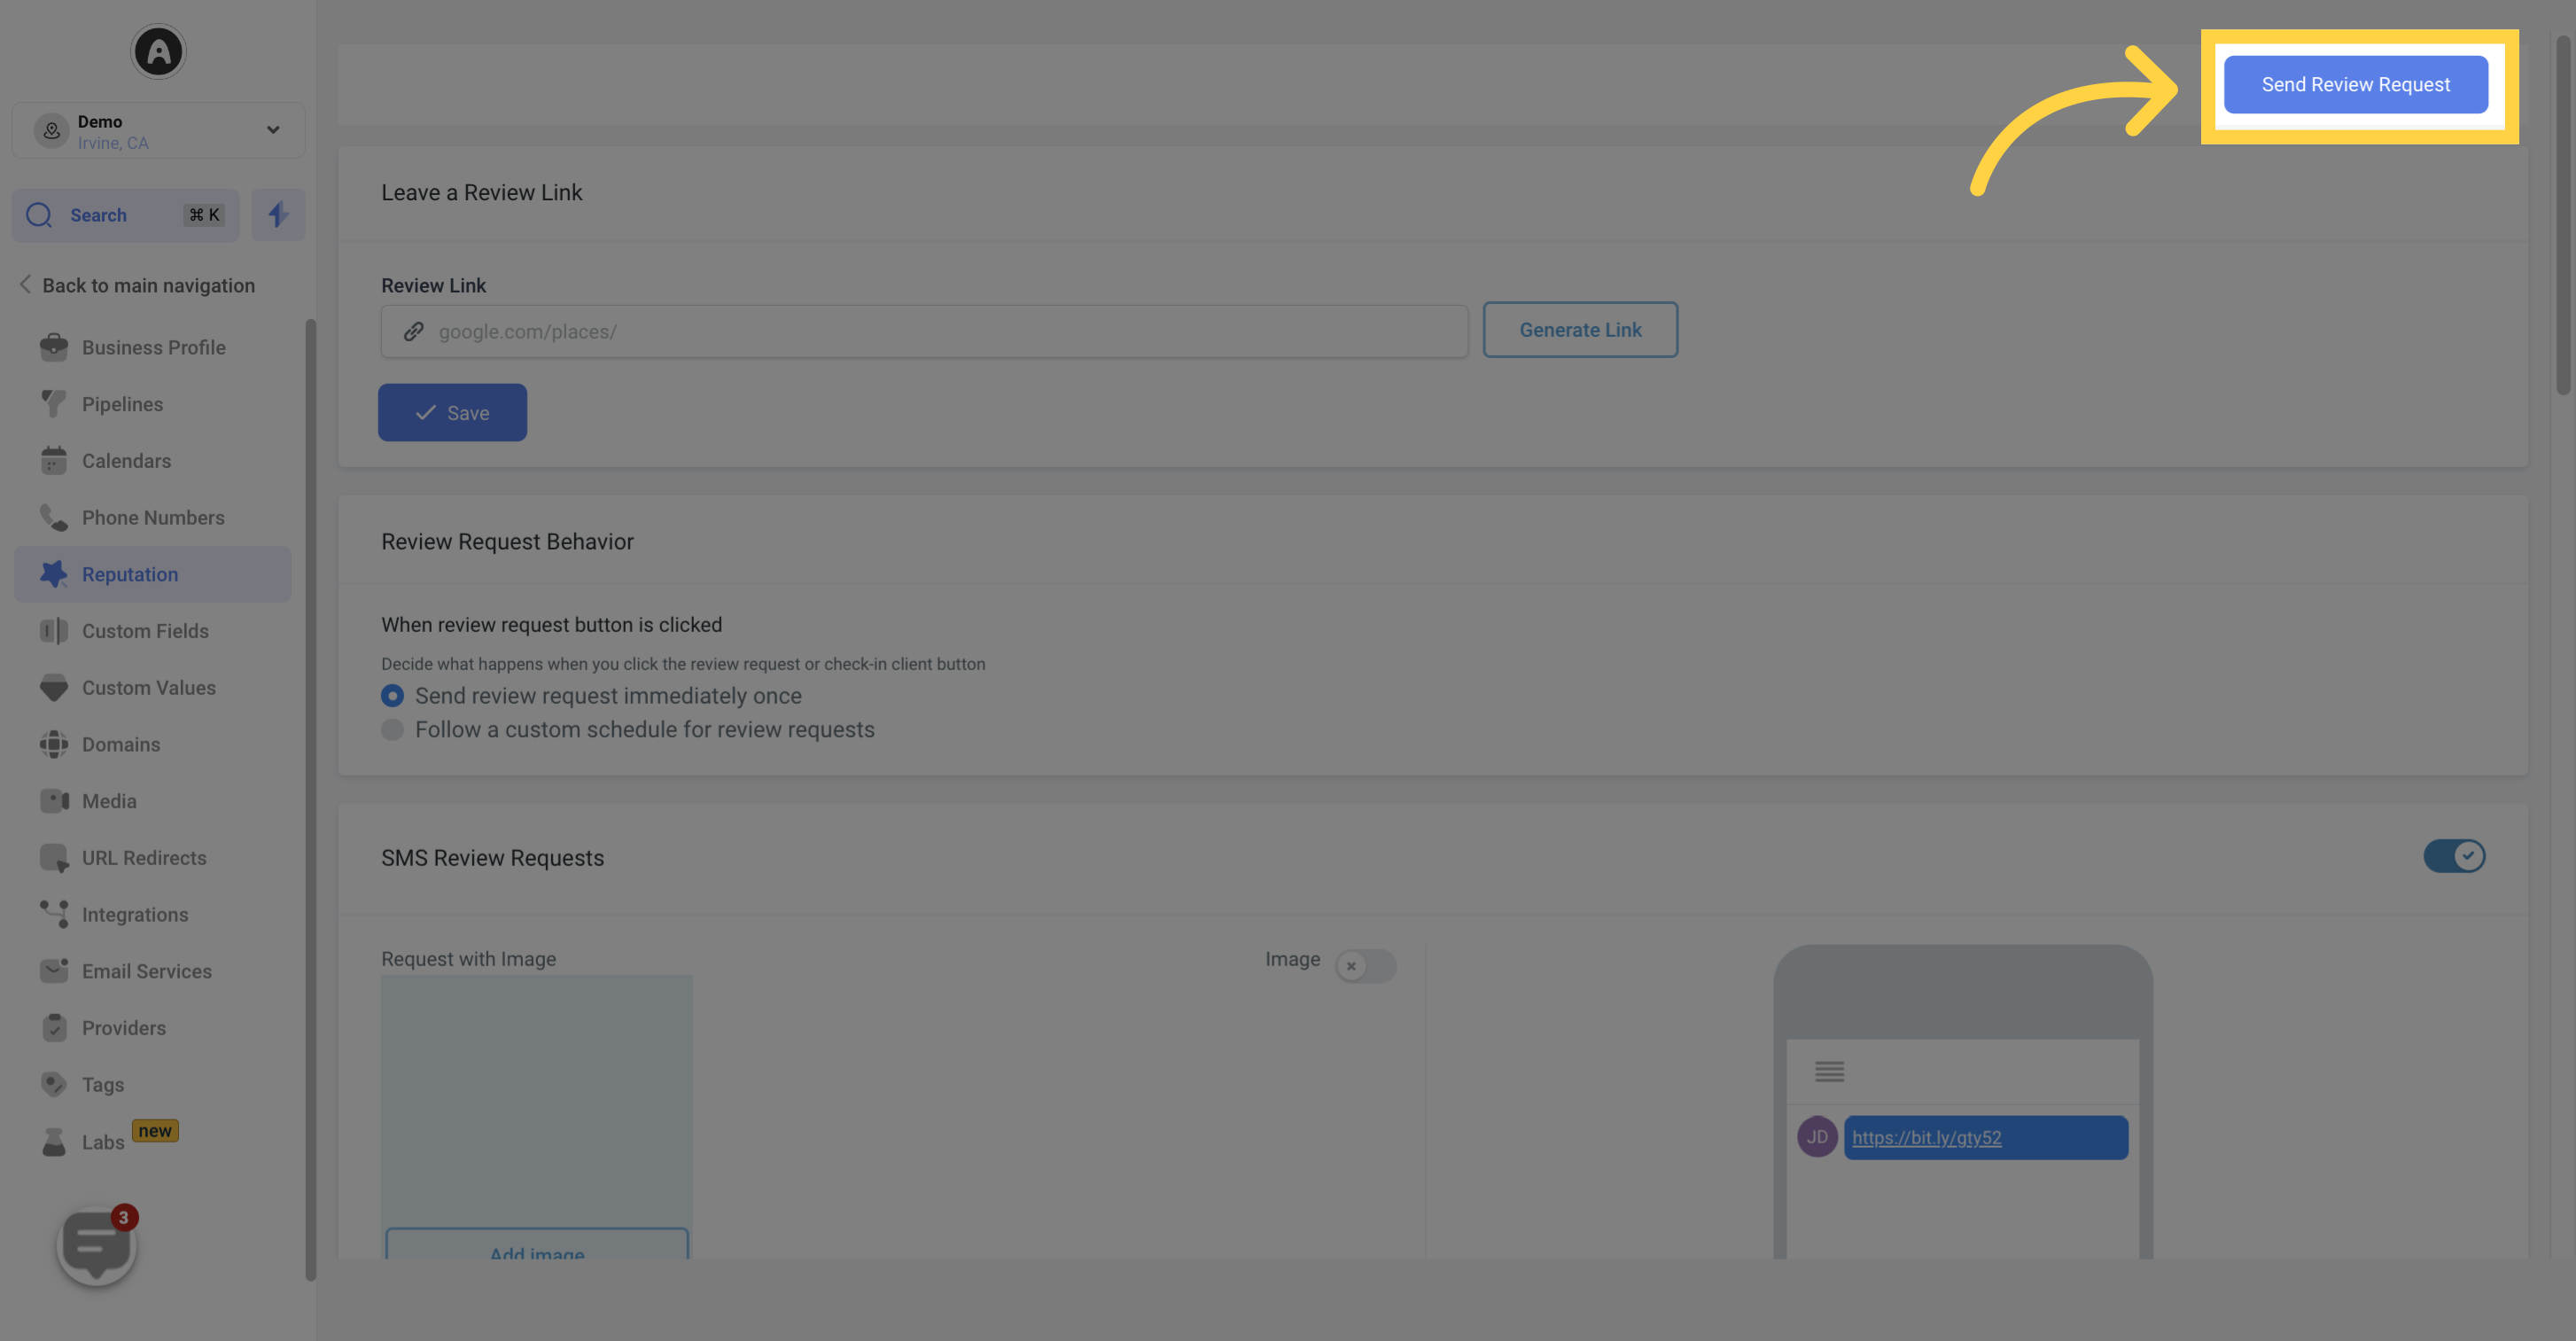
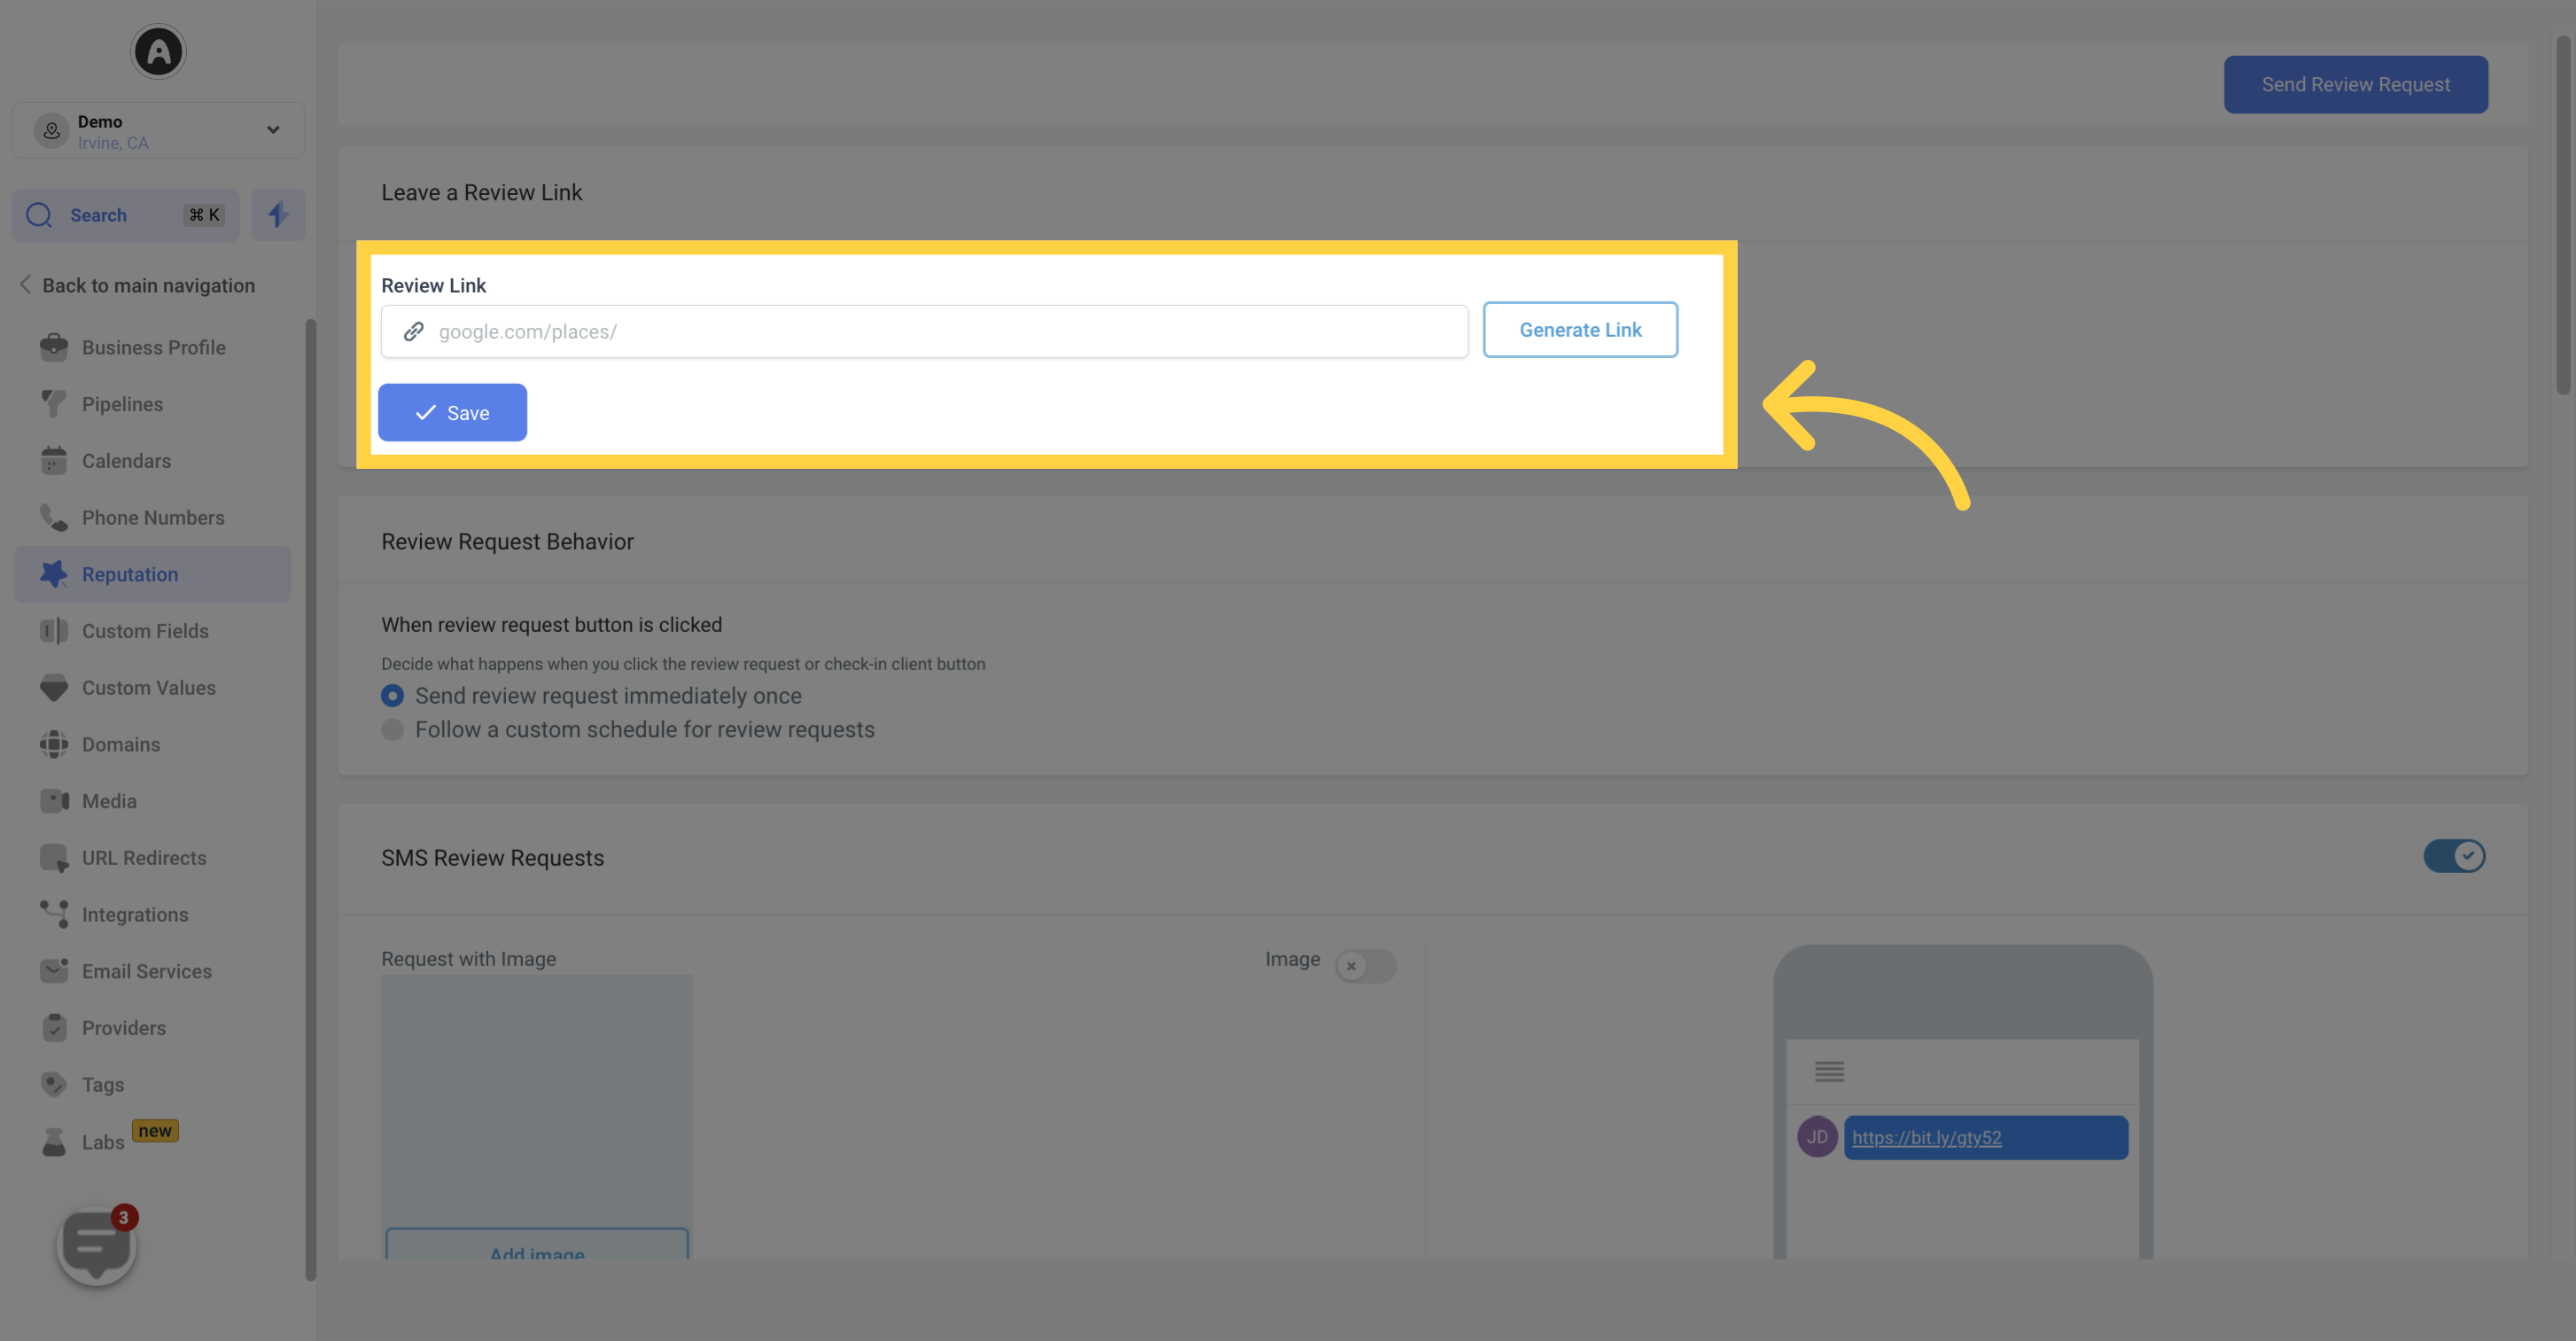
With the Custom Google Review Link feature, users can generate a unique and measurable link to share with customers, redirecting them directly to their company's Google review page. Generating a new link is as simple as clicking the 'Generate Link' button.
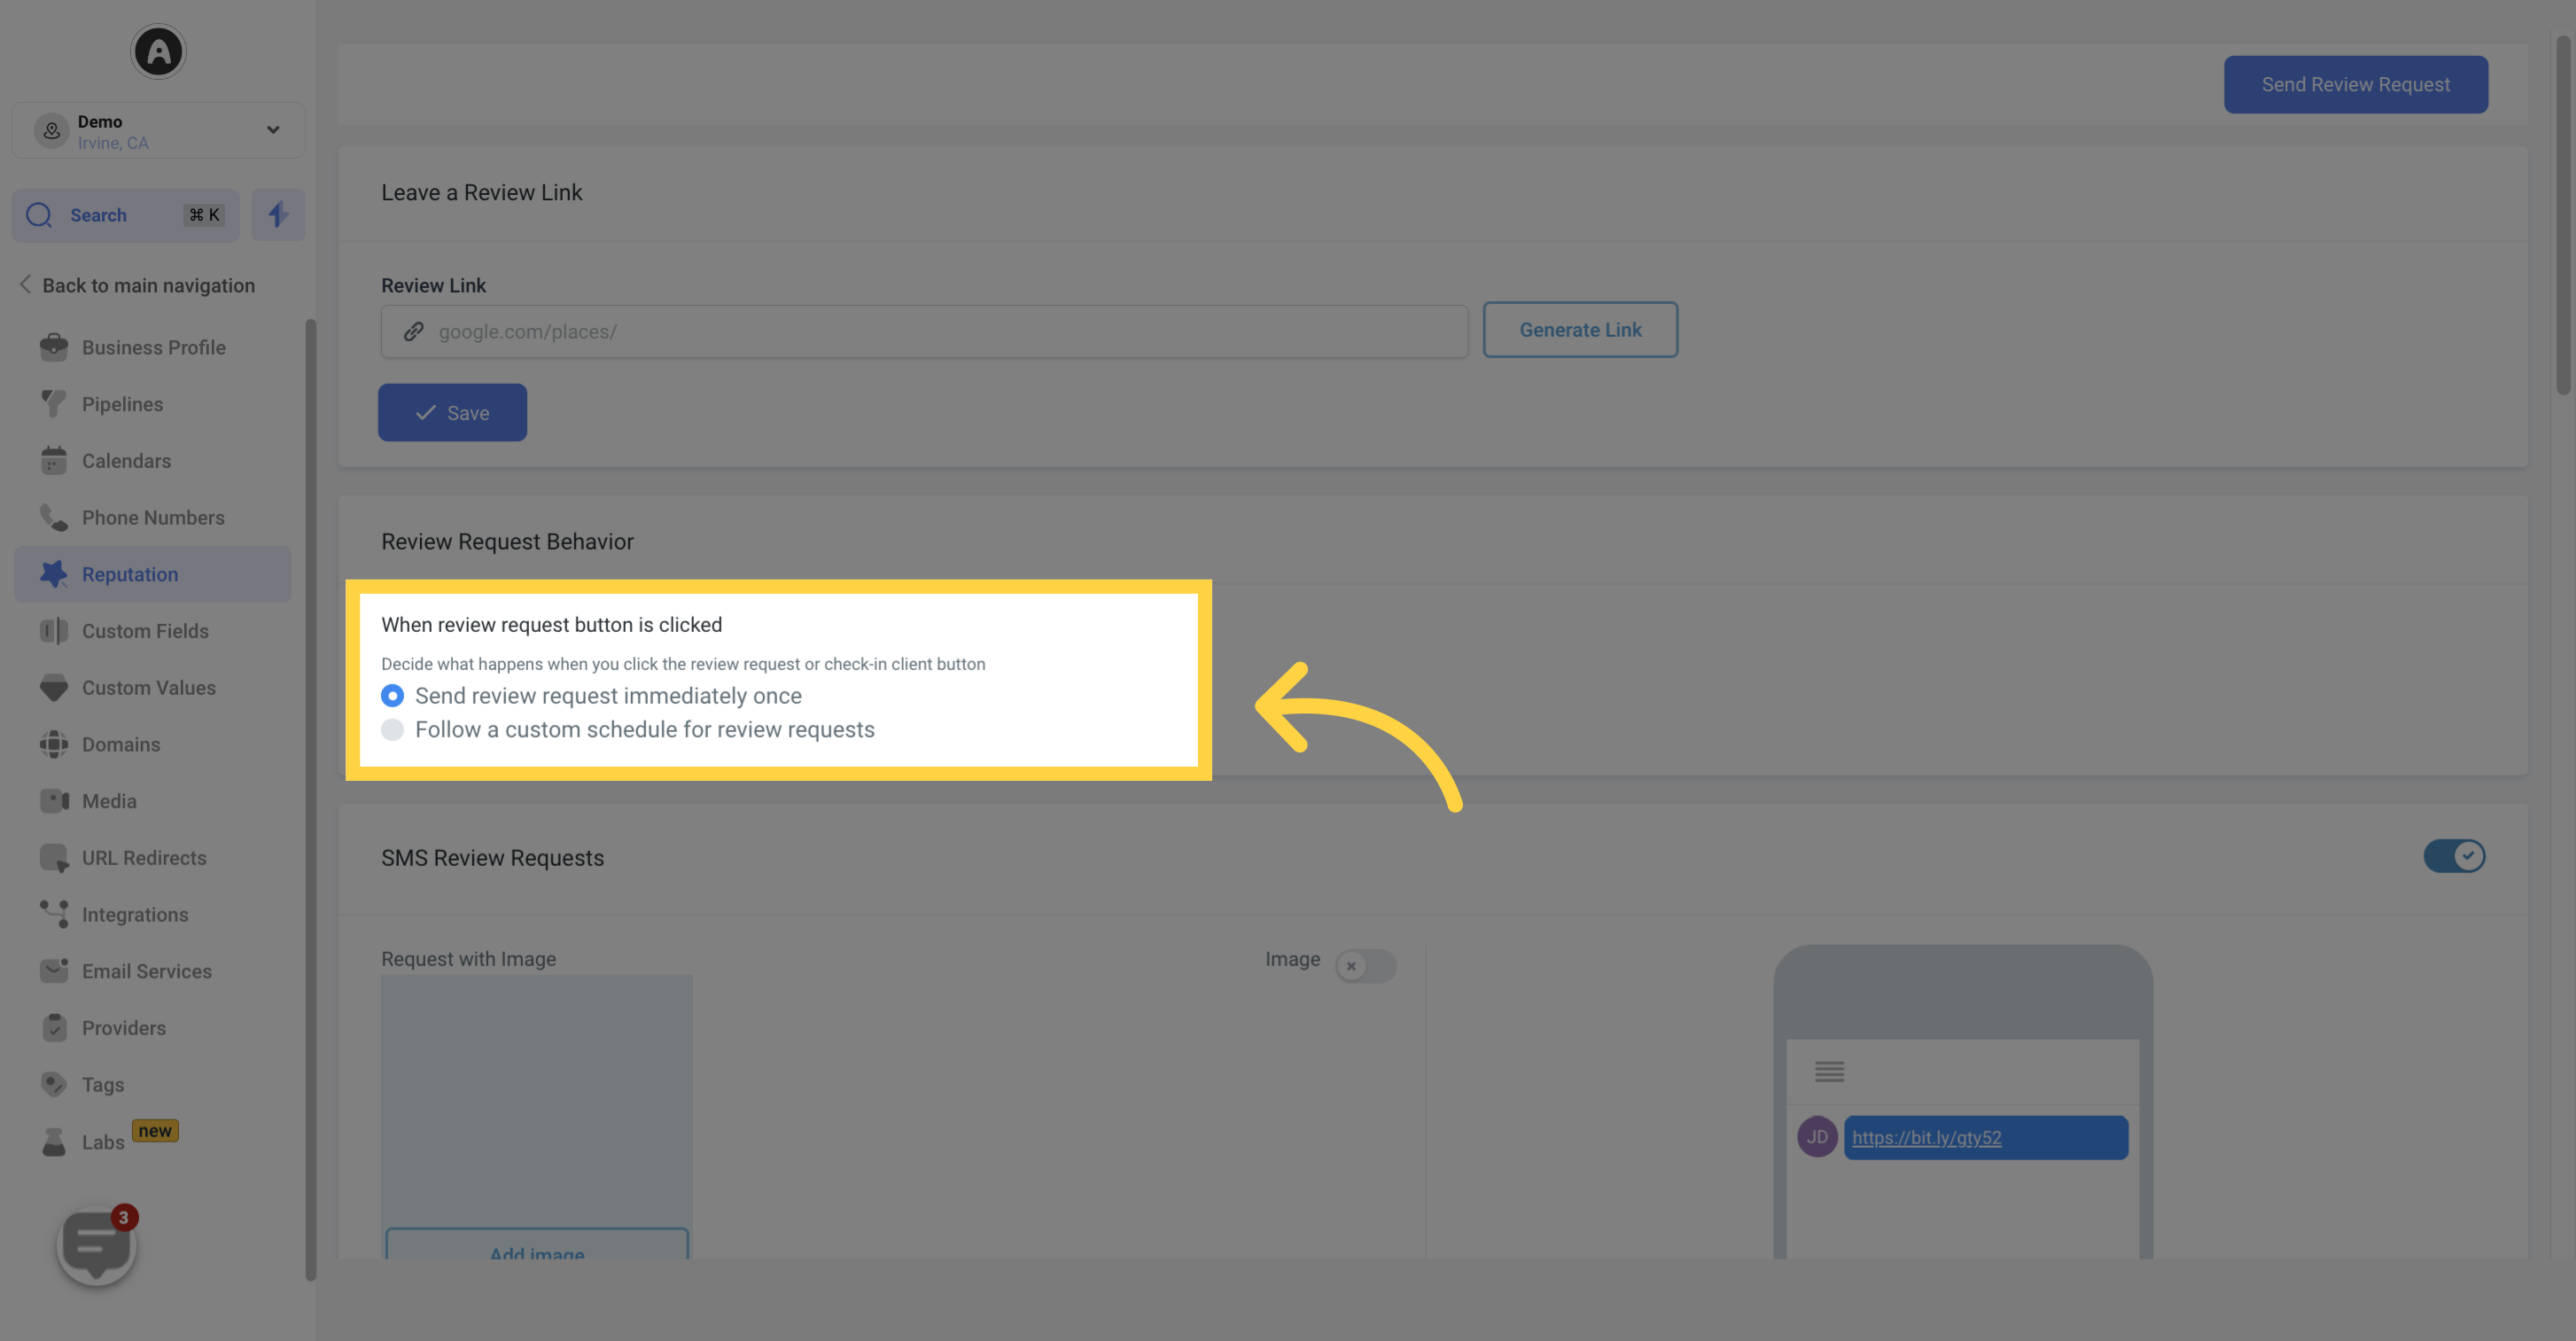
Users have the flexibility to customize the behavior of review requests based on their preferences. They can choose between sending review requests instantly and once, or schedule them according to their specific needs.
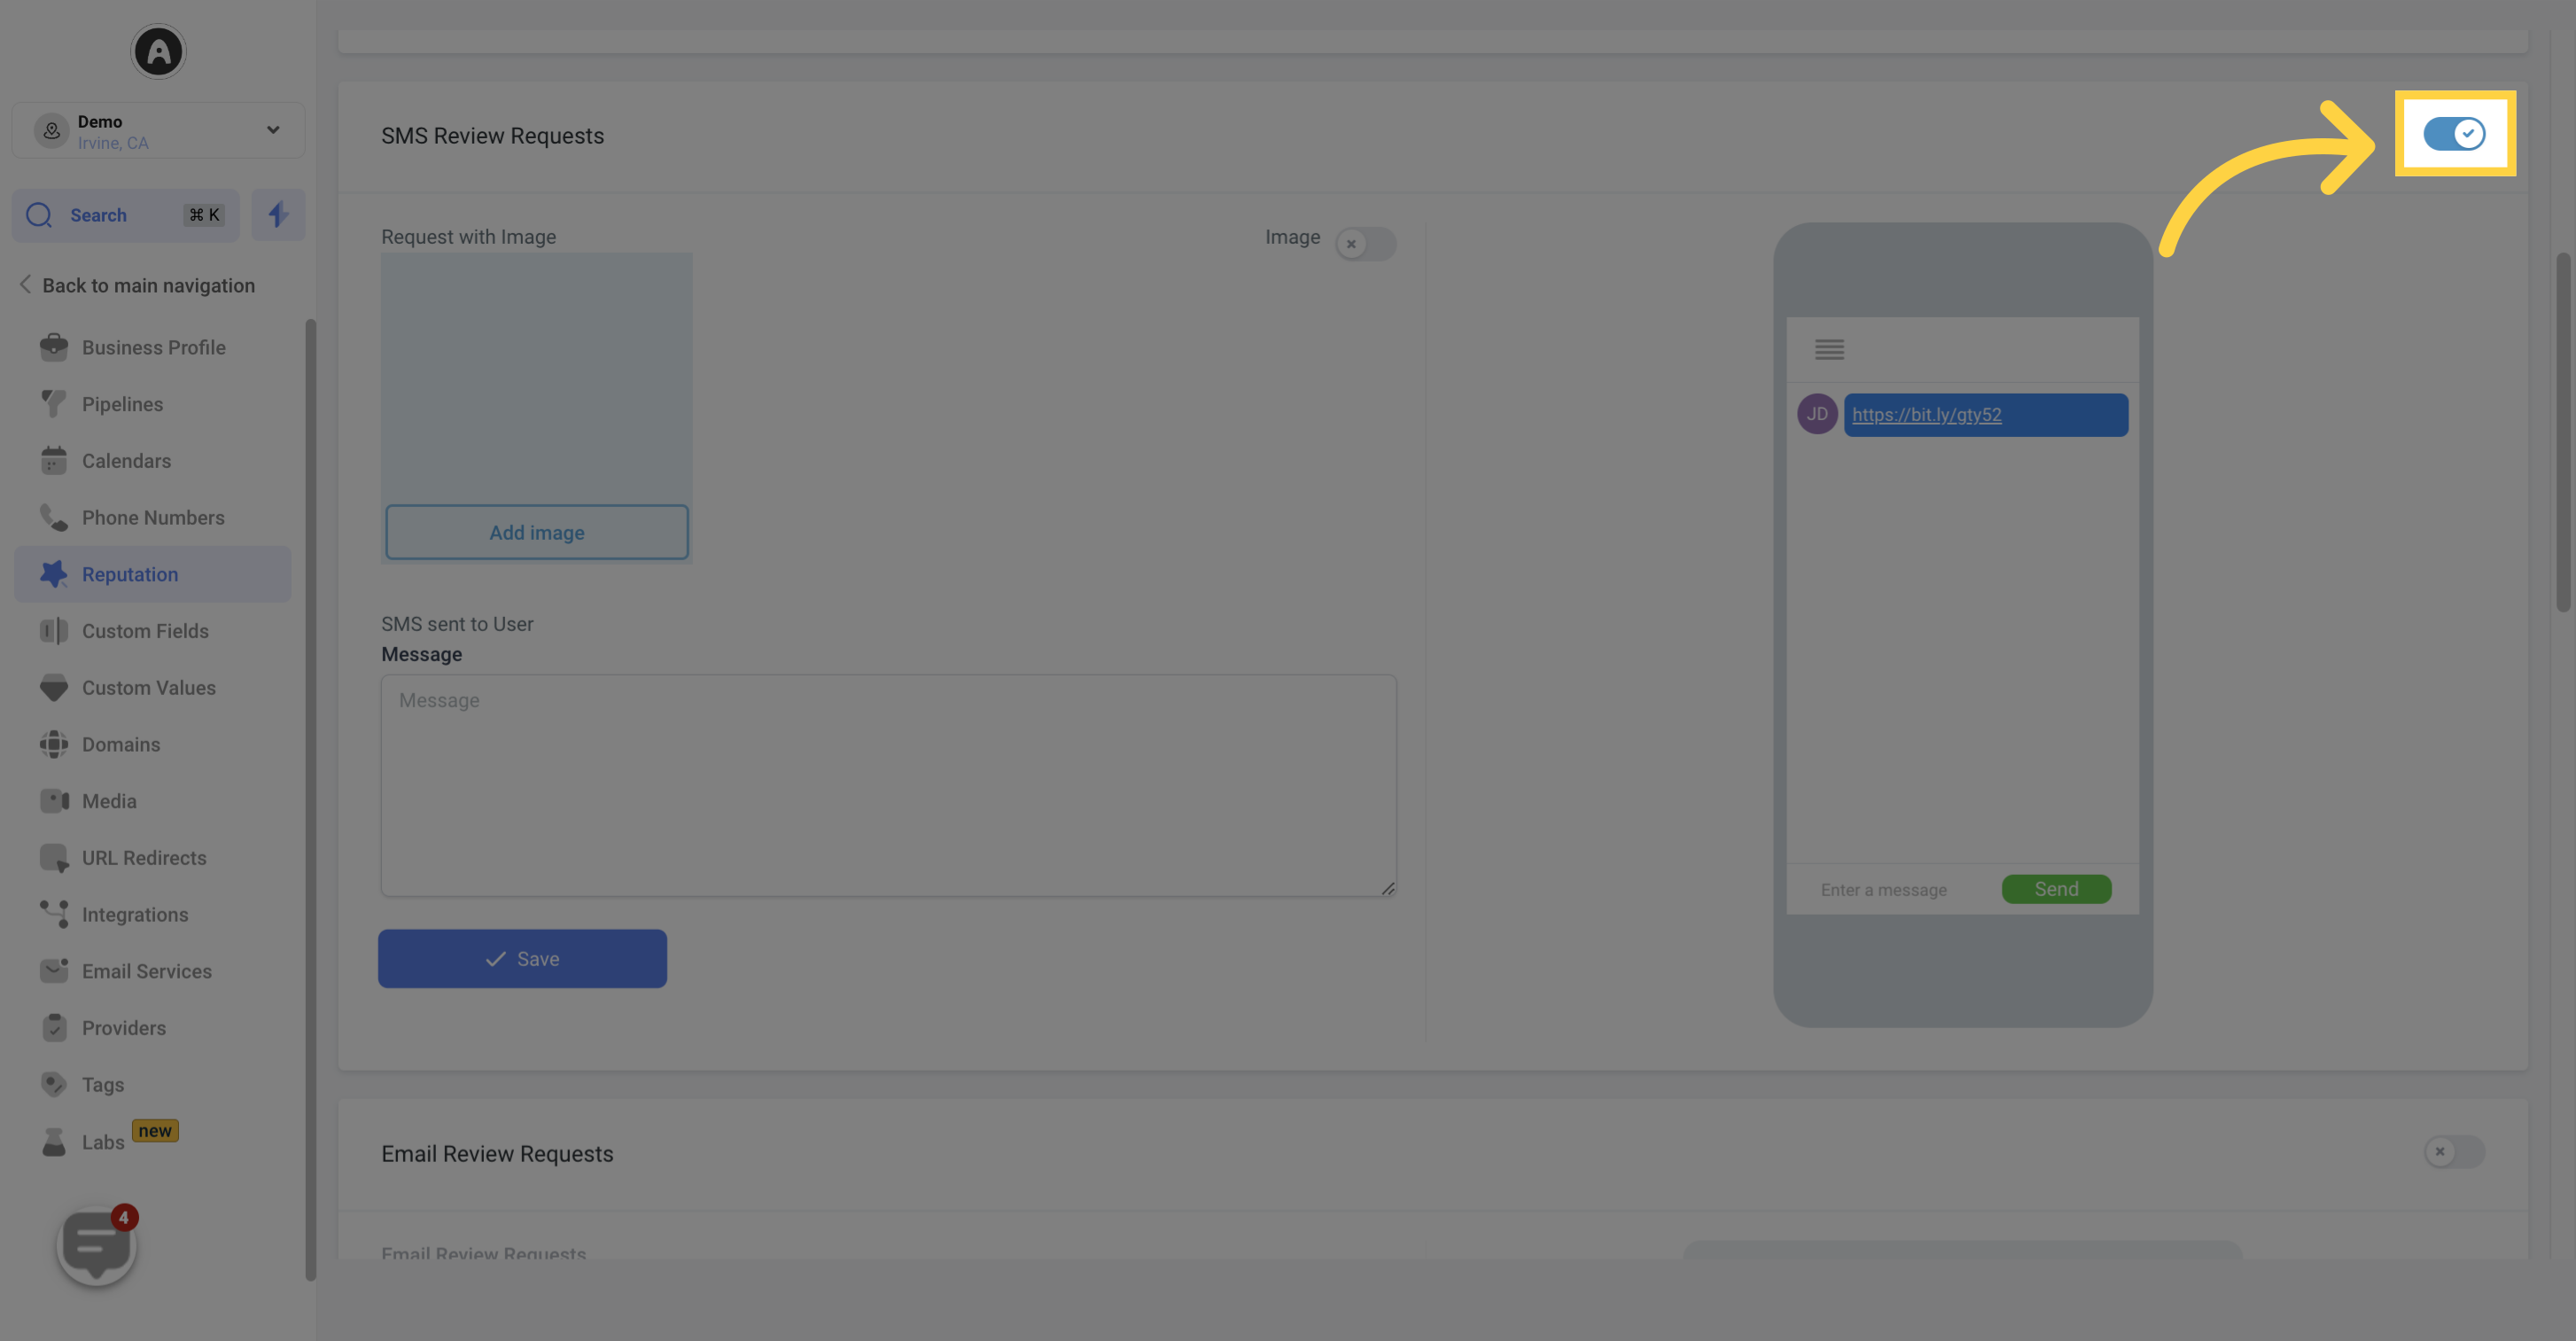
In the Customize Review SMS section, users can modify their review request SMS to align better with their company's messaging. To activate custom SMS messages, users can simply toggle the switch.
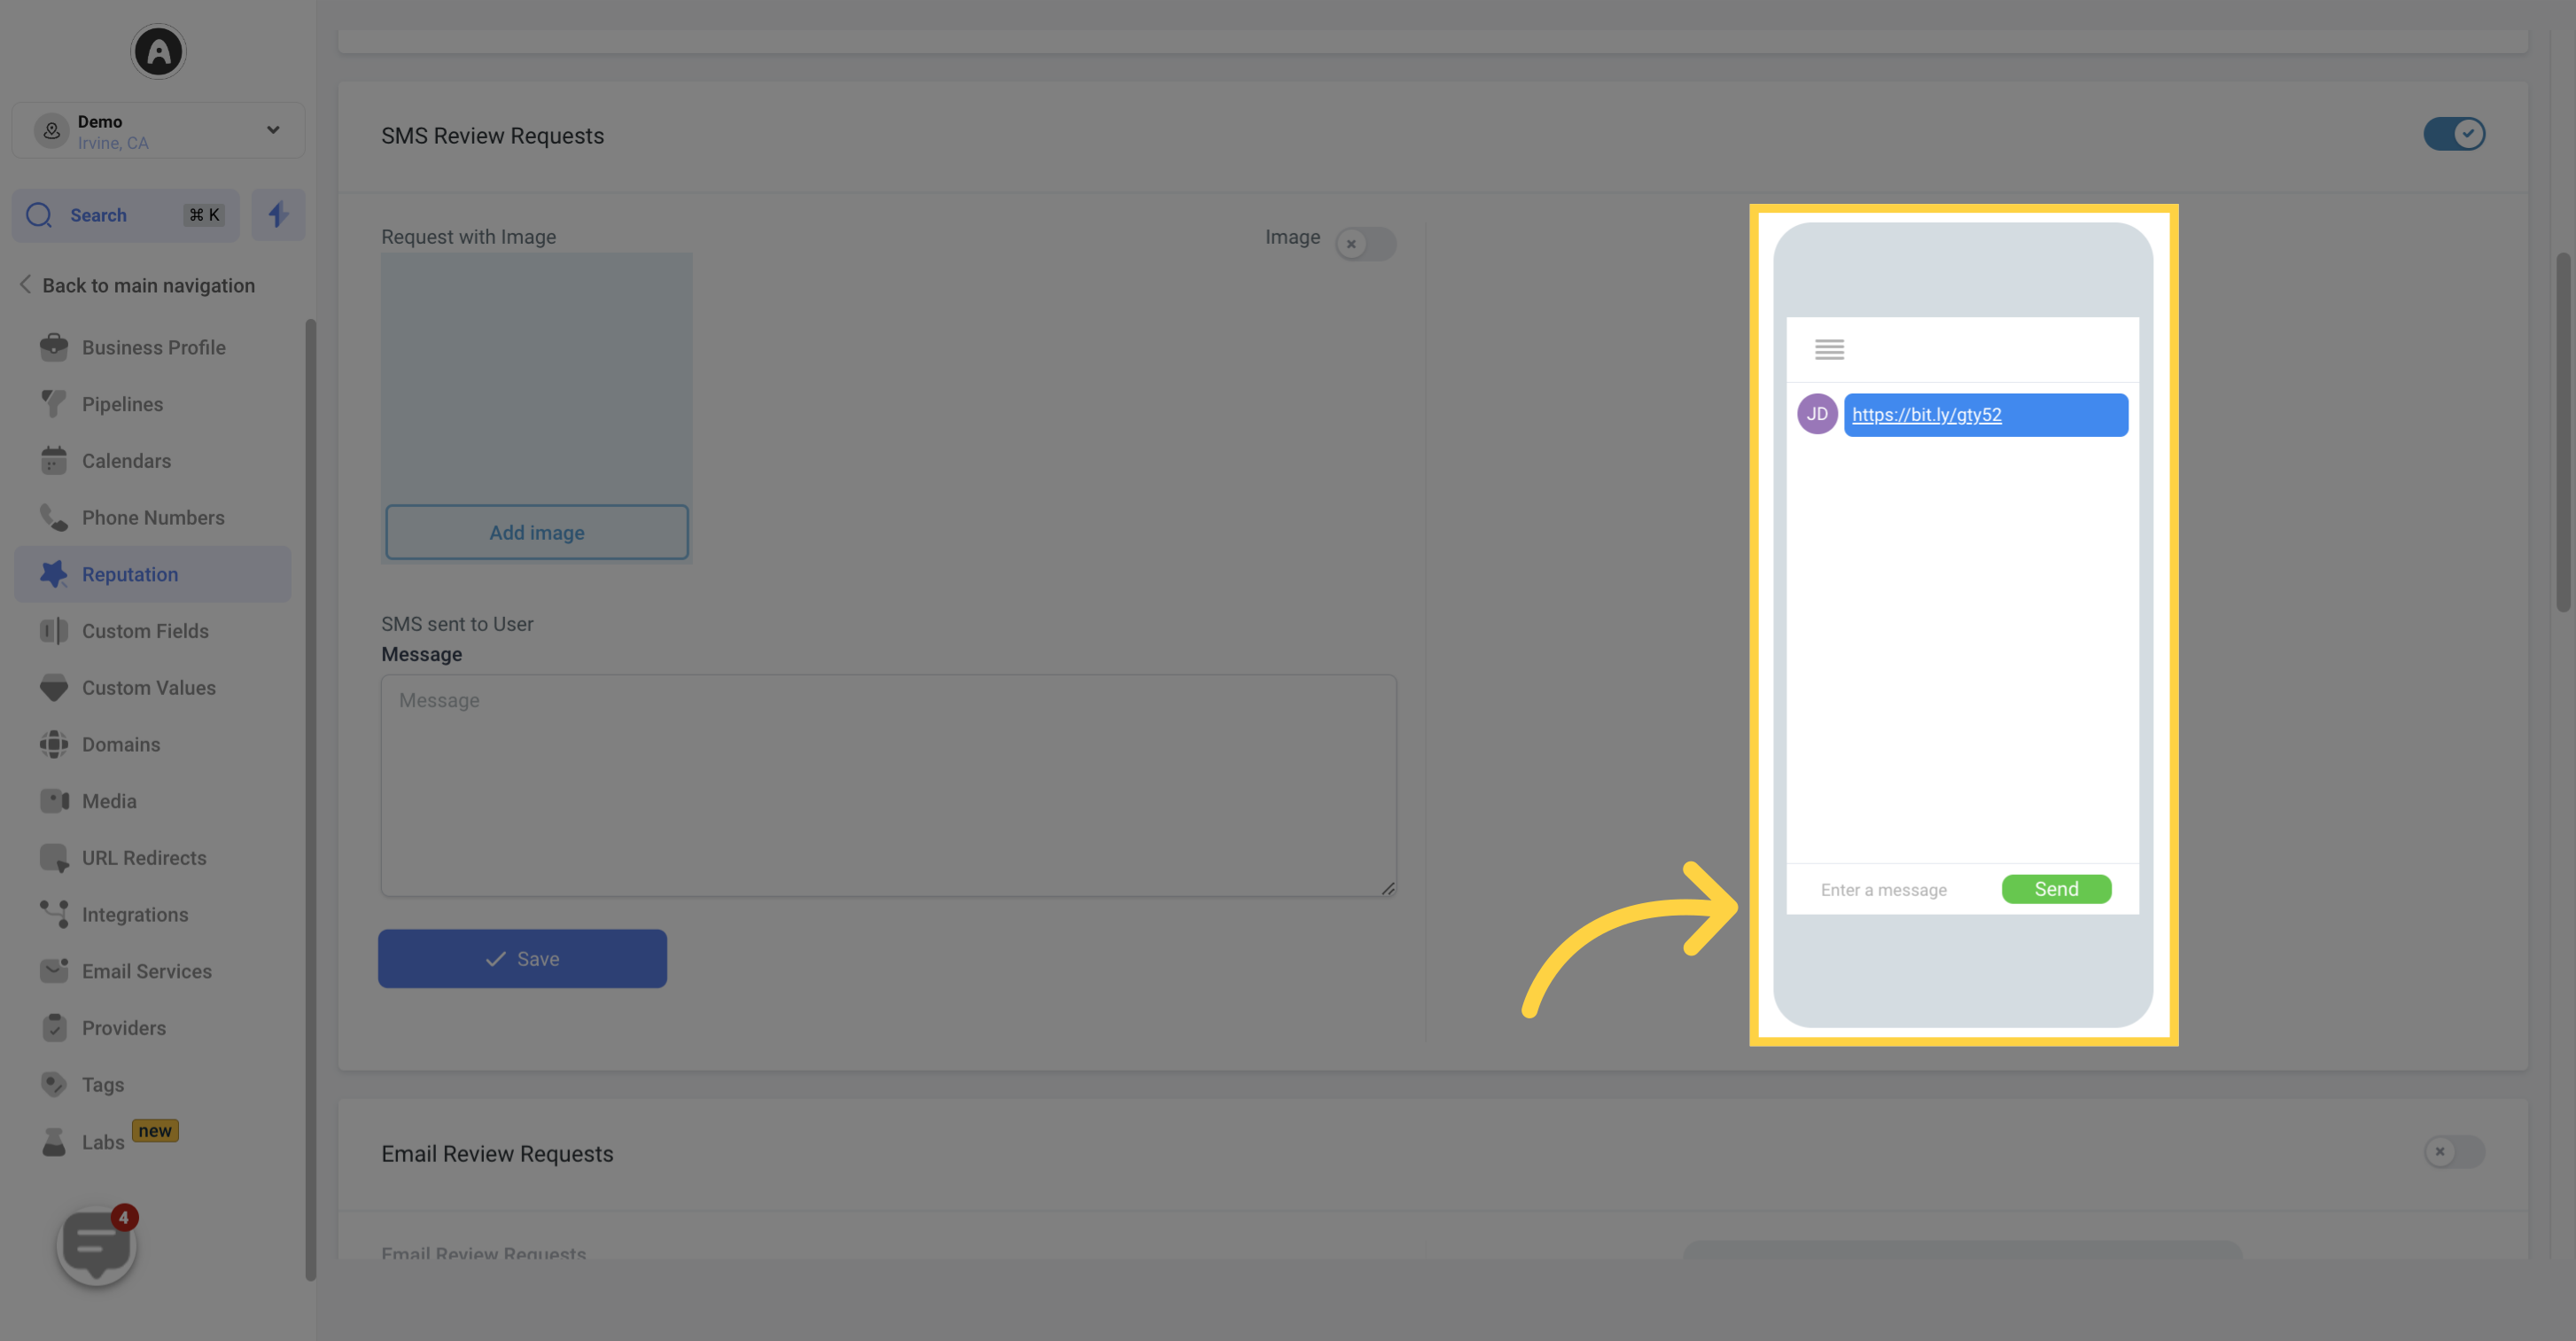
Real-time previews of any changes made to the SMS can be viewed in the Preview SMS Changes section.
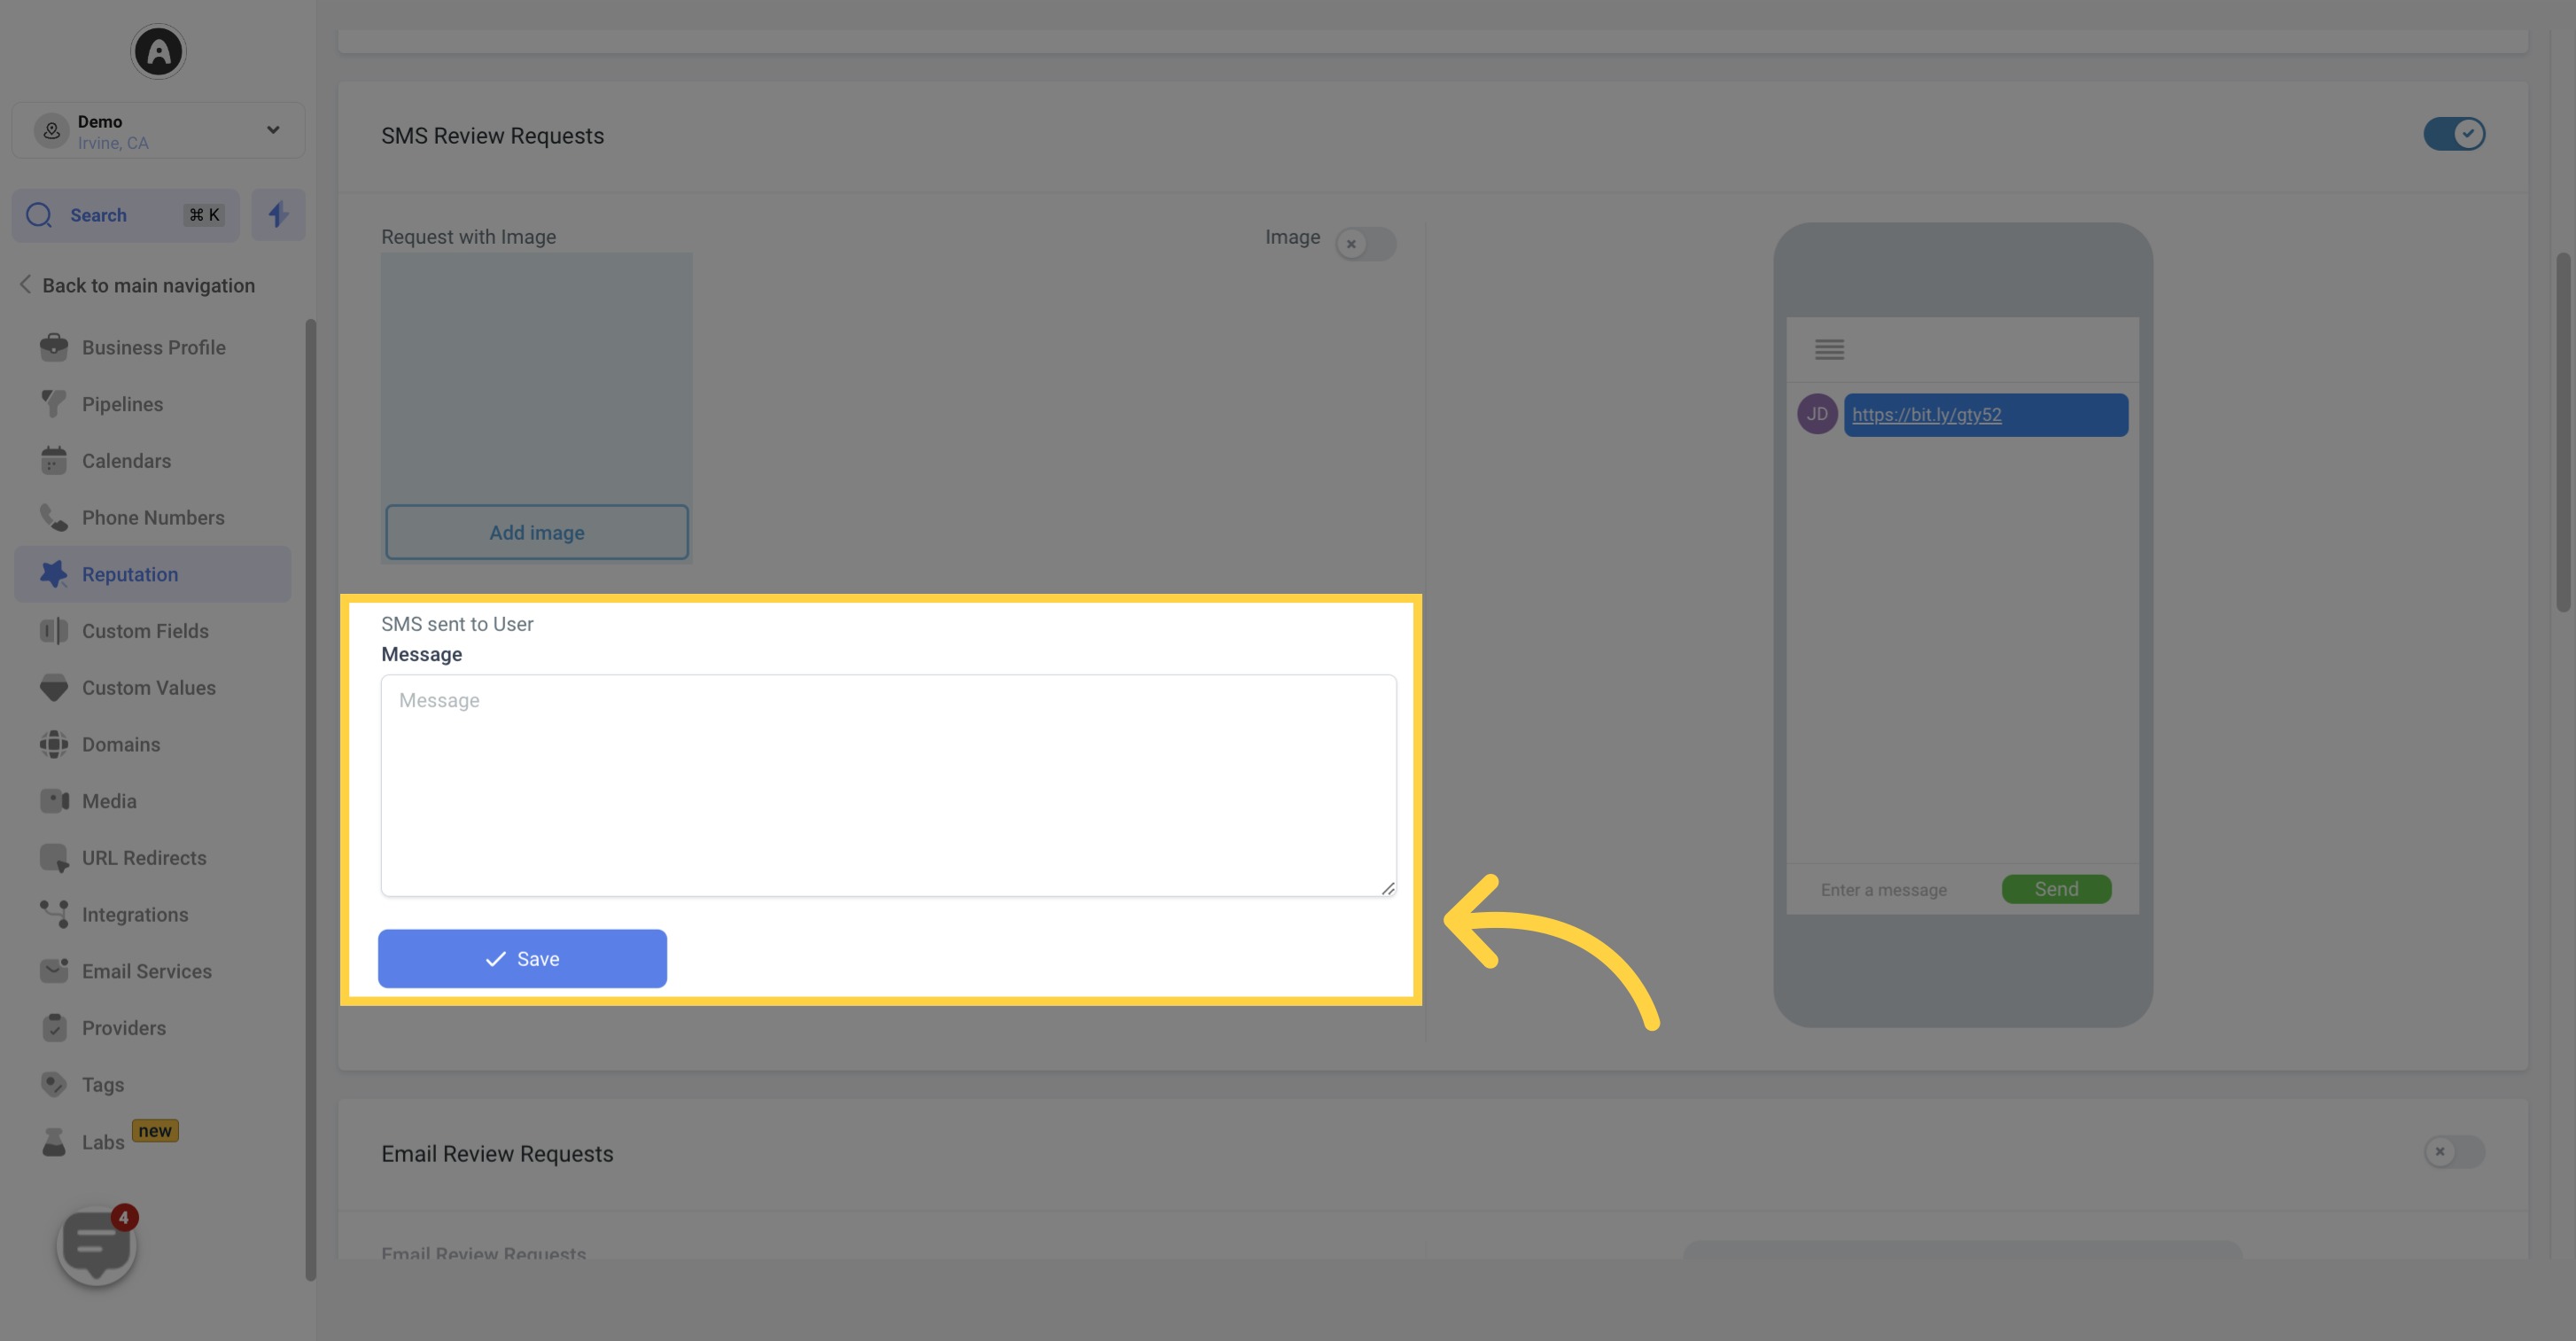
If users wish to include an image in their SMS, they can enable this feature. To add an image to the SMS, users can click the designated button and upload their desired image.

The body of the SMS message can be customized to fit the user's requirements. Users can easily make changes by typing directly into the field.
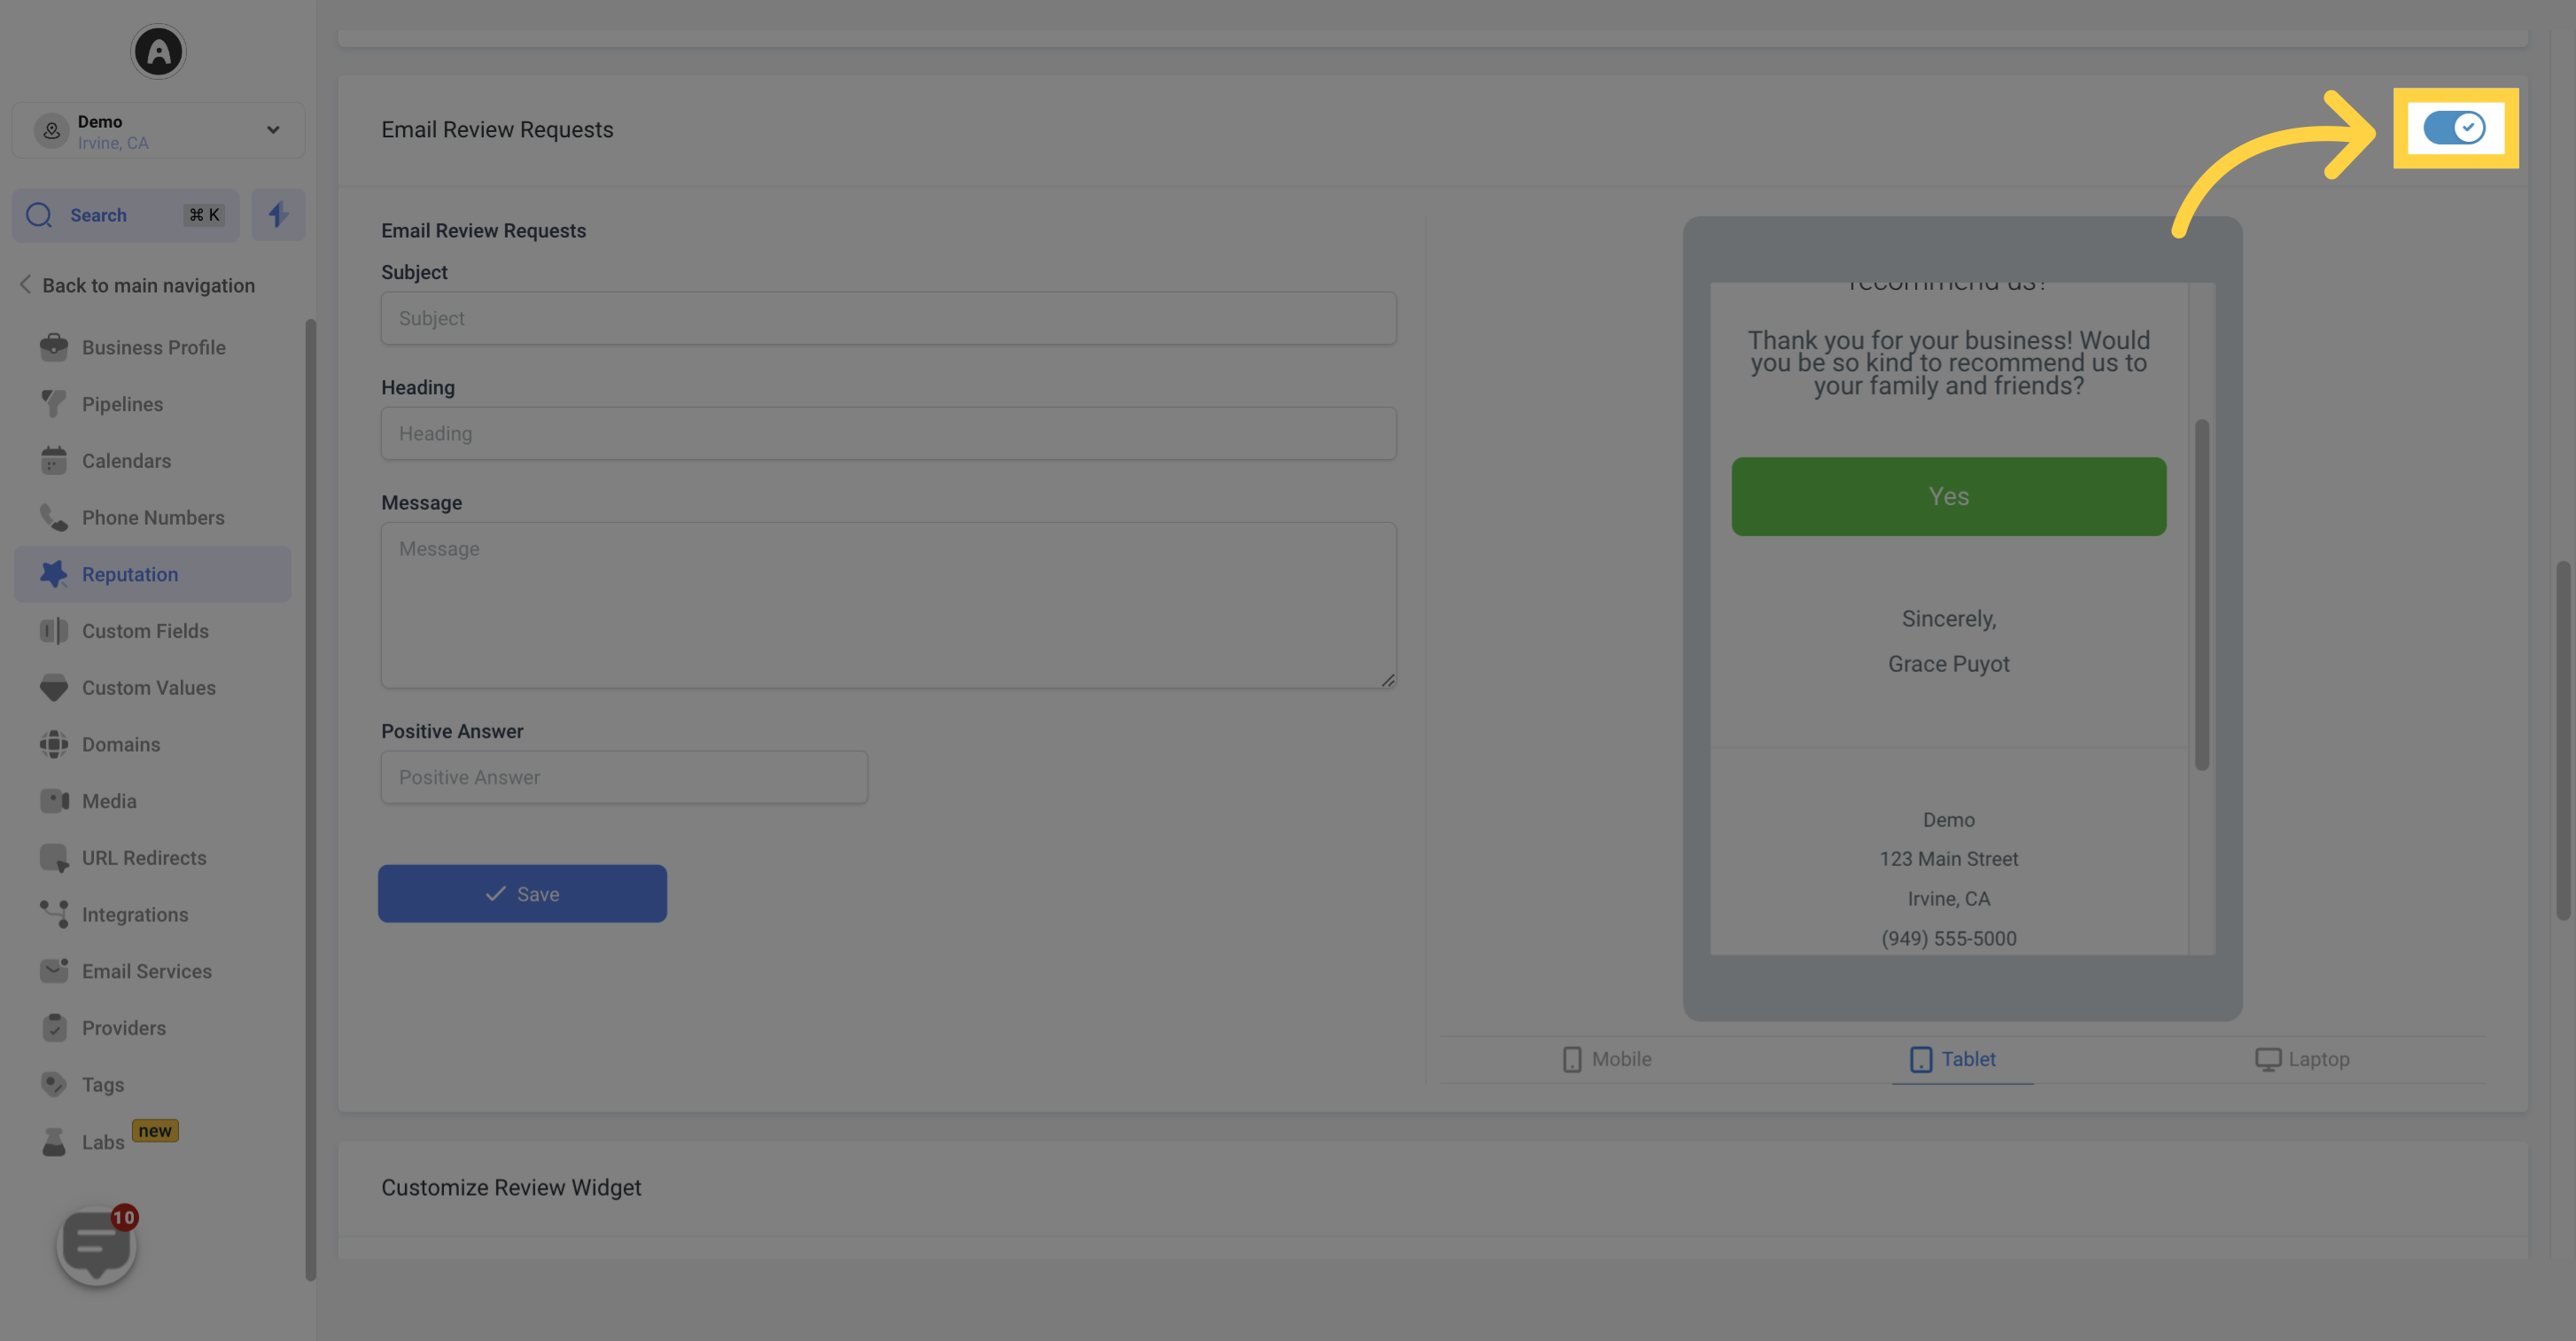
To ensure consistency with their company's messaging, users can customize their review request emails in the Customize Review Email section. By toggling the switch, users can enable custom email messages.
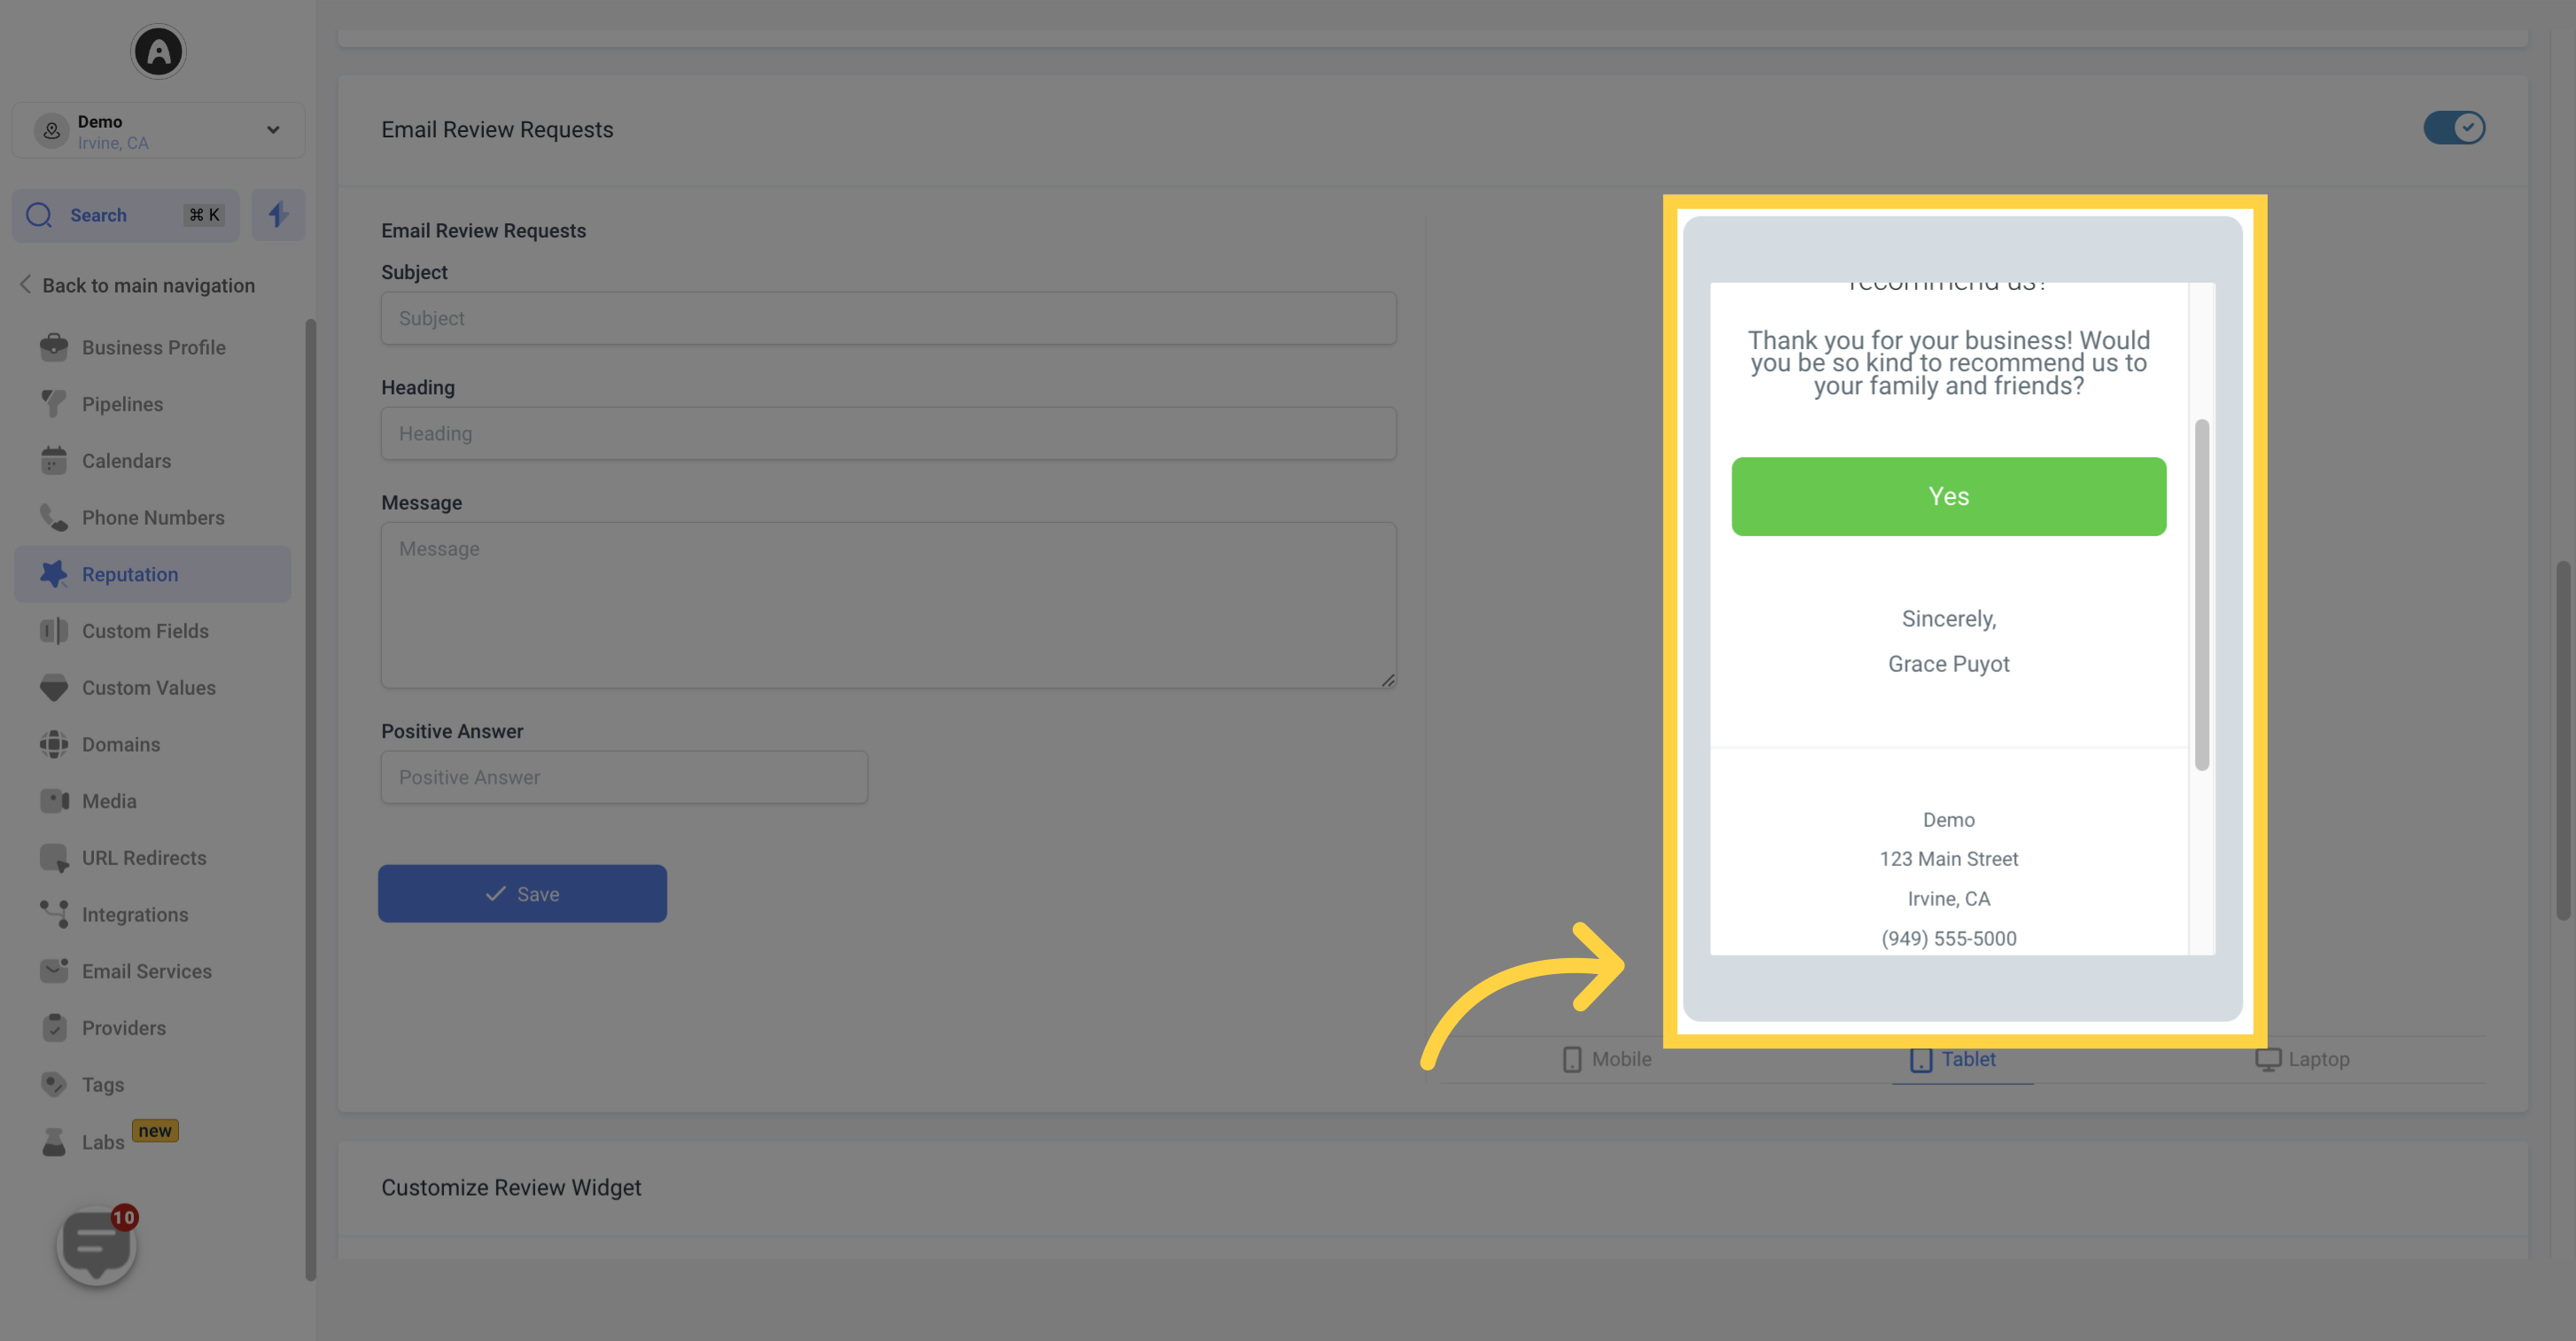
Real-time previews of all changes made to the custom email are available in the Preview Email Changes section.
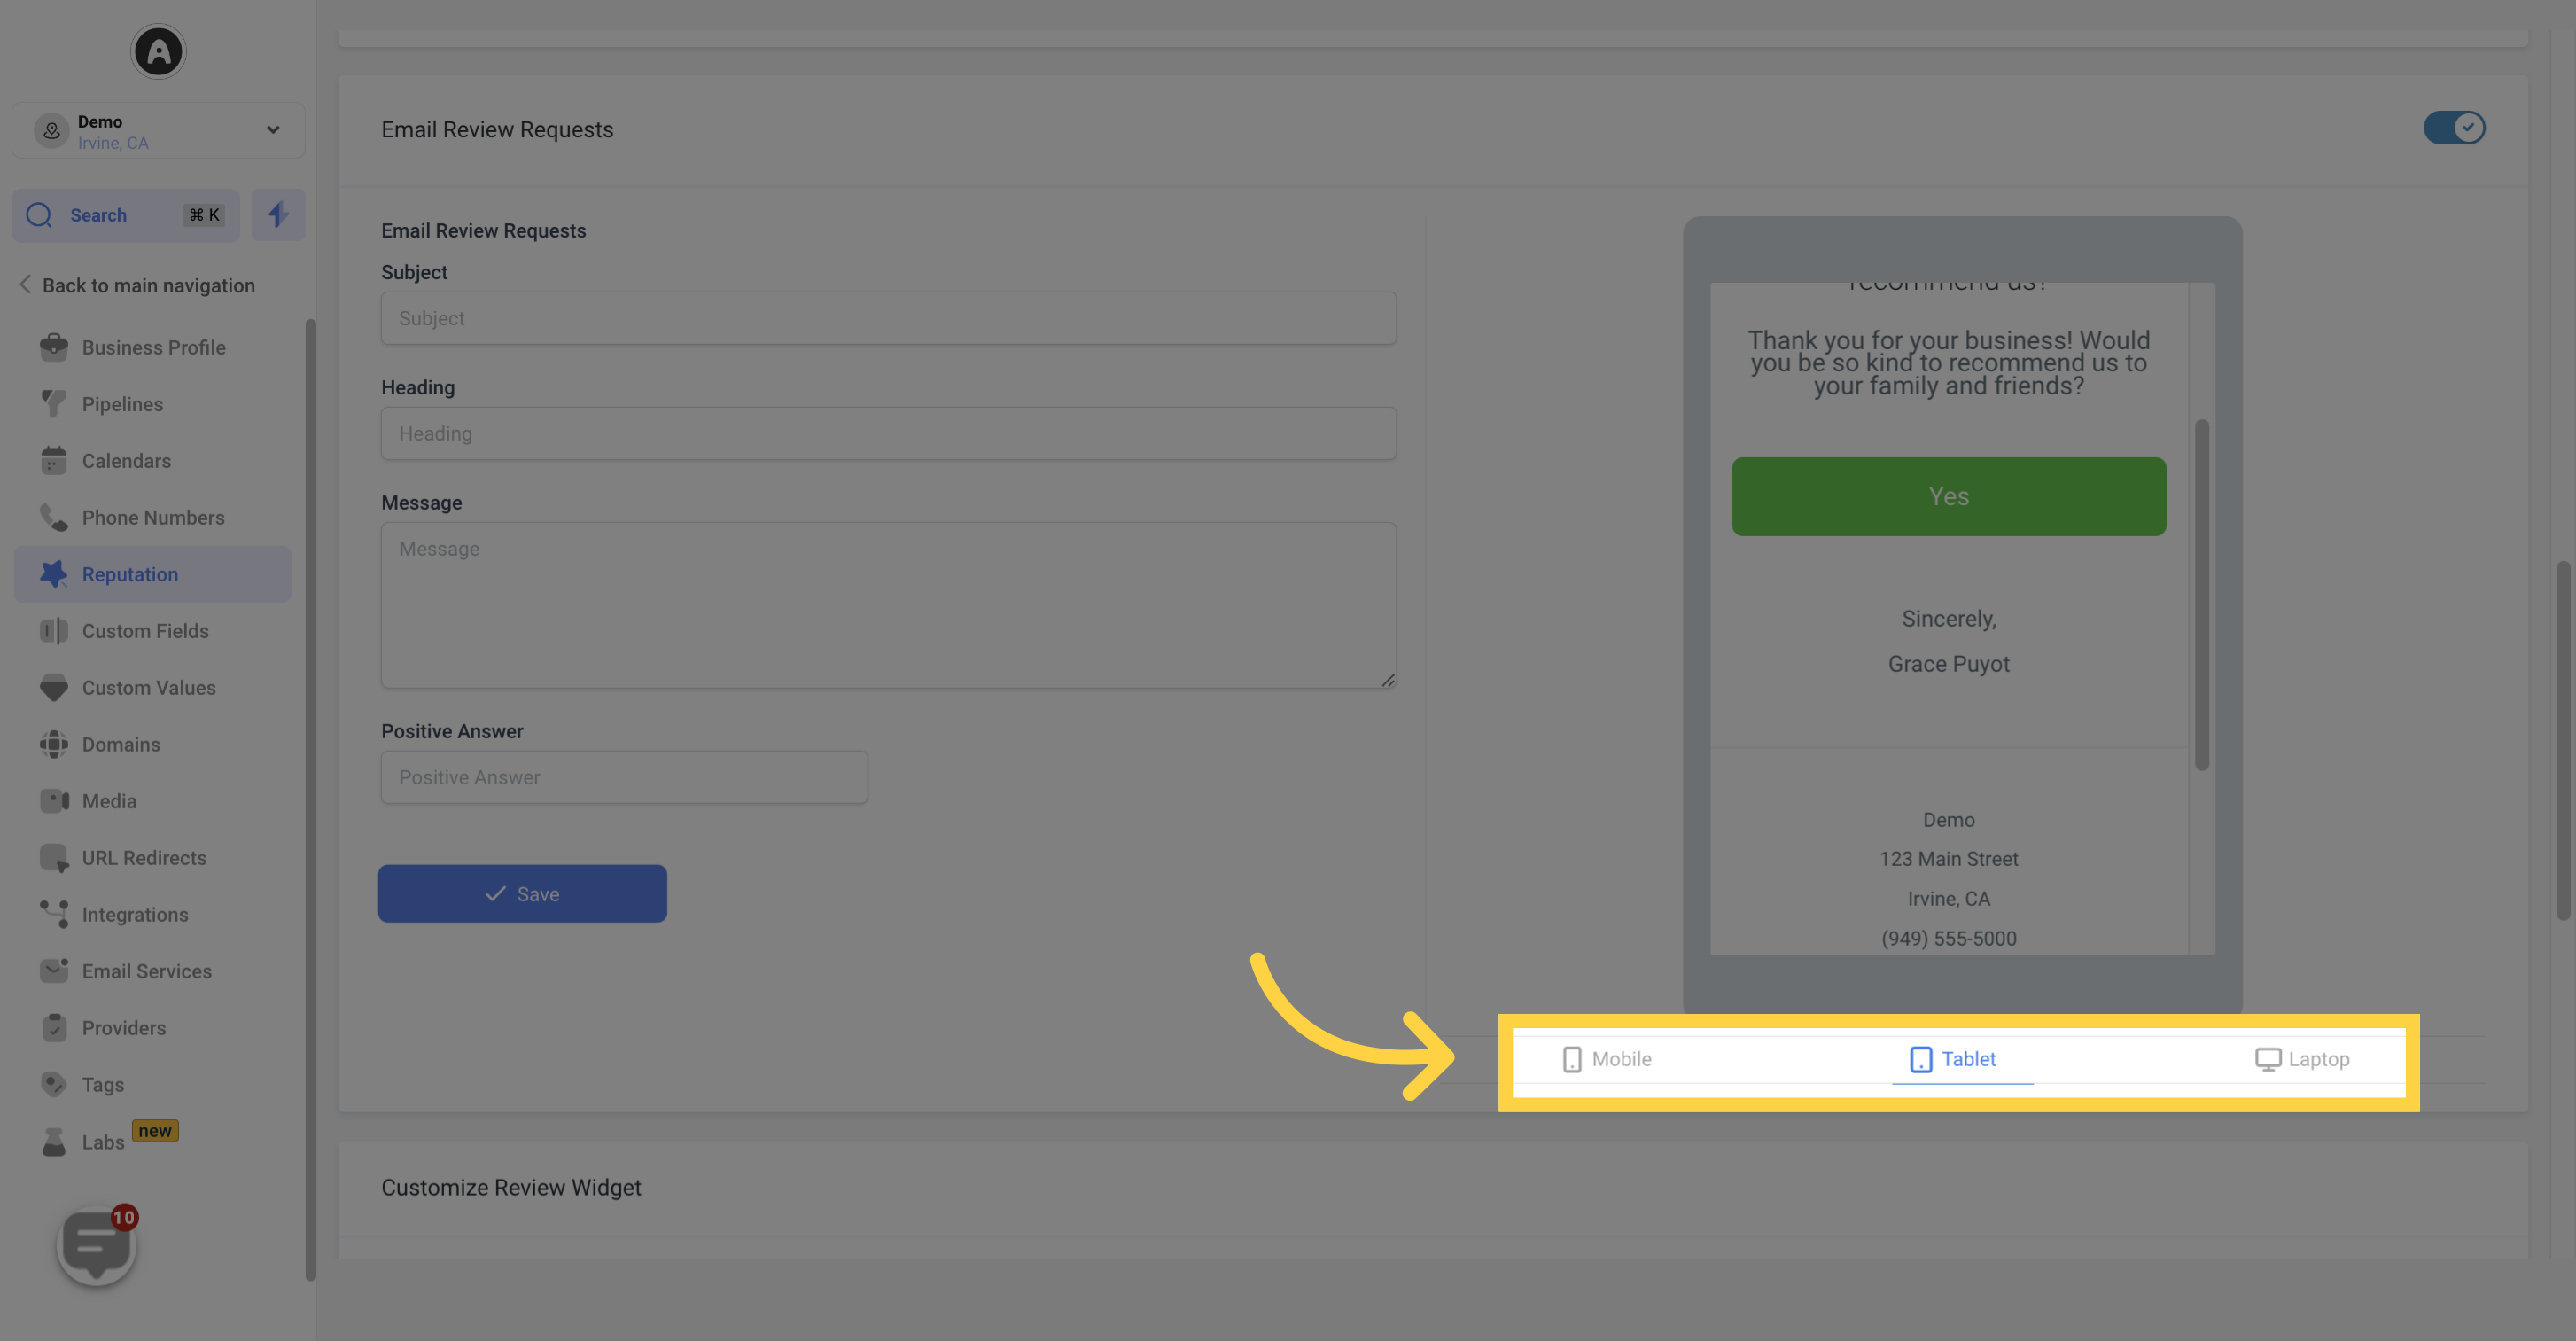
To view the custom email in different screen types, users can switch between laptop, tablet, or mobile preview options.
Users can customize the subject of their review request email to capture their customer's attention in their inbox.

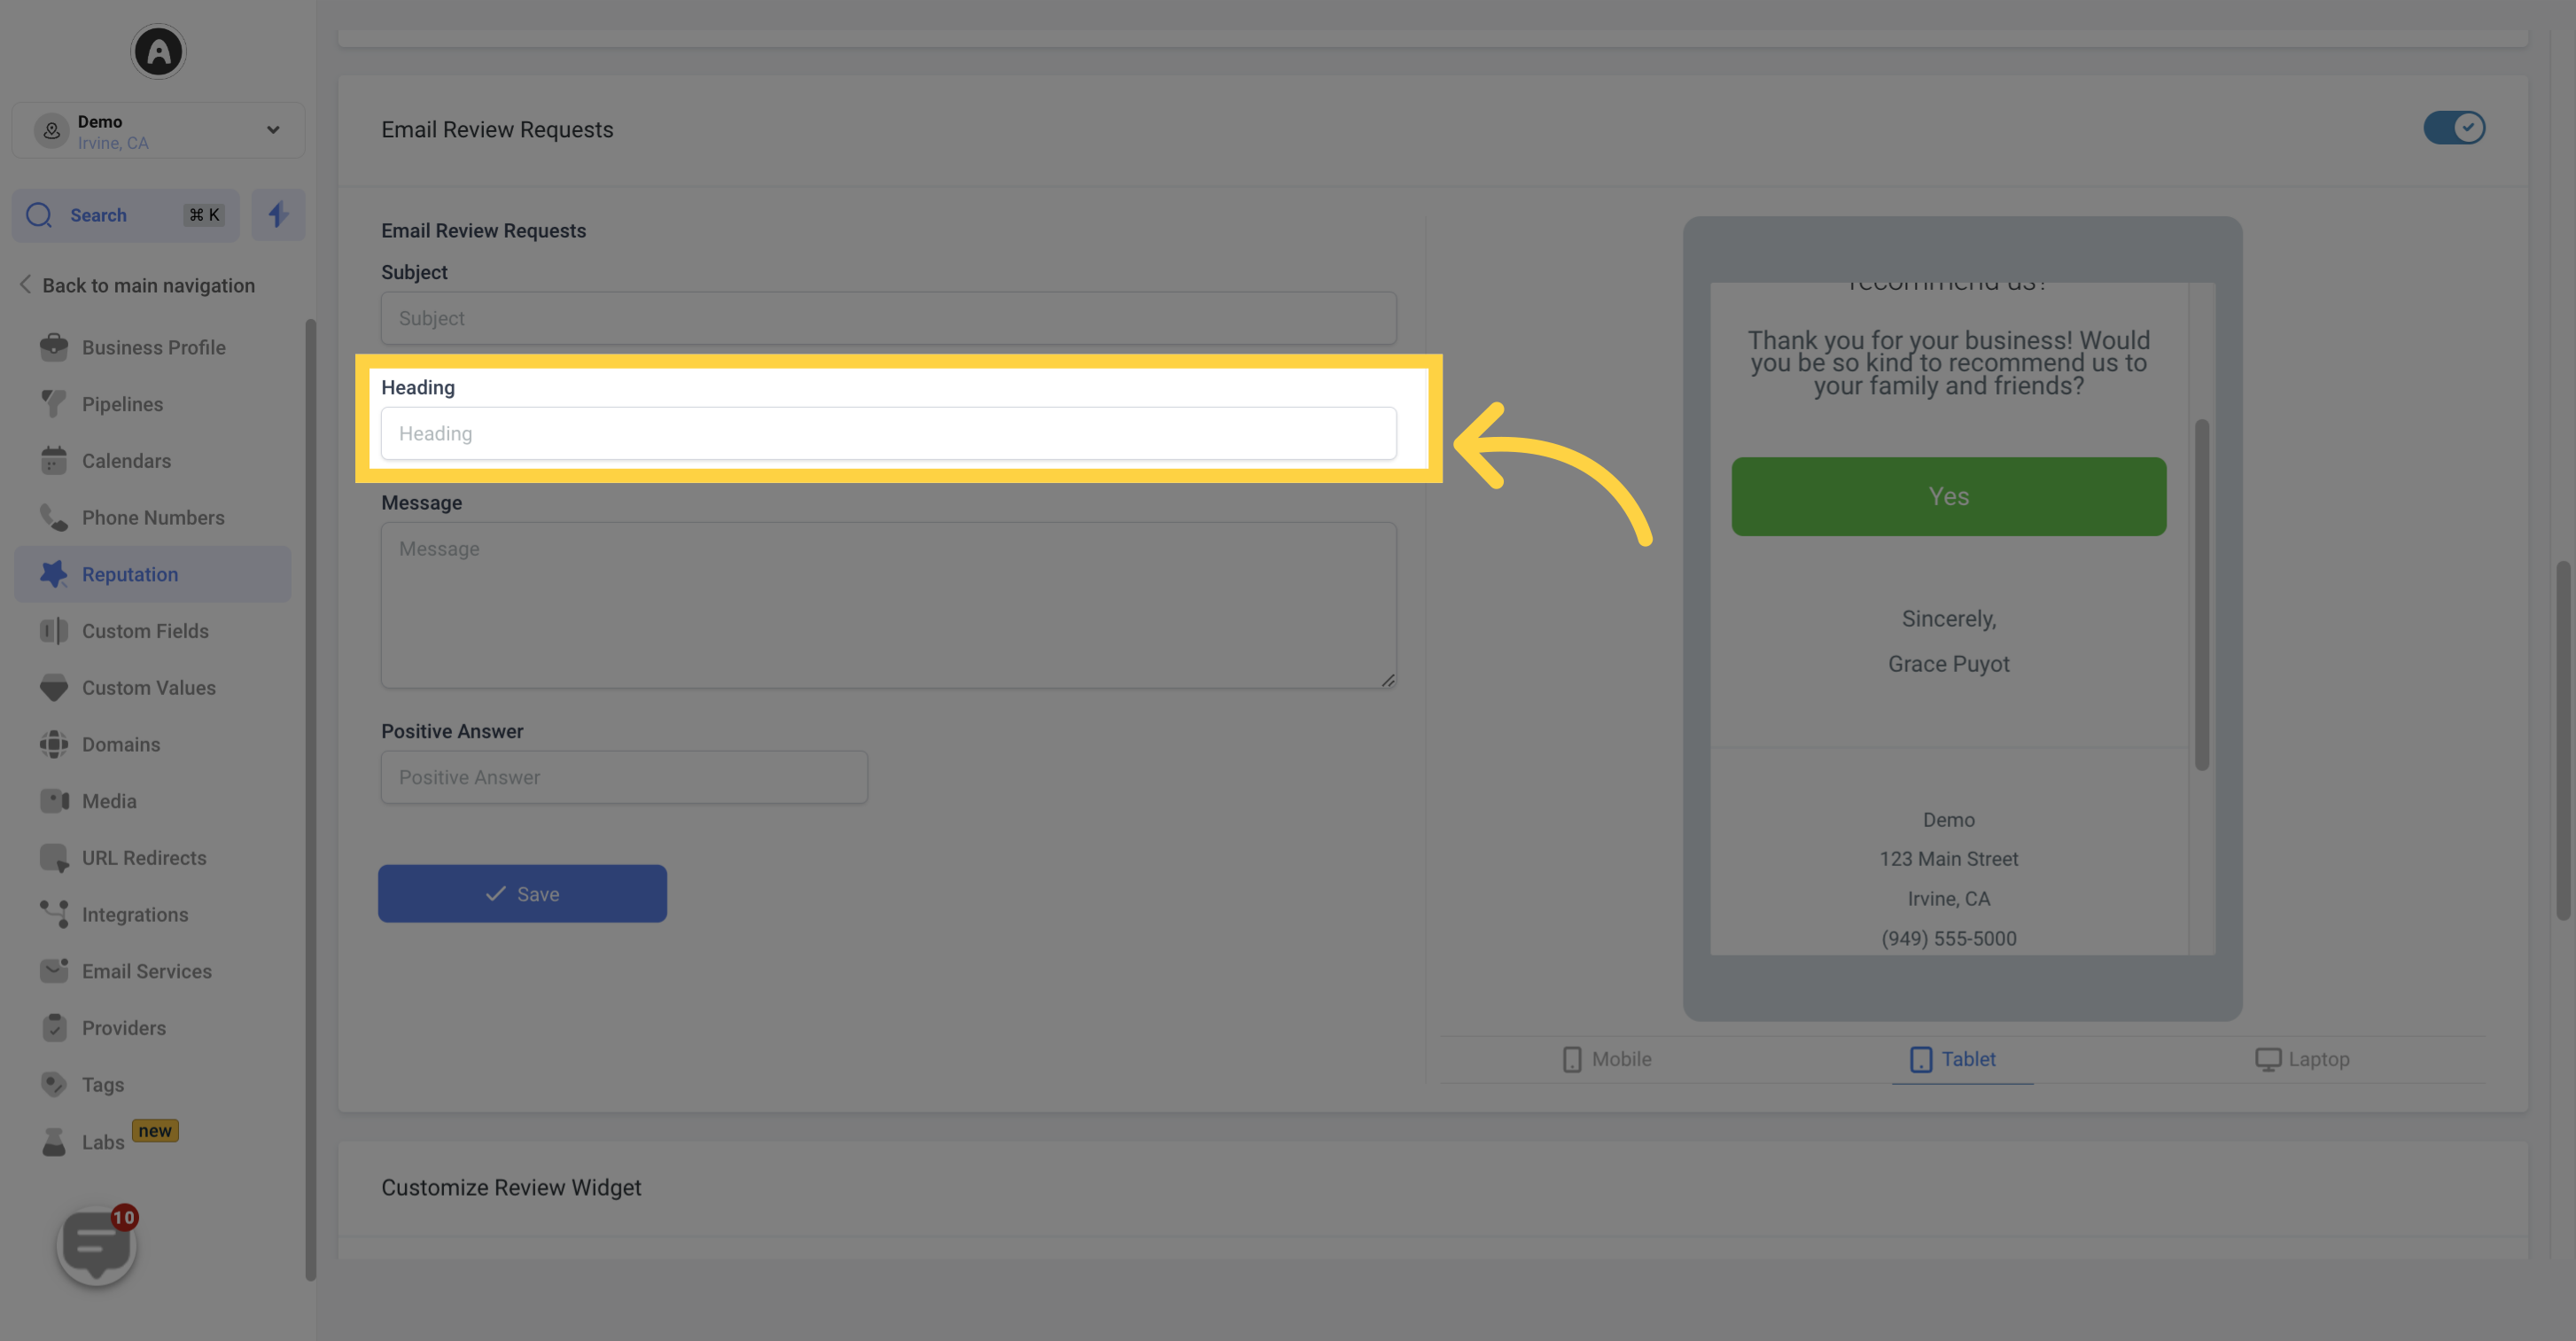
The heading can be customized to have a large and visible impact when the customer opens the email. Users can easily modify the text of the heading.
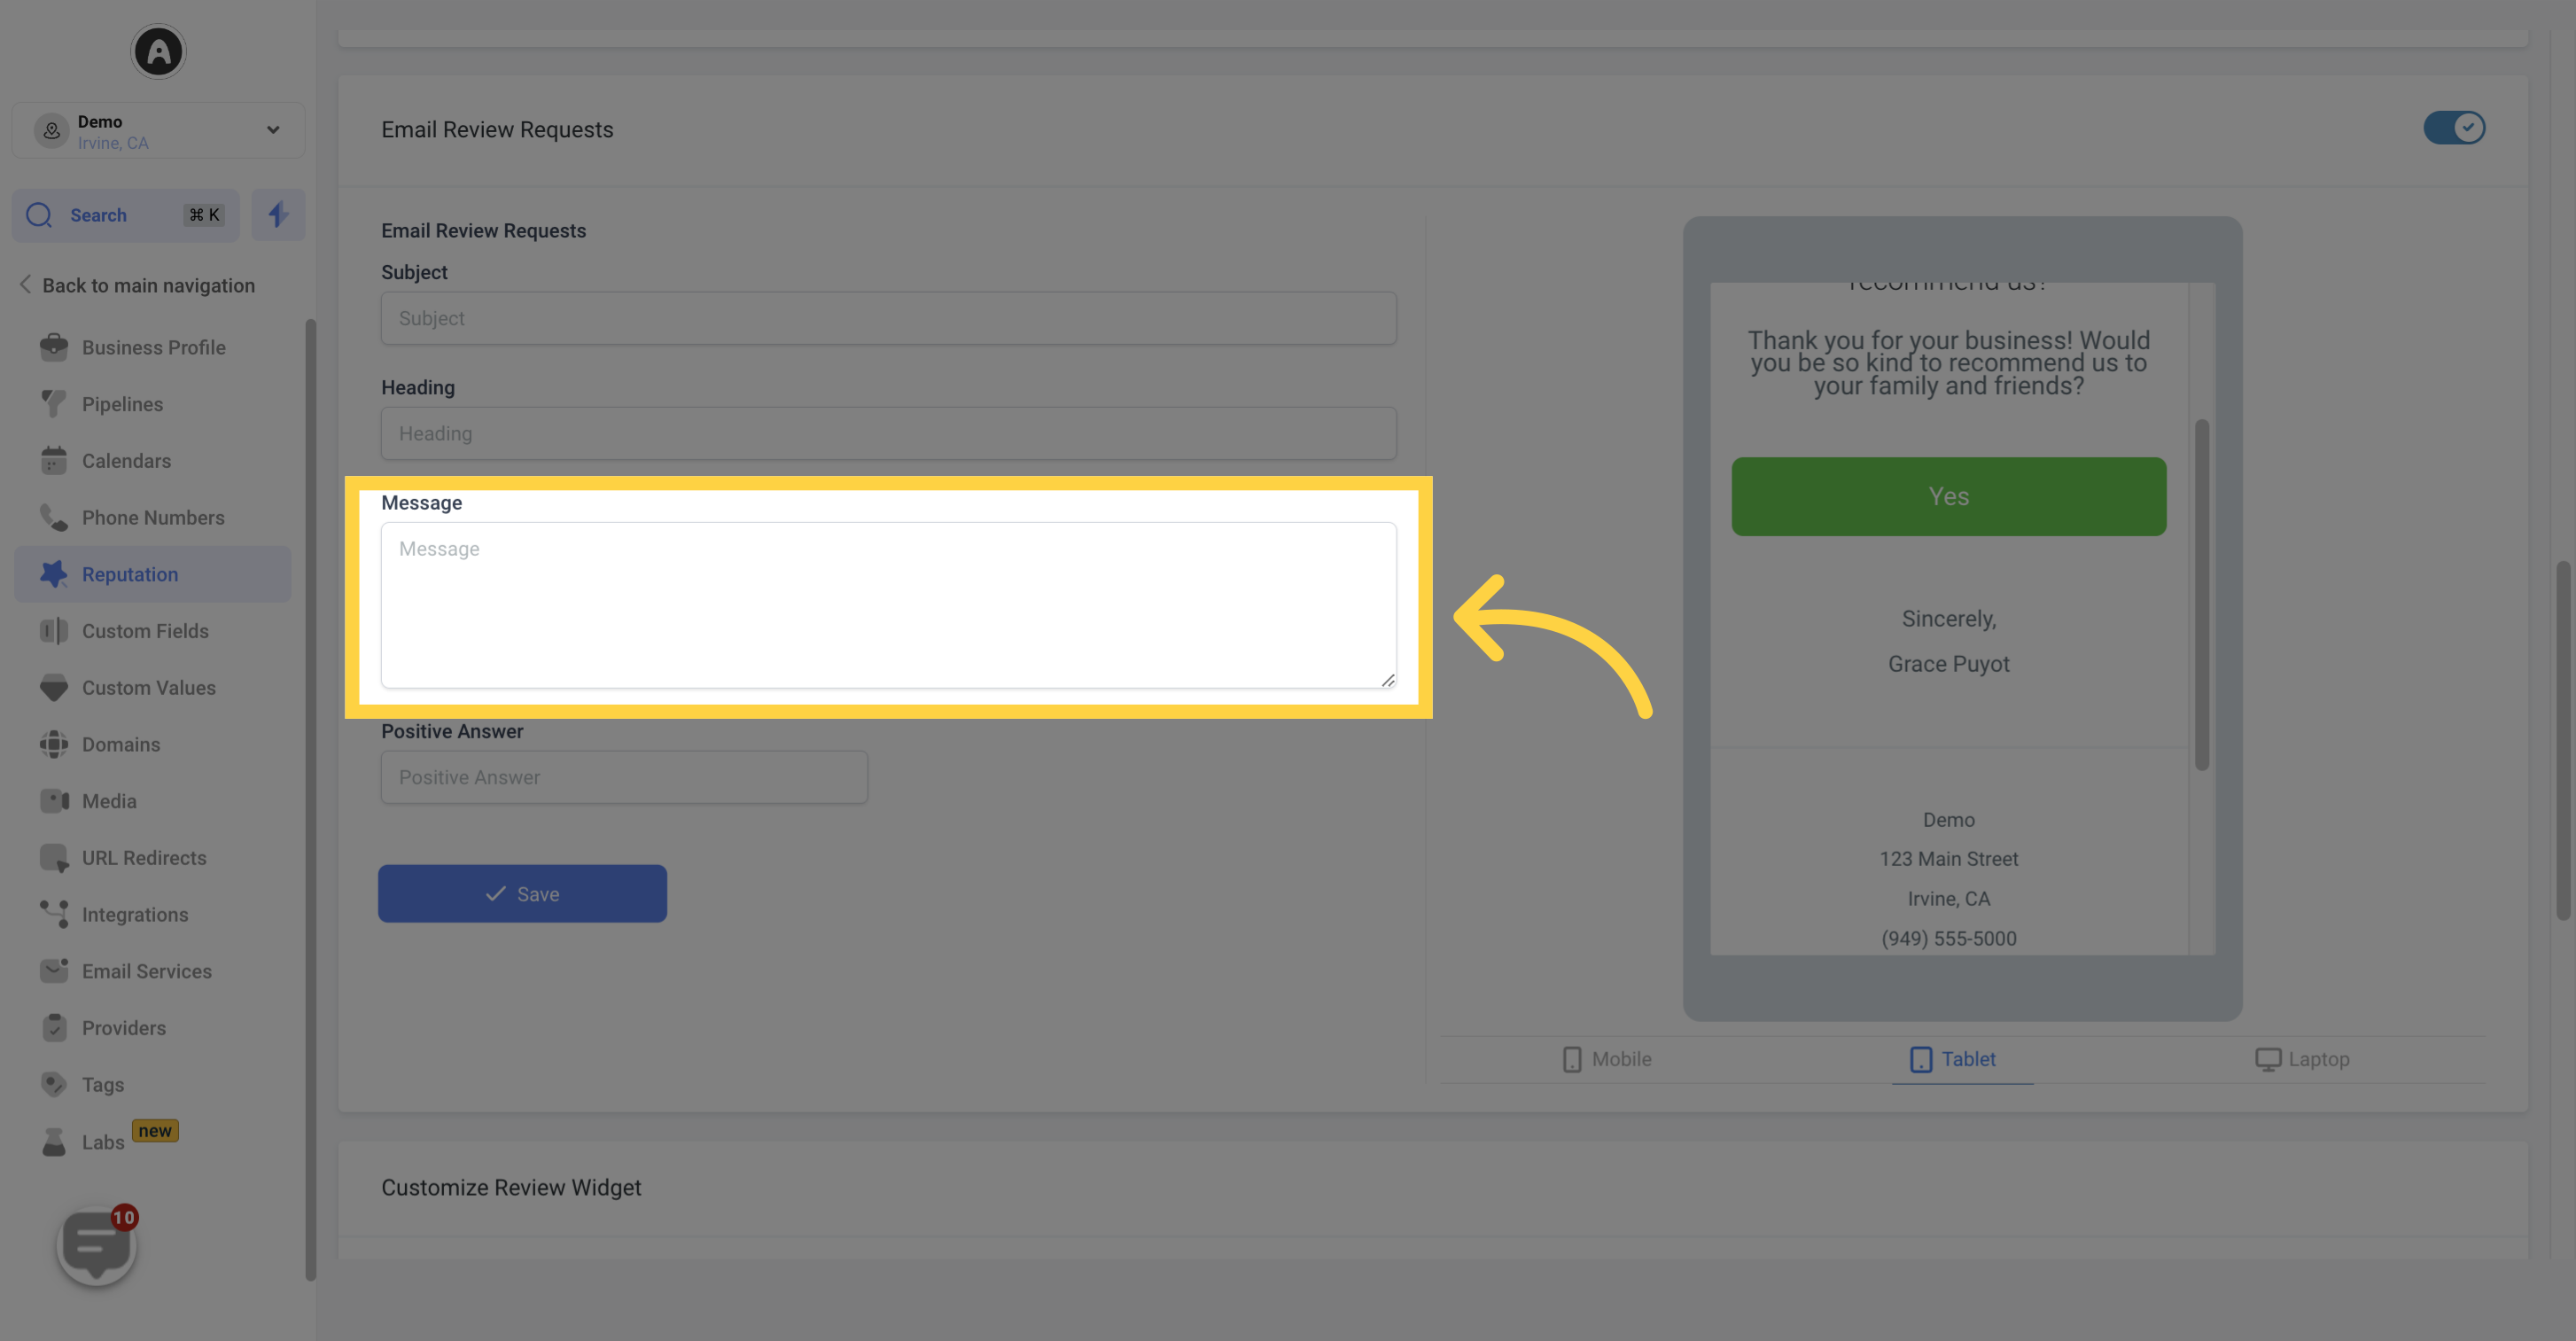
While requesting a review, it's important to keep the email body concise and engaging. Users should avoid losing the customer's focus or interest.
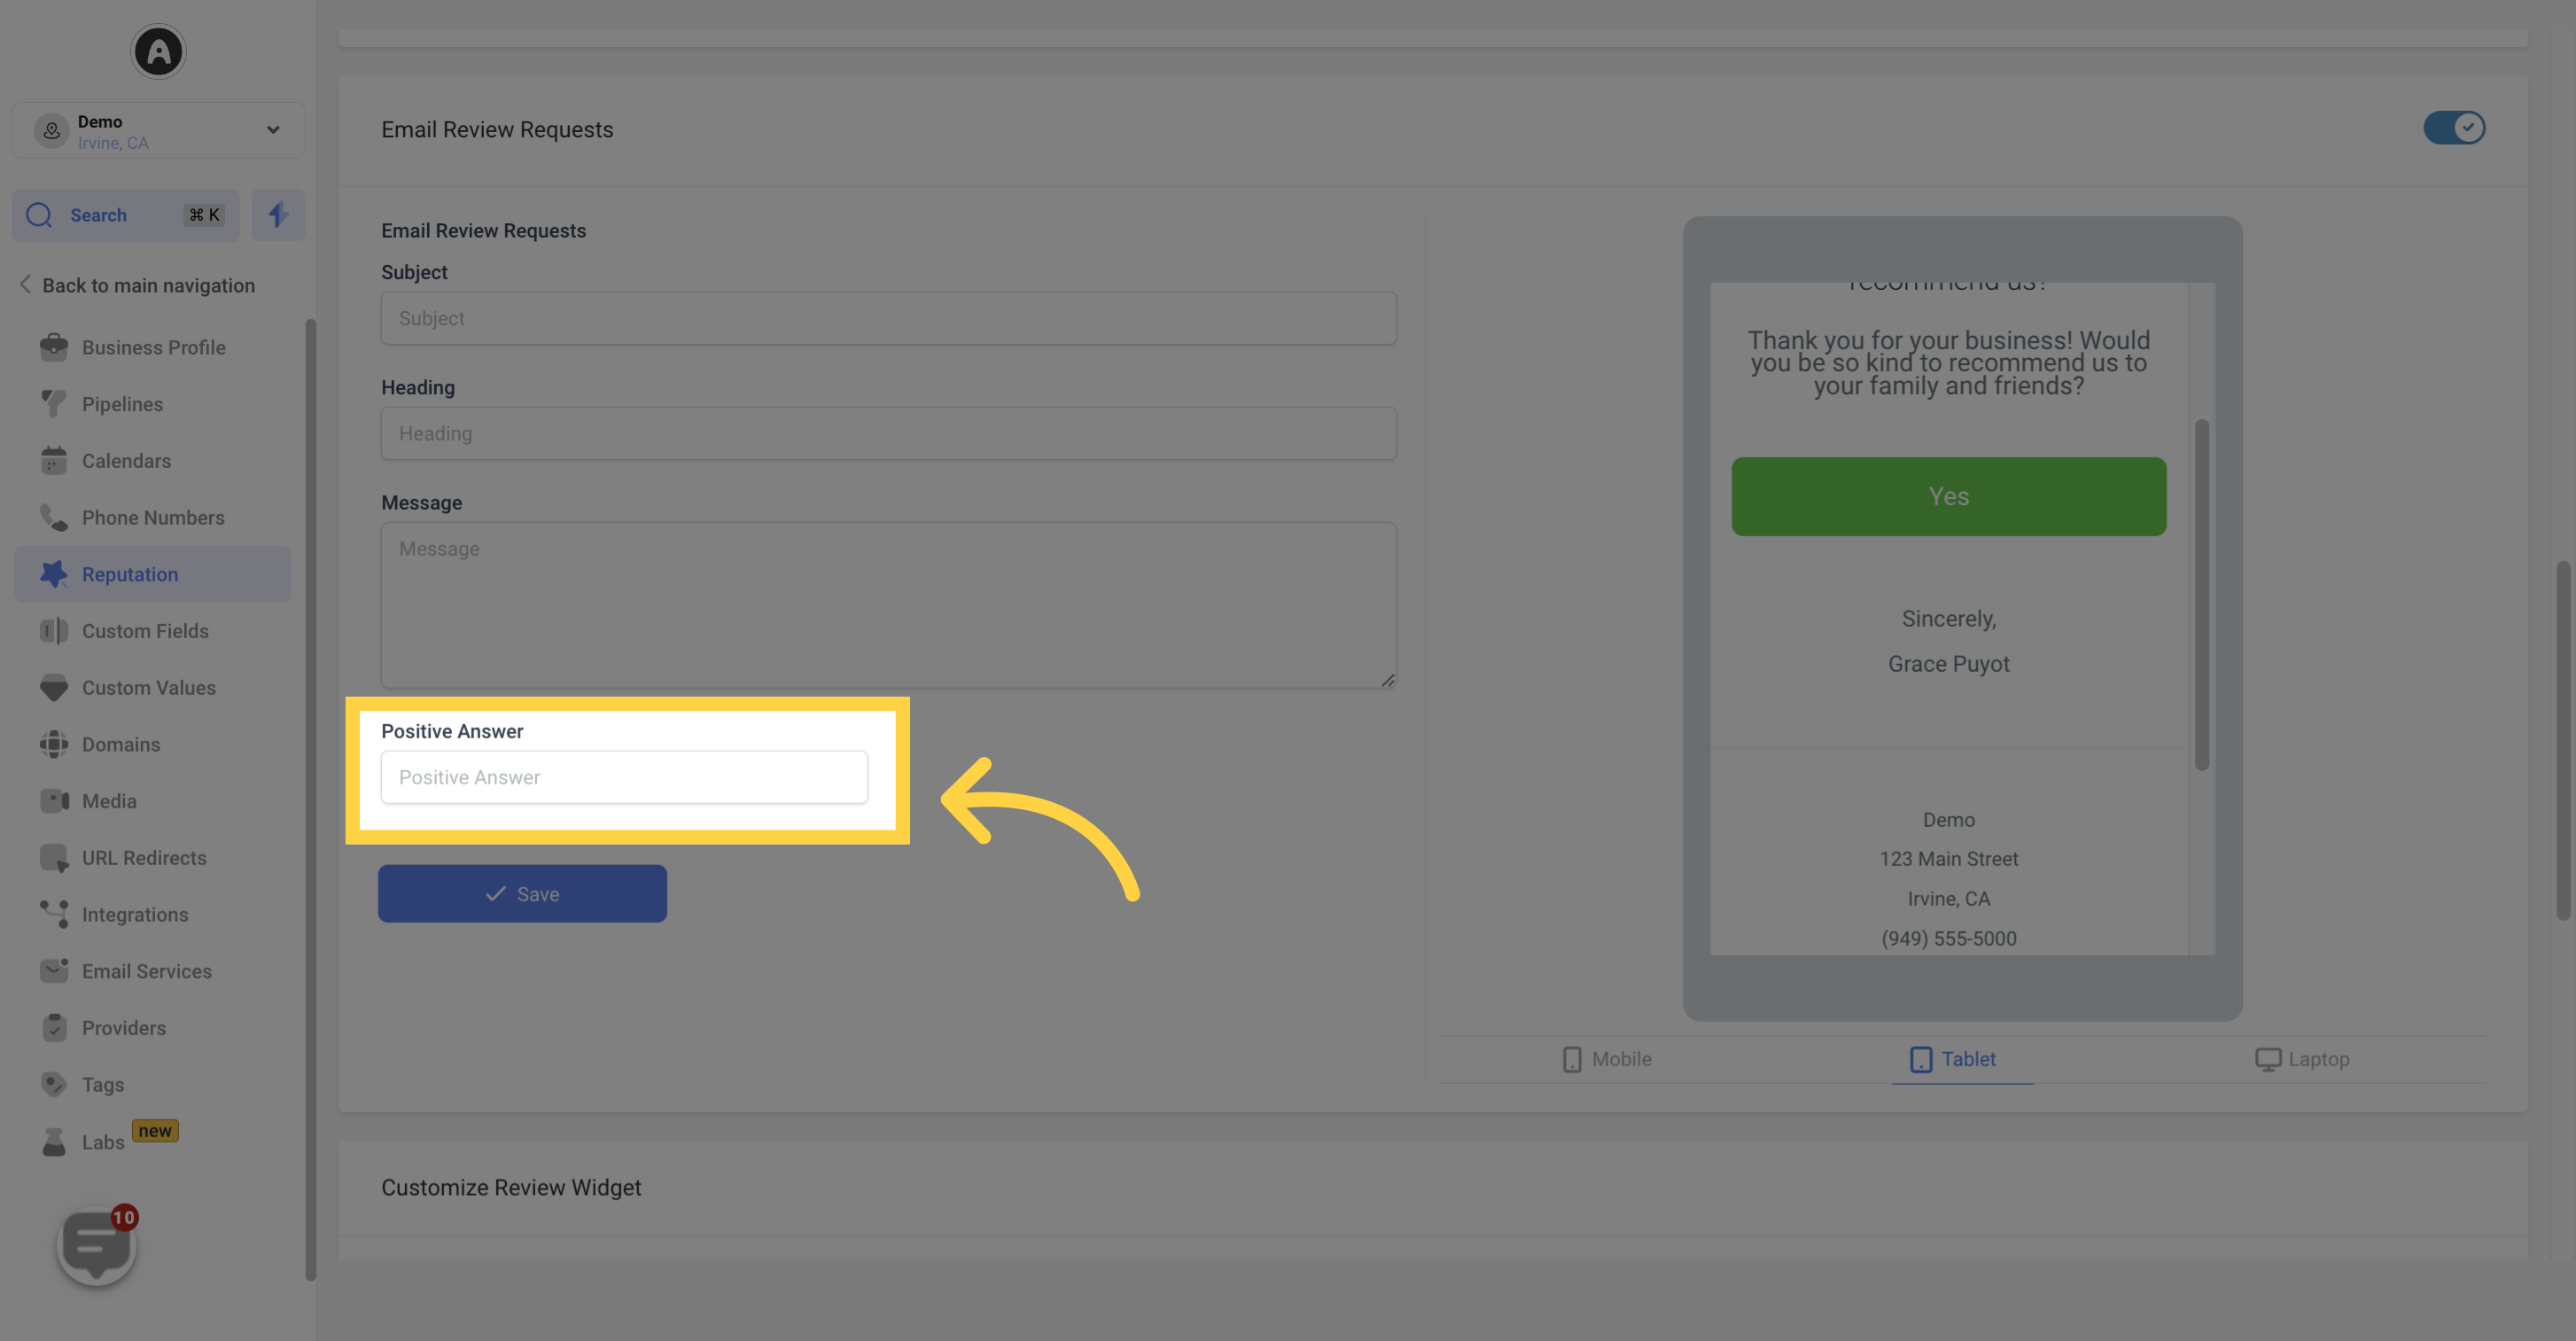
In case of a positive reply from the customer, users can trigger automation based on this response. The reply can be customized according to user preferences.
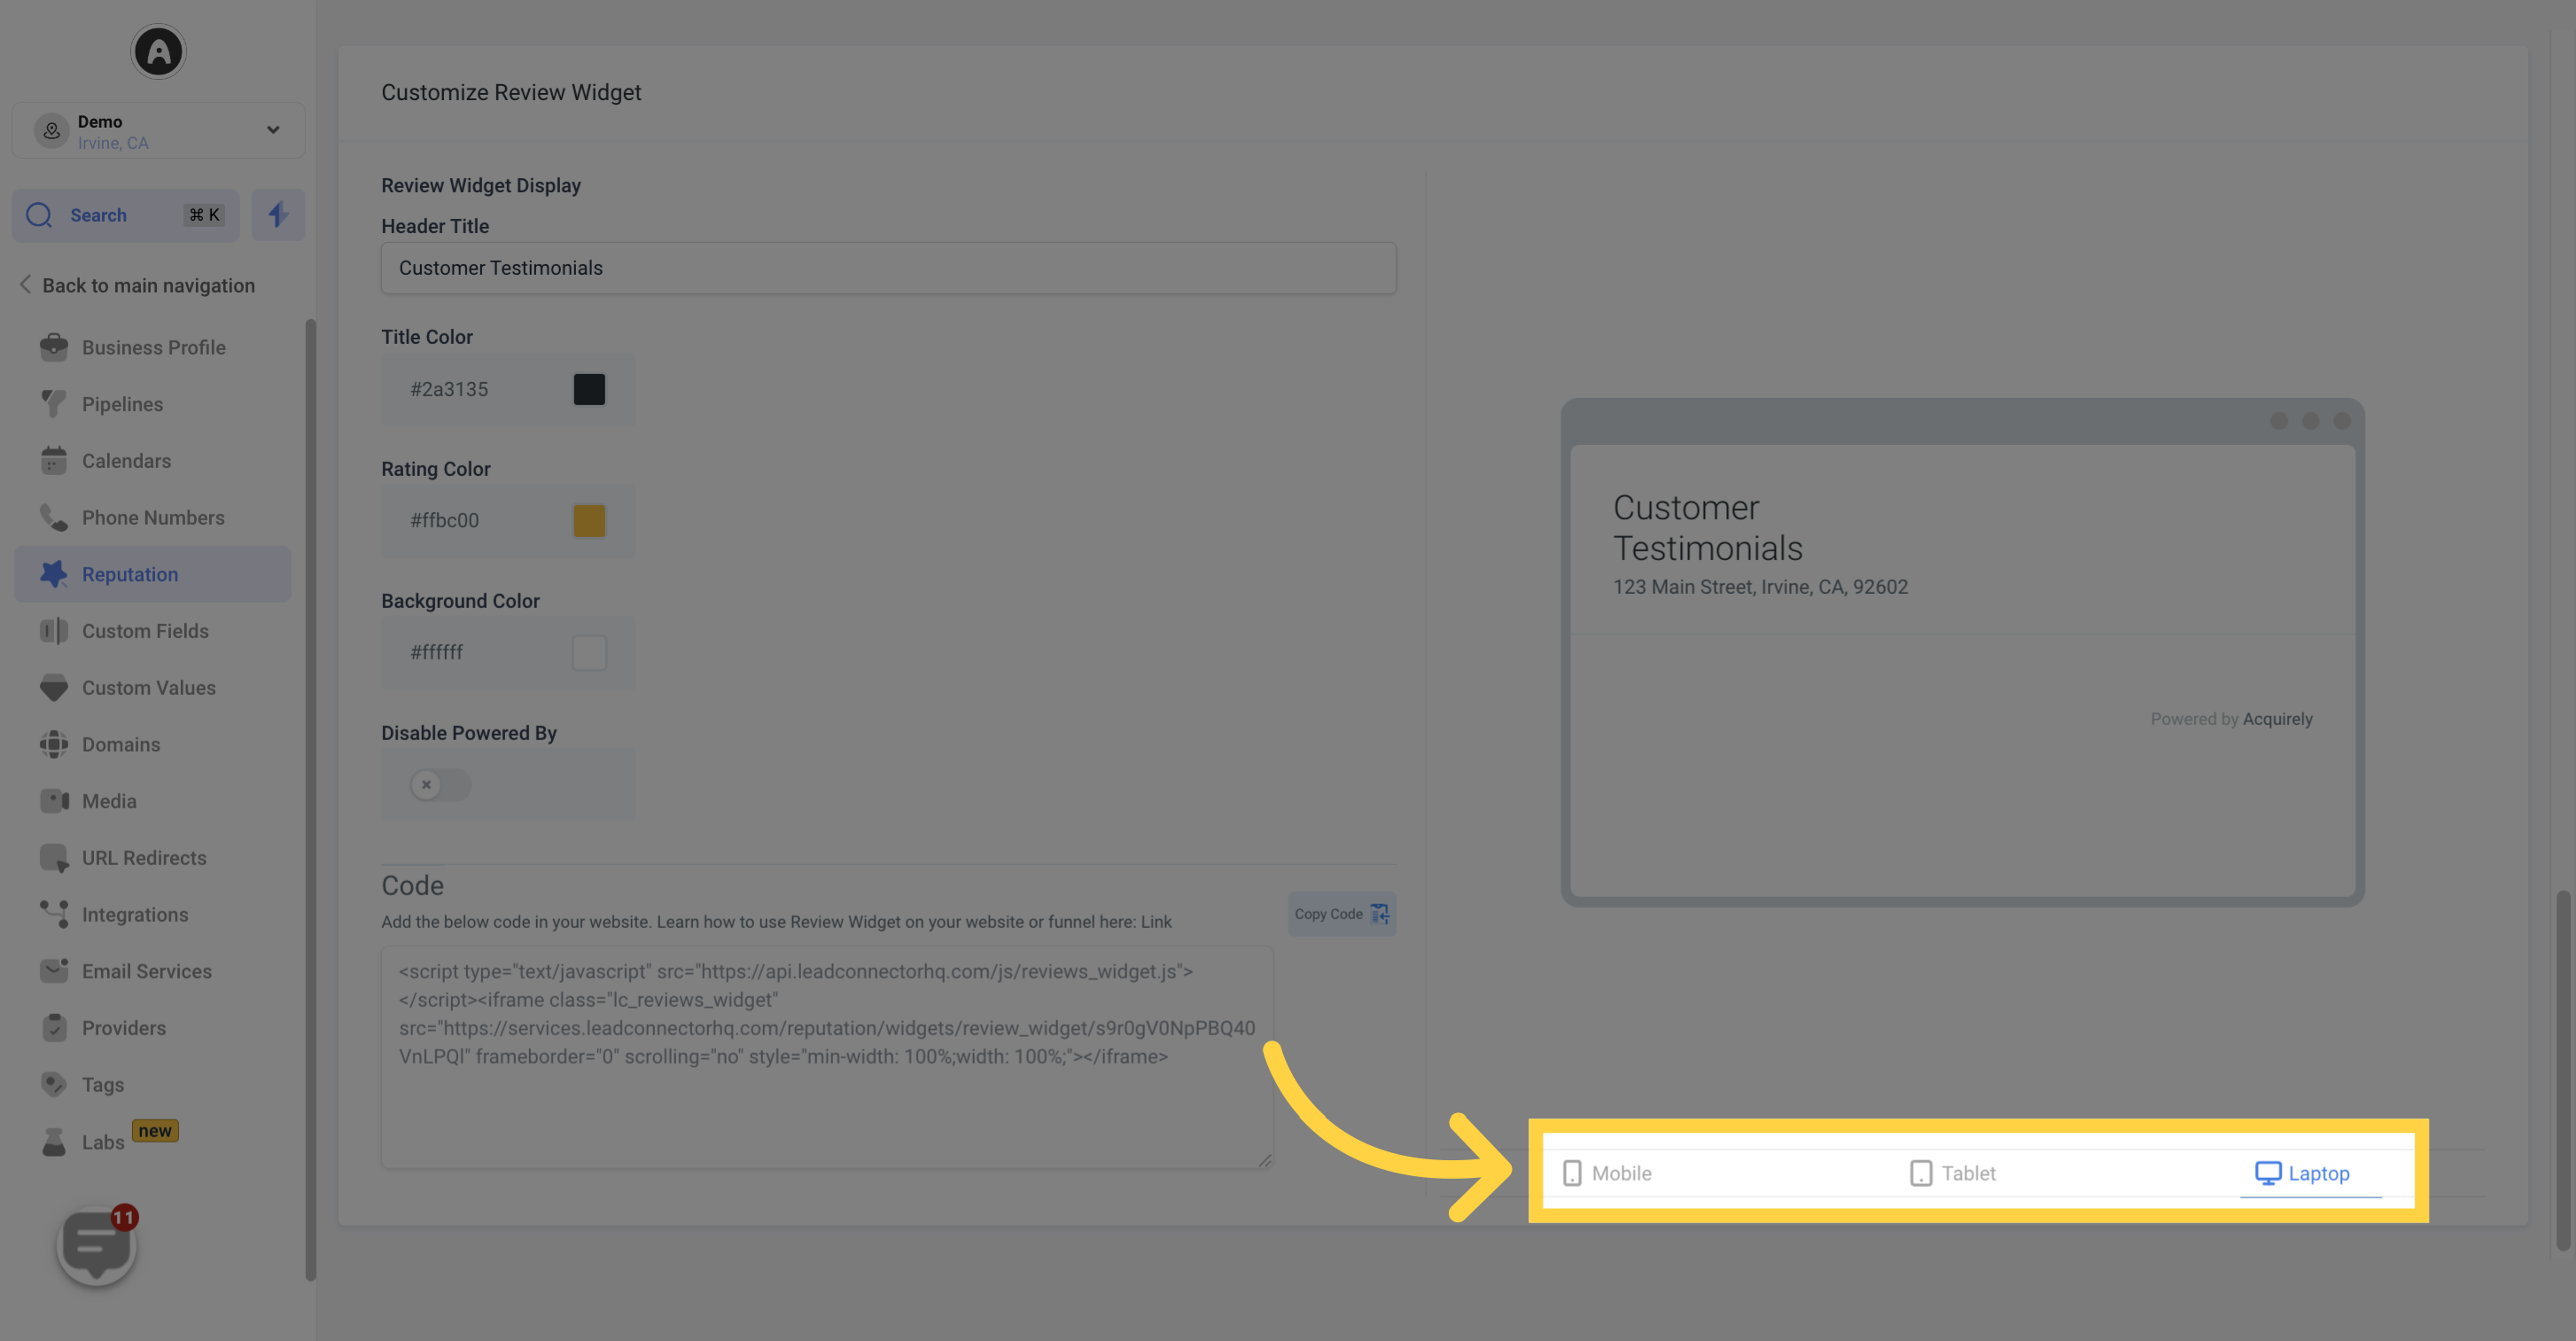
Users can add their company's awesome reviews to their website by customizing a website widget.
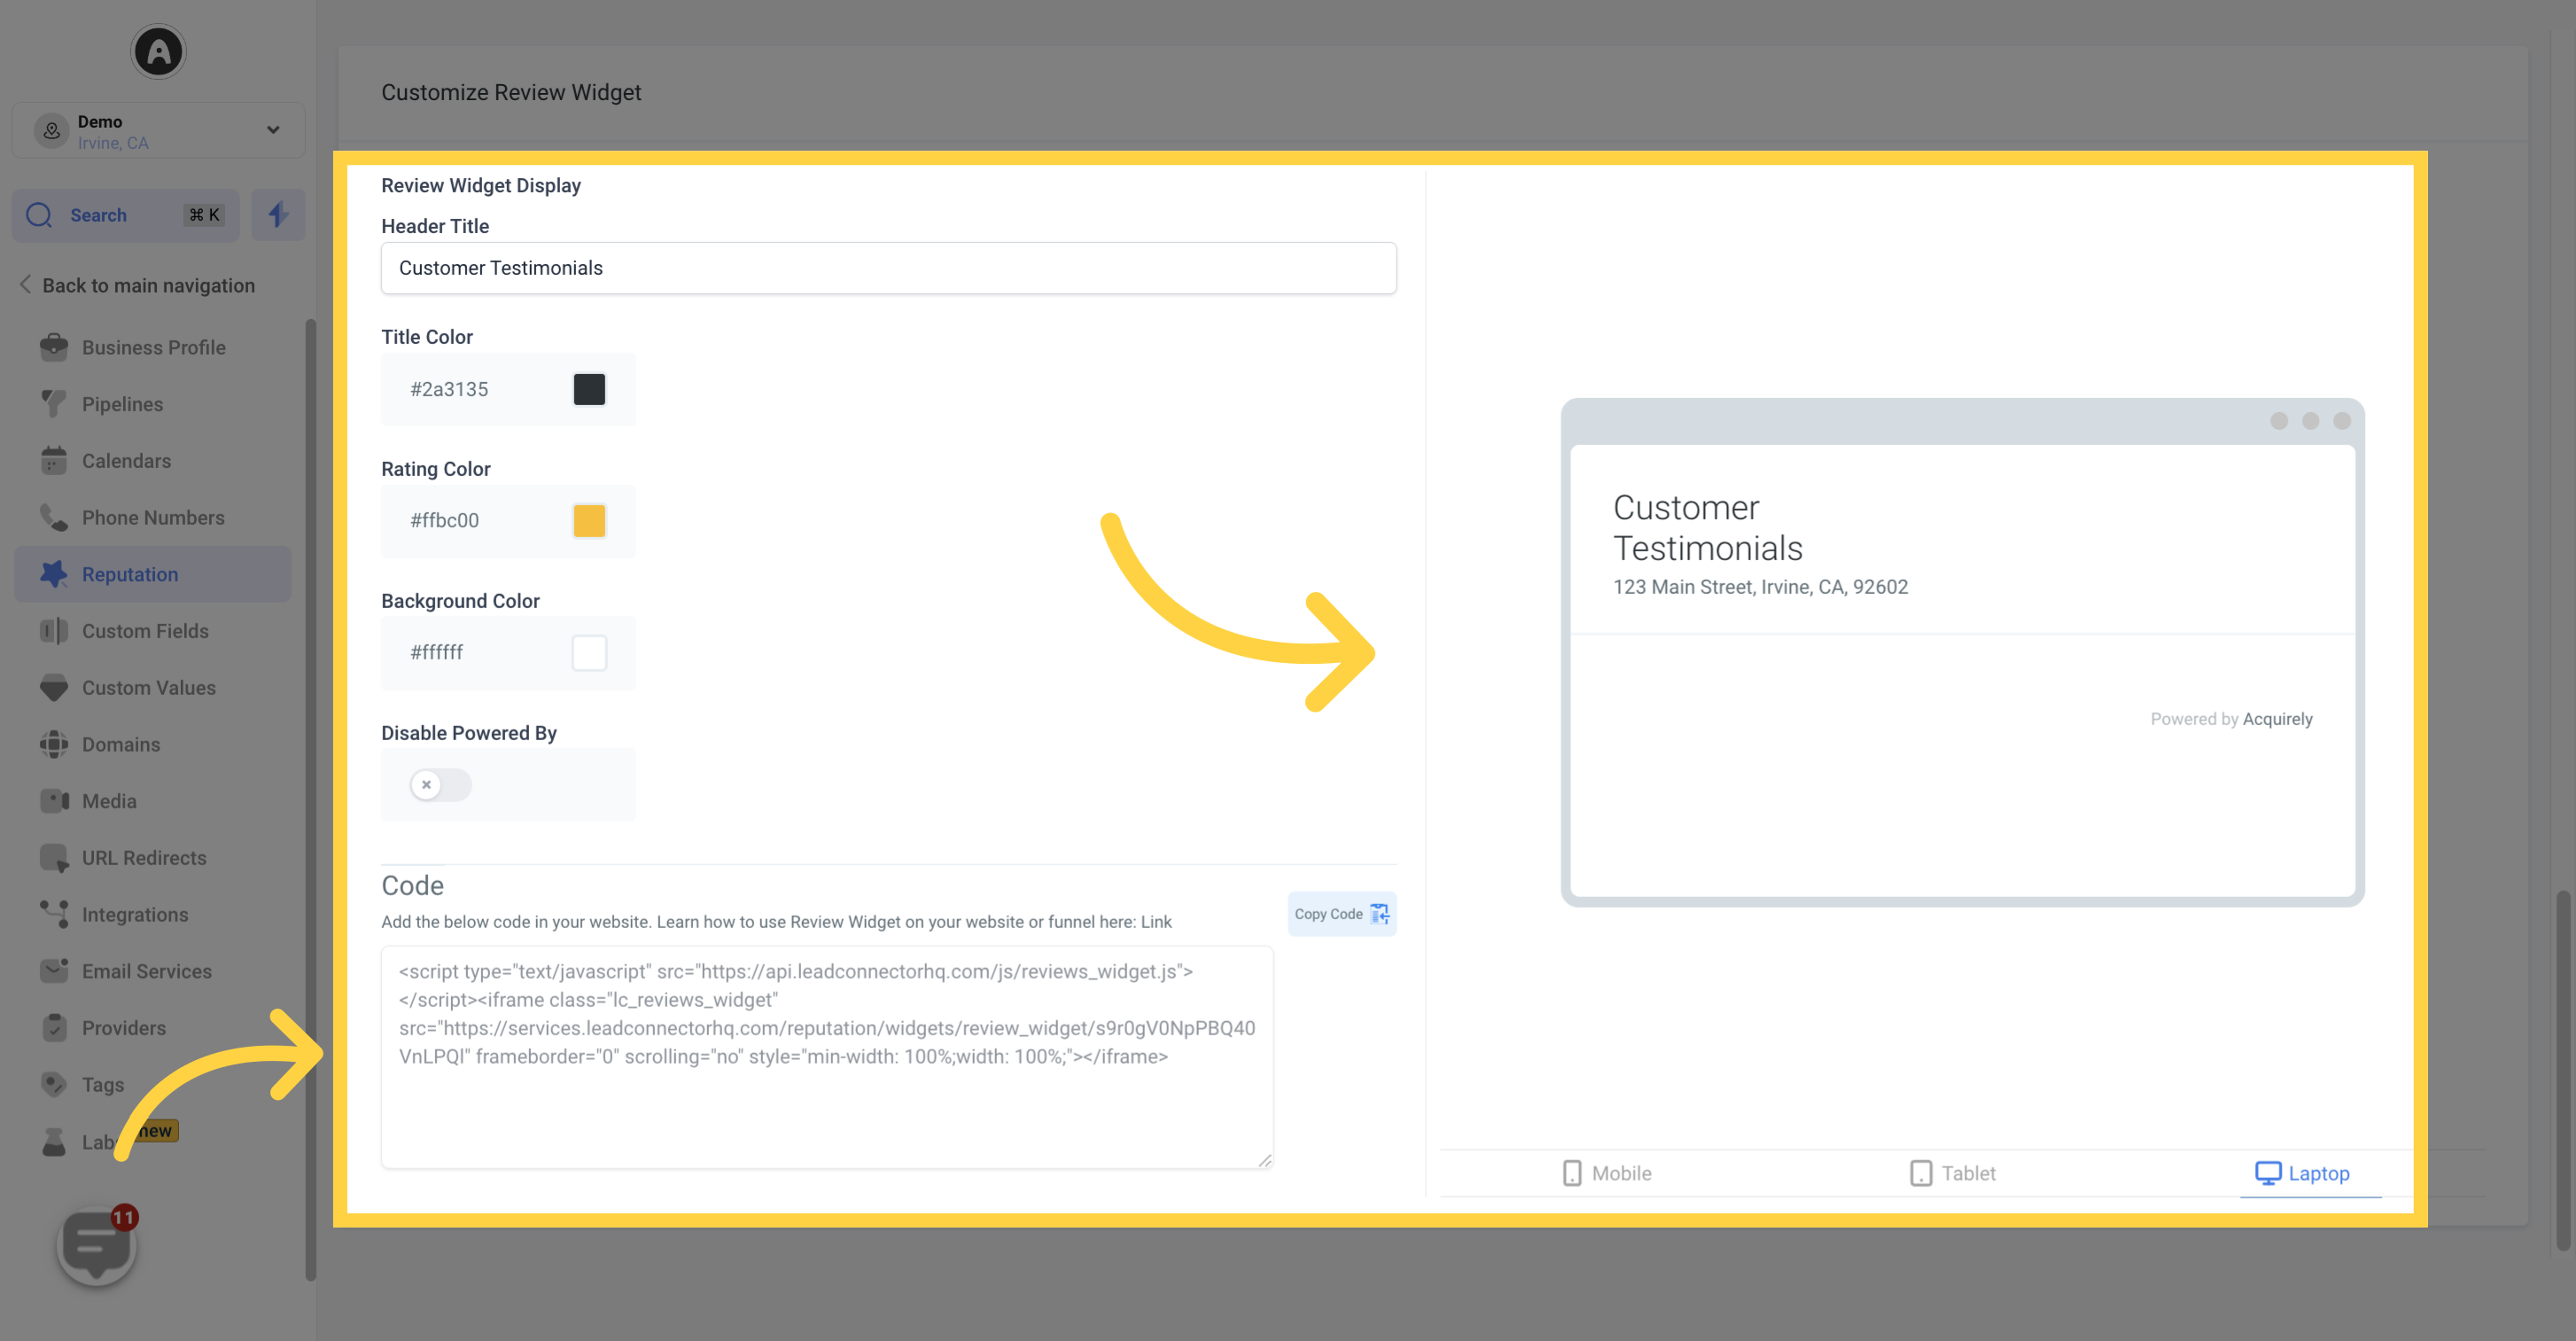
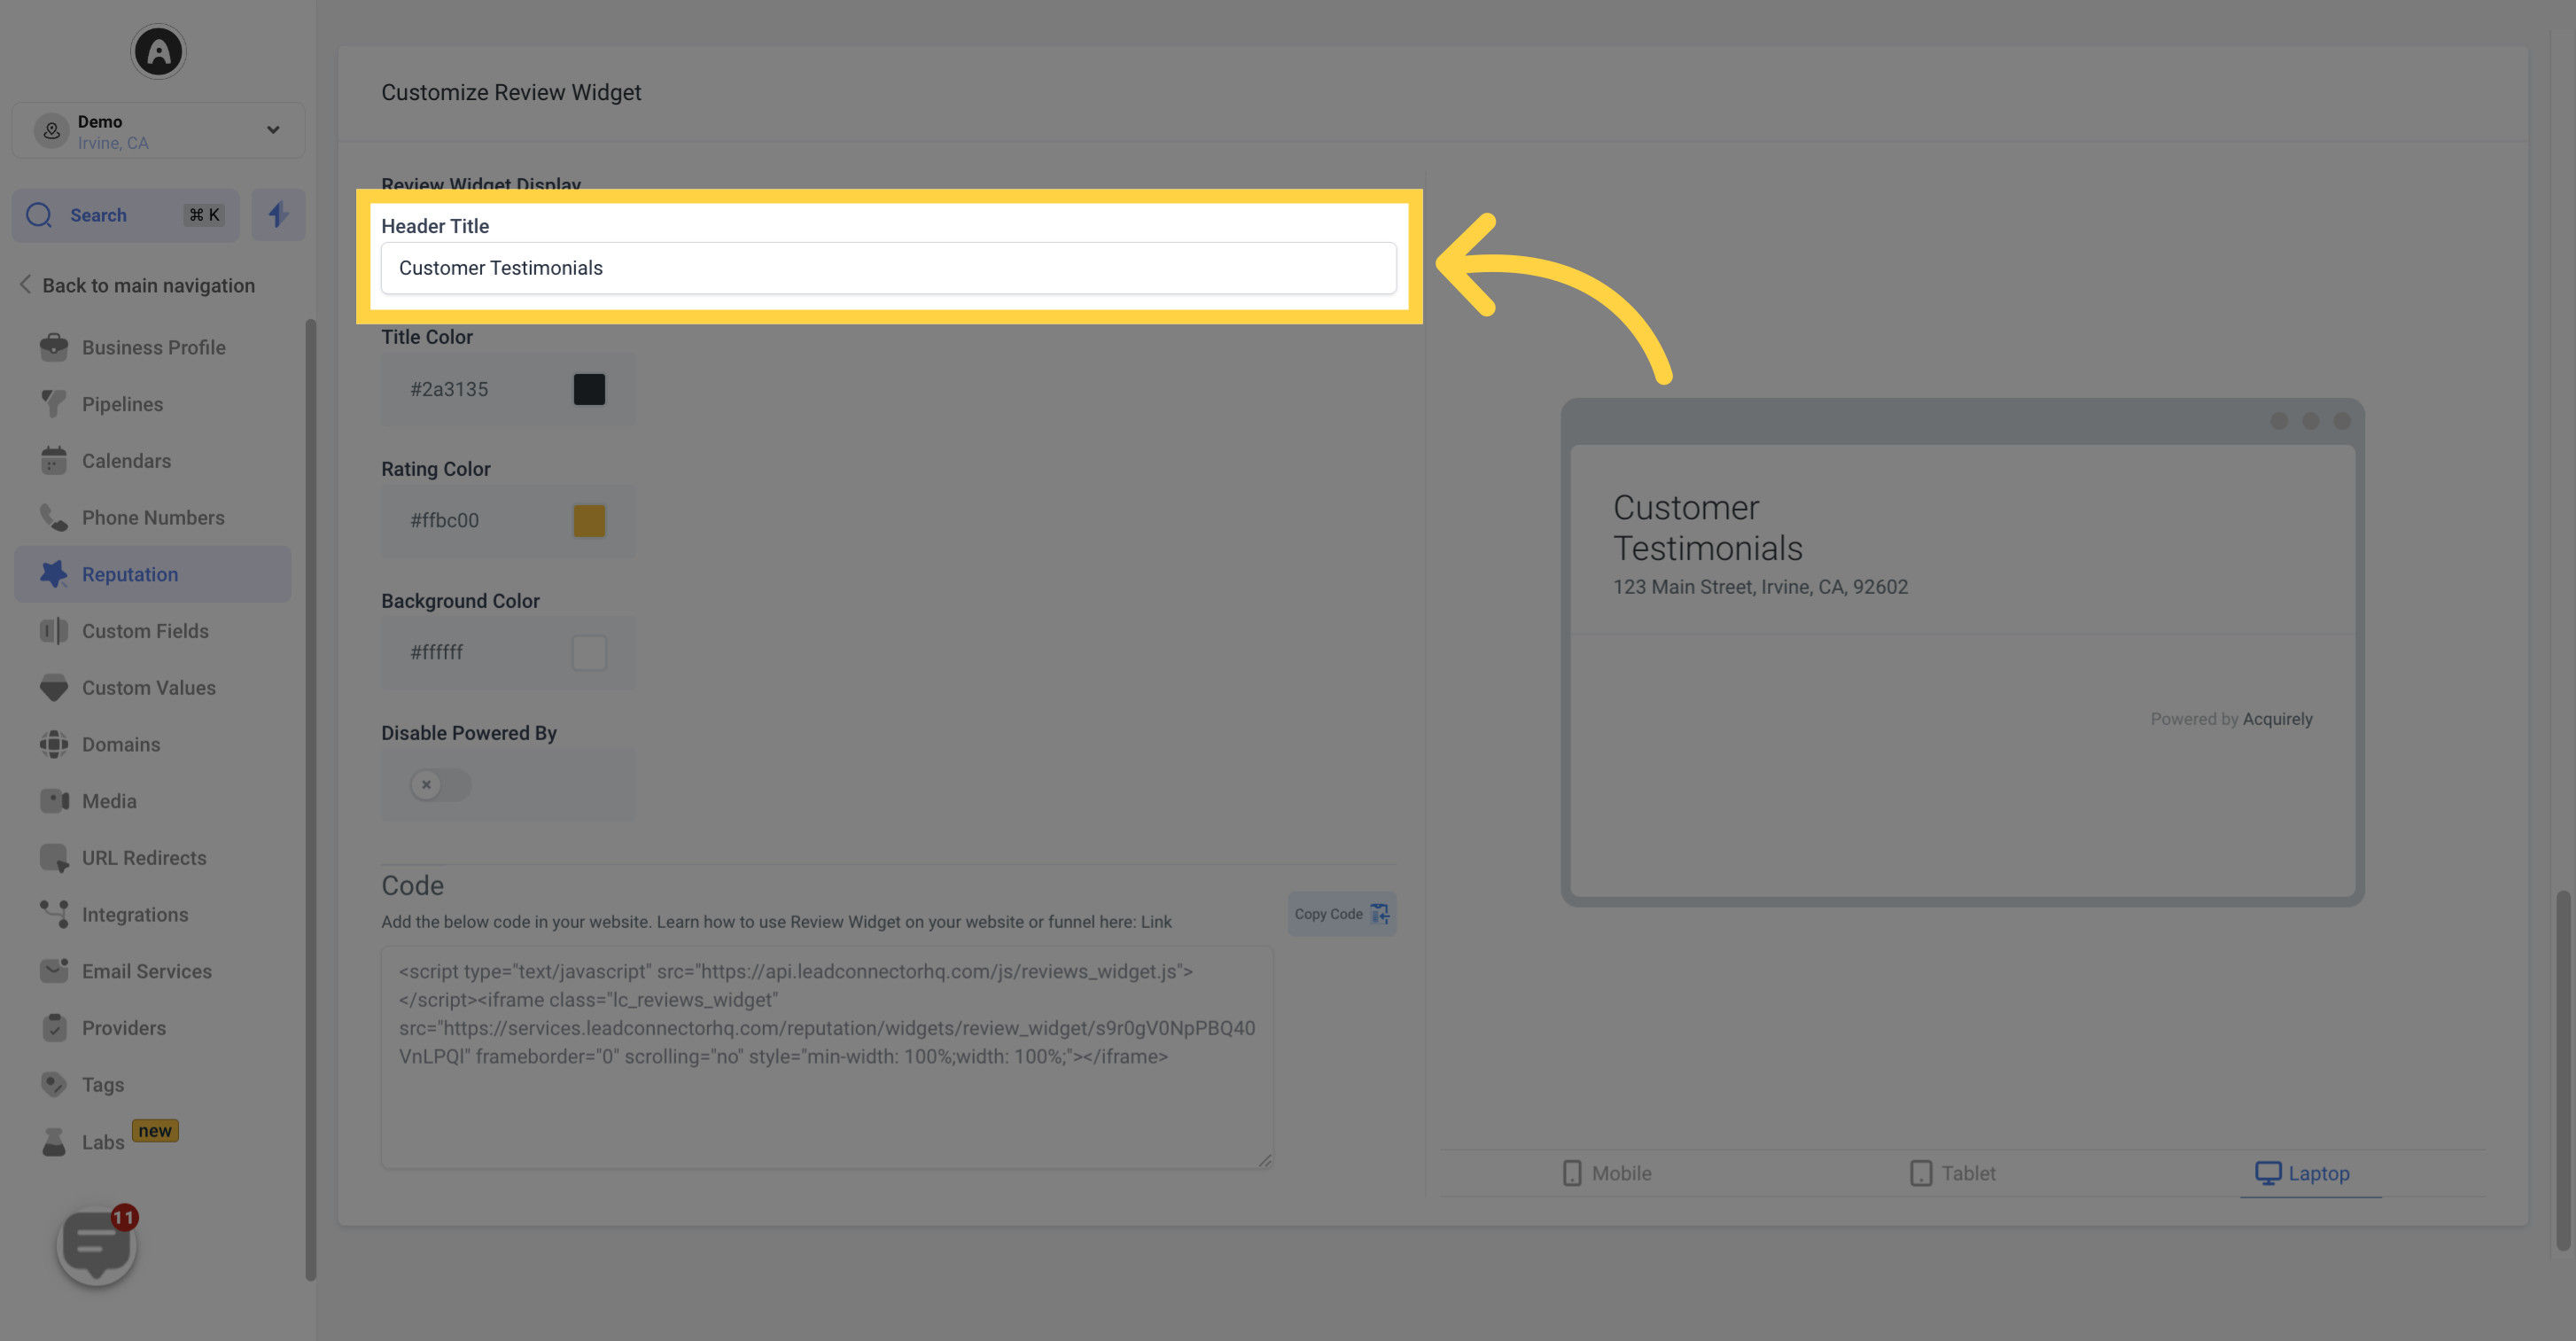
Users can customize the header text of the widget to something like "Amazing Customer Reviews" to make it more impactful.
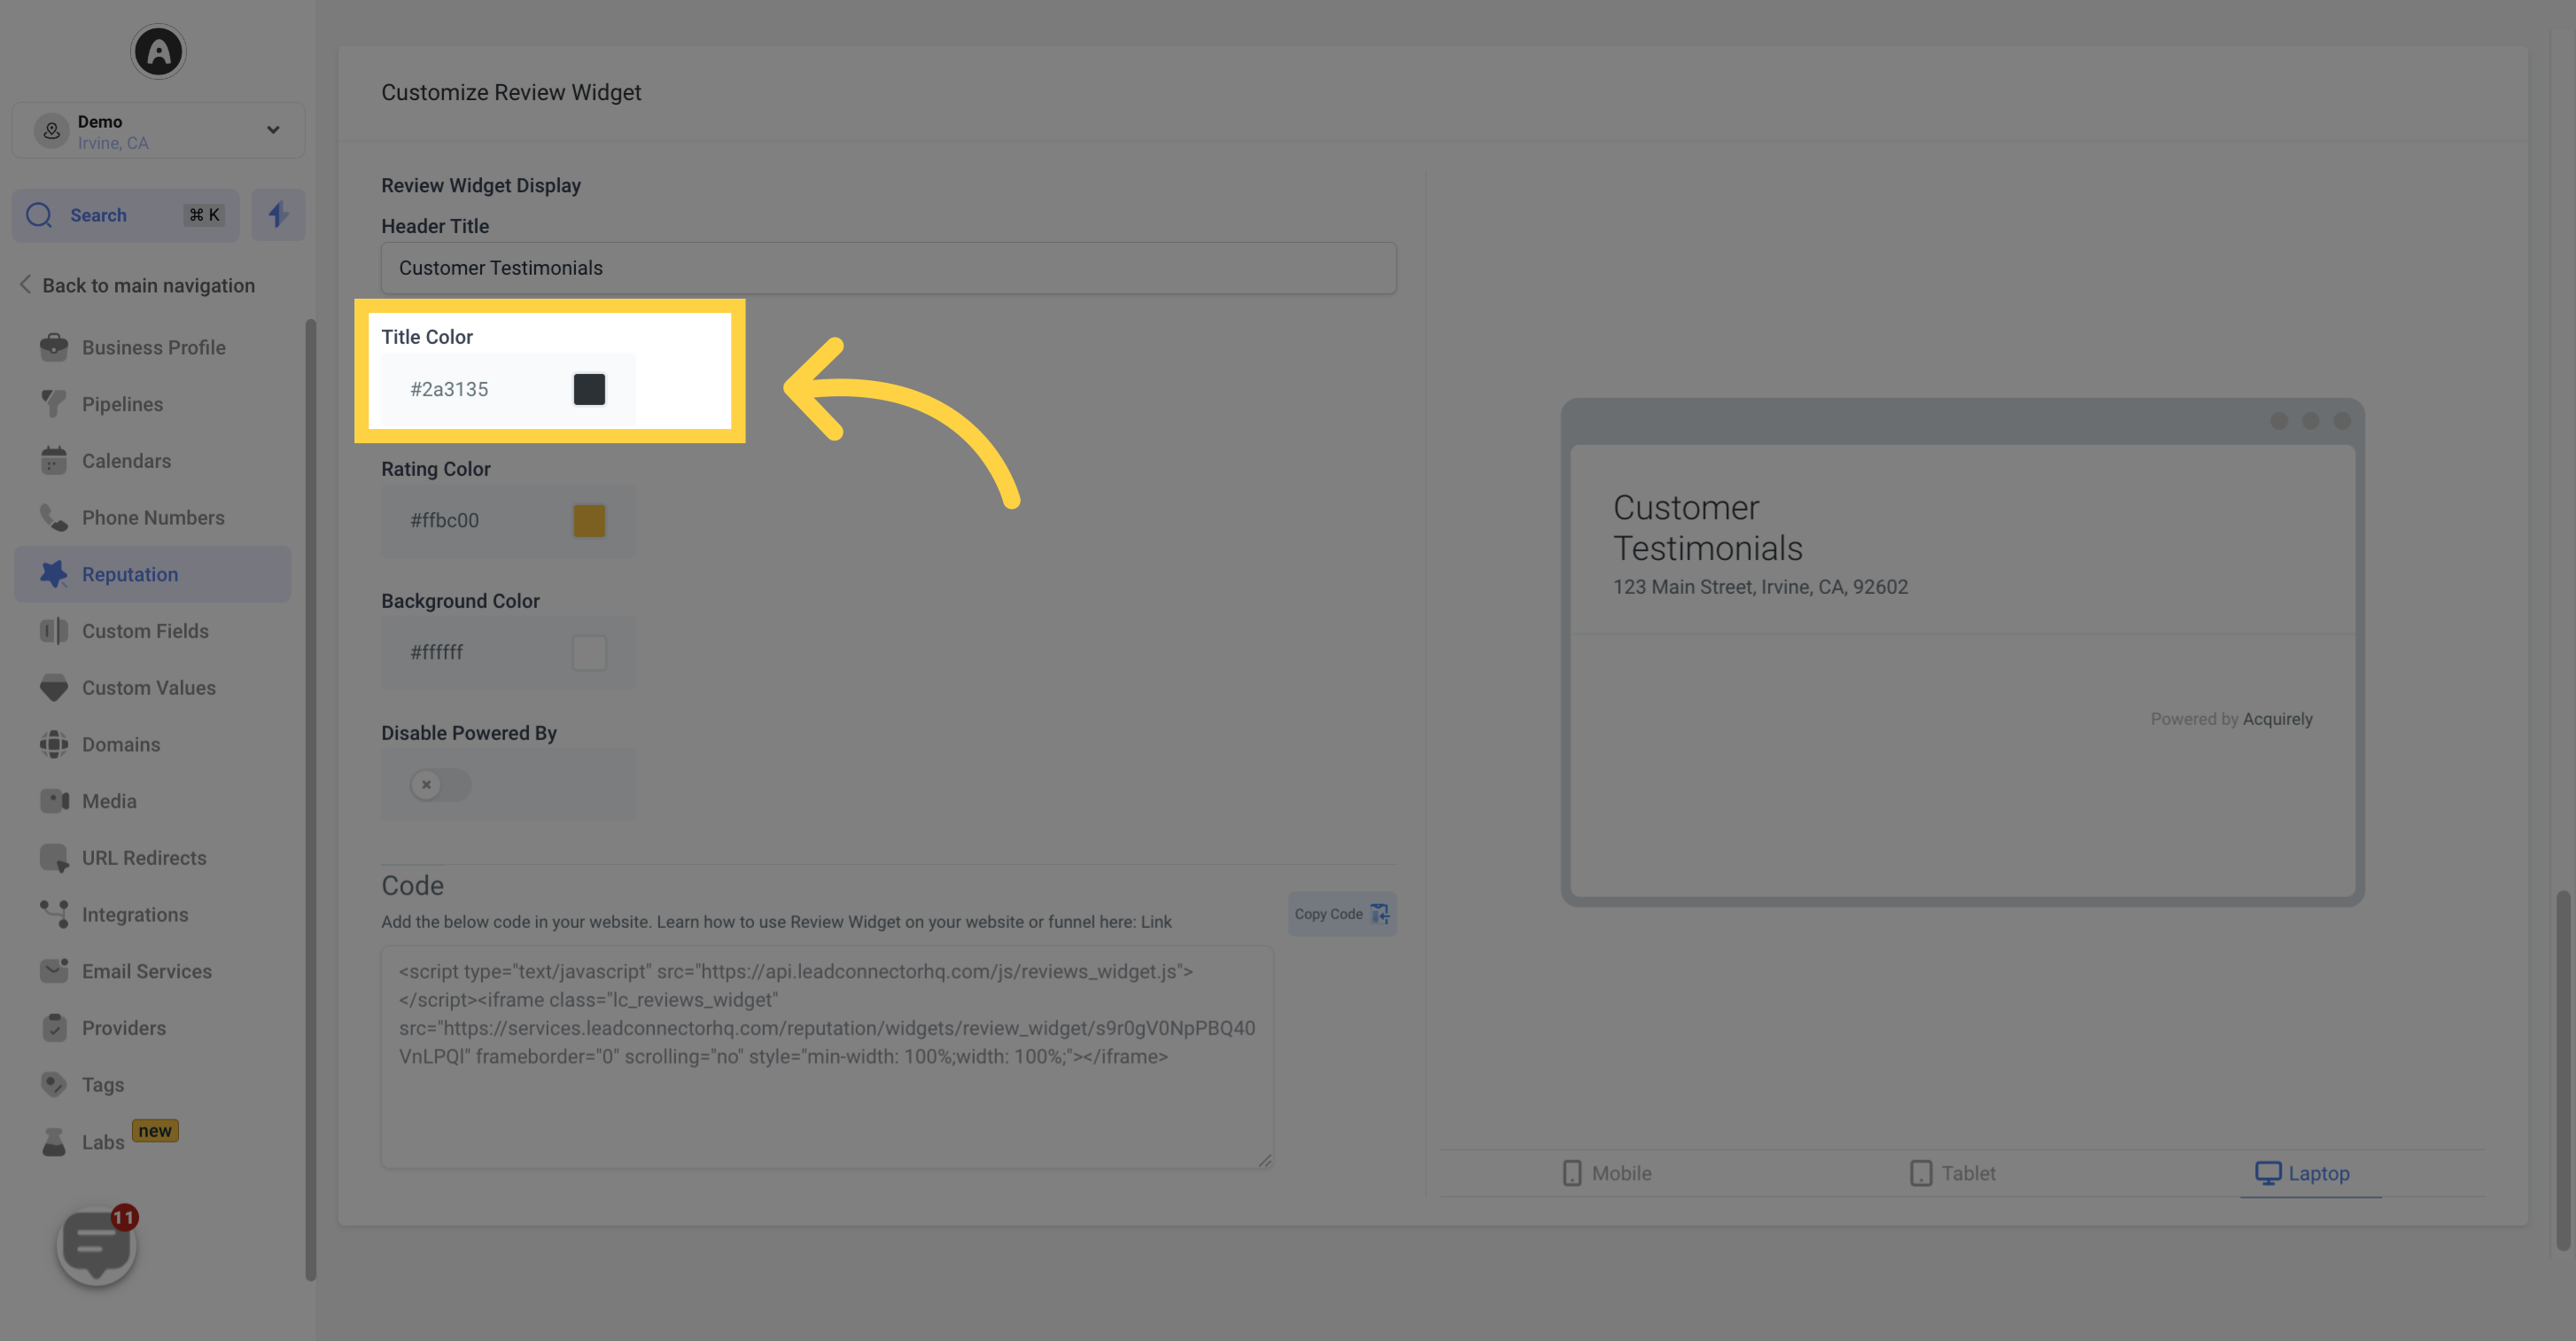
Users can select a custom color for the widget's title to match their company's color scheme.
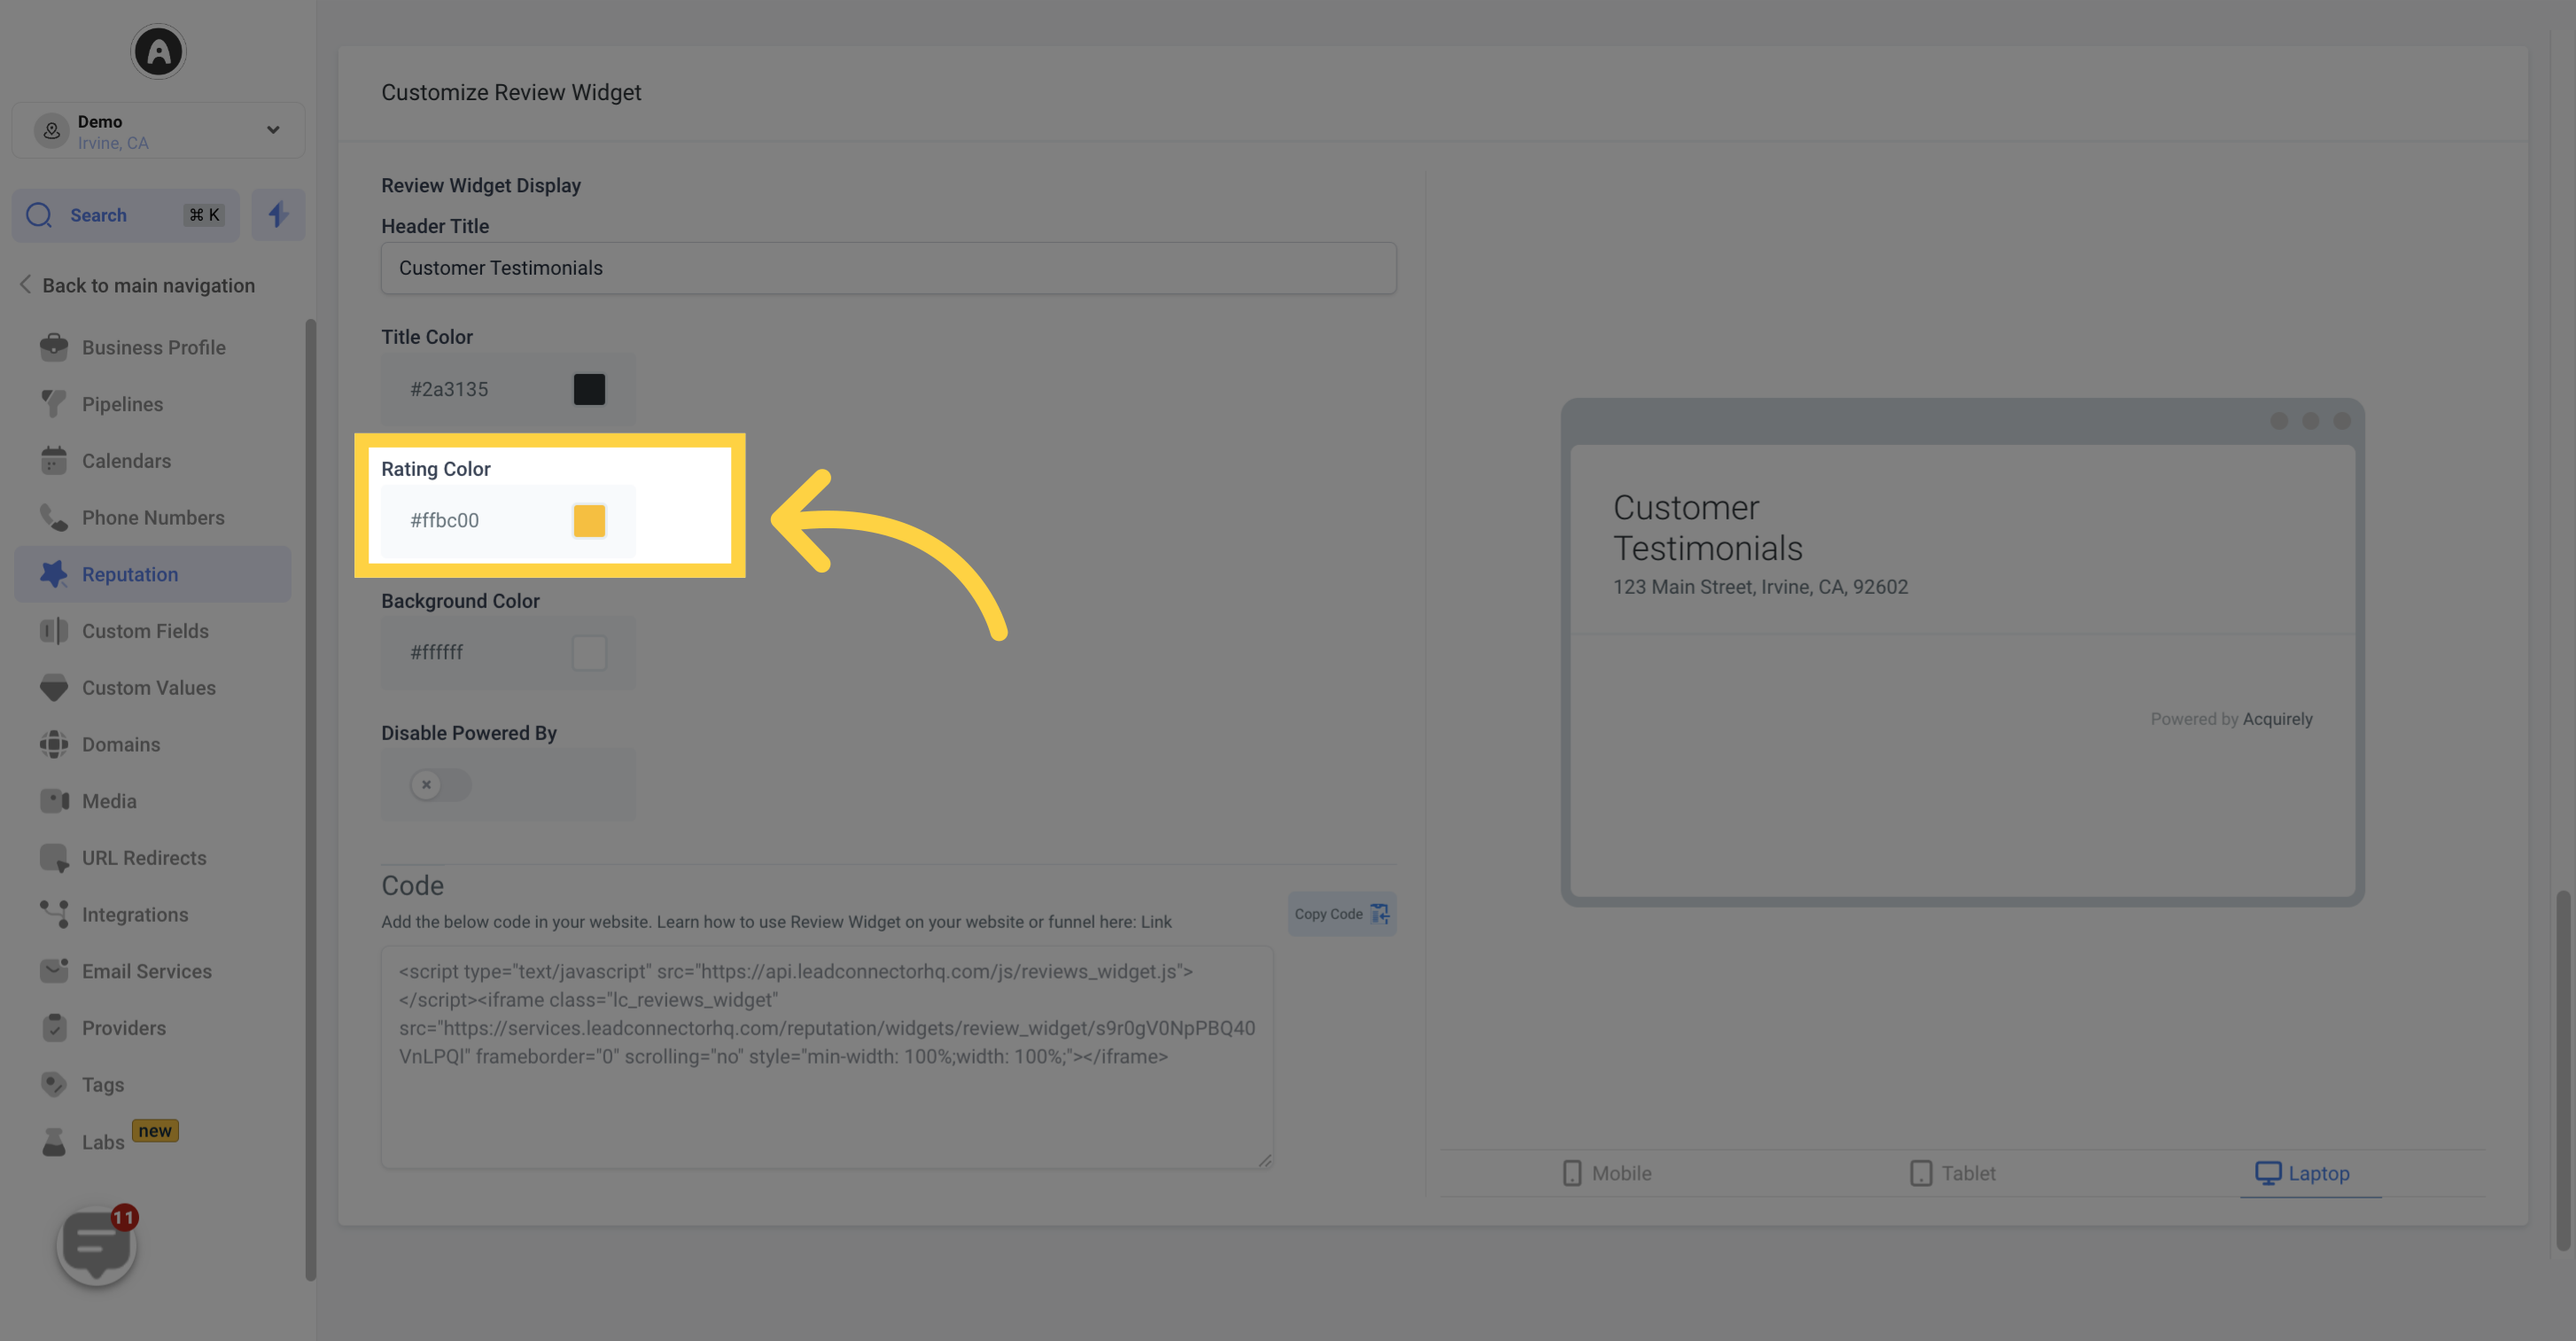
The color of the star rating can be changed to a custom color by selecting it in this section.
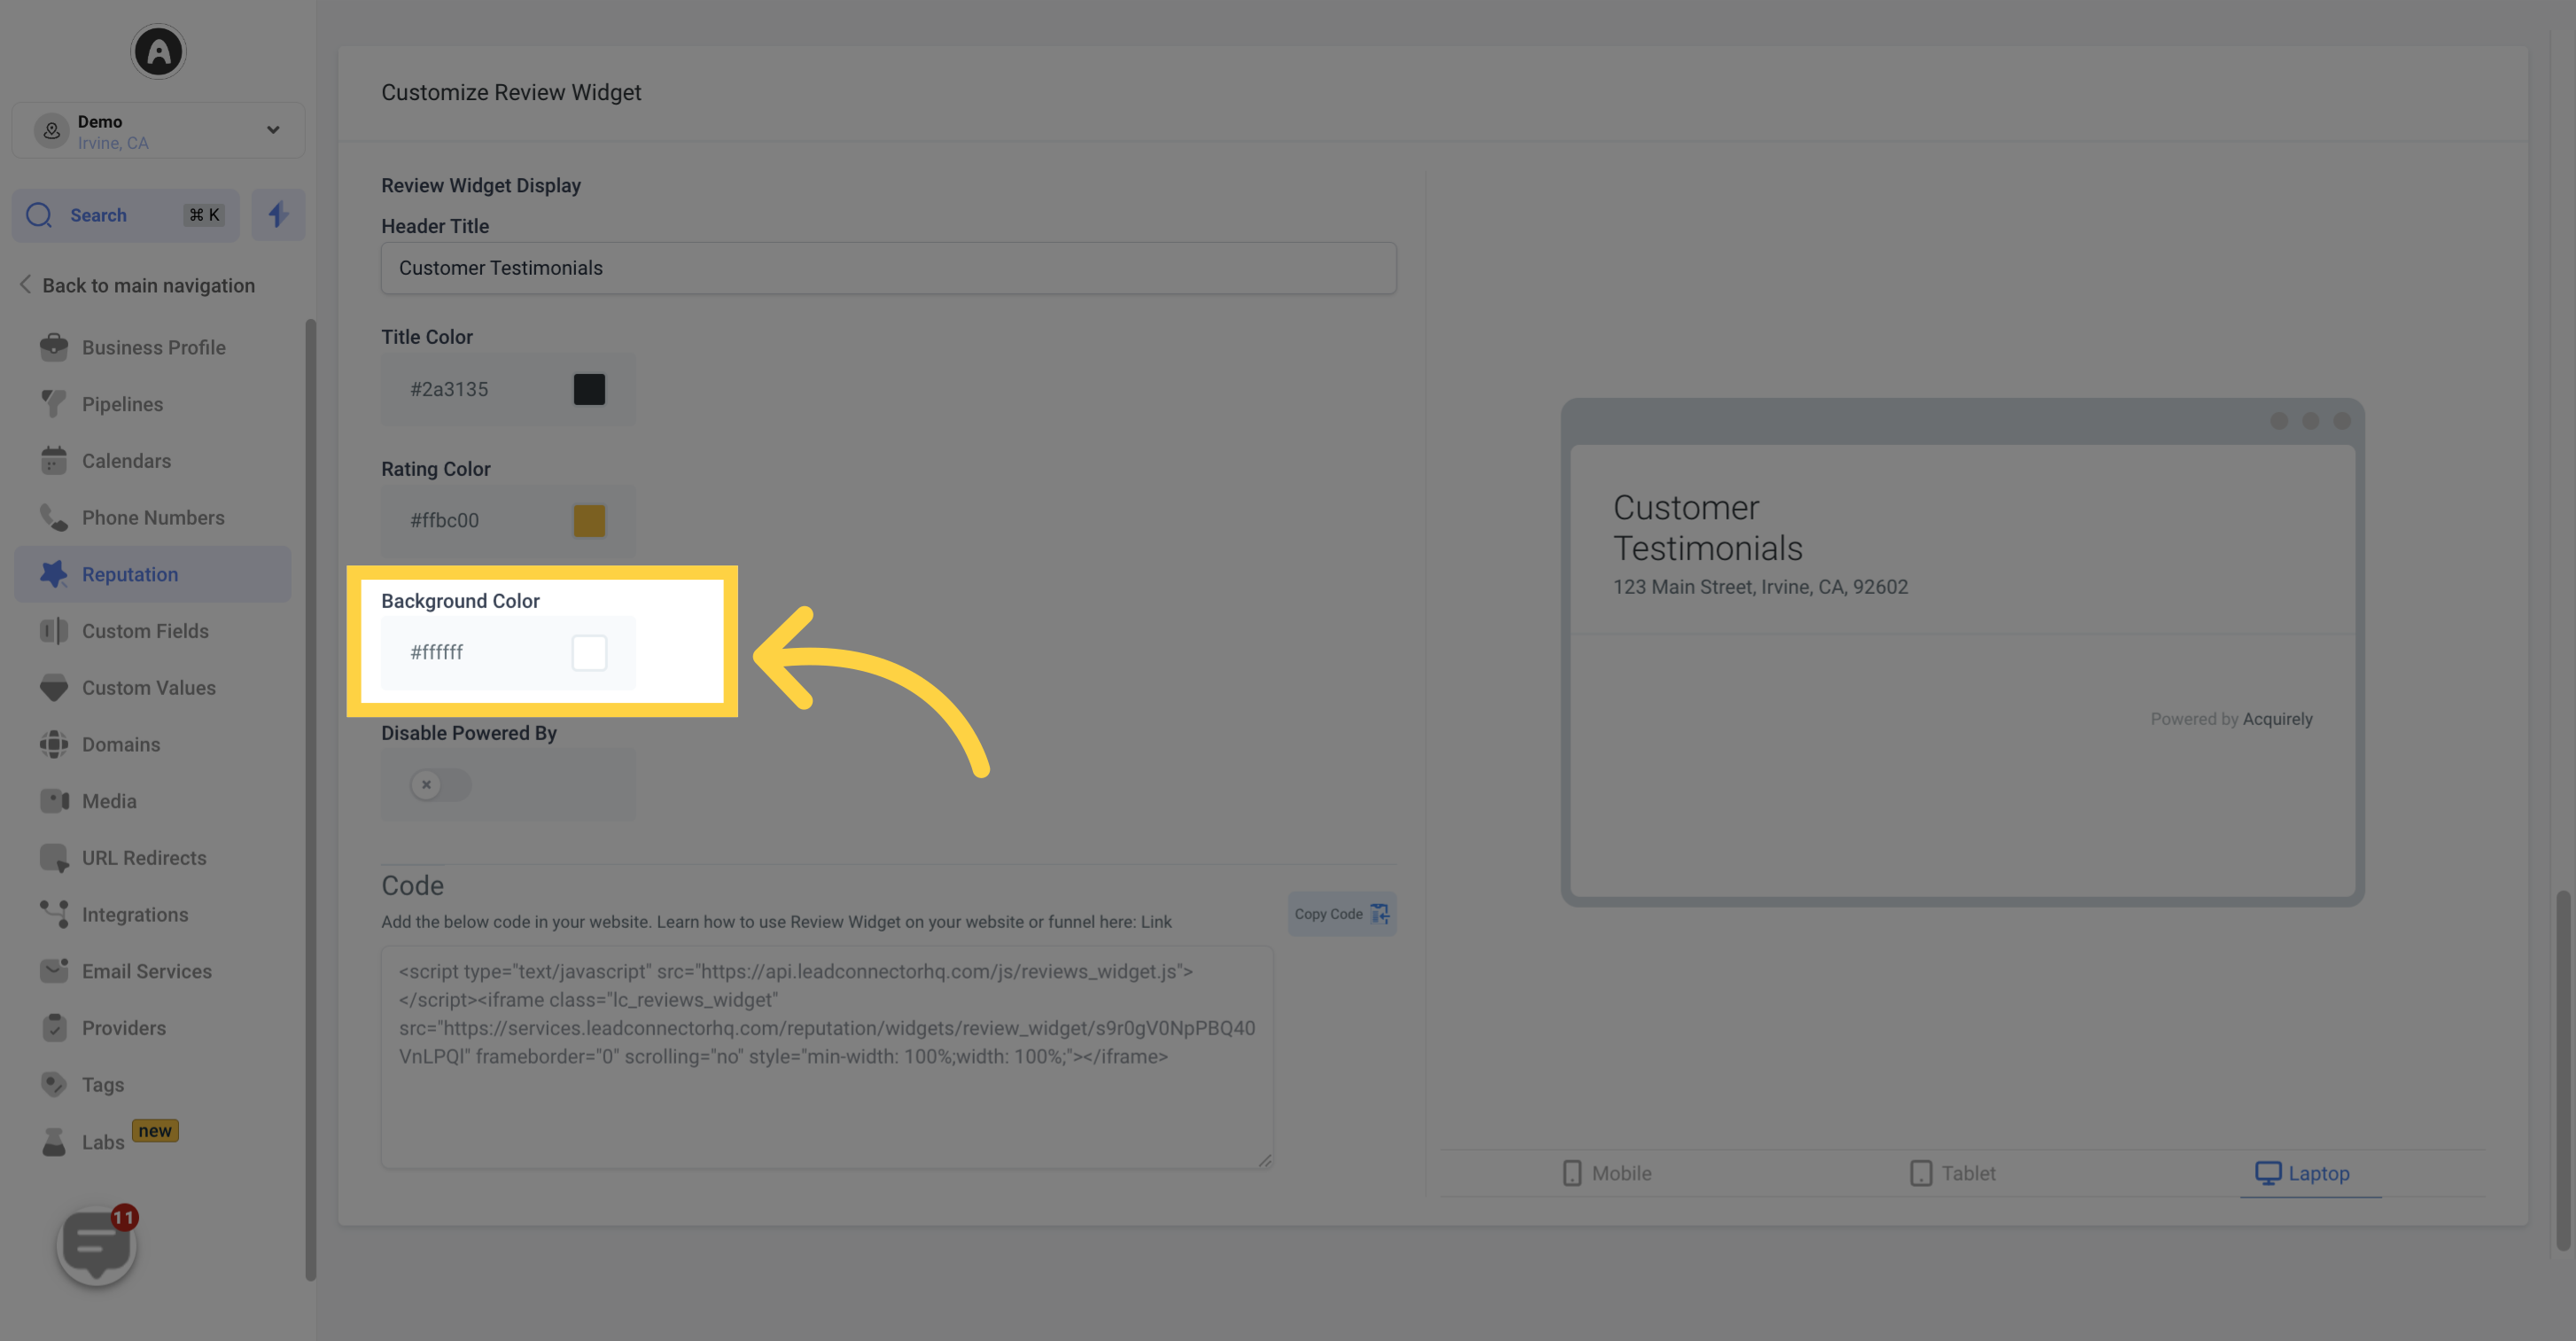
Users have the flexibility to customize the background color of the widget to align with their company's color scheme.
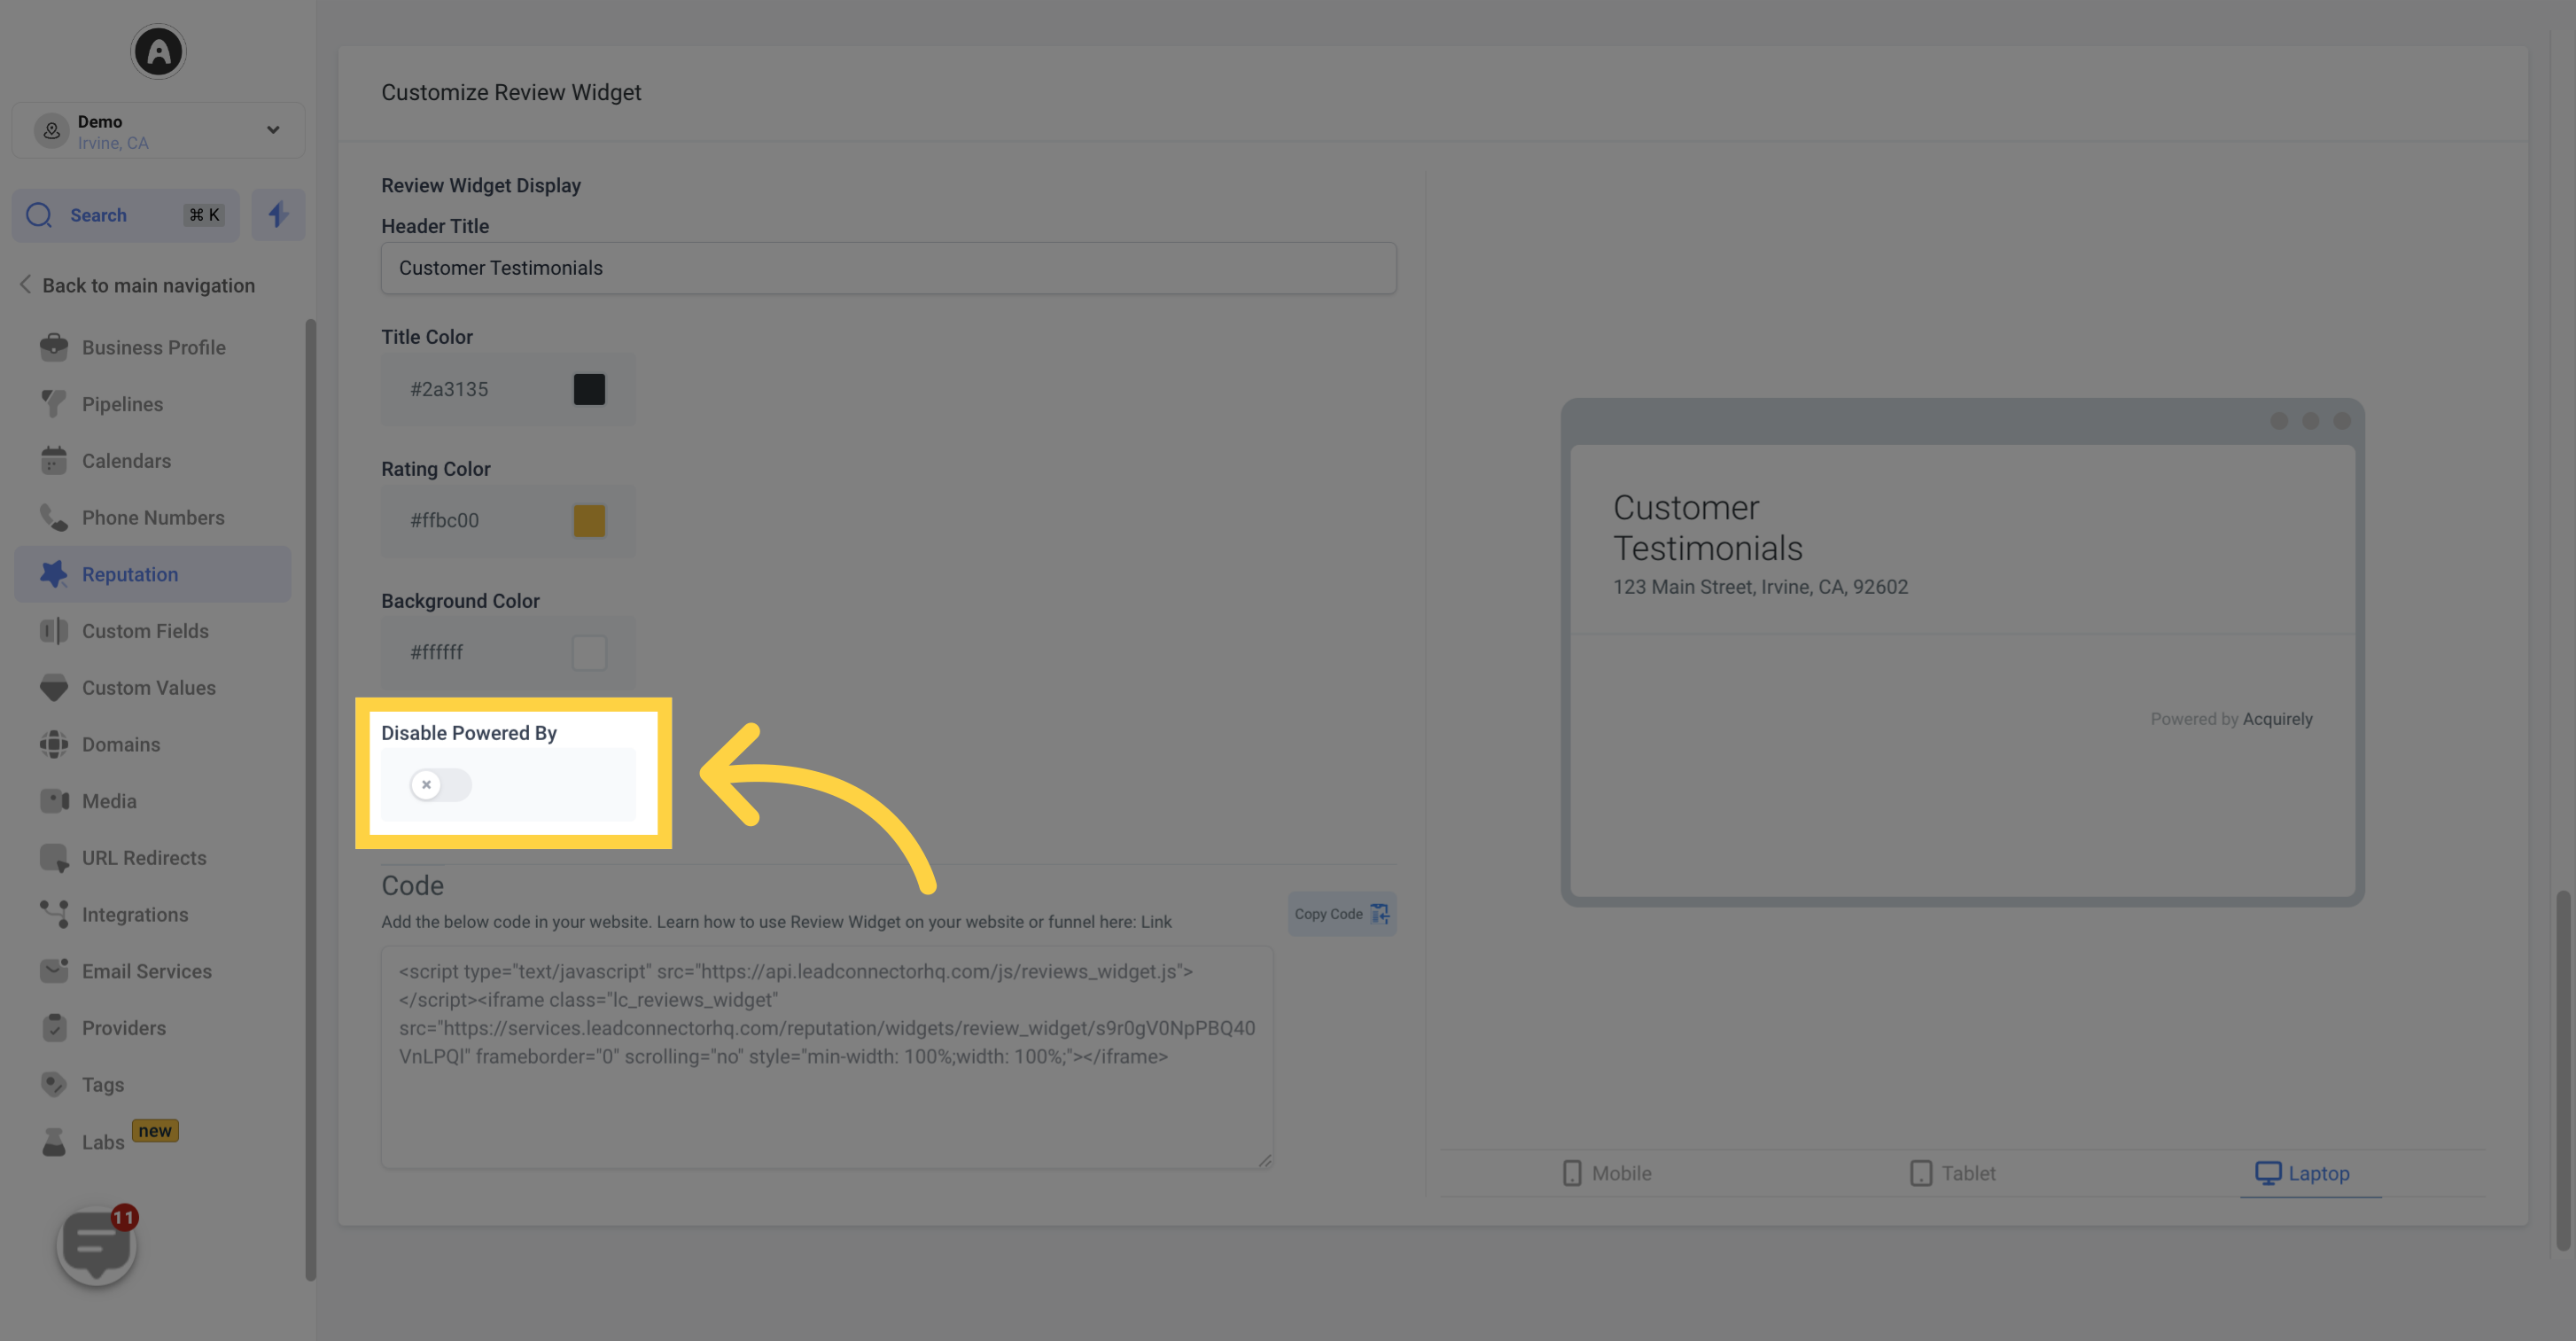
If users wish to remove the "powered by" text on the widget, they can do so using this option.
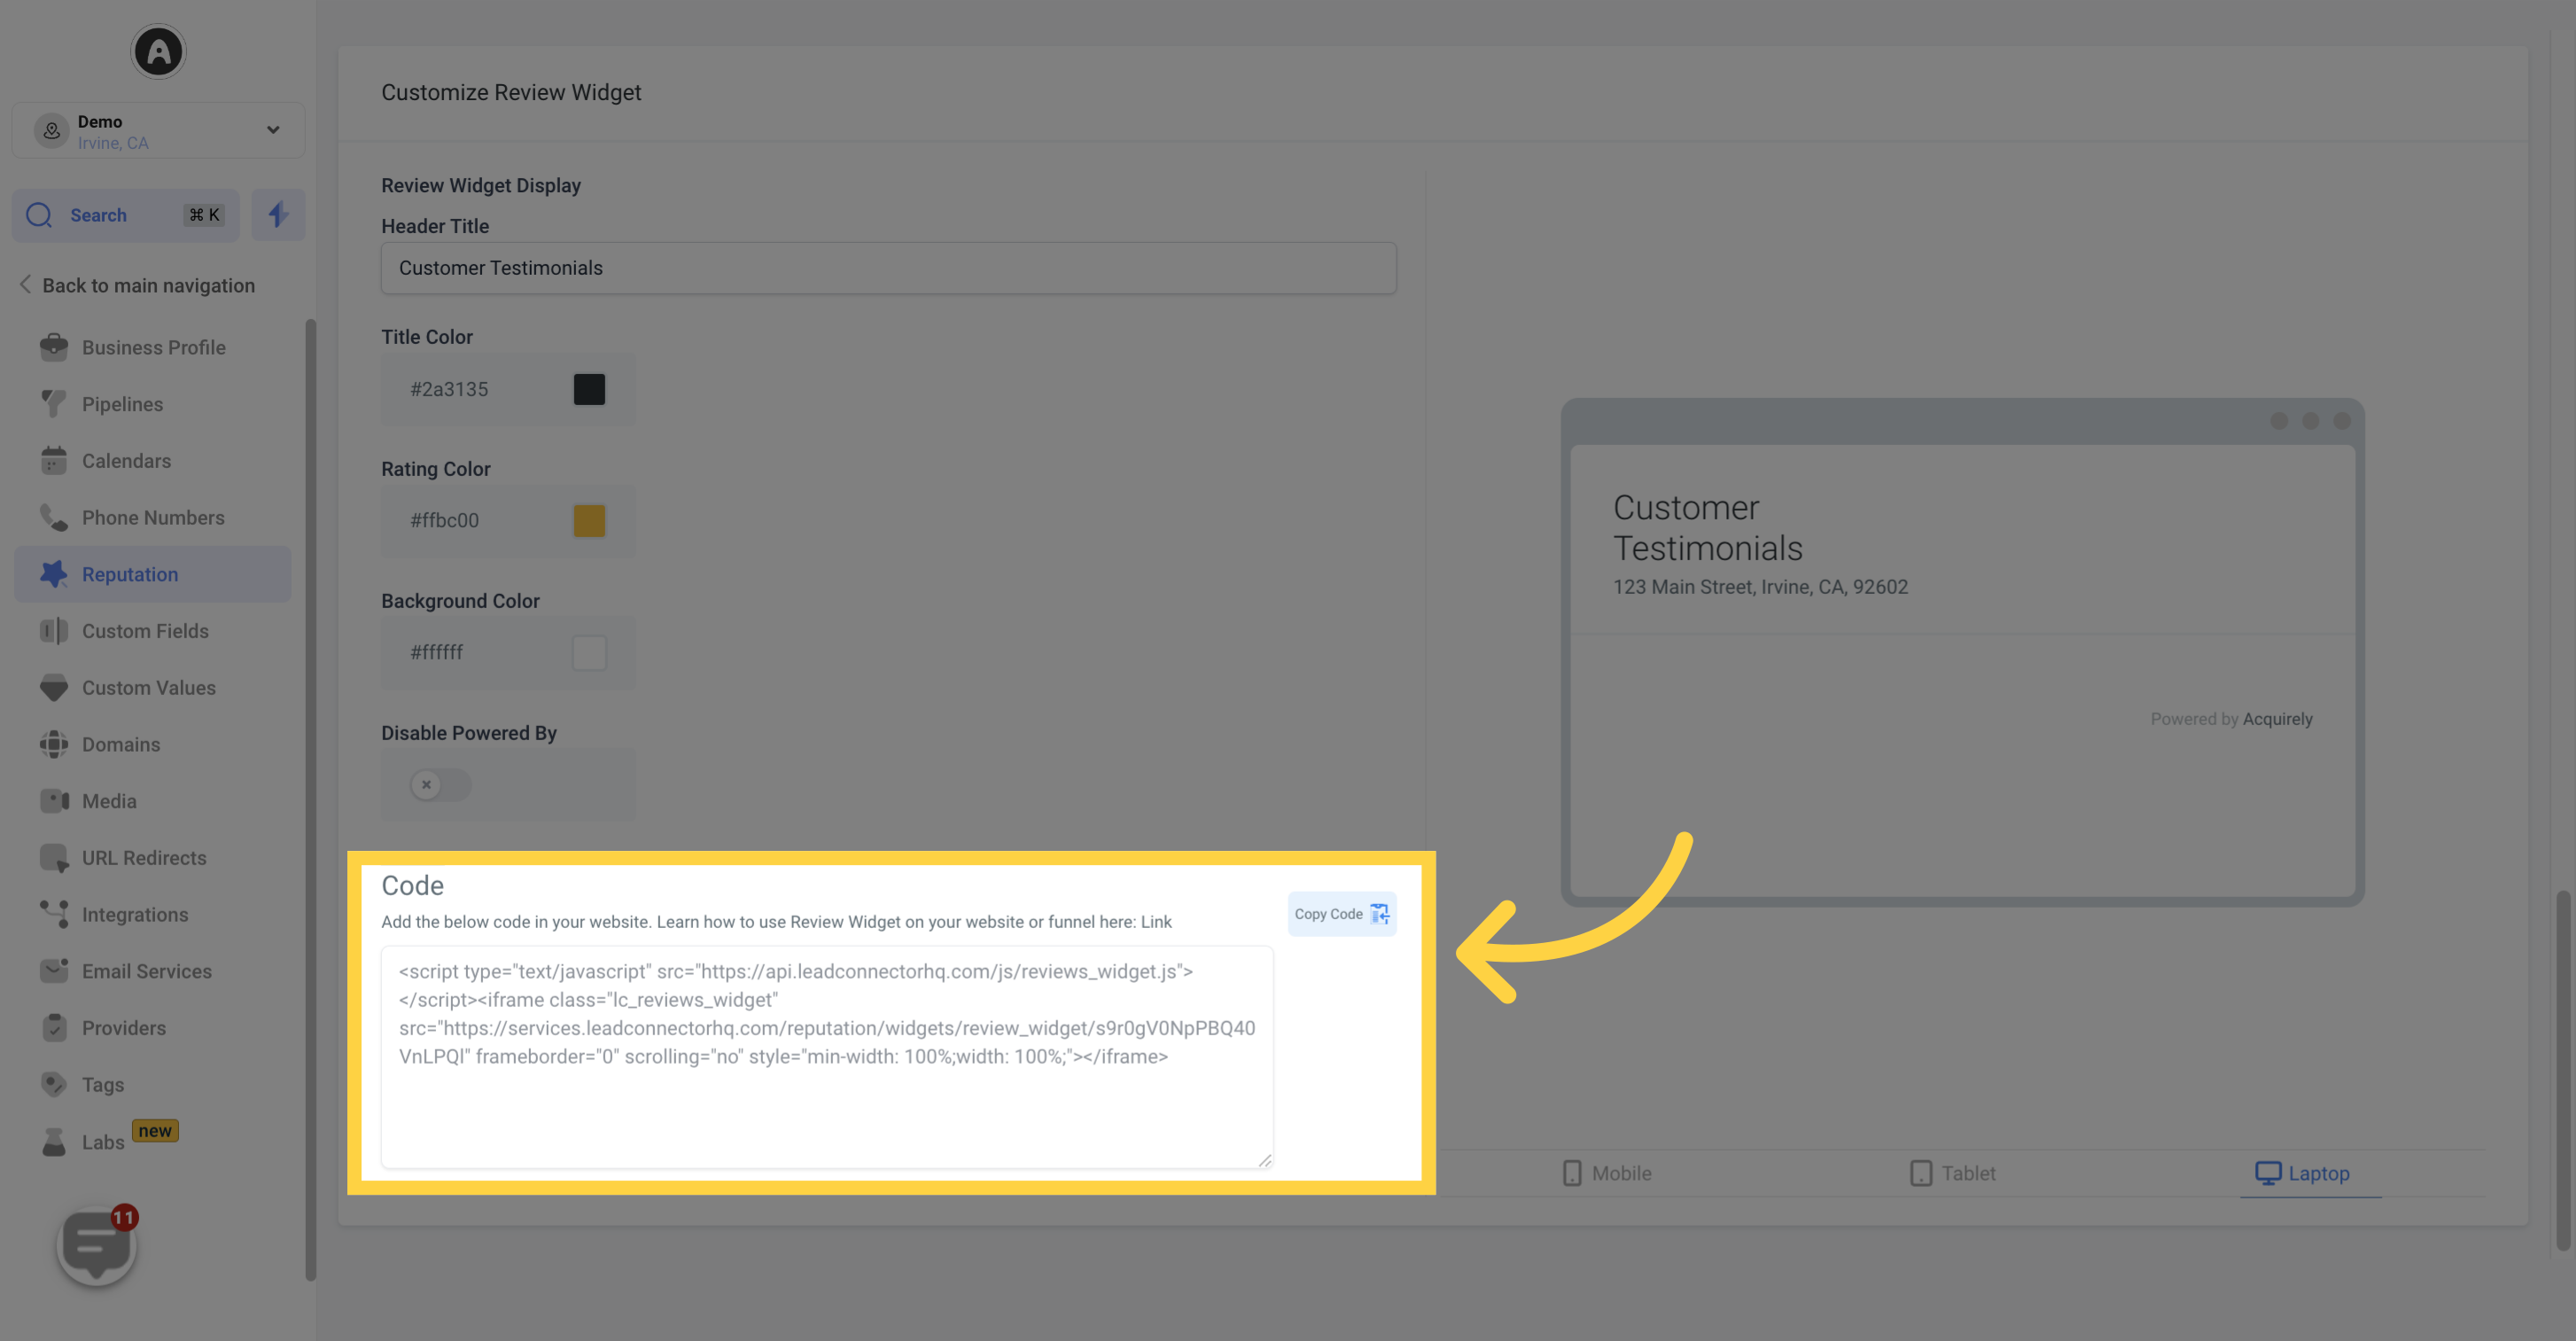
To add the widget to a website, users need to copy and paste the provided HTML code onto a web page. For users who have built their website using this system, they can simply add the widget by dragging it into the page as an element.
Similar to the SMS and email preview windows, users can view real-time changes made to the website widget in the preview section.
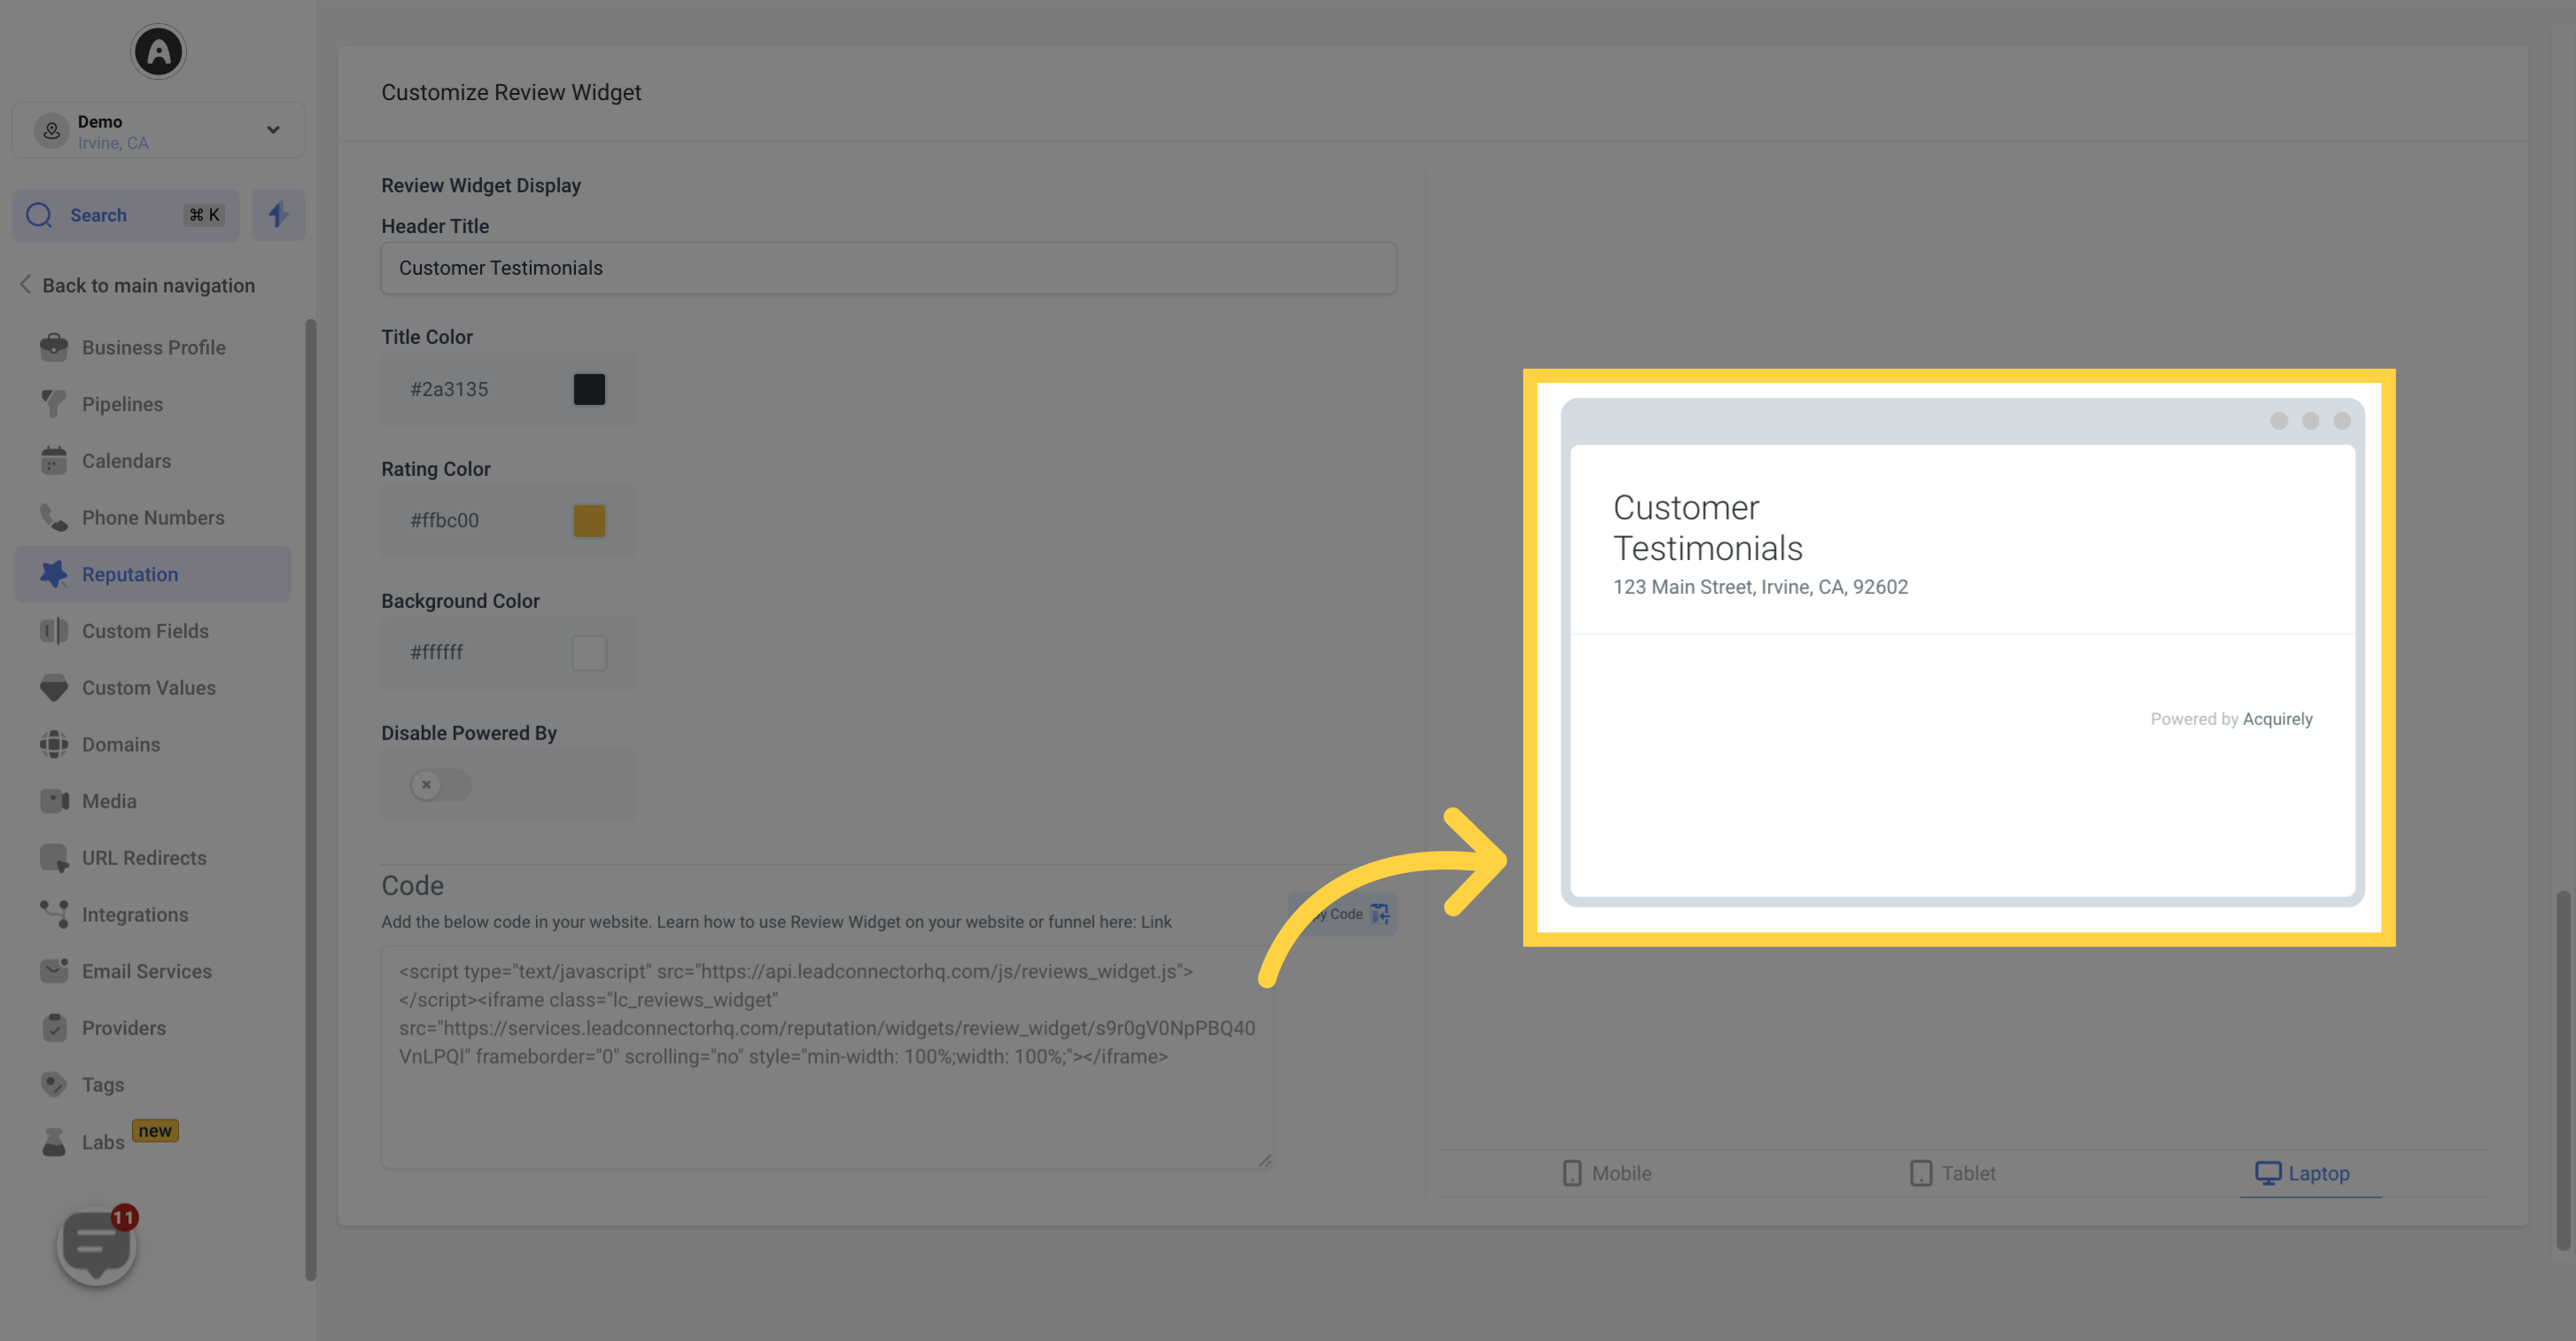
Users have the option to view the website widget on different screen types, including laptop, tablet, or mobile.