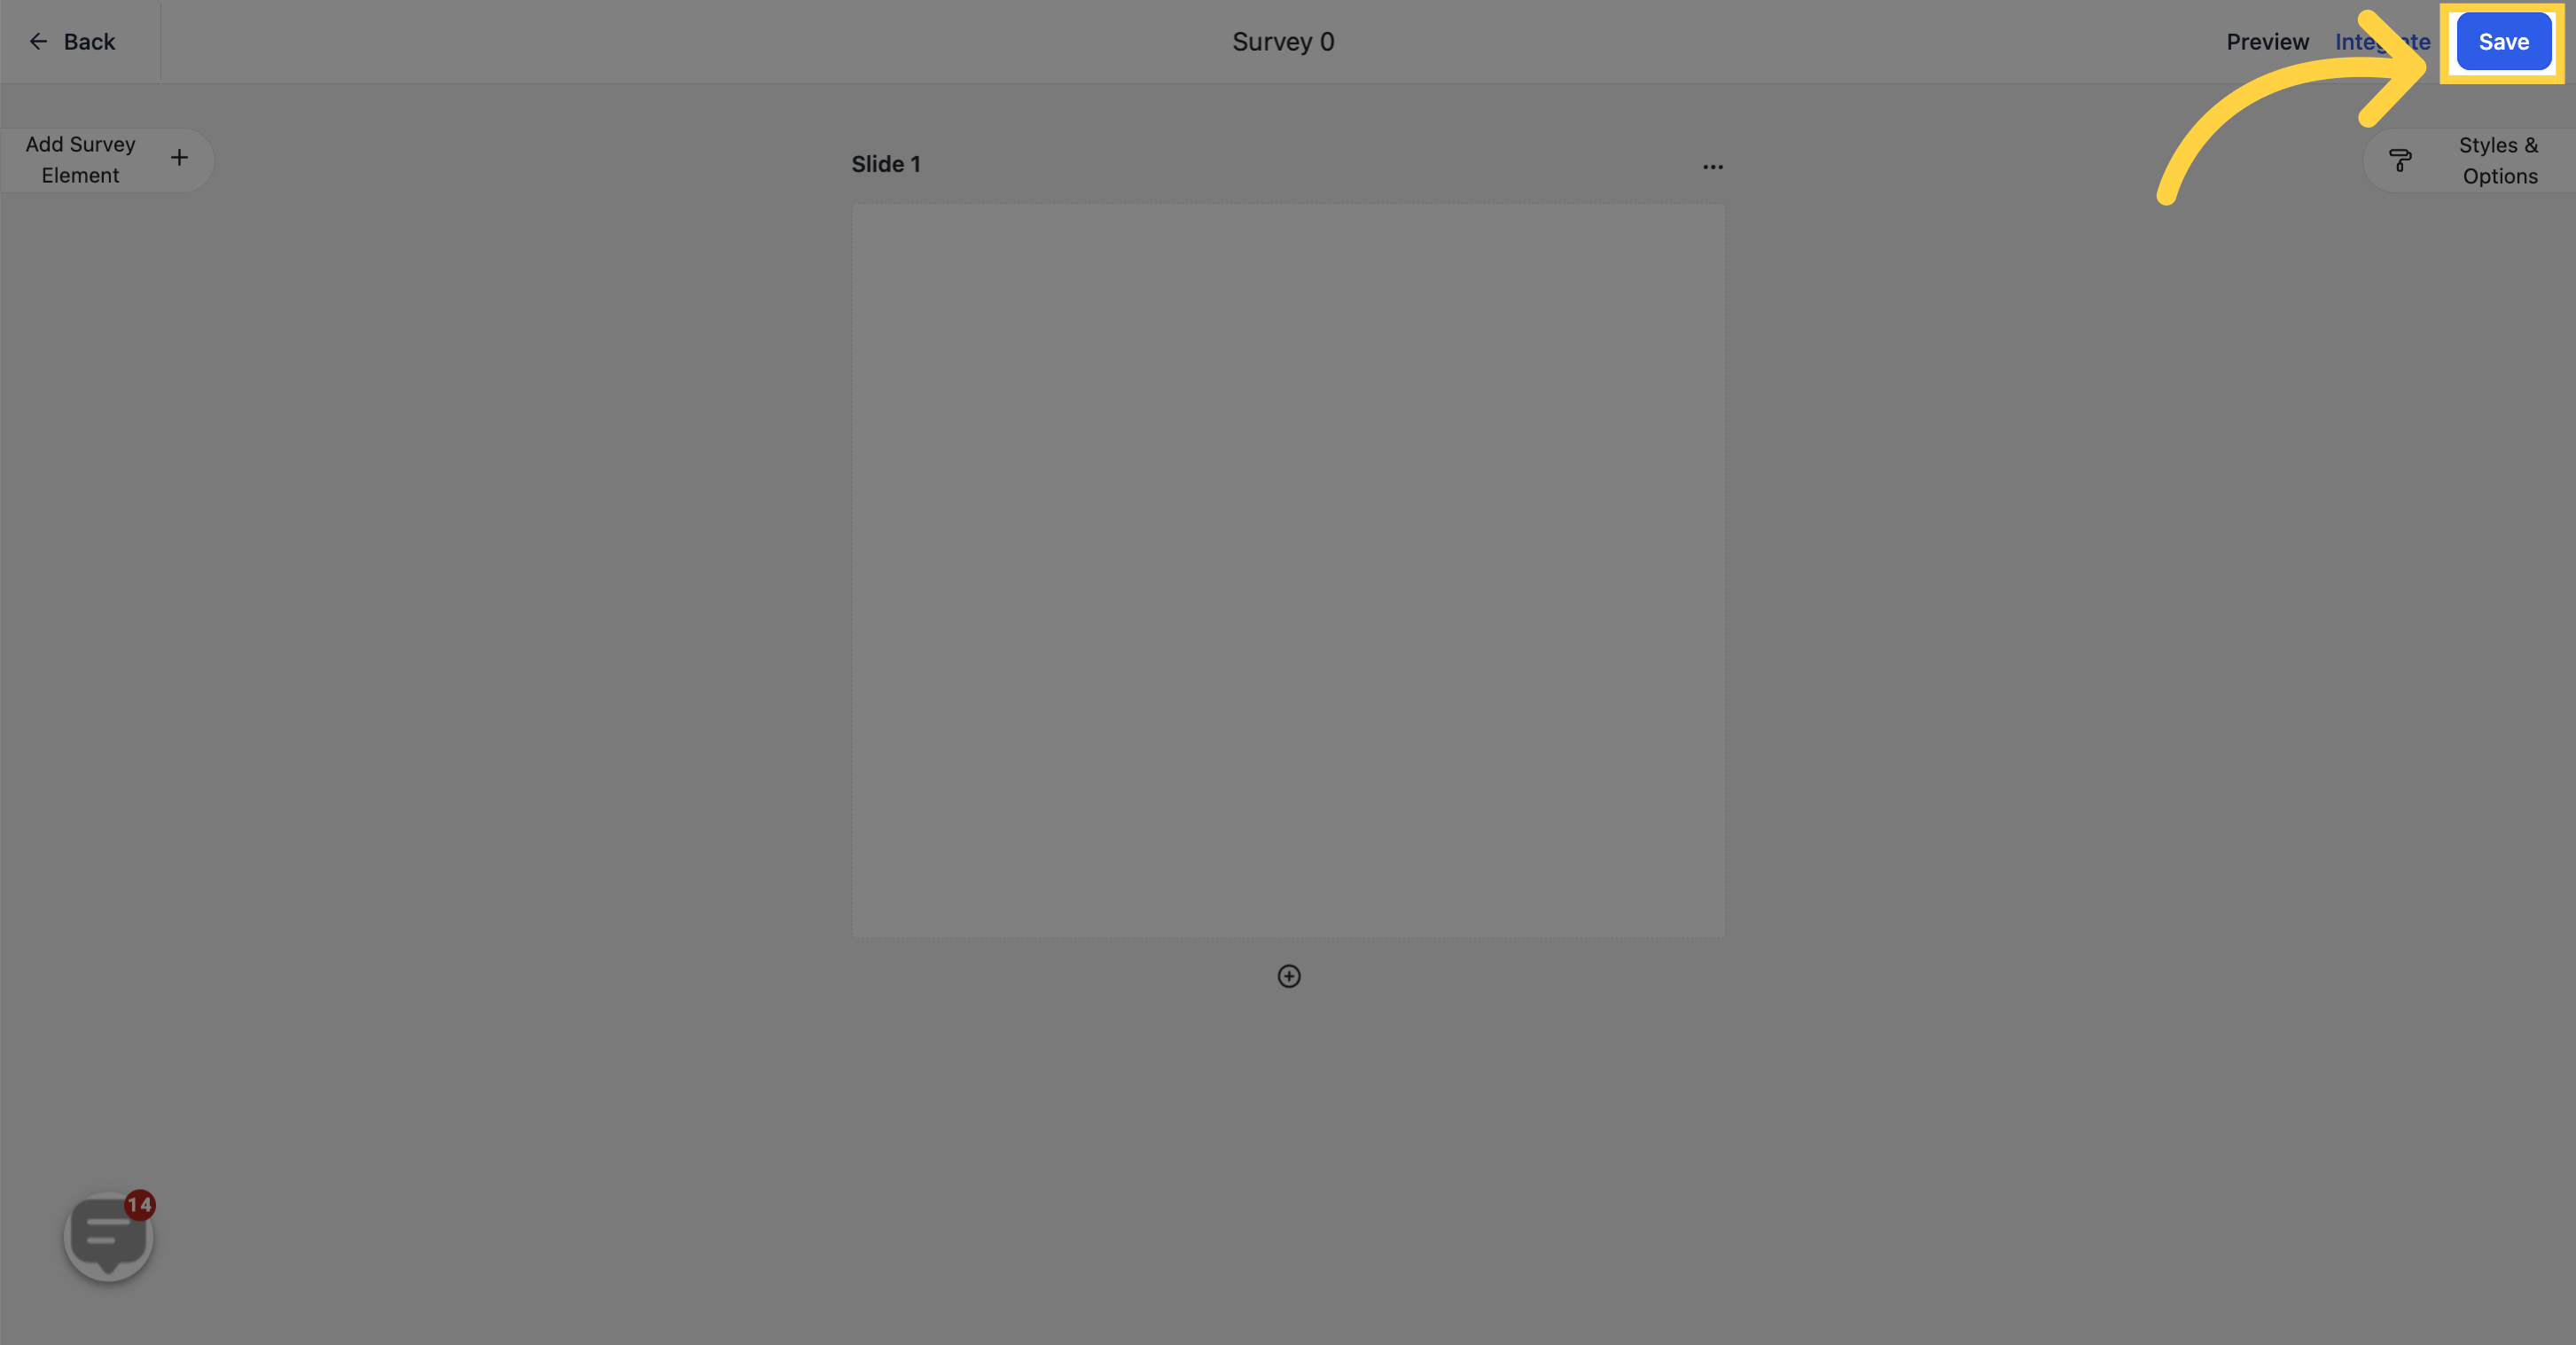
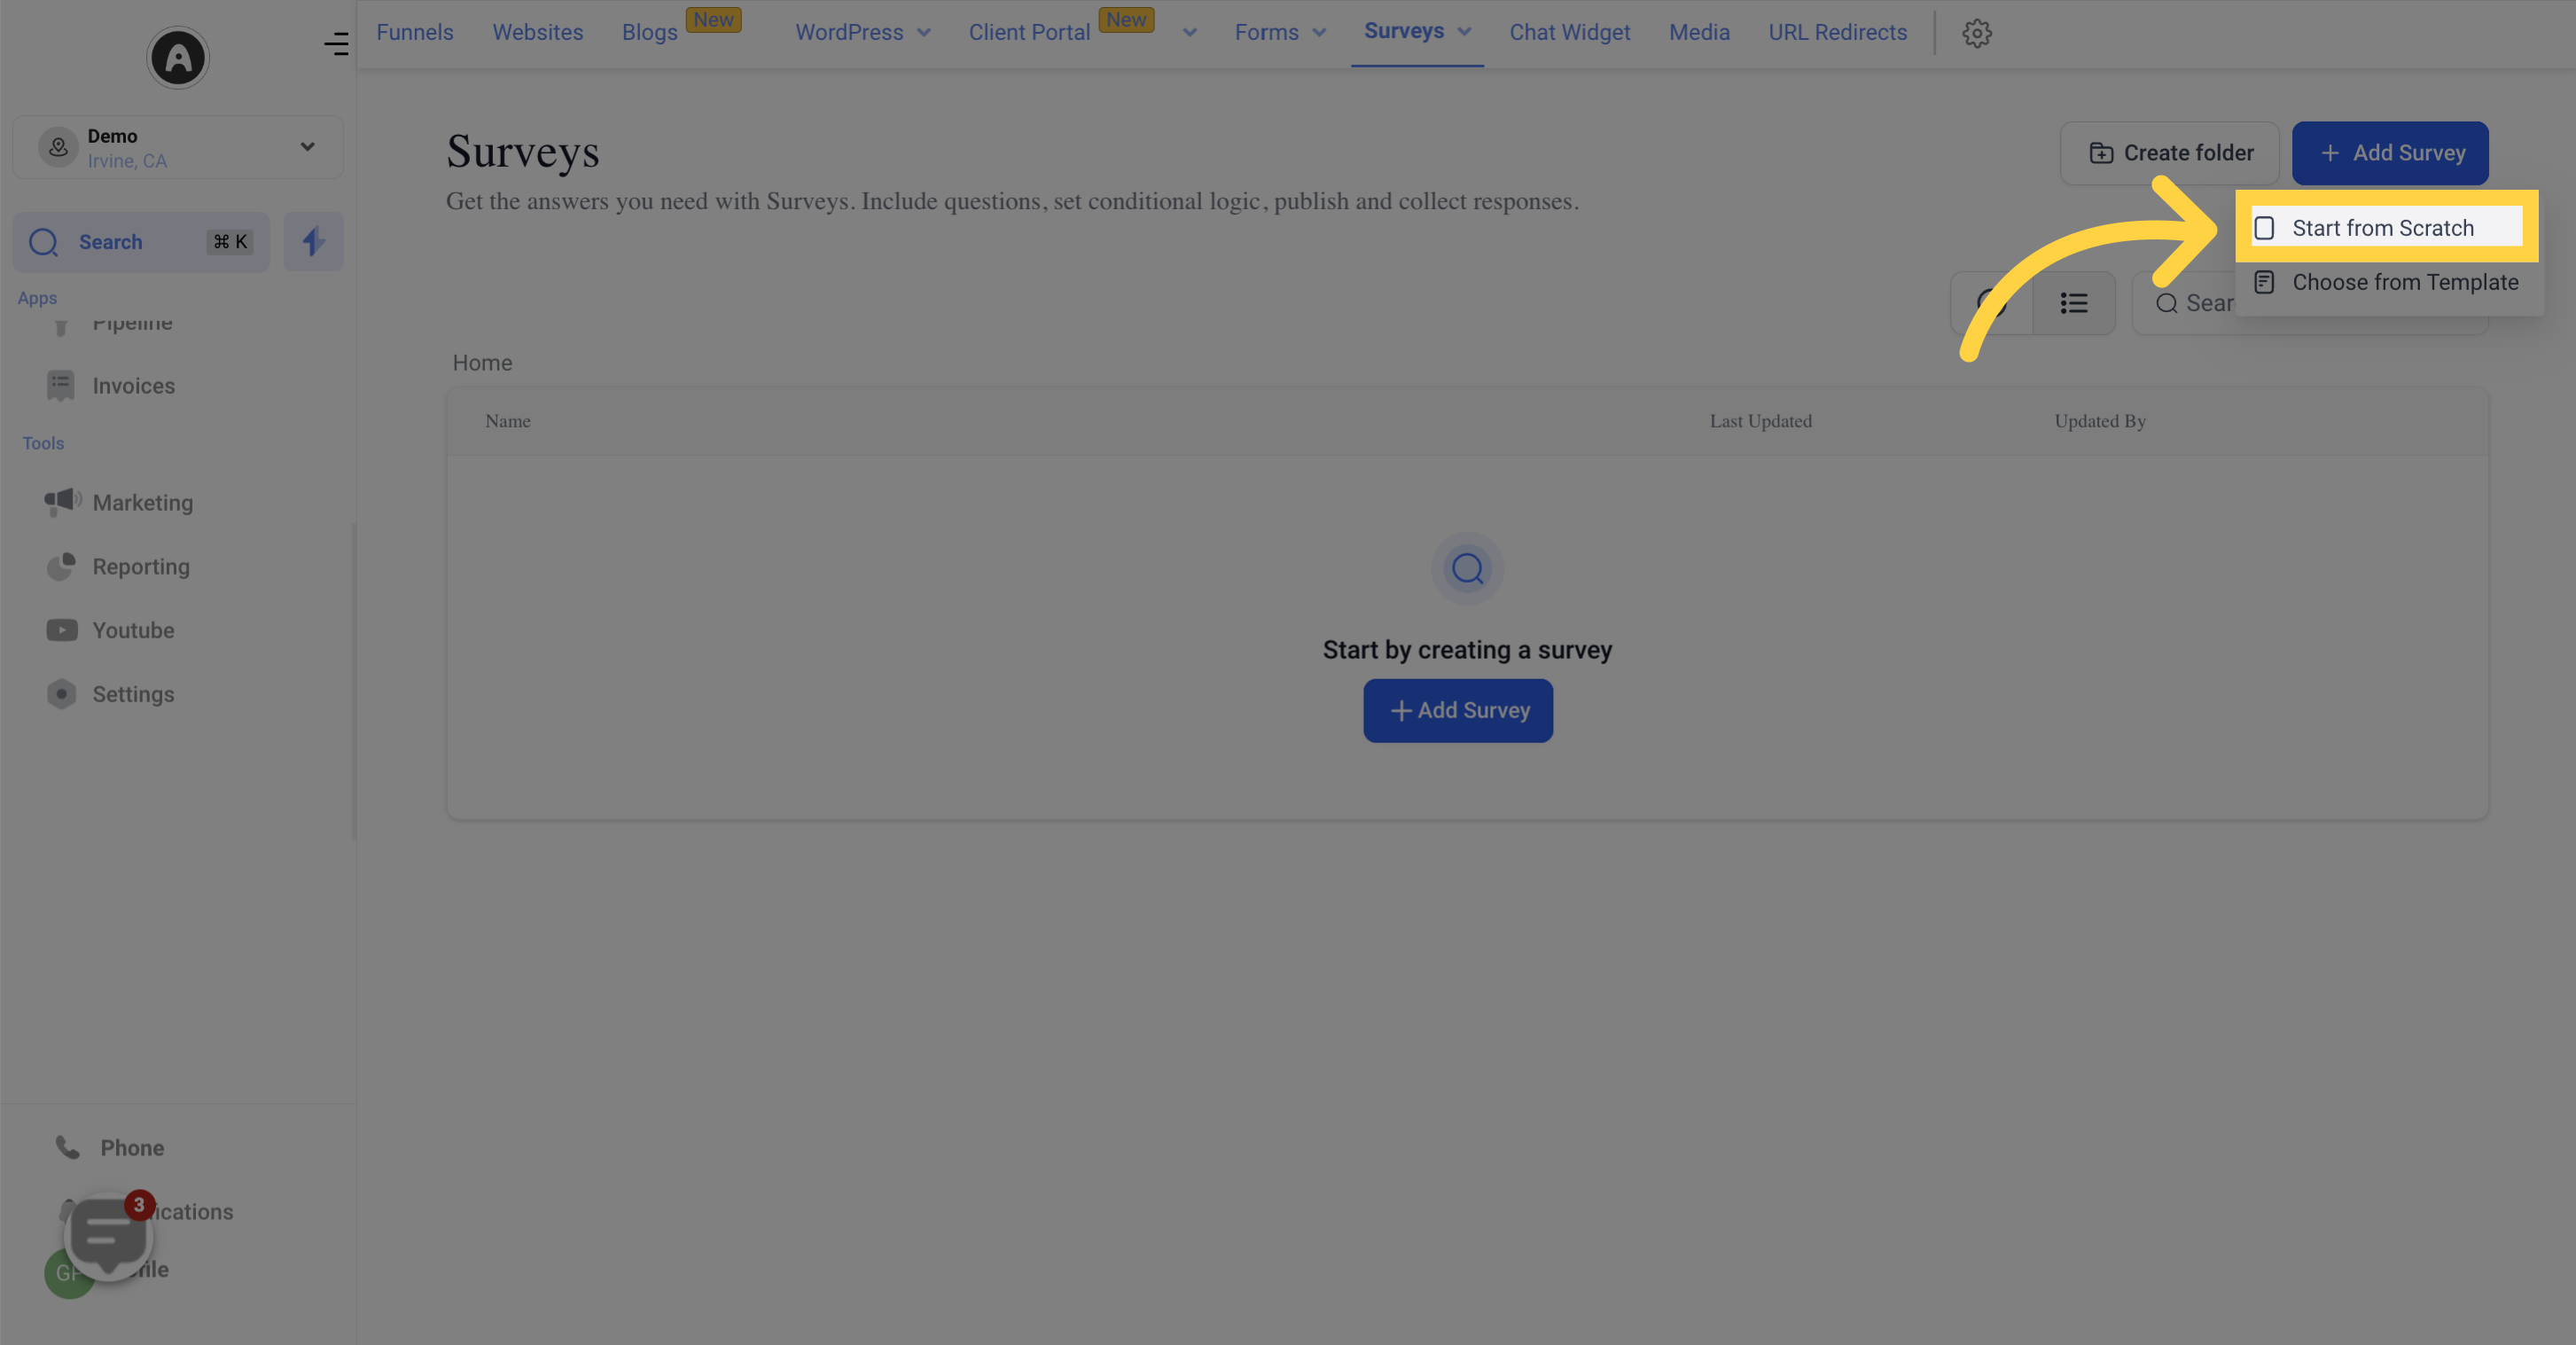
You can modify the name of your survey in this section.
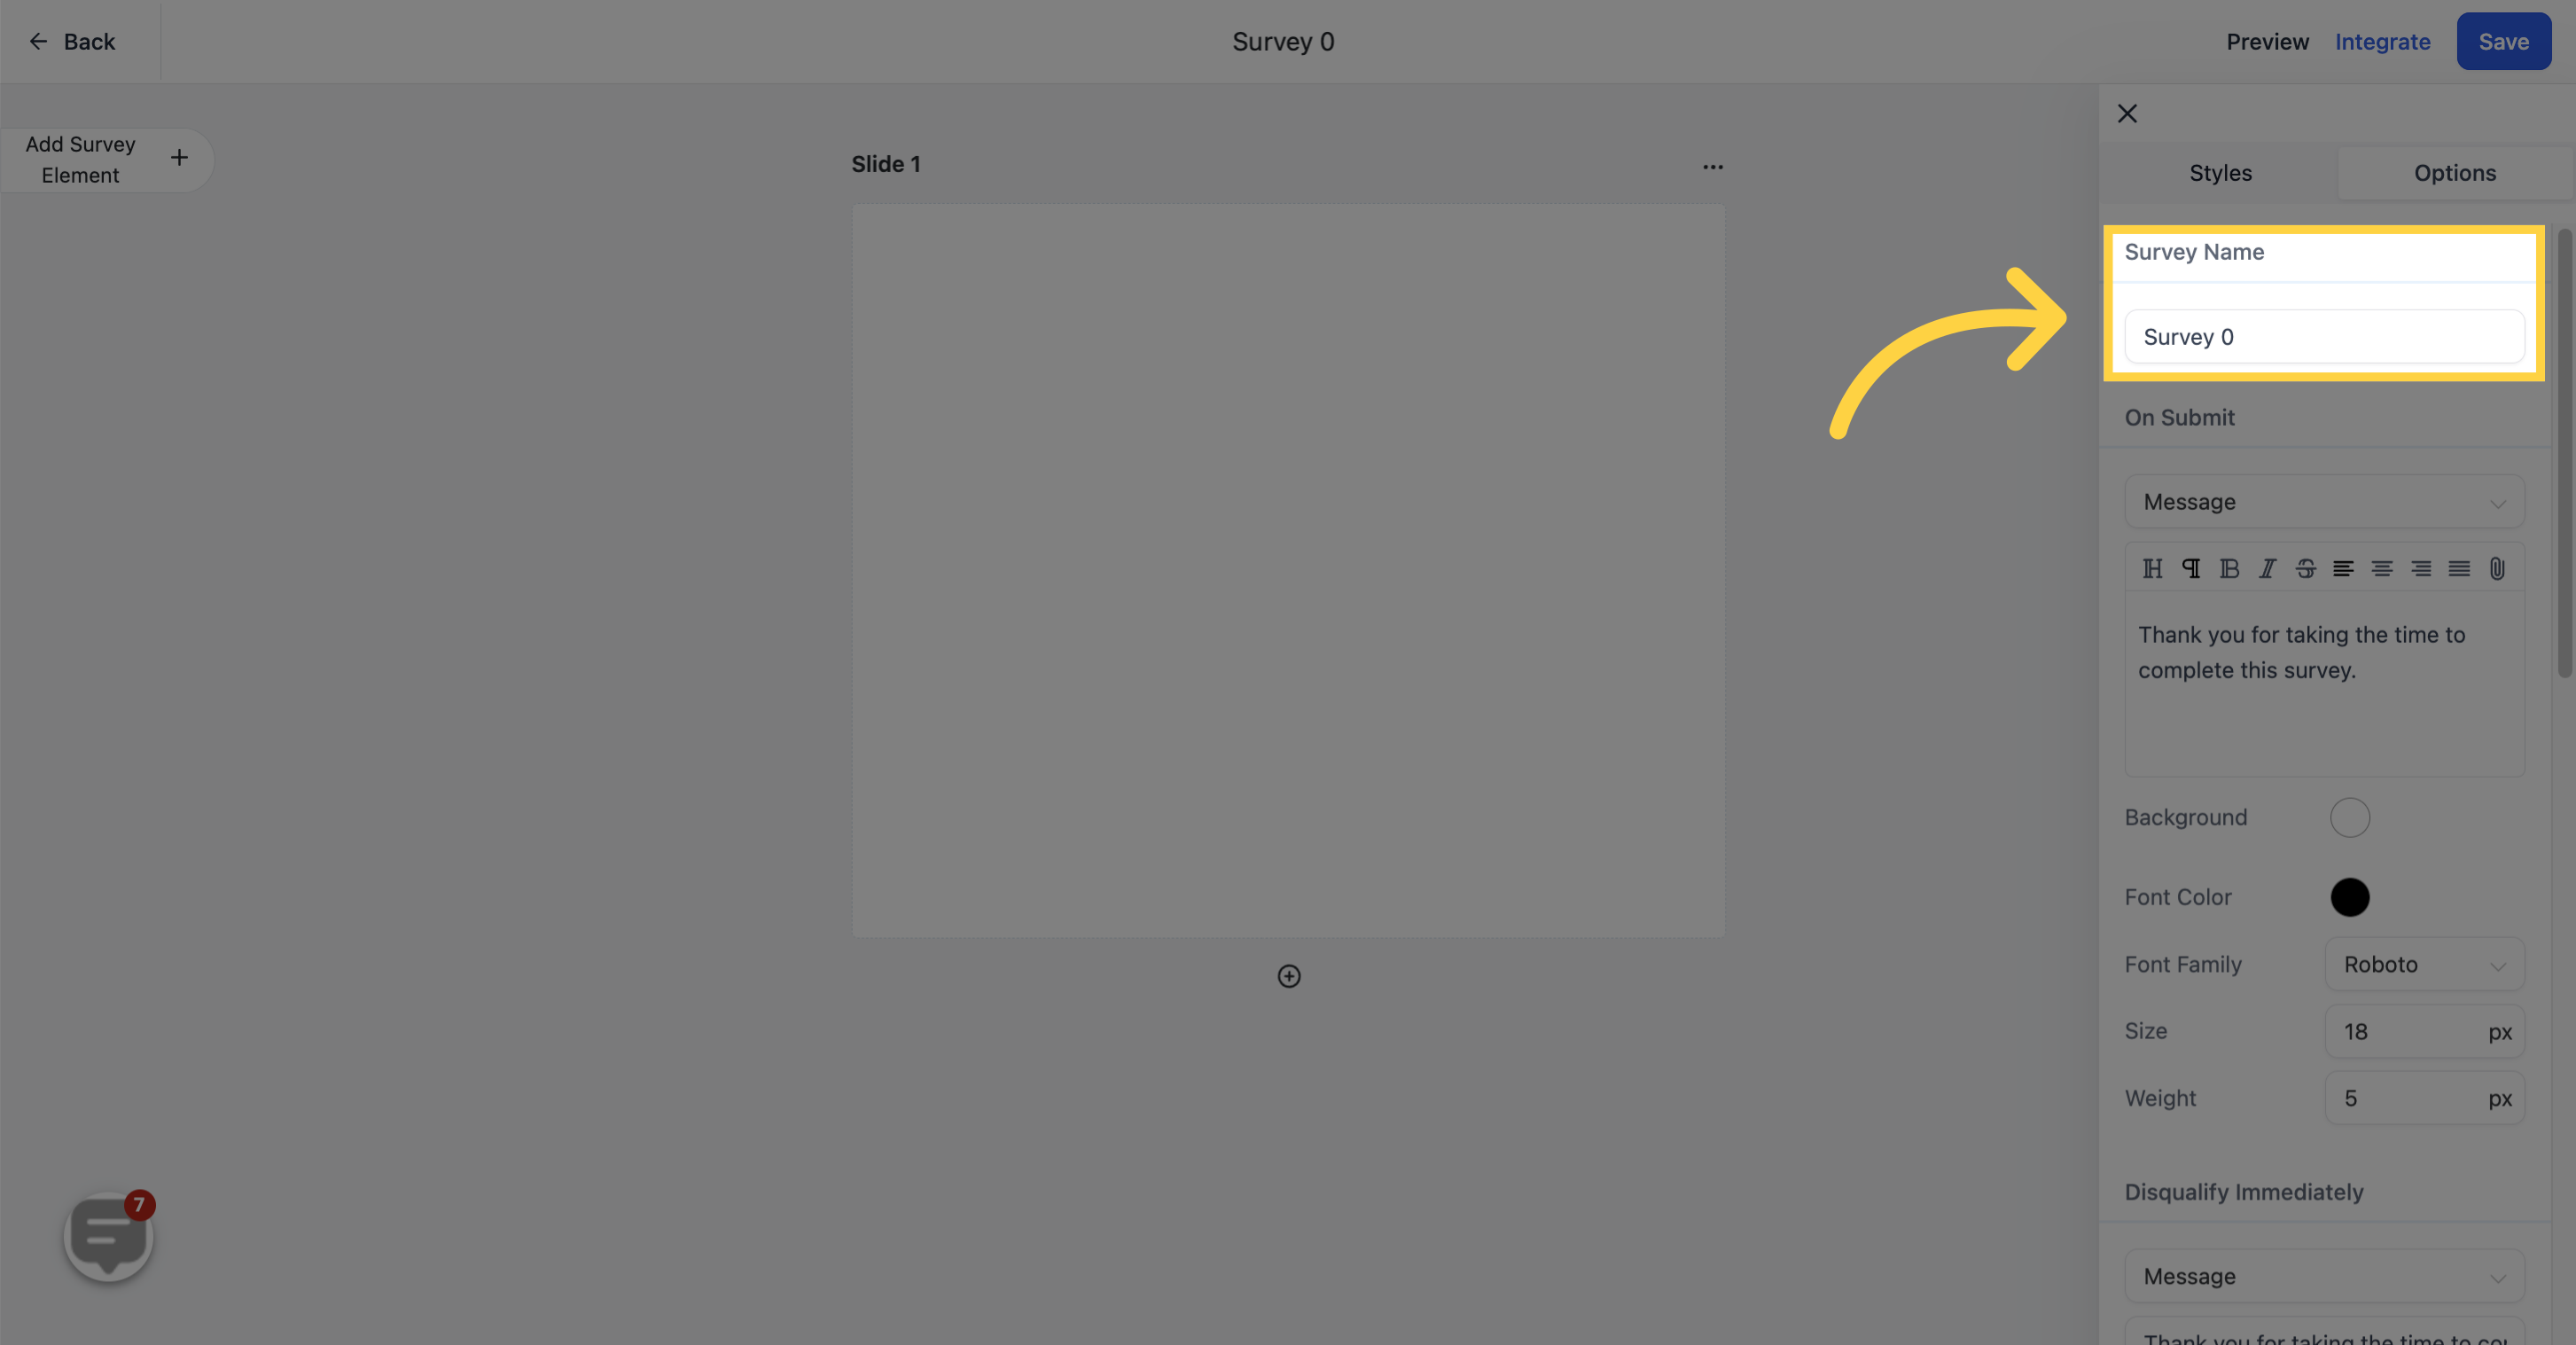
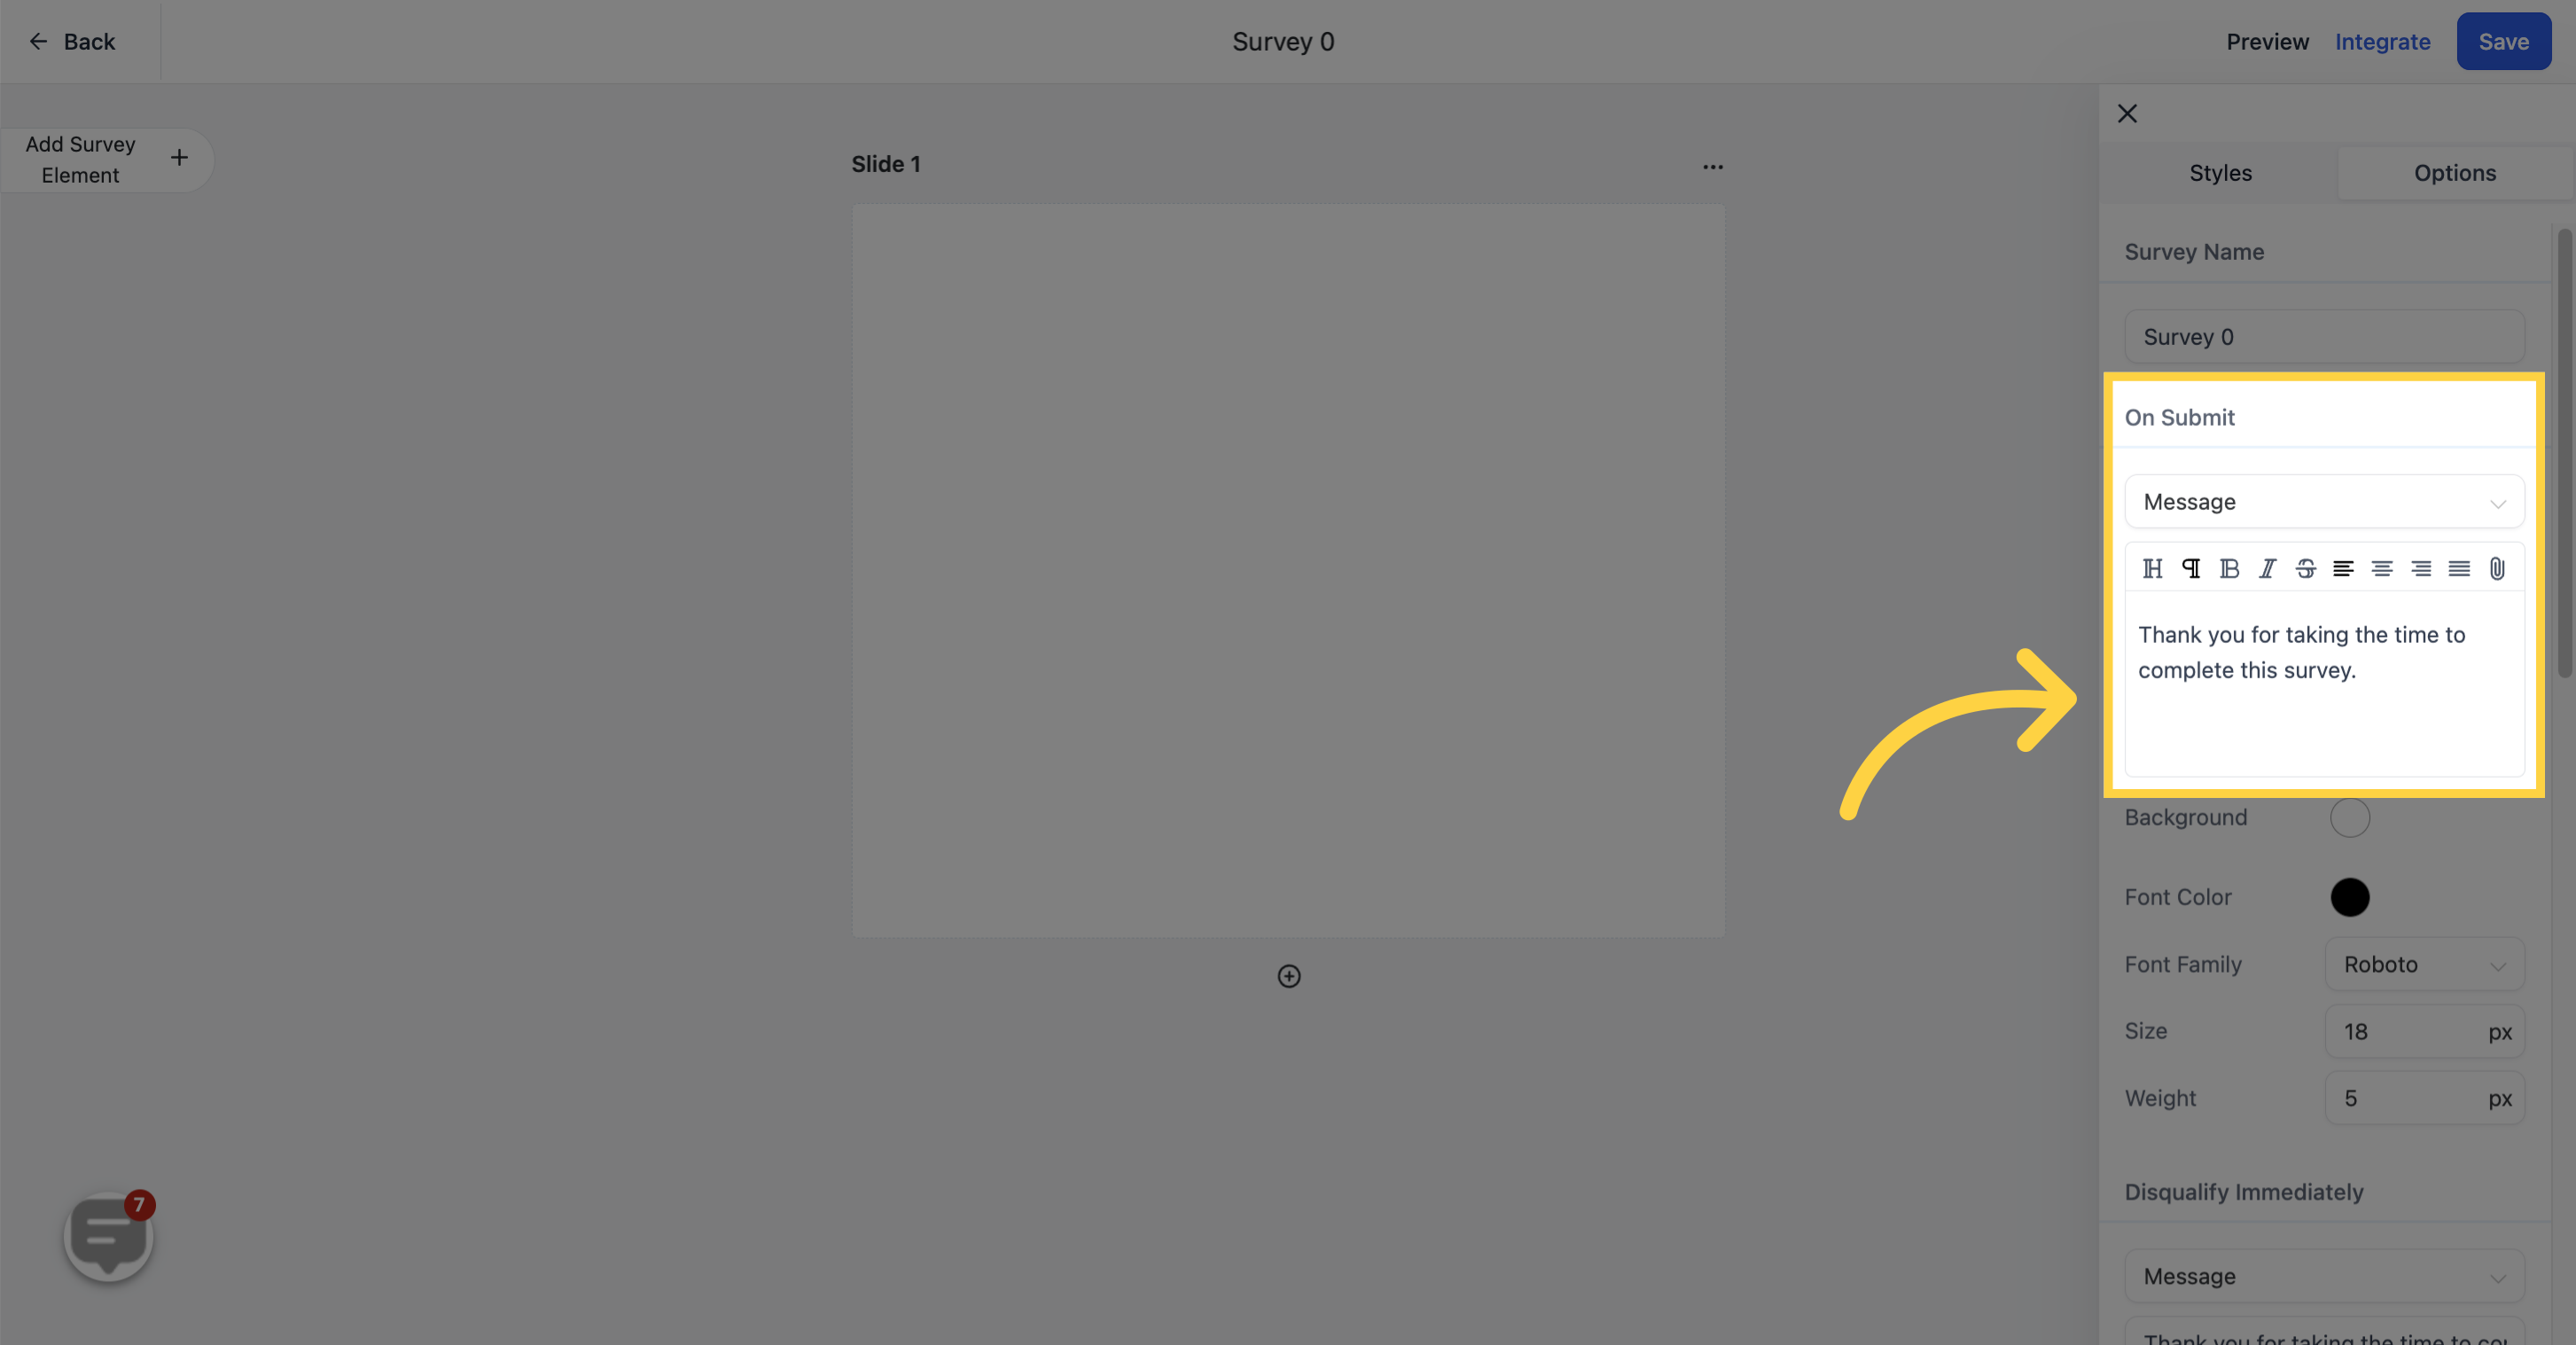
You can determine what happens when a survey is submitted by a visitor.
Open URL: Selecting this option will redirect the visitor to a URL of your choice after they submit the survey. Typically, a "Thank You" page is used.
Message: If you choose this option, the visitor will see a message after submitting the survey, and they will remain on the same page. Remember to add a message in the designated input section for this to take effect.
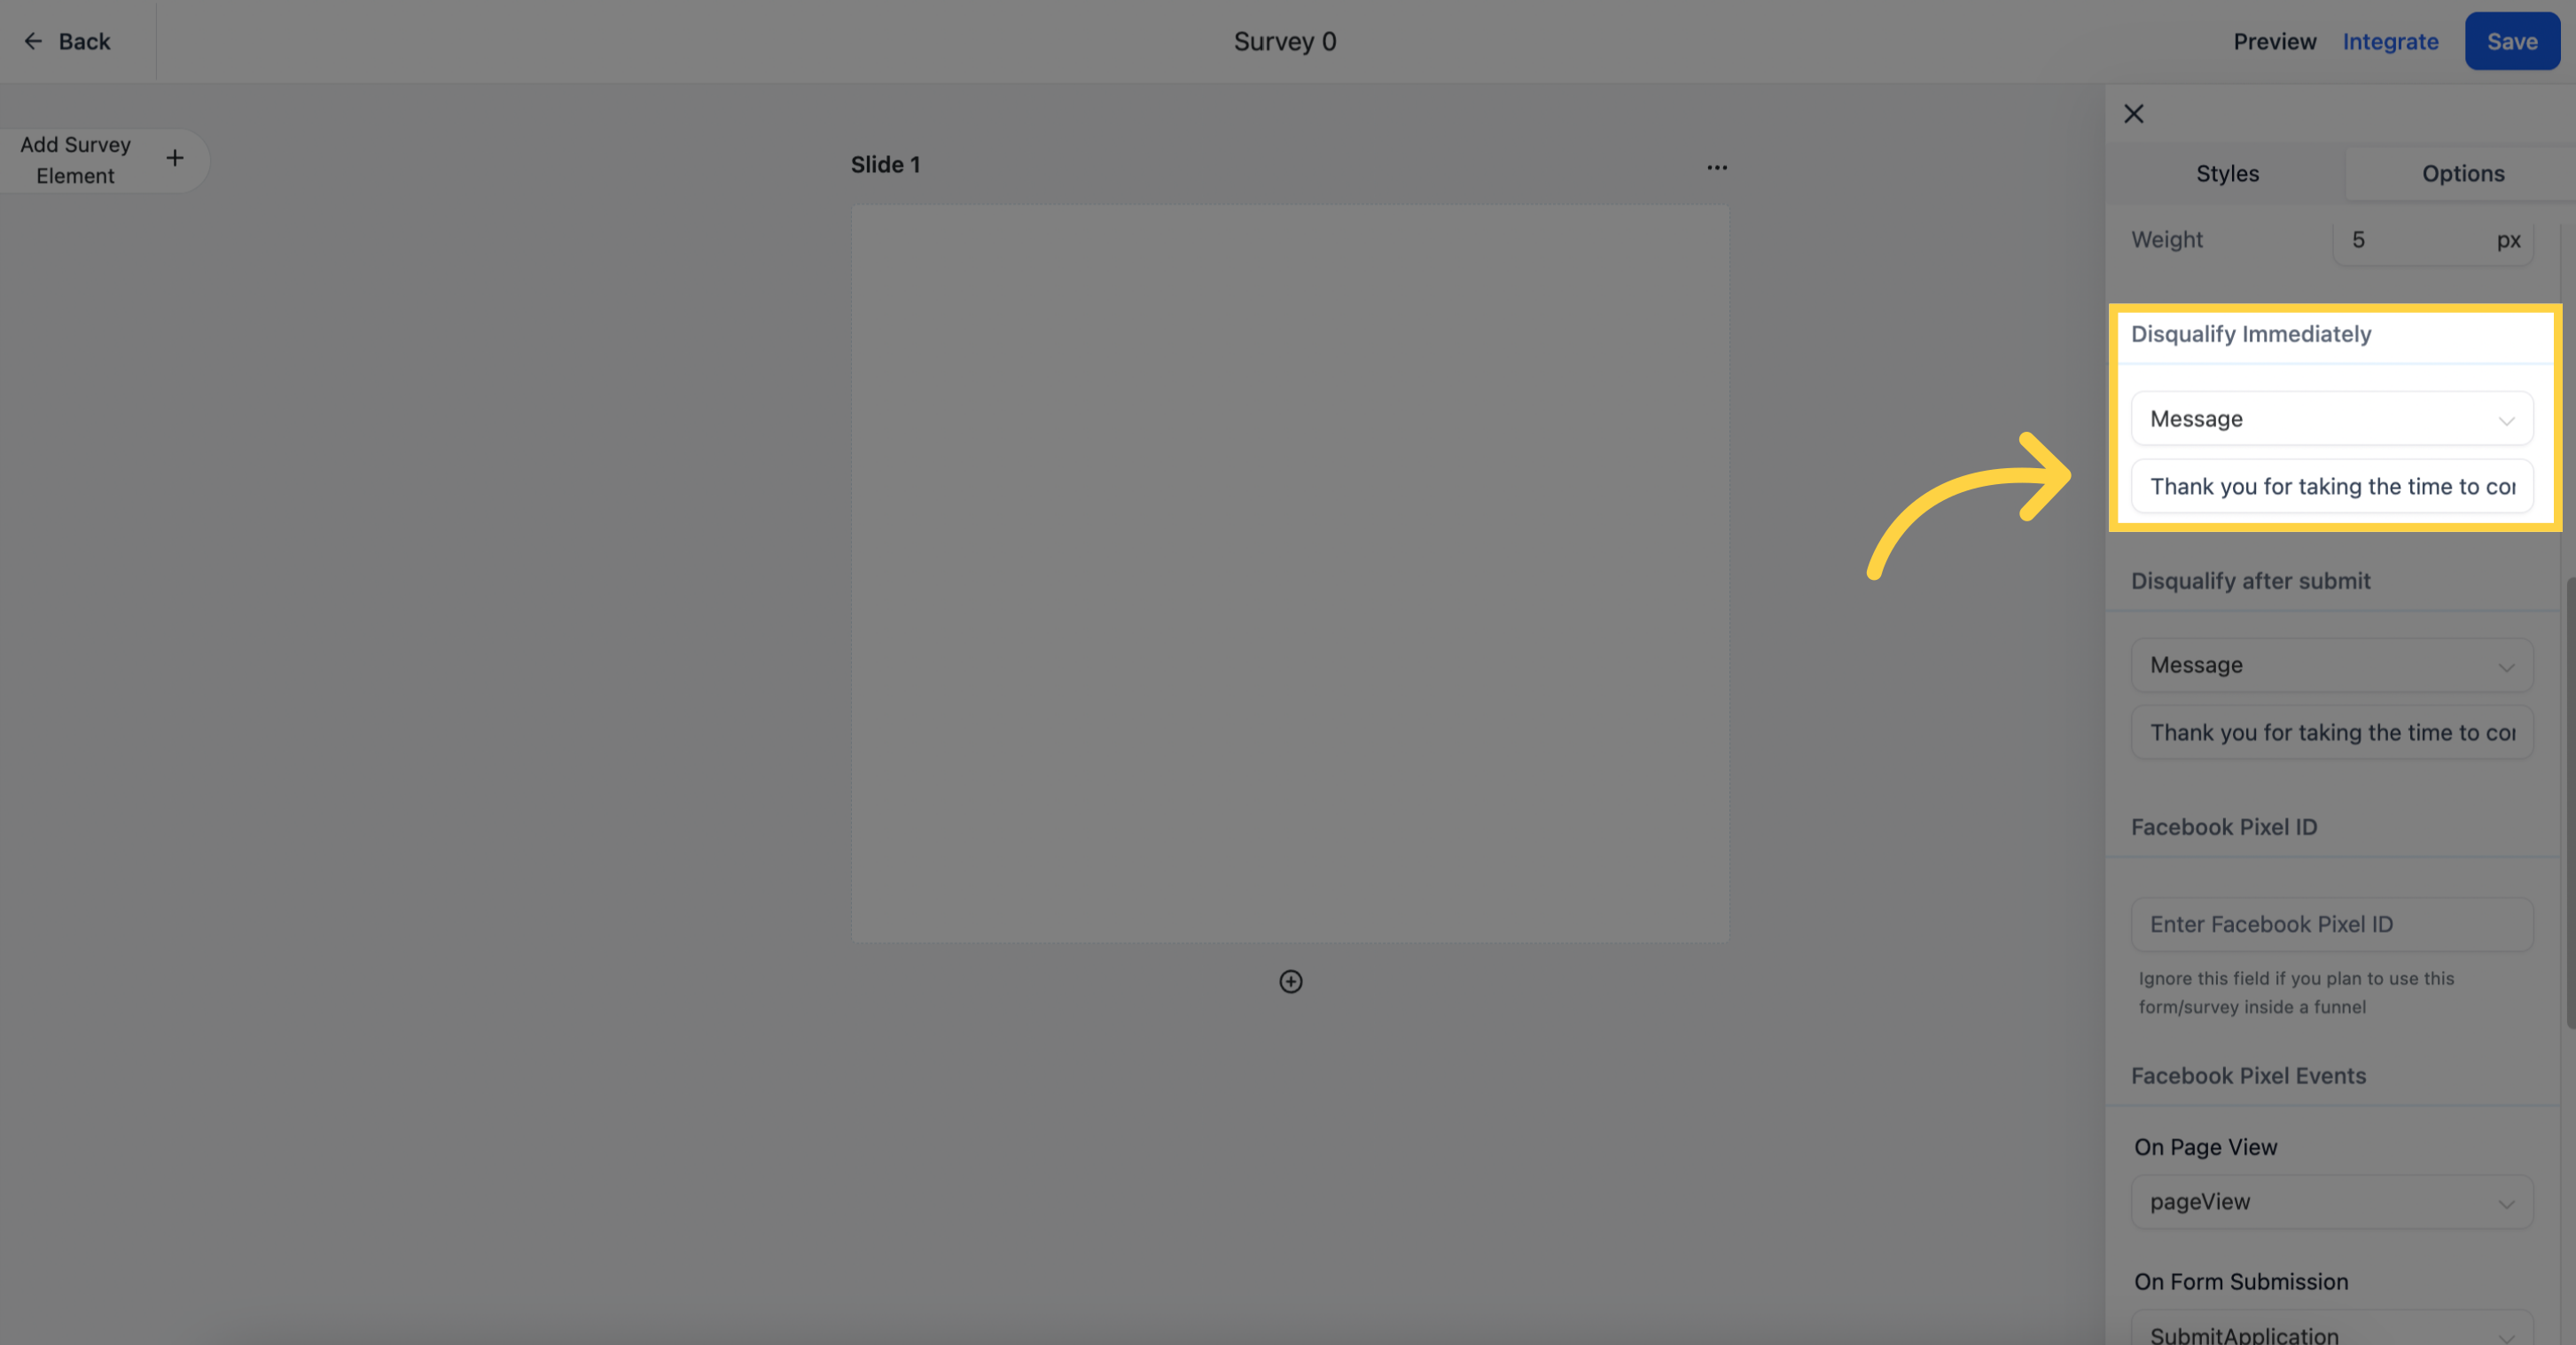
During survey creation, you have the option to "Disqualify Immediately" if a visitor selects a specific answer.
Open URL: The visitor will be redirected to a URL of your choice.
Message: The visitor will see a message indicating their disqualification and will remain on the same page. Be sure to provide a message in the input section for this to take effect.
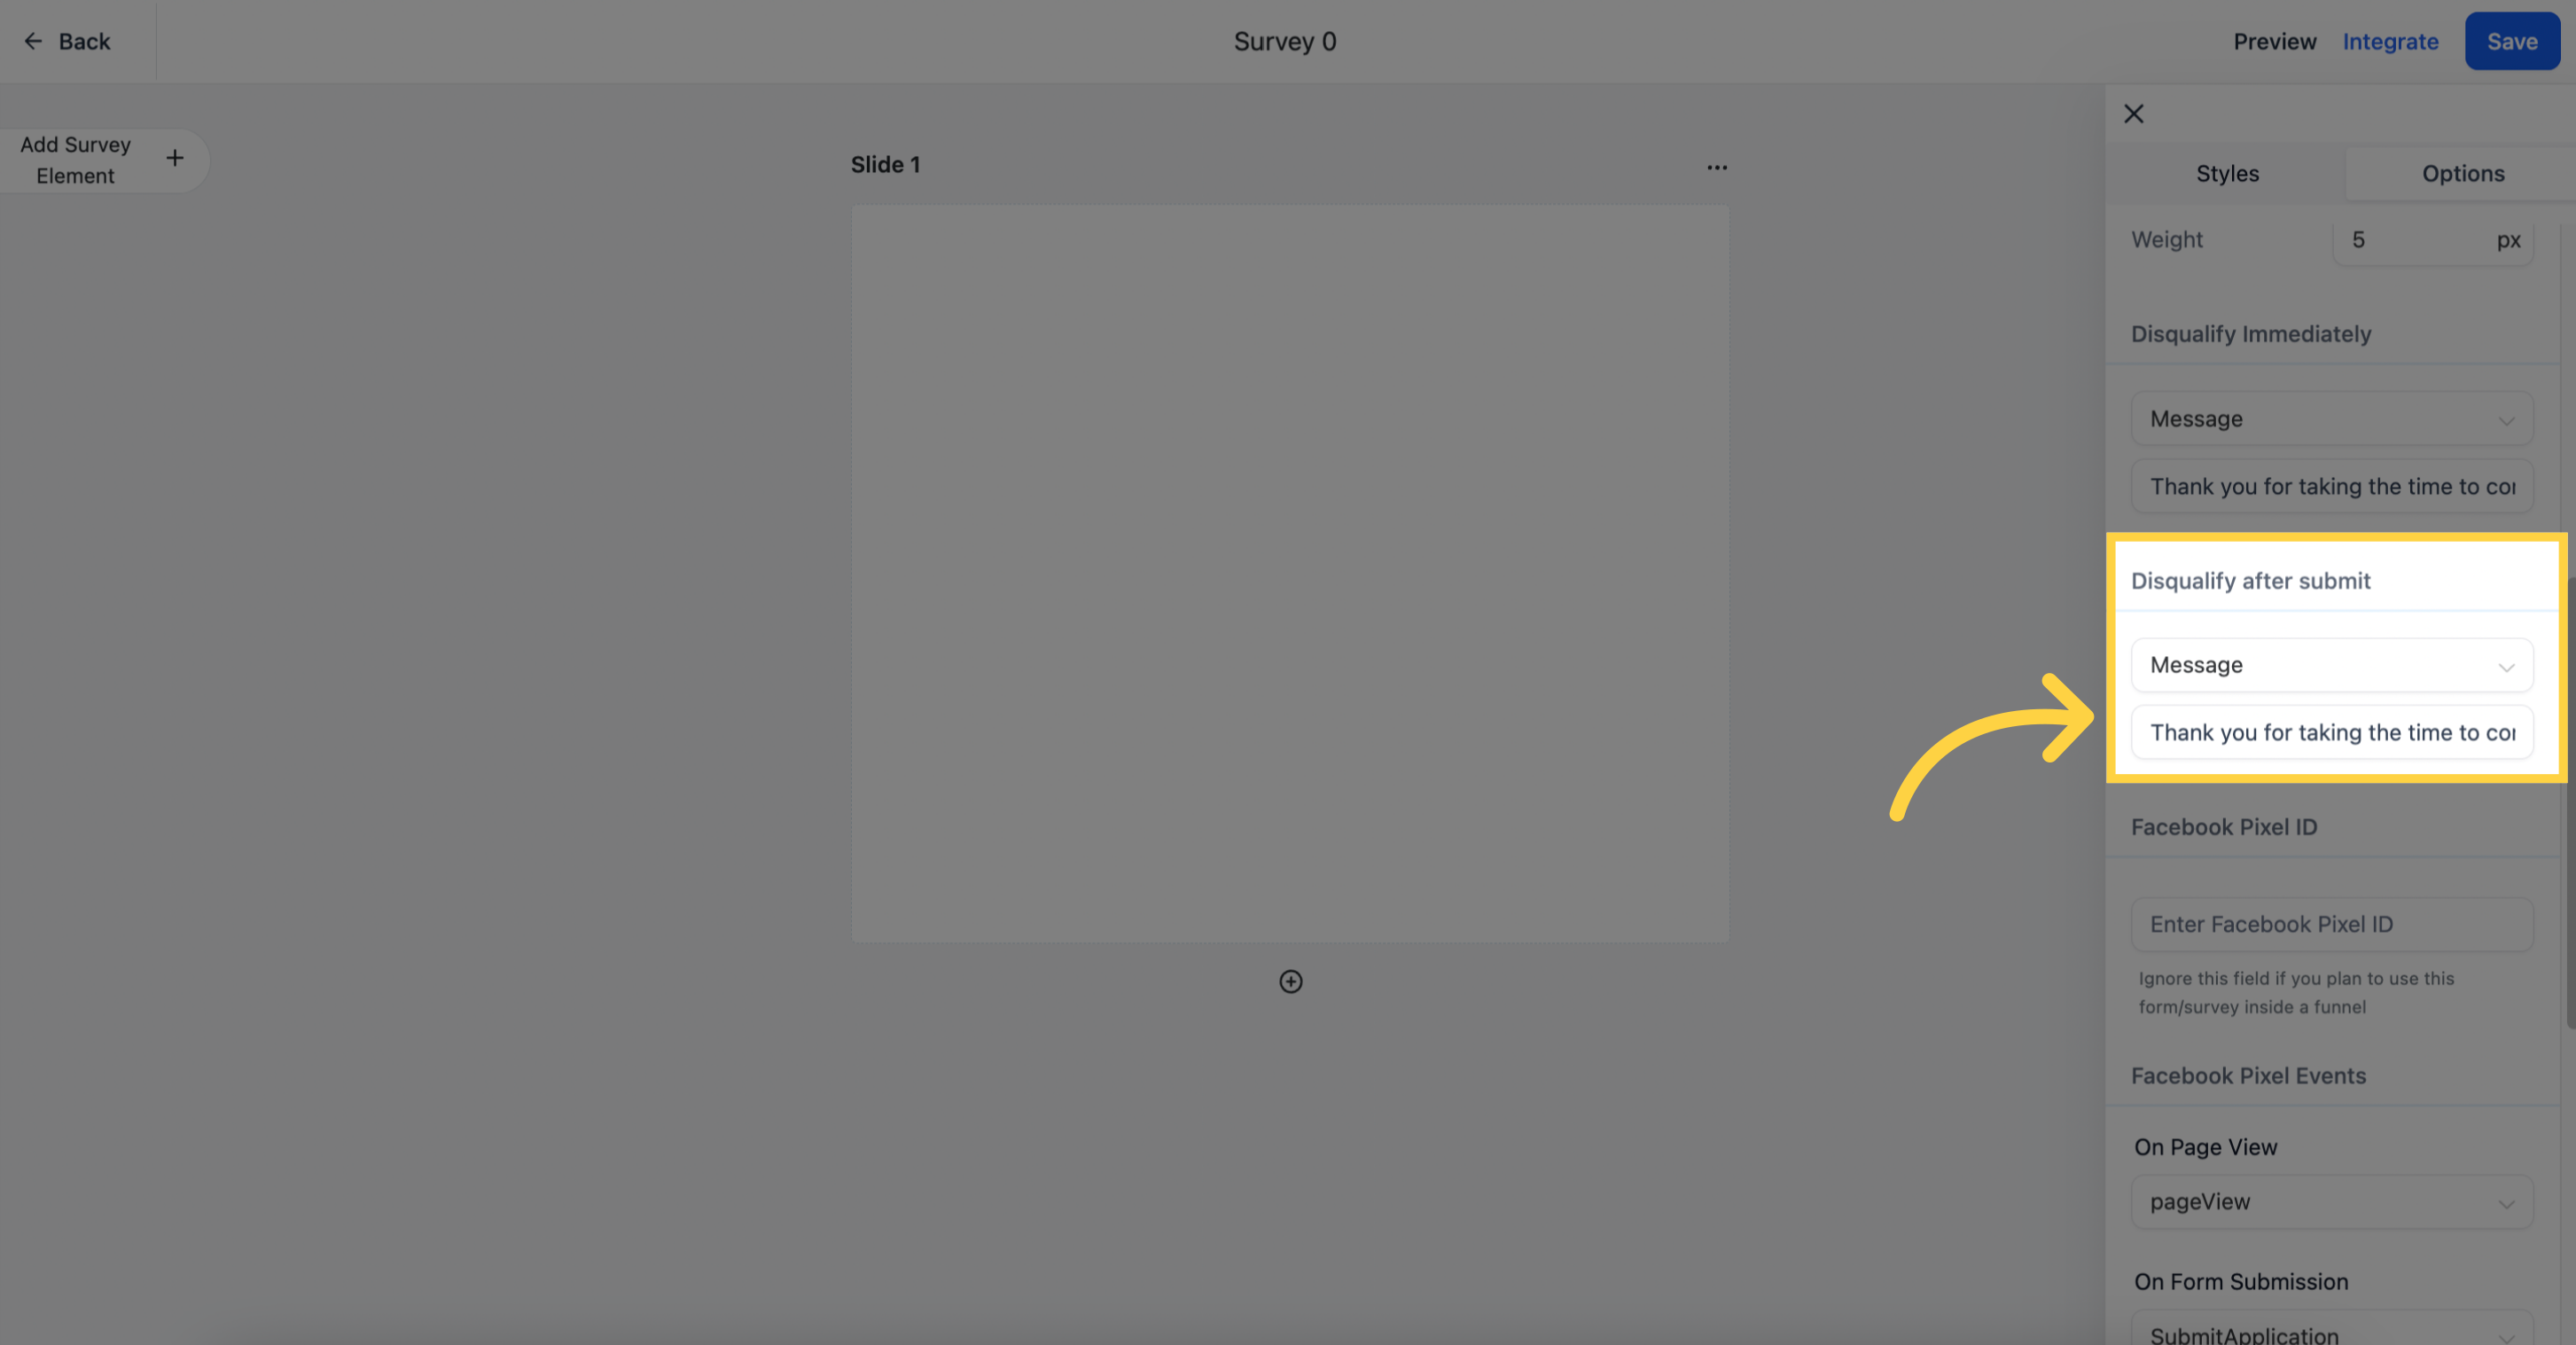
Another option available is to "Disqualify After Submit" when a visitor selects a specific answer. This allows the visitor to complete the entire form but be disqualified at the end.
Open URL: The visitor will be redirected to a URL of your choice.
Message: The visitor will see a message indicating their disqualification and will remain on the same page. Add a message in the input section for this to take effect.
Use this field to track form submissions and utilize your Facebook Pixel for analytics and advertising. If you plan to use the survey within a funnel, you can ignore this field.

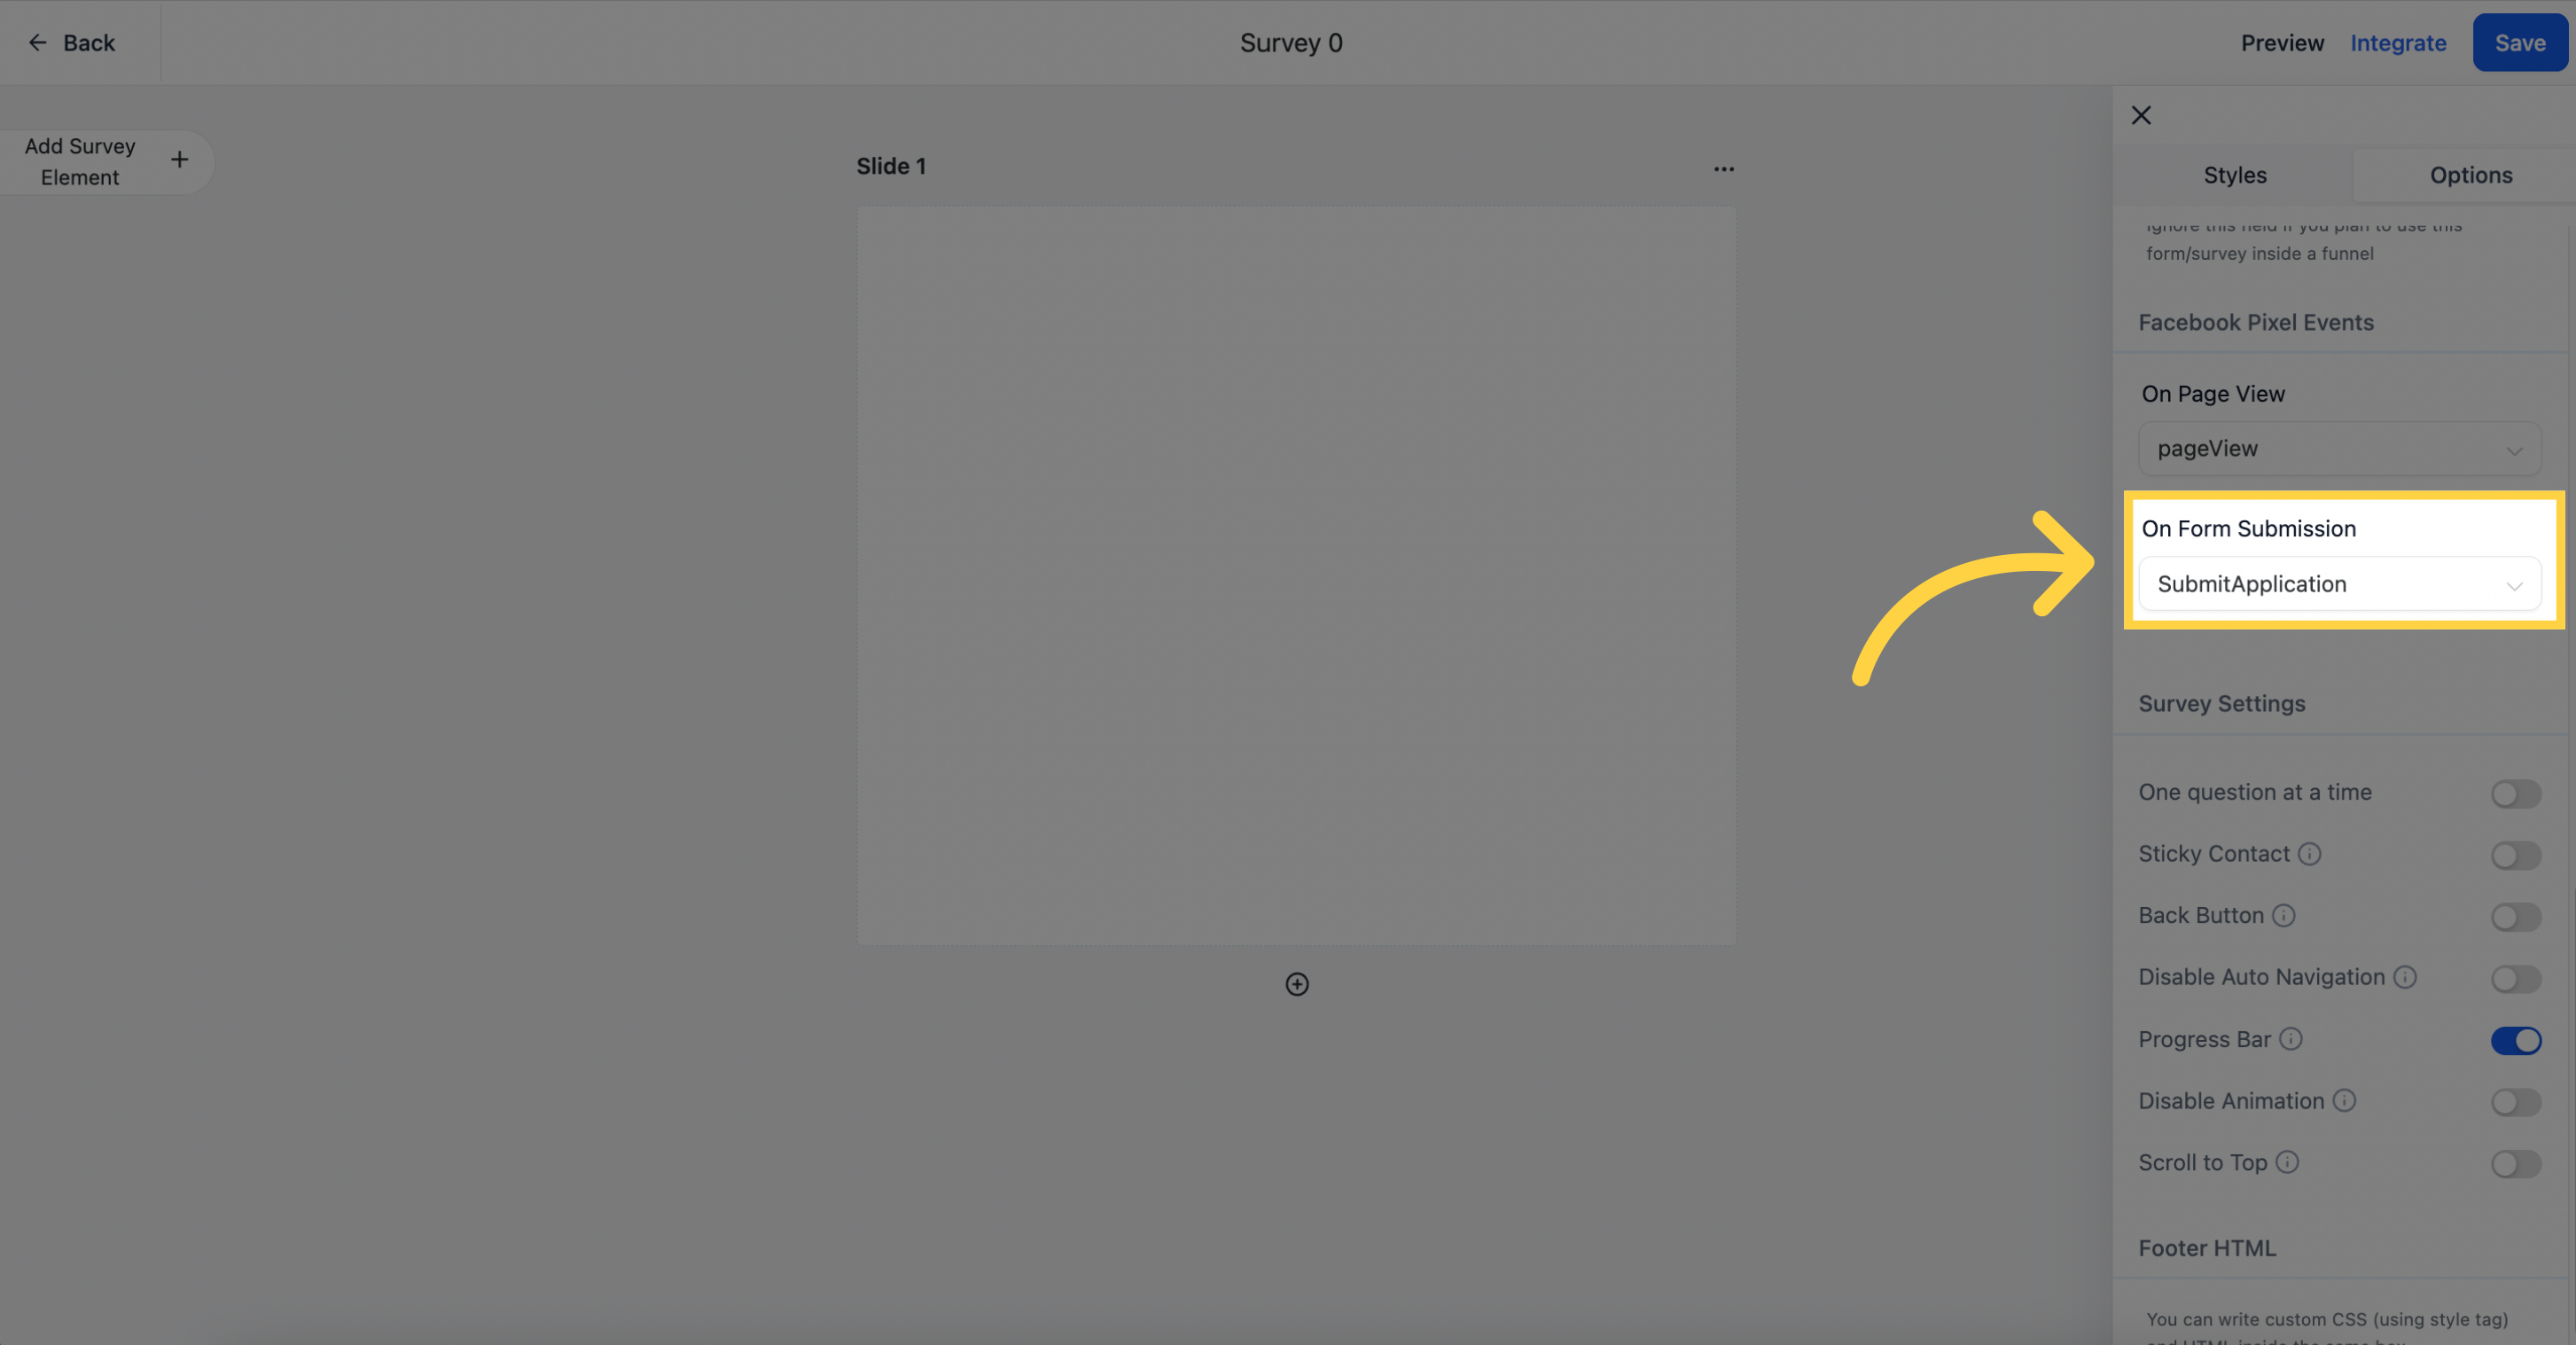
Specify Facebook Pixel event settings to track and attribute actions related to the survey.

Here, you can select which events should be triggered when a visitor lands on the page where your survey is embedded.
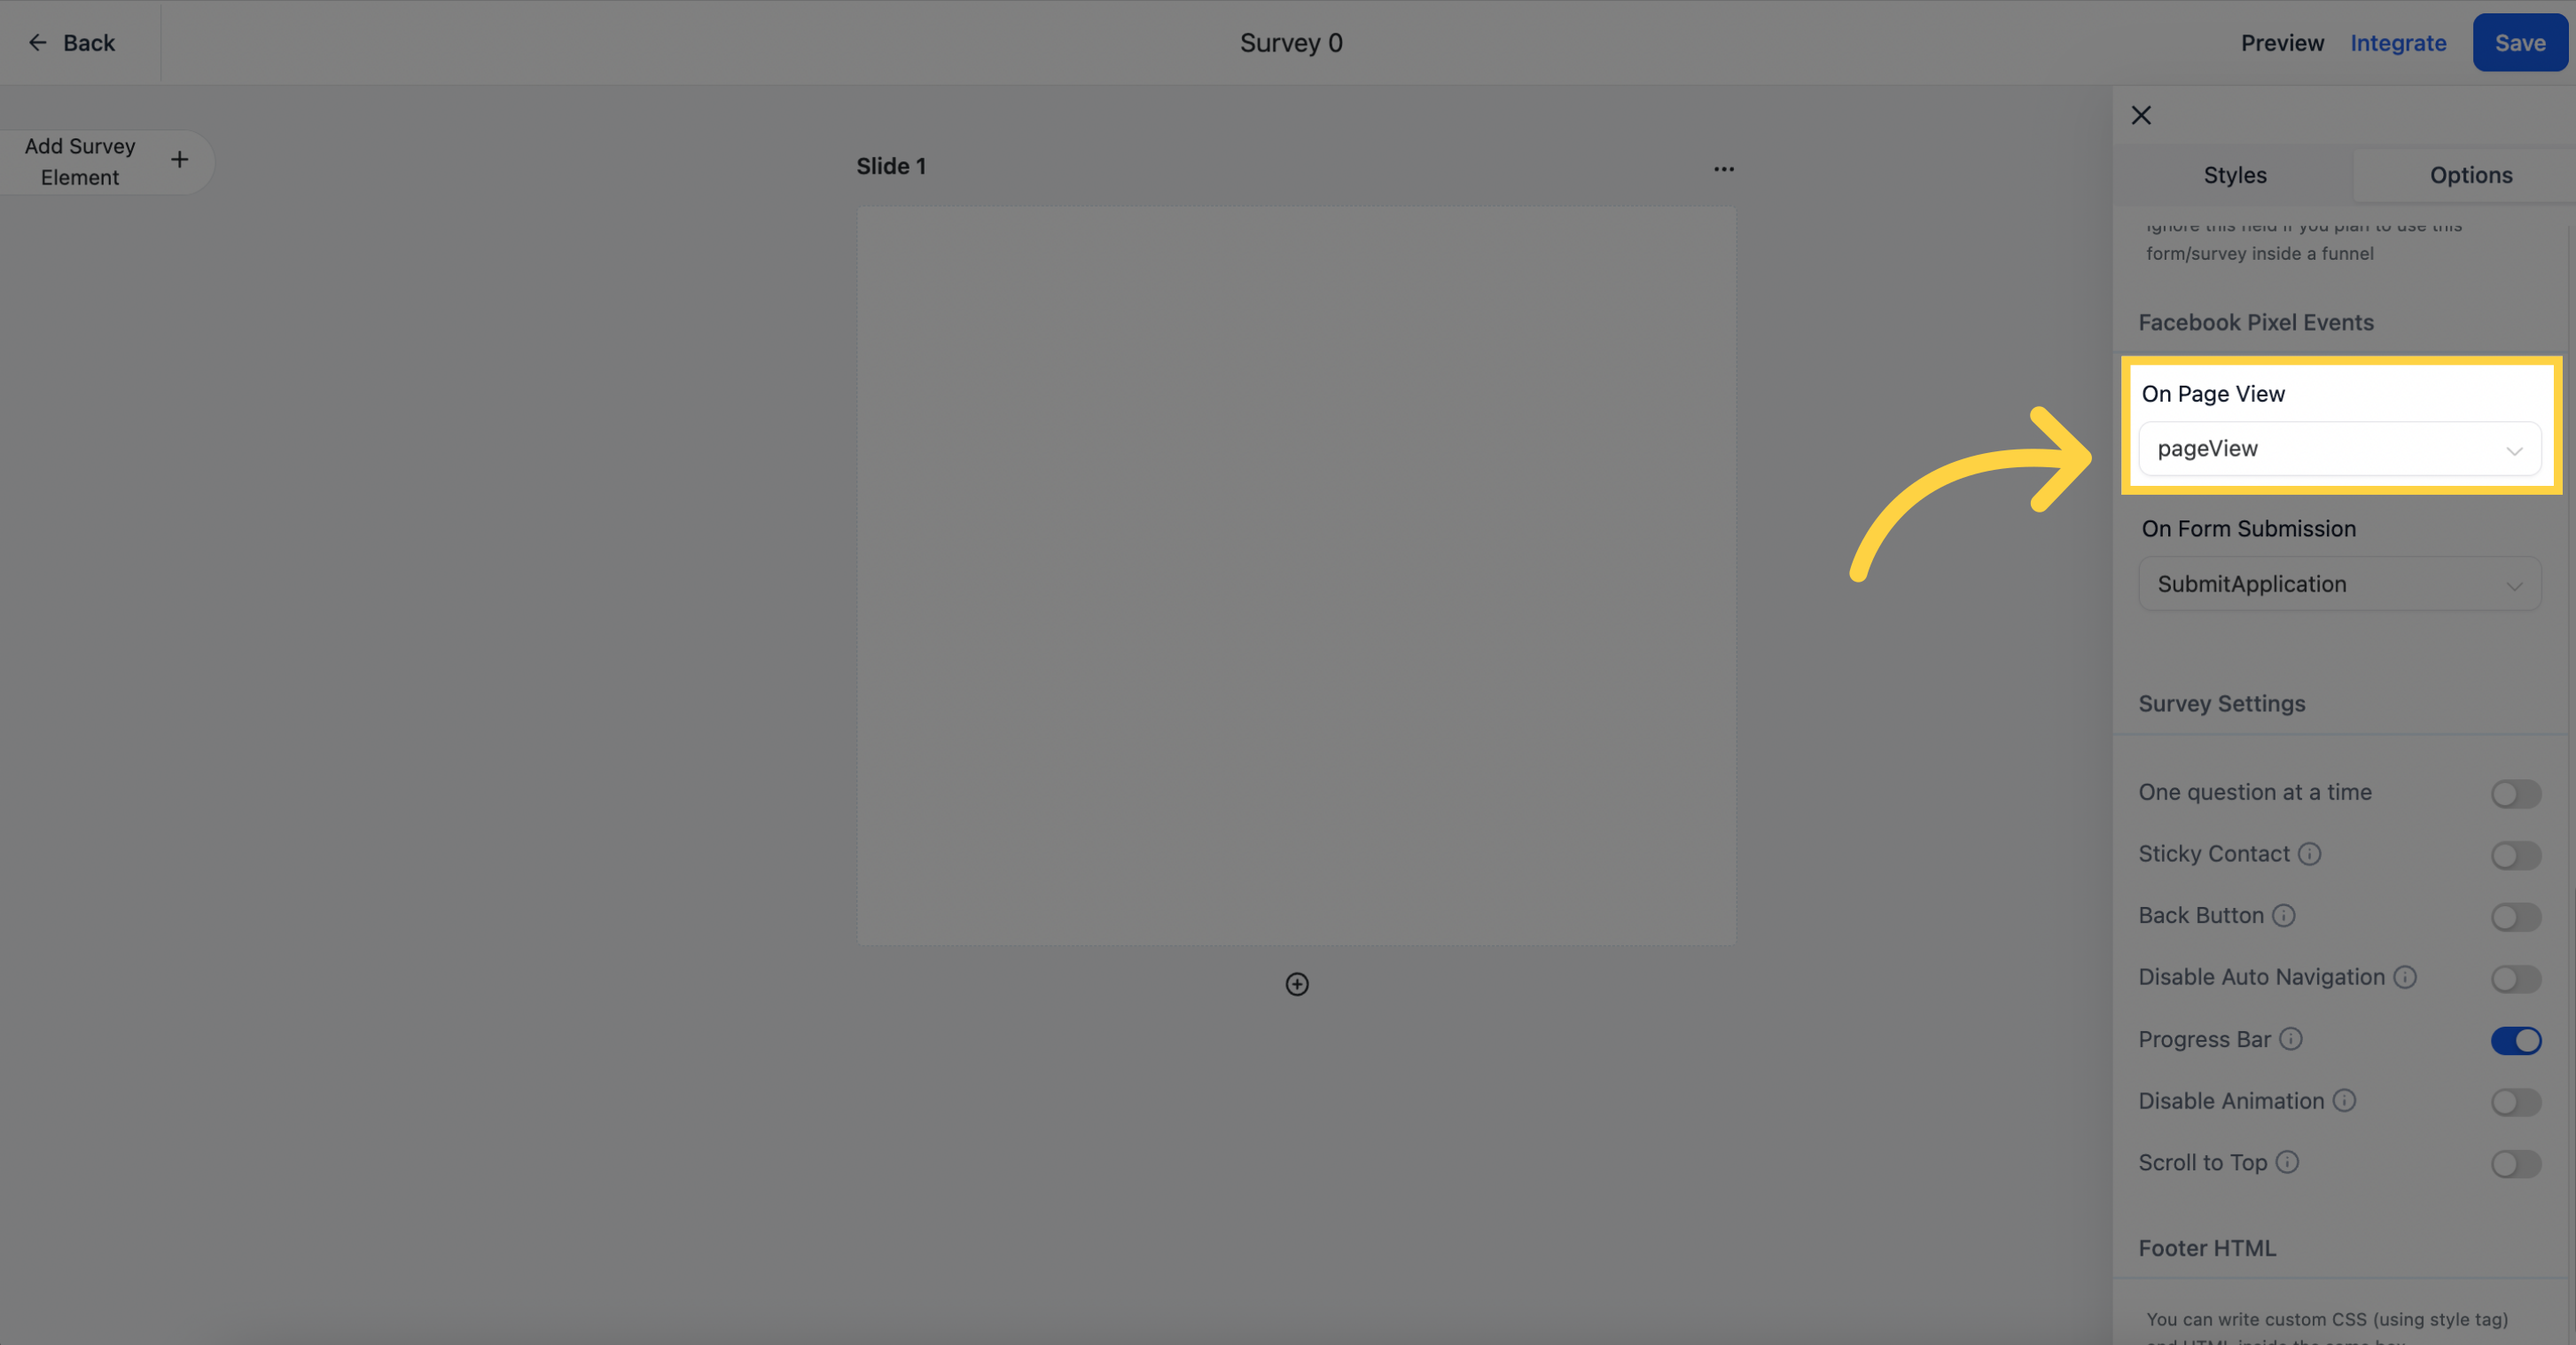
When a visitor submits your survey, you can choose what events will fire.
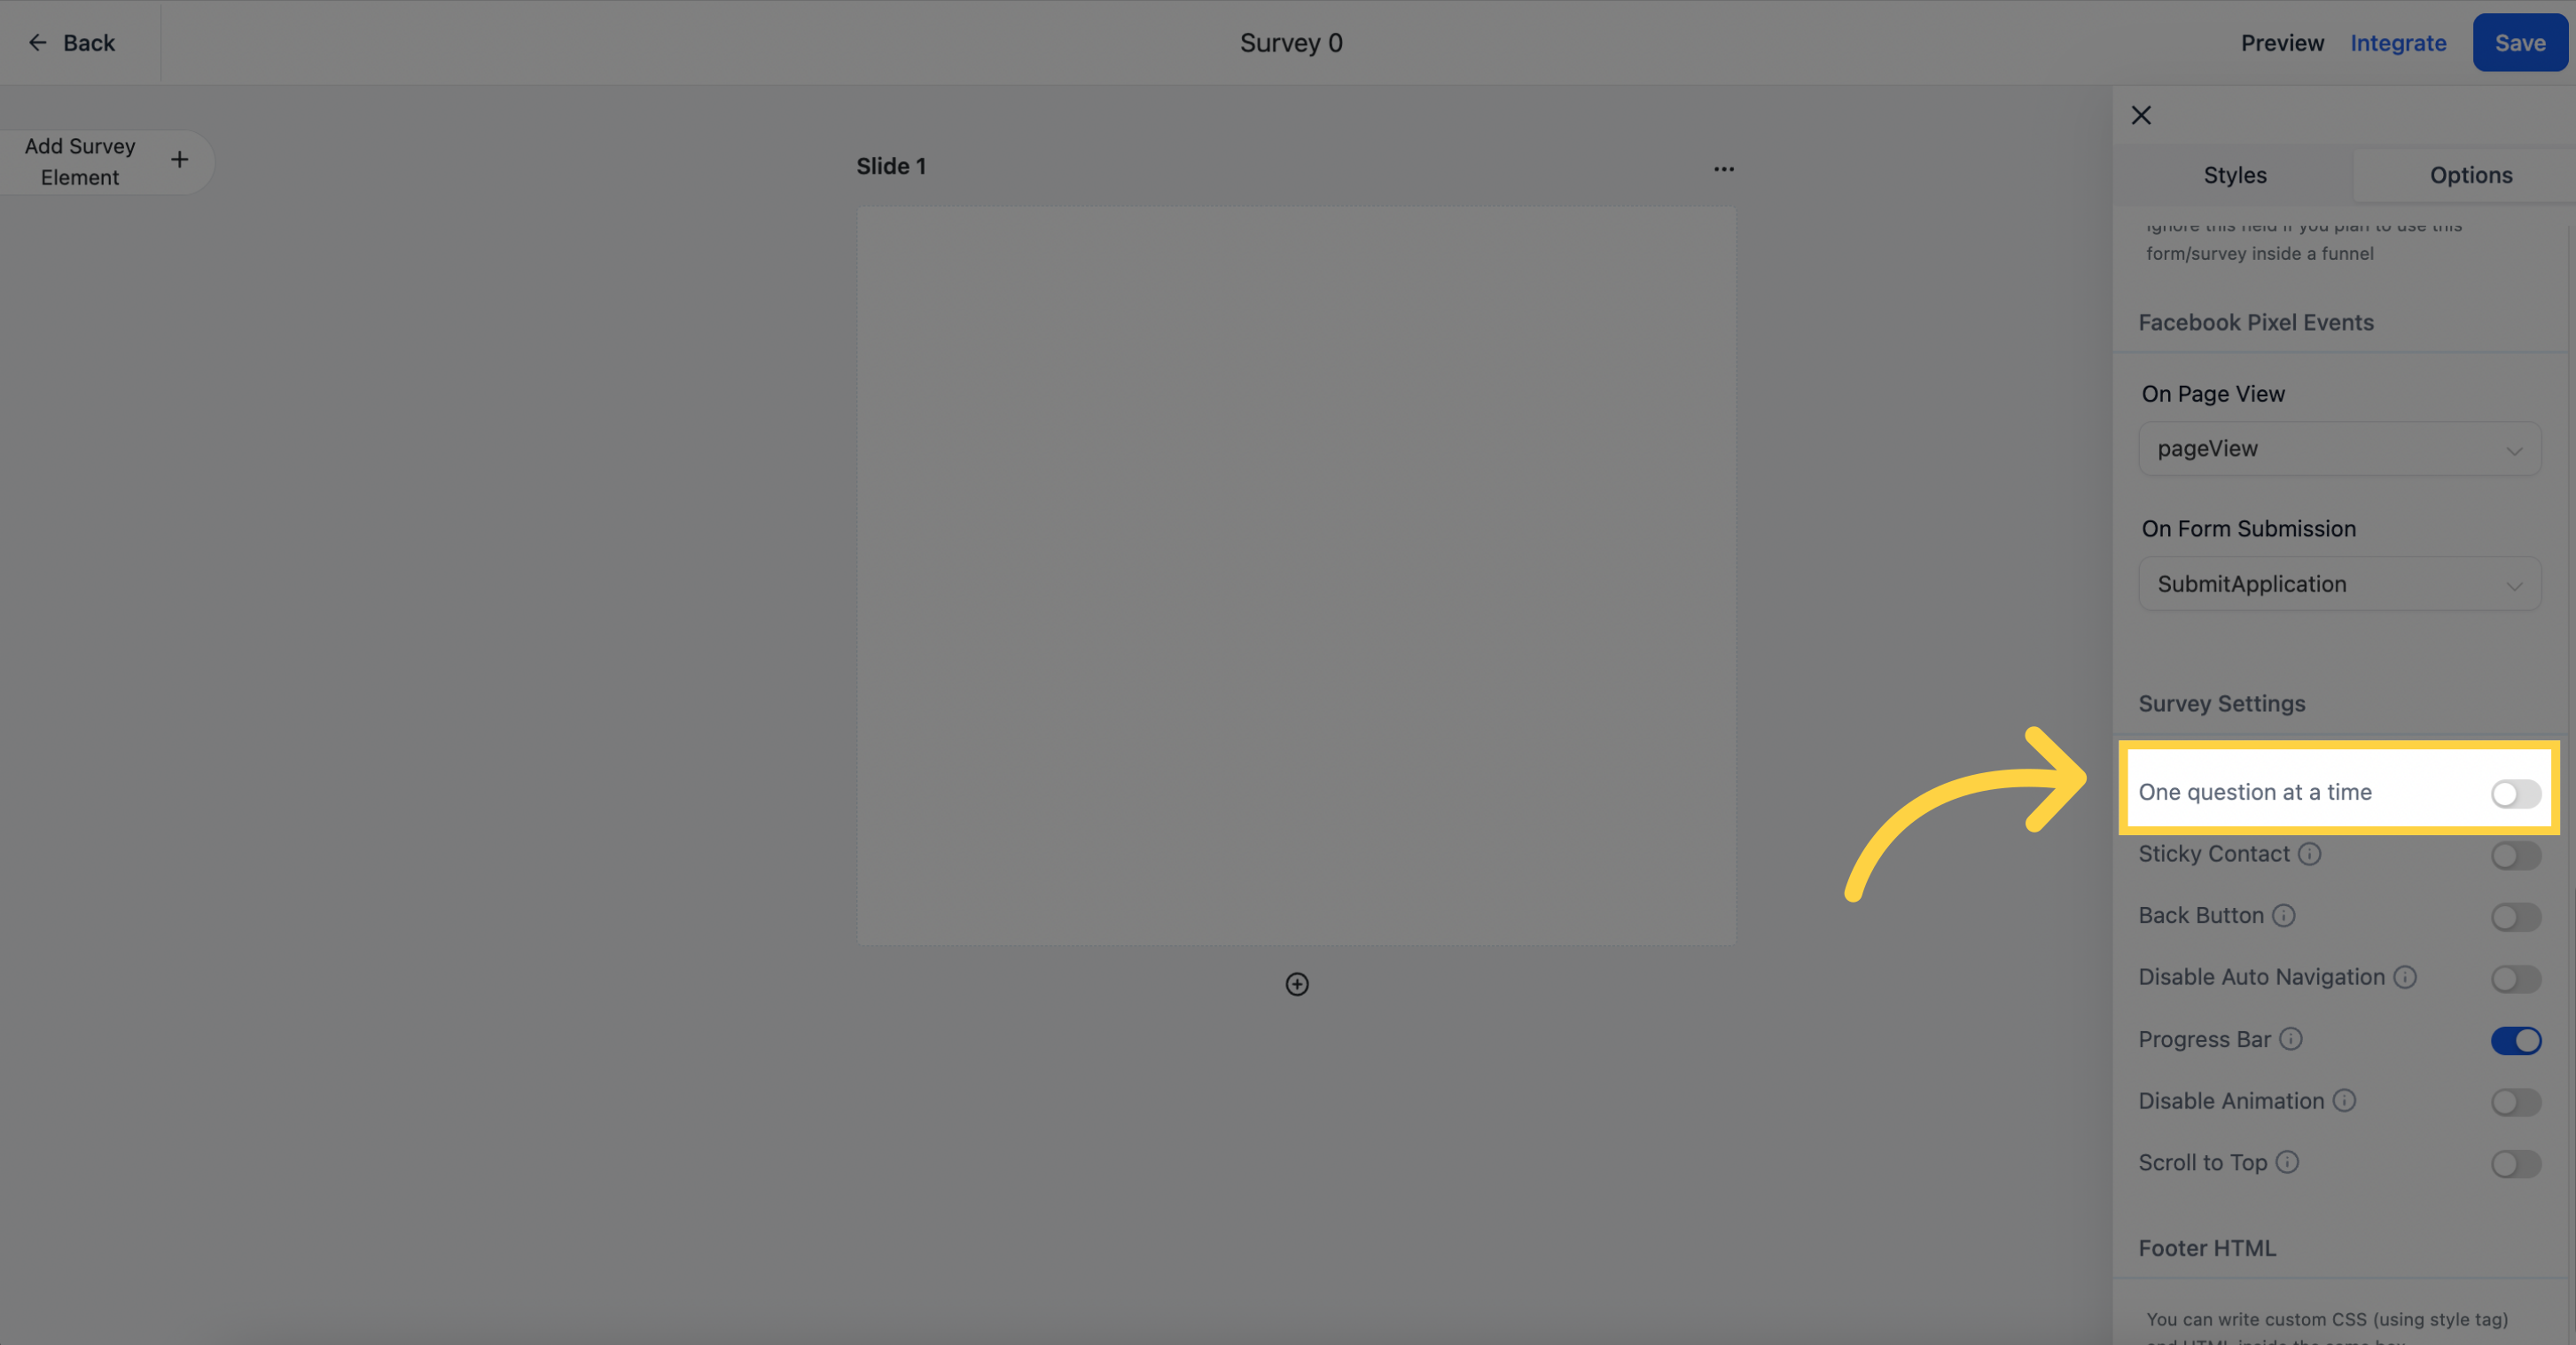
Toggle this setting "On" to show only one survey question per slide to the visitor. They will need to answer each question to proceed to the next one.
With this option enabled, the visitor's contact information will be autofilled if they have previously entered it. This saves them from having to enter it again.

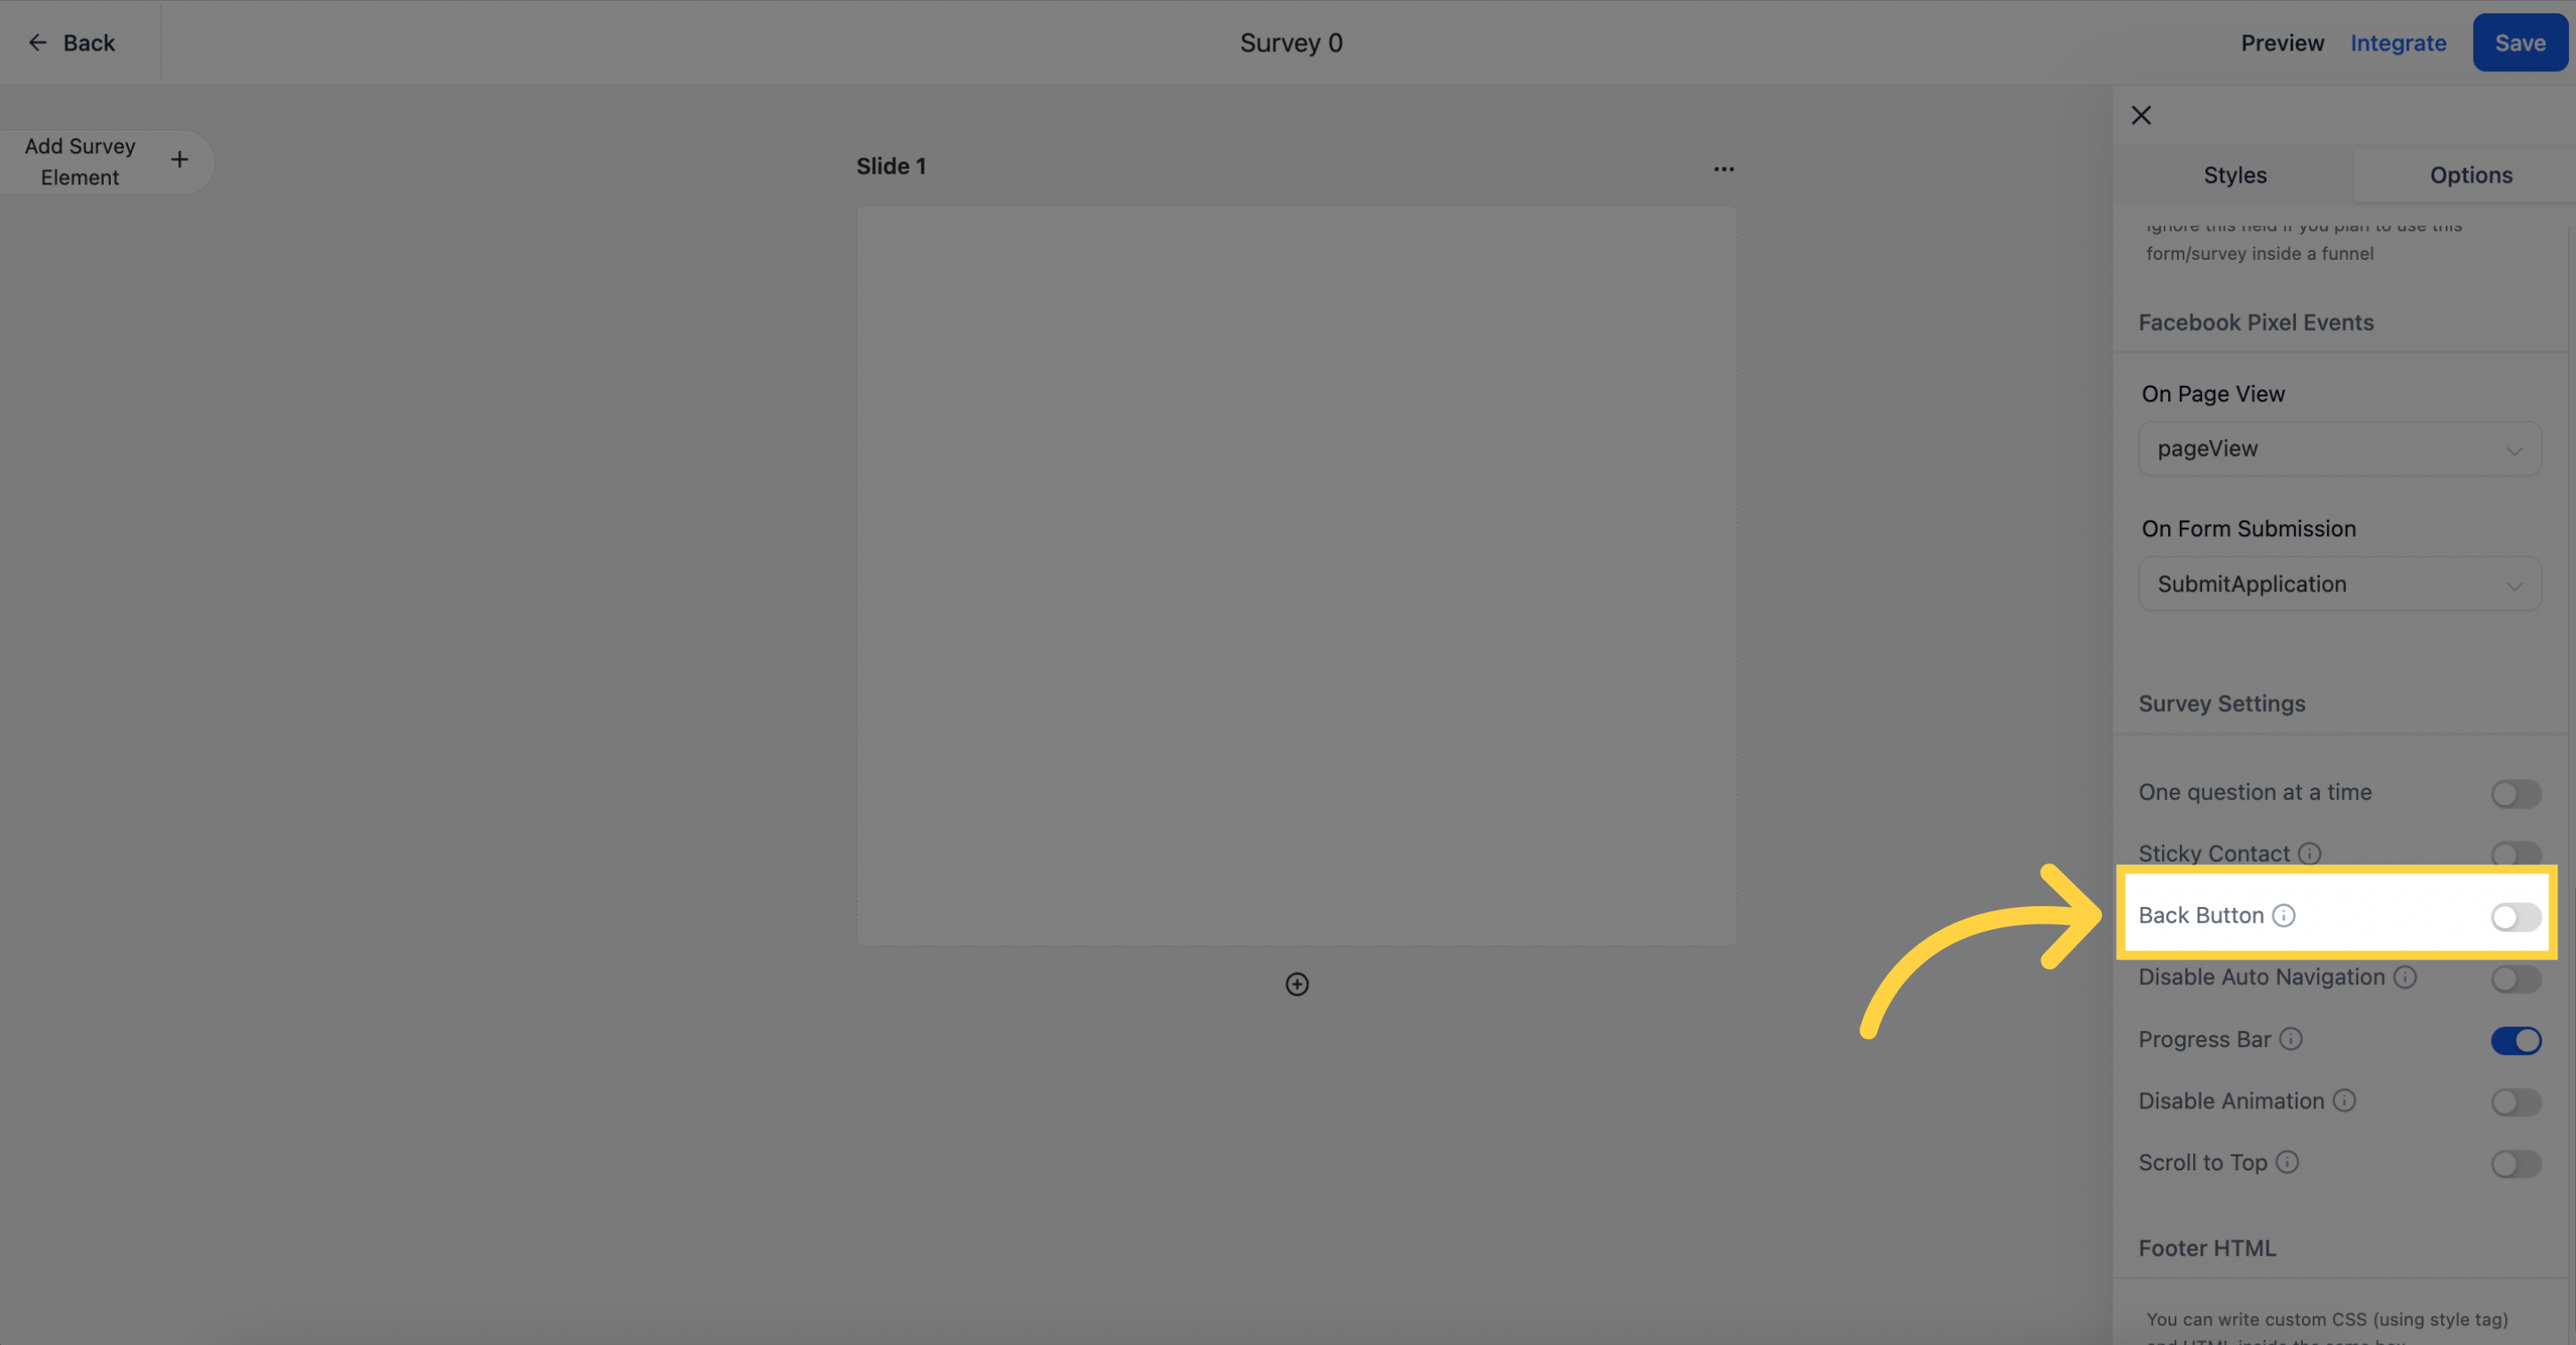
Give your visitors the ability to go back in the survey if they want to change an answer they previously provided.
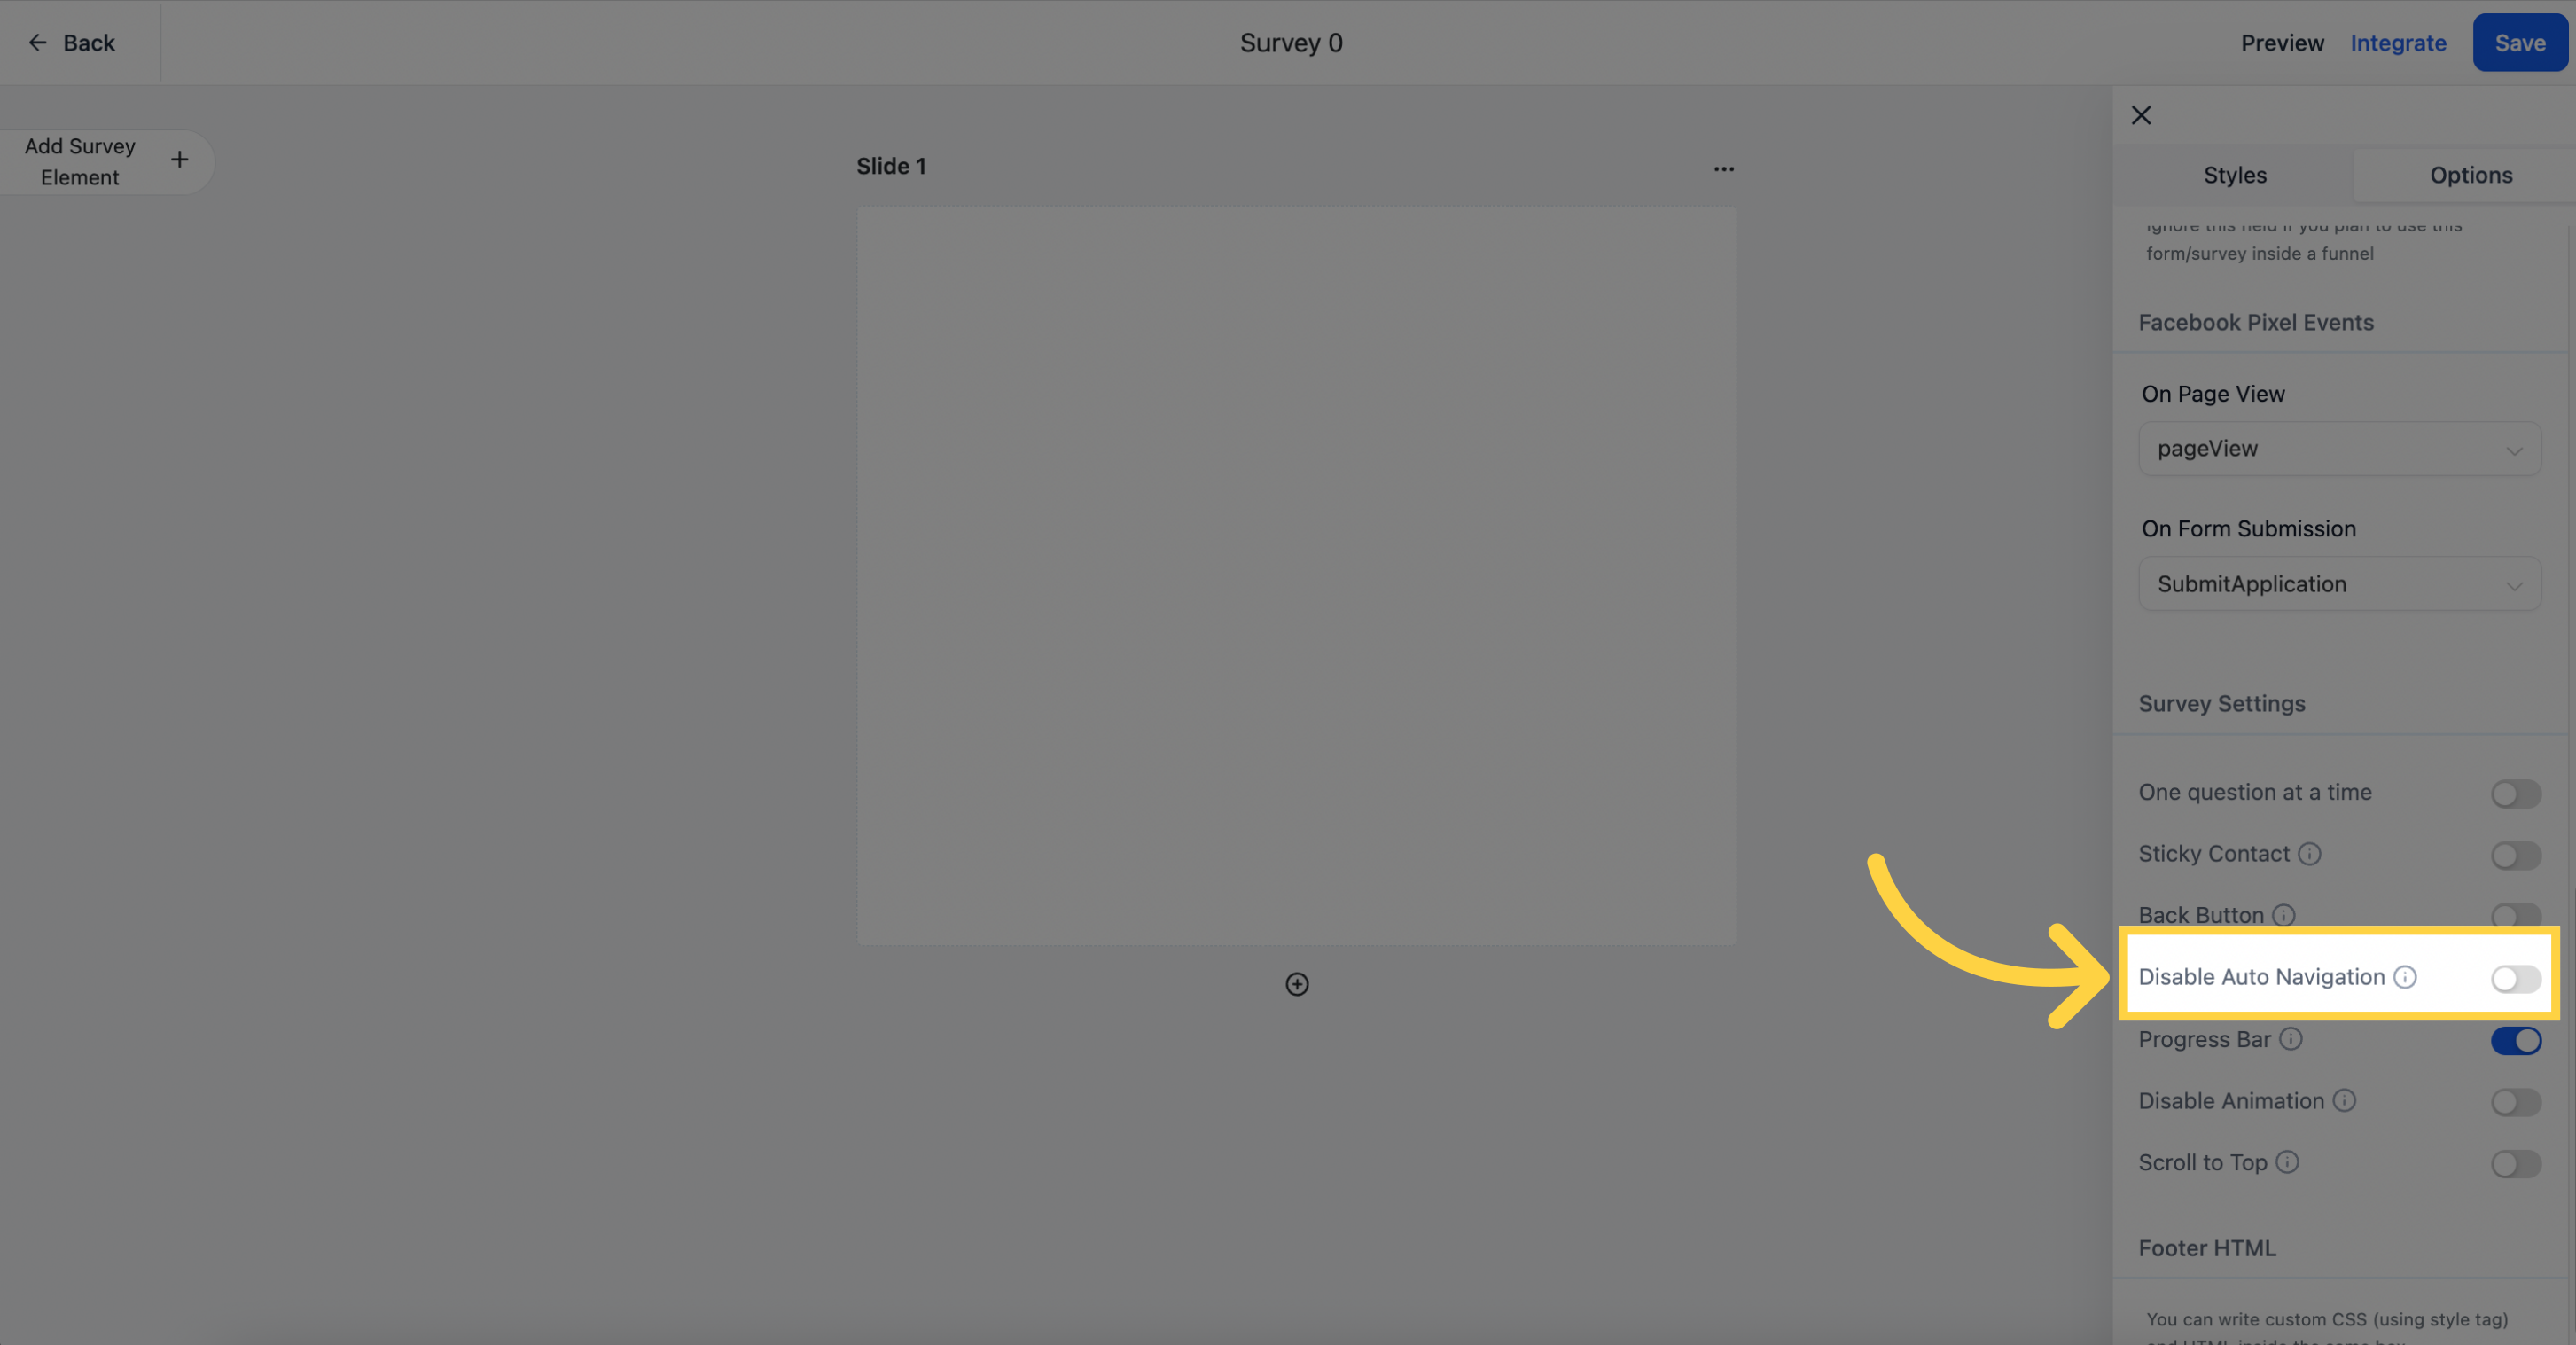
By disabling auto-navigation, the visitor will have to click "Next" to see the next survey slide and question. It hides the automatic progression.
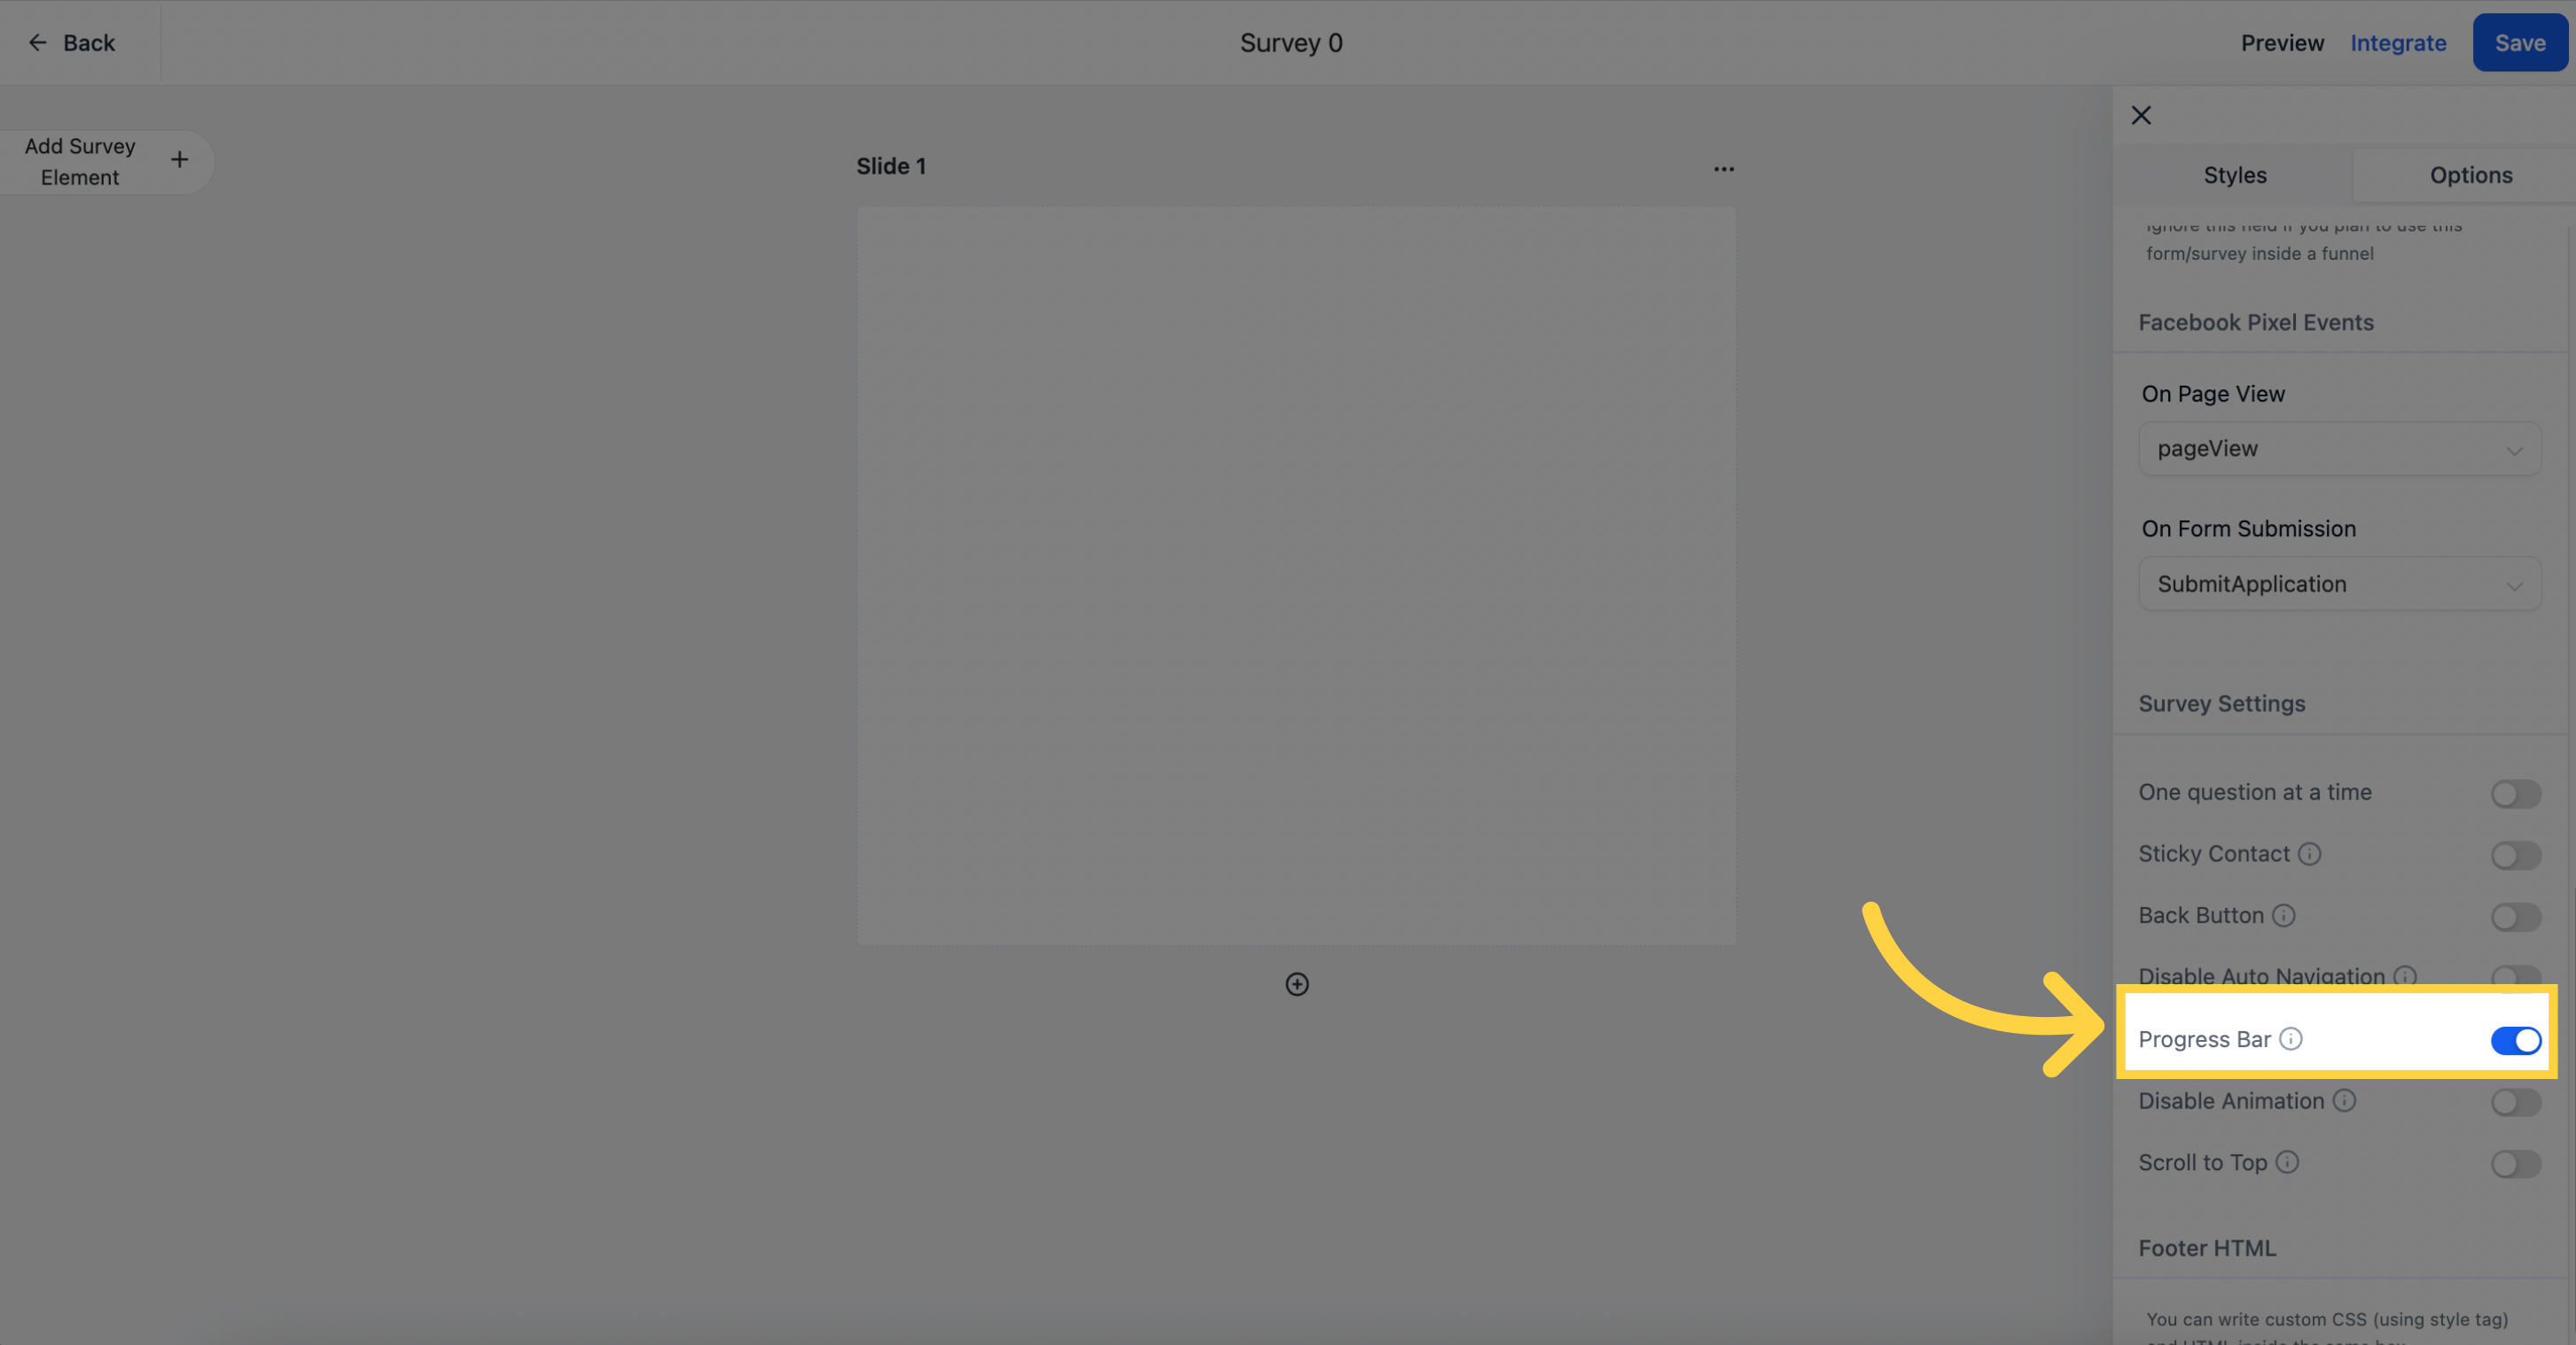
The progress bar shows the visitor how far they have progressed in the survey as they fill it out. This is particularly useful for long surveys, preventing frustration and abandonment.
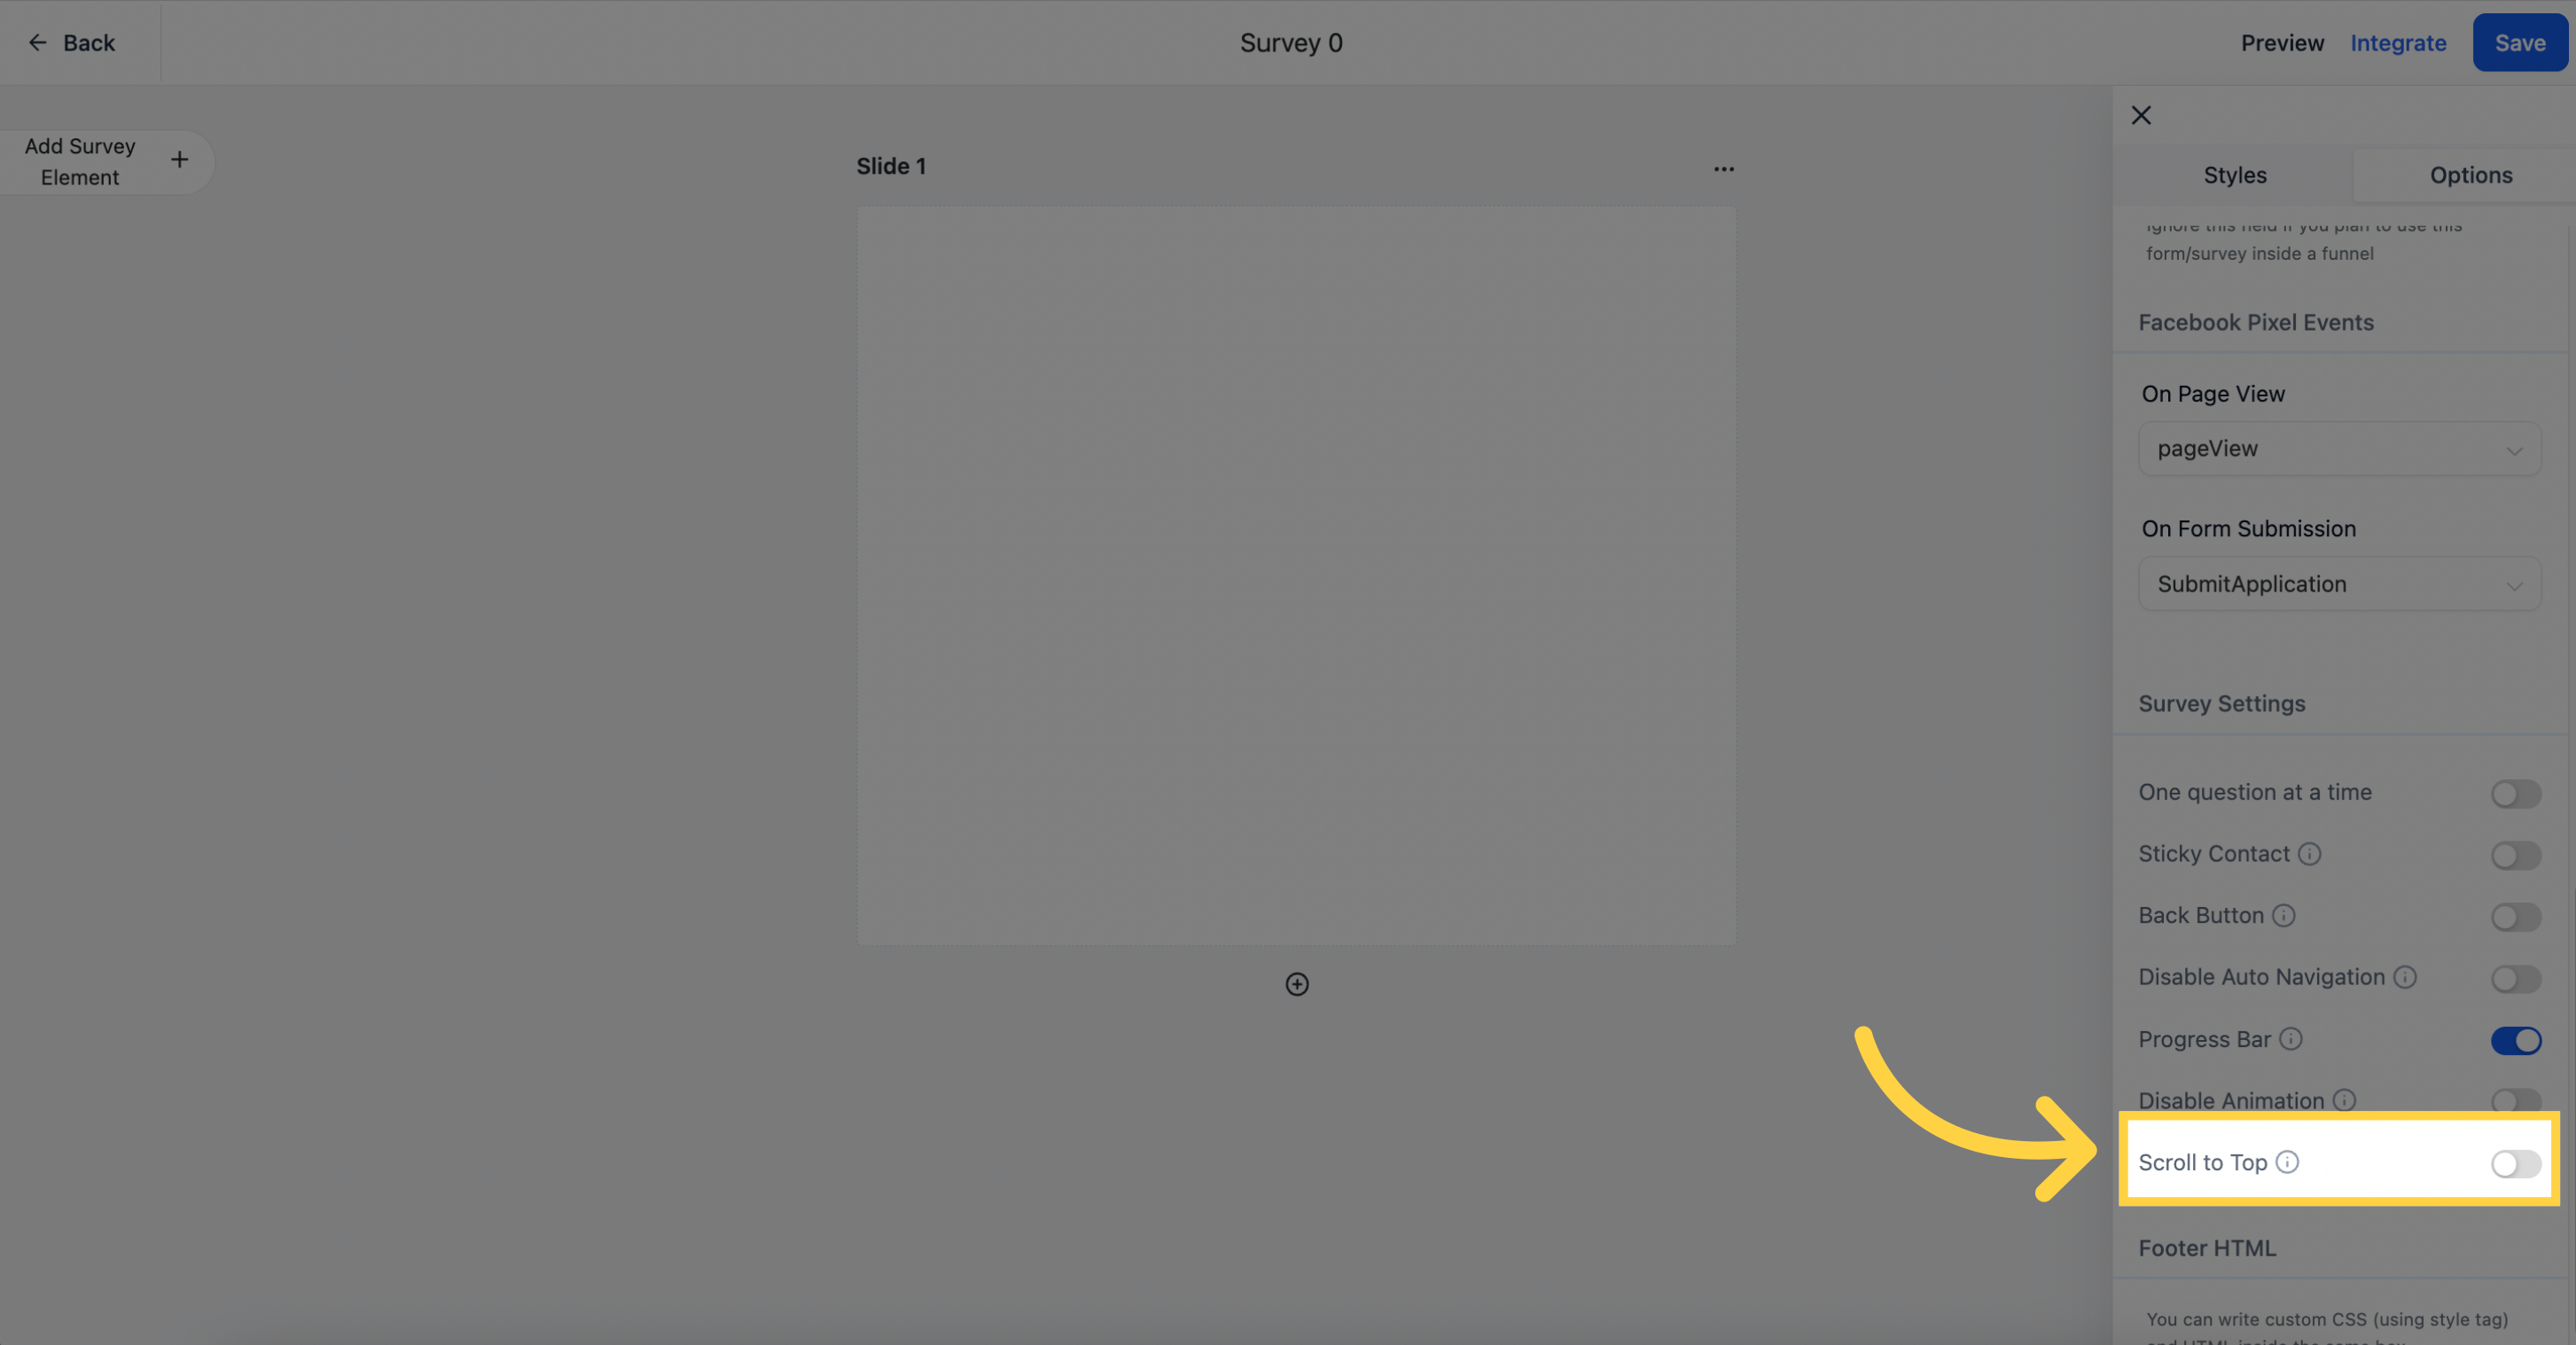
Disabling survey animation stops the transition effect between survey slides. If "Scroll To Top" is enabled, the survey will scroll to the top when the slides switch.

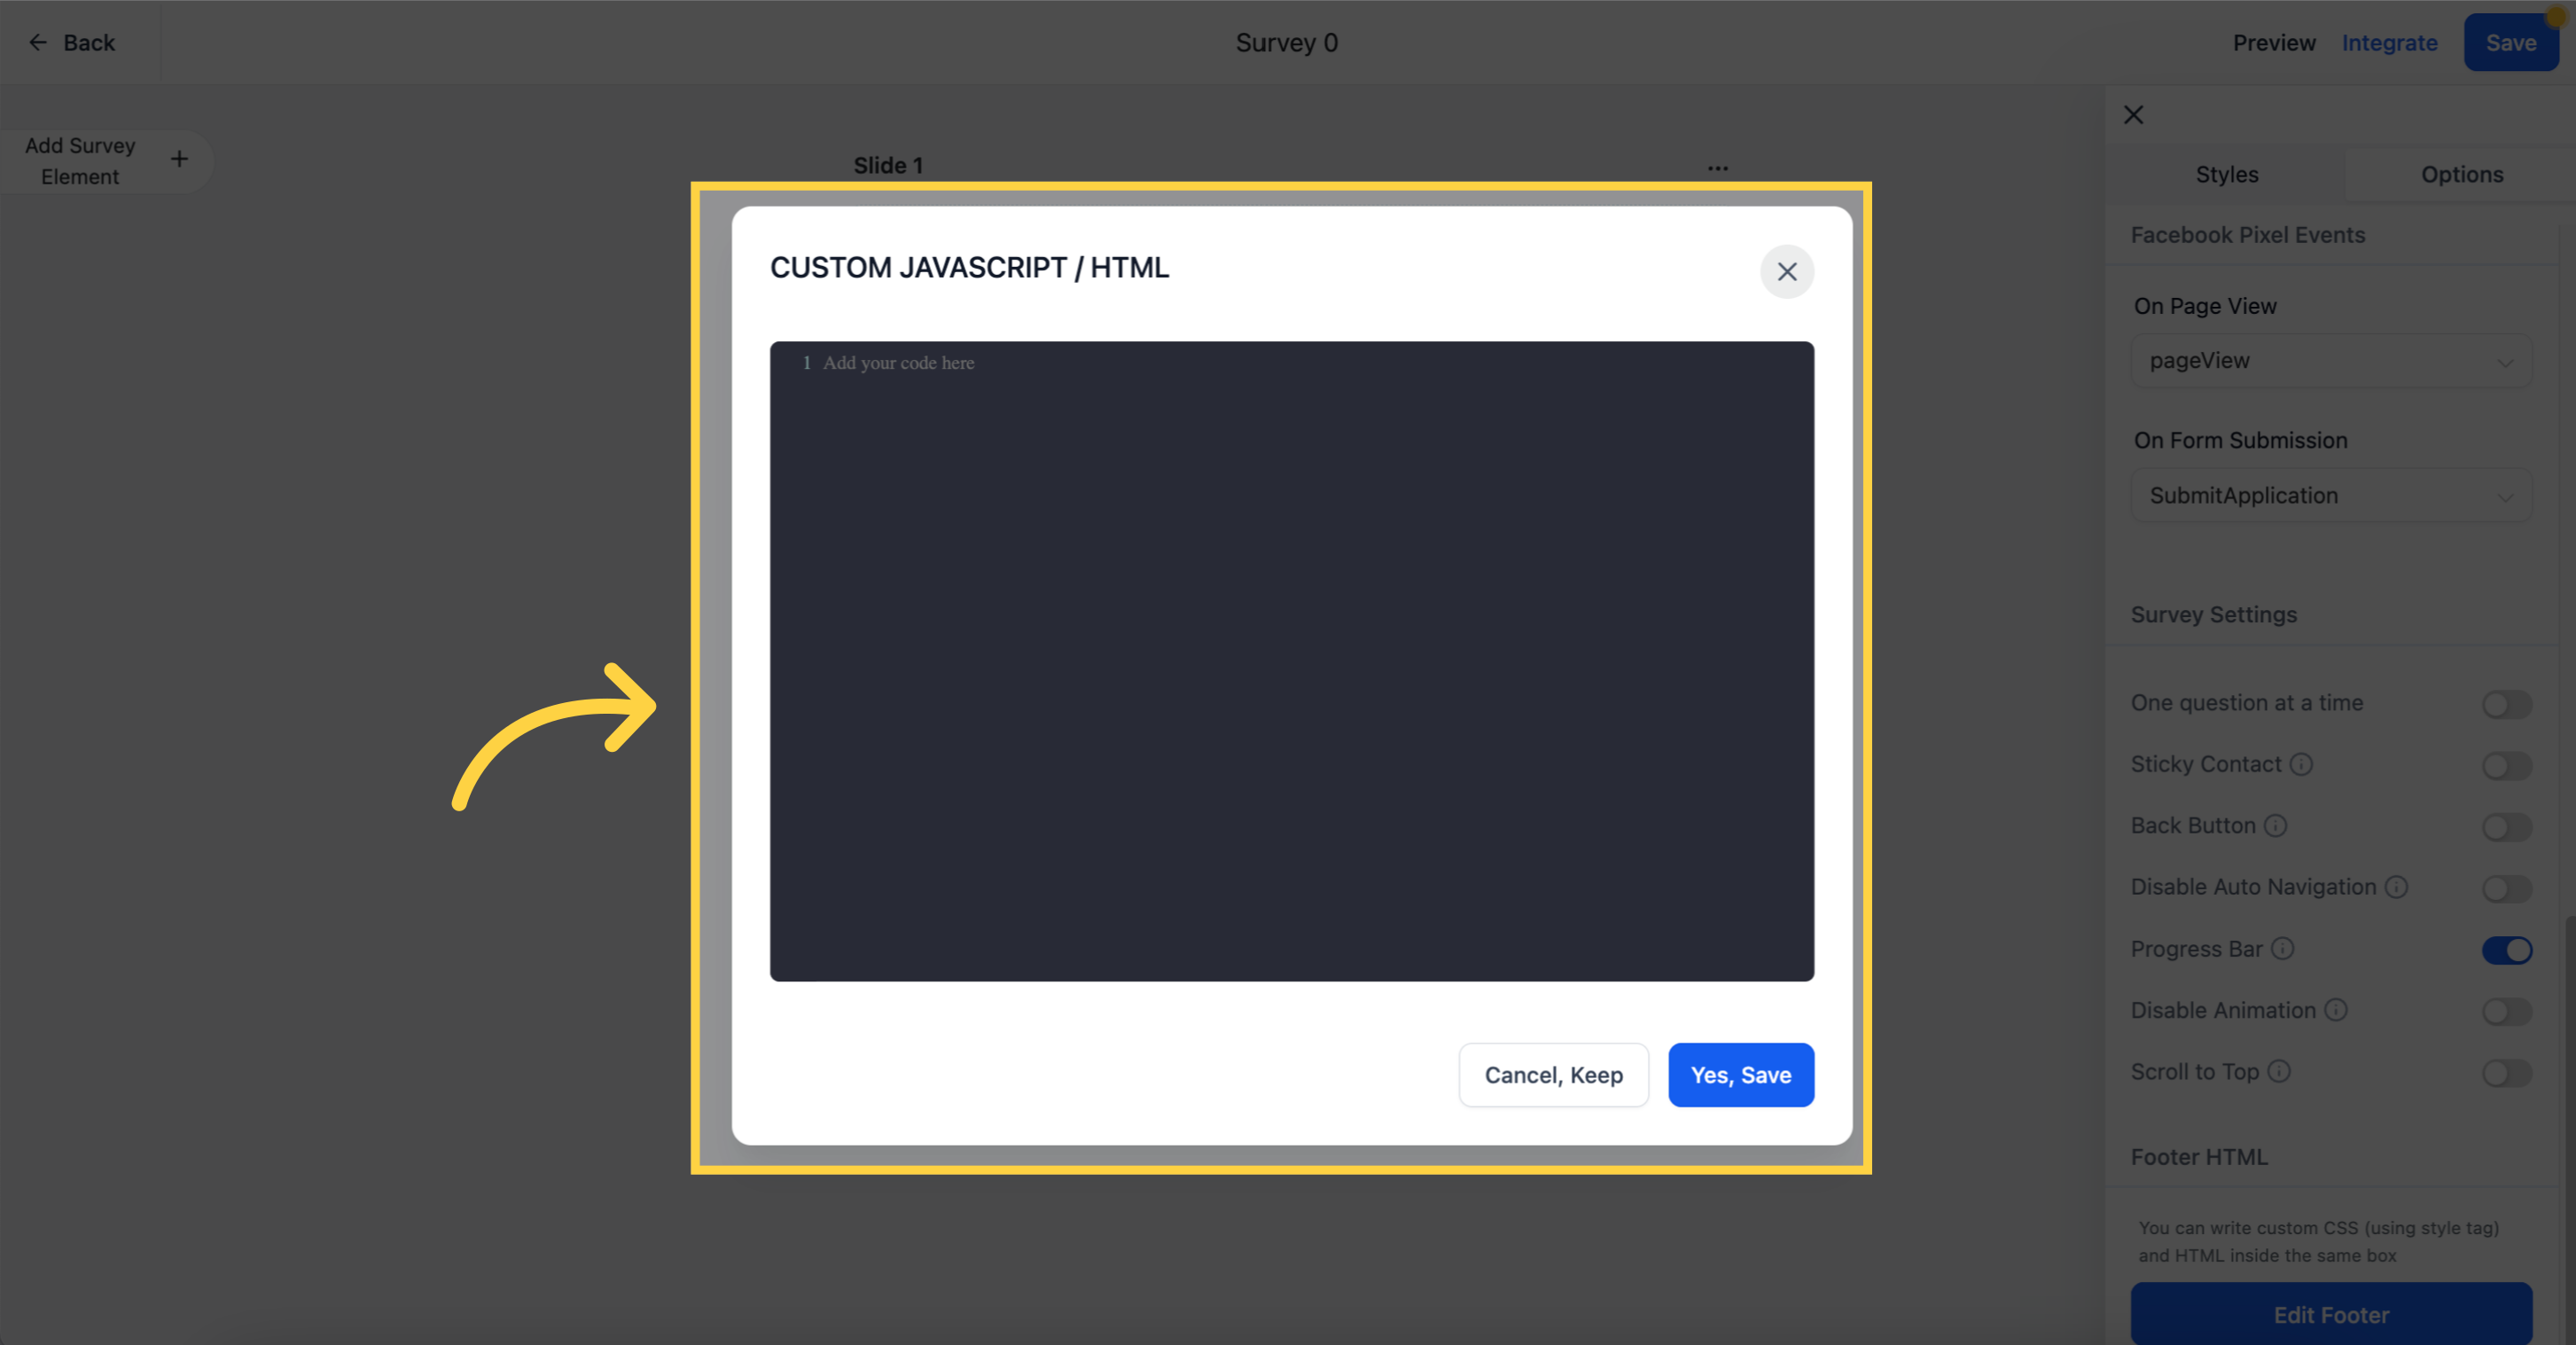
If you want to display a custom HTML footer on your surveys, you can do so here. You can write custom CSS and HTML within the same box.
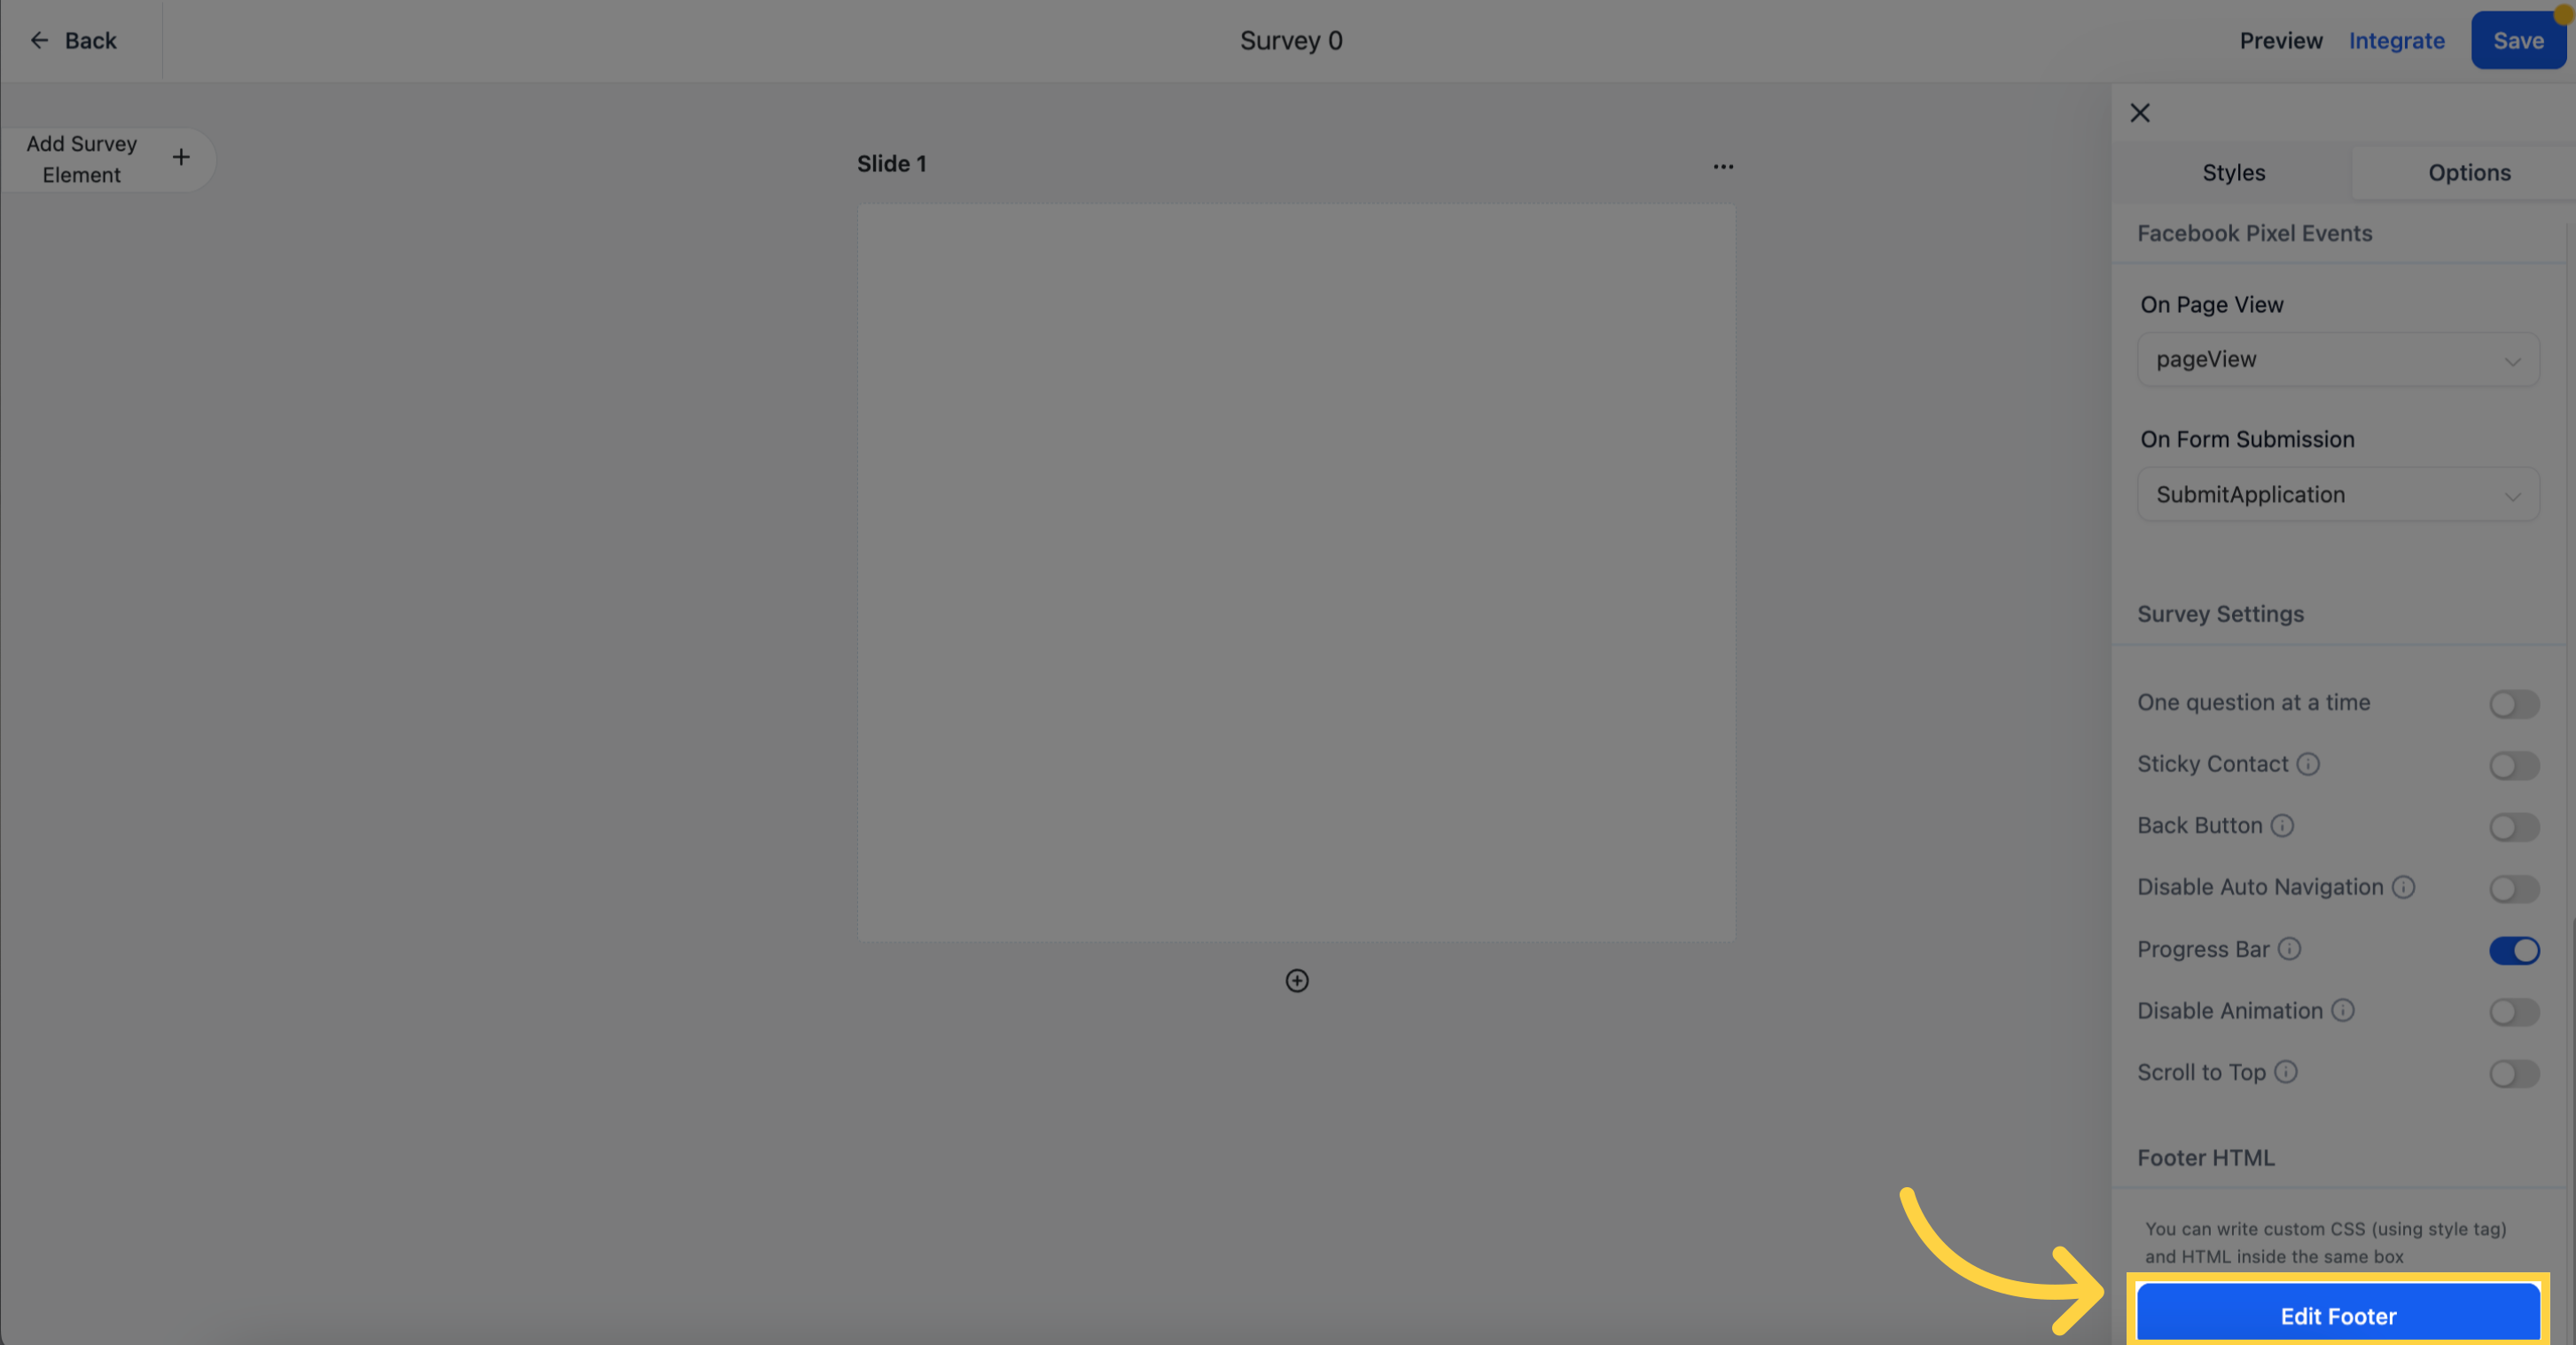
If you wish to add custom HTML and CSS to your survey footer, use this section to input the code.