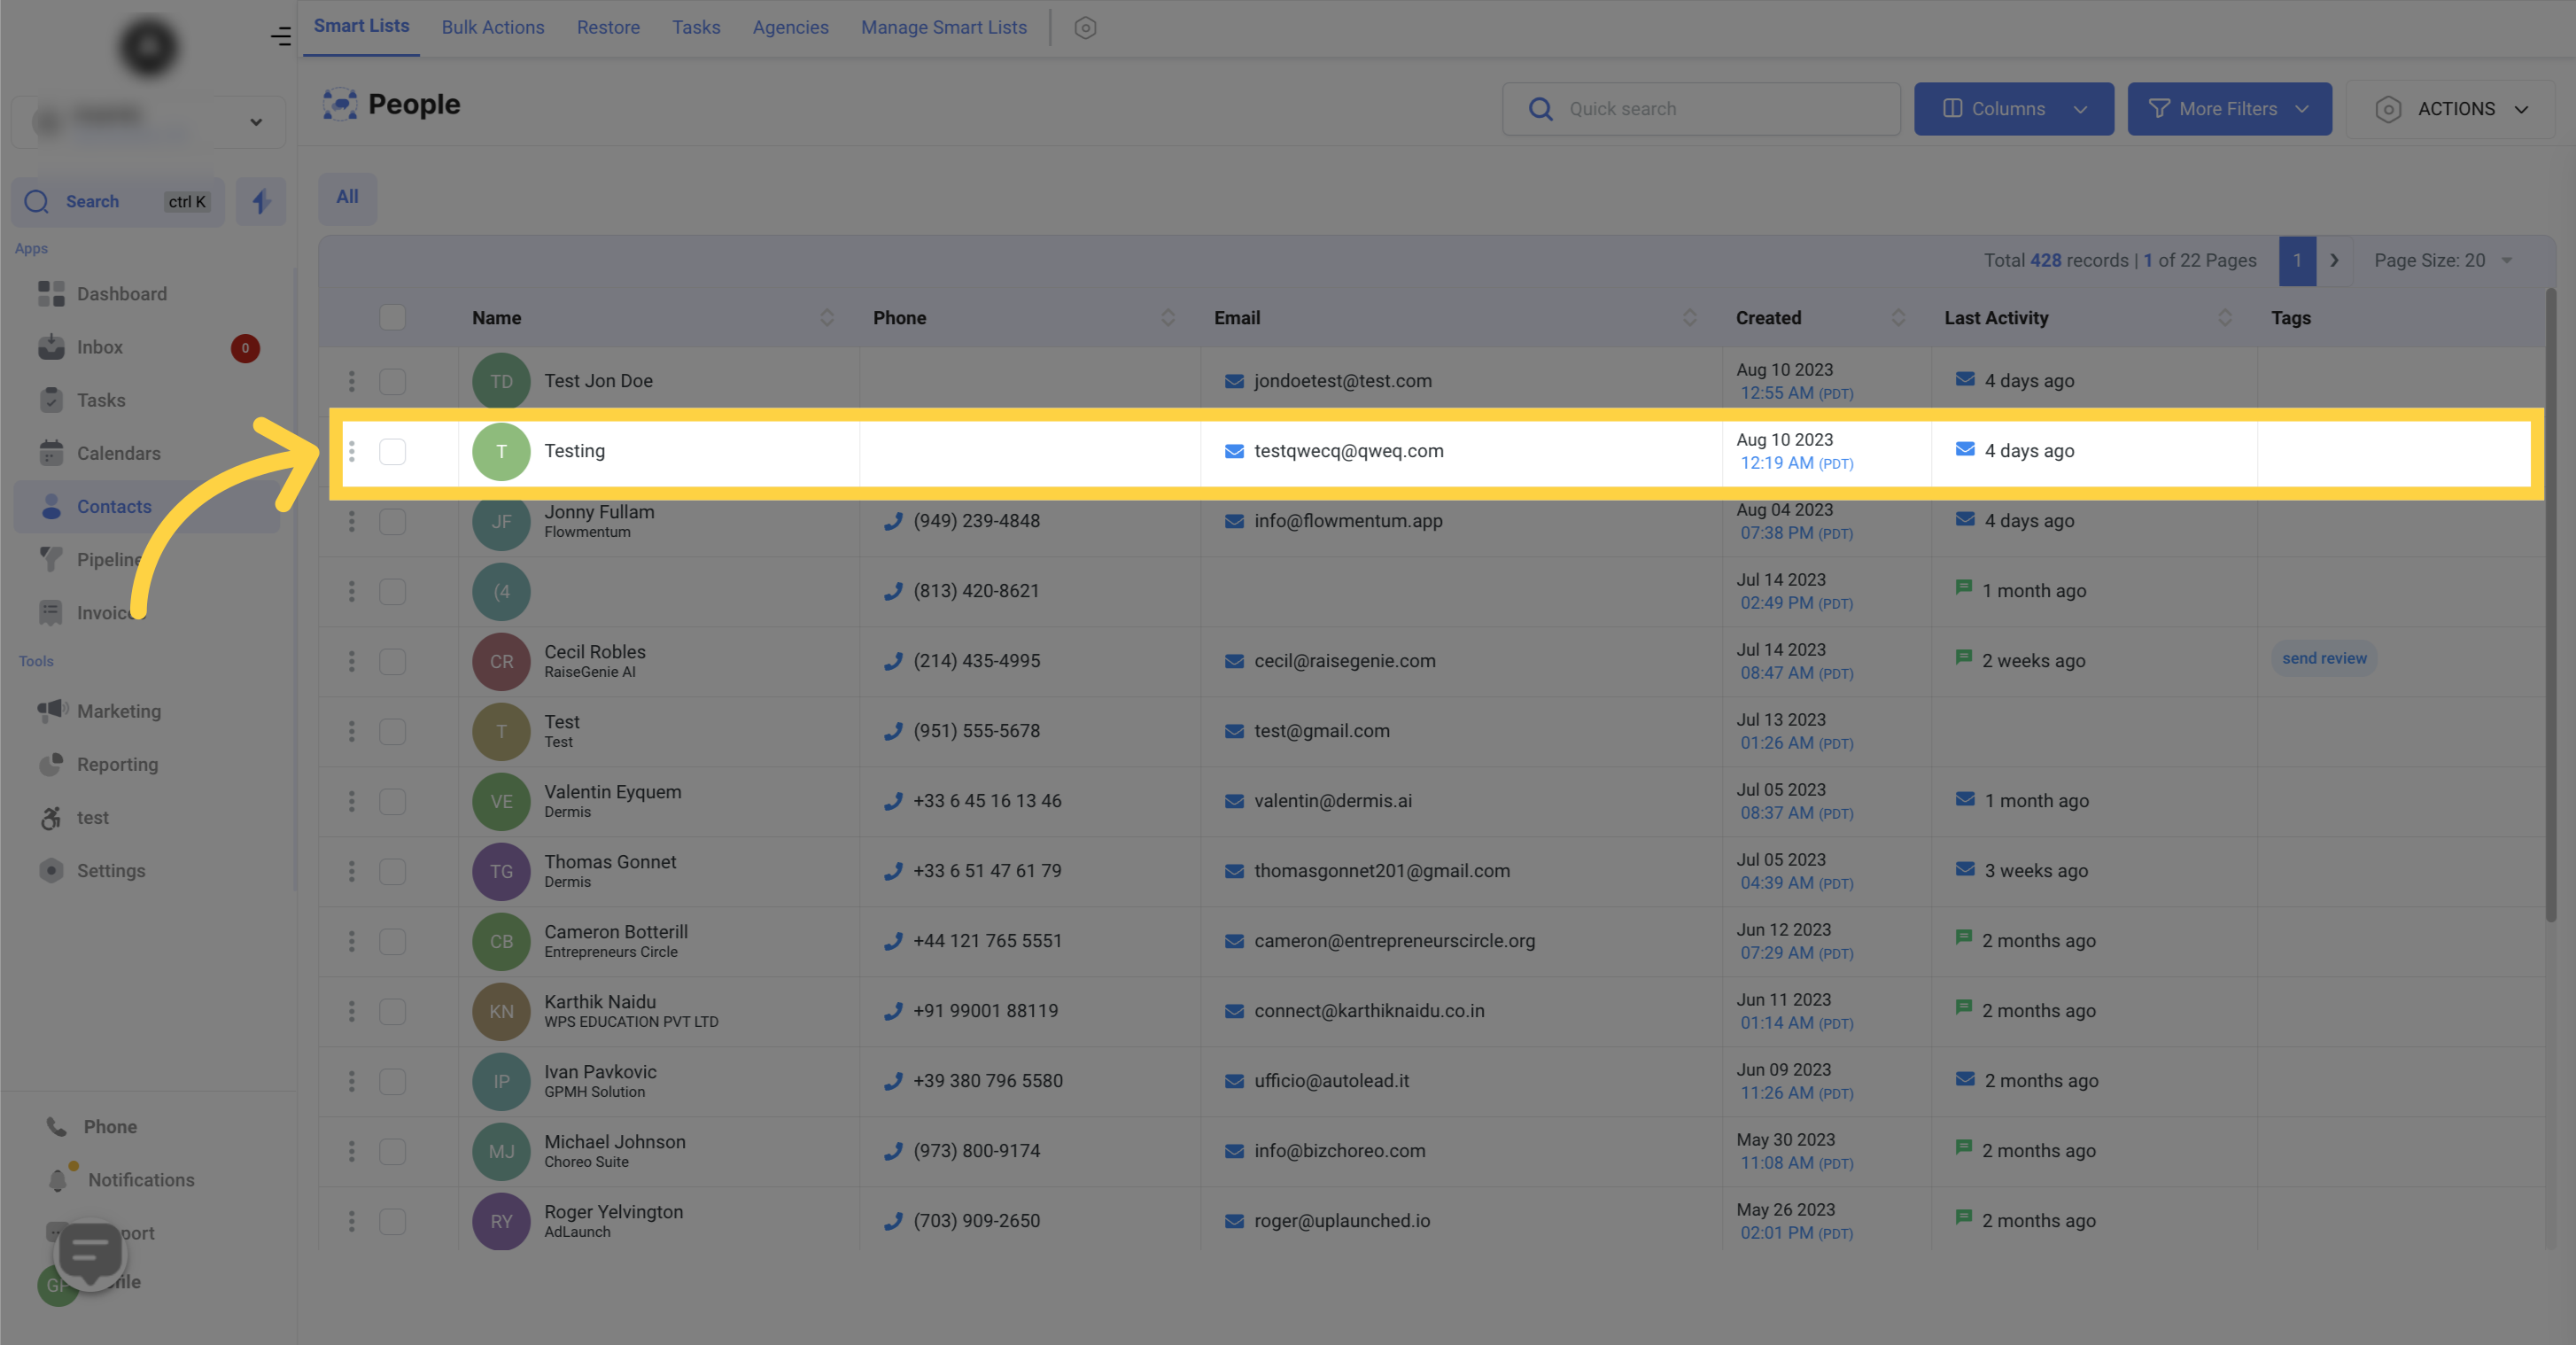
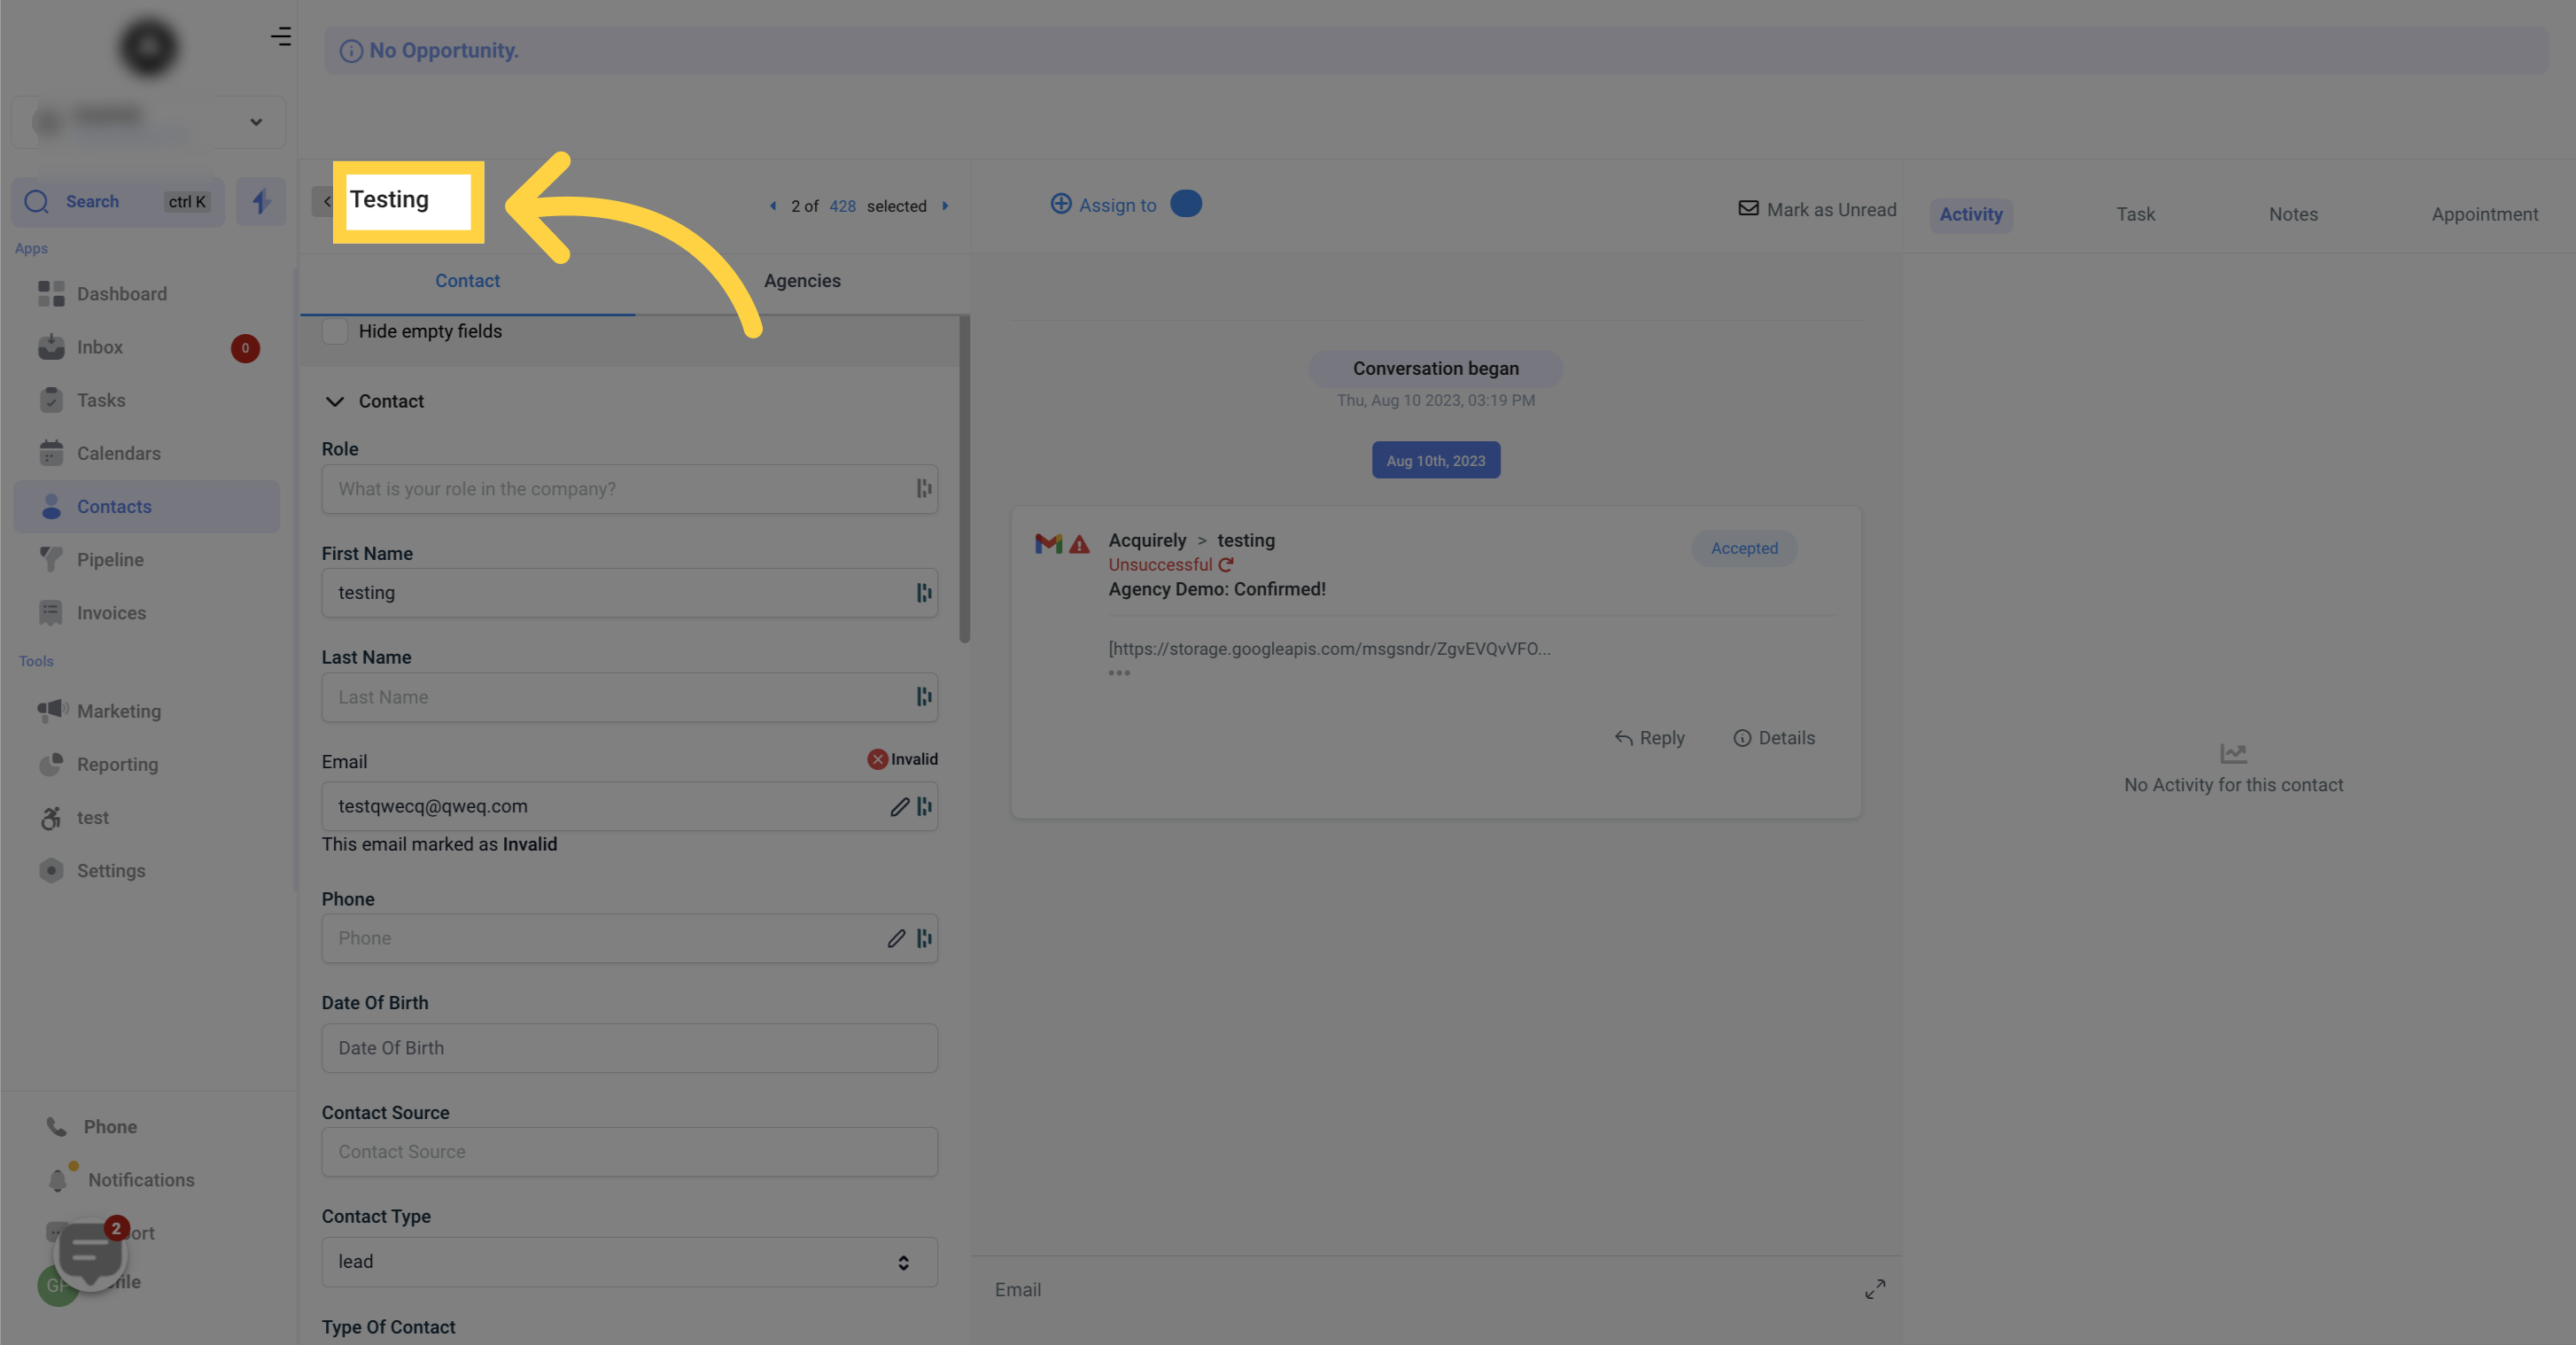
When you click on a contact, the first detail you'll see is their name prominently displayed. This feature helps you quickly identify whose information you're working with, ensuring you make edits to the correct contact. By clearly displaying the contact's name, you can efficiently manage and edit individual records while minimizing the risk of unintentionally modifying the wrong contact.
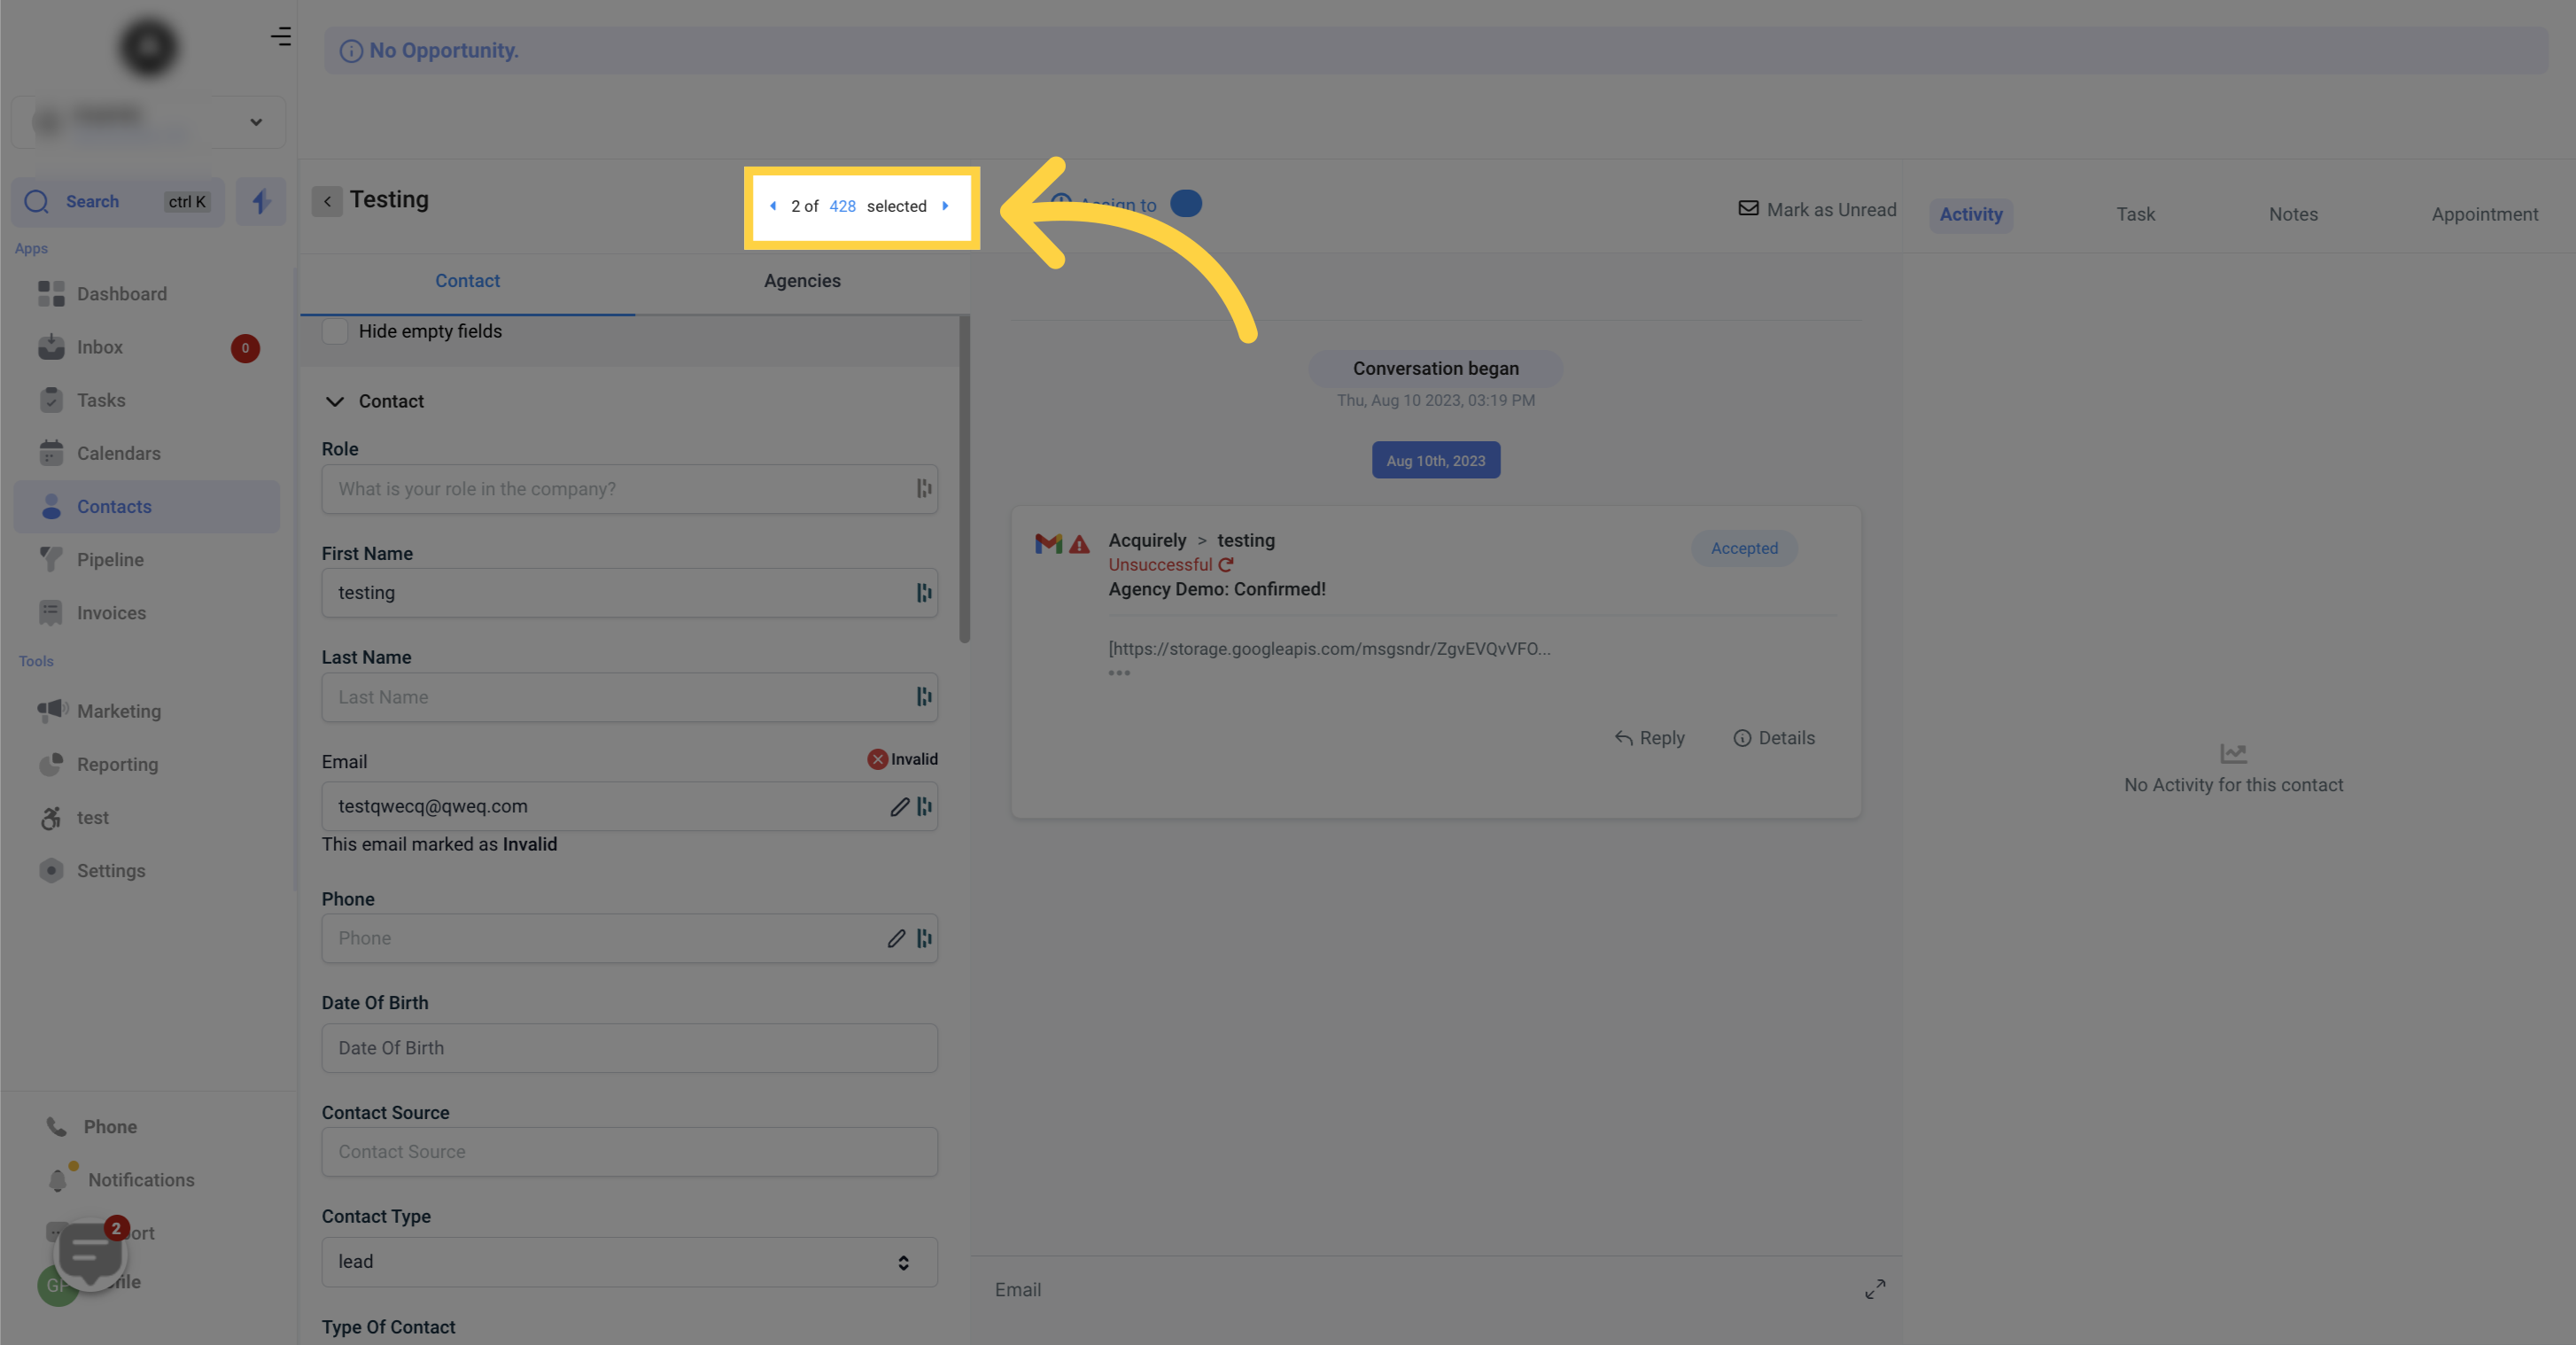
To switch between contacts without leaving the current view, you can easily navigate through them by clicking on the blue back arrow. This streamlined approach allows for seamless movement between different contact records, making it easy to manage and update each contact's information efficiently.
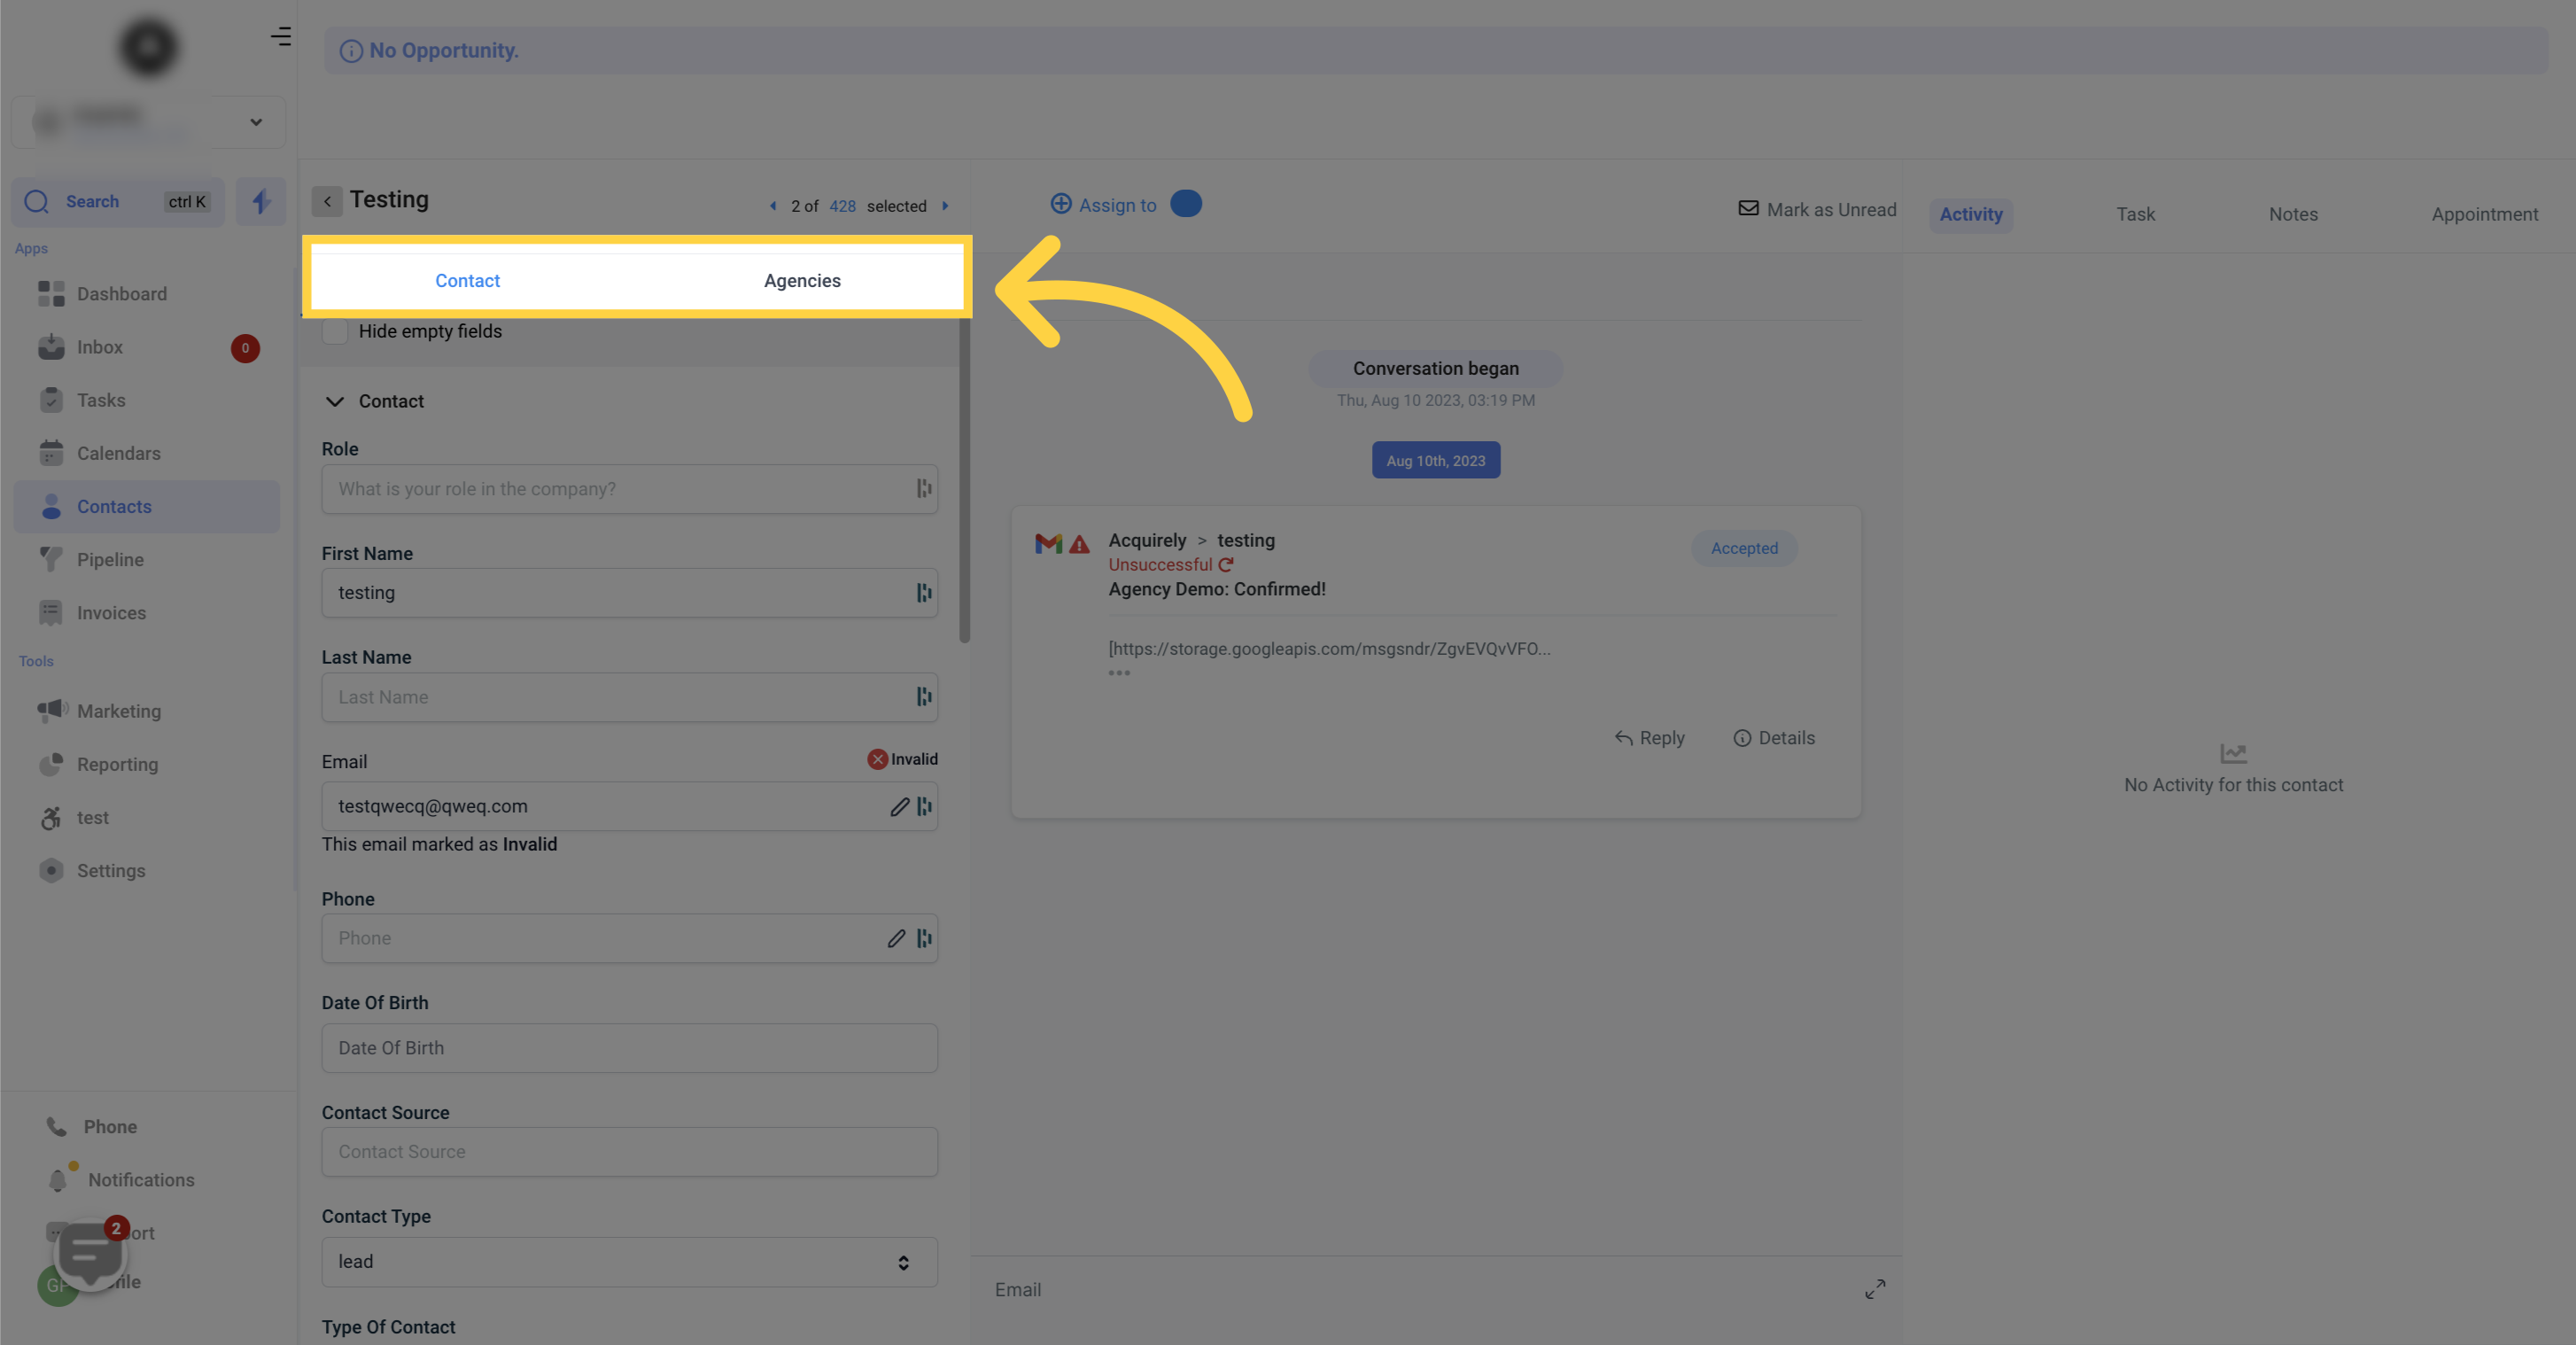
In this interface, you will notice several distinct tabs, each containing unique information related to individual contacts. Here's a concise overview of the data housed within each tab, providing you with a clearer understanding and enhanced ease of navigation:
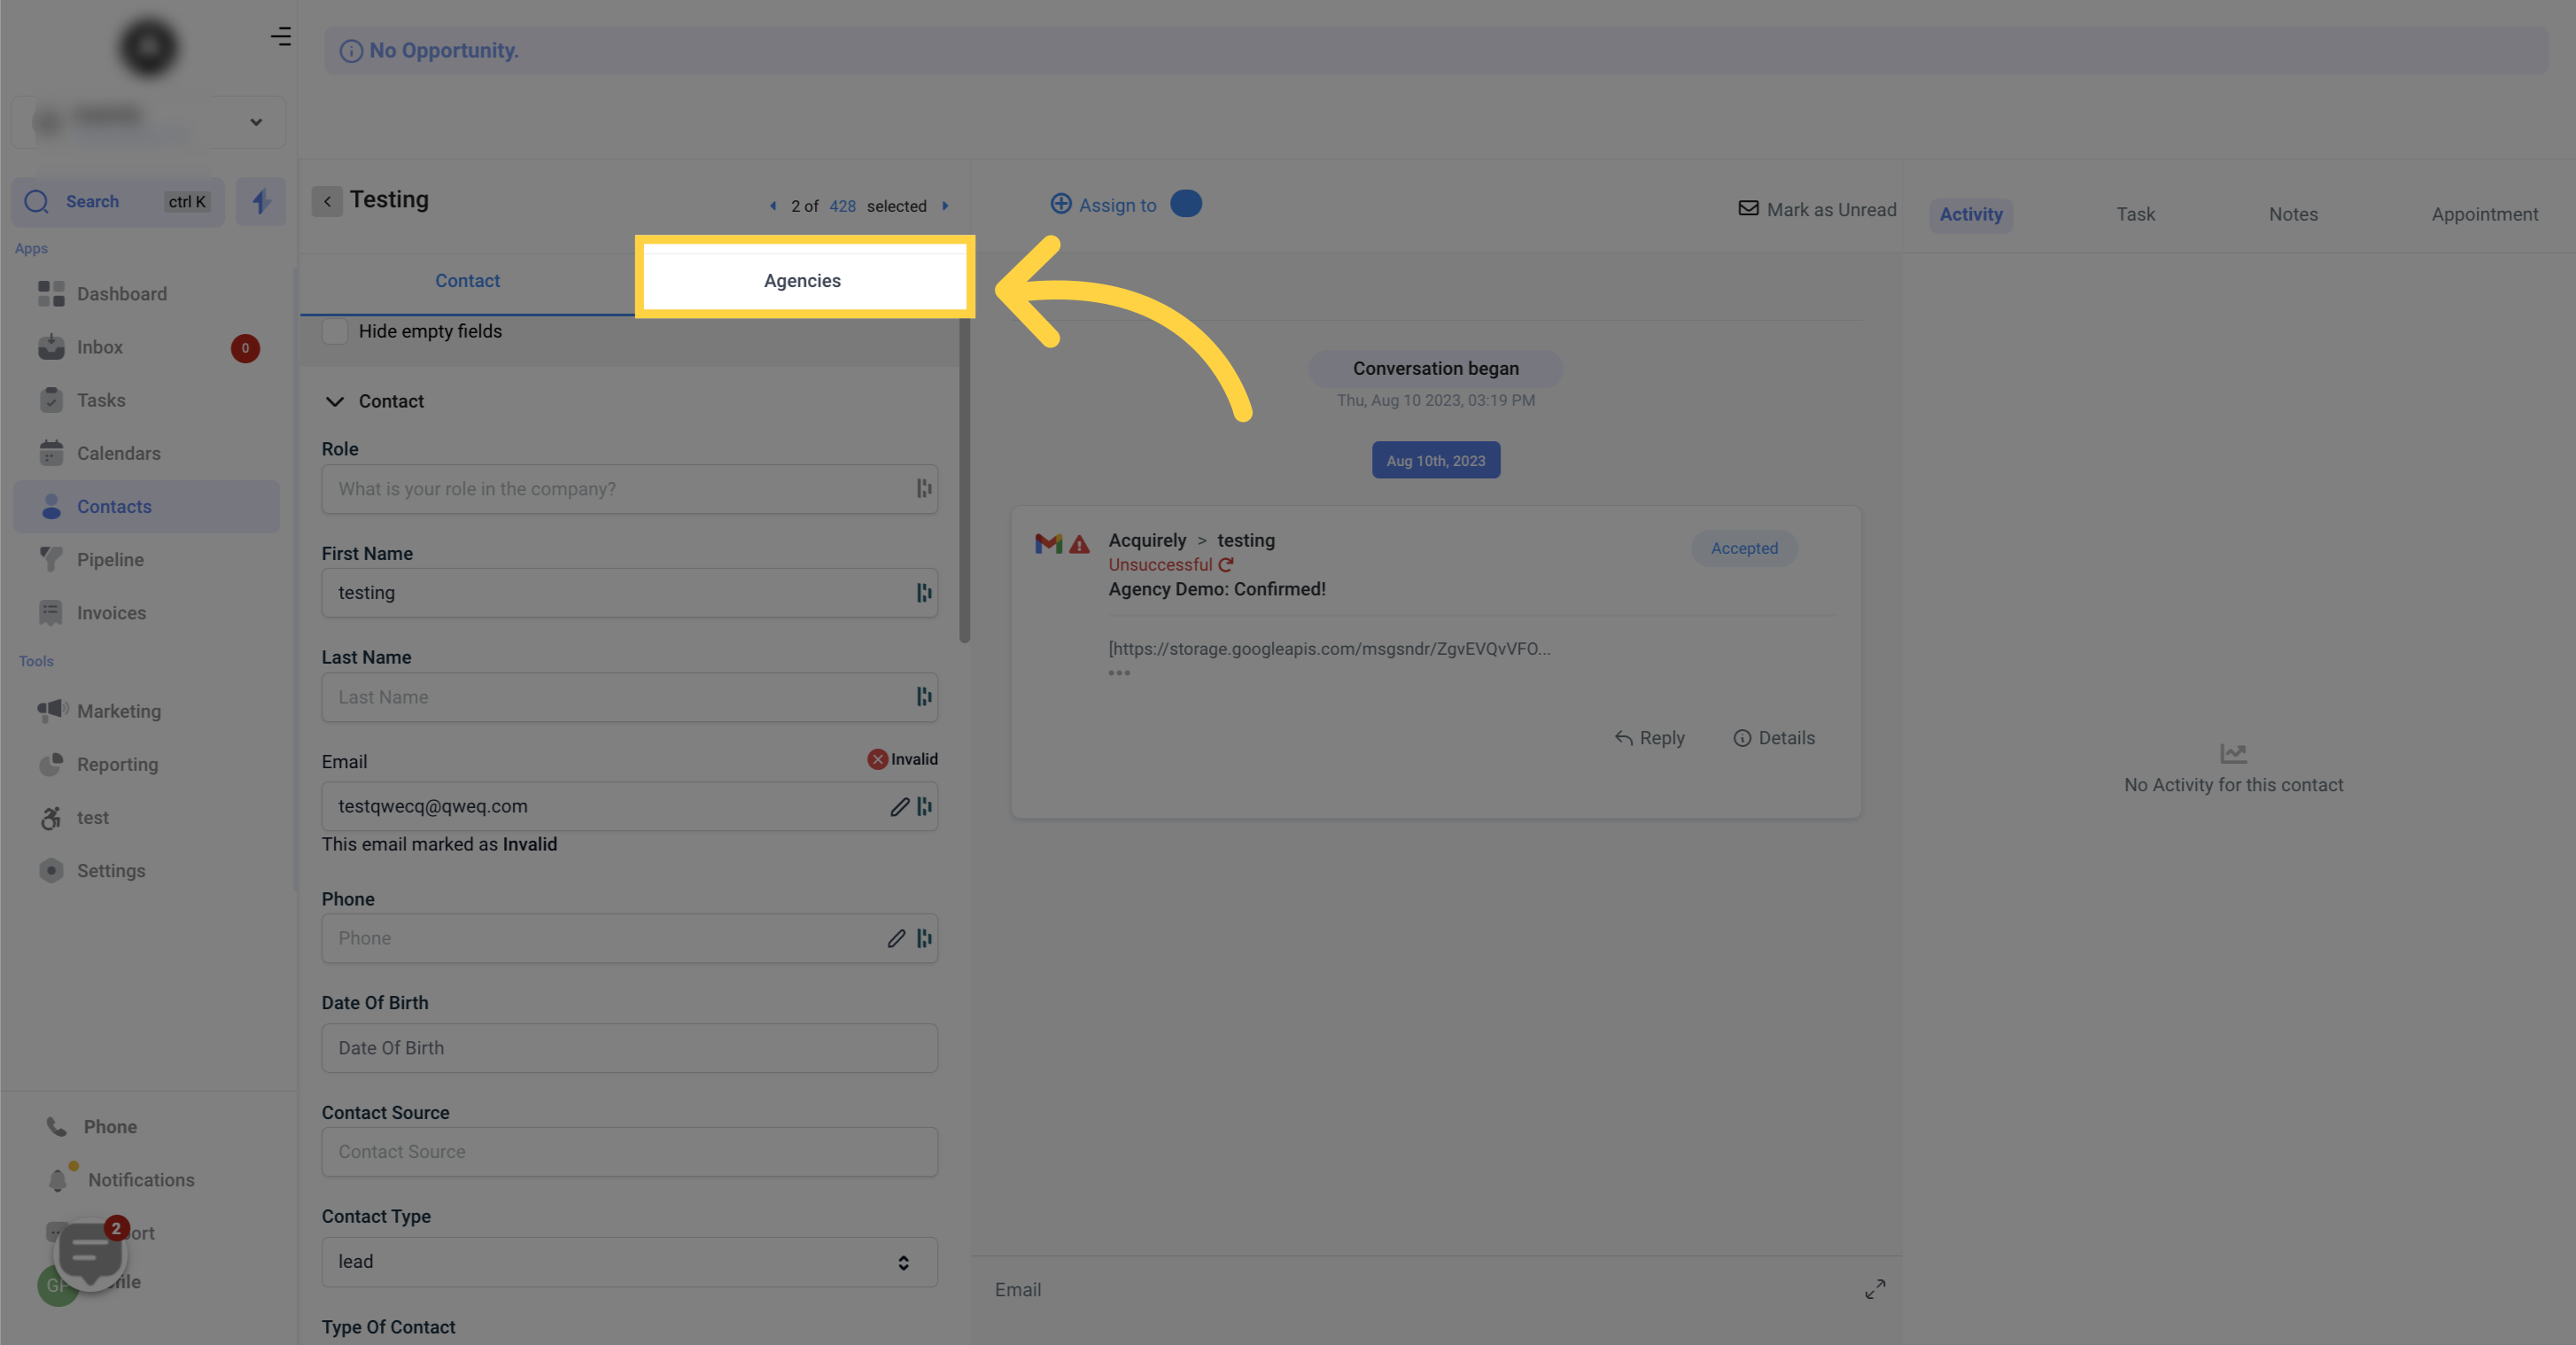
This is where you add agencies to your contact management system. By adding agencies as contacts, you can keep track of important information and maintain a comprehensive record of your business relationships.
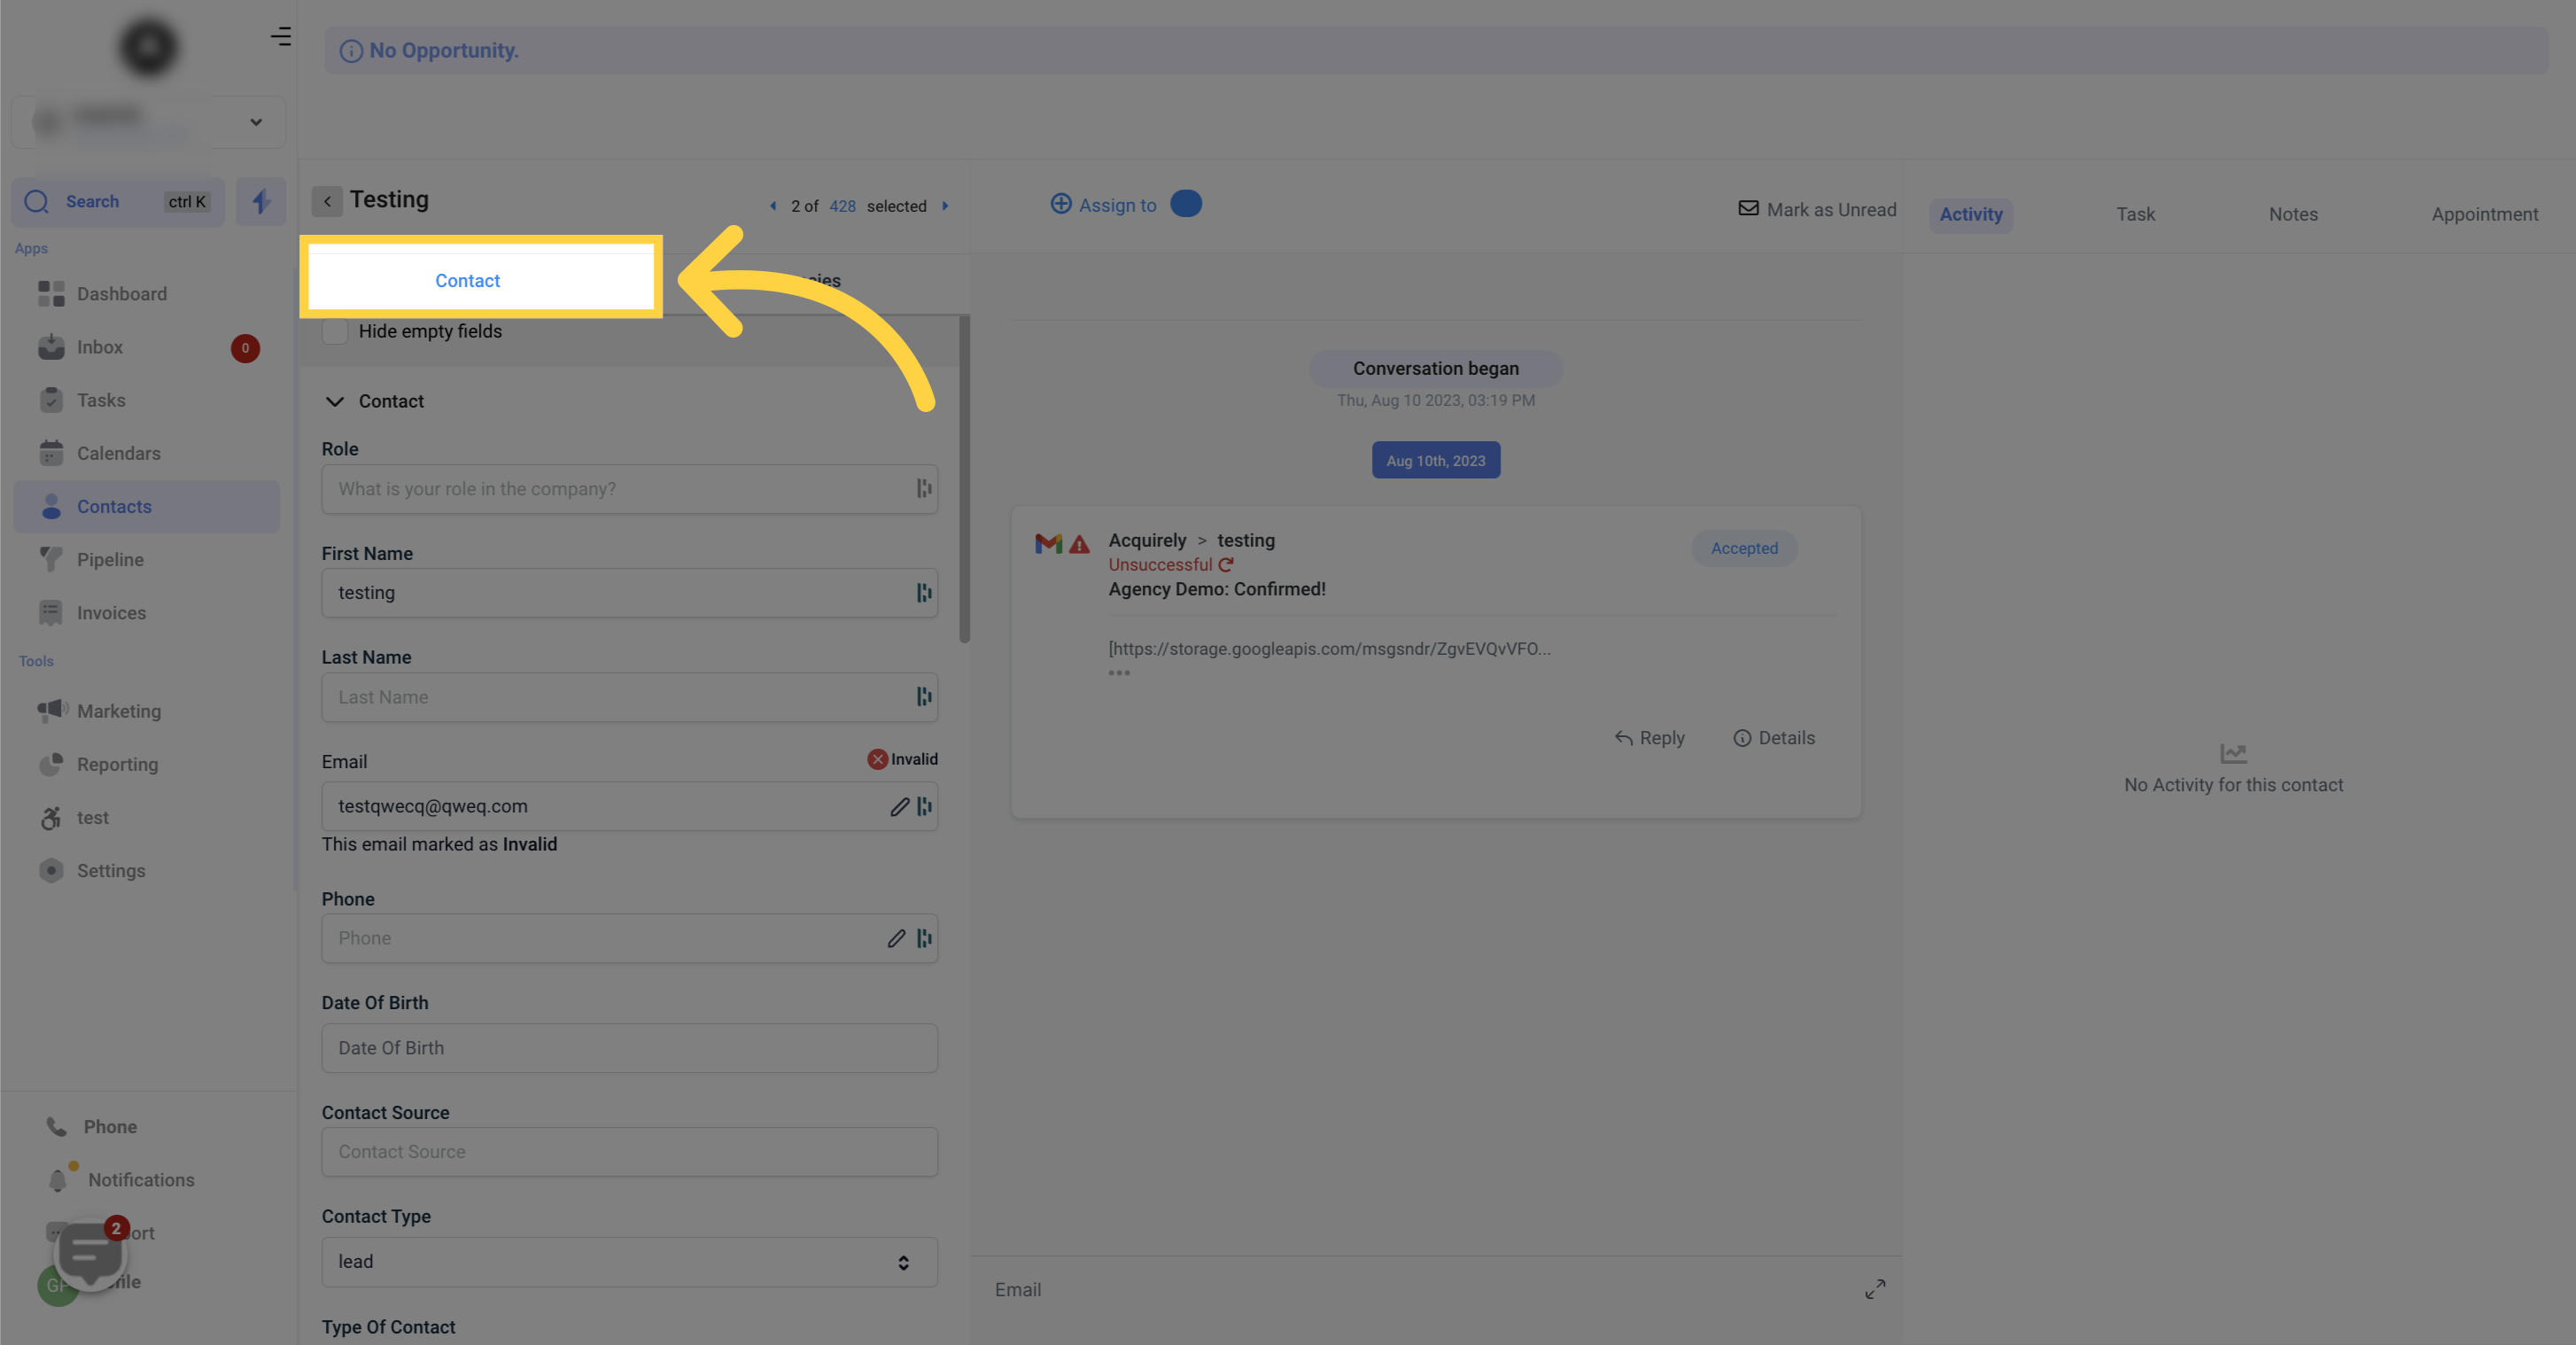
The default selection displays essential information such as the contact's name, email, and phone number. It also includes more intricate data like tags, opportunities, and workflows associated with each contact. This comprehensive view allows for efficient management and a deeper understanding of your contacts' profiles.

This section provides a drop-down menu that displays all the ongoing campaigns and workflows the contact is currently involved in. You can also add a contact to a campaign or workflow directly from this tab.
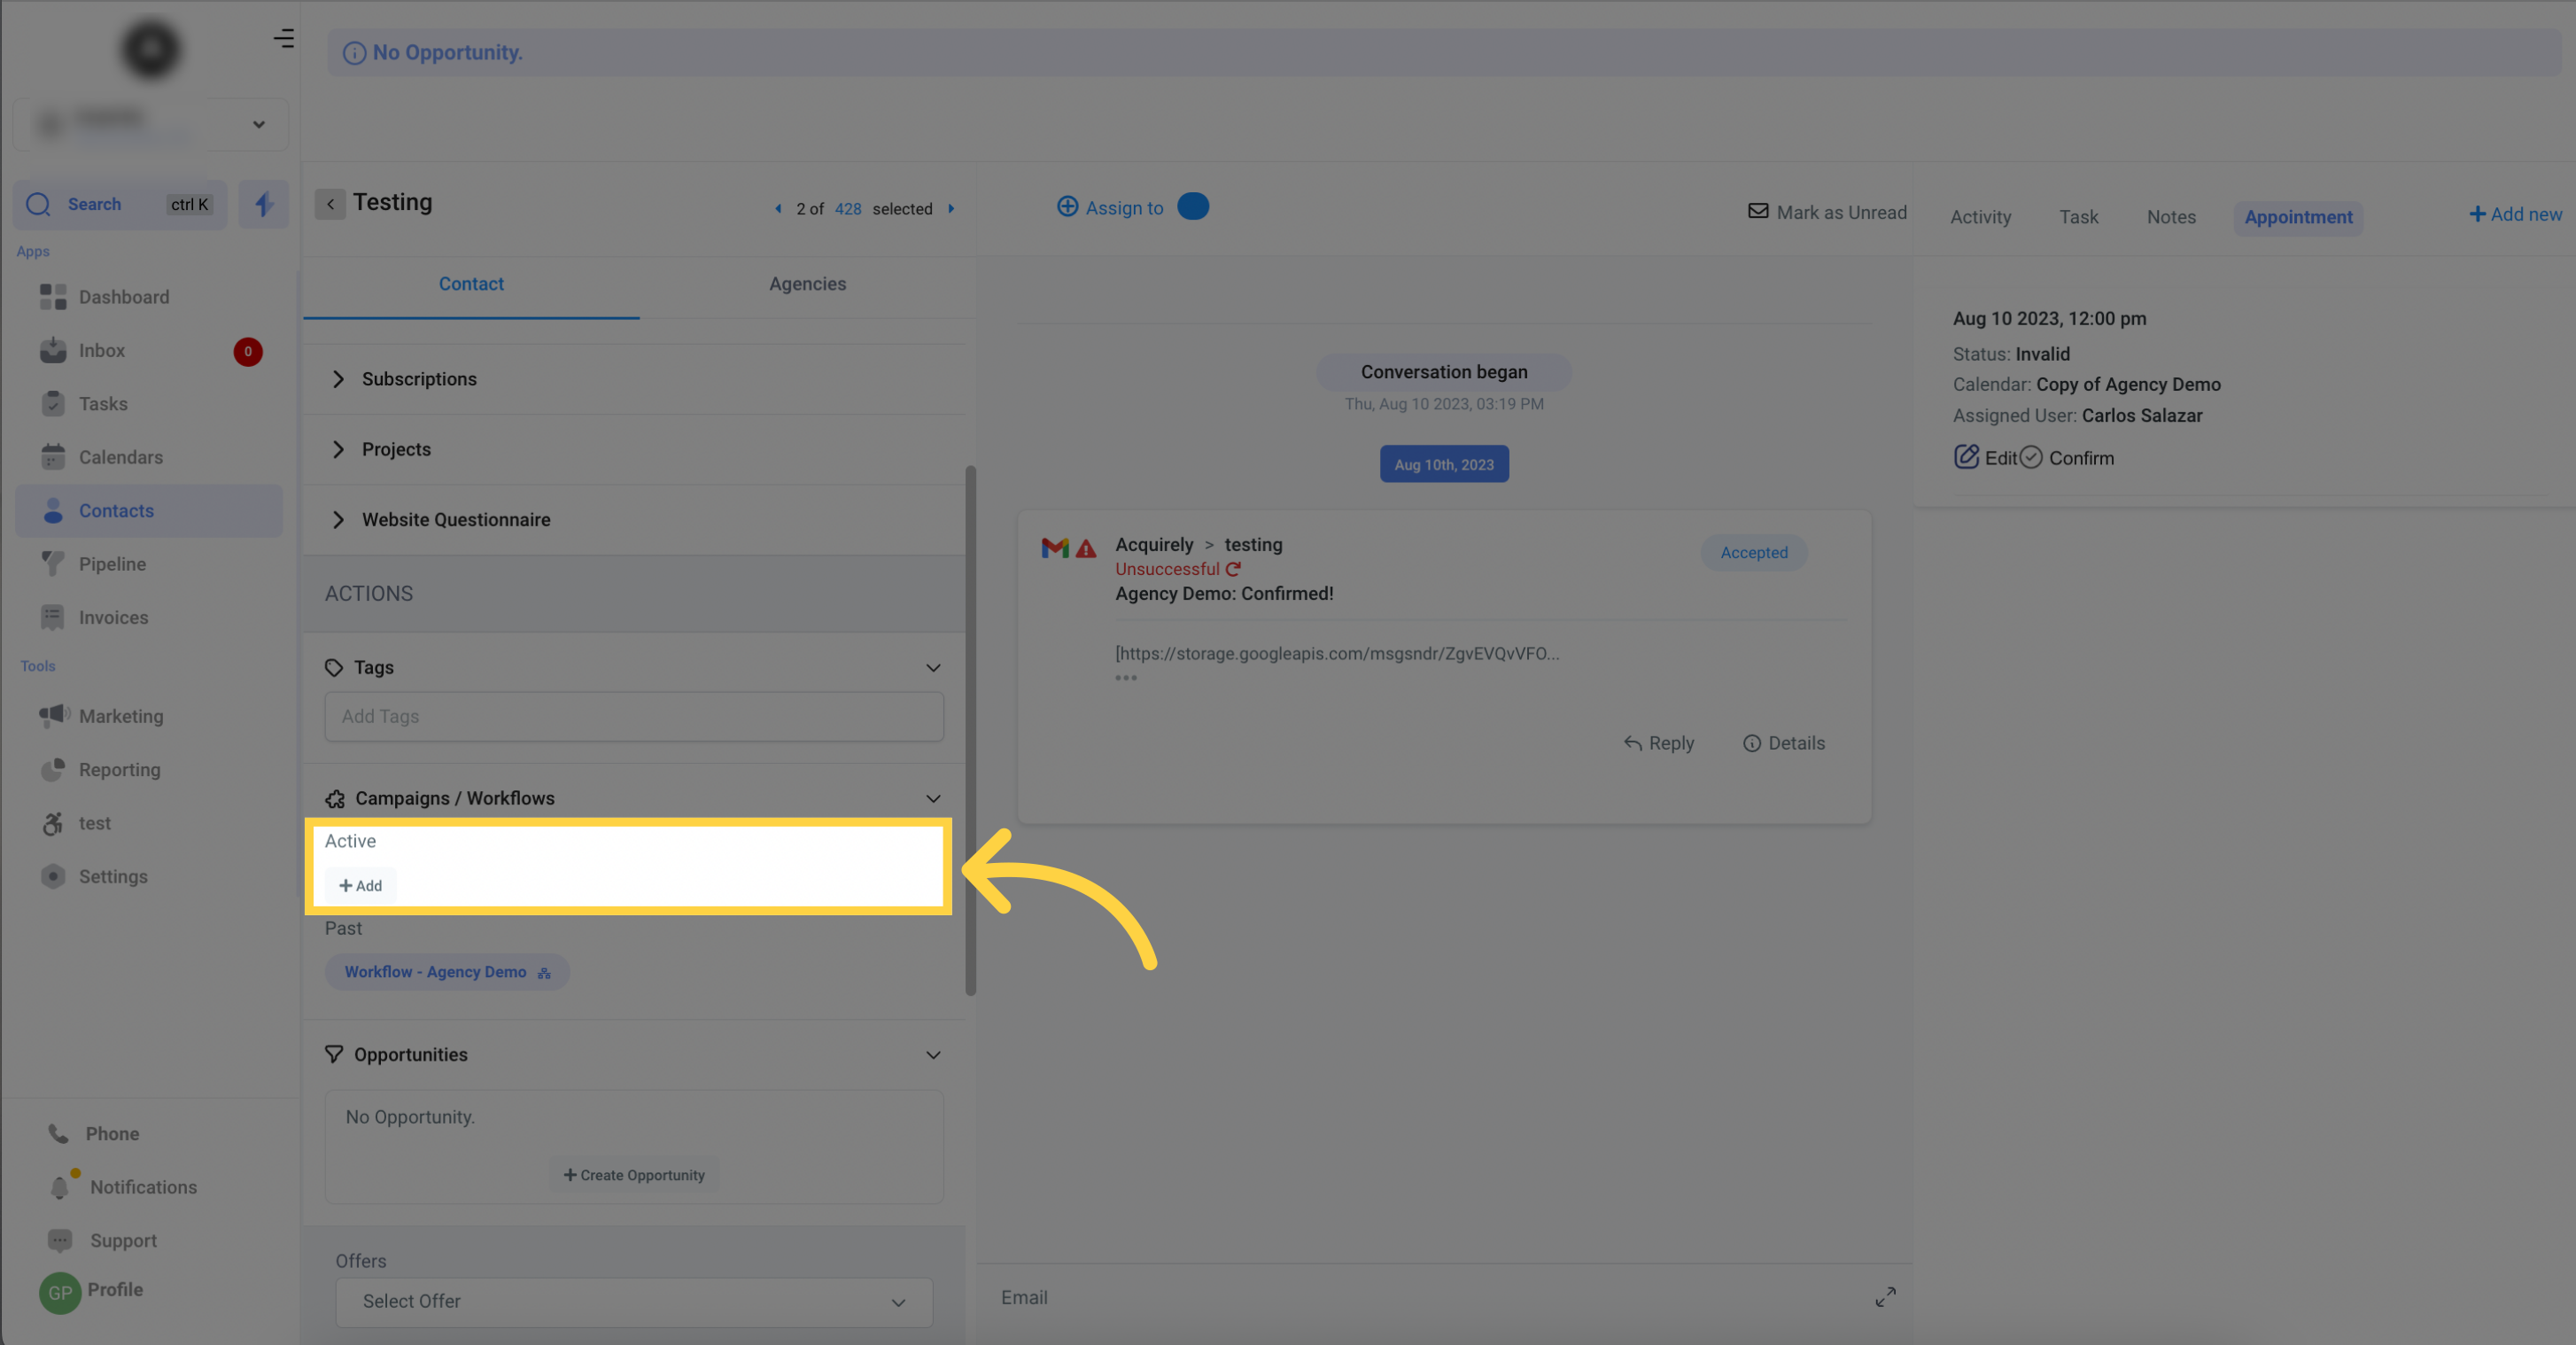
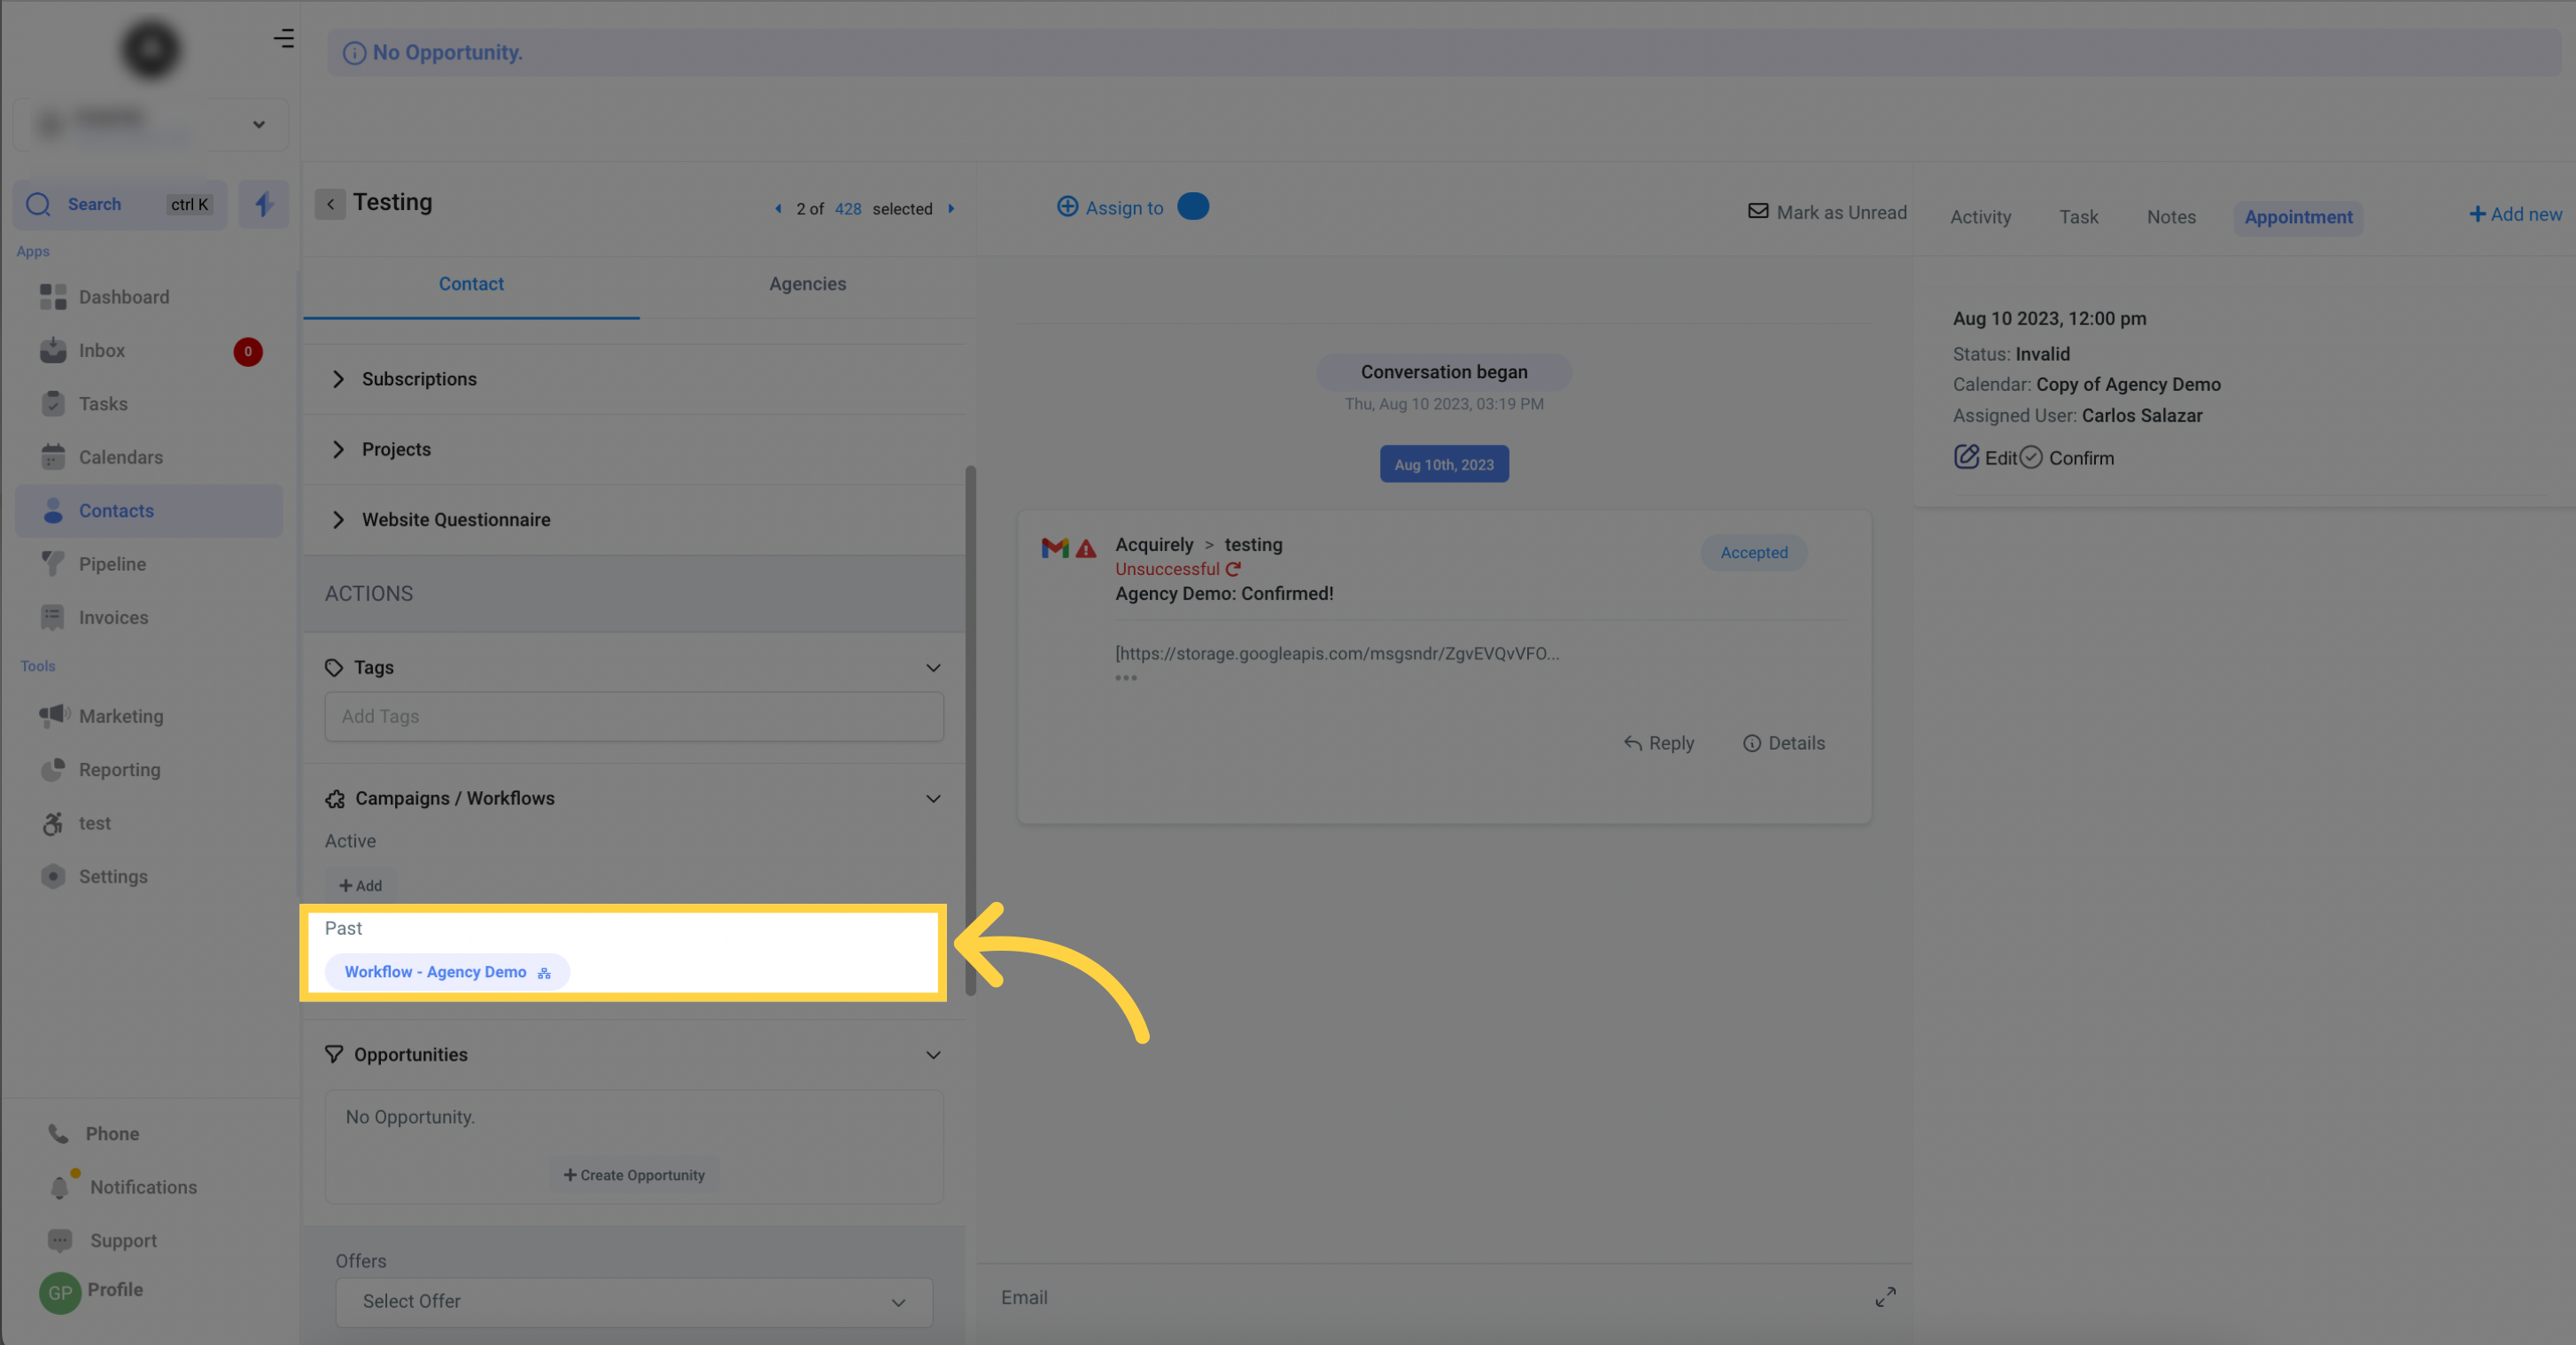
The drop-down menu presents a comprehensive list of all the past campaigns and workflows the contact was once involved in. This historical overview helps you gain valuable insights into the contact's previous engagements, improving your understanding of their journey and interactions with your organization.
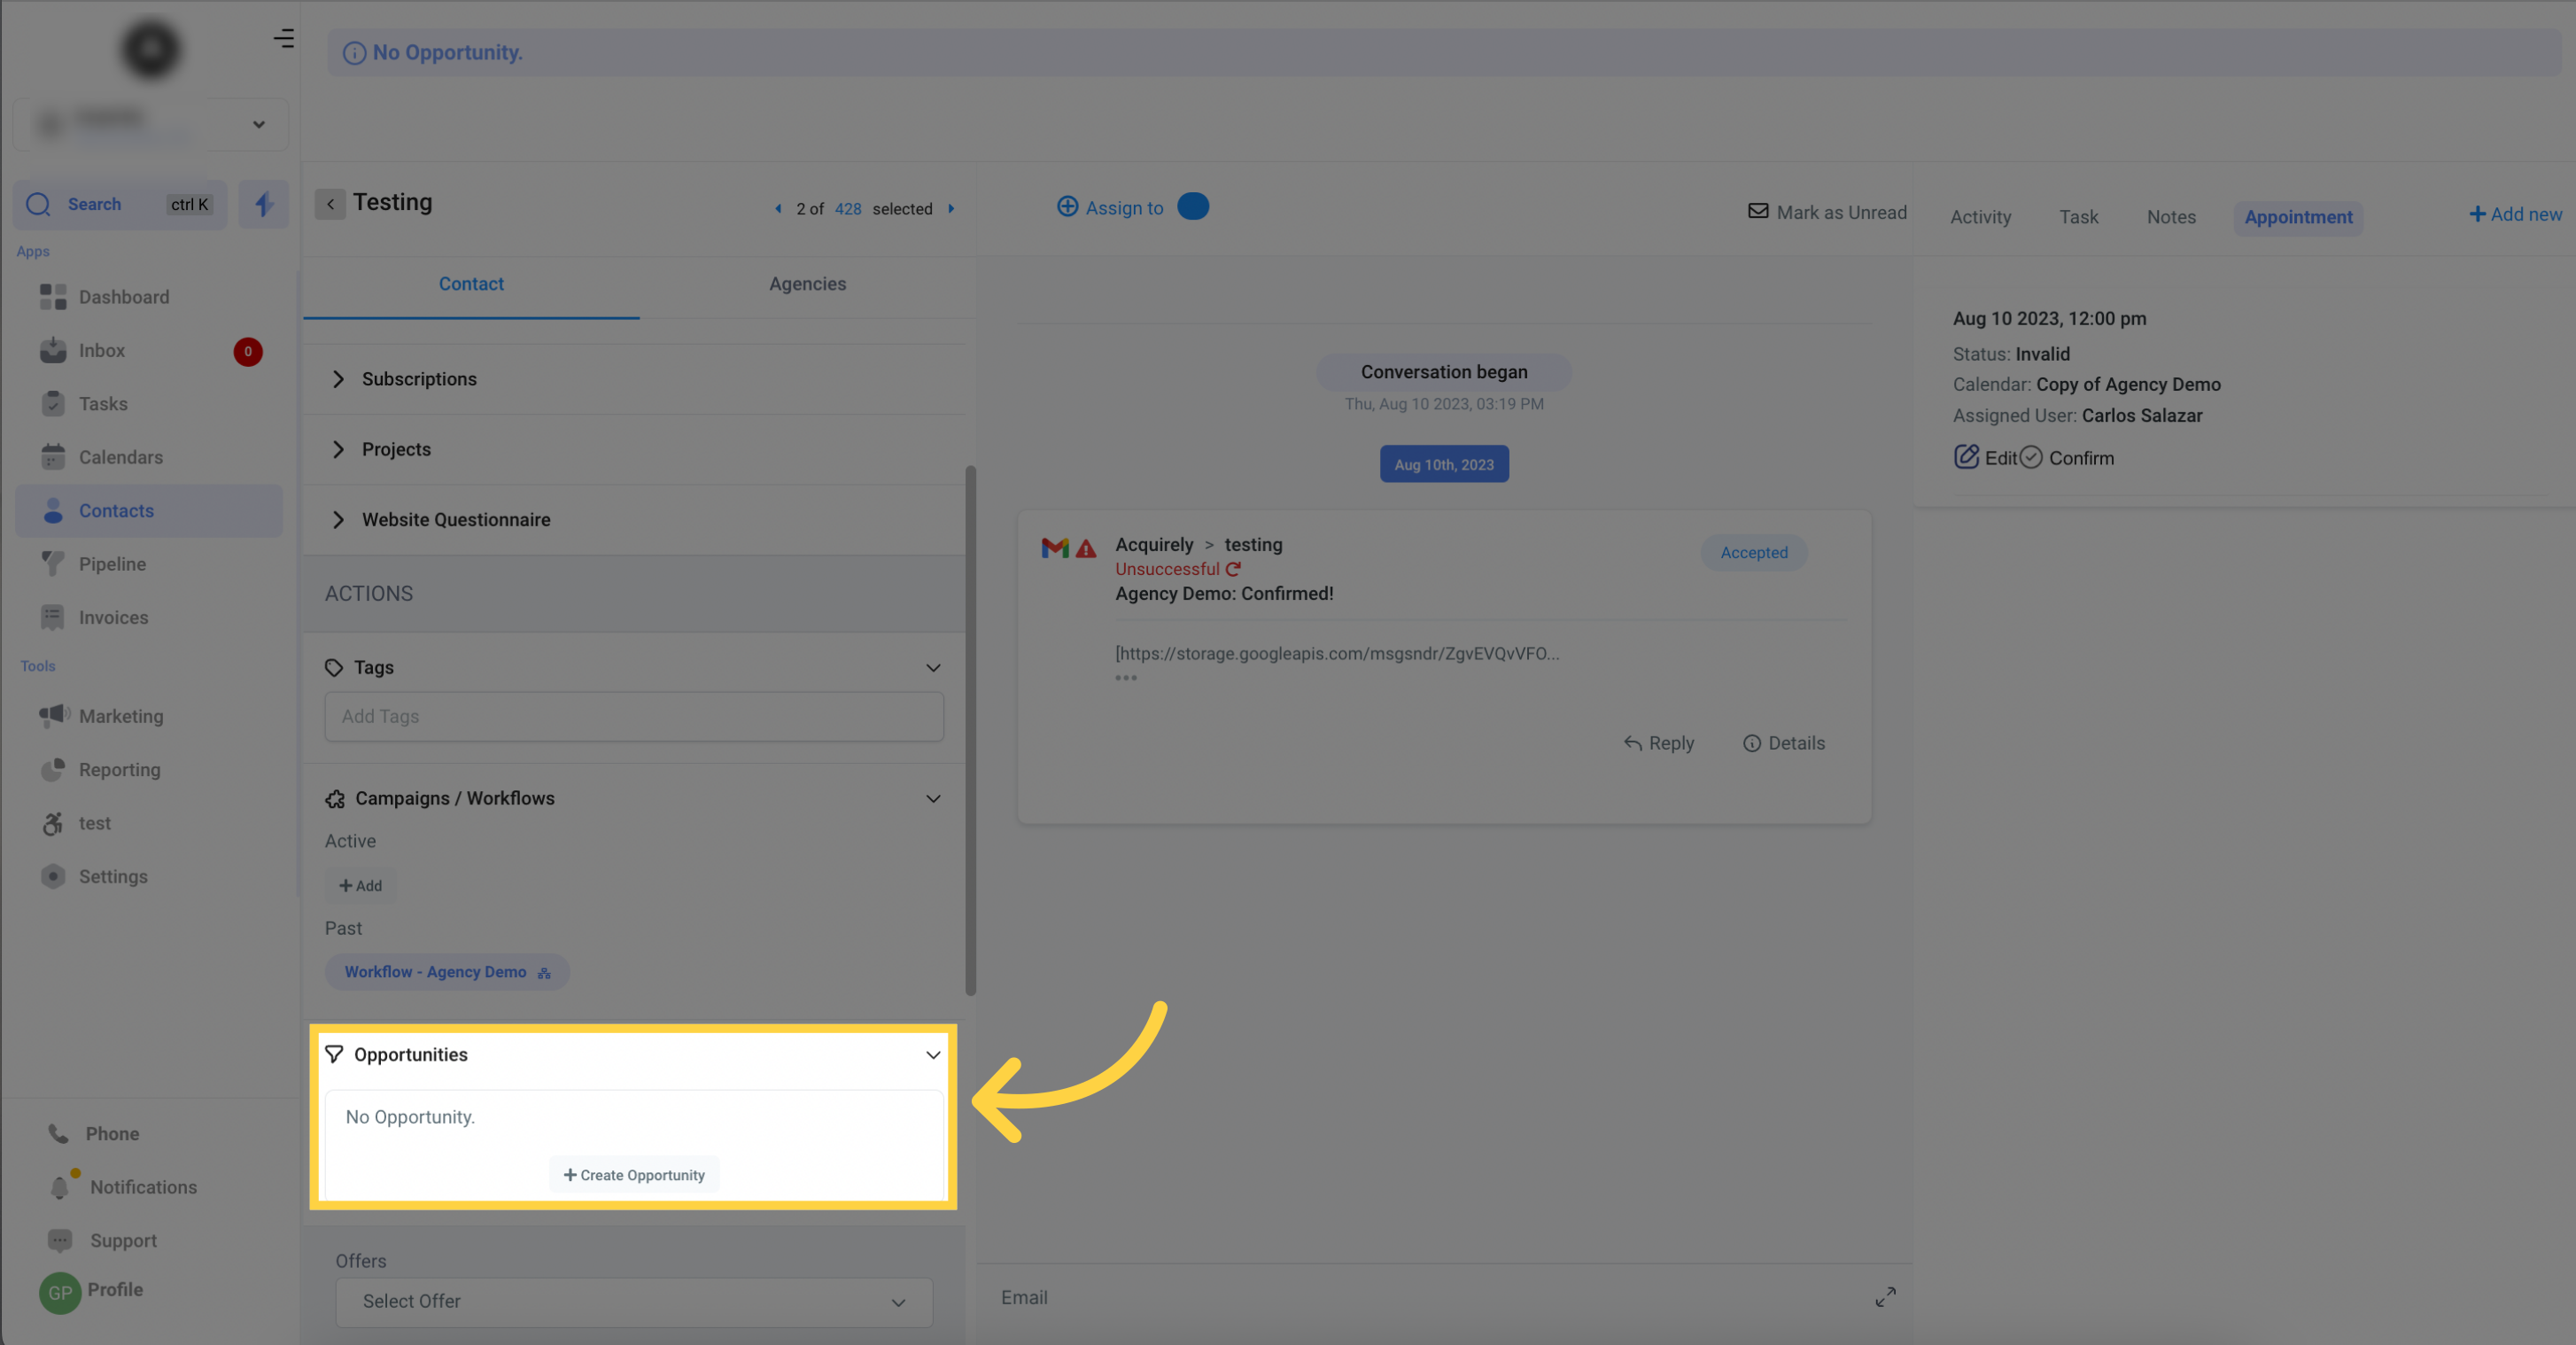
Here, you can view all the existing opportunities associated with the contact, along with their current statuses. You also have the option to add contacts to new or ongoing opportunities, streamlining the process of managing and tracking potential business prospects for each individual contact.
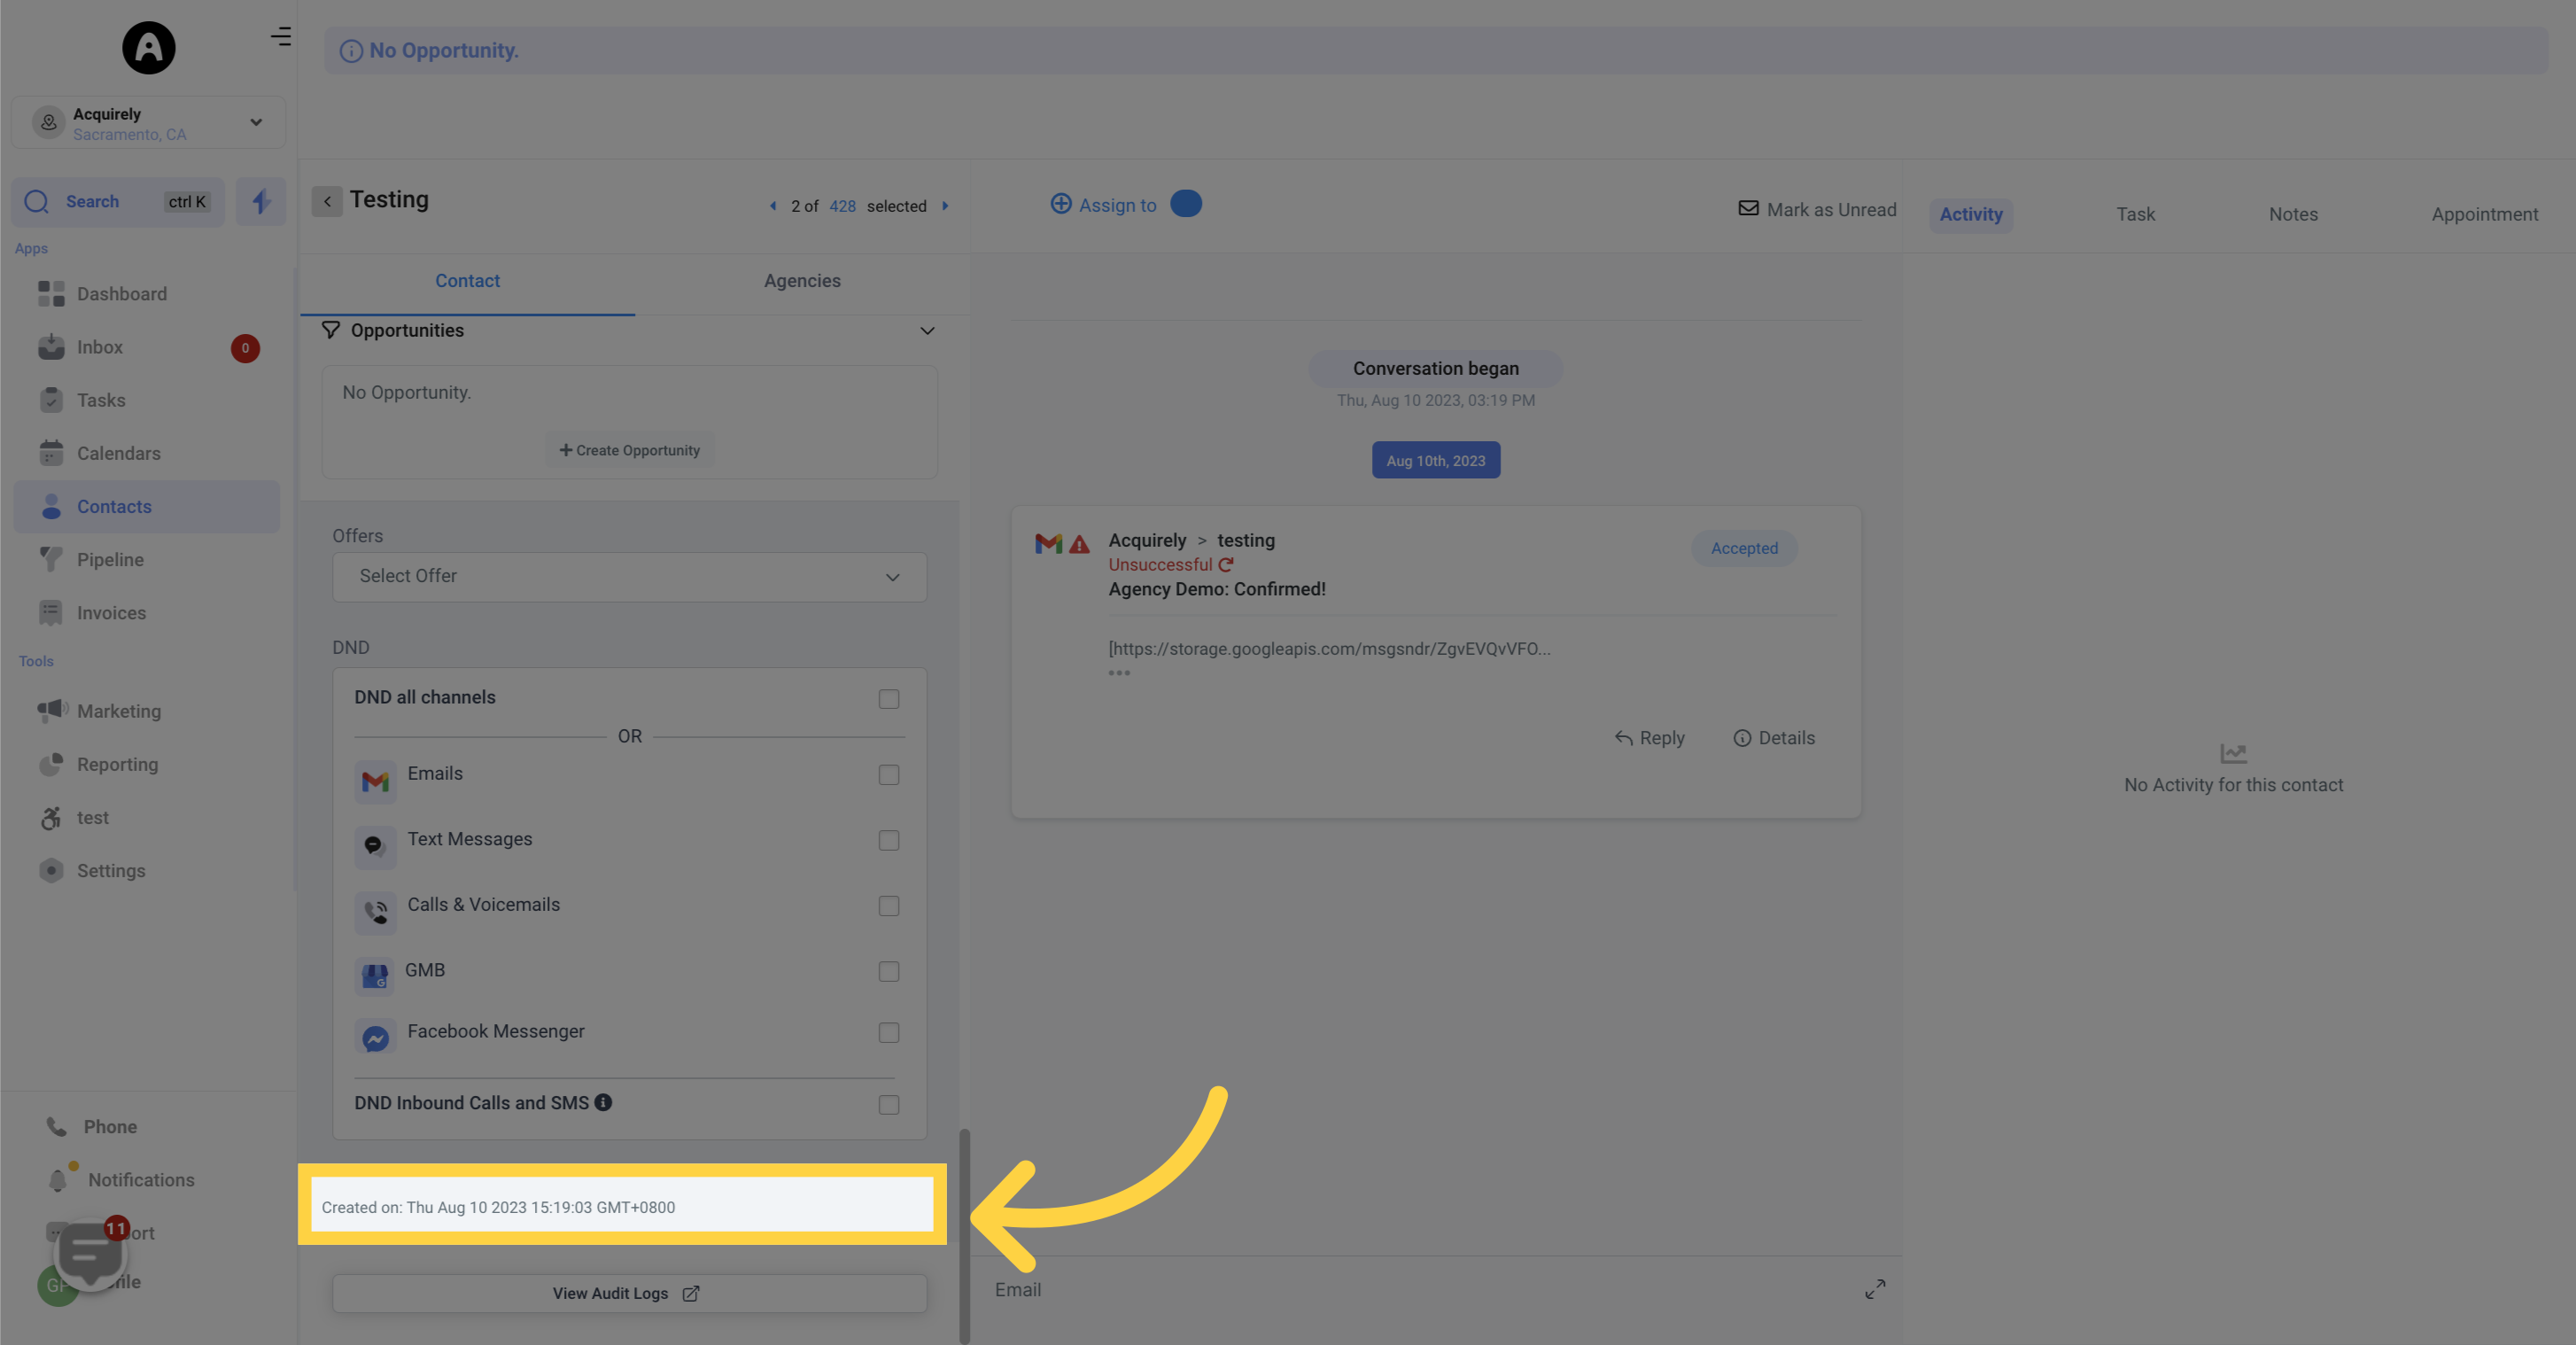
This section provides concise information about how a specific contact was created, including details such as the contact's source and the date they were added to the system. This valuable context enhances your ability to manage contacts effectively.