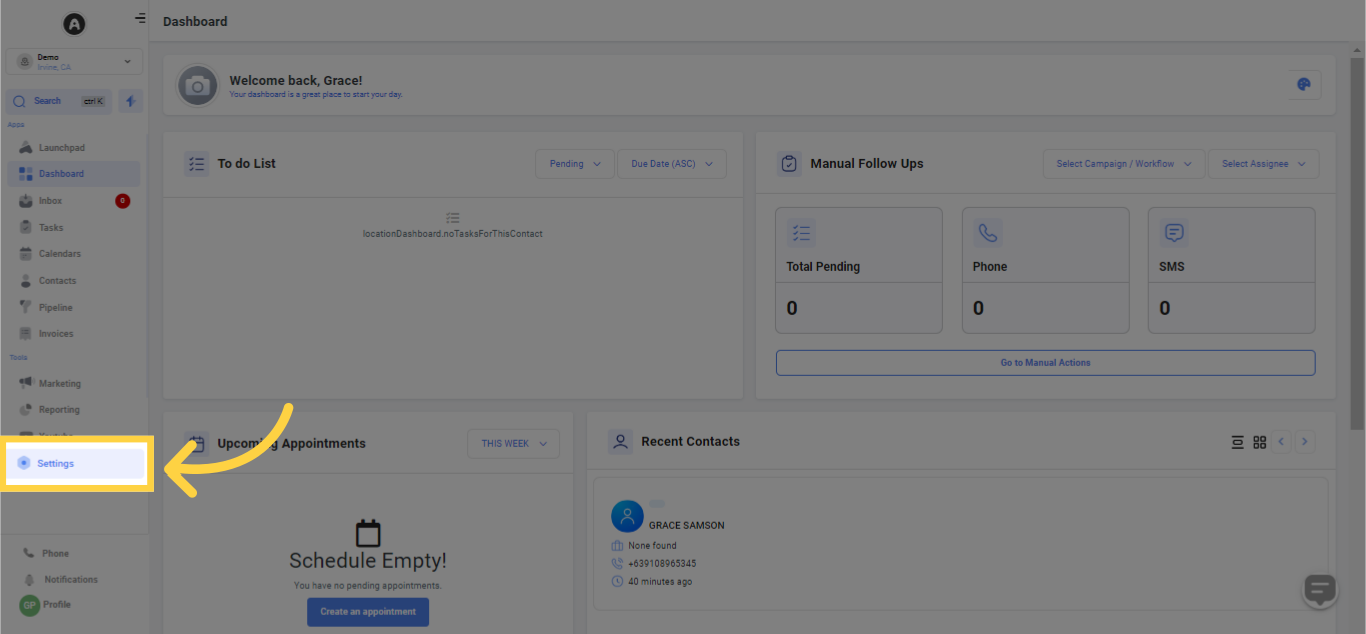
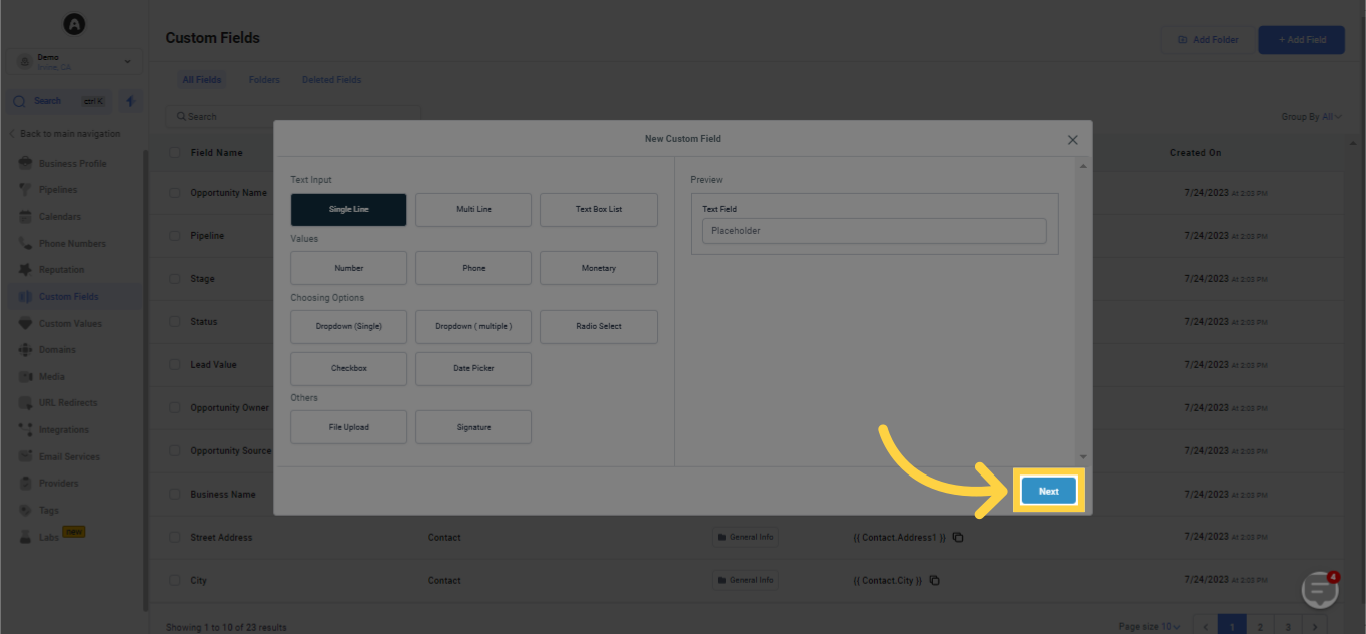
In this manual, we'll guide you on the process of setting up a new custom field, using 'Single Line' custom field as an illustration. This methodical guide aims to make your task of integrating custom fields that cater to your distinct requirements both seamless and effective.
)
)
)
)
)
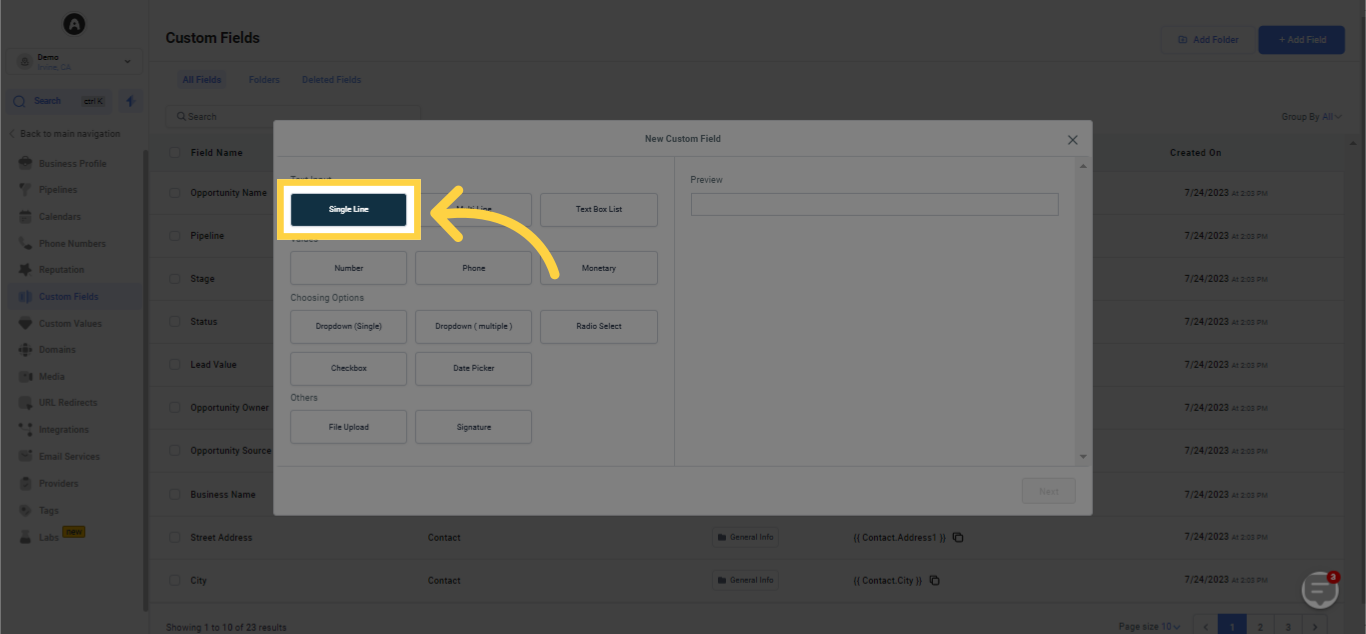
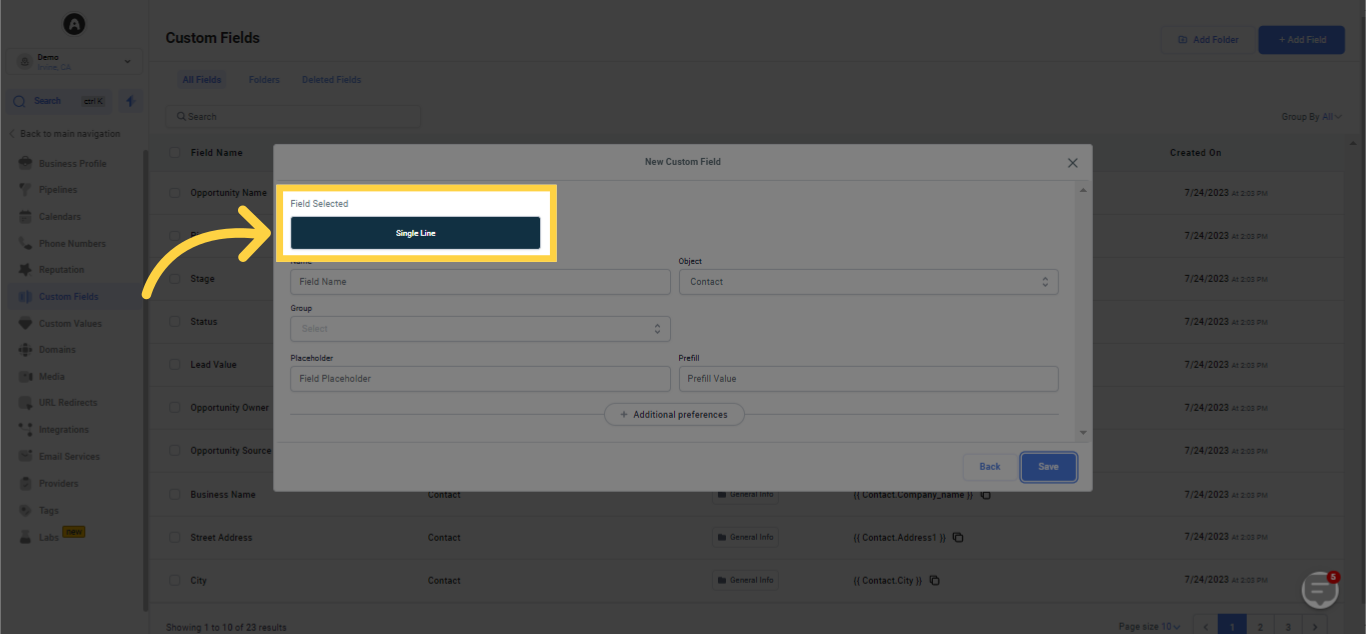
In this segment, the selected type of custom field is shown. In our present instance, we're crafting a 'Single Line' custom field, which provides a convenient and streamlined platform for users to incorporate short textual content.
)
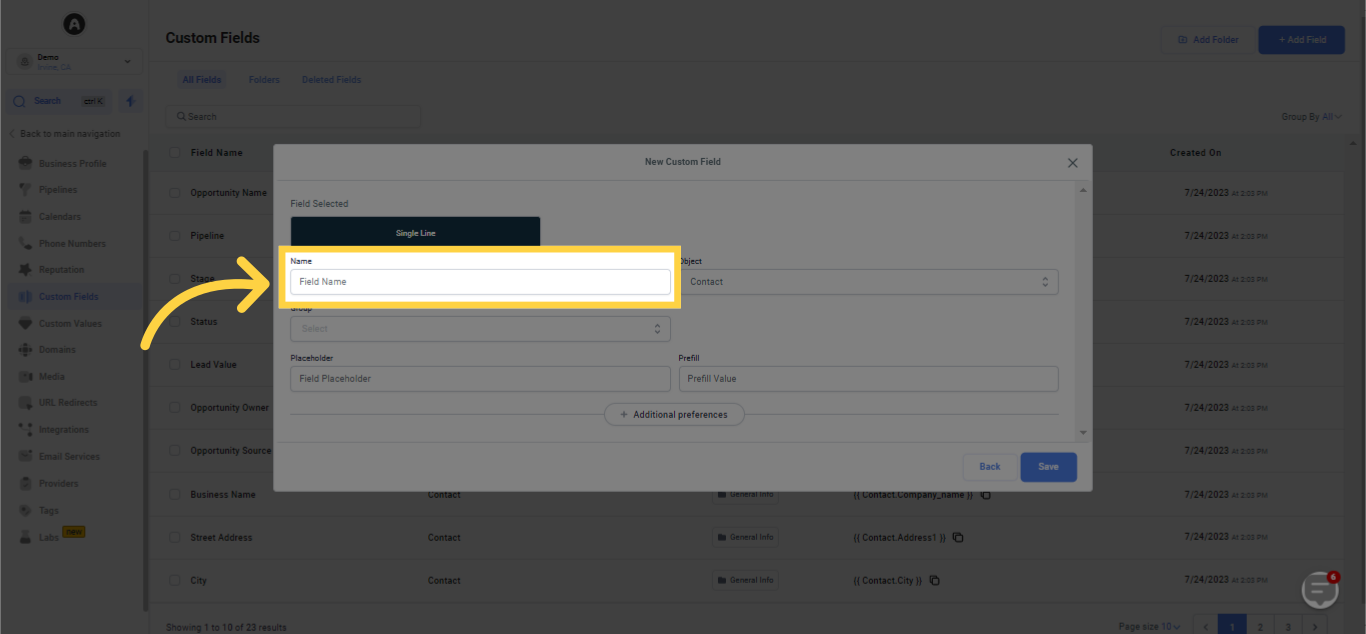
Please feel comfortable to name your field appropriately in a way that mirrors your desired objective.
)
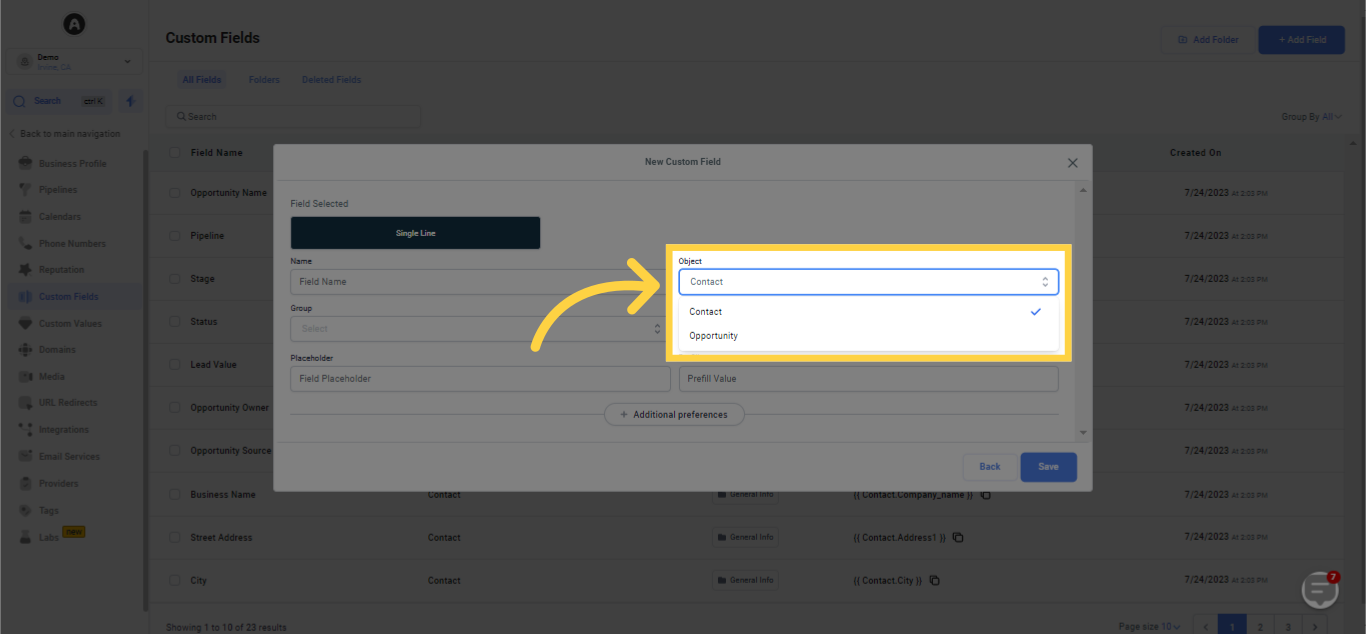
Using the dropdown menu, you can effortlessly select the relevant object linked with this specific tab.
)
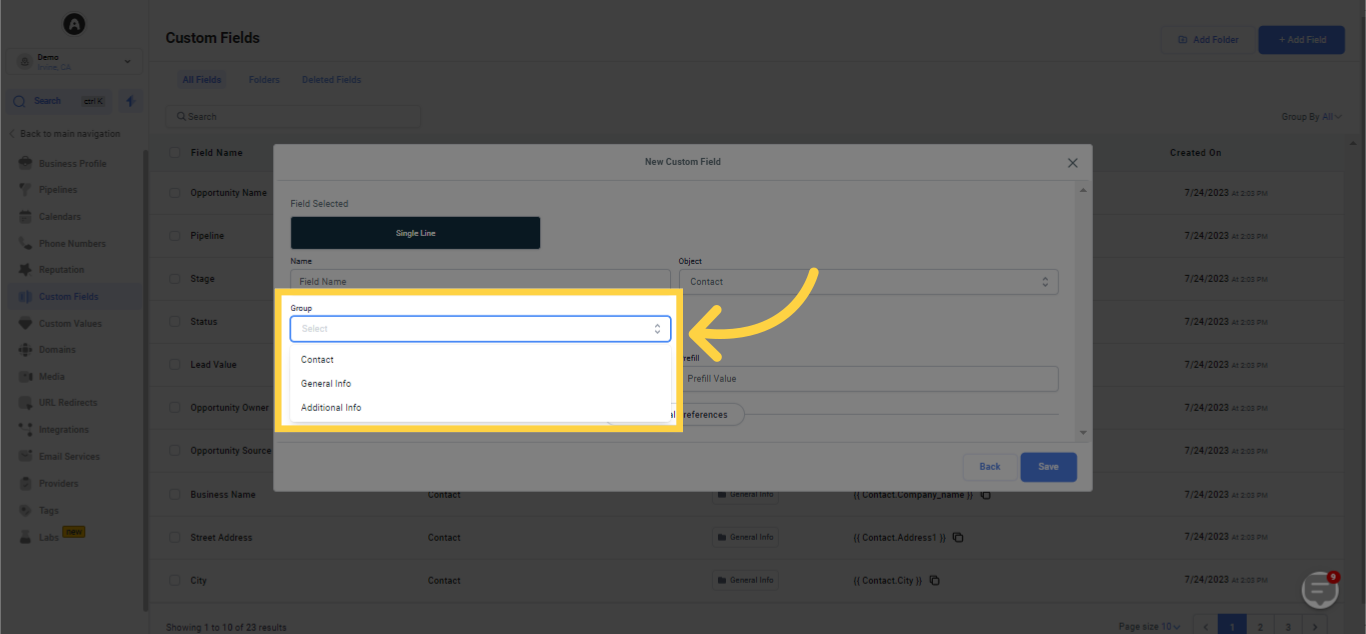
In this segment, you can choose the suitable group where the custom field should be incorporated. The dropdown menu provides choices to add the custom field to a contact group, general group, or any special group that you've established specifically for this custom field.
)
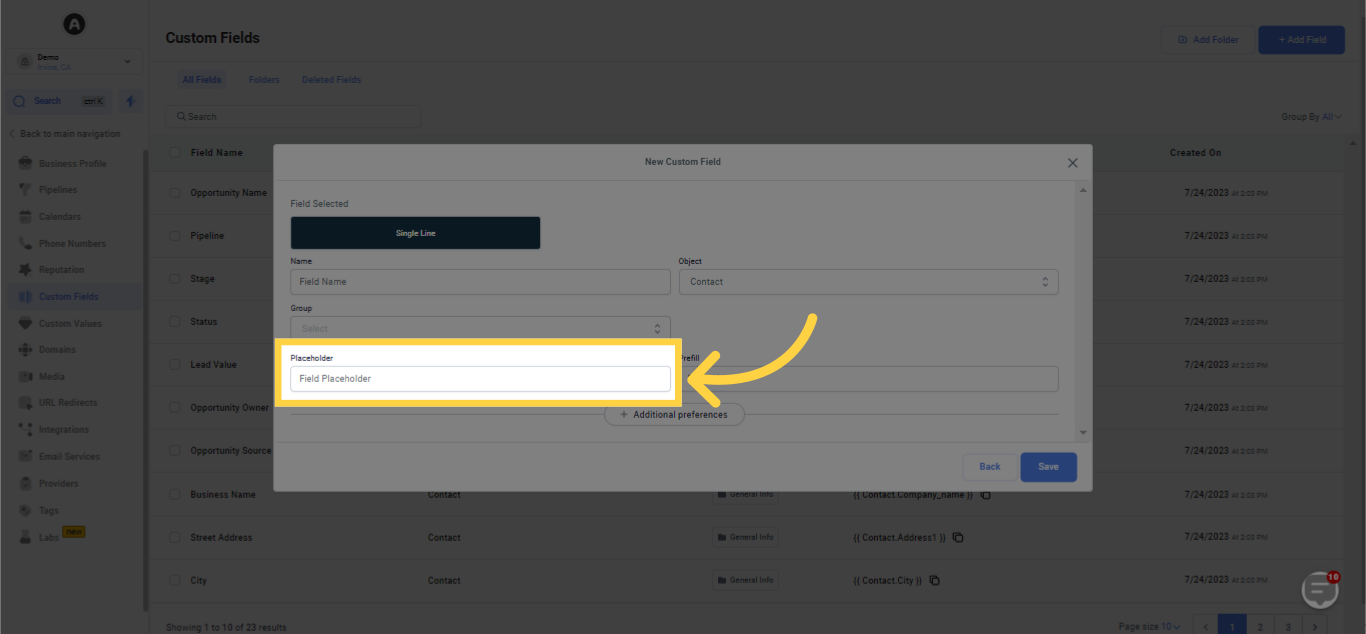
In this portion, you can include a placeholder for your custom field. A placeholder serves as a concise hint or example, guiding users regarding the anticipated input pattern or content.
)
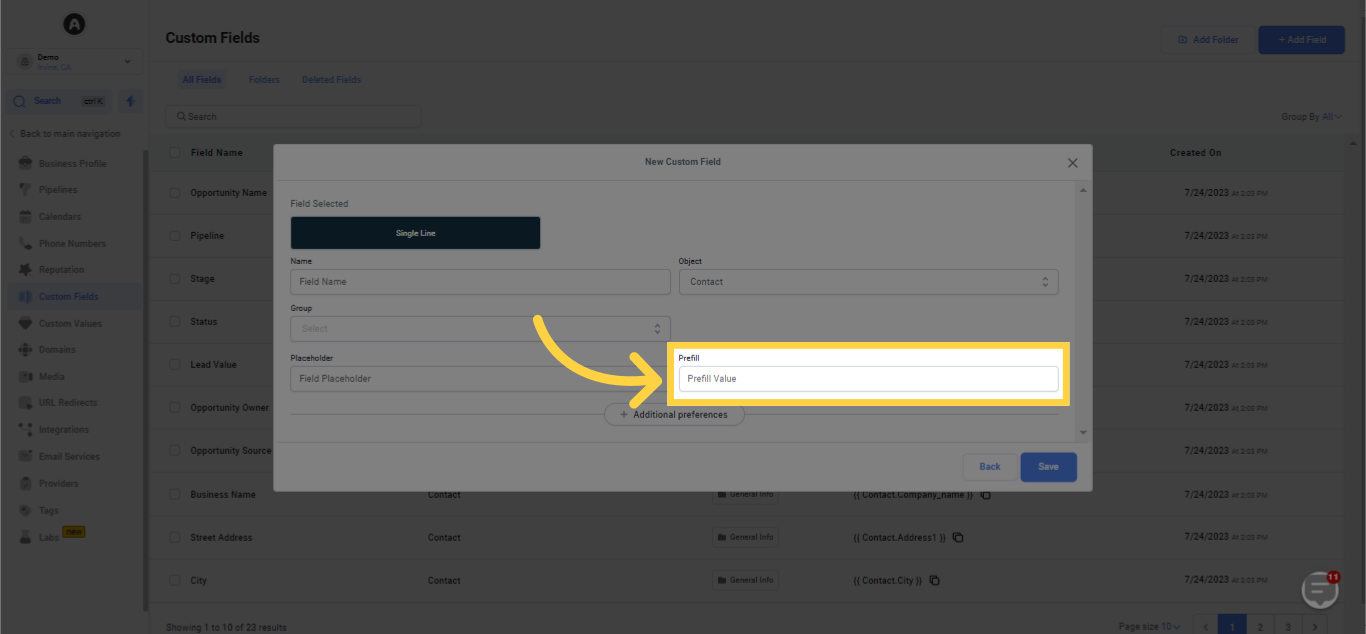
Furthermore, you can designate a prefill value for your custom field. This acts as a default input that will automatically appear when users engage with the field. This feature proves to be a time saver, particularly when most entries possess a shared value or format.
)
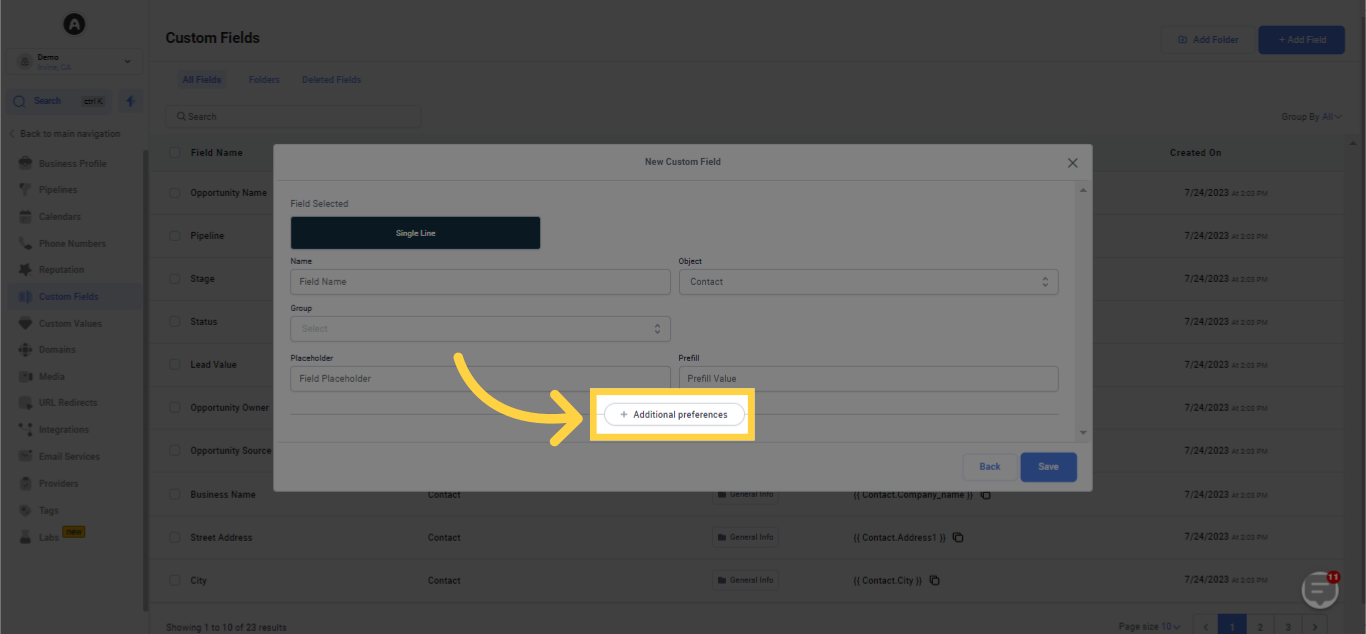
This section will offer some extra customization options for your custom field.
)
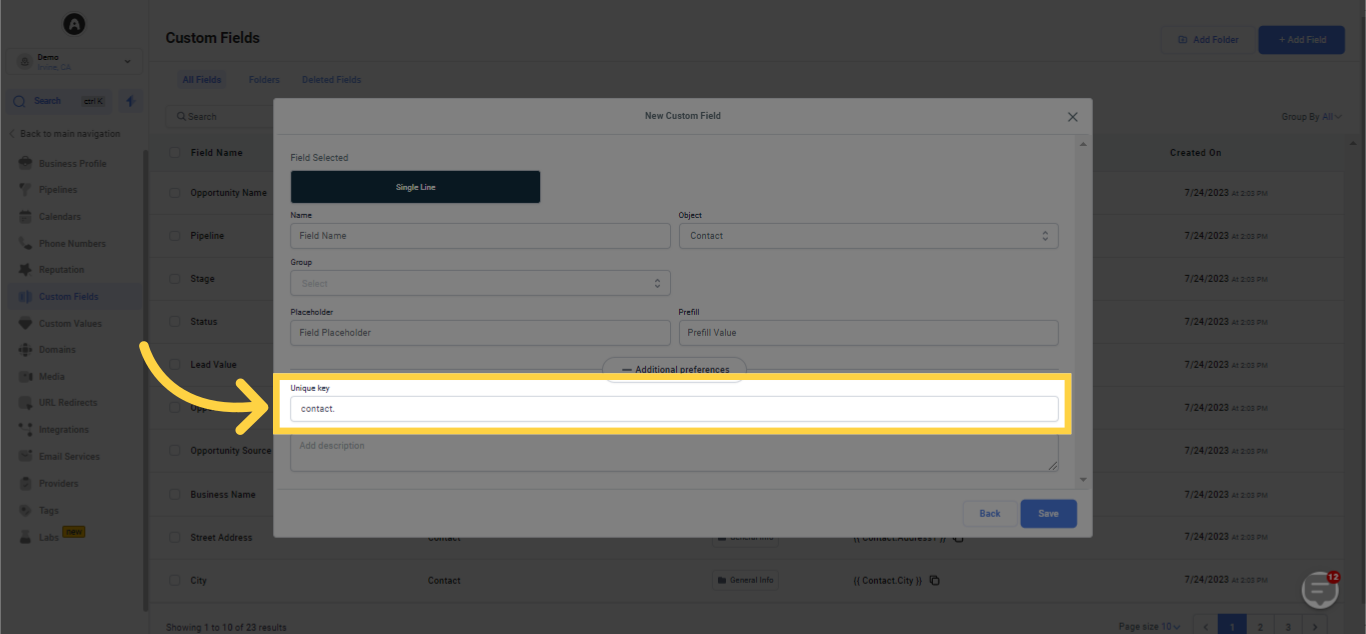
Once you've entered the custom field details into the system, a unique identification key will be automatically created for each custom field. This key, displayed in this section, will act as an exclusive identifier for each field.
)
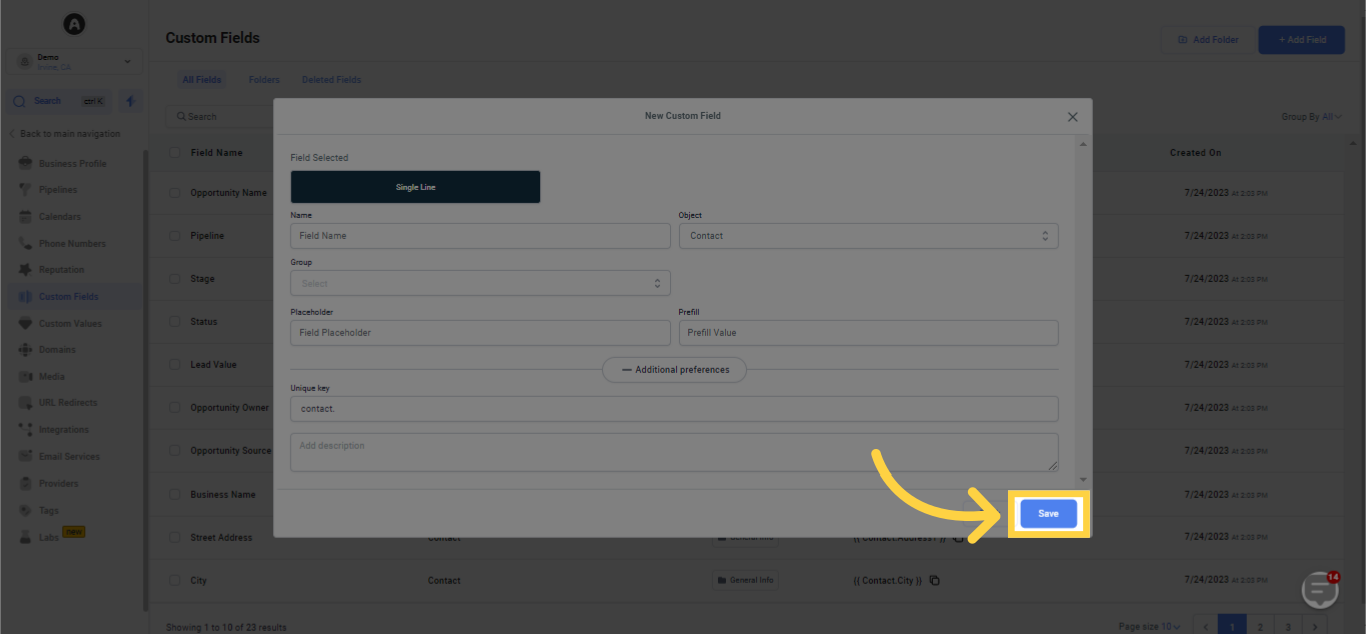
In this segment, you're given the opportunity to furnish further information about your custom field. You can articulate its function and the particular goals it hopes to fulfill within your platform.
)
)
