
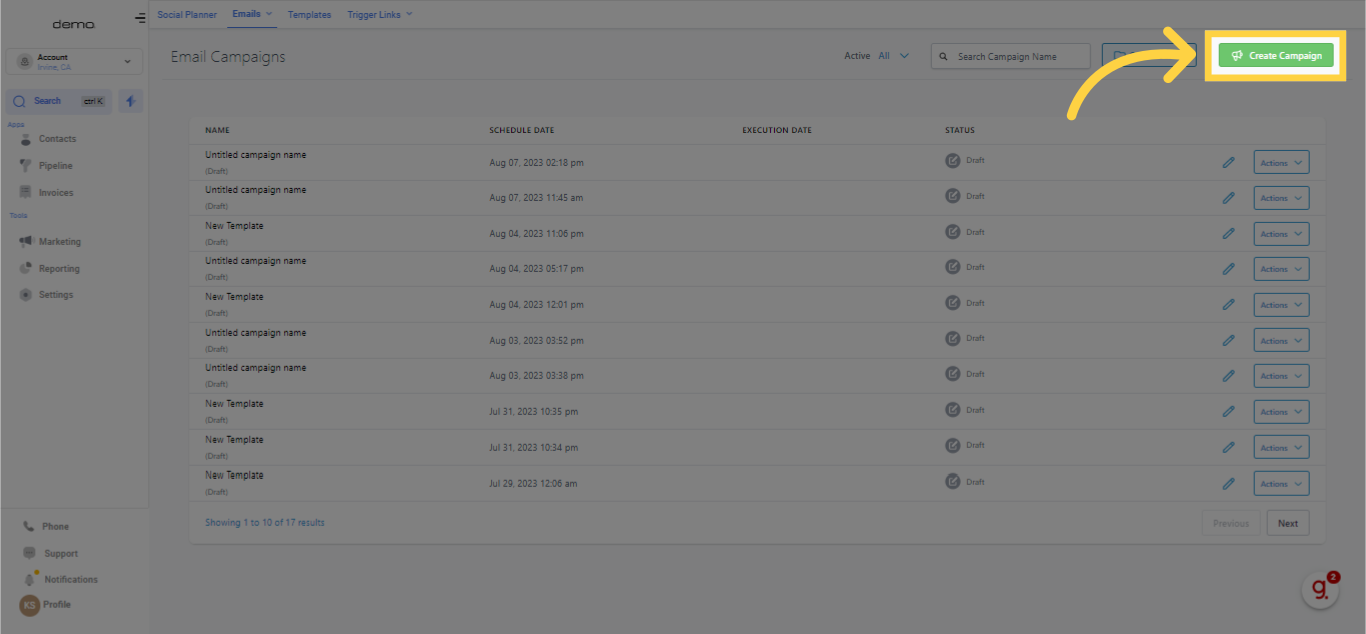
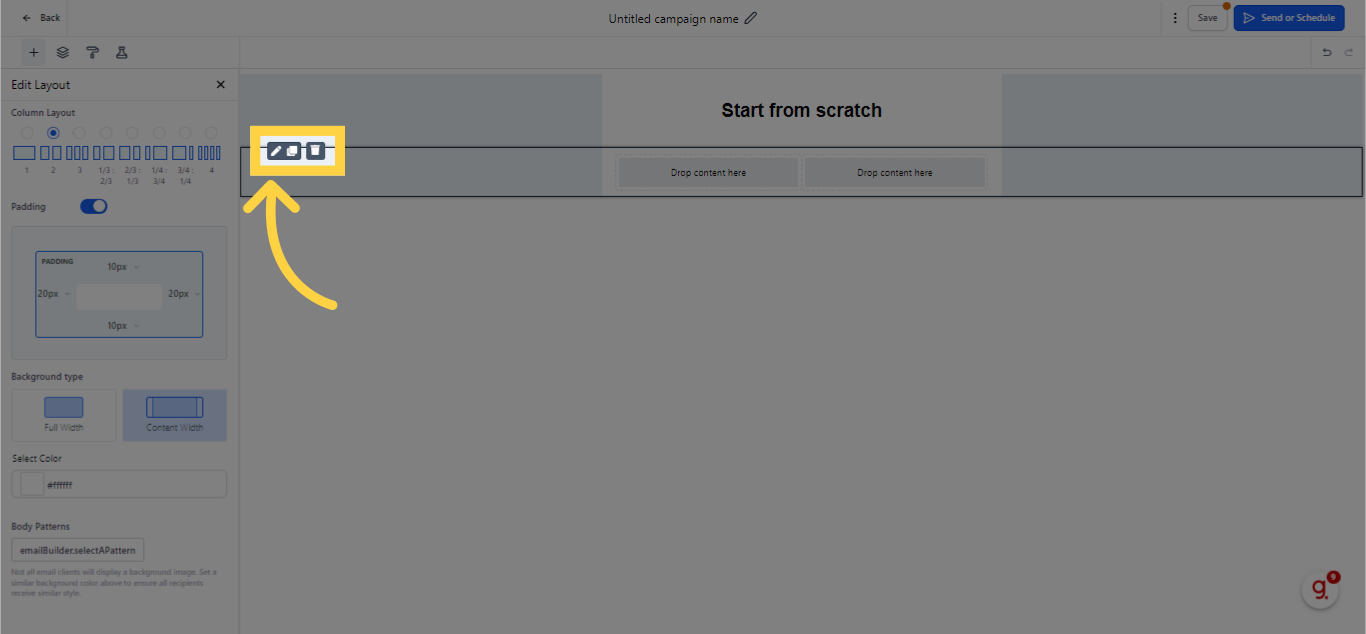
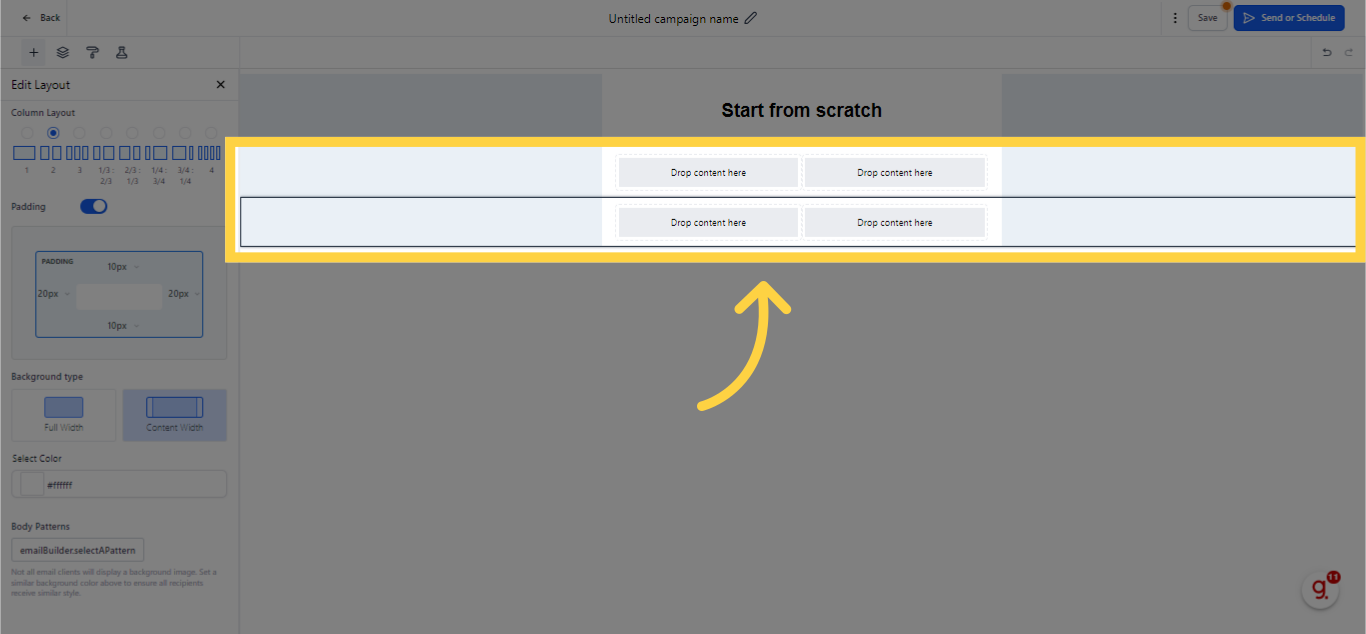
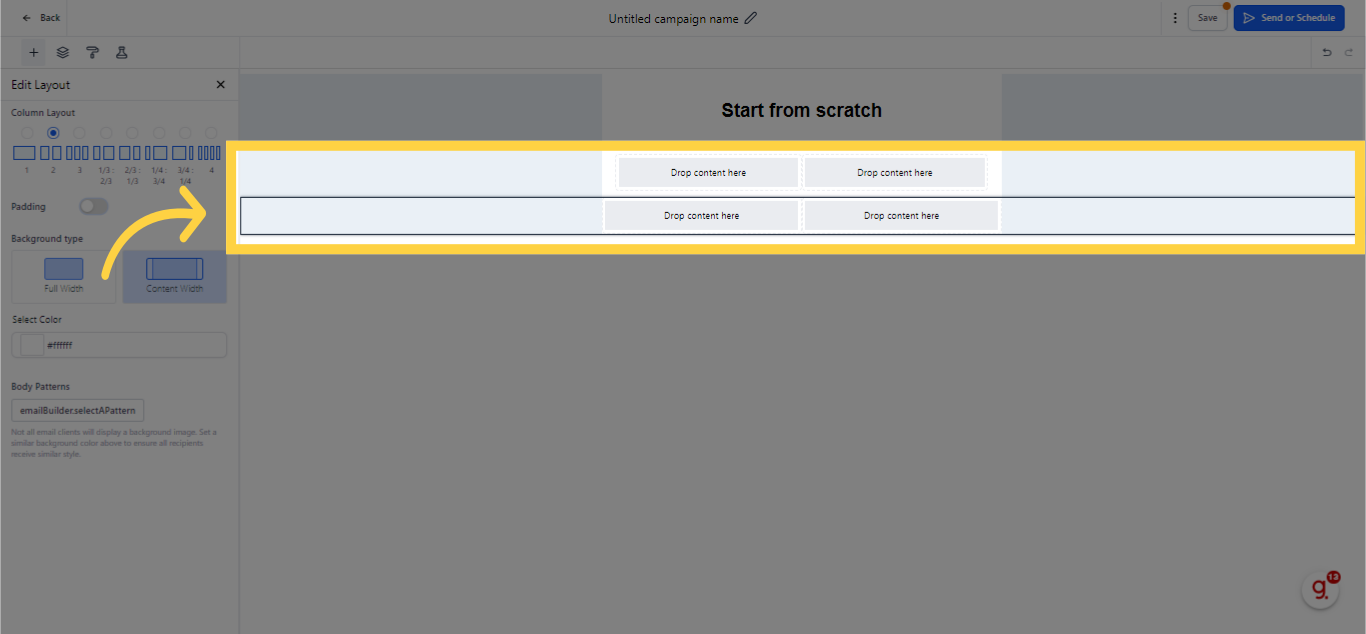
The initial phase of incorporating any component necessitates the addition of a layout. Select any preferred layout and simply drag and drop it into place.
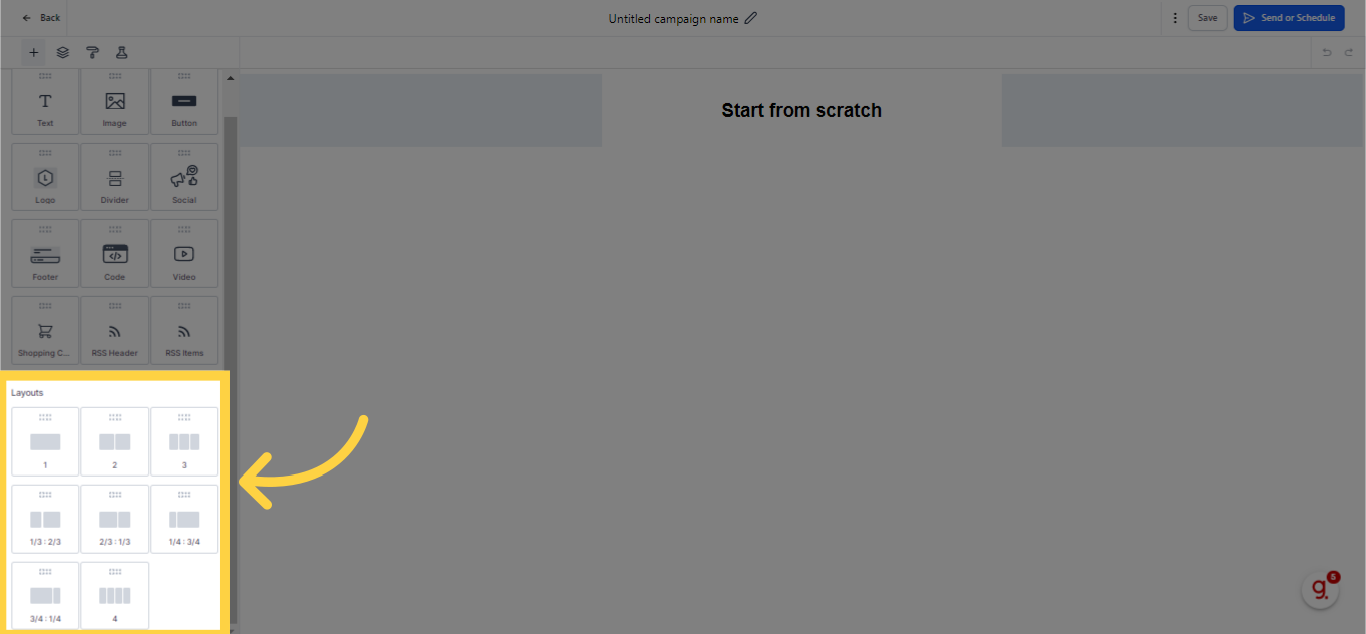
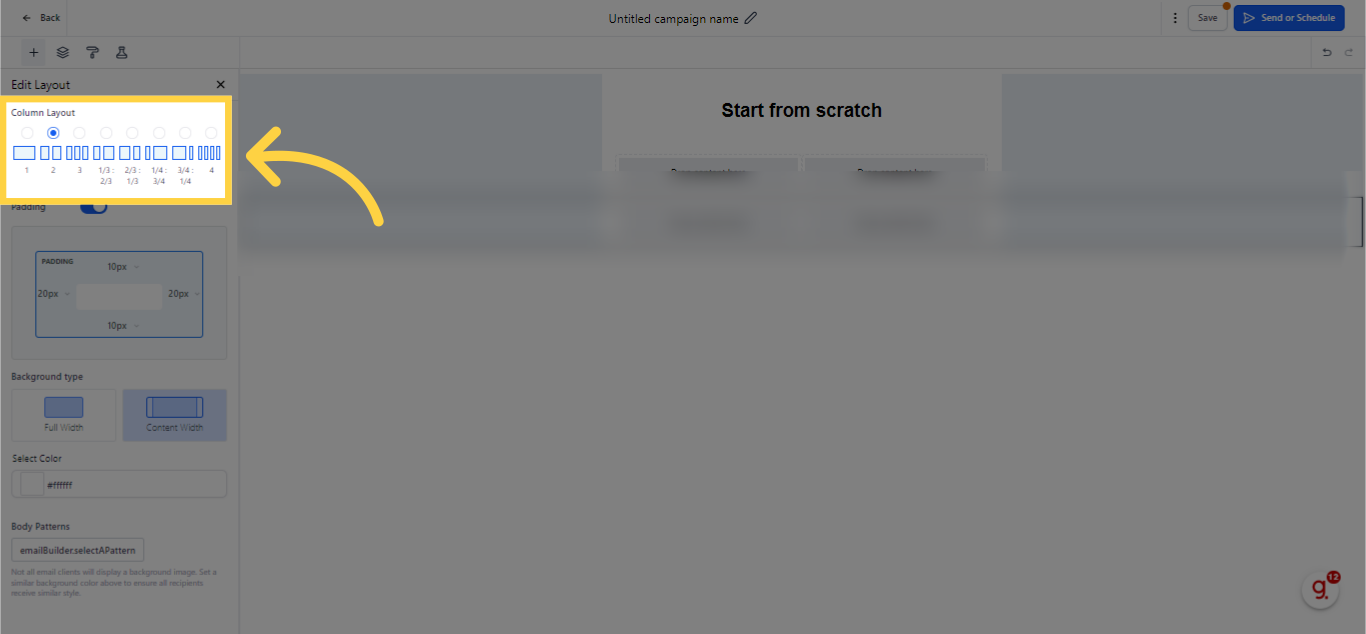
You can effortlessly modify the column structure of your email template by choosing from a variety of available options, such as single, double, triple, 1/3:2/3, 2/3:1/3, and quad (4) layouts. This capability offers extensive adaptability in shaping your email template to match specific requirements and tastes. Purely select the column arrangement most fitting for your email, and tailor it to capture the targeted aesthetics.
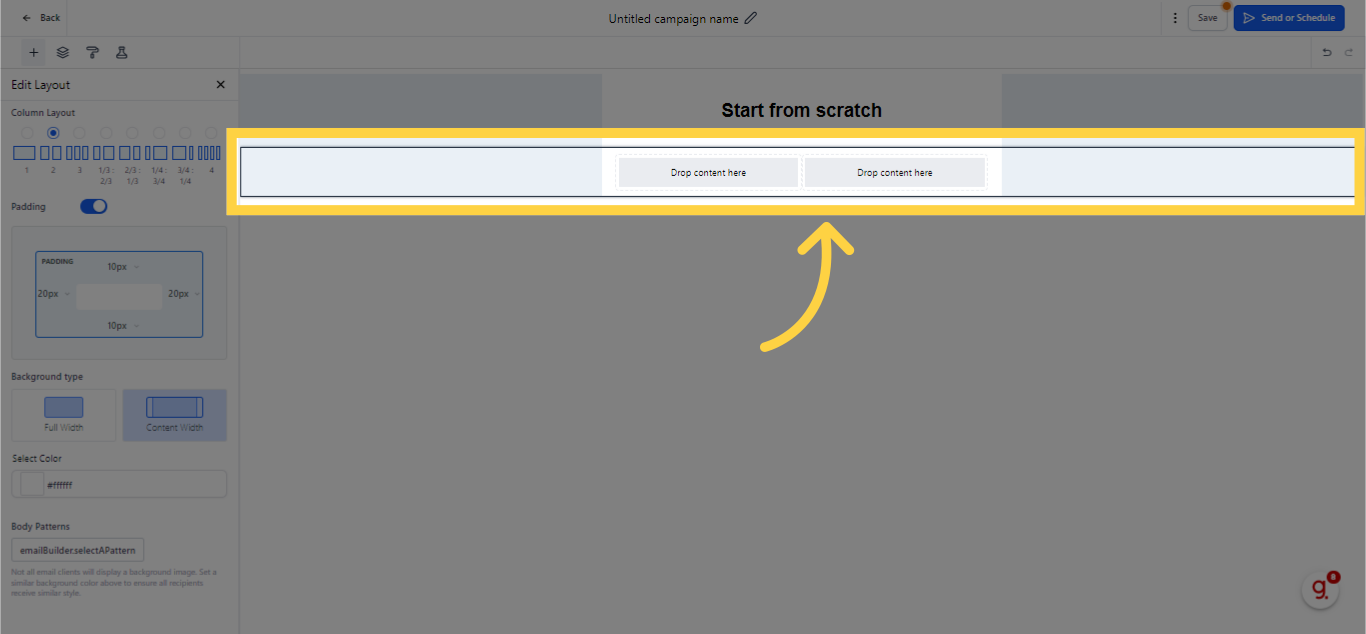
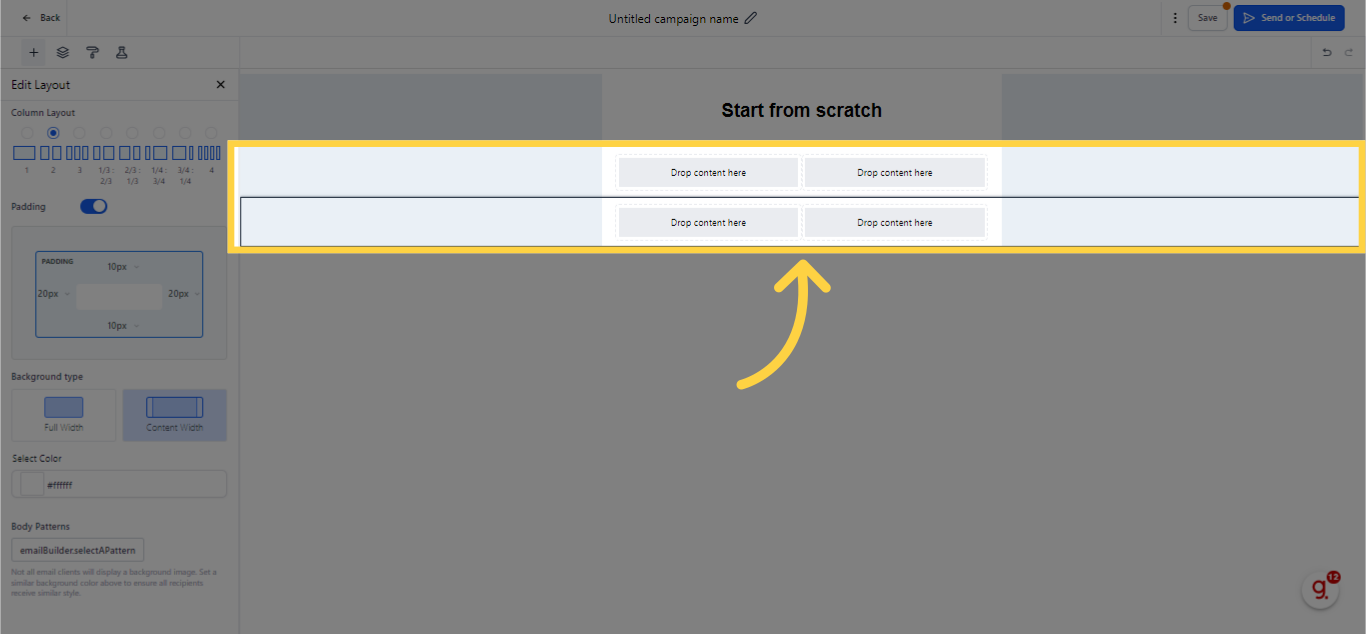
For instance, we have picked a triple layout from the settings as depicted below.
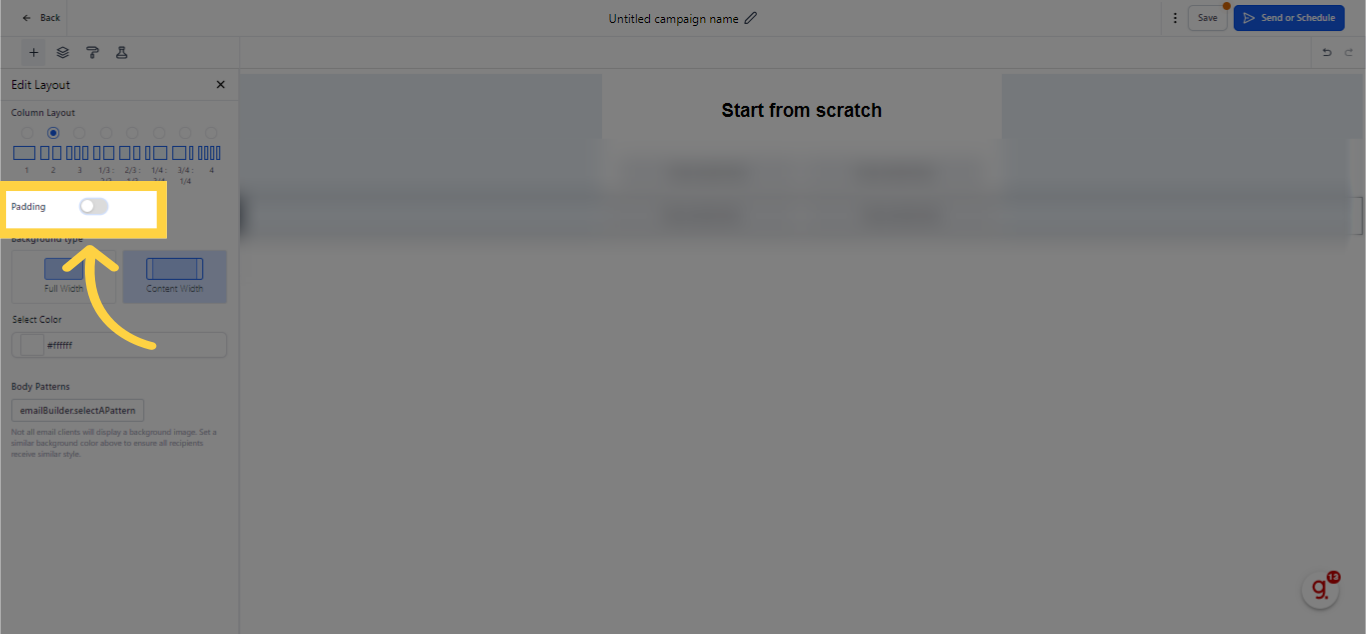
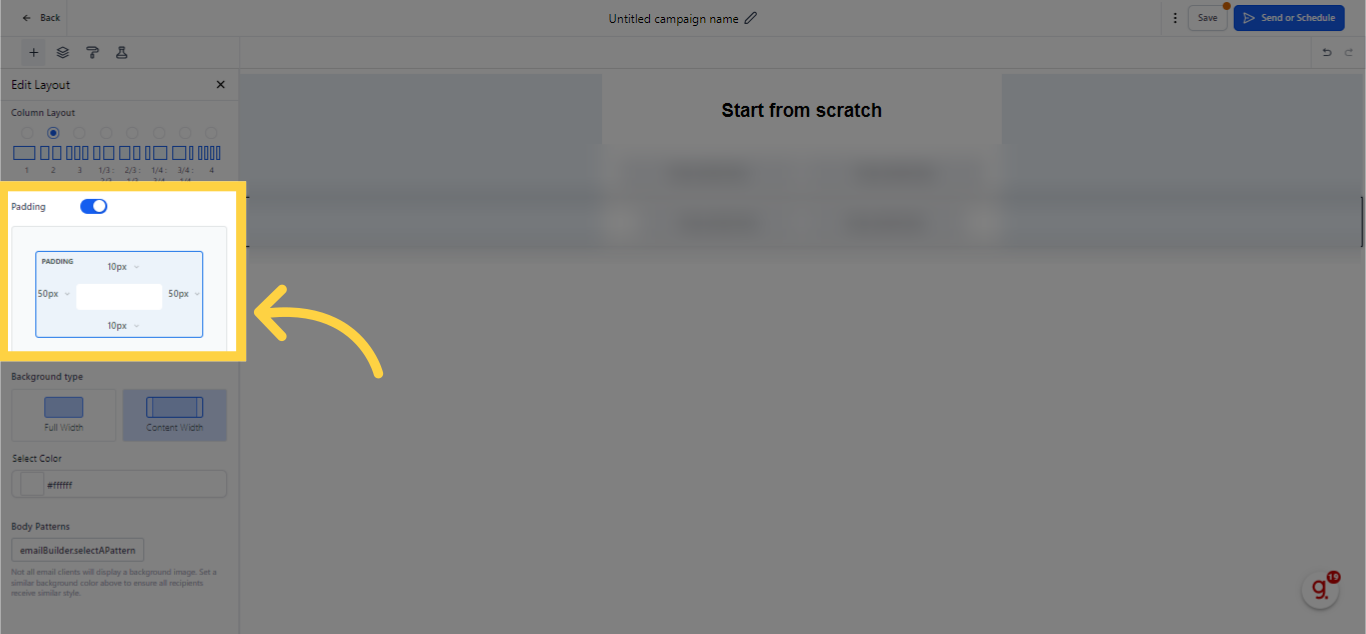
The subsequent phase in crafting your email template involves tweaking the padding. Padding pertains to the space bordering the sections of your email, which can conveniently be switched on or off. If you wish to provide additional space at the top of your email, you can augment the padding employing the Top, Bottom, Left, and Right side symbols. After adjusting the padding, your email template will be evident with an expanded format compared to prior. This attribute enables you to generate a visually engaging email with heightened adaptability and customization possibilities.
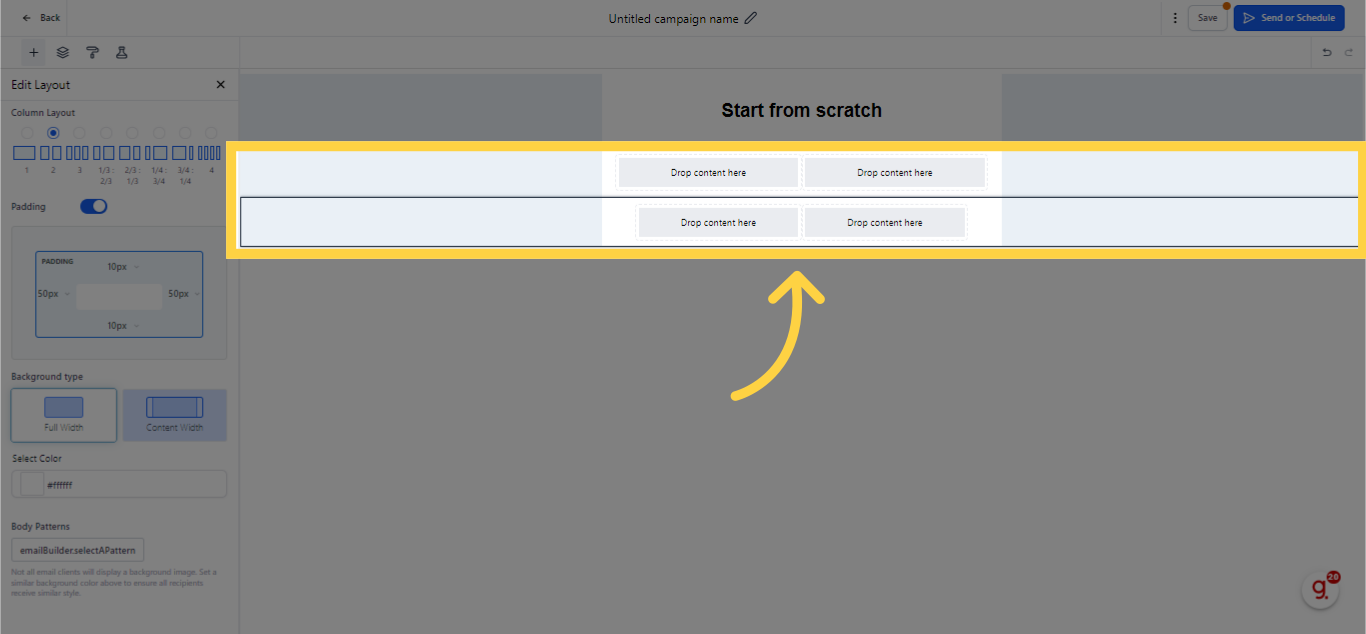
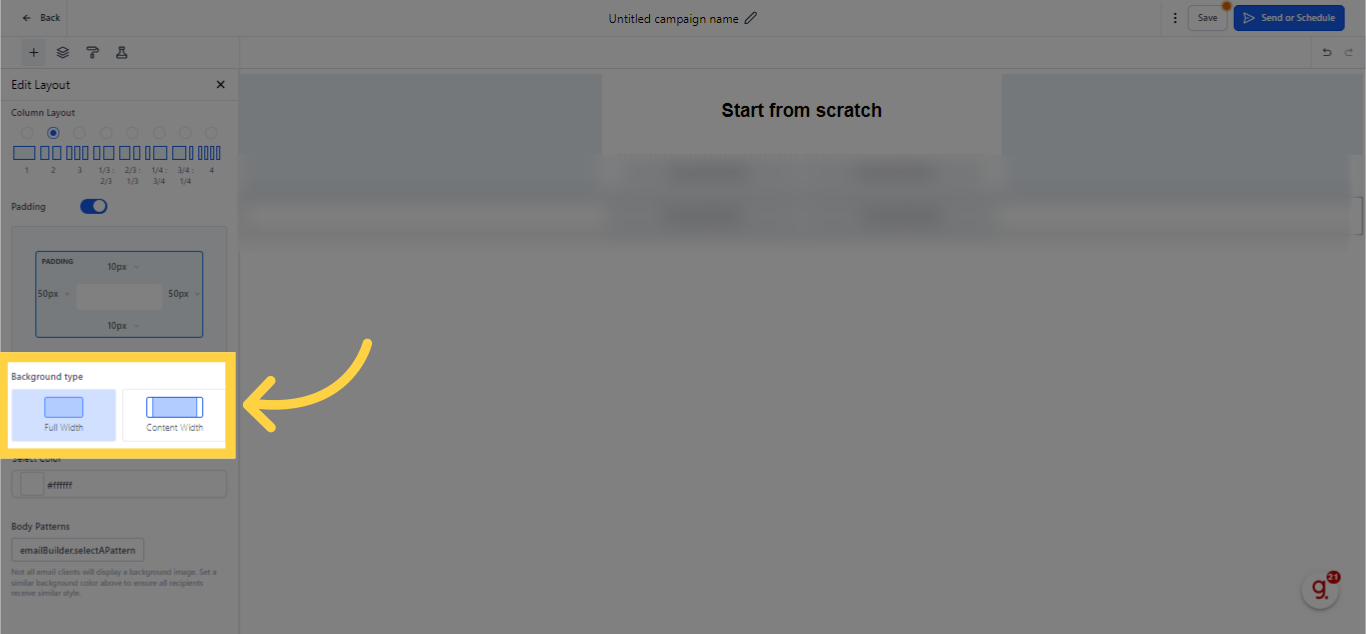
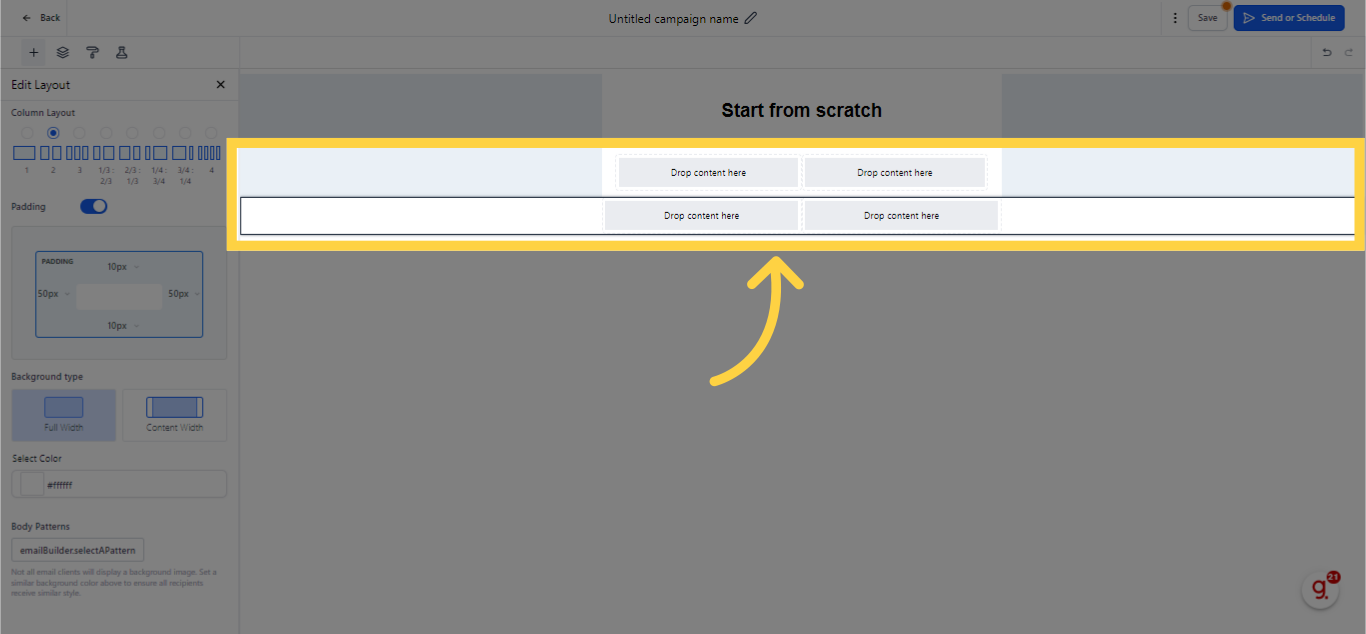
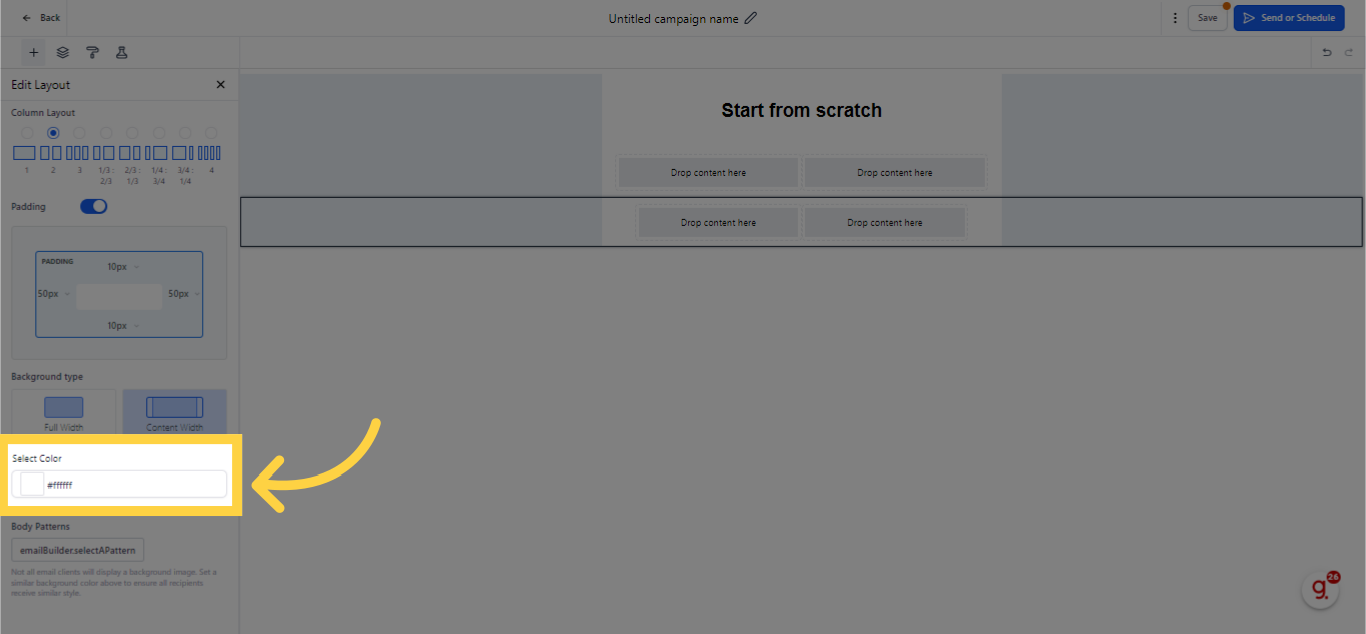
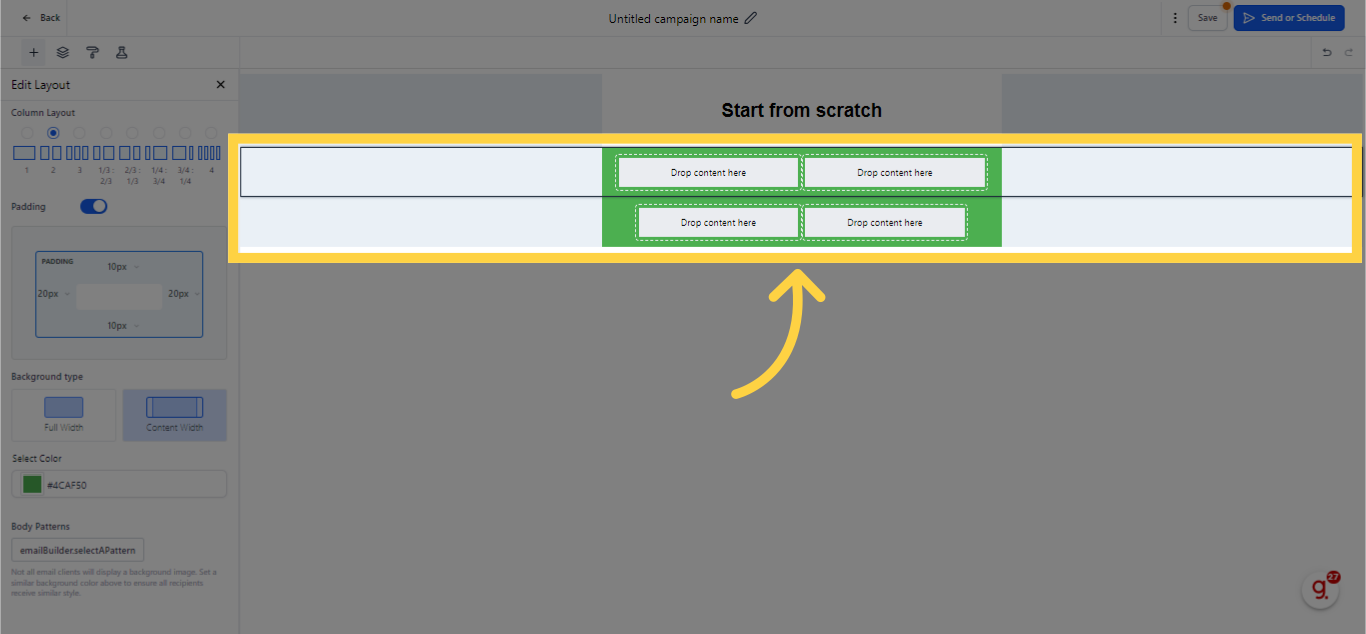
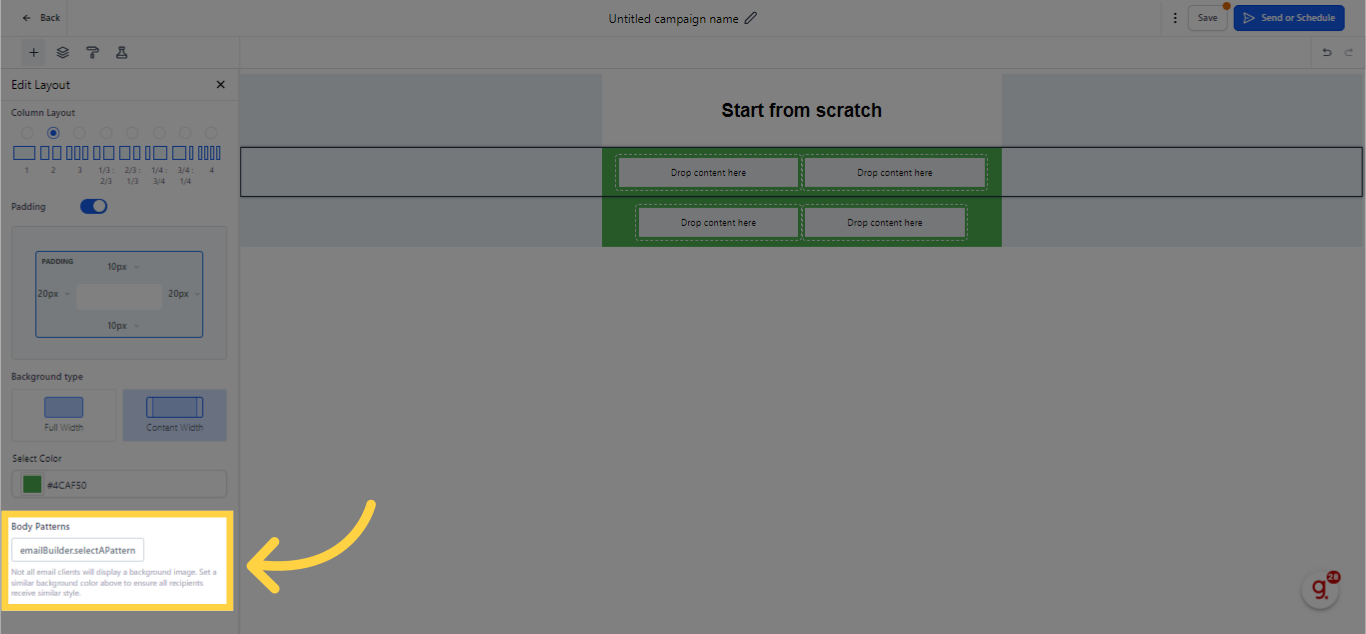
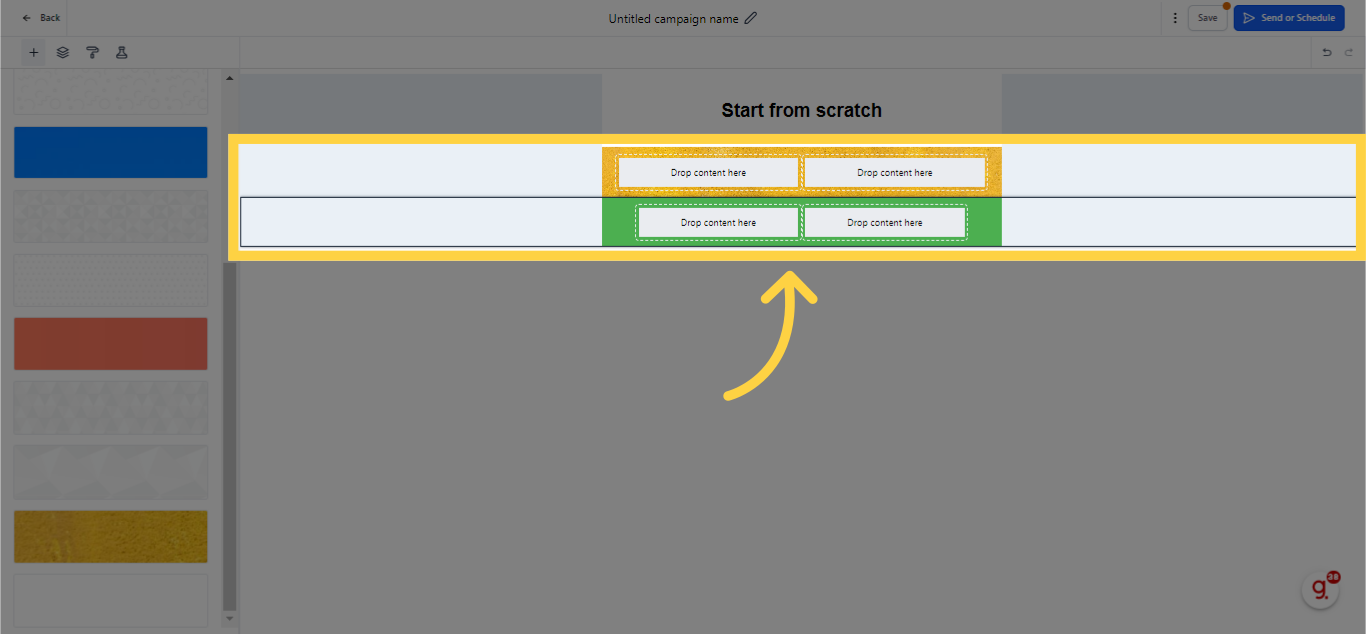
Post the padding adjustments in your email template, the next stride is opting for the background type. You have the option to extend your email to full-width or confine it within the content width. Plus, you can personalize the background colors and even pick patterns to set your email template apart. Utilize this feature to infuse a distinctive charm into your email template that mirrors your brand's persona and flair.
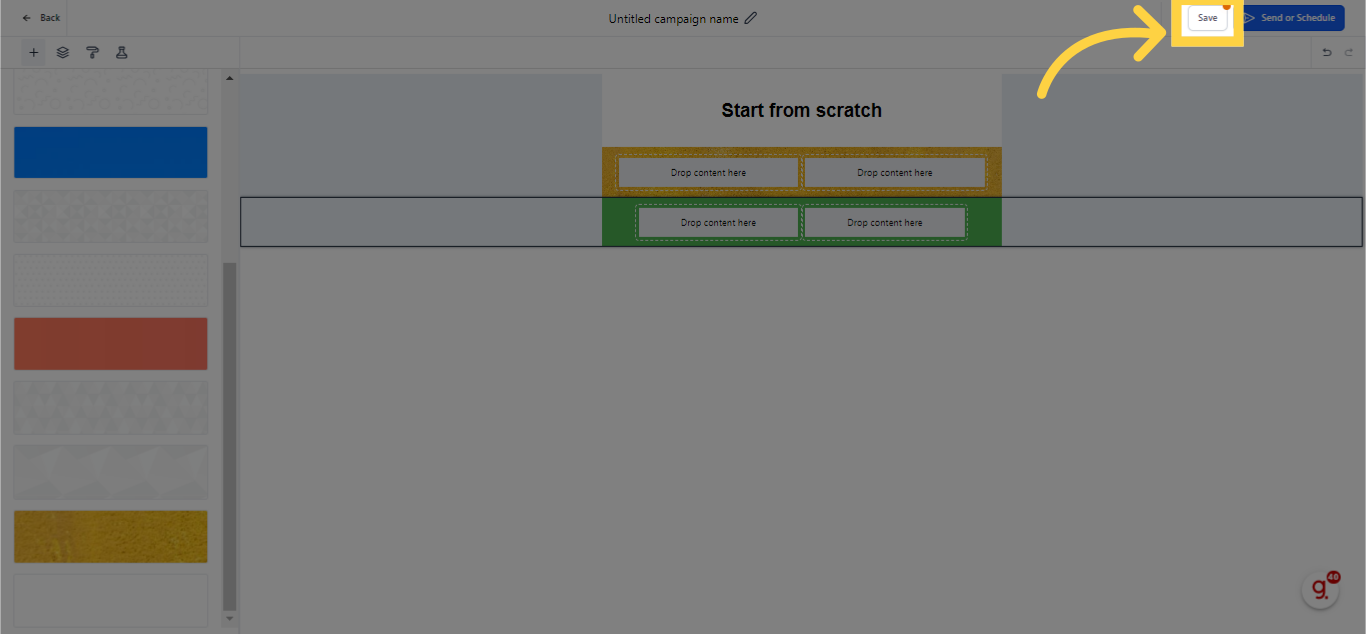
When you're satisfied with your section settings, proceed and click on the Done button as visualized below.