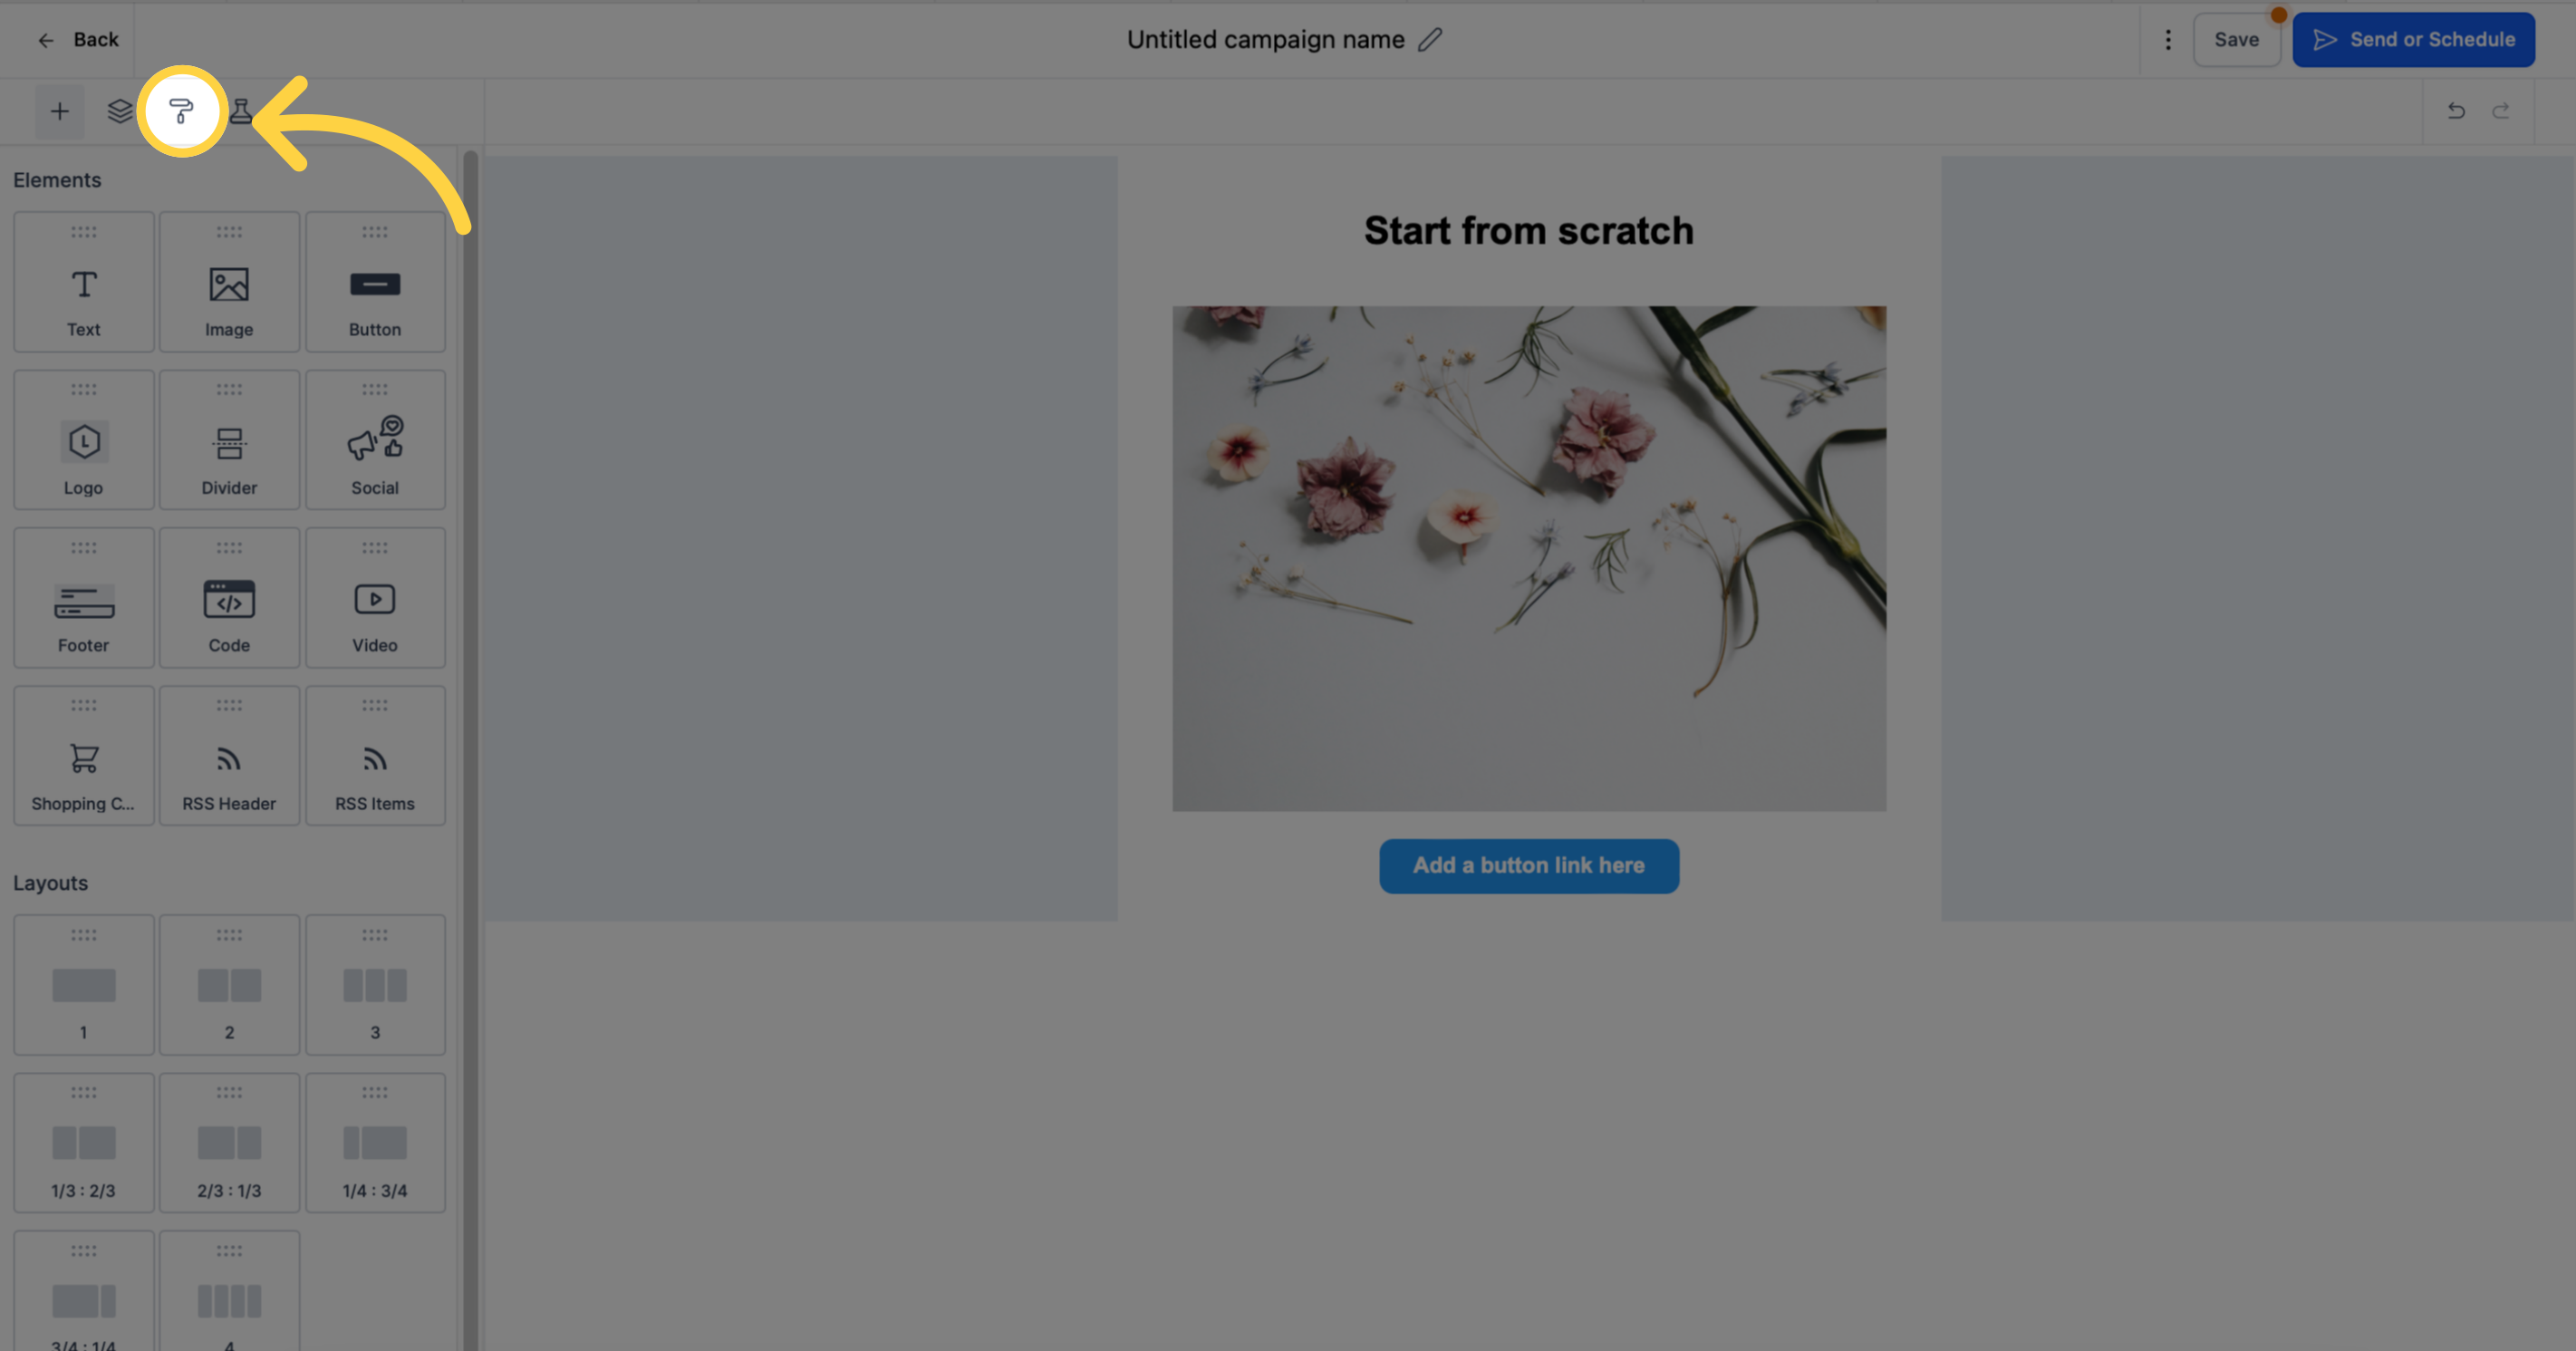
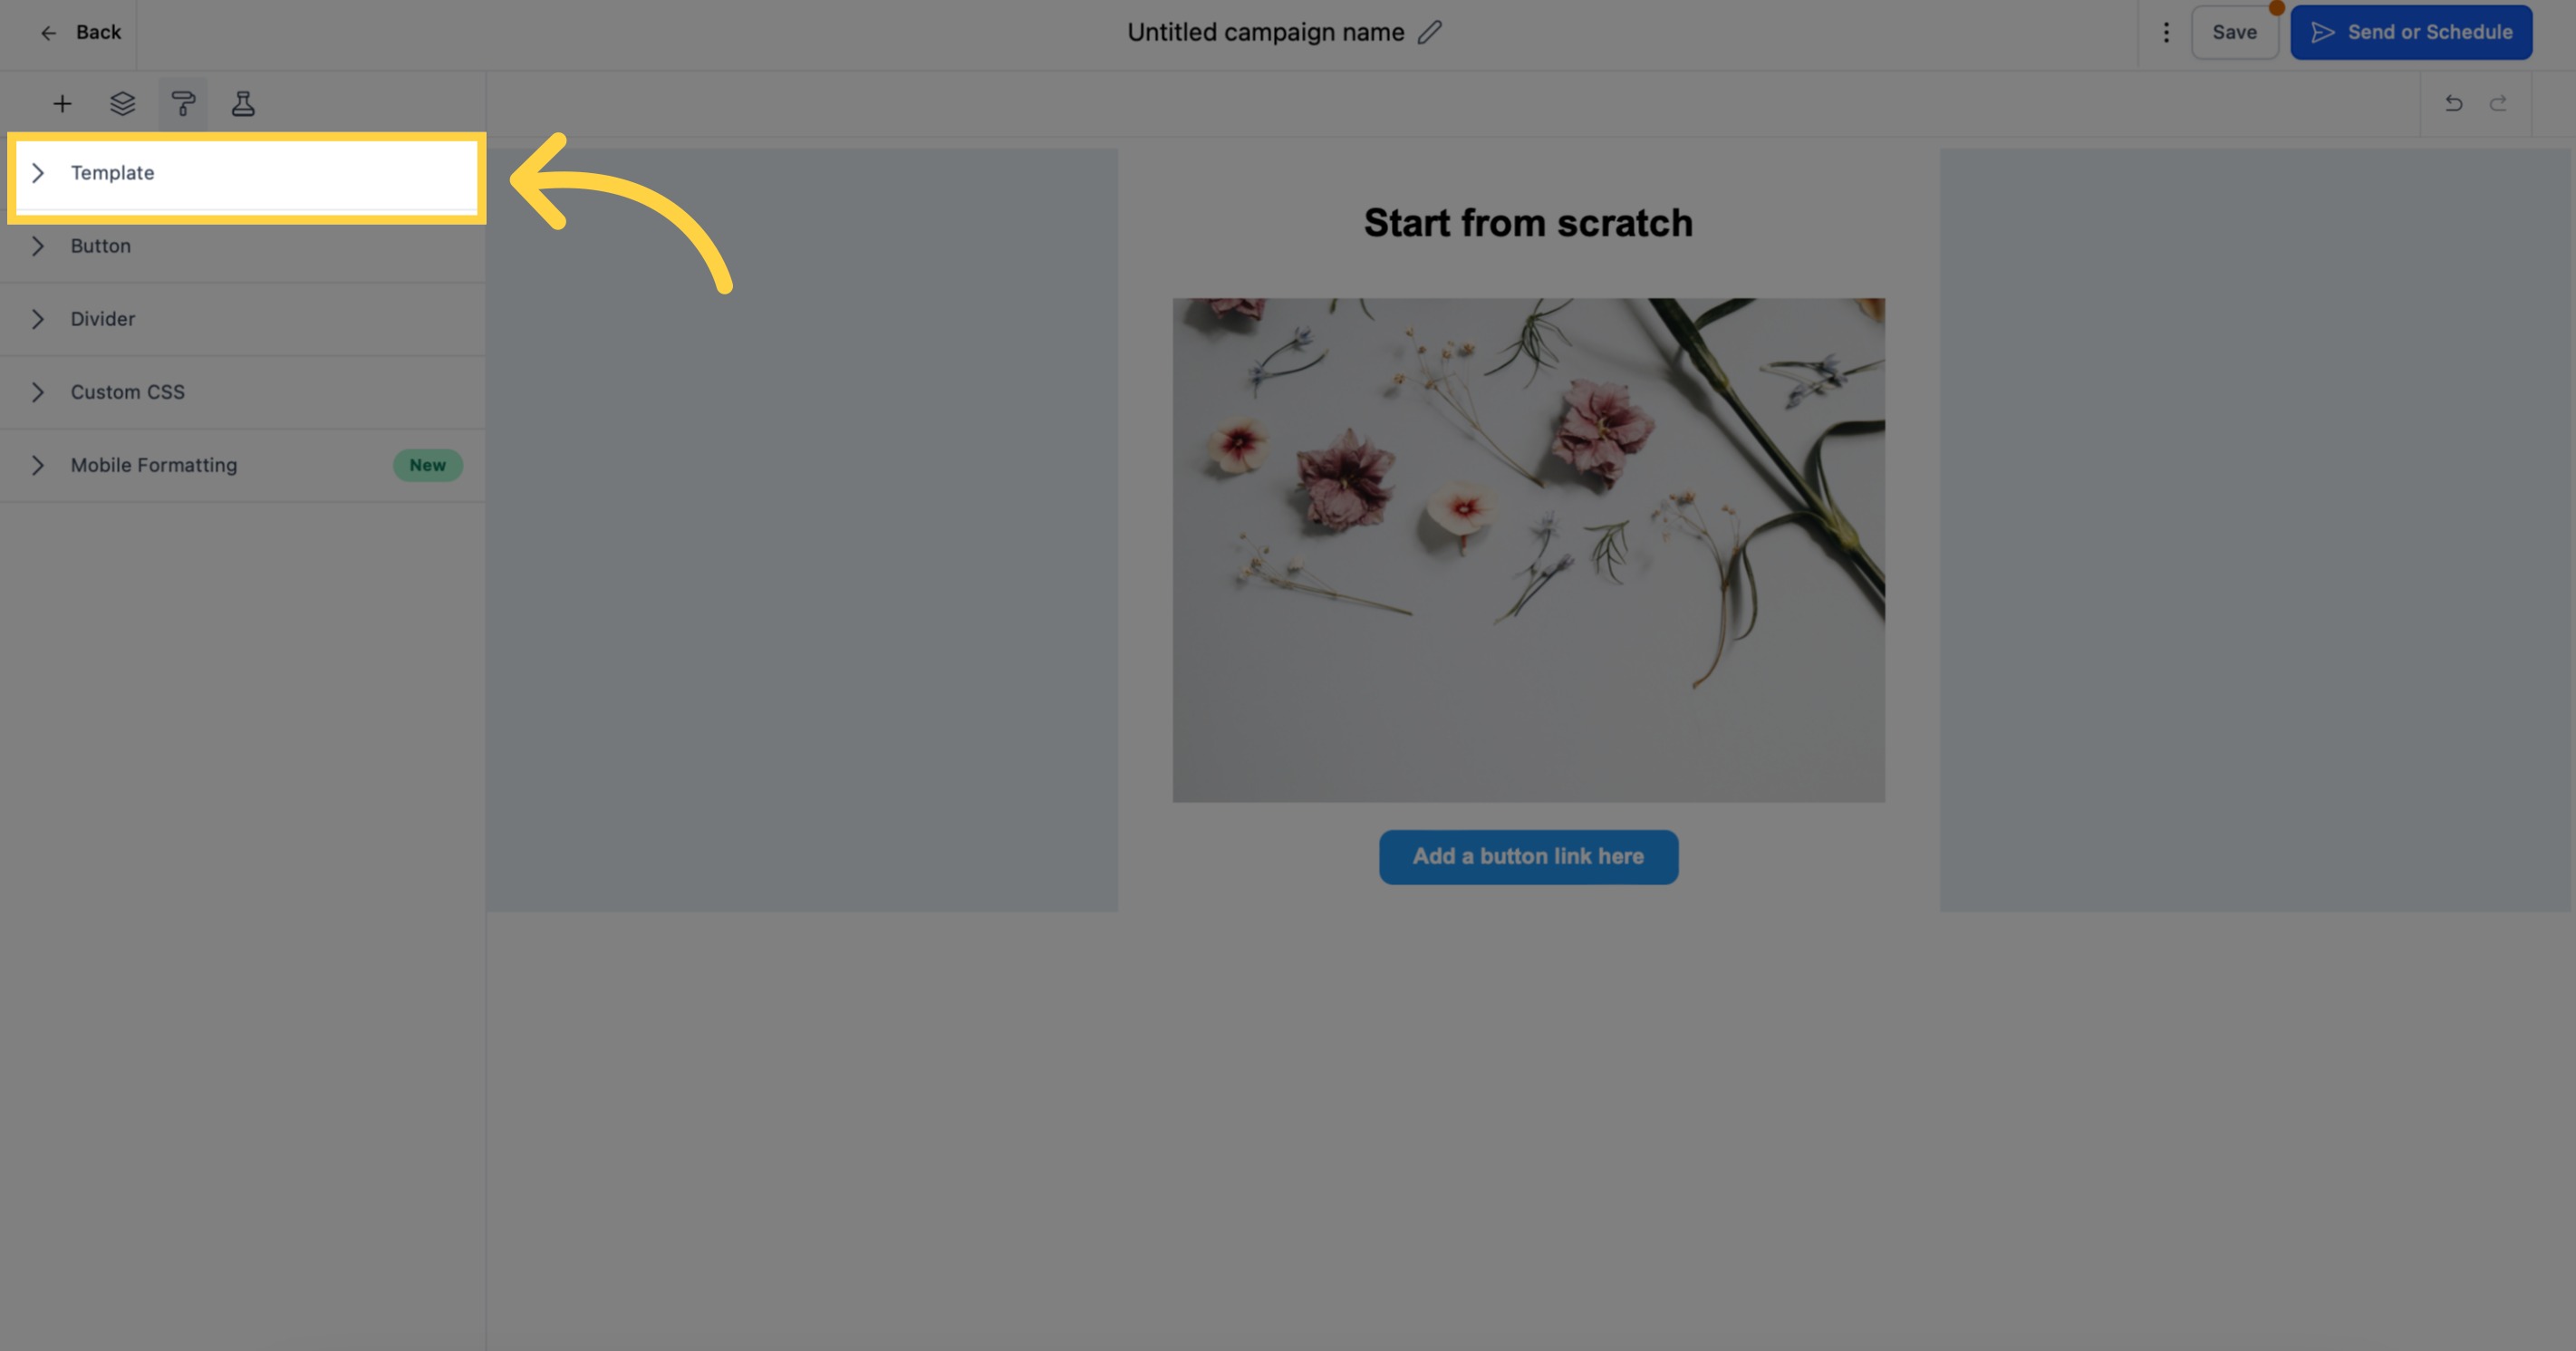
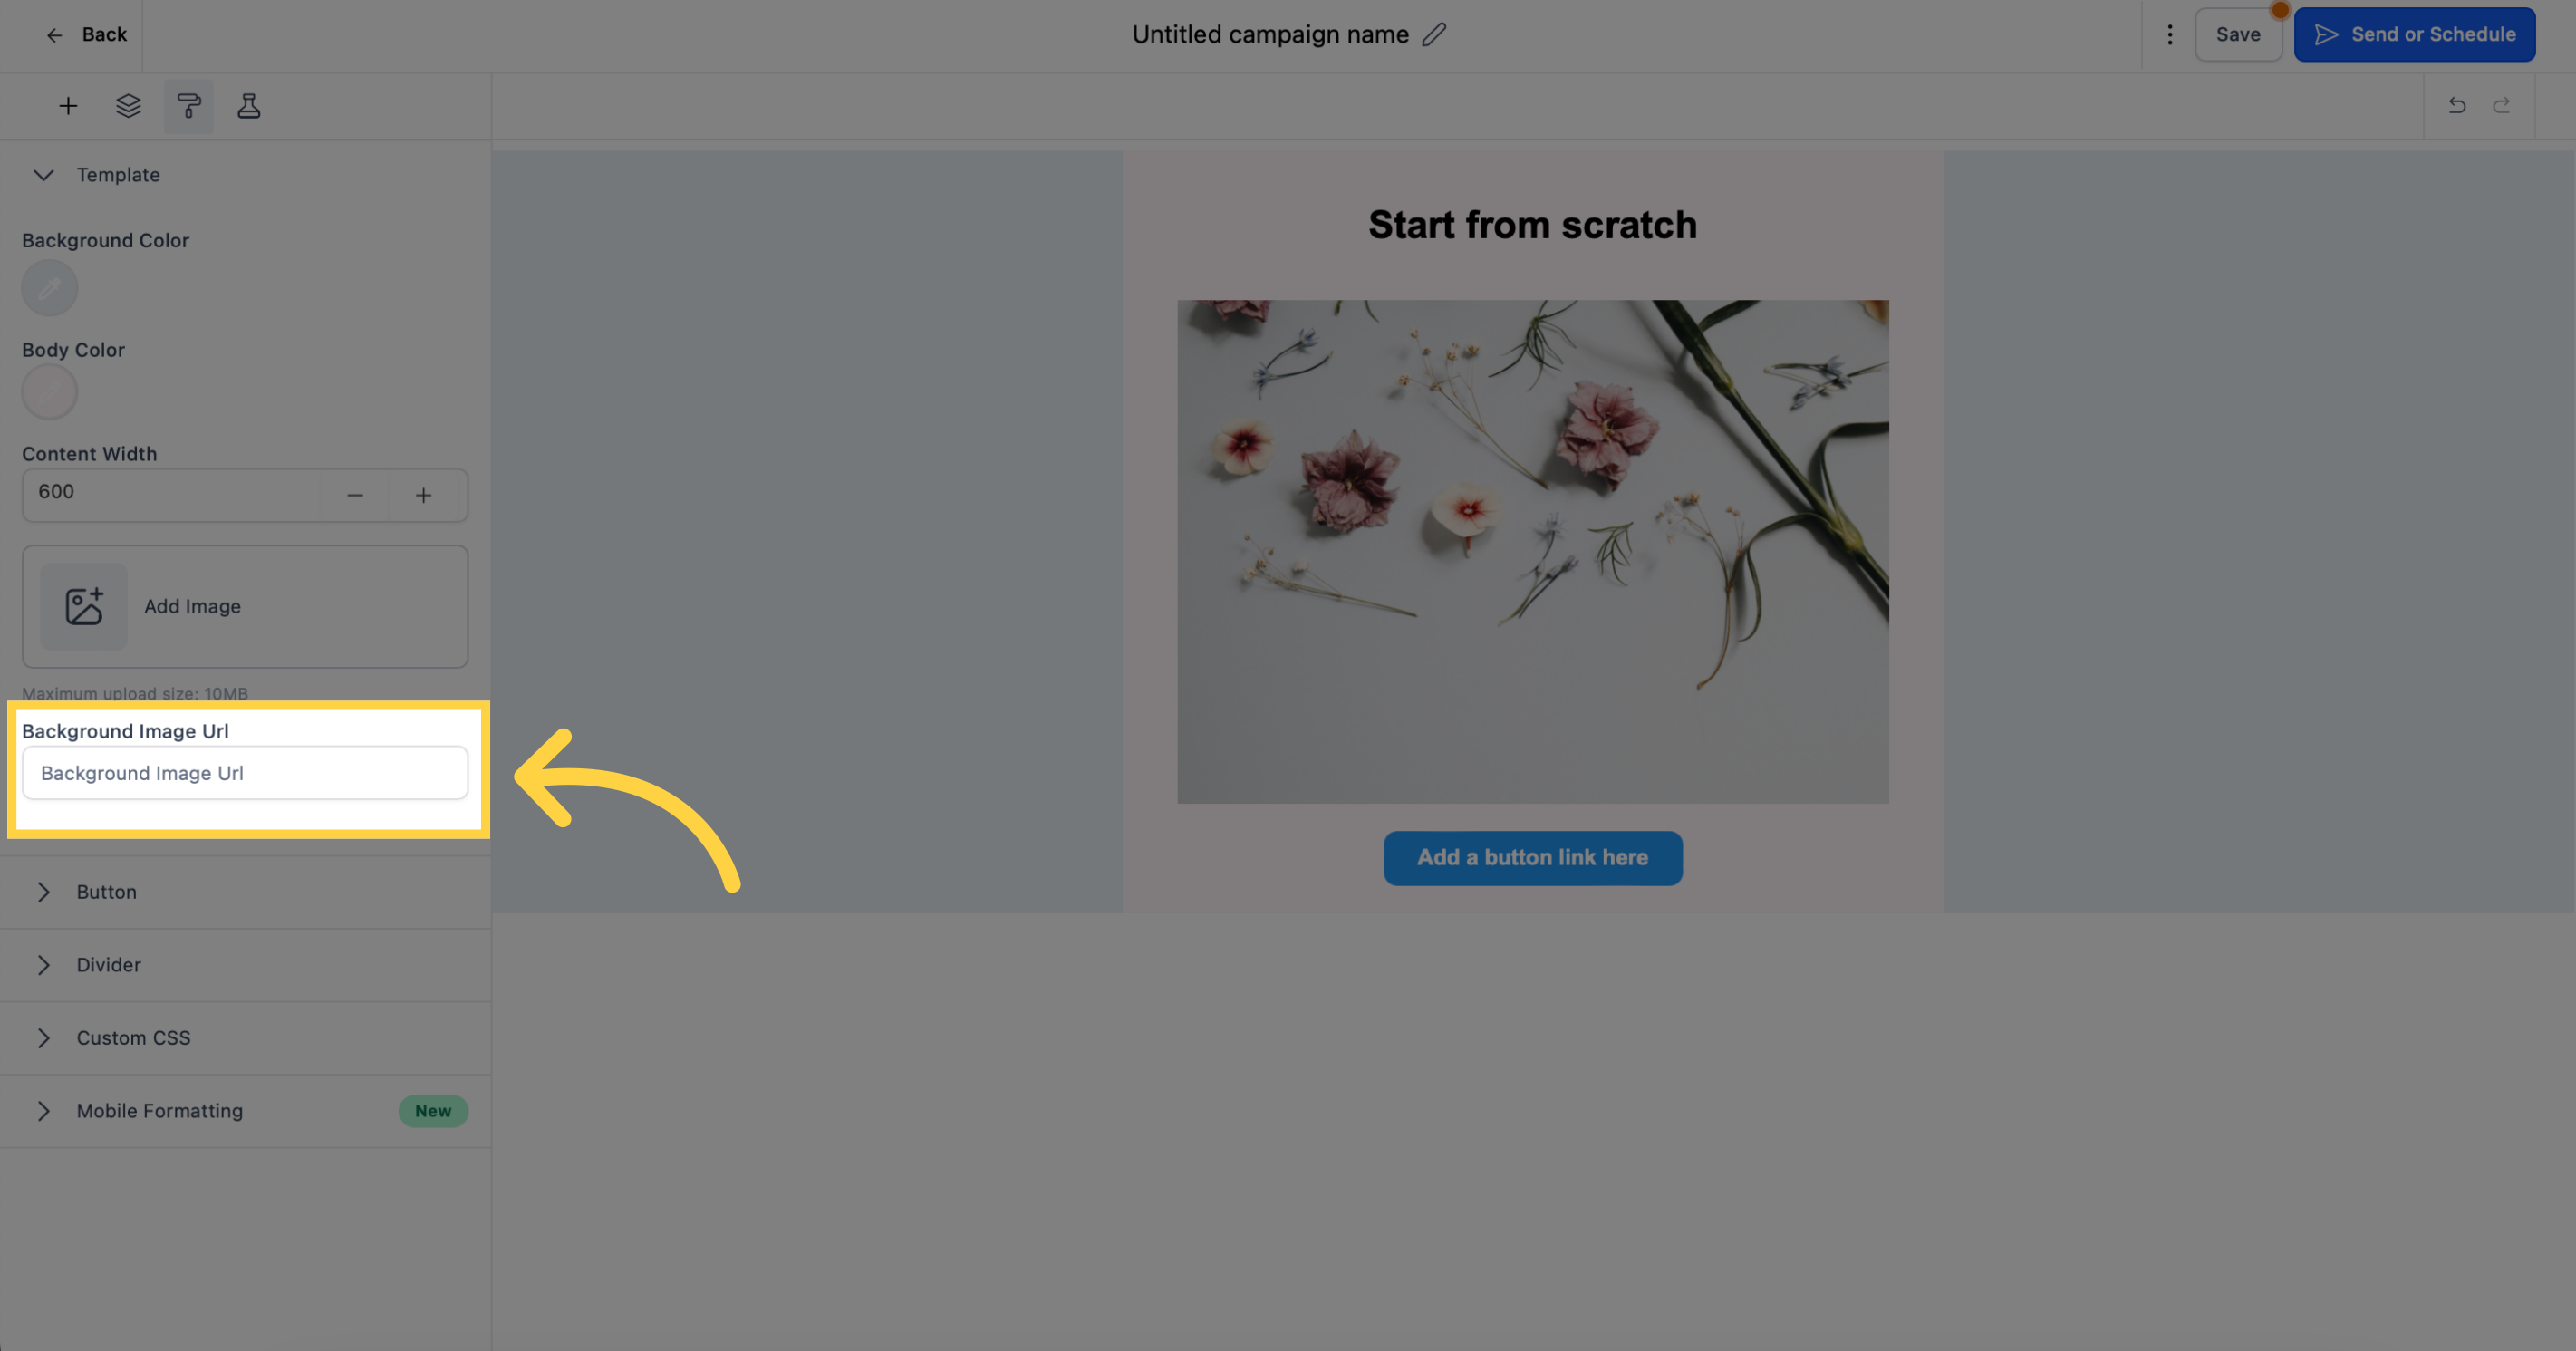
In the email builder, you have the option to navigate to the Template Details section, where you can easily manage three important elements: background color, body color, and content width.
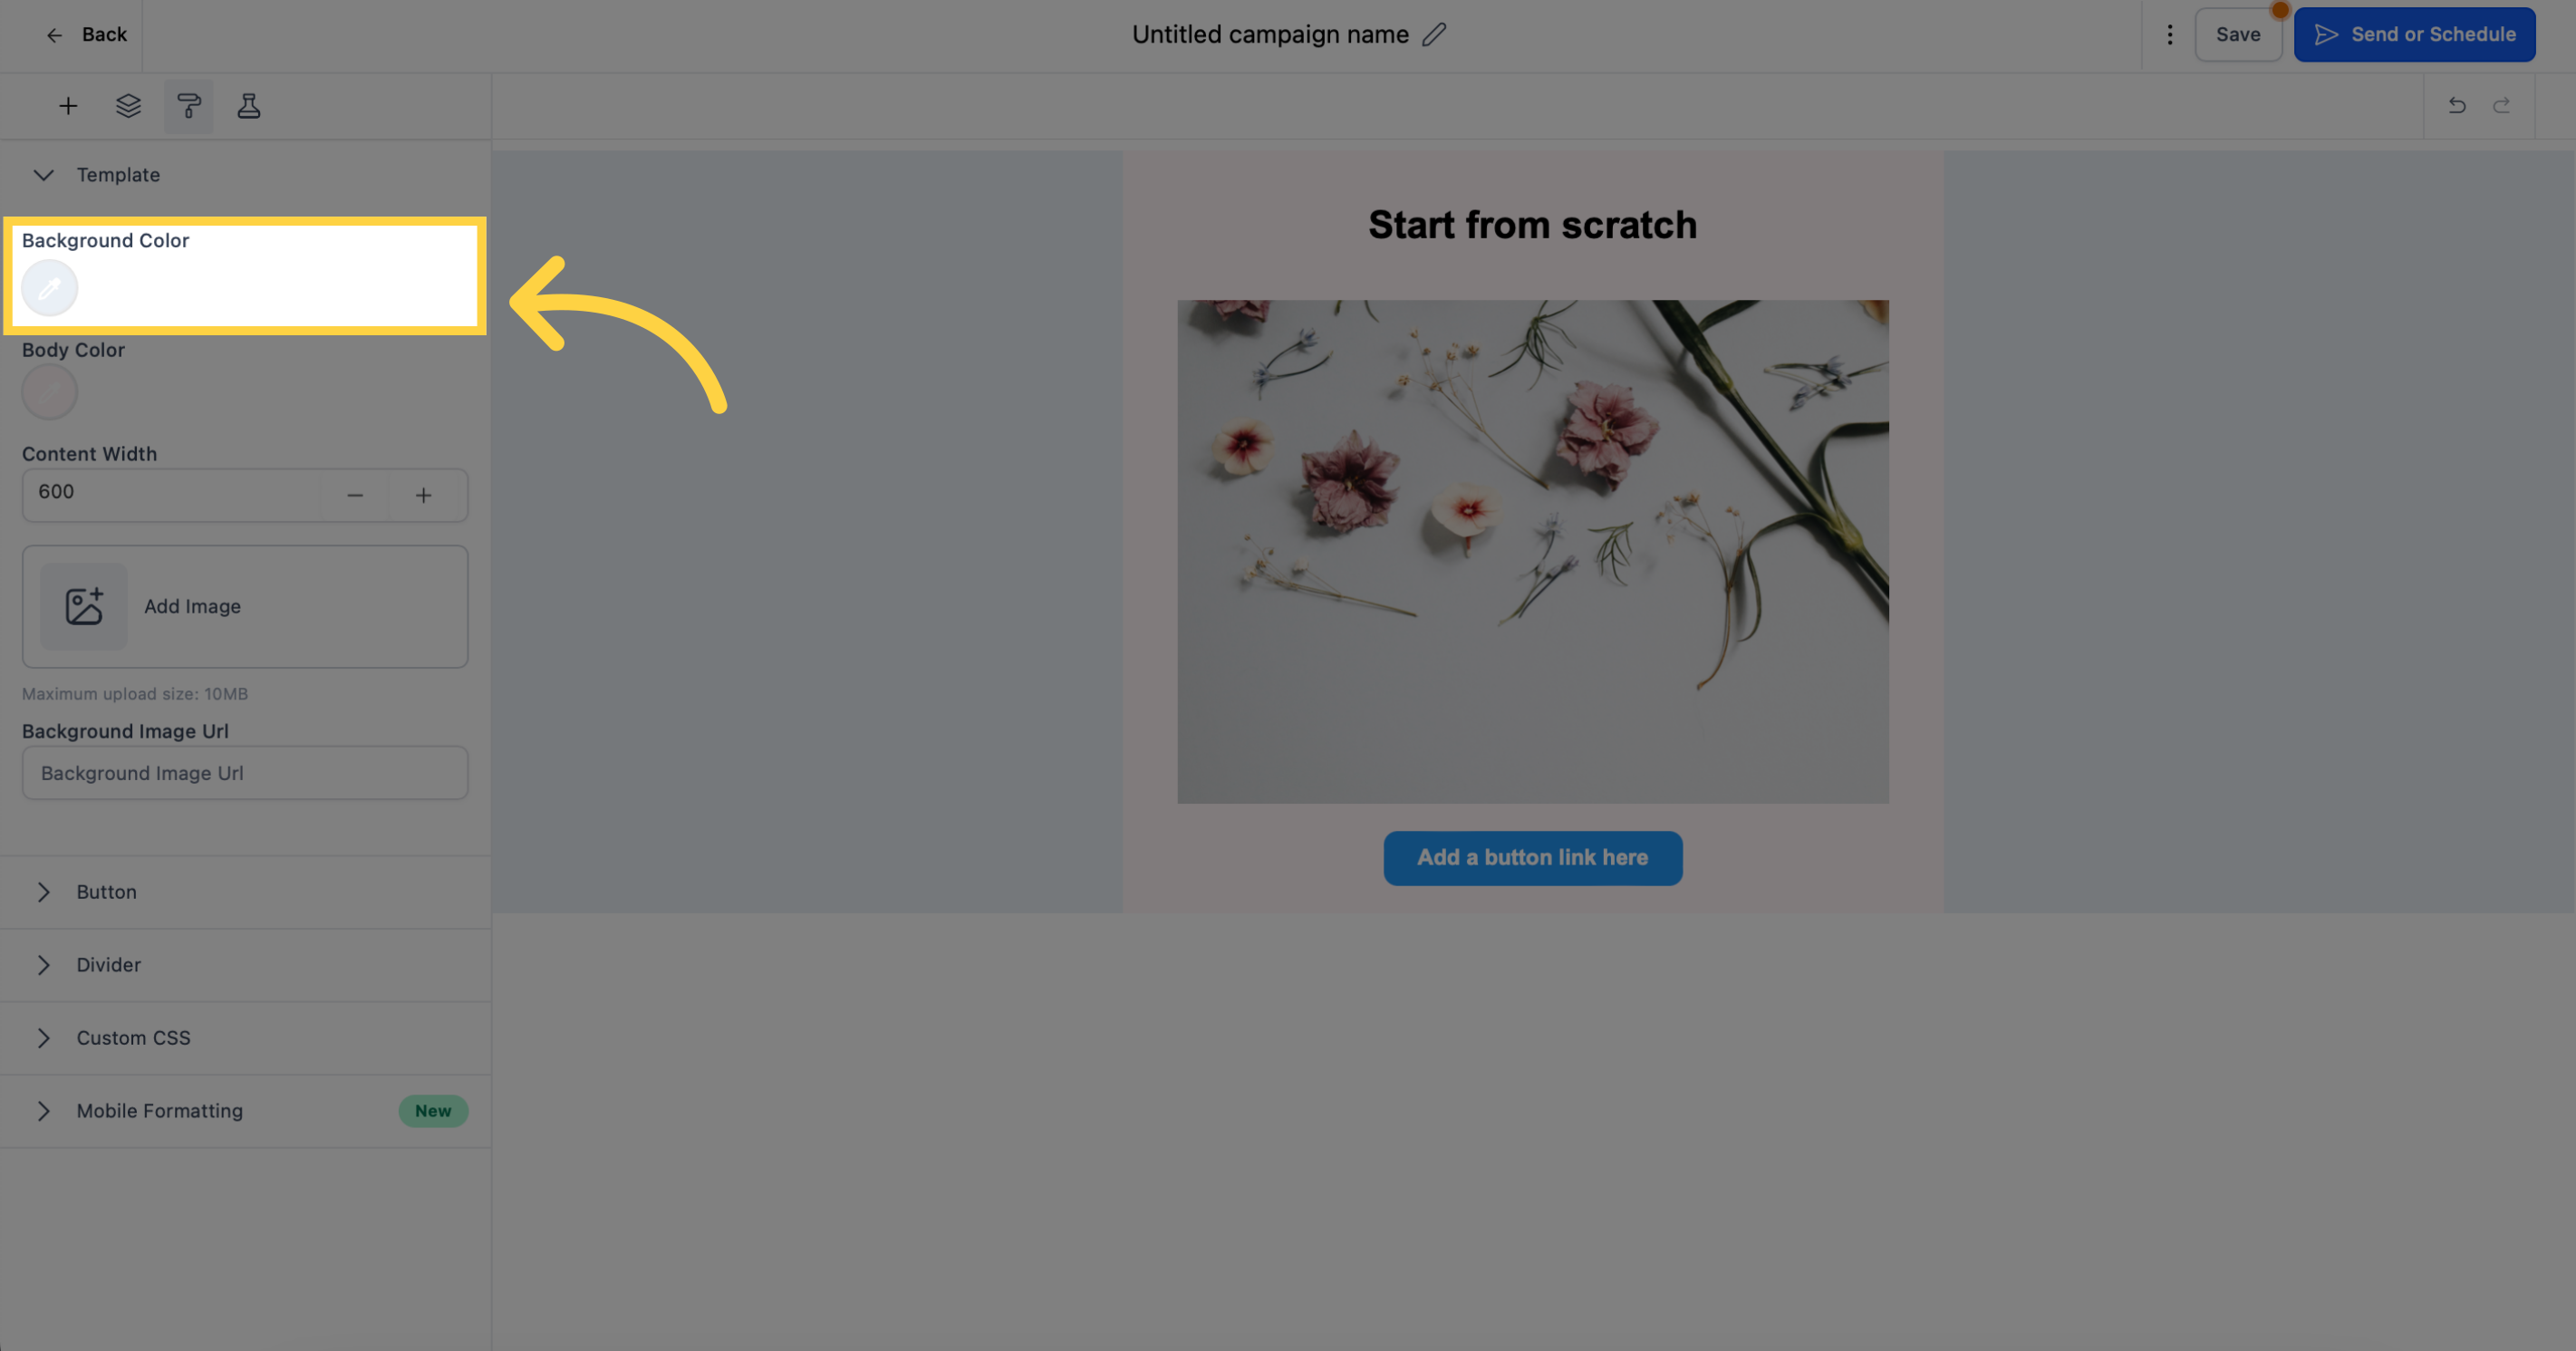
Customize the background color of your emails to align with your brand or make them stand out.
Change and customize the color of the email body.

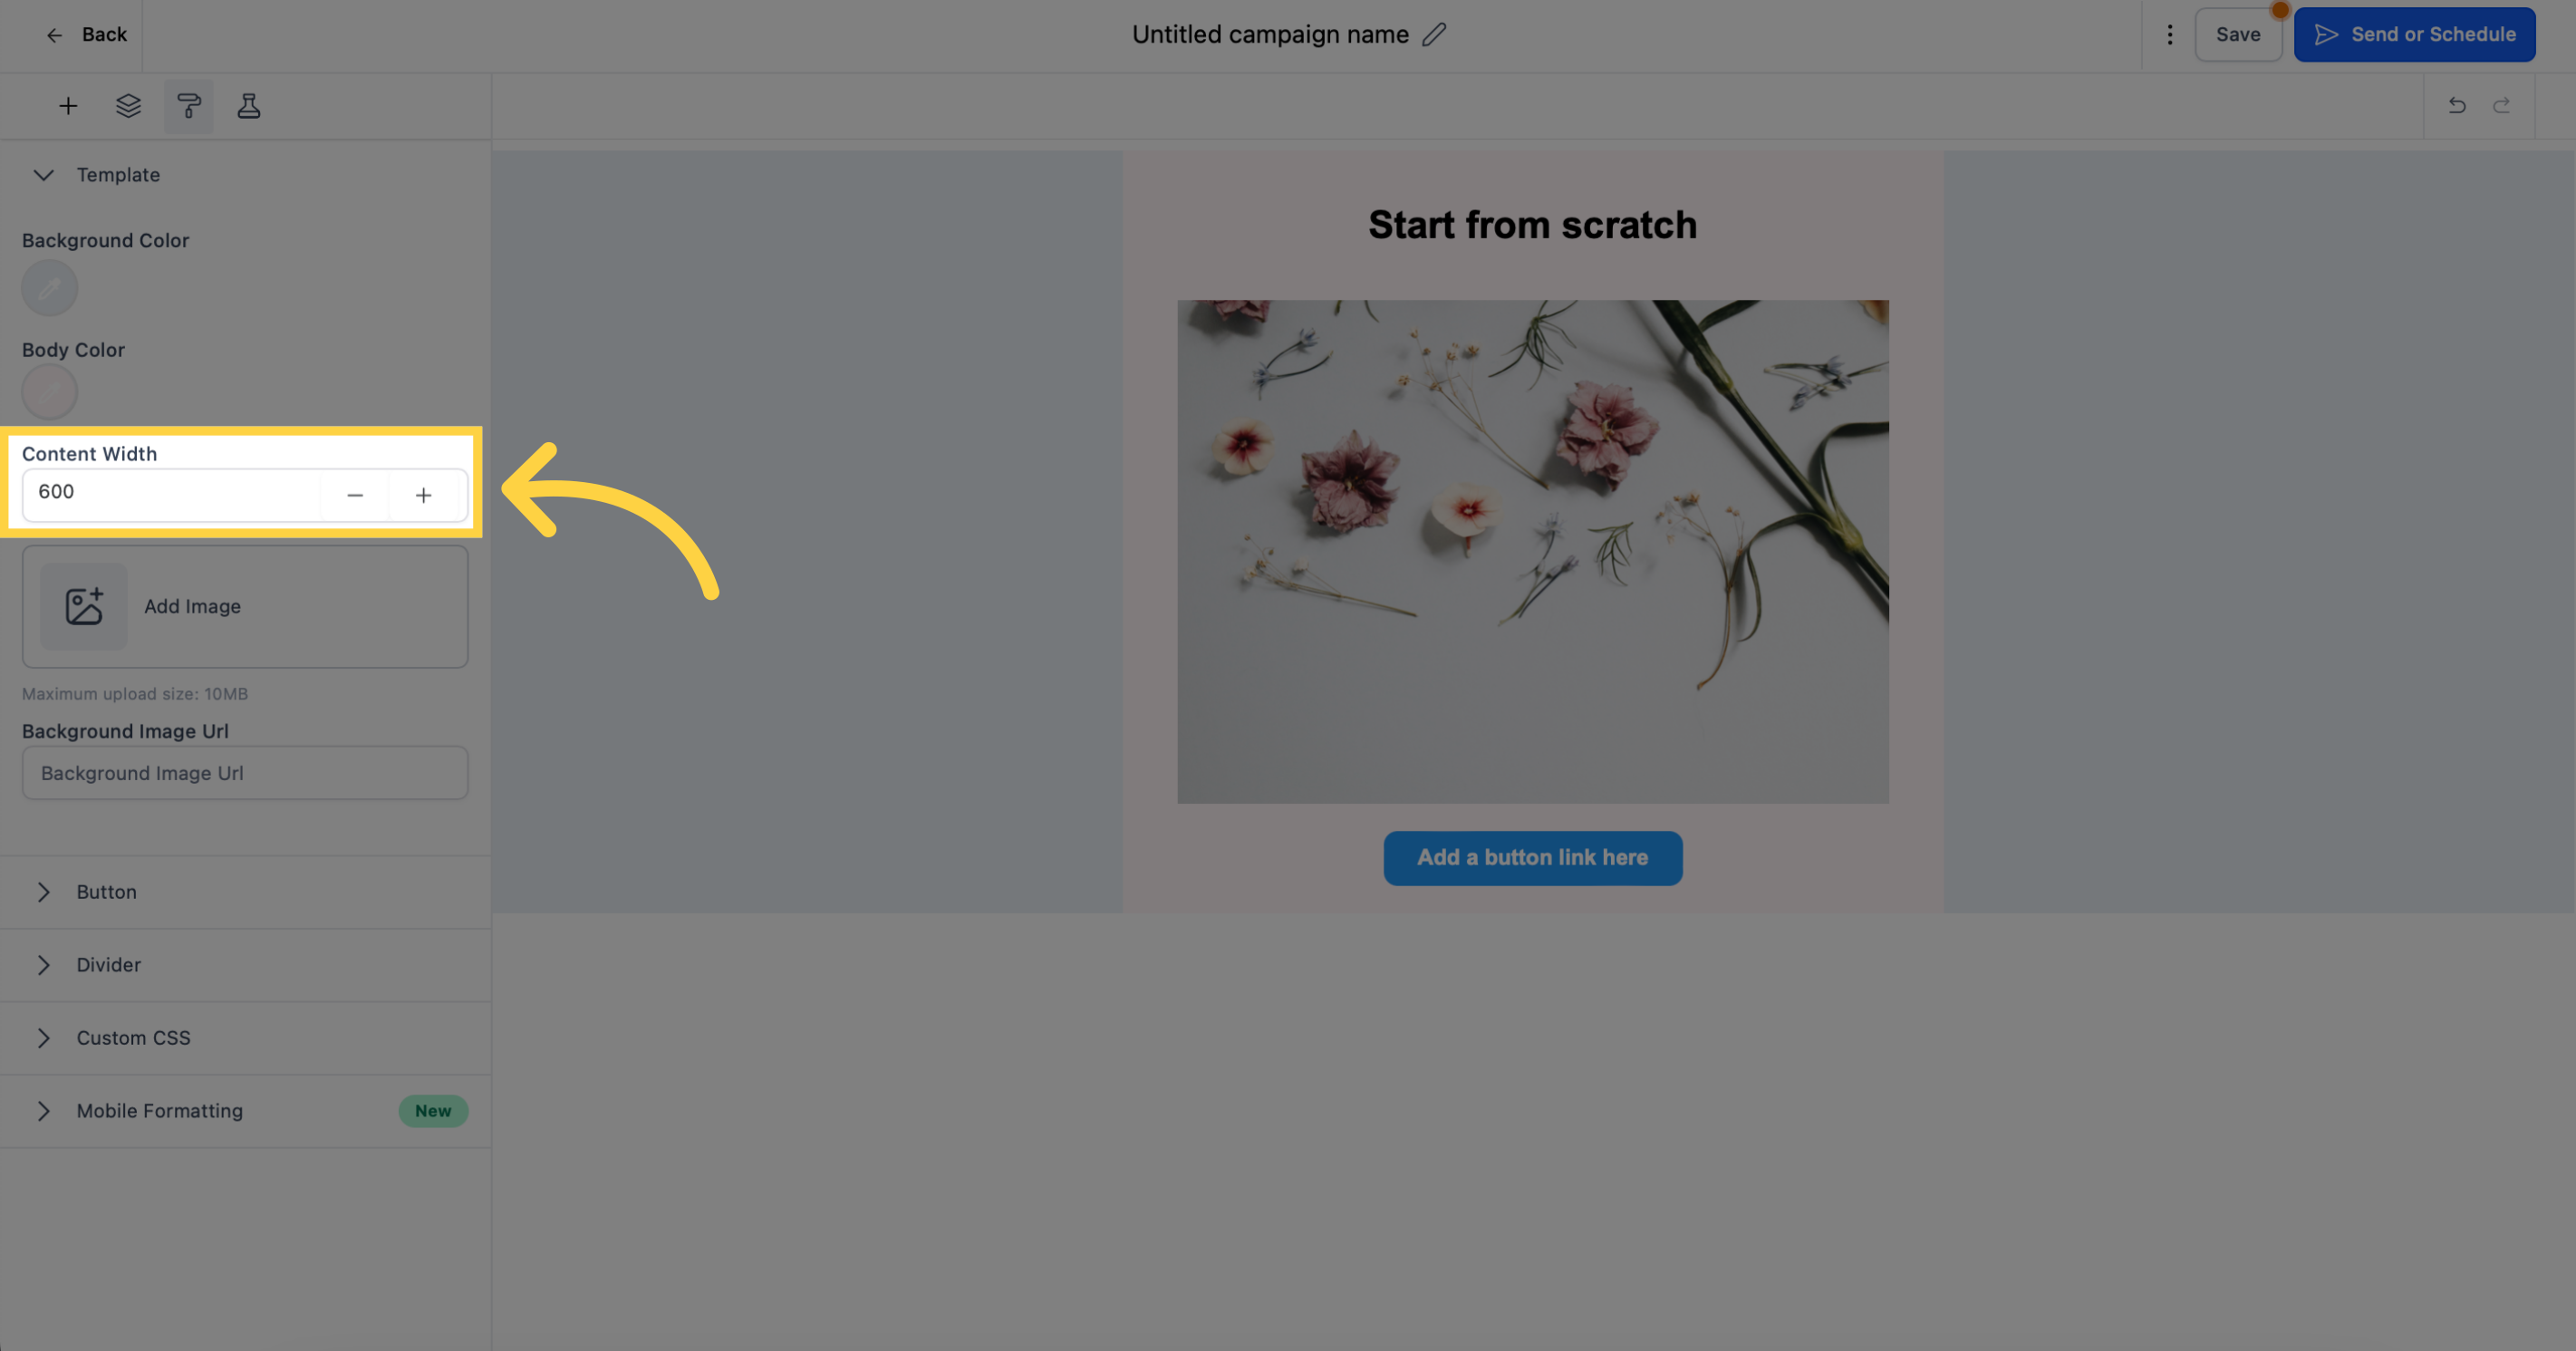
Adjust the width of the email content to suit your preferences.
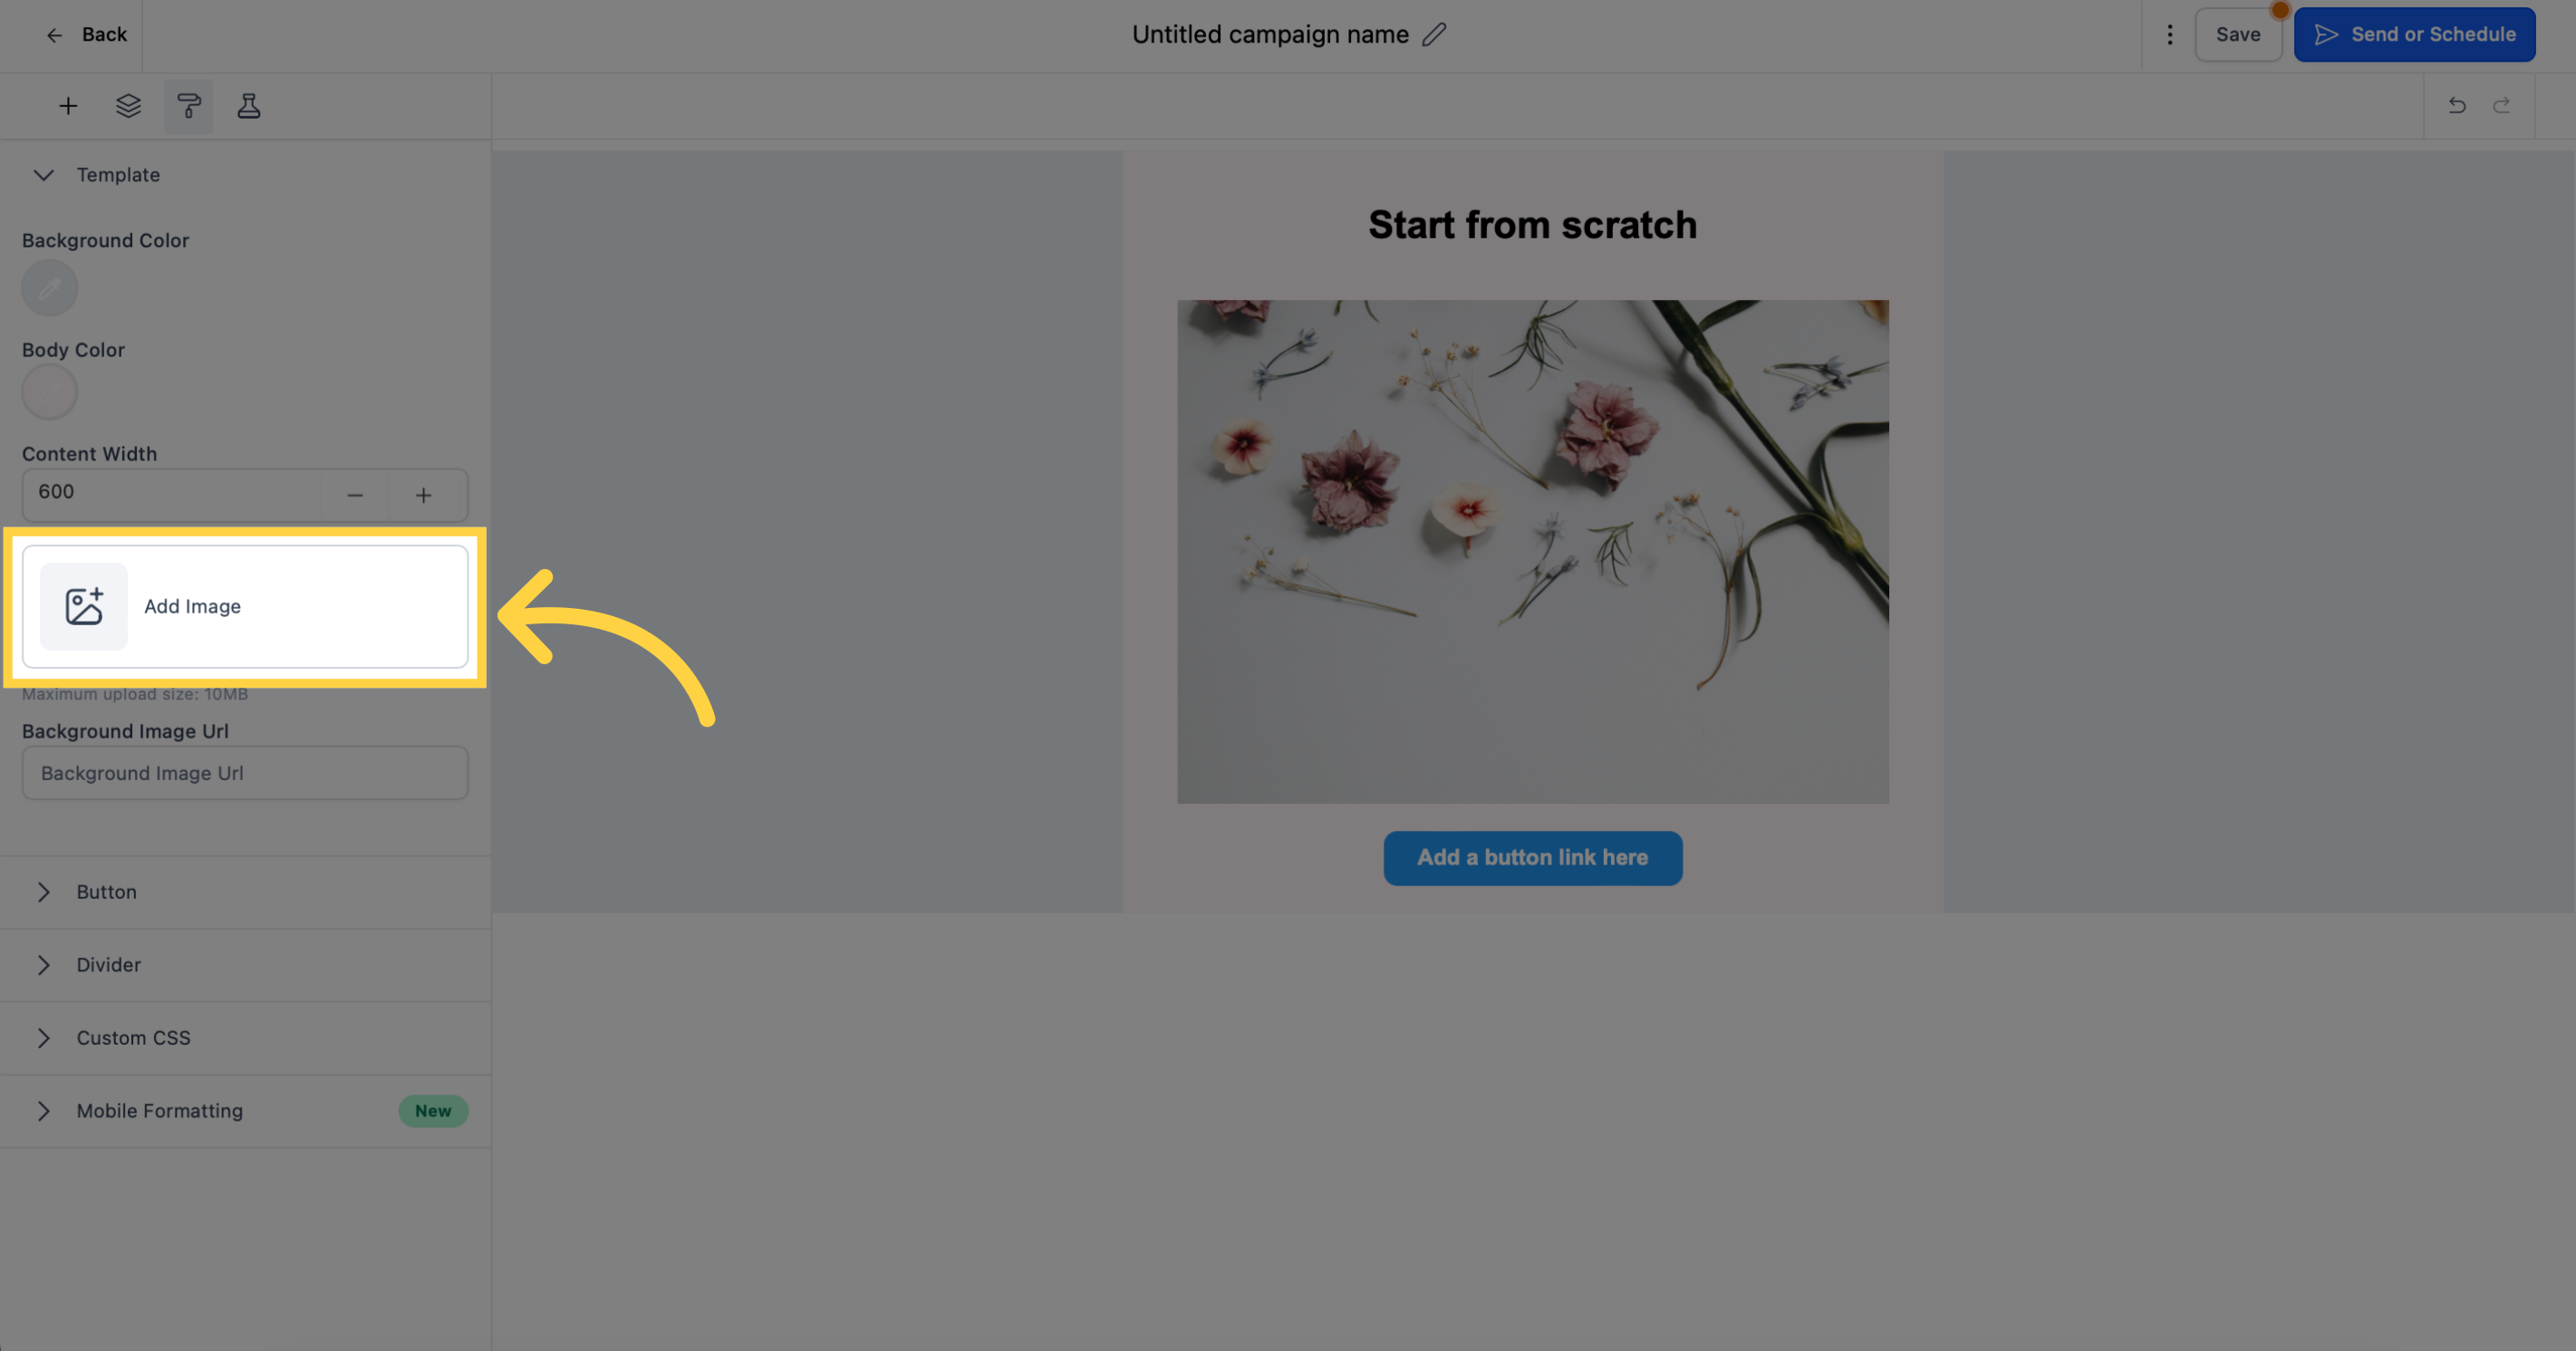
Add an image as the background of your email template.
In the email builder, you'll find the Button section, which offers a range of customization options for the buttons in your emails. These buttons are often used as compelling calls to action that encourage recipients to take specific actions
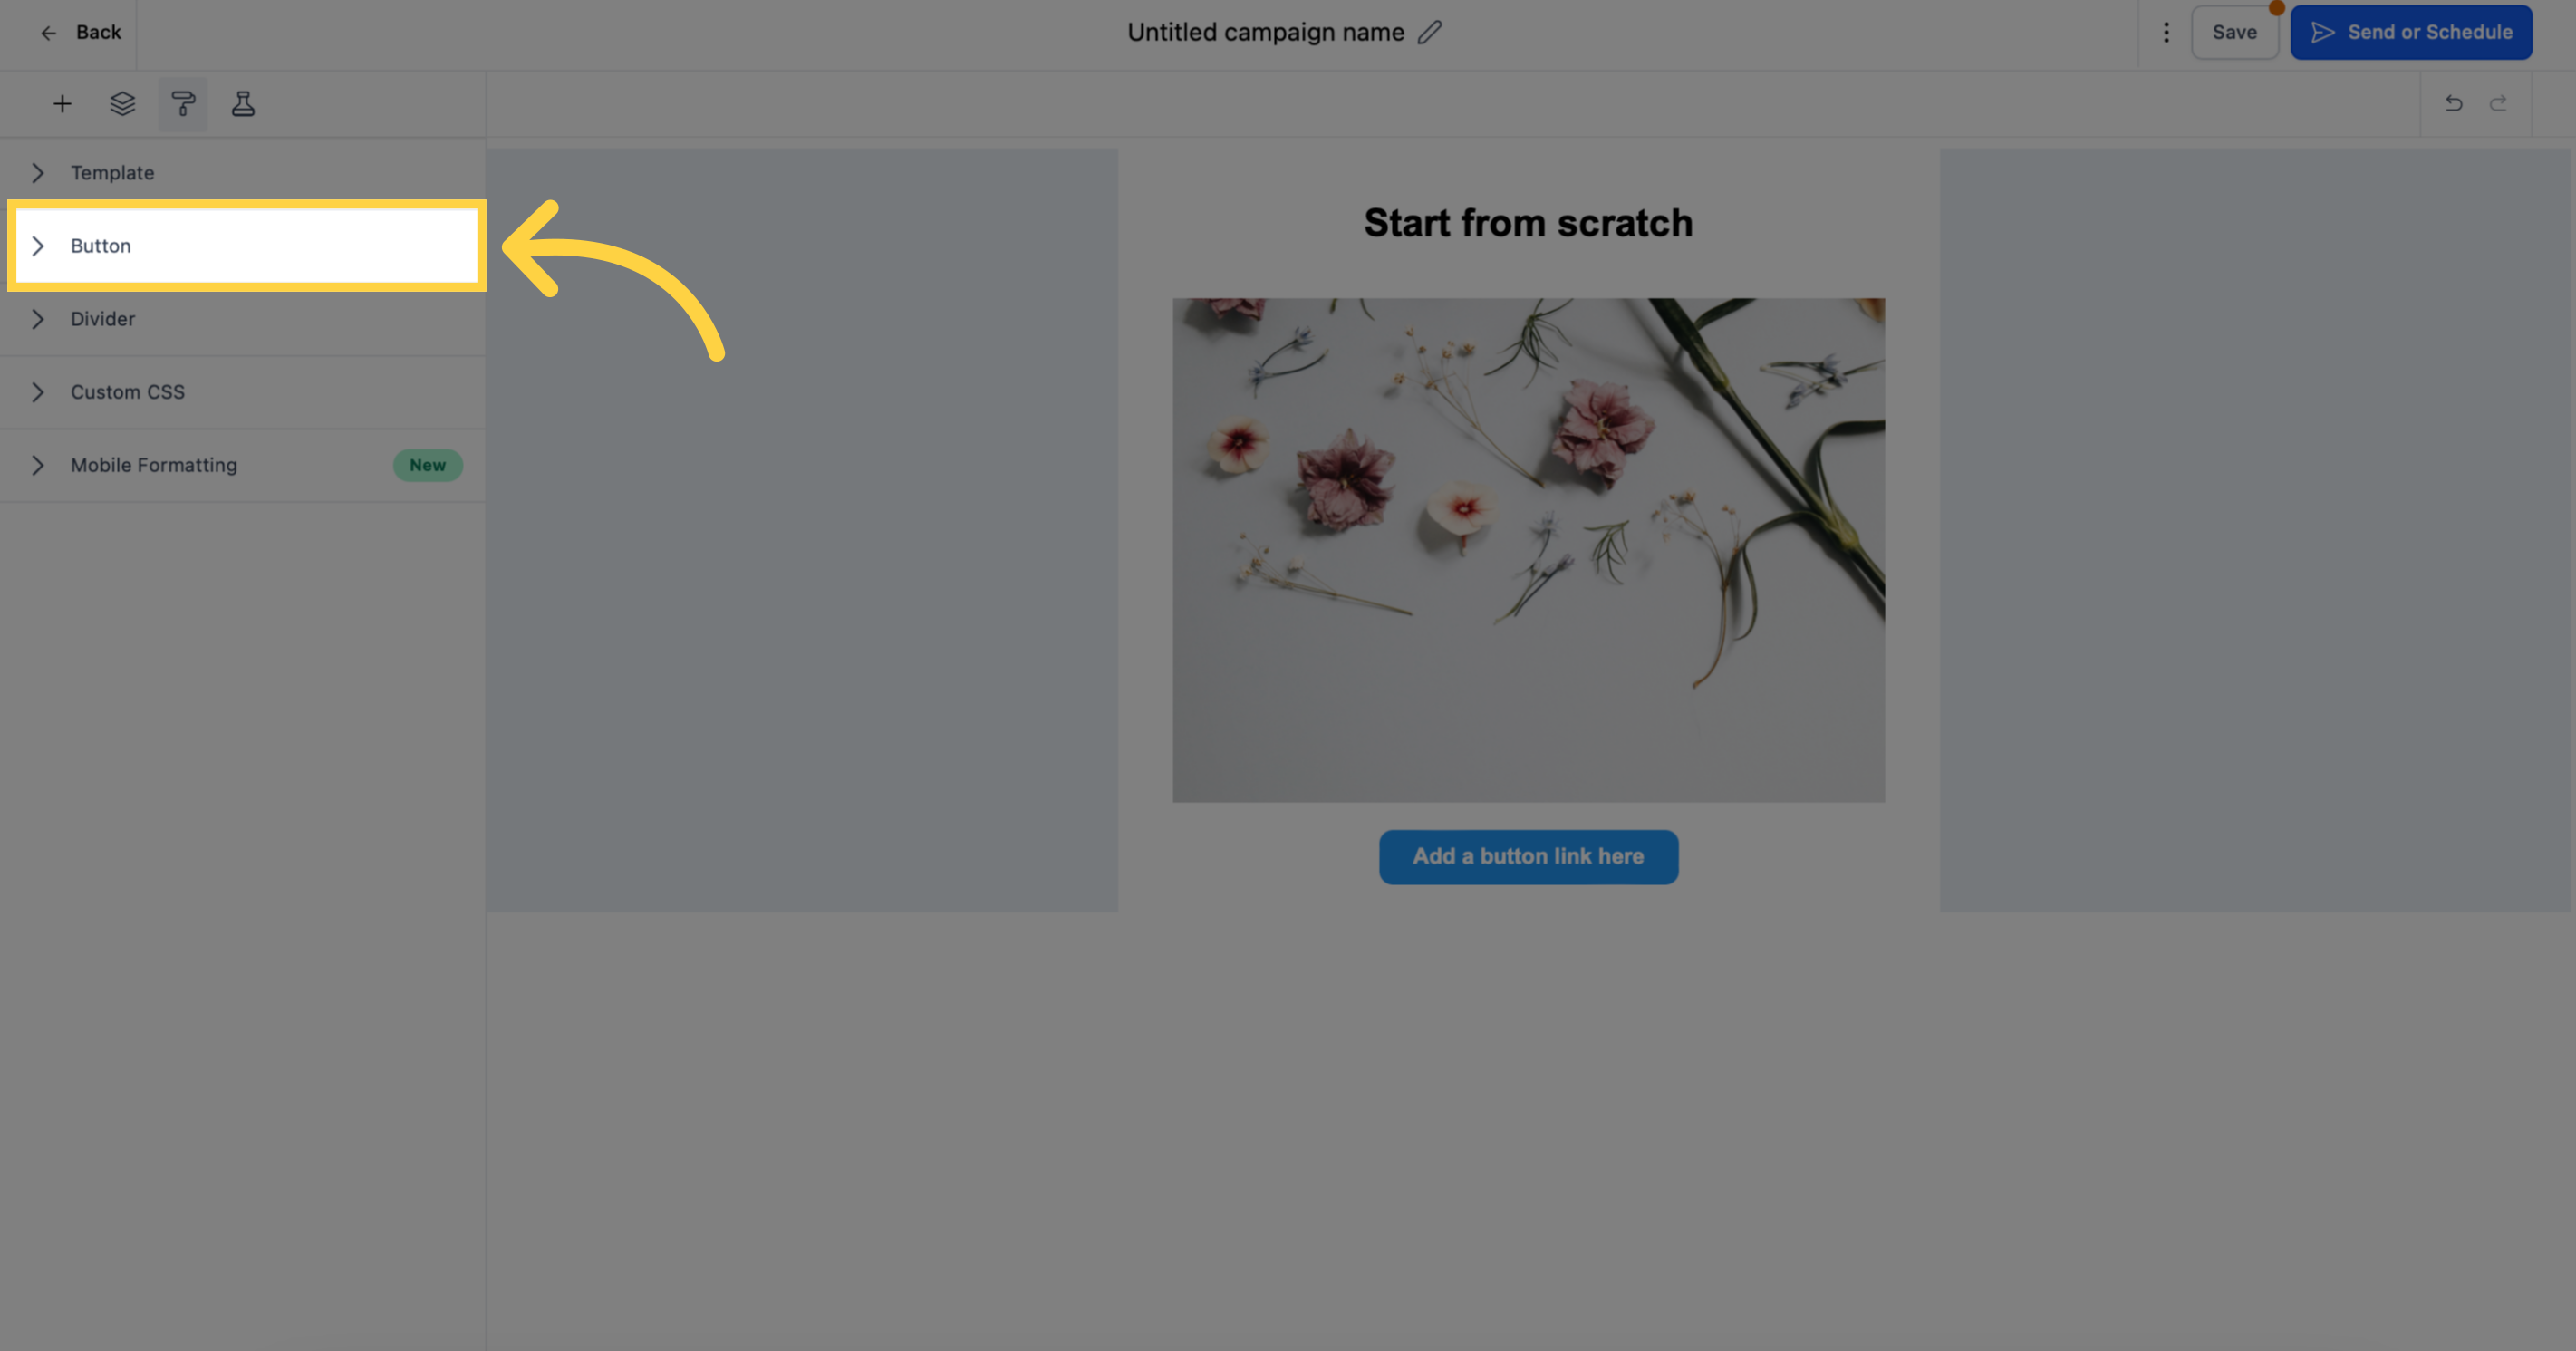)
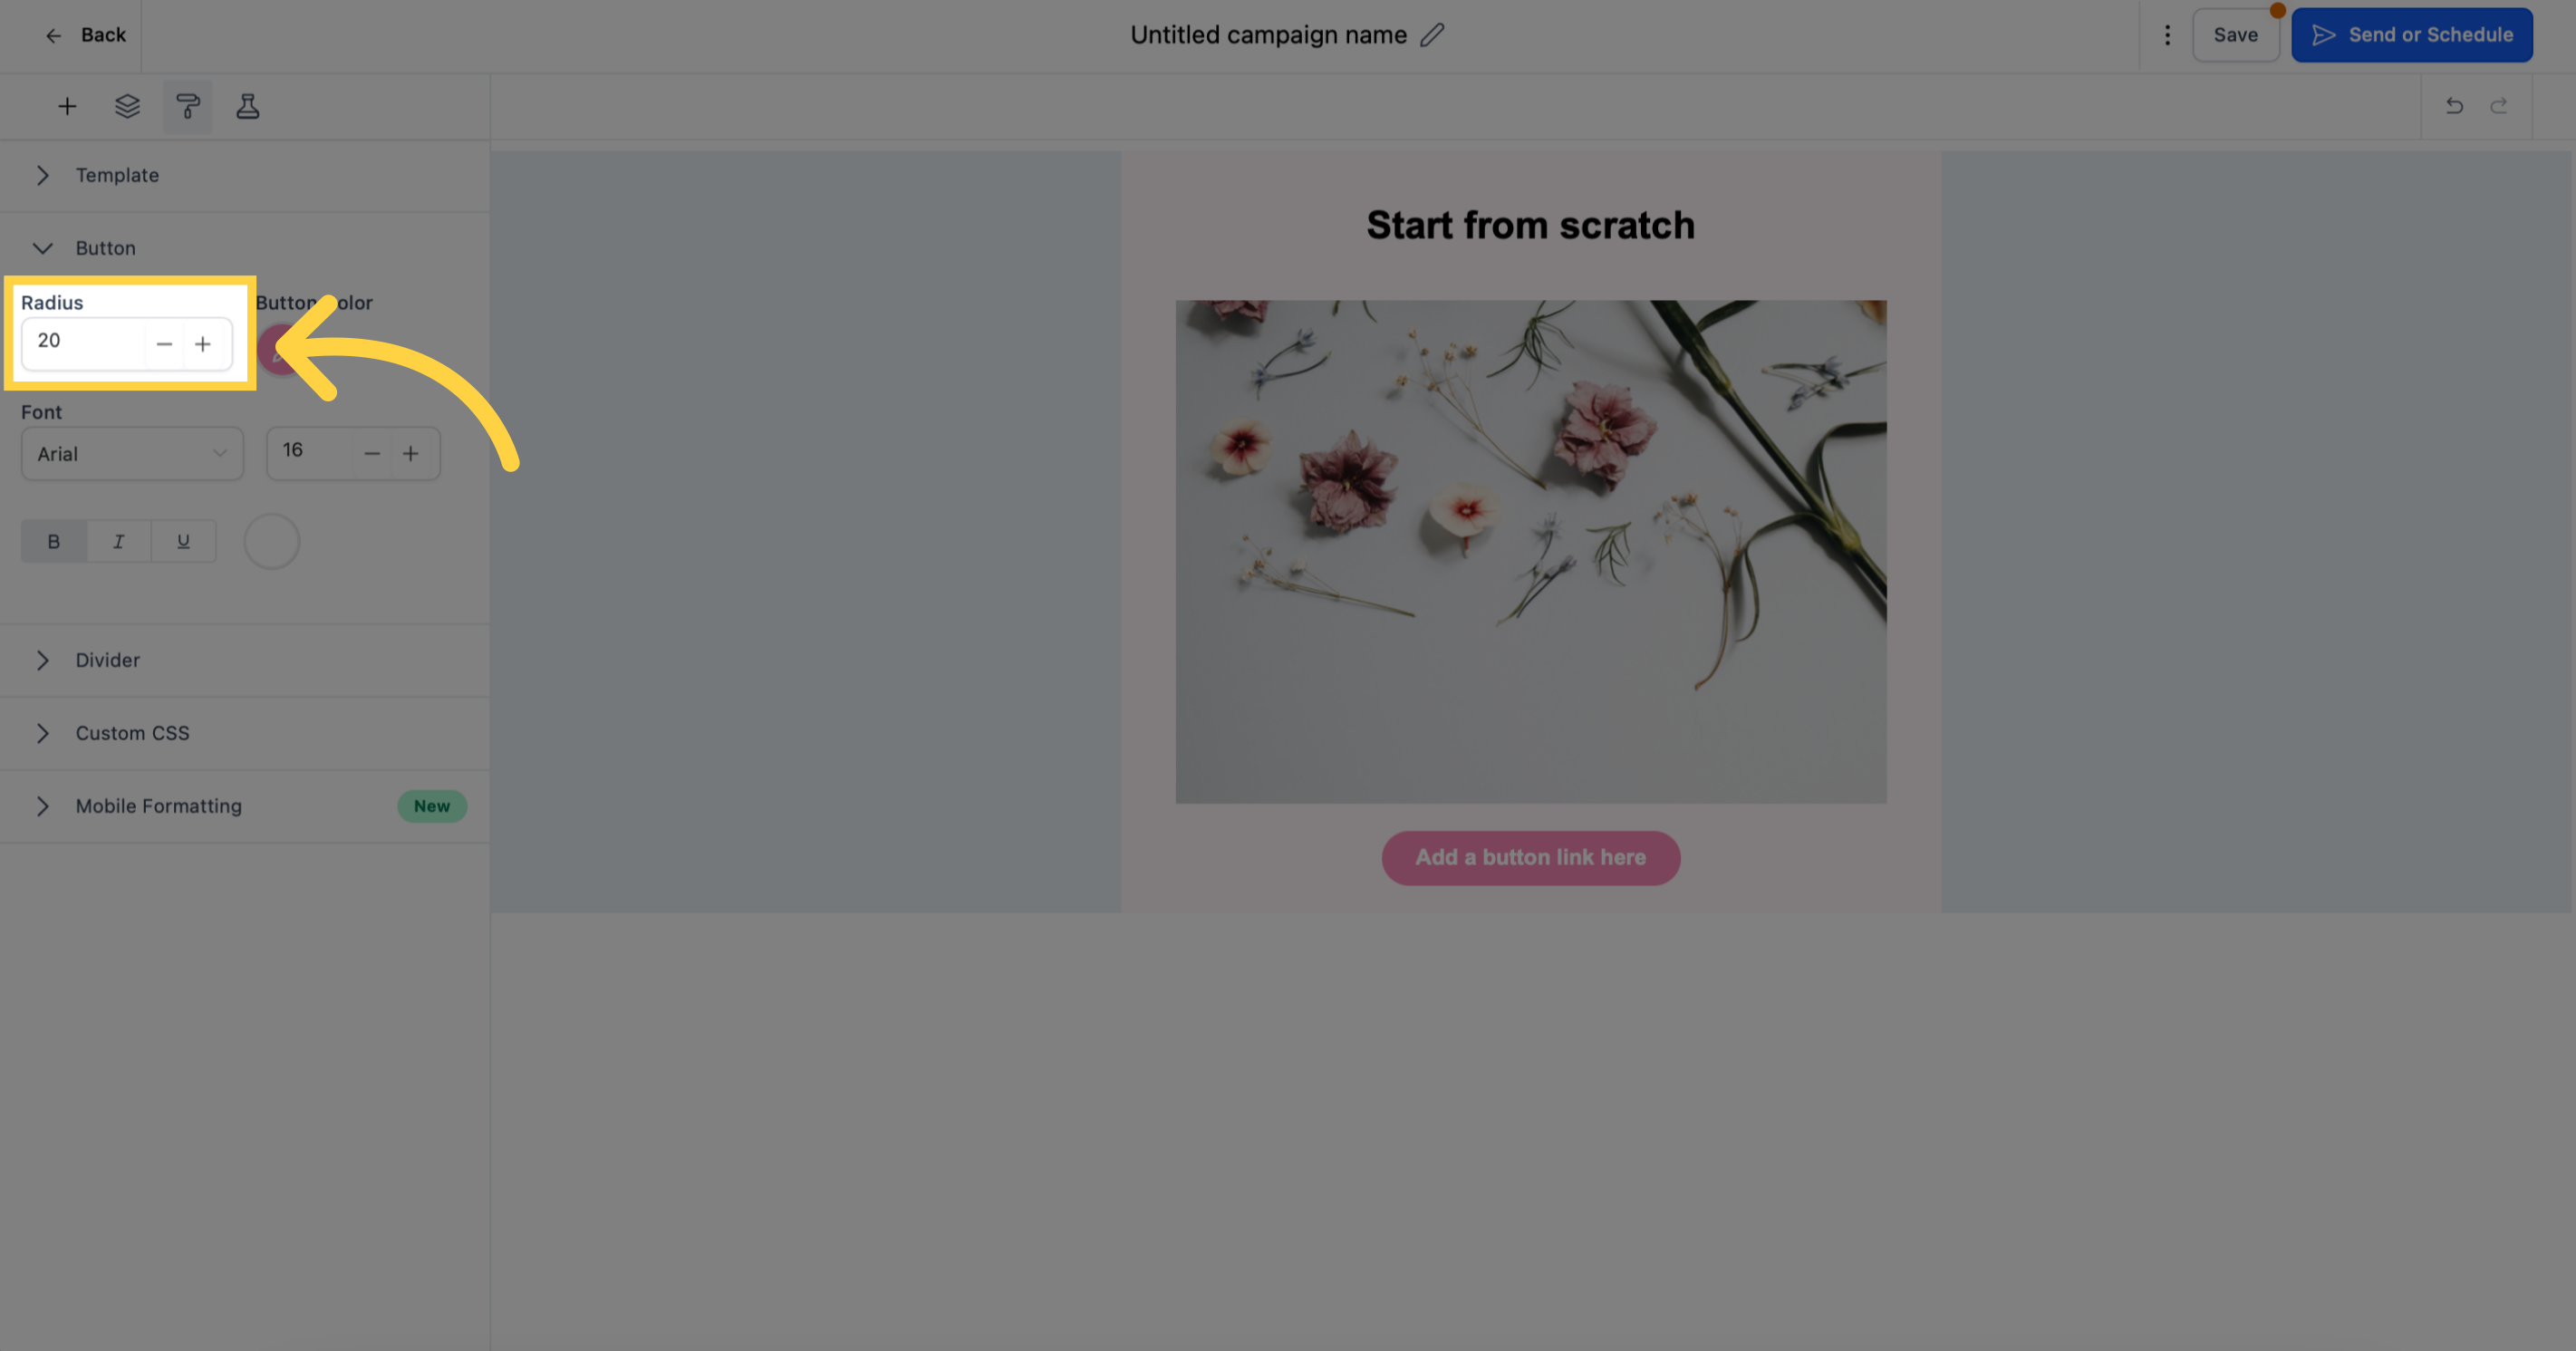
Adjust the size of buttons, making them larger or smaller based on your email layout.
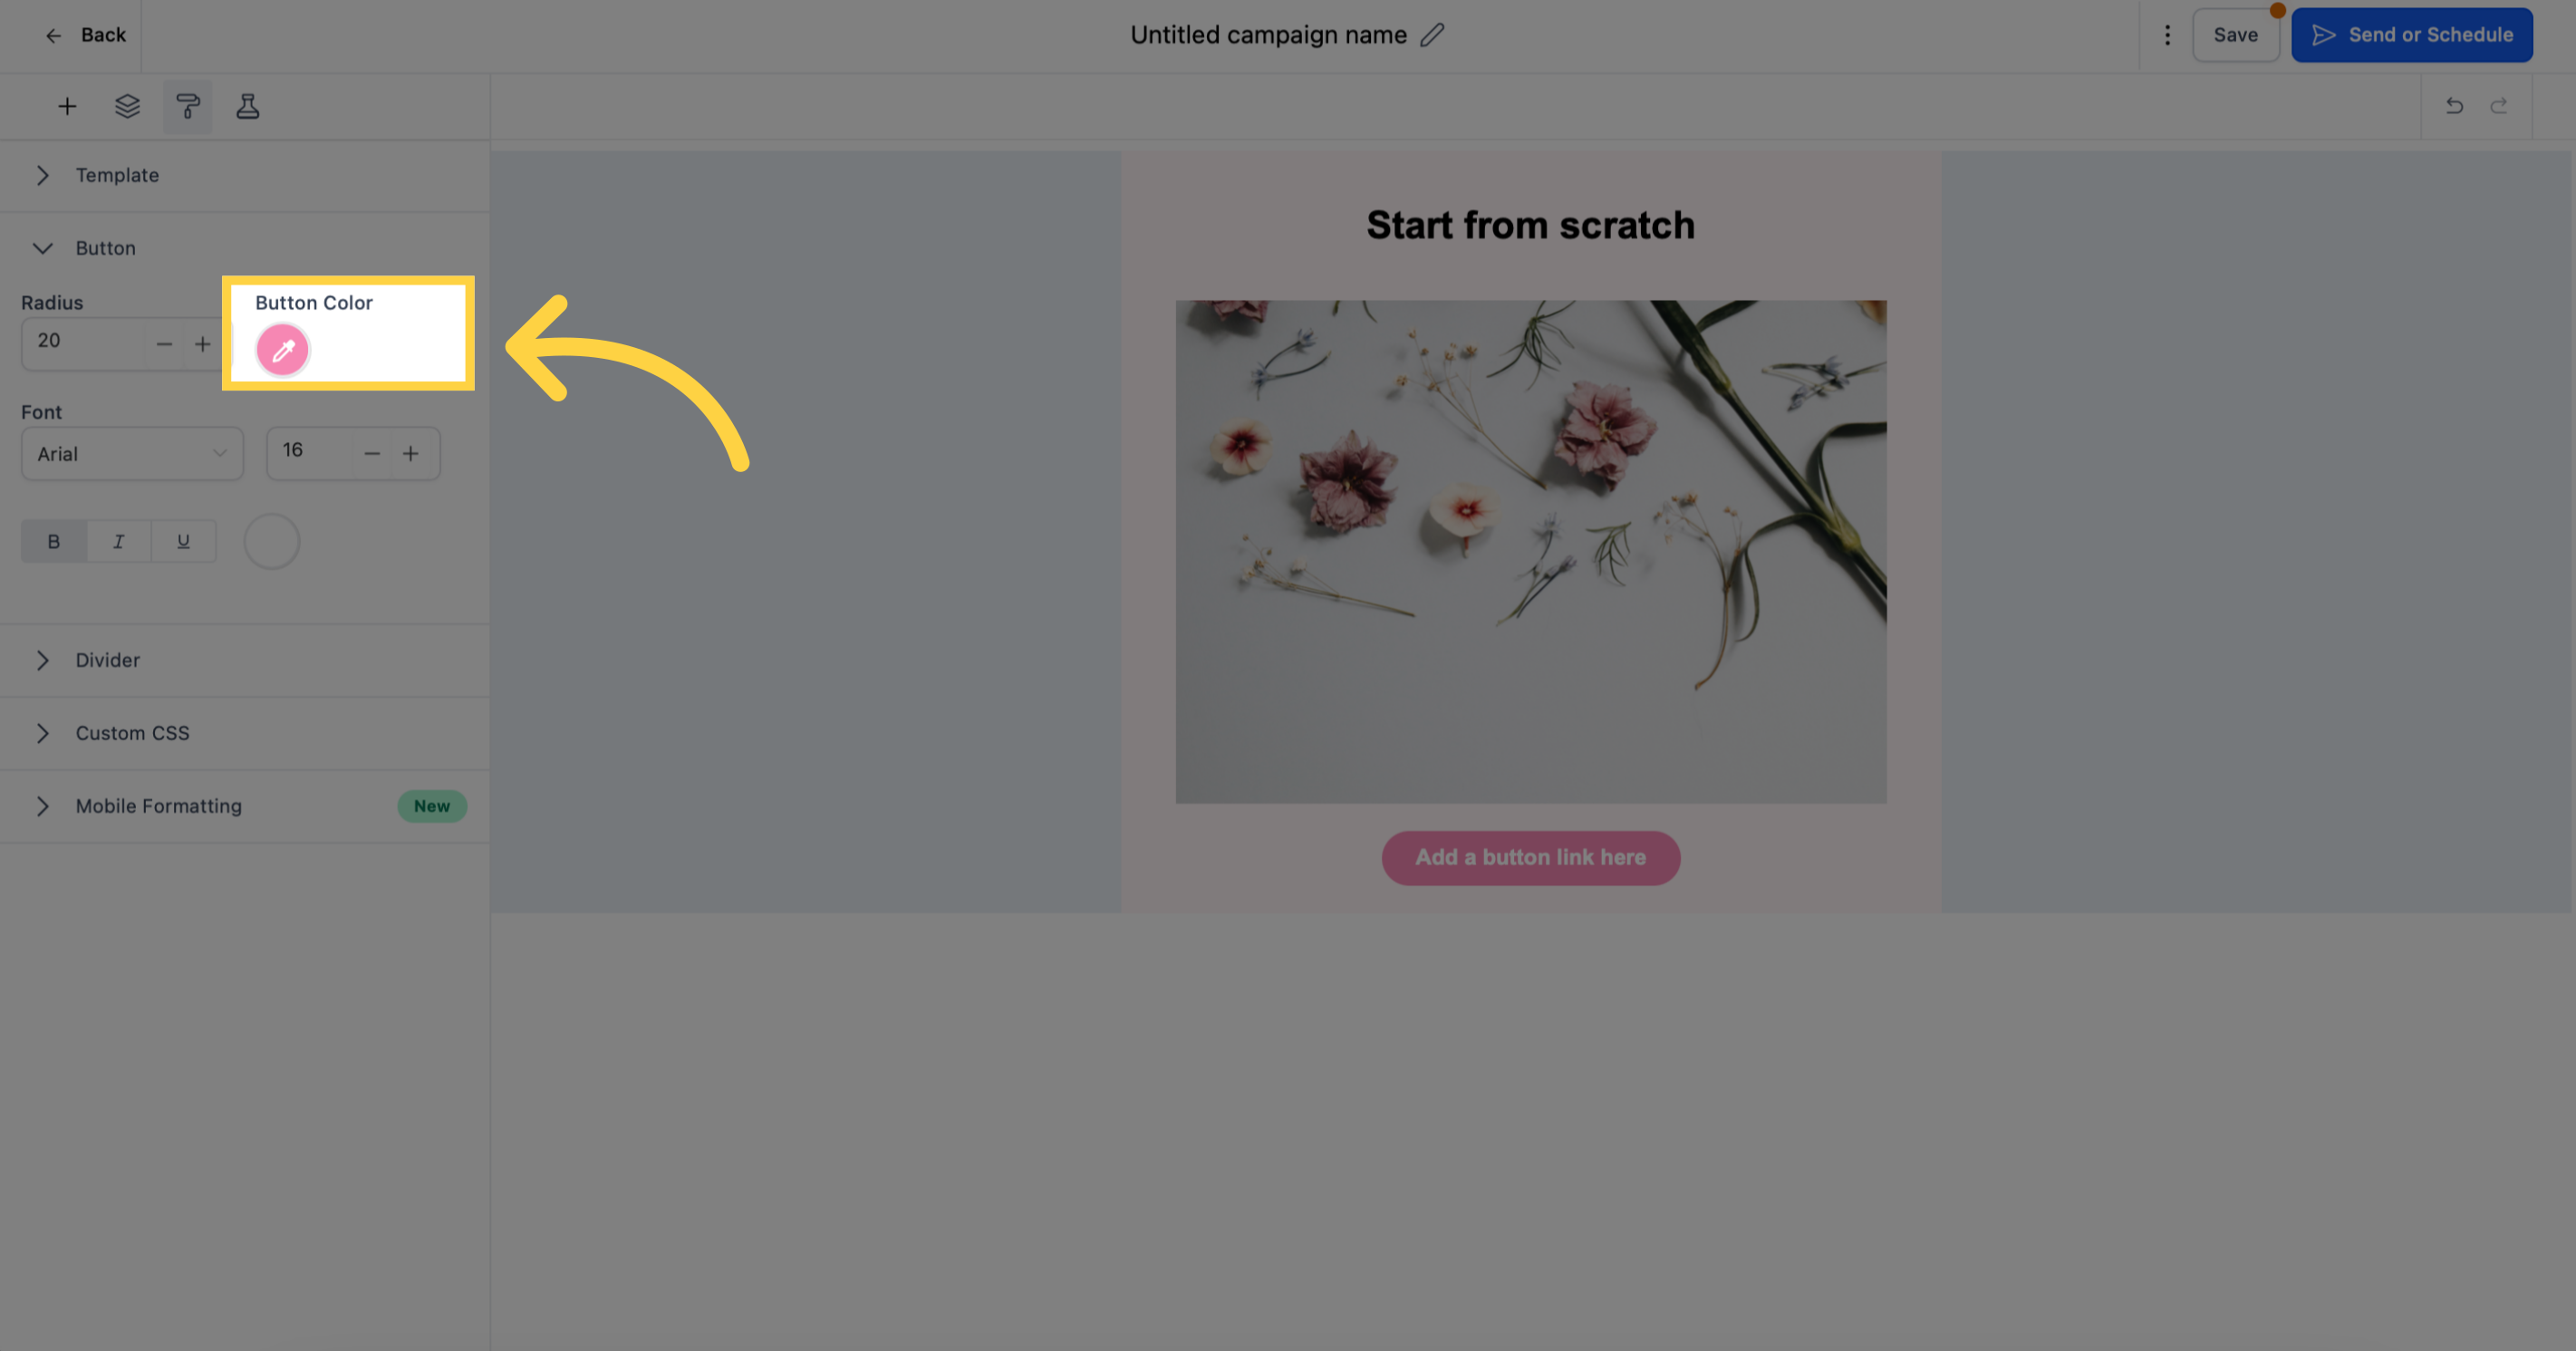
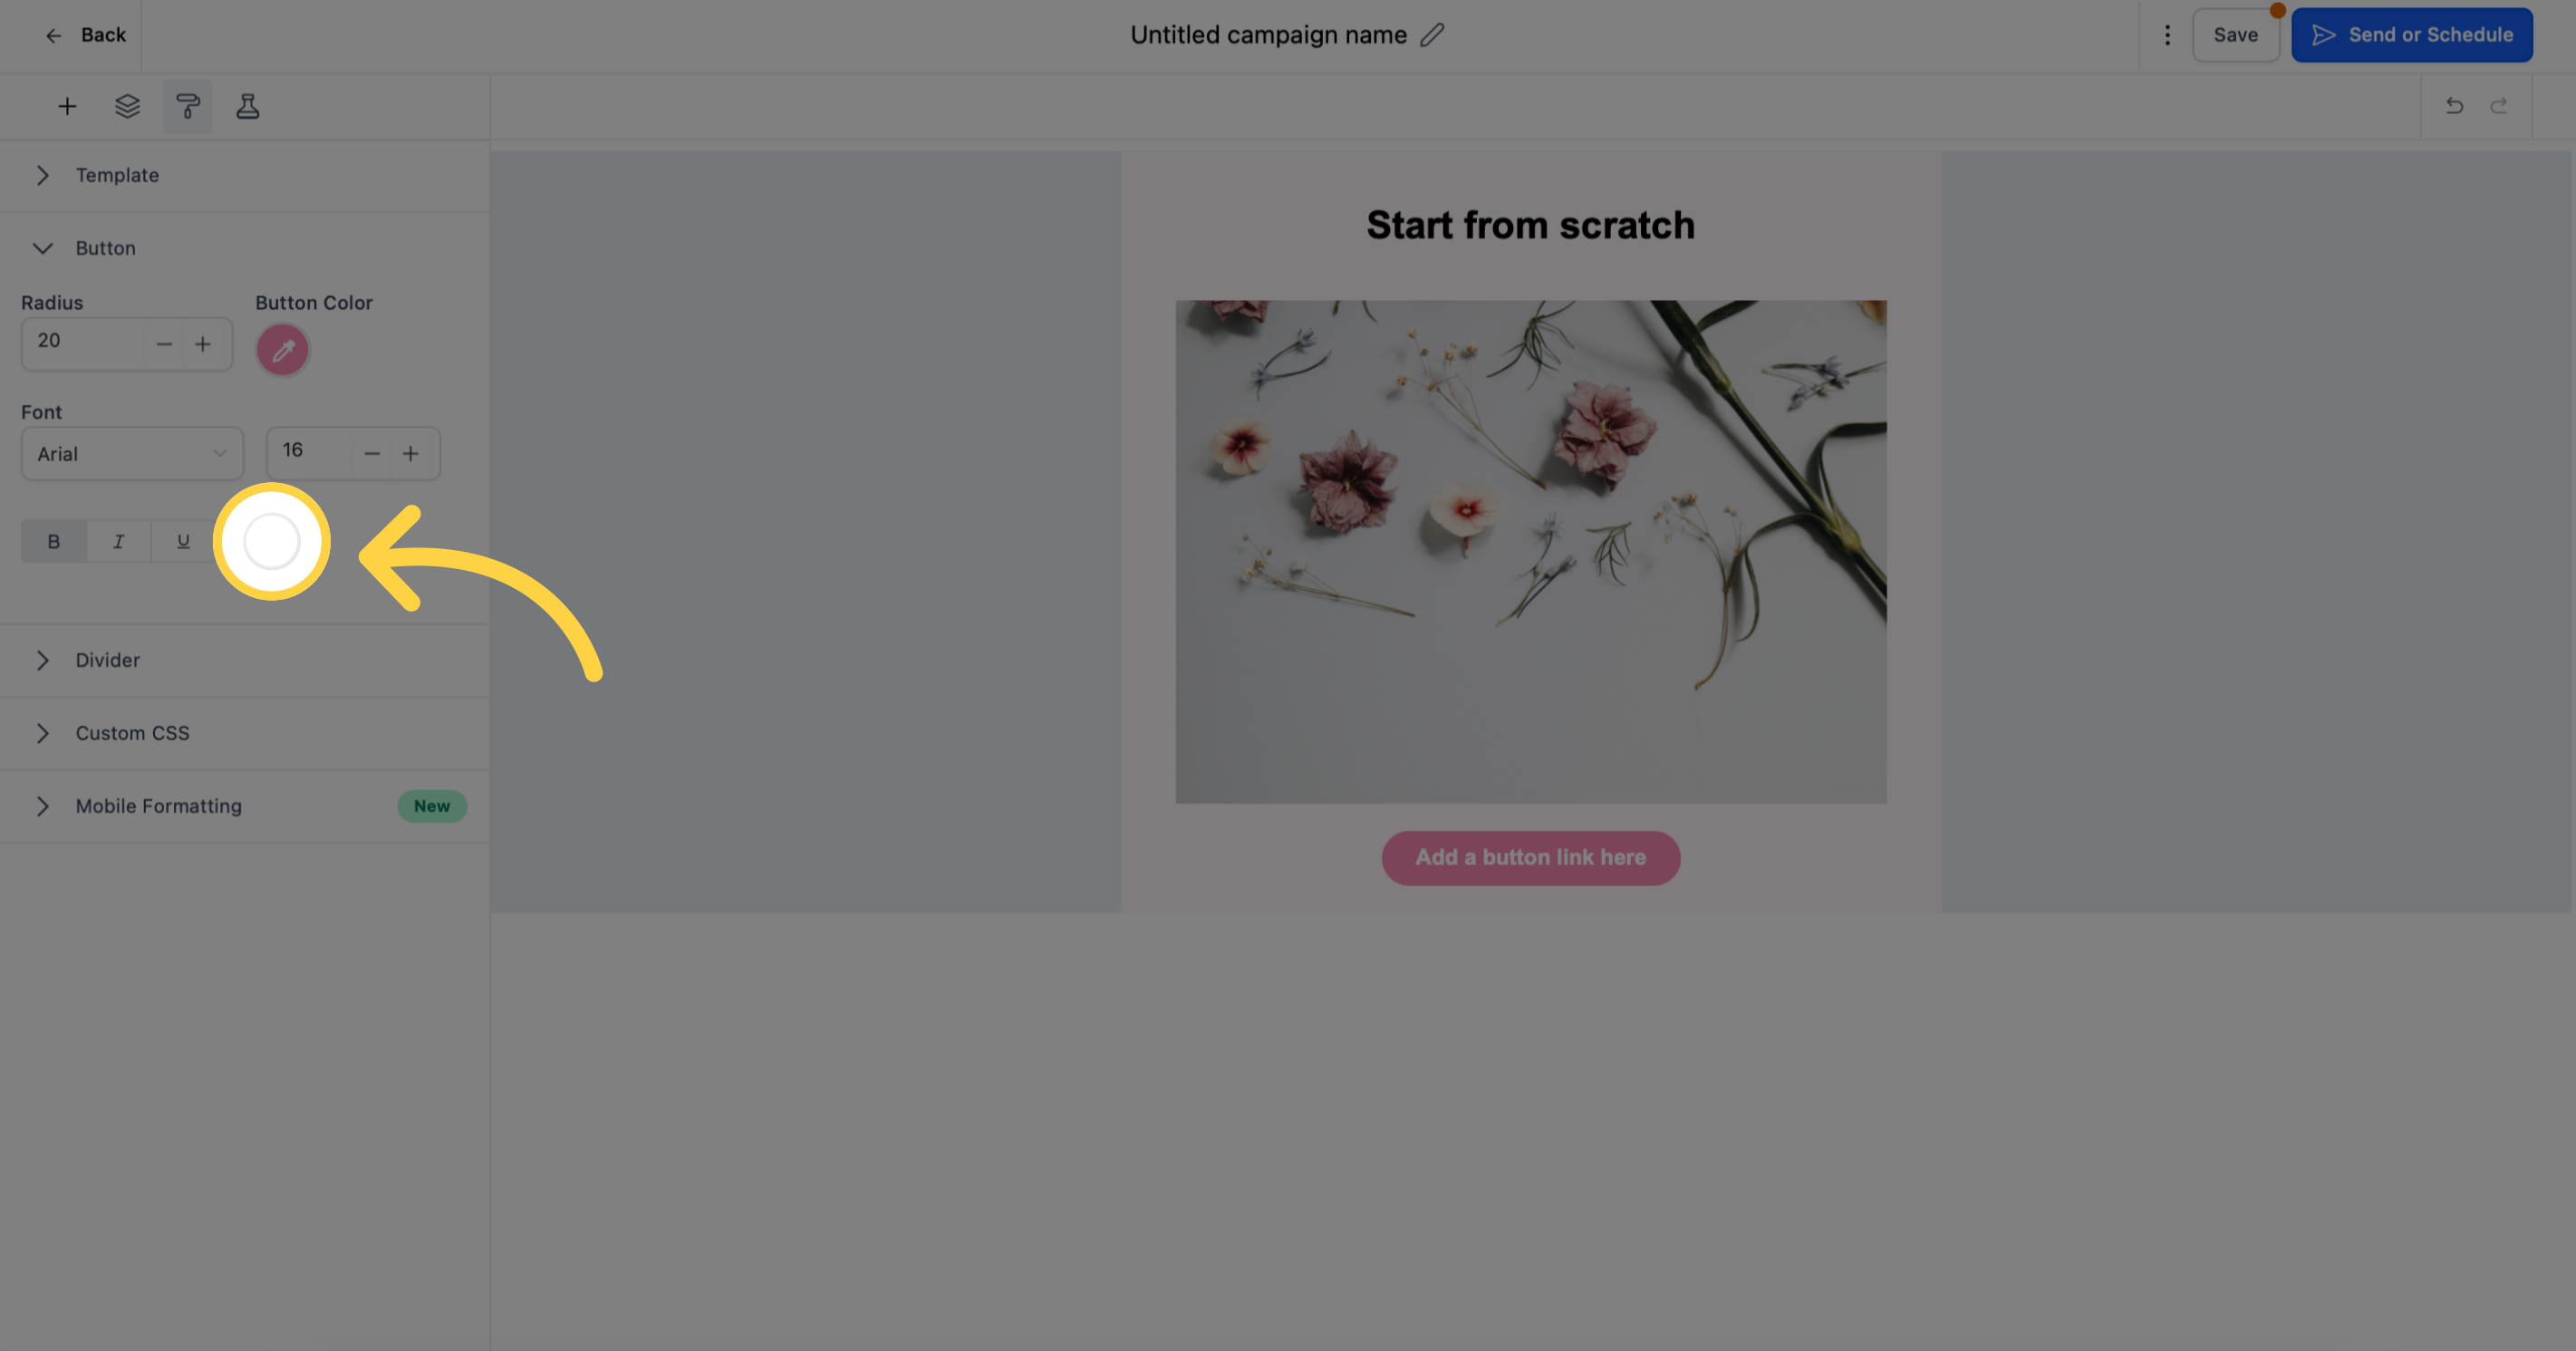
Select brand colors or colors that reflect your brand's identity to create eye-catching buttons.
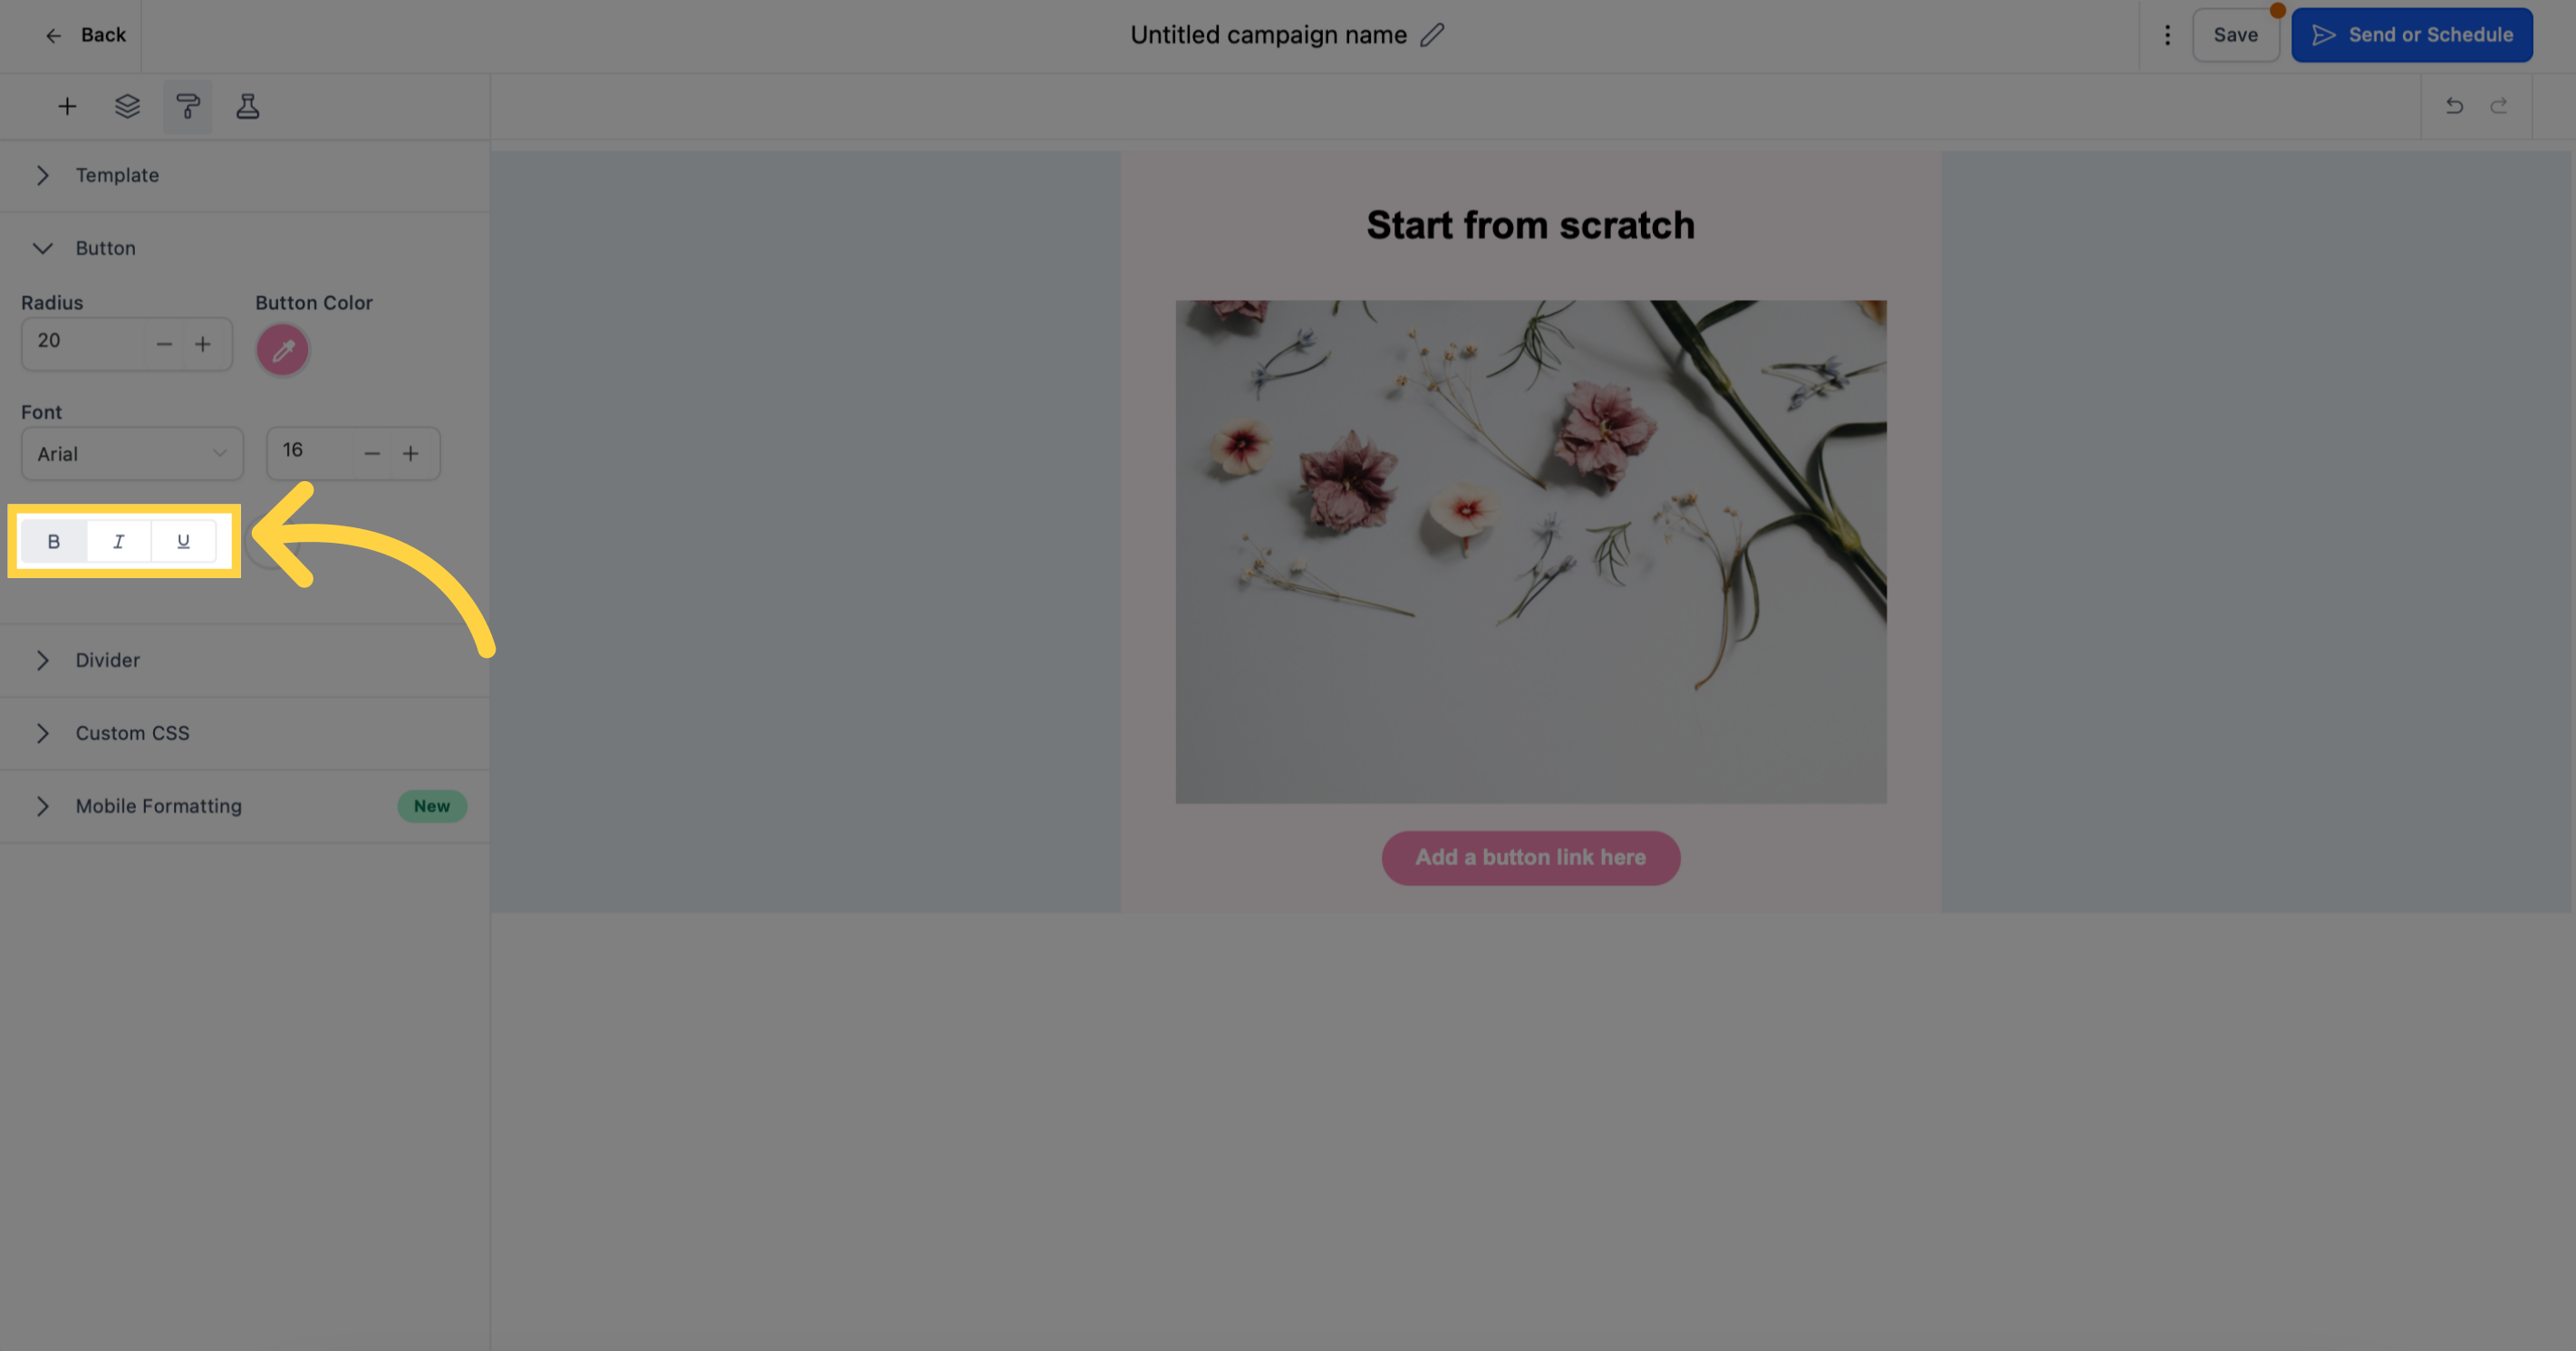
Choose from a variety of font types and add formatting options such as bold, italics, and underlines to your buttons.
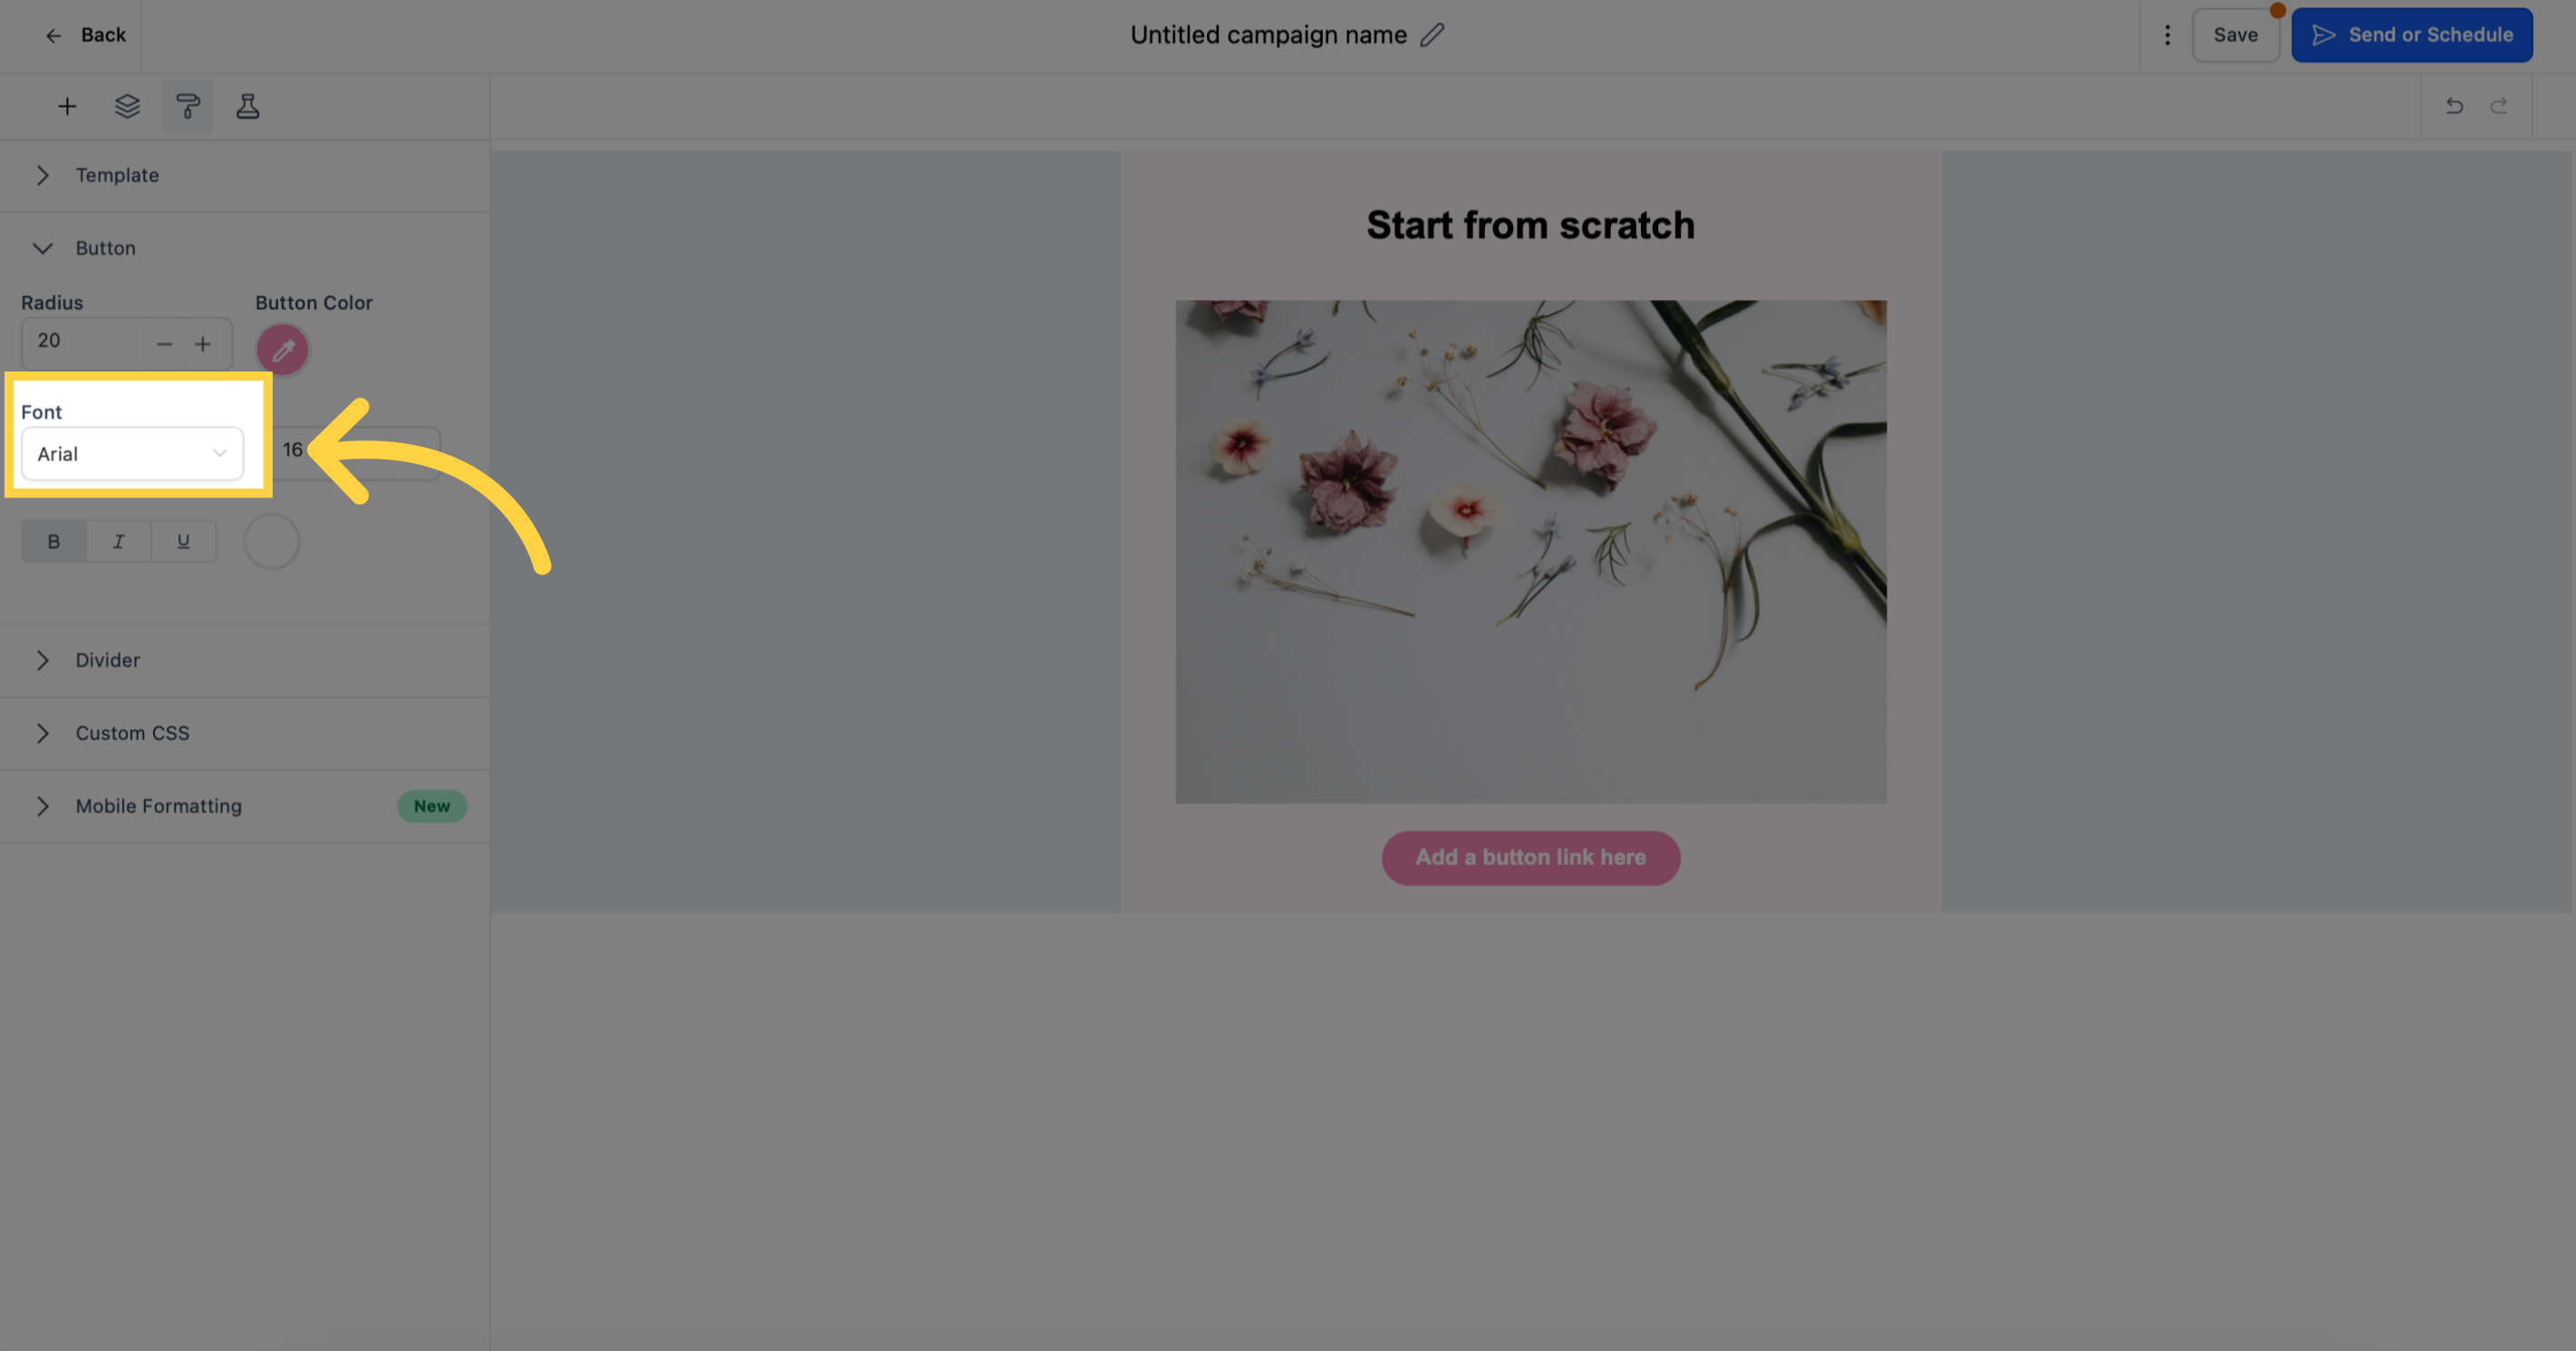
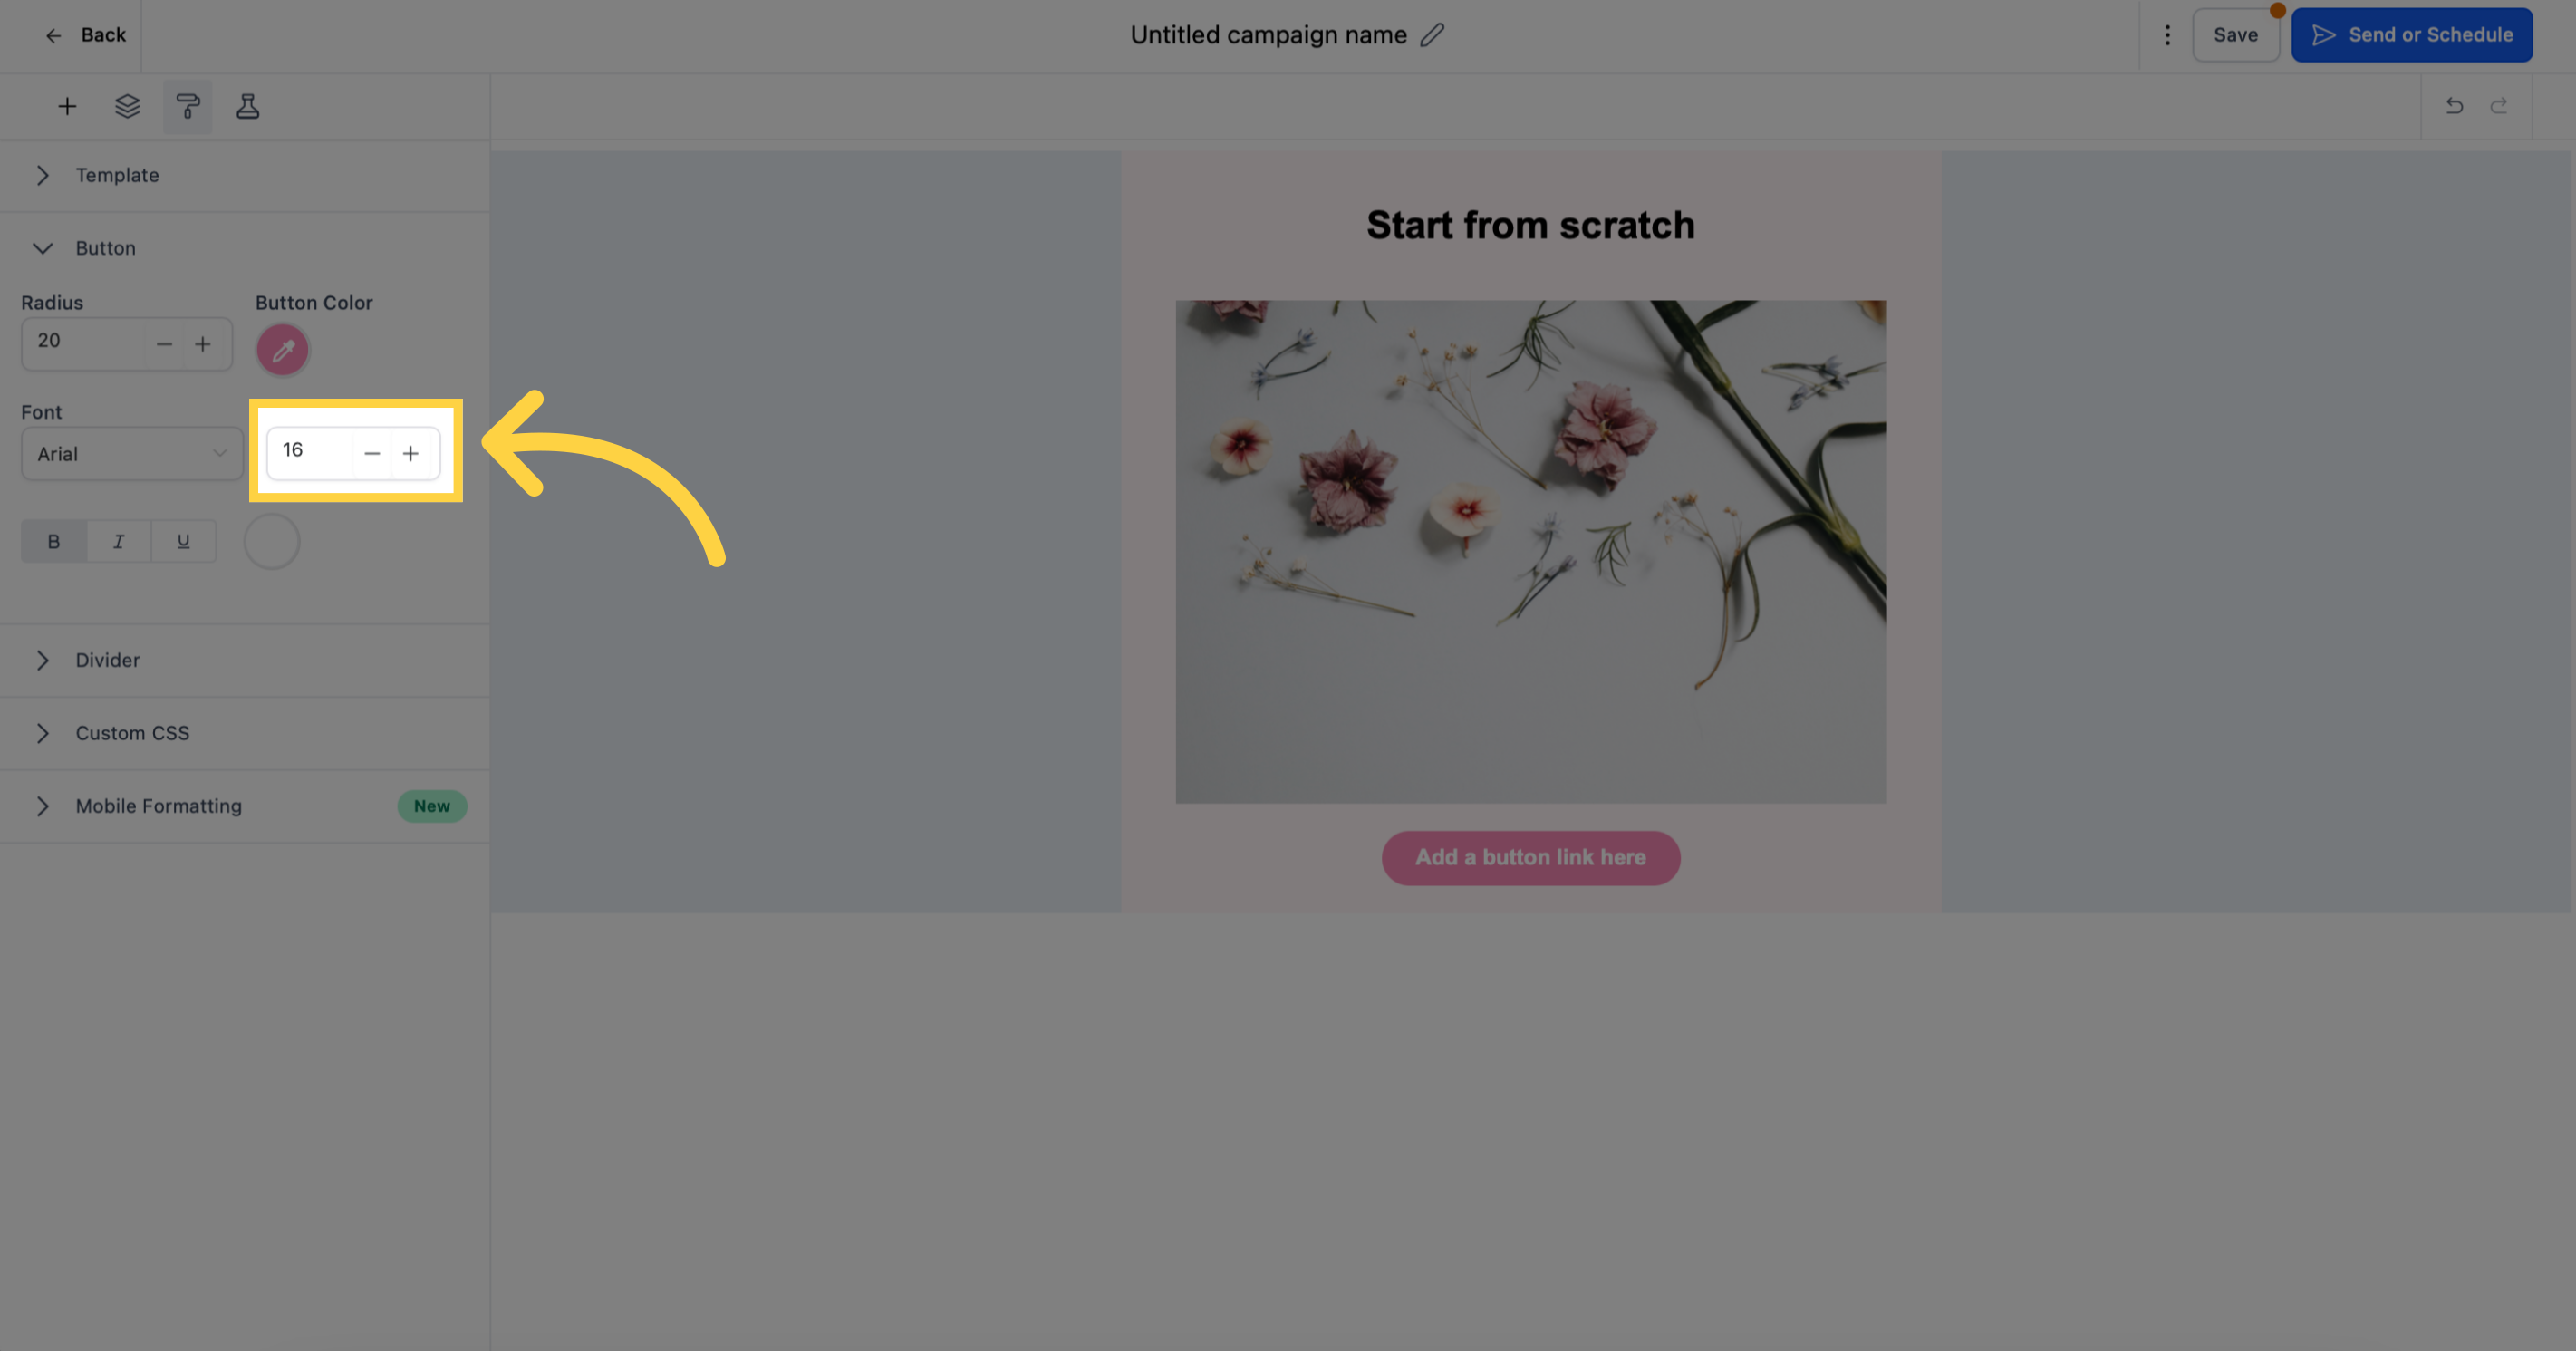
Ensure that the font size complements the button size for a balanced and visually pleasing design.
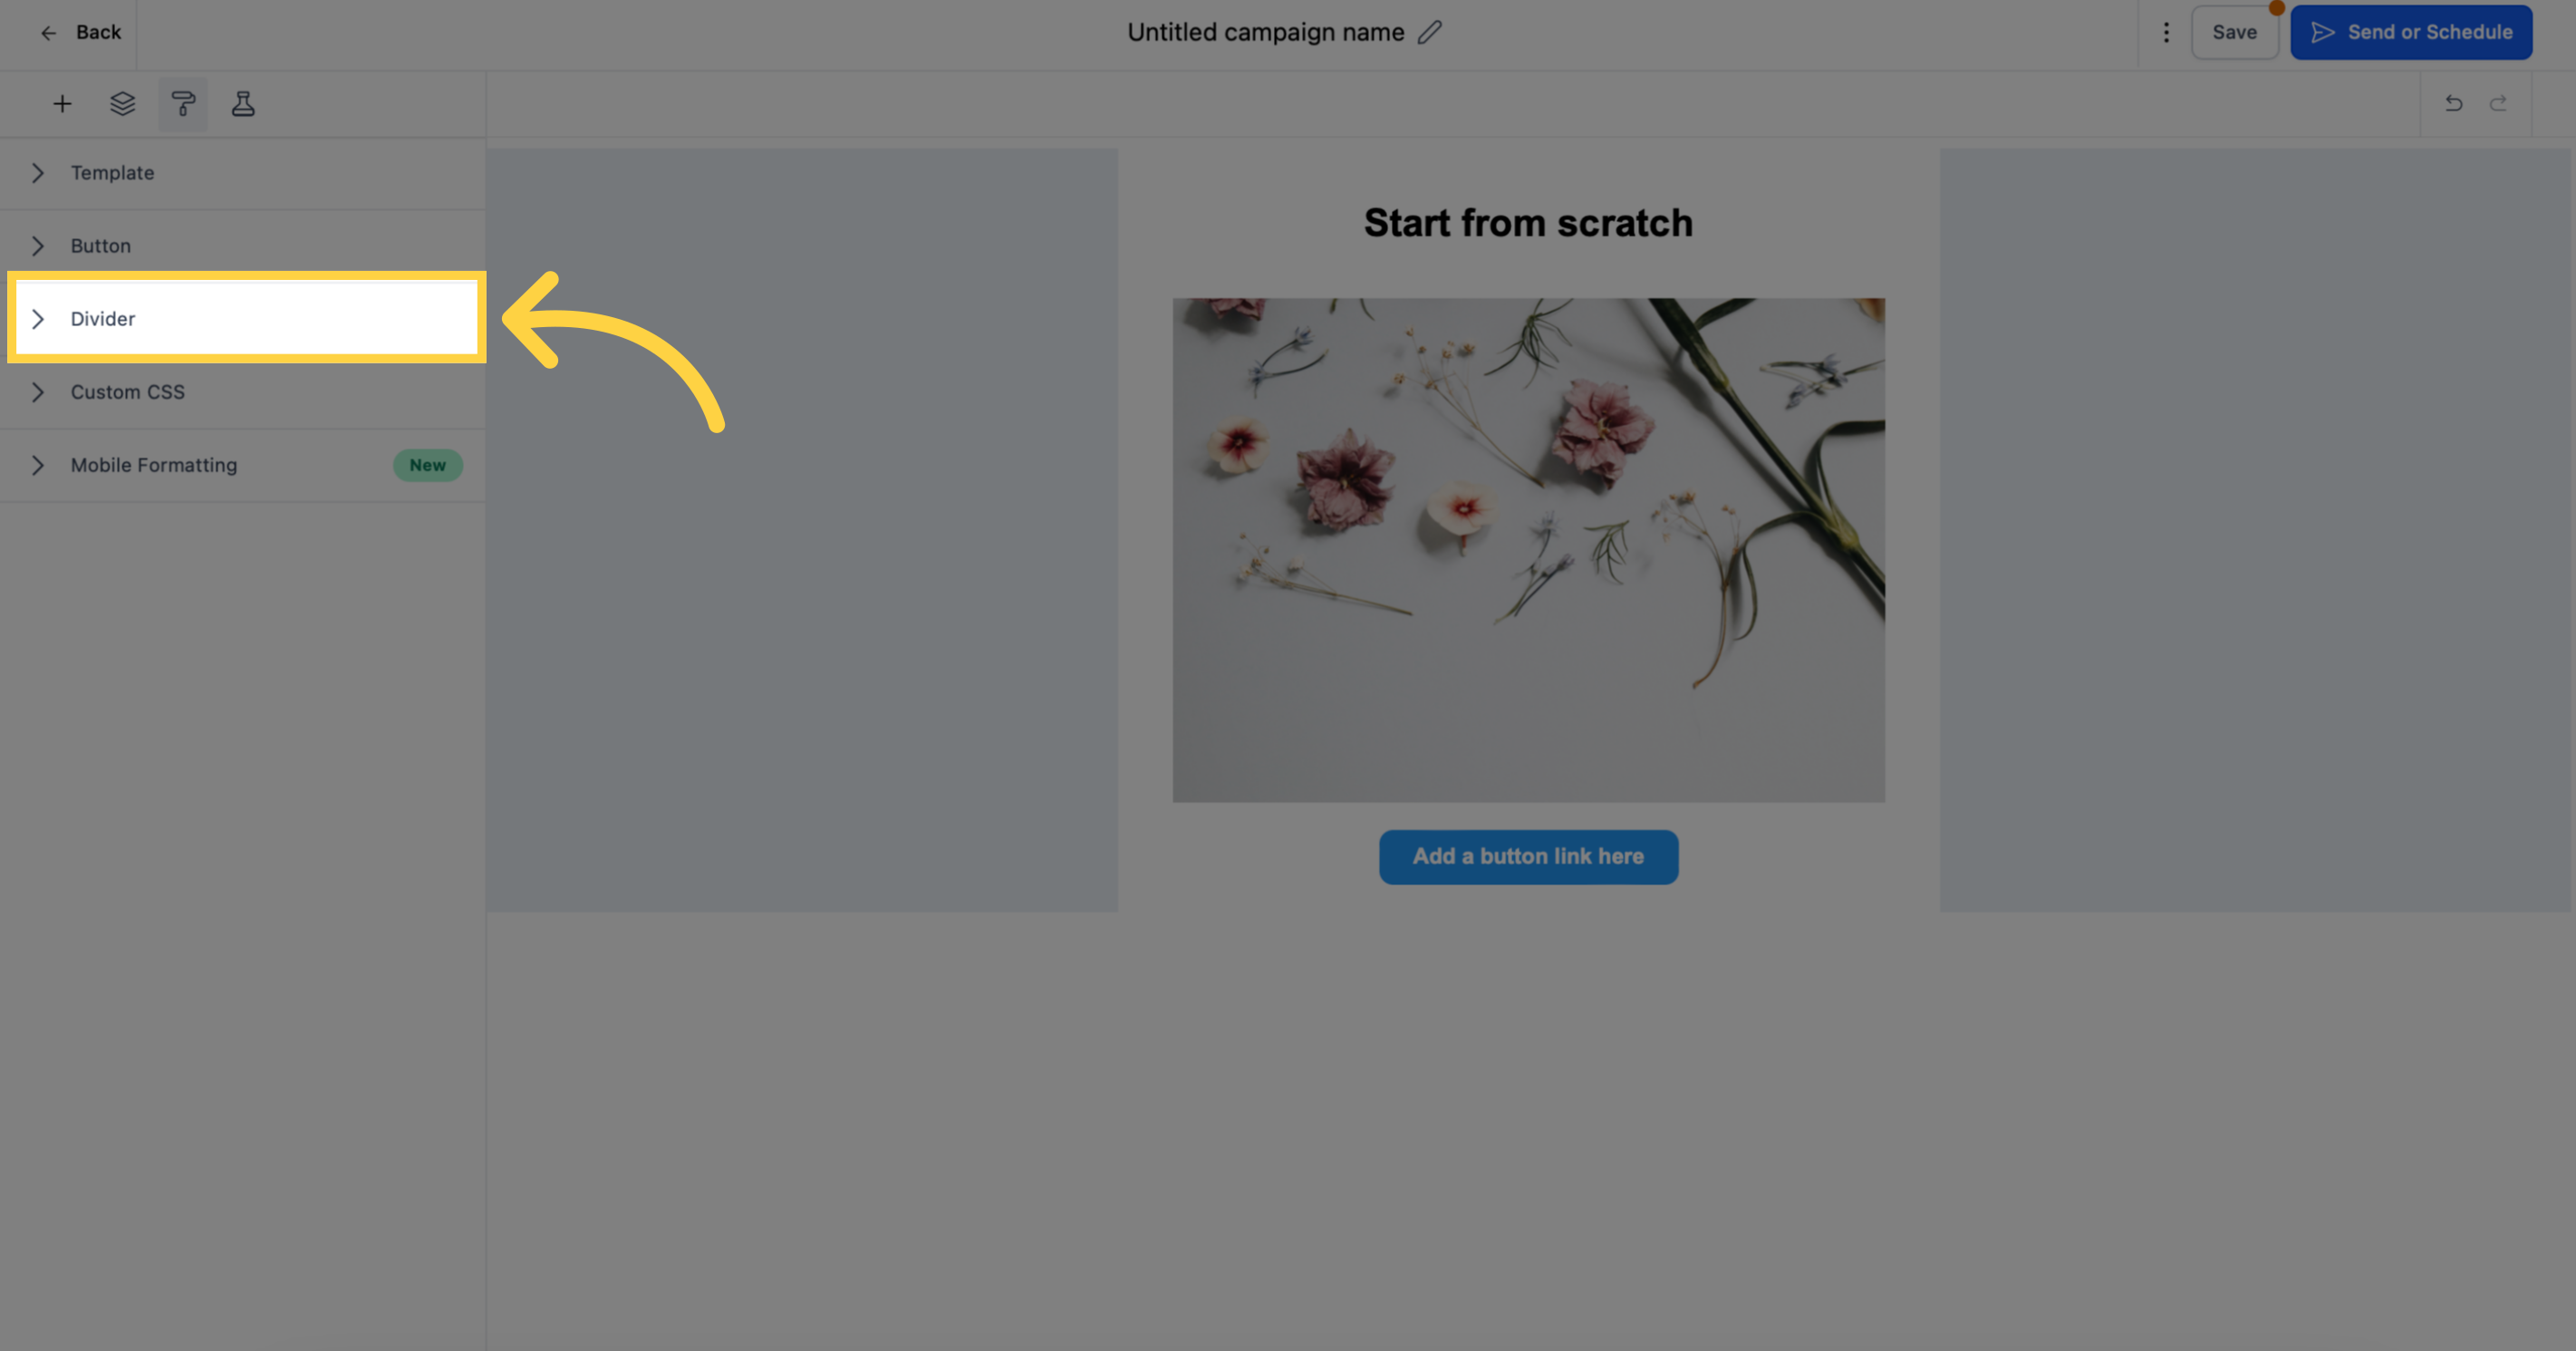
Dividers play a crucial role in enhancing the visual appeal of your email template by effectively separating content sections. By accessing the Dividers settings, you can have precise control over the appearance and style of dividers in your email template, ensuring they make a striking impact and add a touch of elegance to your design.
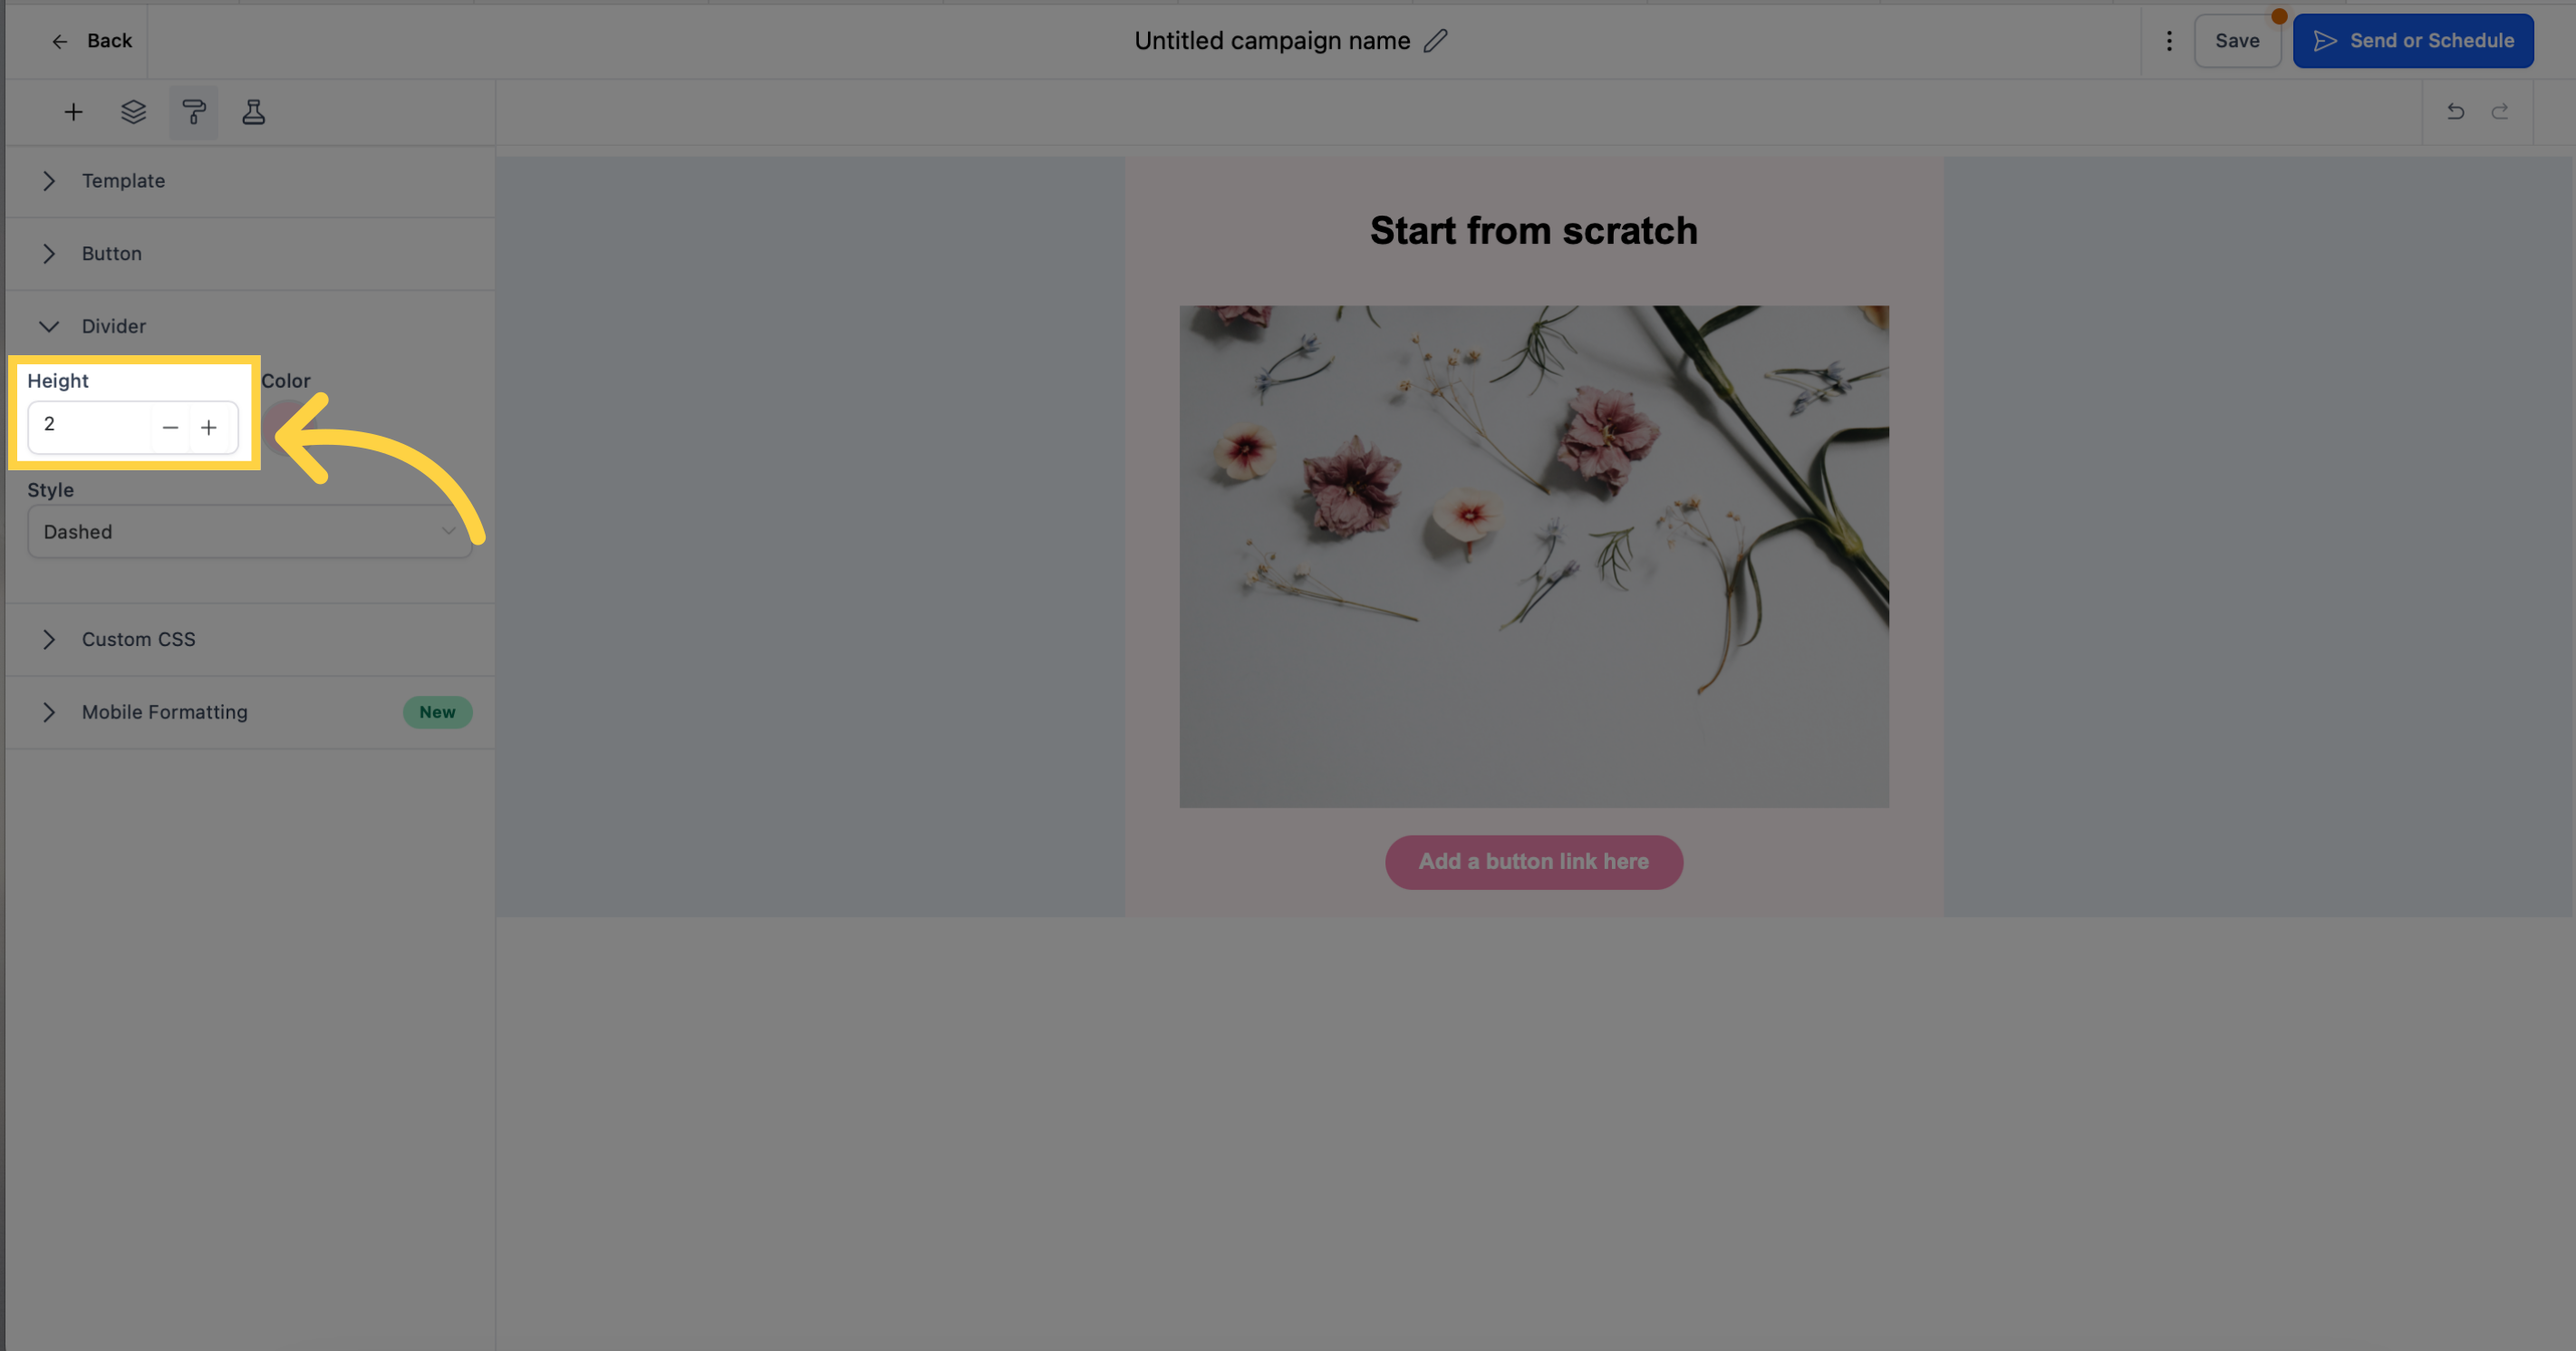
Control the thickness of dividers to enhance the visual appeal of different sections in your email template.
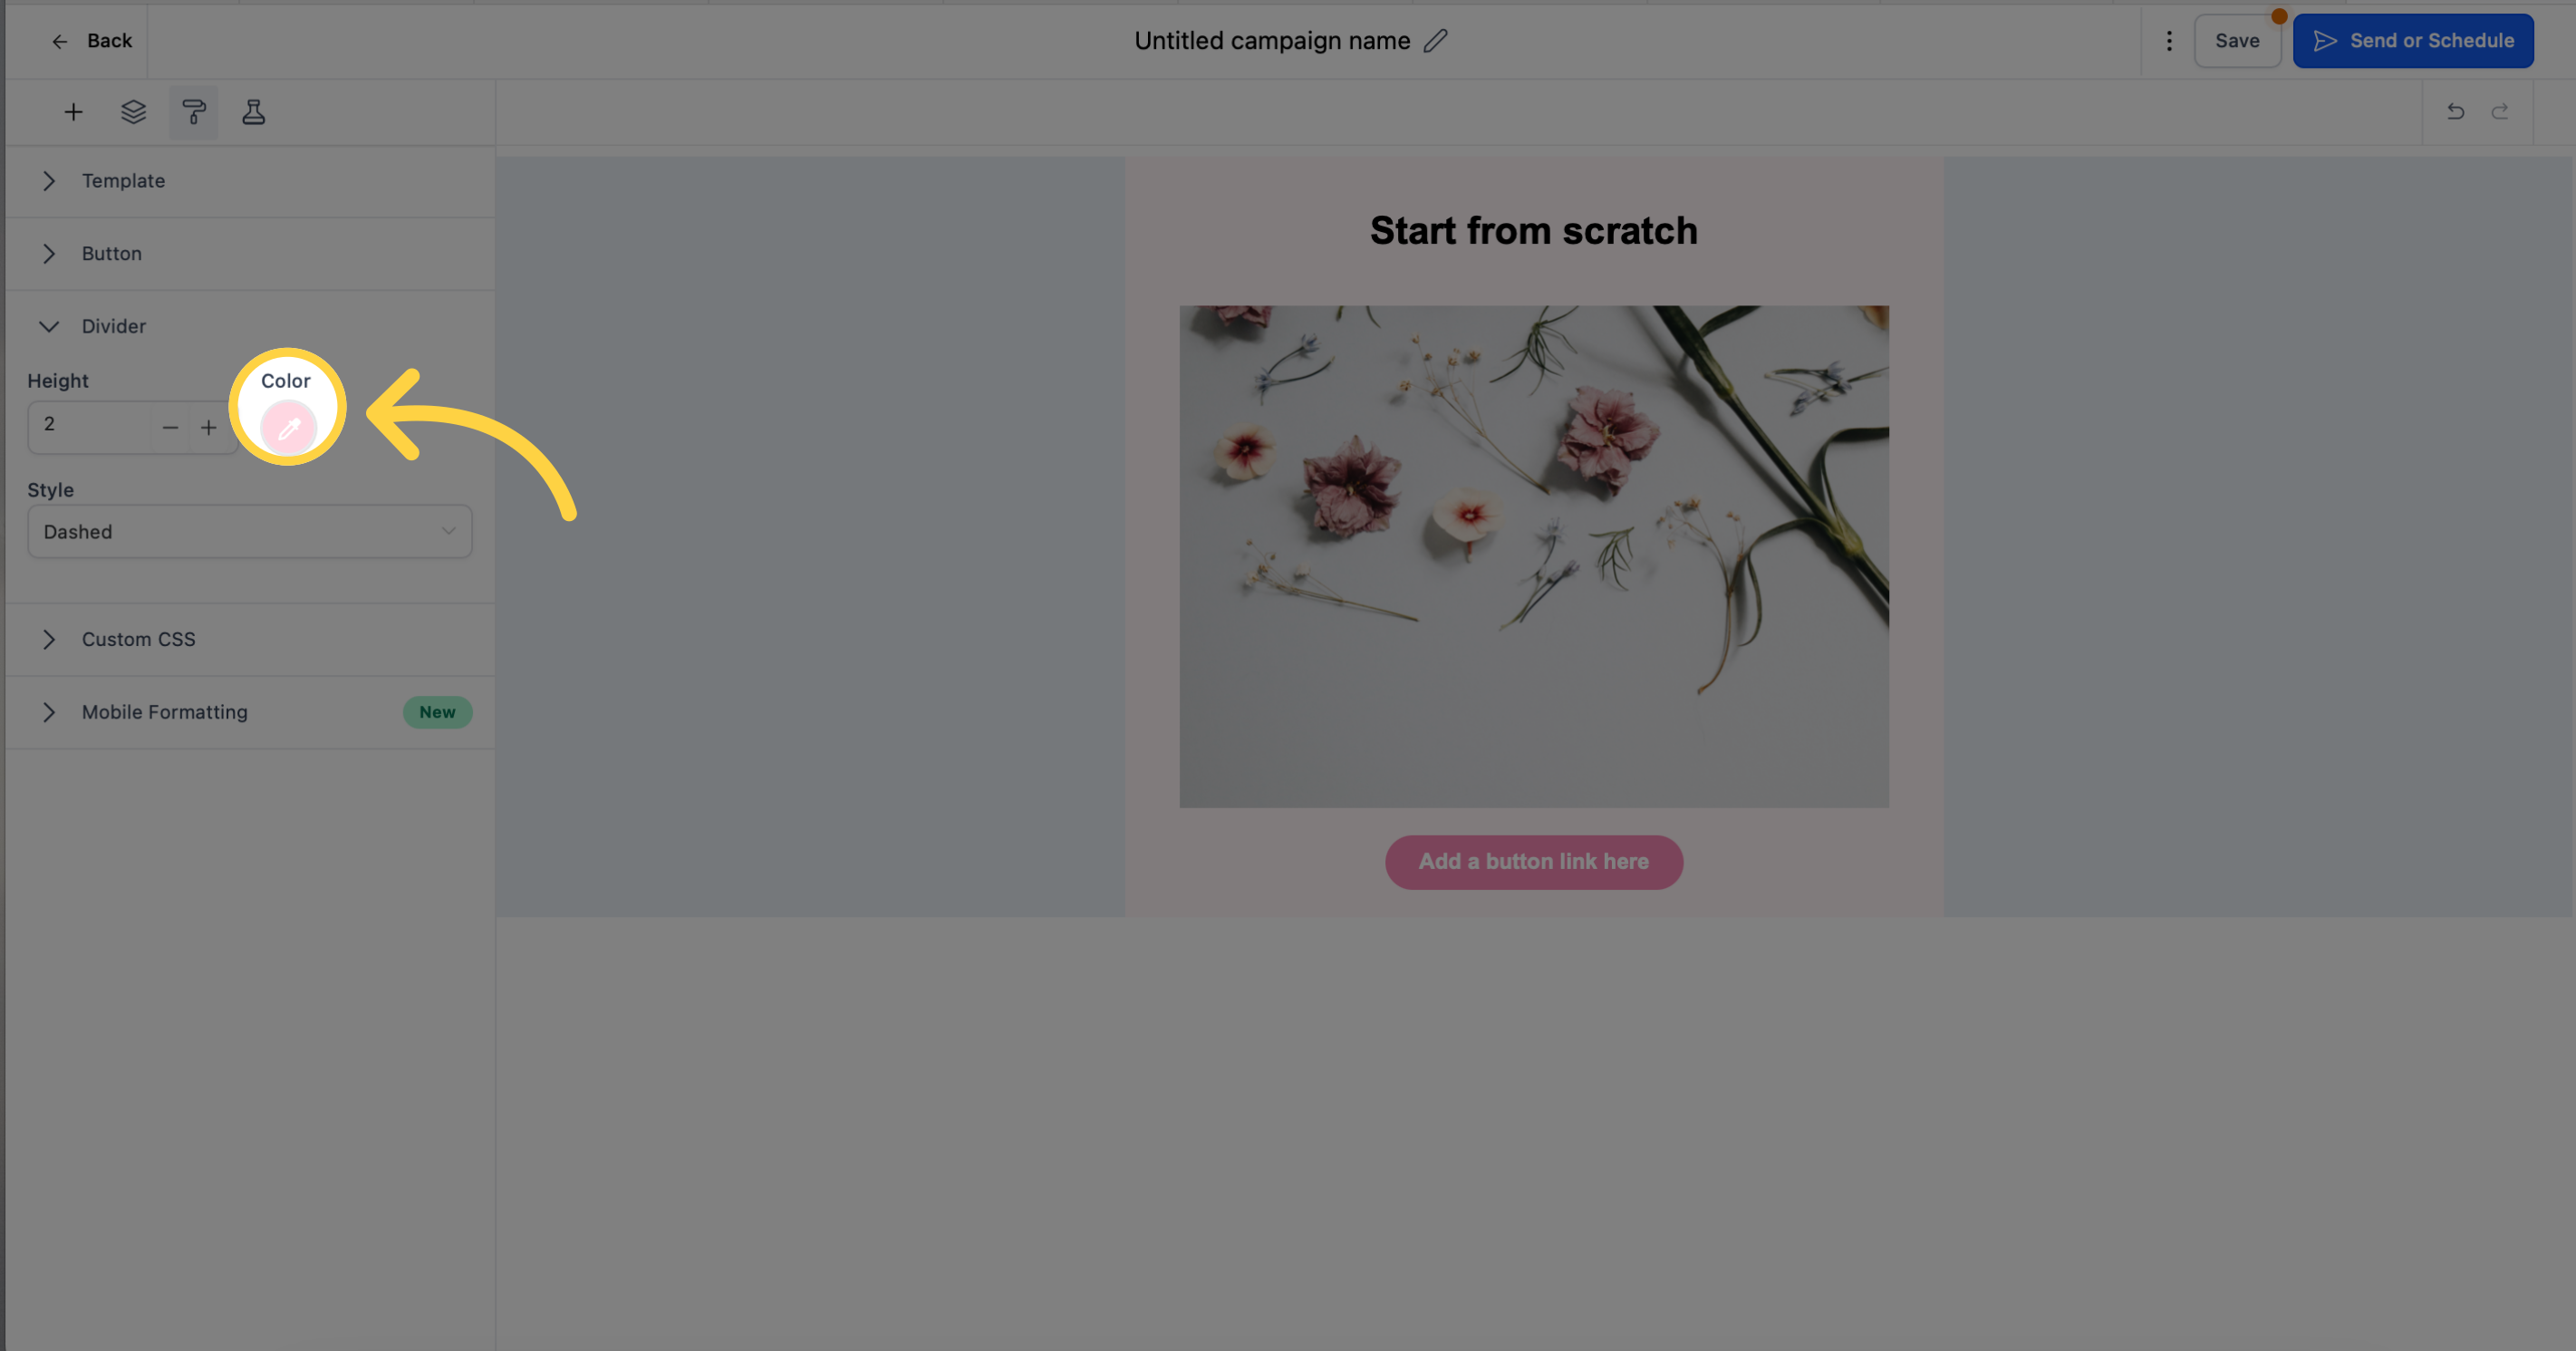
Select colors that match your brand or create contrast for dividers that stand out
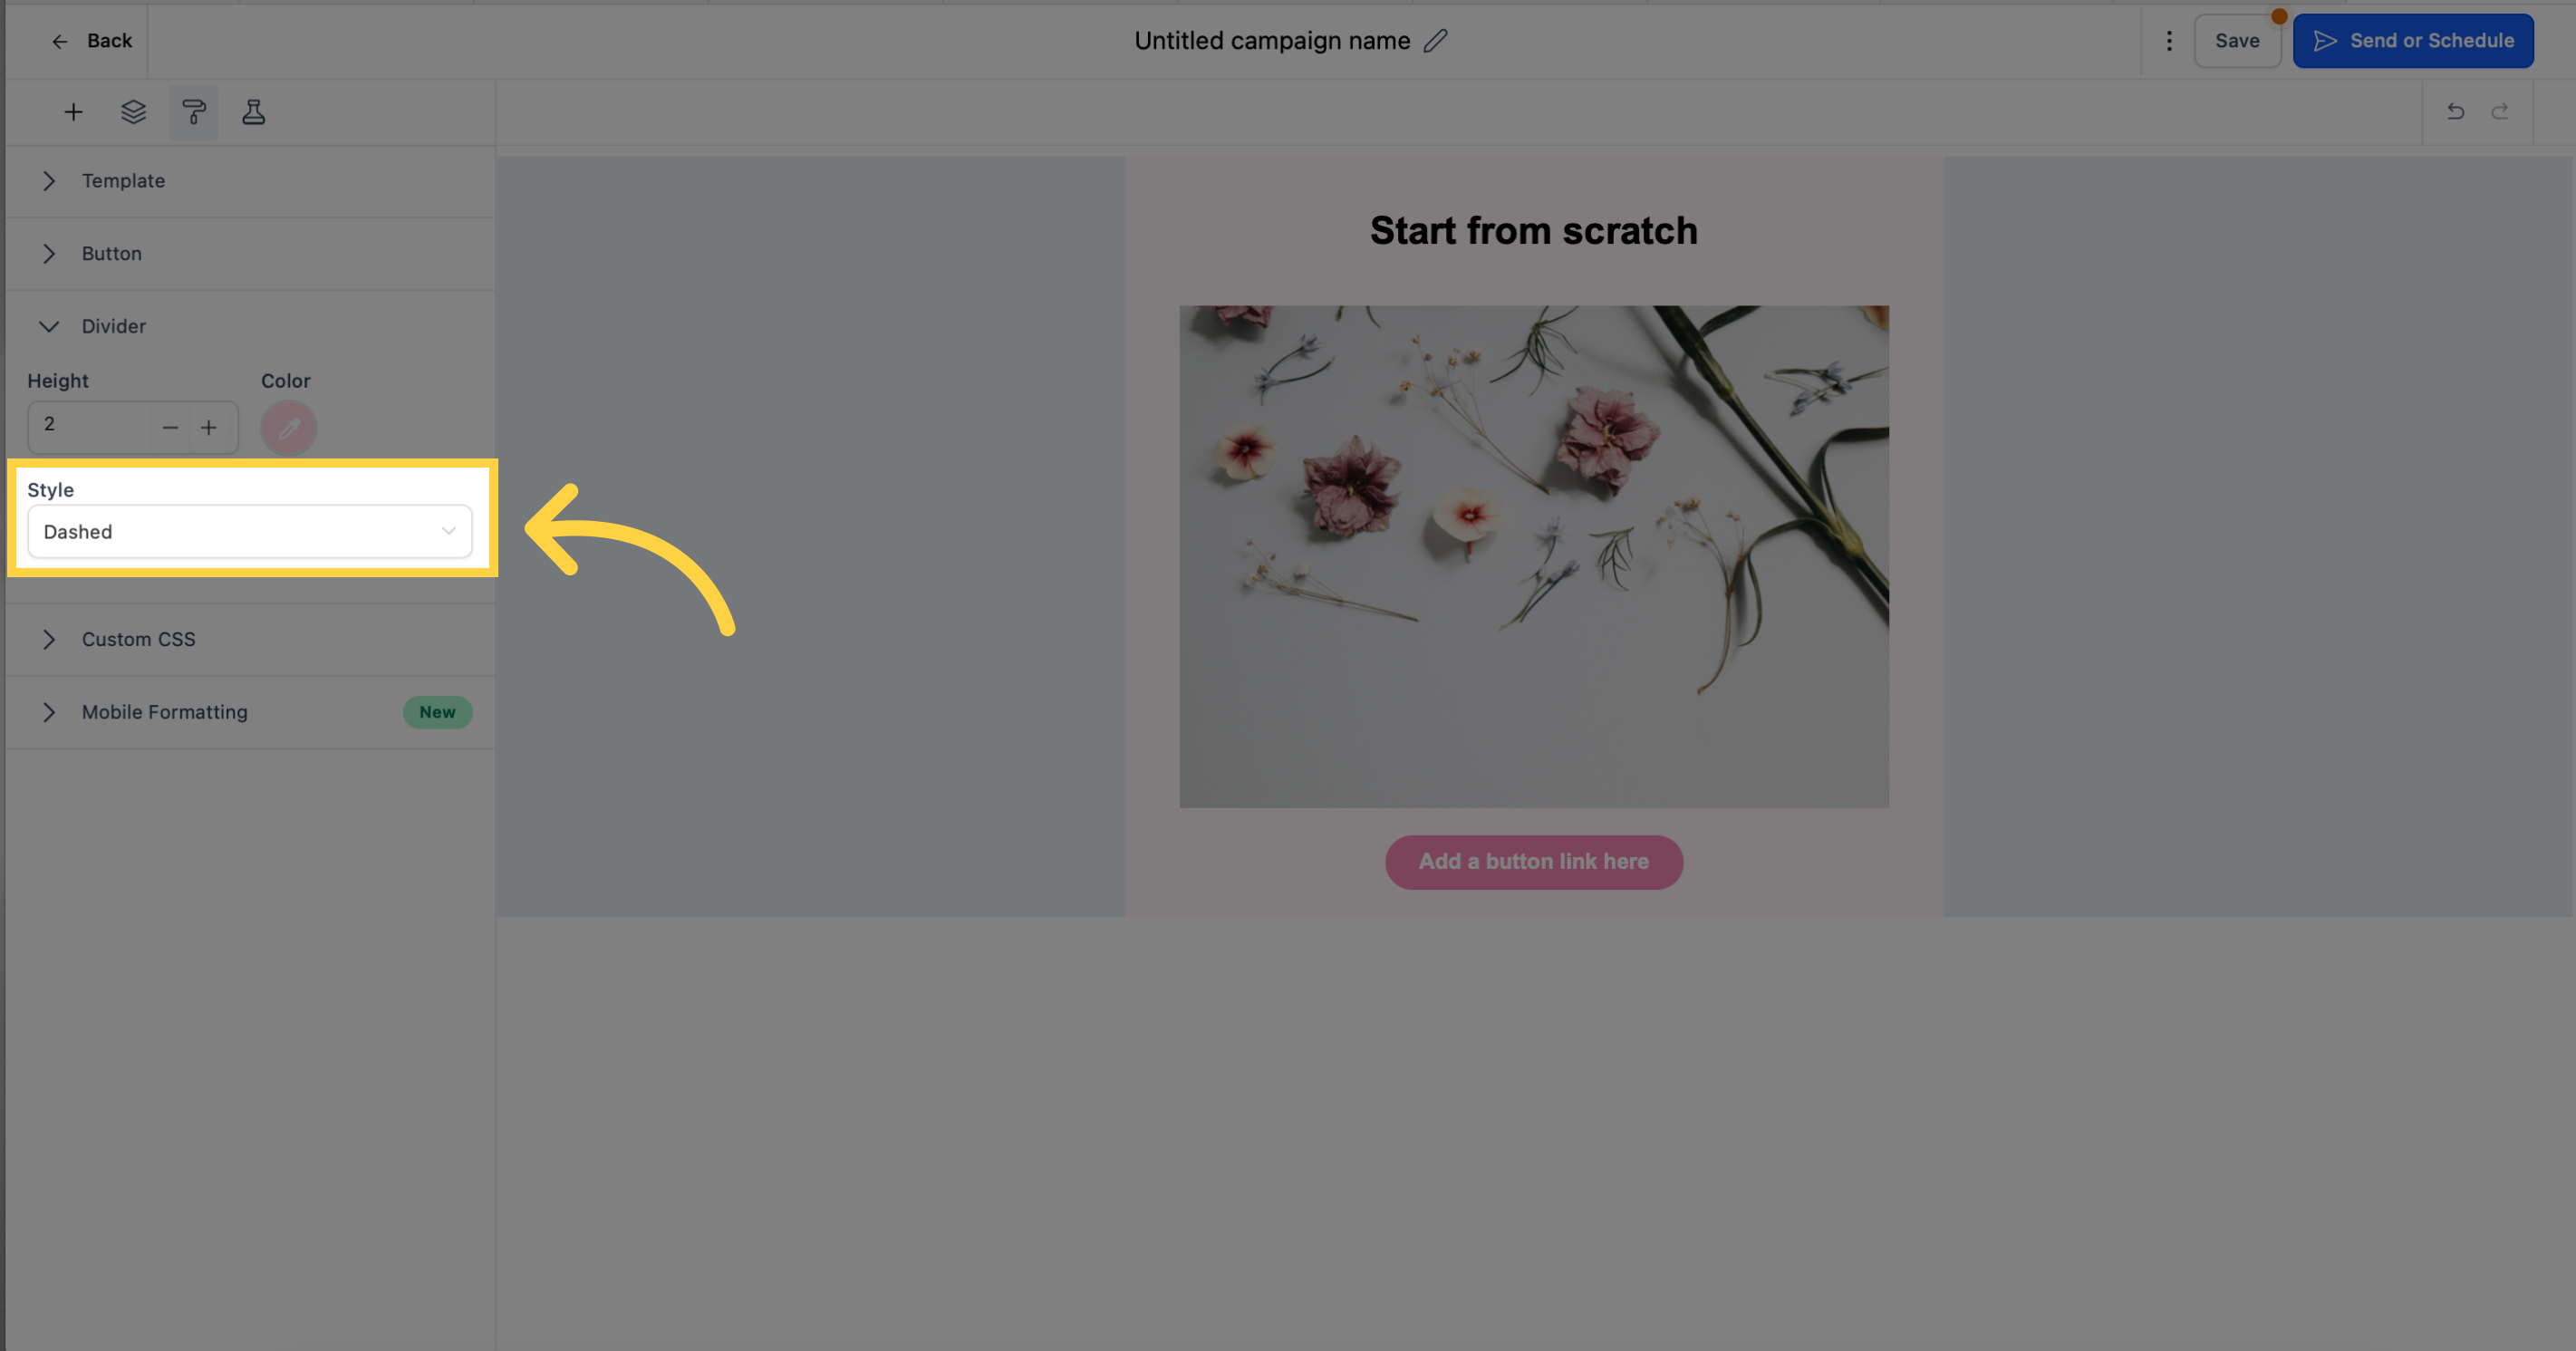
Choose between solid, dotted, and dashed styles to achieve the desired look and feel for your email template.
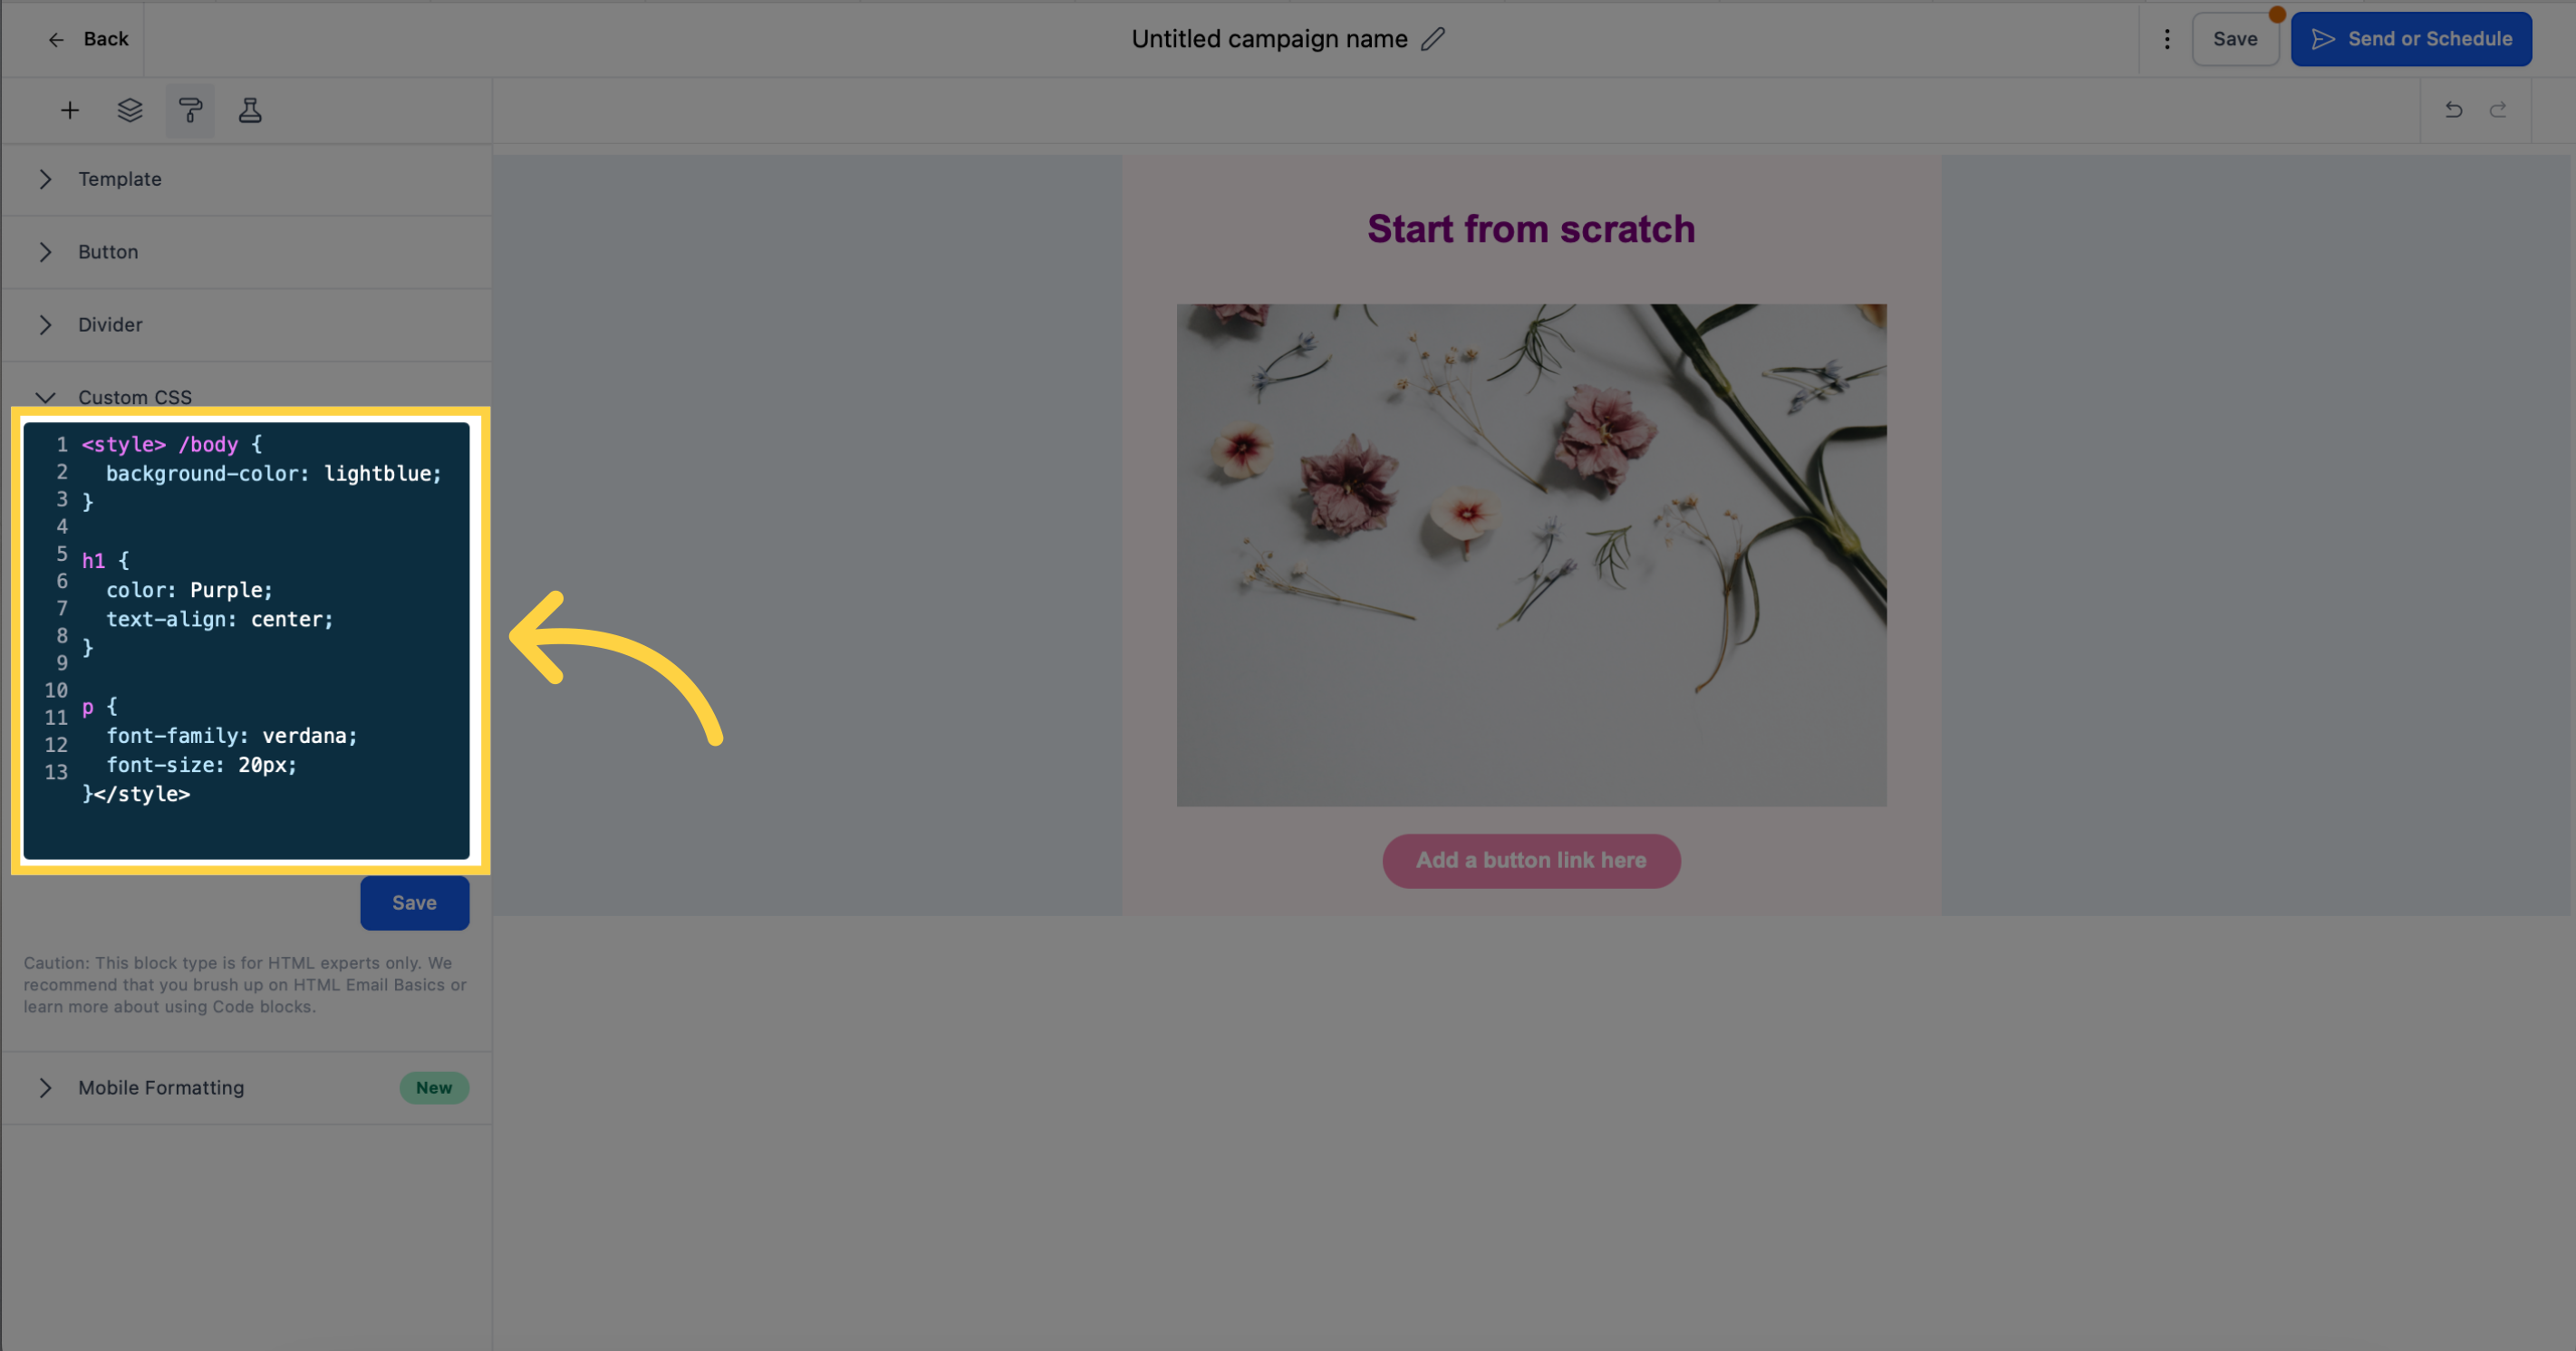
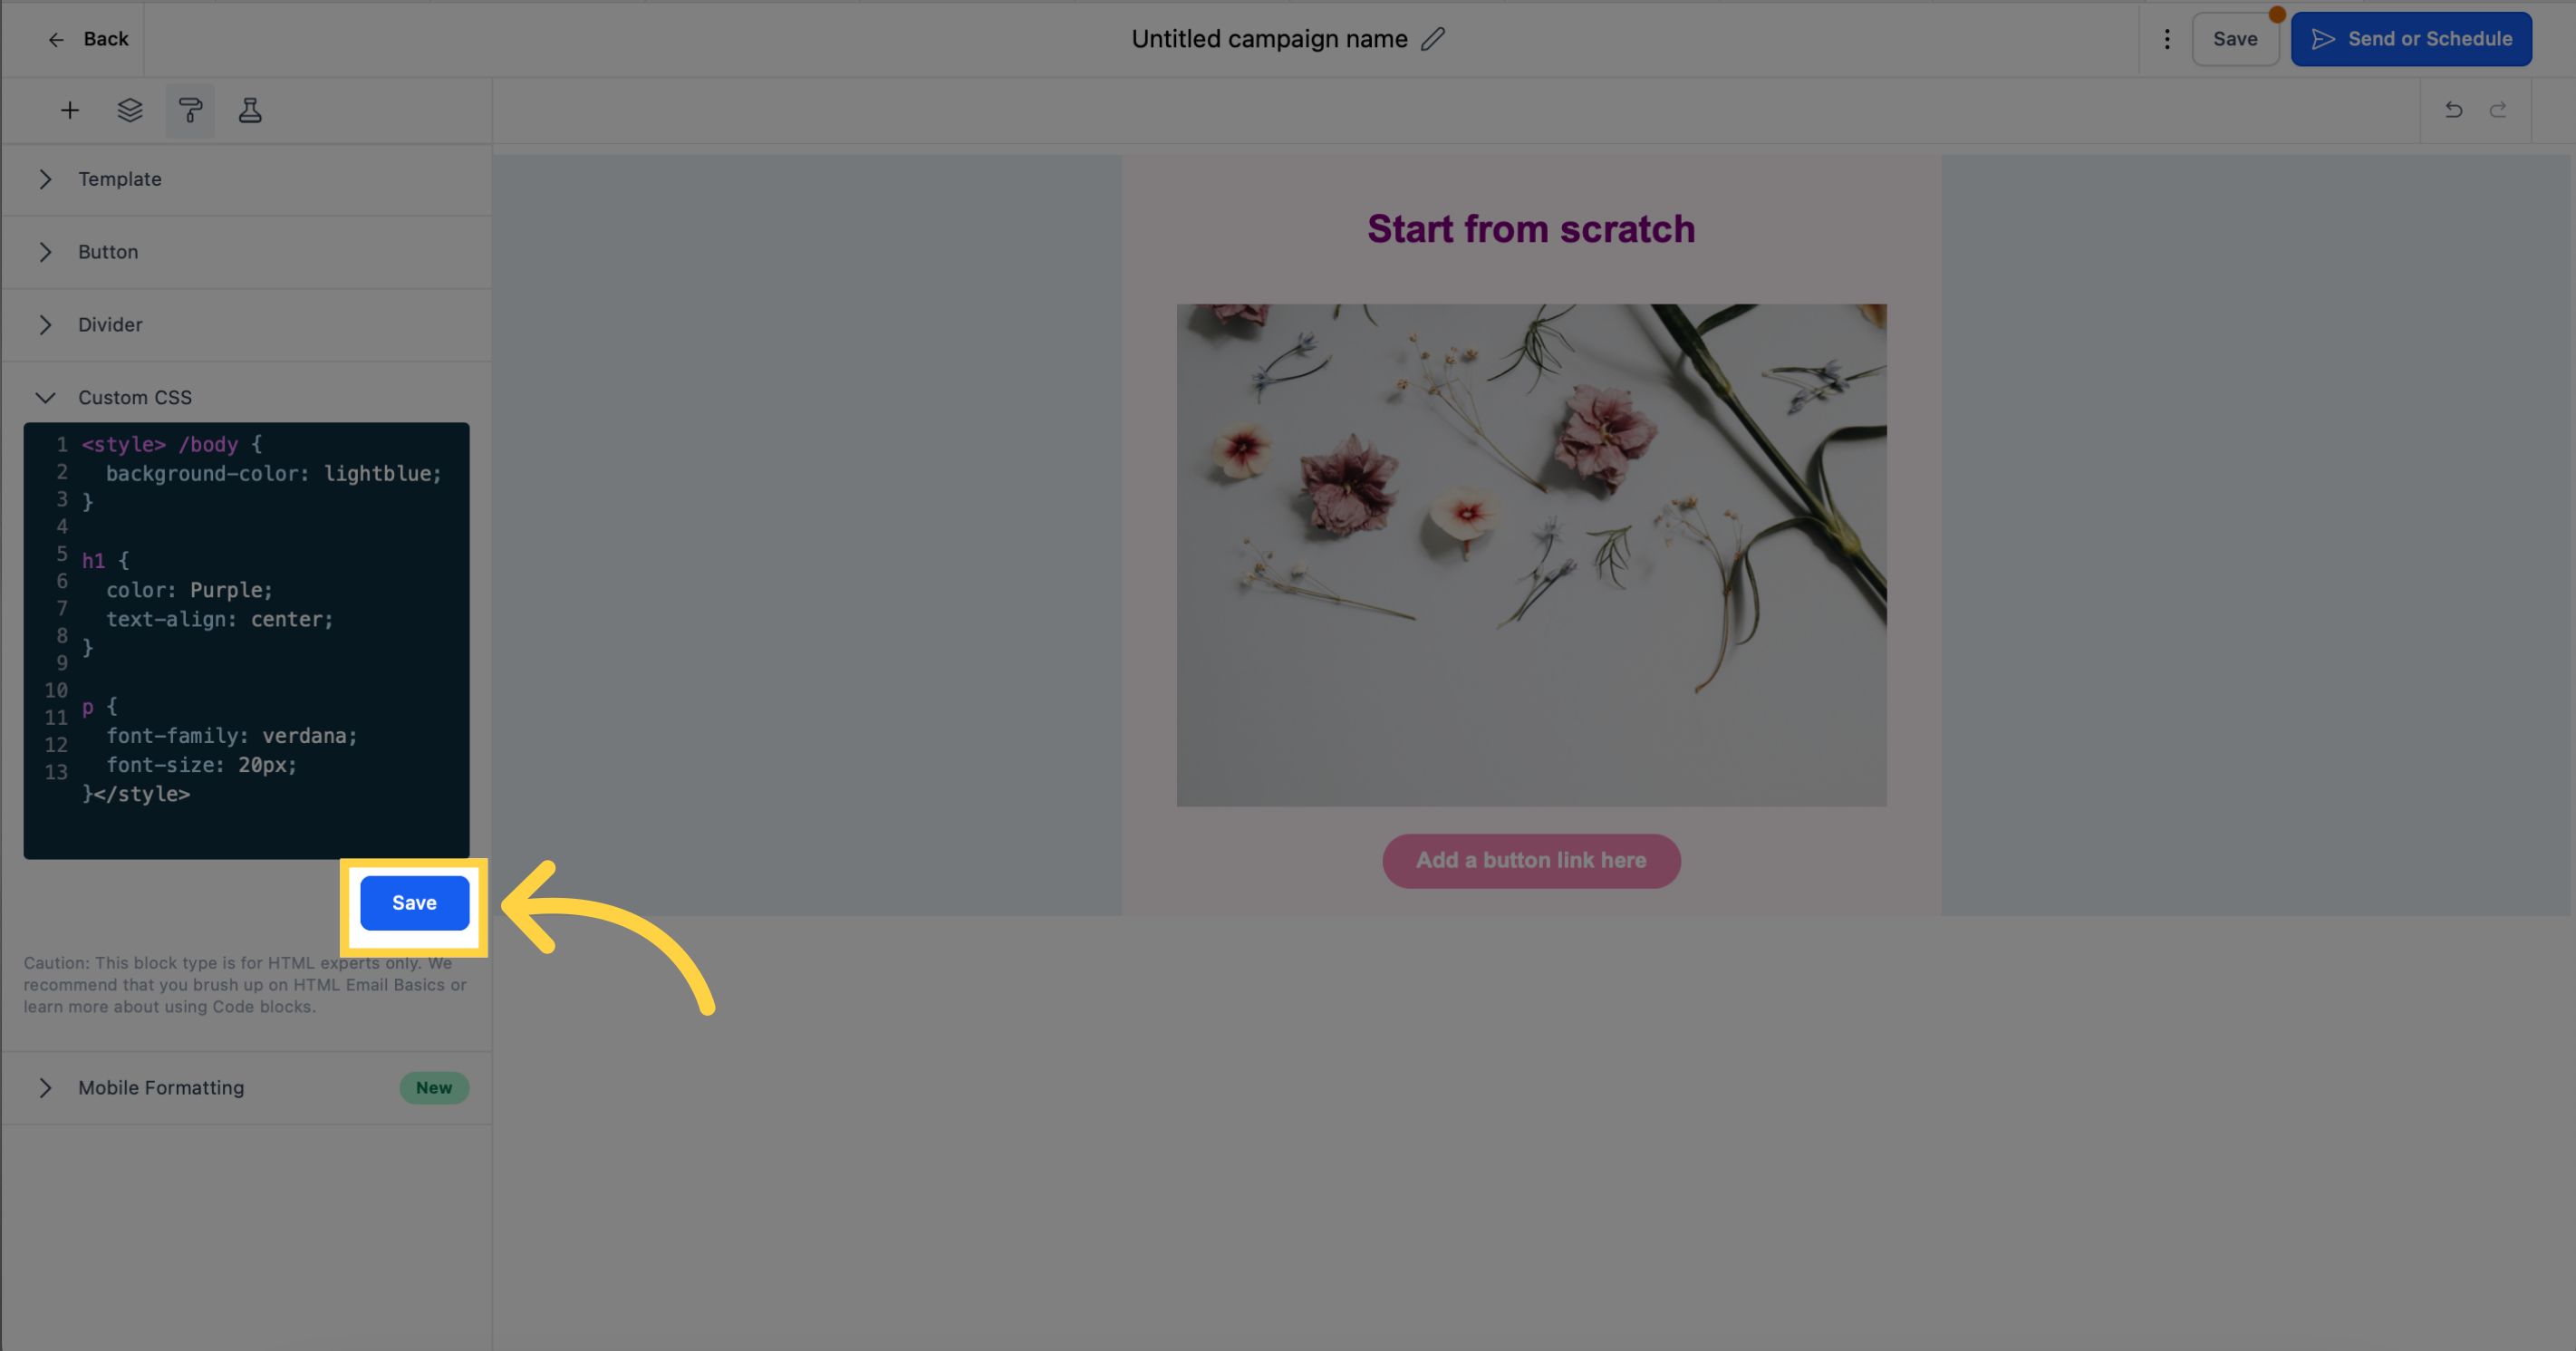
For advanced users with HTML expertise, the Custom CSS option allows you to write your own code and achieve a higher level of customization for your email template. Exercise caution with this feature and utilize it to push the boundaries of your design capabilities.

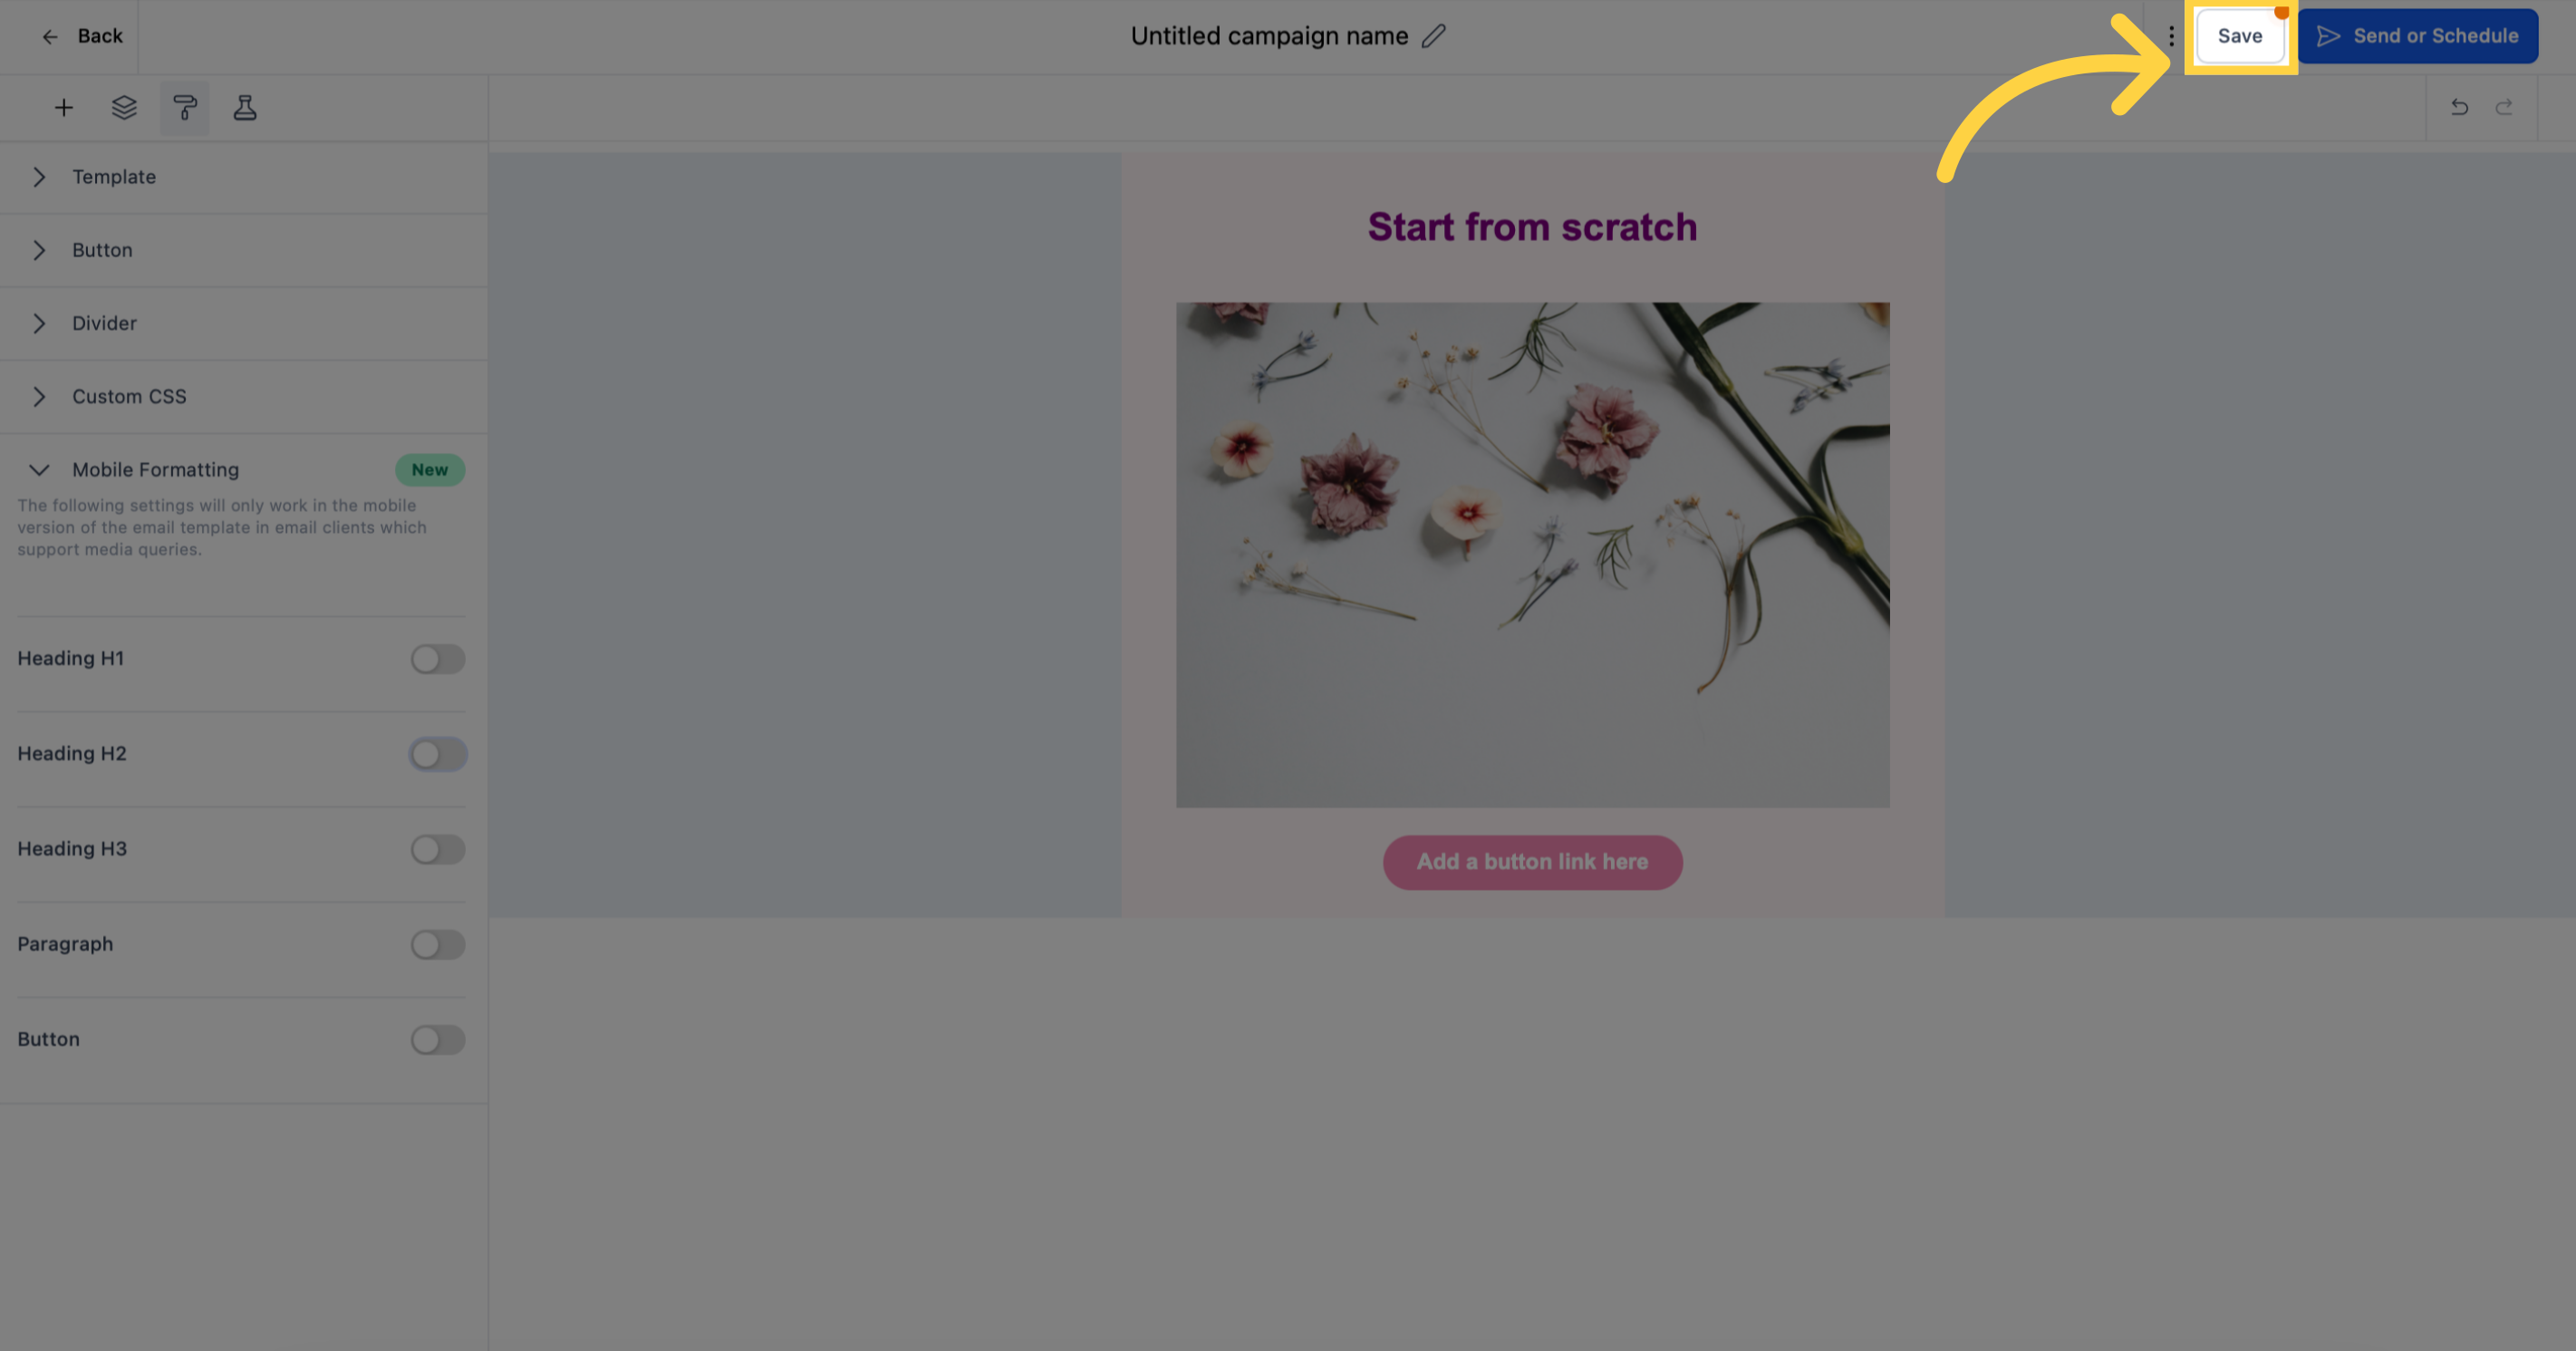
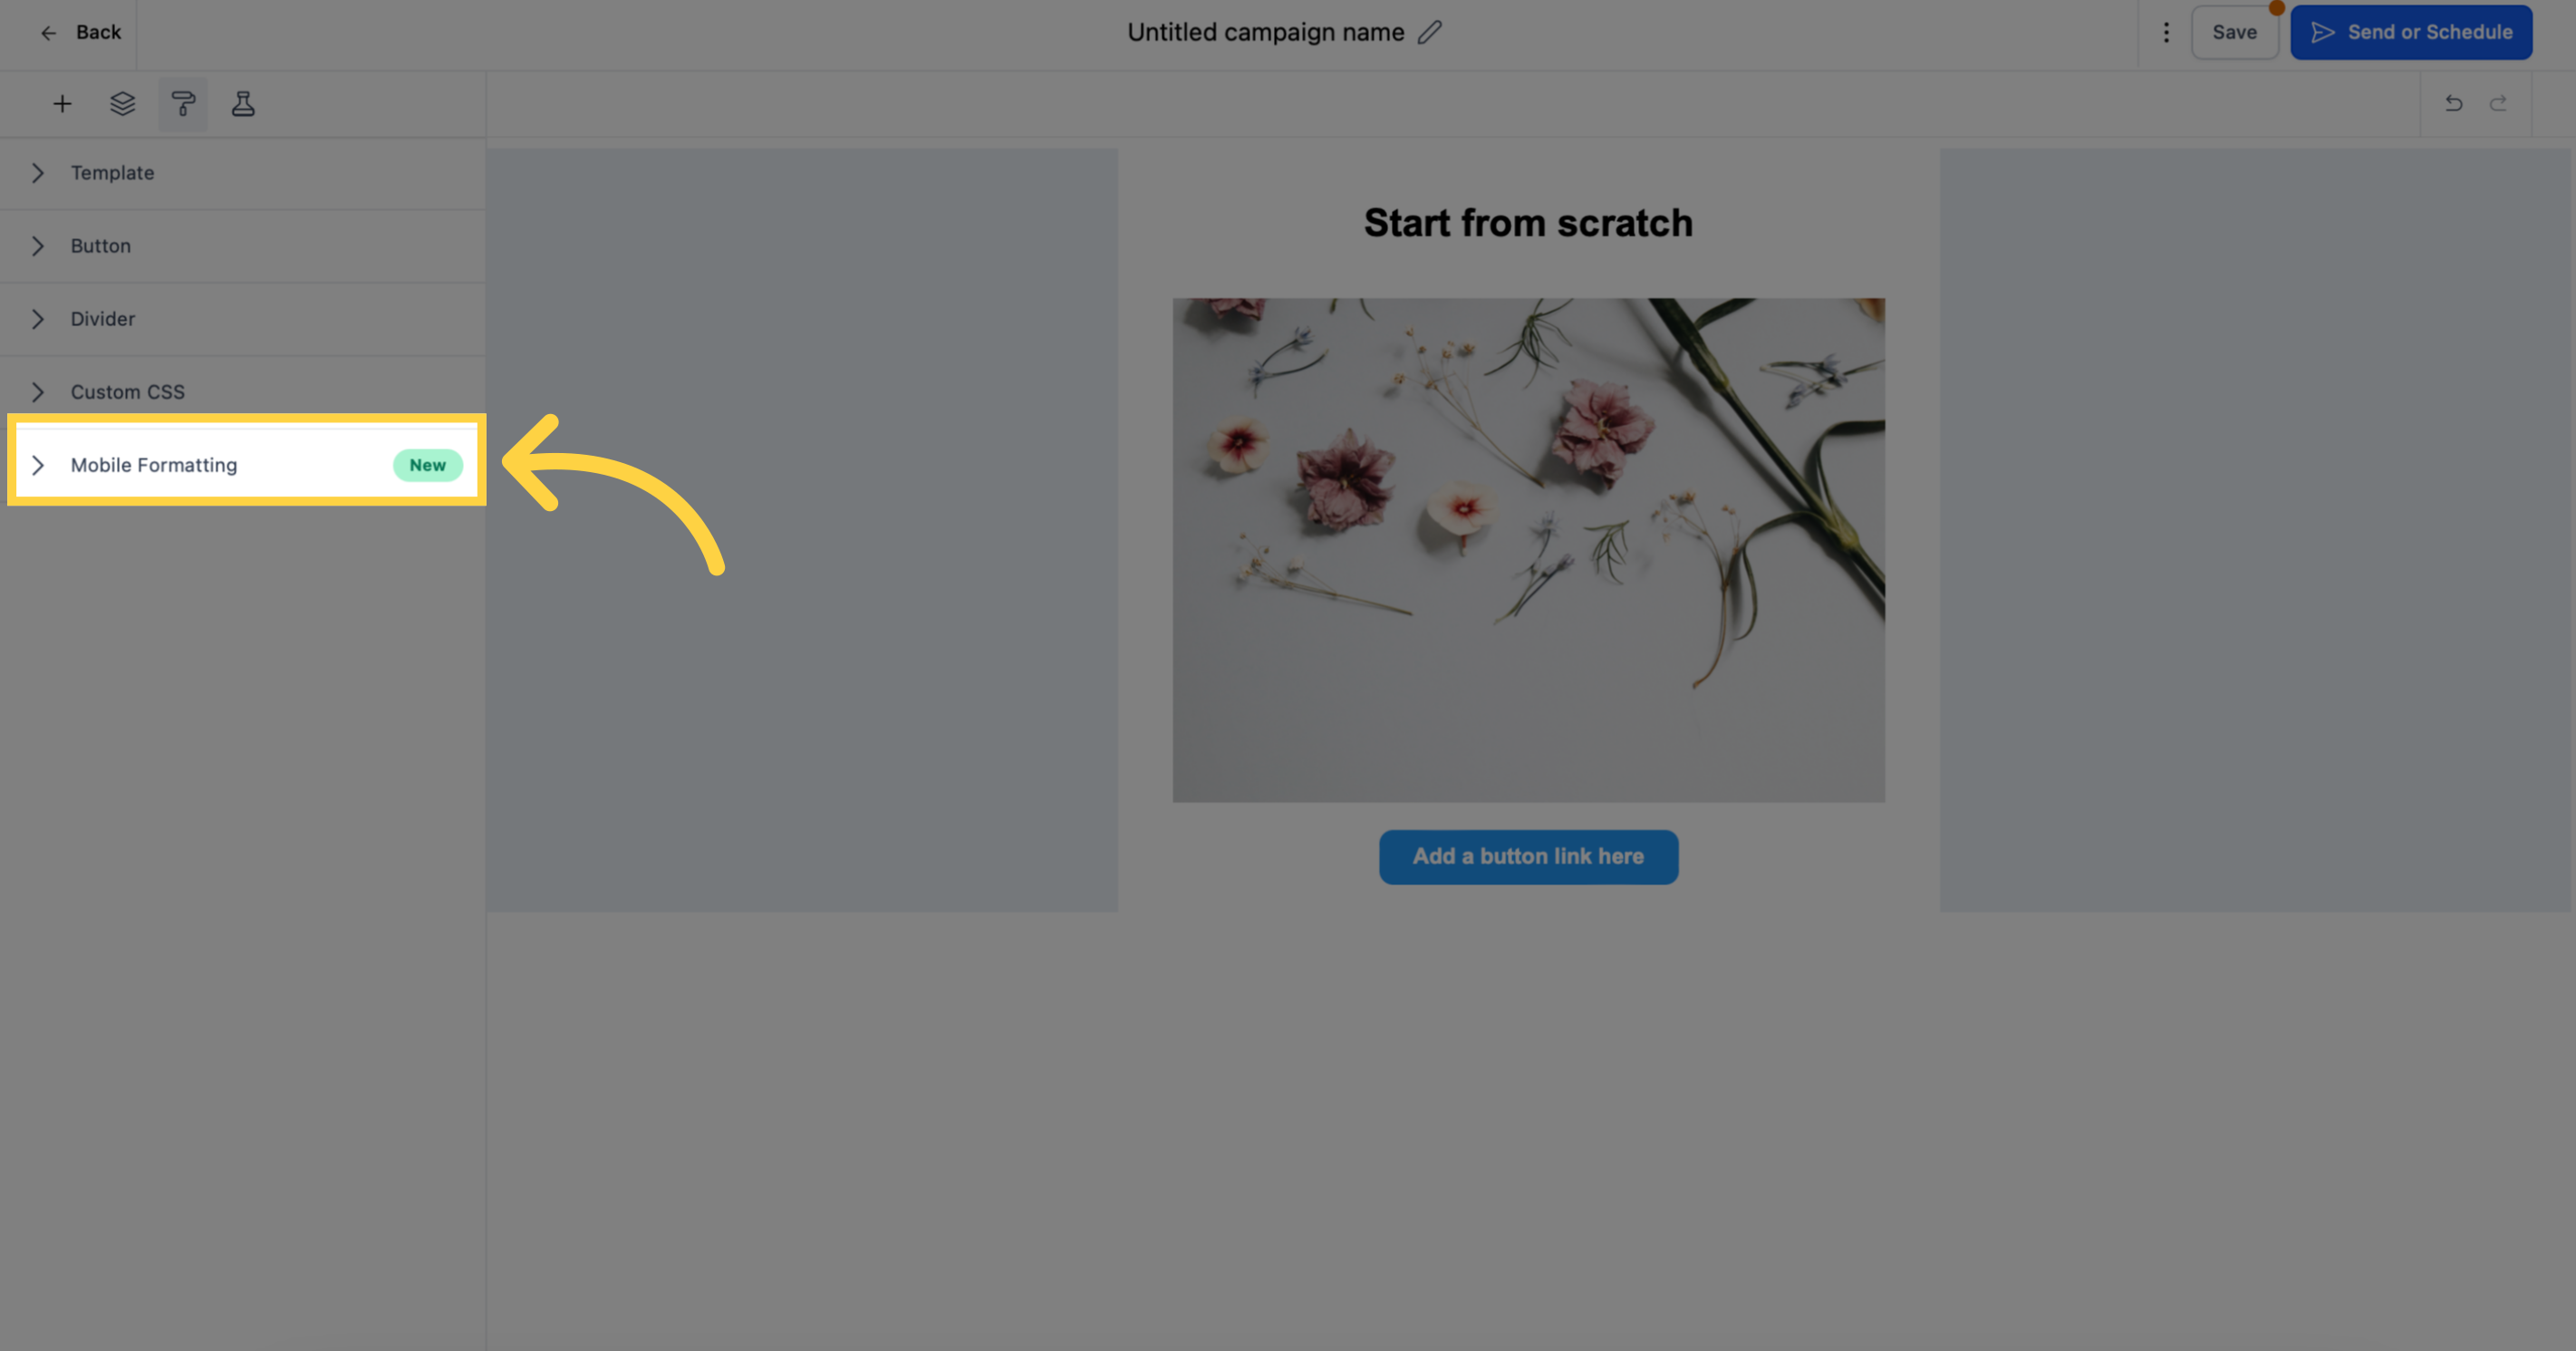
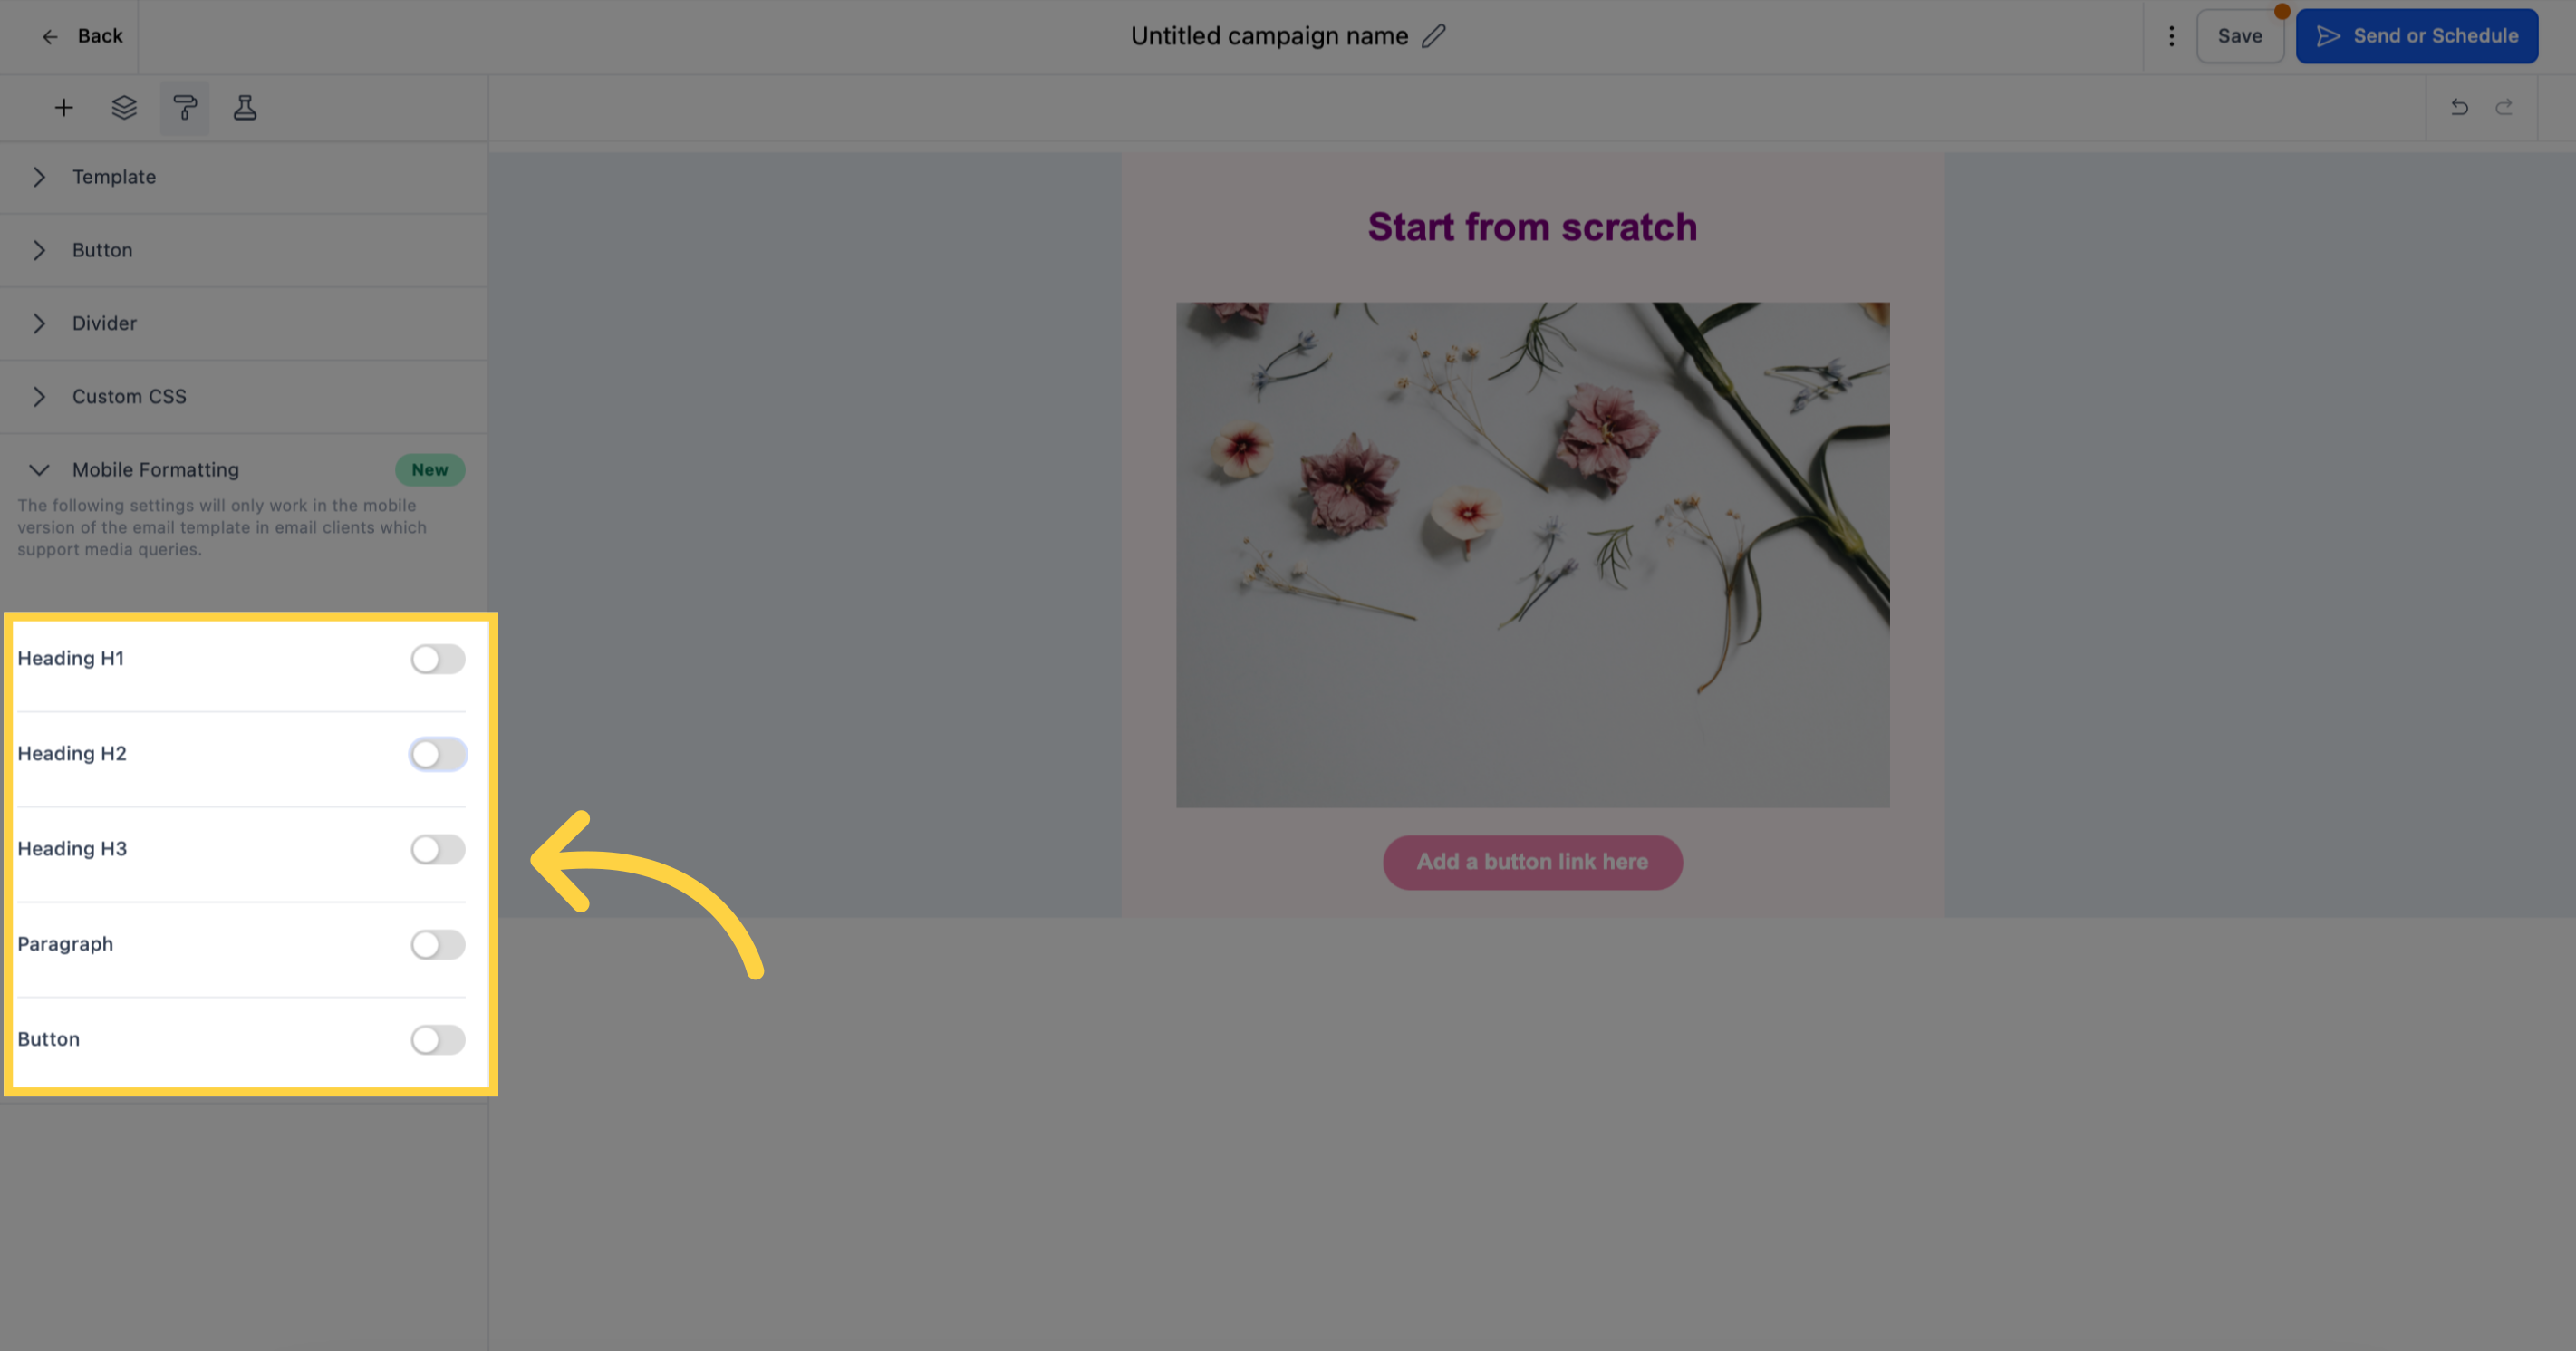
In the Mobile Formatting section, you can style specific elements for the mobile version of your email template. Options include adjusting font size, button styles, and alignment. Enable the toggle for each setting to apply it to mobile formatting. Don't forget to preview the template in mobile view after saving the settings.
By utilizing these features and settings, you can create professional-looking email templates that align with your brand's identity and style. Experiment with different options to find the perfect appearance for your emails.