Email Templates - Text and Image Elements

This article serves as guide on how to insert a text heading, image and description into your email.

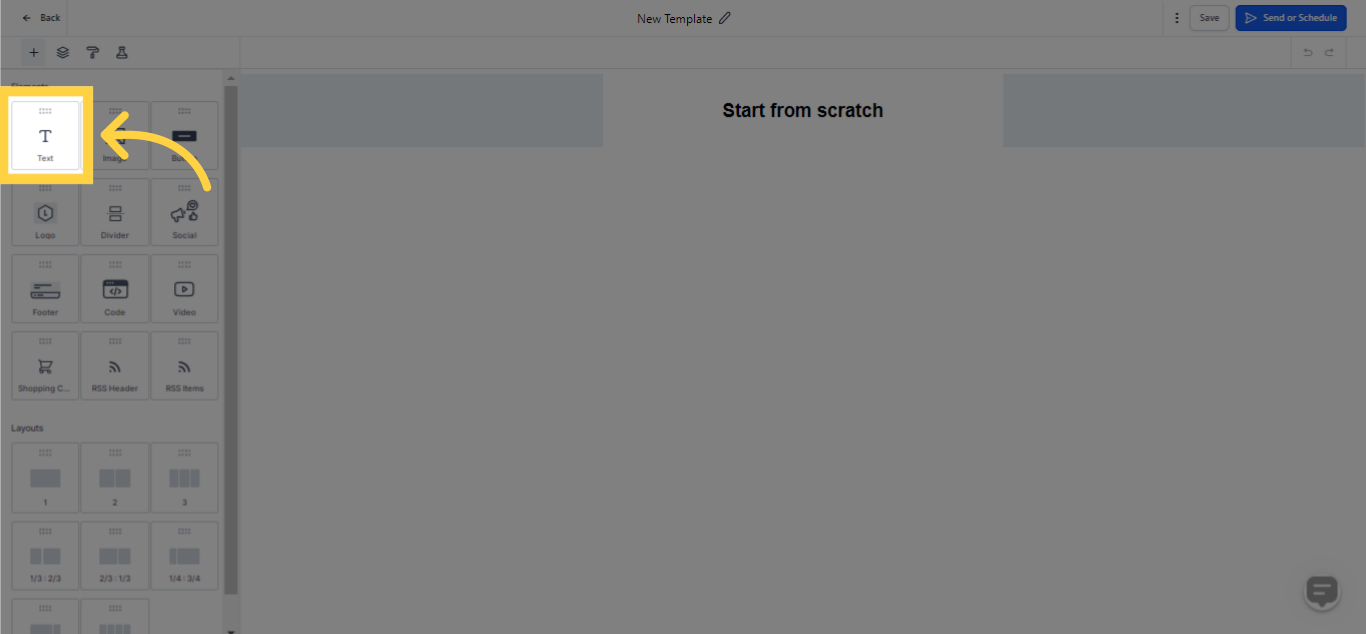
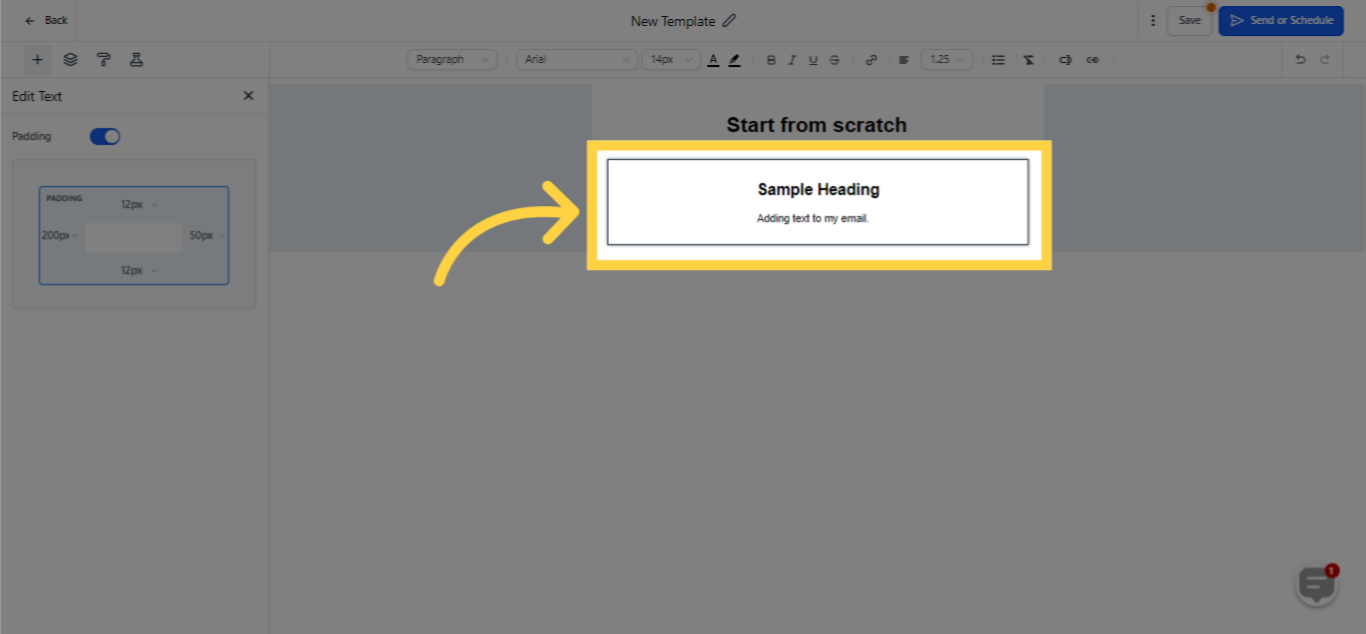
By making use of the Text element feature, you gain the capability to intersperse a text heading and accompanying description within your email. This provides you with a specified area to inscribe all your intended written material for your audience's consumption. Capitalizing this feature effectively allows you to construct captivating and enlightening emails that strike a chord with your recipients and clearly deliver your intended message.

1. Select "Marketing"

Select

2. Select "Email Marketing"

Select

3. Click "Create Campaign"

Click

4. Choose template to edit

Choose template to edit

5. Drag "Text" element inside "Start from Scratch" box

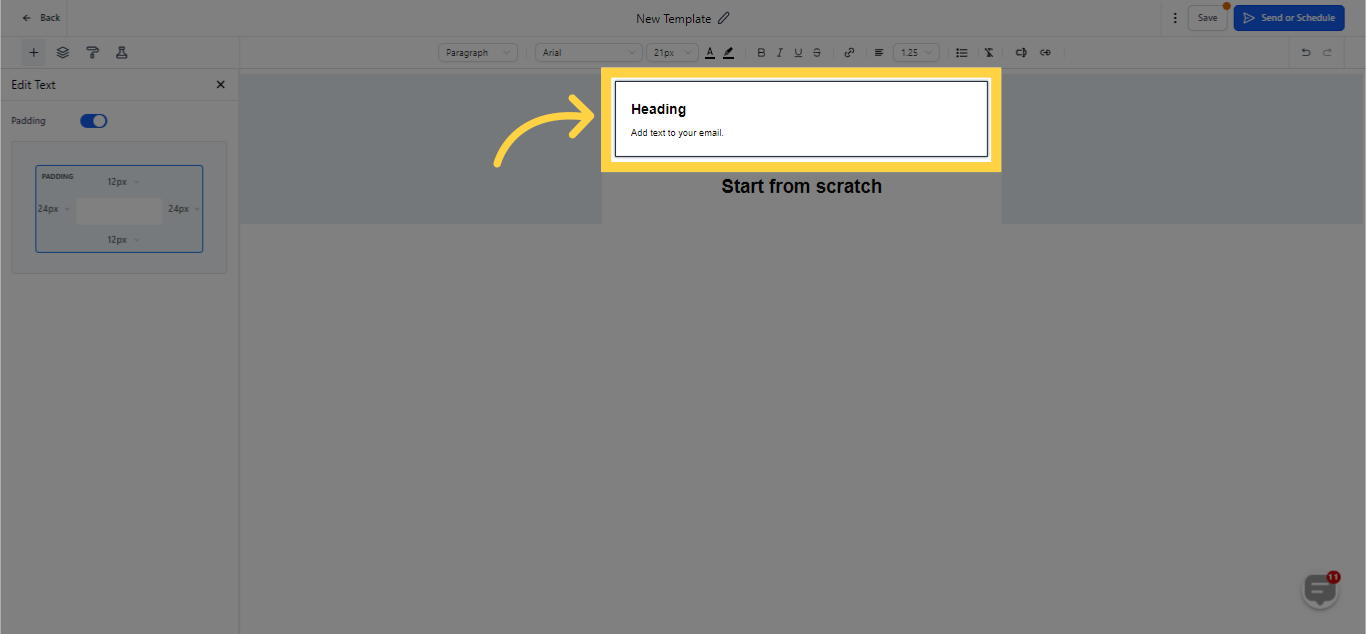
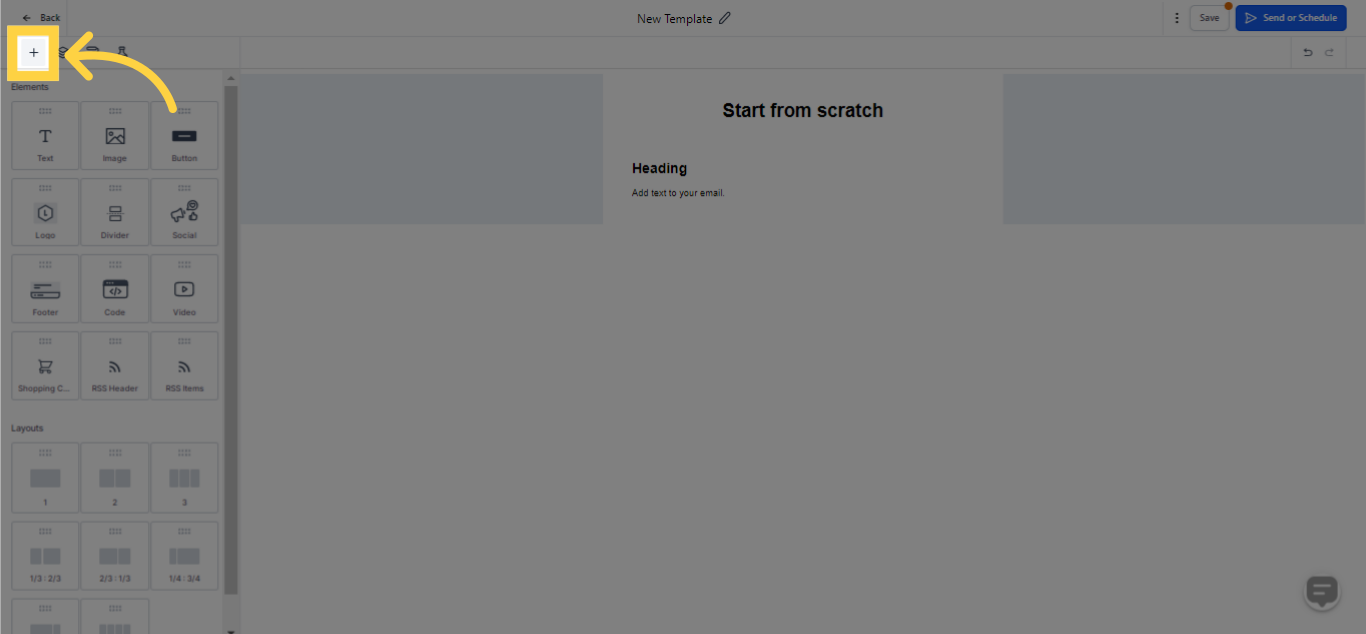
To append the Text element to your email template, just employ a drag and drop operation from the left sidebar into the body of the email. This user-friendly feature simplifies the process of incorporating text into your email, assisting you in acquiring the envisioned aesthetic and appeal.

Drag

6. Provide details in your template

Provide details in your template

7. Sample text added

preview

8. Use these tools to edit the information added below

Use these tools to edit the information added below

9. Click icon to edit text padding

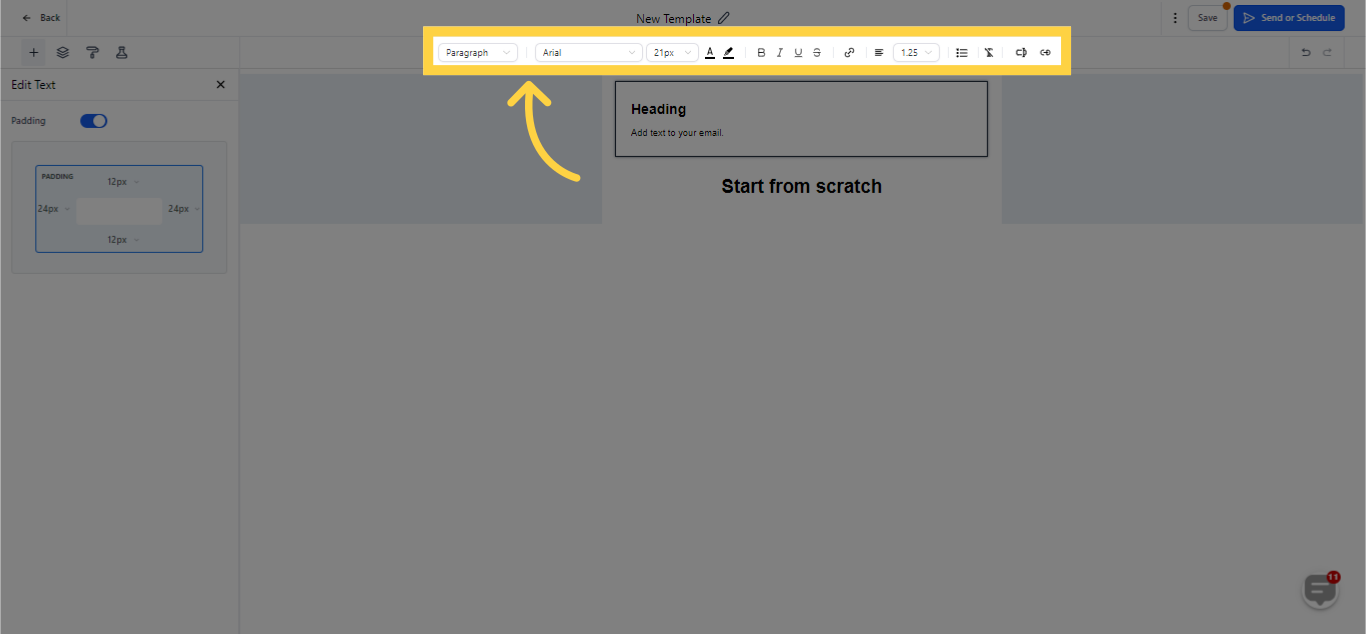
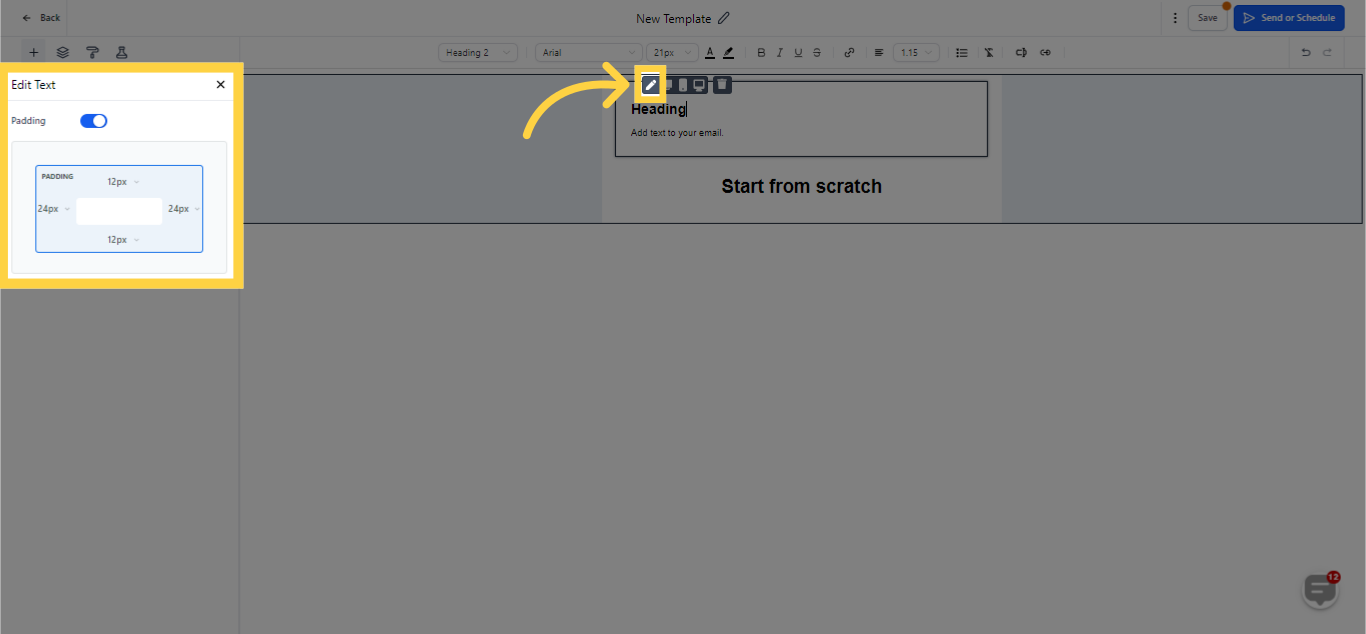
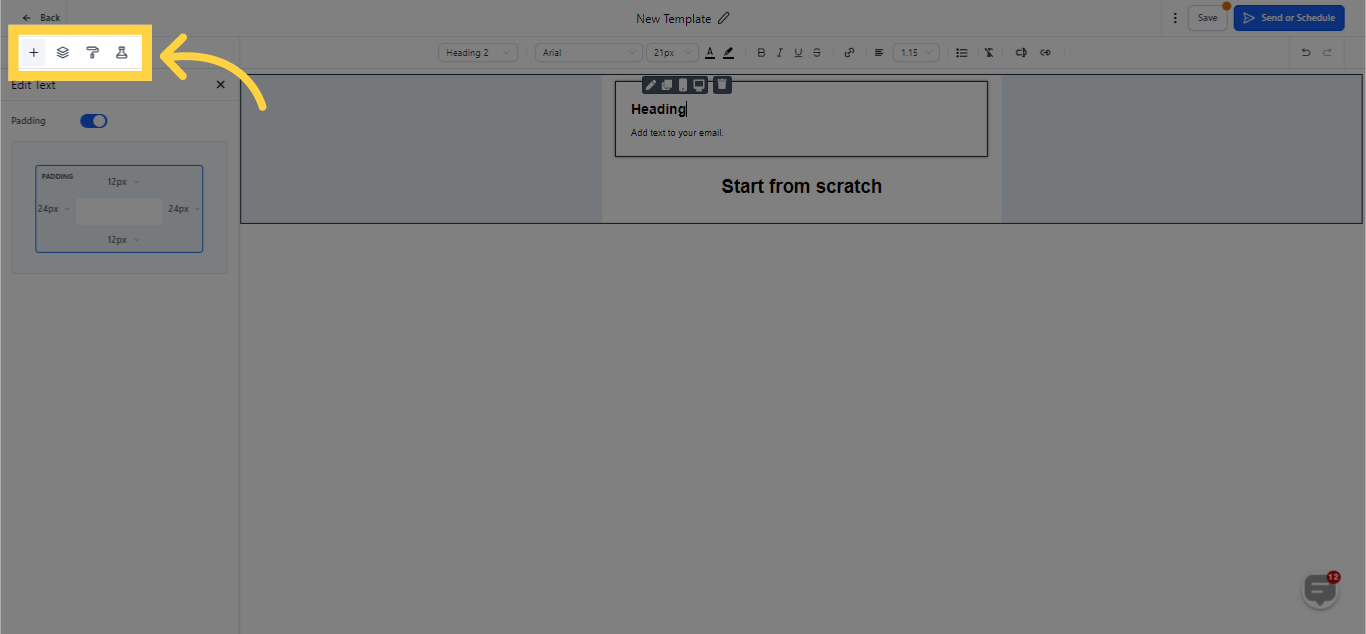
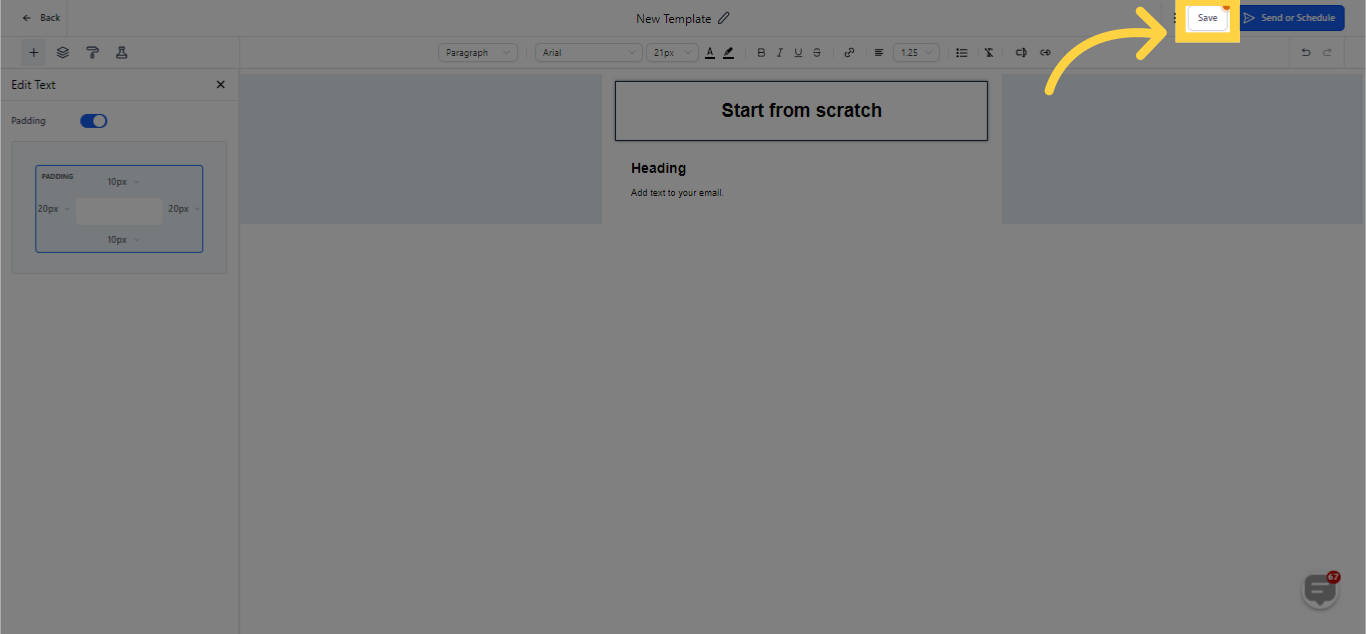
To modify the settings of the Text element within your email template, just click on the pencil icon found within the Text element. This maneuver will display the settings section on the left sidebar, here you can tailor the fonts, alignment, links, headings, and descriptions and fine-tune the padding.

Click icon to edit text padding

10. Made padding adjustments

preview

11. Click here to see more options

Click here to see more options

12. Click icon to add elements

Click icon to add elements

13. List of Elements you want to add

List of Elements you want to add

14. Click Manage Elements icon

Click Manage Elements icon

15. Click Selection

Click Selection

16. Use these options to edit layout

Use these options to edit layout

17. Click Appearance icon

Click Appearance icon

18. Edit Template using these options

Edit Template using these options

19. Use these options to edit button

Use these options to edit button

20. Set template divider

Set template divider

21. Click Custom CSS to insert code

Click Custom CSS to insert code

22. Click Mobile formatting to enable items on the list

Click Mobile formatting to enable items on the list

23. Click A/B Testing Icon

Click A/B Testing Icon

24. See options after enabling A/B Testing

See options after enabling A/B Testing

25. Other options to set after enabling A/B Testing

Other options to set after enabling A/B Testing

26. Click Save once done

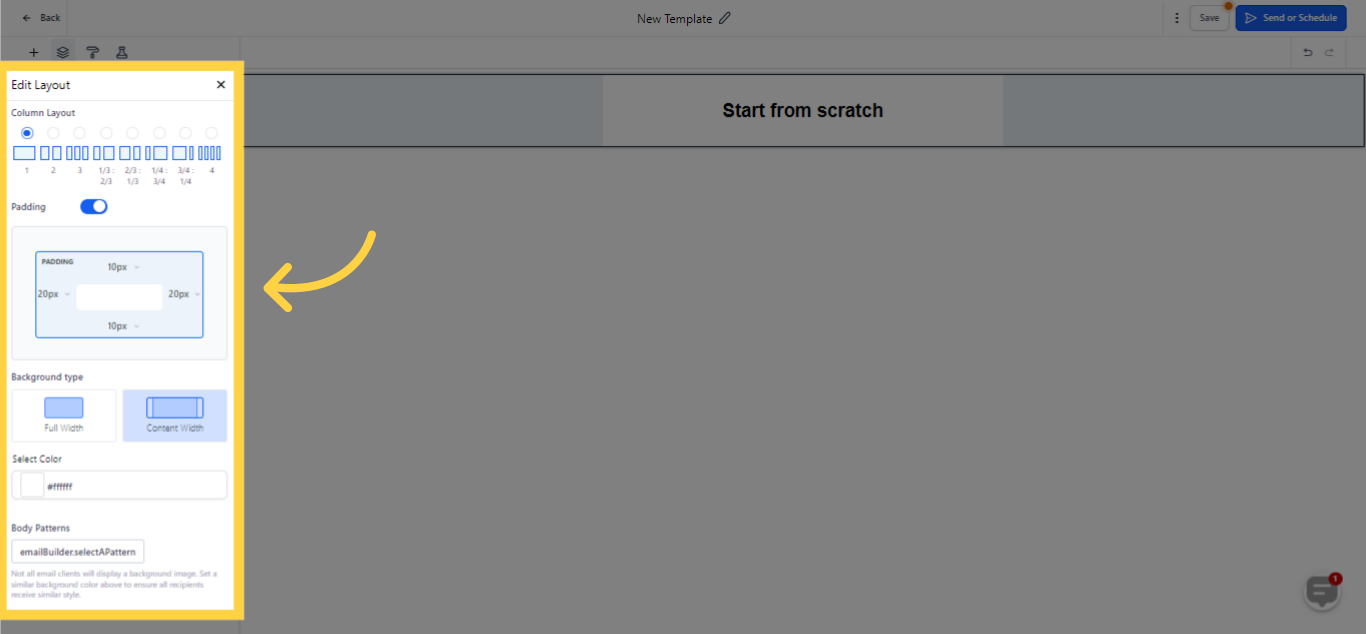
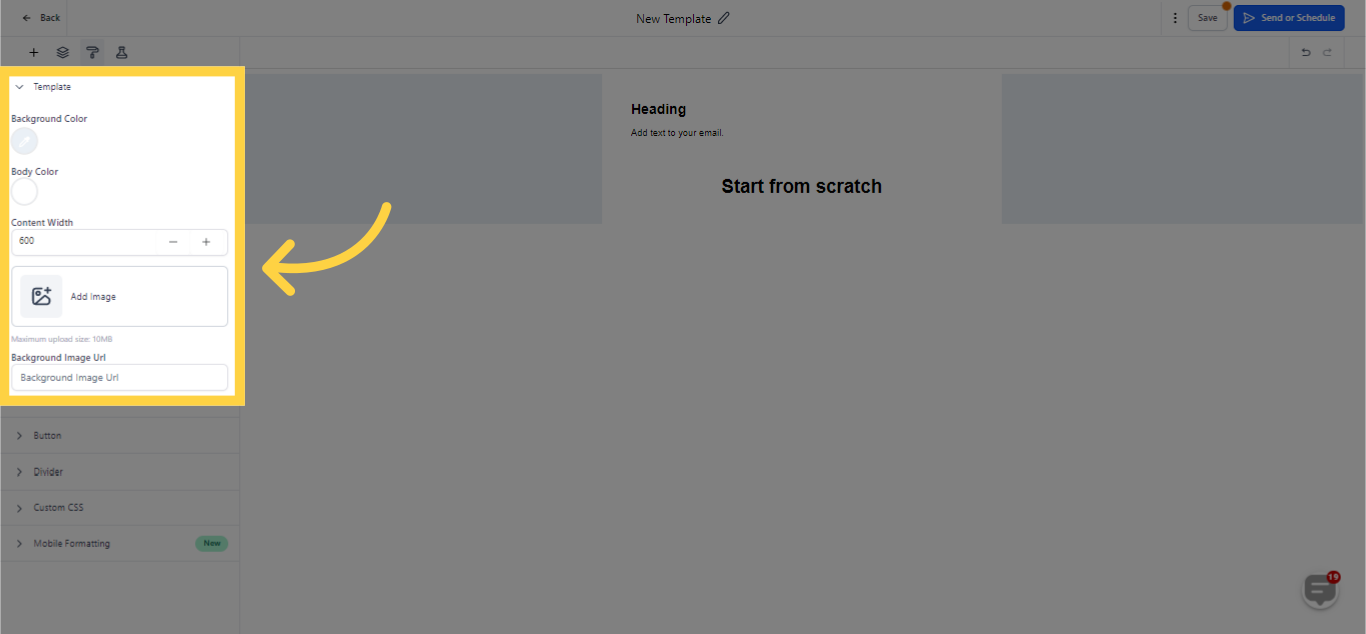
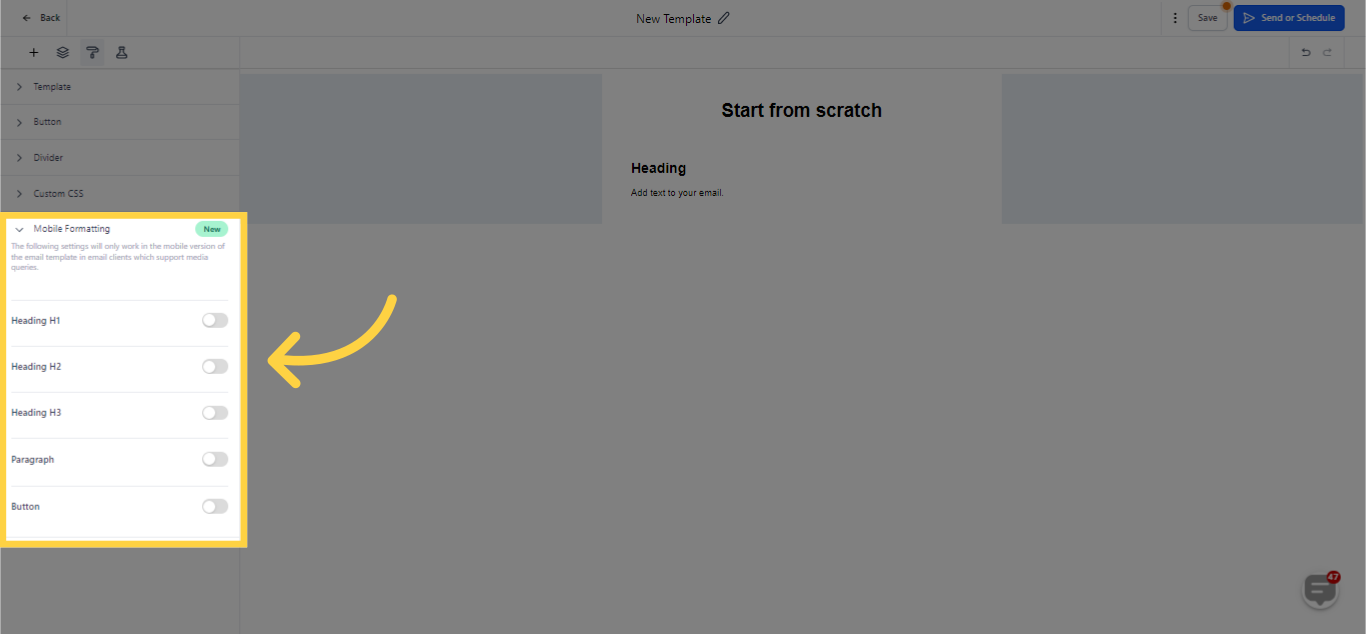
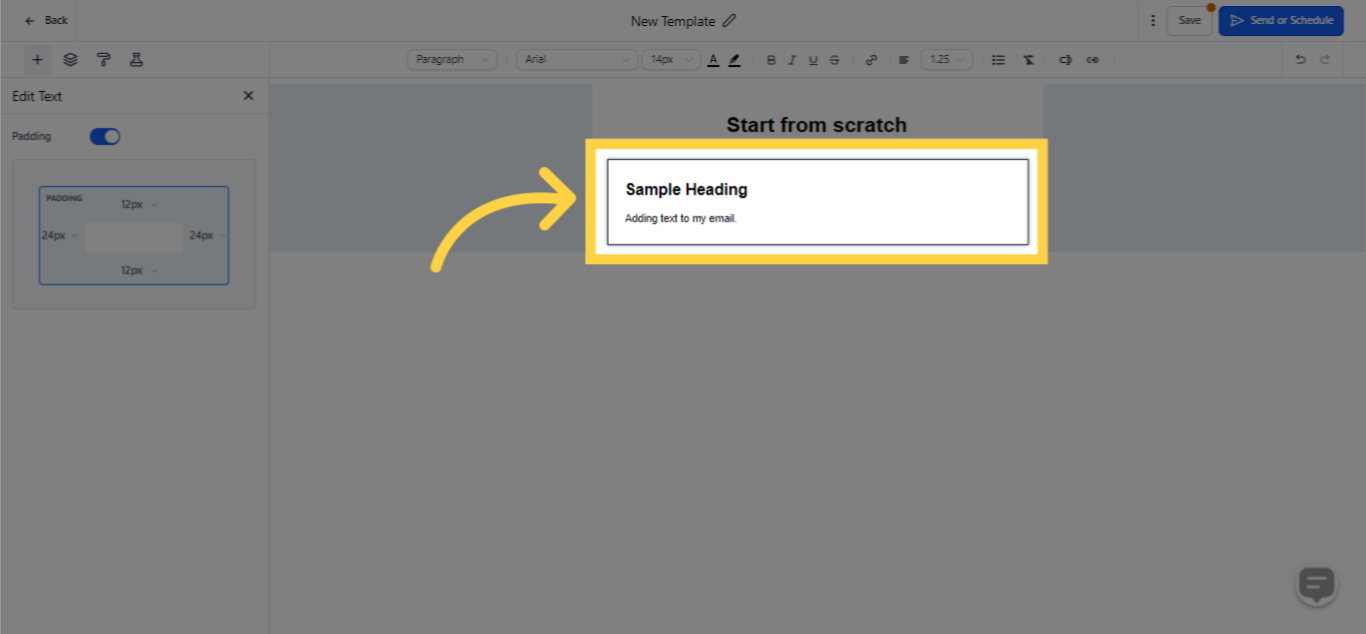
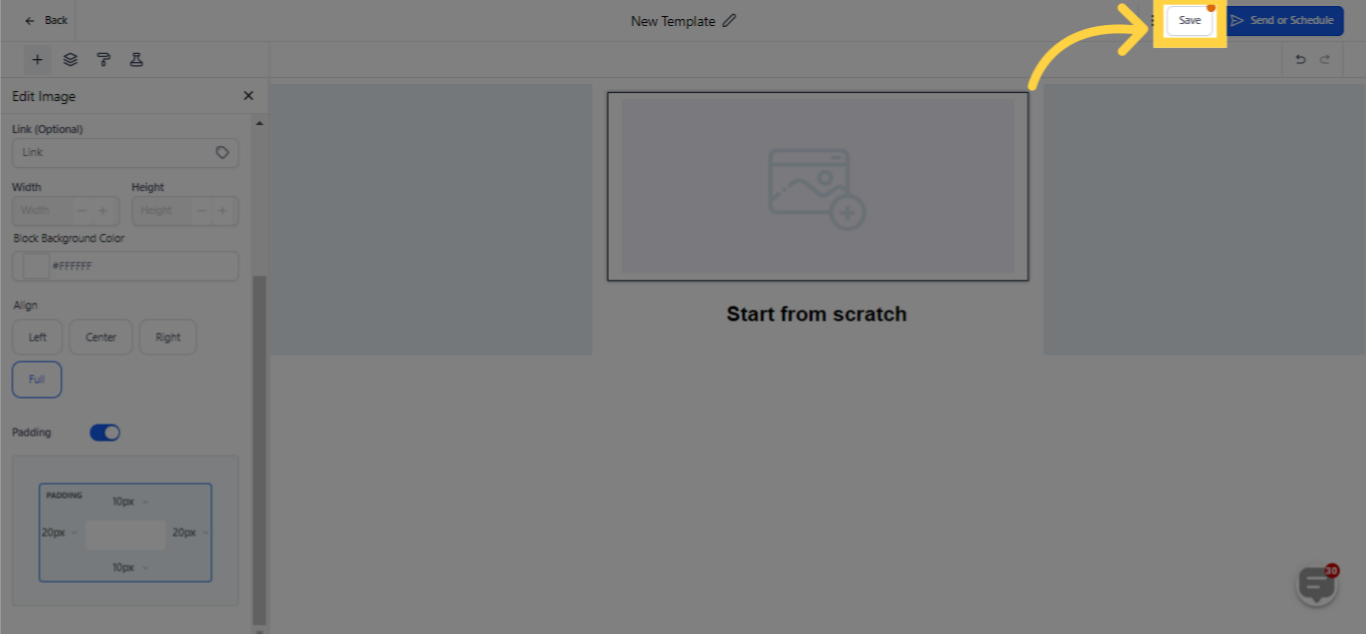
After the desired adjustments, click on 'Done' to preserve your tweaks and proceed with editing your email template. This functionality bestows more control over the presentation and substance of your email, aiding you in attaining the sought-after appeal and tone.

Click Save once done

27. Drag "Image" element inside "Start from Scratch" box

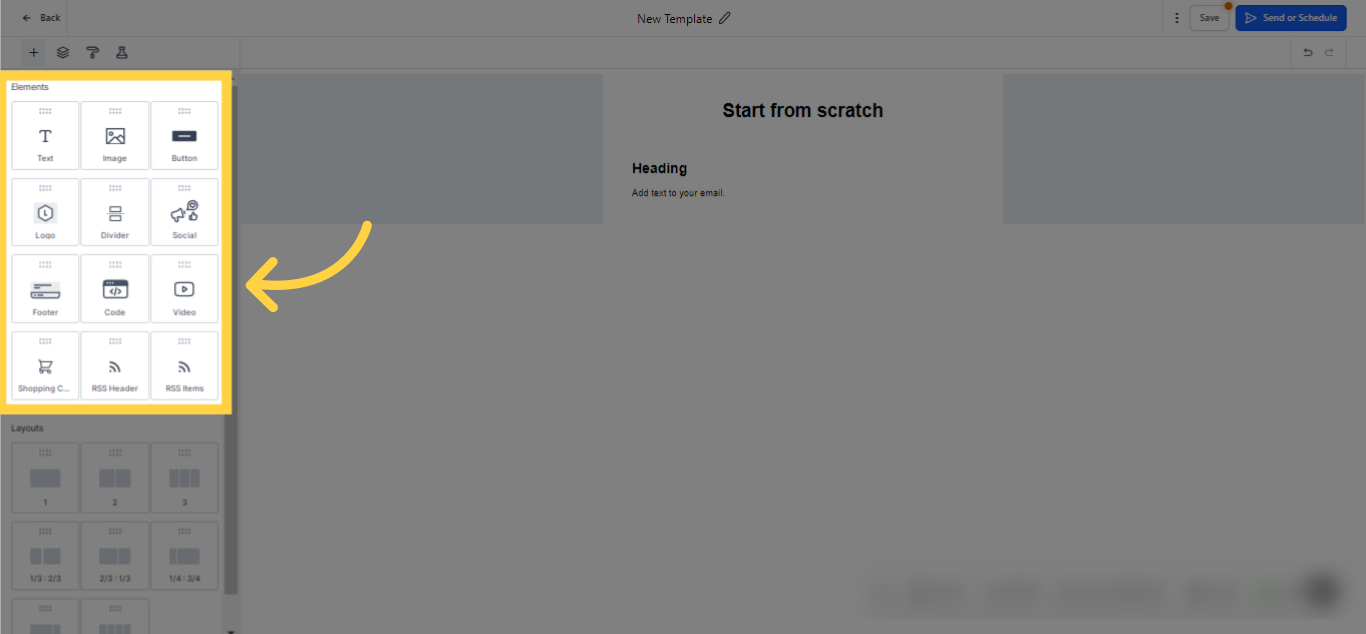
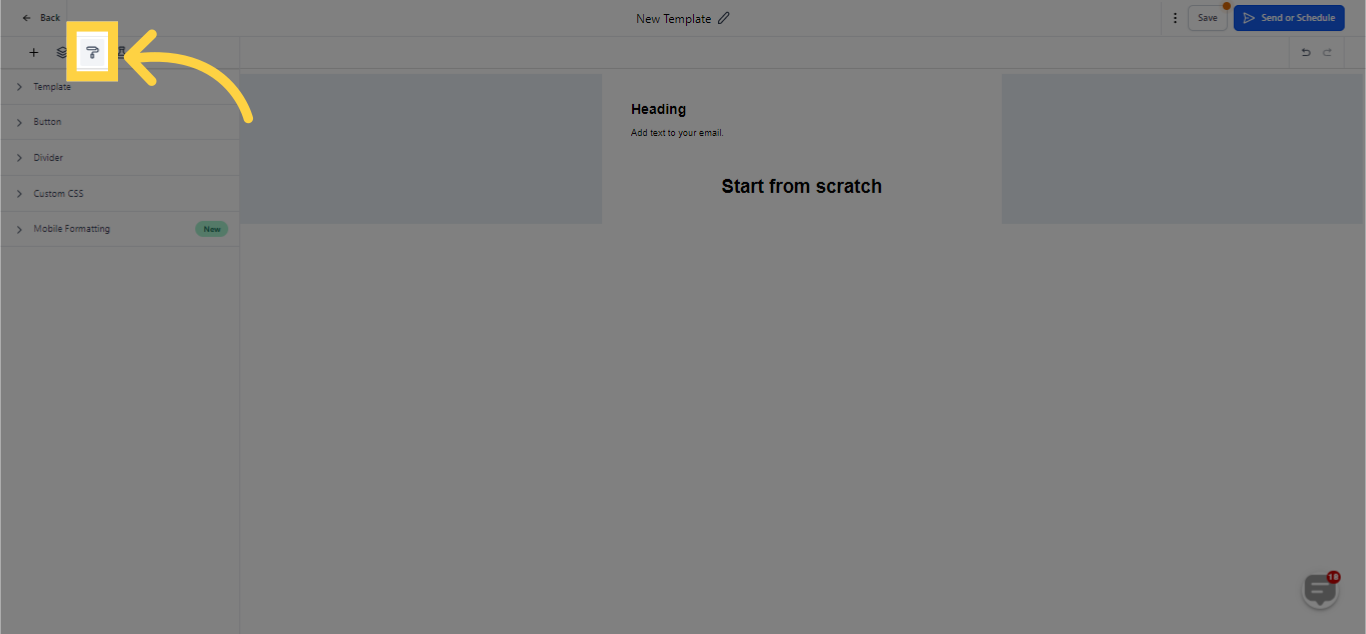
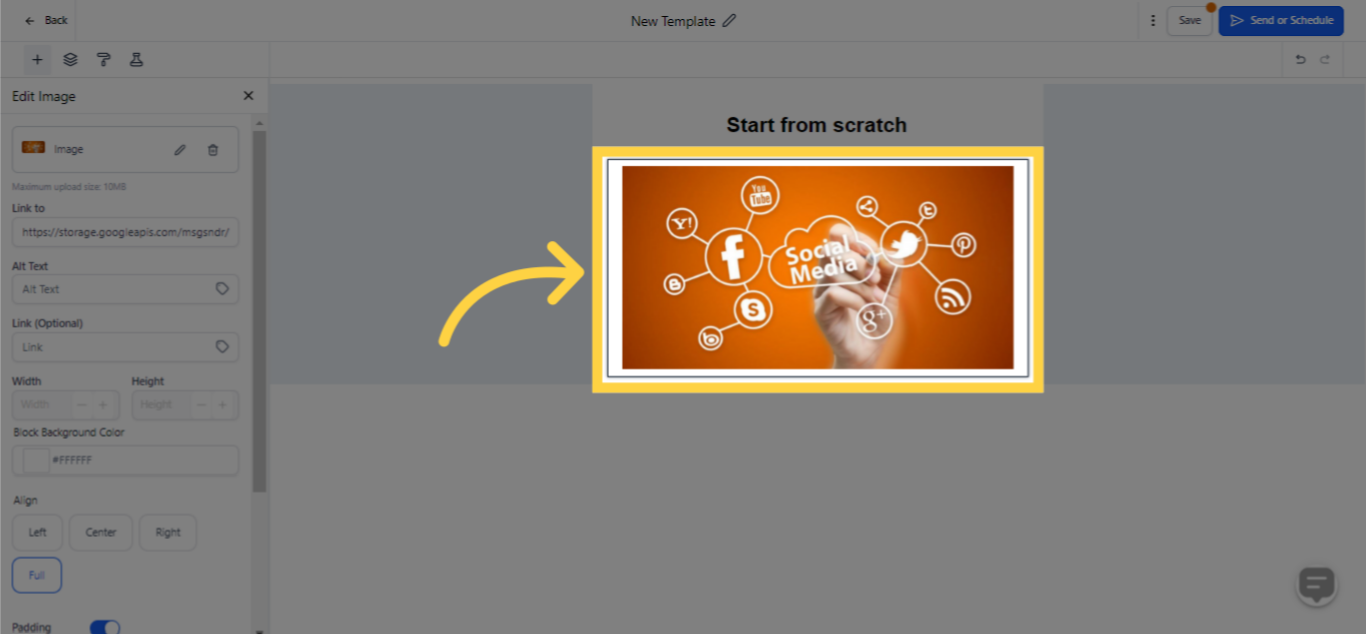
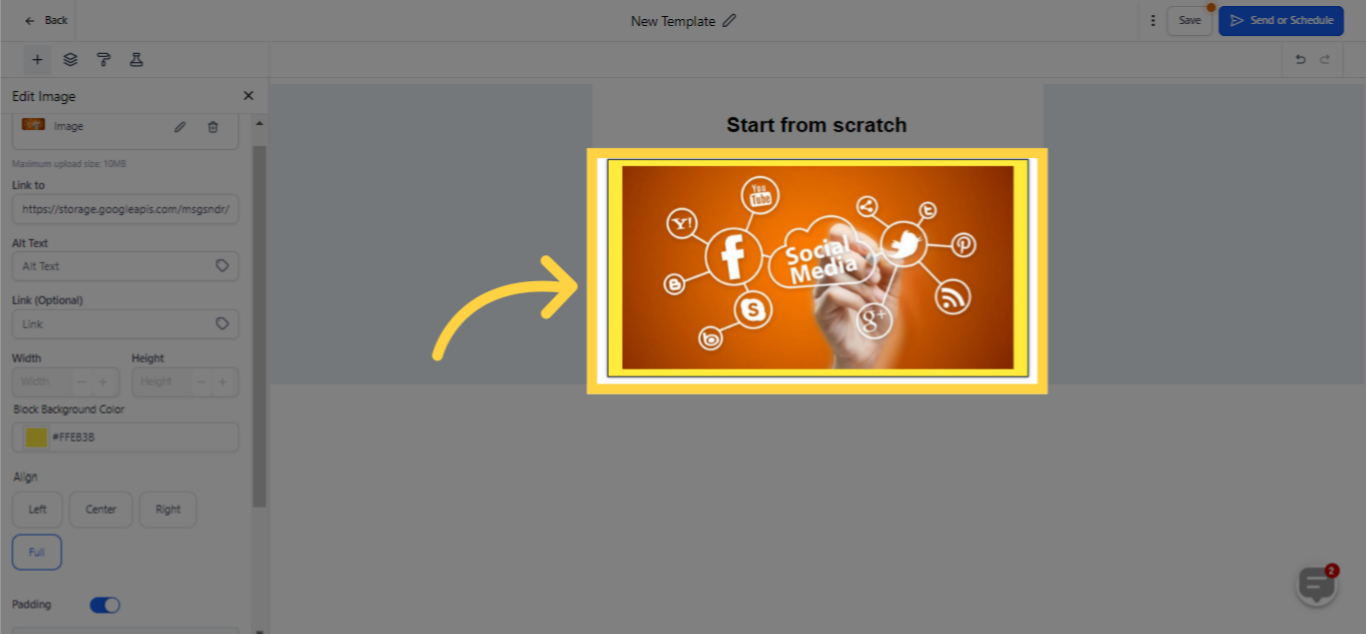
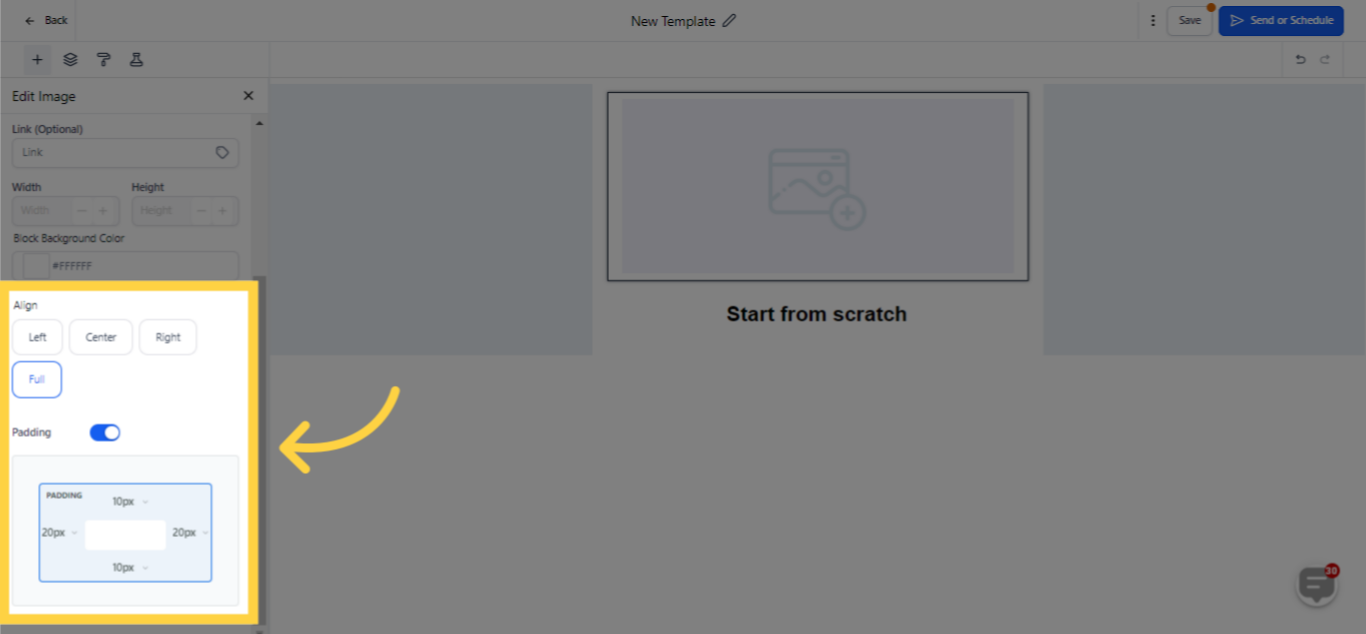
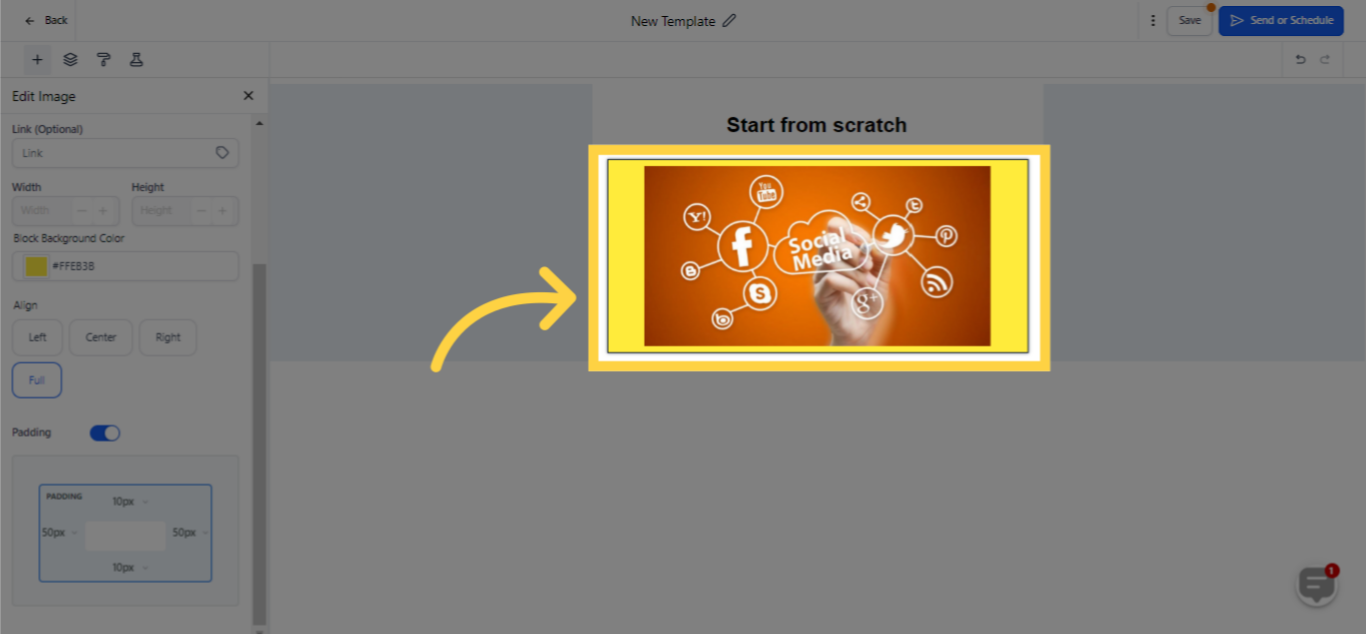
The Image element facilitates the incorporation of pictures into your email, enhancing its visual interest and engagement levels. Achieving this is straightforward - merely drag and drop the Image element found on the left sidebar into your email template's body. This user-friendly functionality enables the rapid addition of images, assisting you in designing polished emails remarkably quickly.

preview

28. Click here to edit image

Just like the Text element, the Image element's settings can be effortlessly tailored to seamlessly blend into your email template. These customizable features encompass personal photos, image URLs, alternative text, height and width modifications, and cell padding adjustments. Given these diverse editing capabilities, crafting a visually impactful email that connects with your audience is simpler than ever.

preview

29. Choose image to display from the folders

preview

30. Sample added image

preview

31. Use these options to edit image

preview

32. Added background color

preview

33. Use these options to edit alignment and padding

preview

34. Made padding adjustments

preview

35. Click "Save" once done

preview
Did this answer your question?
😞
😐
😁