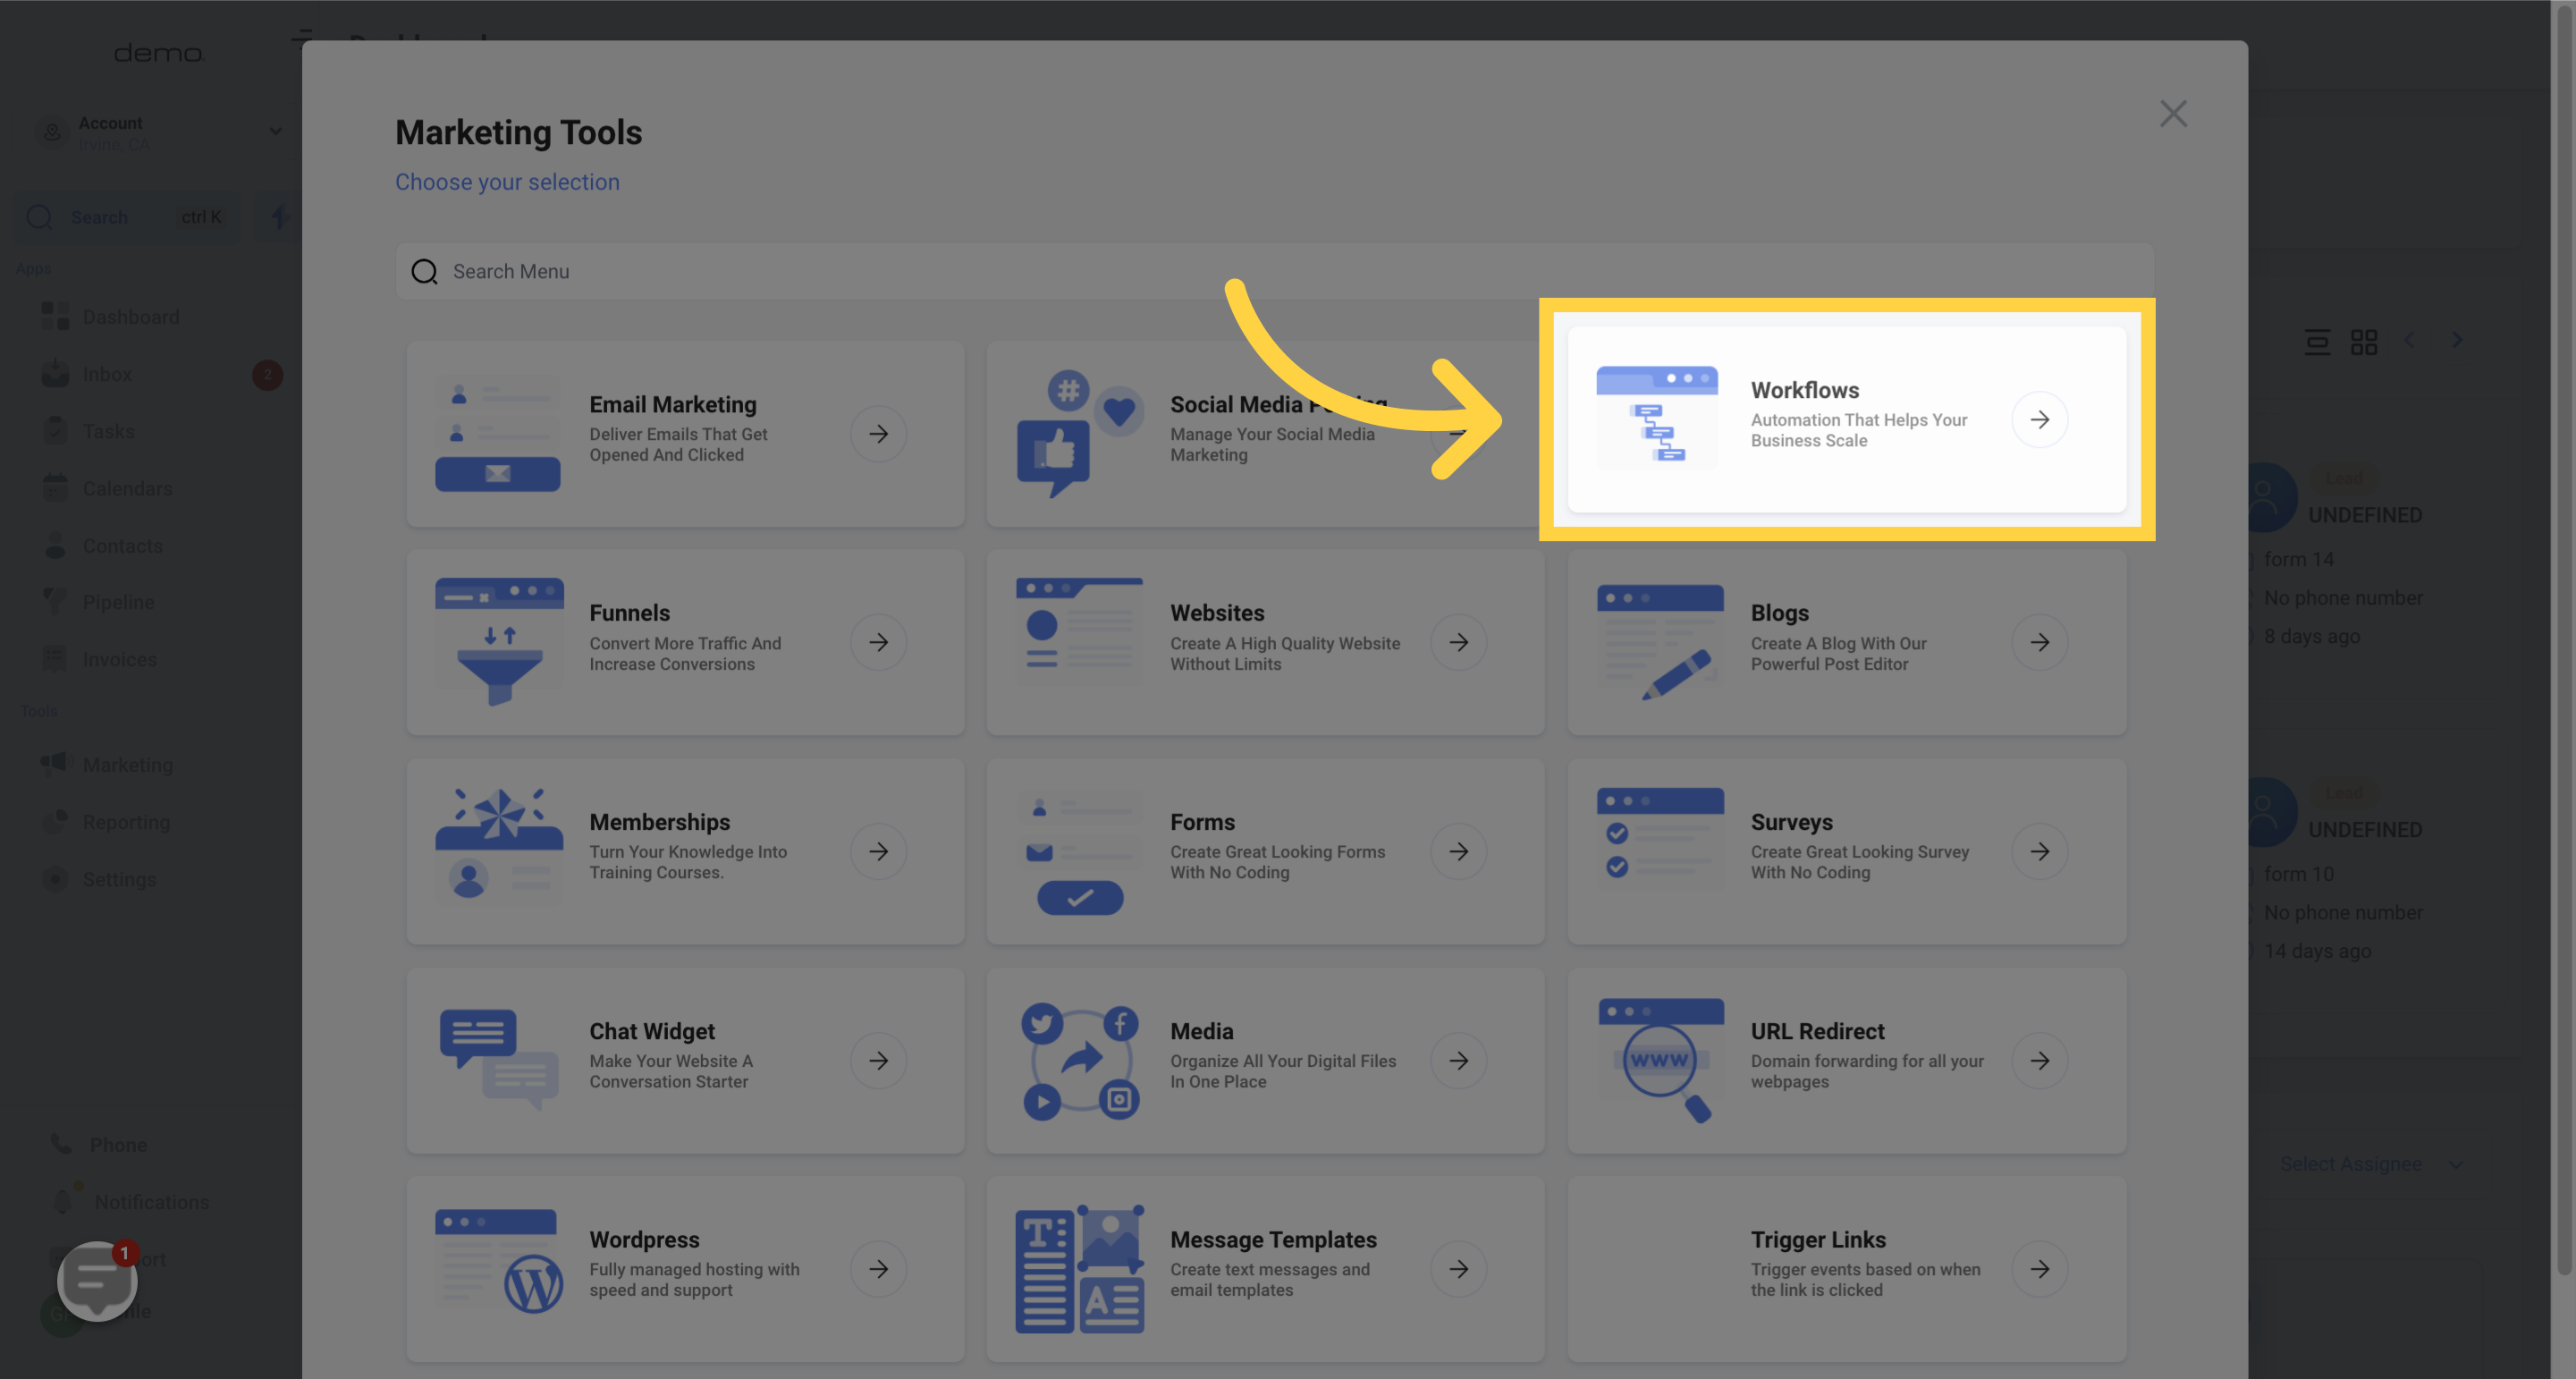
Are you looking for a more engaging and concise way to explain how to use the Workflow Folders feature? Organizing your workflows can greatly enhance your productivity. With the Workflow Folders feature, you can easily categorize and manage your workflows. Here's a step-by-step guide on how to utilize this feature effectively:

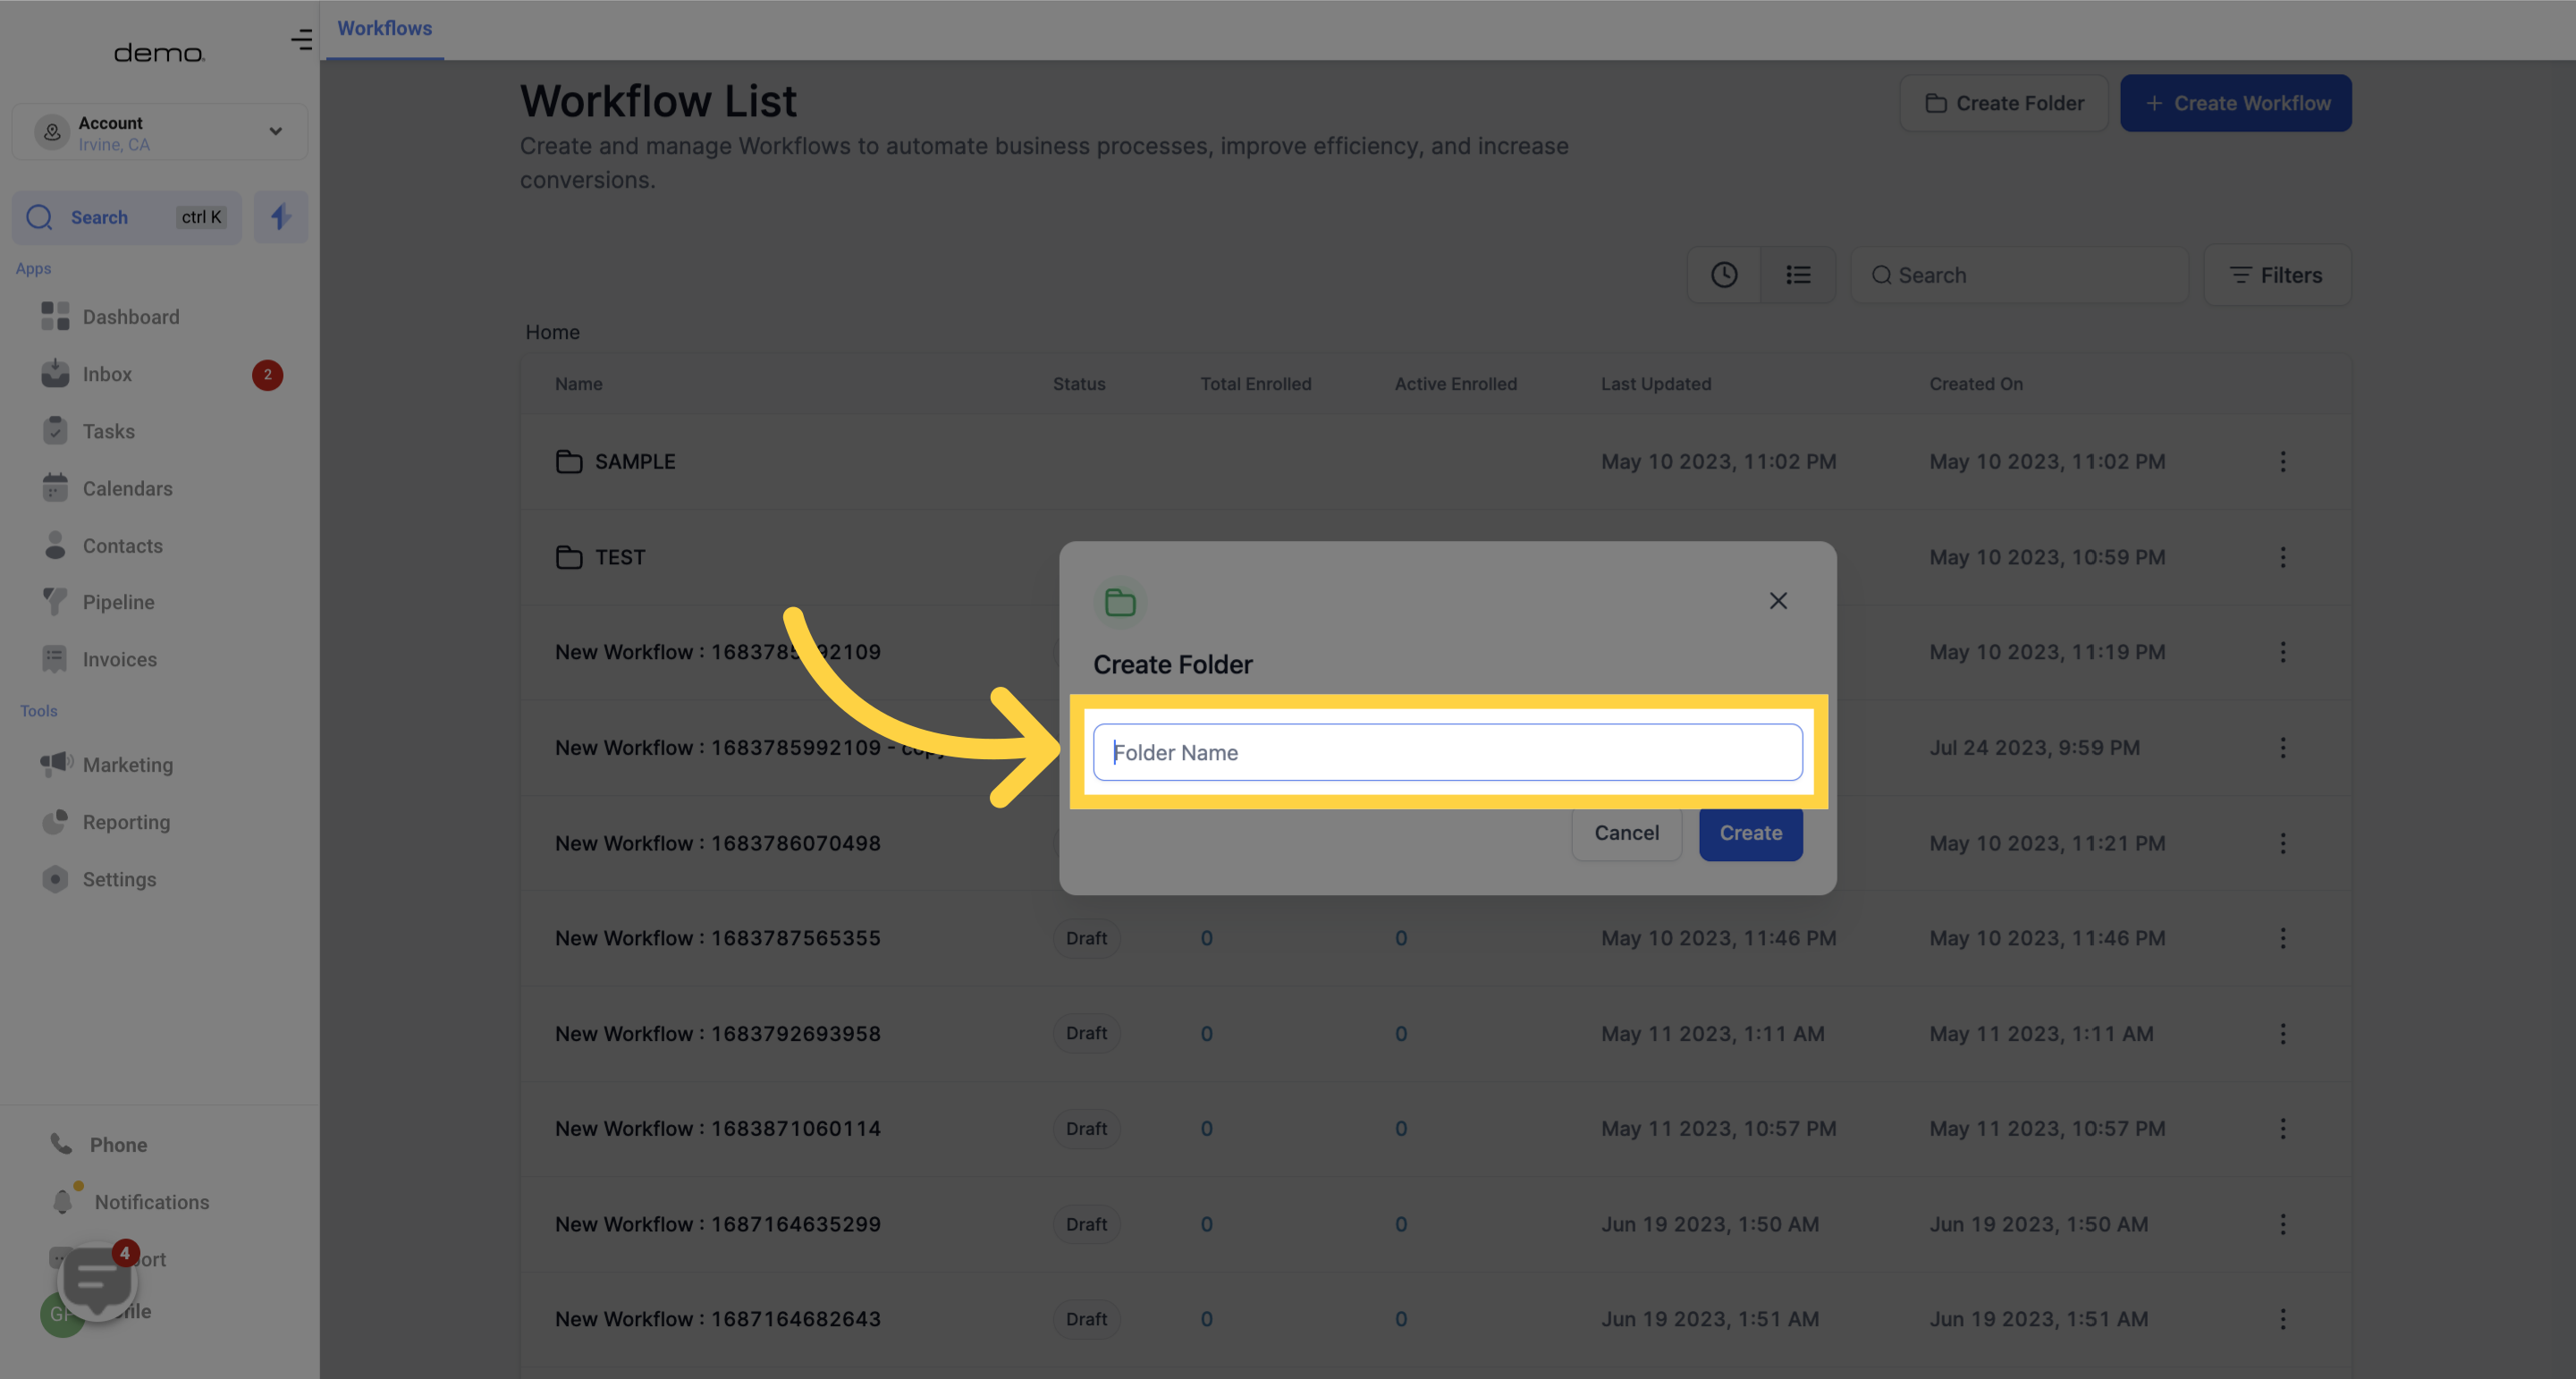
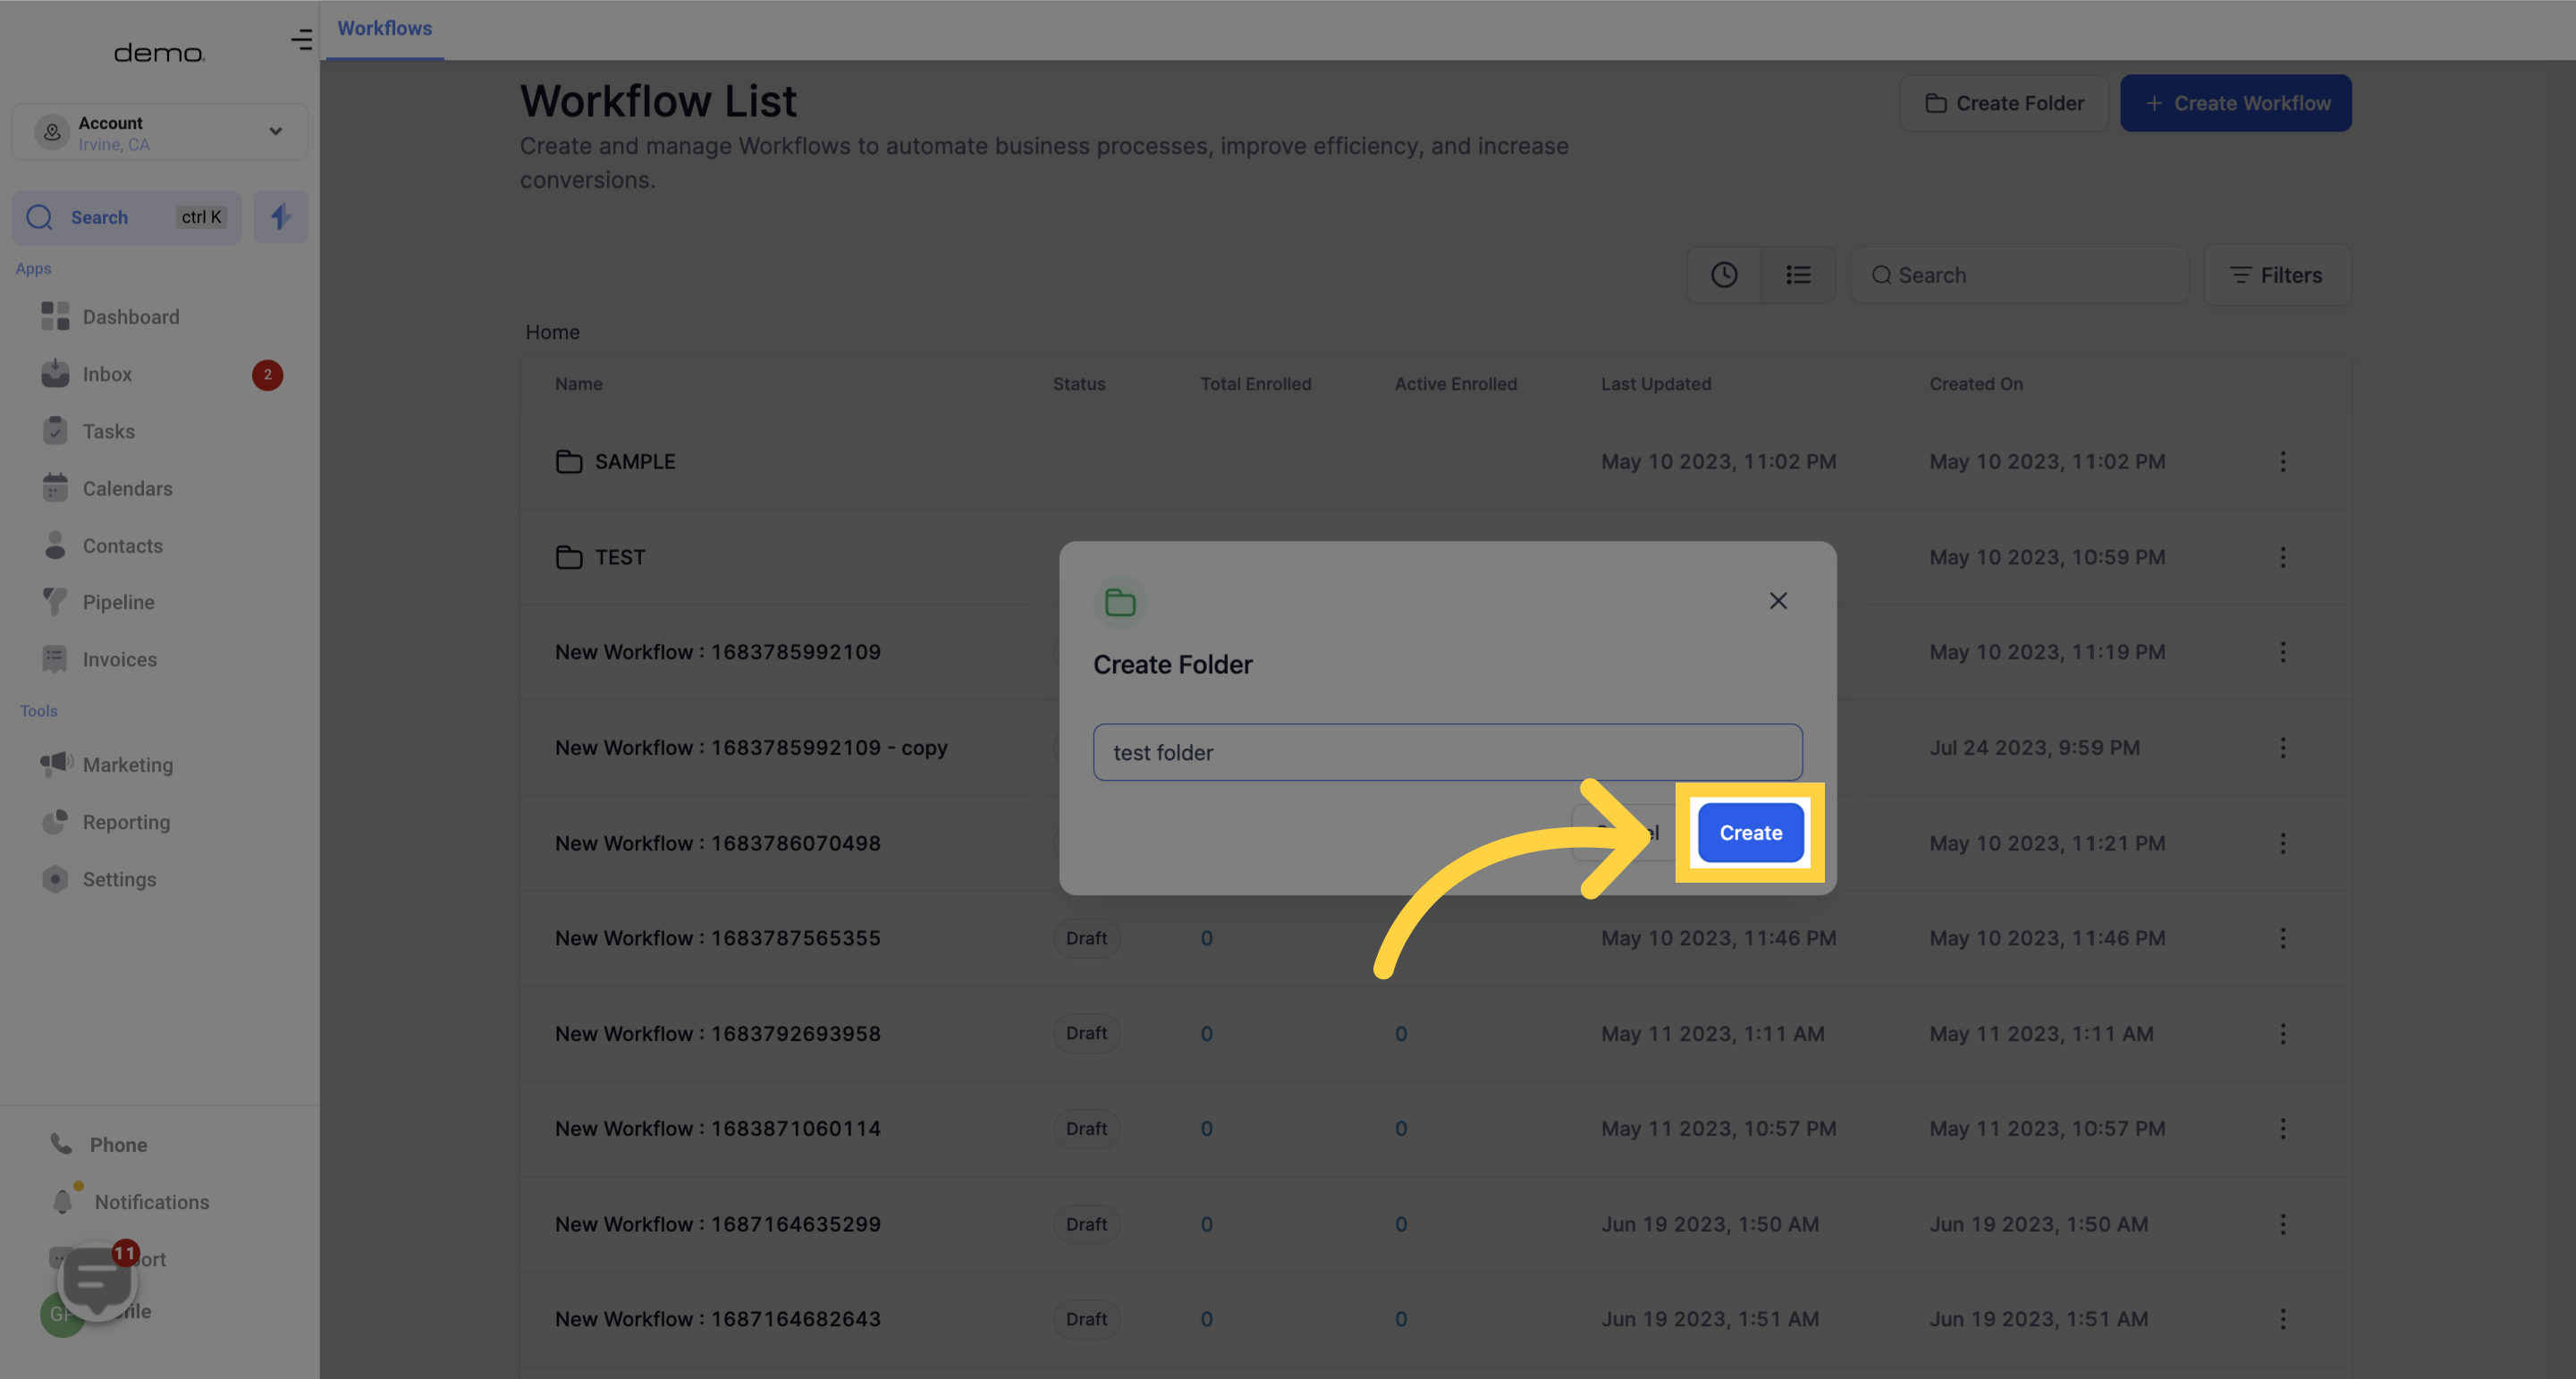
Save the folder, and it will be added to your list of All Workflows.
Moving Workflows Into Folders
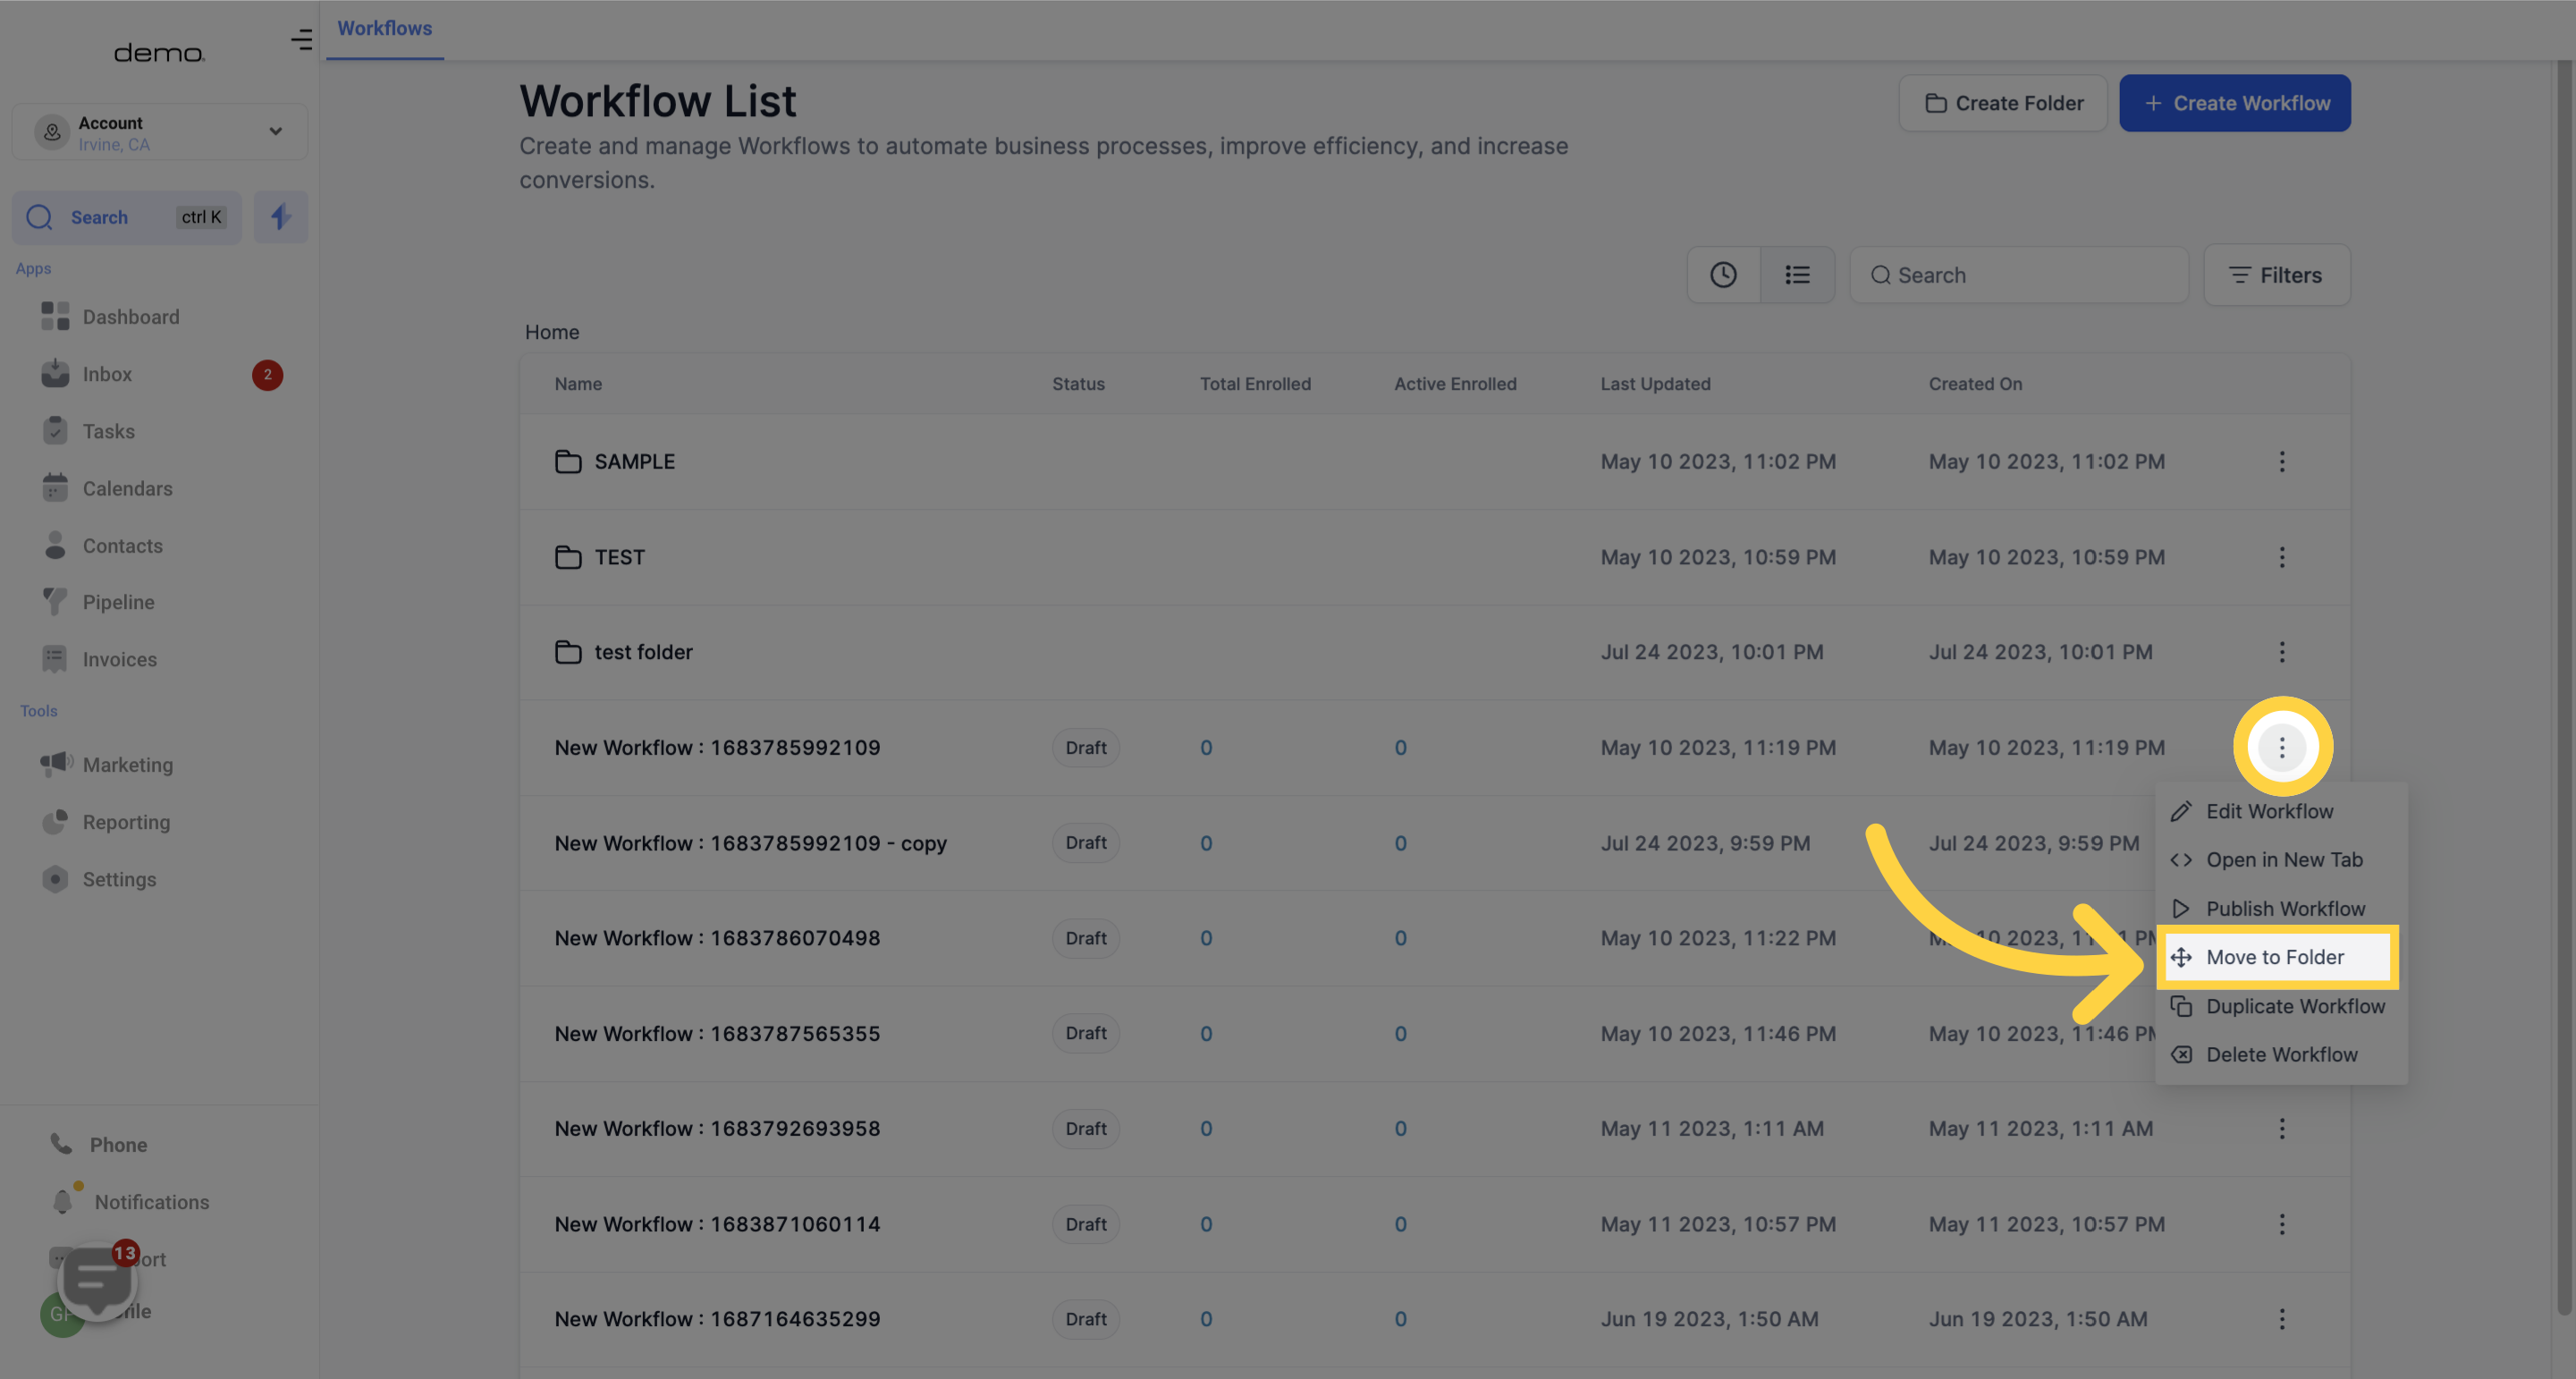
Hover next to the name of an existing workflow to show the Actions tab.
From the dropdown menu, select "Move to Folder."
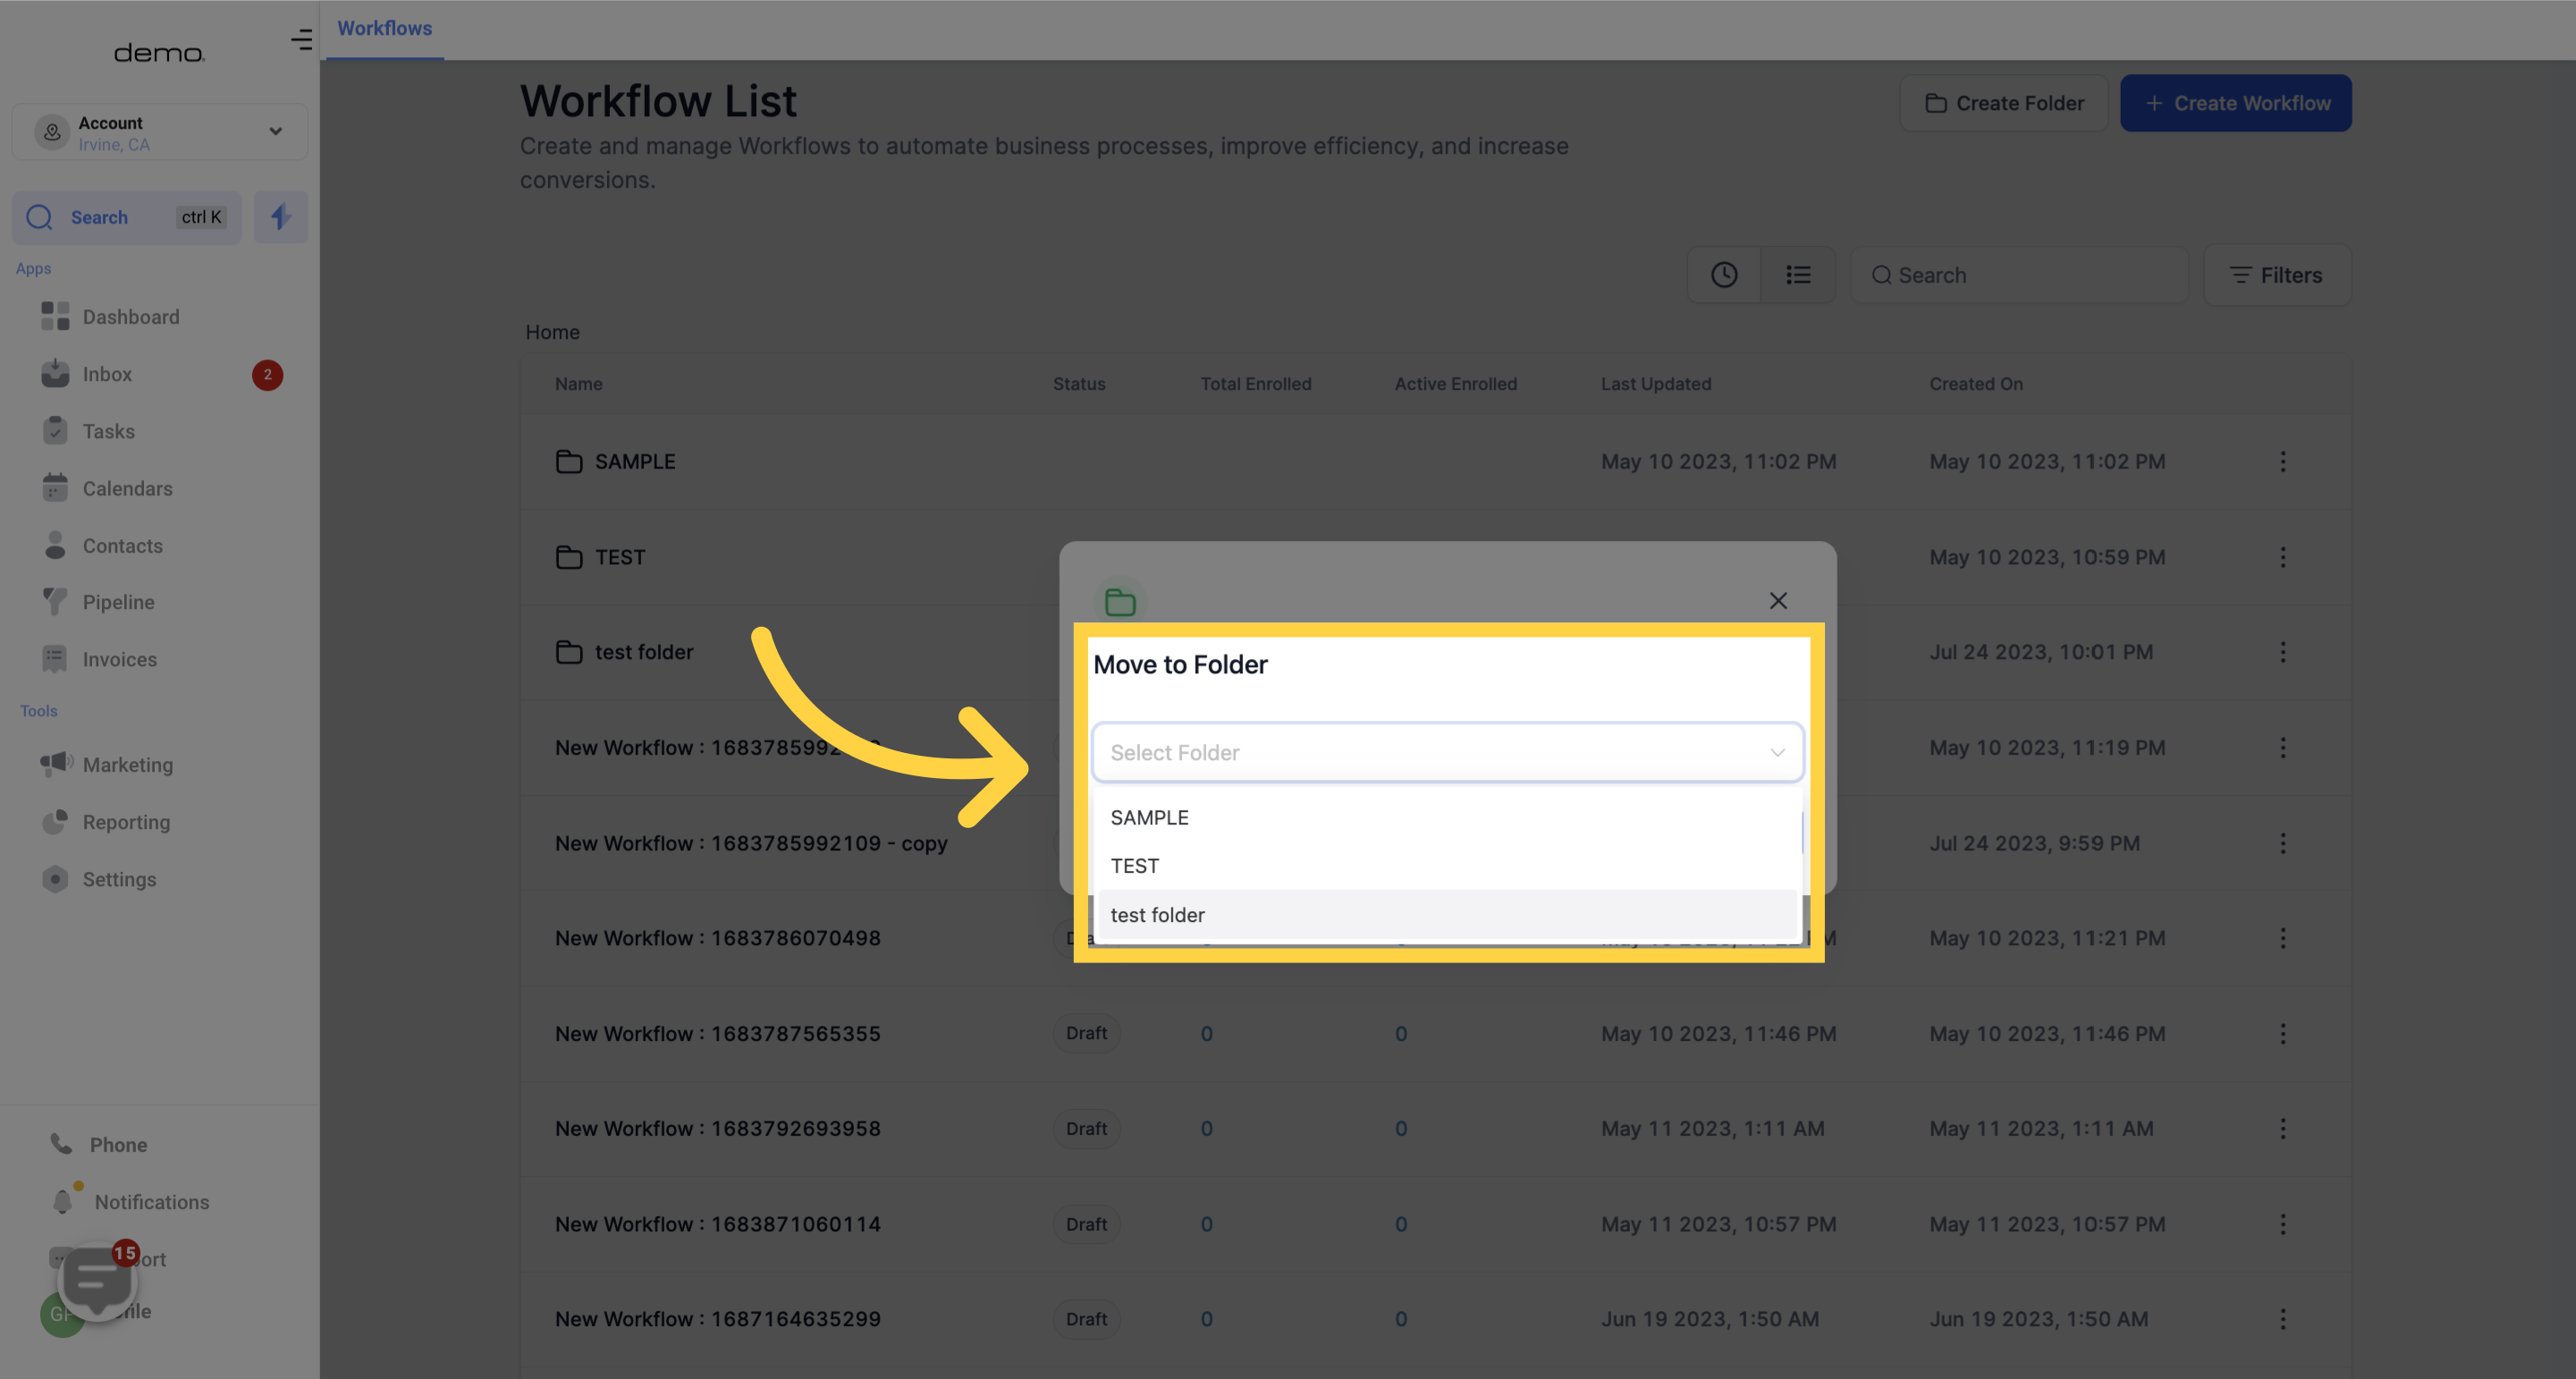
In the popup window, choose the desired folder where you want to move the workflow.
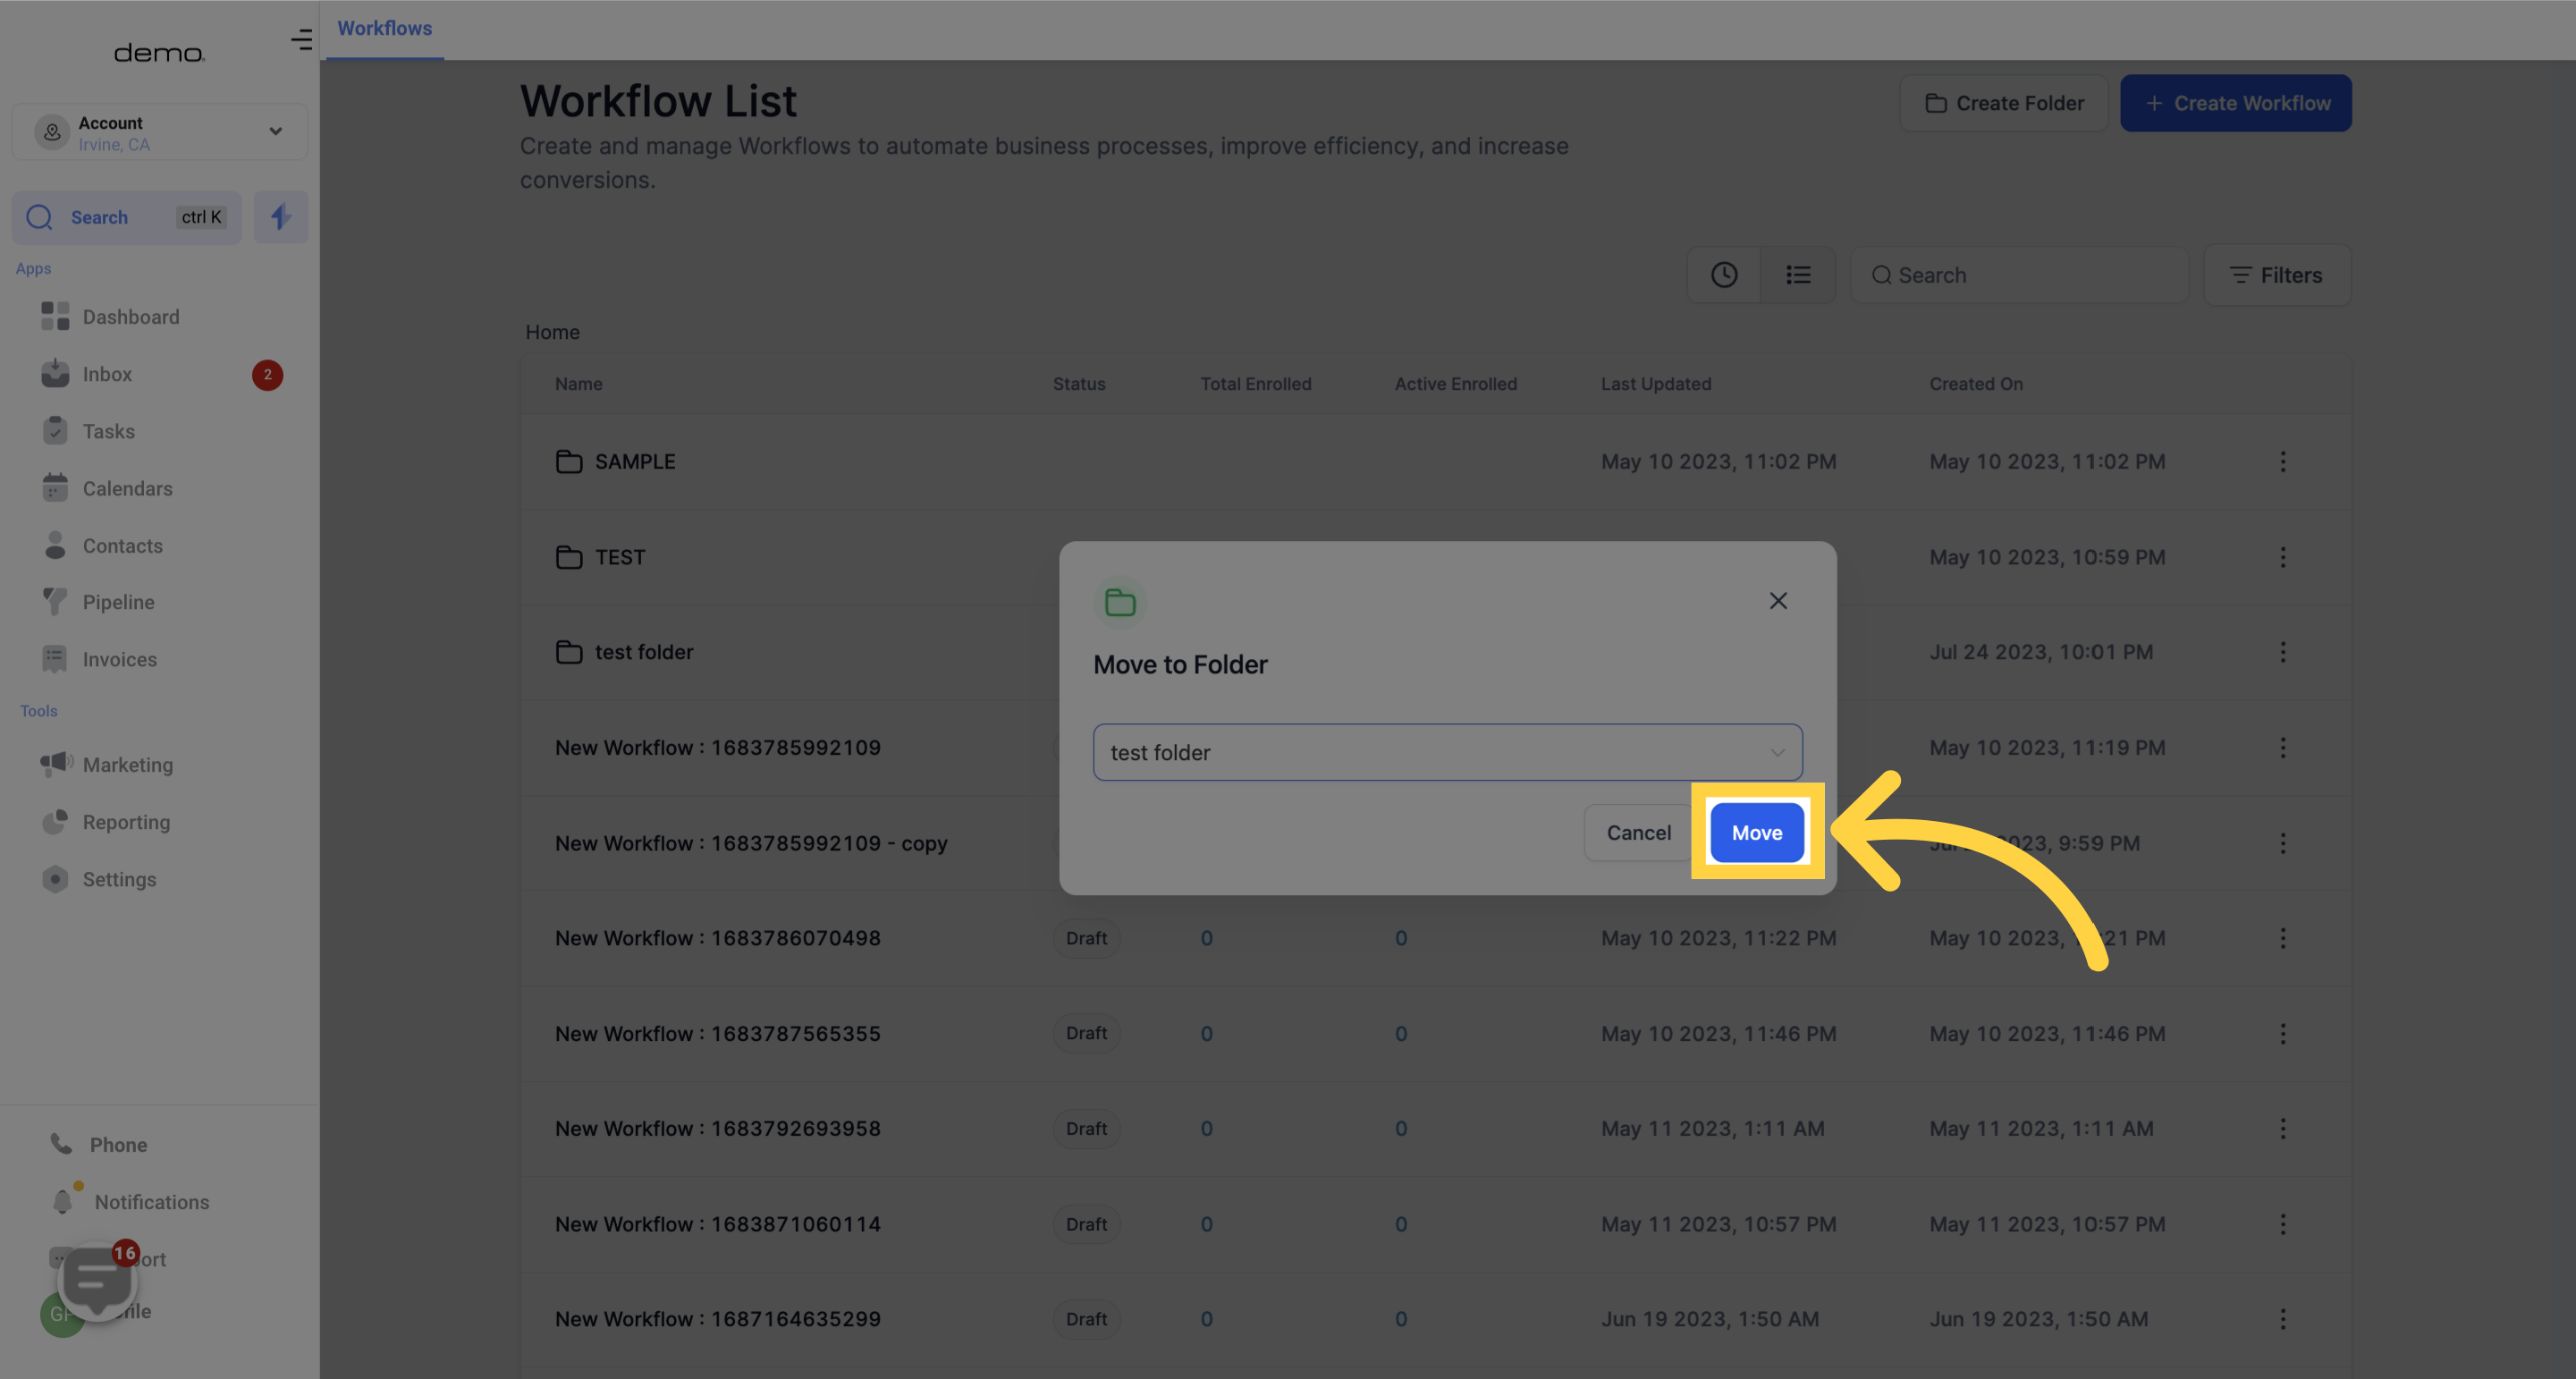
Save the changes.
You can easily move a workflow out of a folder and place it on the general page or move it into another folder using the same process.

If you want to create a workflow directly within a specific folder, navigate into that folder first. The new workflow will automatically be saved within that folder.
By following these simple steps, you can keep your workflows neatly organized and easily accessible. Stay efficient and focused with the Workflow Folders feature!
