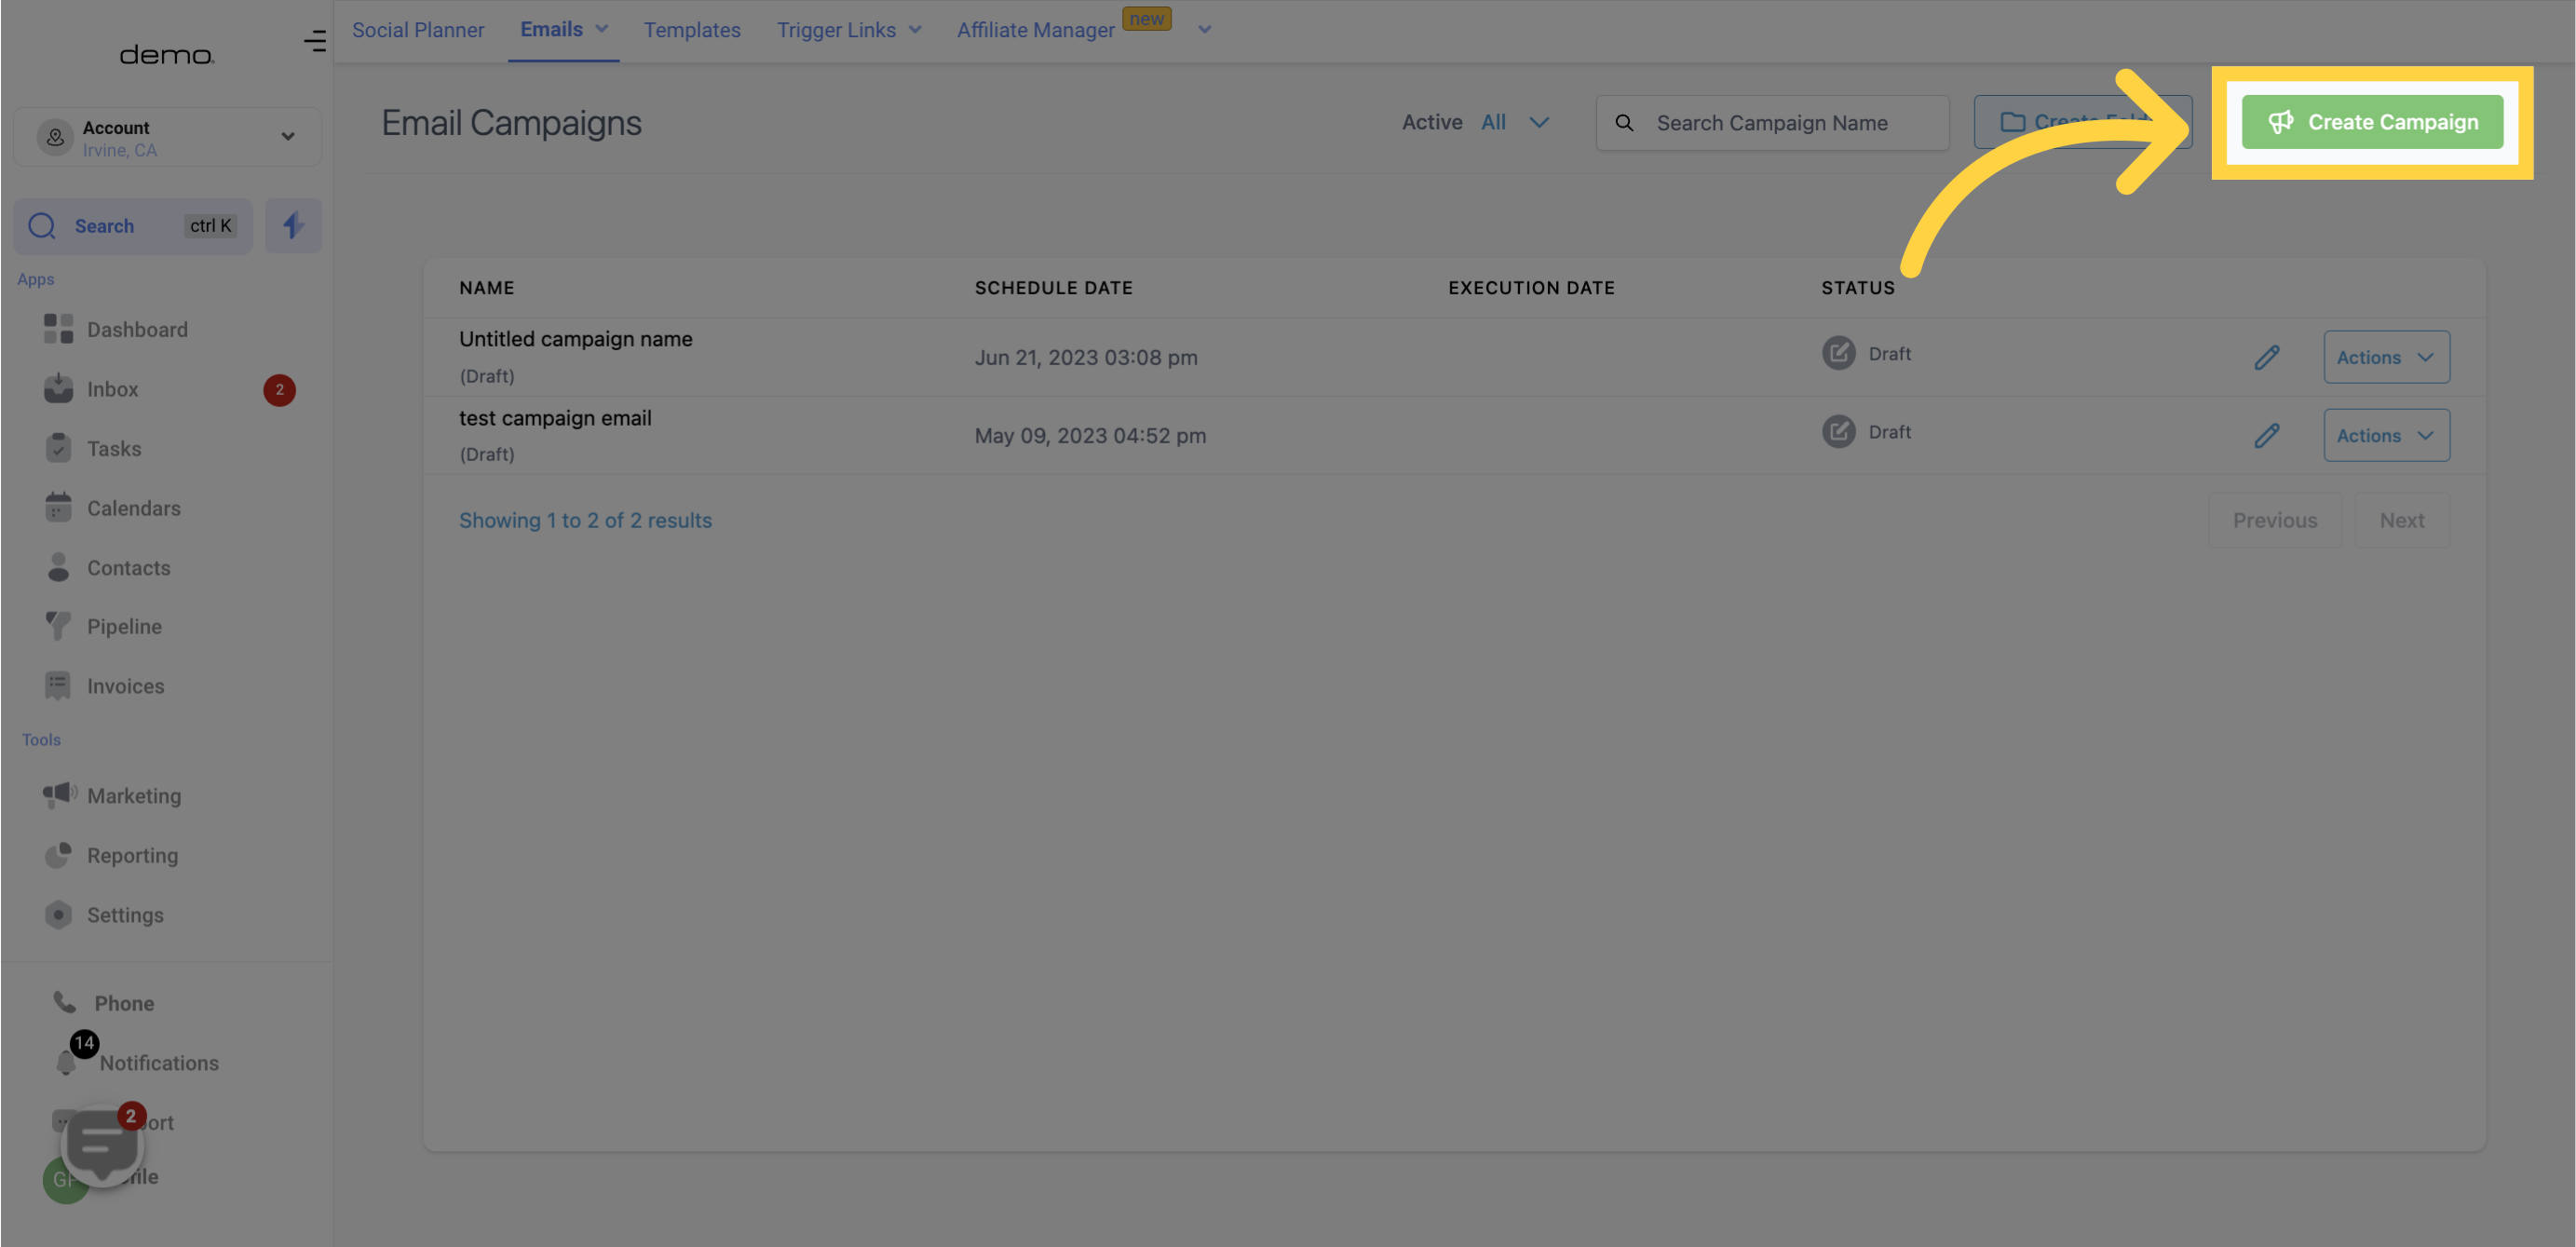
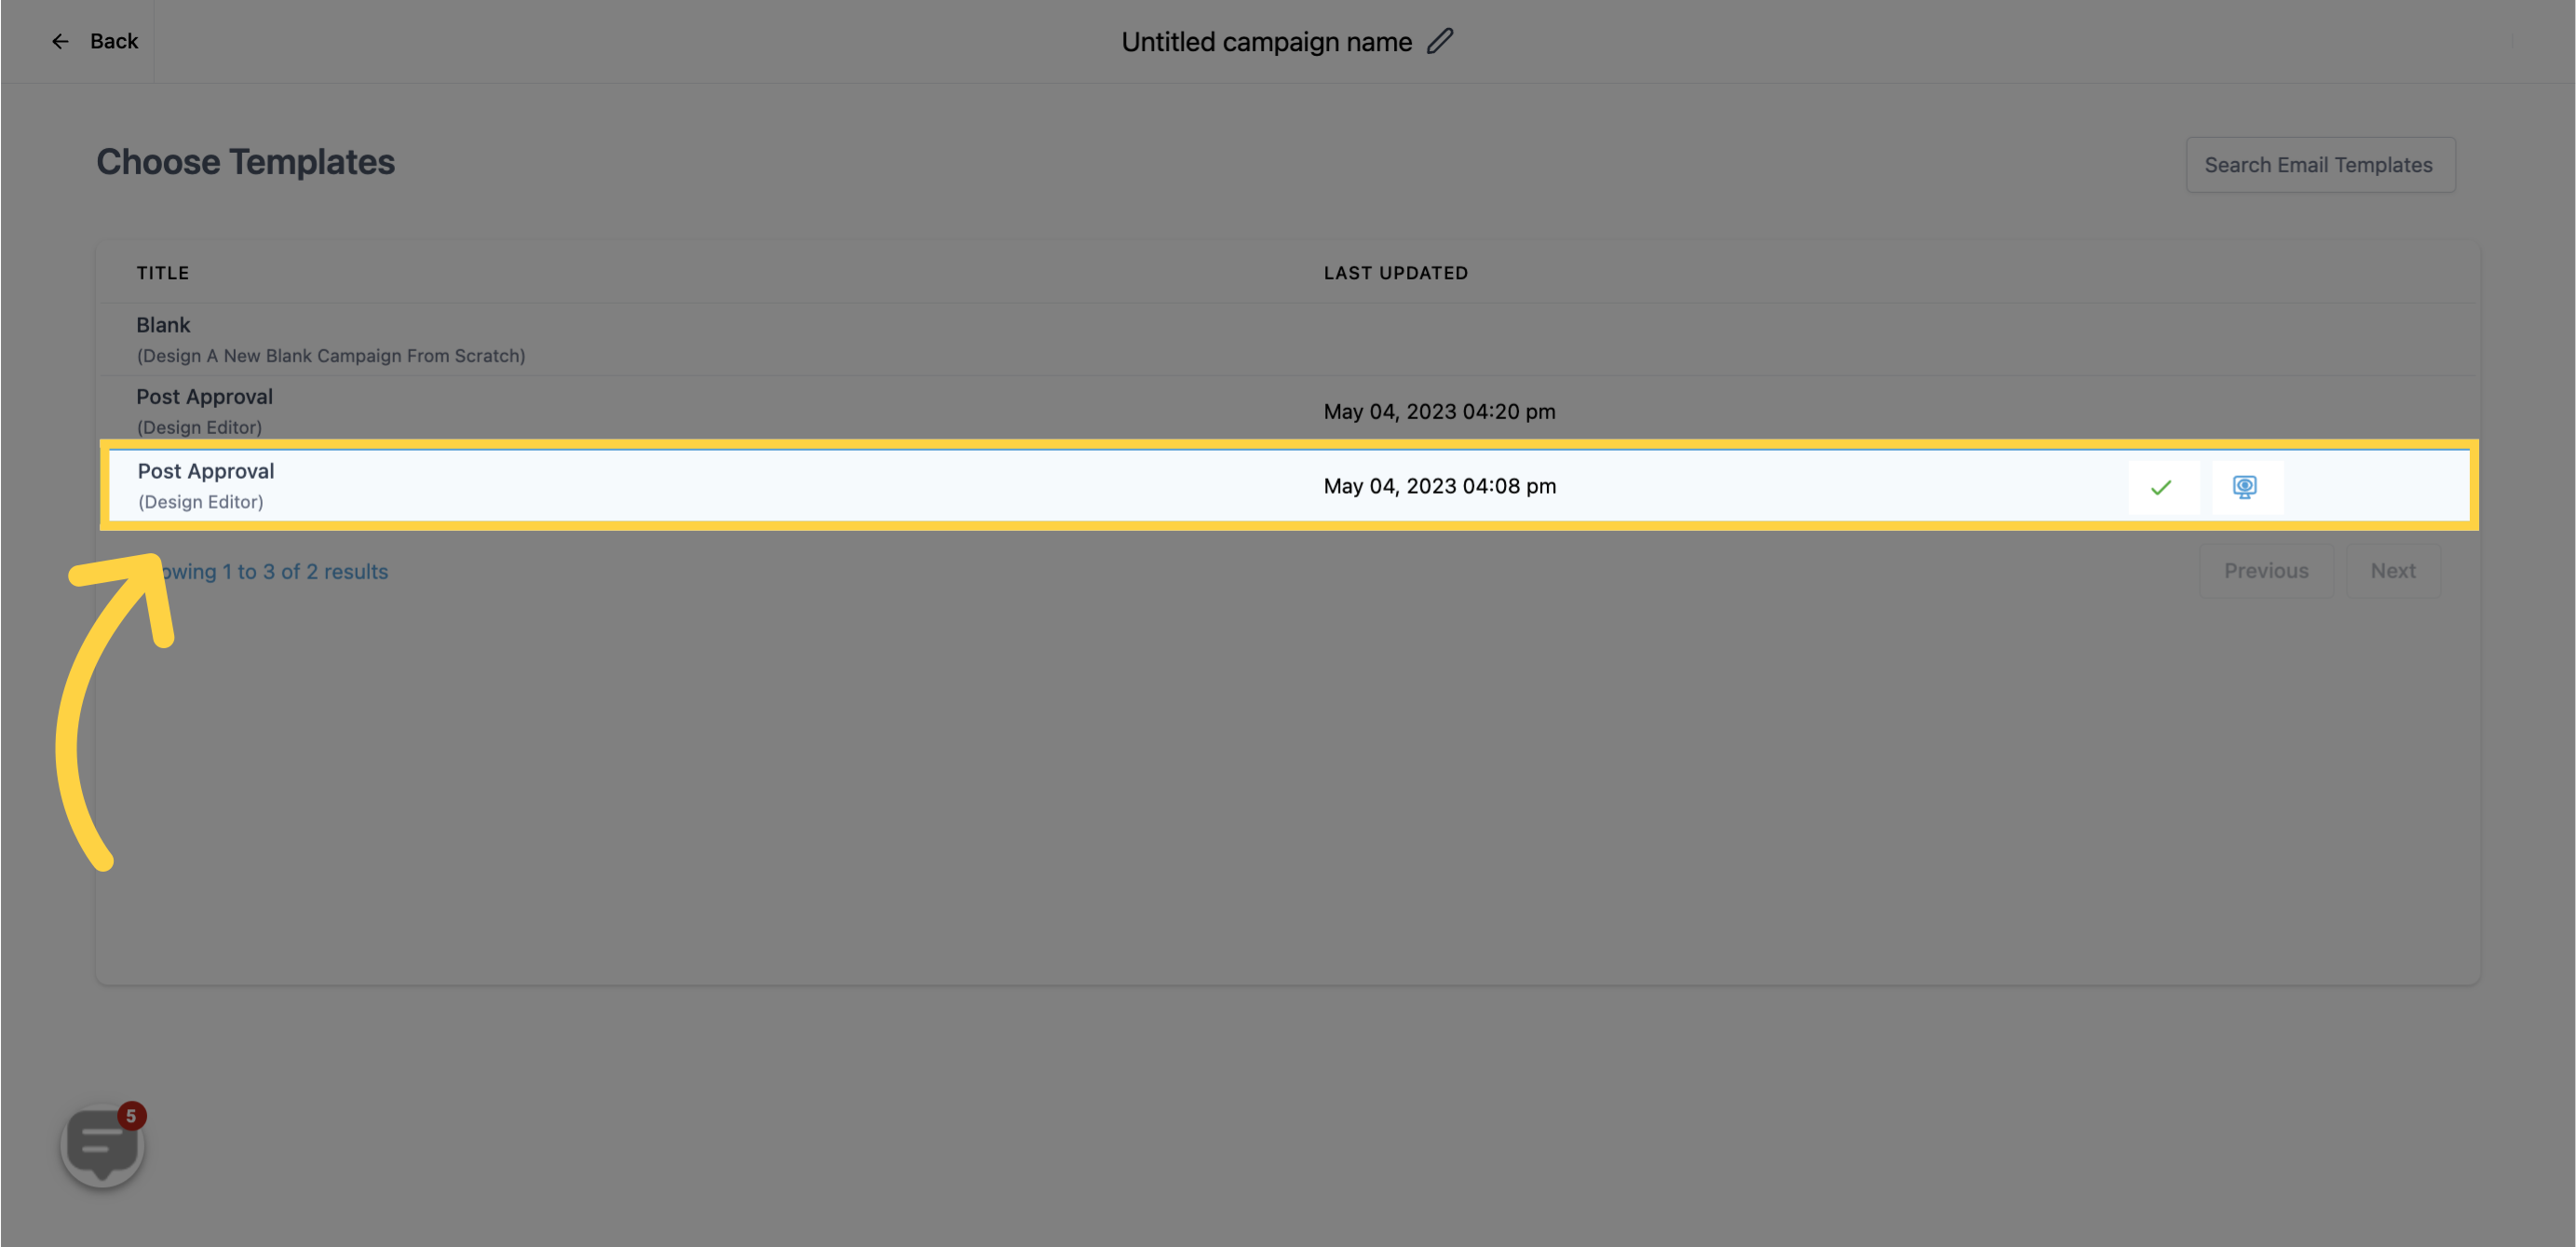
Click on "Create Campaign" and choose the Email Template for your marketing campaign.
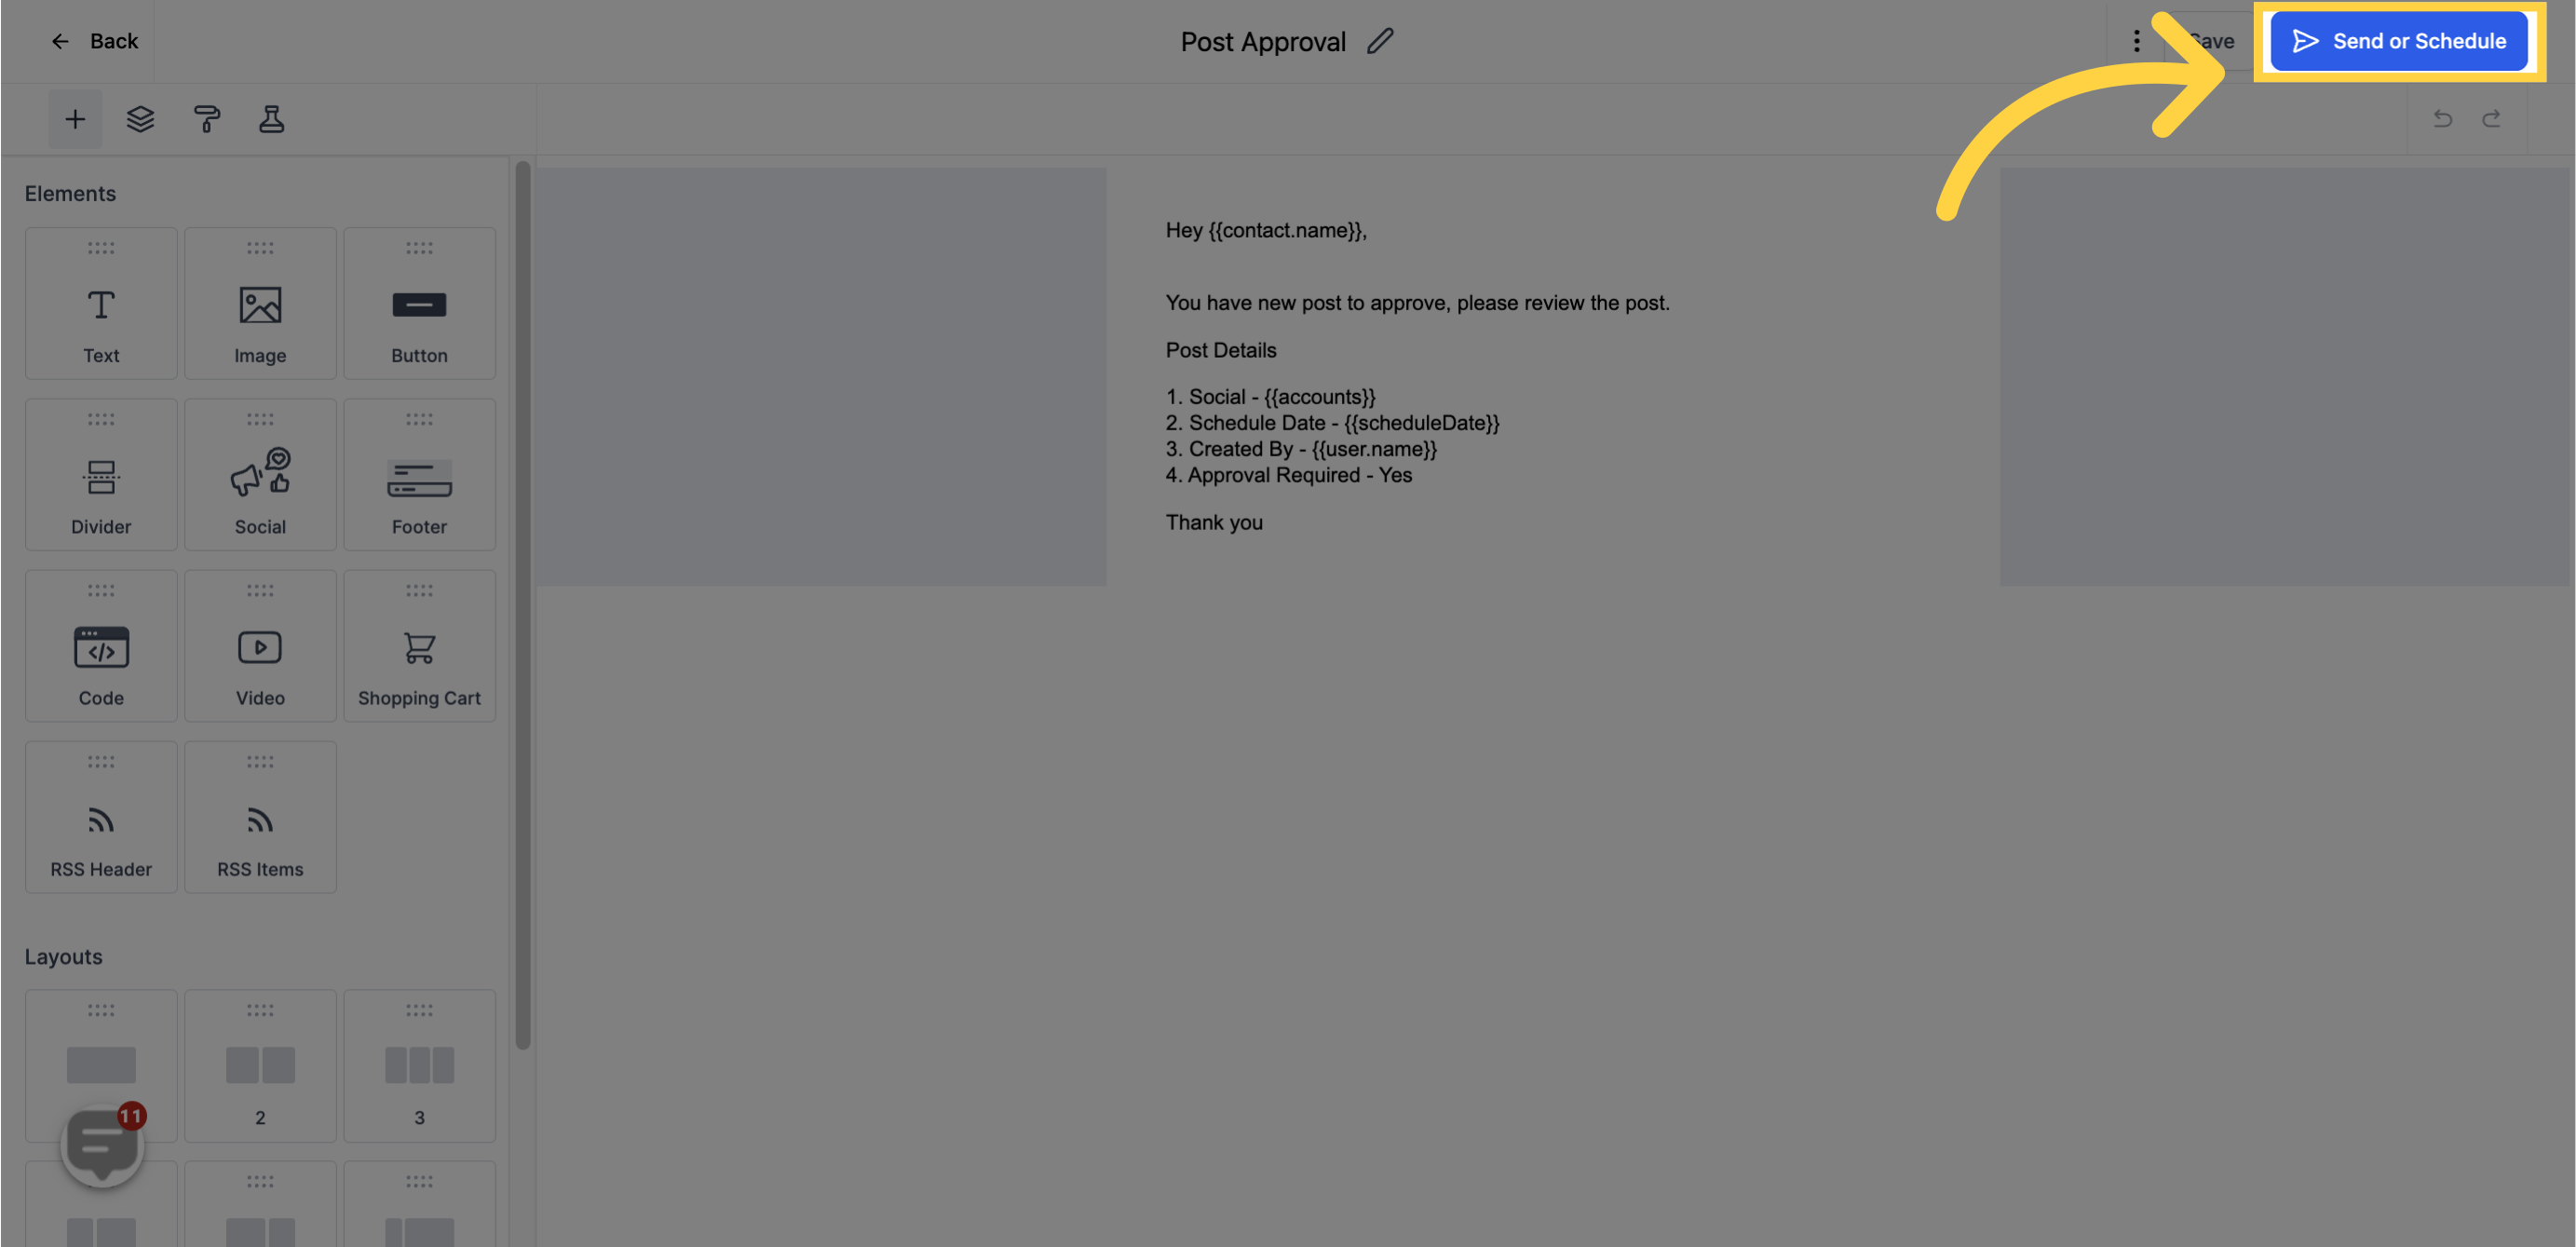
Click on "Send" or "Schedule" to send the email campaign.
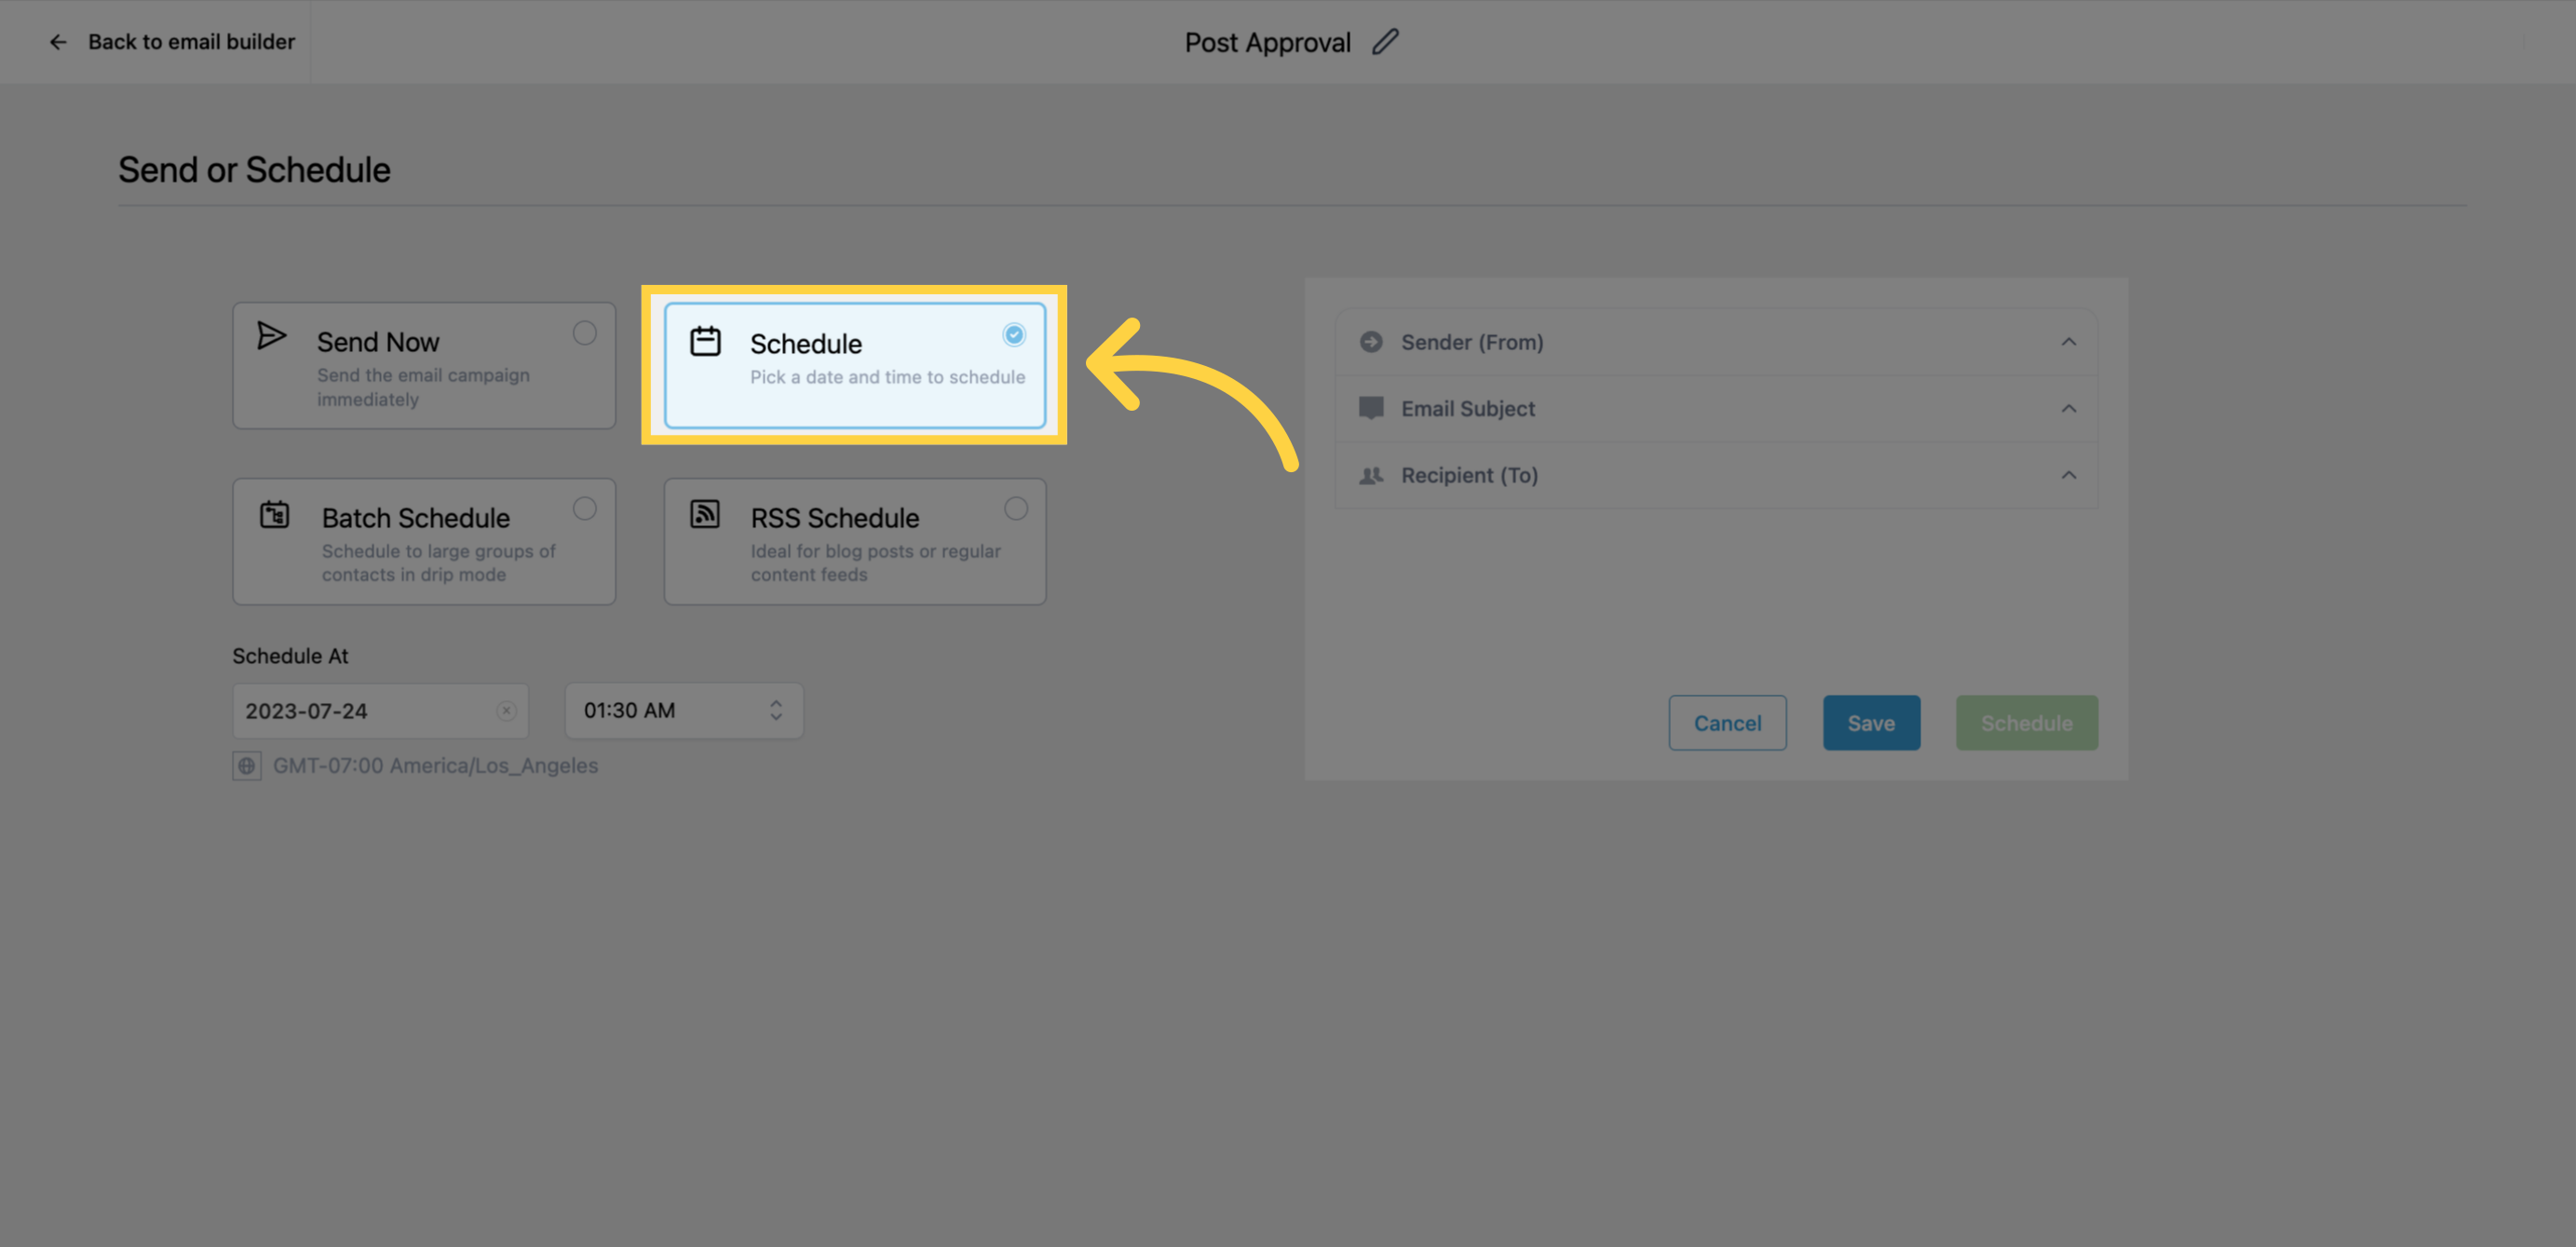
Choose whether to send the email immediately or schedule it for a later time.
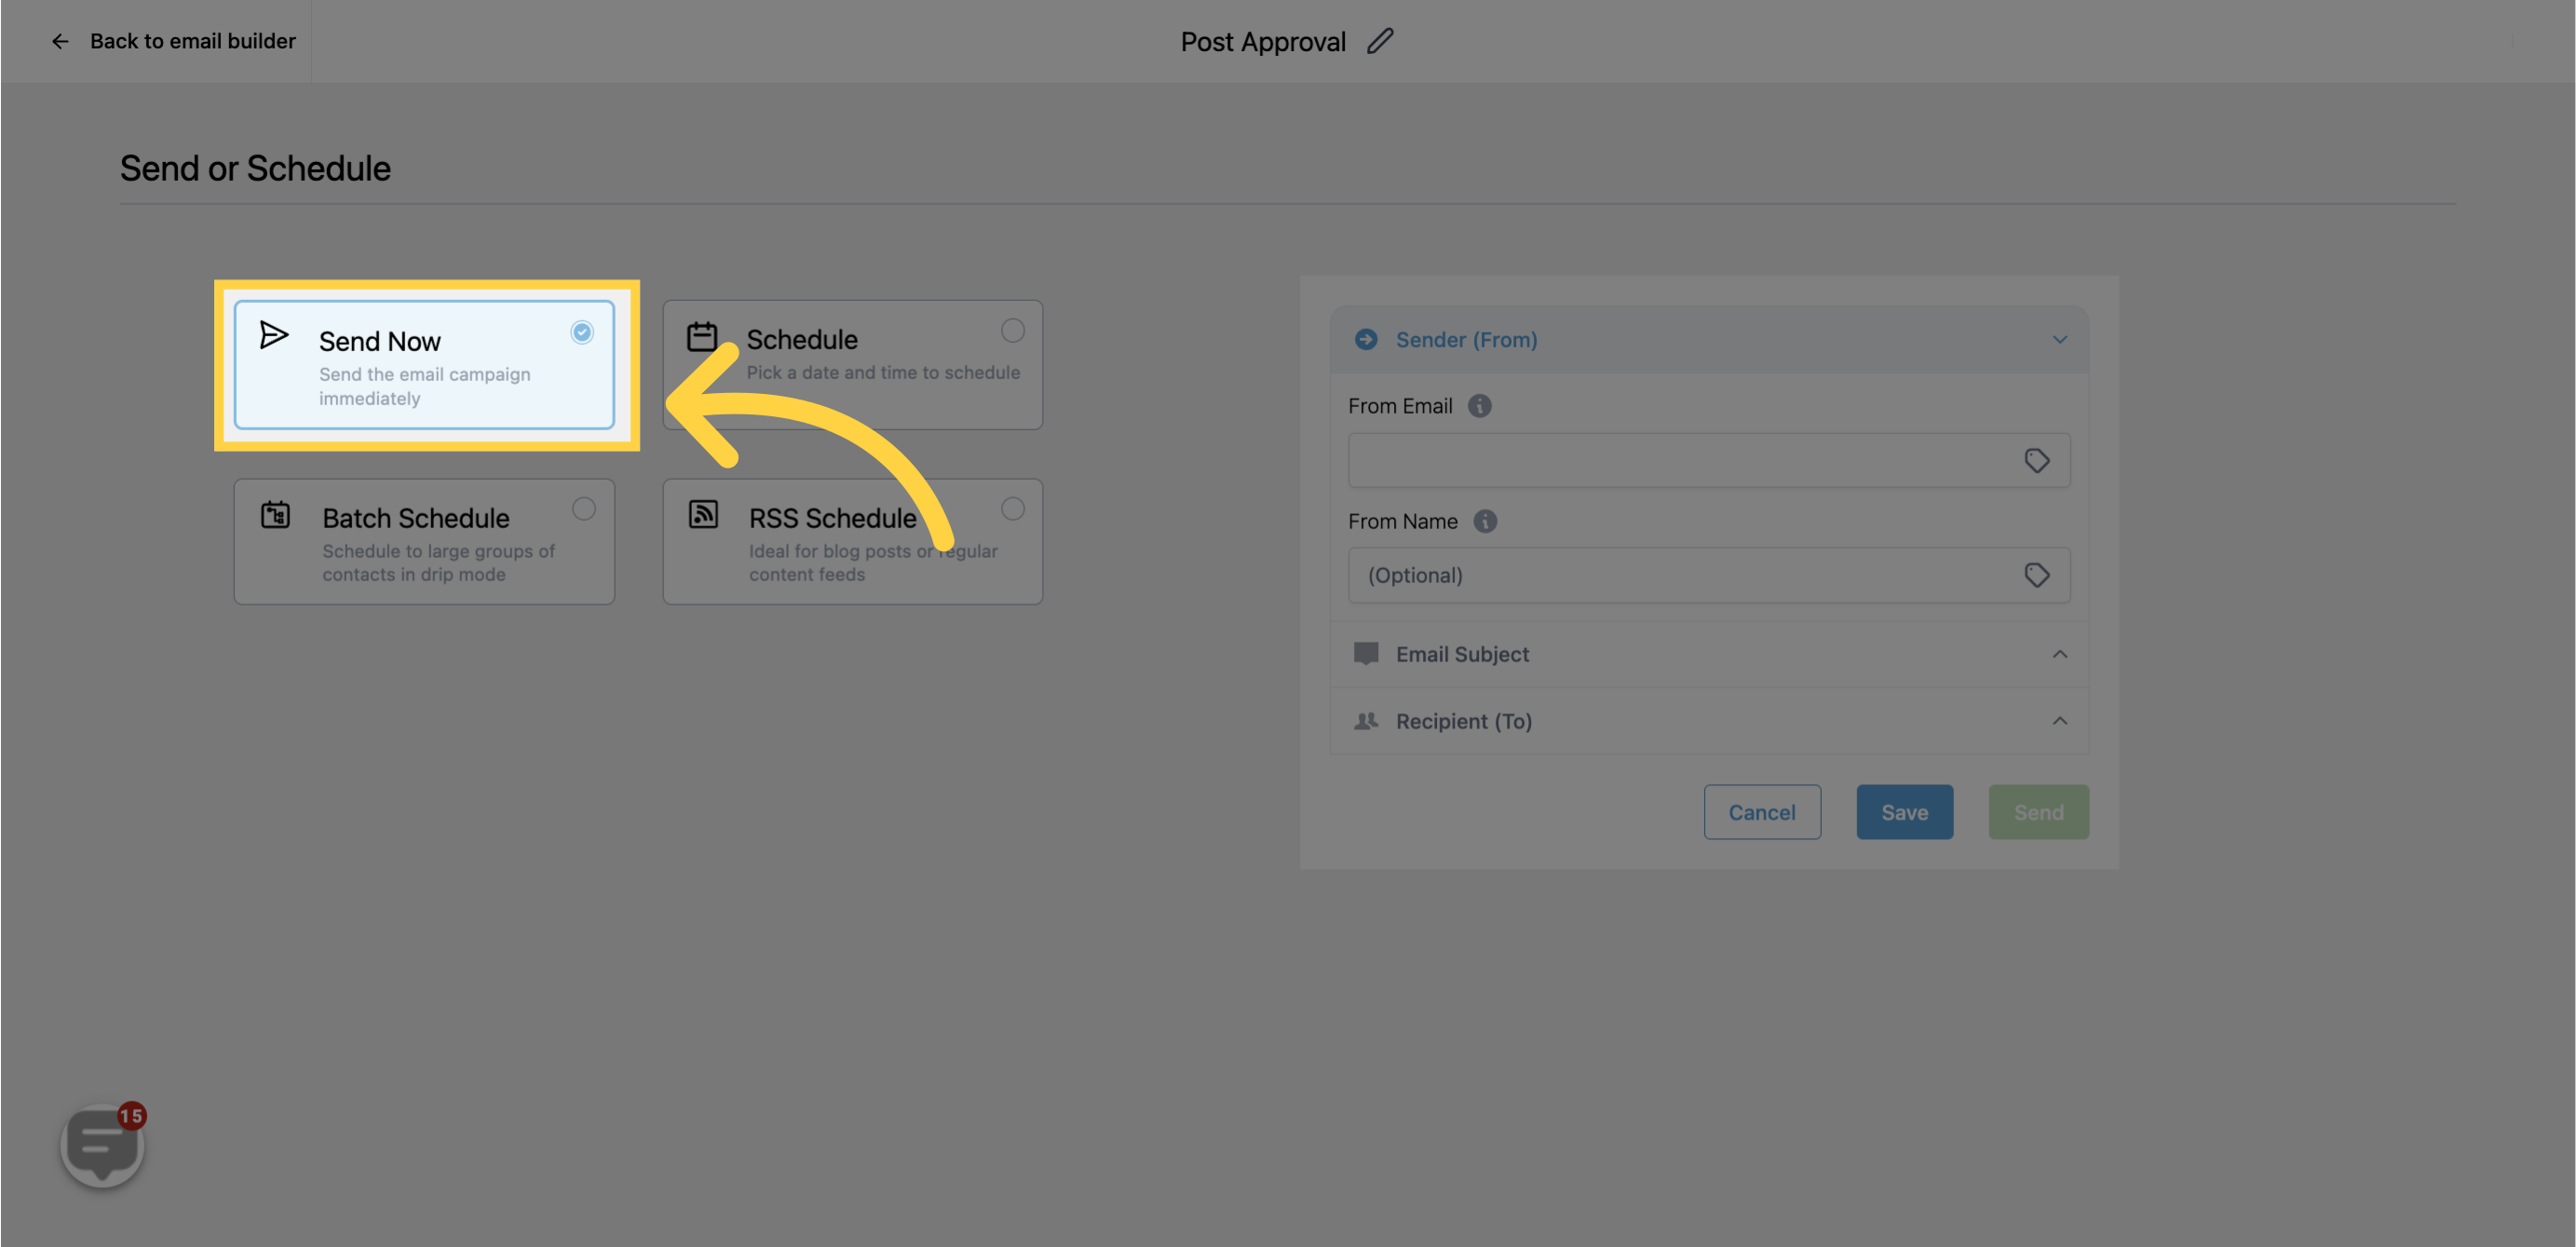
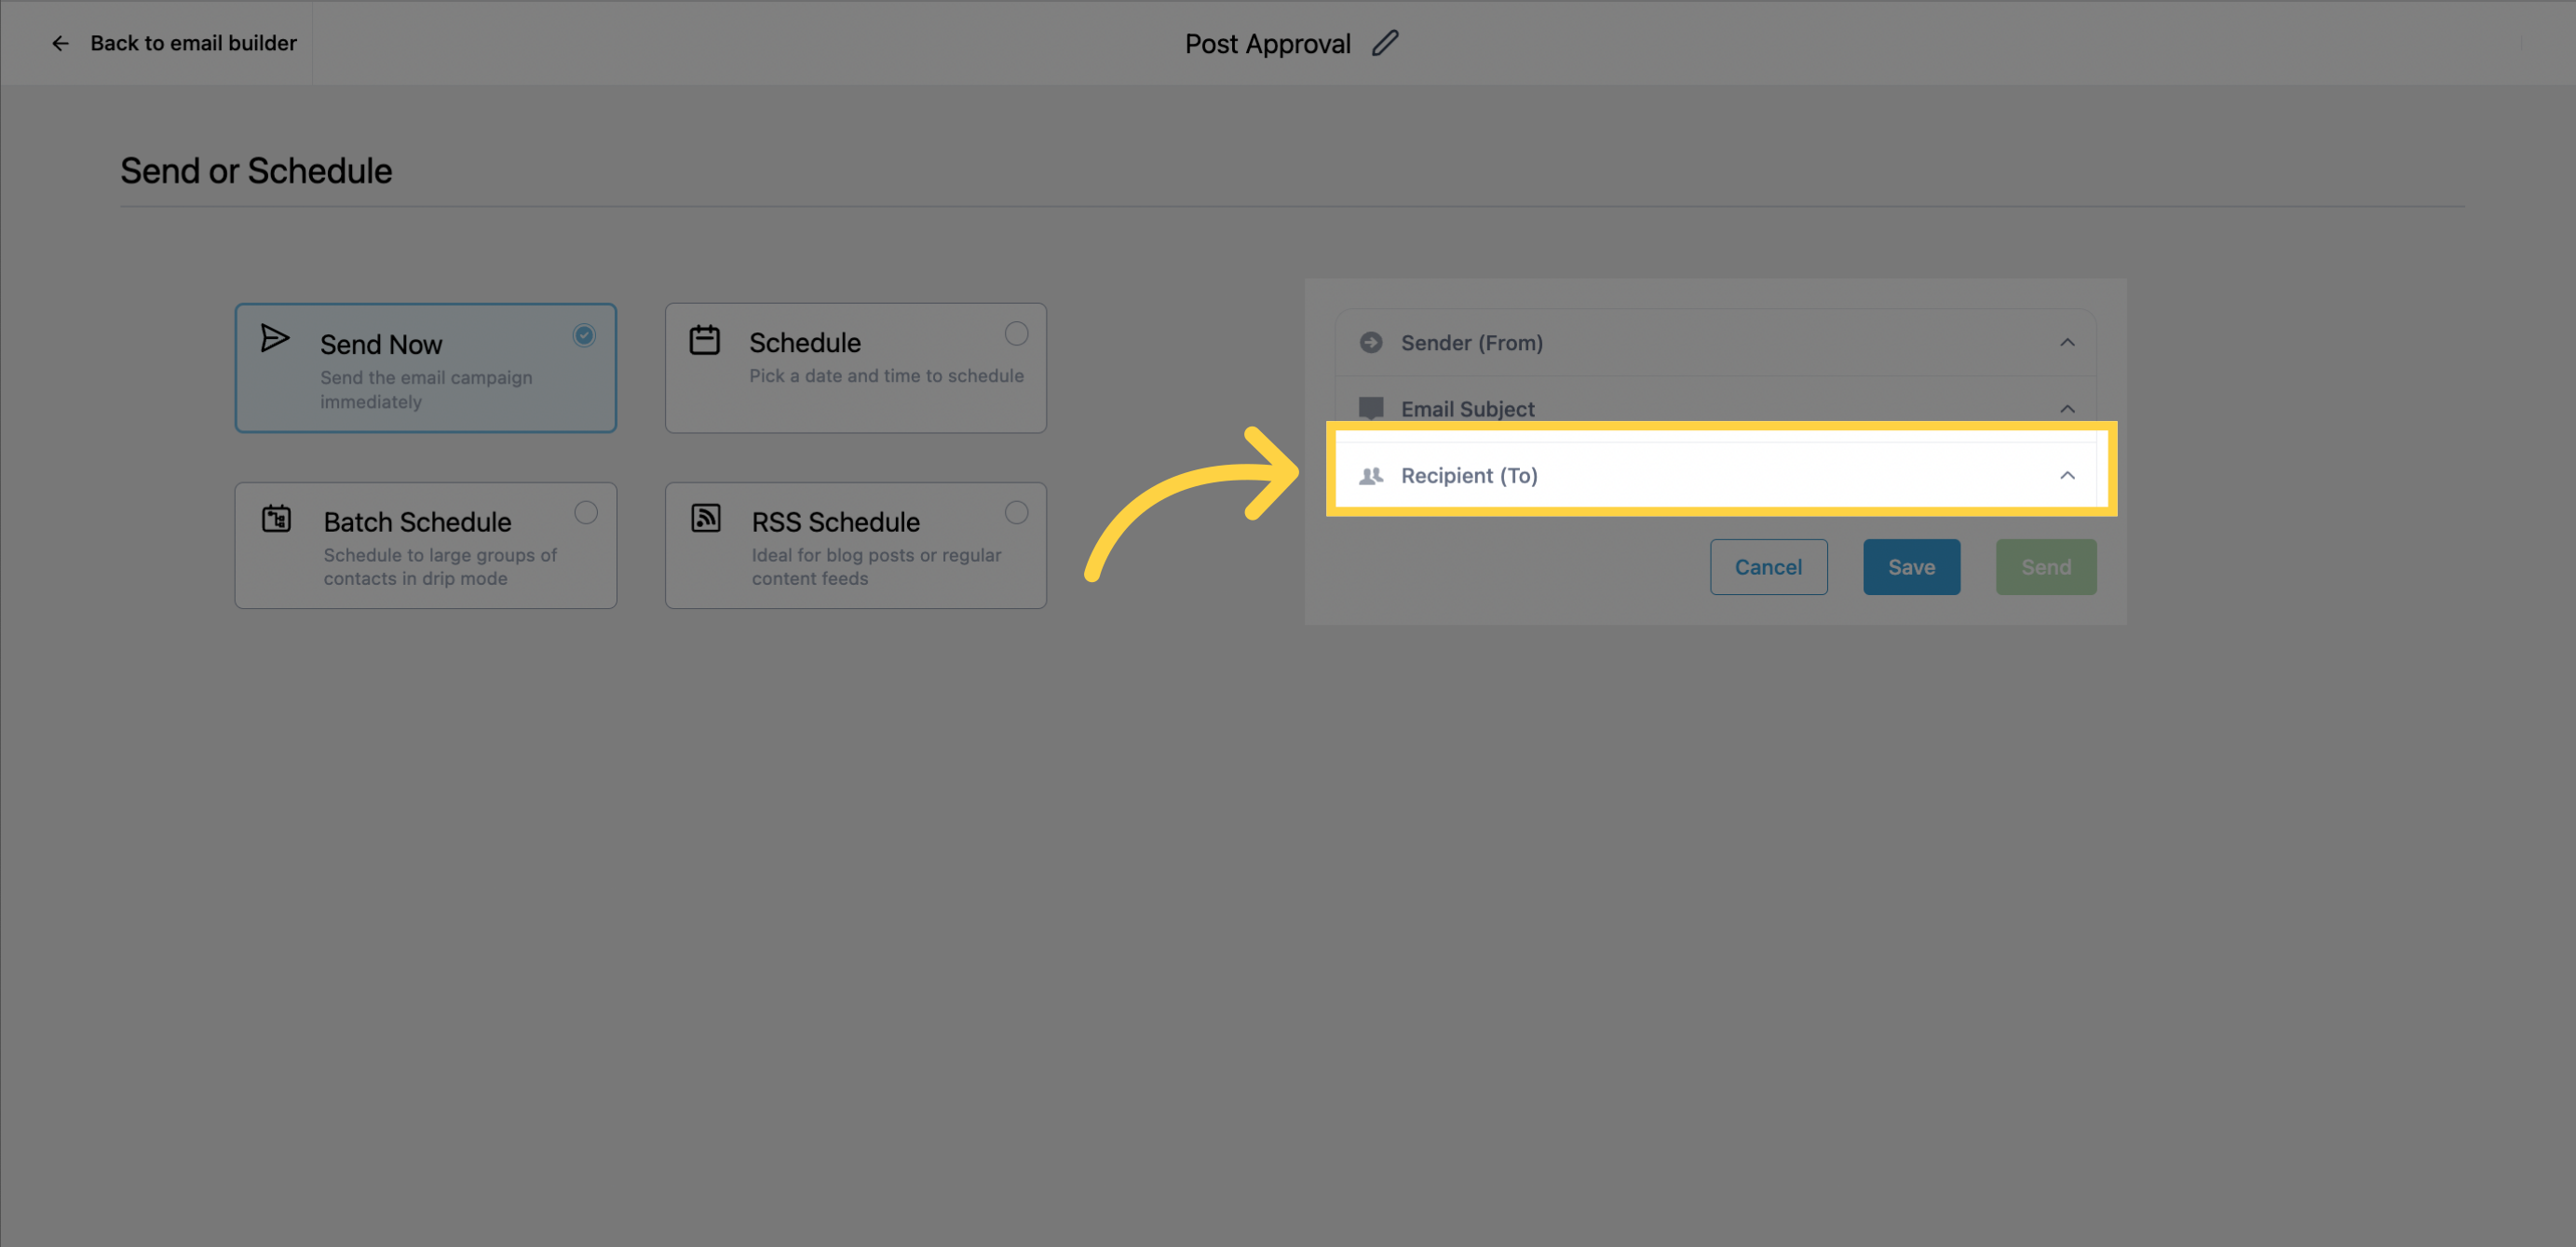
Fill out the information in the "To" and "From" sections.
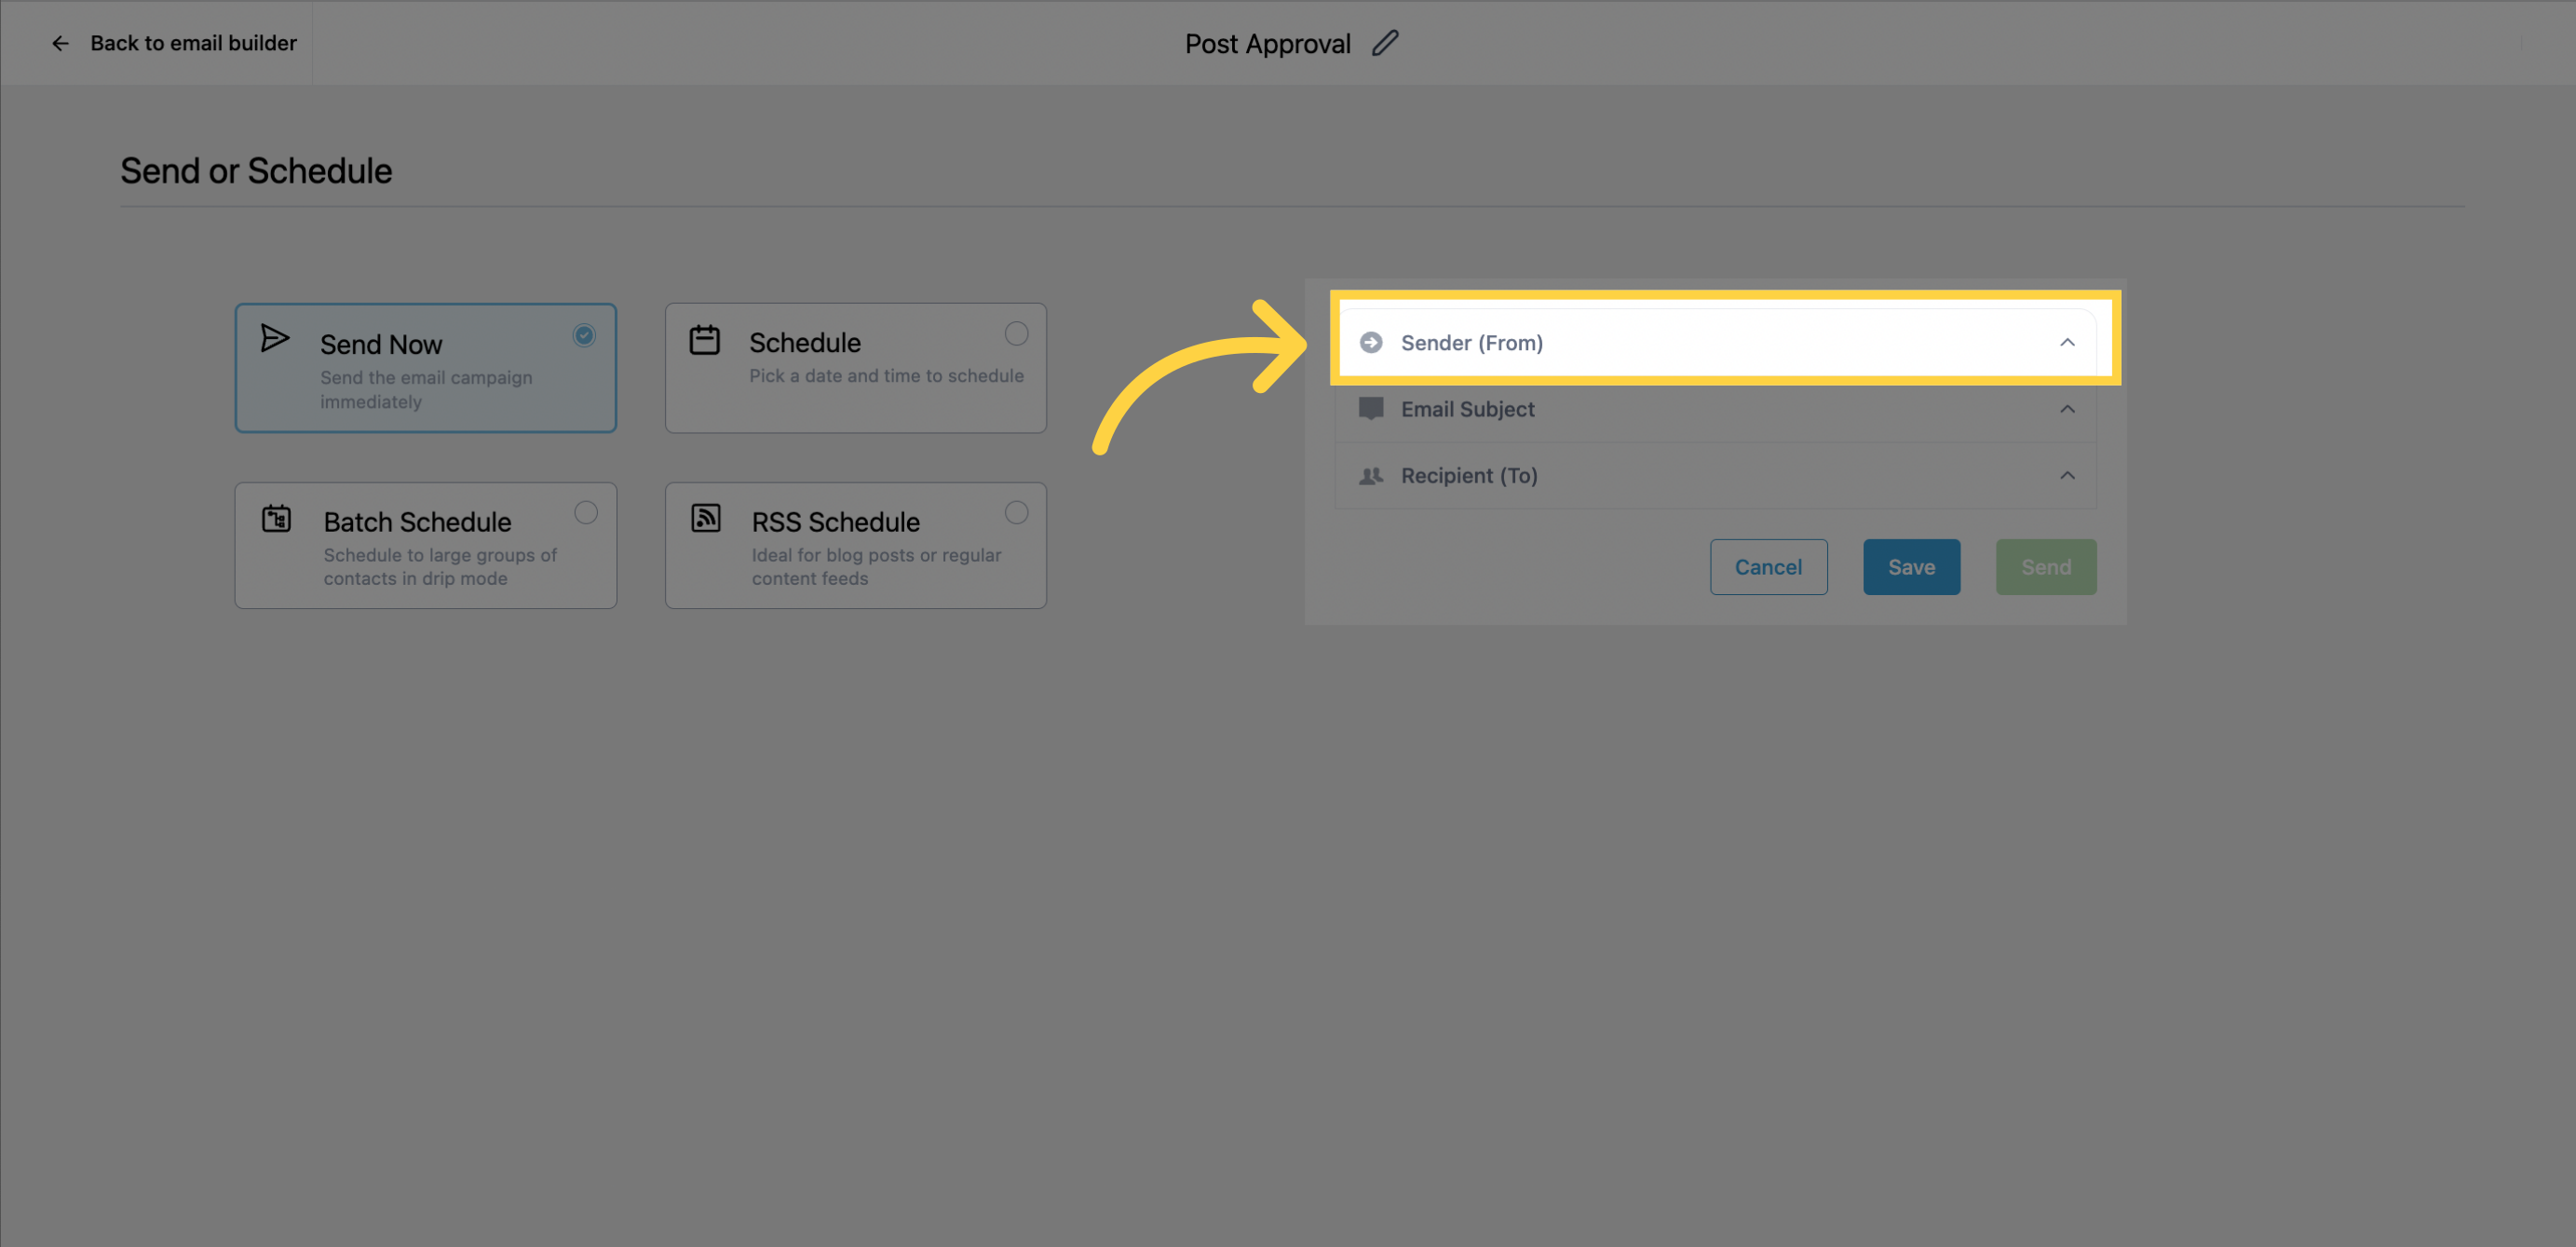
Fill out the information in the "To" and "From" sections.
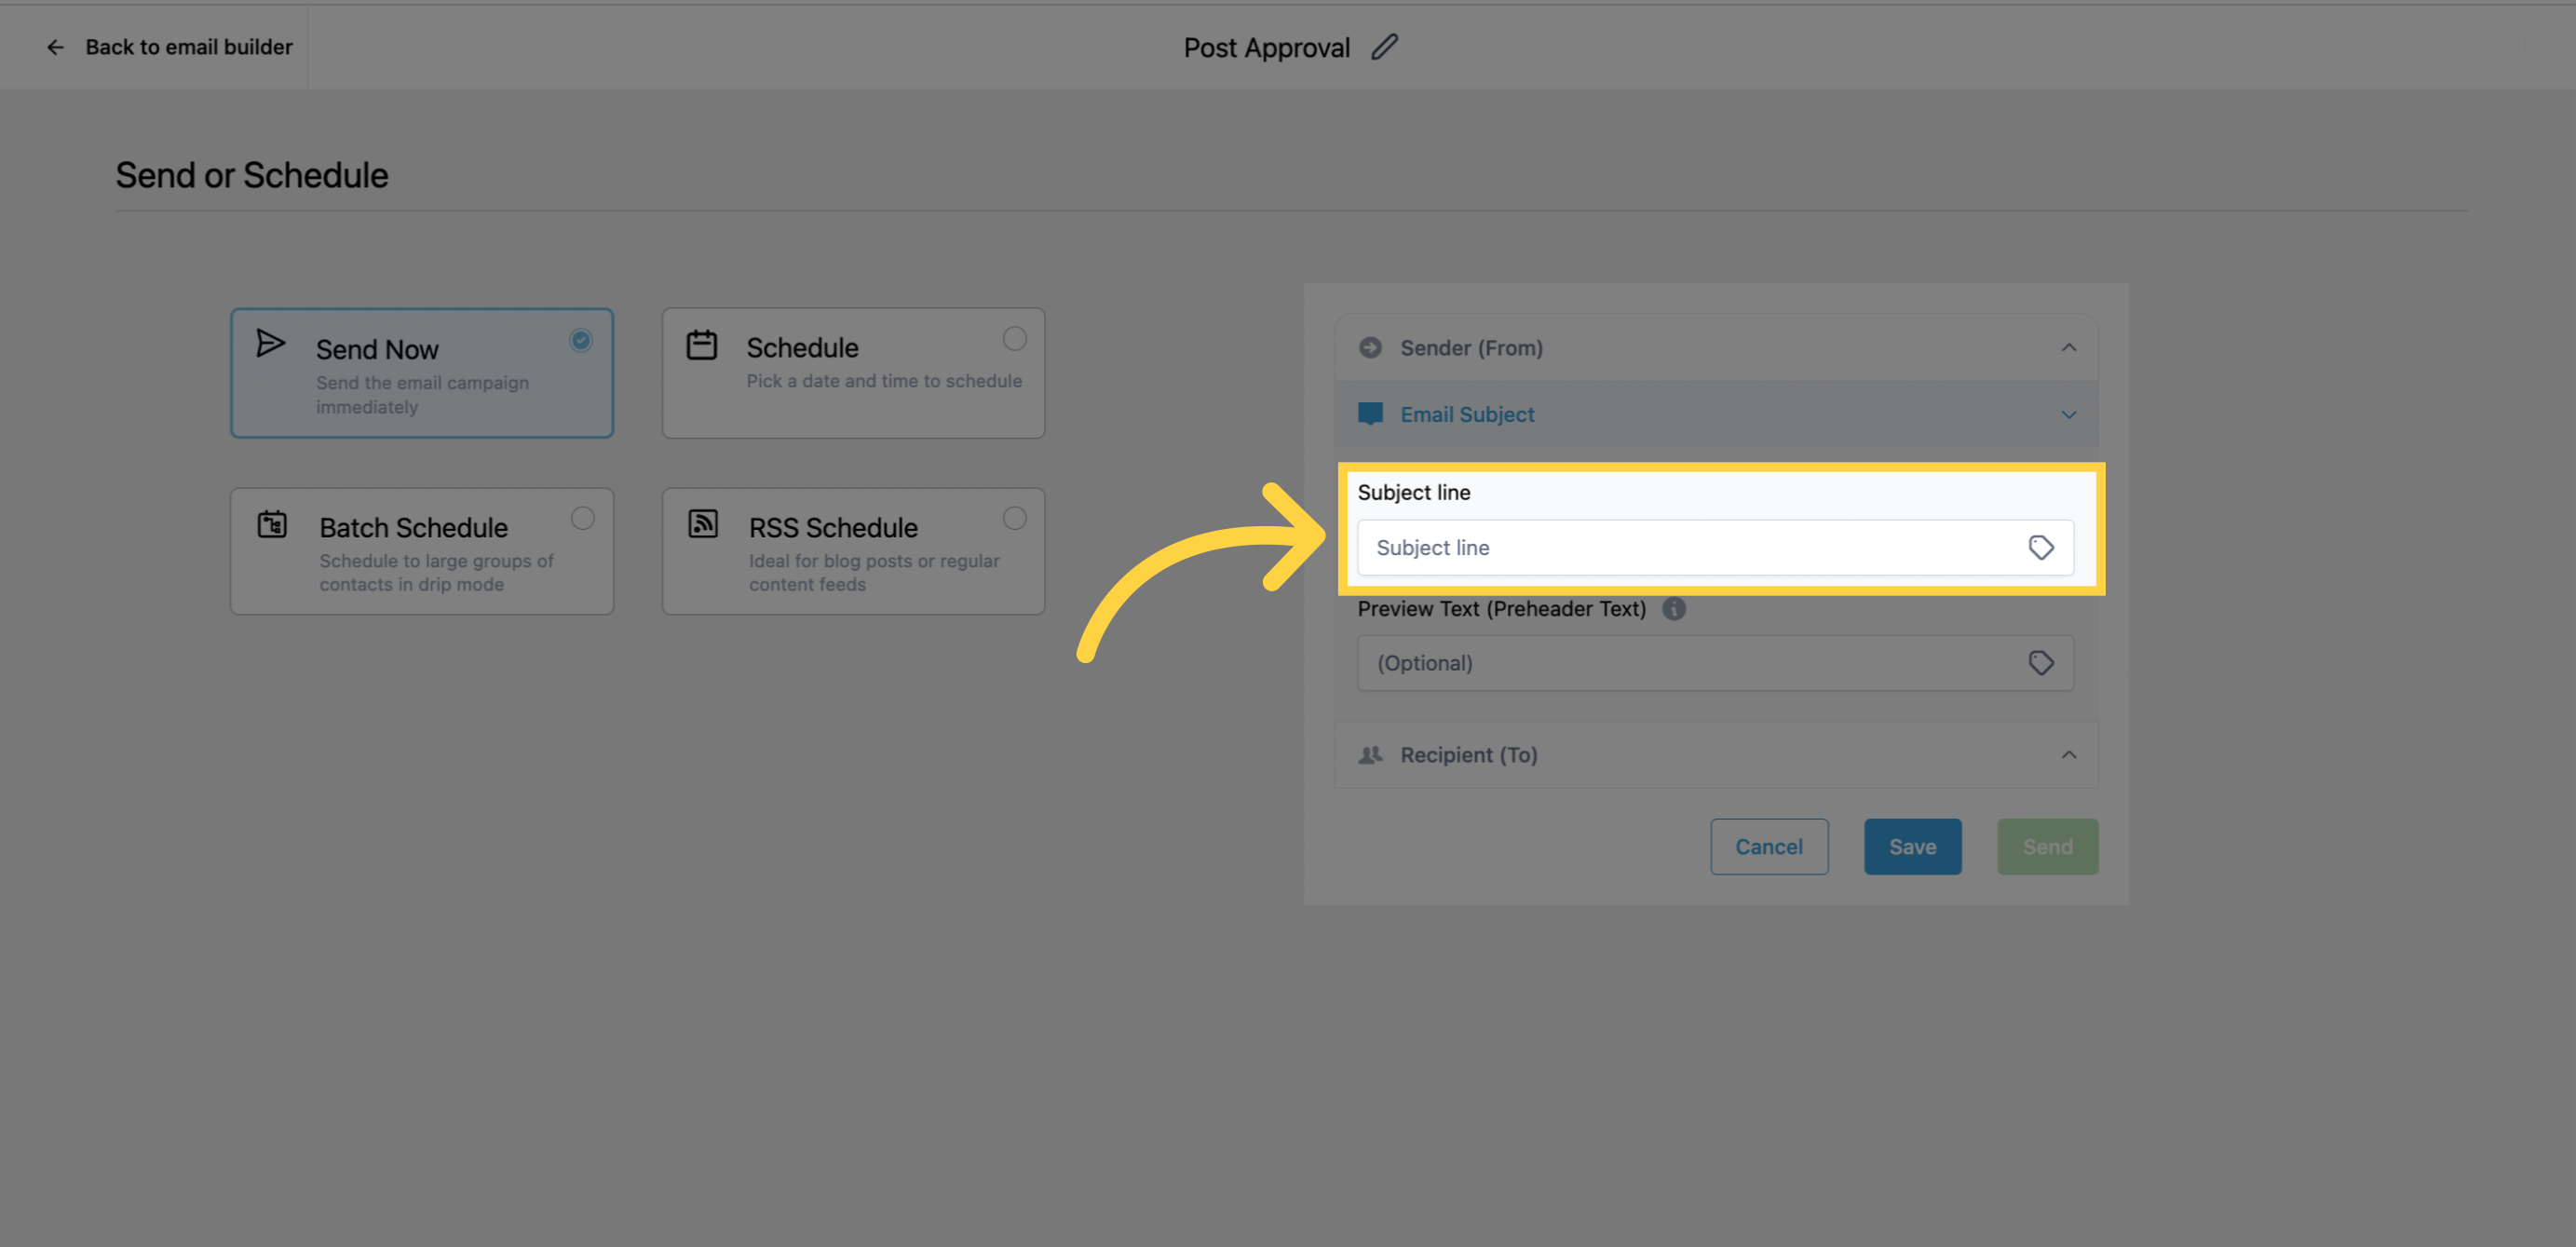
Add a subject line in the "Subject" section.
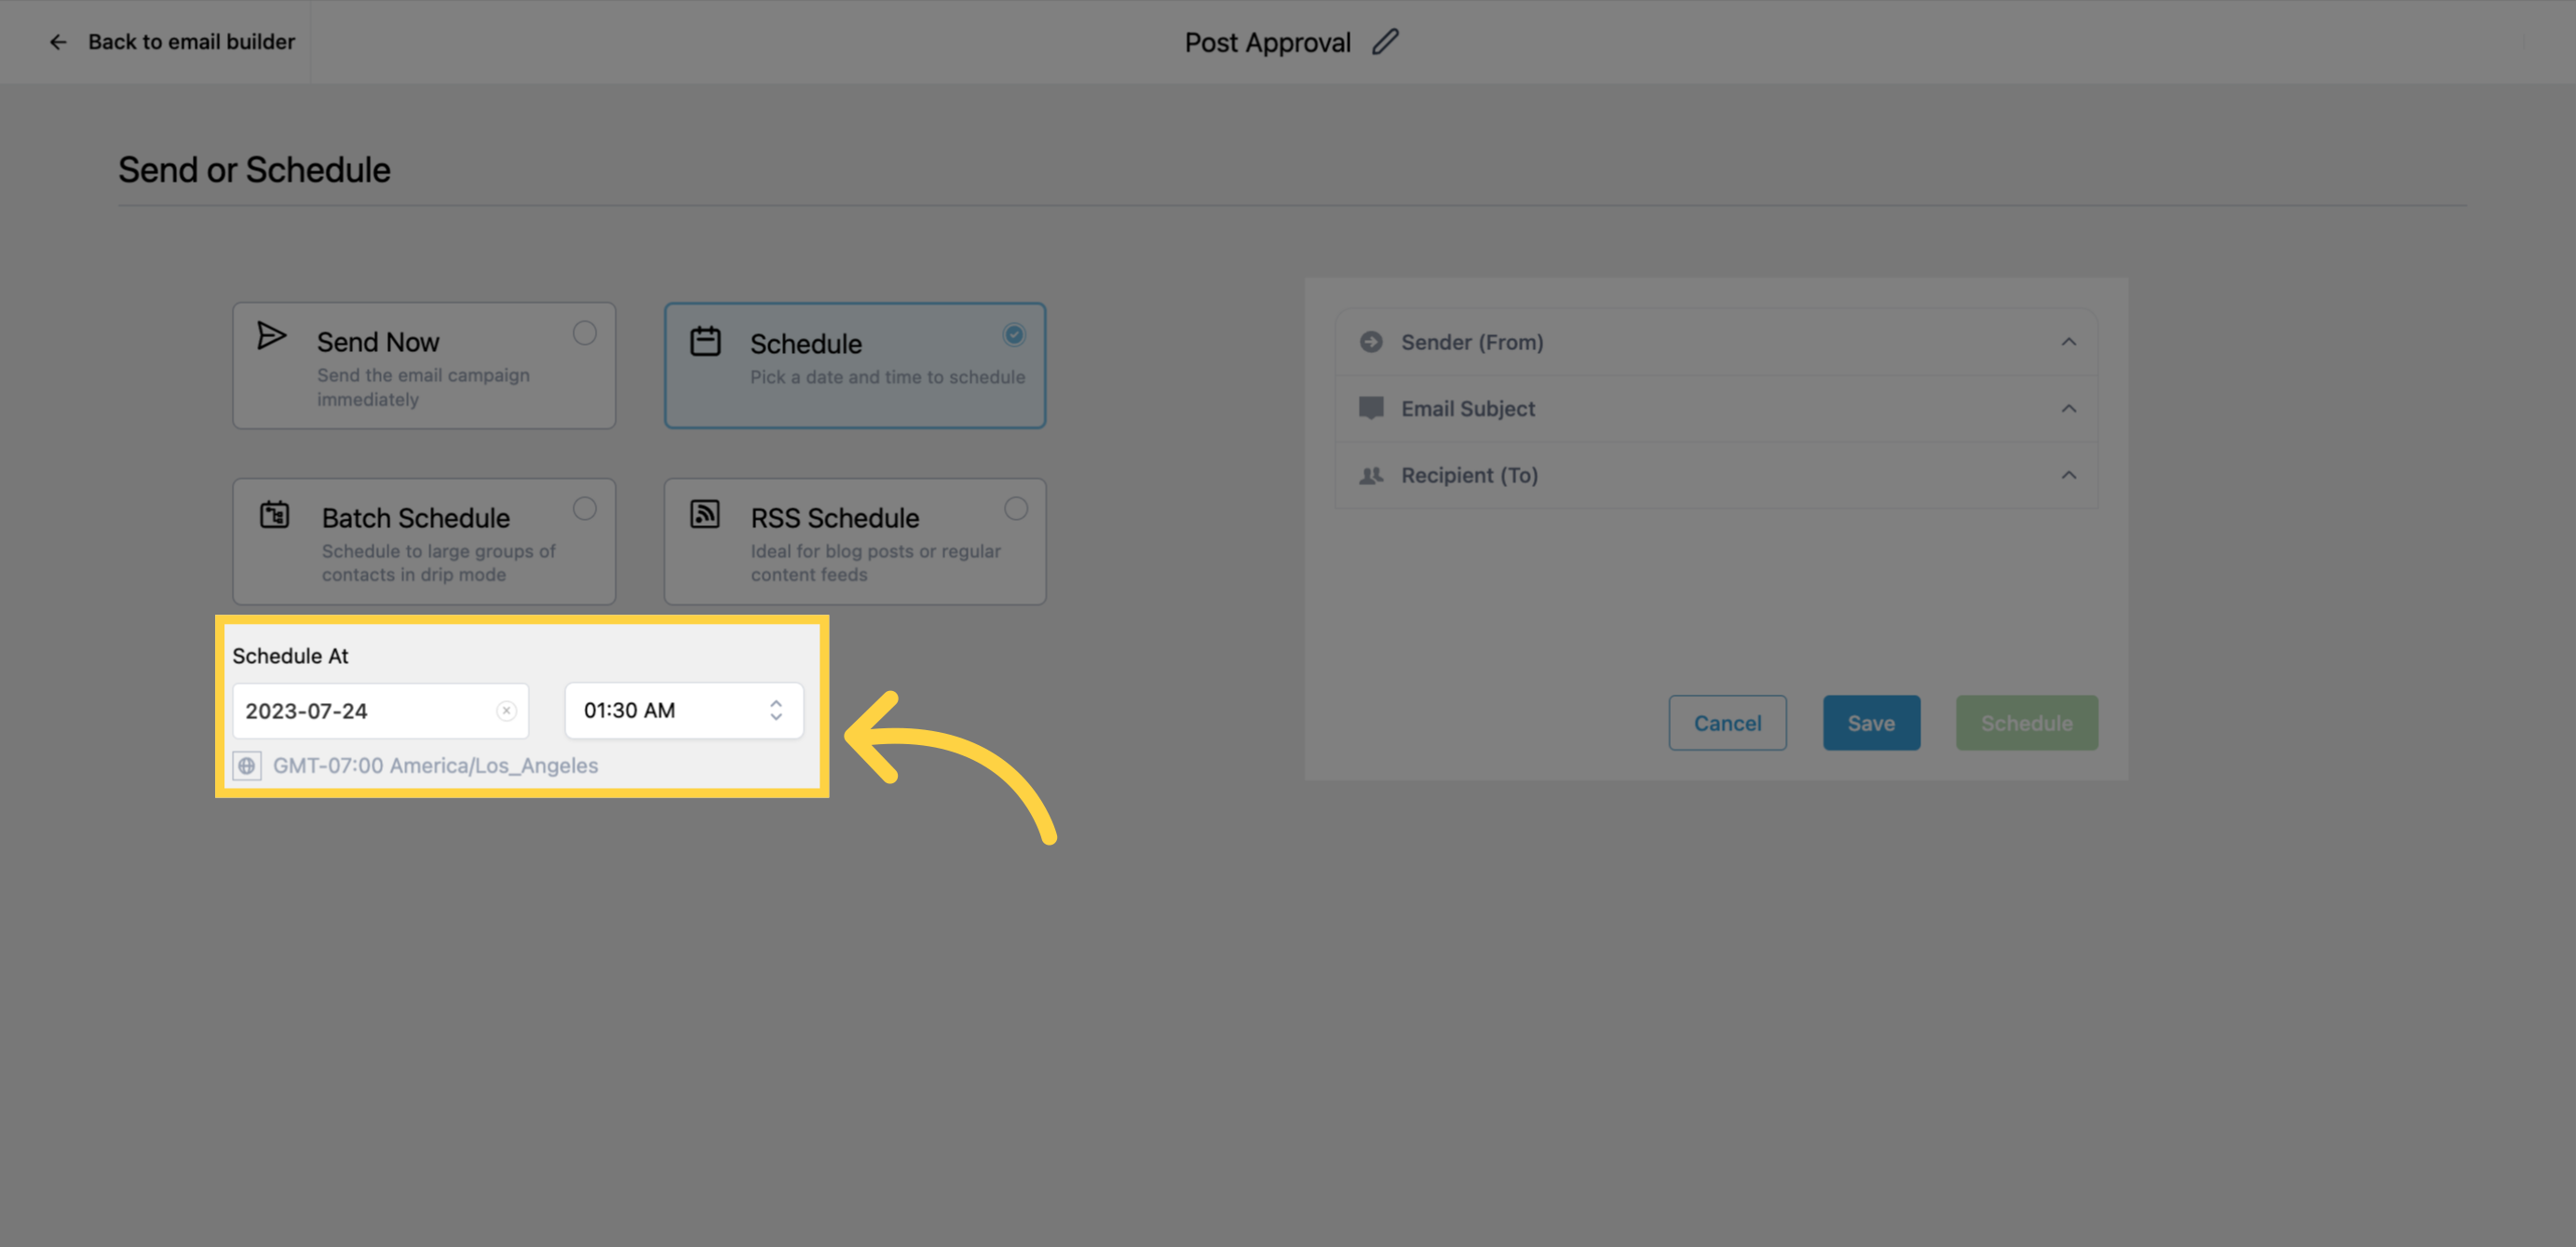
If you choose the schedule option, specify the date and time (keep in mind that the email will be sent based on your account's timezone).
You can reschedule your campaign up to one hour before the execution date/time. Click on the reschedule button and set the new date/time for the campaign.
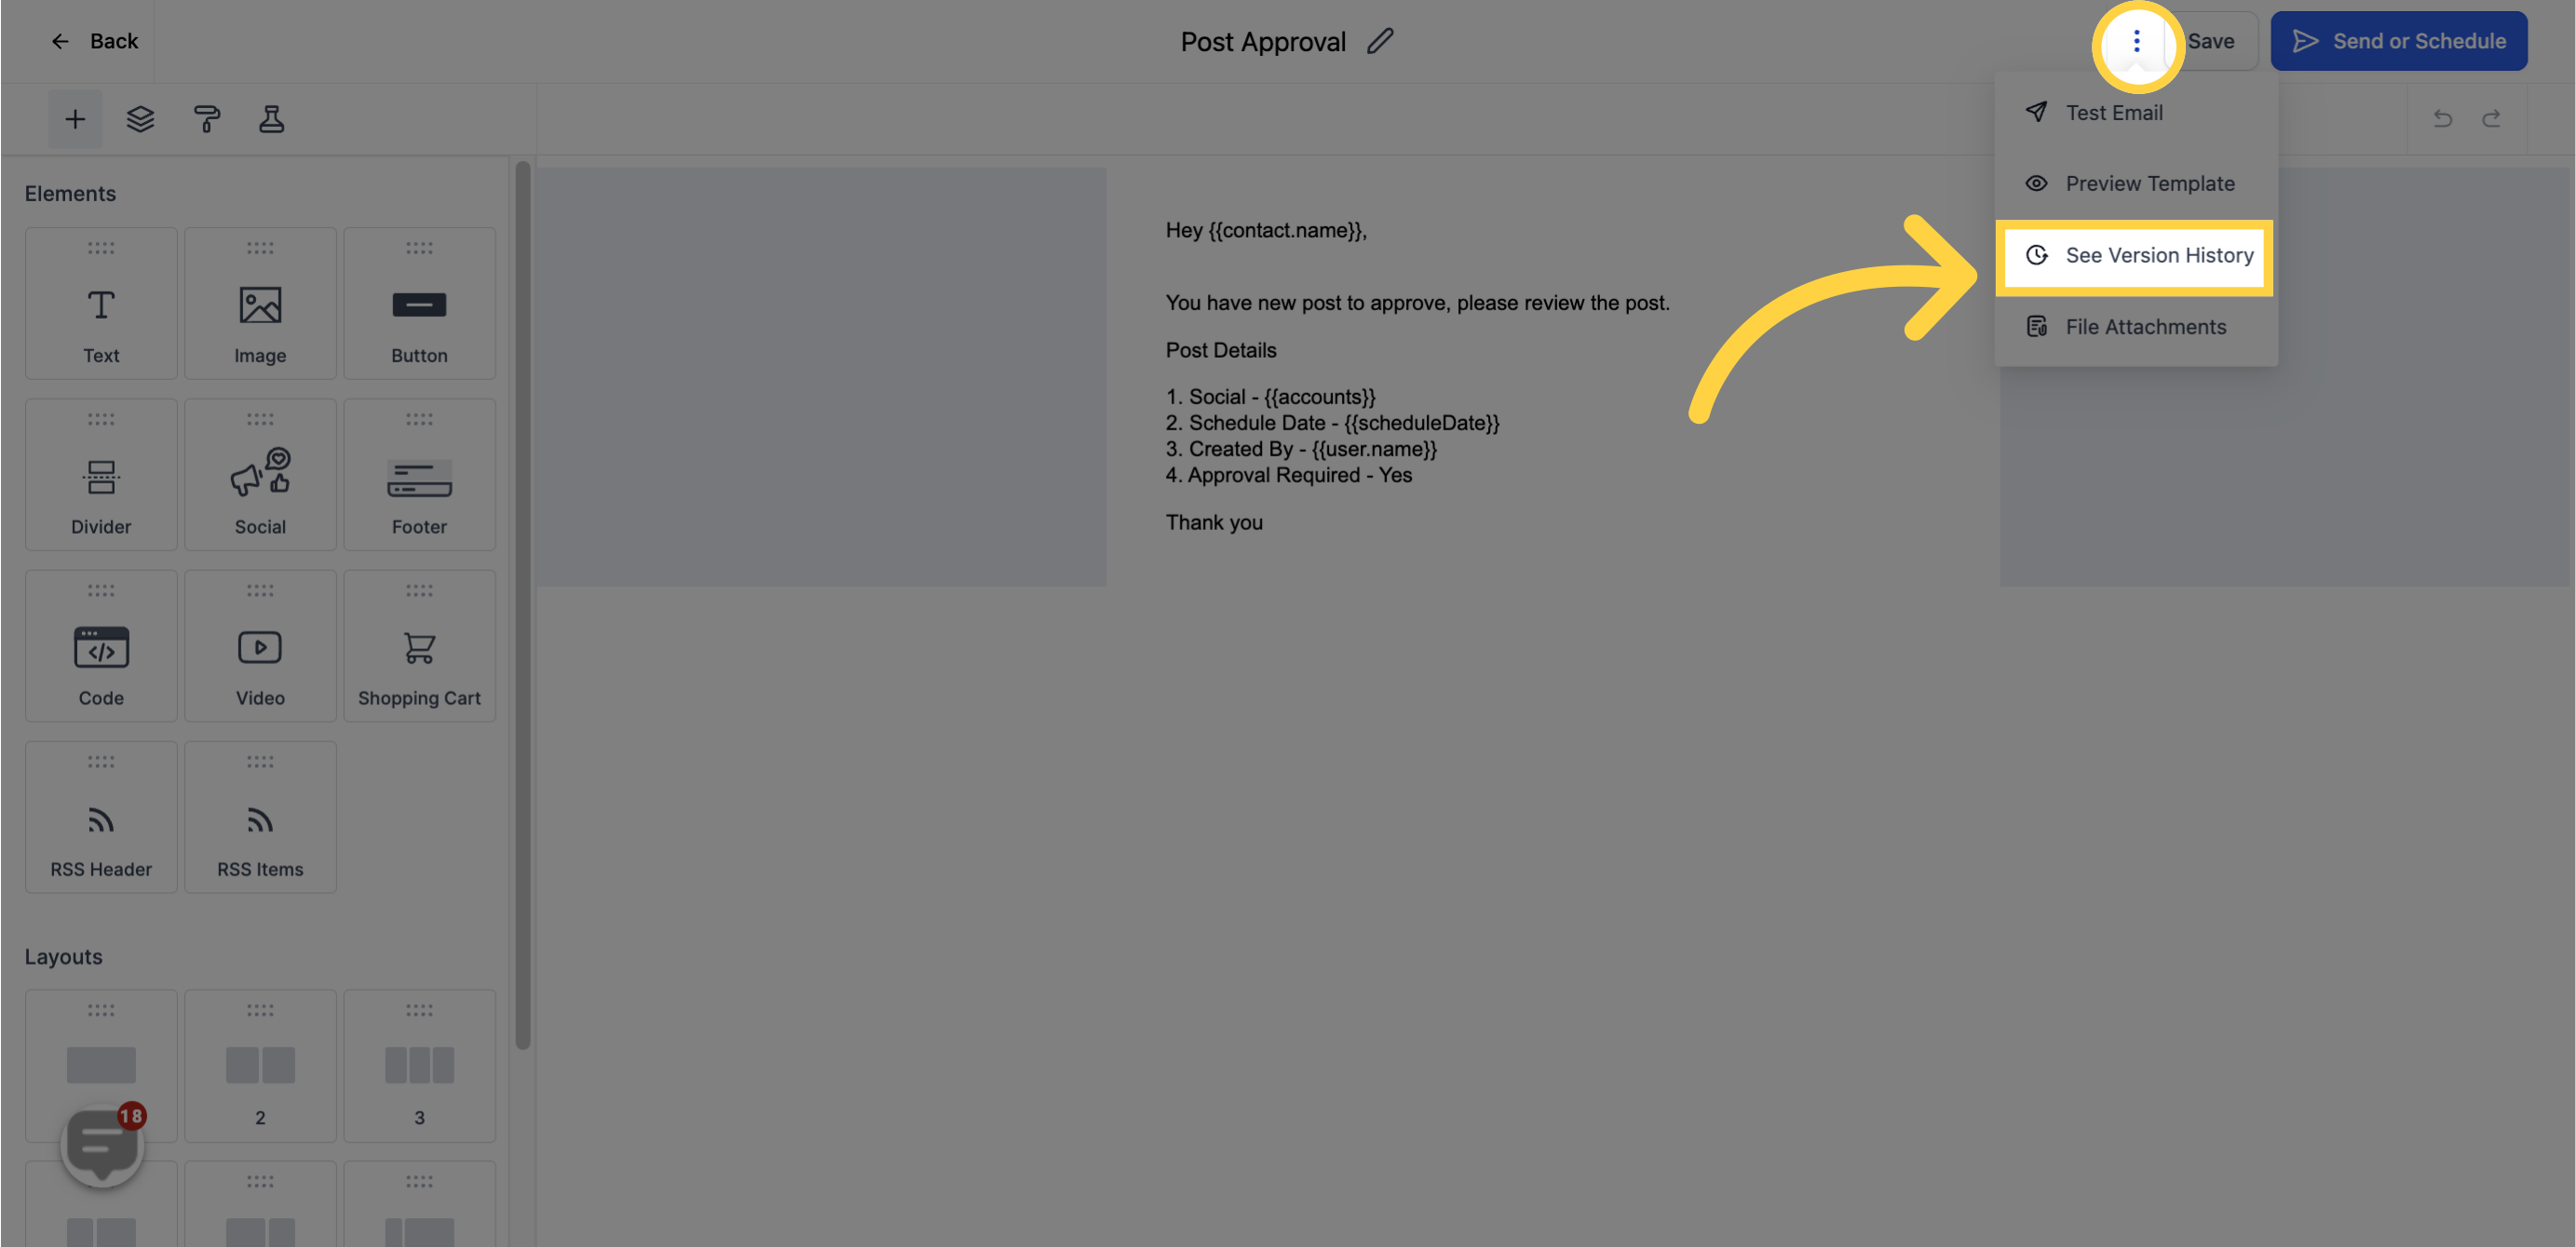
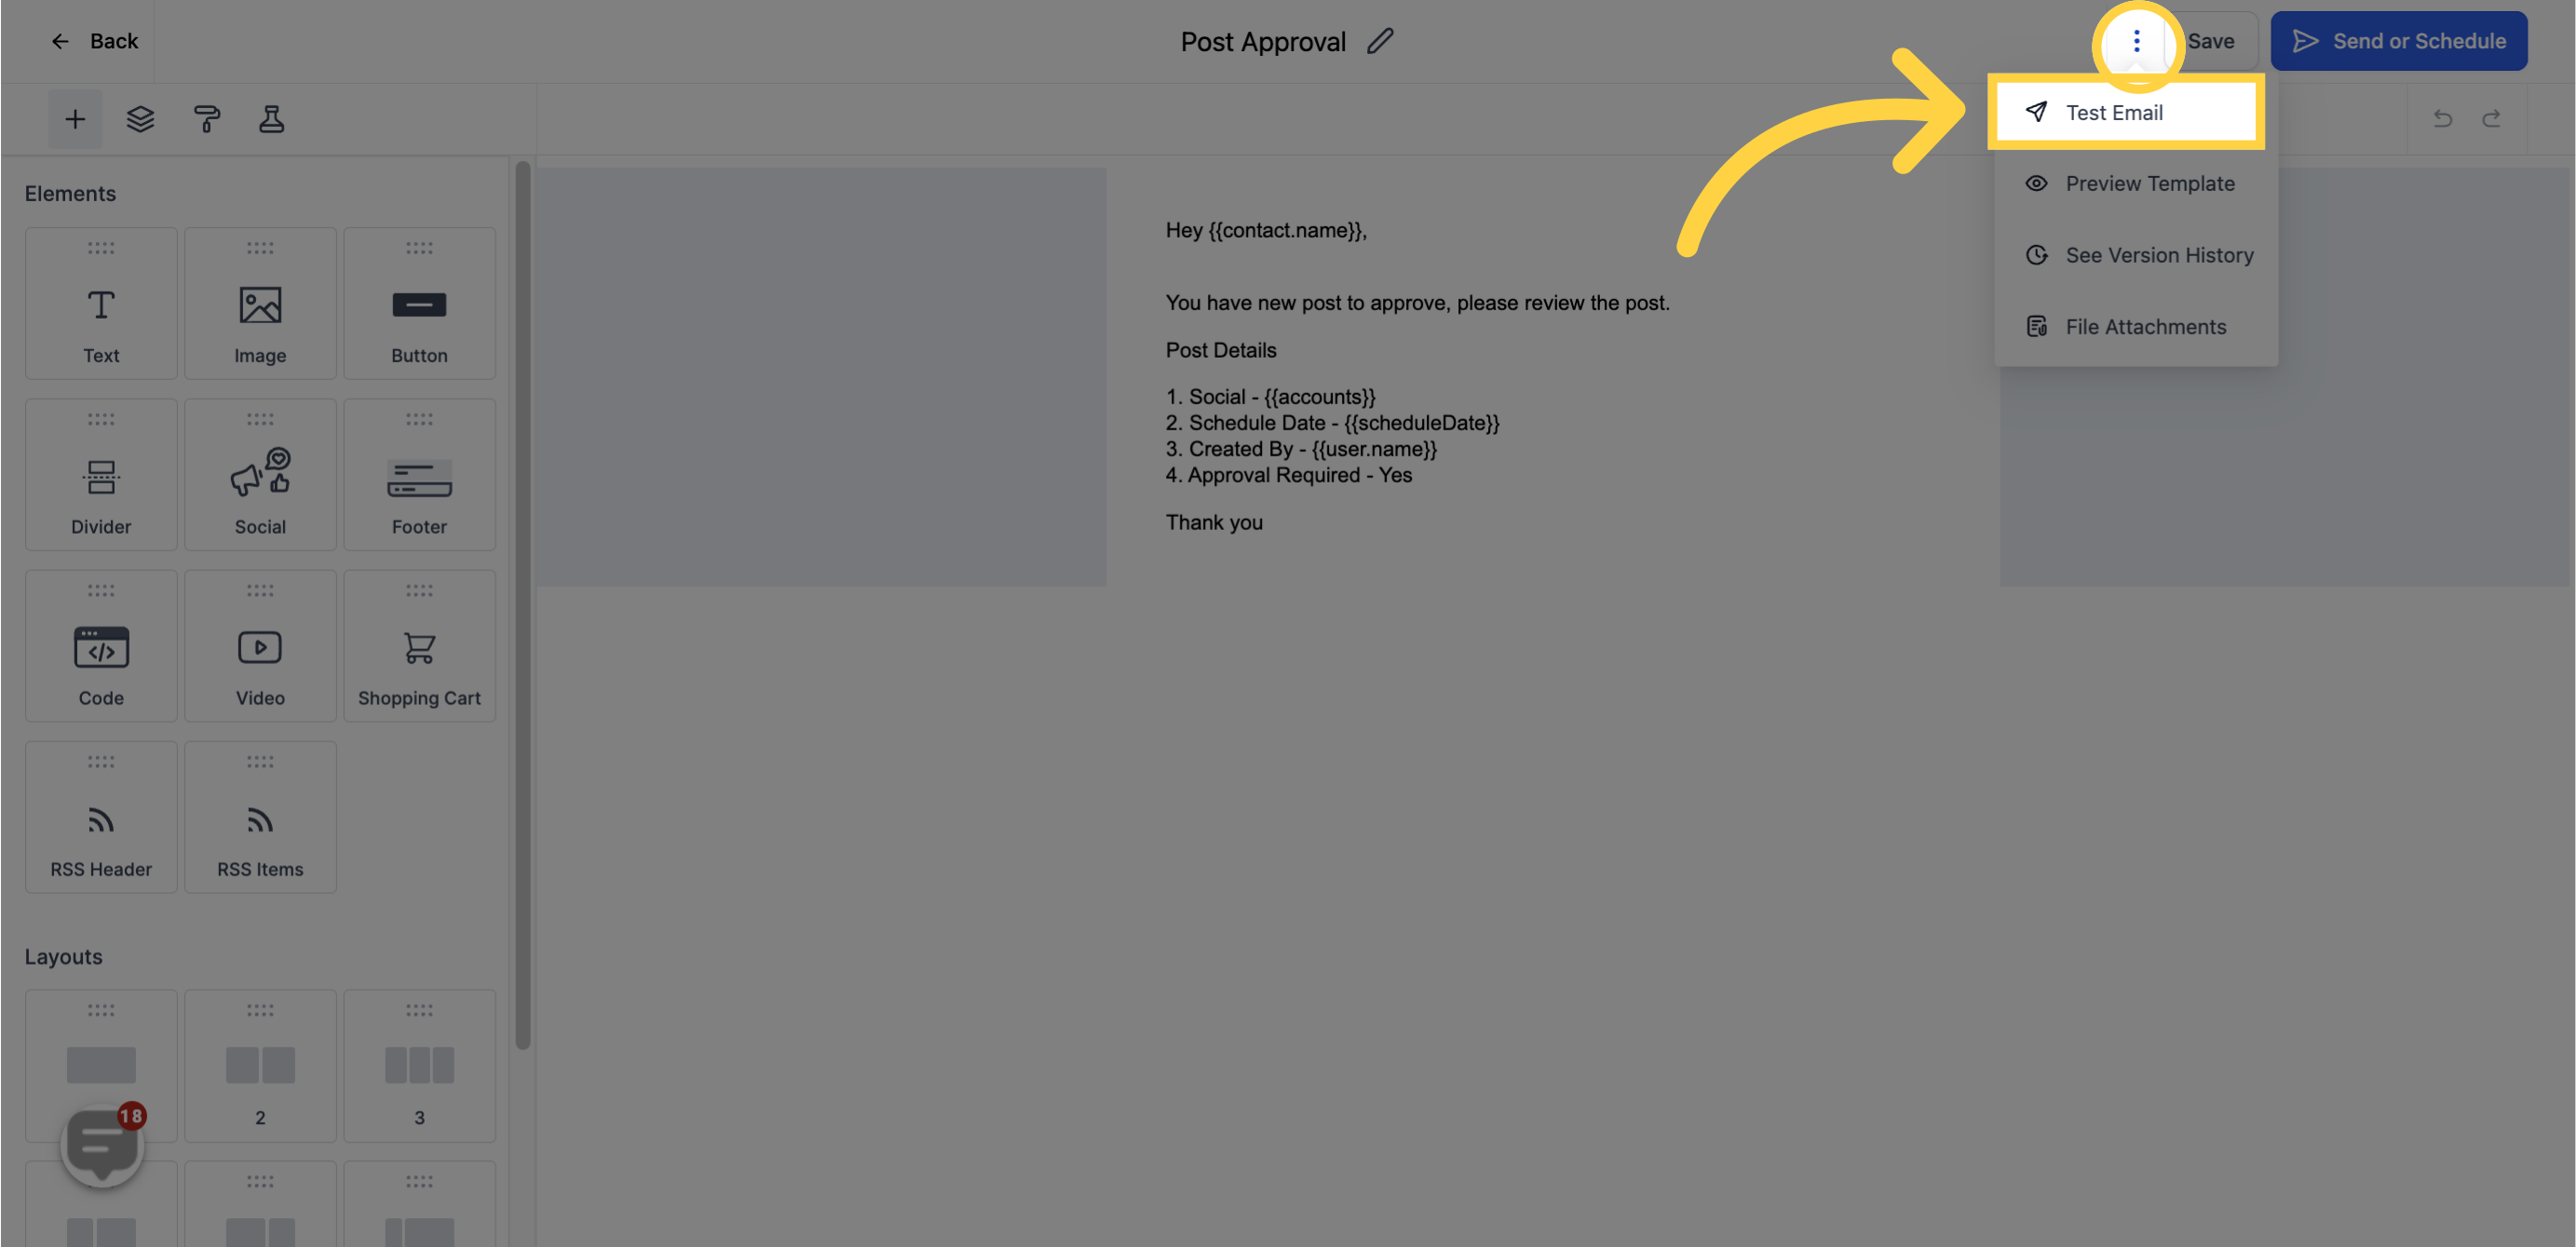
To test how your email will appear to leads, you can send a test email. Click on the three dots next to the Save button, select "Test Email," provide the necessary details, and click on "Send Test Email."
If needed, you can restore older versions of the email campaign by clicking on the three dots next to the Save button. From the dropdown menu, select "Version History" to view and restore previous versions.