How to use file upload custom field in forms or surveys

This step-by-step guide will demonstrate the process of creating and using a file upload custom field in both forms and surveys.

1. Click "Marketing"

Click

2. Click "forms"

Click

3. Click "Add form"

Click

4. Click "Start from Scratch" or select from the lists of forms created

Click

5. Click "Add Form Element"

Click

6. Click "Custom Fields"

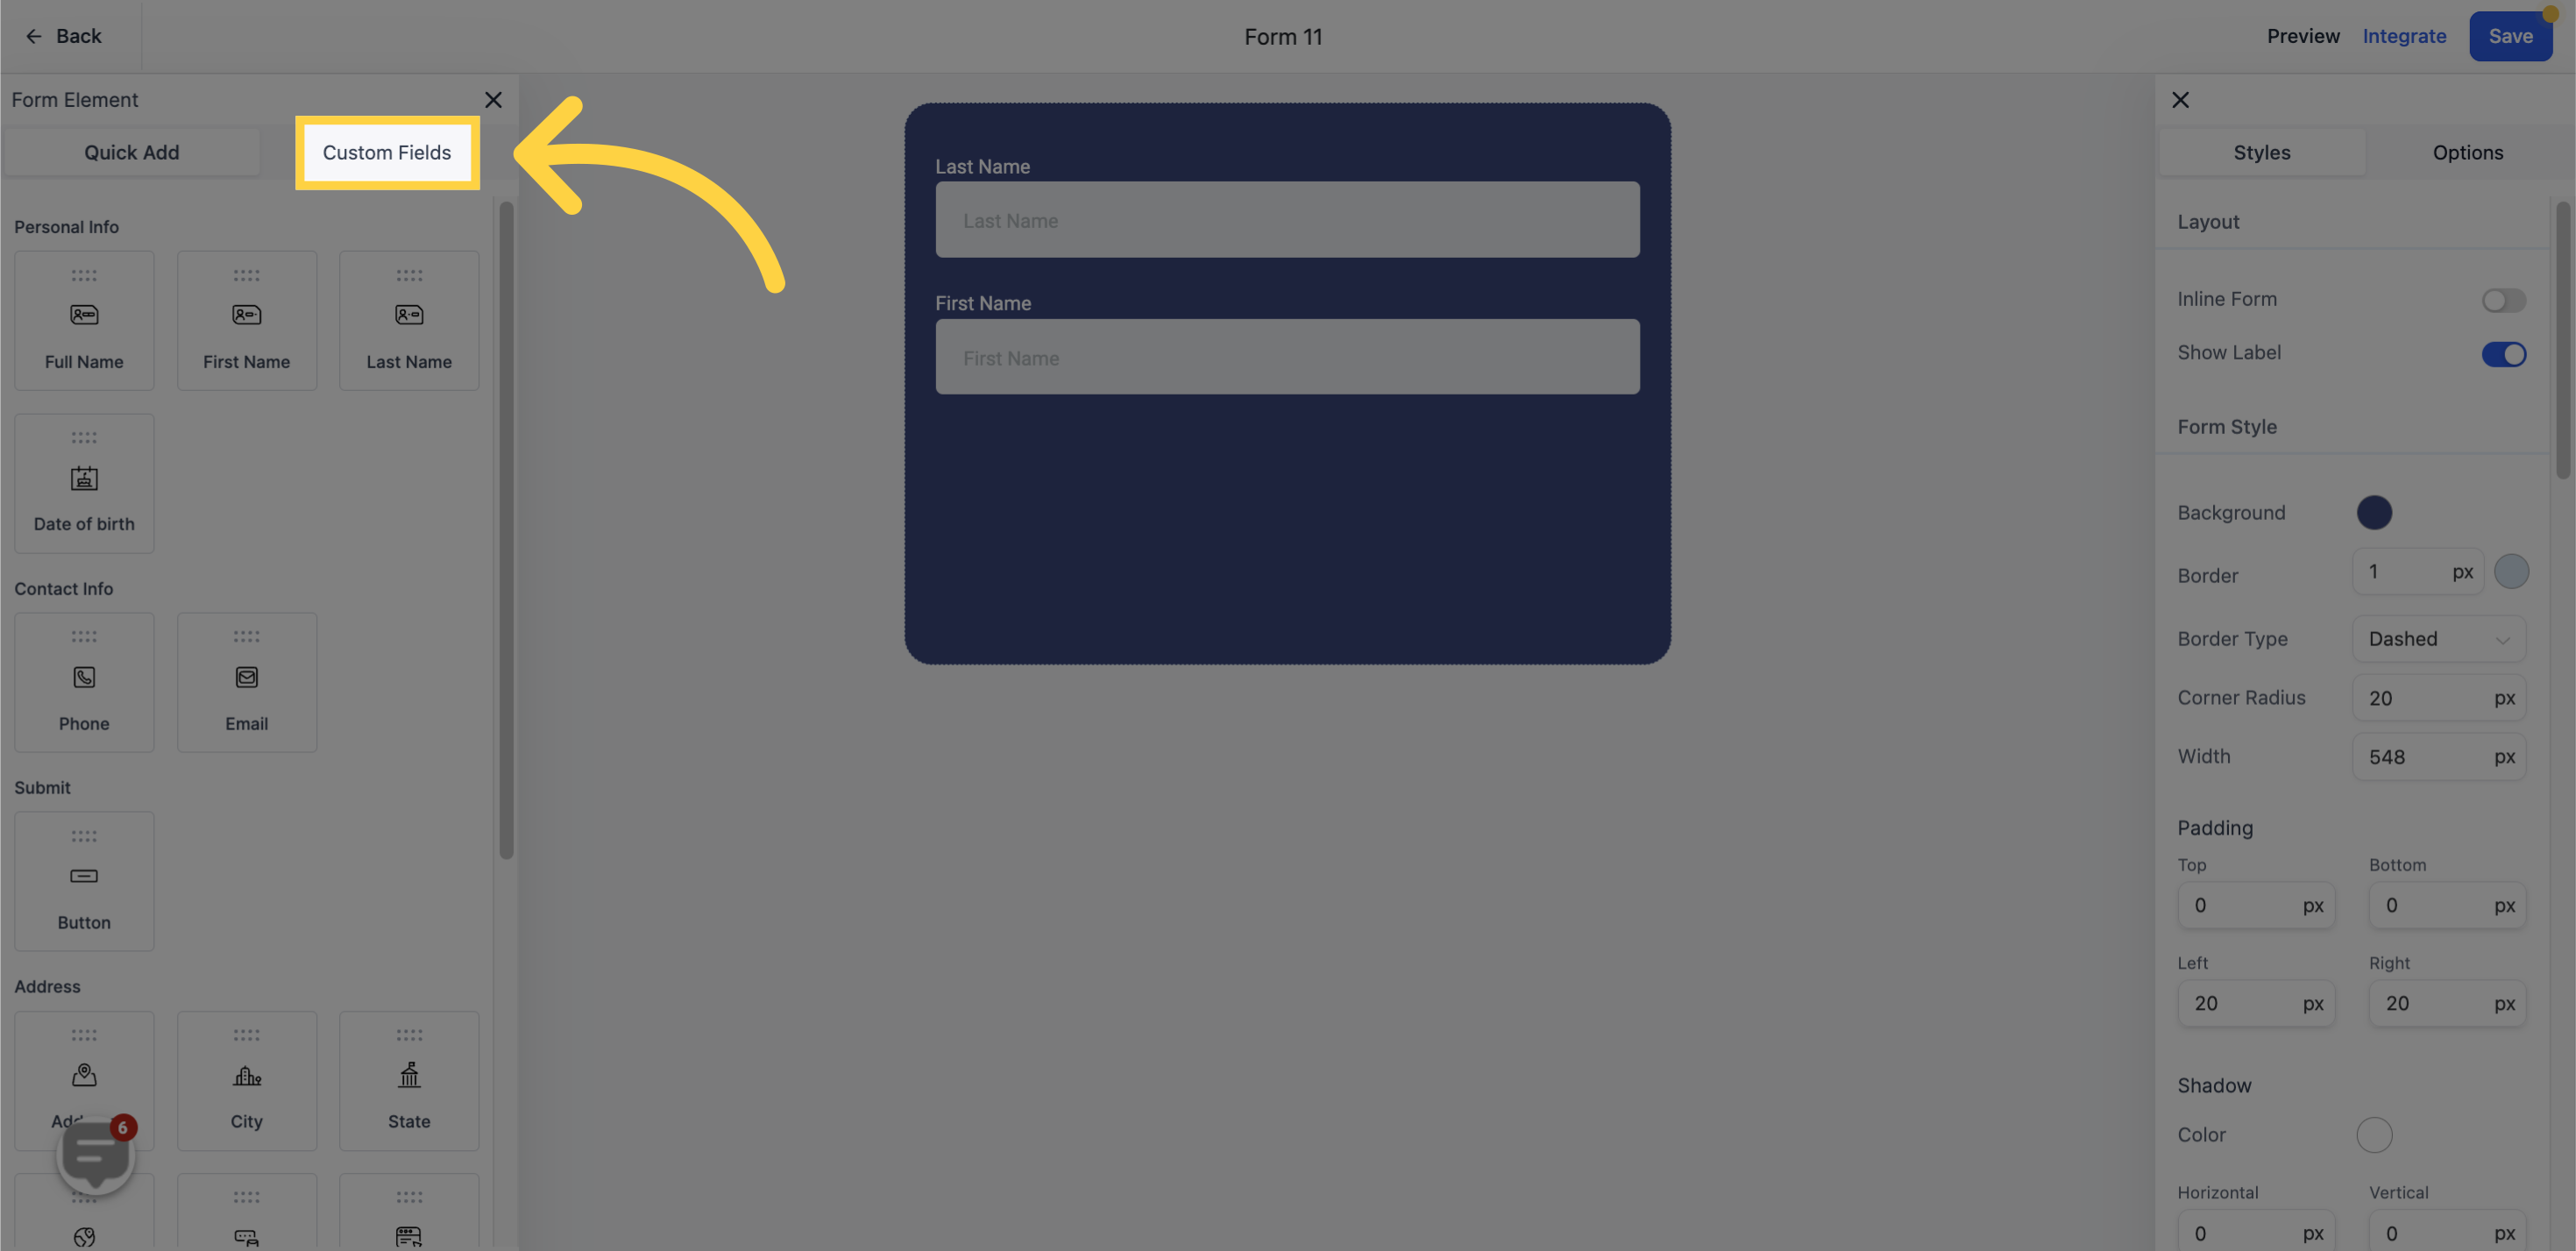
Custom Fields, on the other hand, are those that you've designed specifically to meet your business requirements. (To craft a custom field, navigate to settings and select “custom fields”)

Click

7. Click "Add Custom Fields"

Click

8. Click "File upload"

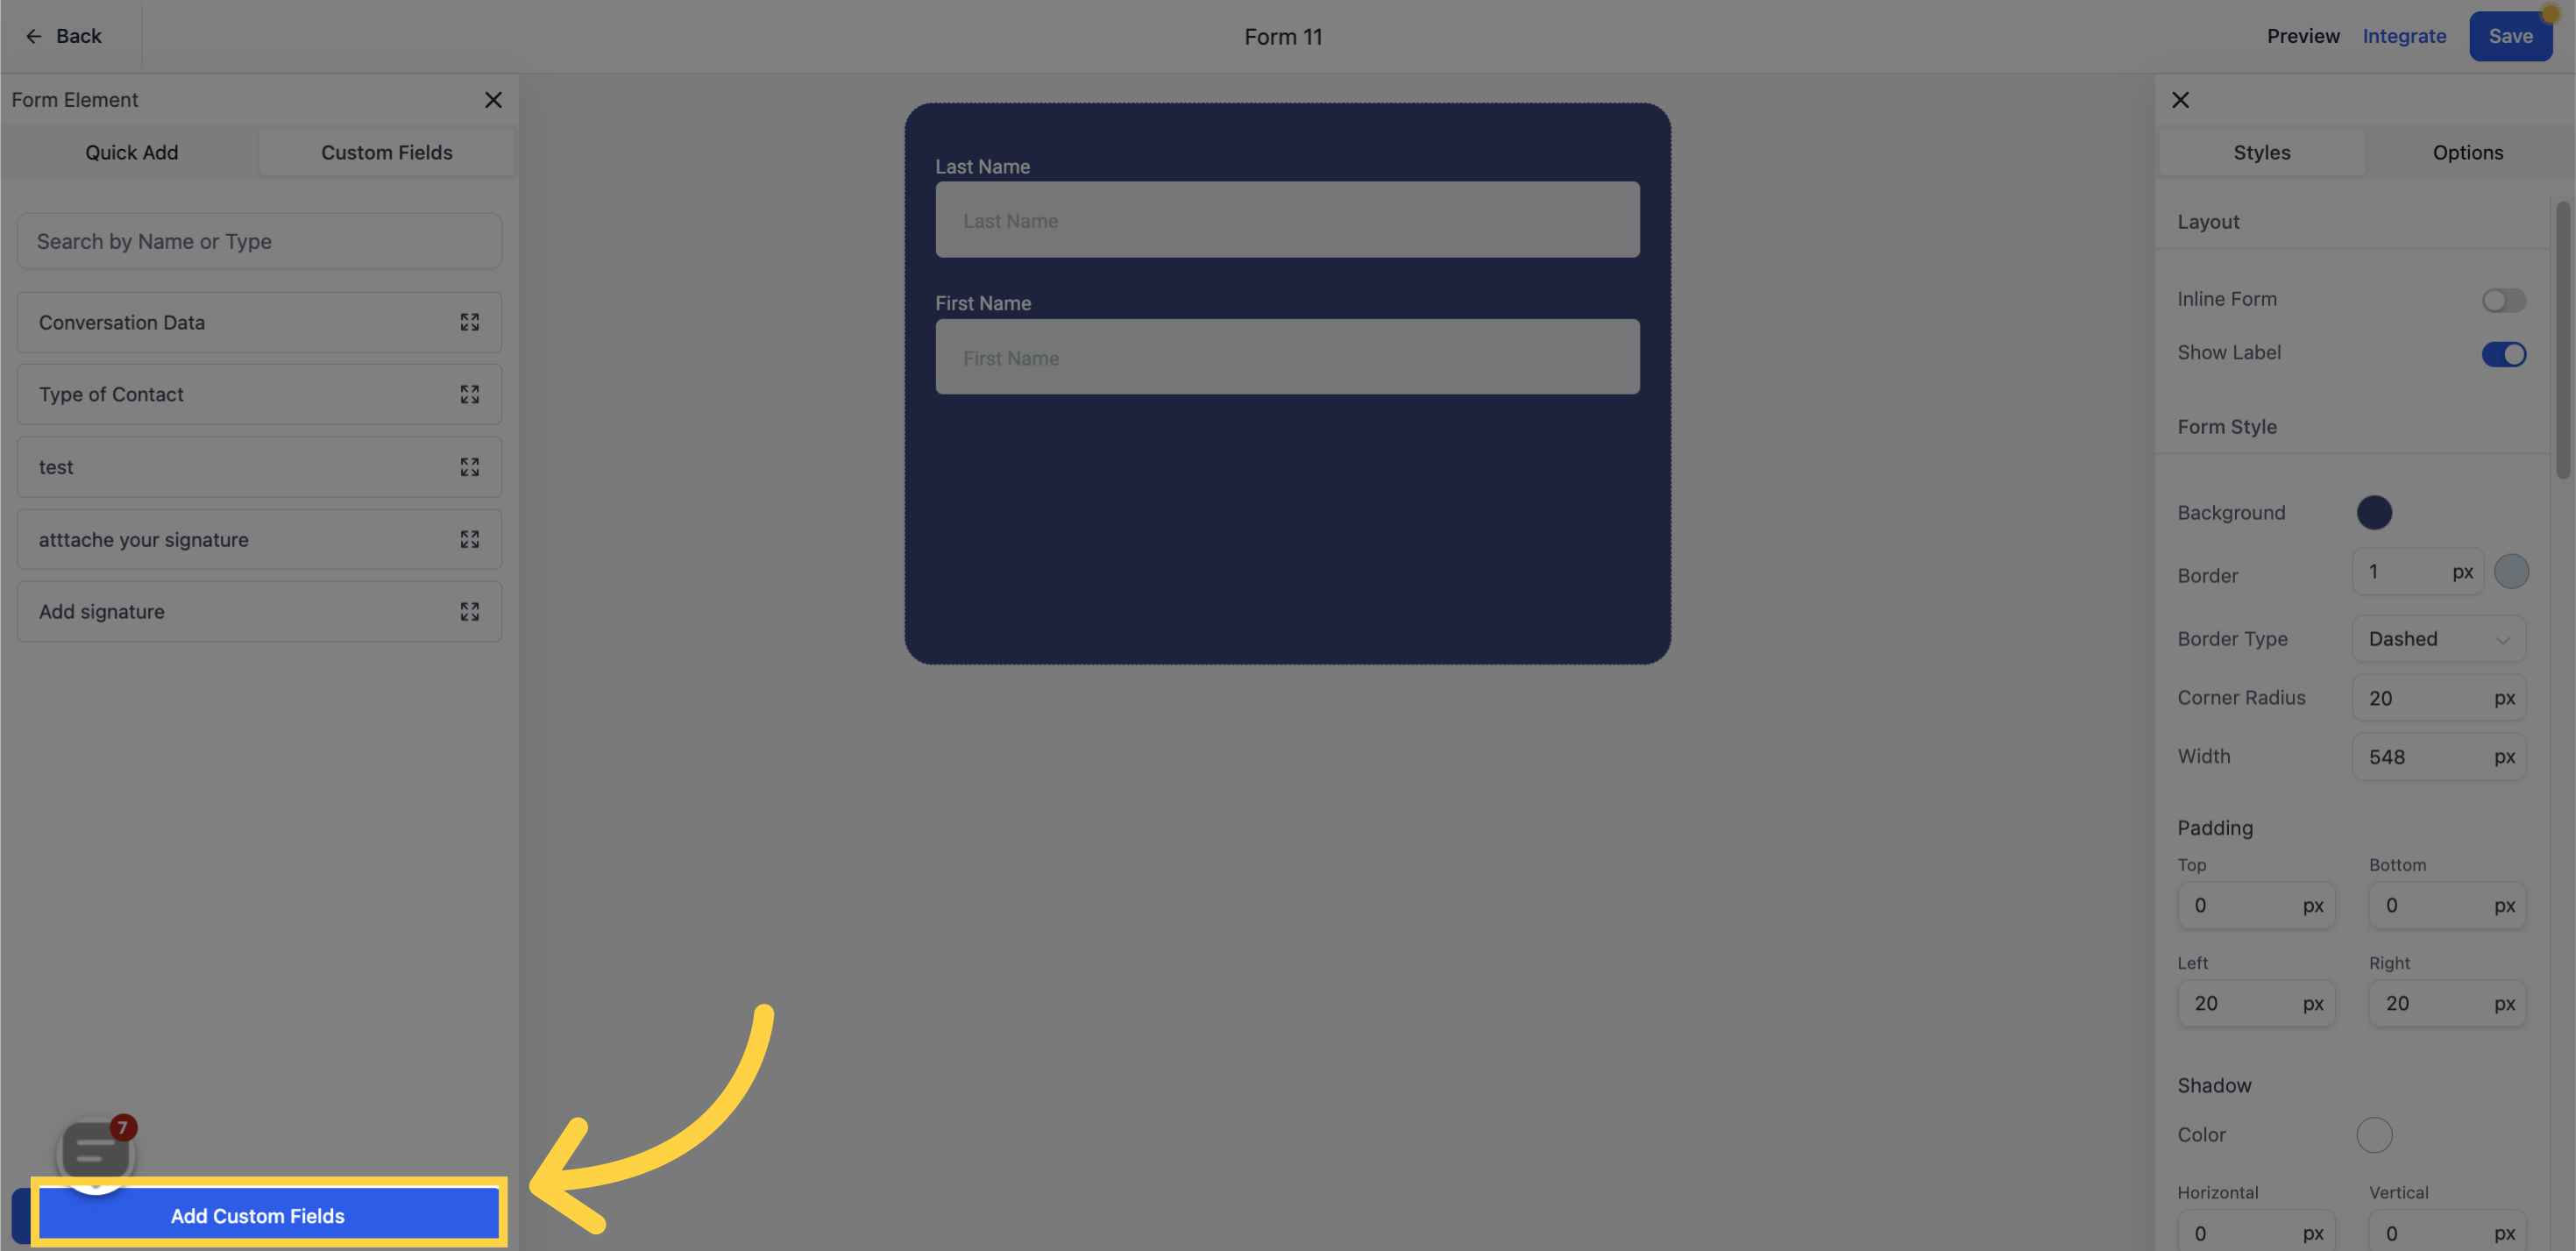
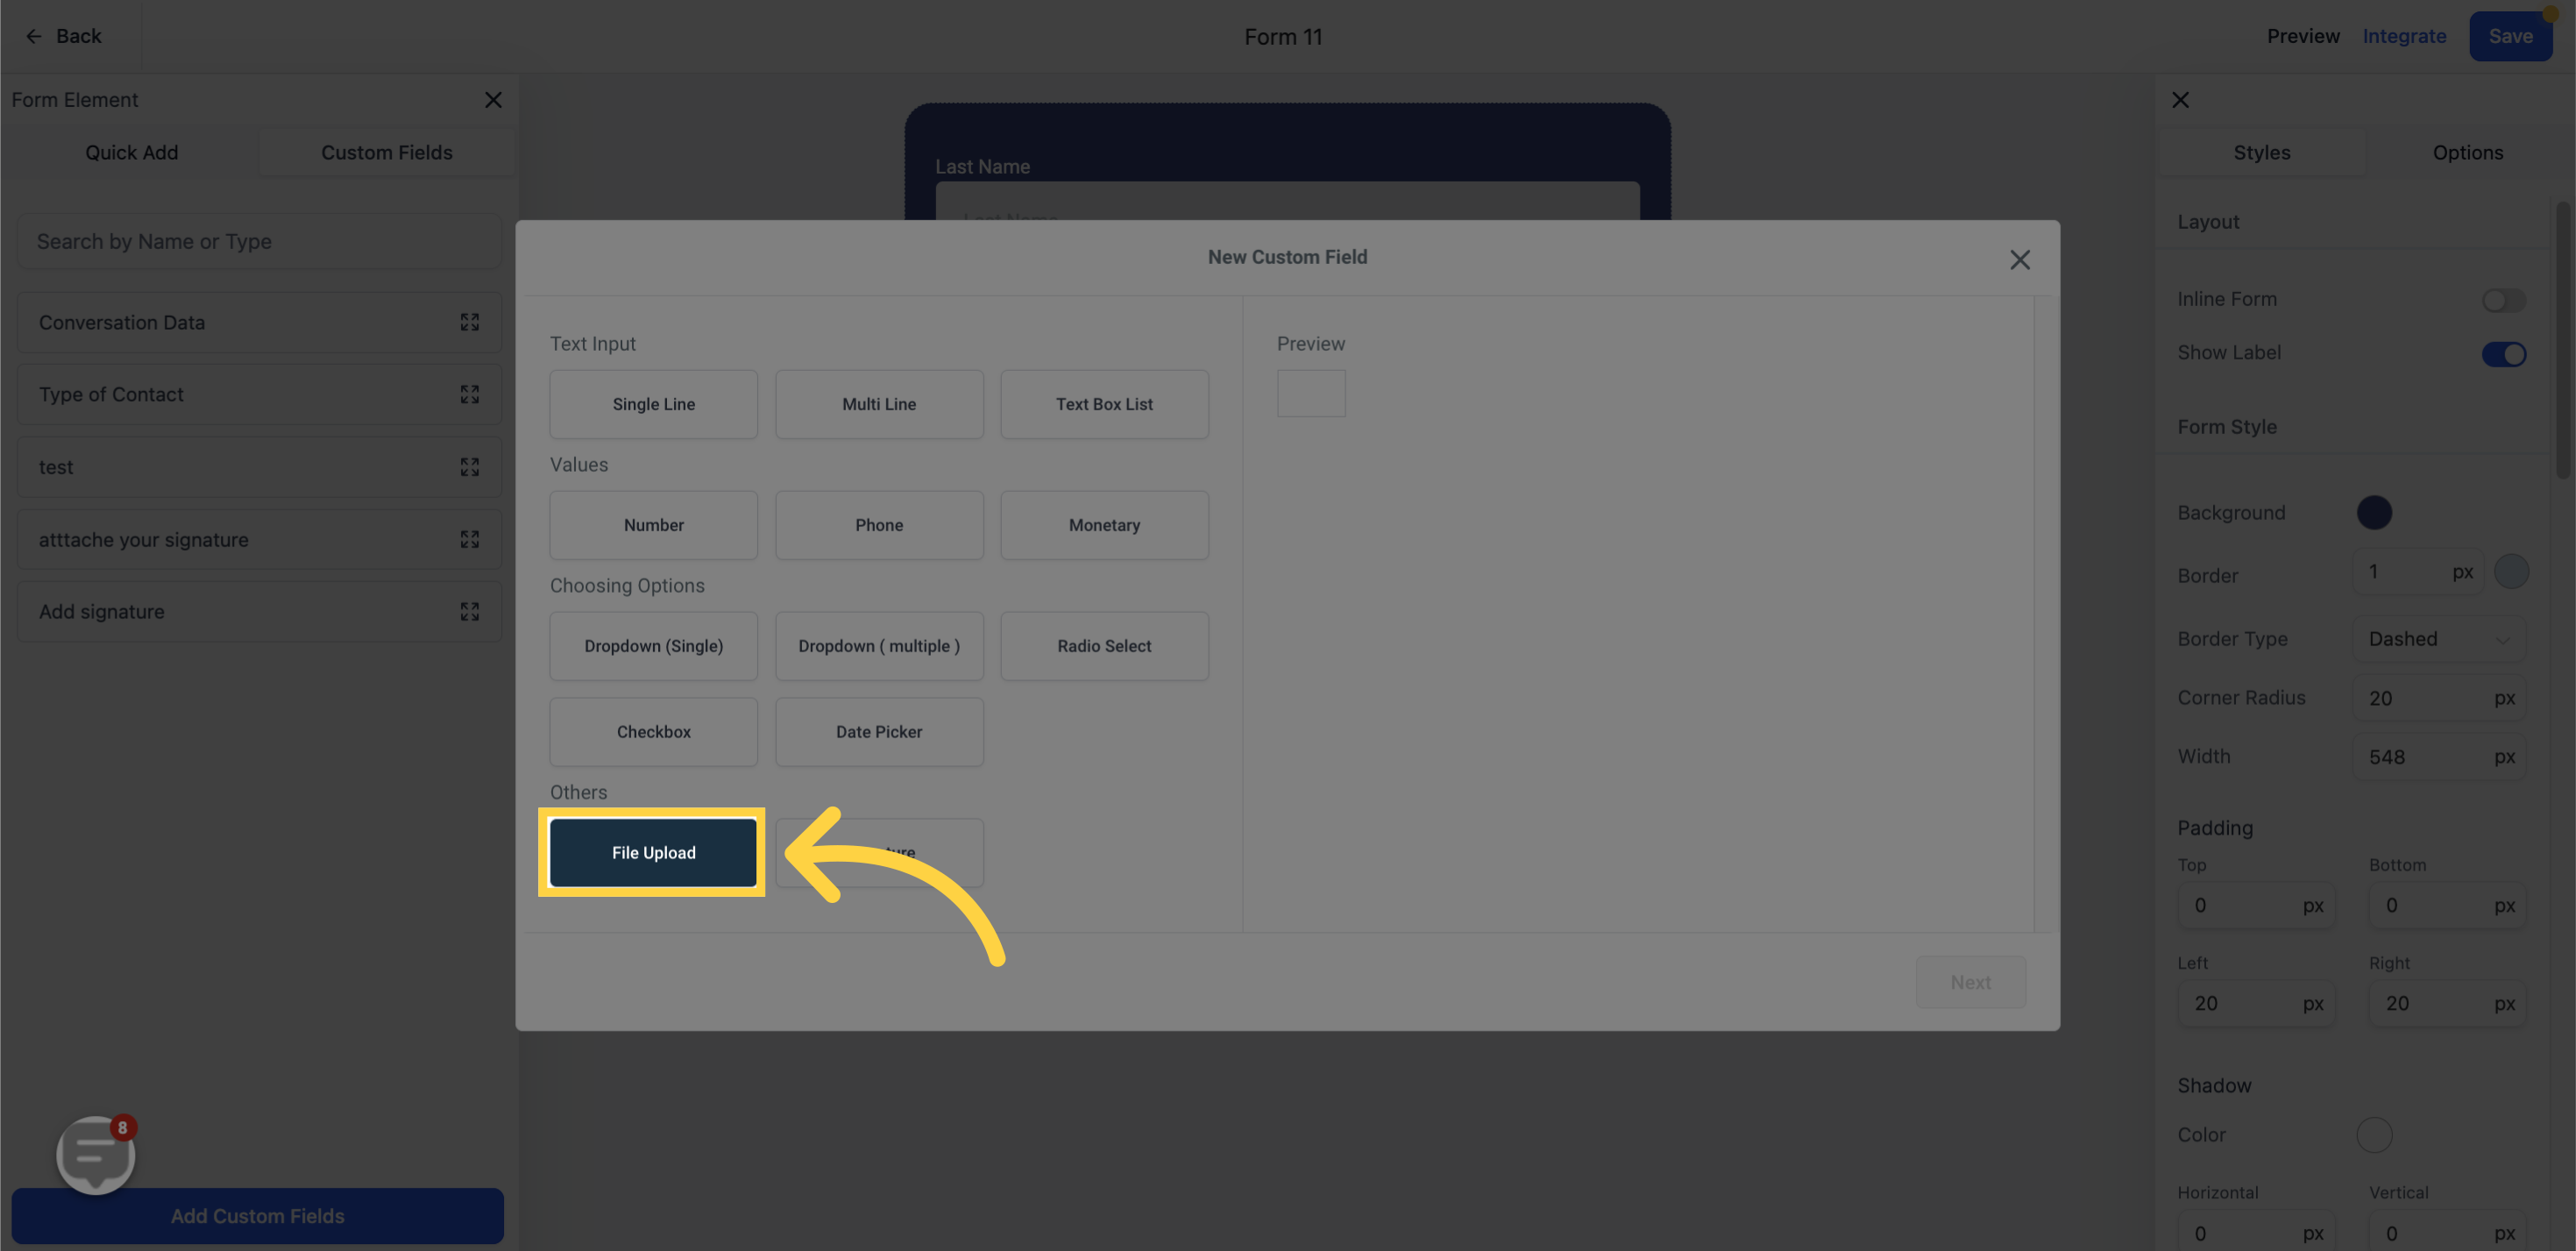
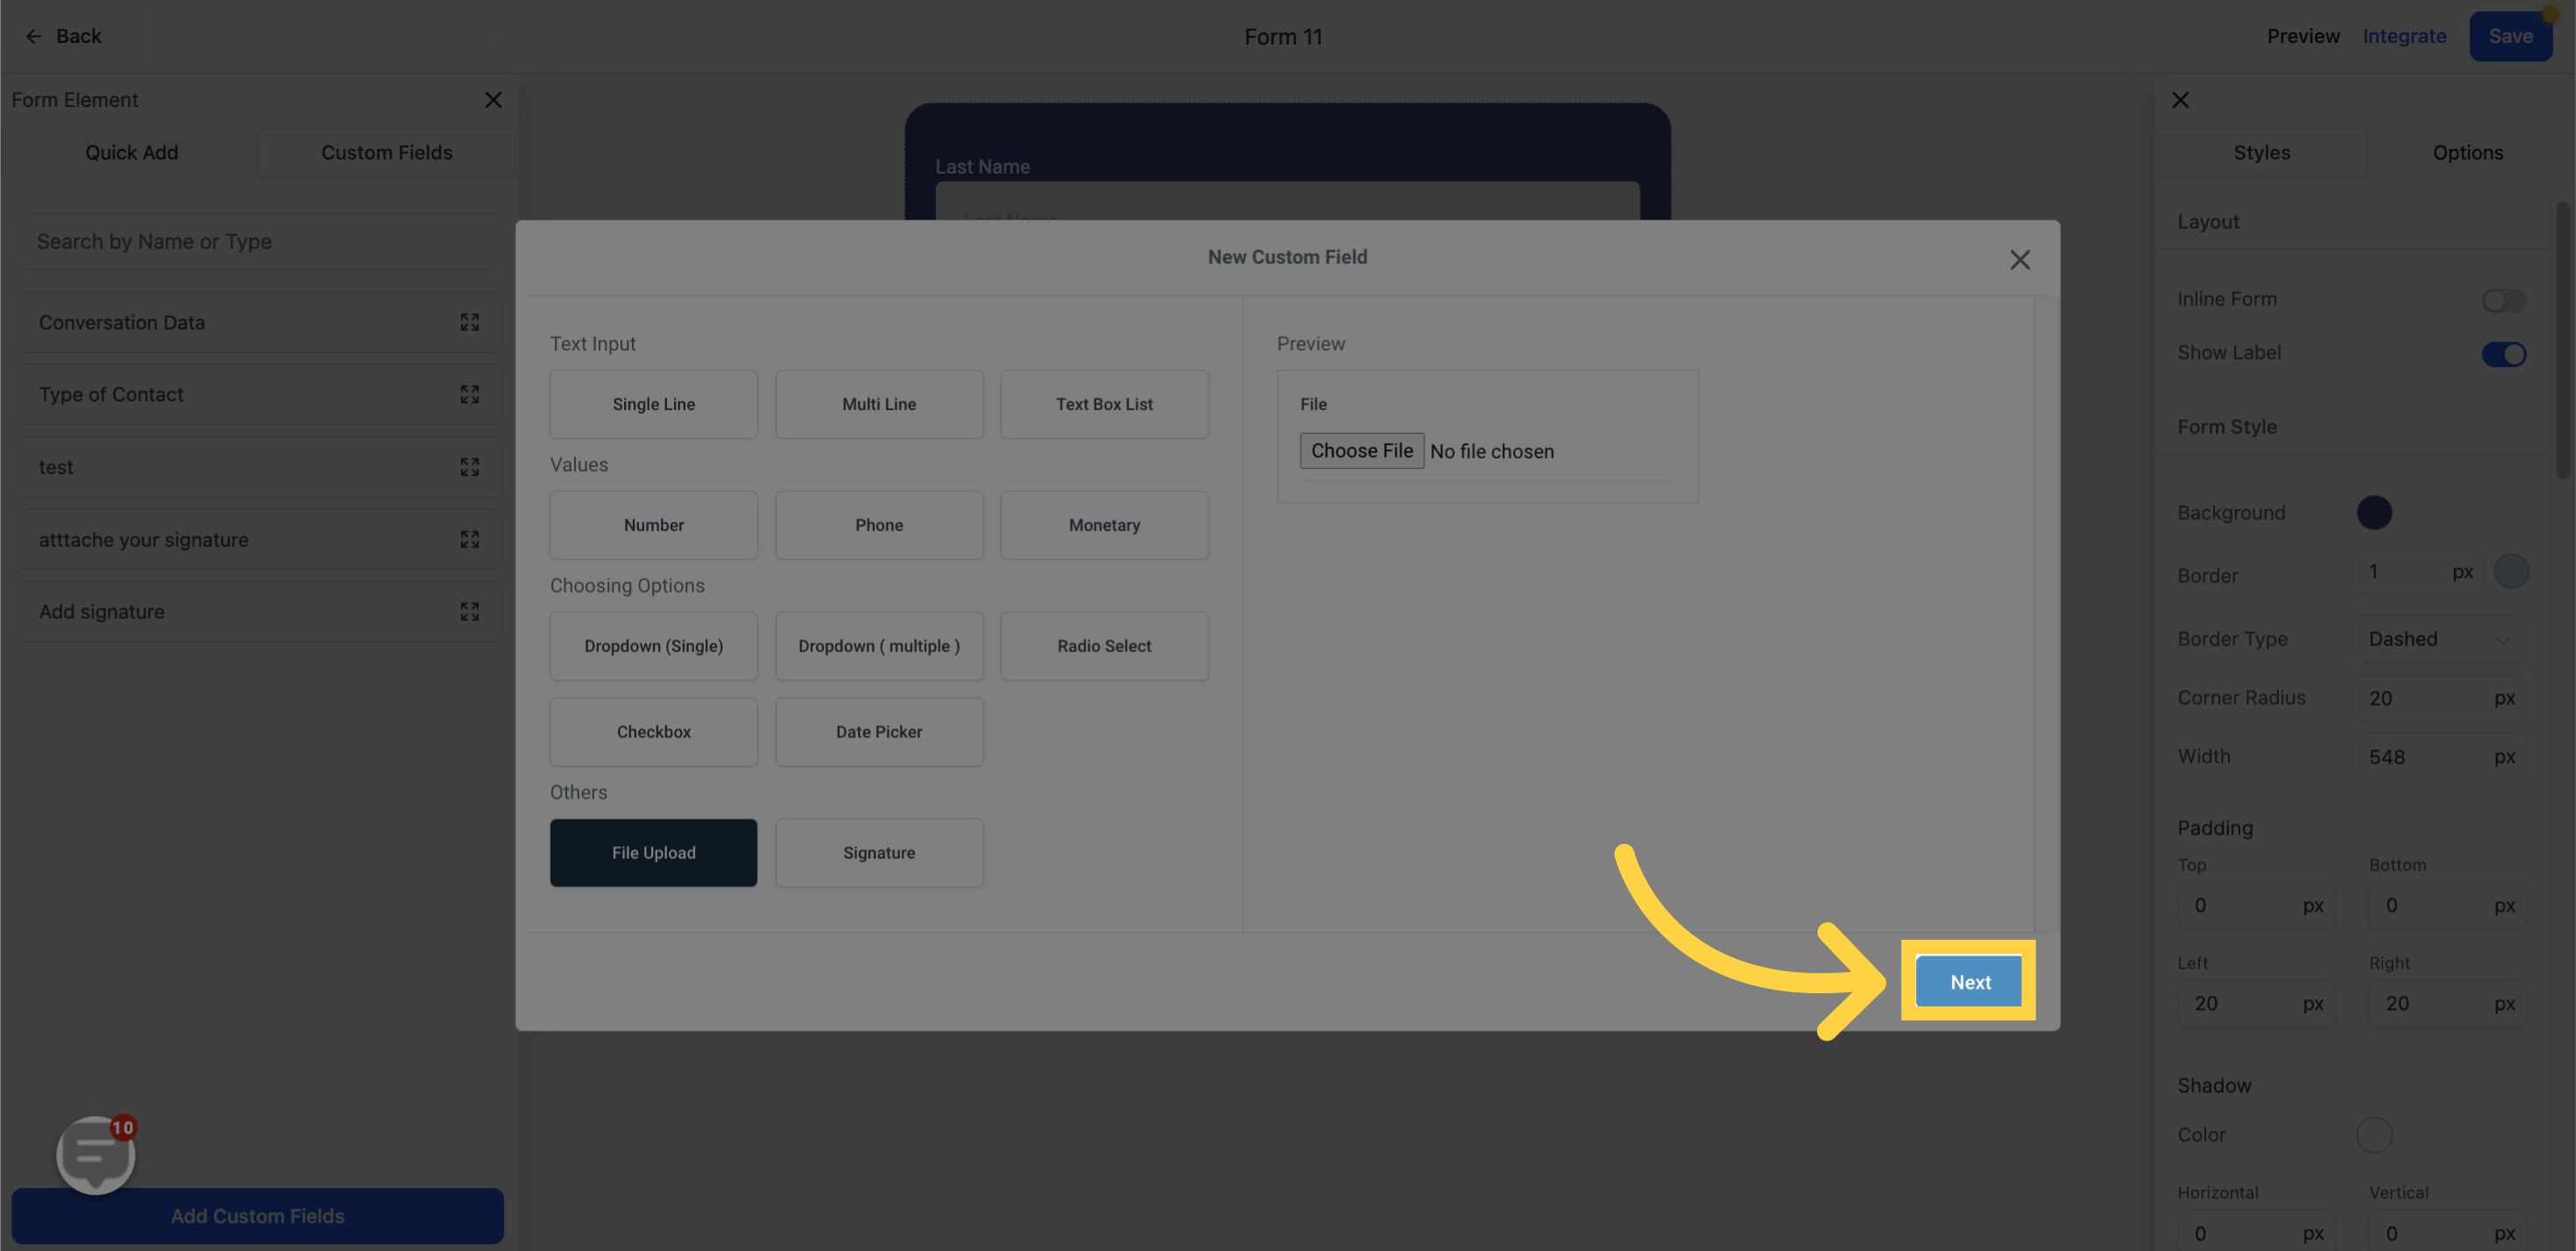
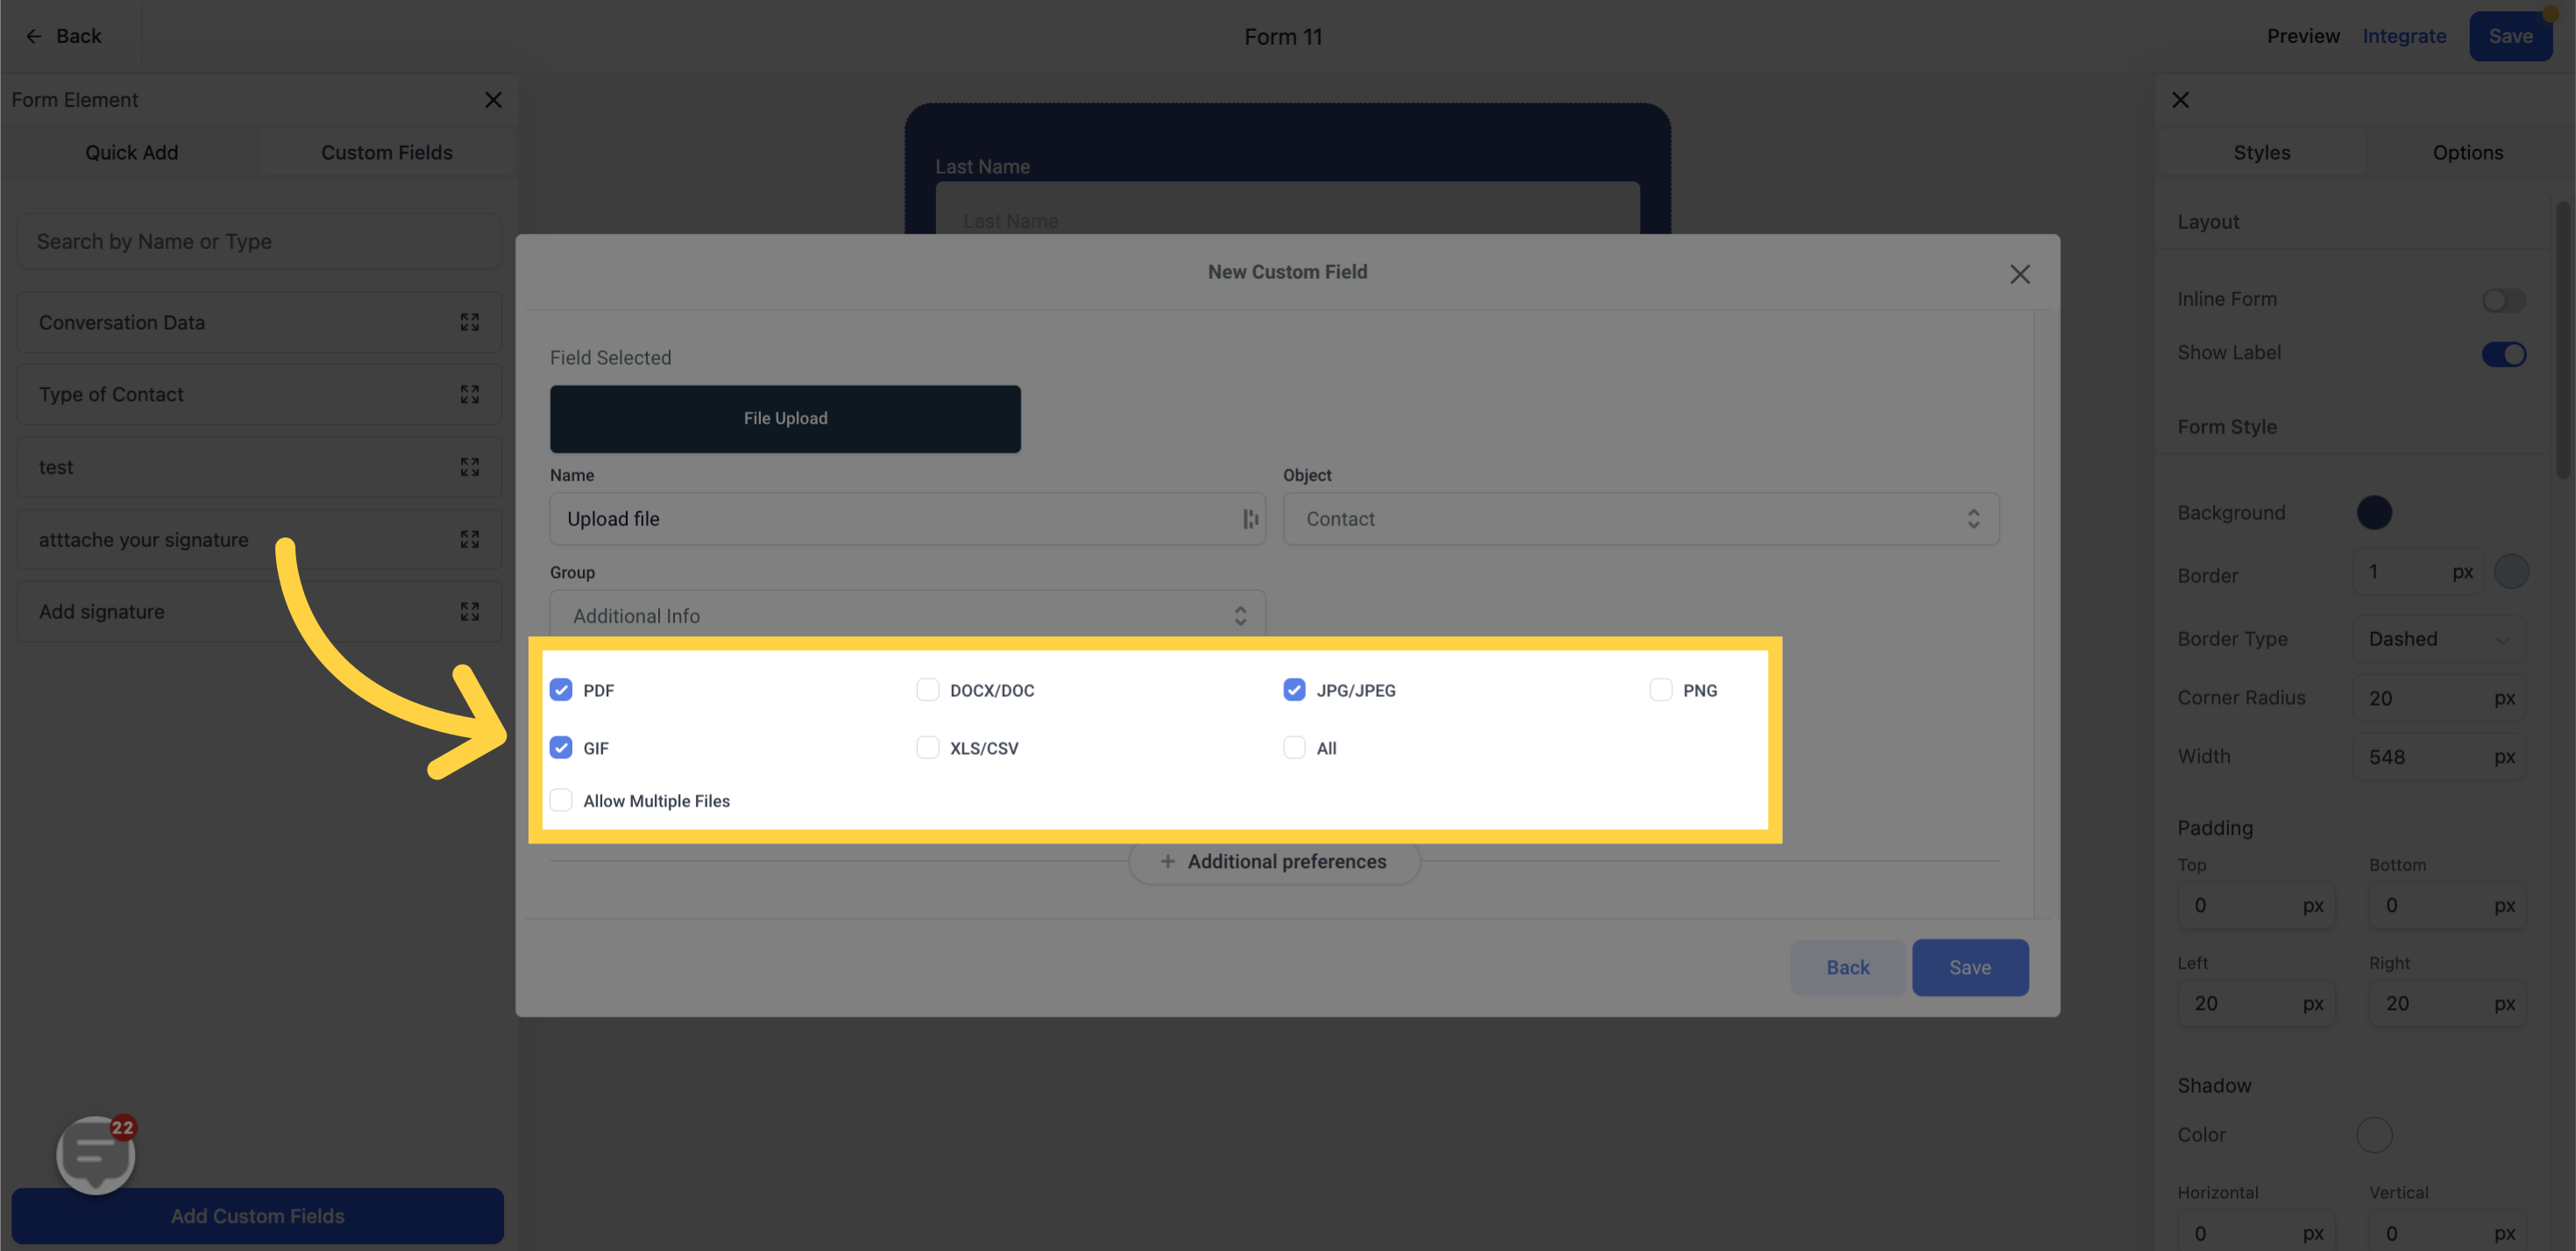
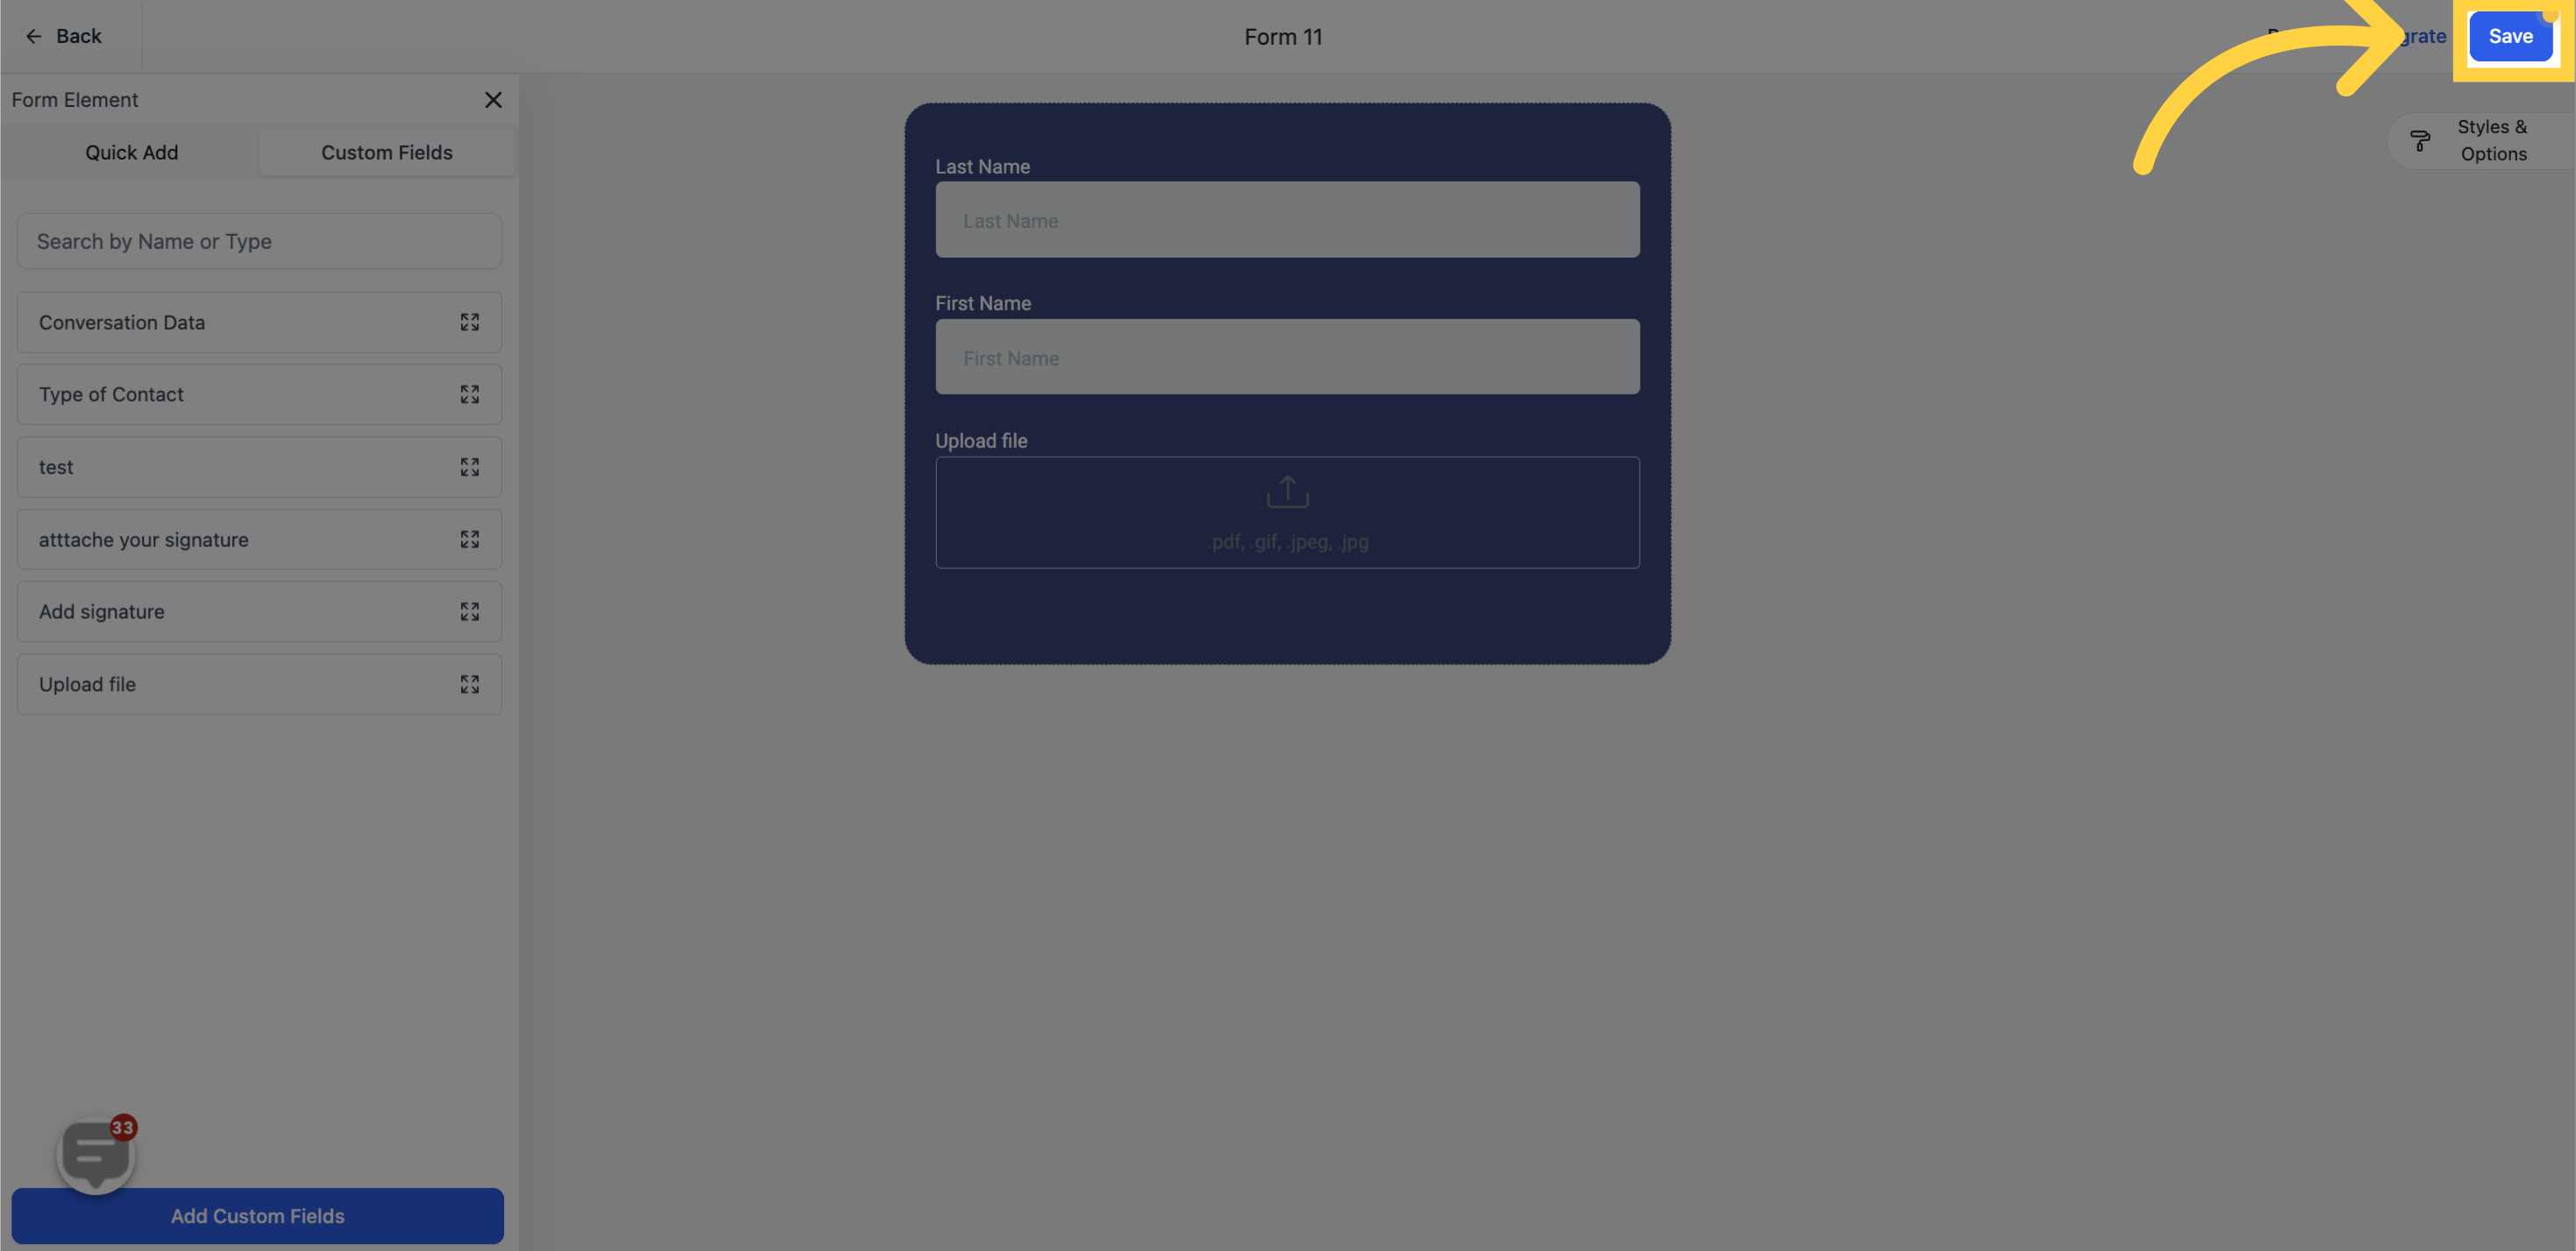
look for “File Upload” amongst the options.

Click

9. Click "Next"

Click

10. You can name the field here

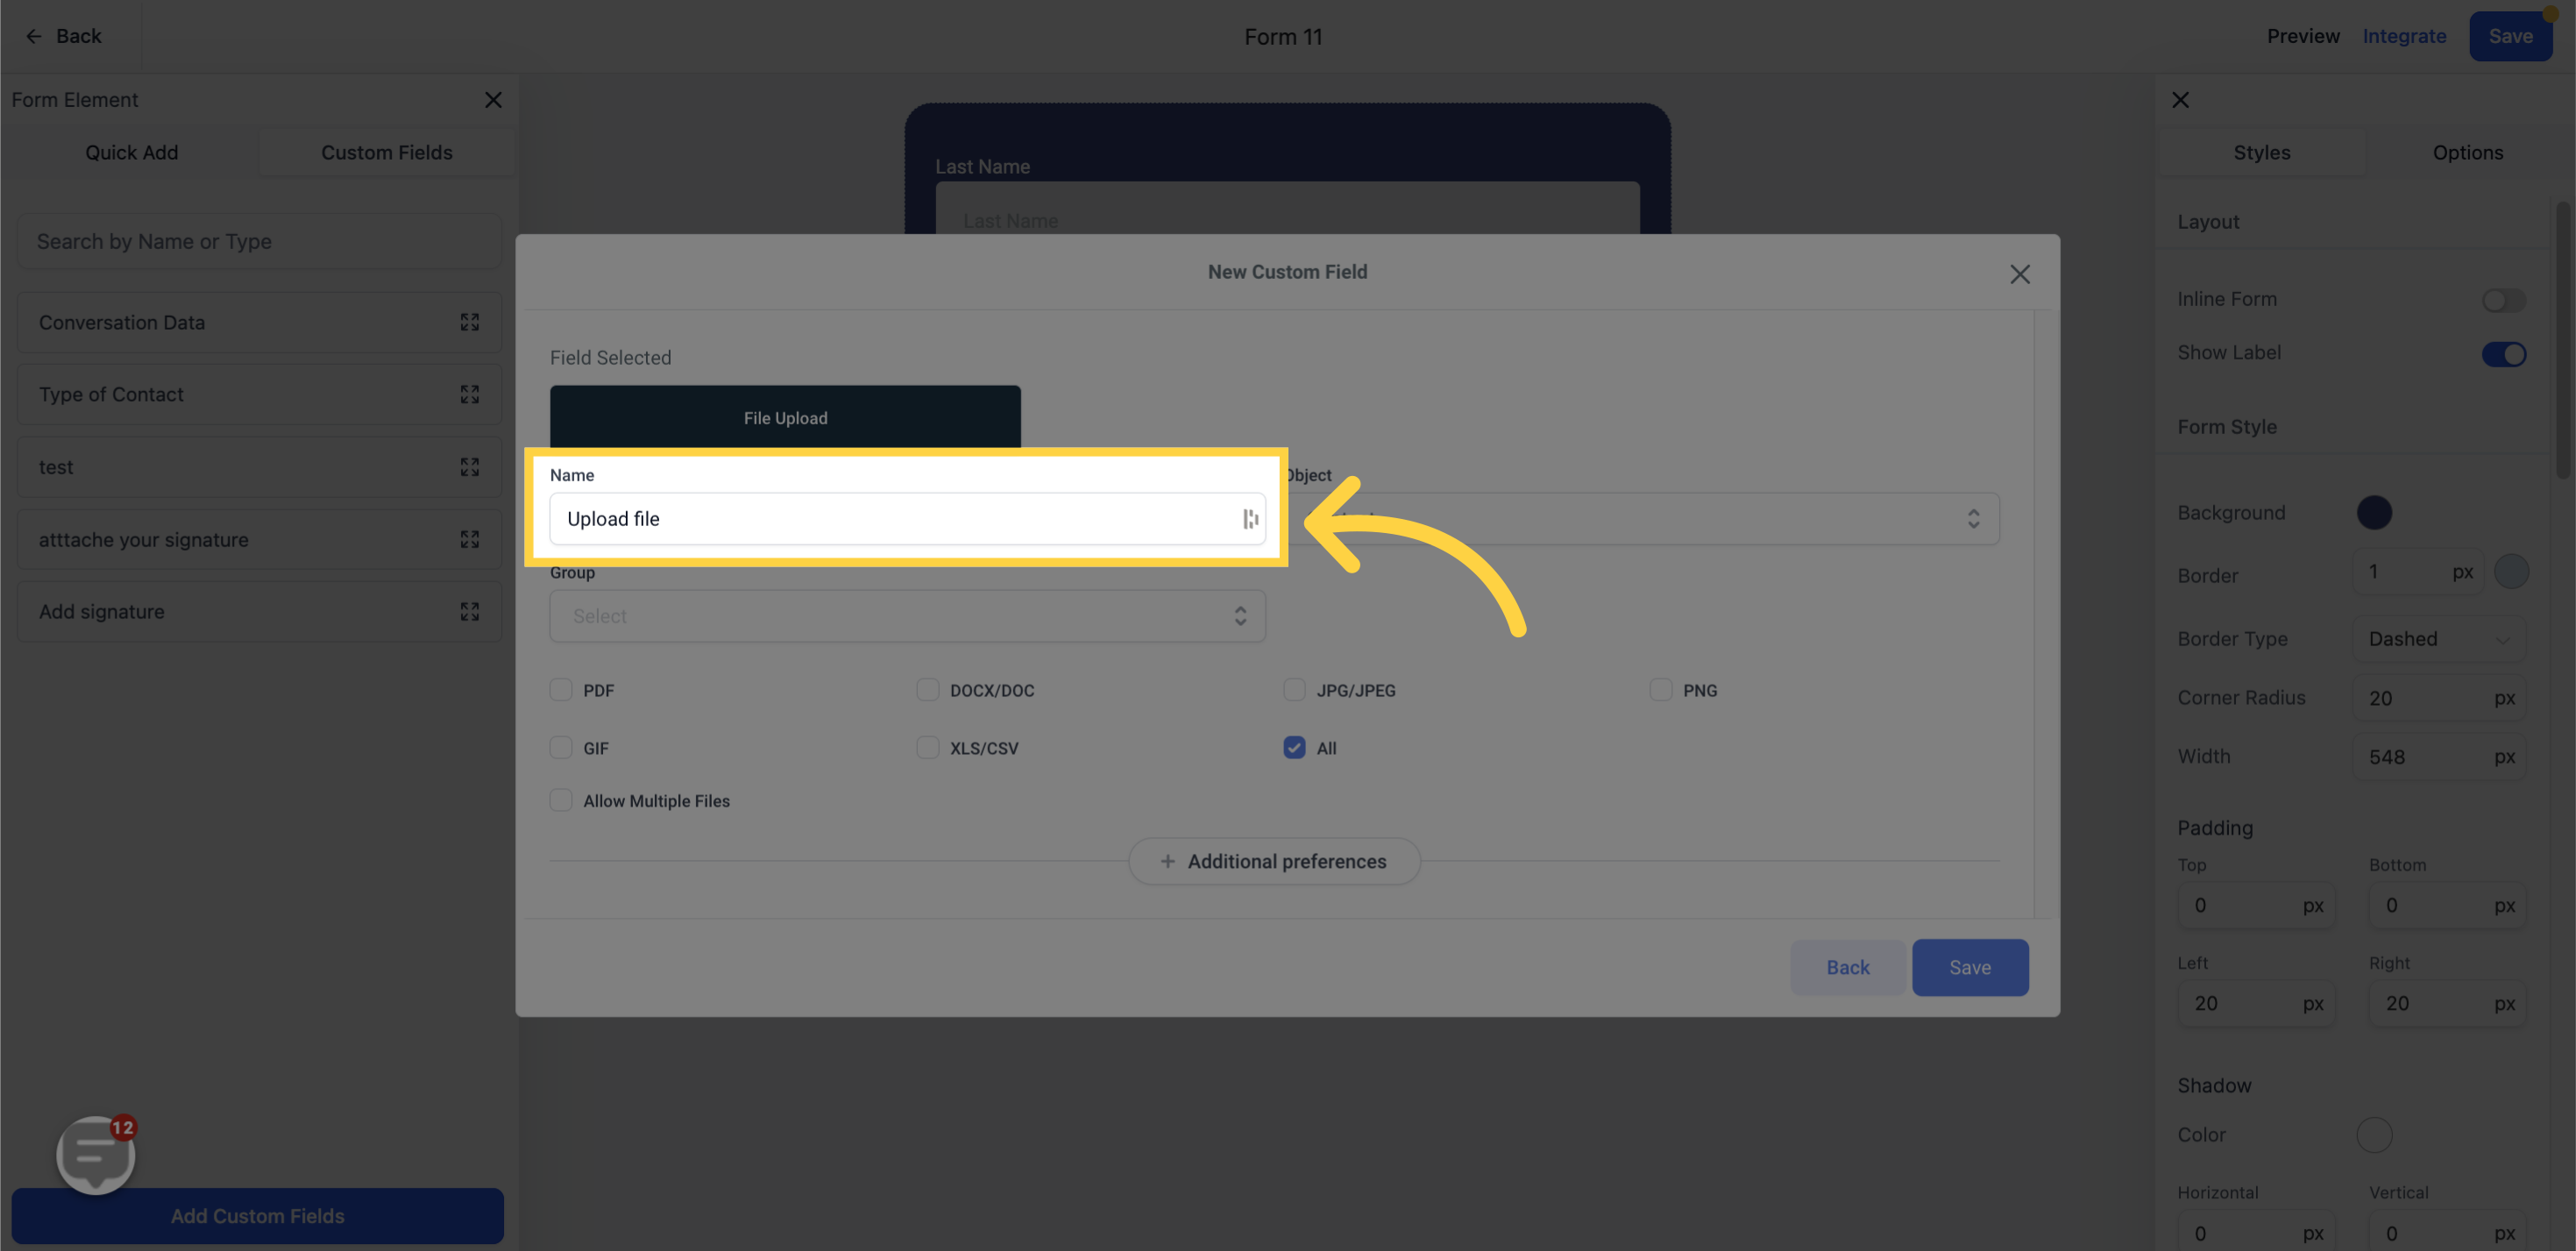
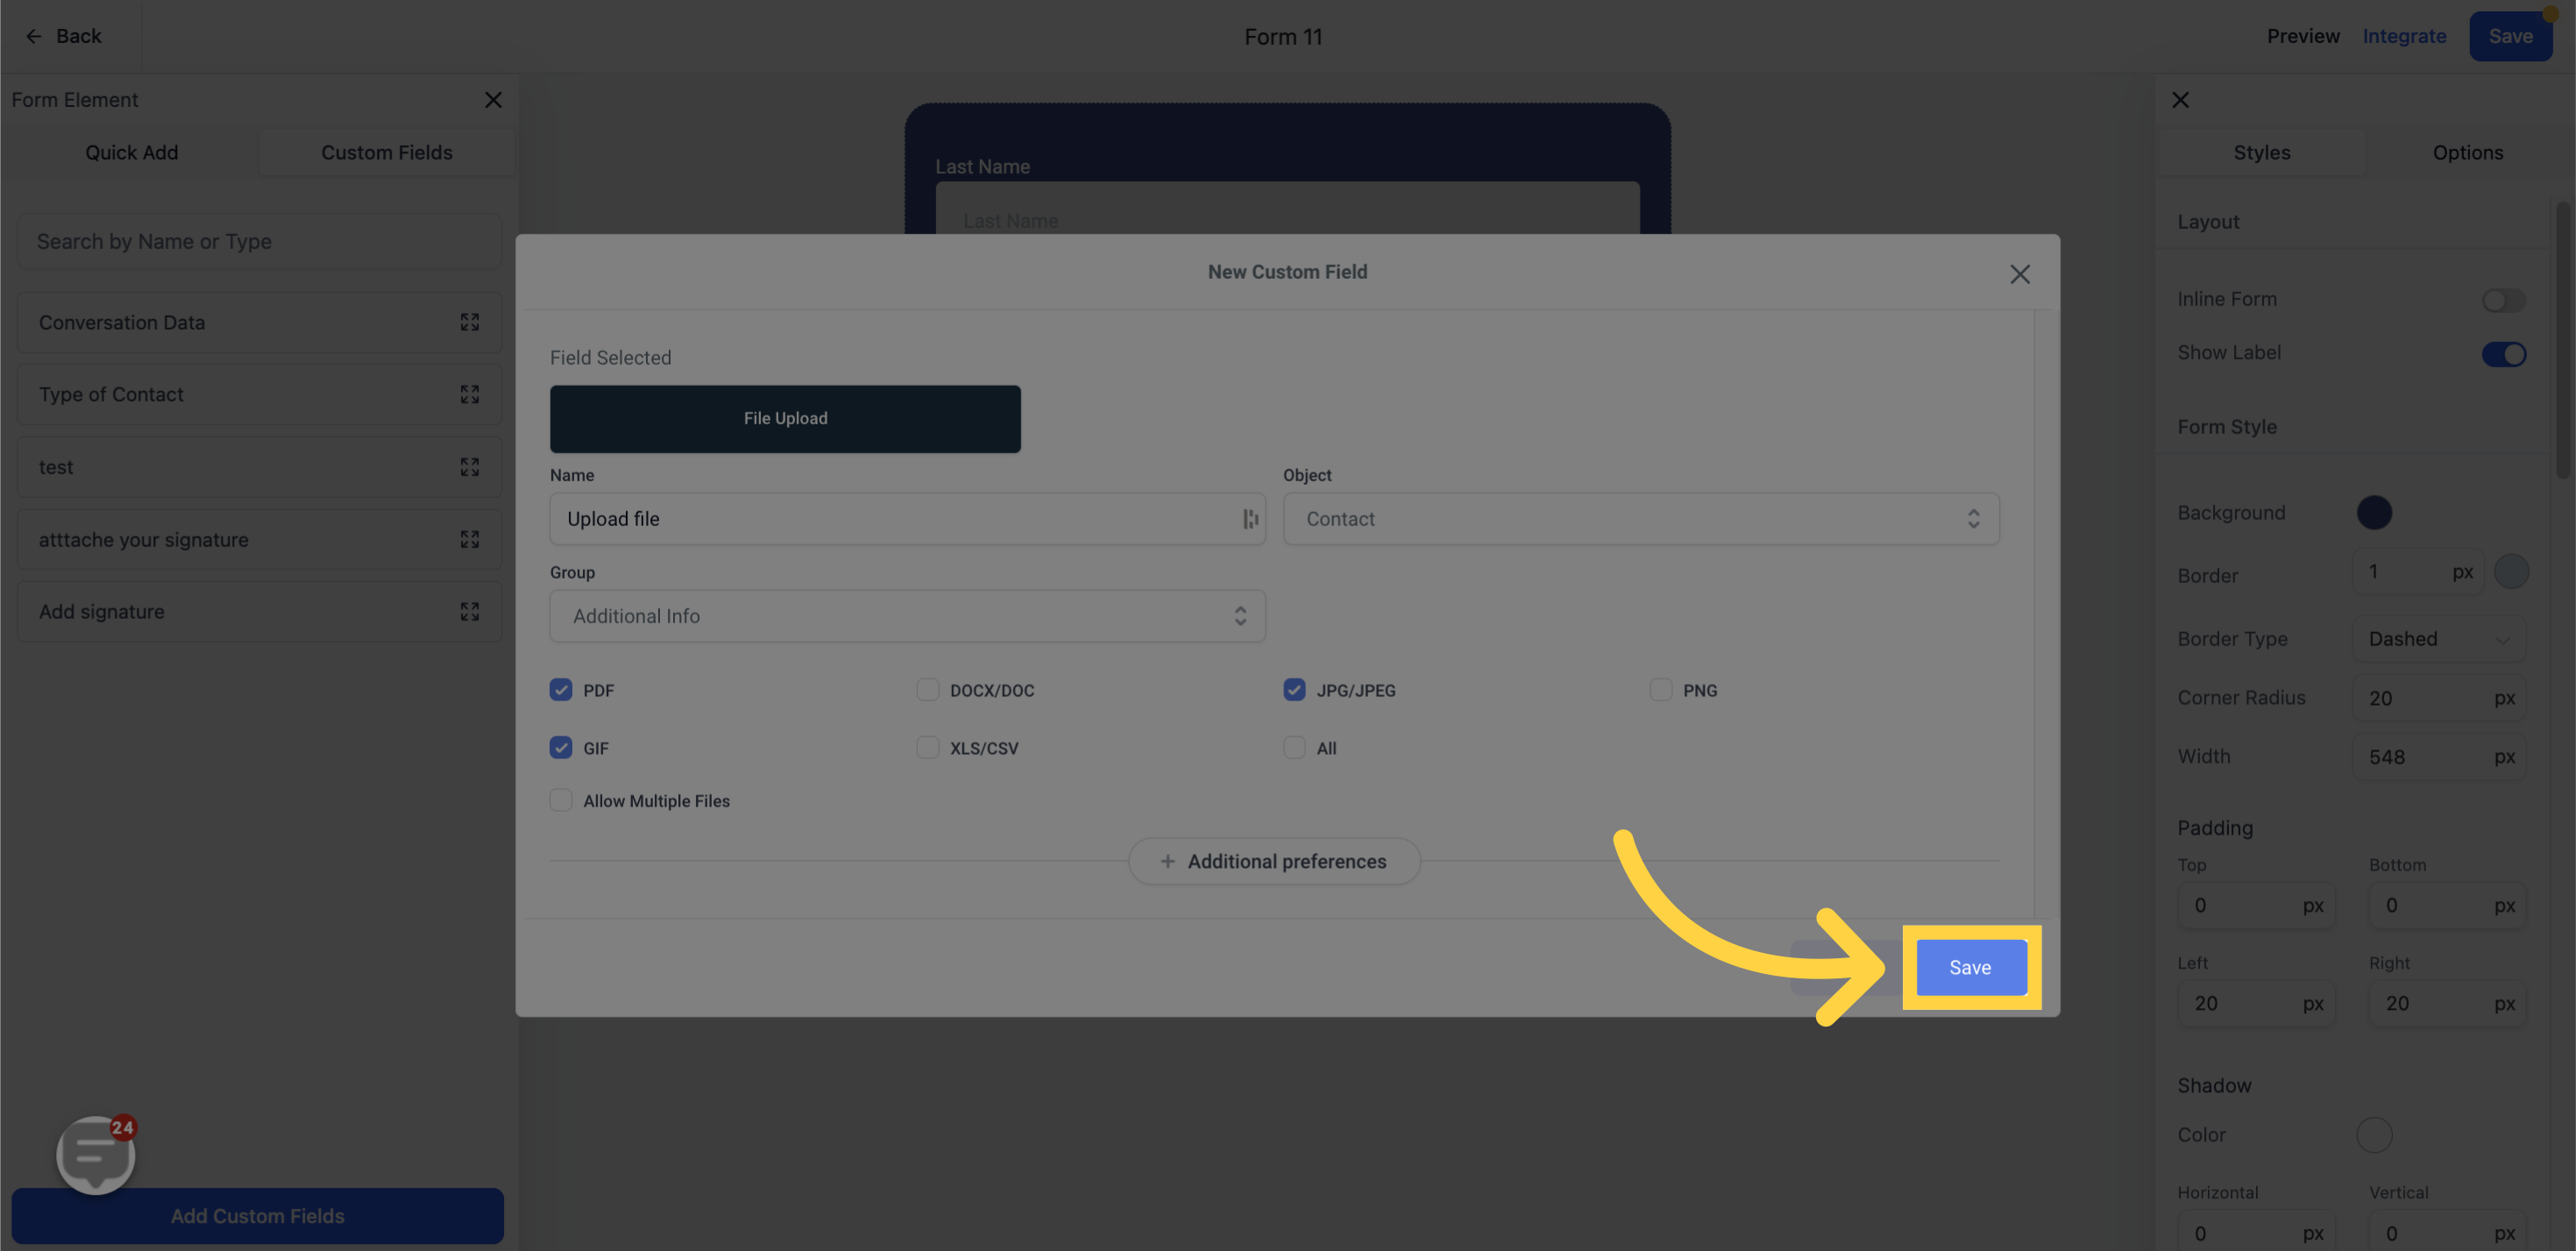
You have the option to assign a name to this field, such as "Upload file"

You can name the field here

11. Select "Group"

Select

12. Select file type, you can select more than one

Select file type

13. Click "Save"

Click

14. Click "Upload file", then drag

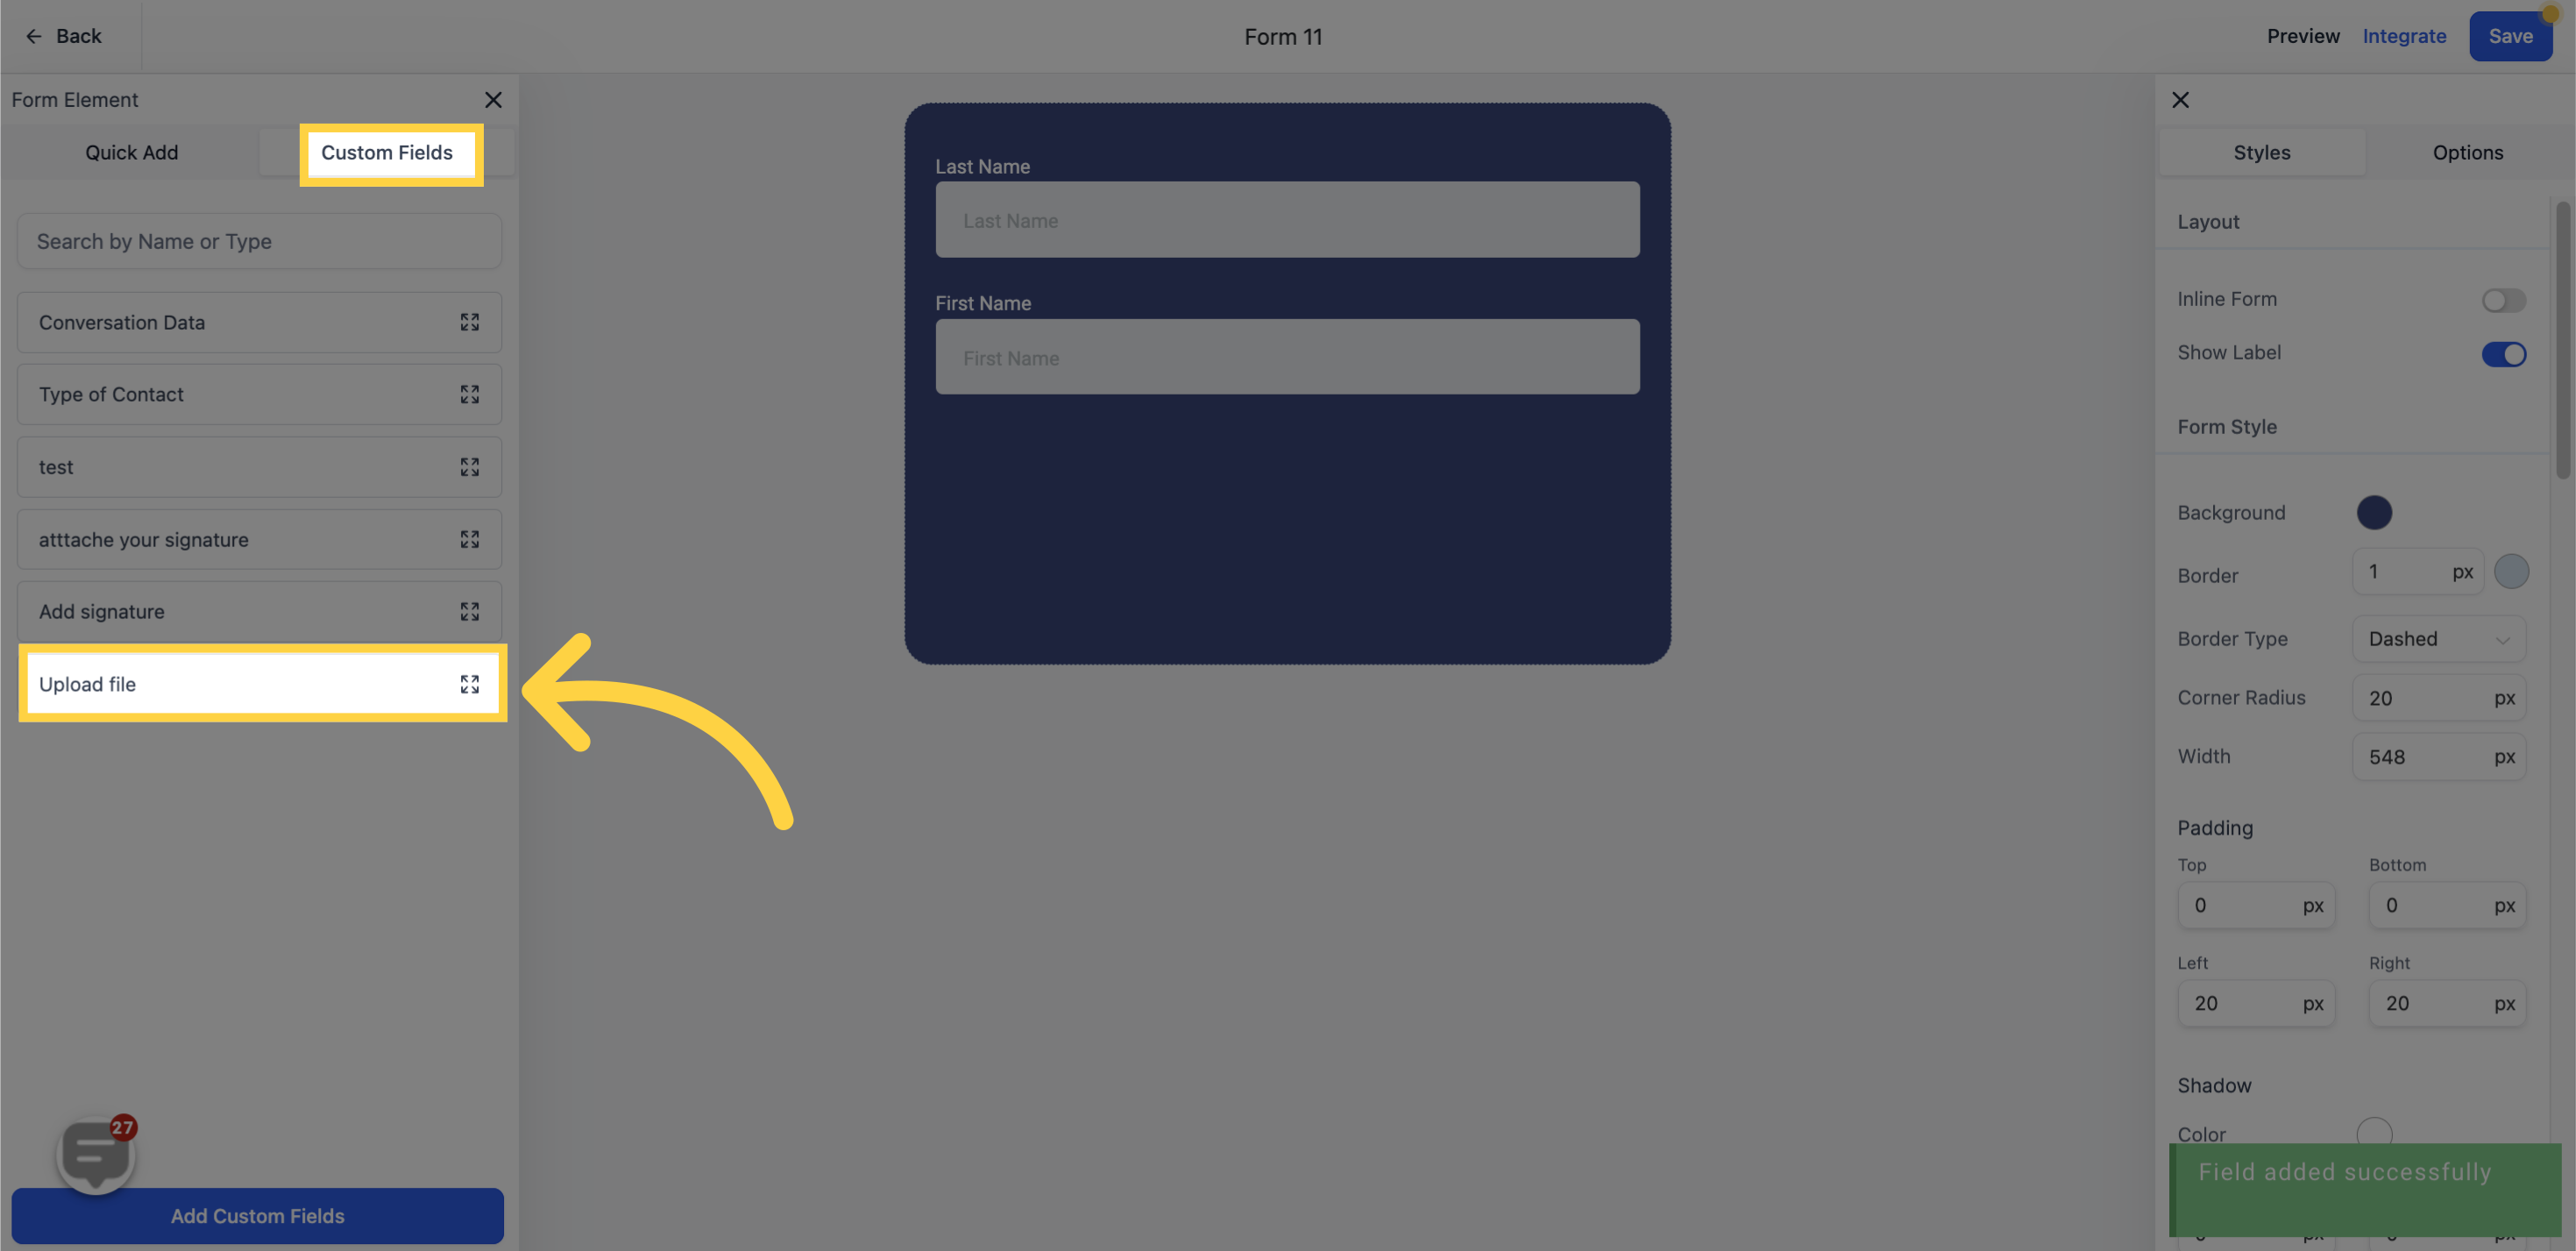
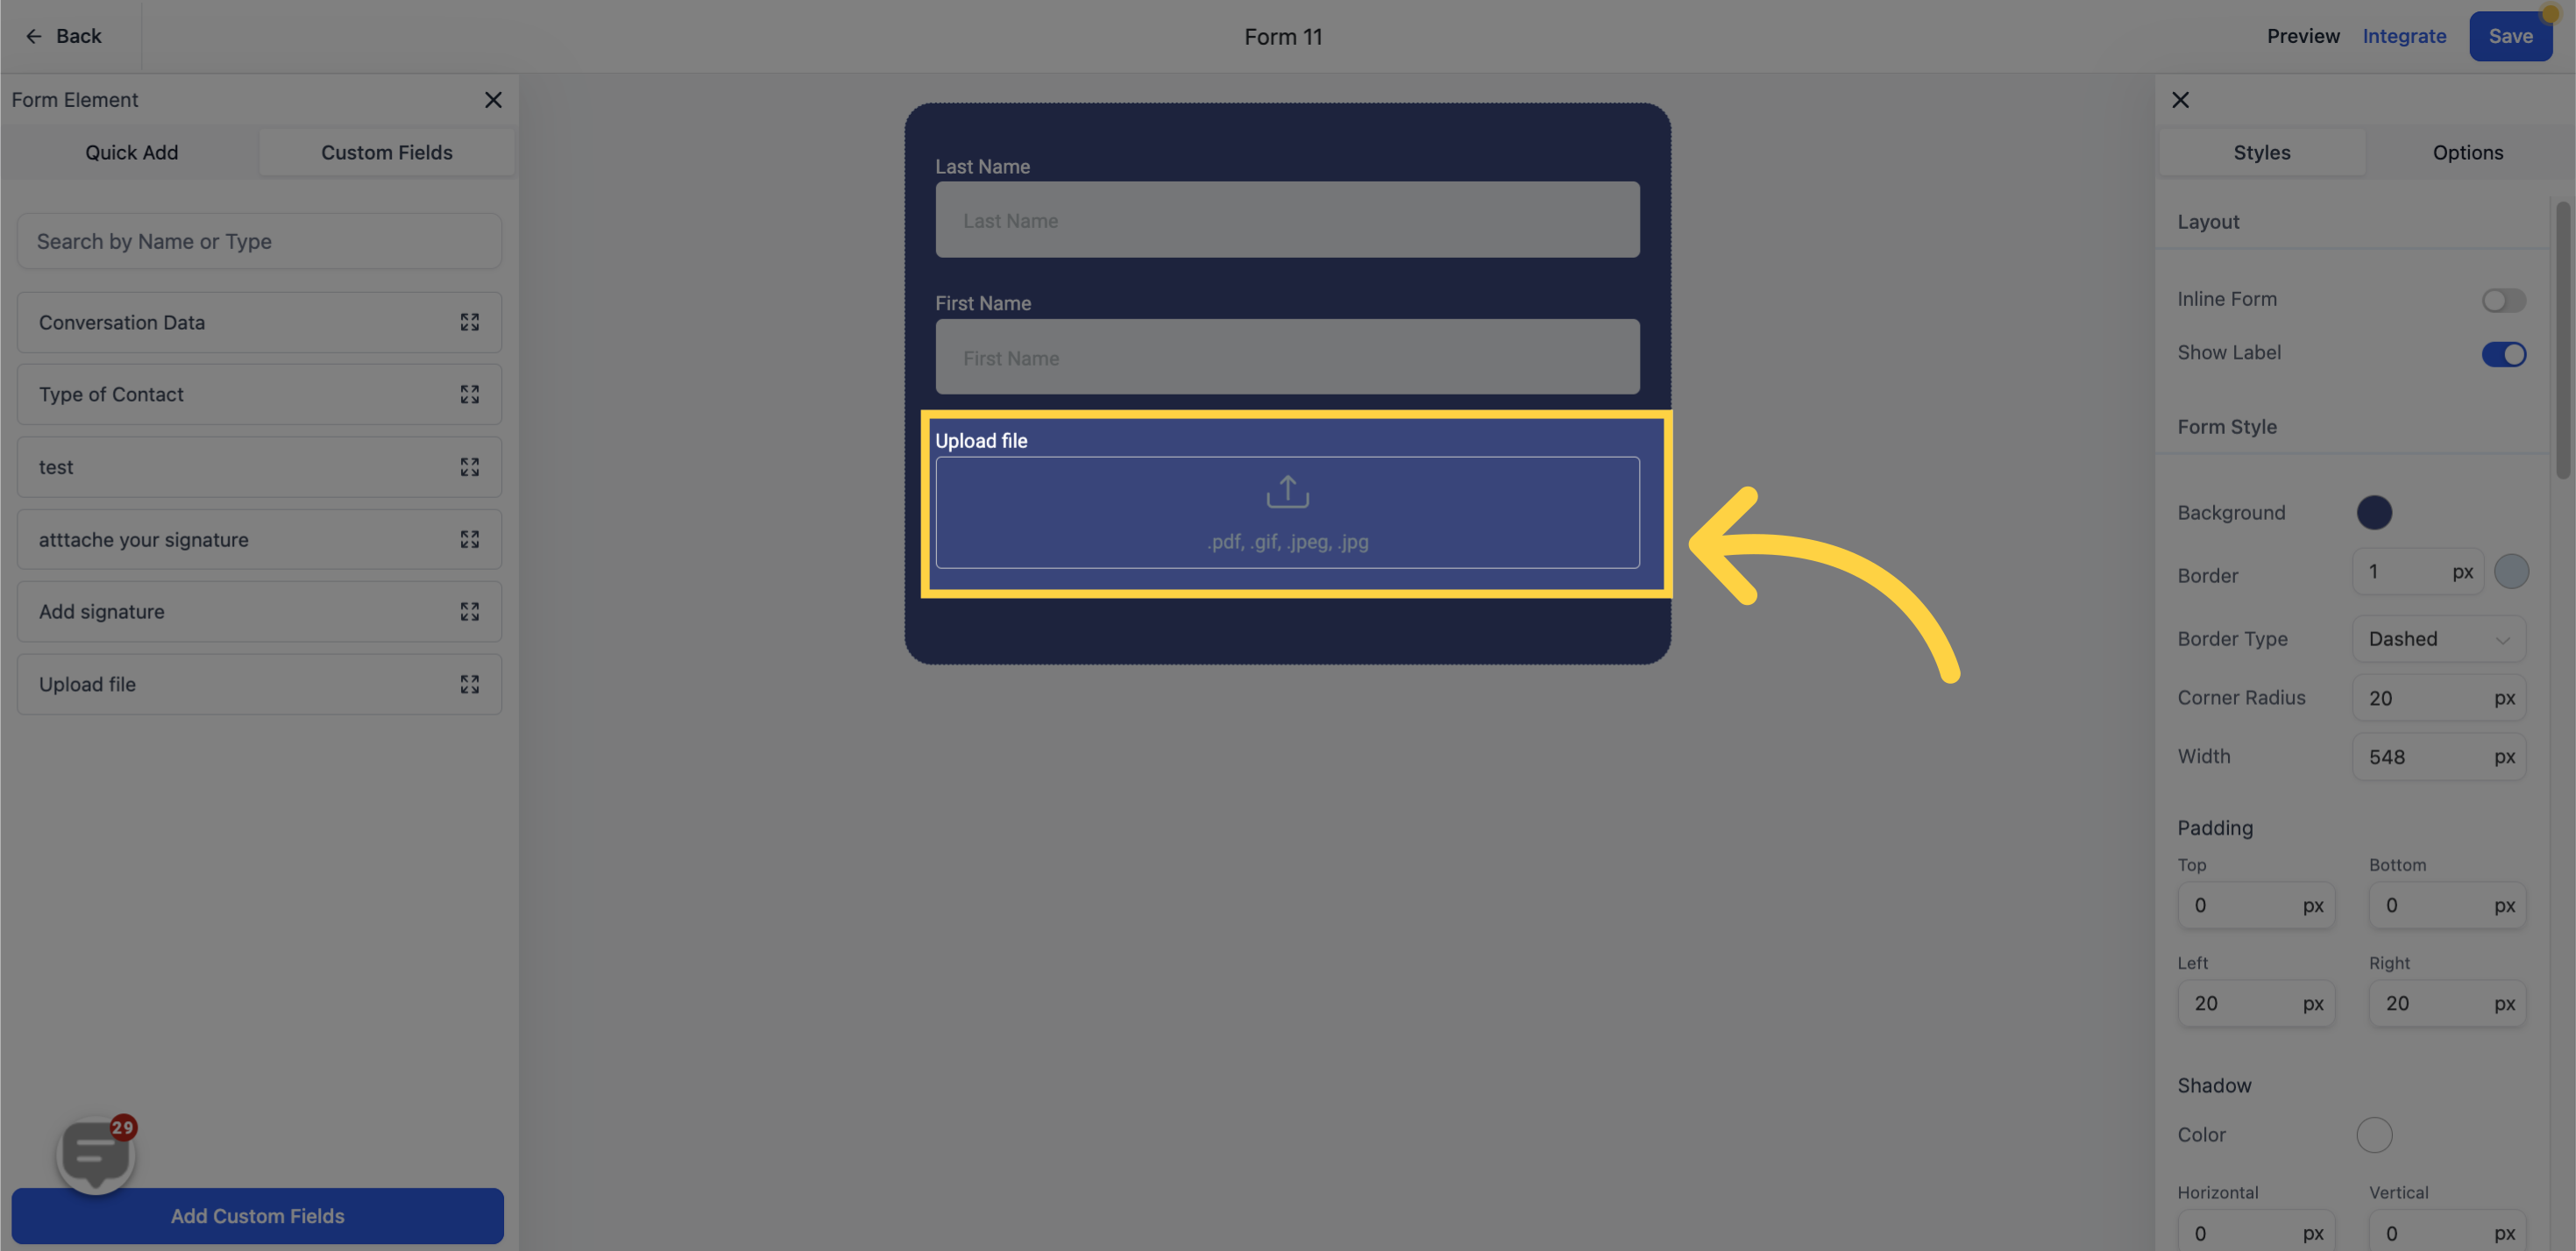
Drag this field and drop it onto your form.

Click

15. then, Add to your form

To modify, click on the feature field in your form, and the editor will pop up on the right sidebar. Here, you can alter the Title, Placeholder, and set this field as mandatory in your form.

then, Add to your form

16. Click "Save"

Click

17. Click "Integrate"

Click

18. Click here to copy "form link"

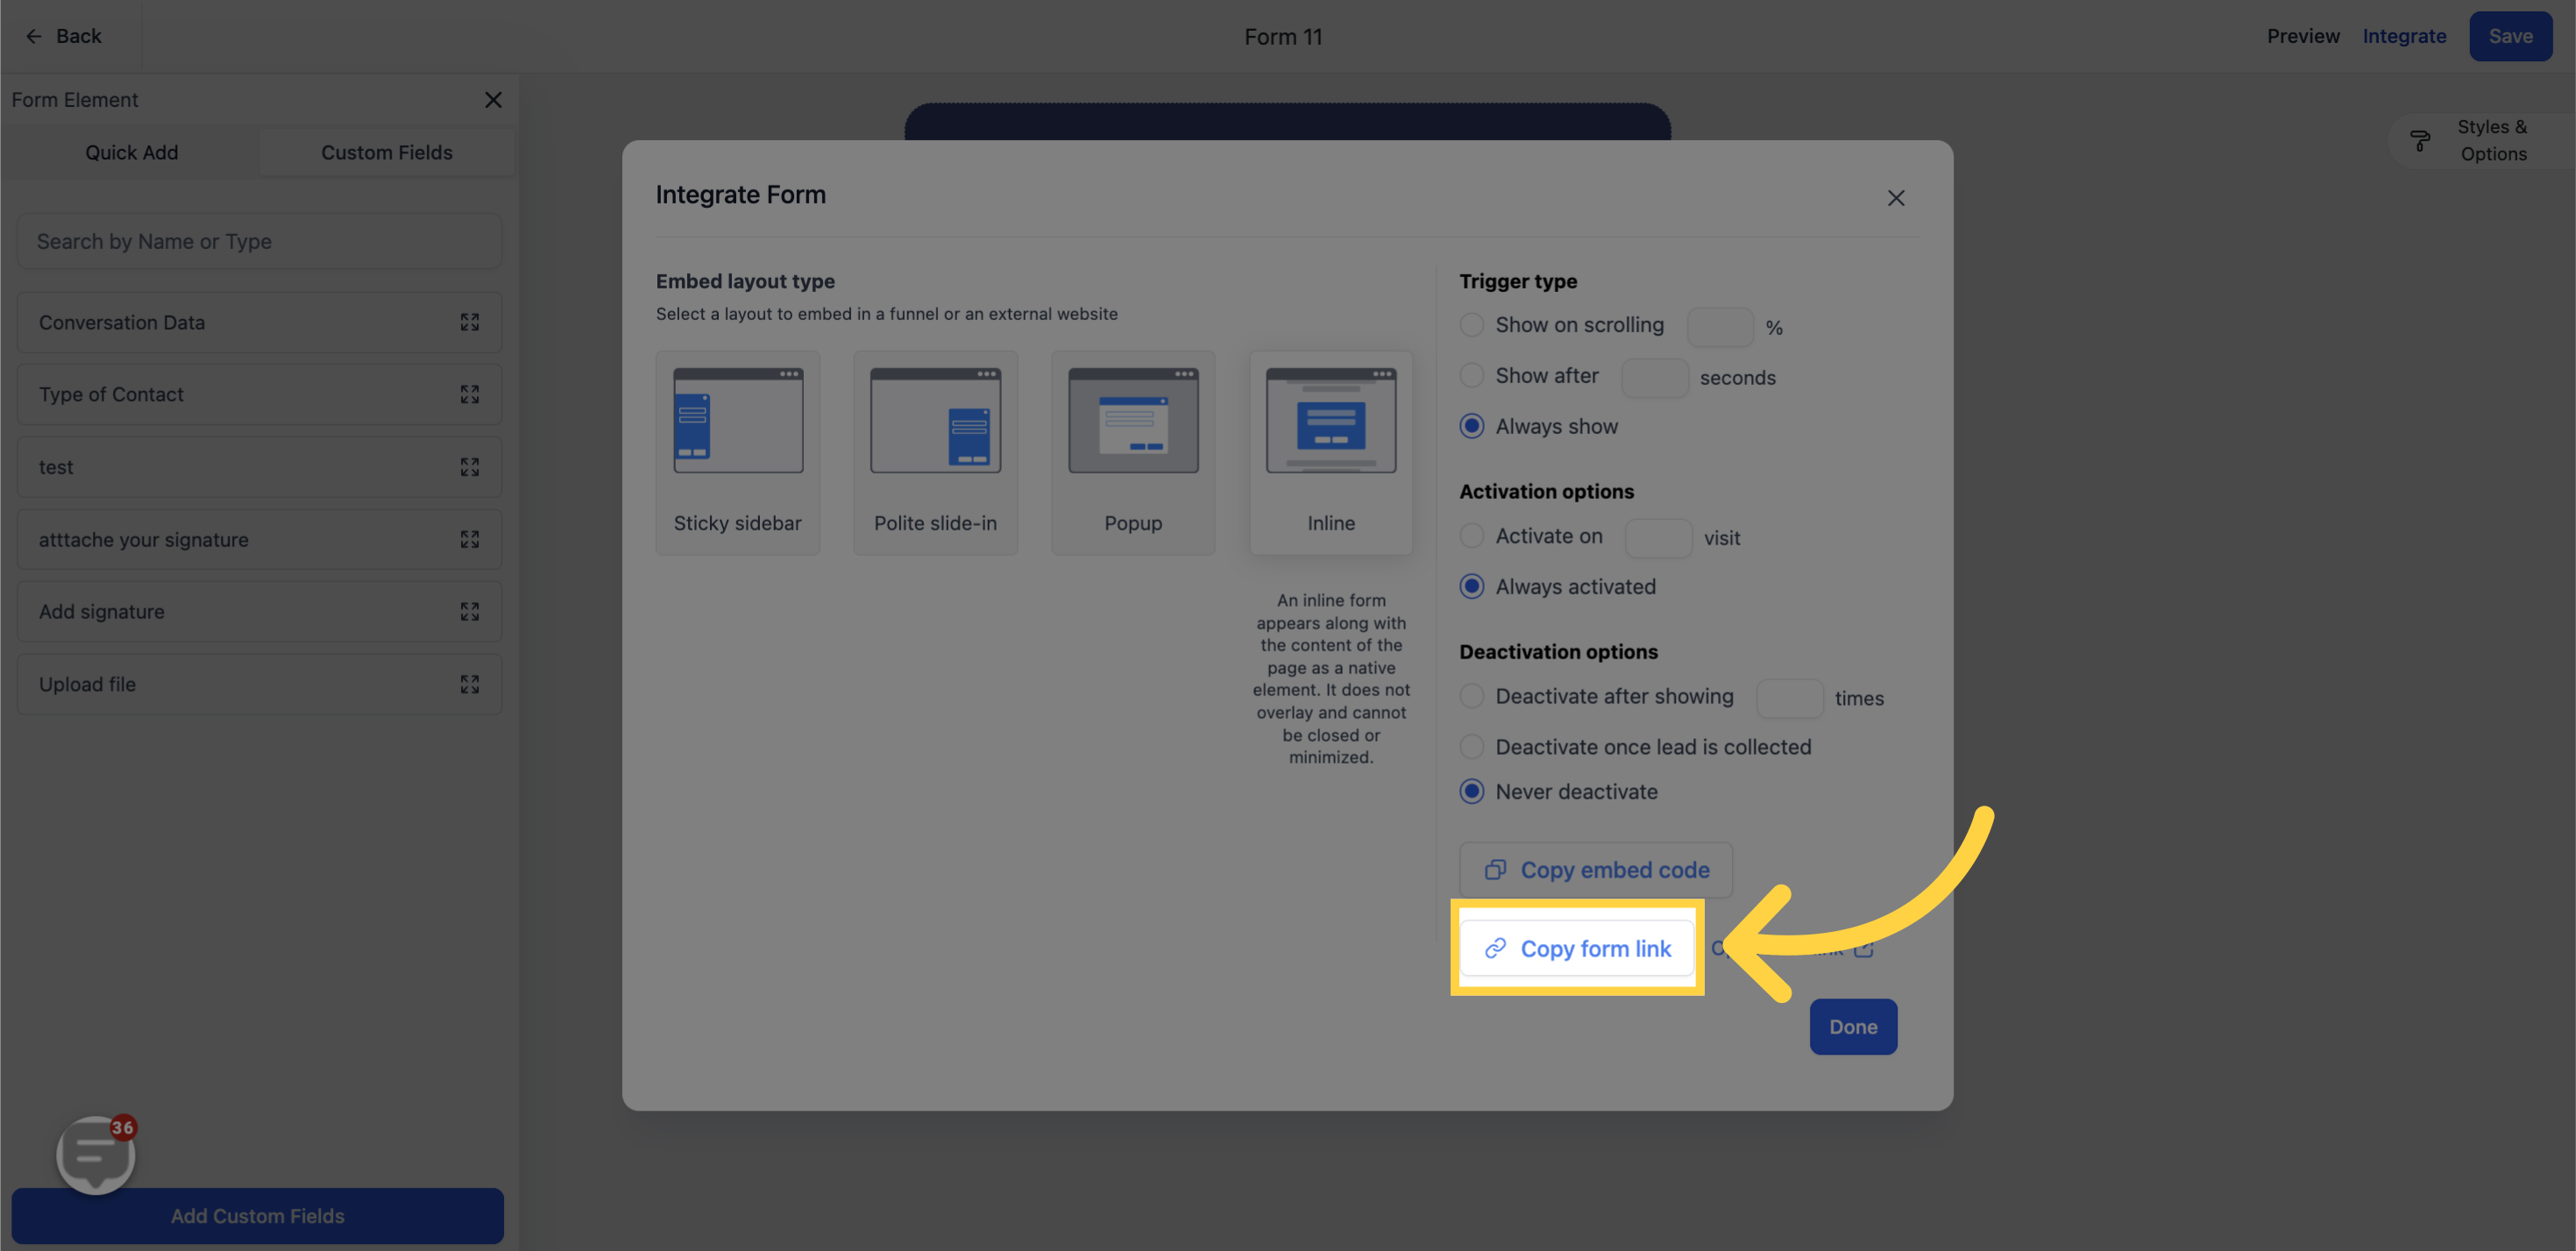
Copy the provided link and paste it into the browser or any location where you want to use it.

Click here to copy
Did this answer your question?
😞
😐
😁