Smart Lists are dynamic lists within your CRM that allow you to segment your contacts based on specific criteria. These criteria can include demographic information, purchase history, interaction, and more. Essentially, Smart Lists let you create targeted groups of contacts based on the characteristics that matter most to your business.
There are several benefits to using Smart Lists in your CRM strategy:
Improved segmentation: Smart Lists allow you to segment your contacts for targeted marketing campaigns, ensuring that your messaging is relevant and tailored to each individual customer.
Enhanced personalization: By leveraging the data in Smart Lists, you can create personalized experiences for your customers, increasing customer satisfaction and boosting engagement.
Increased efficiency: Smart Lists help you stay organized by automatically updating your lists as new information becomes available. This saves you time and ensures that your contacts are always accurately categorized.
Better decision-making: Smart Lists provide valuable insights into your customers, helping you make data-driven decisions that can improve your business outcomes.
Smart Lists provide an excellent method for organizing your contacts by applying customized filters to create distinct "lists" or categories of contacts. You have the flexibility to use as many filters as you desire, and adjust the level of filtering.
You may keep things simple with just one filter, such as all leads with no activity in the last X amount of days or leads with a particular tag.
Alternatively, you can add multiple filters to further specify a specific group, such as leads with a particular tag, no activity in the last X amount of days, and a specific area code in their phone number. The more filters you incorporate, the narrower your list will be.
By following the steps outlined below, you'll gain knowledge on how to create, edit, and leverage Smart Lists to their fullest potential.
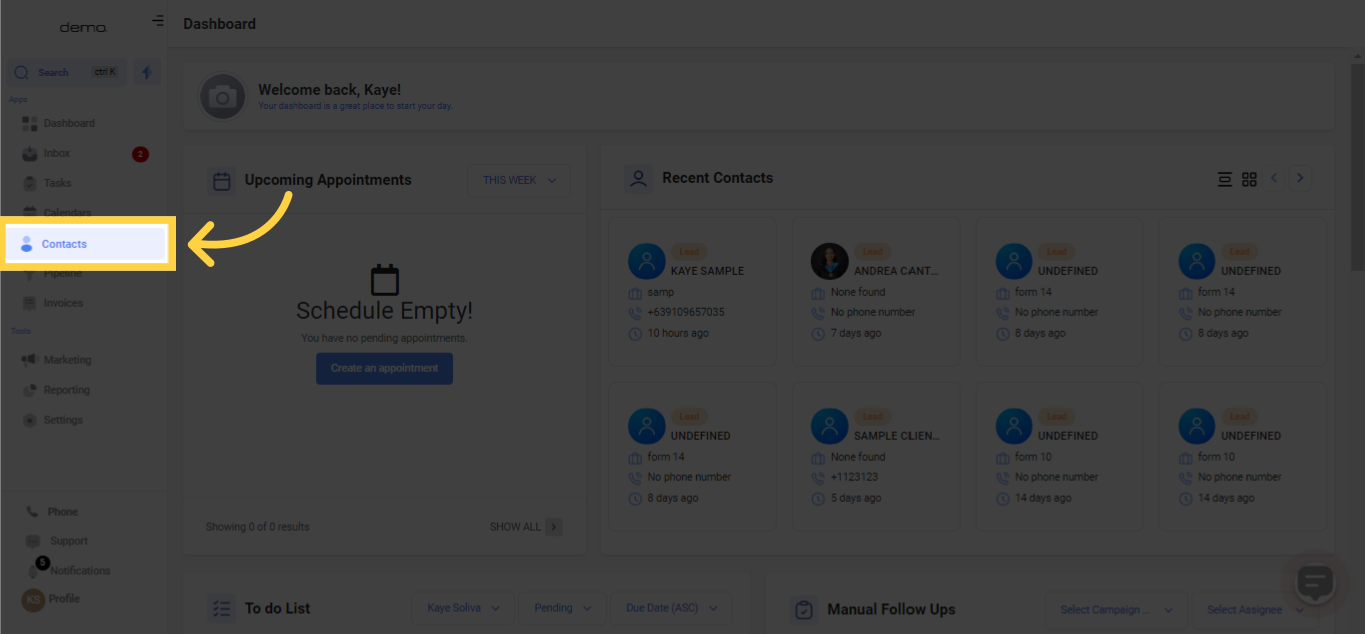
To begin, log in to your CRM account and click on the Contacts tab on the left-hand side of your screen.
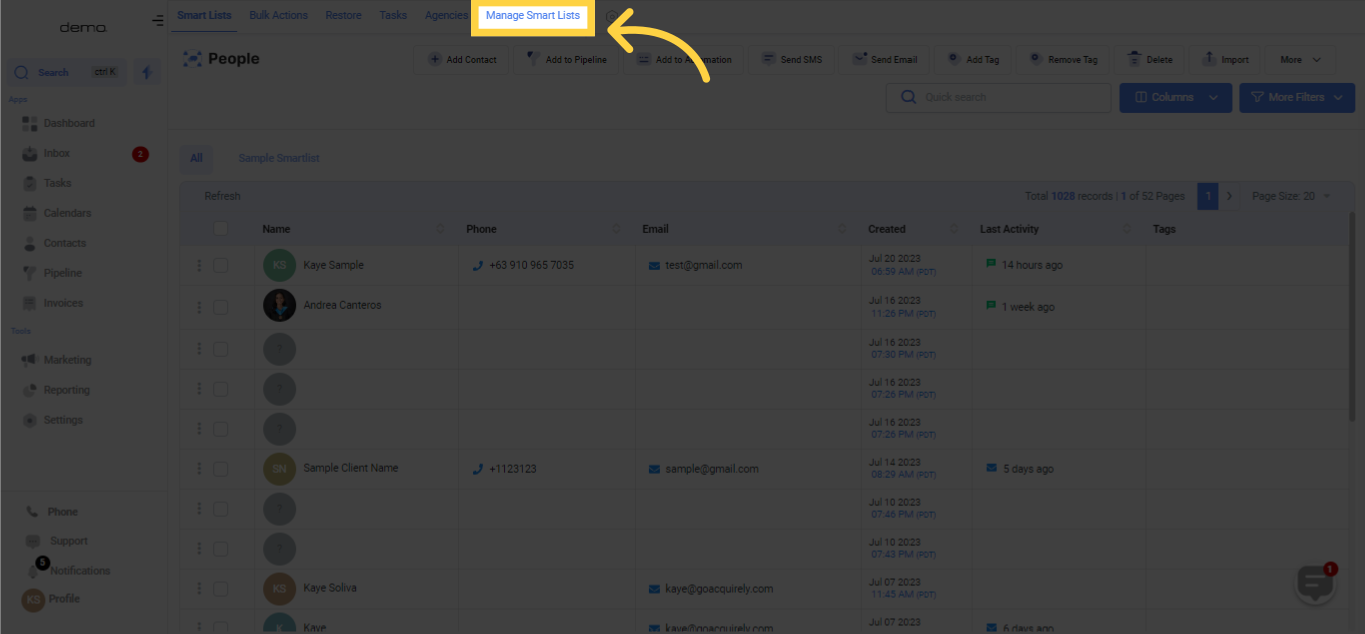
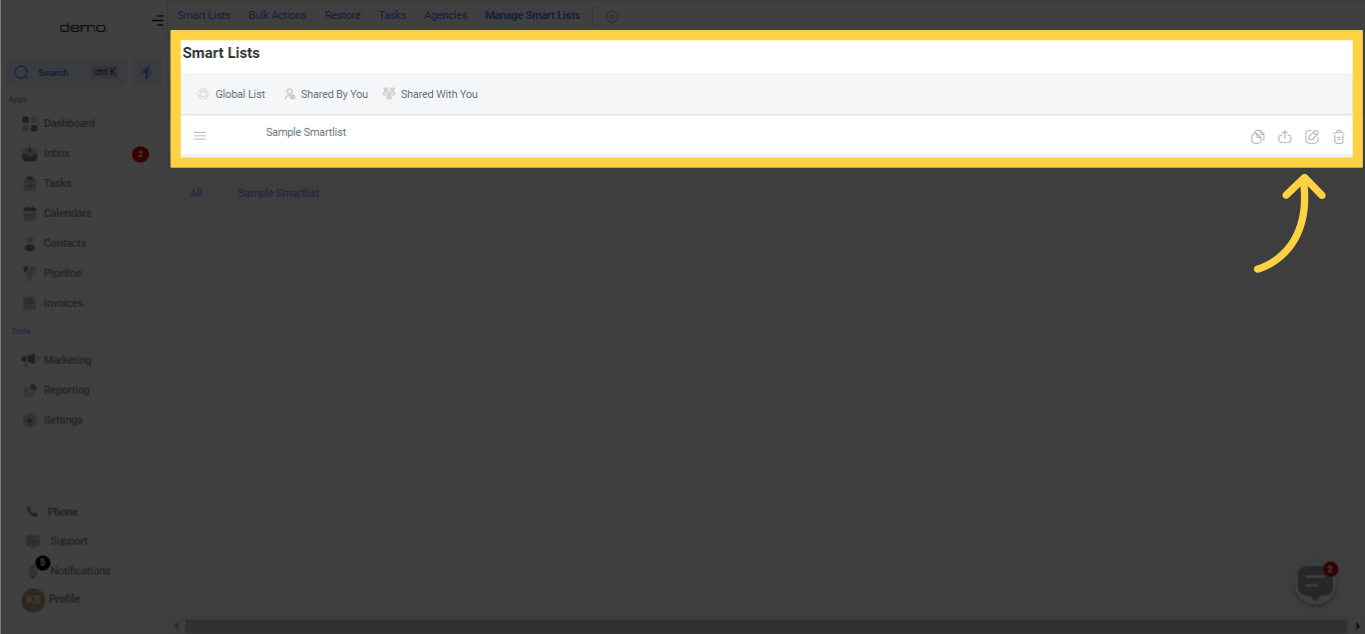
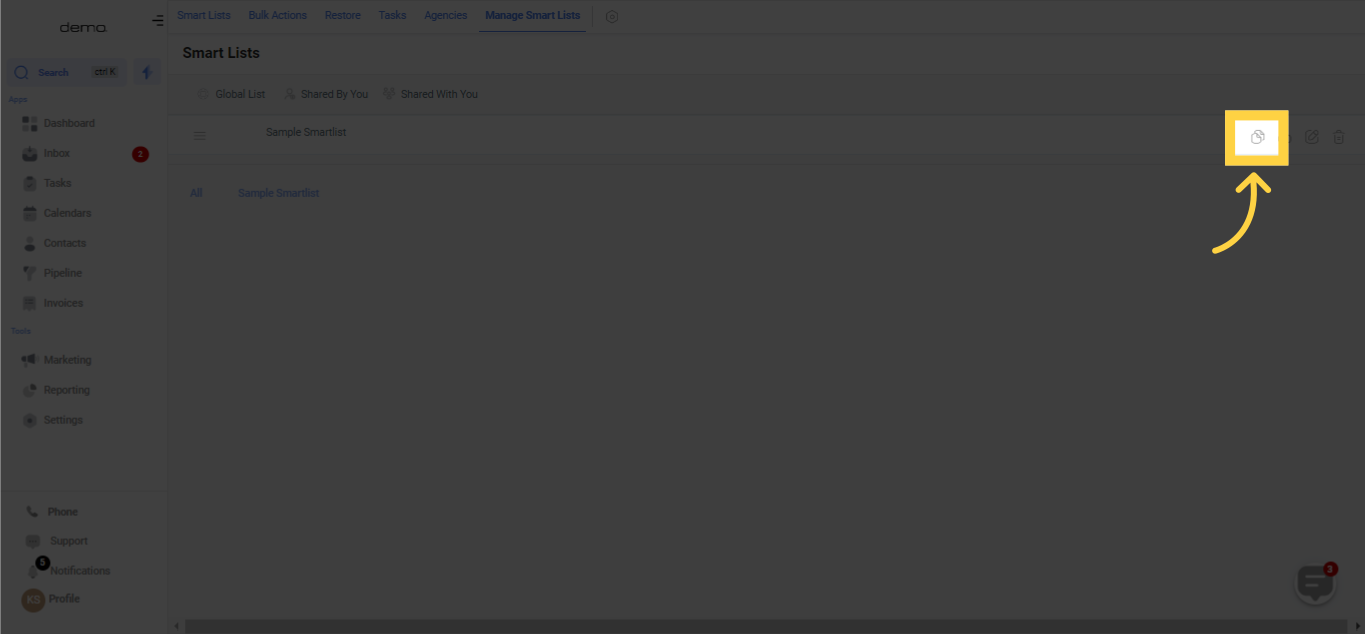
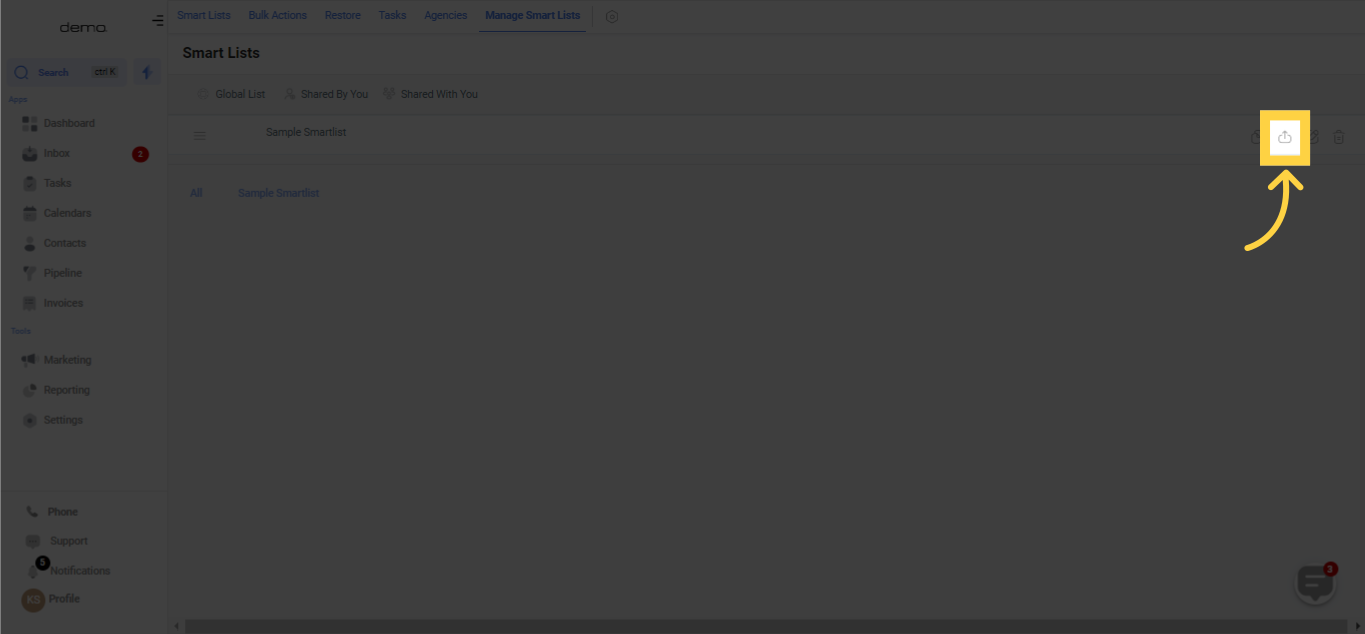
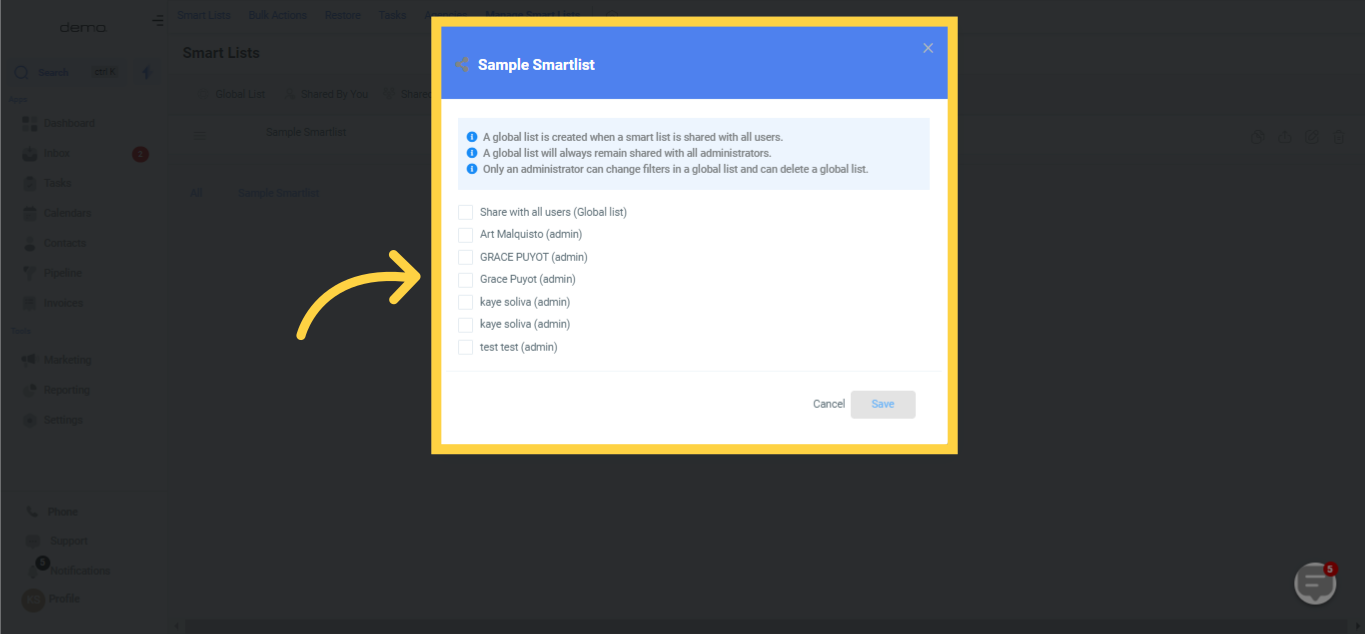
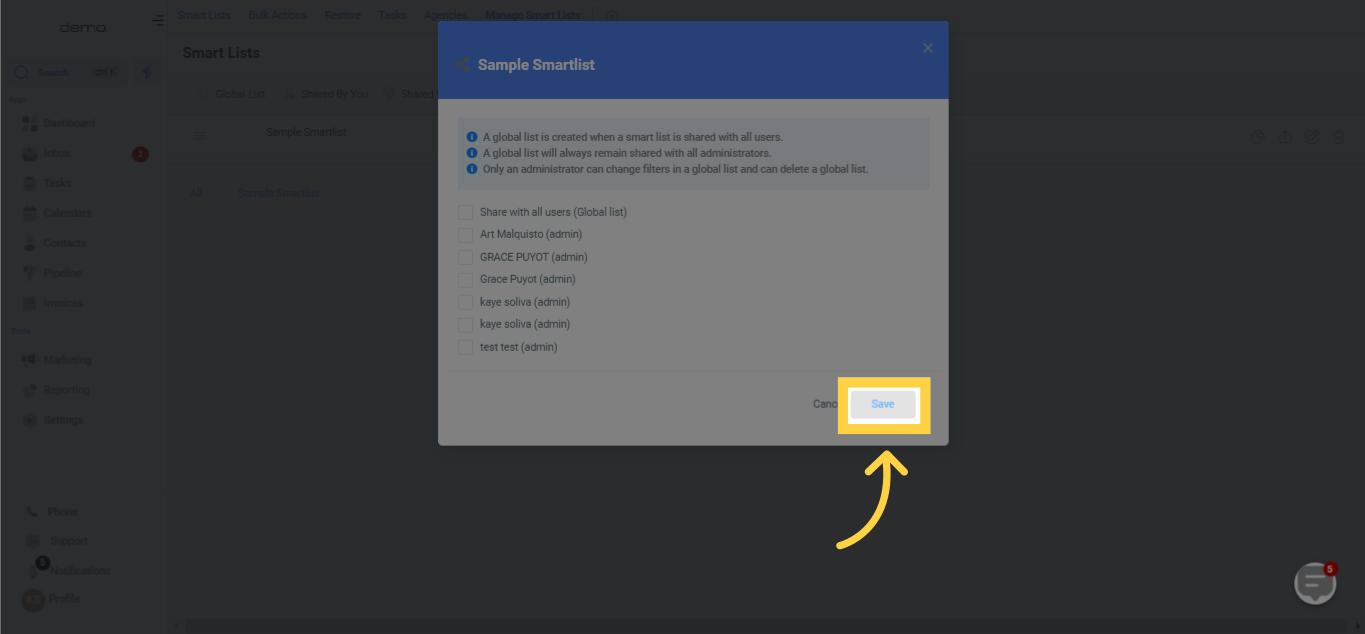
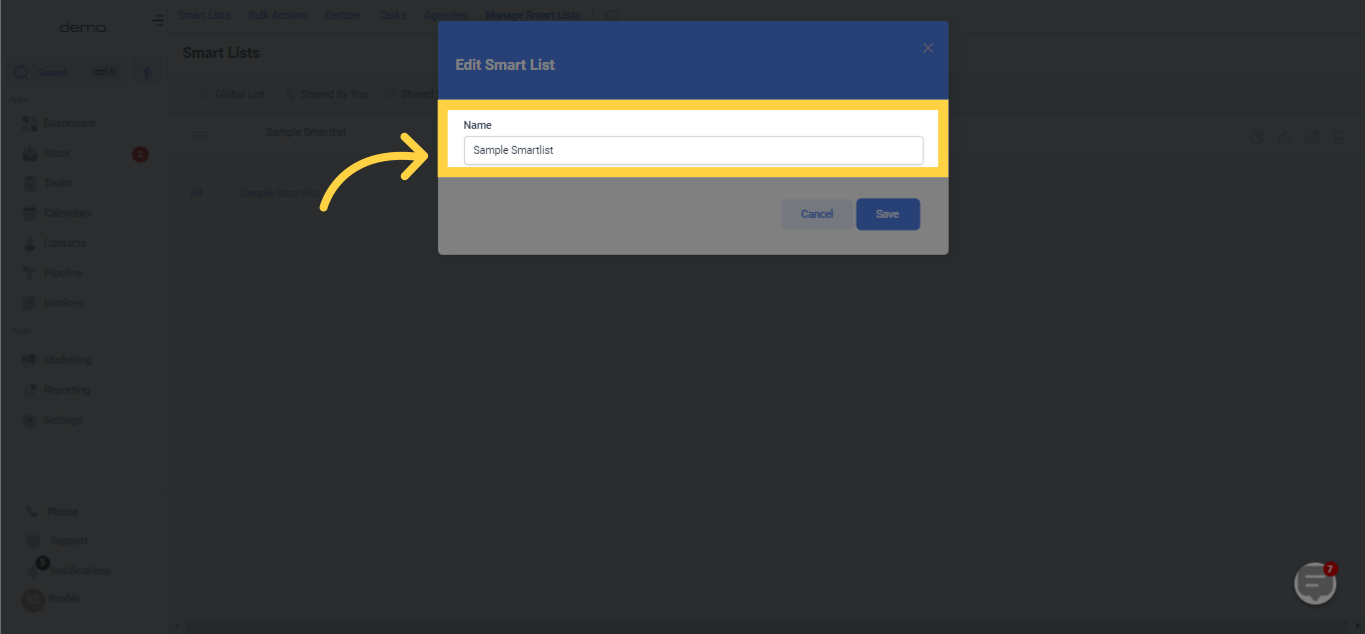
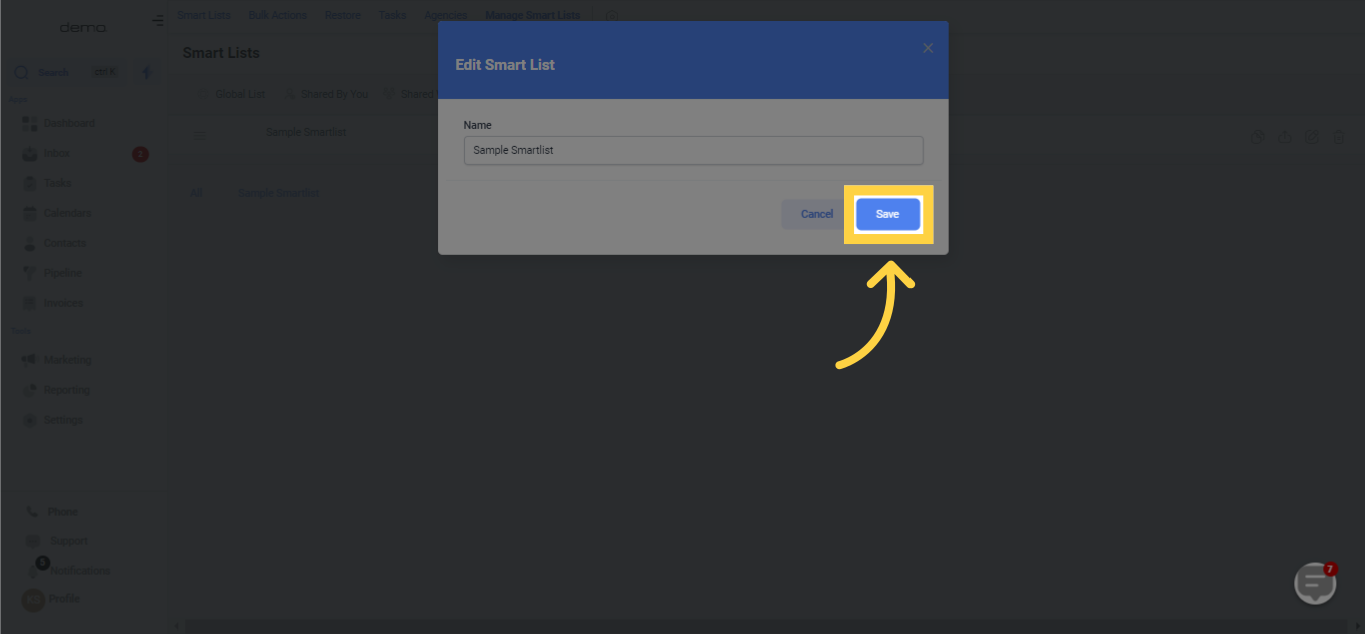
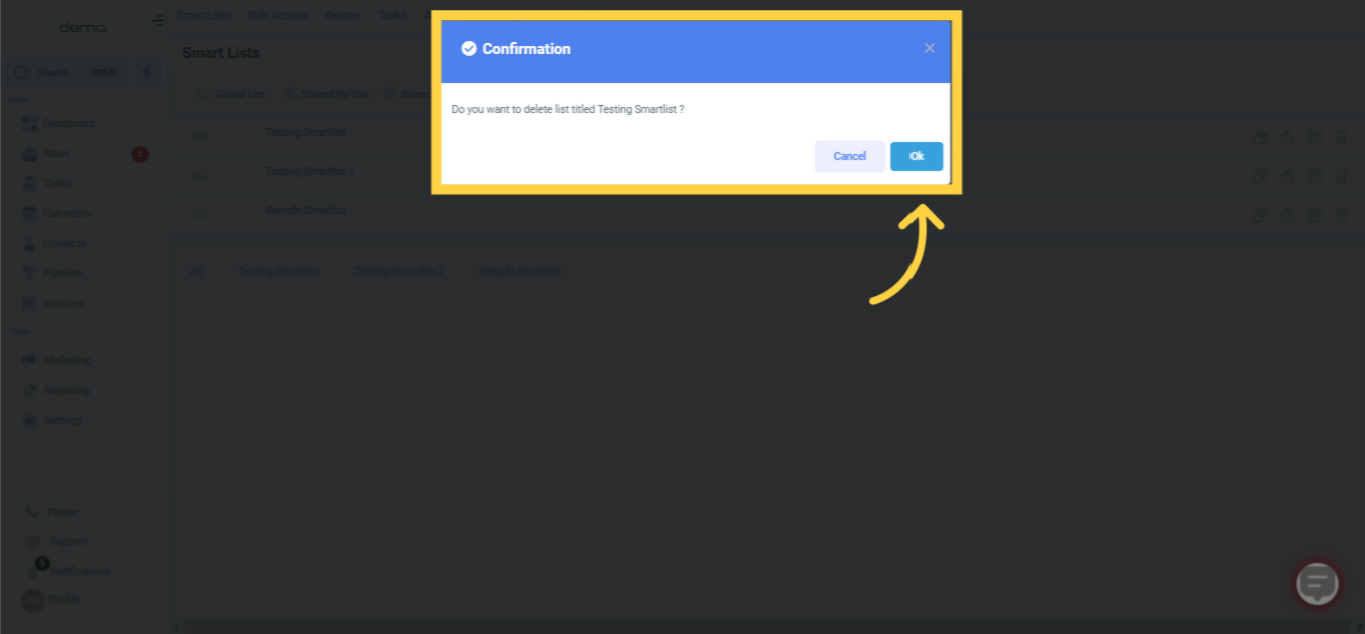
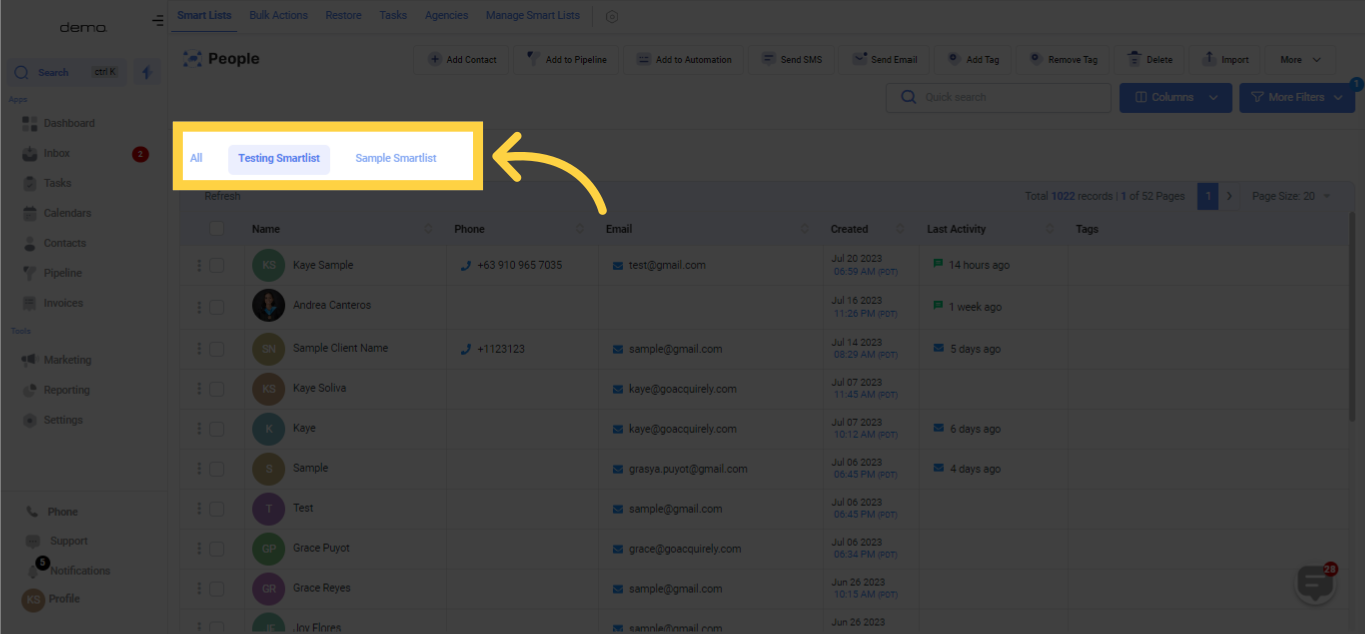
You can control your smart list and adjust sharing settings as well as rename or remove them.


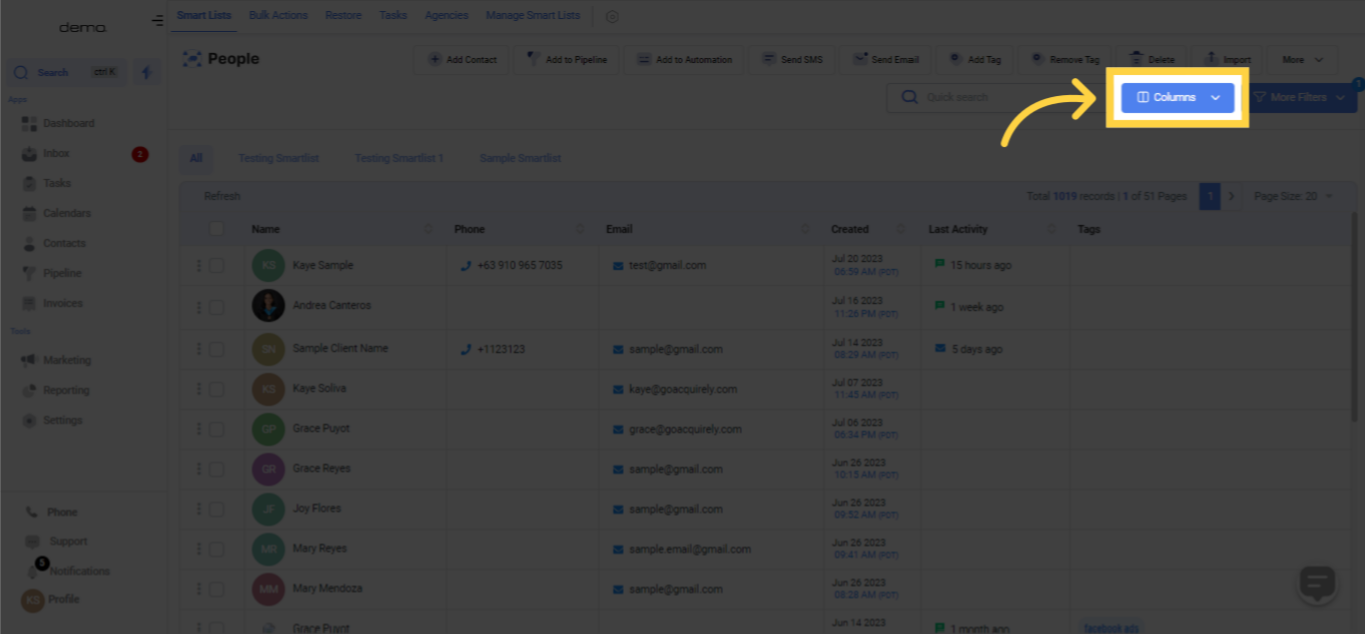)
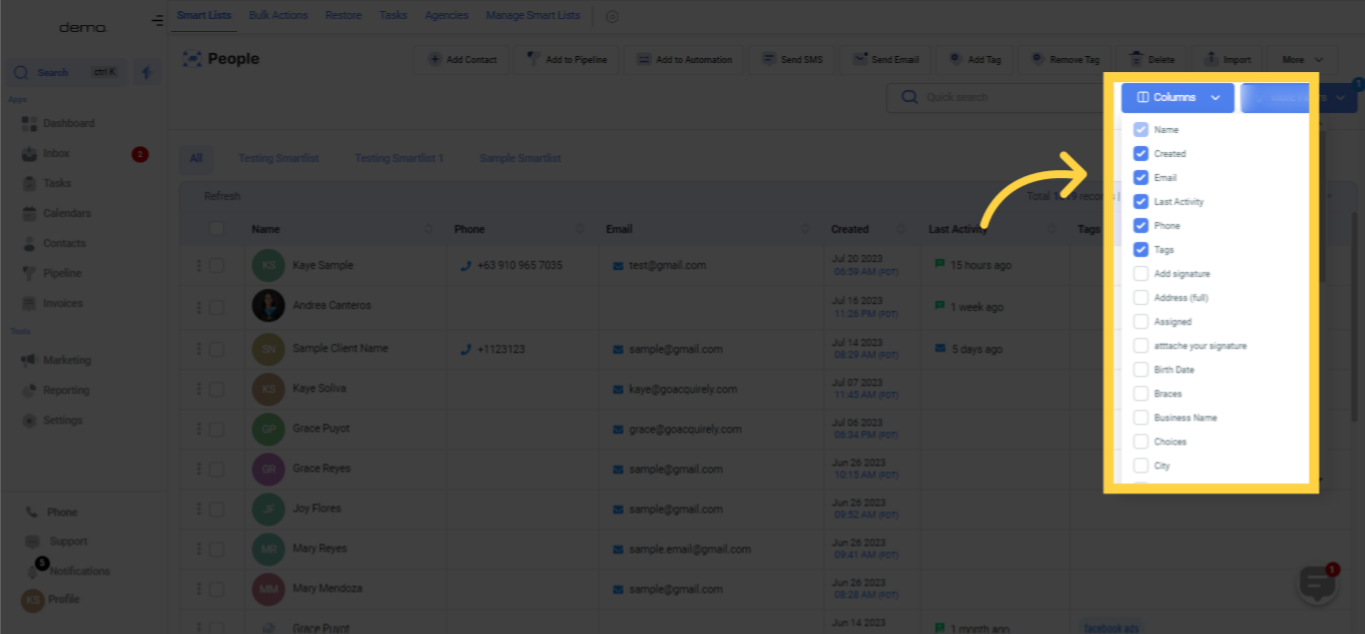
Along with the criteria, you can choose to display specific columns of data for your contacts. By default, the name and phone number columns are selected, but you can choose to display other fields like notes, address, tags and whole lot more.
)
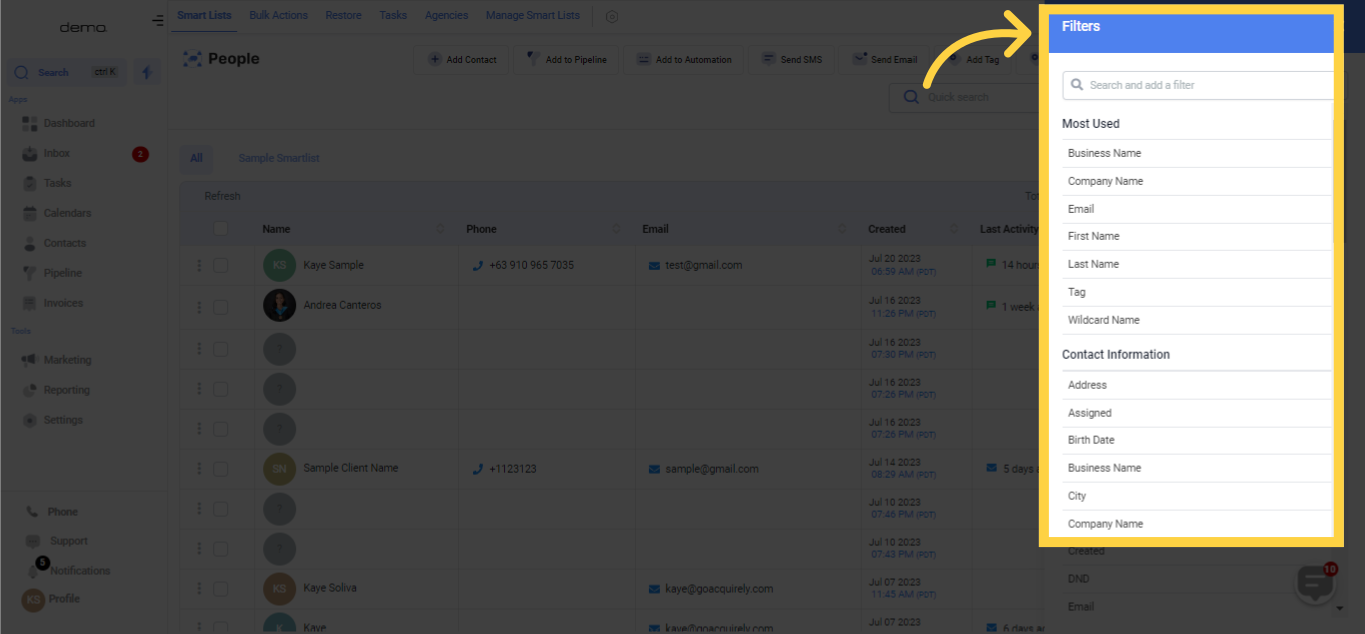
In the More Filters Window, you'll see various sections where you can select criteria.
You can choose from predefined criteria or create your own customized criteria.

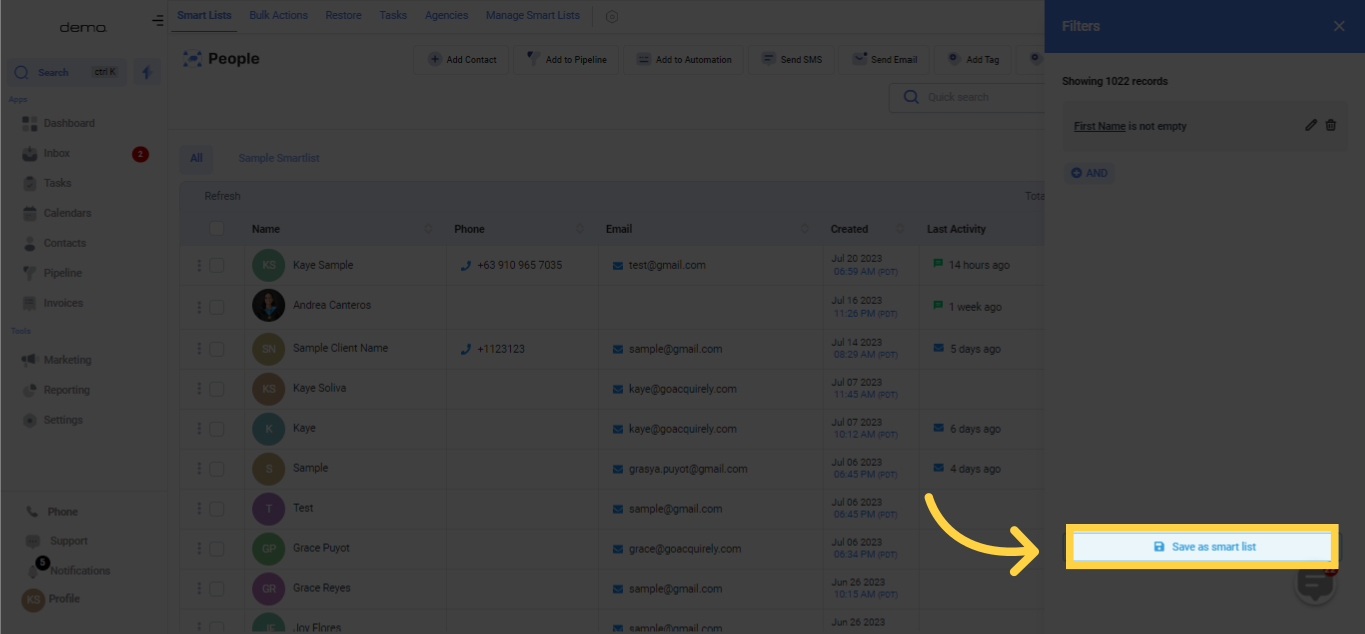
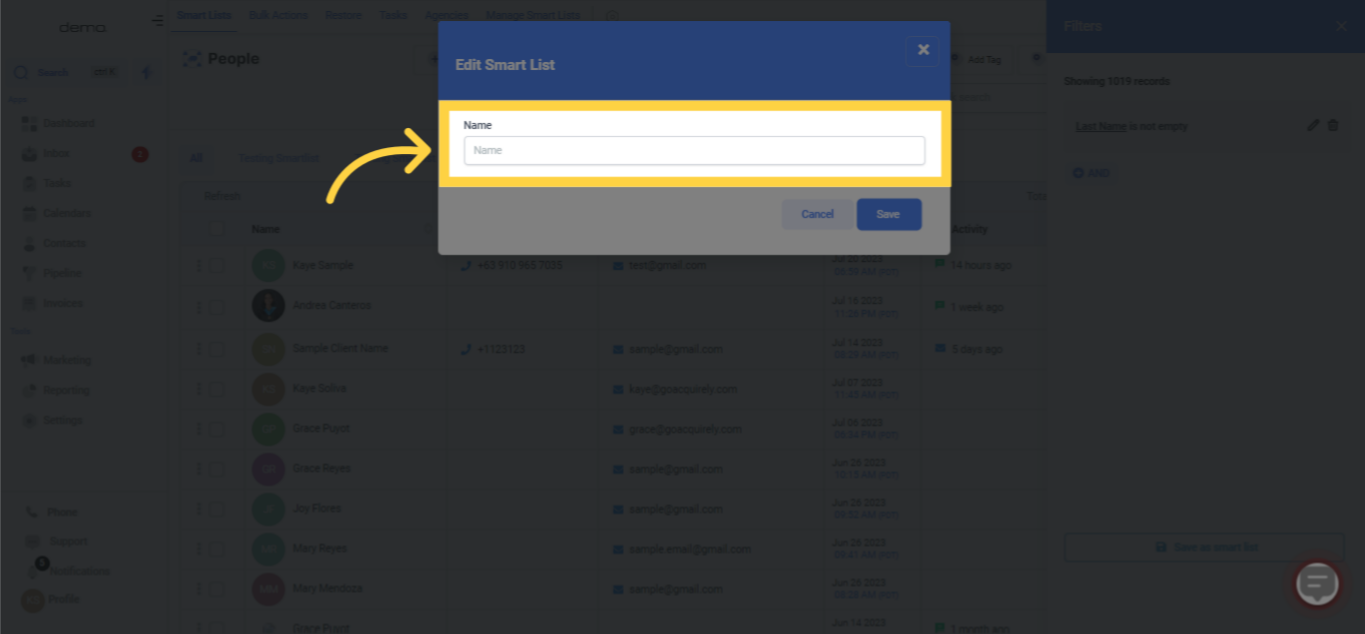
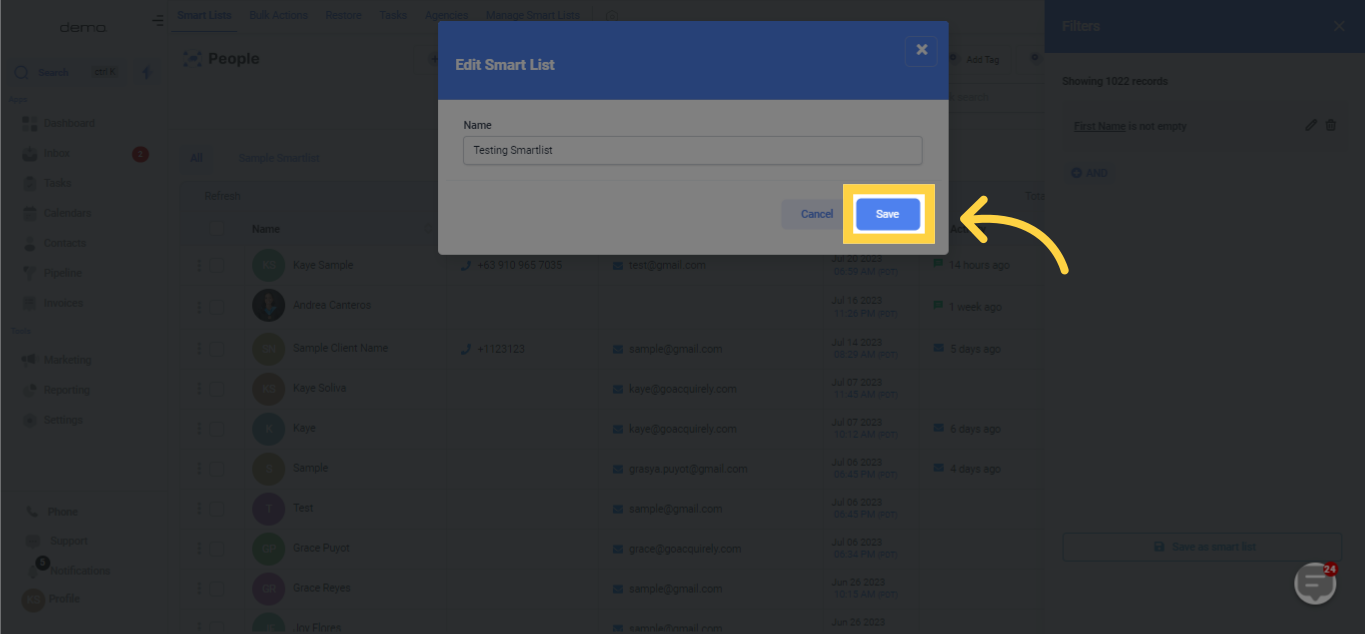
Once you've selected your criteria and columns, click on the "Save this Smart list" button to give the group of contacts a name and to complete the process.
Be specific: The more targeted your Smart List criteria, the more effective your marketing campaigns will be.
Regularly review and update: Continuously analyze your Smart Lists and adjust your criteria as needed to ensure your segmentation remains relevant and effective.
Combine Smart Lists: Use multiple Smart Lists to create even more targeted segments for your marketing campaigns.
Monitor performance: Keep an eye on the success of your Smart List-based campaigns, and use the data to further refine your segmentation strategy.
Smart Lists in your CRM offer a powerful way to group your contacts, allowing you to create more targeted and personalized marketing campaigns. By understanding the benefits of Smart Lists and following the steps and tips outlined in this article, you can unlock the full potential of this feature and drive your business forward.
