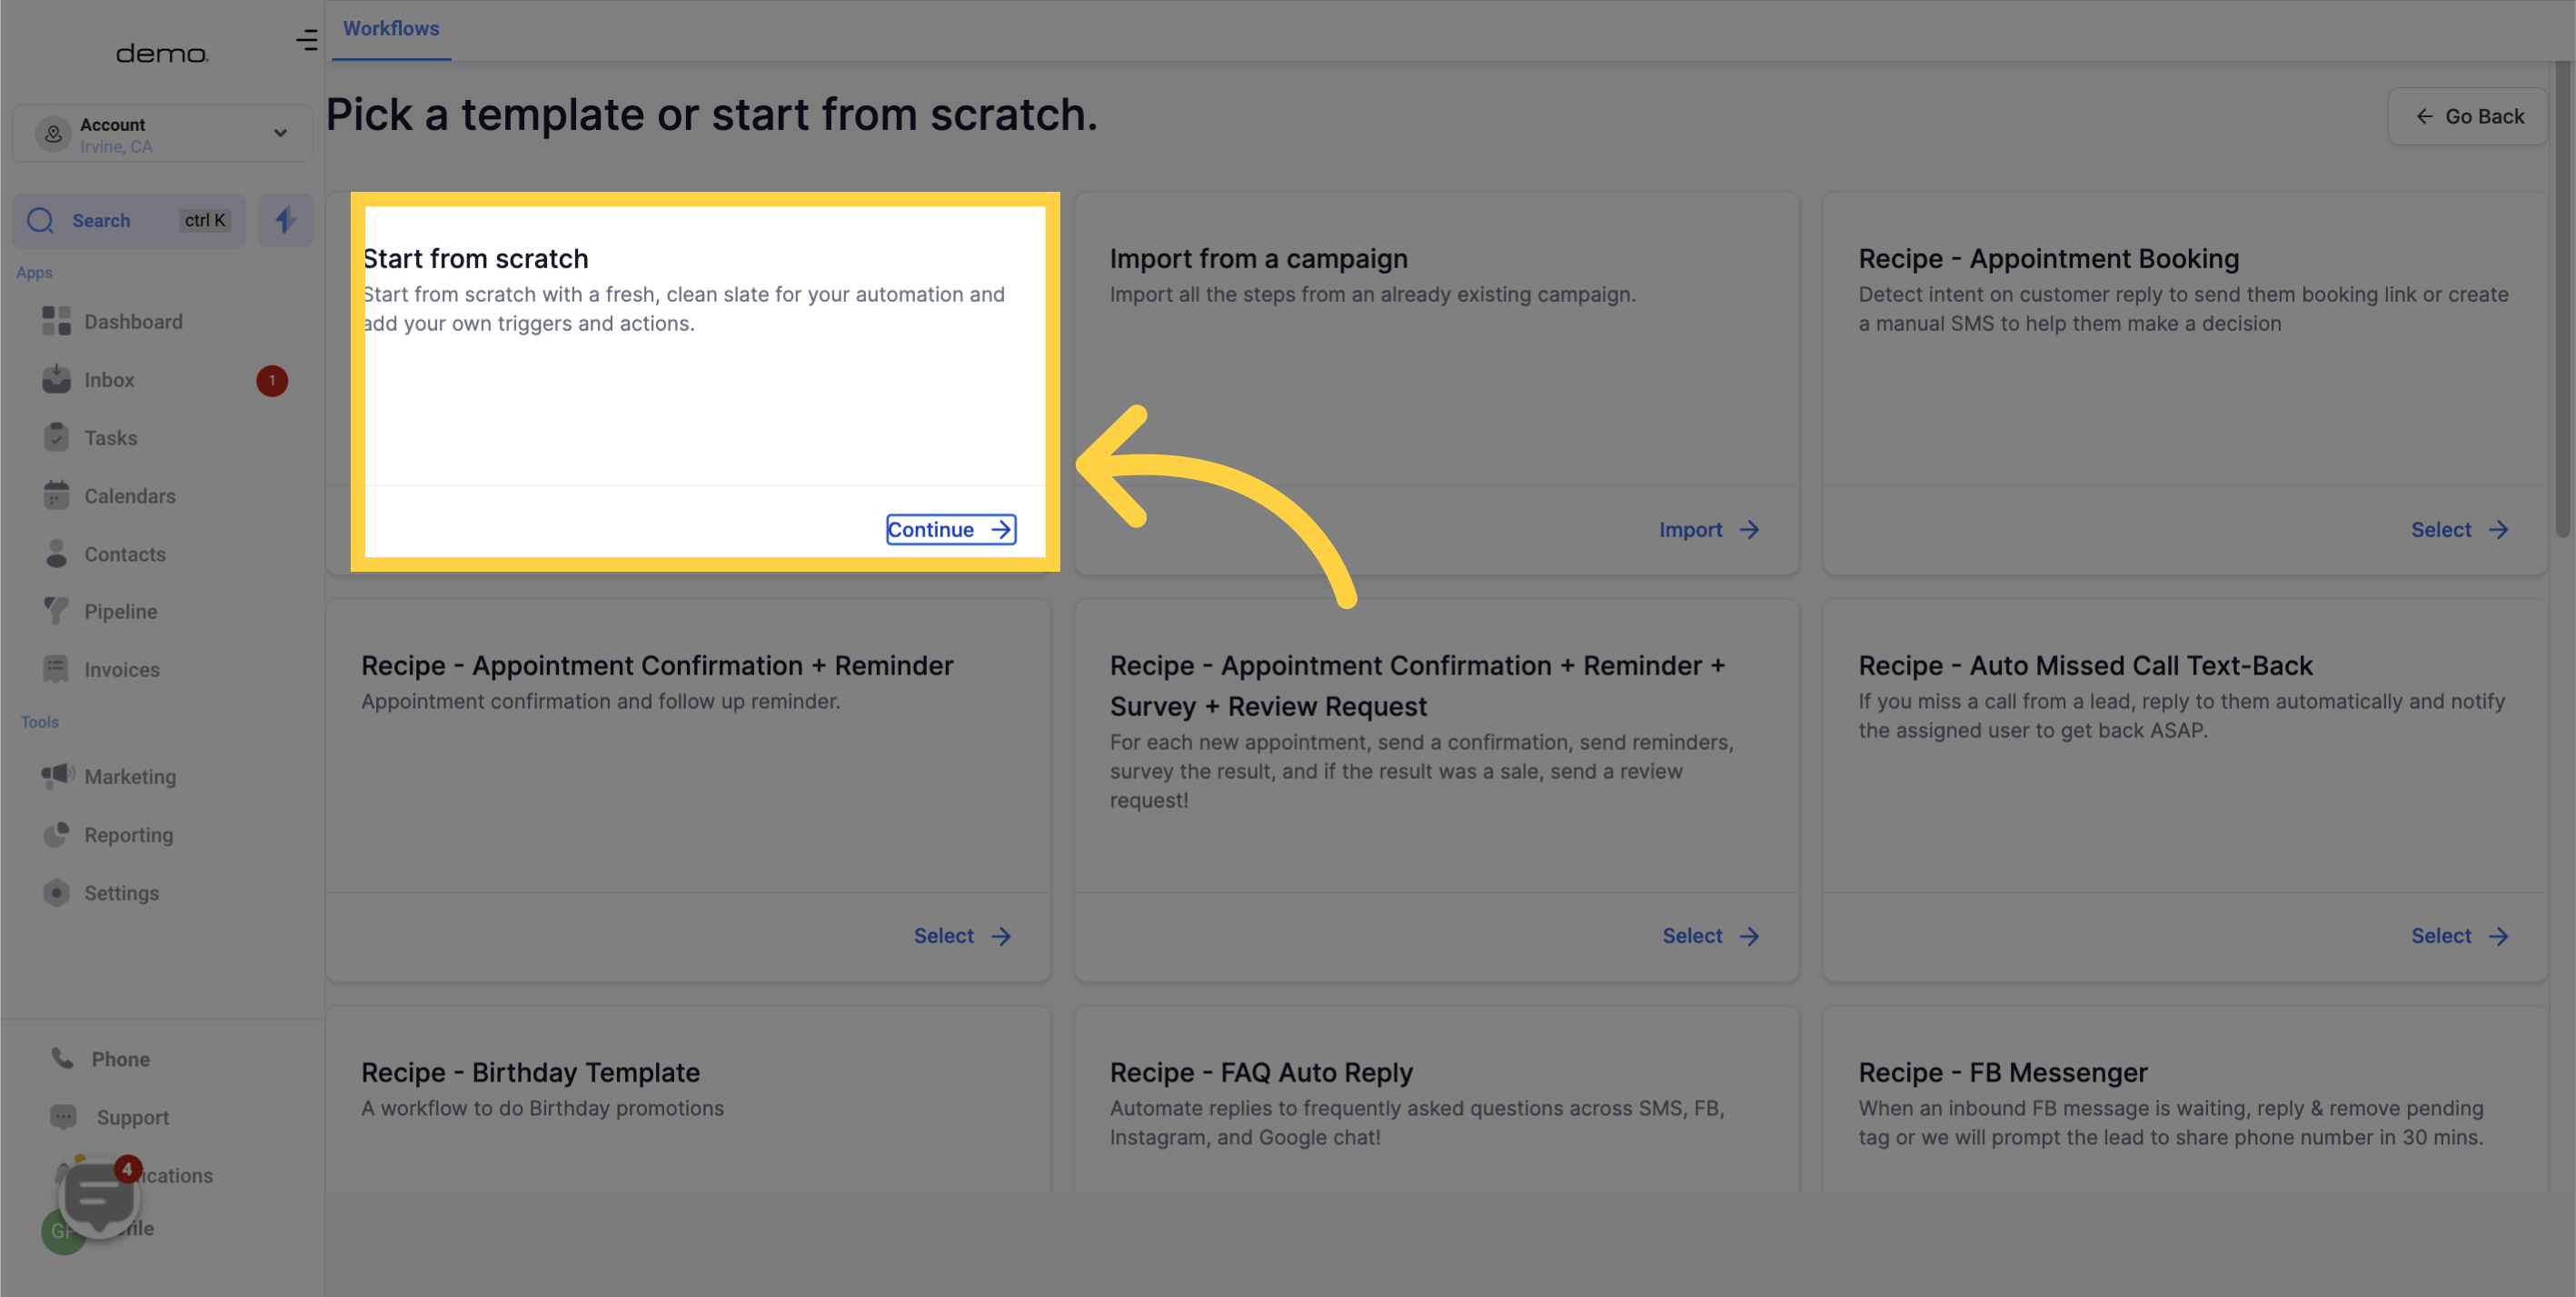
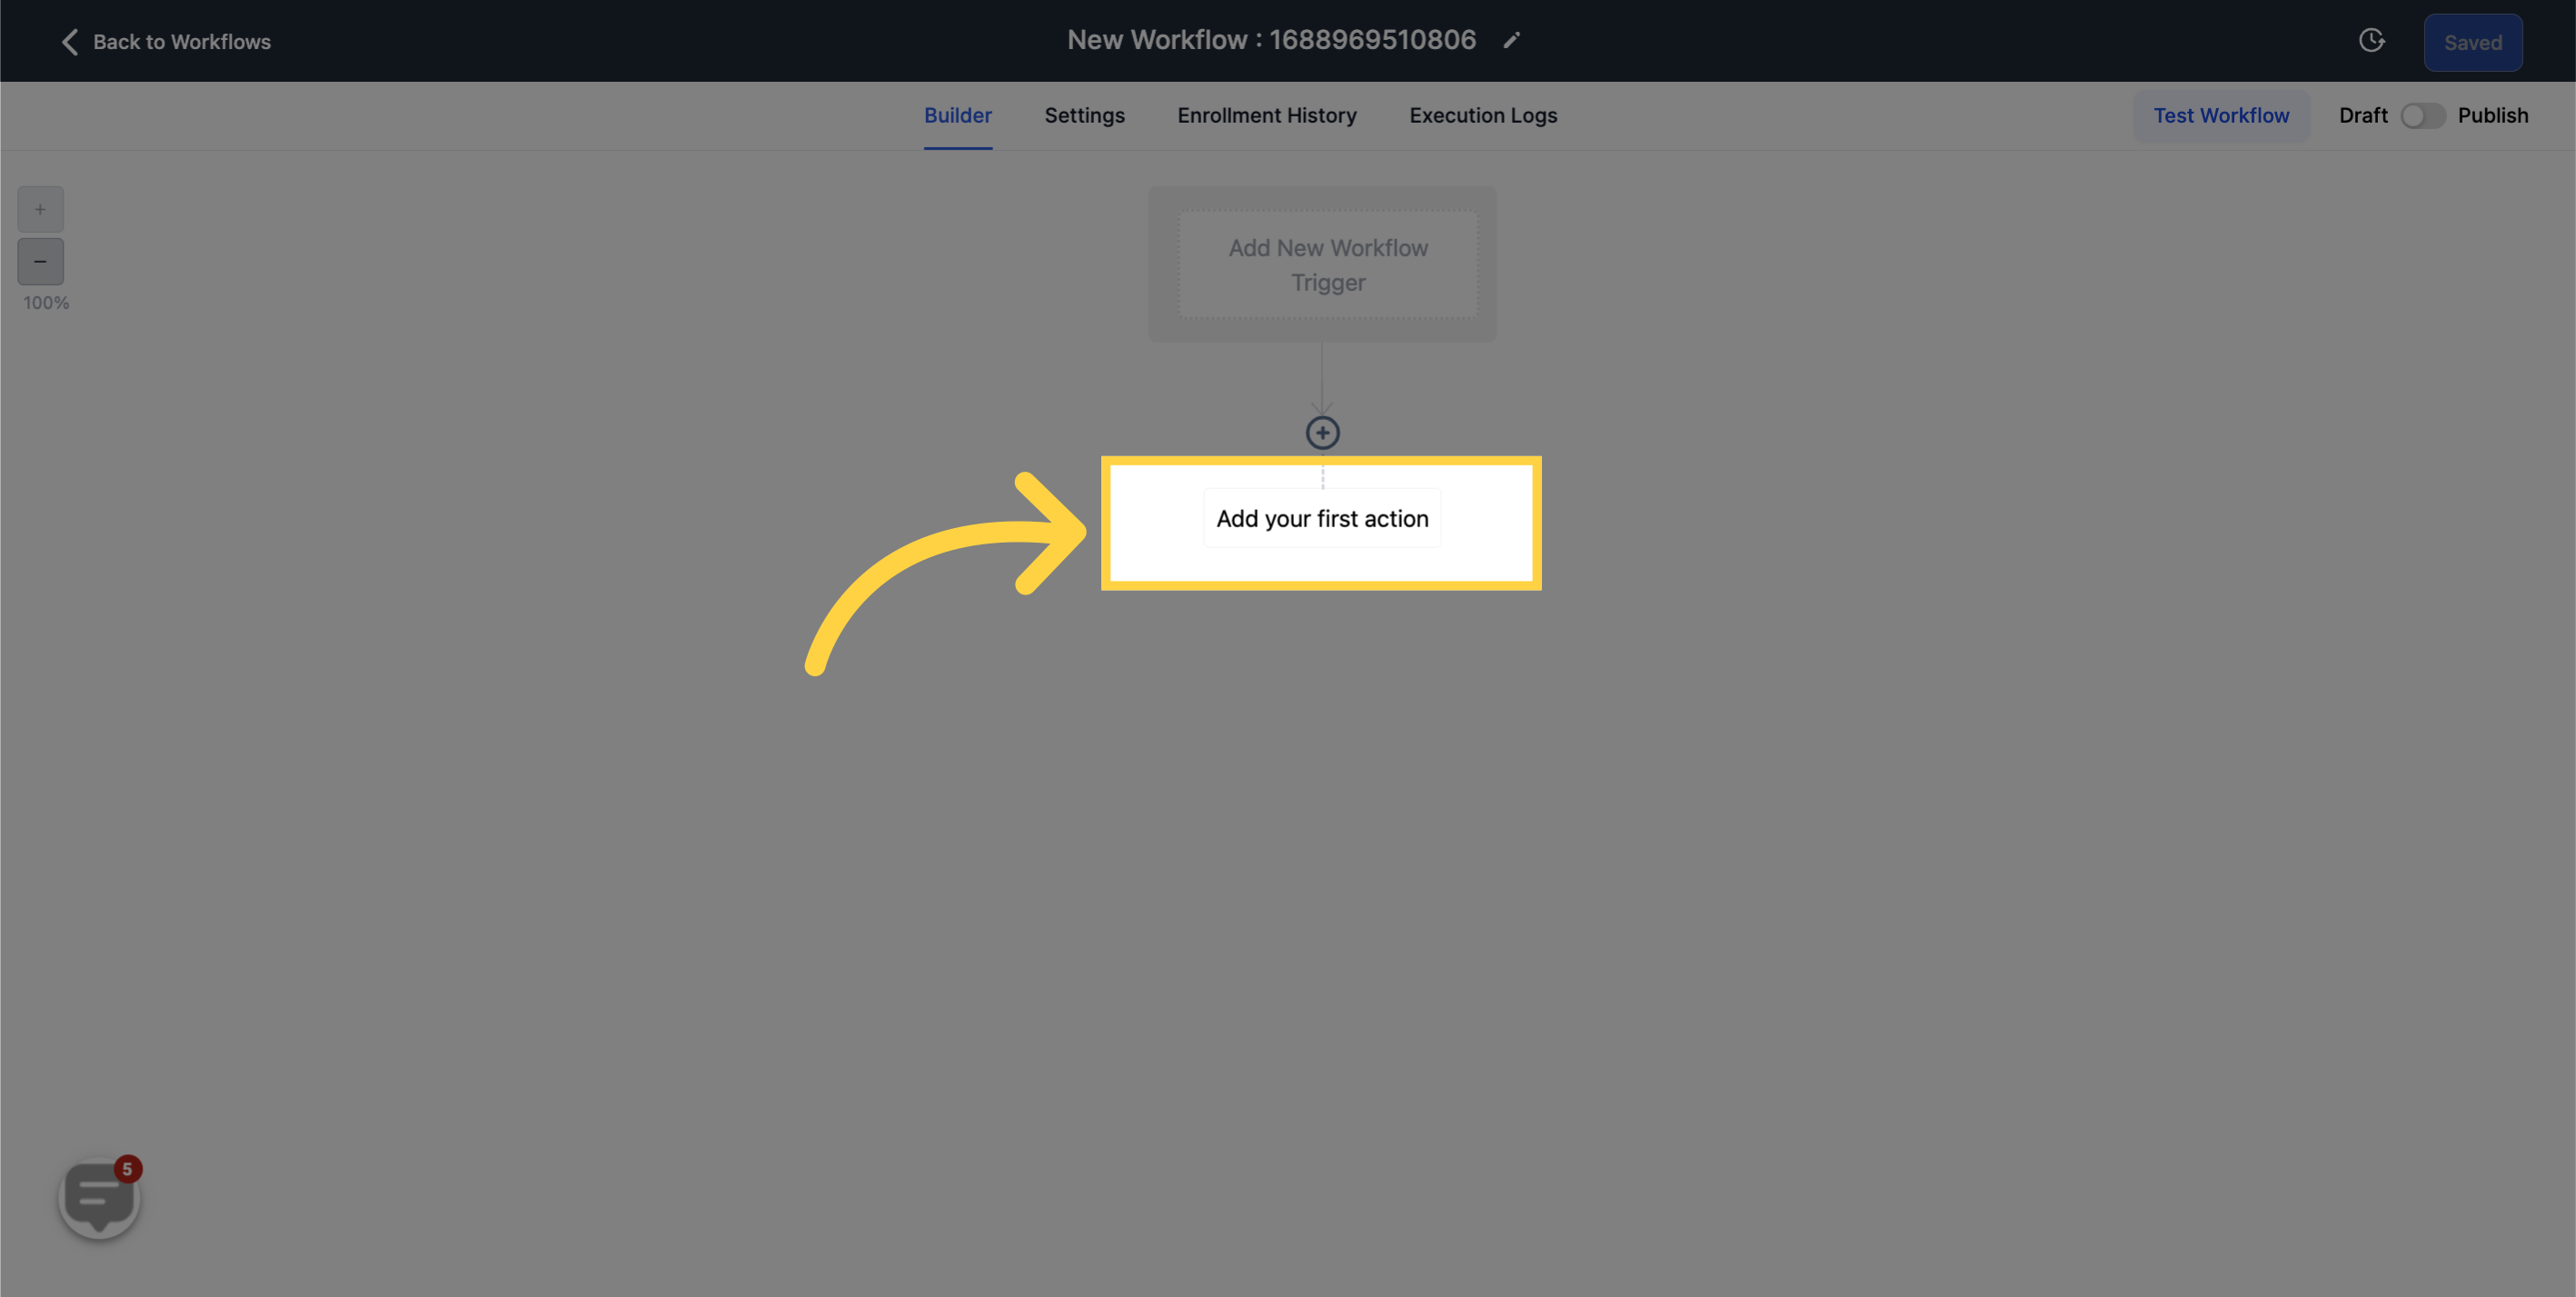
To PUBLISH workflows, you must set up a workflow trigger and a workflow action. Without these two components, you can only save the workflow, not publish it.The wait event is a unique kind of workflow action that enables you to temporarily halt a contact at a particular stage in your workflow until a specific condition is fulfilled. The wait event can be employed when you want to pause for a tag, an appointment, a certain time or event, a contact's reply, and so on."

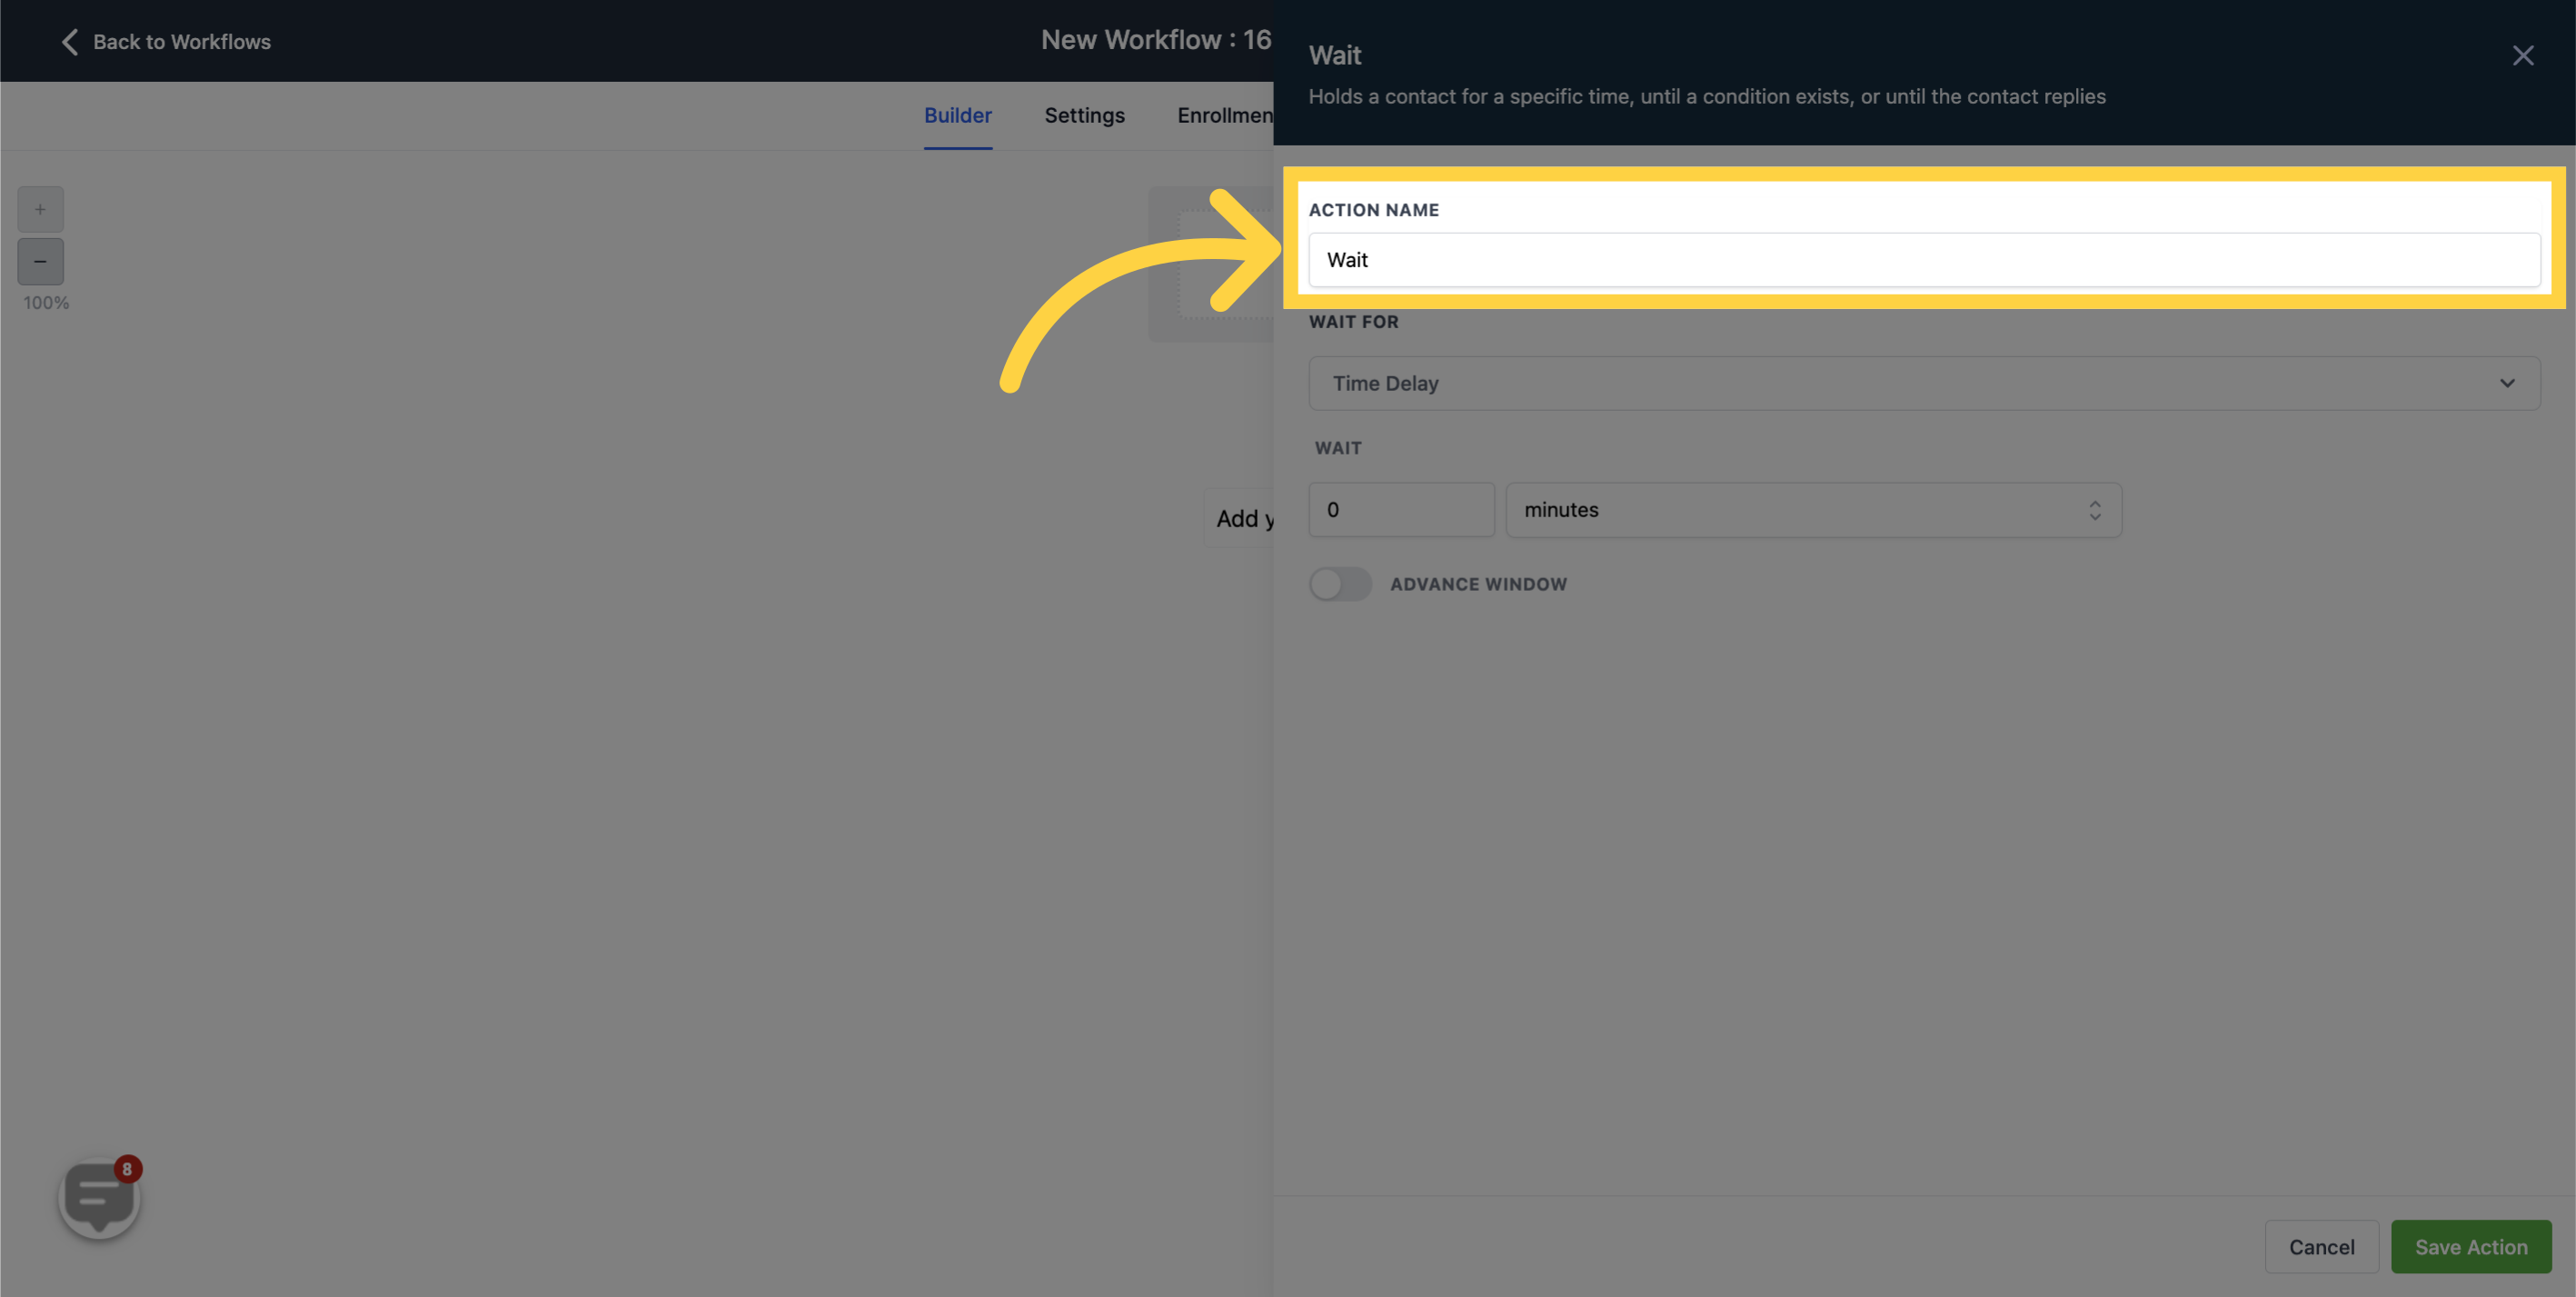
Wait For
Different Pause Events can be deployed based on your intended result**;**
Temporal-Based Event:
Time-Lagged
Scheduled Time
CRM Oriented Events:
Condition
Contact Reply
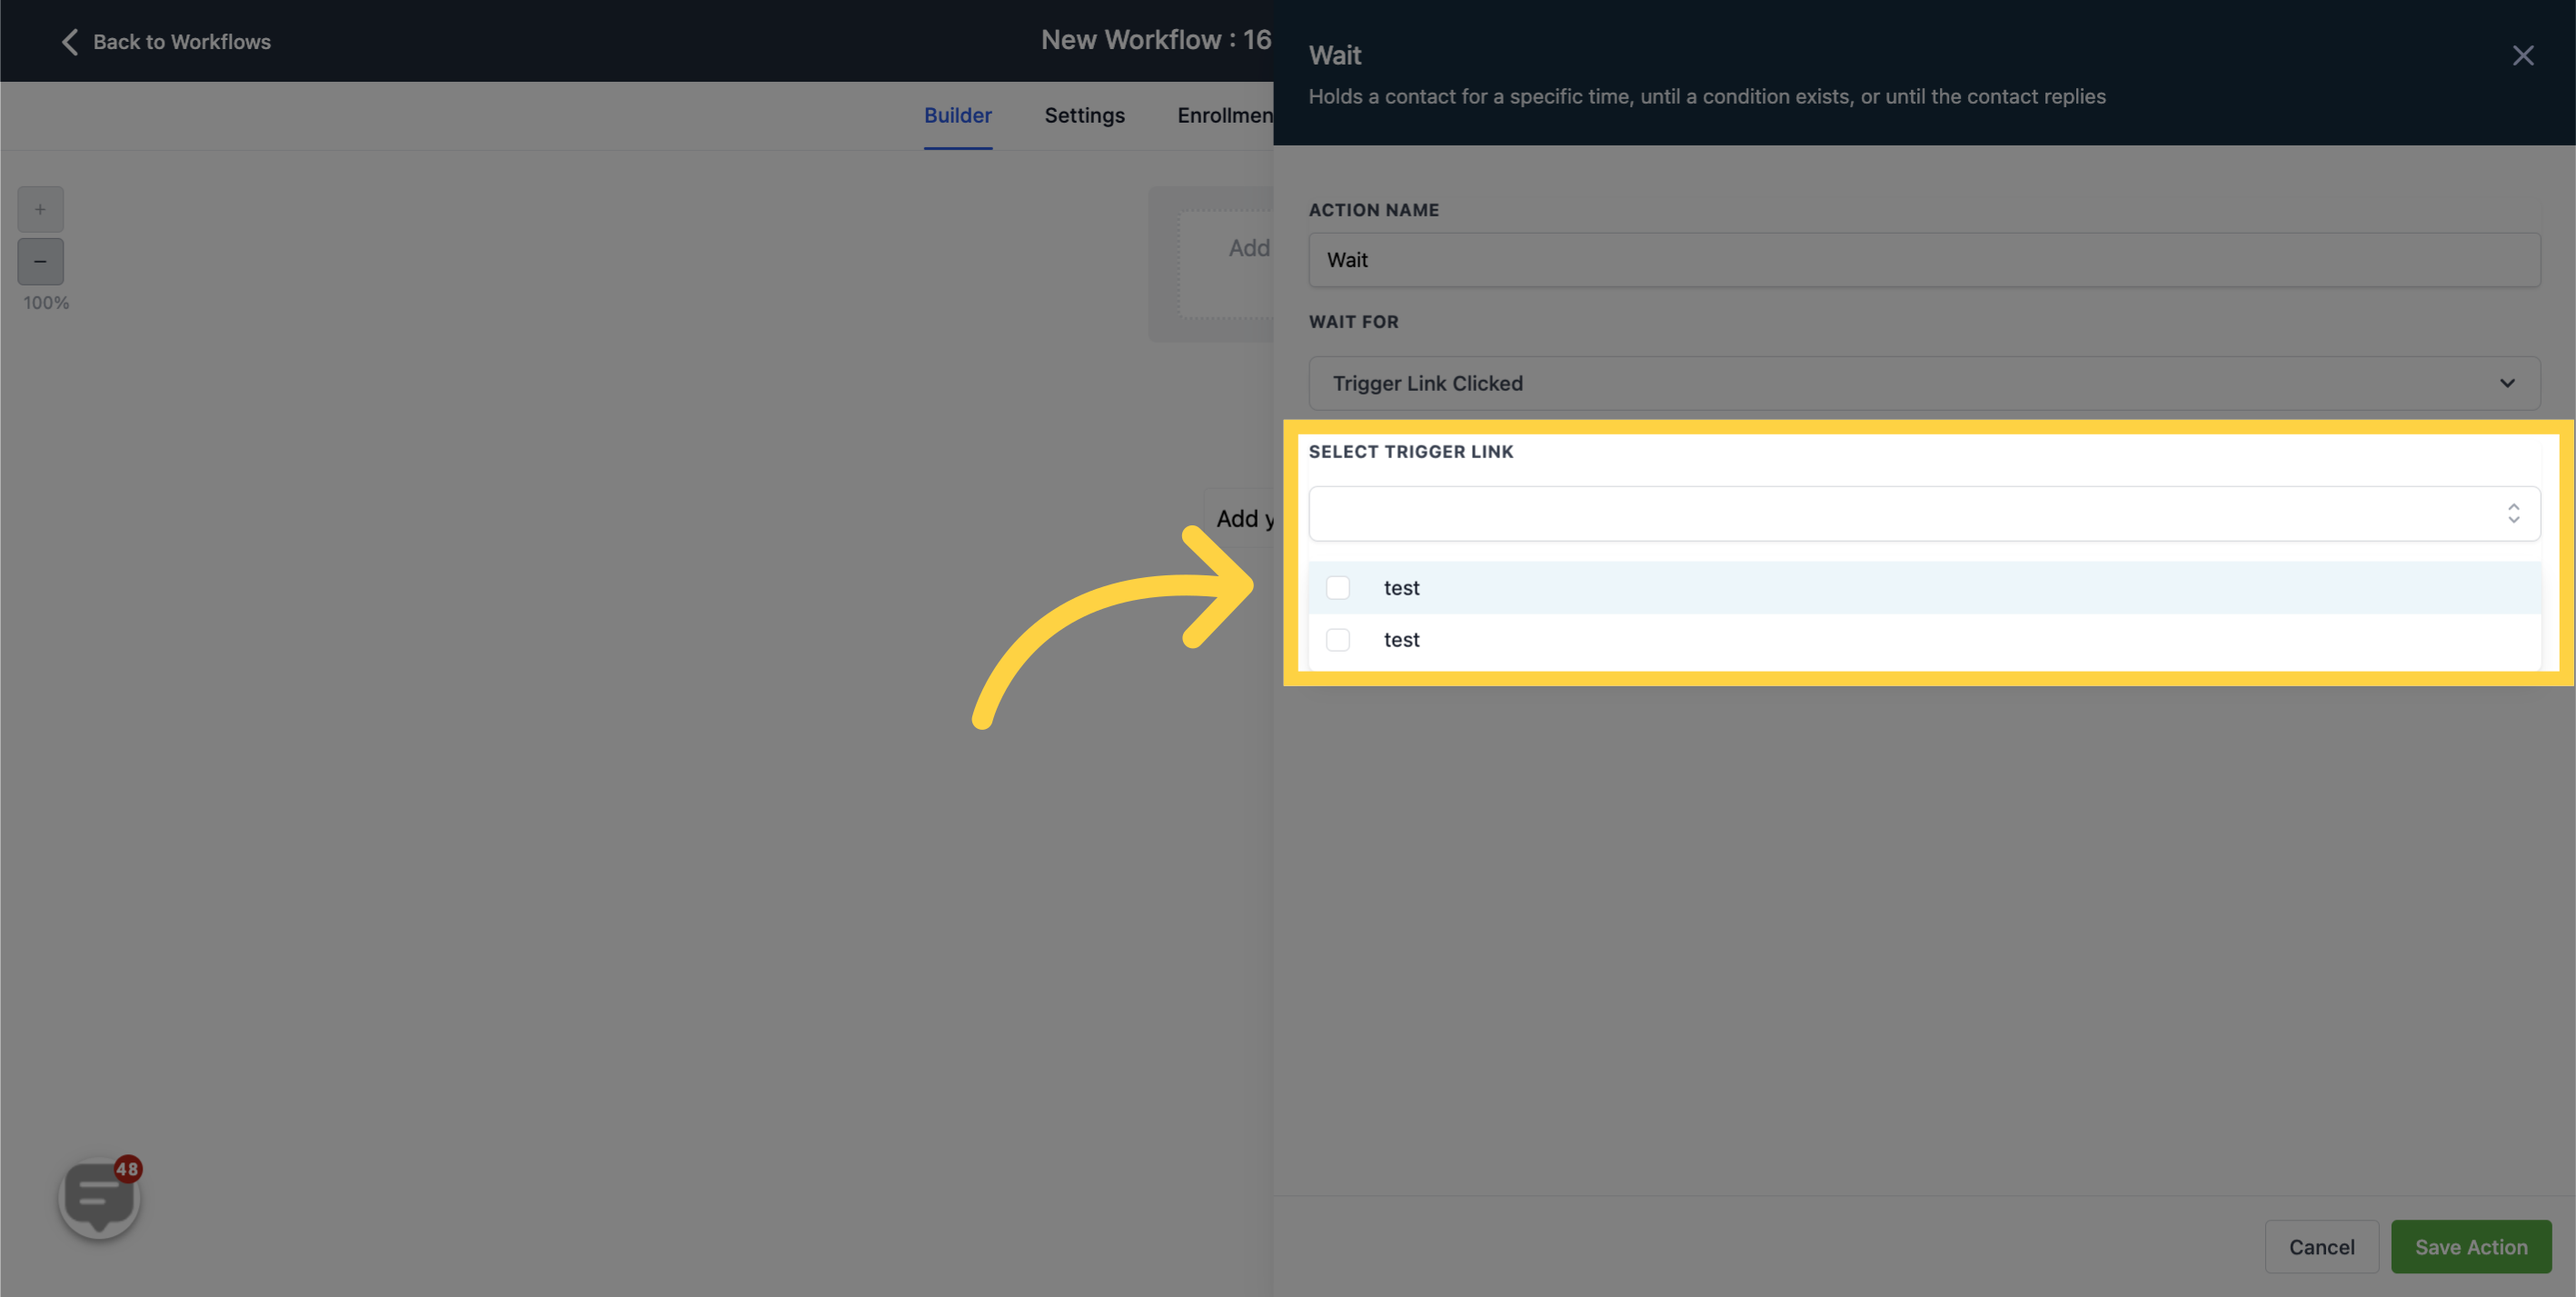
Trigger Link Clicked
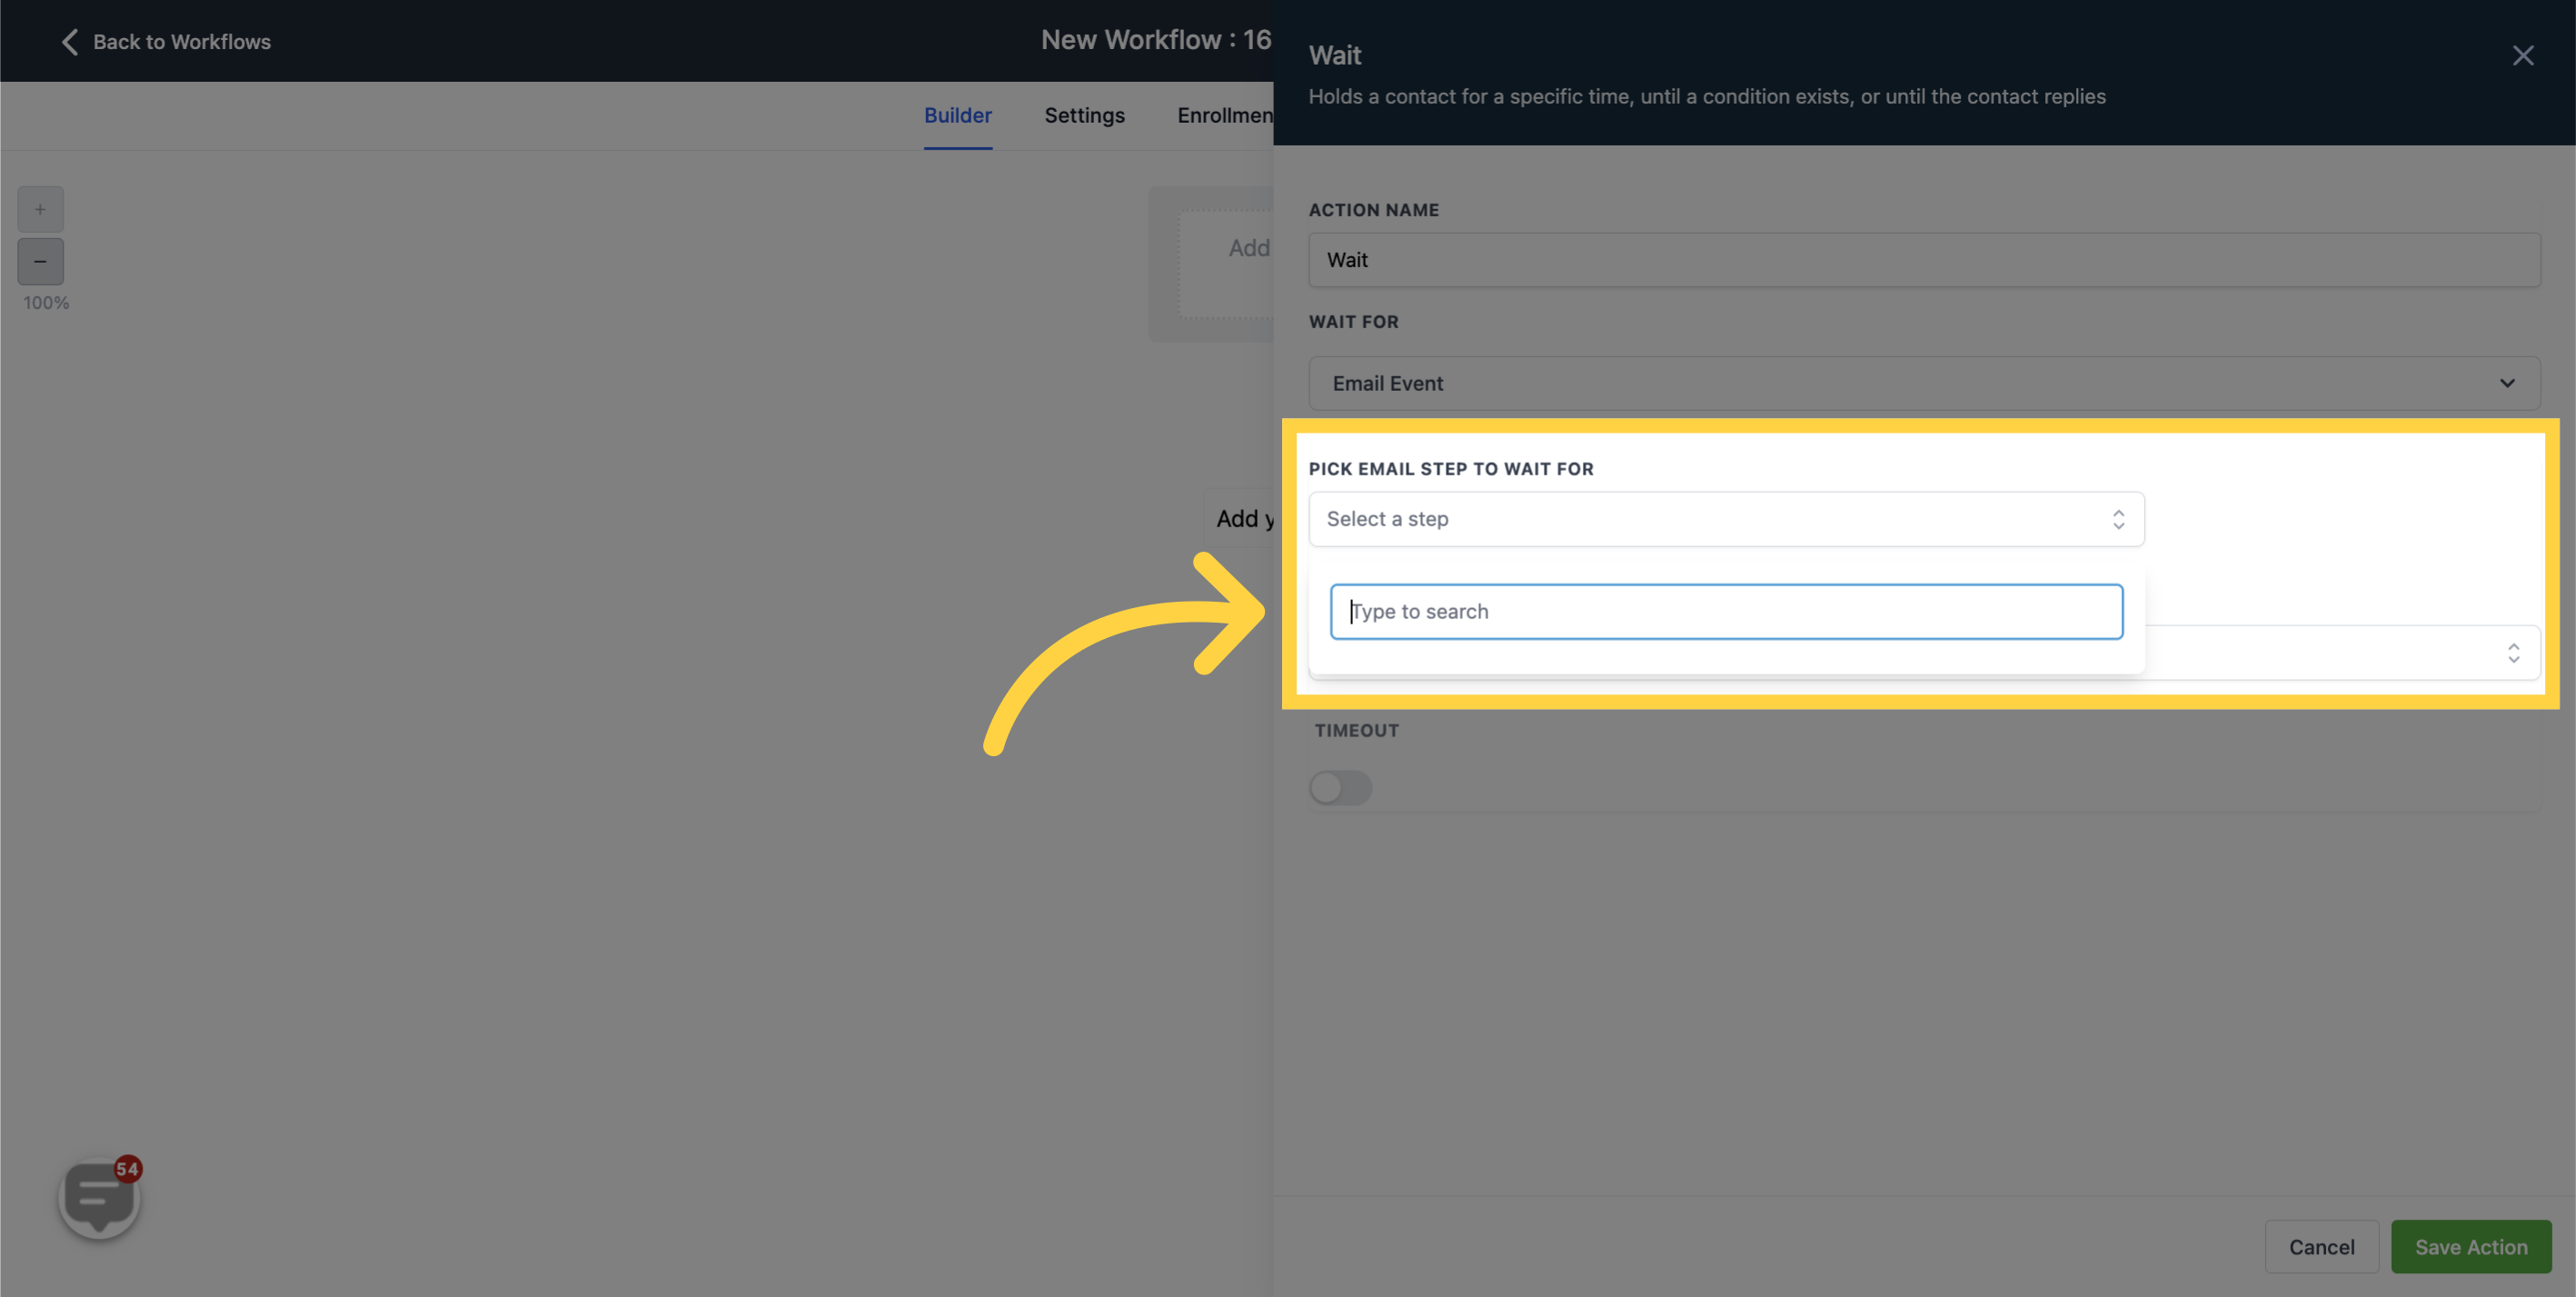
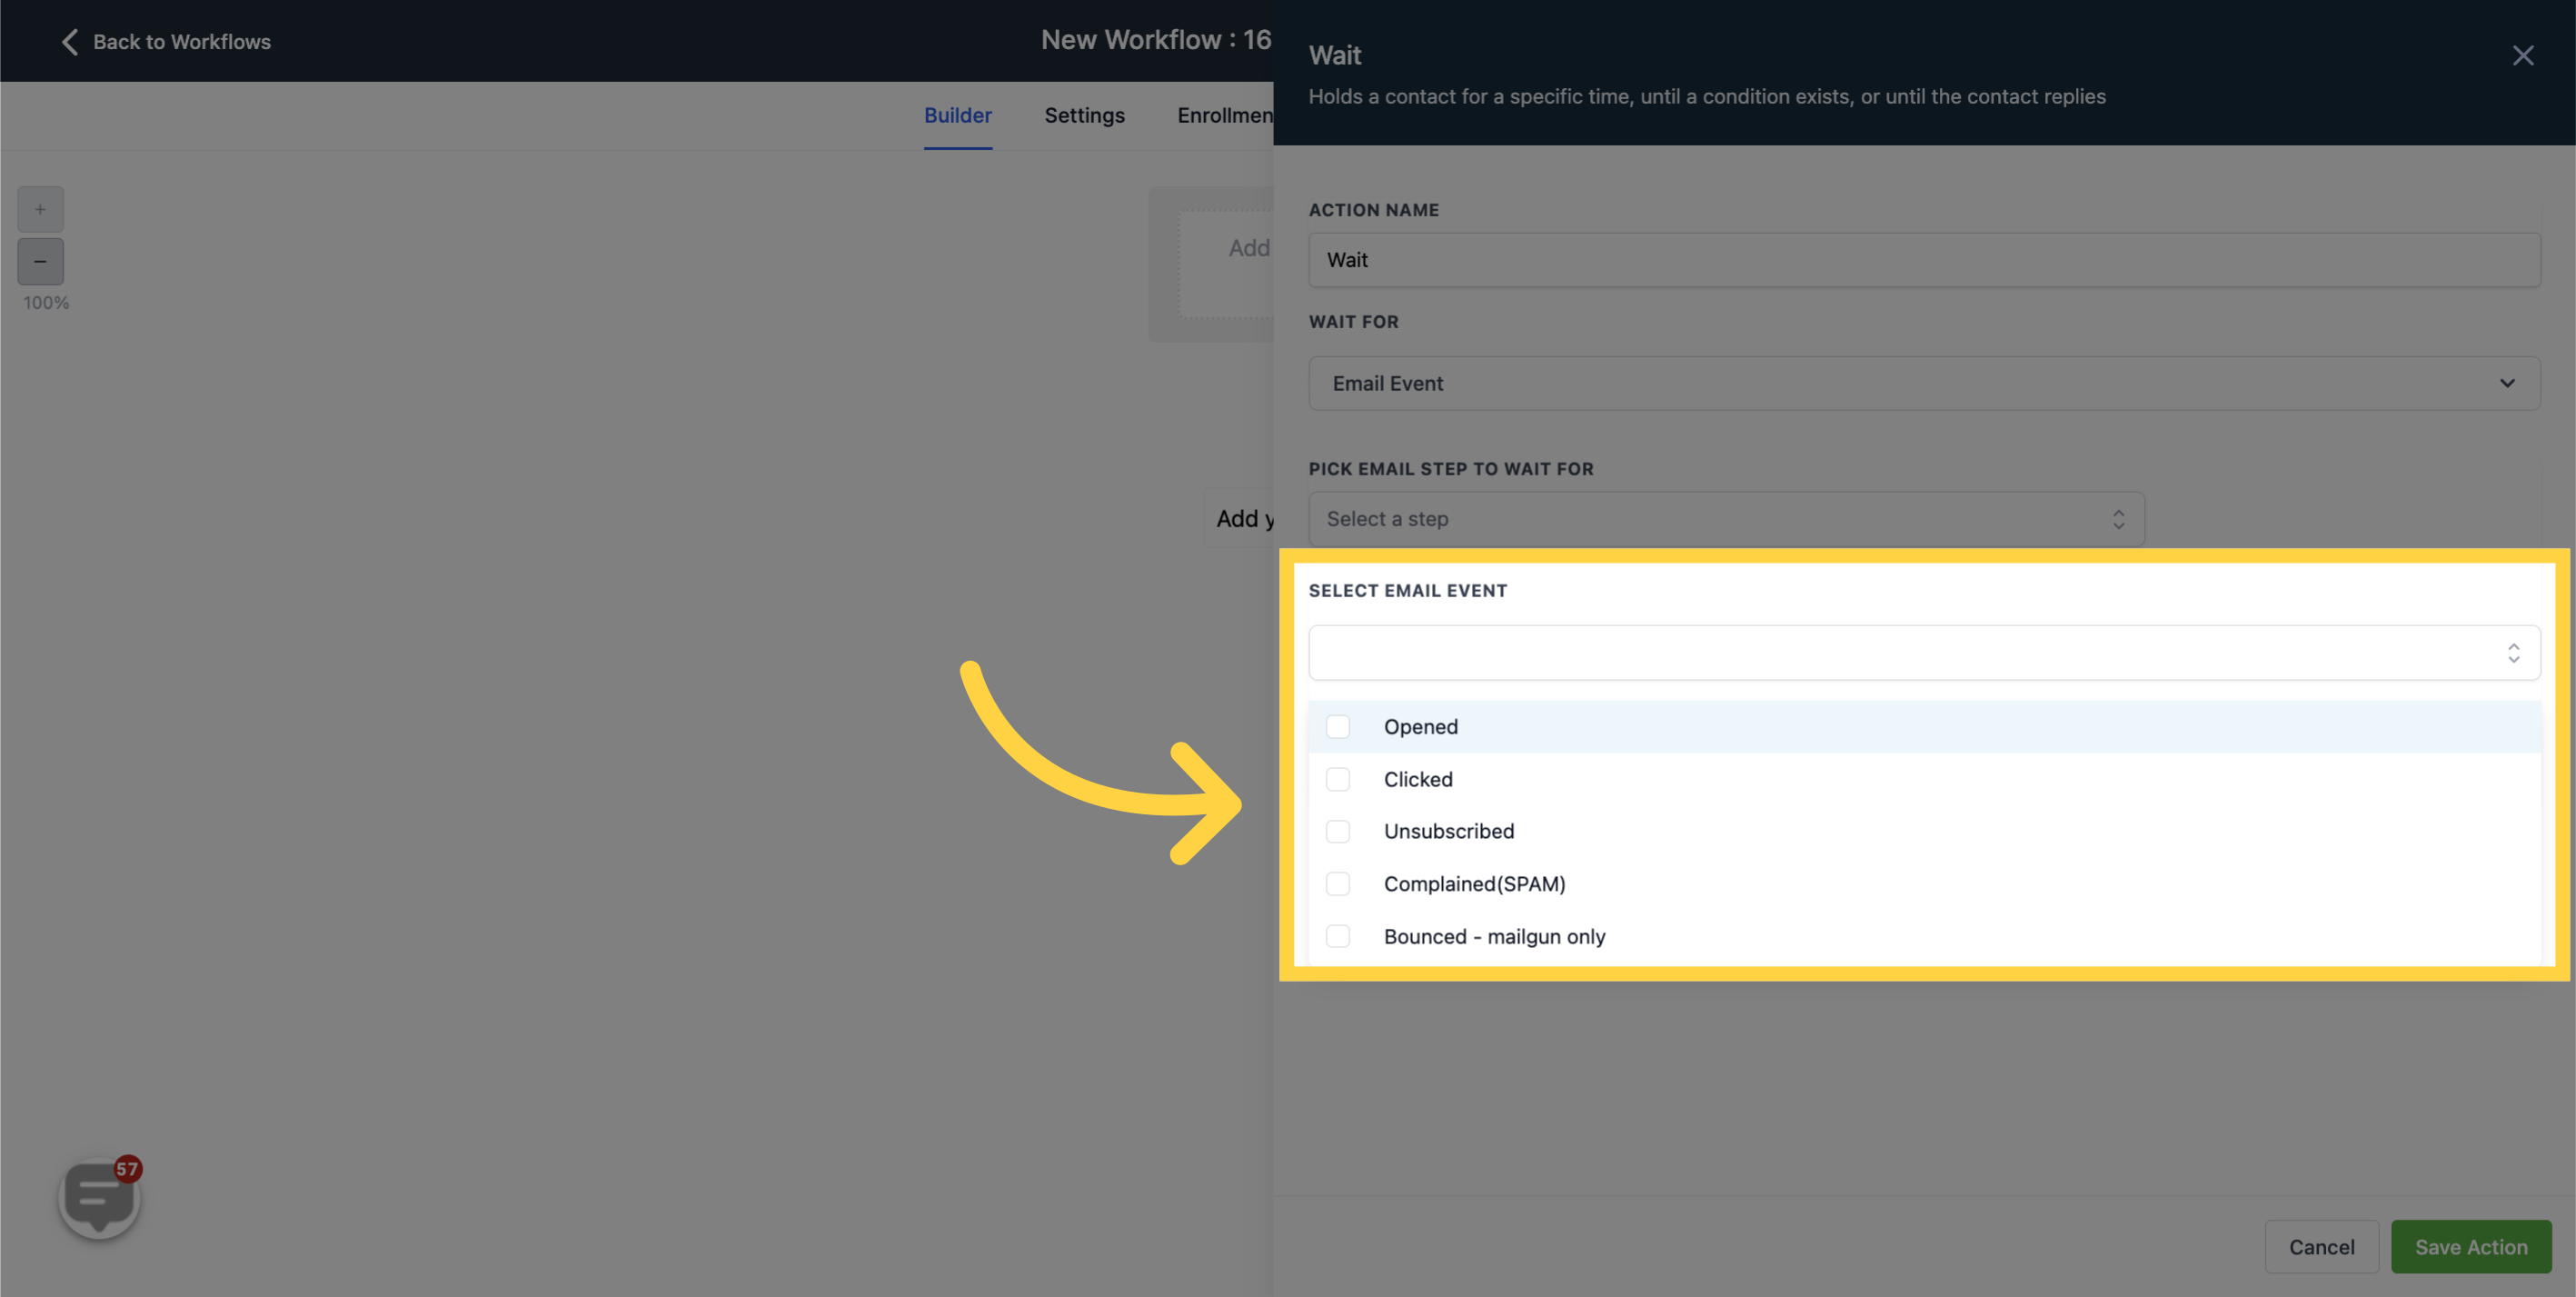
Email Event

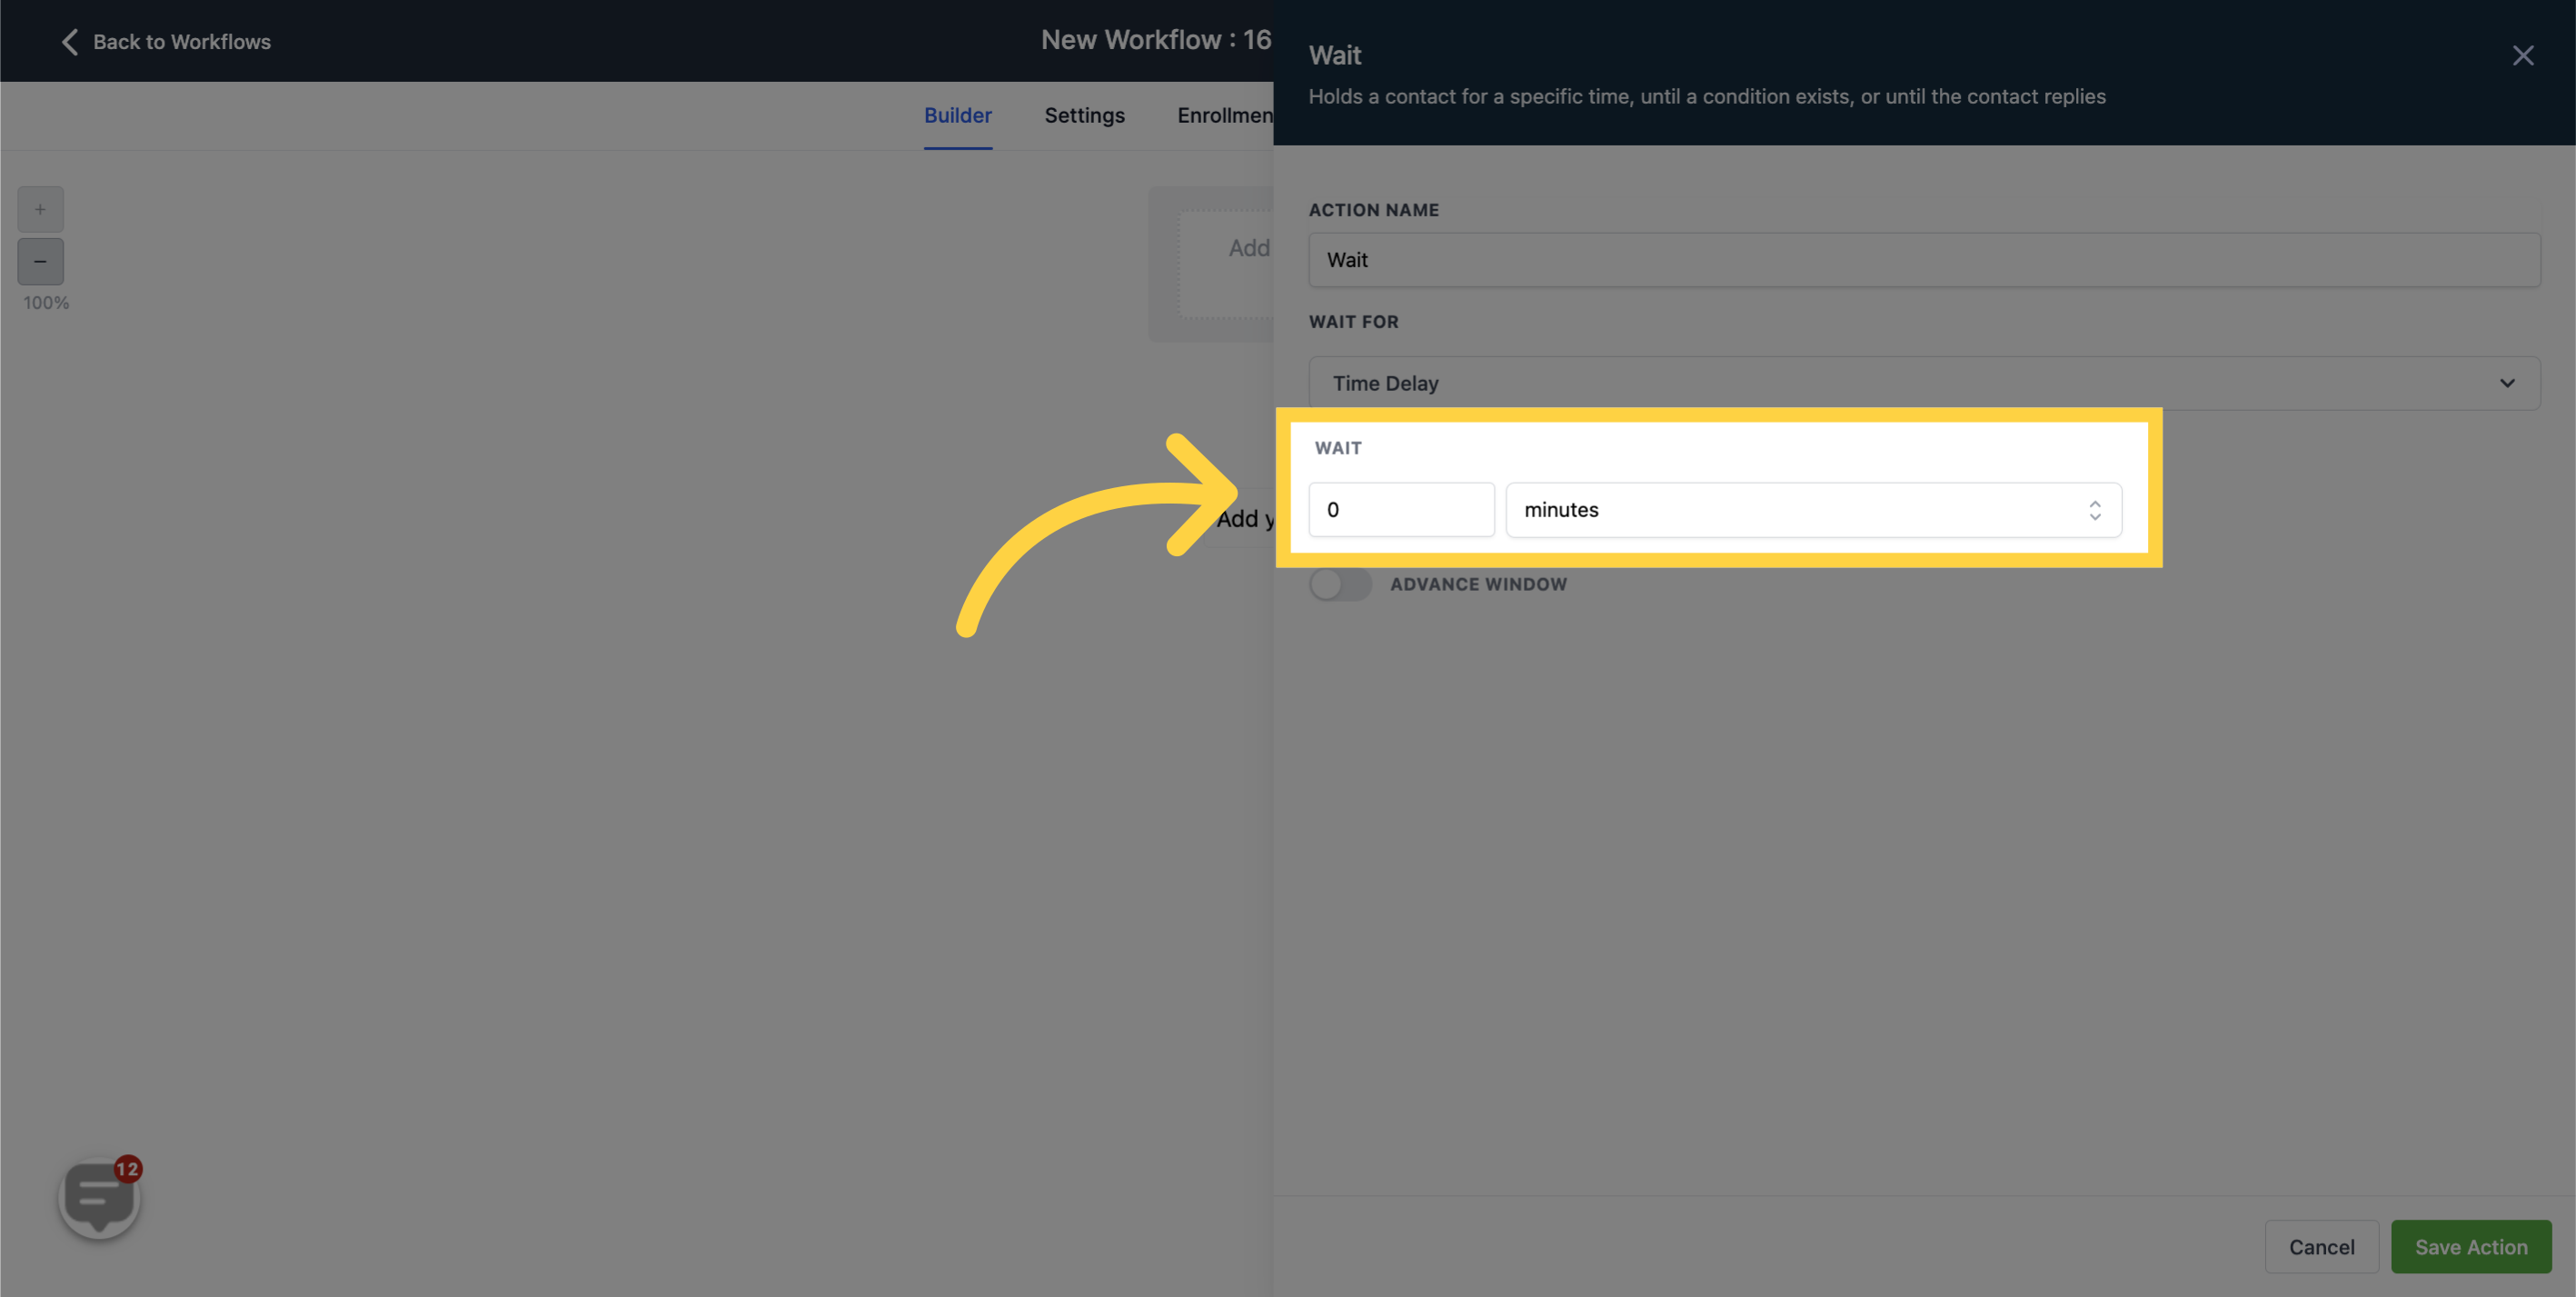
A time based wait event is when this event holds on contacts for a distinct period until a condition emerges or the contact responds.
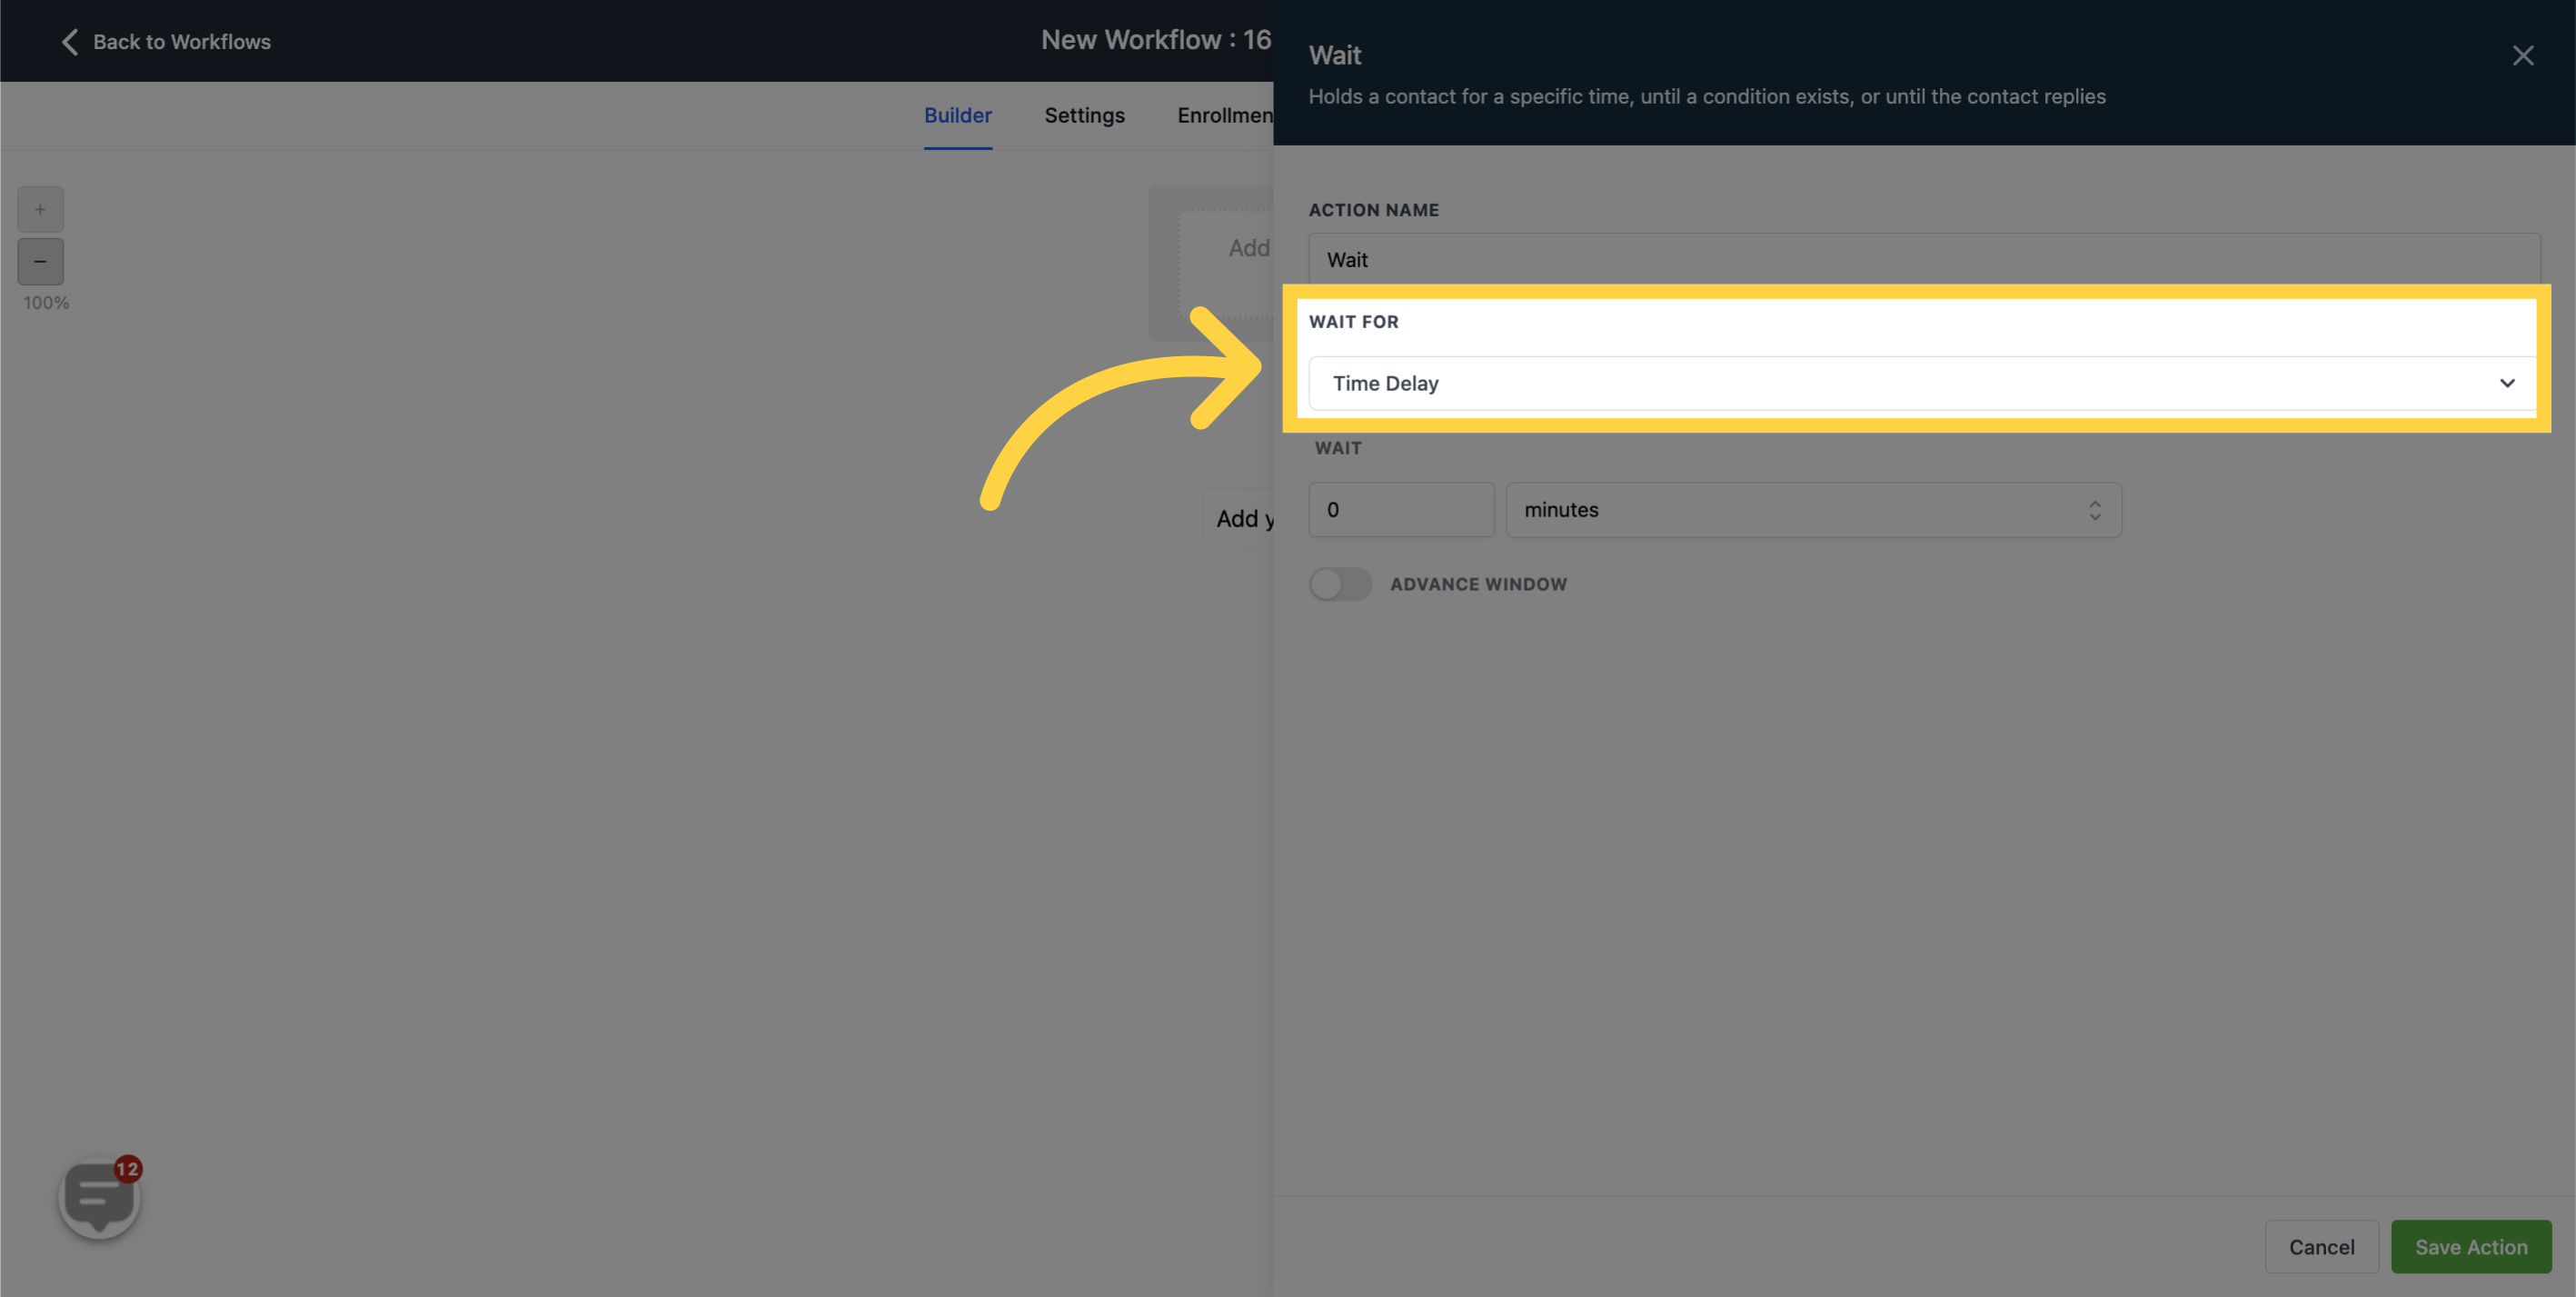
The contact is delayed for a duration measured in minutes, hours, or days. Upon the completion of the designated time duration, the 'wait' event clears the way for the contact to advance to the ensuing step.
When activated, the contact can proceed to the forthcoming step only when their event aligns with the preset year, month, day, and time.
Denoting the day of the week

The designated time of the day
Utilized to carry out an event within the year or in forthcoming months.
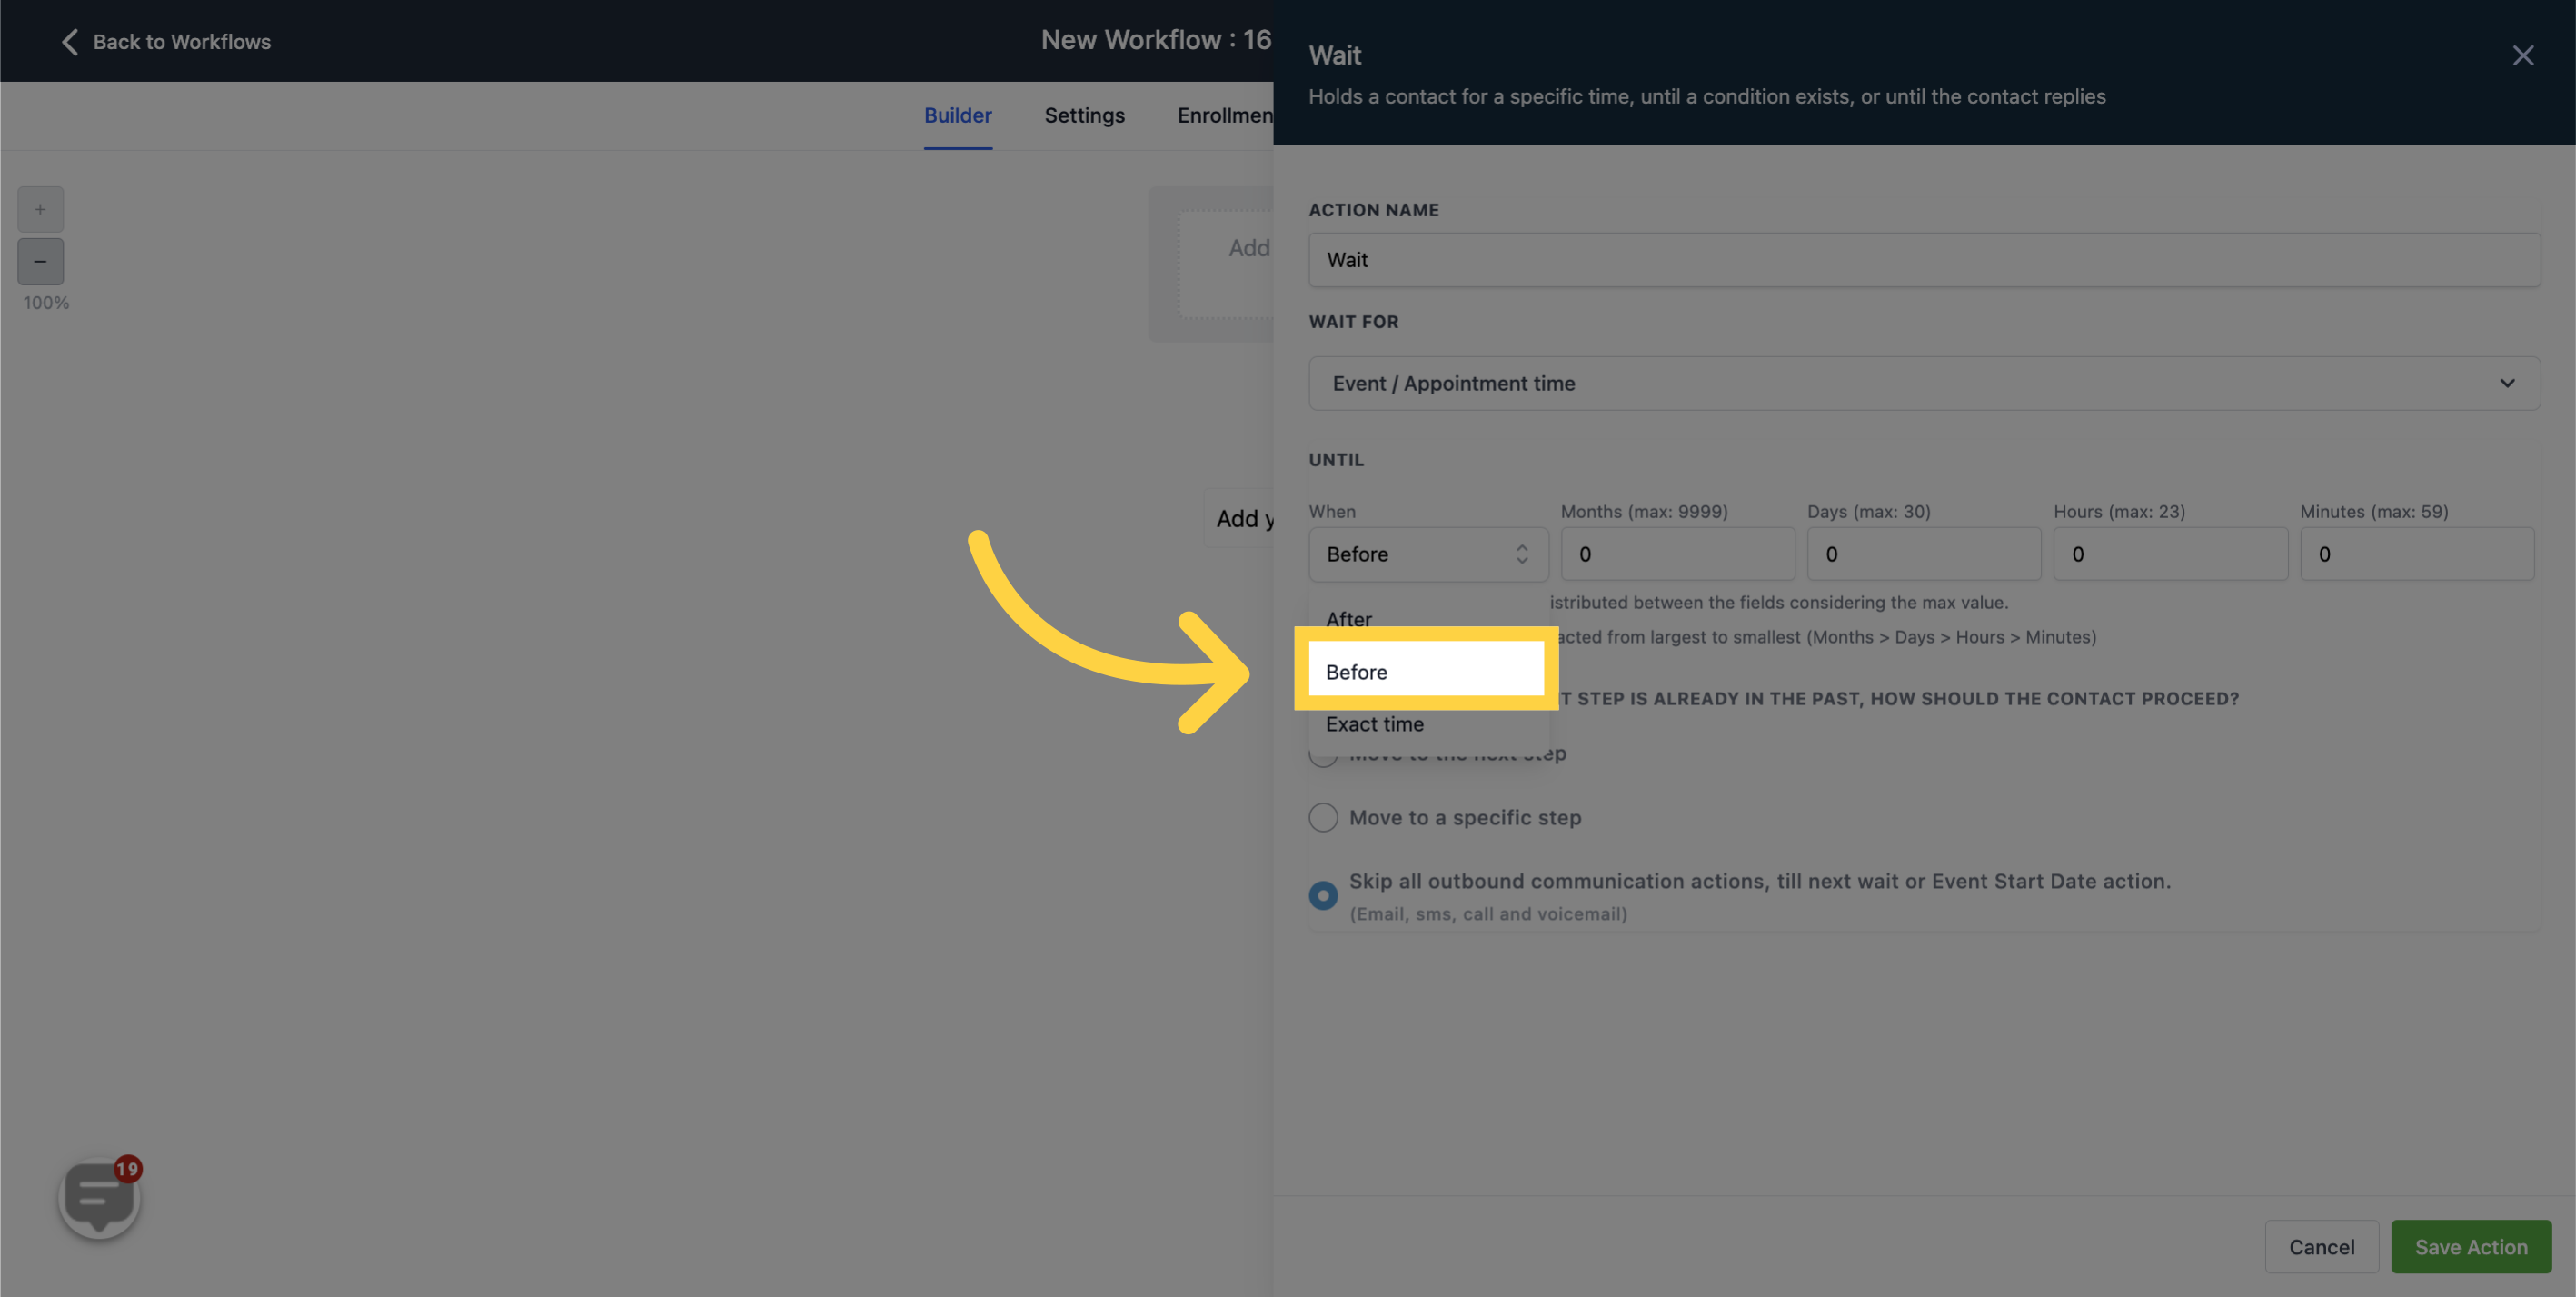
The contact's progress is delayed on specifies of an event or appointment.
Example: In order to progress to the subsequent stage, a contact must respond to a Yes or No query. Alternatively, a reminder for an upcoming appointment is scheduled to be sent to a contact at a designated time. Until then, these contacts remain in this phase.

This action can be initiated before or after a certain event or appointment:

Primarily used when intending to send contacts a follow-up survey or receive their feedback post an appointment or event.

Useful for setting reminders for meetings or events, minutes, hours, or days in advance.
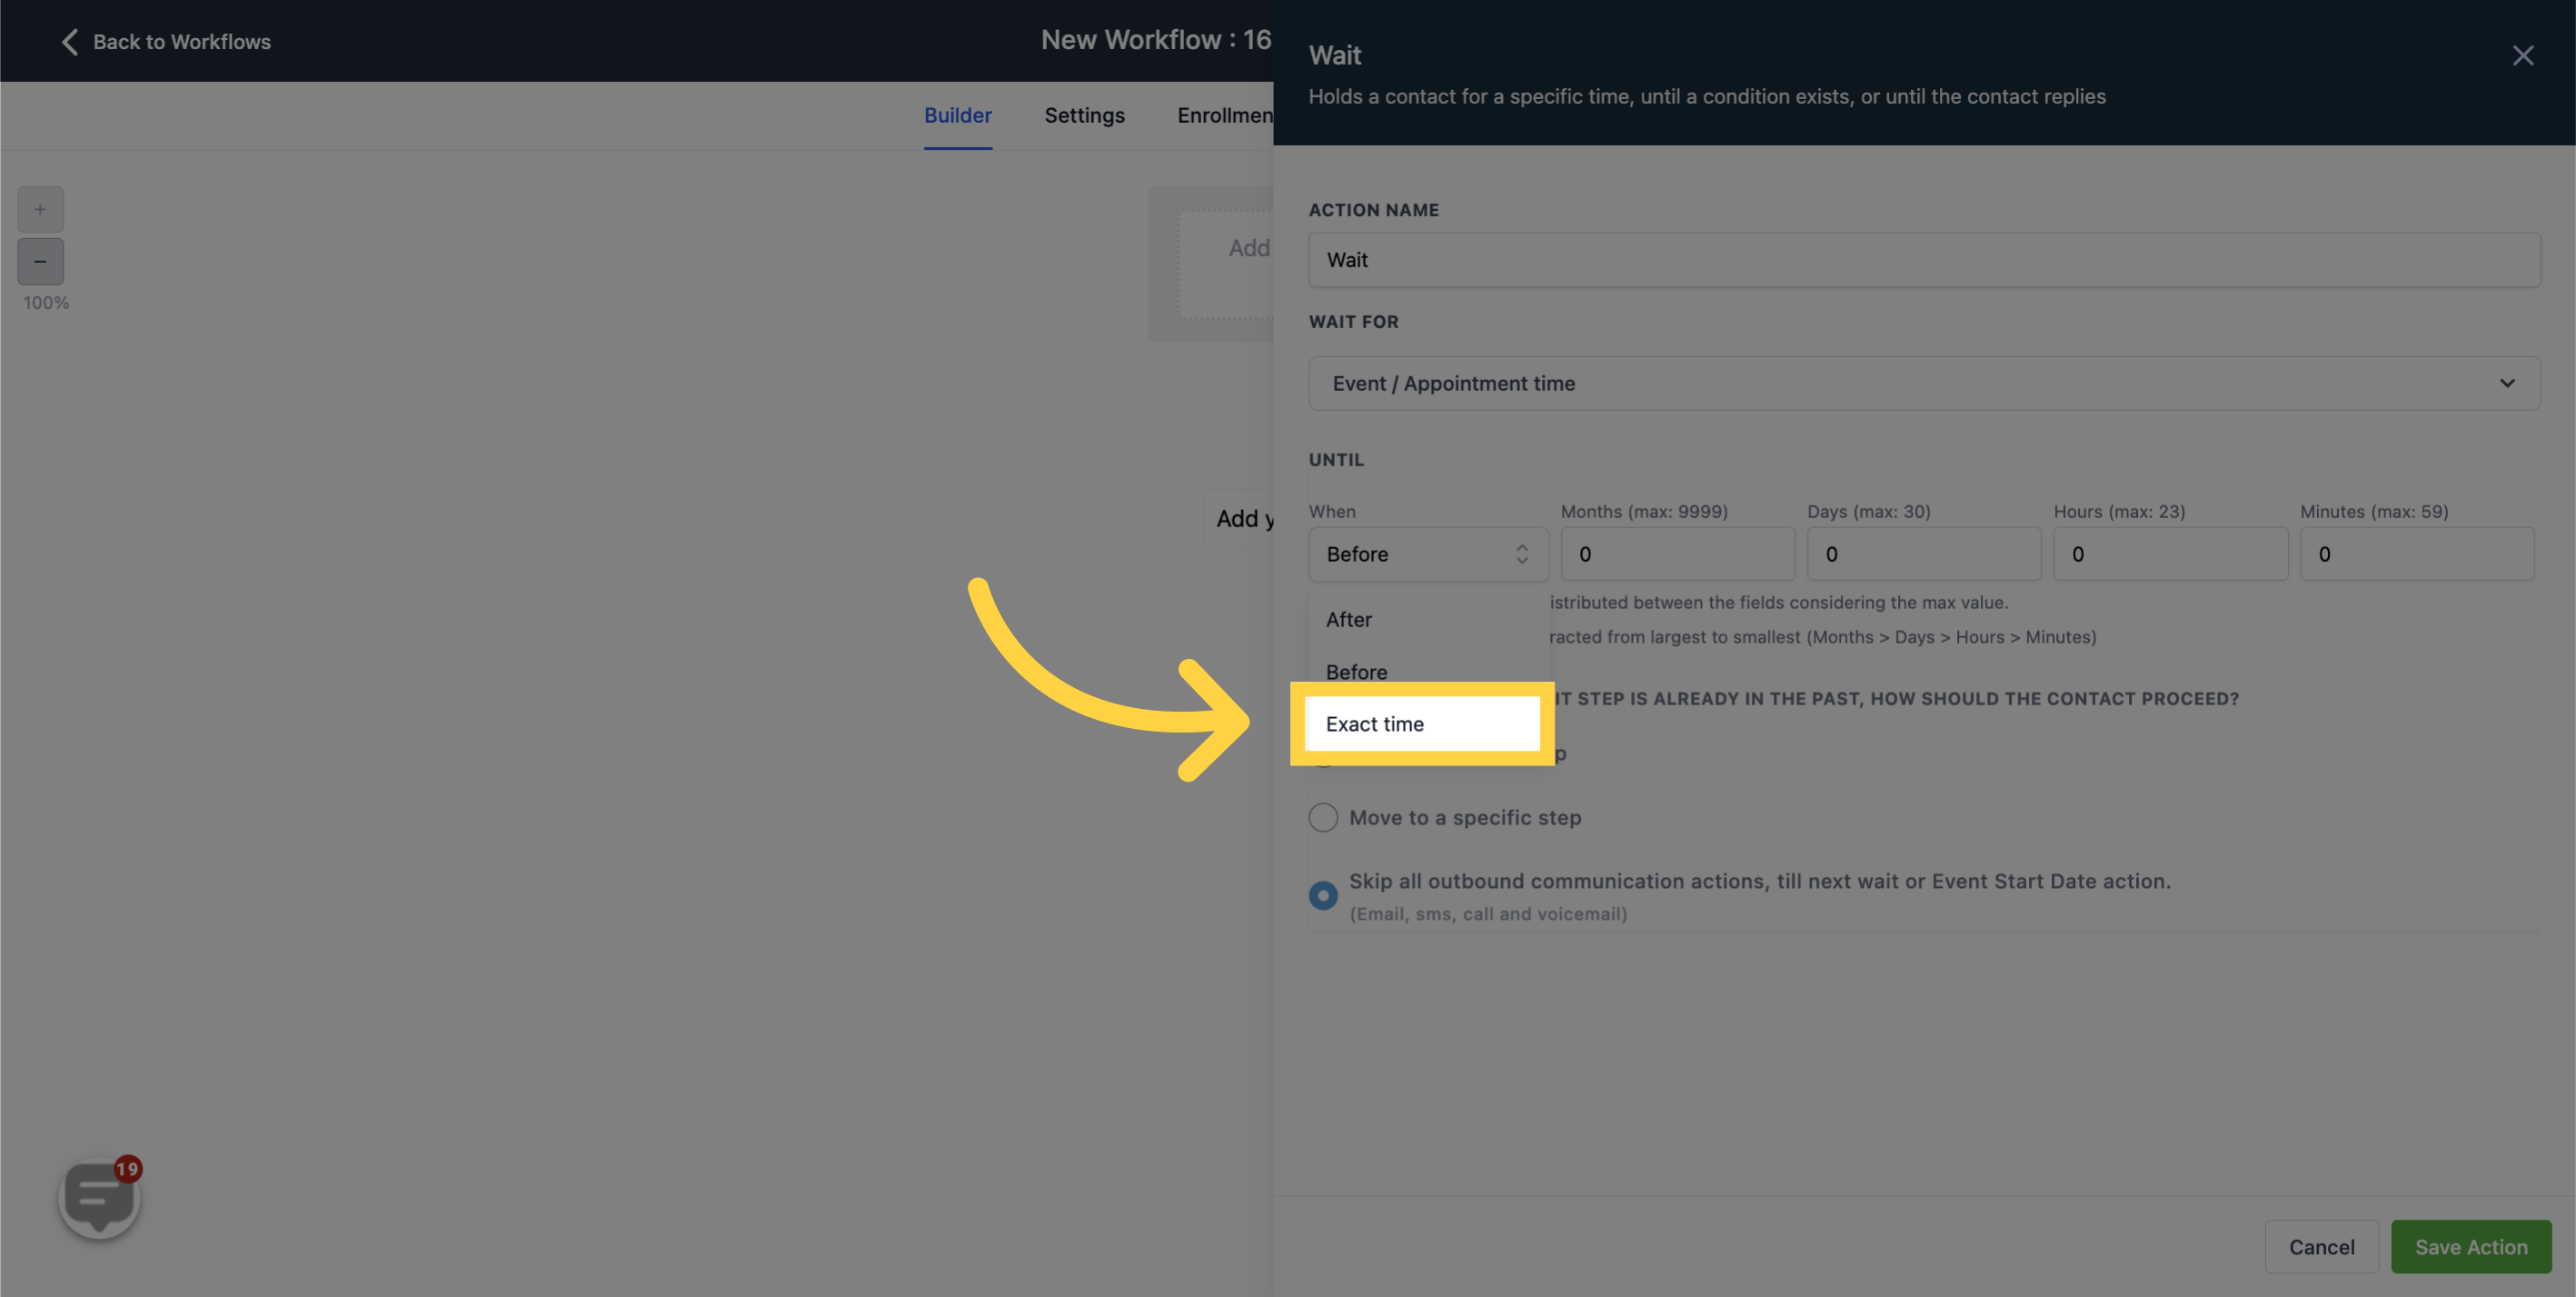
This feature is used when specific workflow actions need to occur at the exact moment of a particular event. Instead of referencing minutes or hours (like 20 minutes before or 10 minutes after), this function triggers at the precise time of the event.
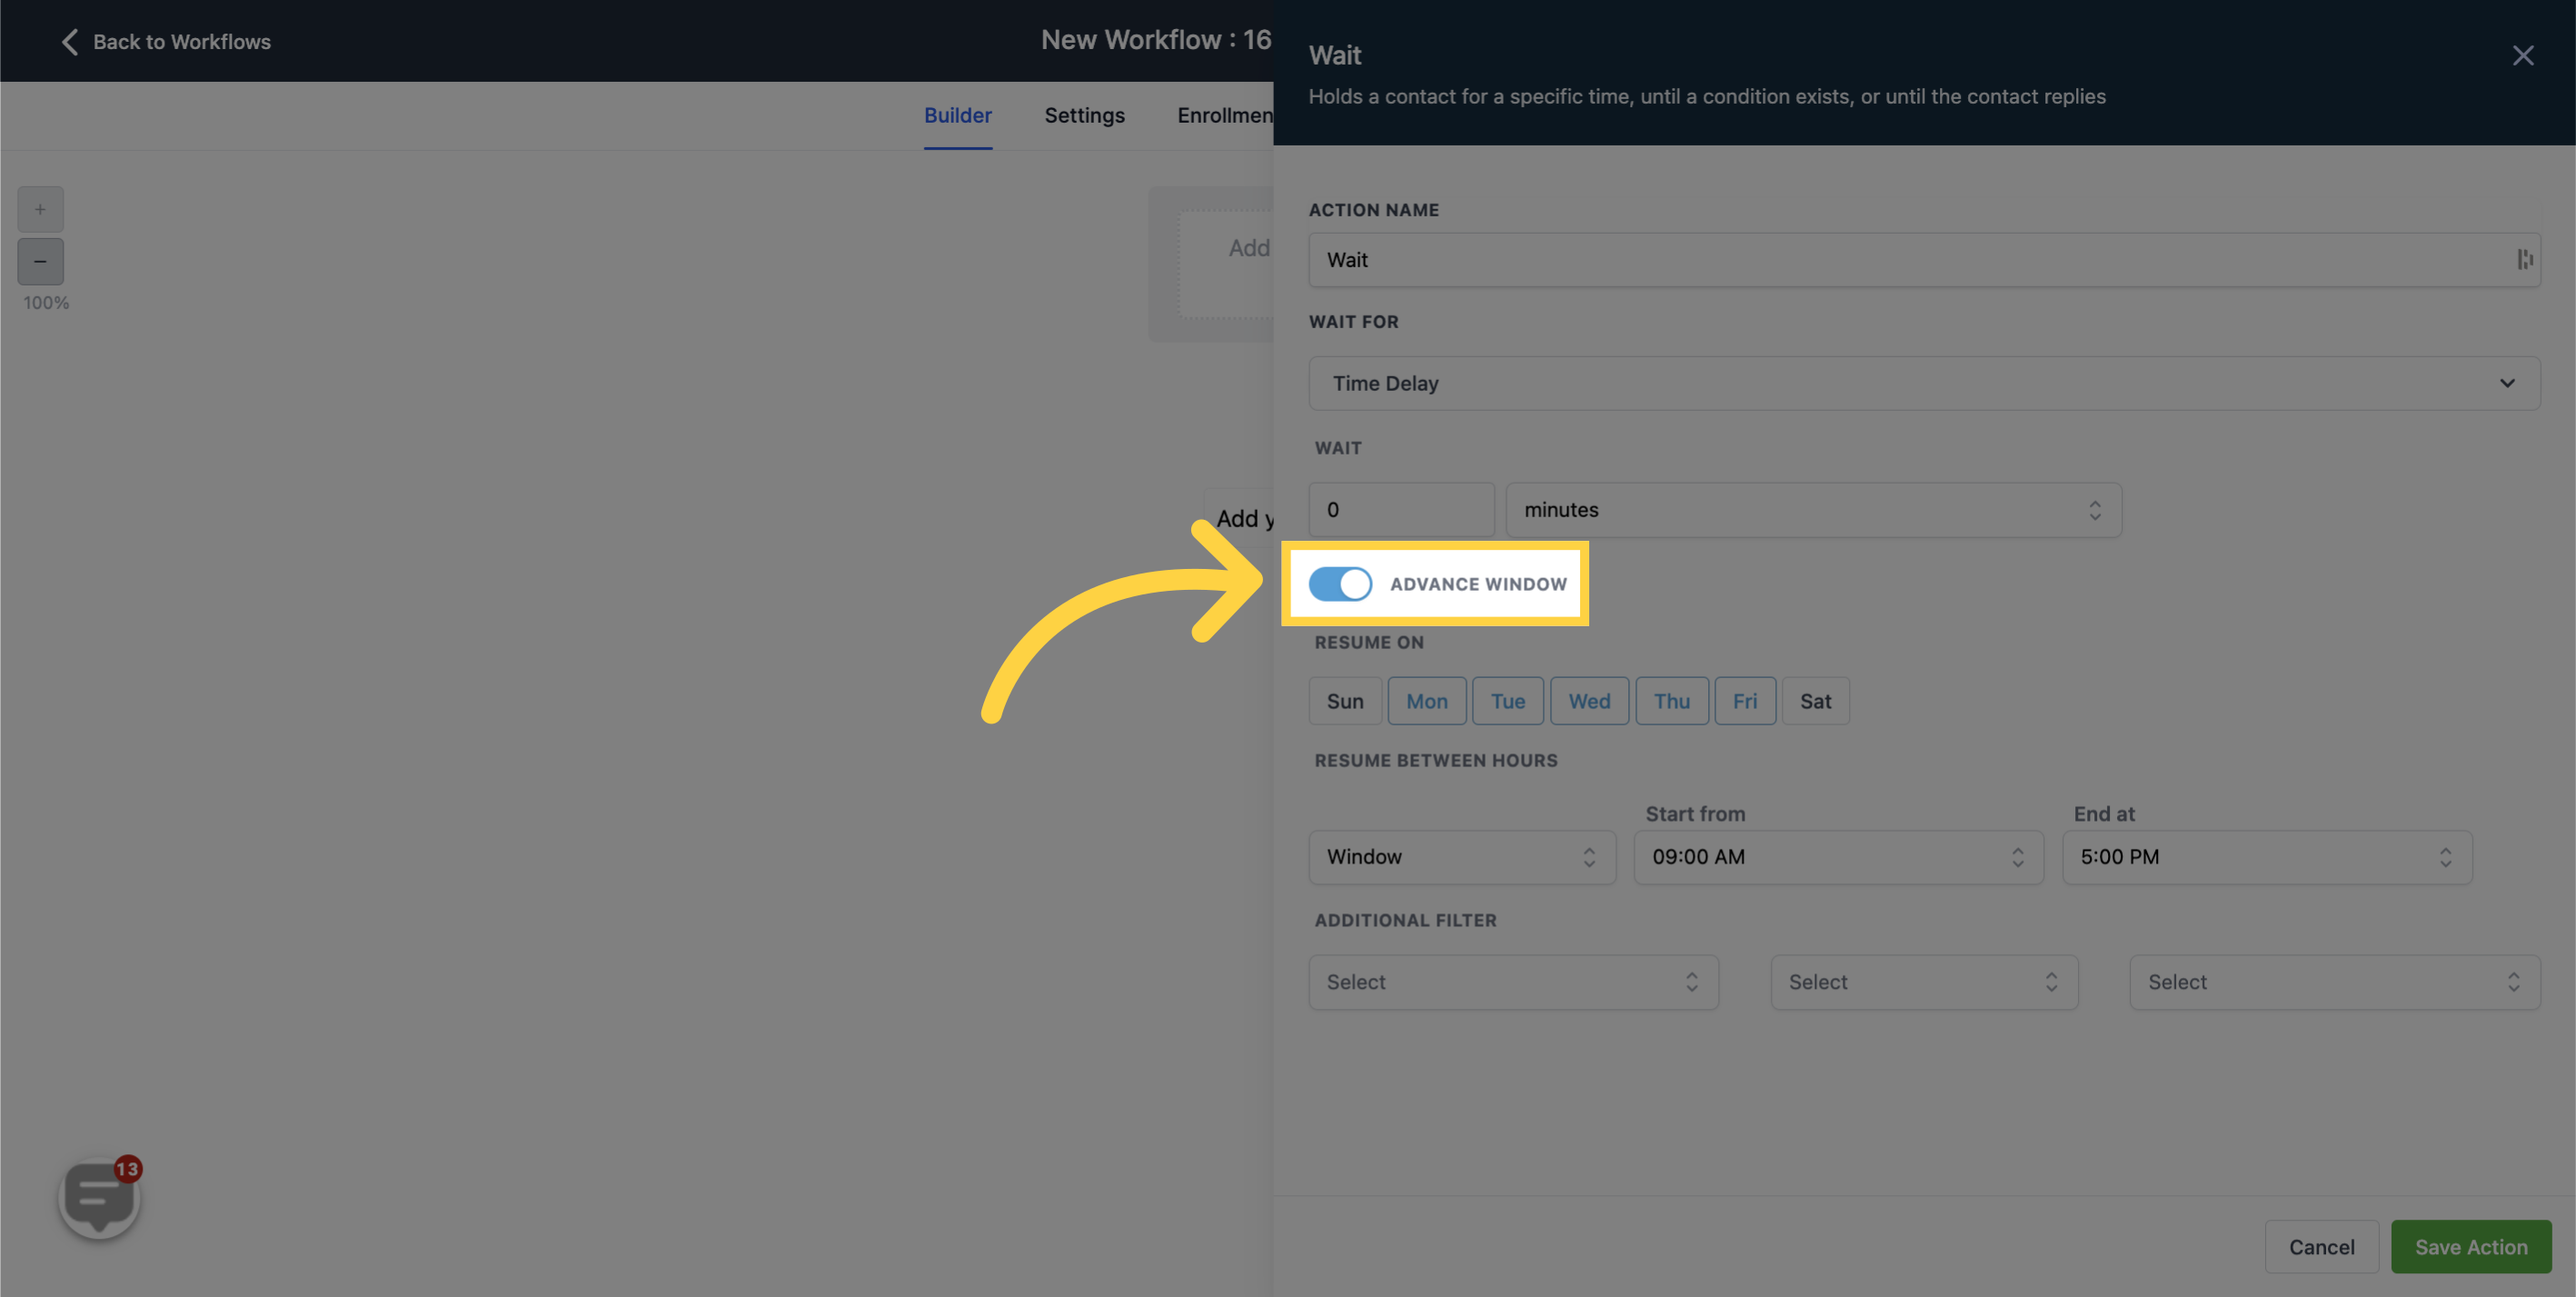
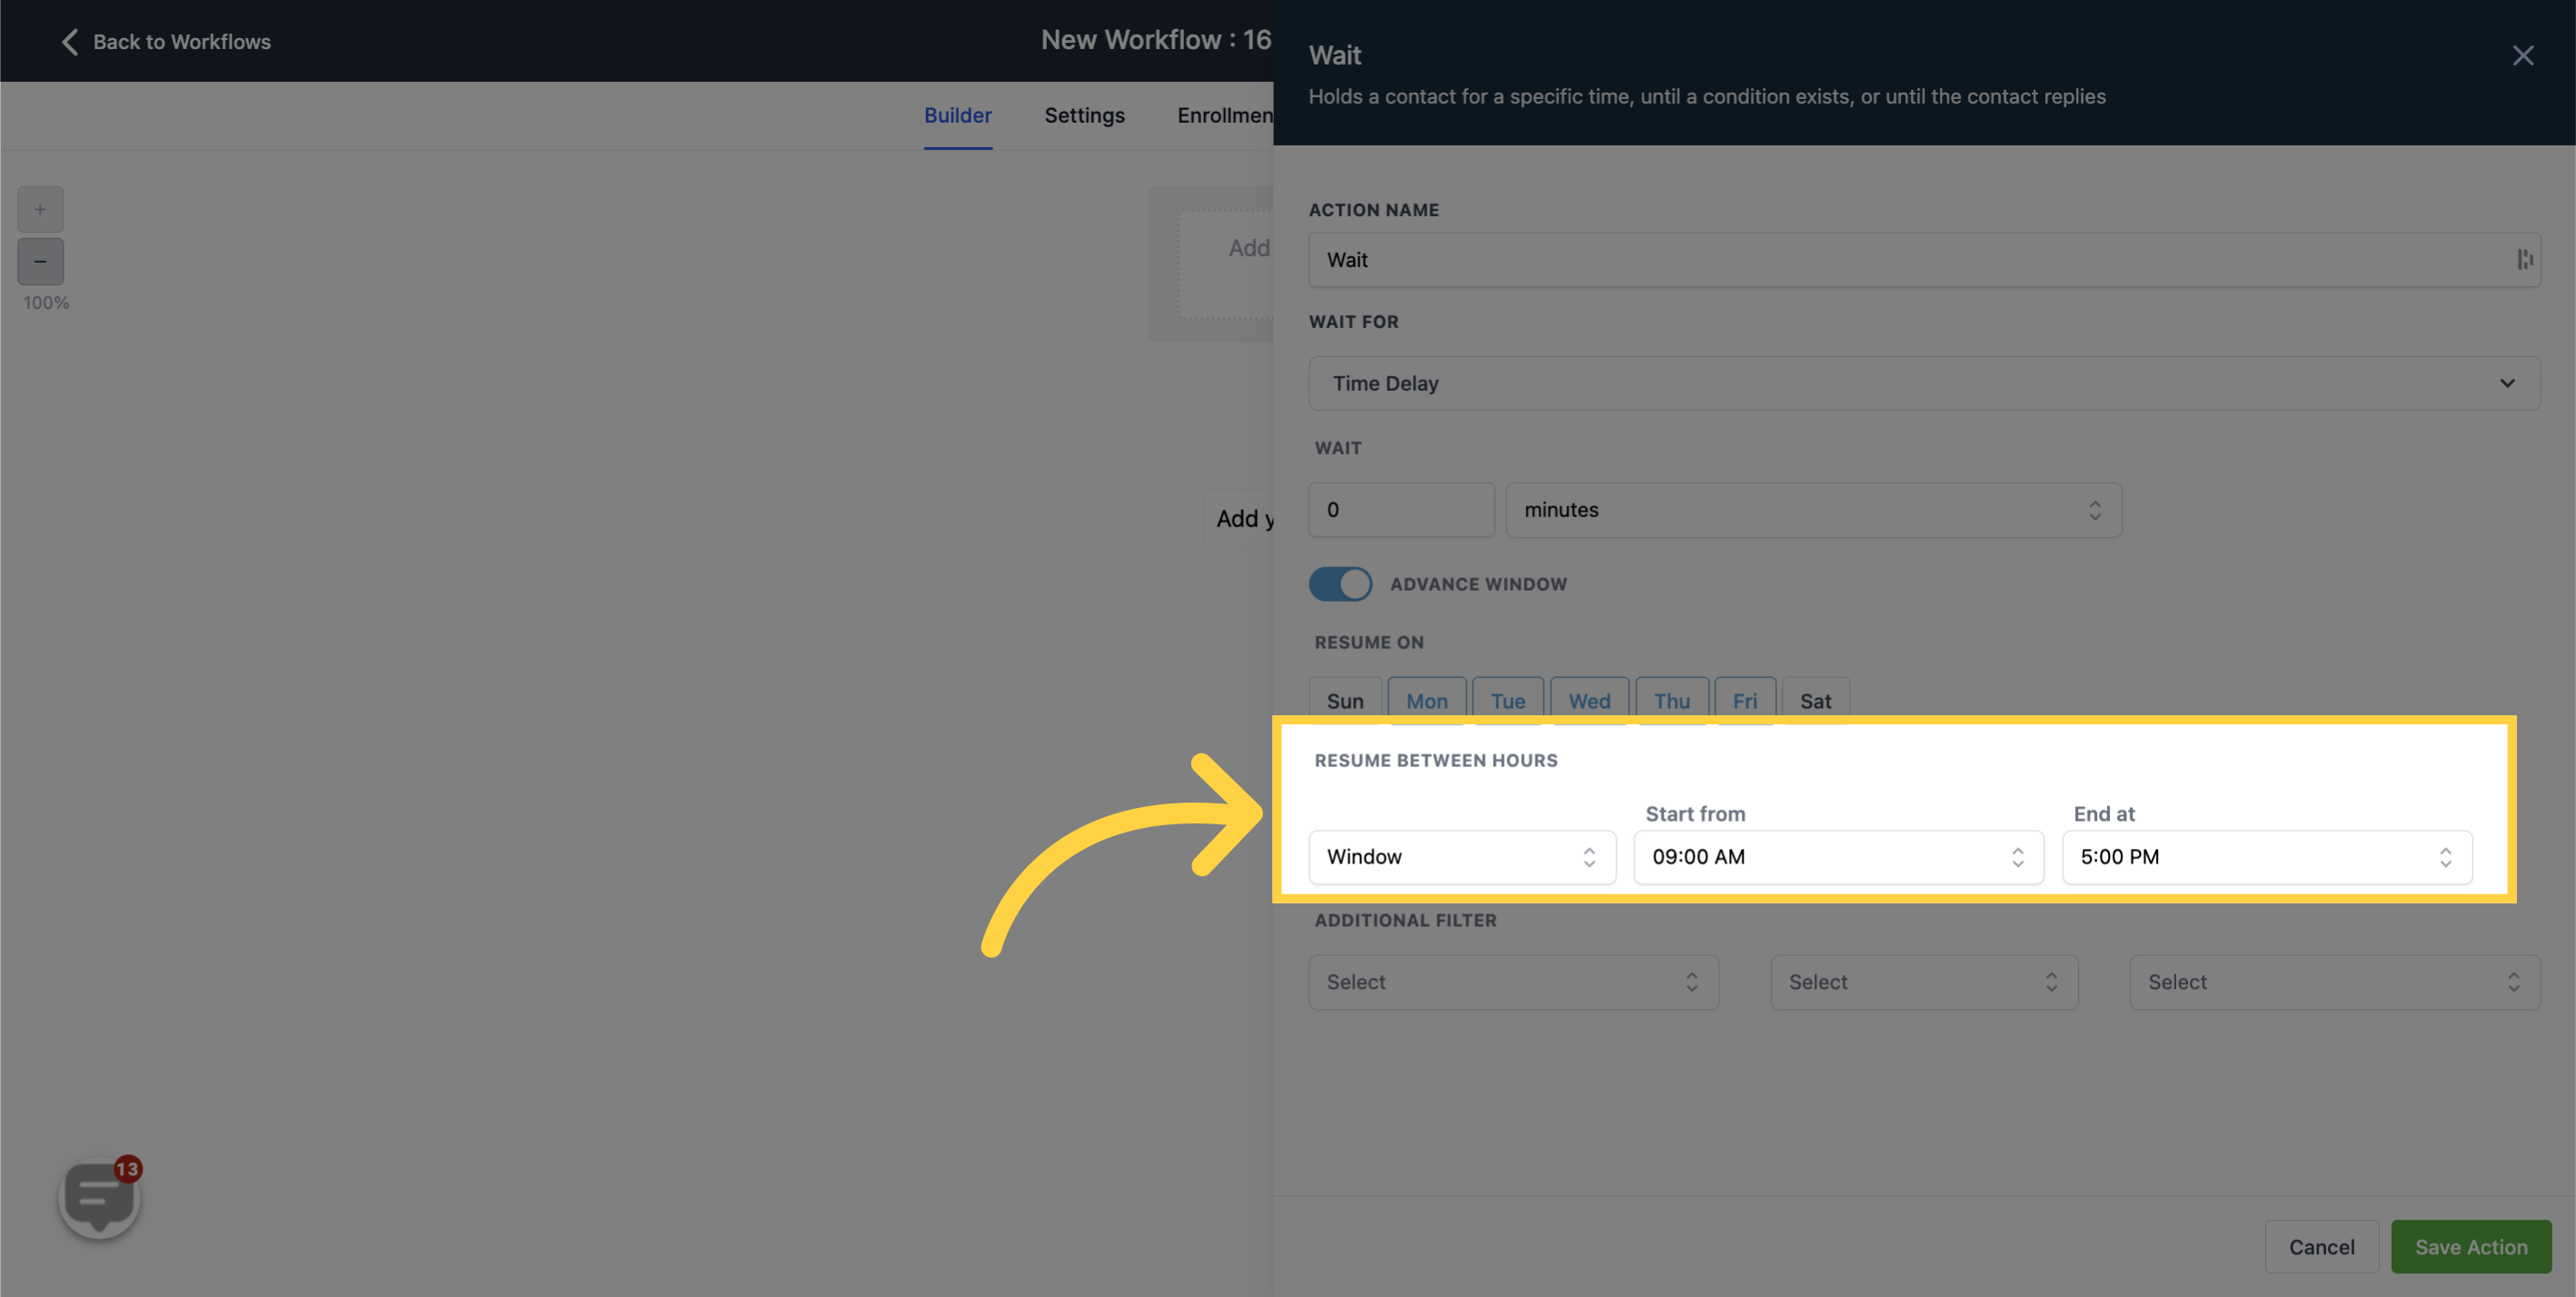
NOTE: If the scheduled time of the Wait step has already passed, you have the option to determine how to proceed with the contact, either by:
-Advancing to the next step, Or
-Proceeding to a specific step, Or
-Omitting all outbound communication actions until the next Wait or Event Start Date action. (Email, SMS, call, and voicemail)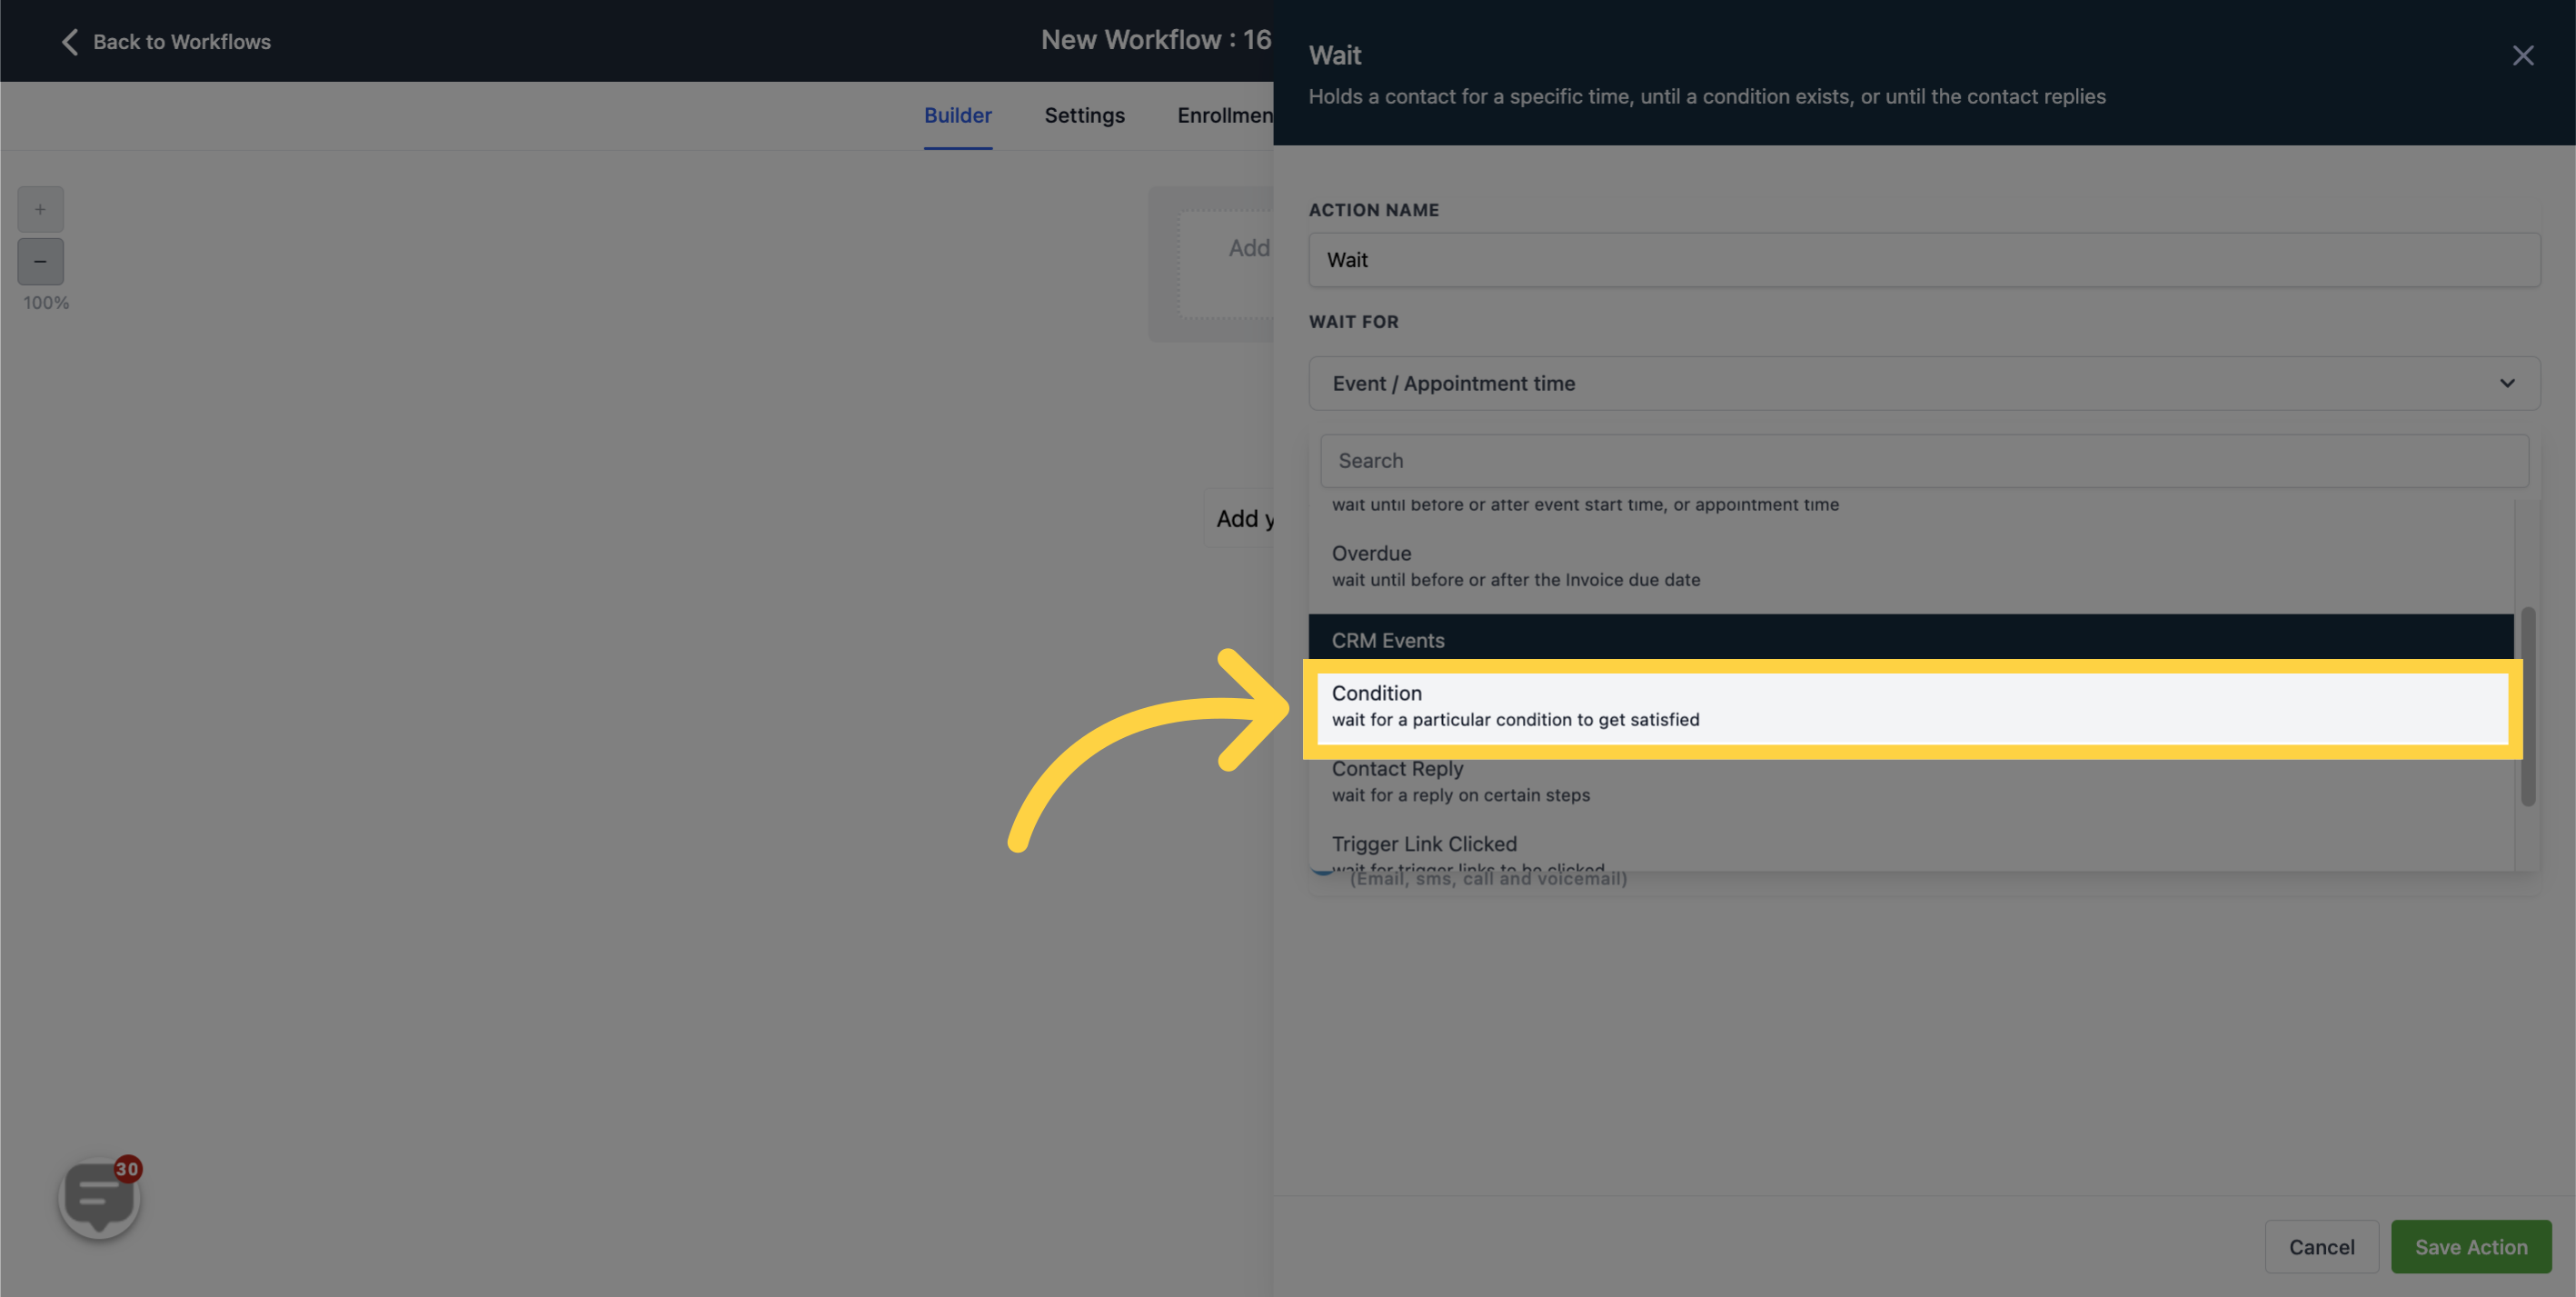
The Wait functionality in this context allows you to detain a contact until a certain condition is fulfilled.
For instance, a contact may only advance to the following step if they reside in Texas, USA.
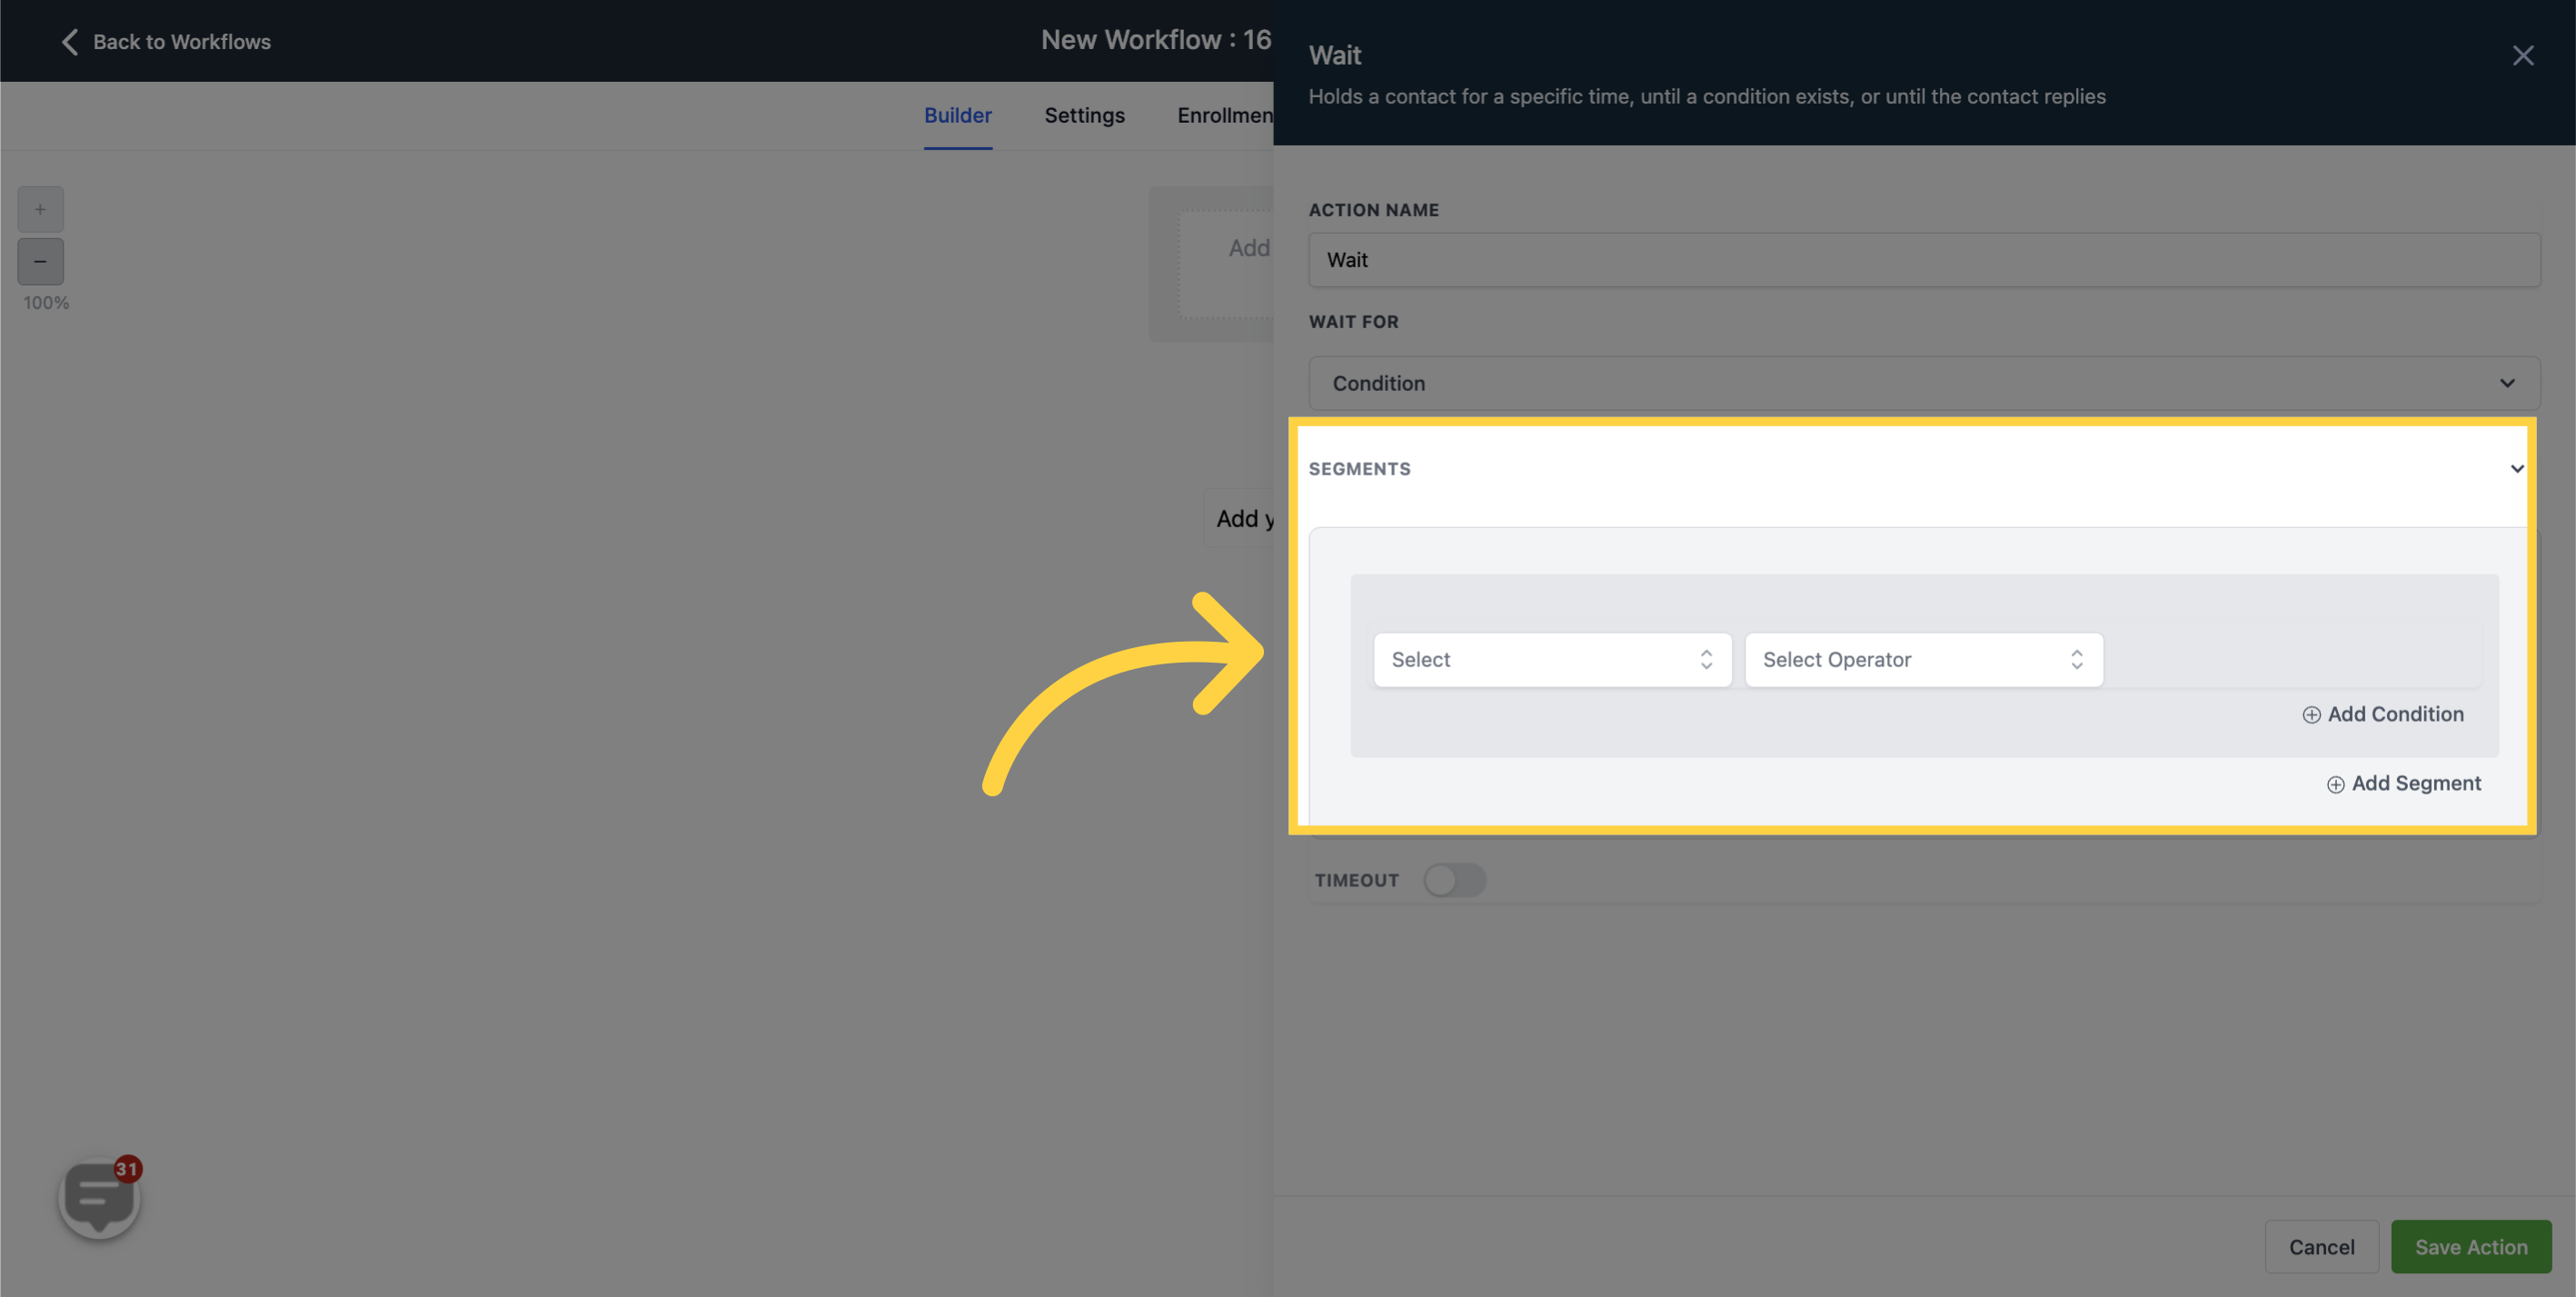
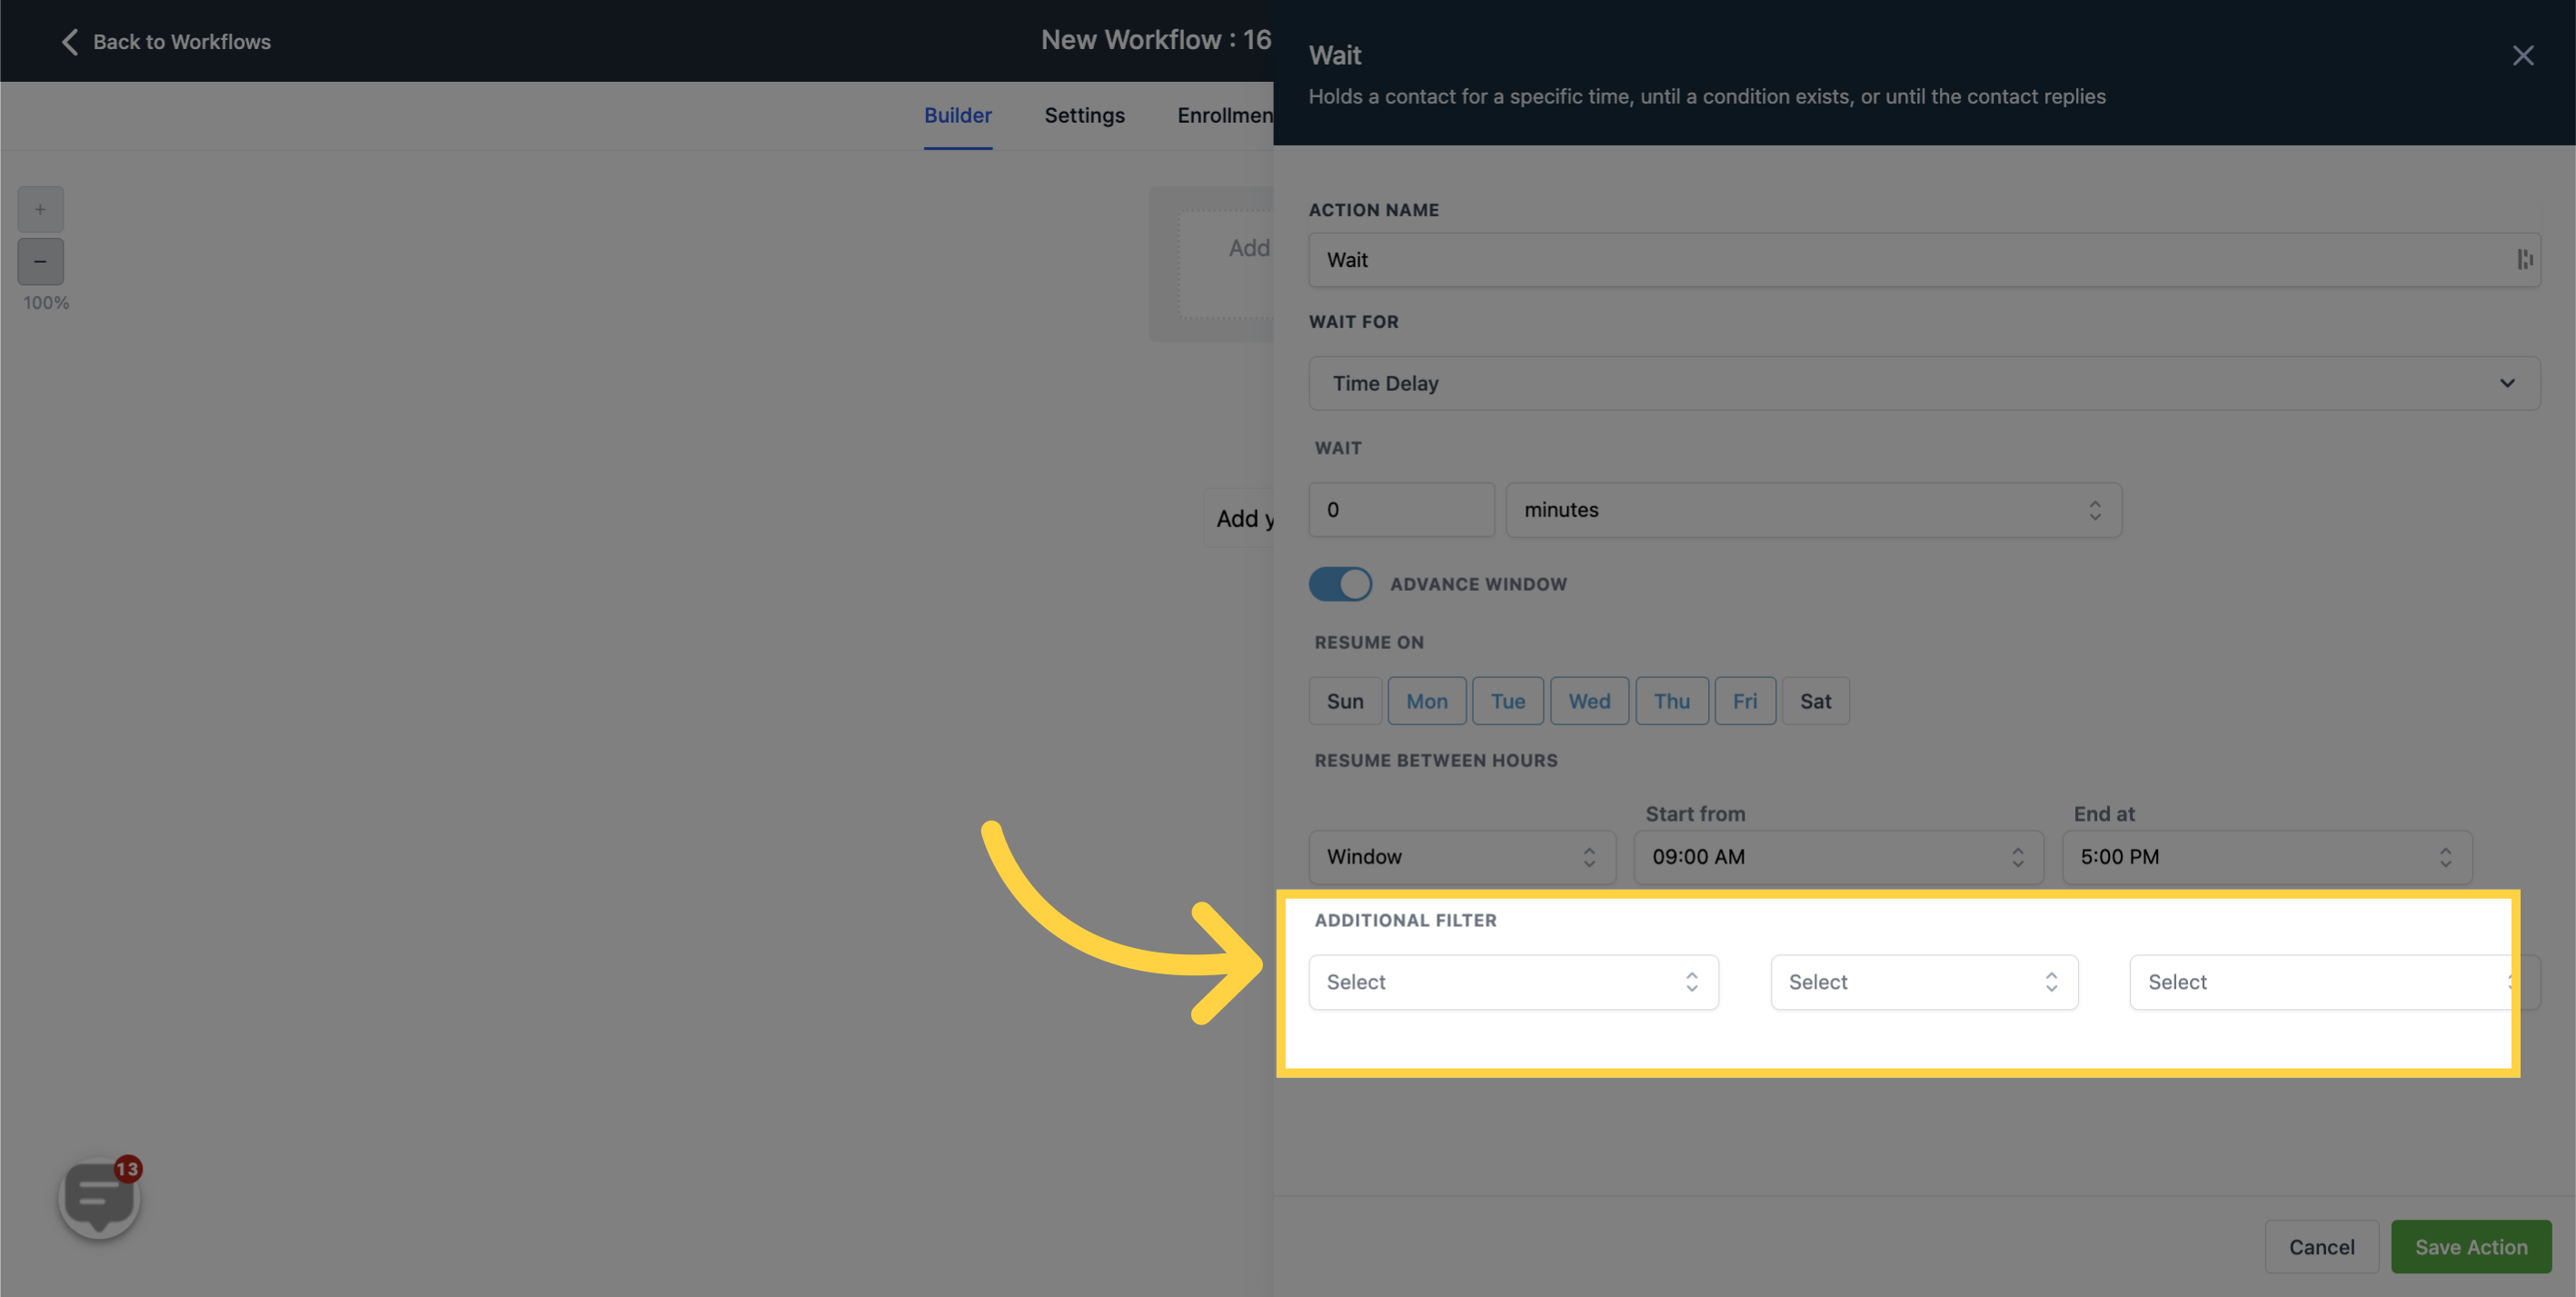
New conditions can be added by clicking on the (+) buttons.
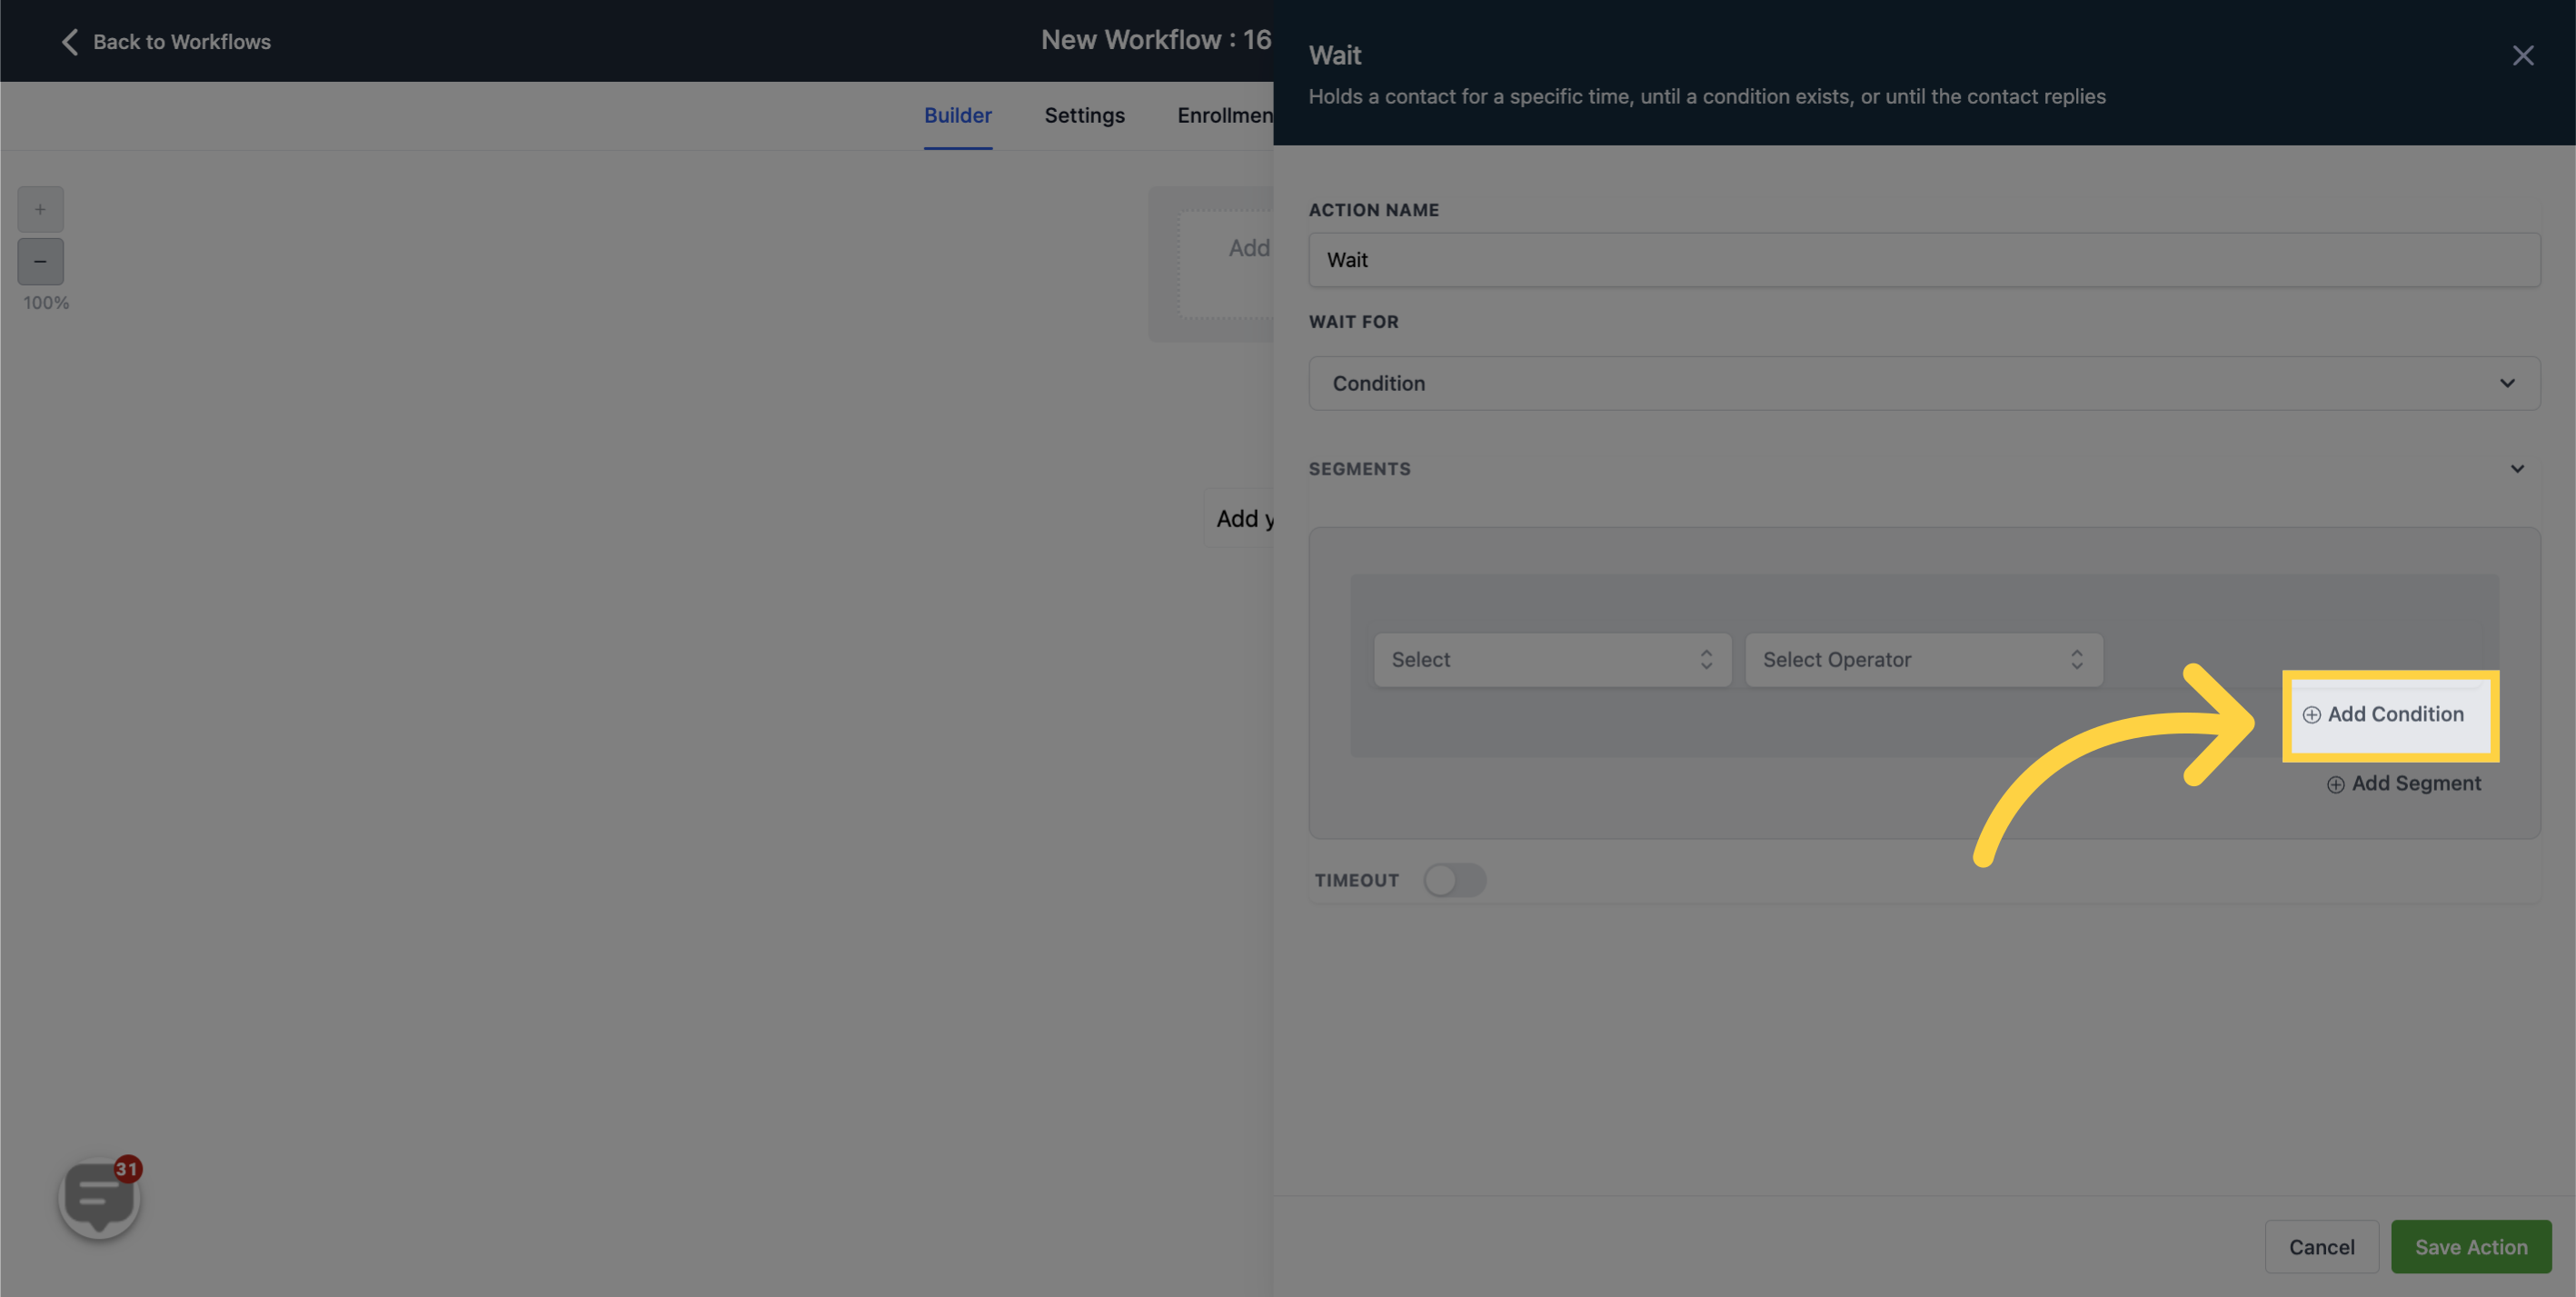
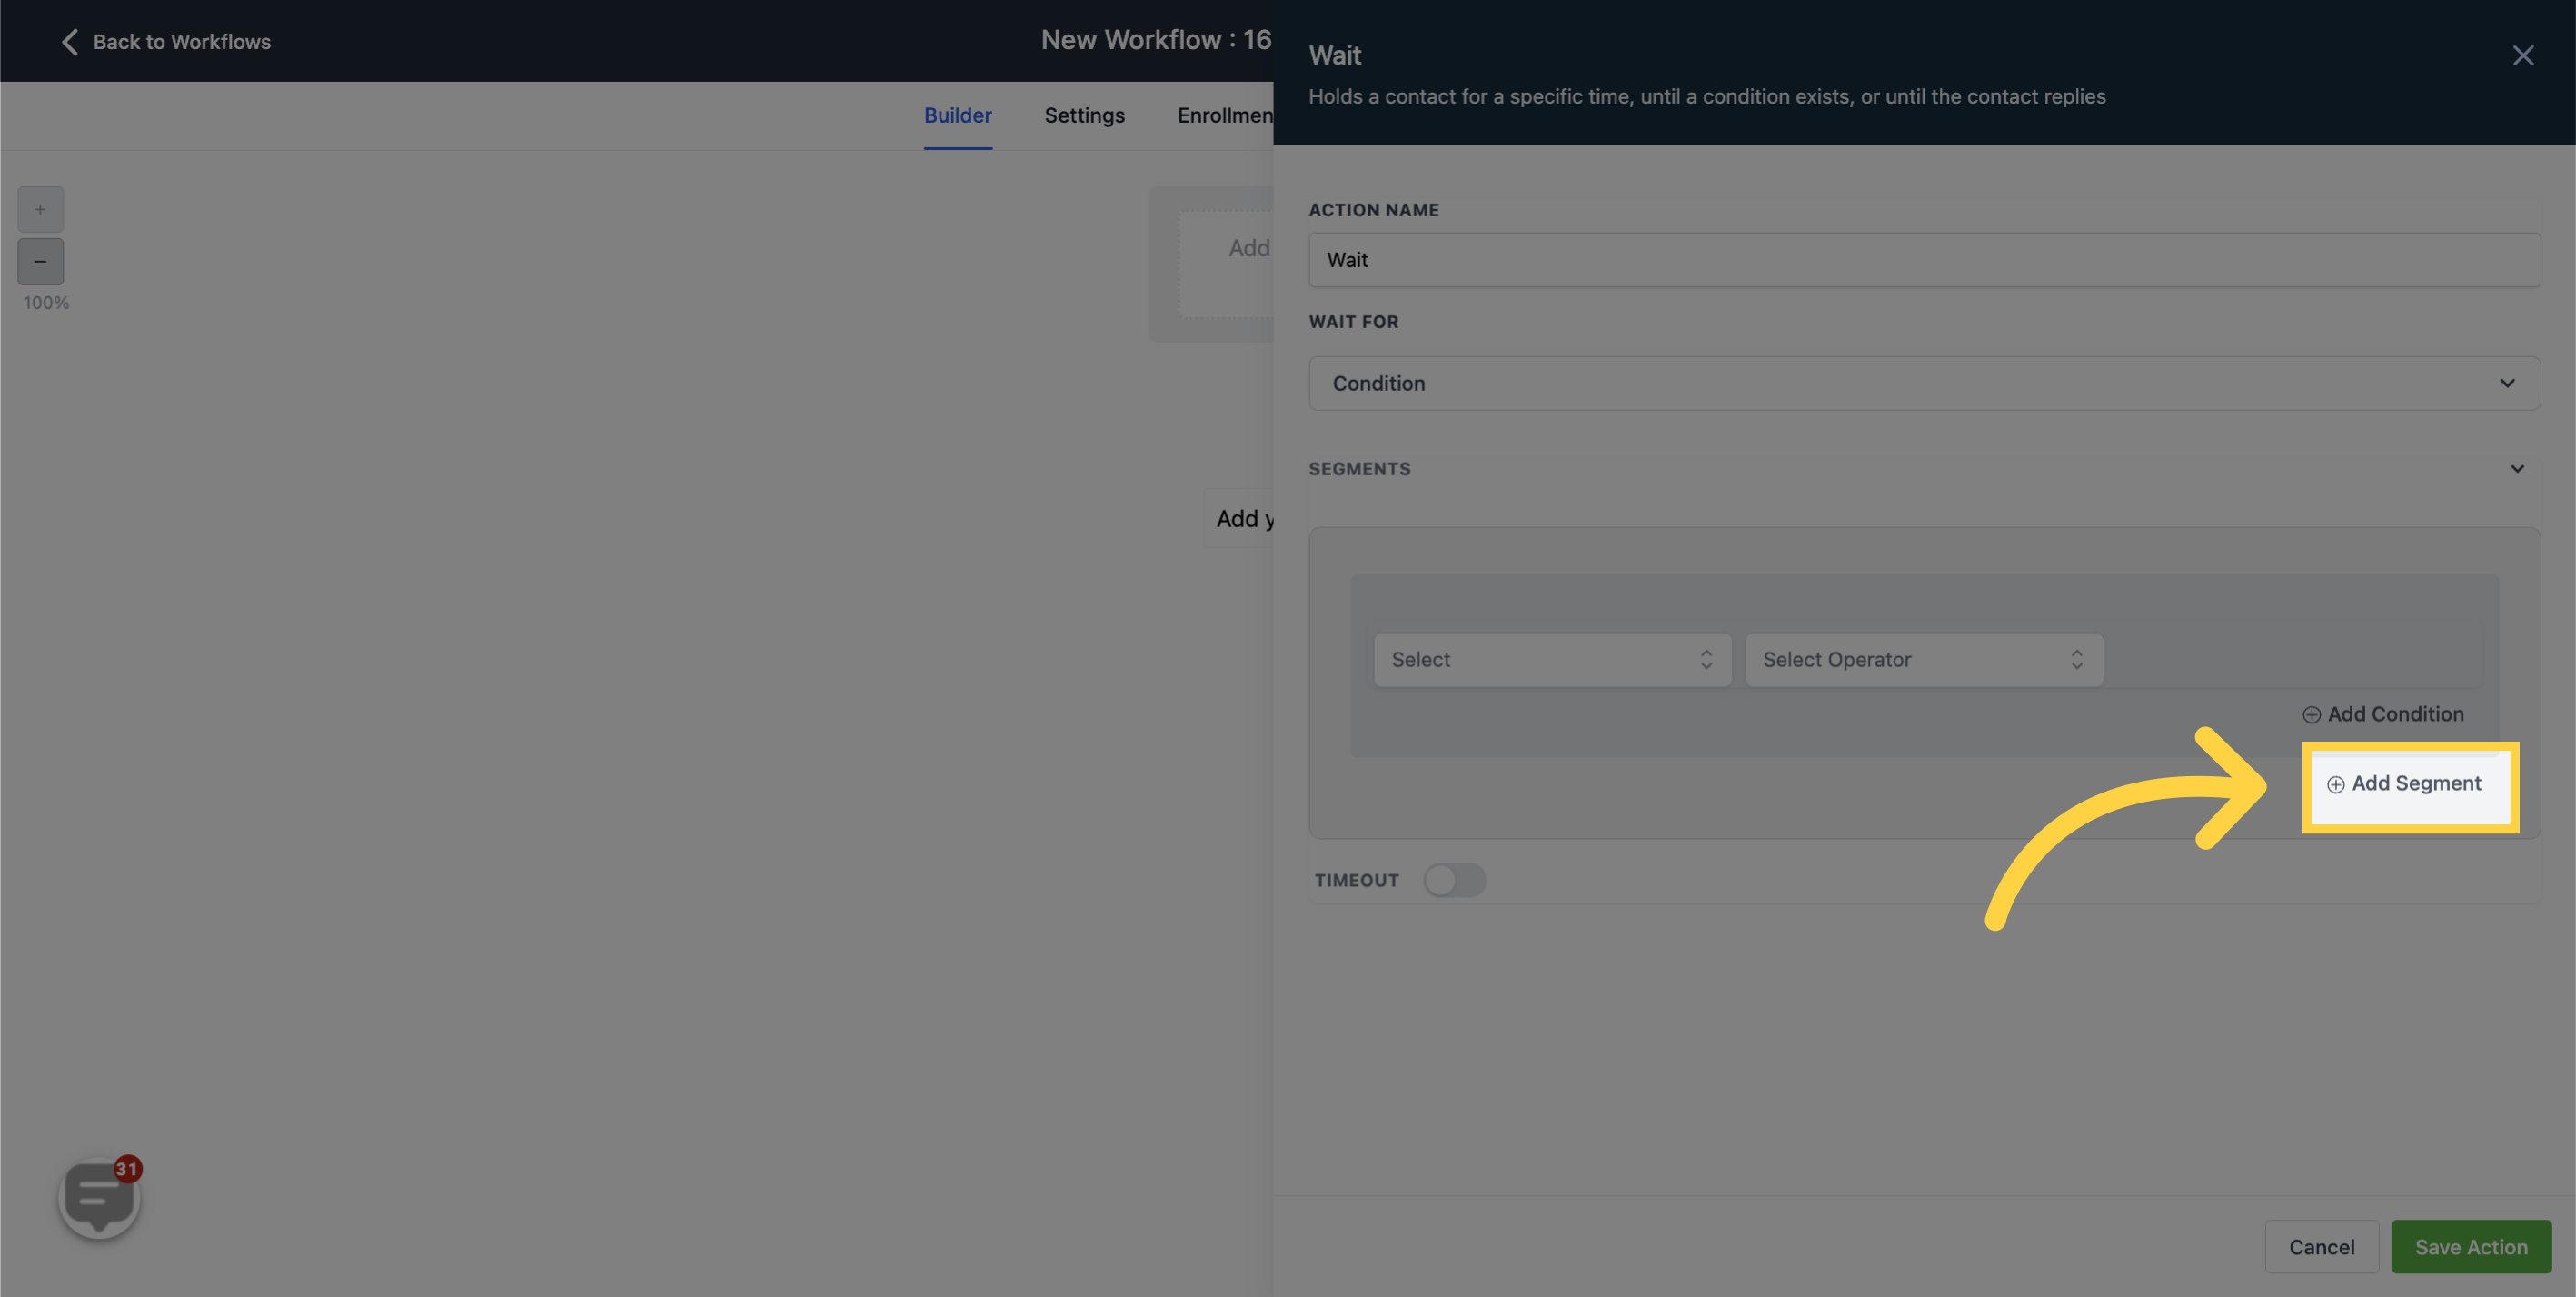
New segments can be added by clicking on the (+) buttons.
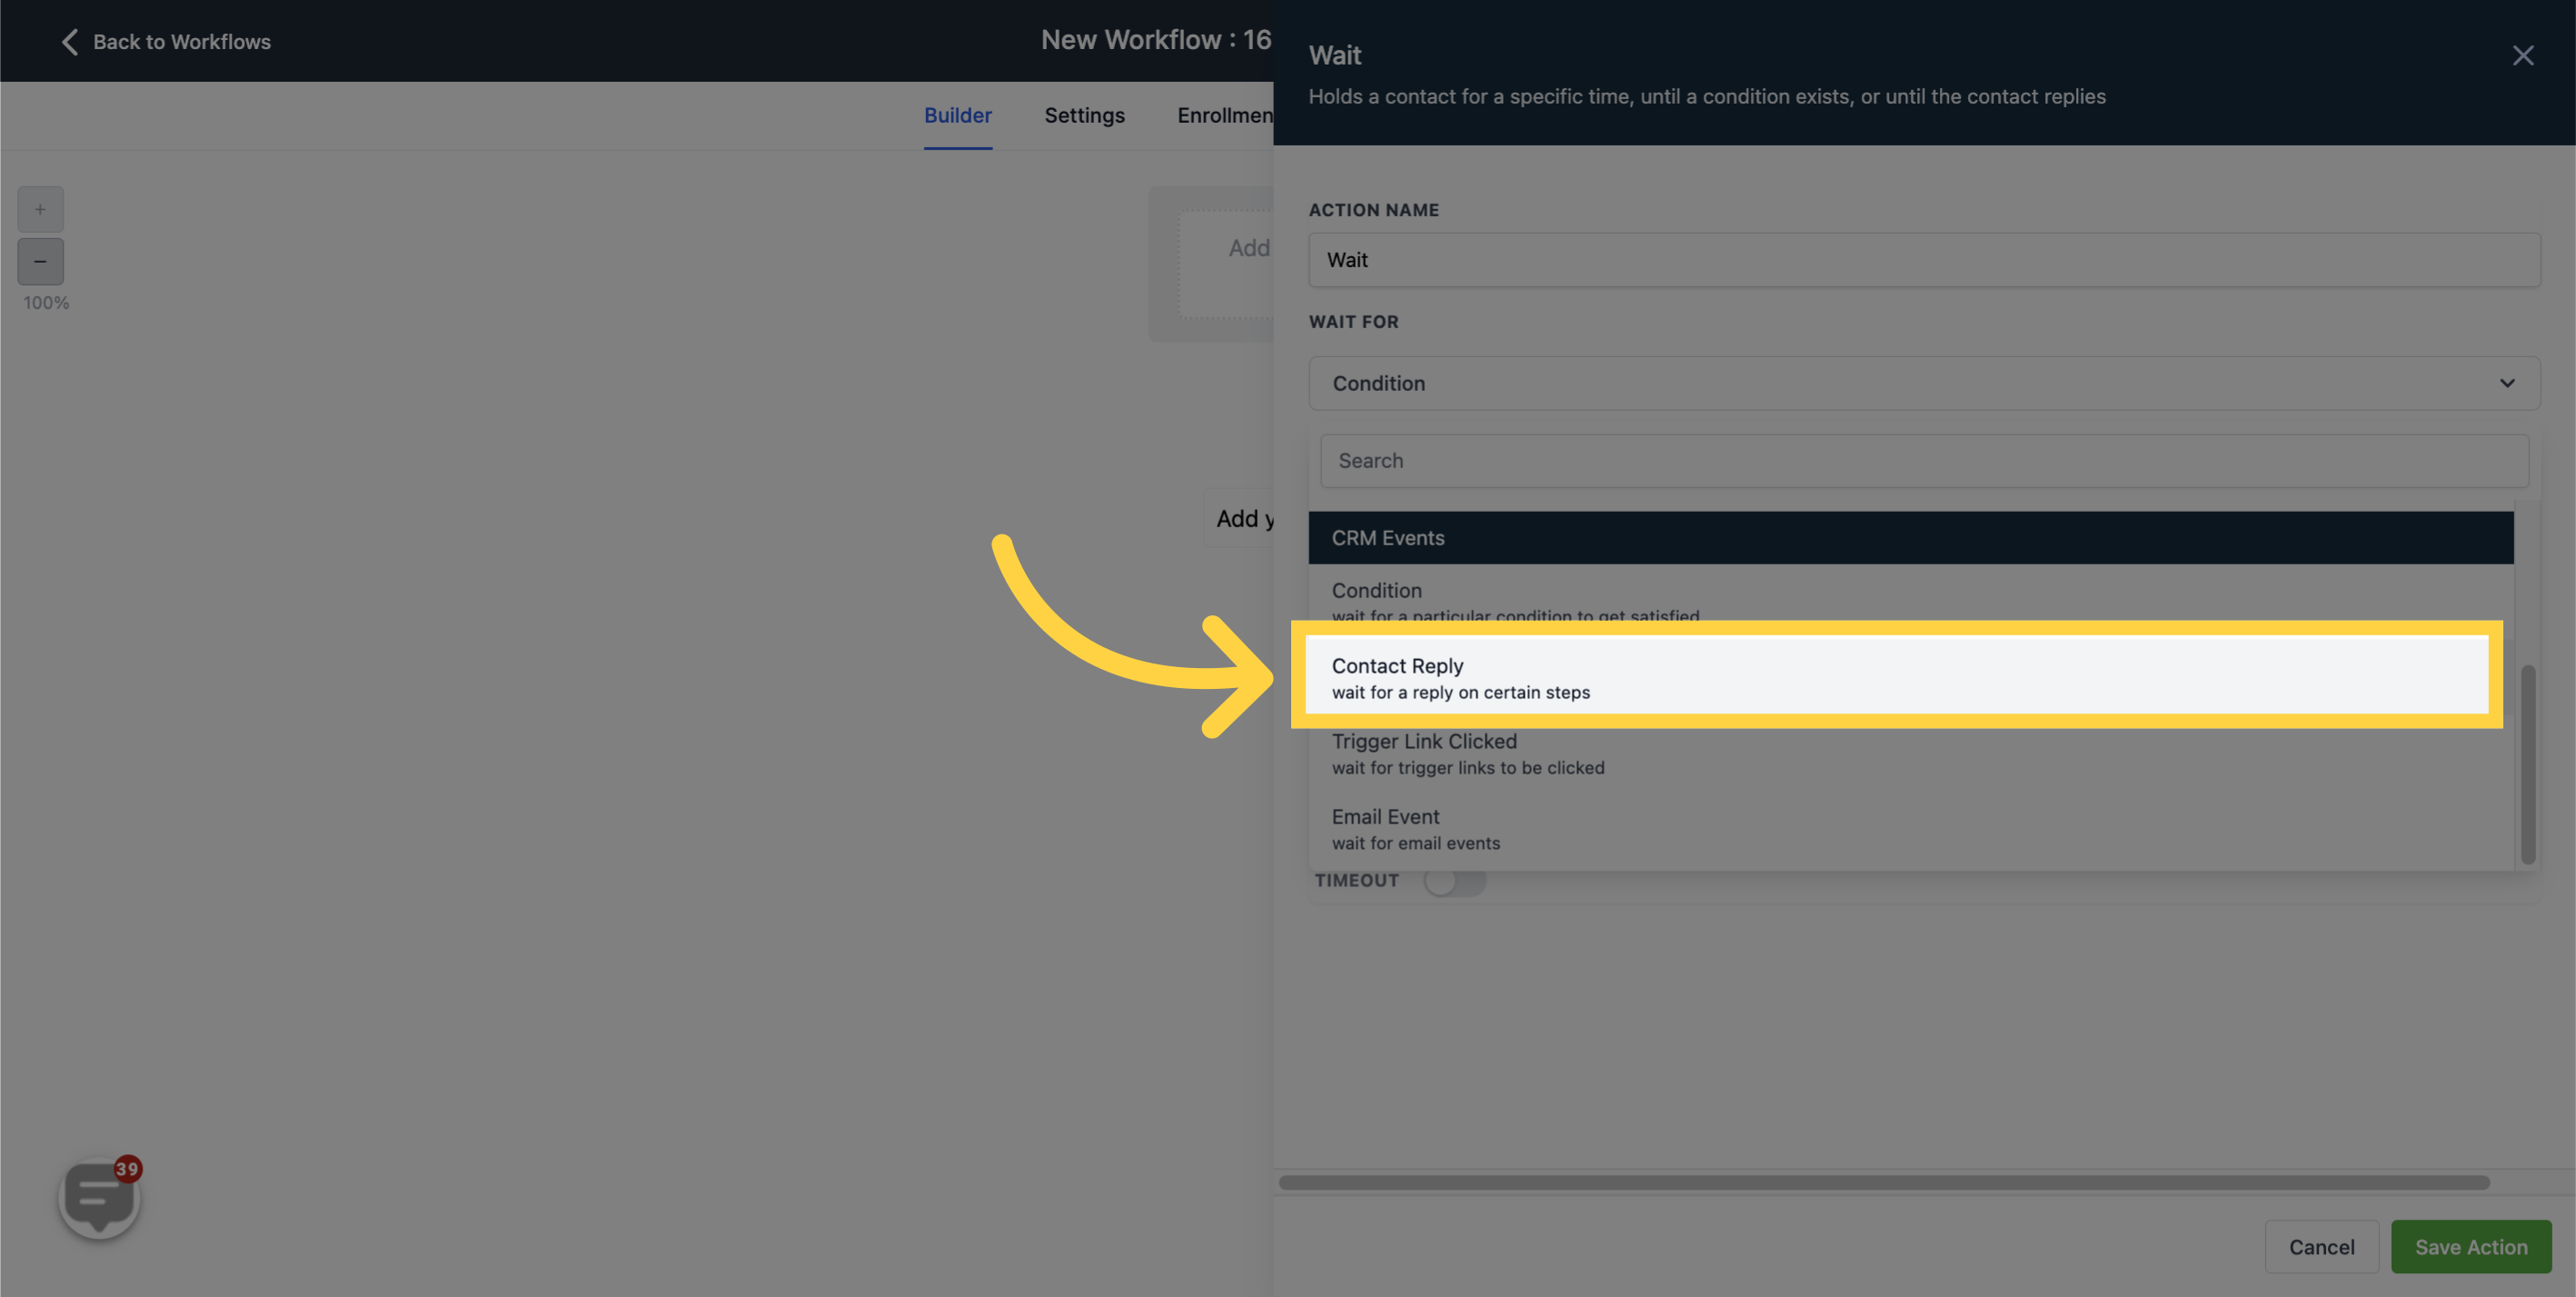
In this case, the contact must respond to a specified event before progressing to the subsequent step.
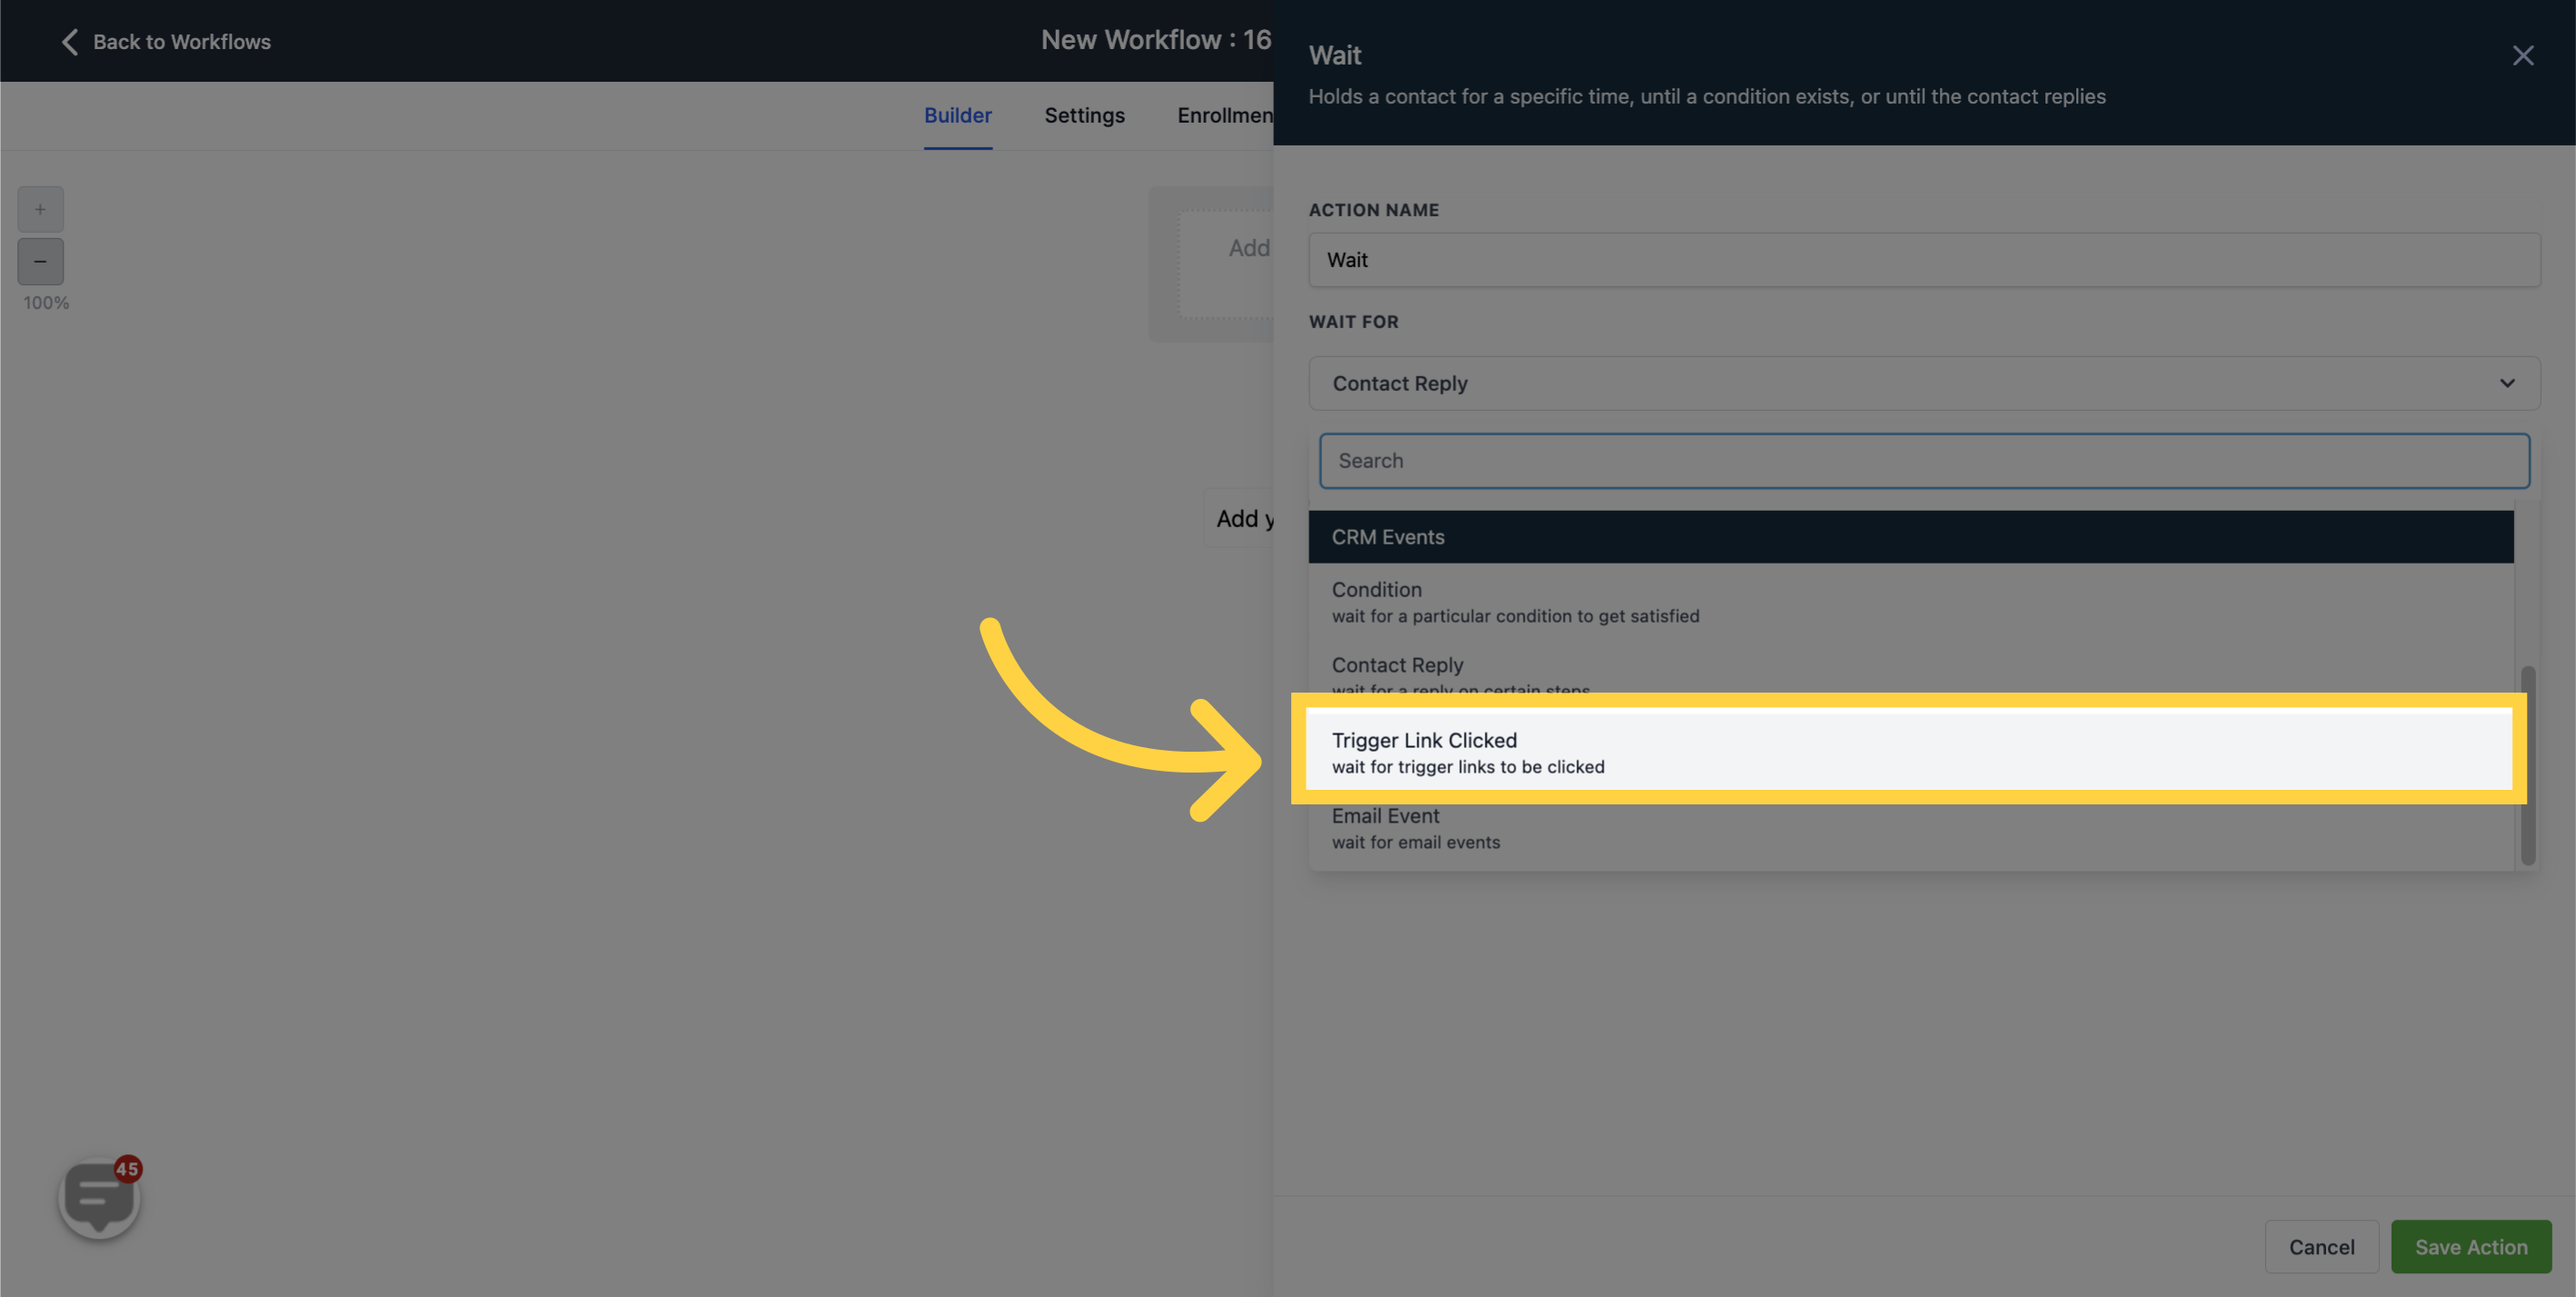
The contact is held back until they activate the designated trigger link, allowing them to proceed to the next step. You can select multiple trigger links from which the contact can choose.
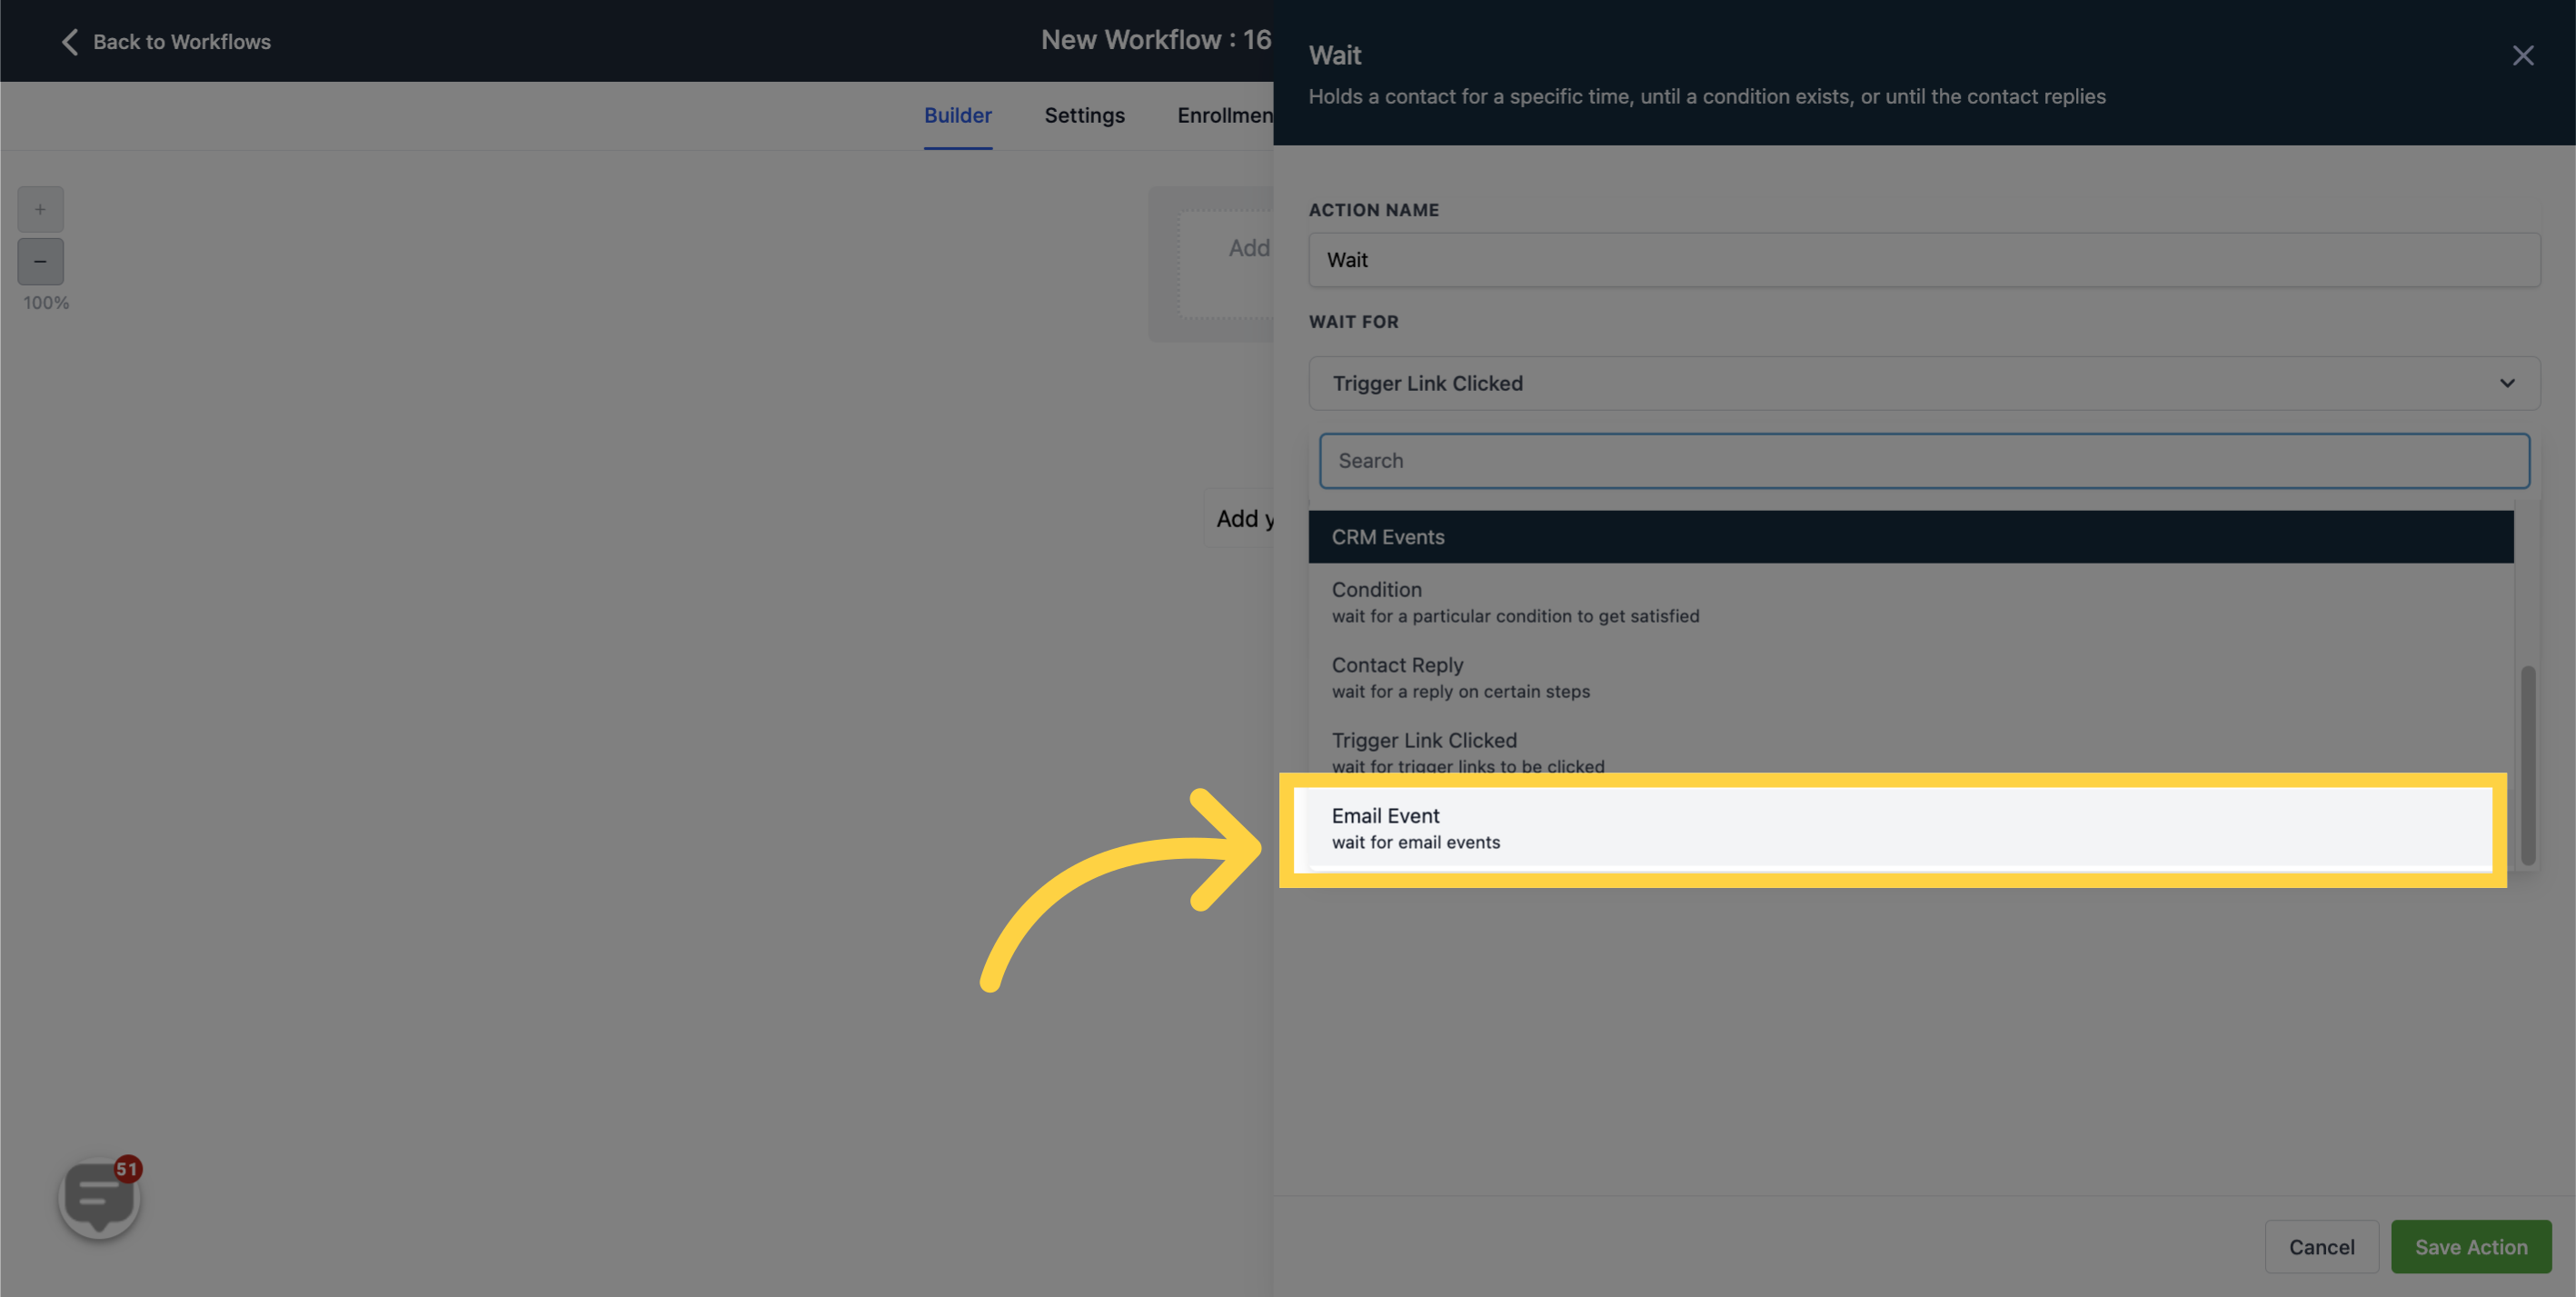
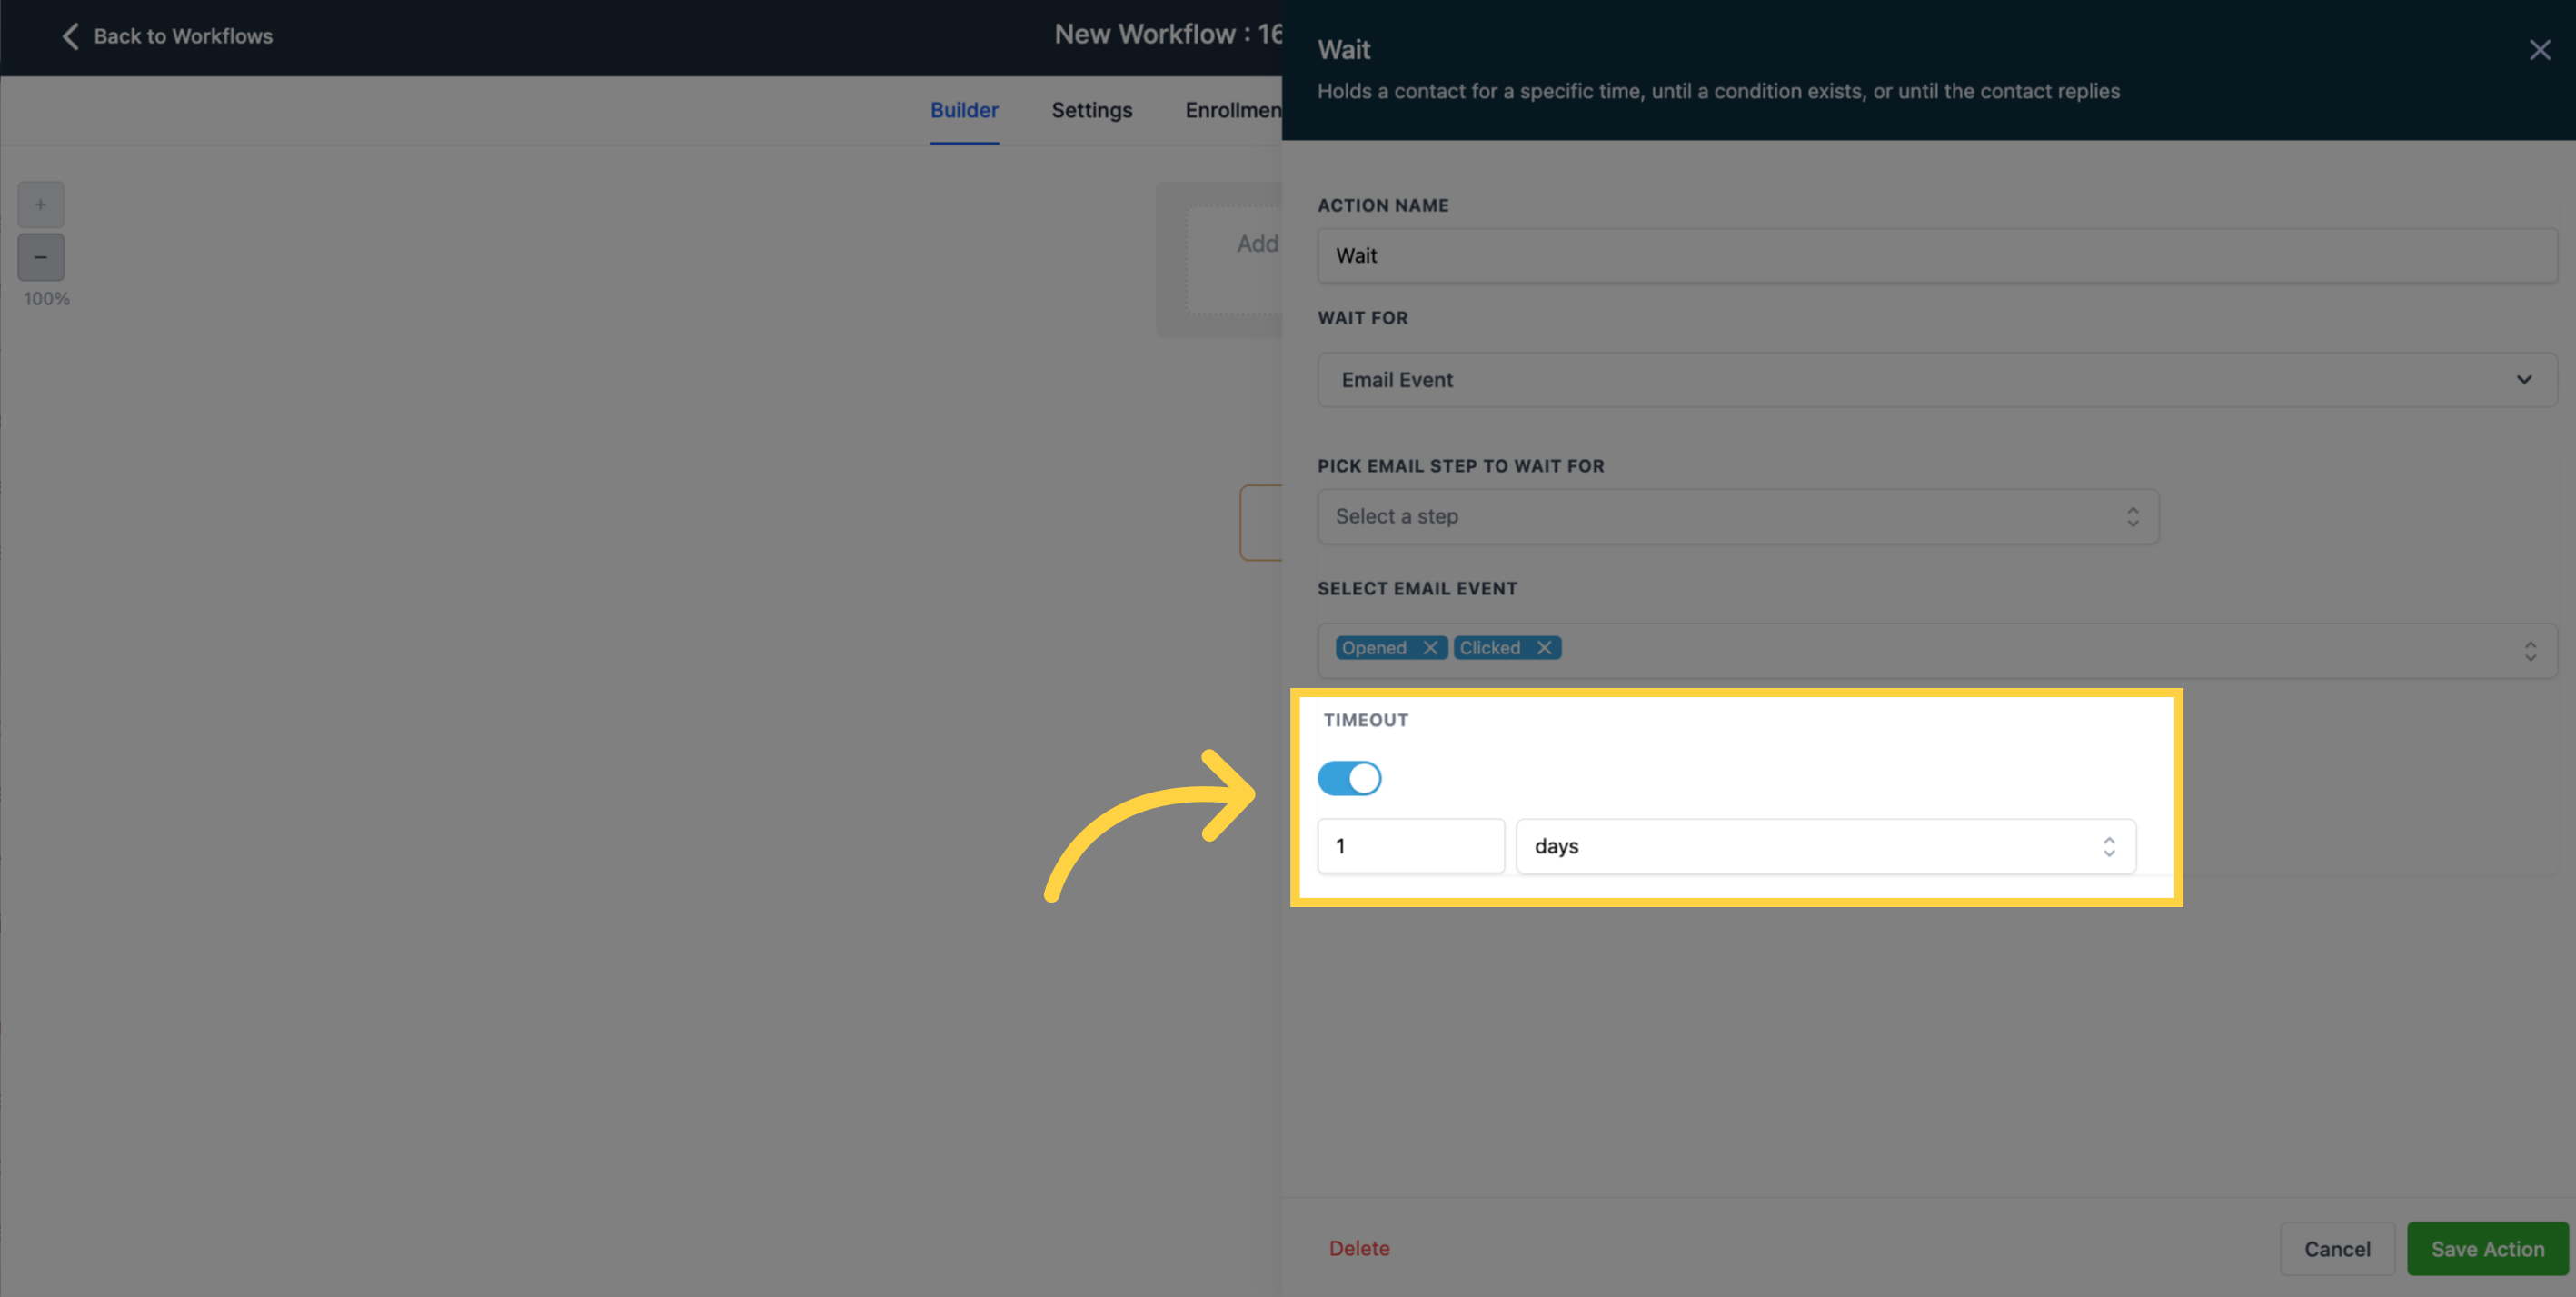
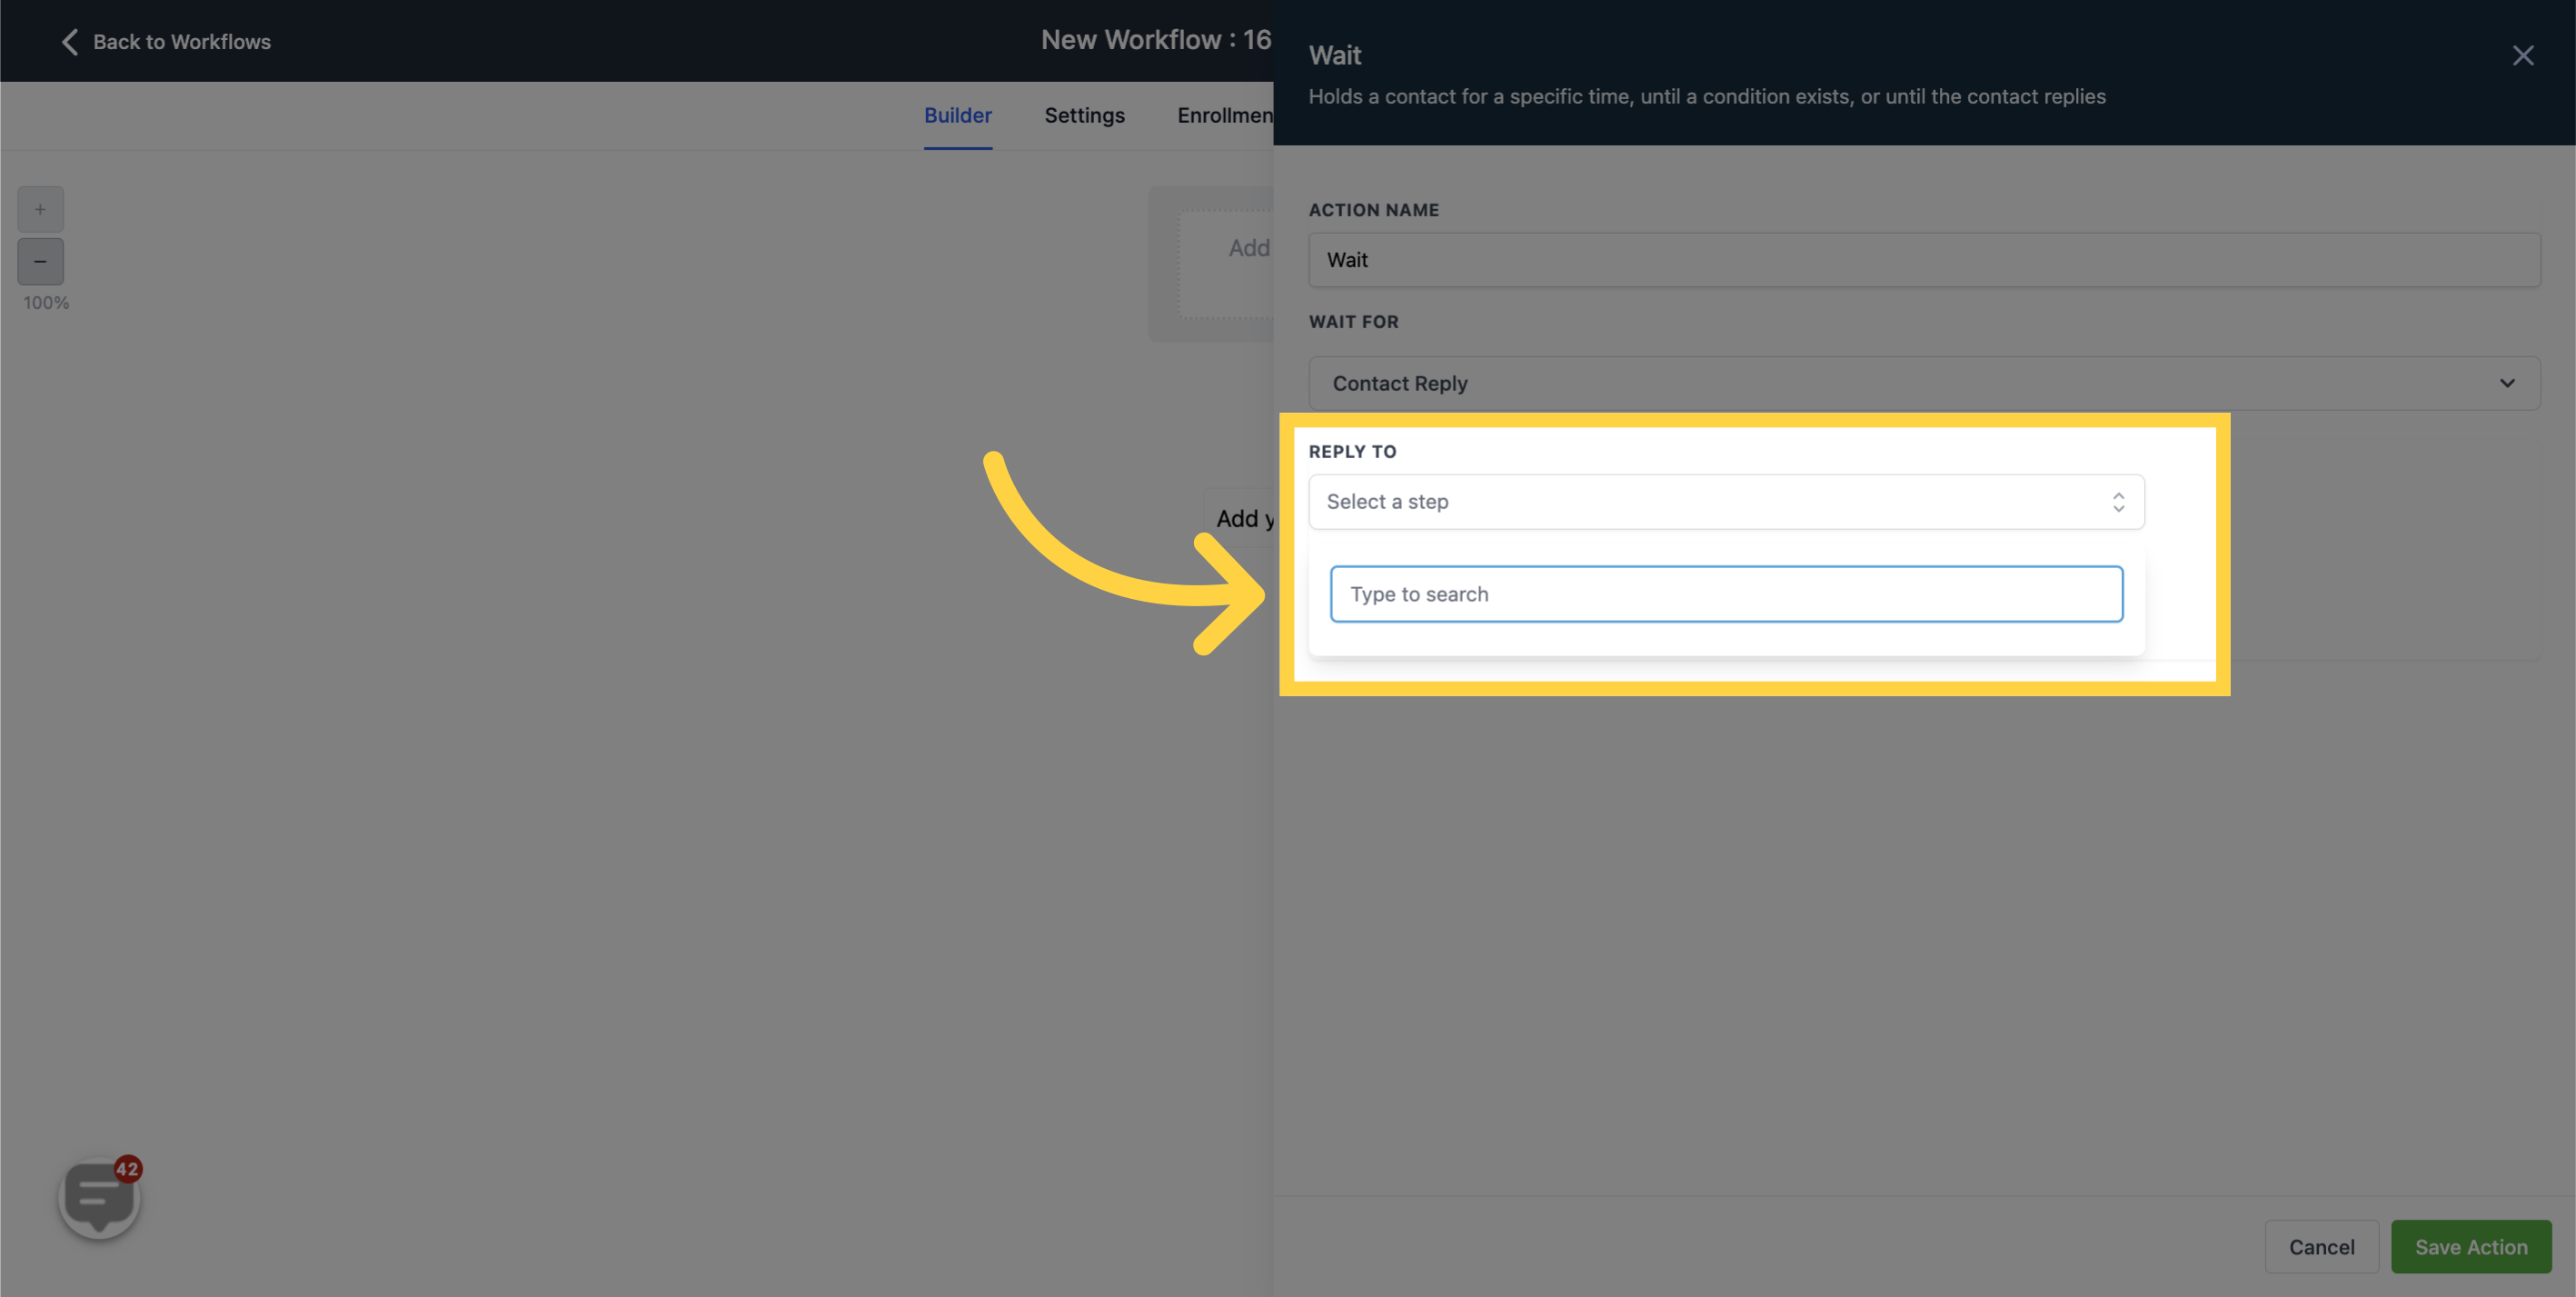
Here, you will choose the email waiting for a response from the contact.
These are the events that should be activated if the contact's response falls within them. You can select multiple events you want to be triggered..
When enabled, a timeout is set for the contact. It can be in terms of minutes, hours, or days."