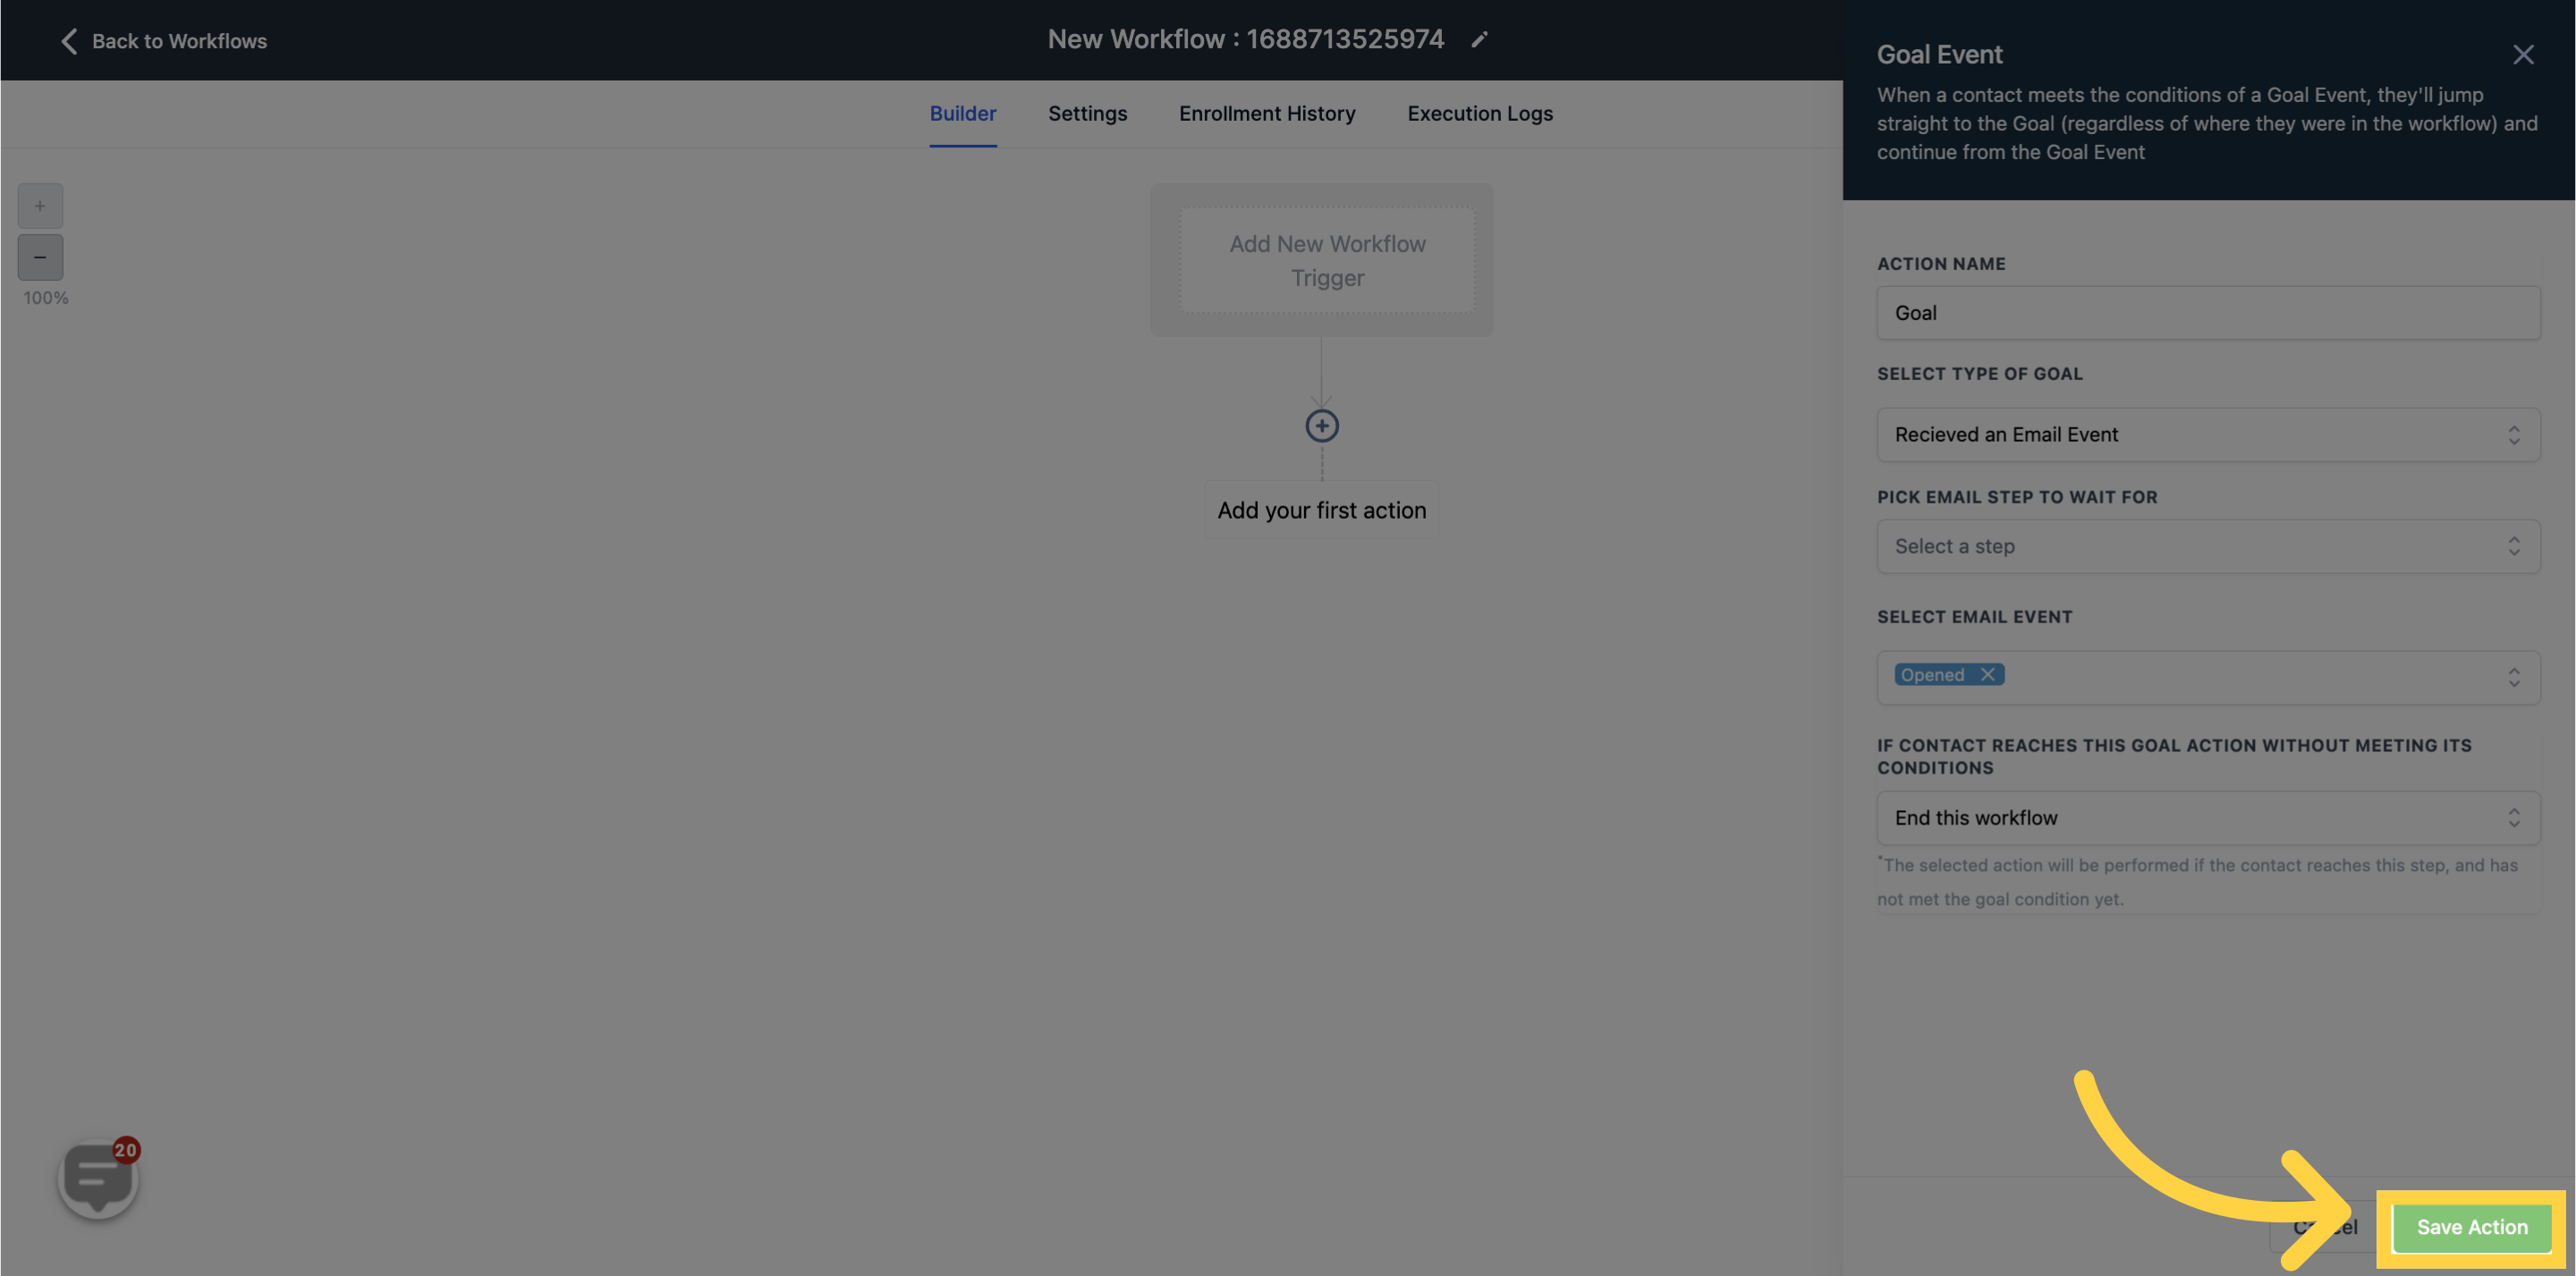
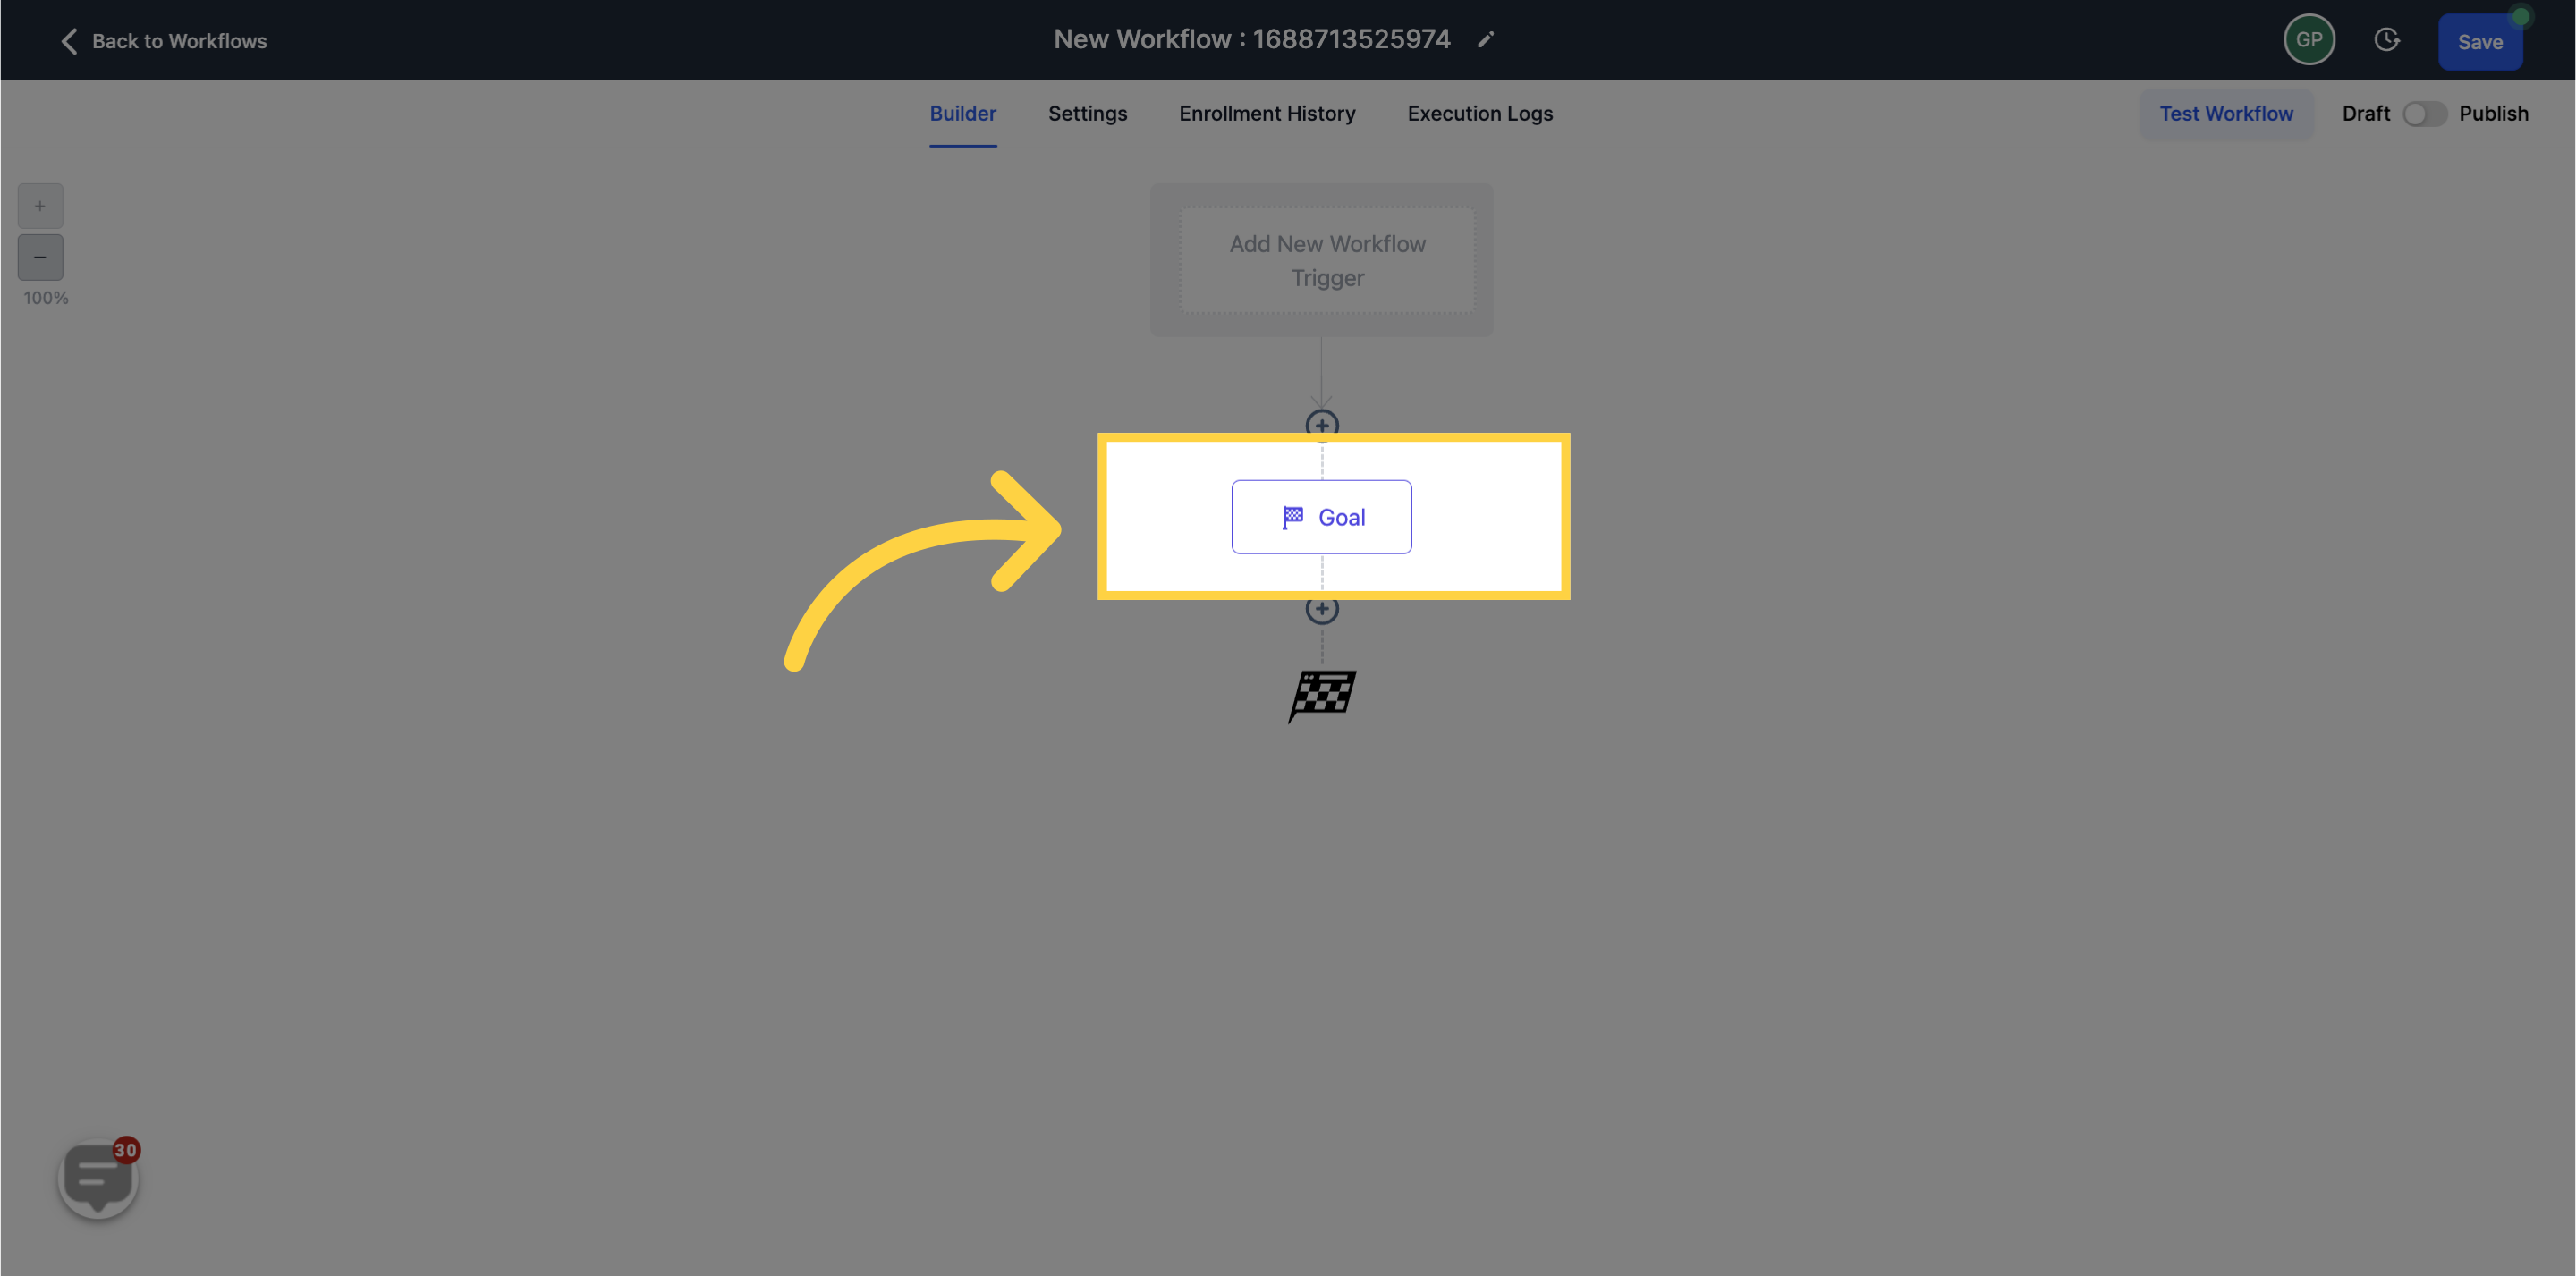
After meeting the specified goal conditions, the contact will be directed to the goal step within the workflow, irrespective of their current position, and continue from the Goal Event.
You can provide a name for the goal event based on your objective or leave it as is.
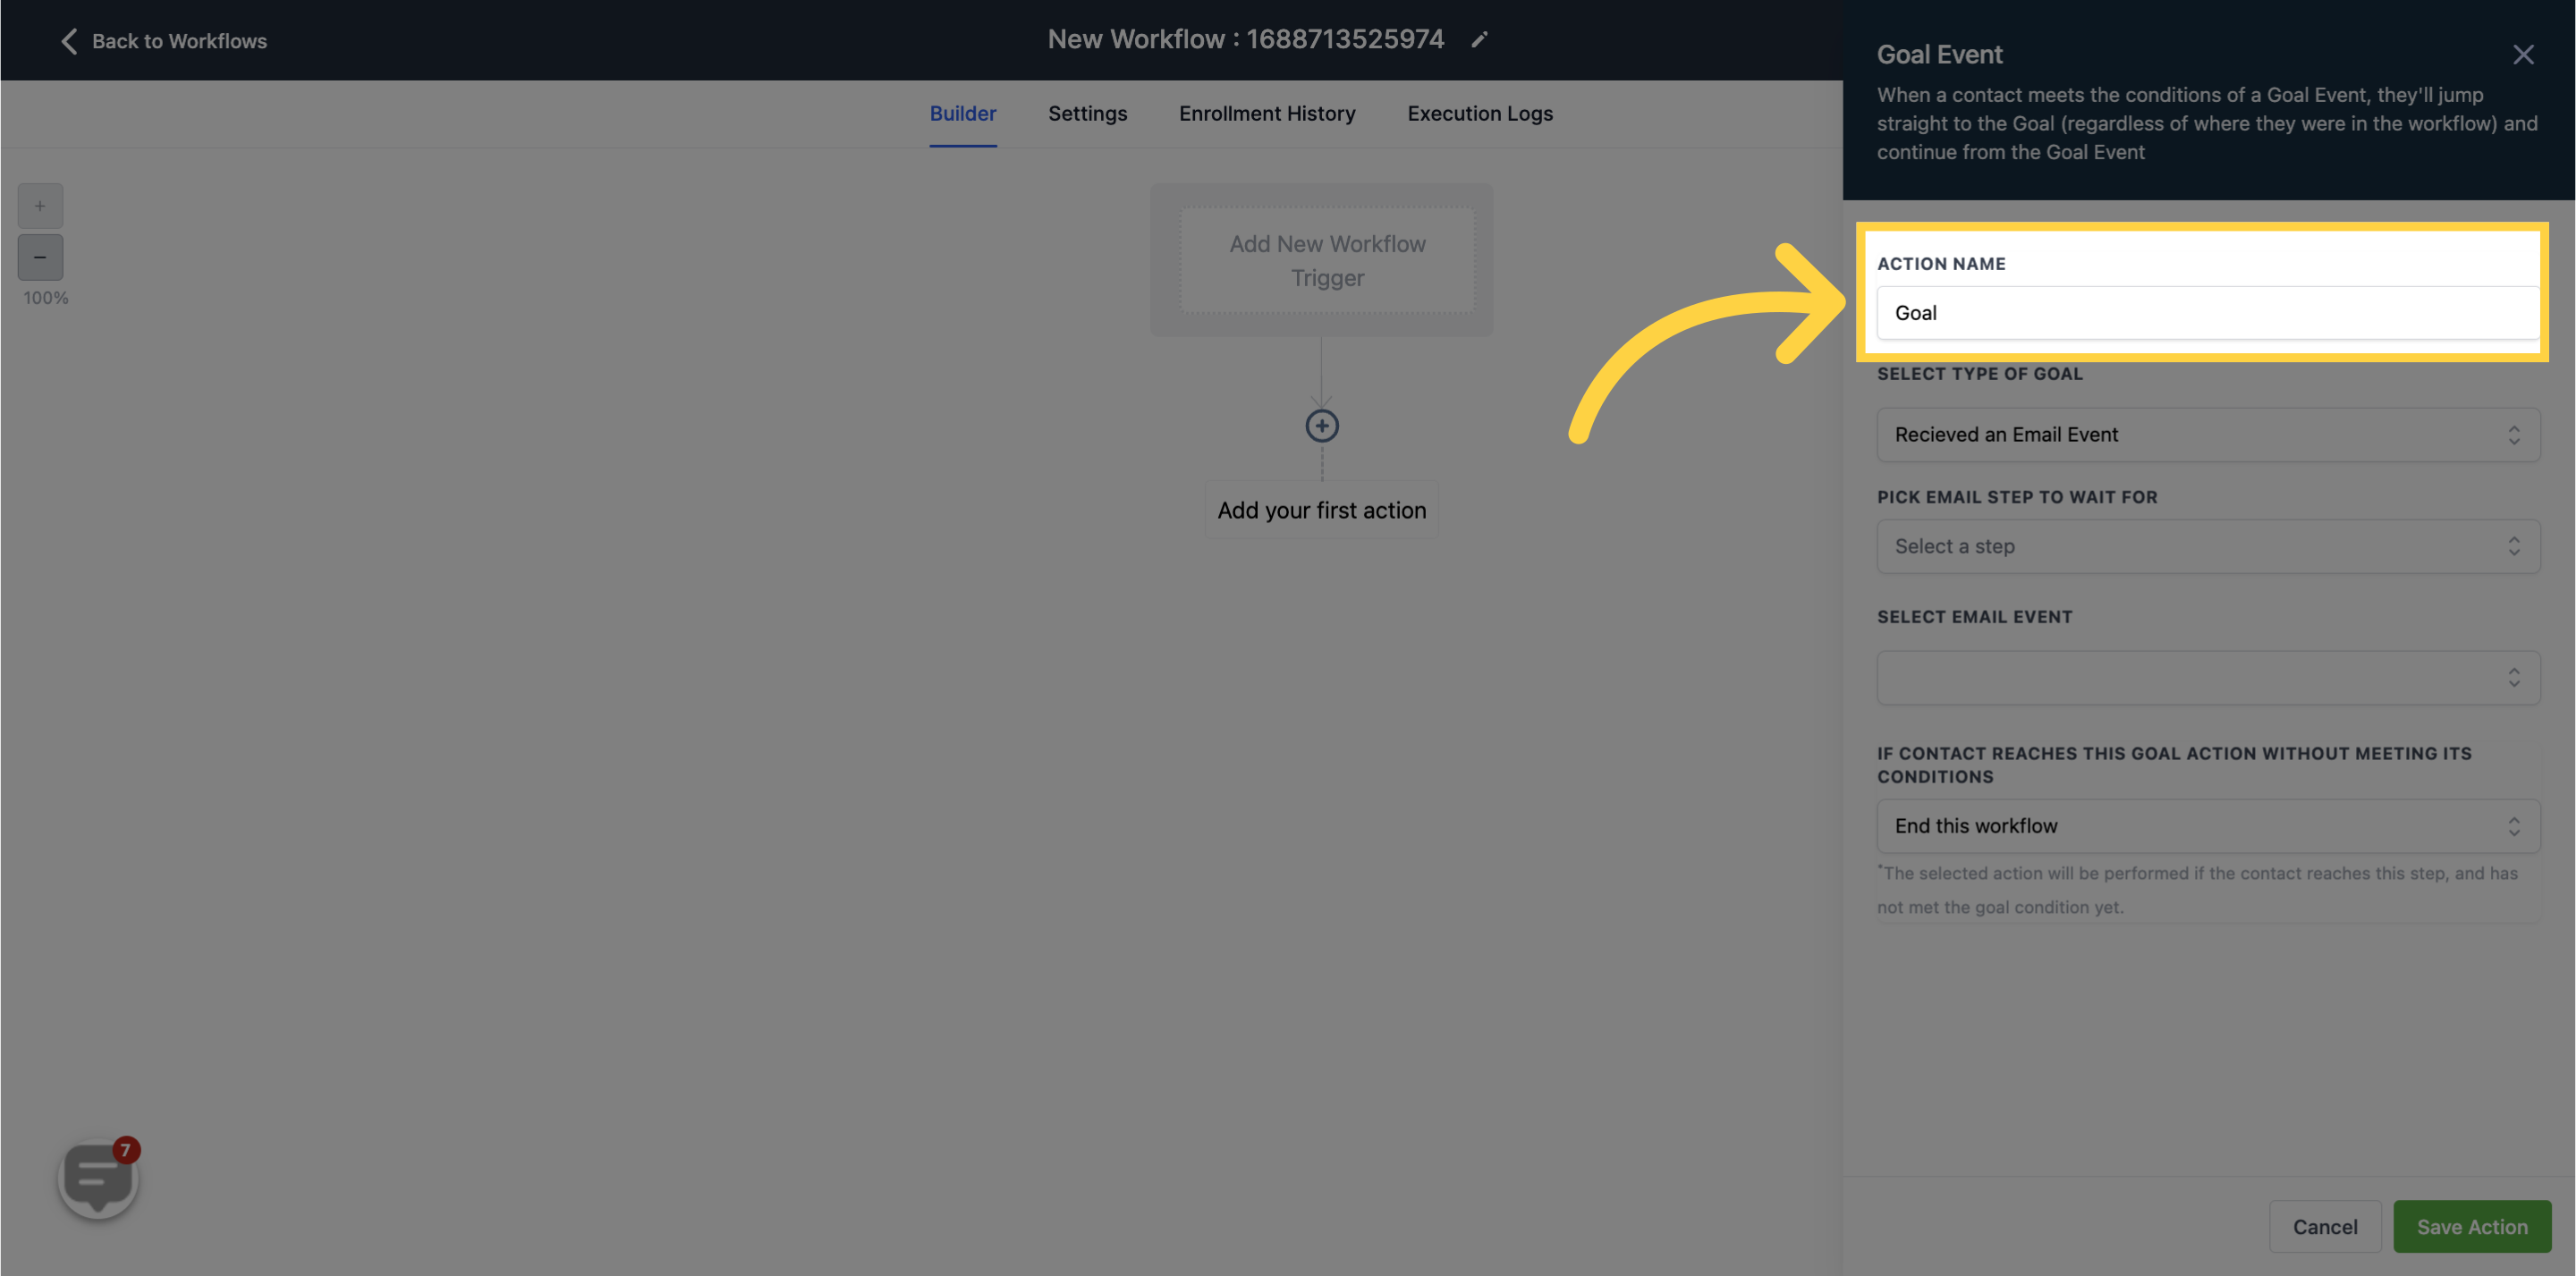
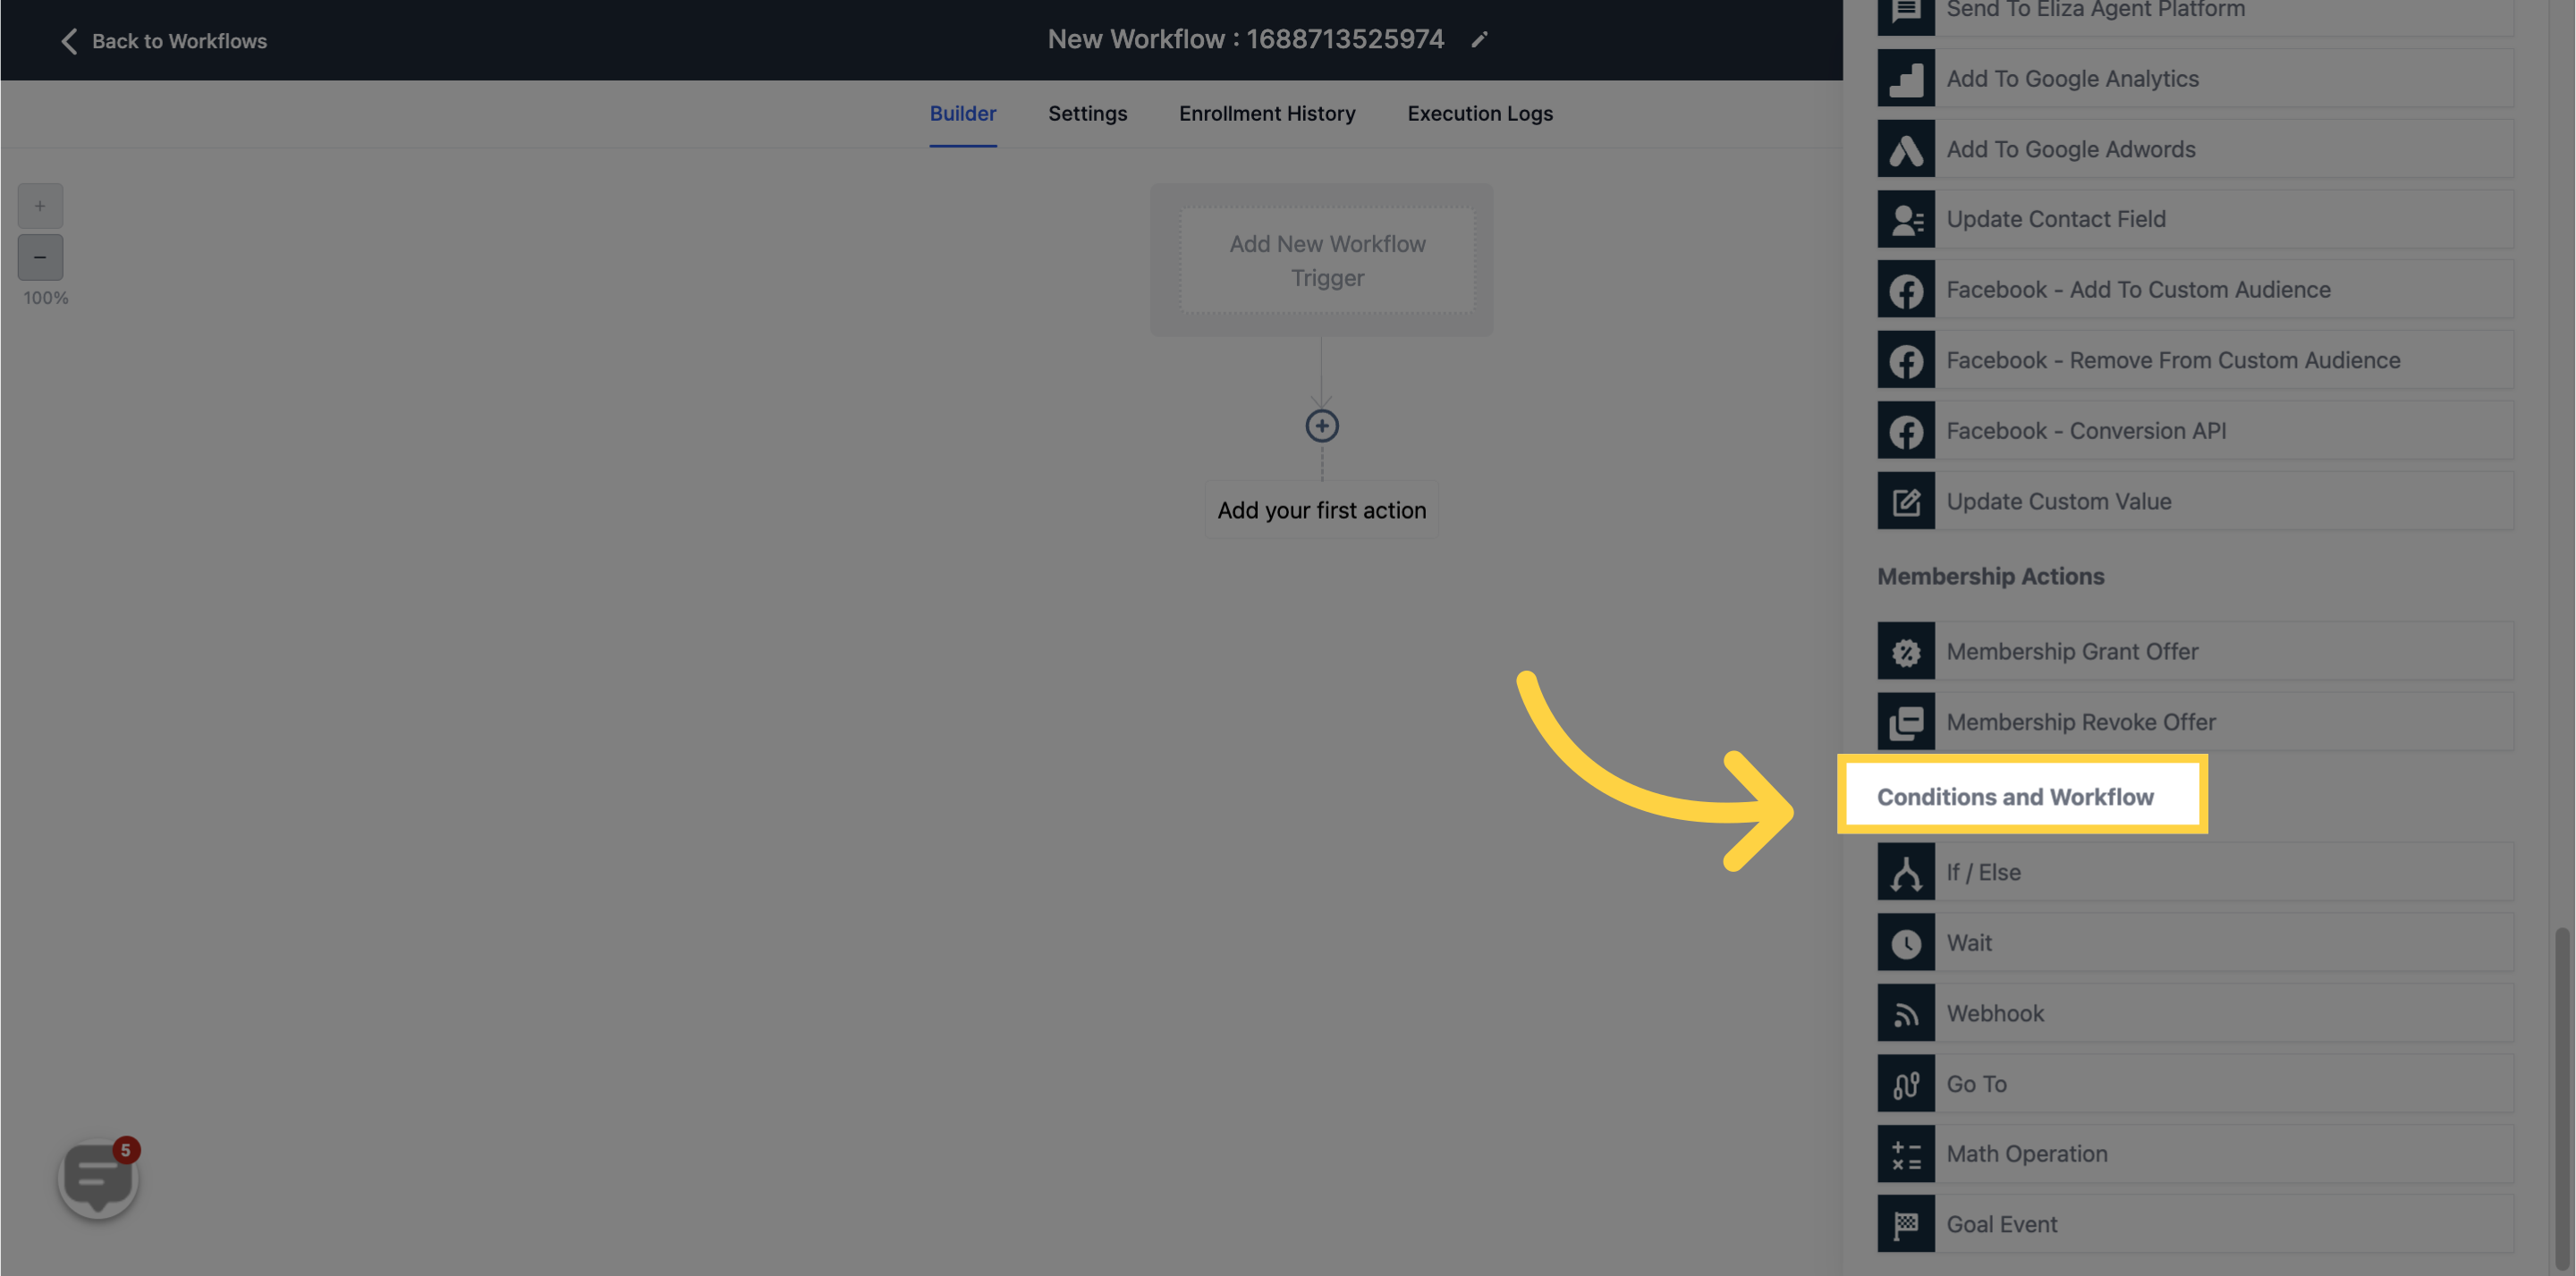
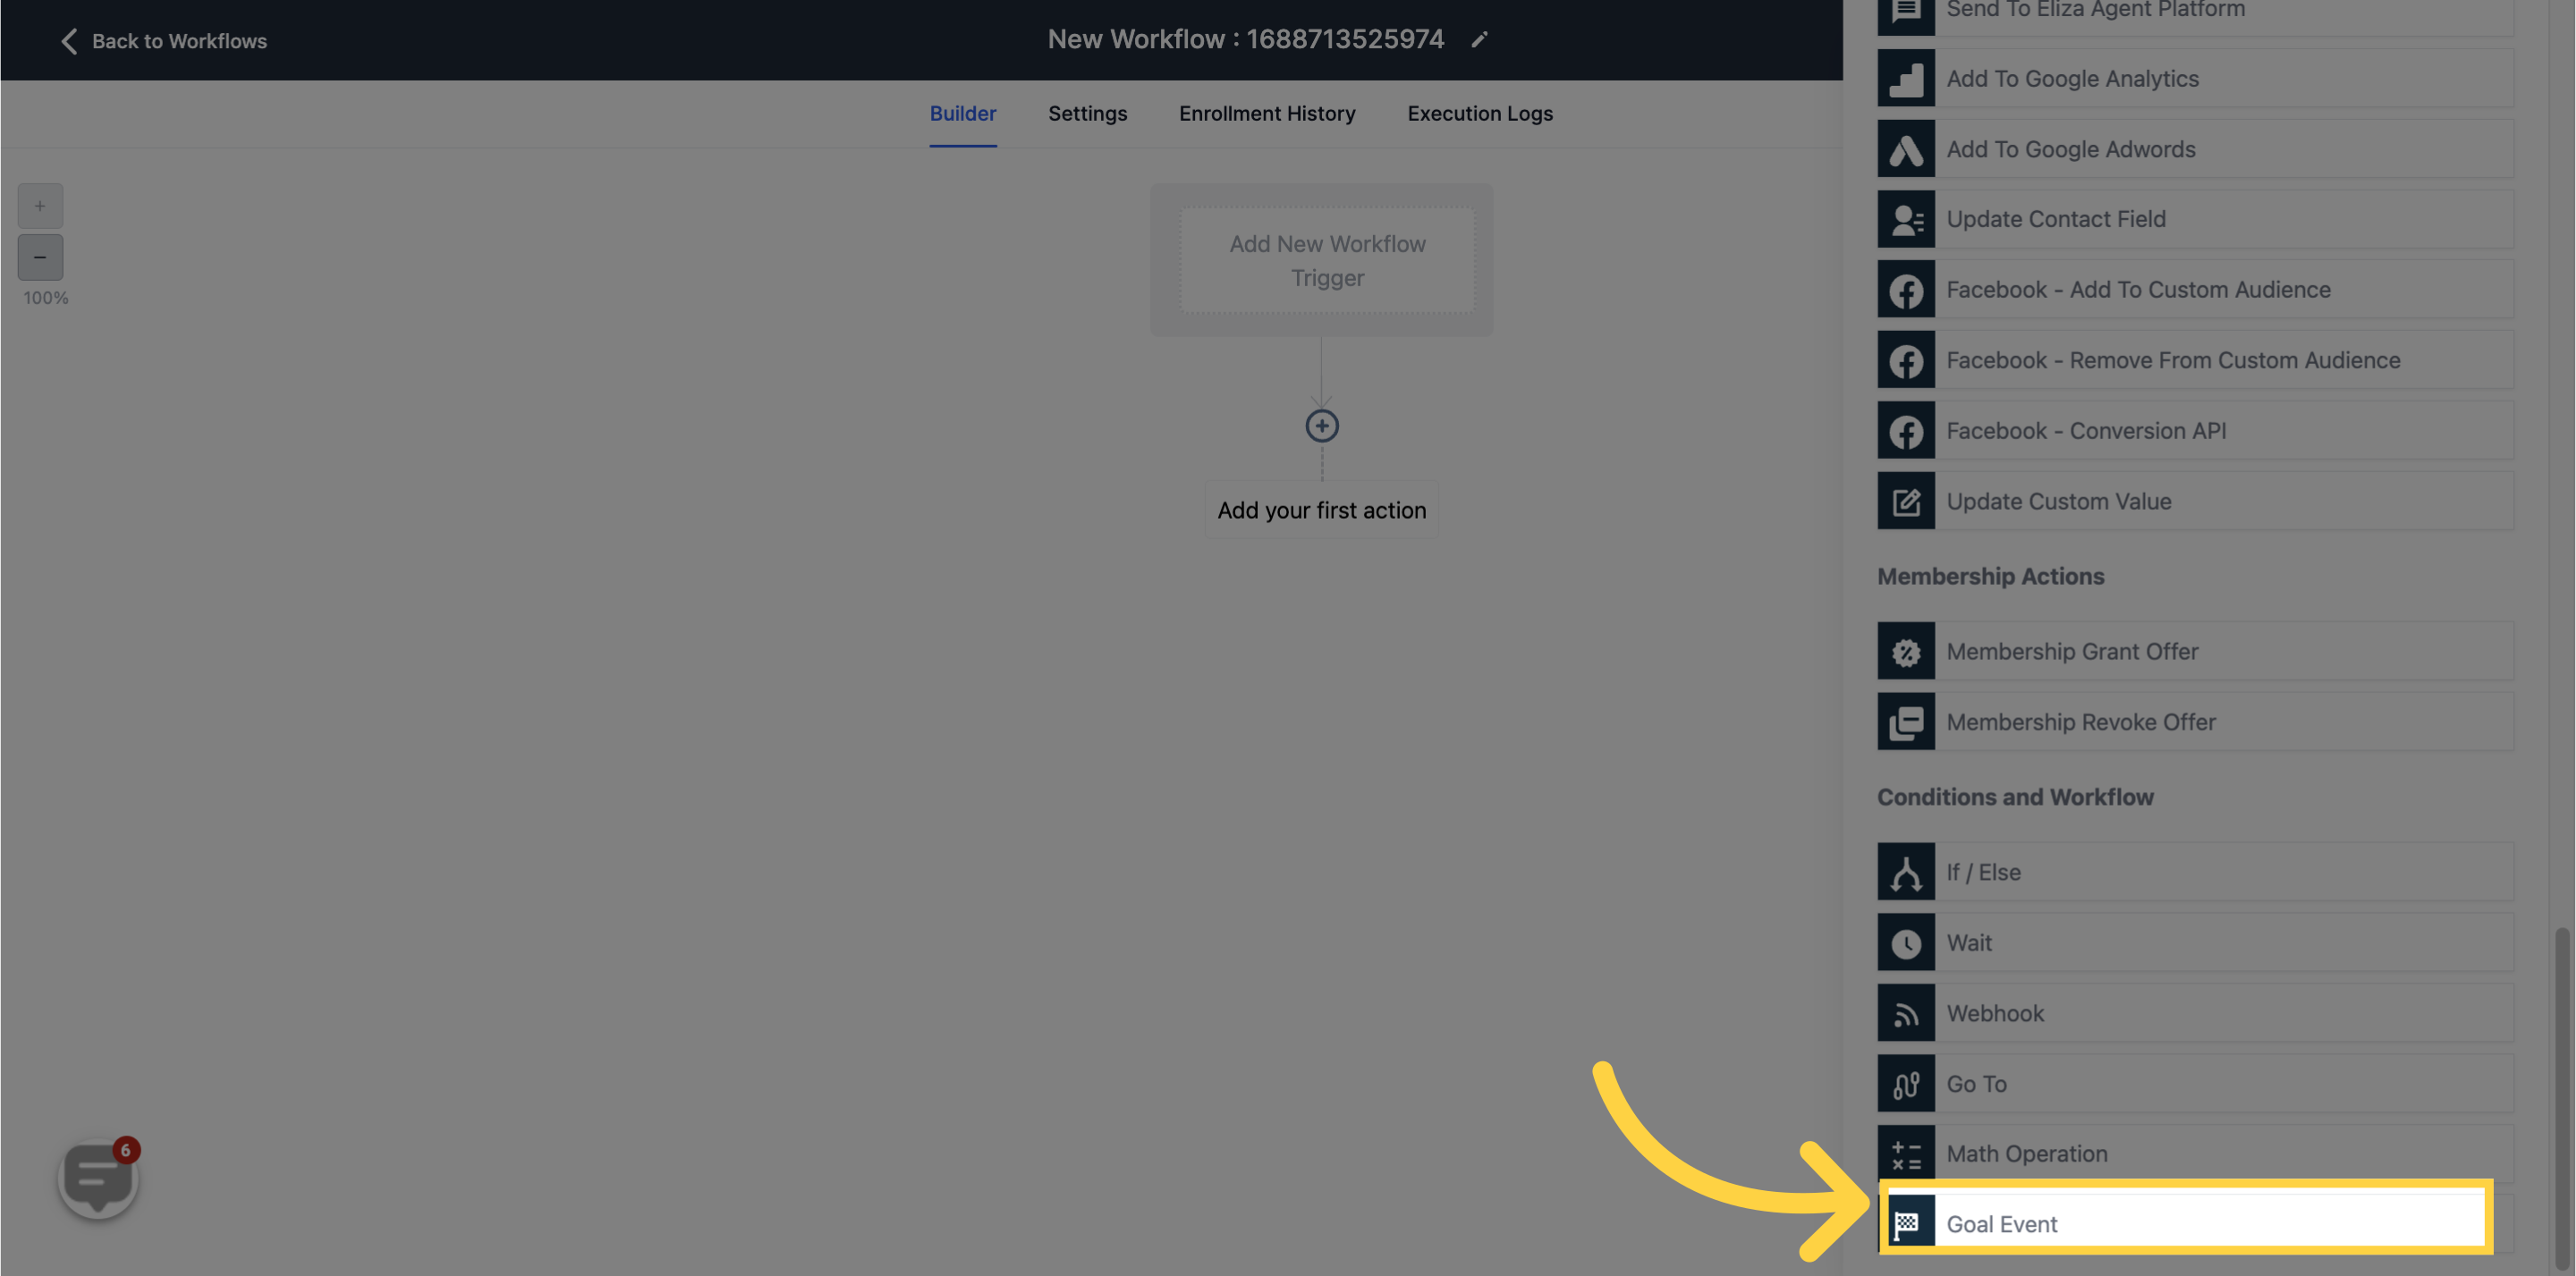
Goal Events allow you to set a contact goal for a workflow. Once a contact enters the workflow, the system will "listen" for the specified Goal Event to occur, regardless of the current step the contact is in.
The prospect will be included in the workflow if the email event occurs, regardless of their current step. To use this filter, you need to select the specific events that you want the system to recognize, such as email opened, unsubscribed, etc.
When the prospect clicks on a trigger link, they will be pulled into the workflow regardless of their current step.

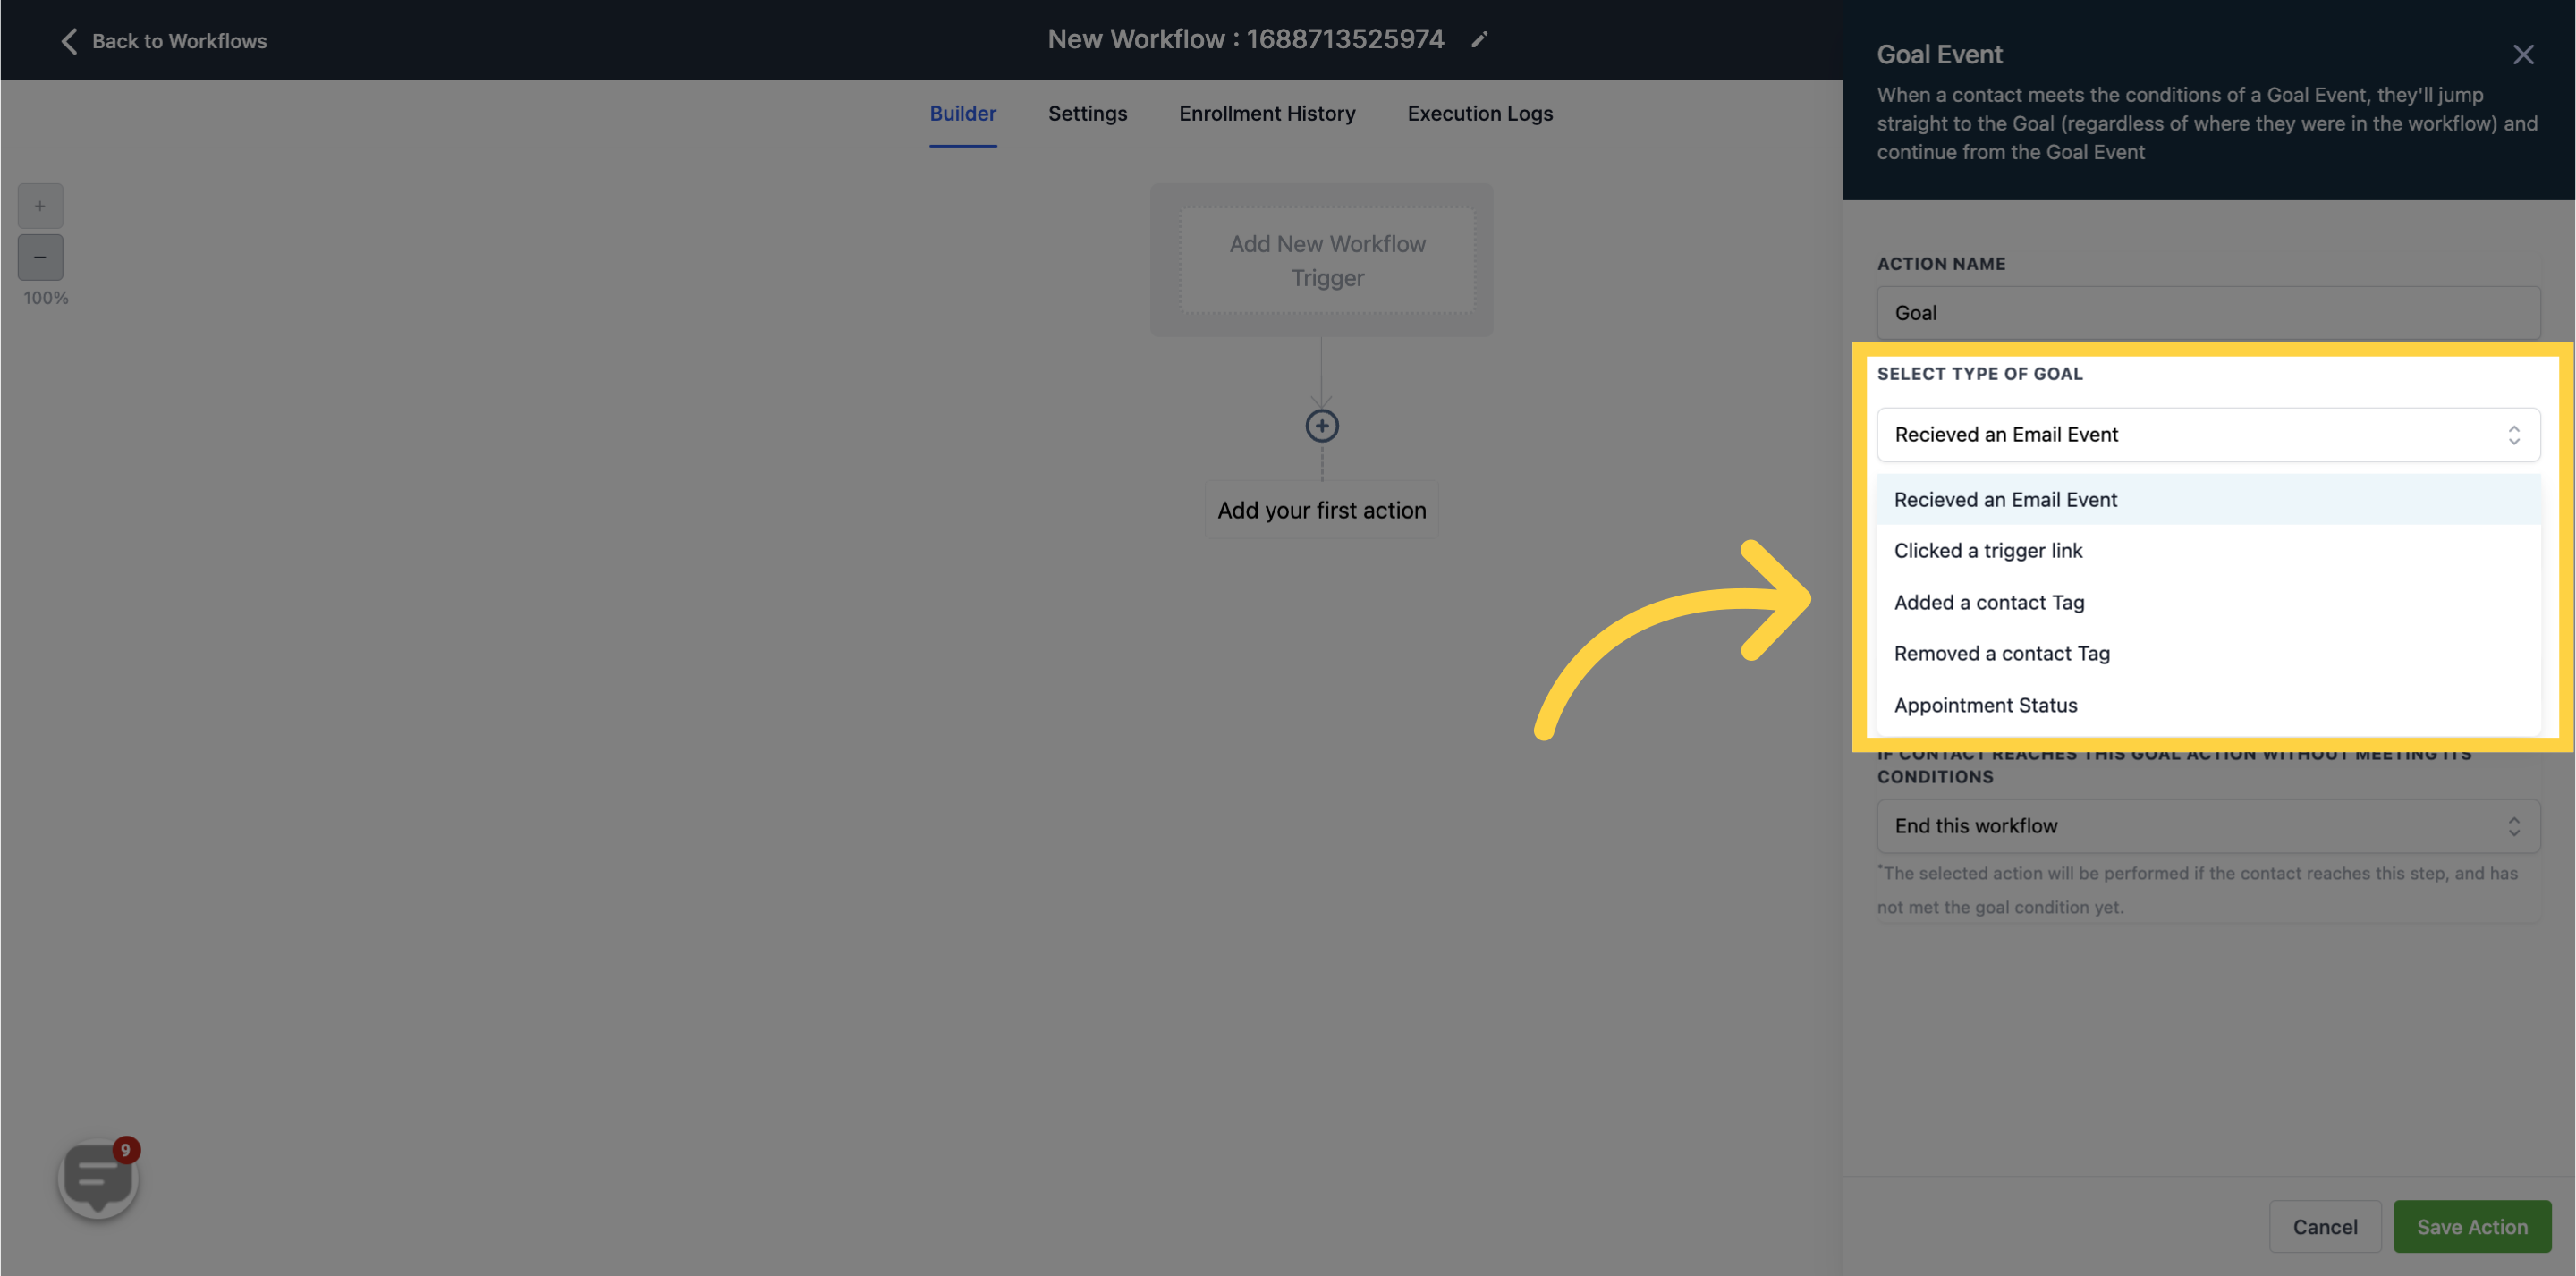
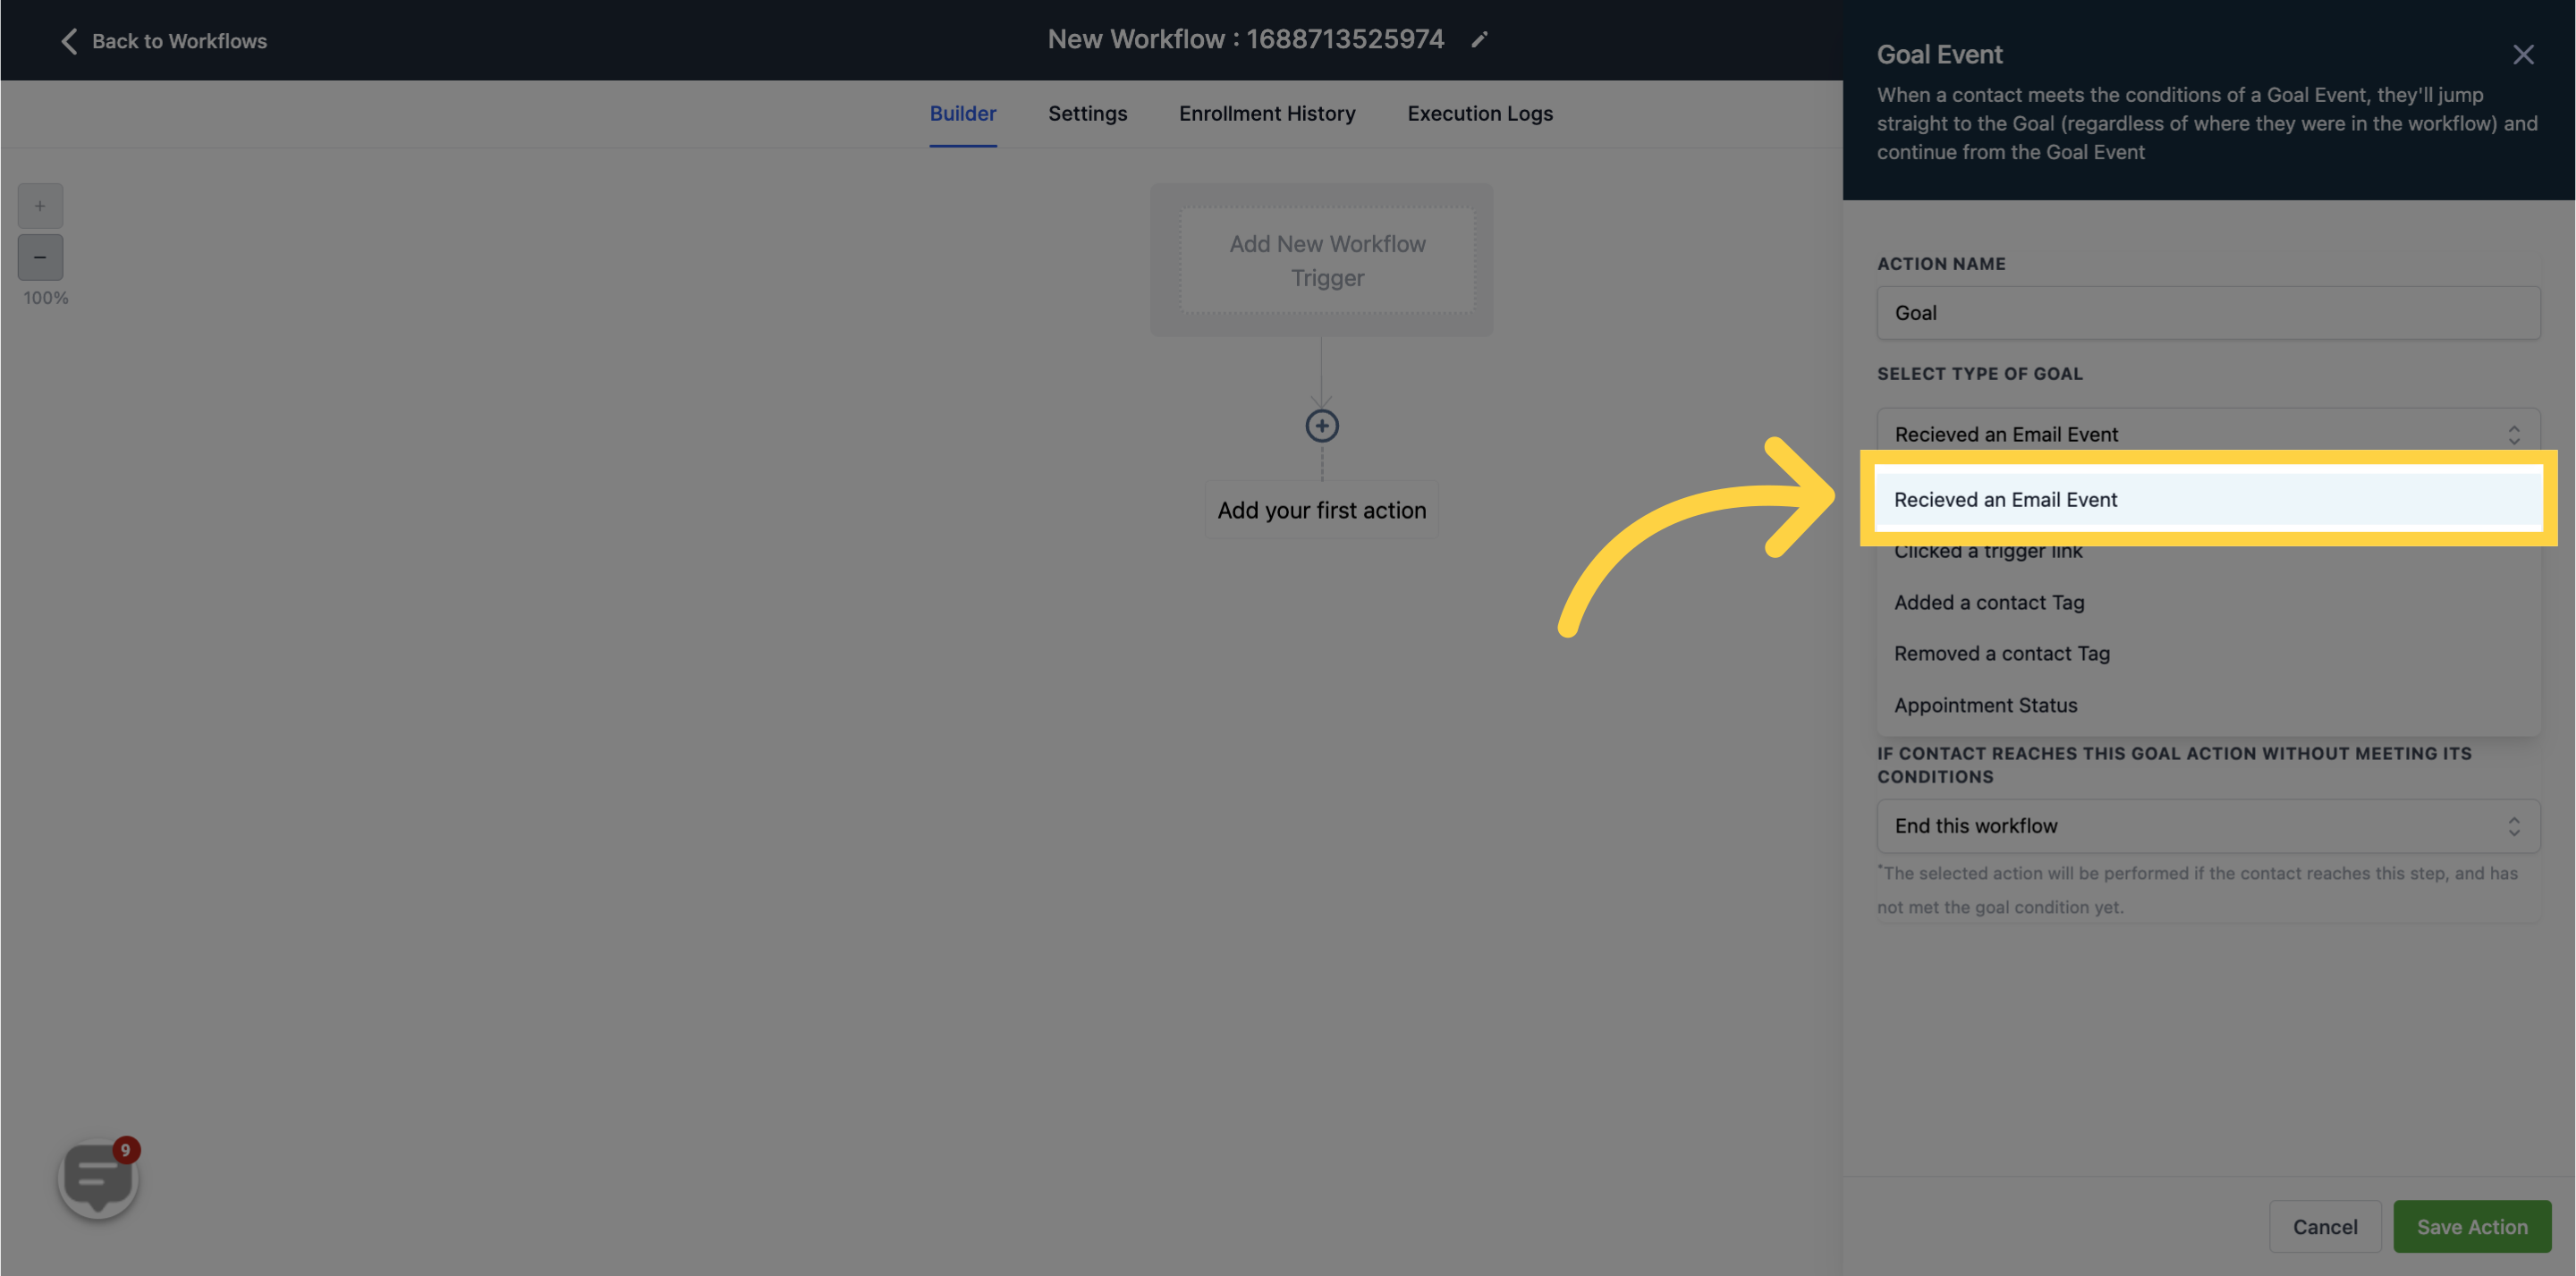
Currently, only one goal event can be added to each workflow.Here you can select the step for the email event.
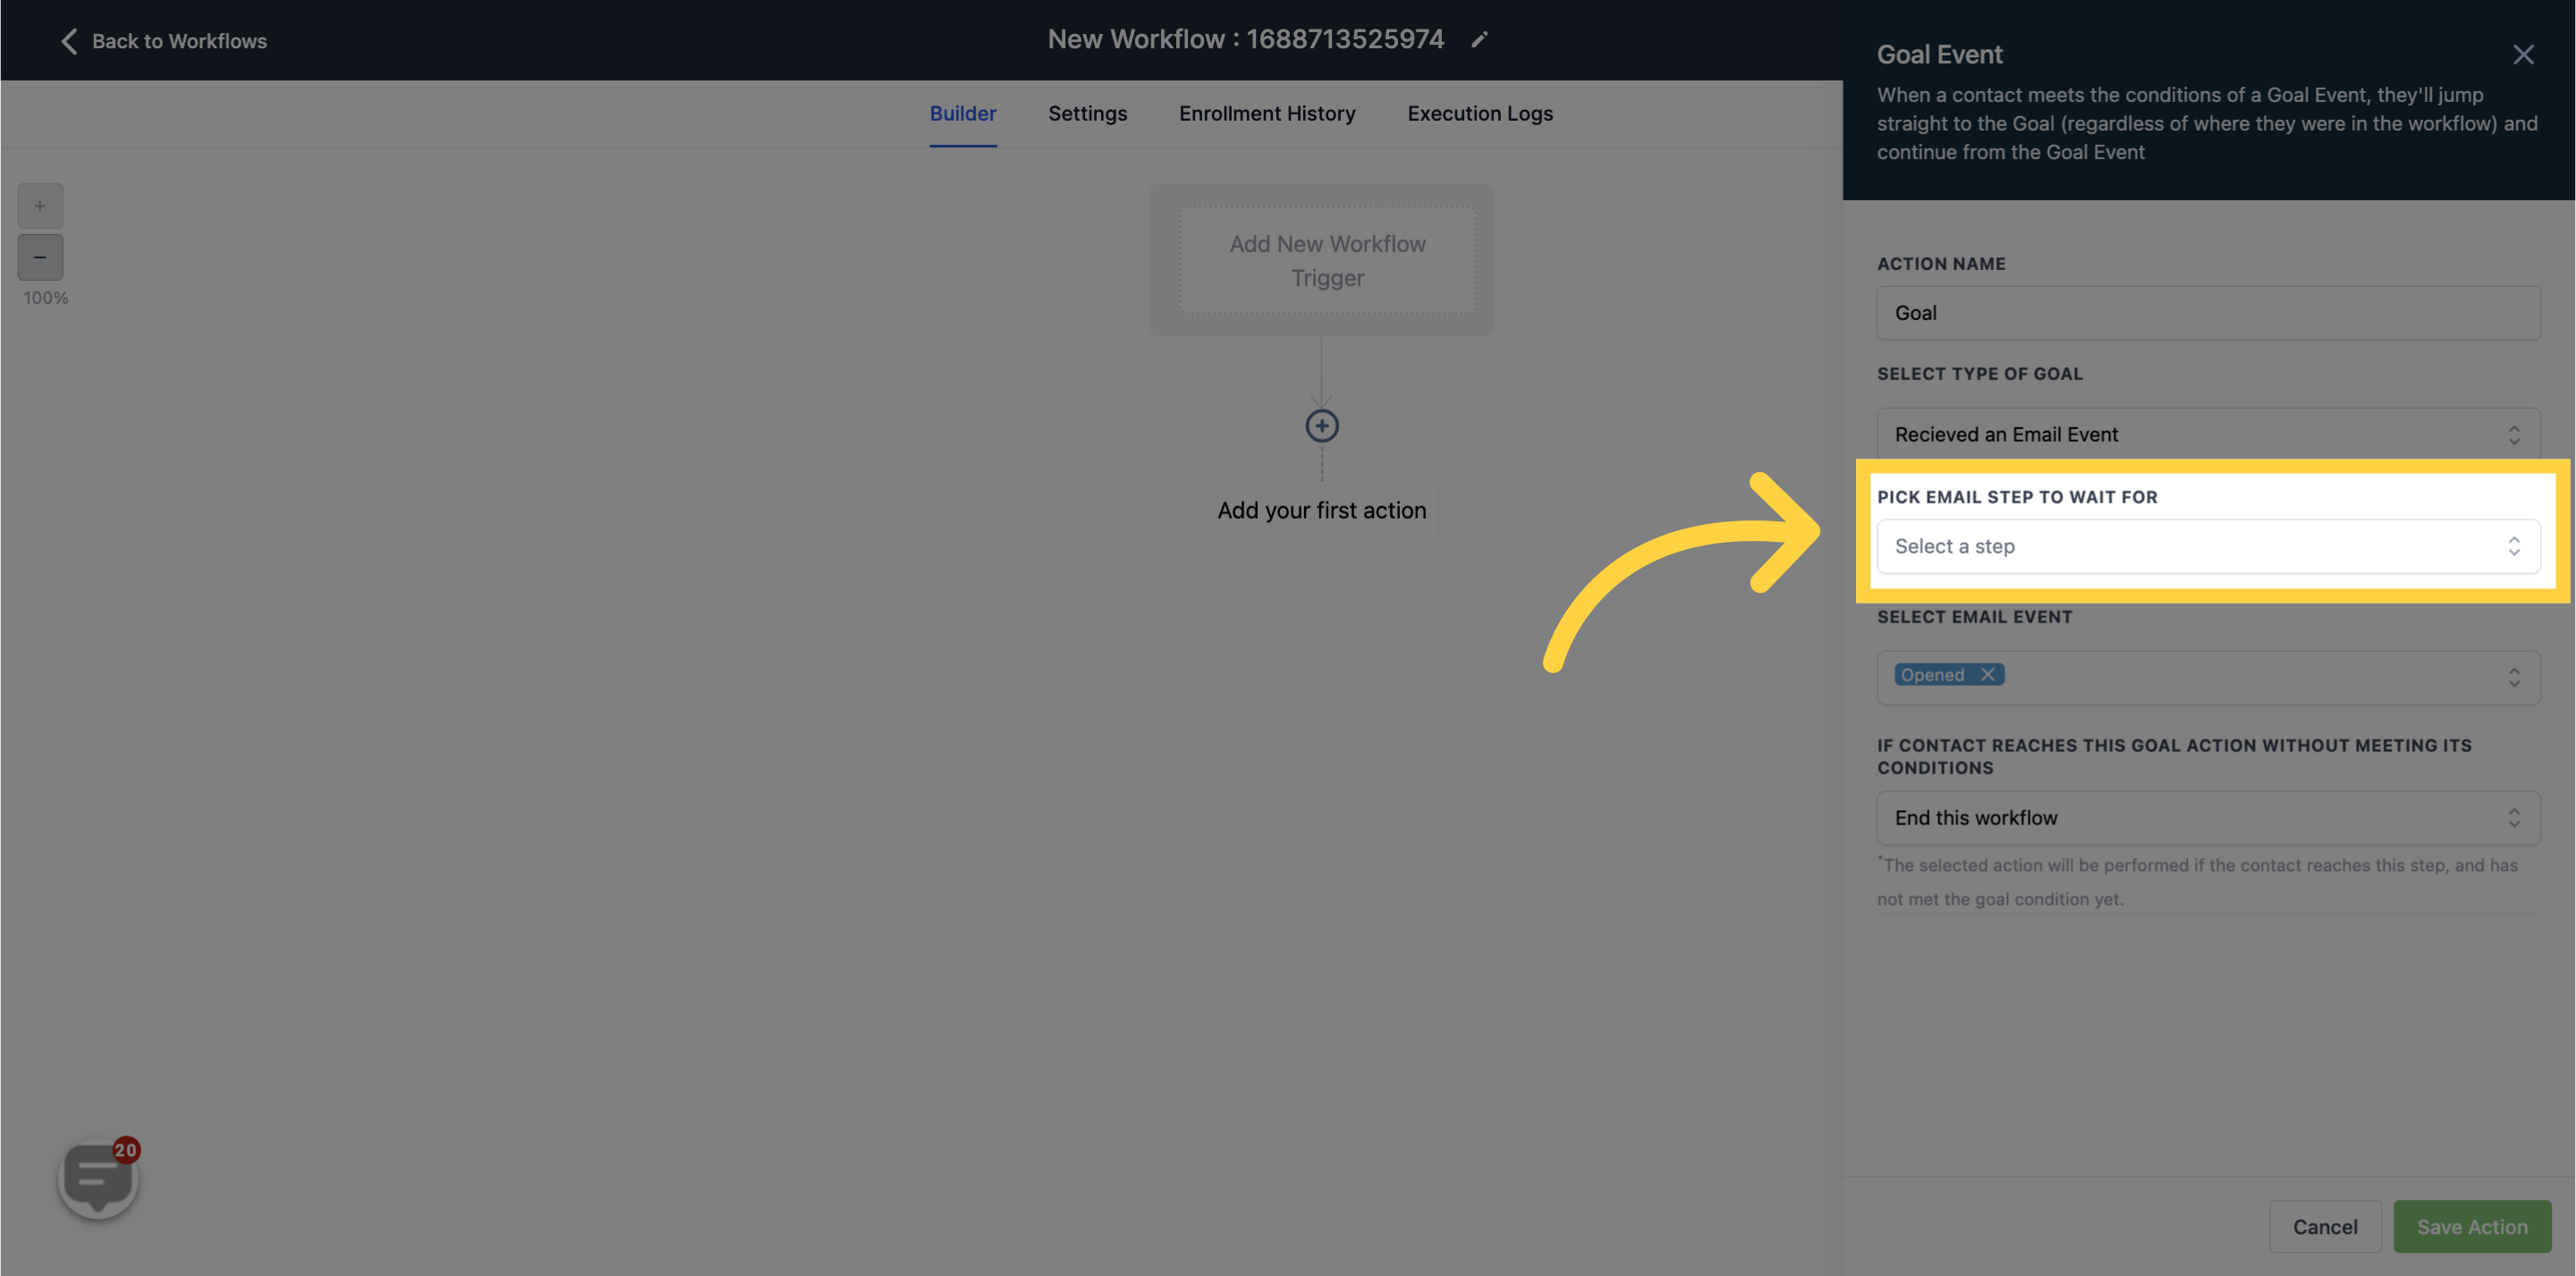
From the options below, you can choose the email event based on your objective. You can select one or more events from the checkboxes to achieve your goal.
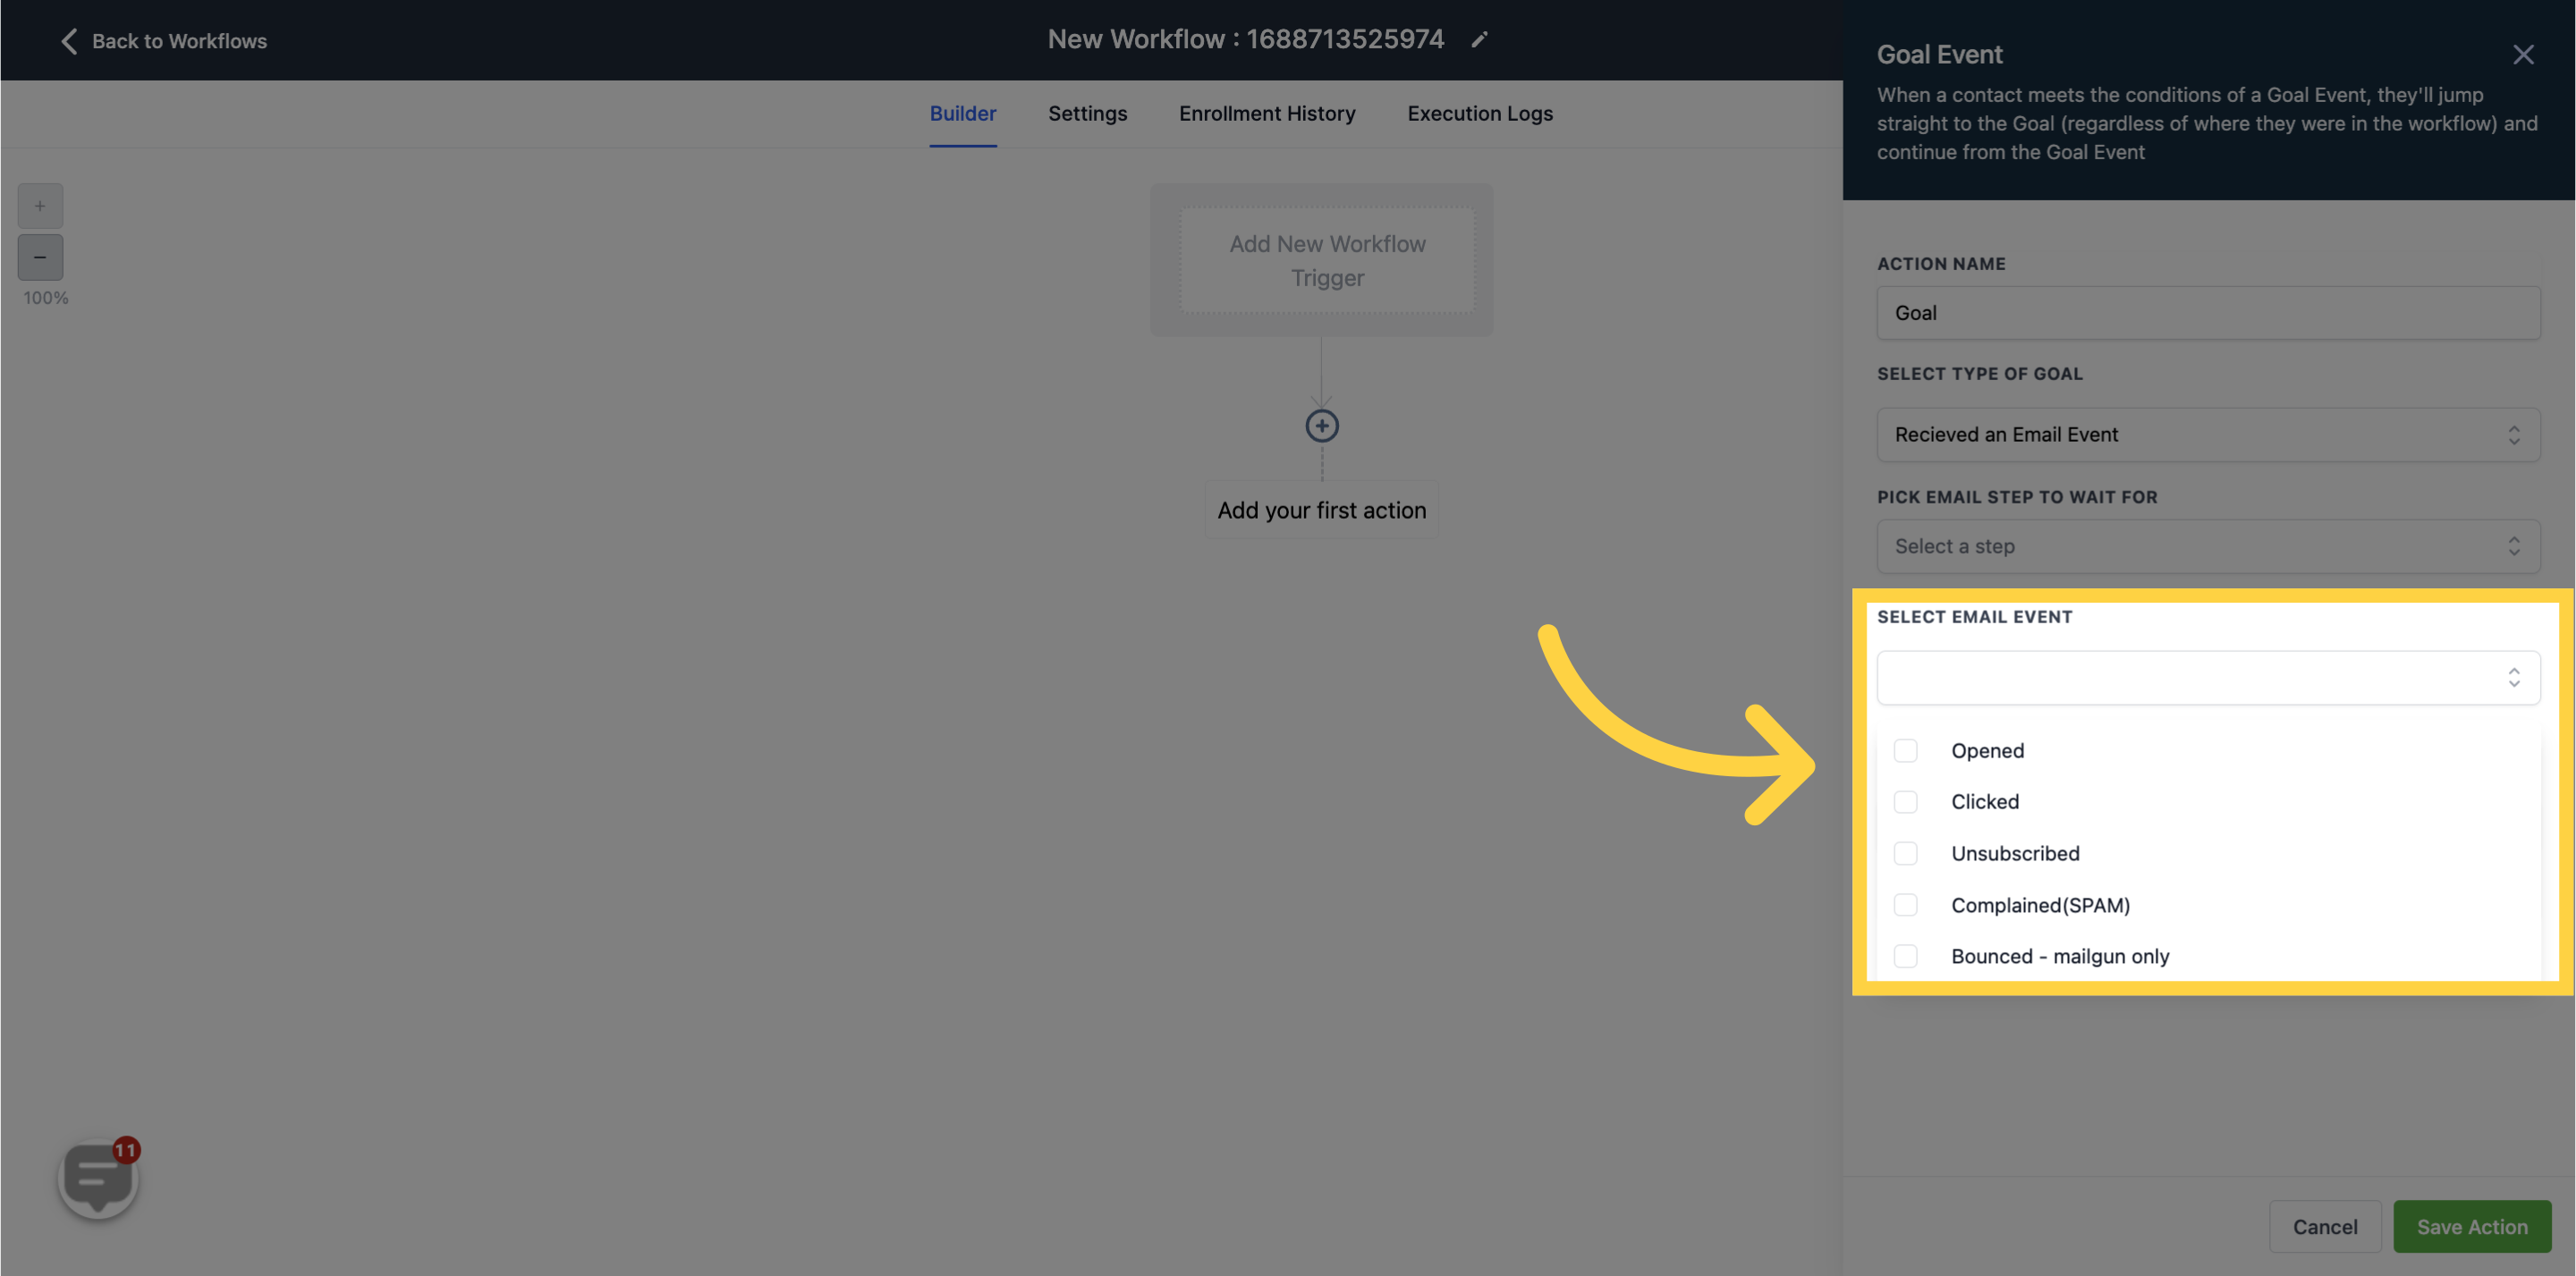
Use this to trigger the goal event when the email is opened.

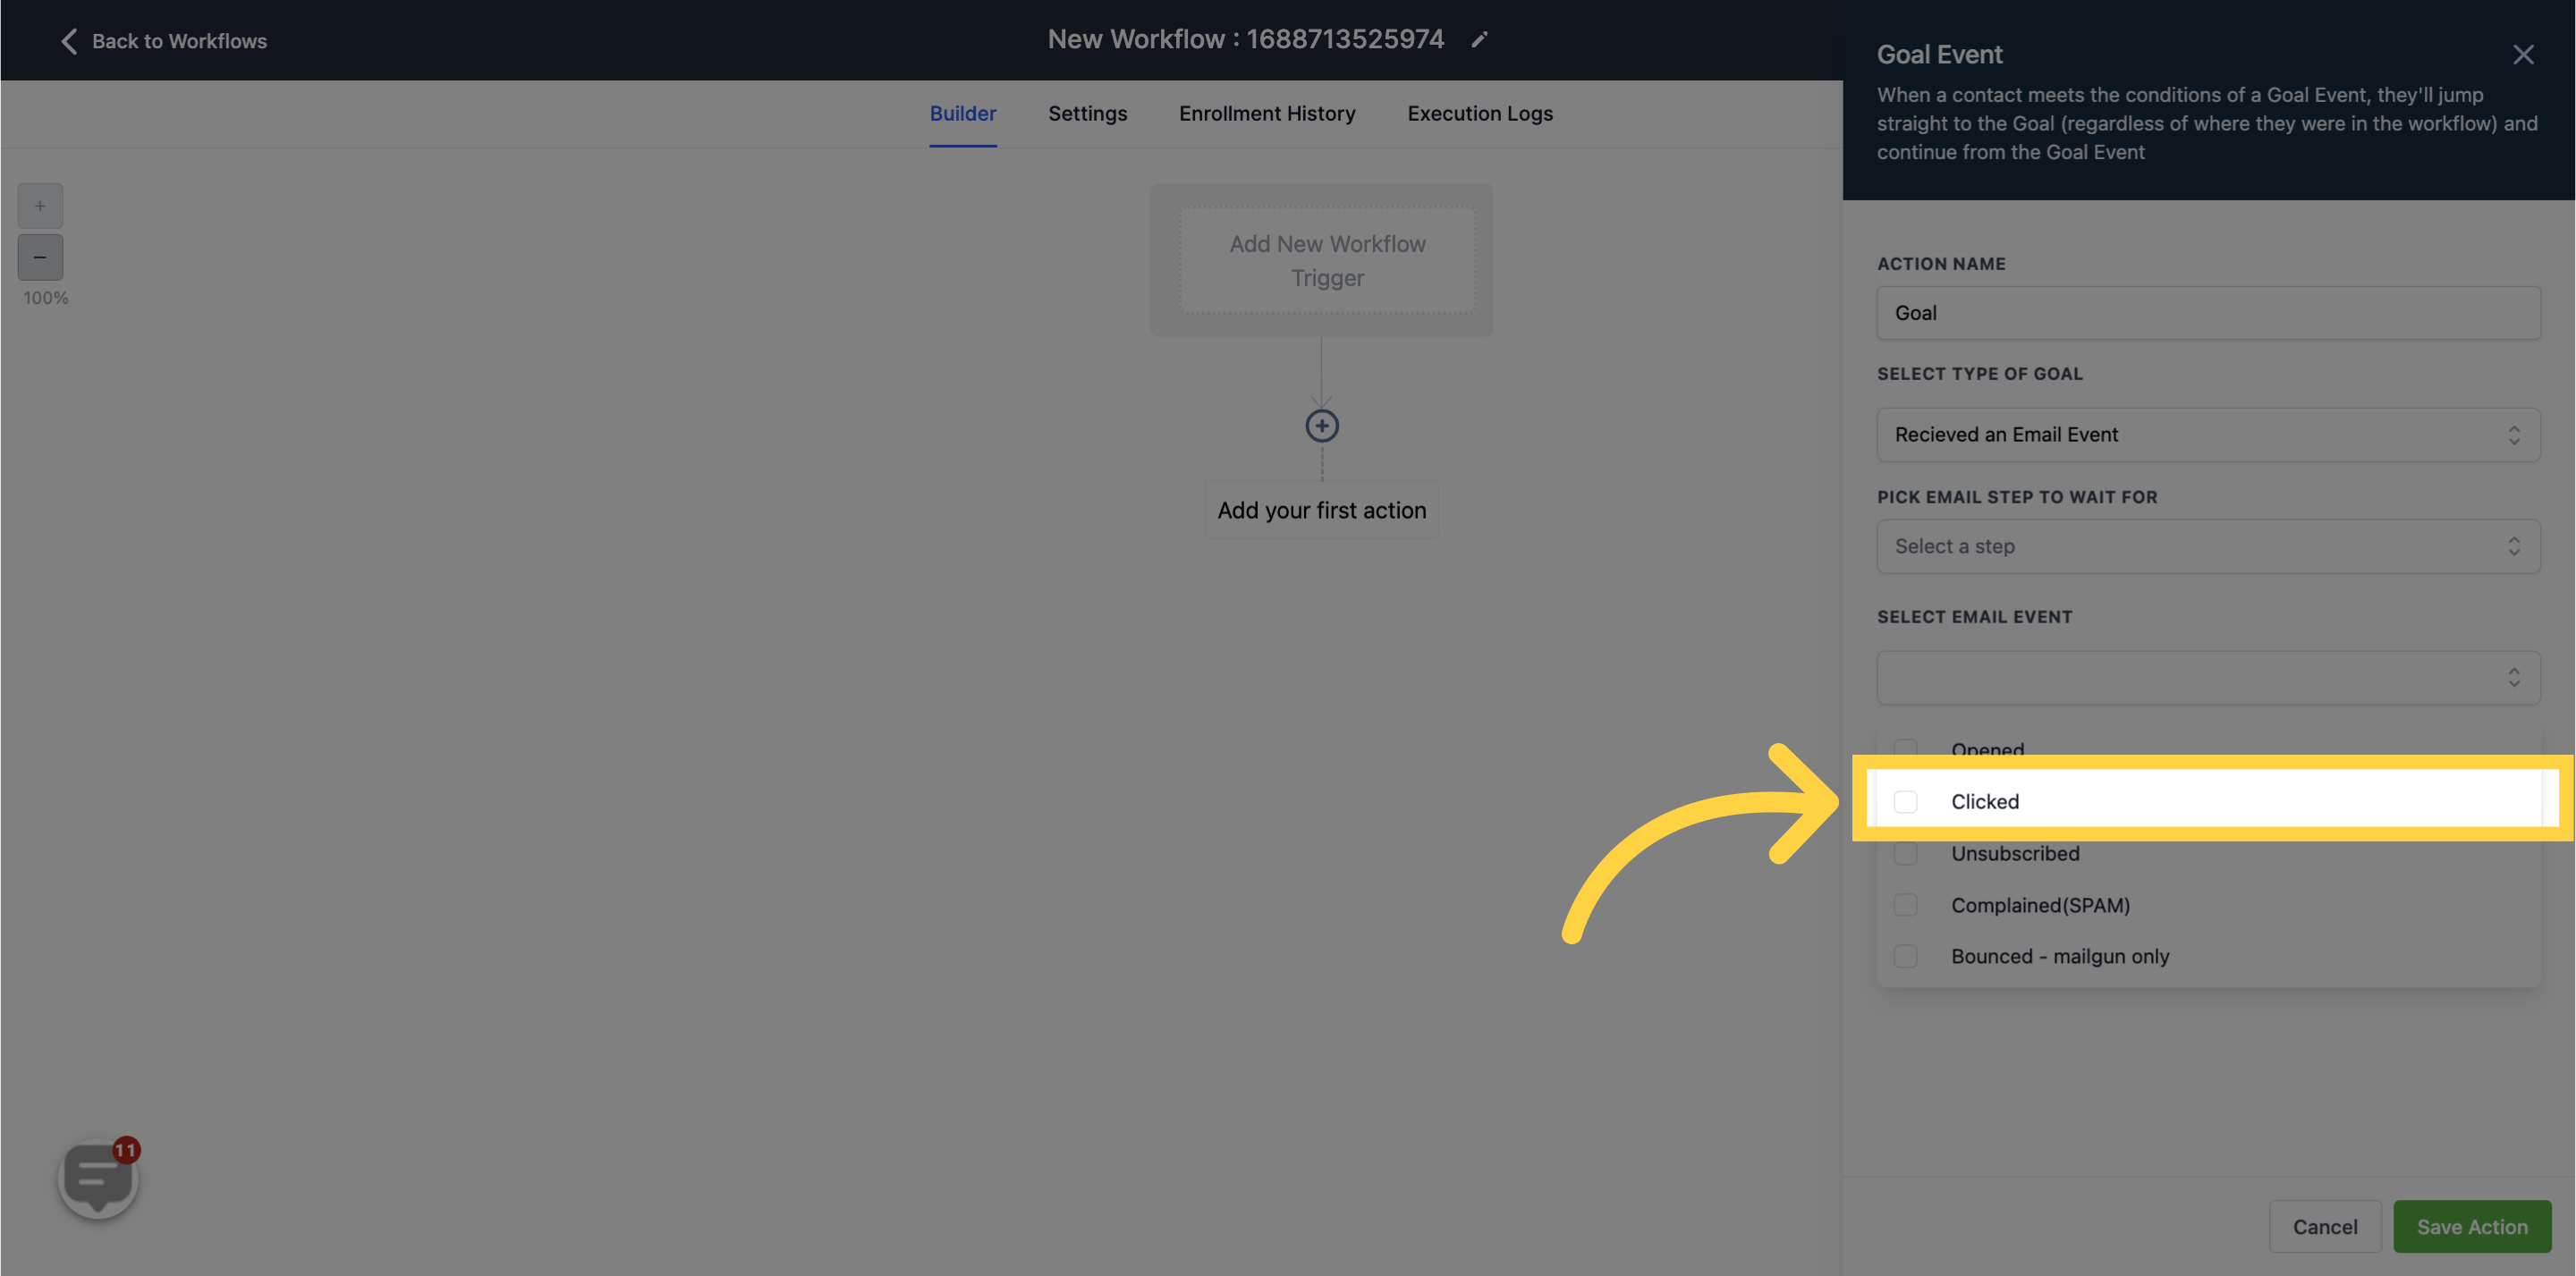
Use this when you want the goal event to occur after the prospect clicks on a link.
Use this when you have multiple goal actions following the prospect's click on the unsubscribe link.

Use this to perform actions when the client marks your email as spam and you have already defined actions for such events.

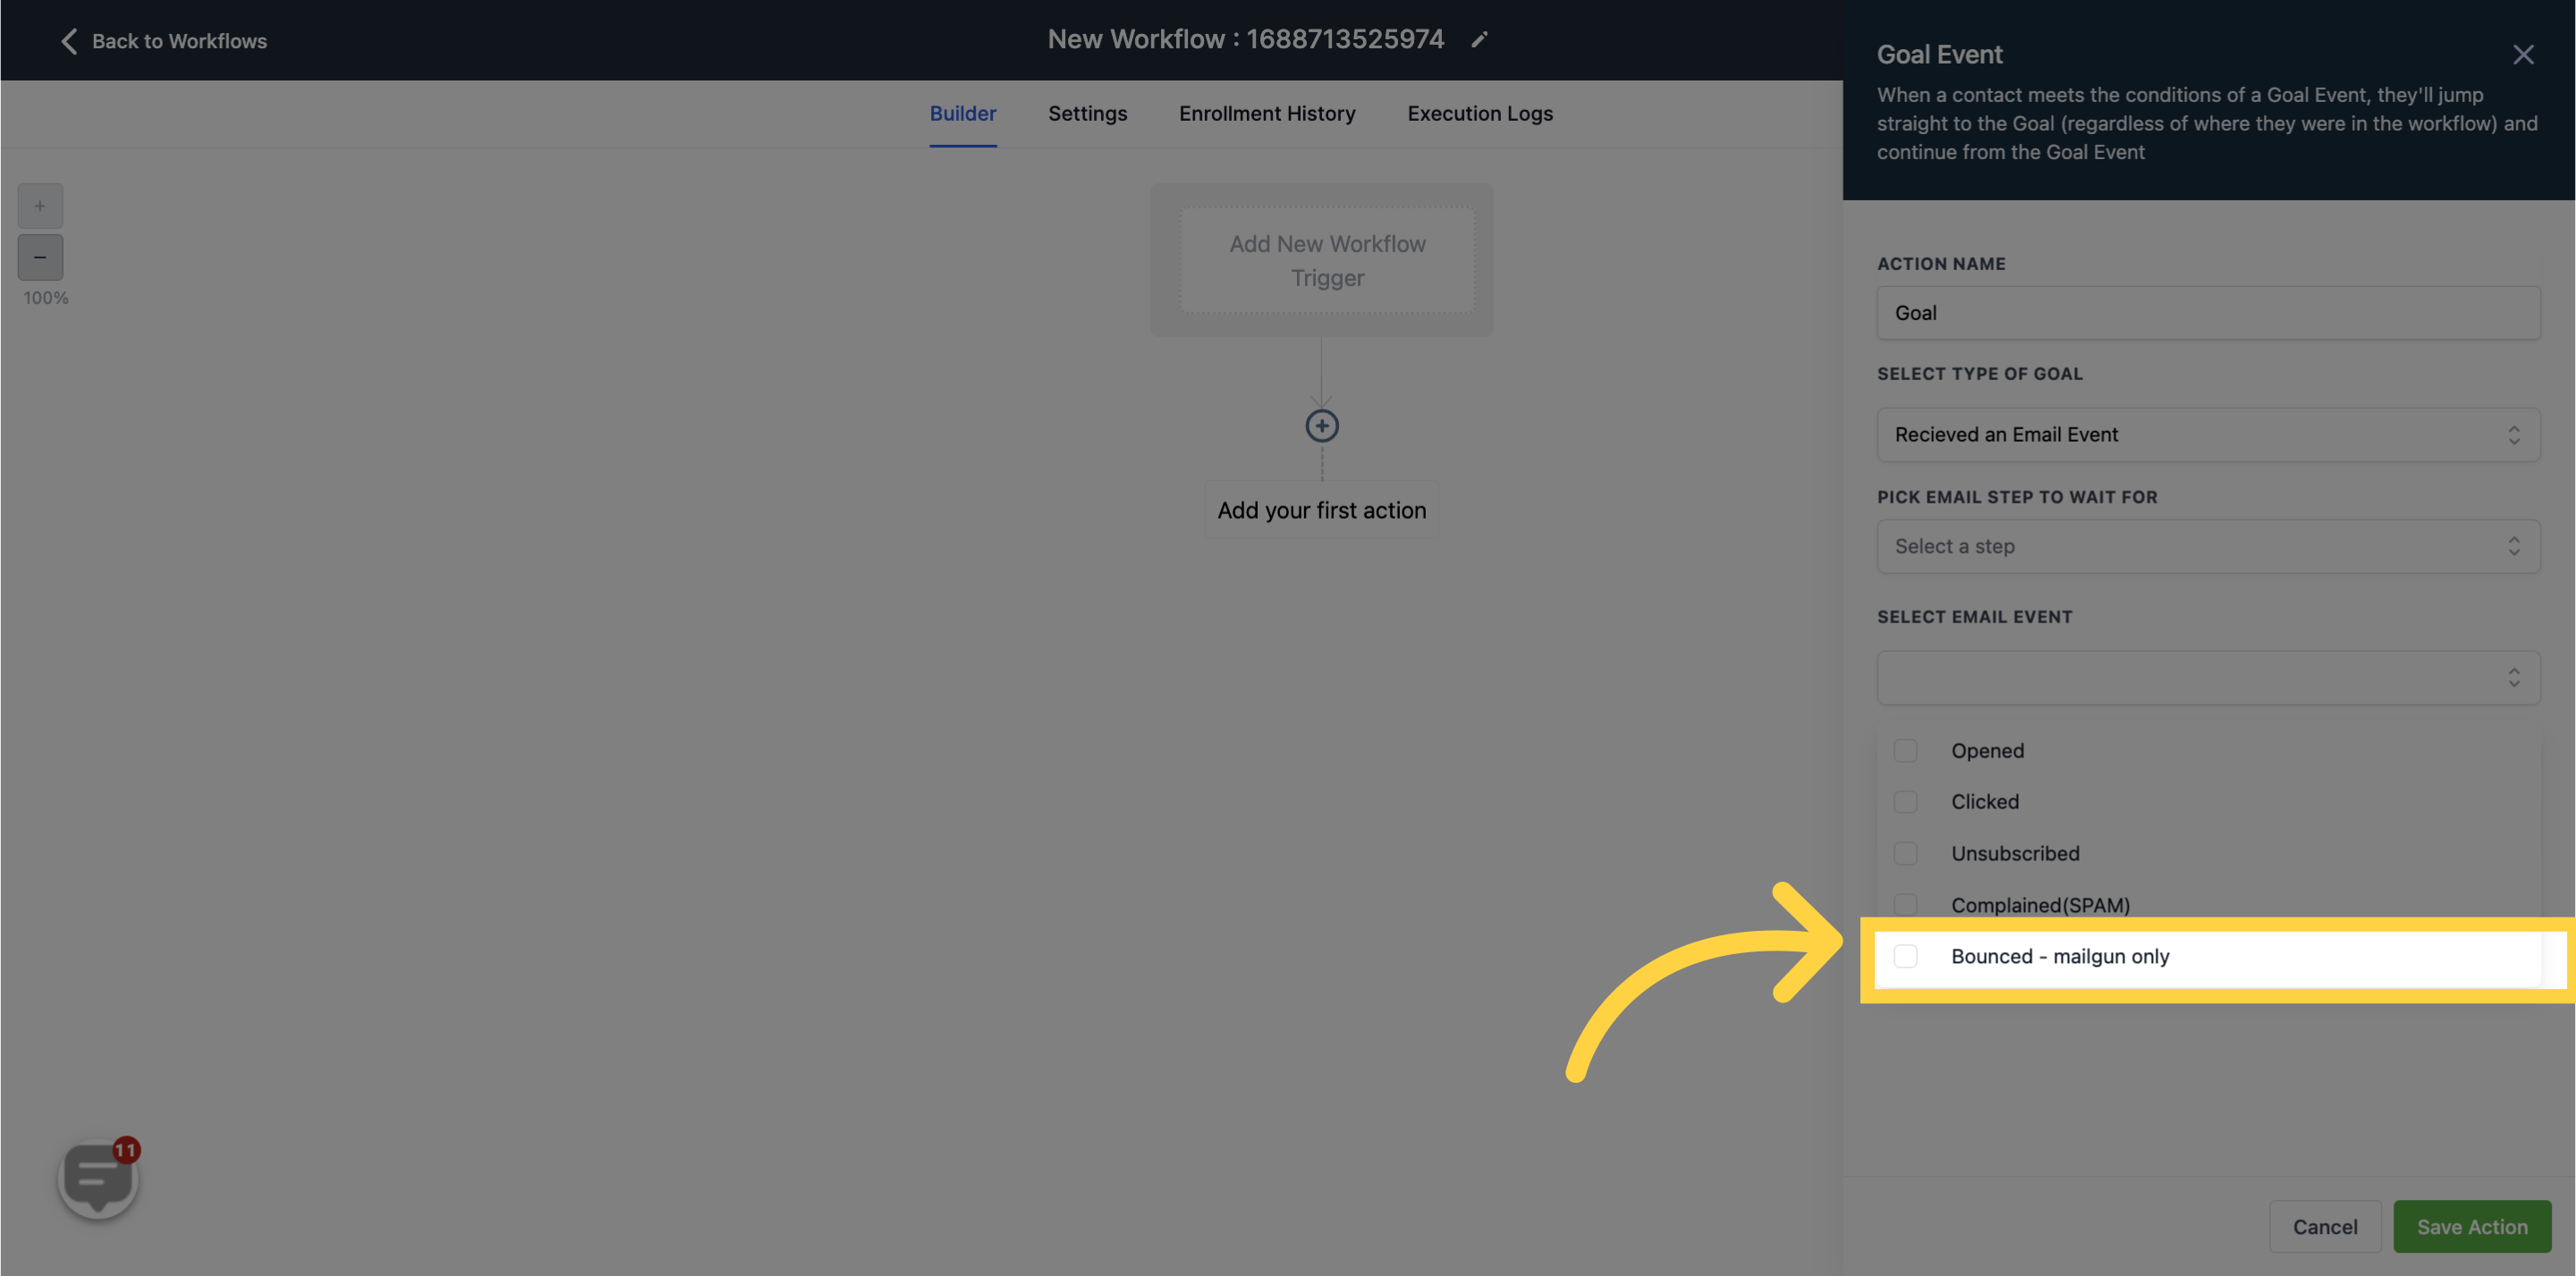
In case one of your emails bounces, you can choose to remove such emails from the list.
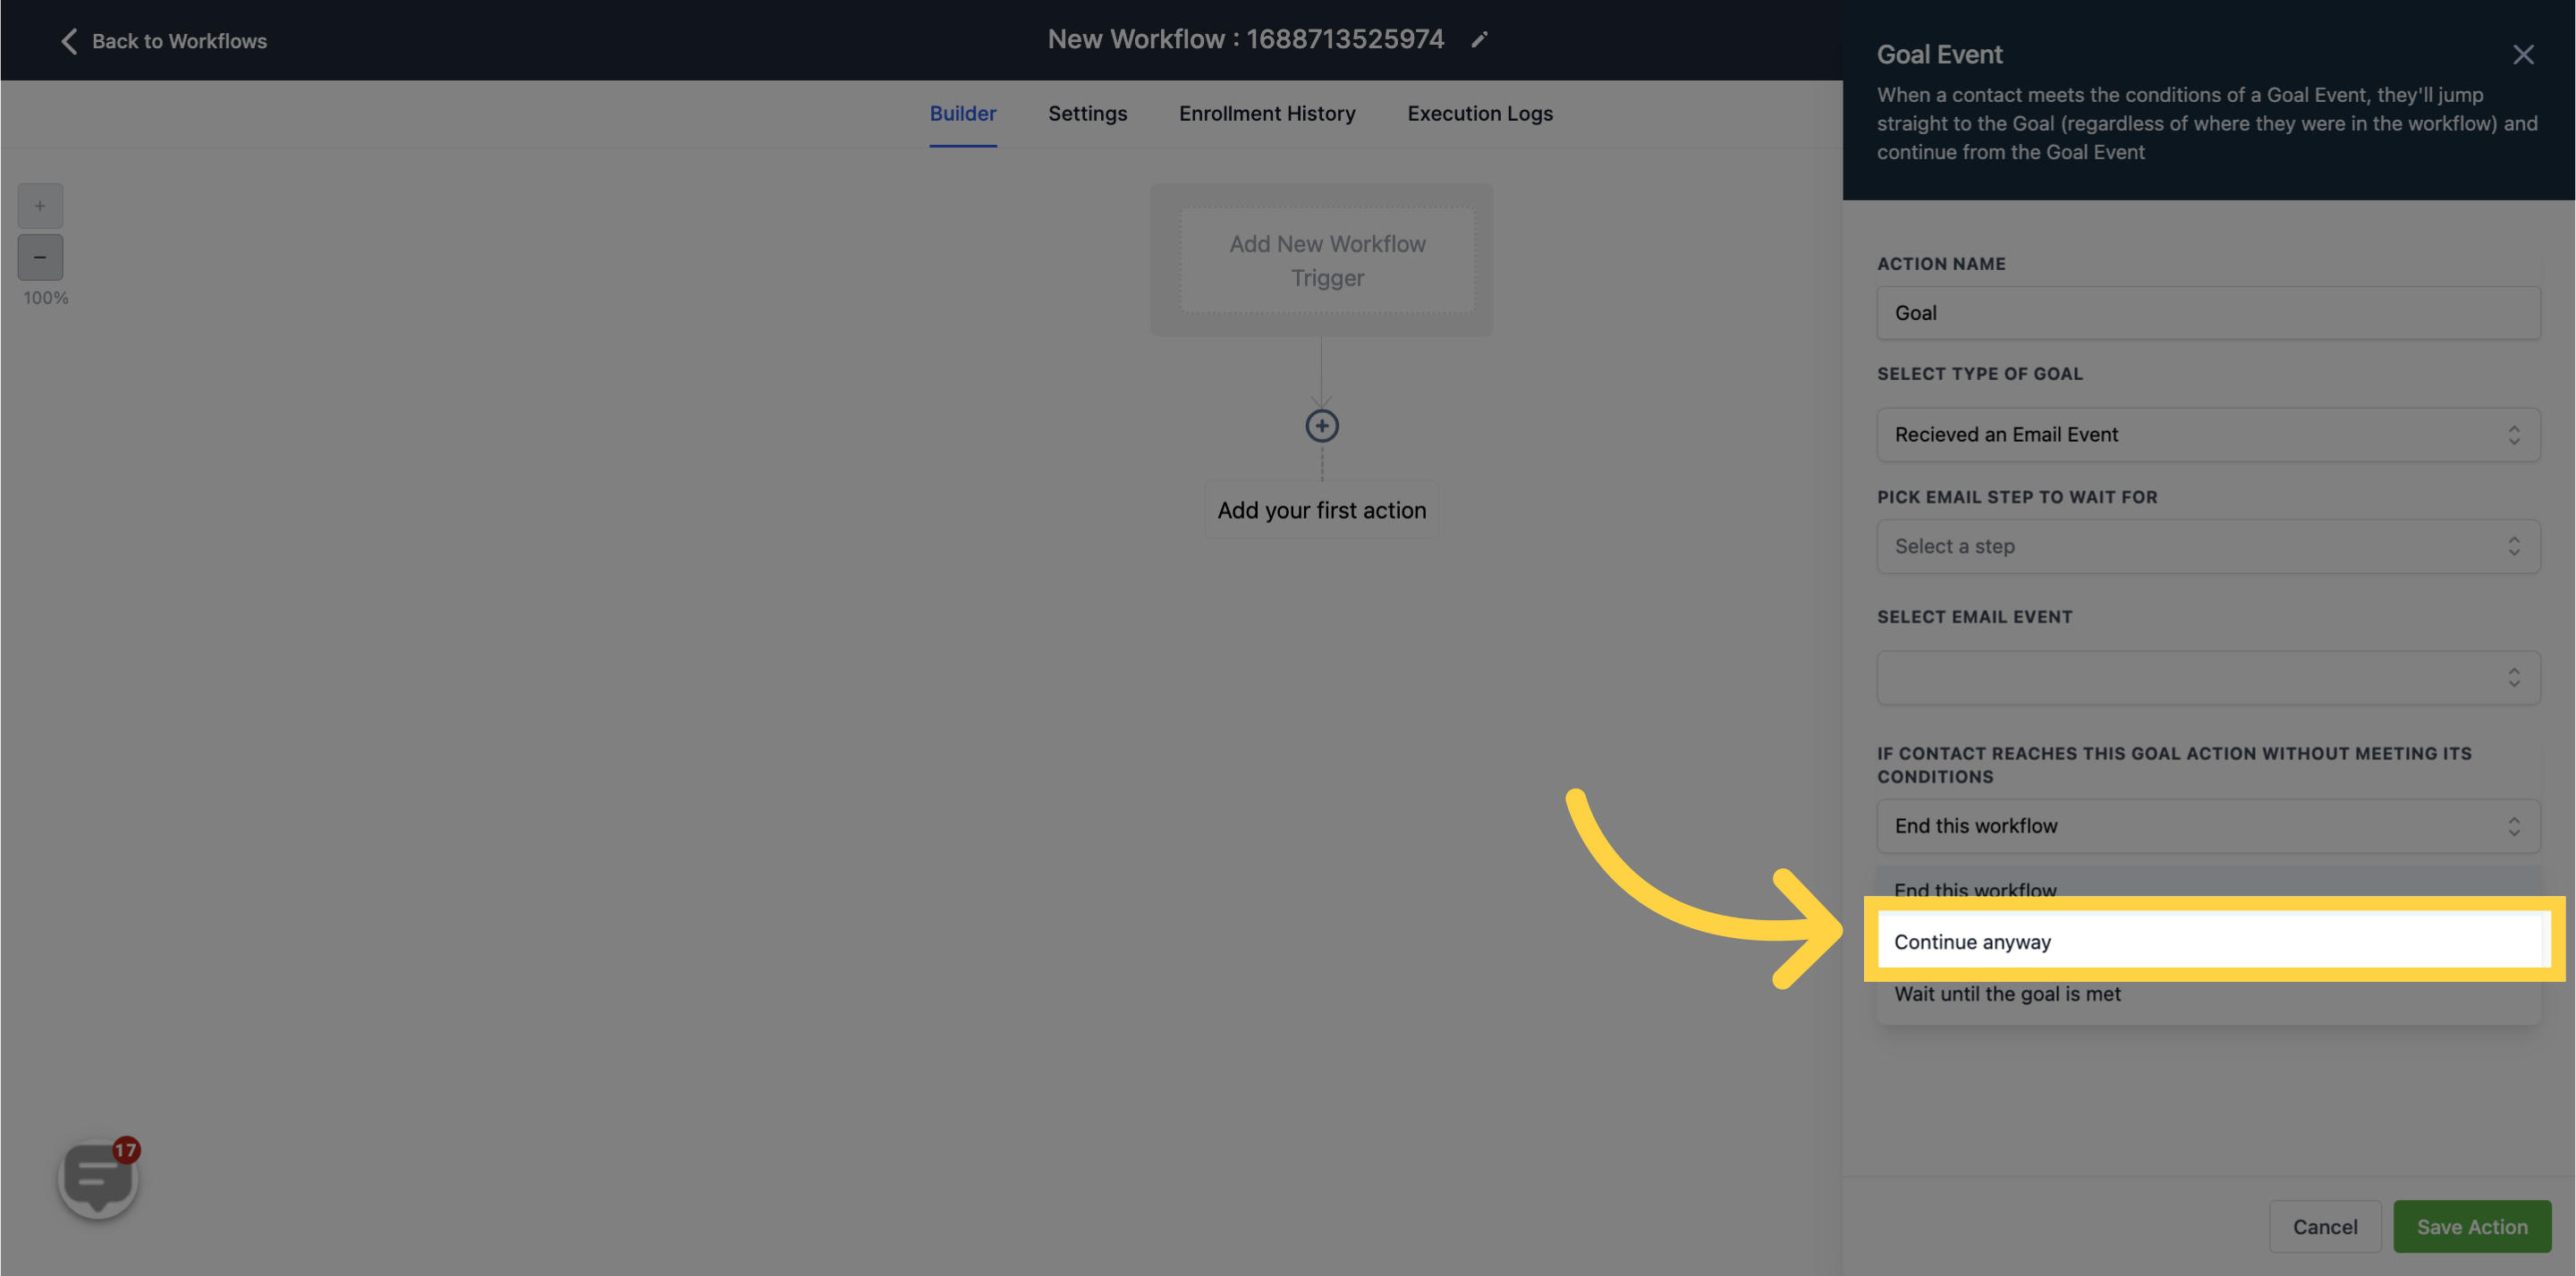
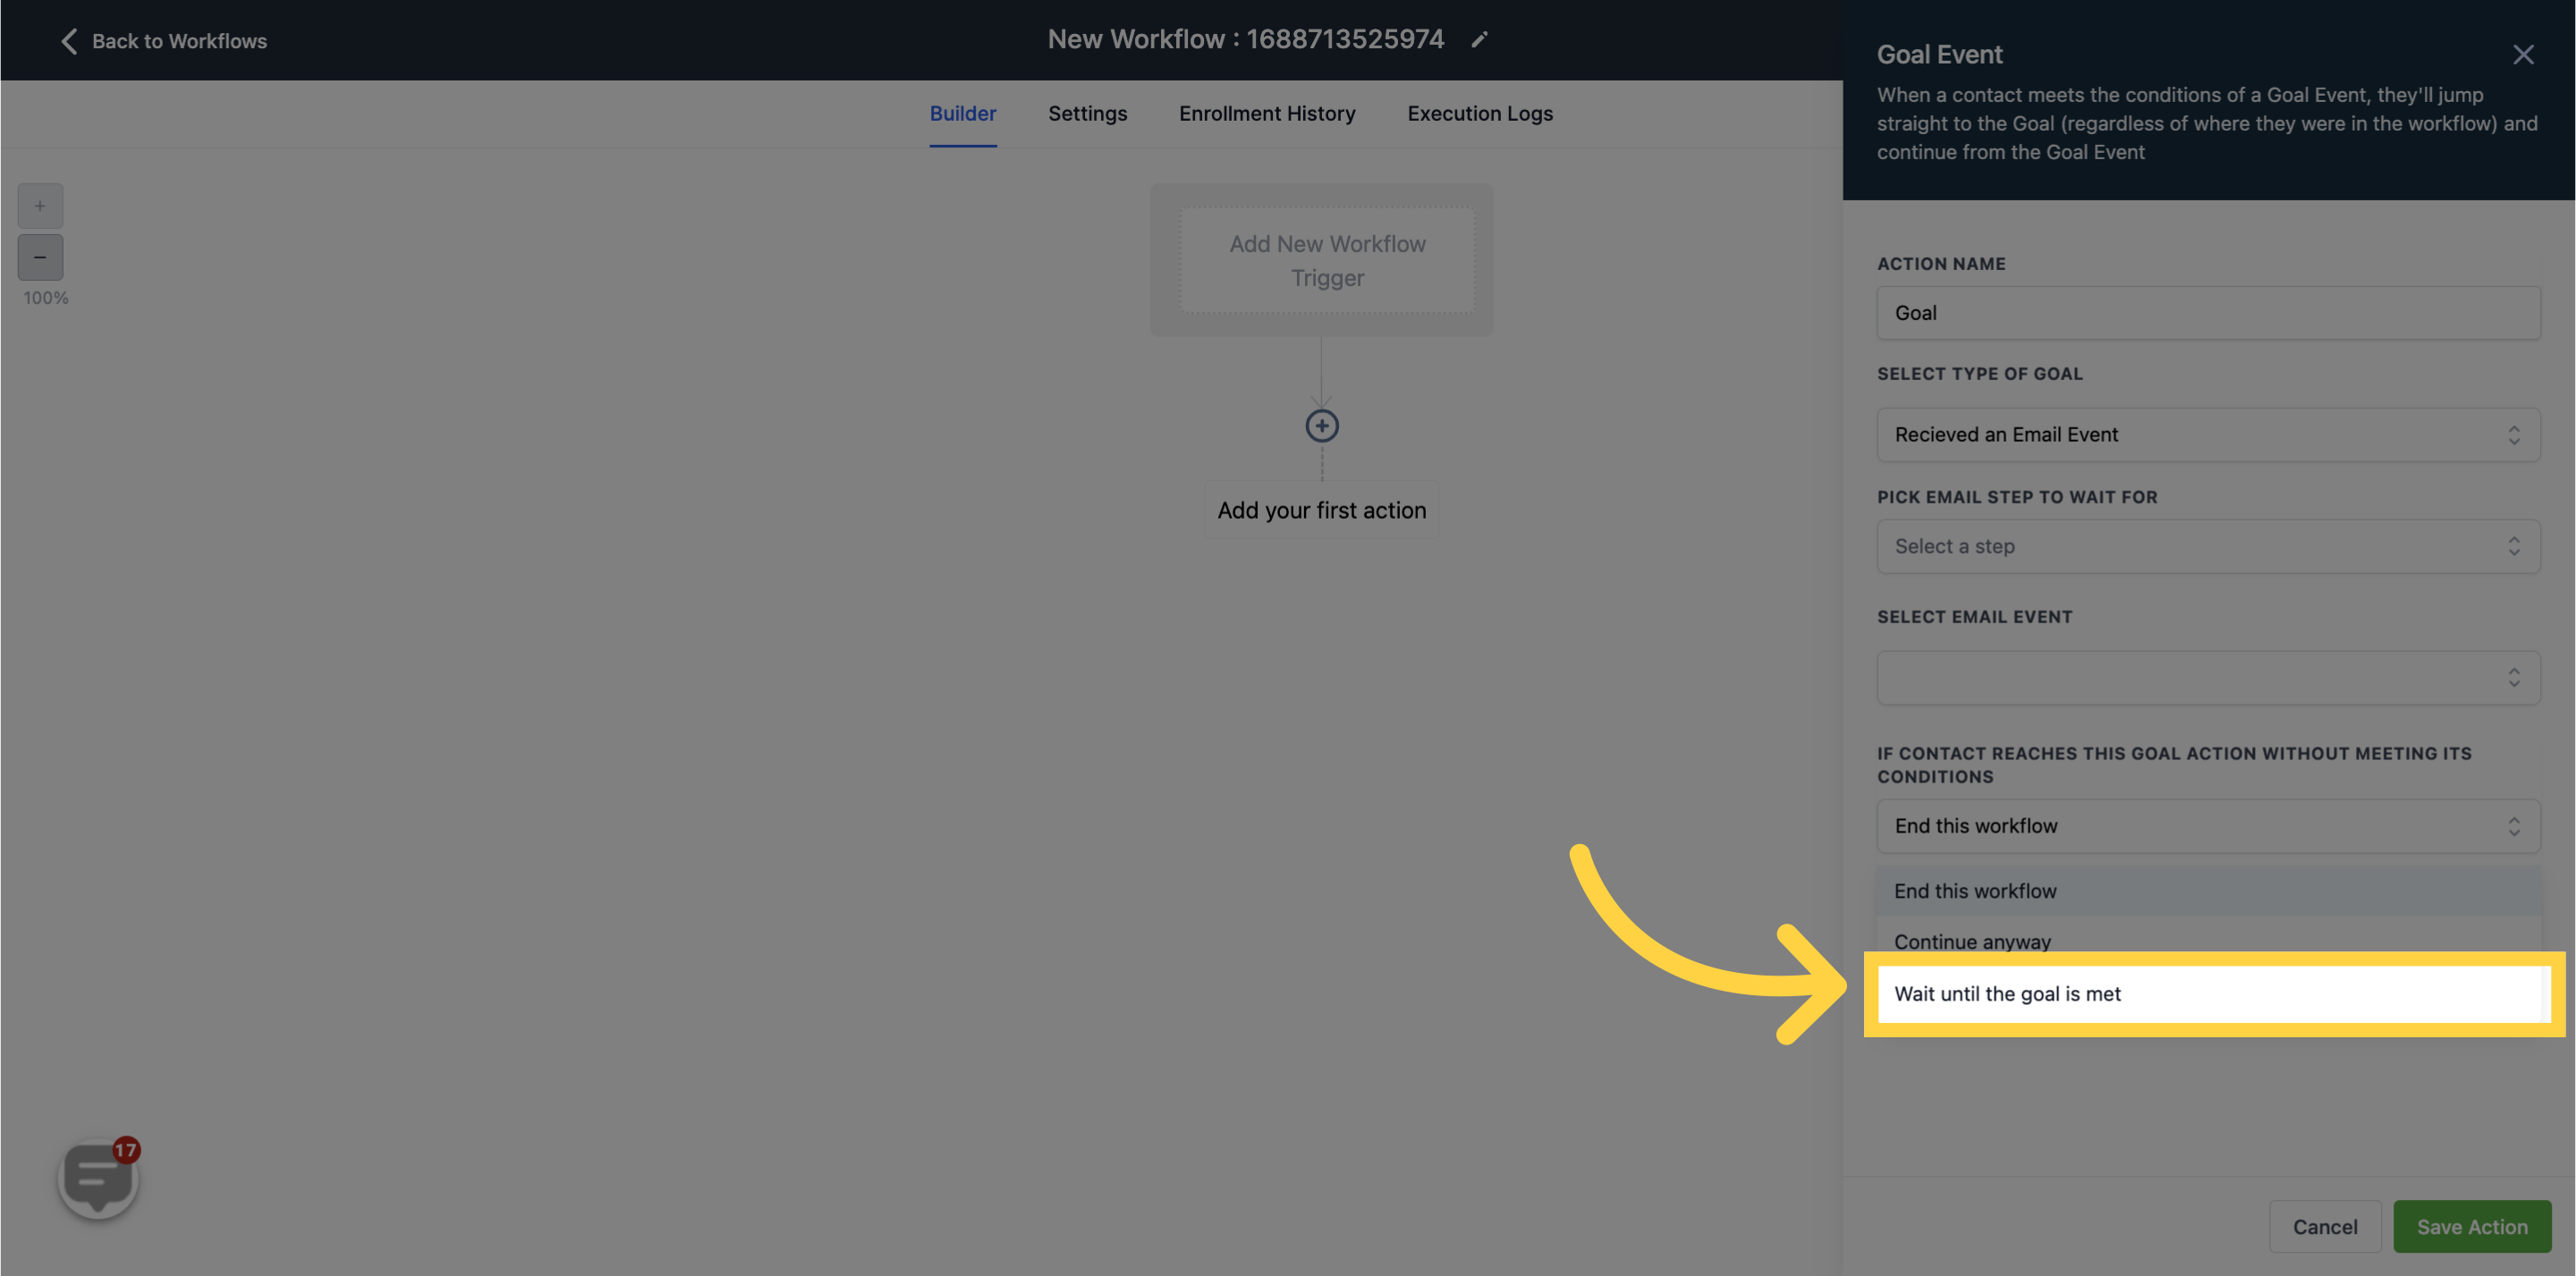
If the contact reaches the goal action in your automation before meeting the goal conditions, you have three options to choose from:
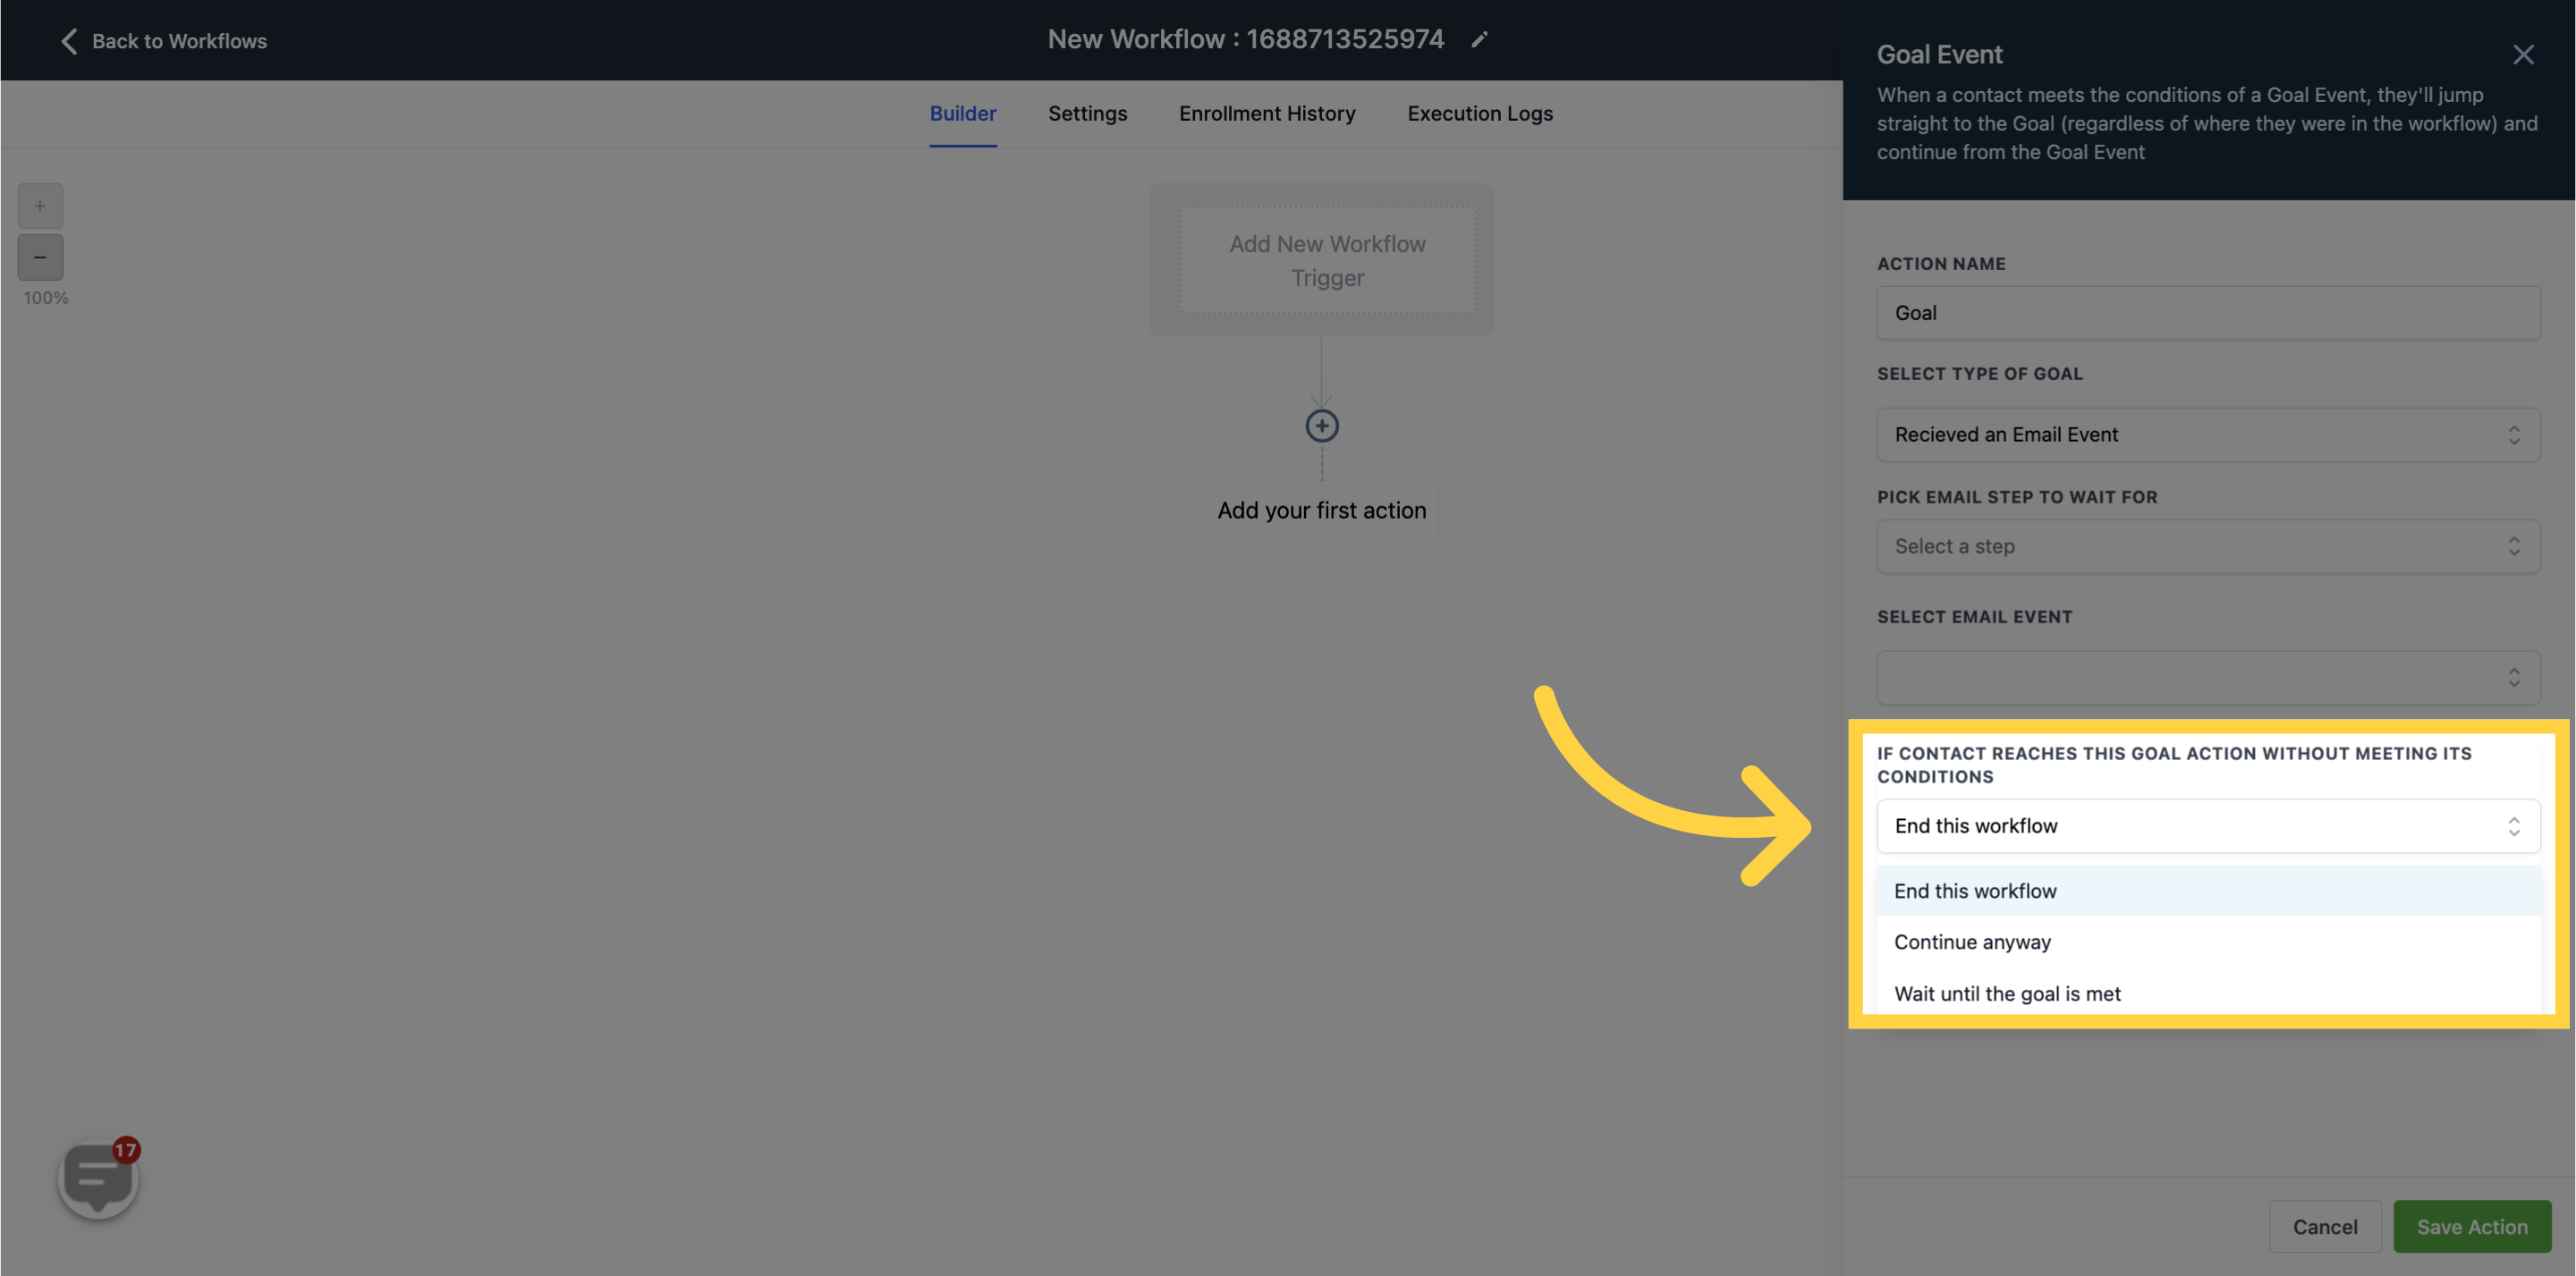
Allows you to end the workflow even if the contact has not met the goal condition yet.

If you want the system to perform multiple actions when the contact has not met the goal condition, you can select this option.
With this option, the system will wait until the goal conditions are met.
This tab will save the changes made in your goal event.