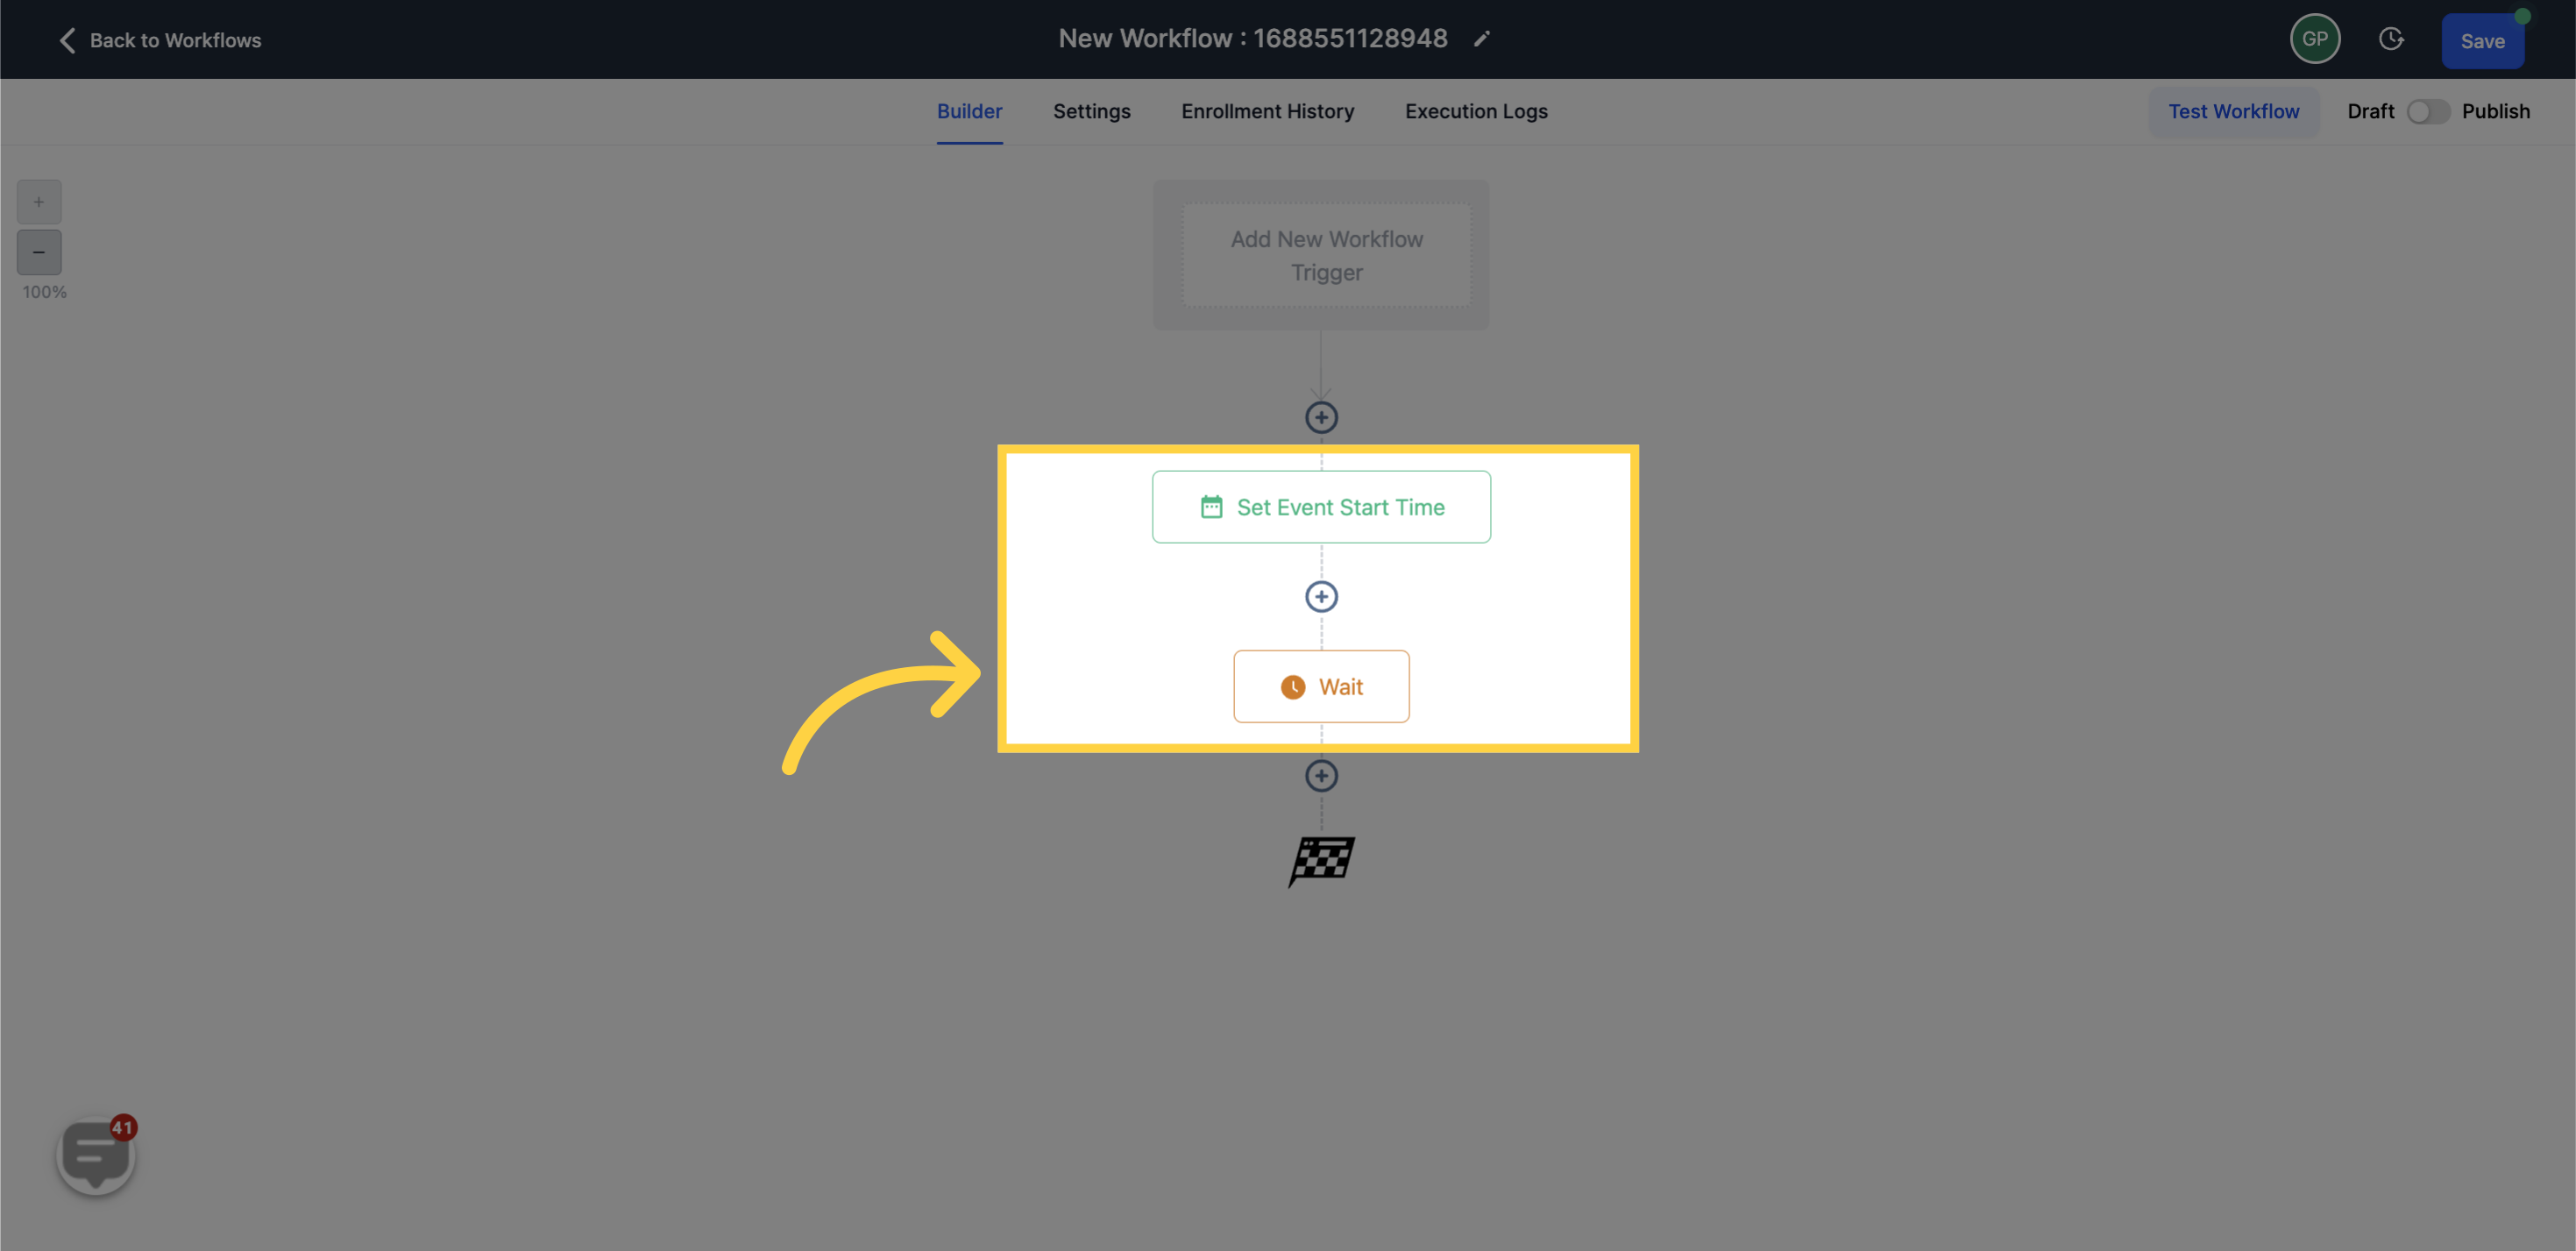
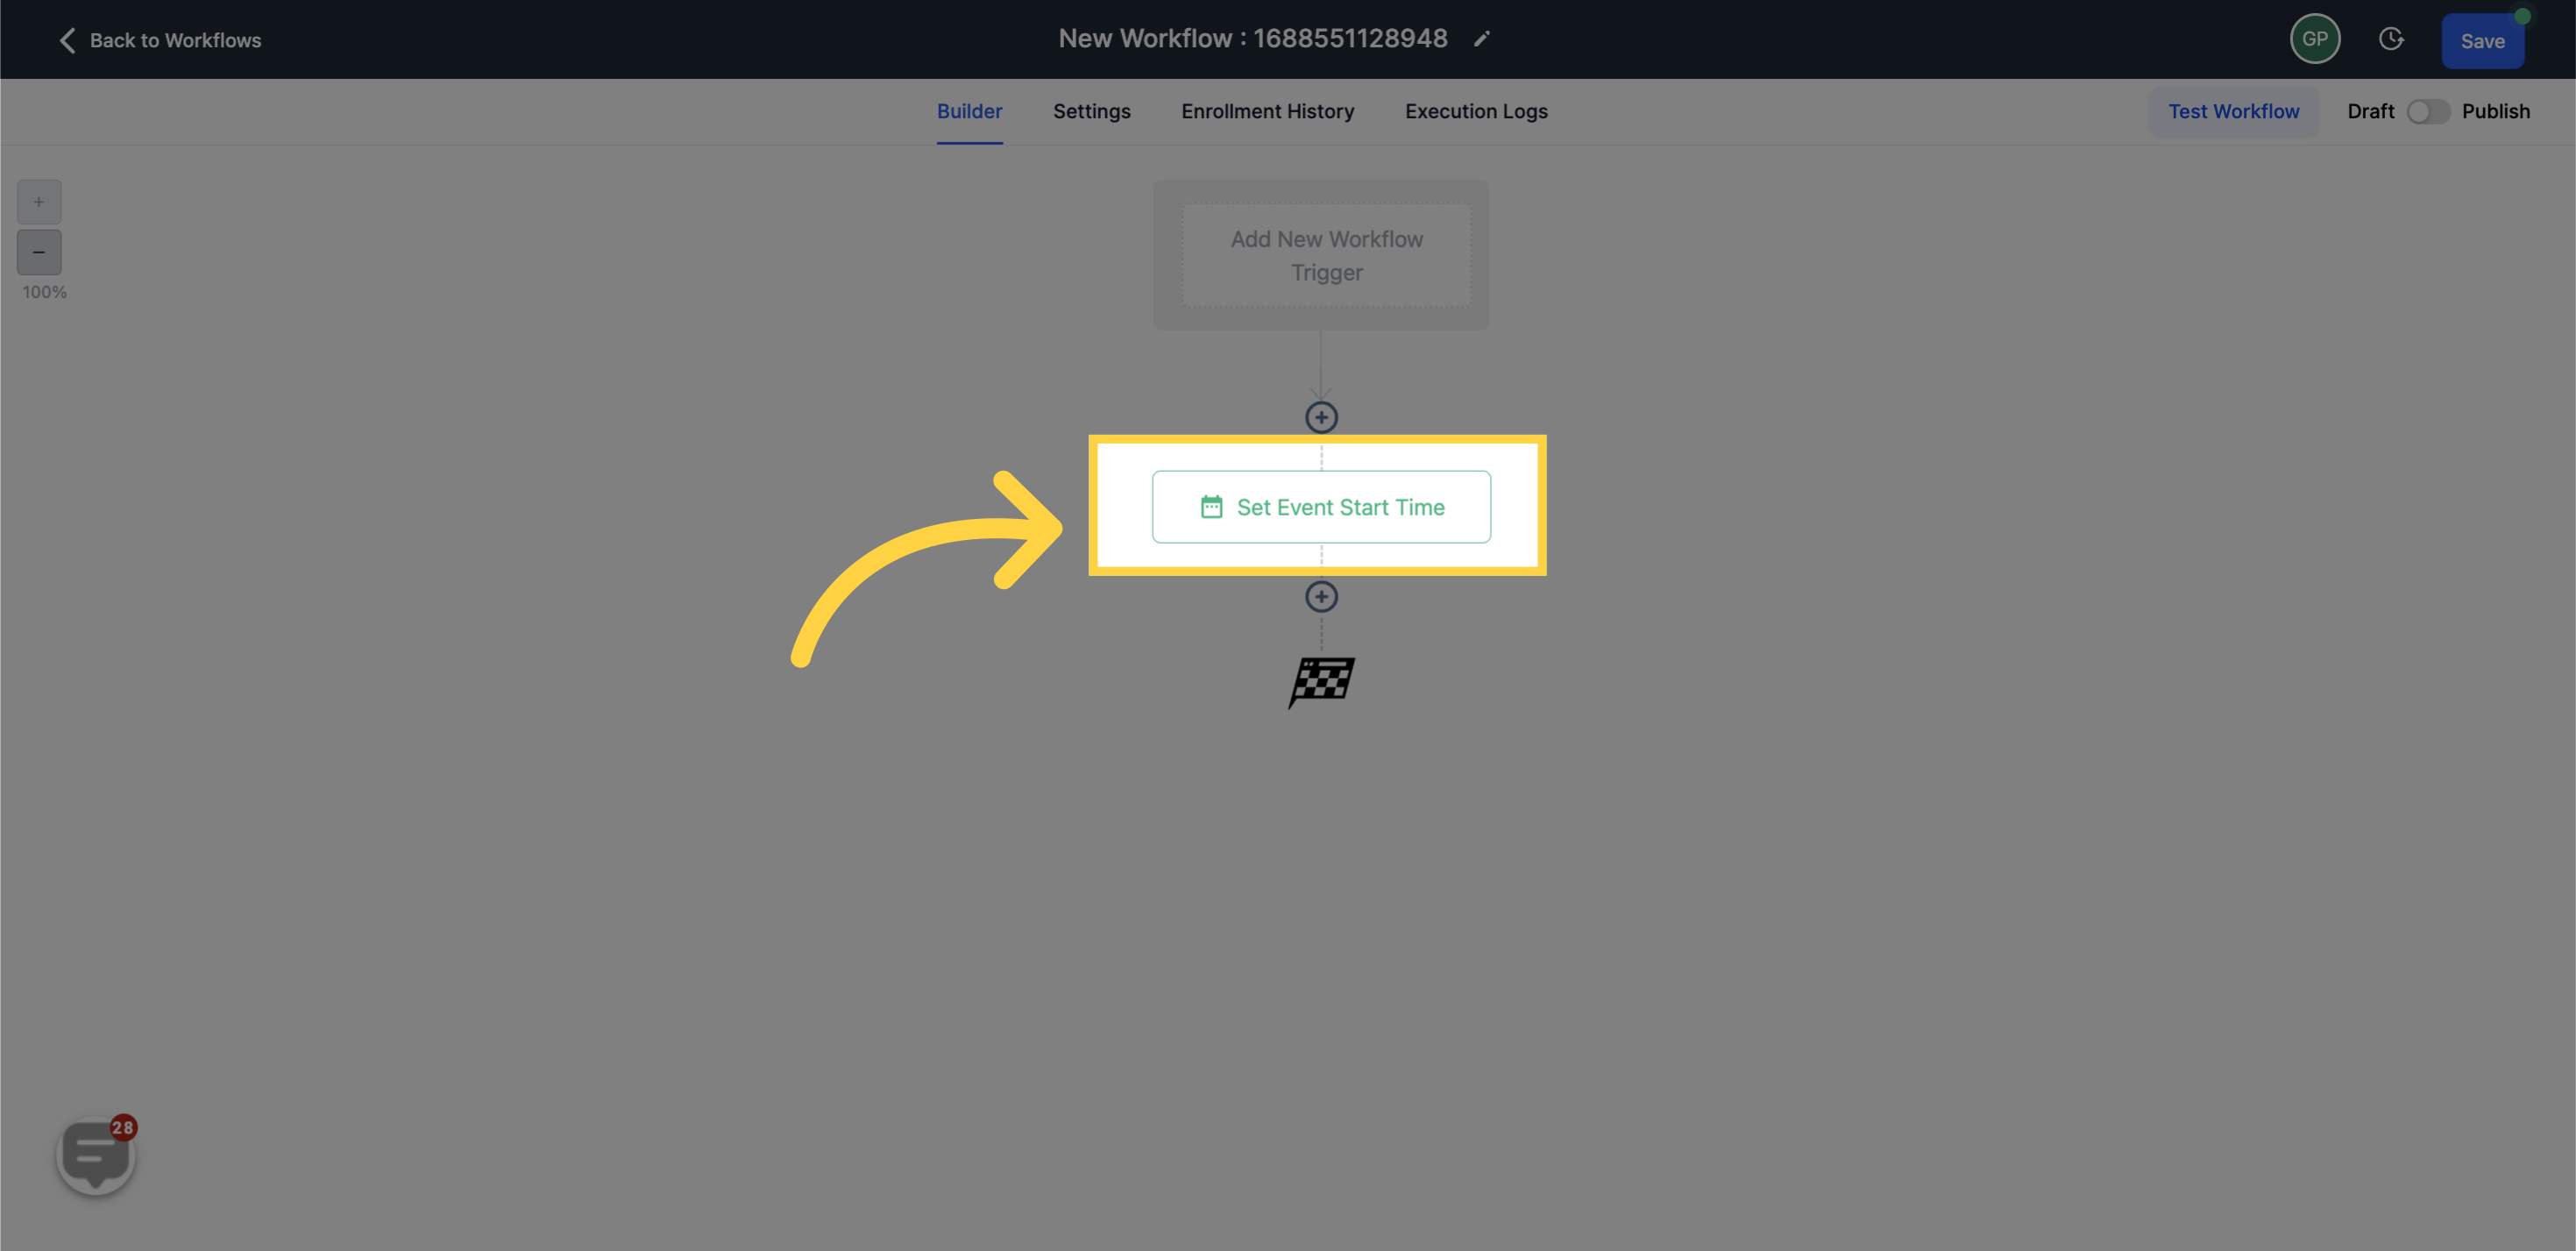
The 'Set Event Start Date/Time' action is a component within a workflow management system that grants you the liberty to designate a defined date and time to act as a reference for successive stages in your workflow. This feature finds its mark primarily in scheduling tasks, alerts, or actions that need to transpire either prior to or following a certain event.
Following the activation of this action, you can utilize the 'Wait' steps in your workflow with the purpose of stalling the execution until an appointed time with respect to this event date. As an instance, you could strategize to send reminders a few days ahead of the event or plan a post-event action to take place a few days later.
This tool epitomizes resourcefulness and automation, facilitating efficient time management within your workflow. It's of particular significance for organizing activities such as webinars, conferences, meetings, and events.
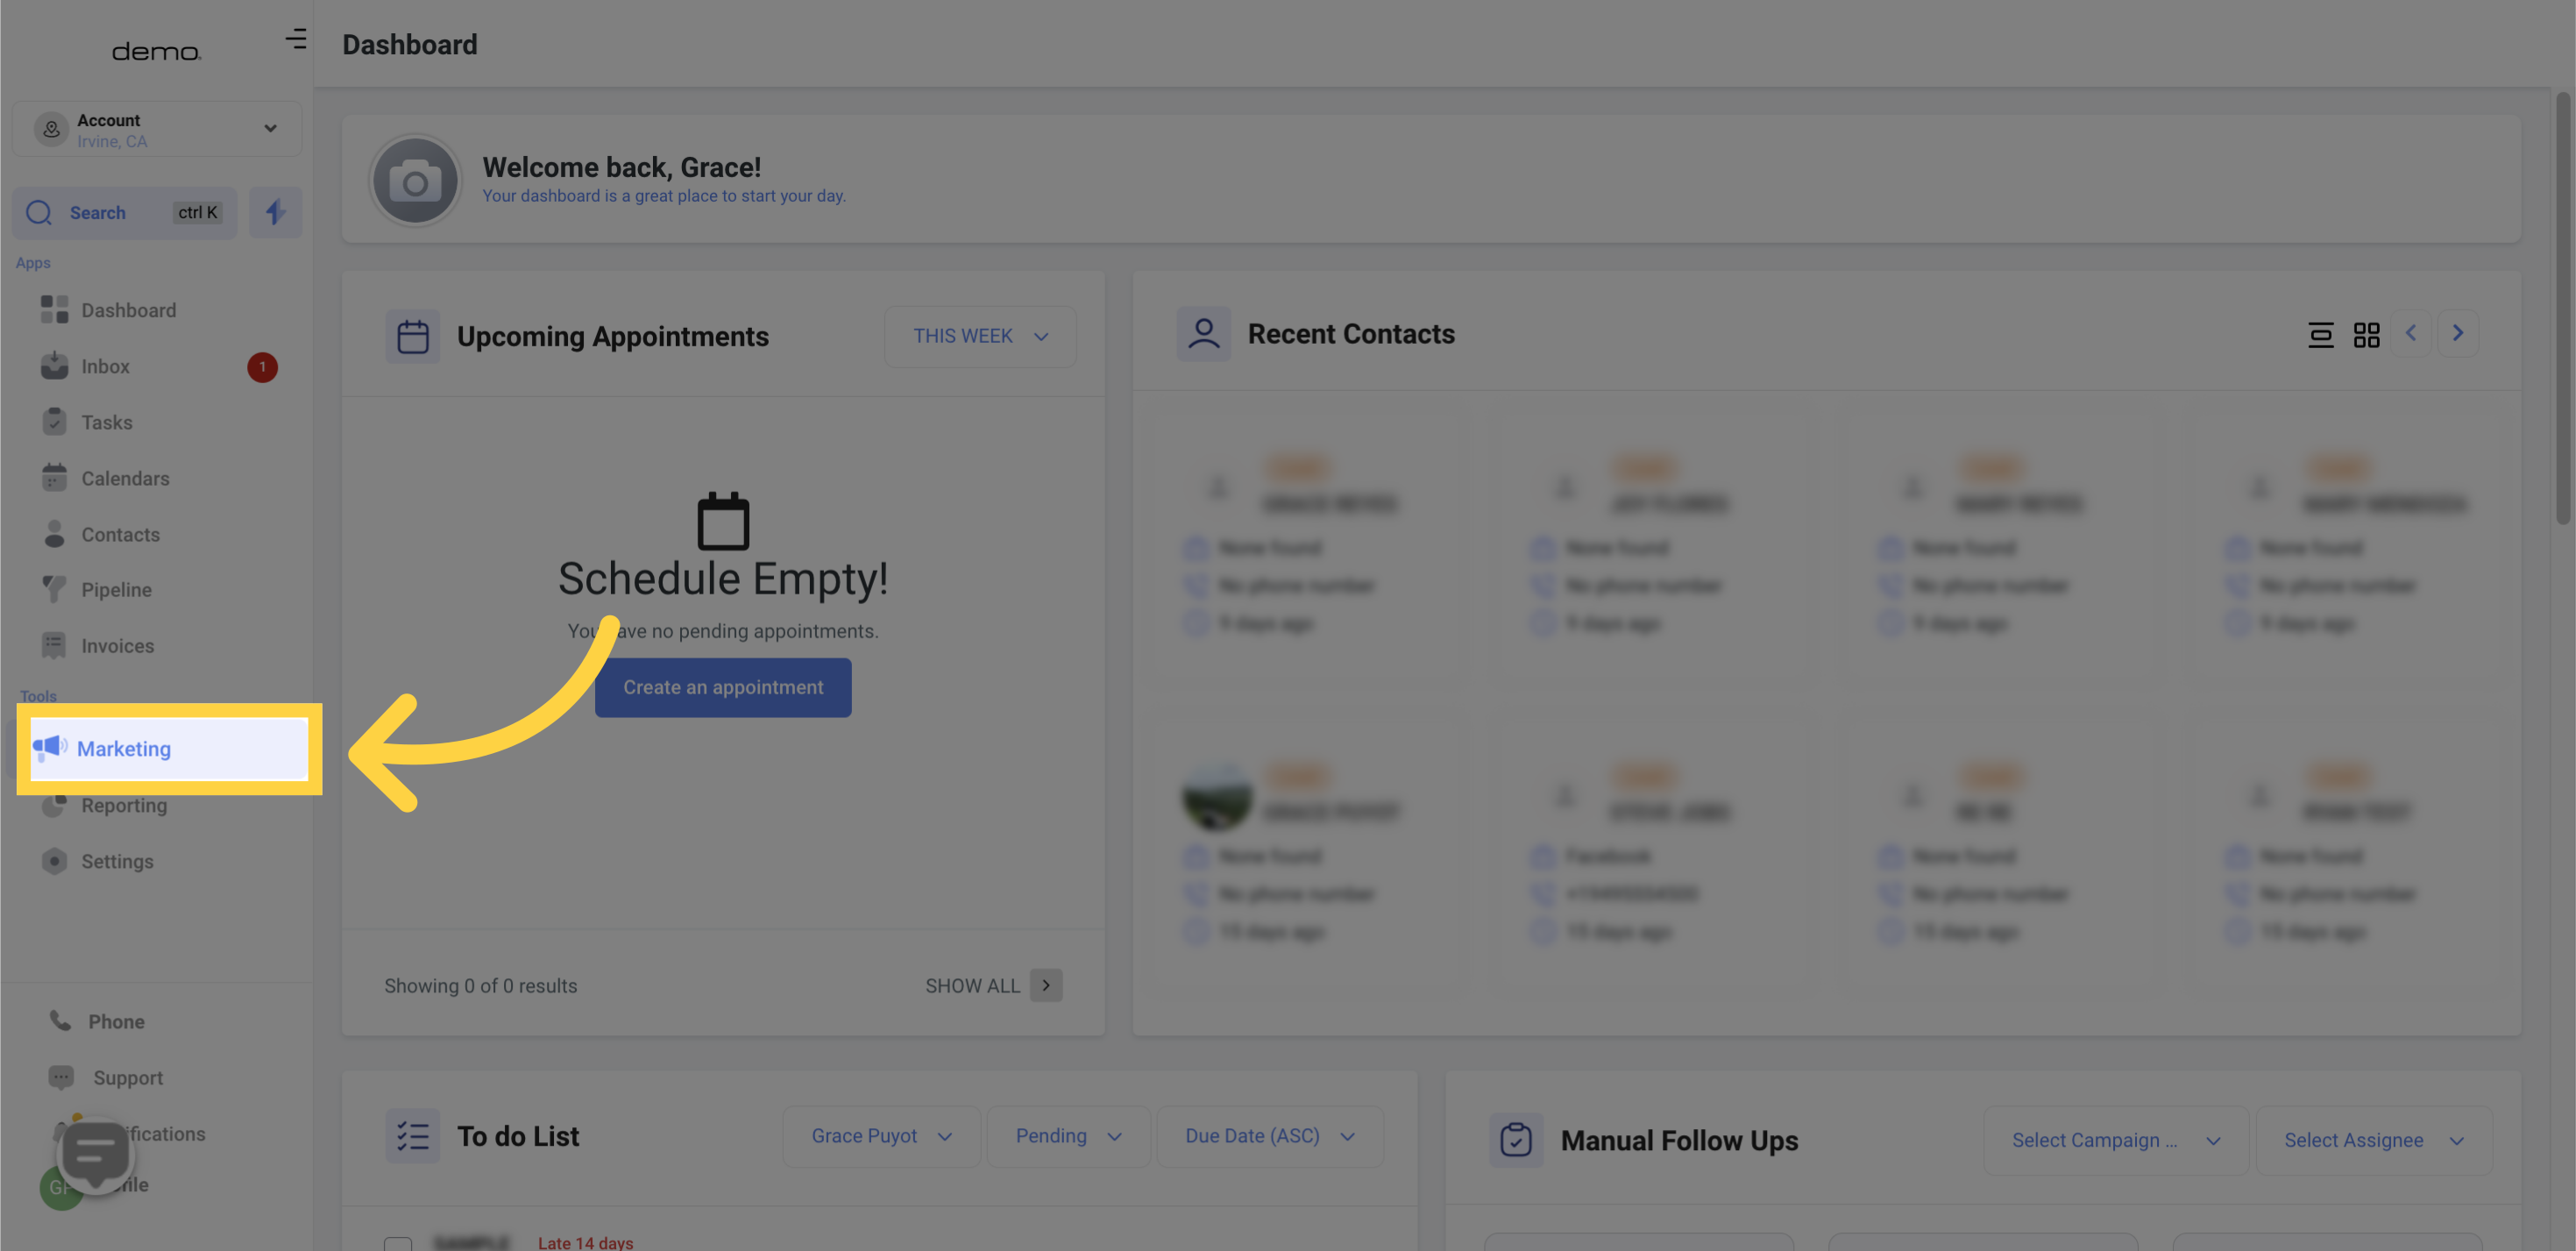
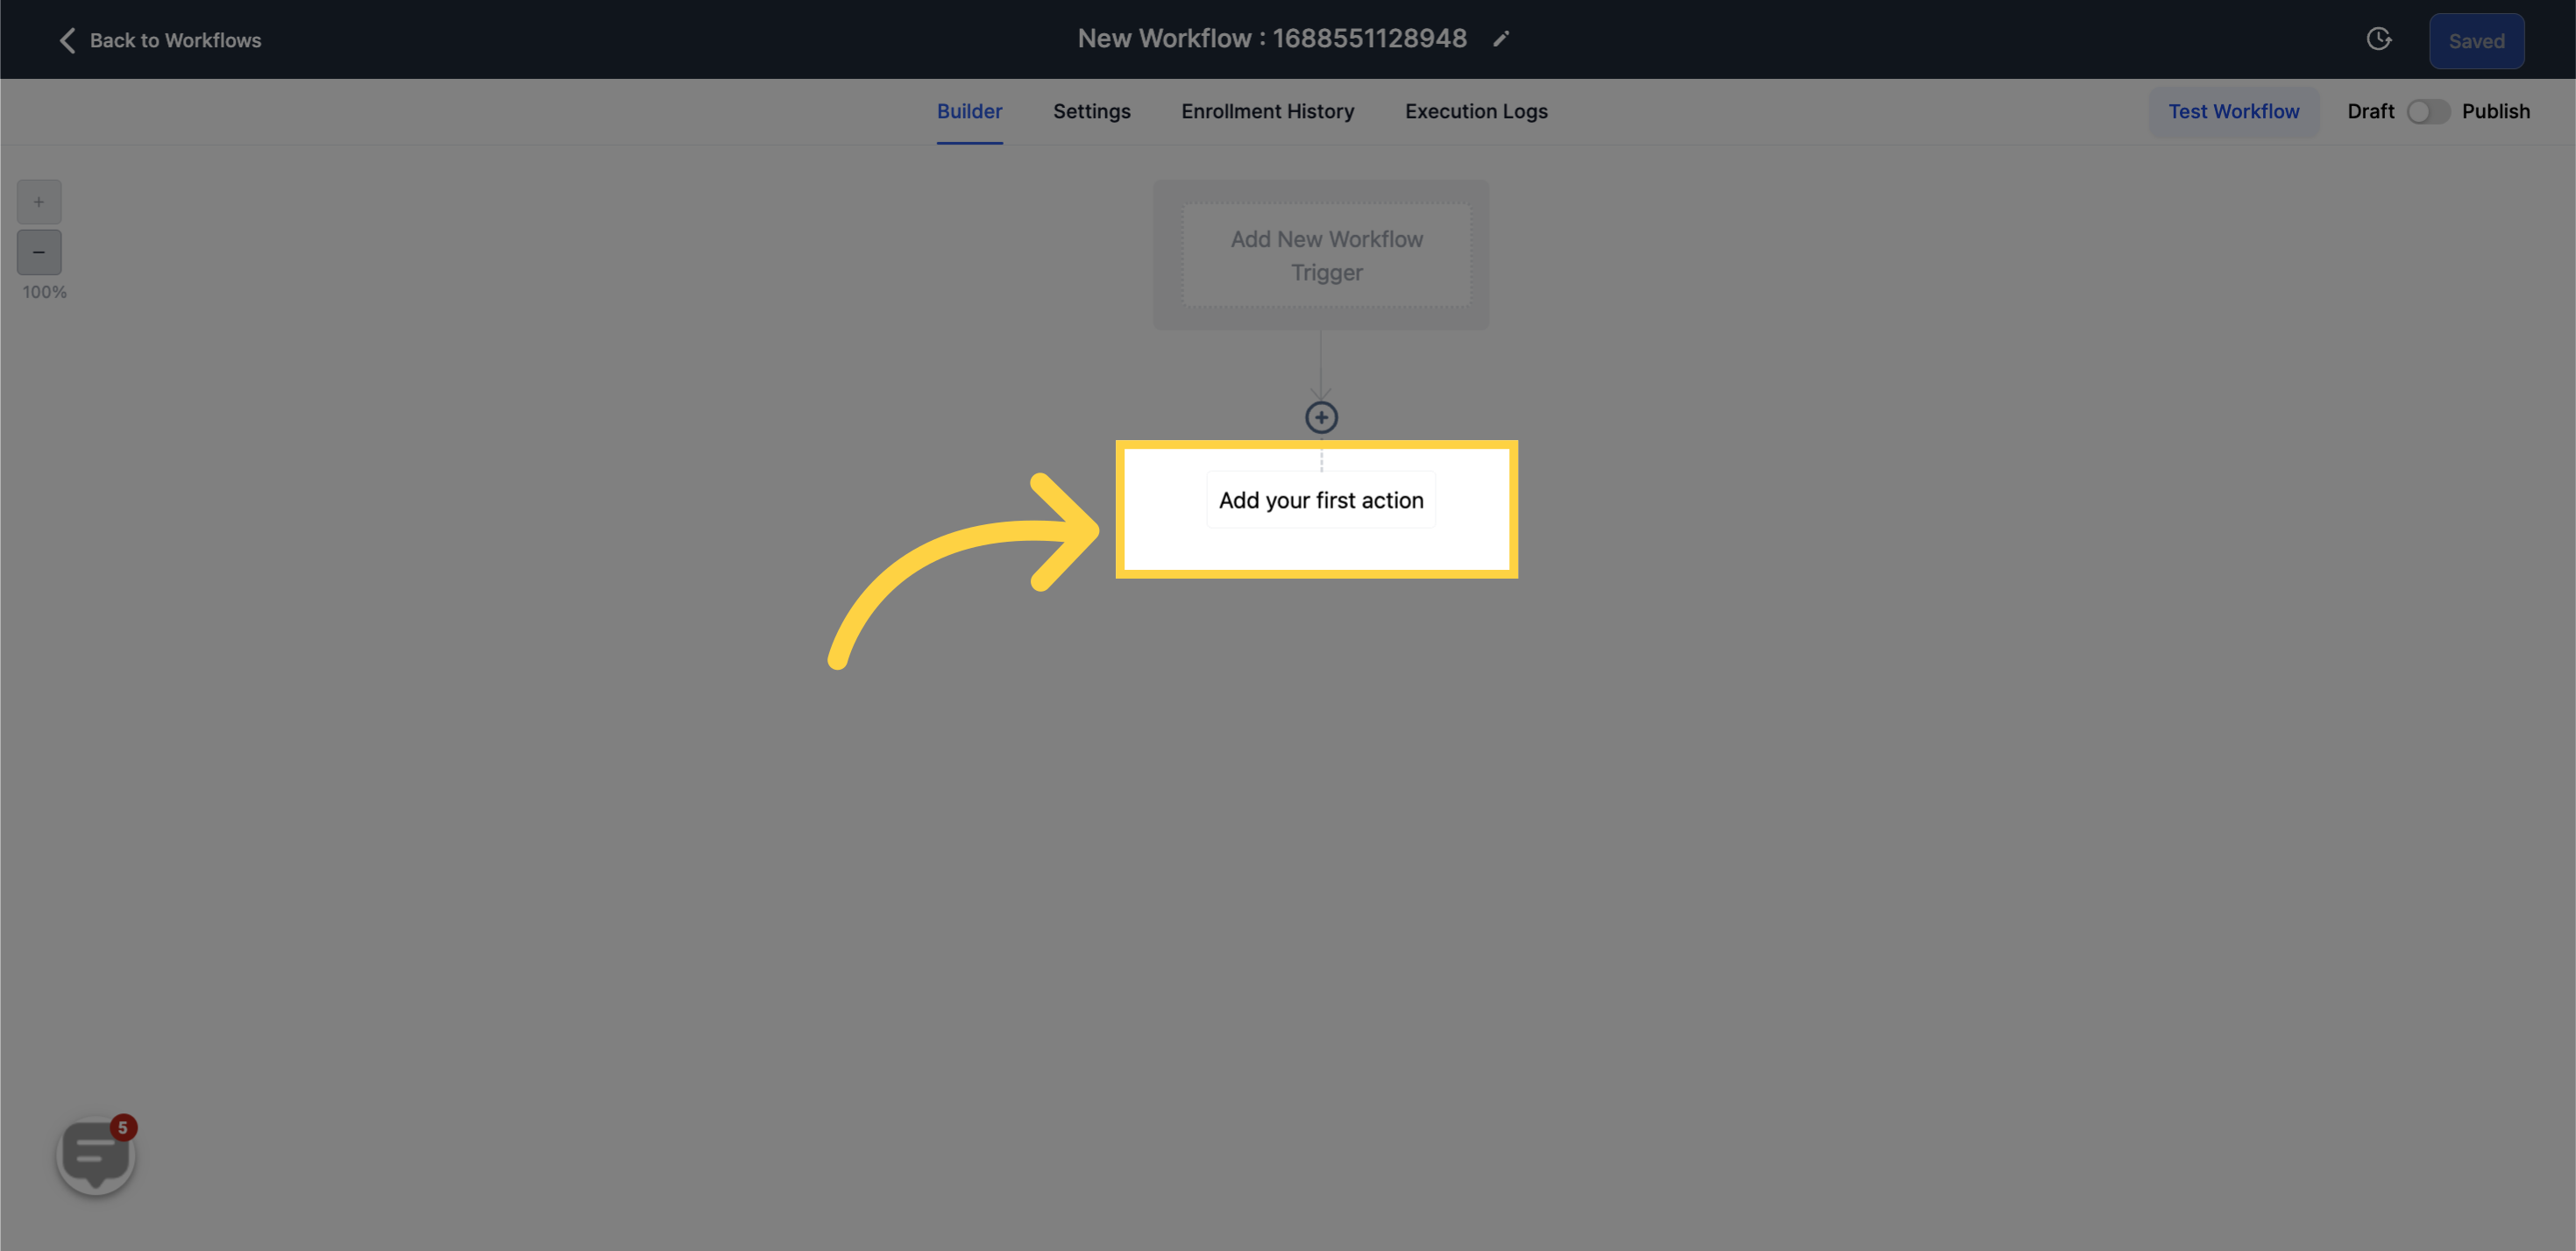
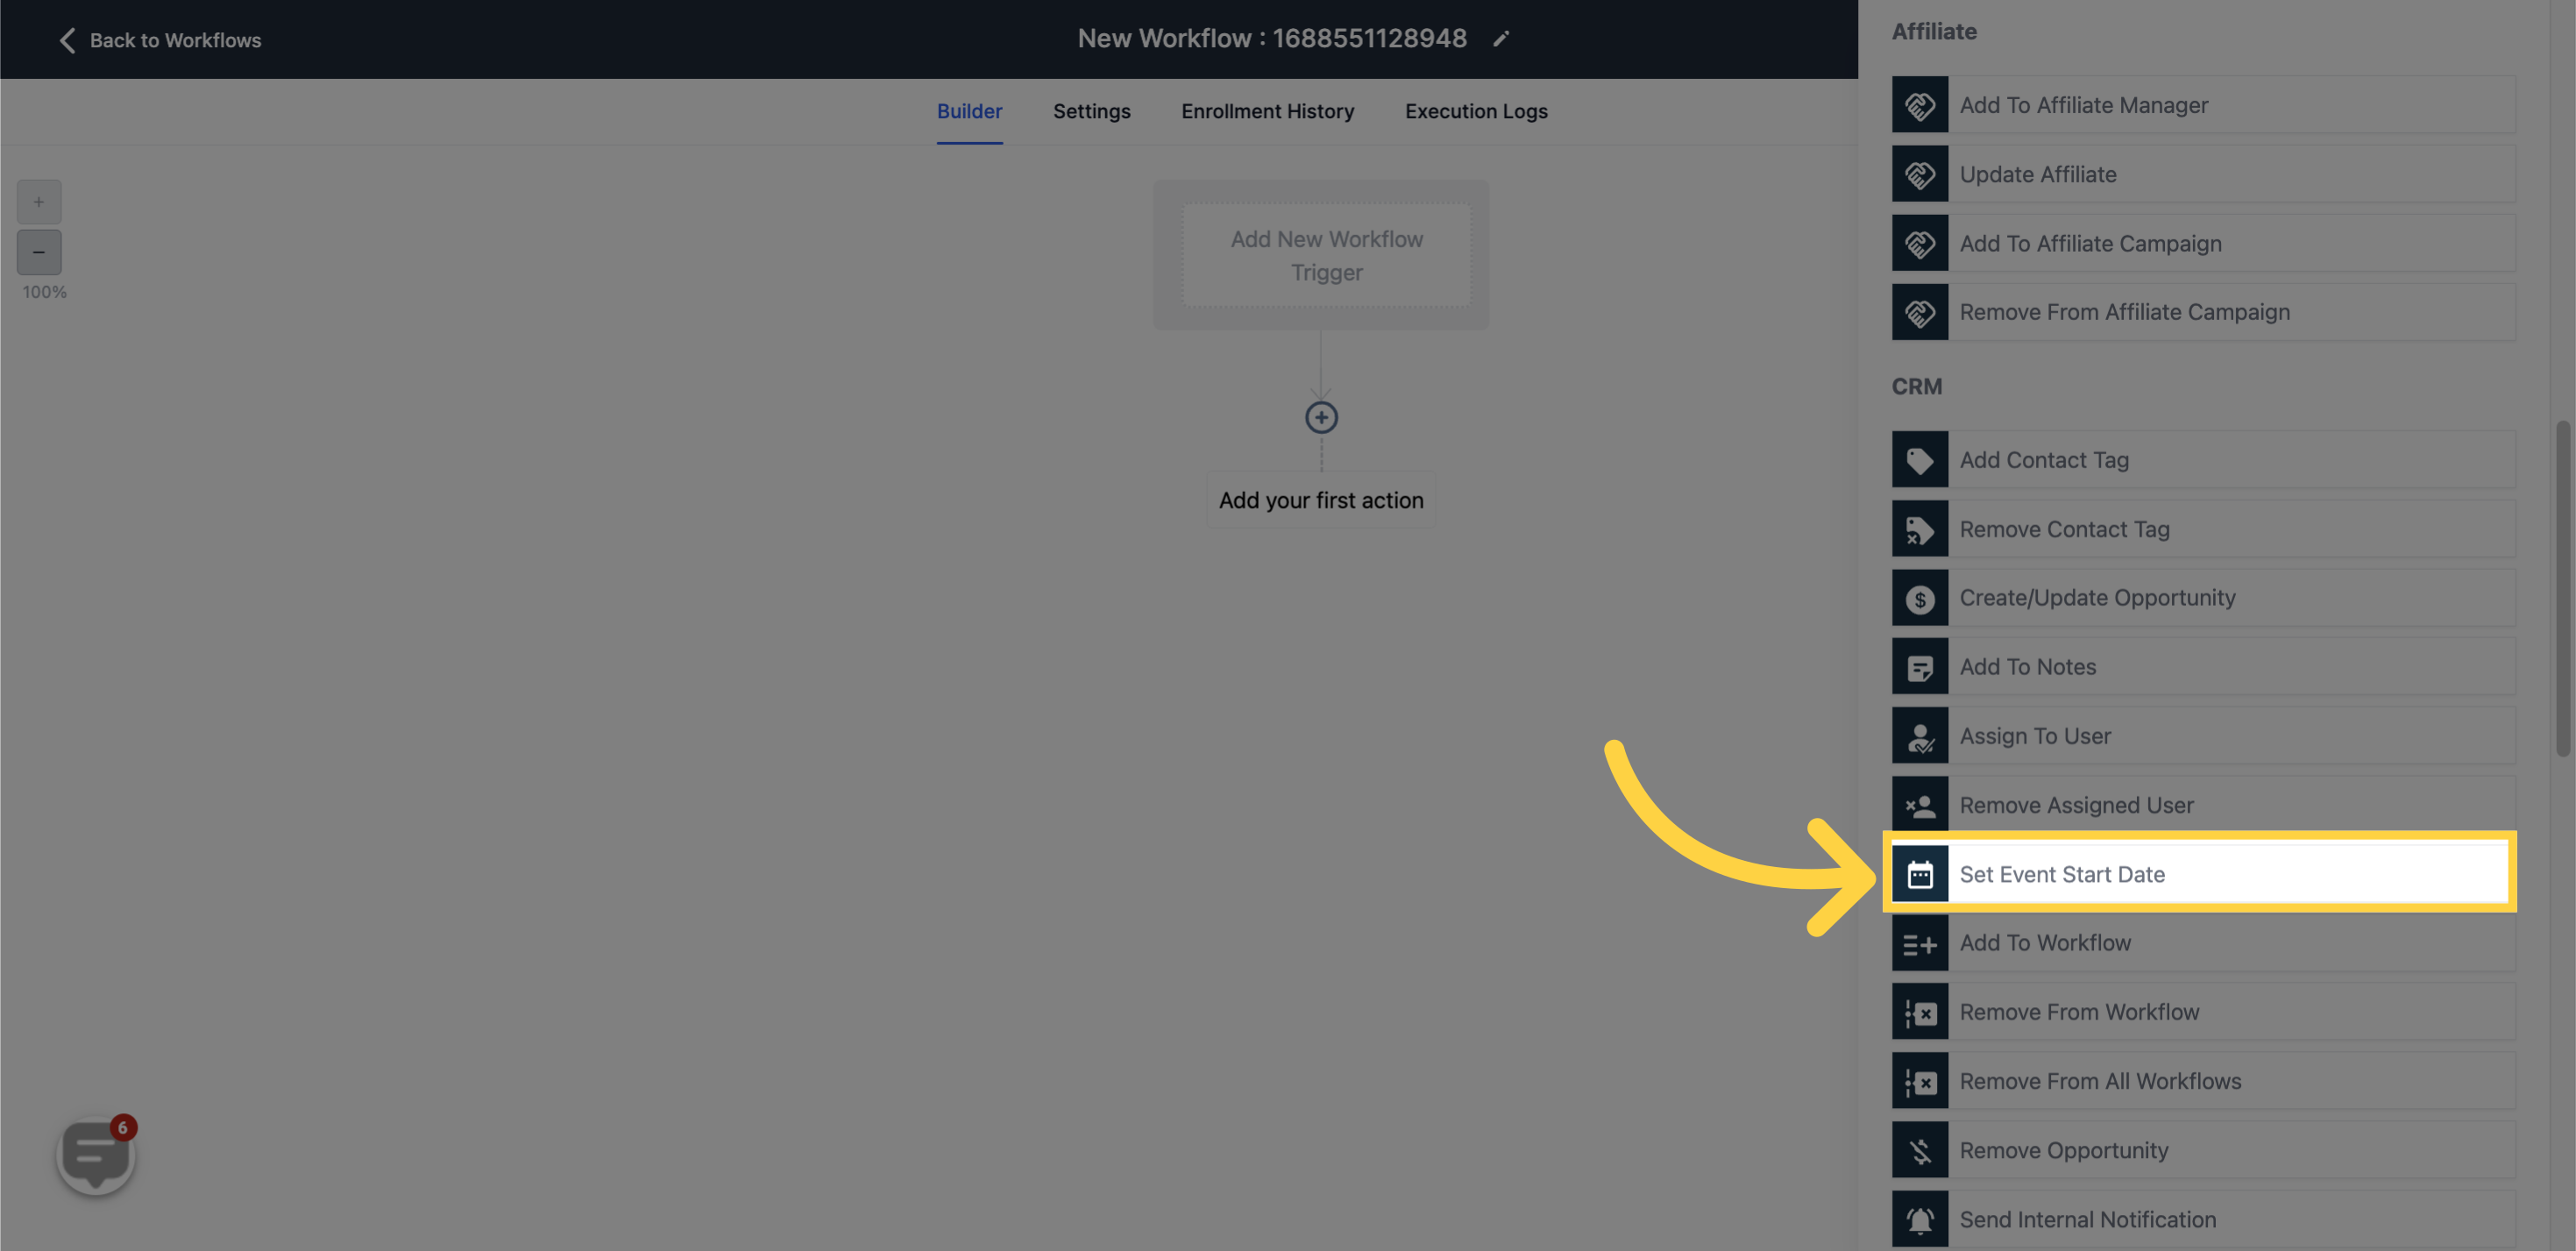
Incorporate the 'Set Event Start Date/Time' action and gear up to personalize the action.
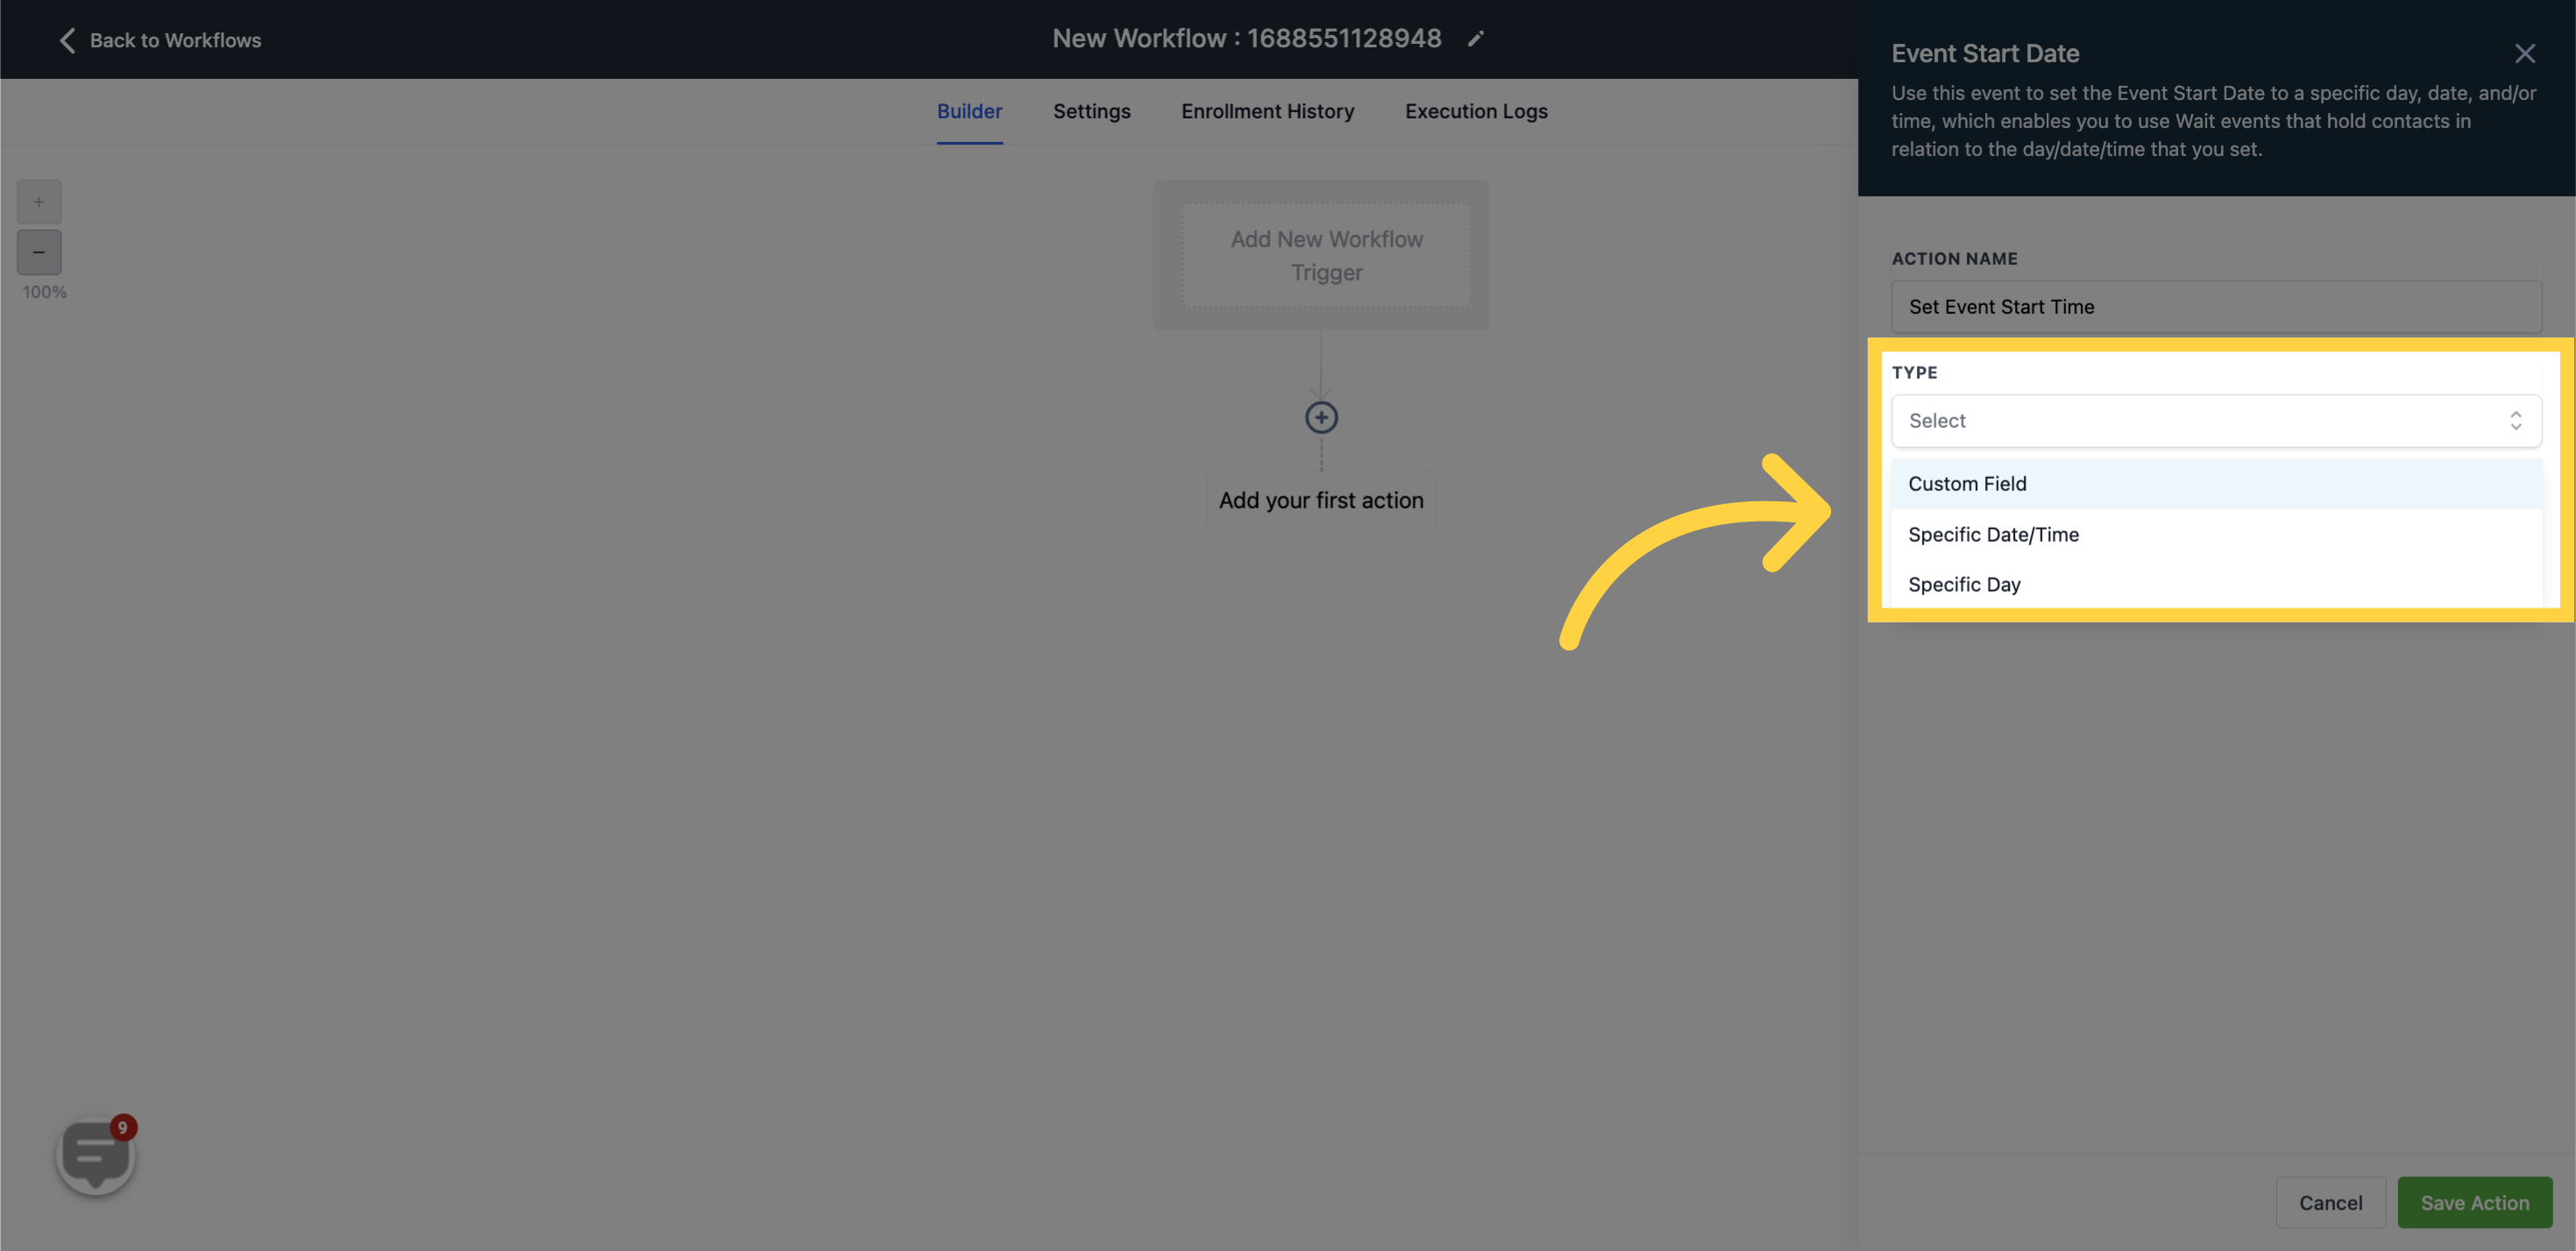
Normally, you have options for the type such as Custom Field, Specific Date/Time, or Specific Day.
Important Note:
The 'Set Event Start Date/Time' action generally permits you to use a myriad of date and time formats. Here are some universally accepted formats:
MM-DD-YYYY HH:MM: This format encapsulates the month (MM), day (DD), and year (YYYY), succeeded by the time expressed in a 24-hour frame (HH:MM). As an instance, 21st December 2021 at 8:30 AM would be recorded as 12-21-2021 08:30.
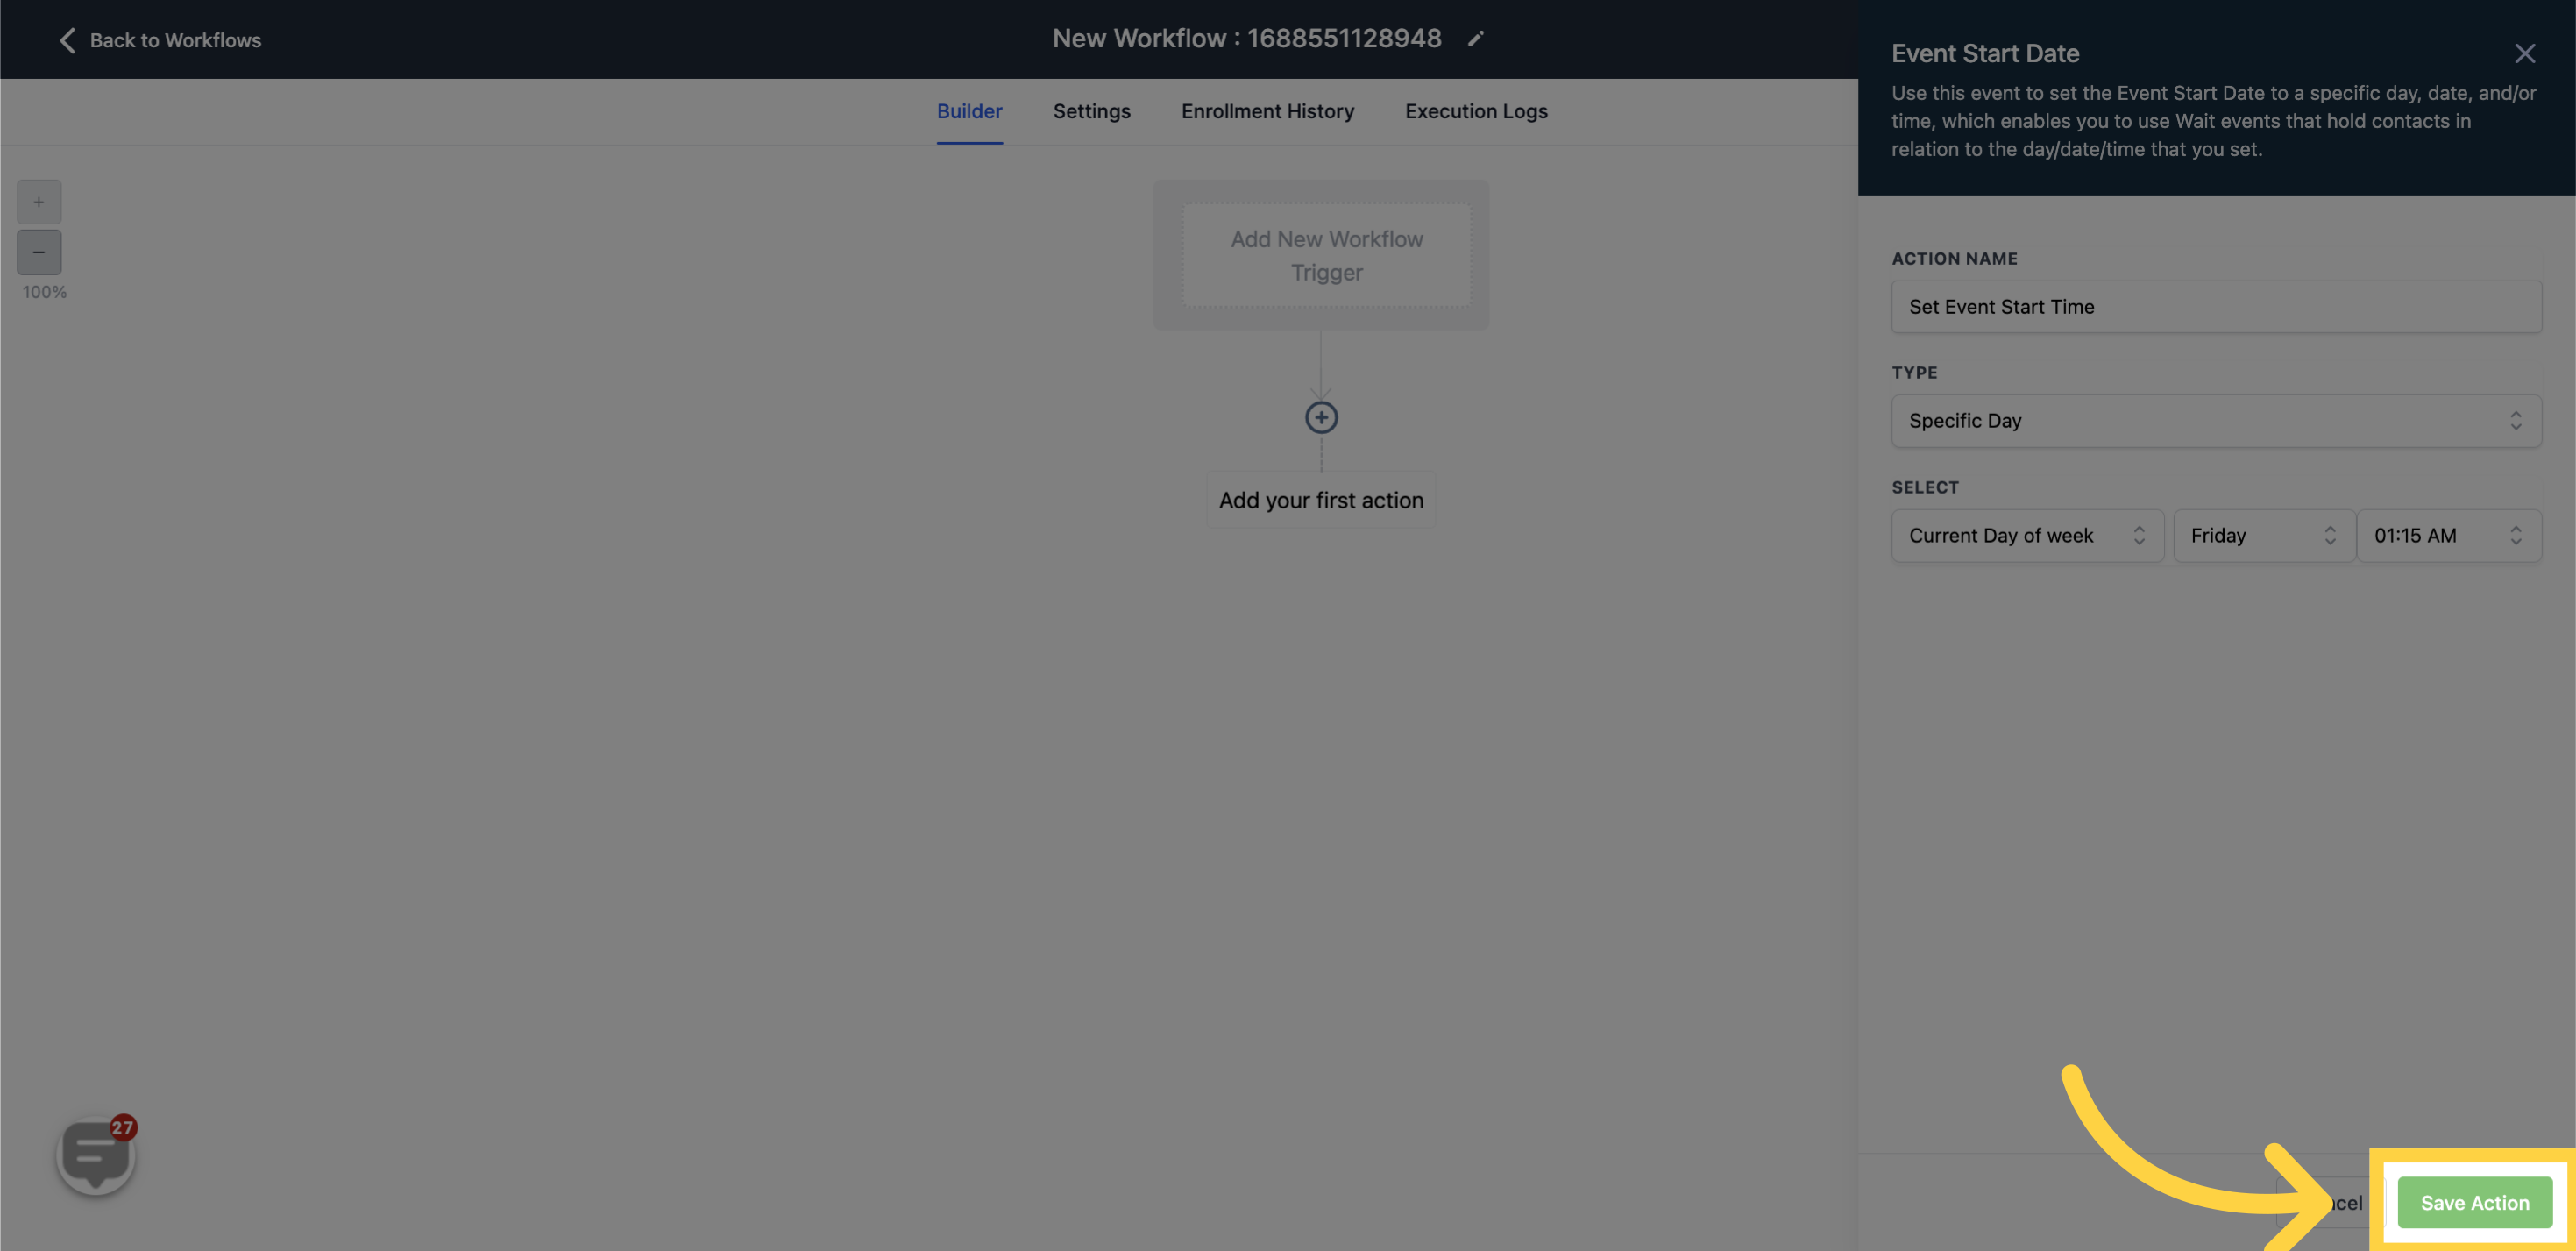
DD-MMM-YYYY HH:MM: This format contains the day (DD), the abbreviated month (MMM), and the year (YYYY), followed by the time in a 24-hour setup (HH:MM). For instance, 21st October 2021 at 8:30 AM would be denoted as 21-OCT-2021 08:30.Choose the option that fits your requirements and provide the necessary details. For instance, if you opt for a specific date and time, you'll be required to key in the precise date and time for the event.
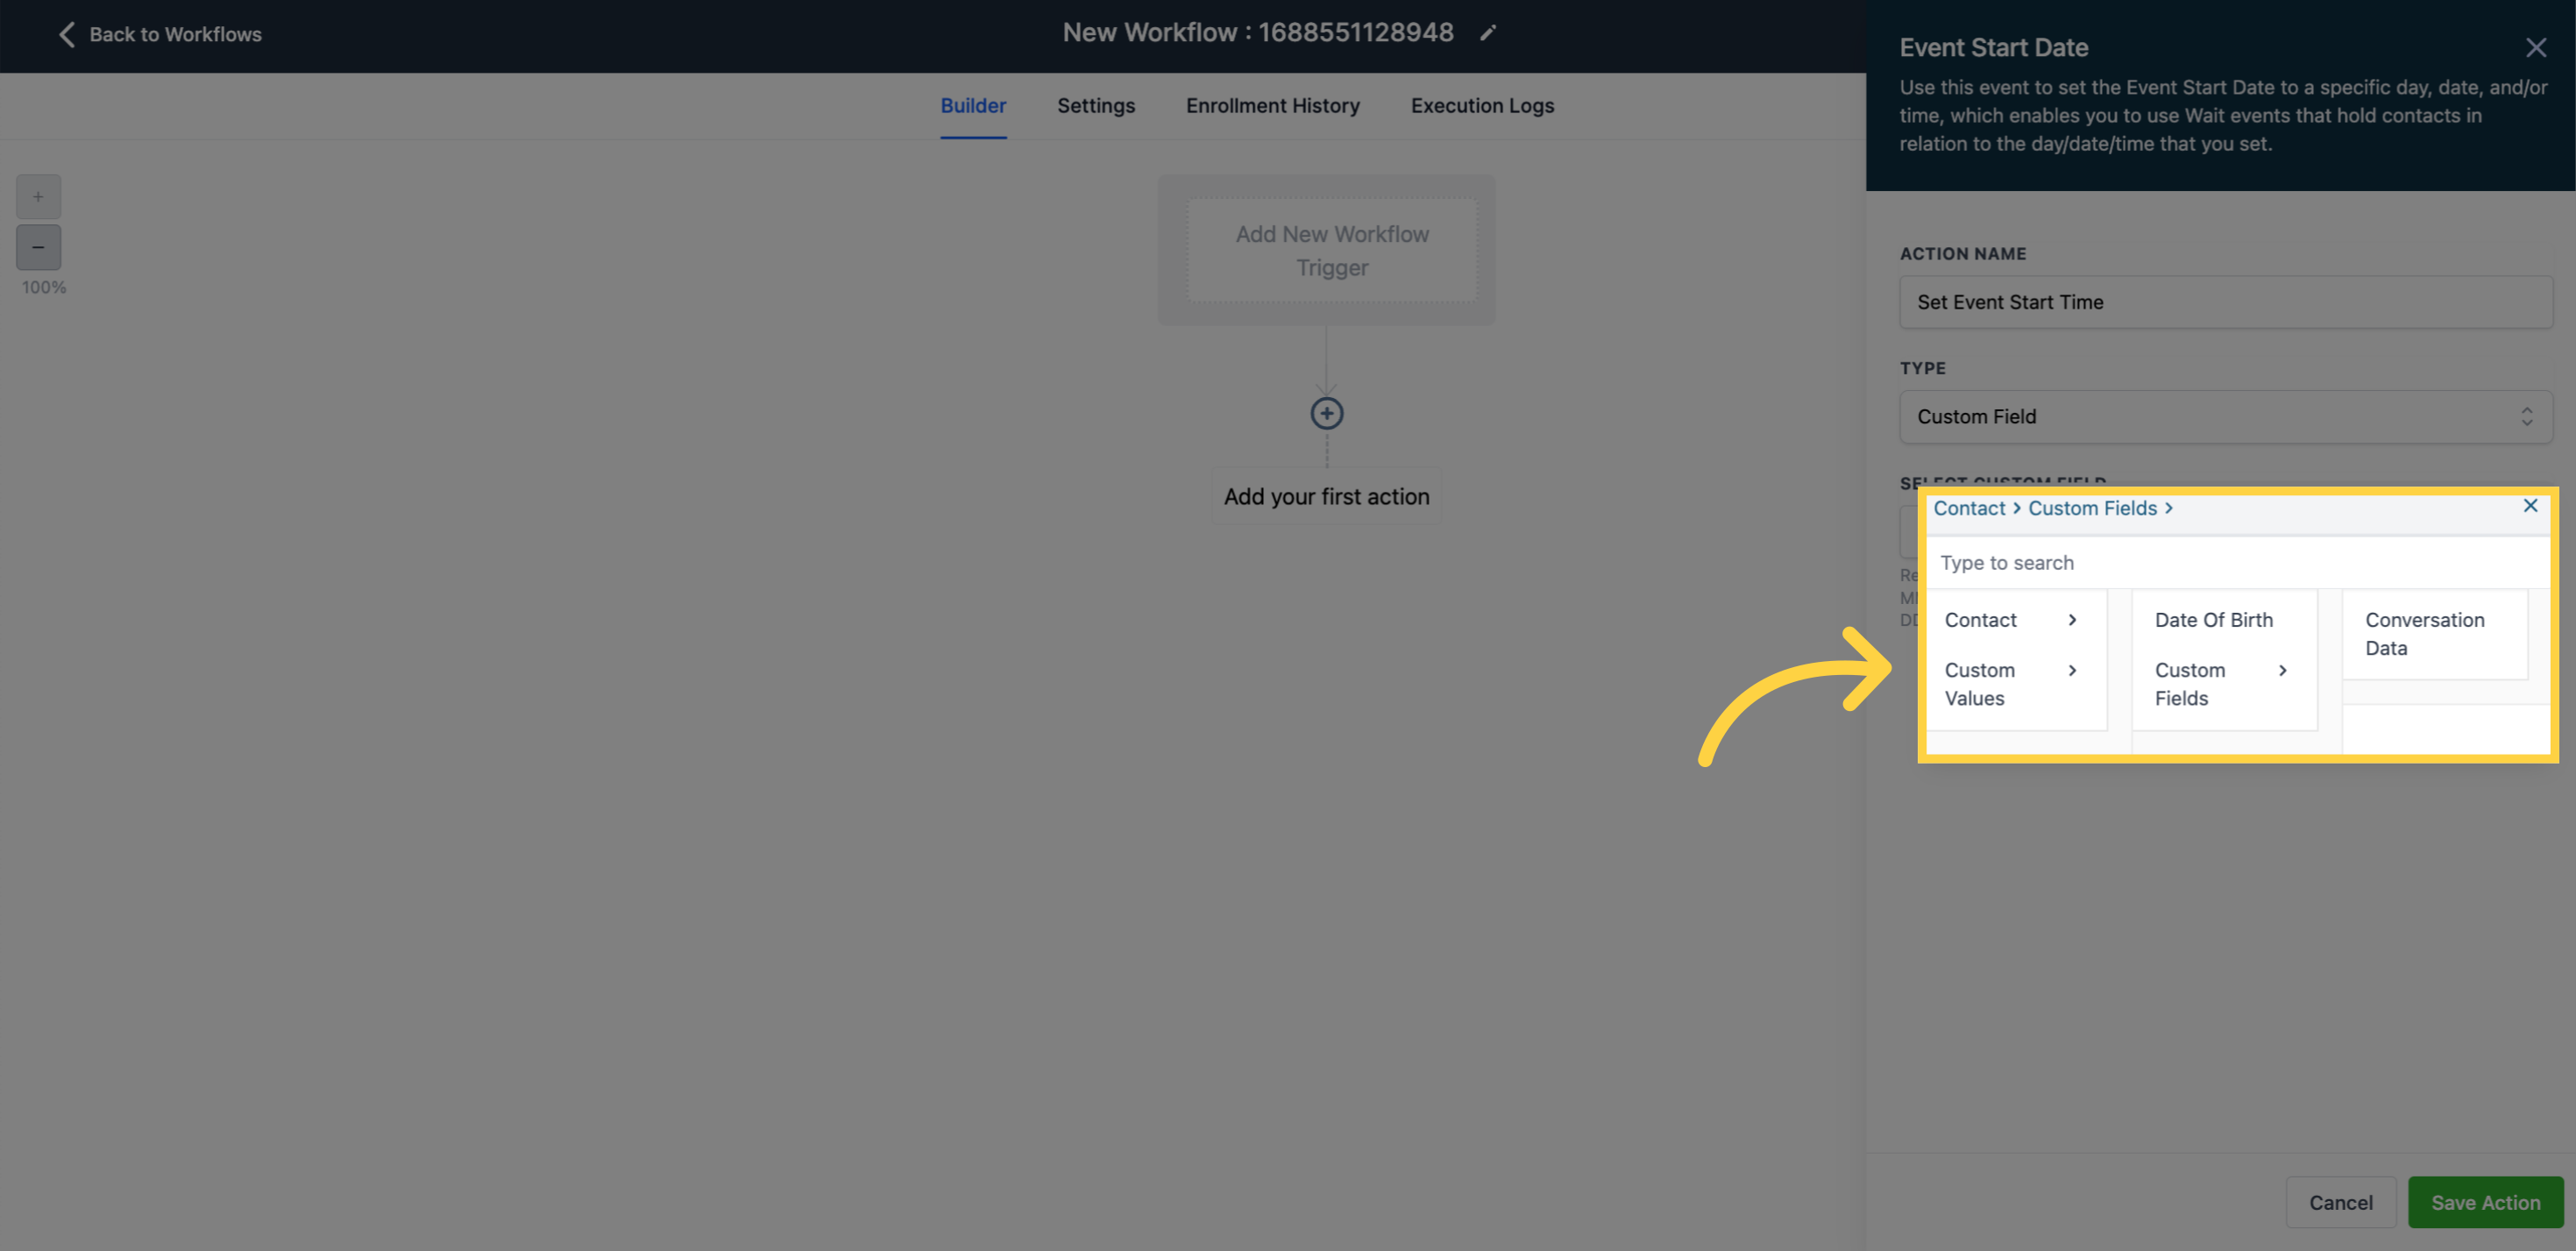
For Custom Fields, you can utilize previously created Custom Date Field values to instruct the workflow on the required event date you want to stipulate.
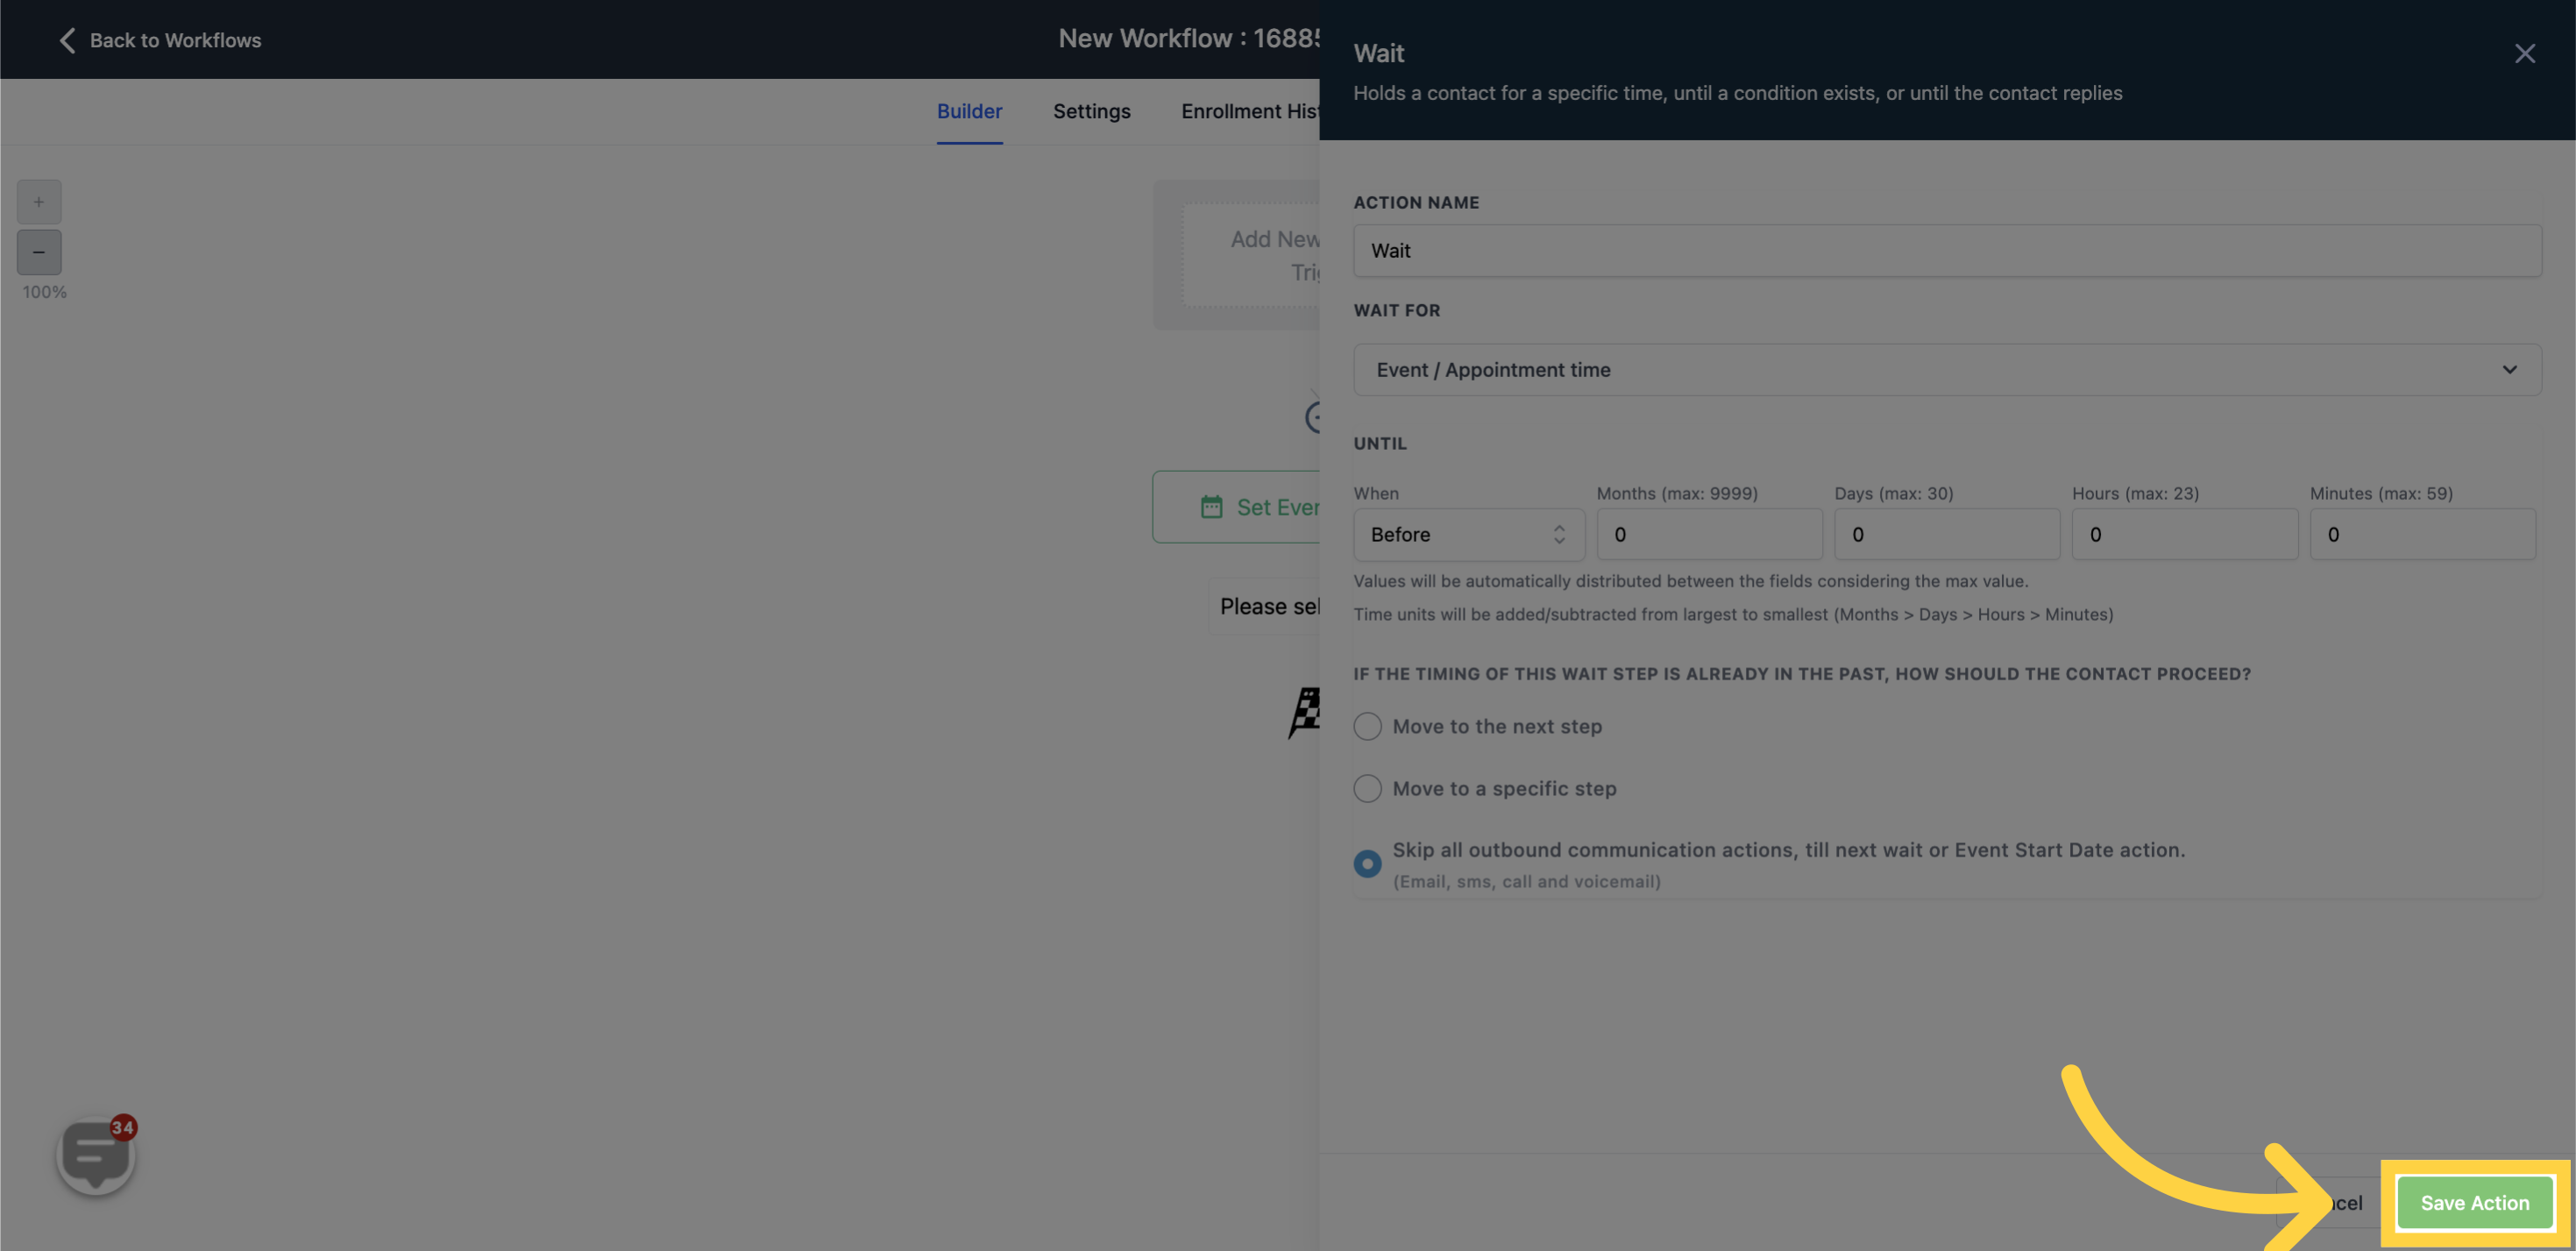
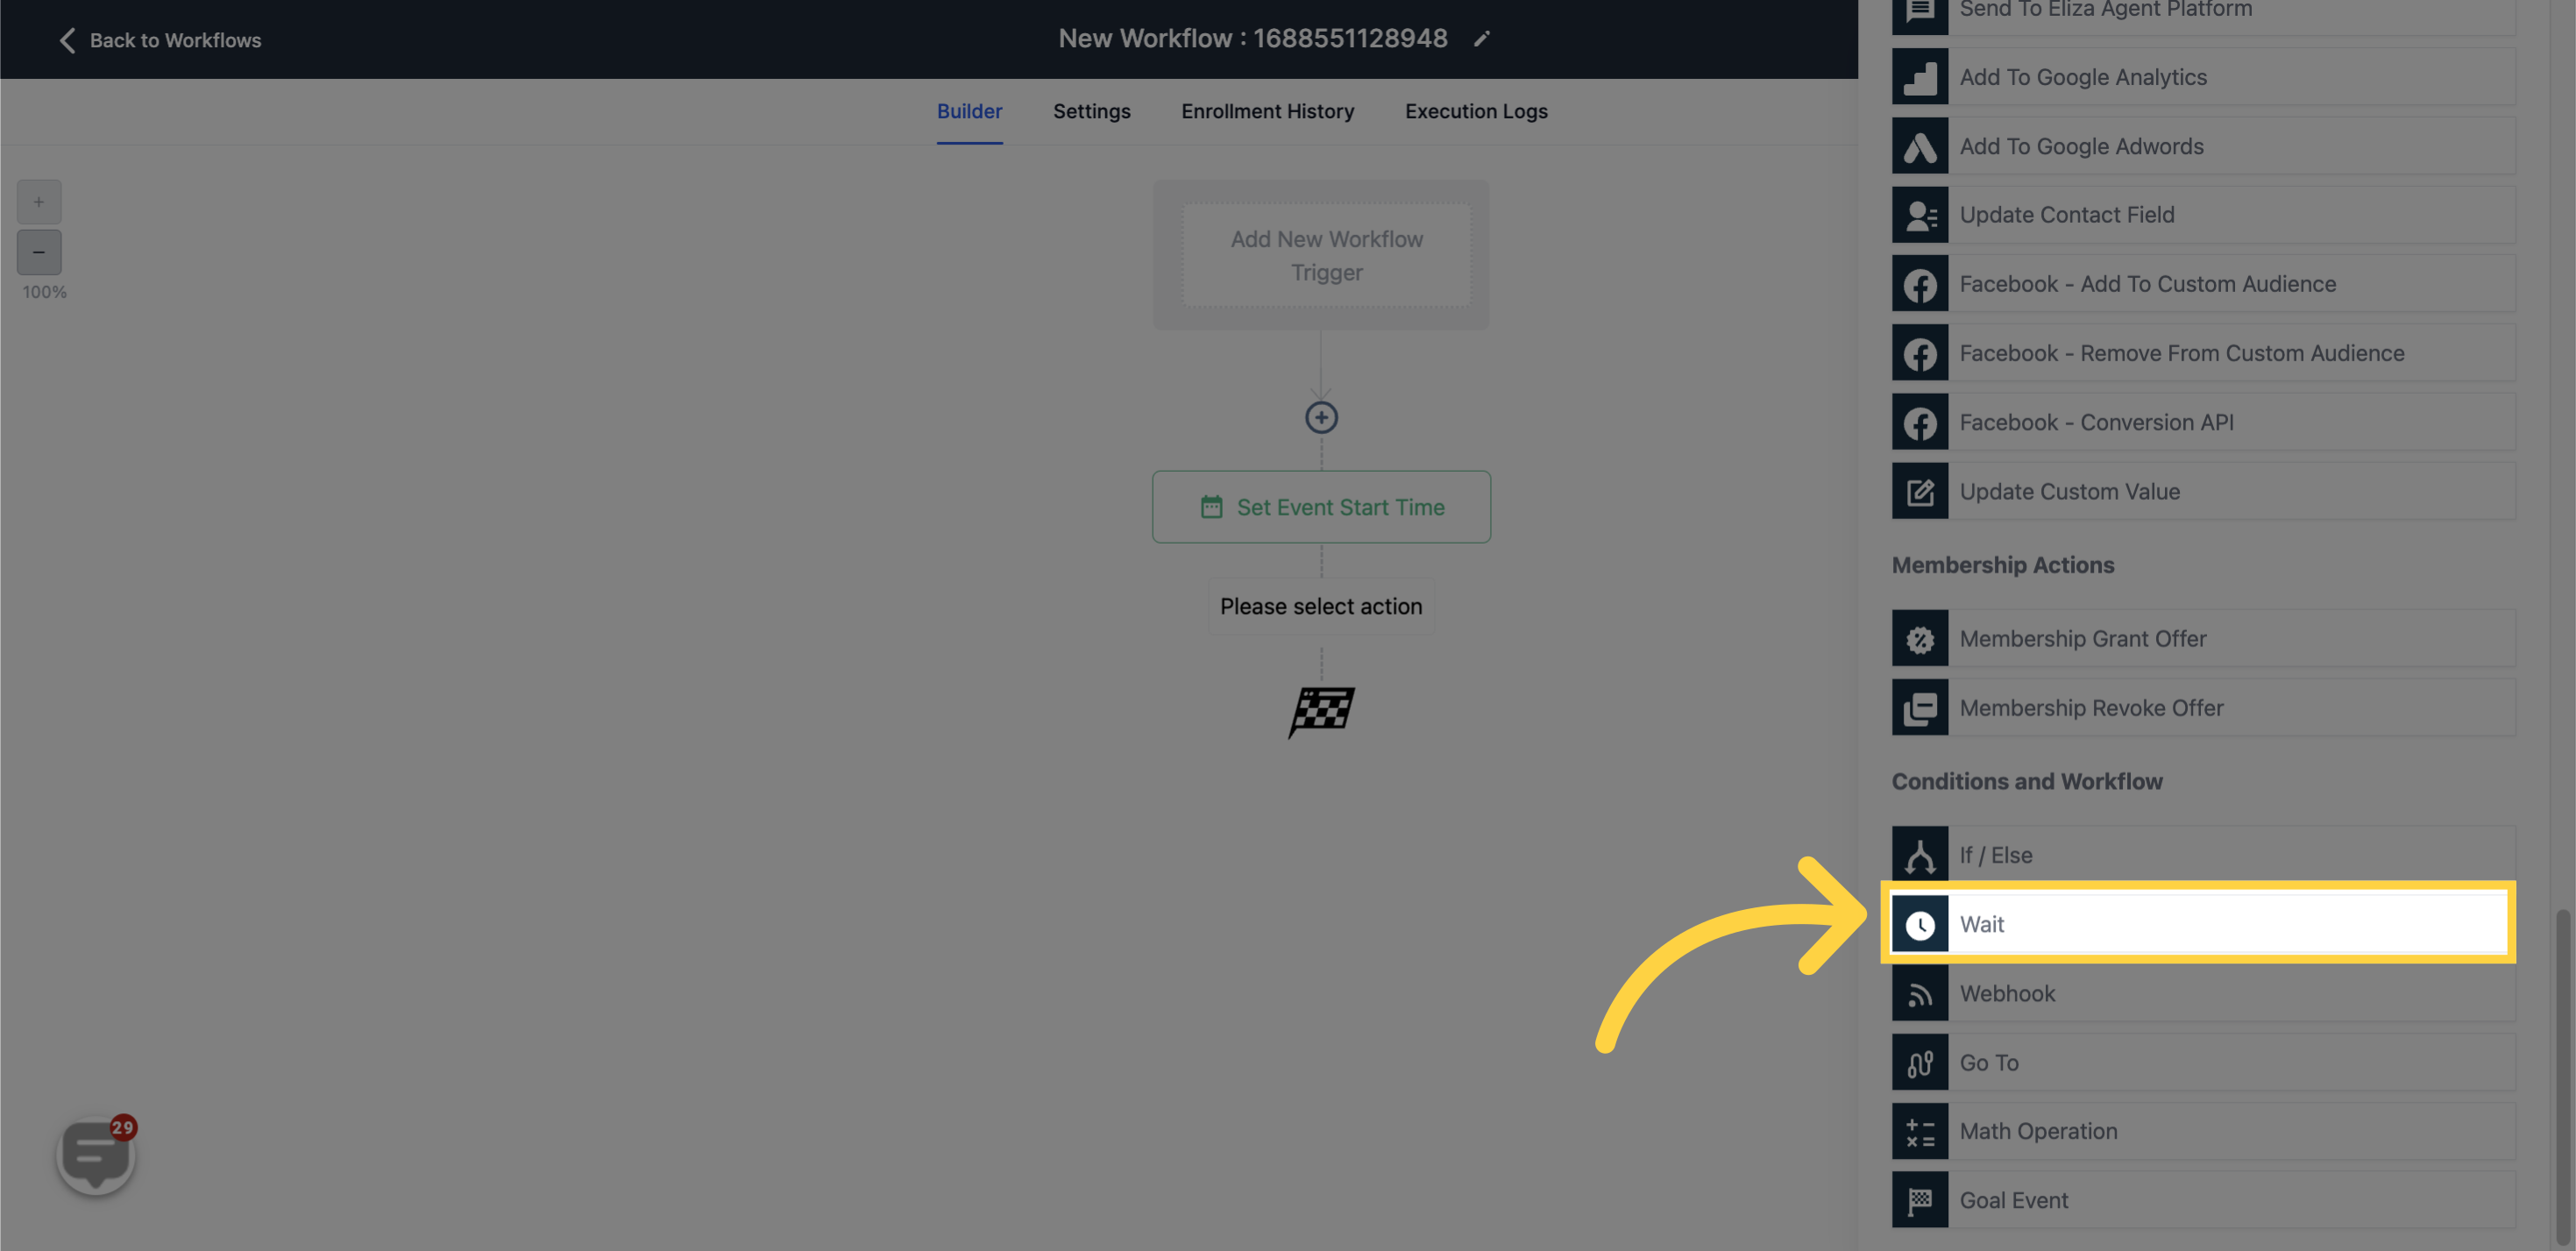
Upon defining the event's start date/time, introduce a 'Wait for Event/Appointment Time' action into your Workflow.
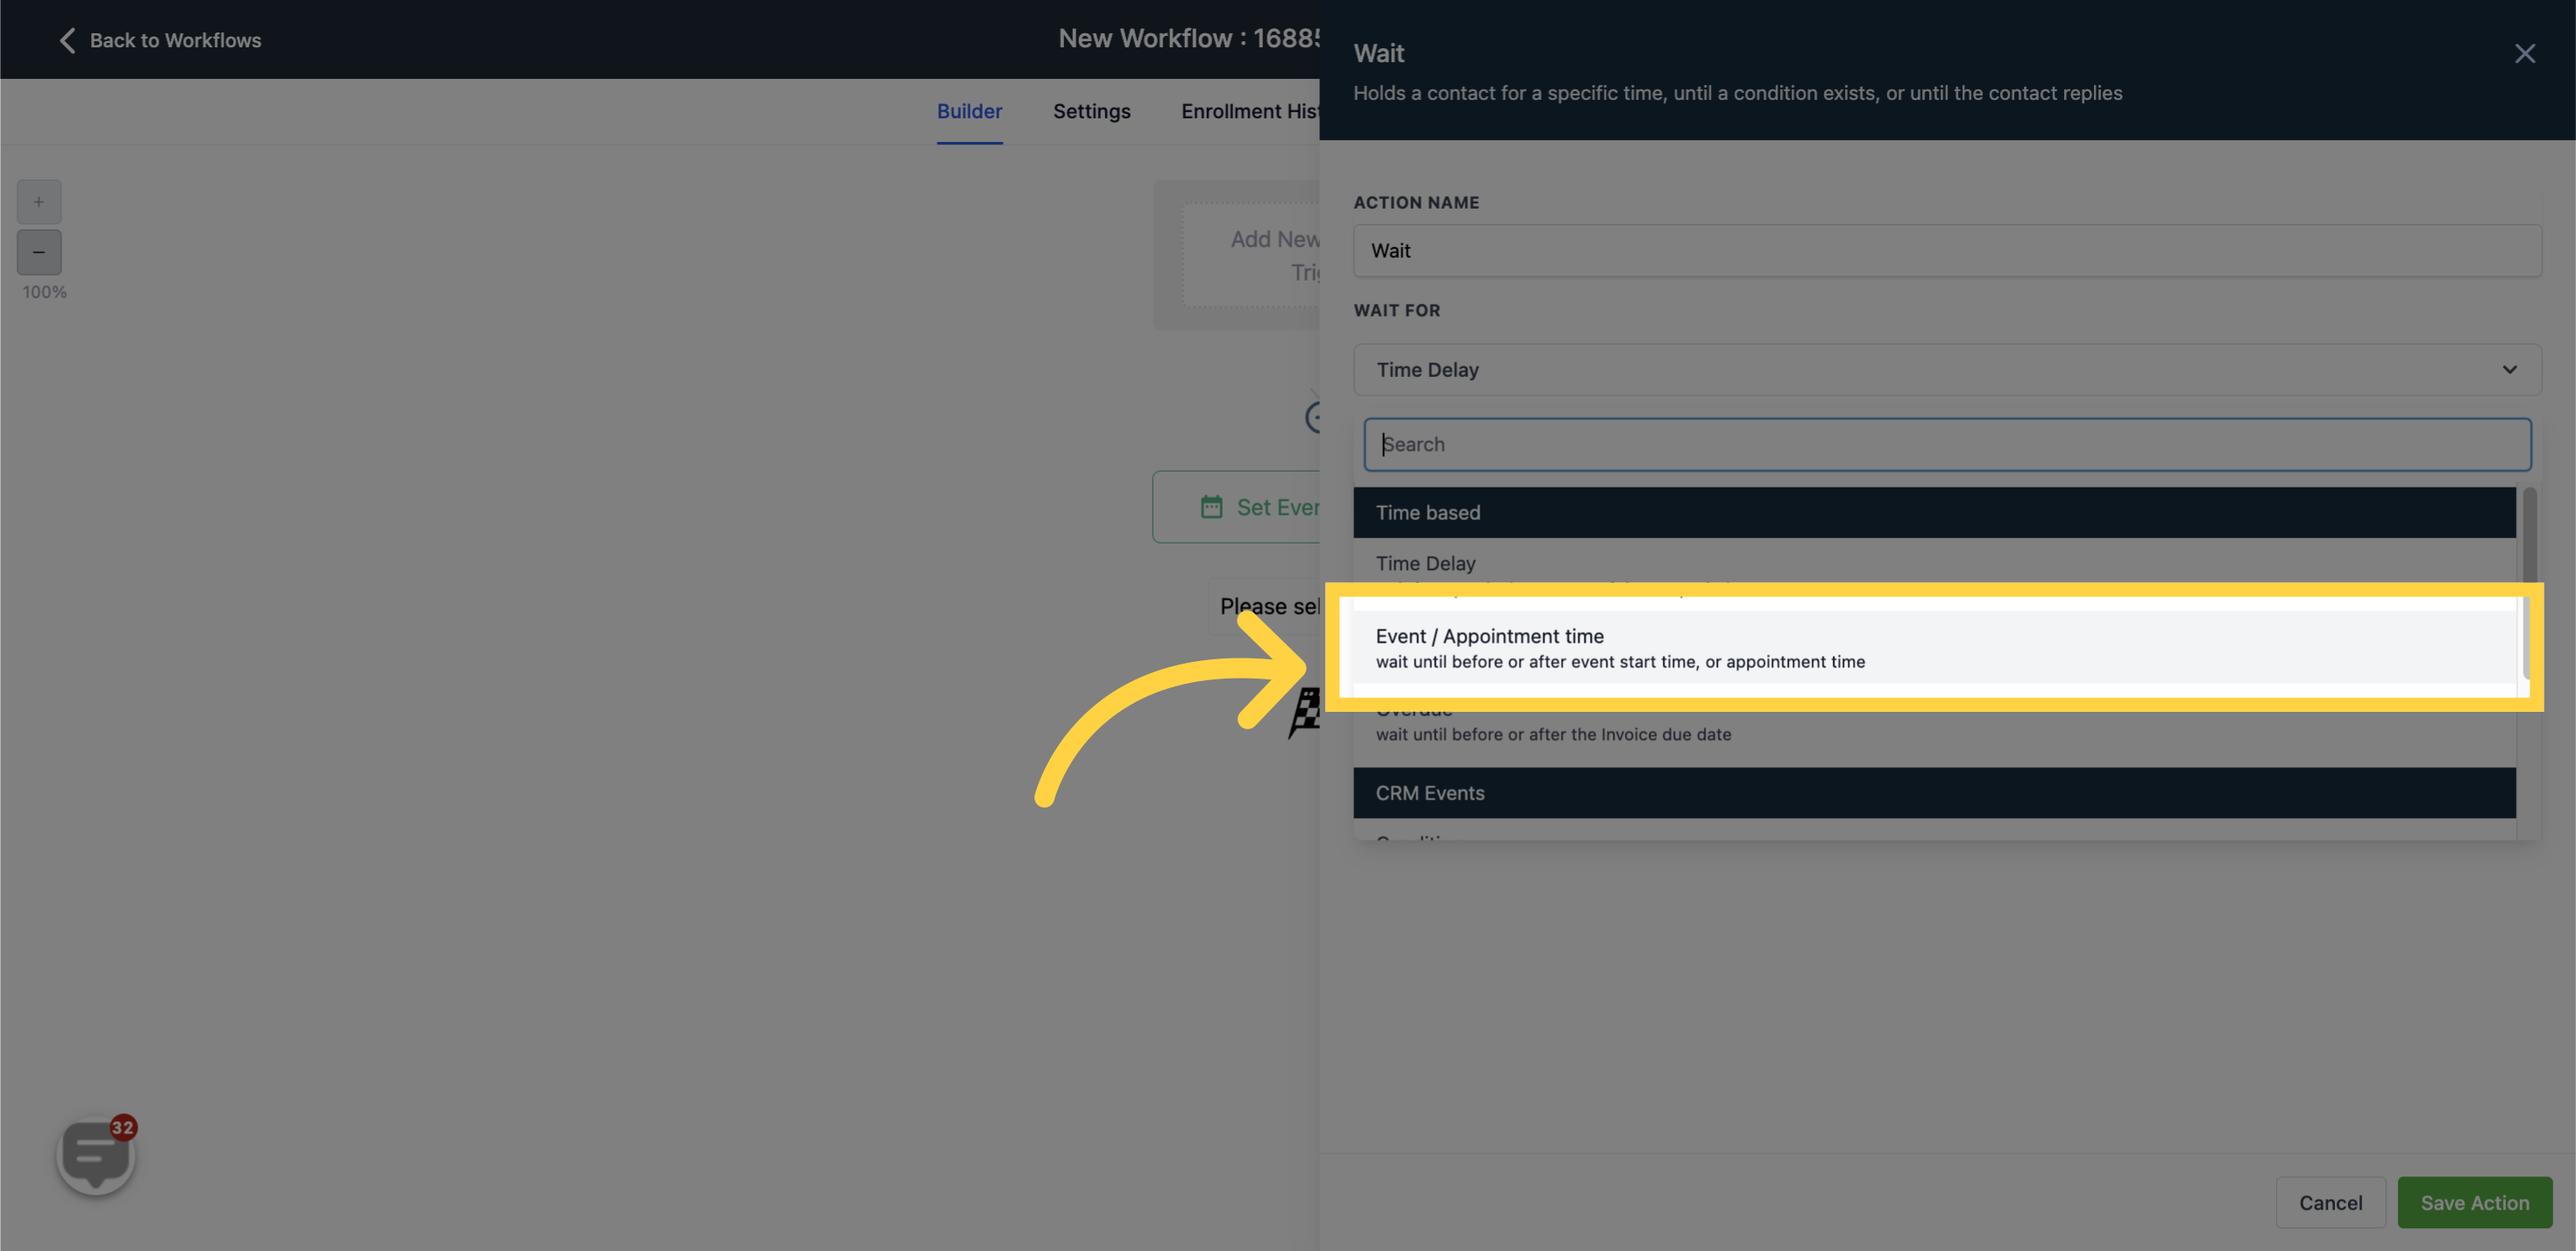
Configure this action to pause until a specific number of days/hours/minutes preceding or following the event start date/time.
To exemplify, if the setting is tuned to 2 days before, the workflow will hold off before initiating the subsequent action until 2 days earlier than the arranged Event Start Date.
This field typically corresponds to the event or appointment fixed through the 'Set Event Start Date/Time' action. The 'Wait for' action continues to pause until the designated time concerning this event or appointment.
This setting caters to the configuration of the waiting time till the upcoming action. This is contingent on a duration spanning months, days, hours, and minutes.
As an illustration, this could be adjusted to hold off until 2 days and 3 hours prior to the event time. Values that cross the maximum limit will be allocated to the larger time units. For example, an input of 60 minutes would be translated to 1 hour.
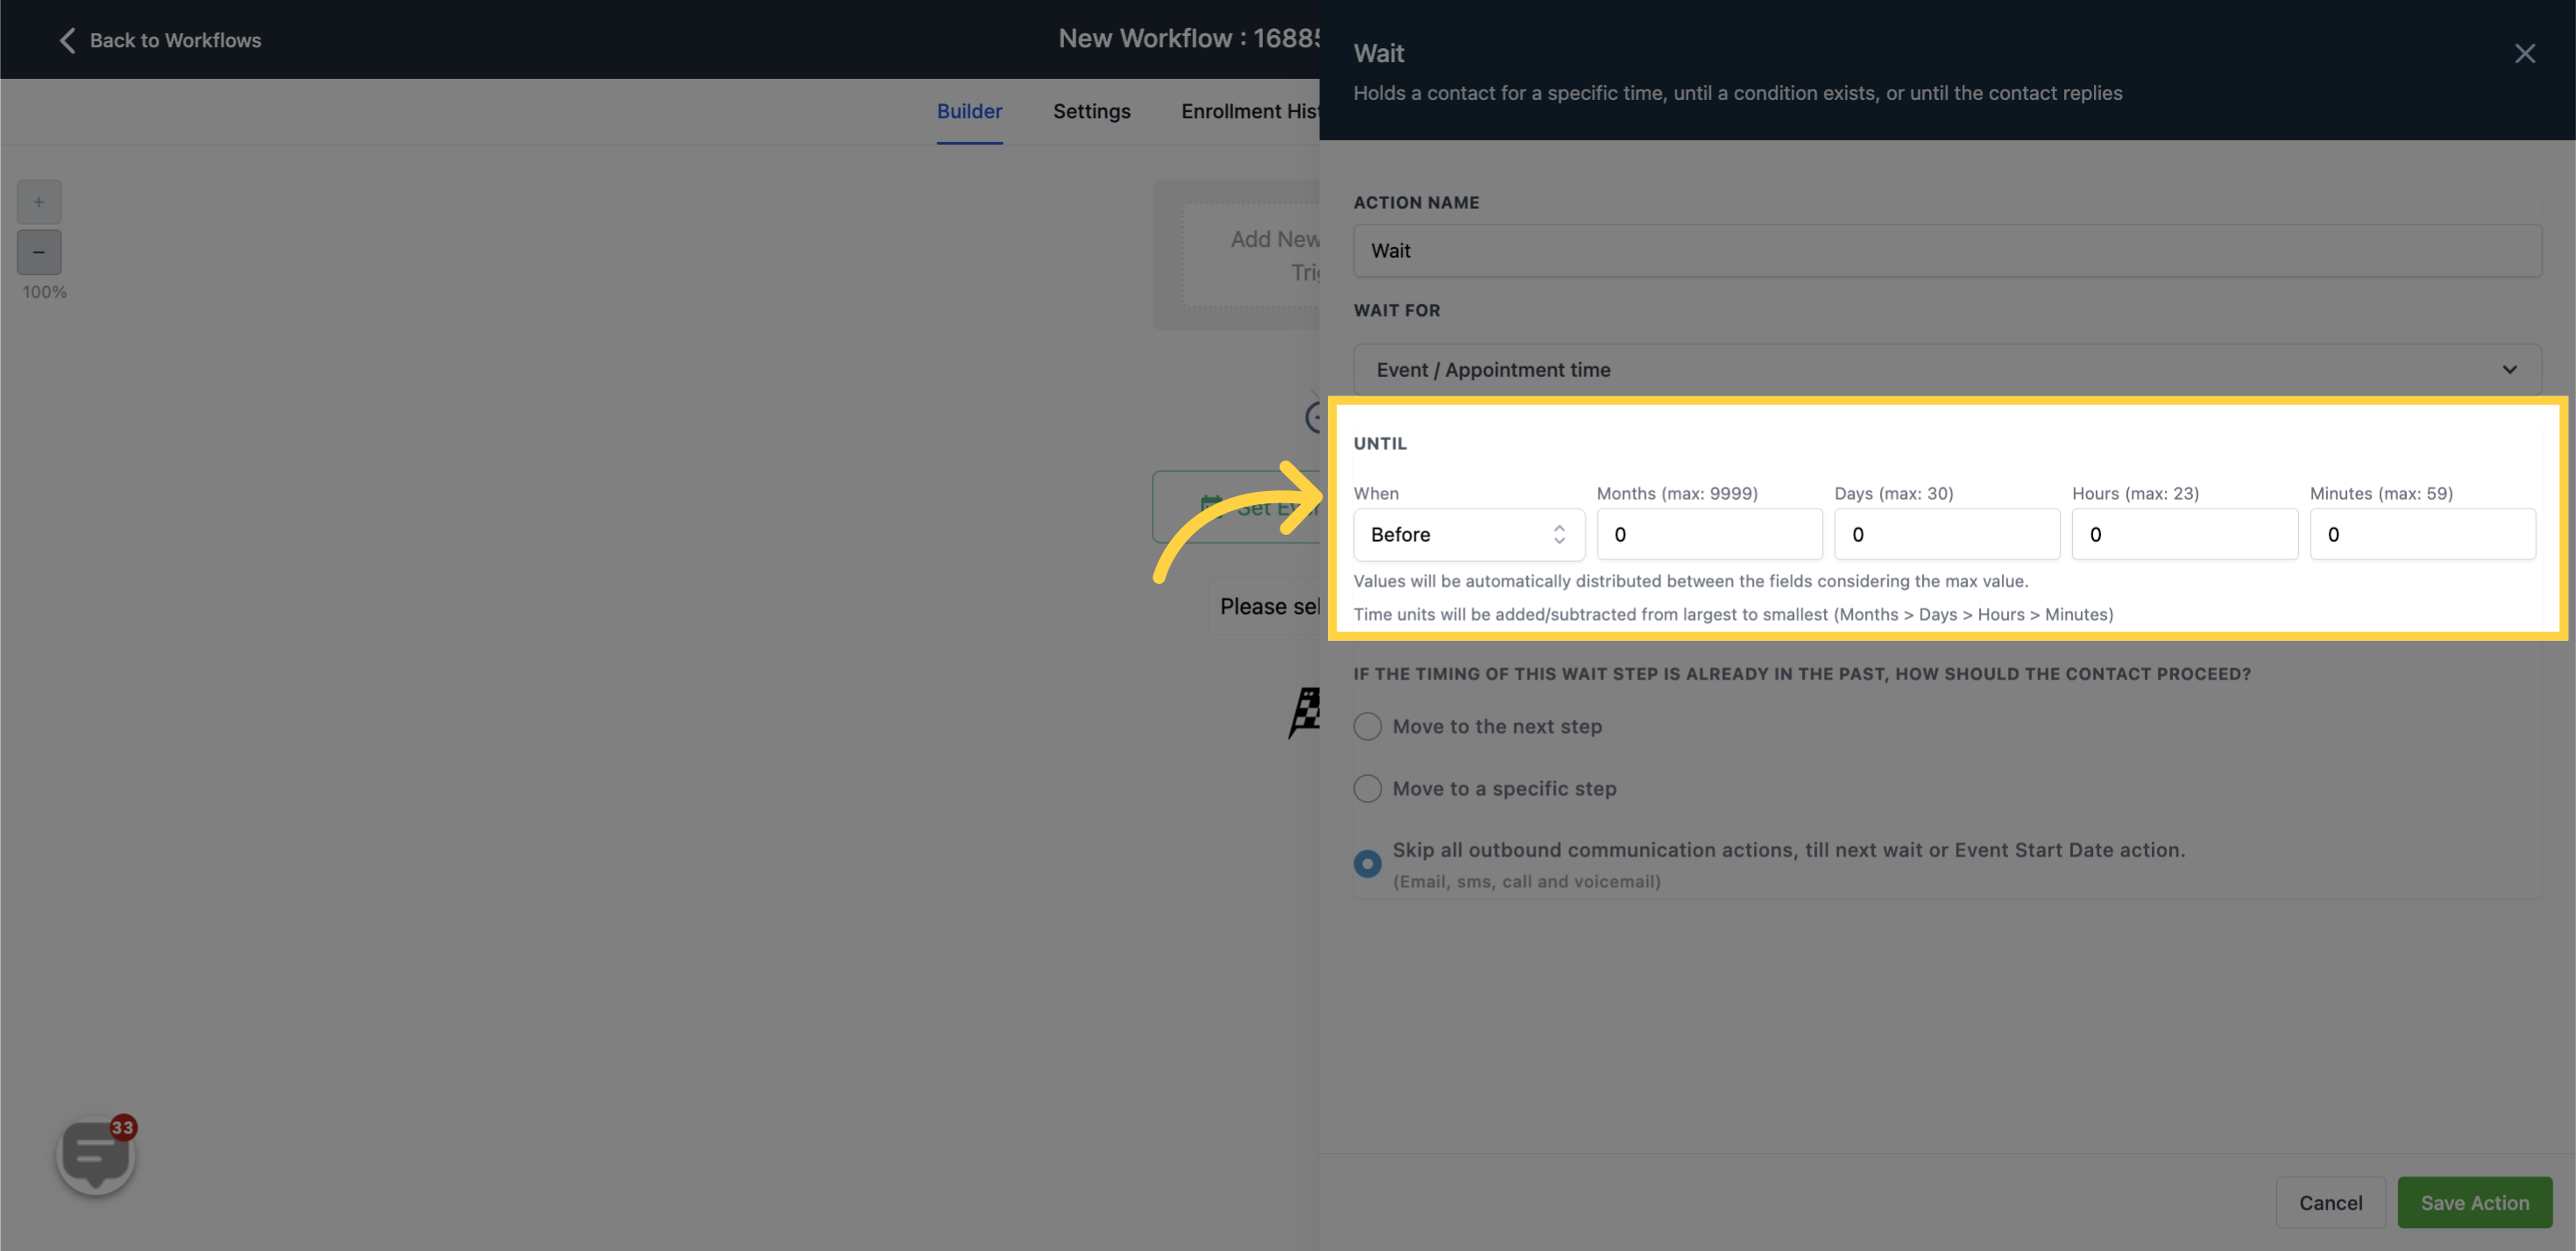
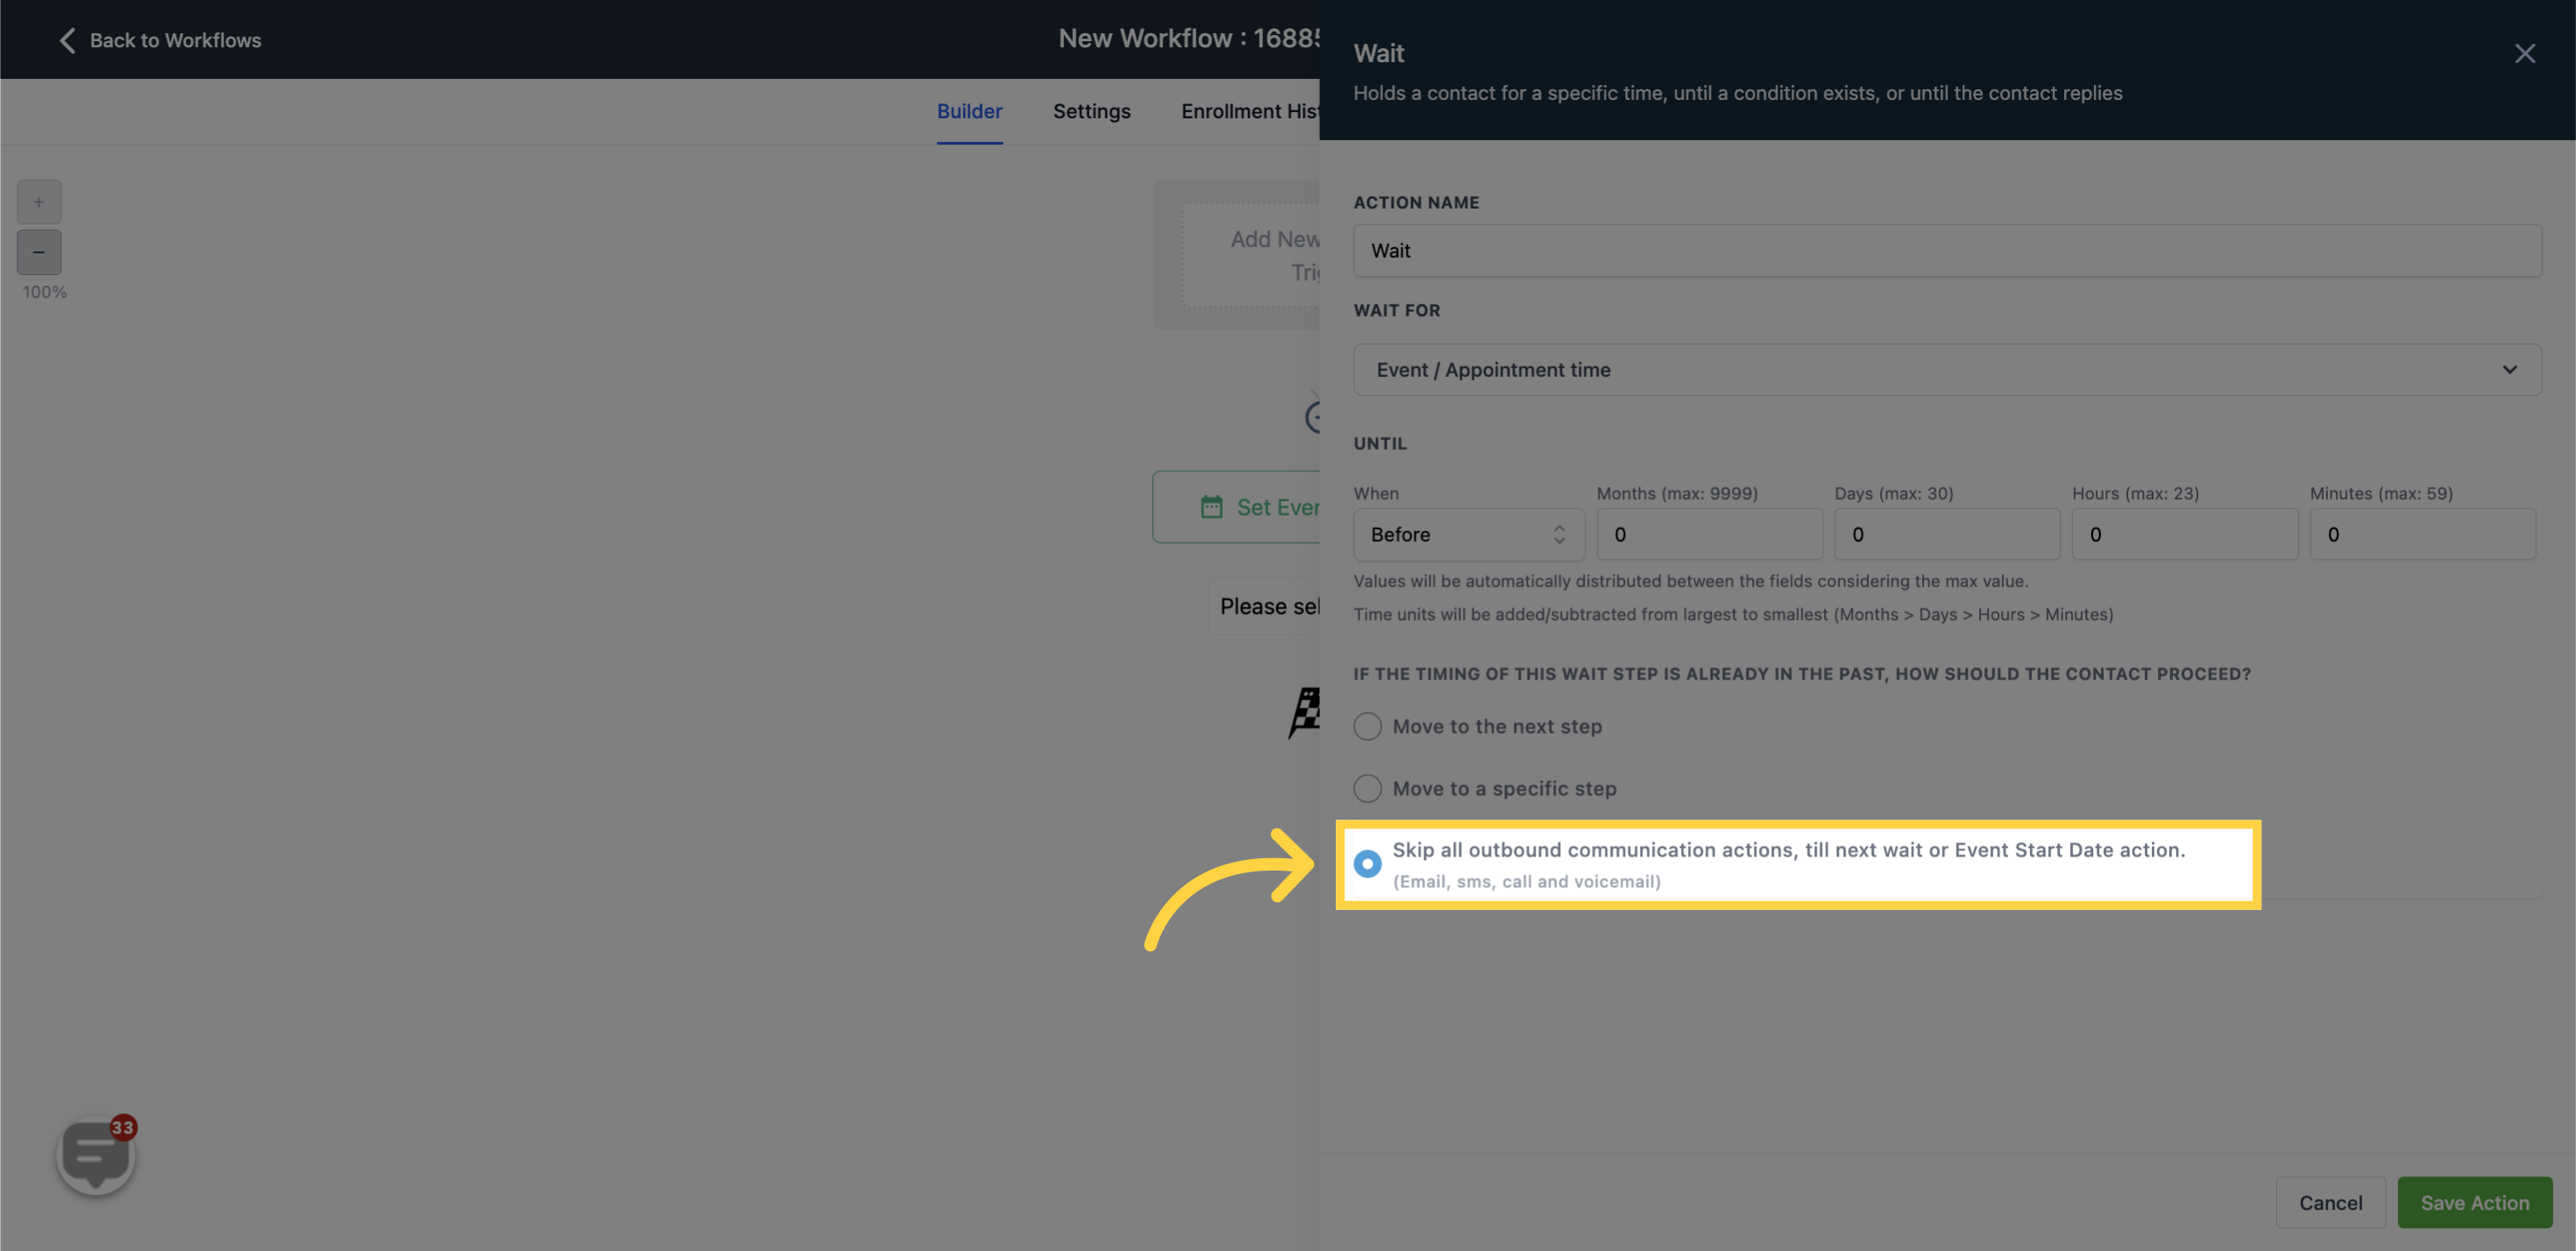
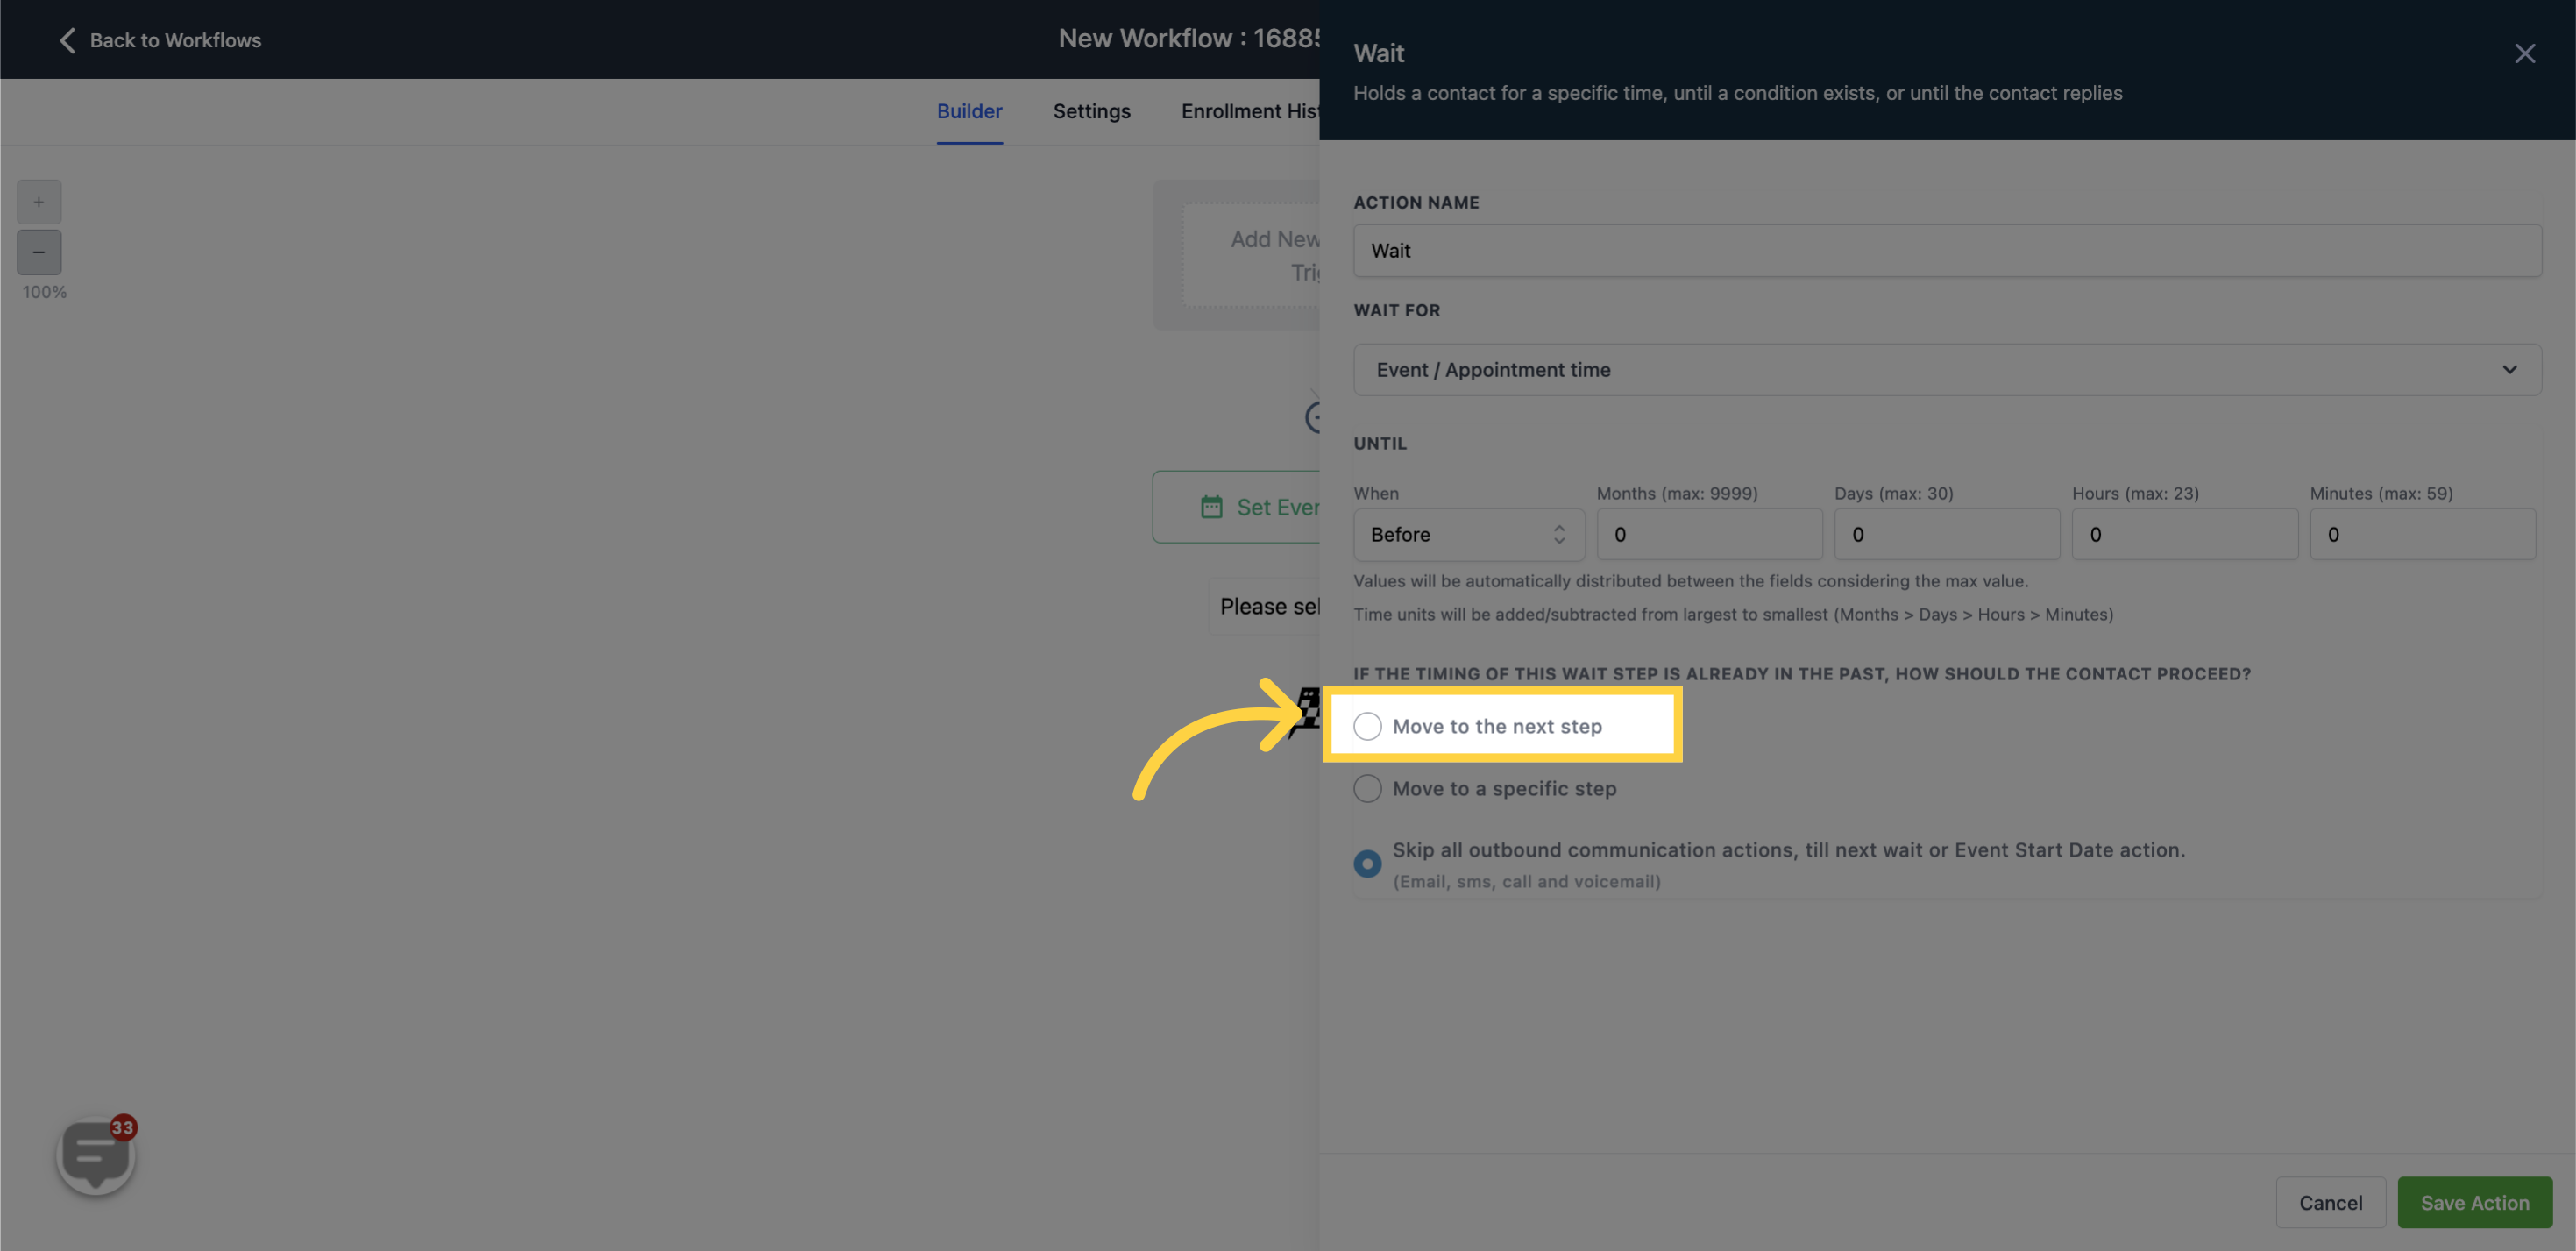
The workflow will overlook the wait and progress to the subsequent step in the workflow.
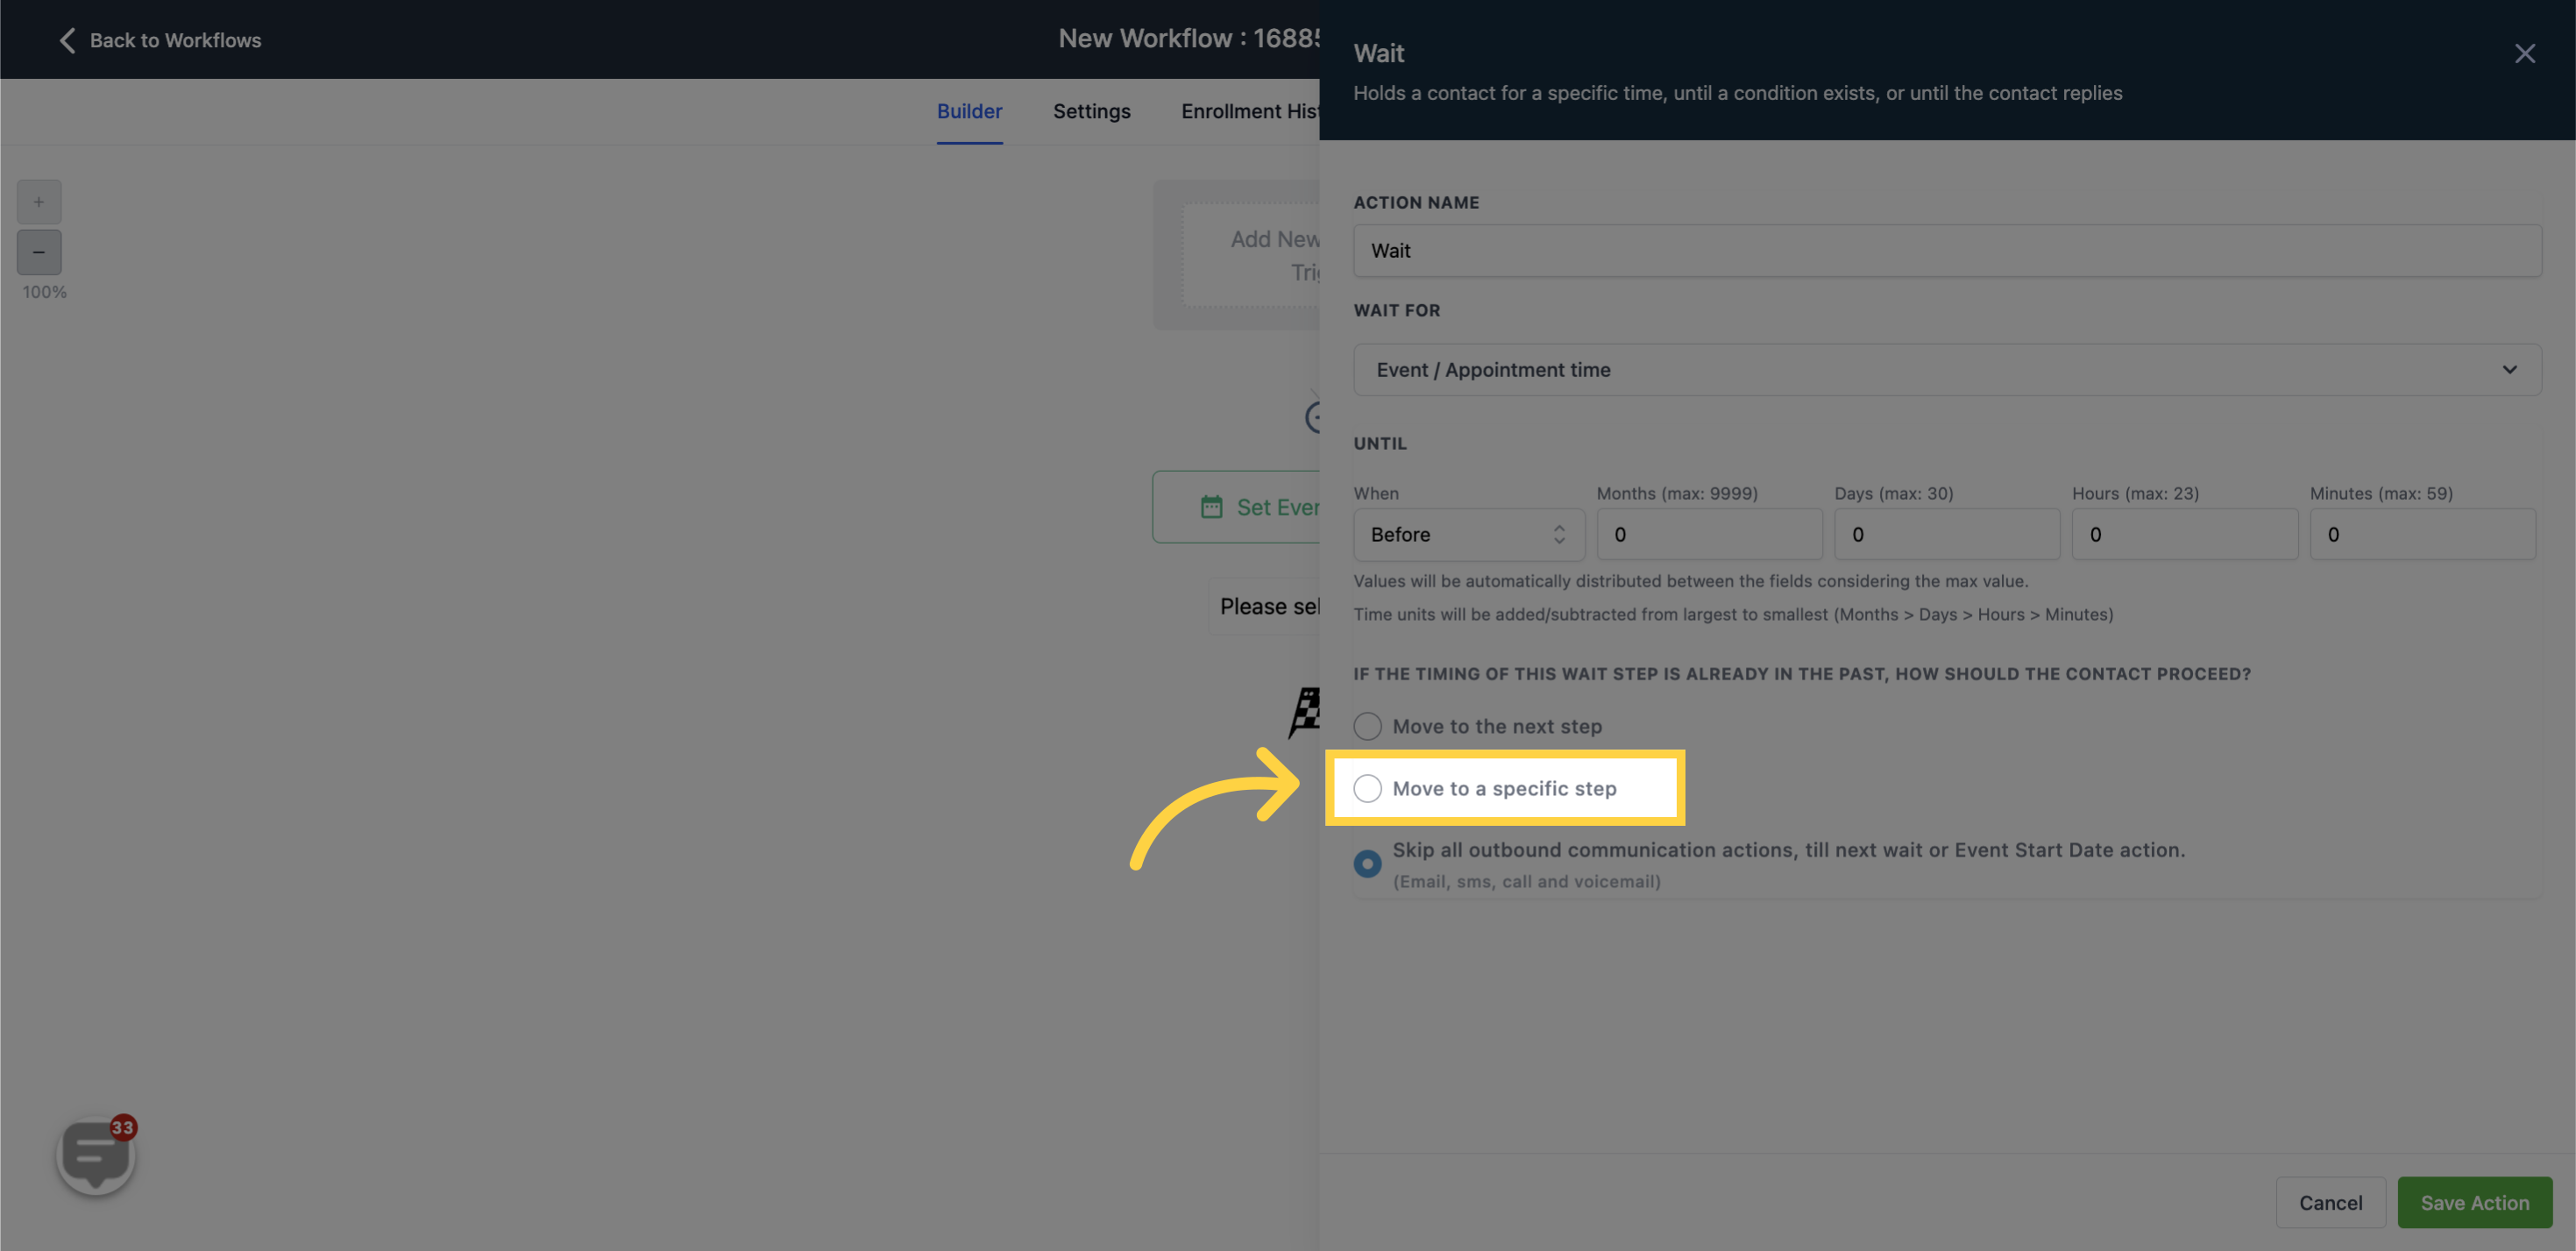
The workflow will sidestep the wait and advance to a specifically designated step.
The workflow will ignore any actions associated with dispatching communication (like emails or SMS) until the next 'Wait for Event/Appointment Time' or 'Set Event Start Date/Time' action is reached.