
The "Contact DND" workflow is activated when a contact's Do Not Disturb (DND) status is changed. DND, a setting that allows a customer to opt out when they lose interest in a service, can be enabled as per the customer's request.
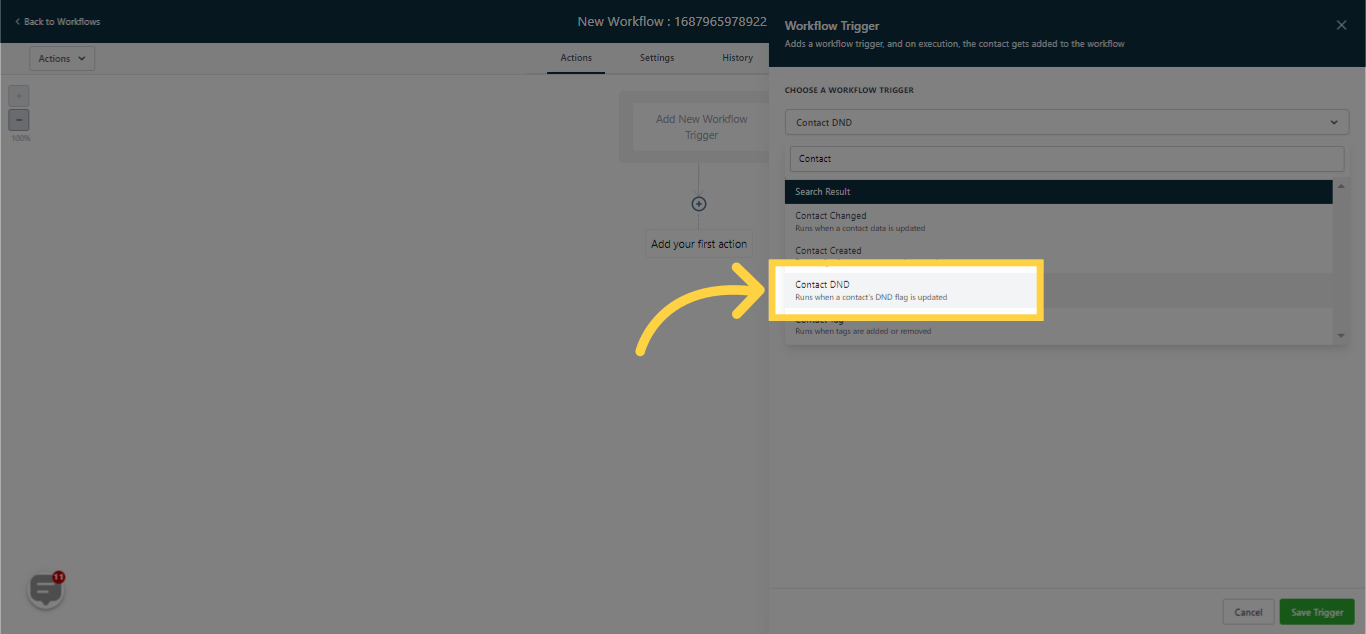
By selecting "DND flag is", you can either enable or disable a contact's Do Not Disturb (DND) status. Enabling DND will automatically limit any outgoing communications to the customer. On the other hand, disabling DND will re-open the lines of communication to the customer.

