
You can utilize this to navigate back to the email campaigns menu.
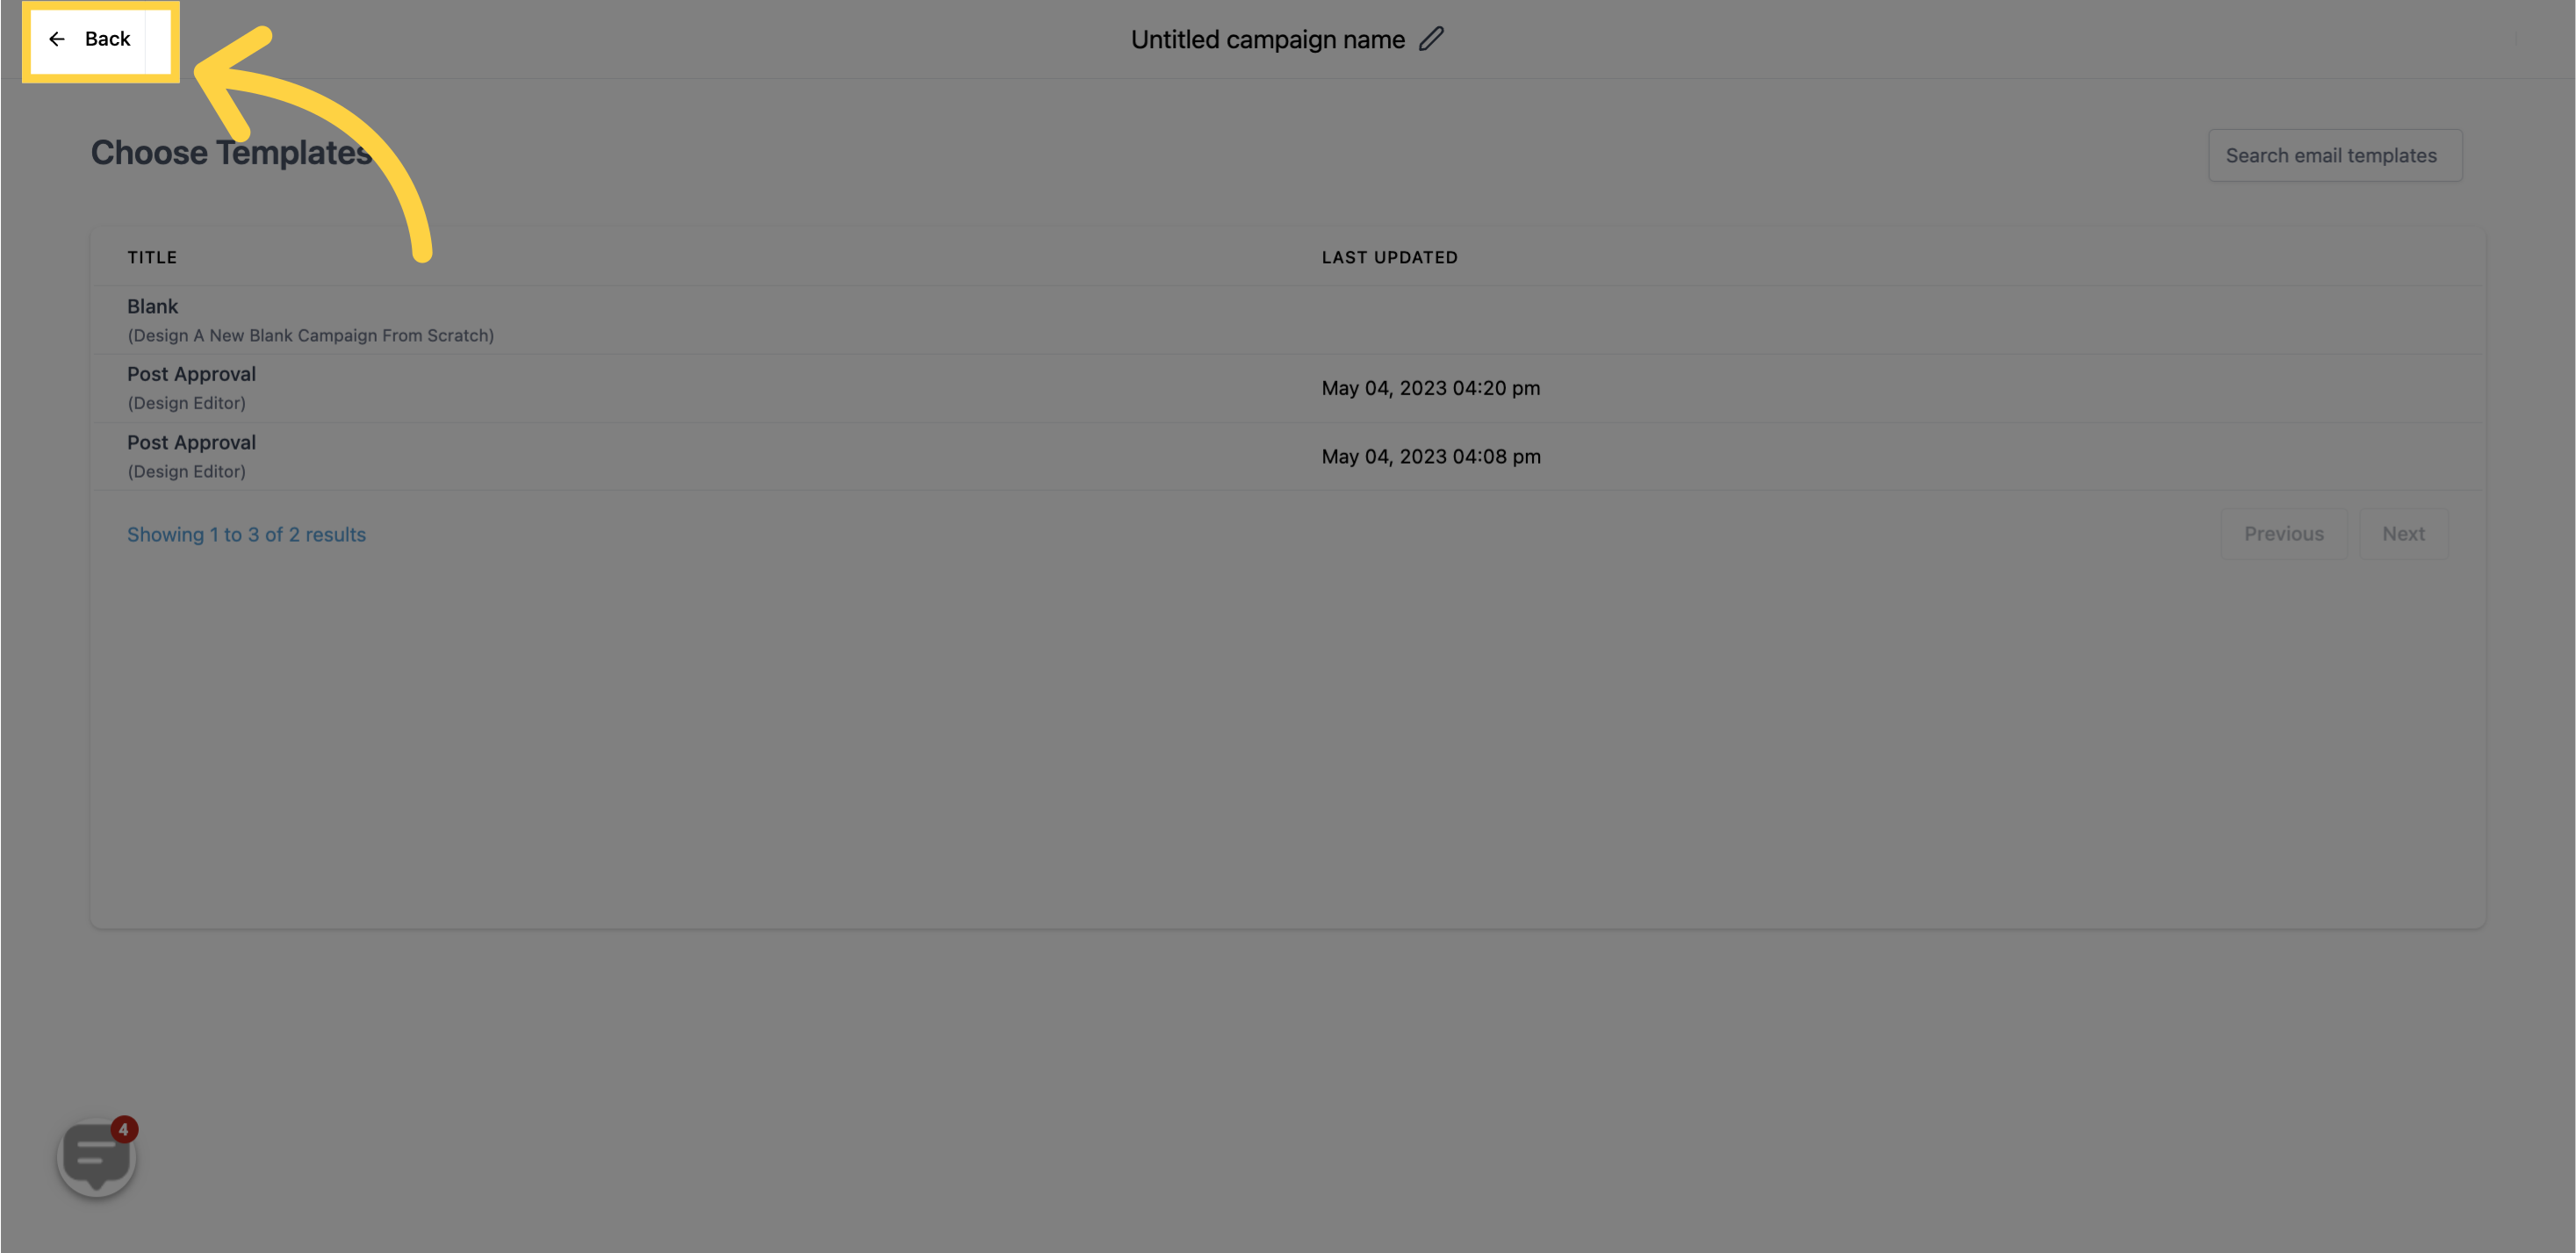
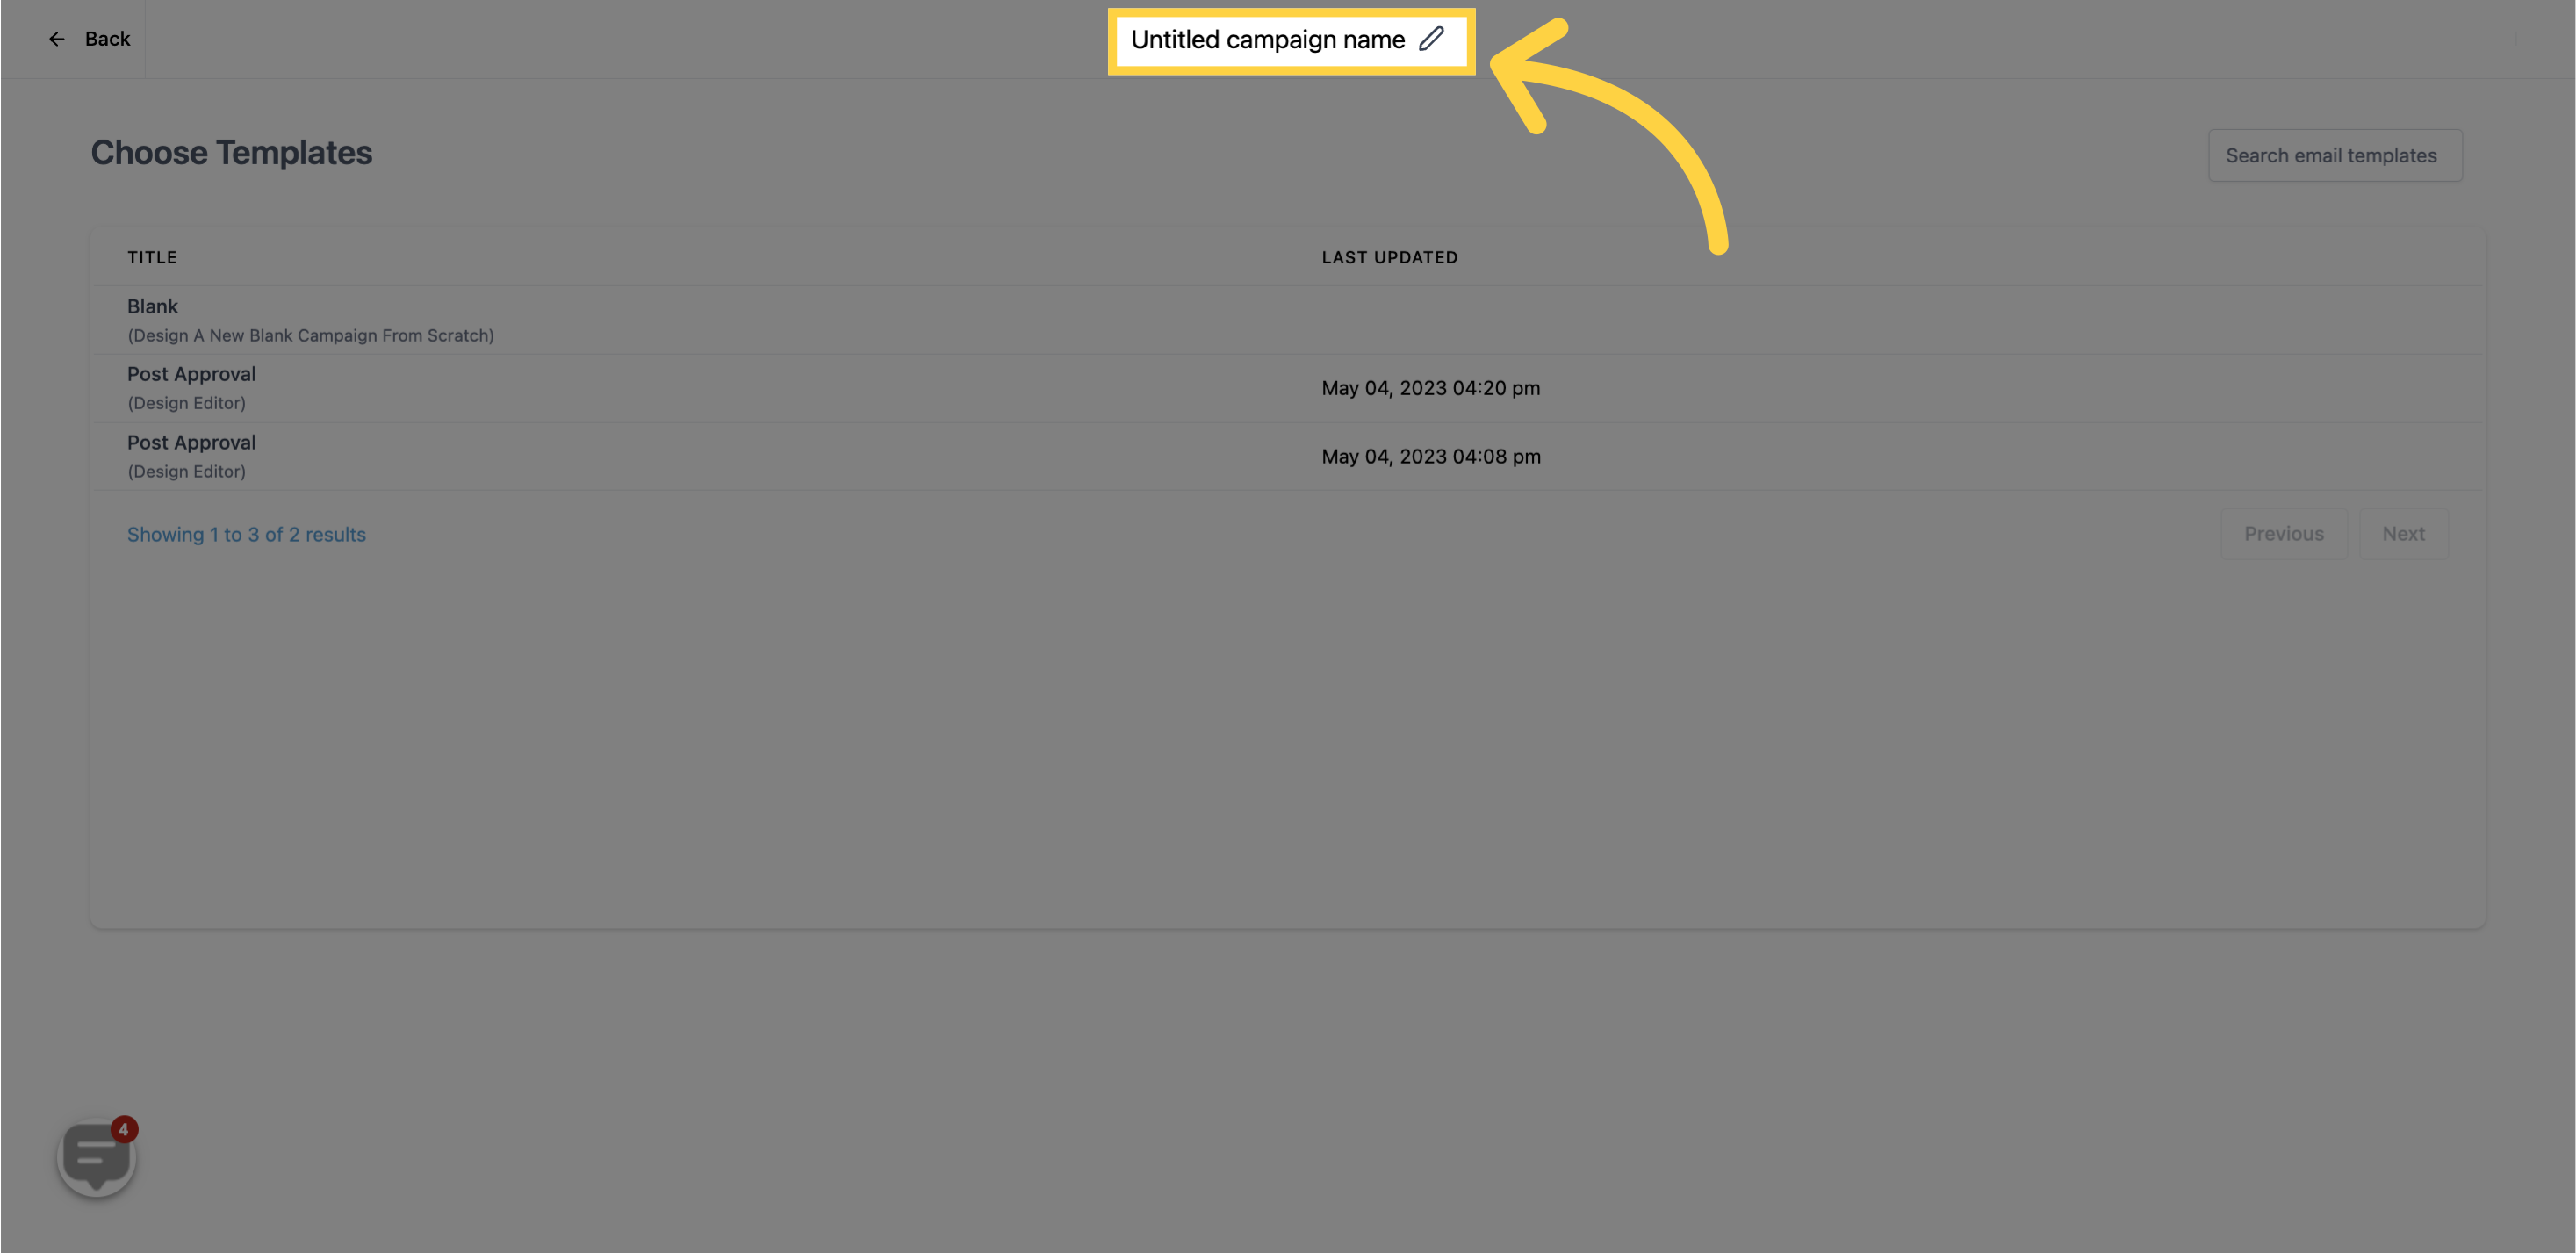
Name your campaign here
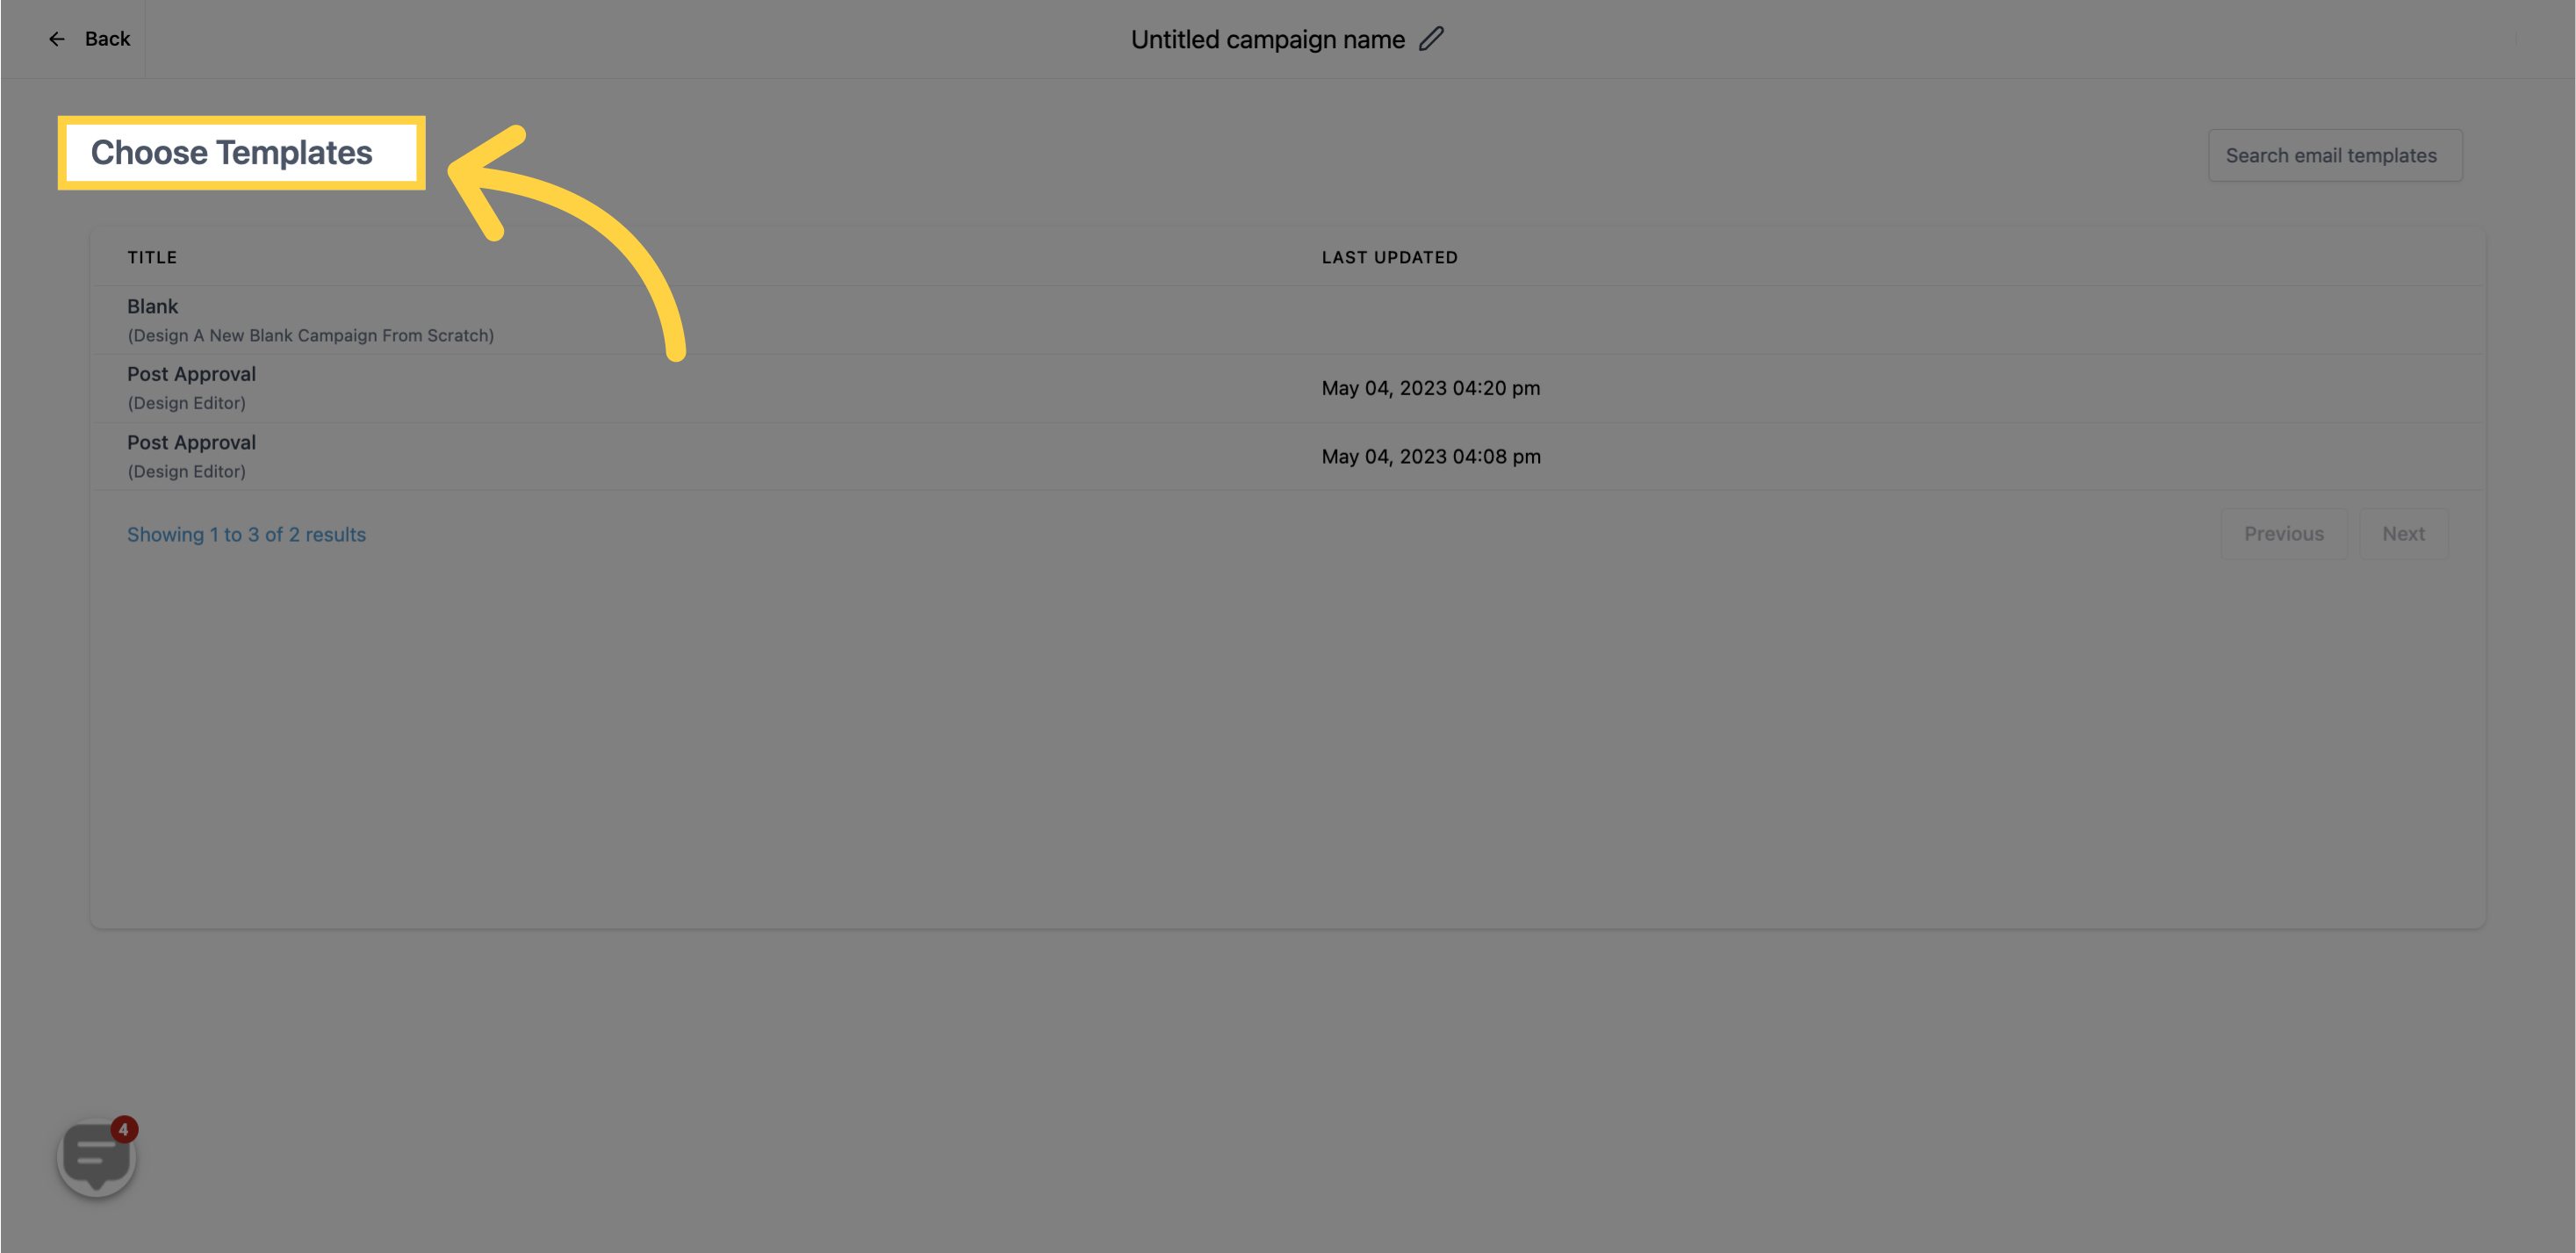
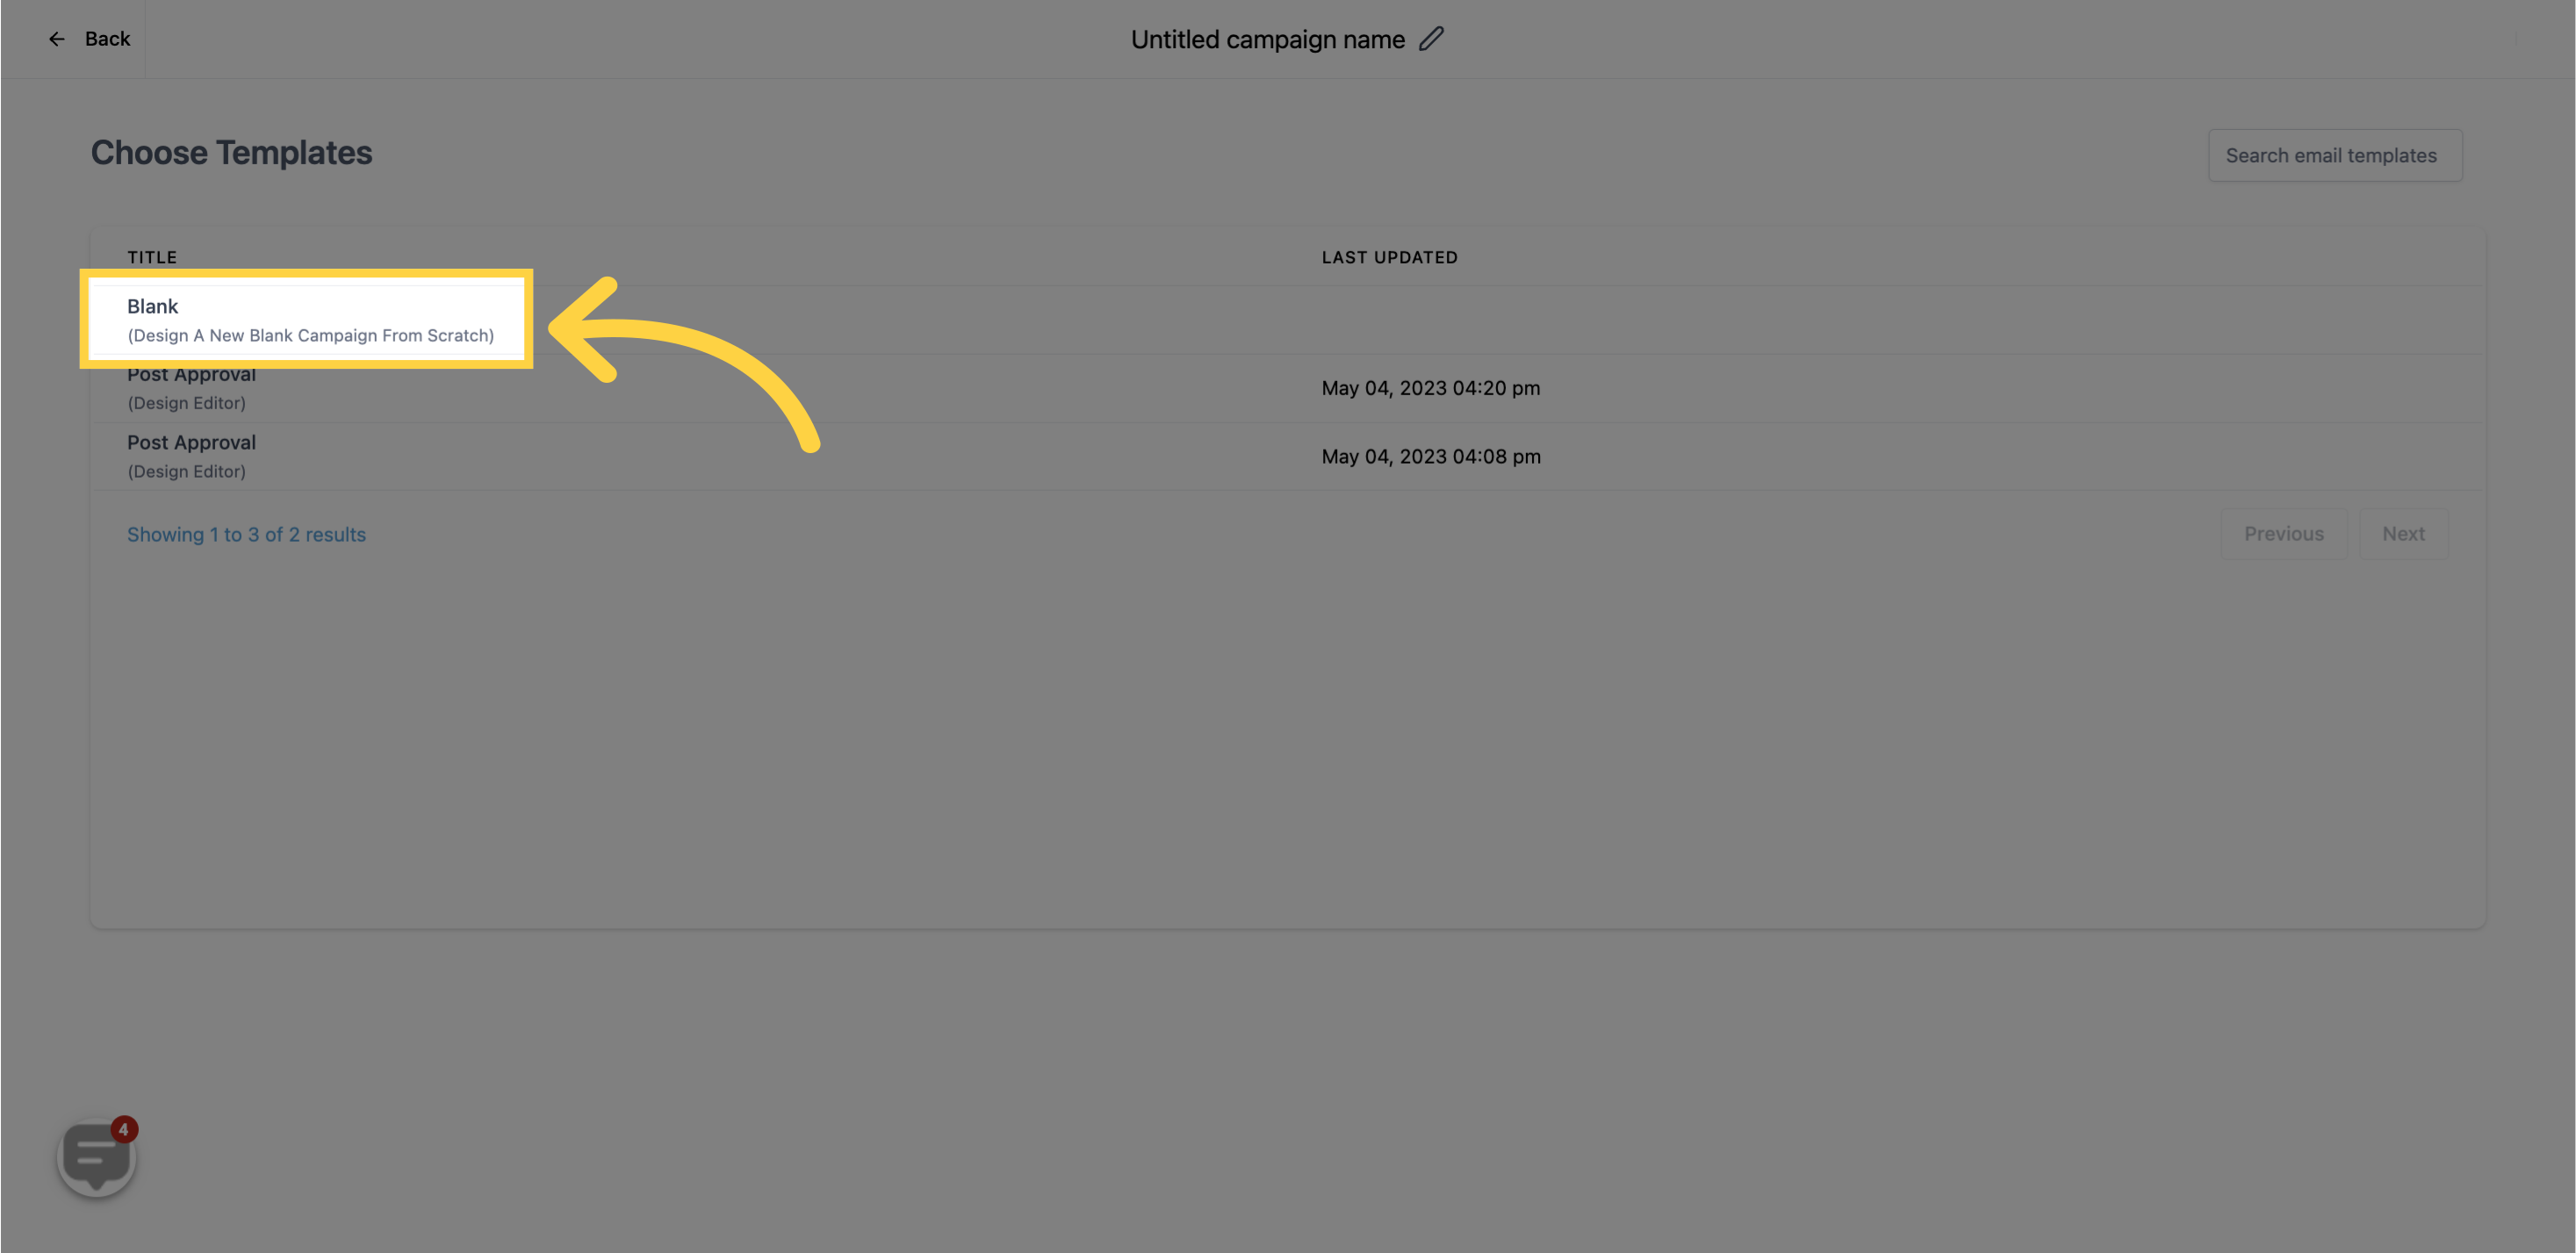
You can choose templates from the list of existing campaigns.
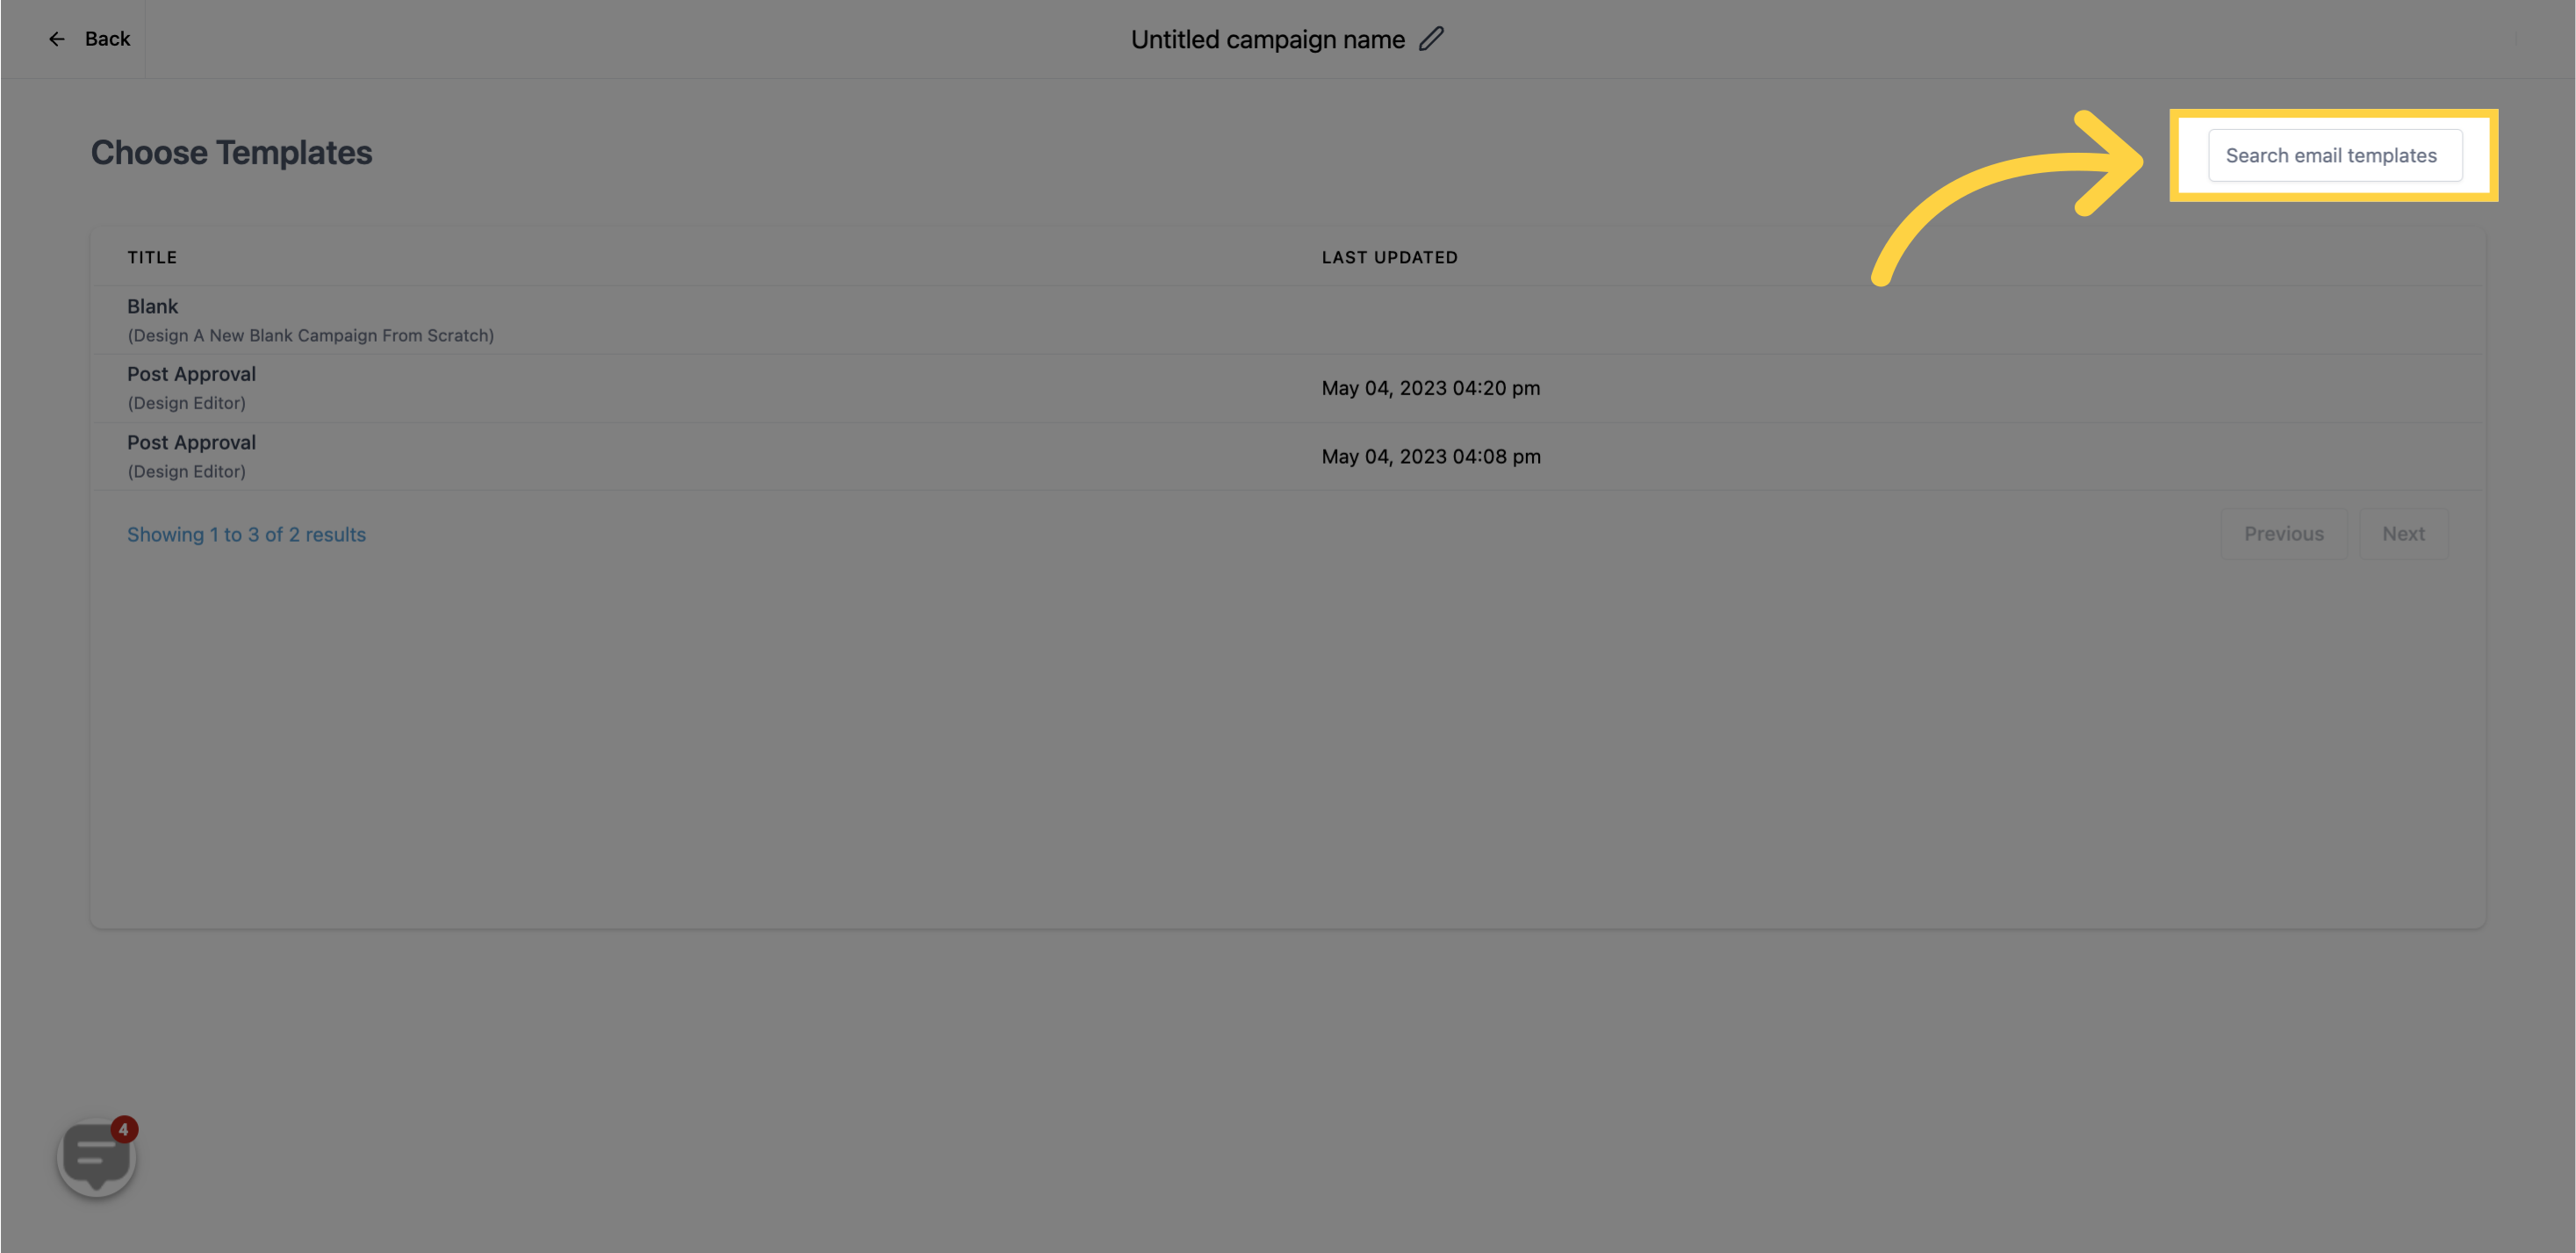
Use this tab to search for email templates that you have already created in your system.
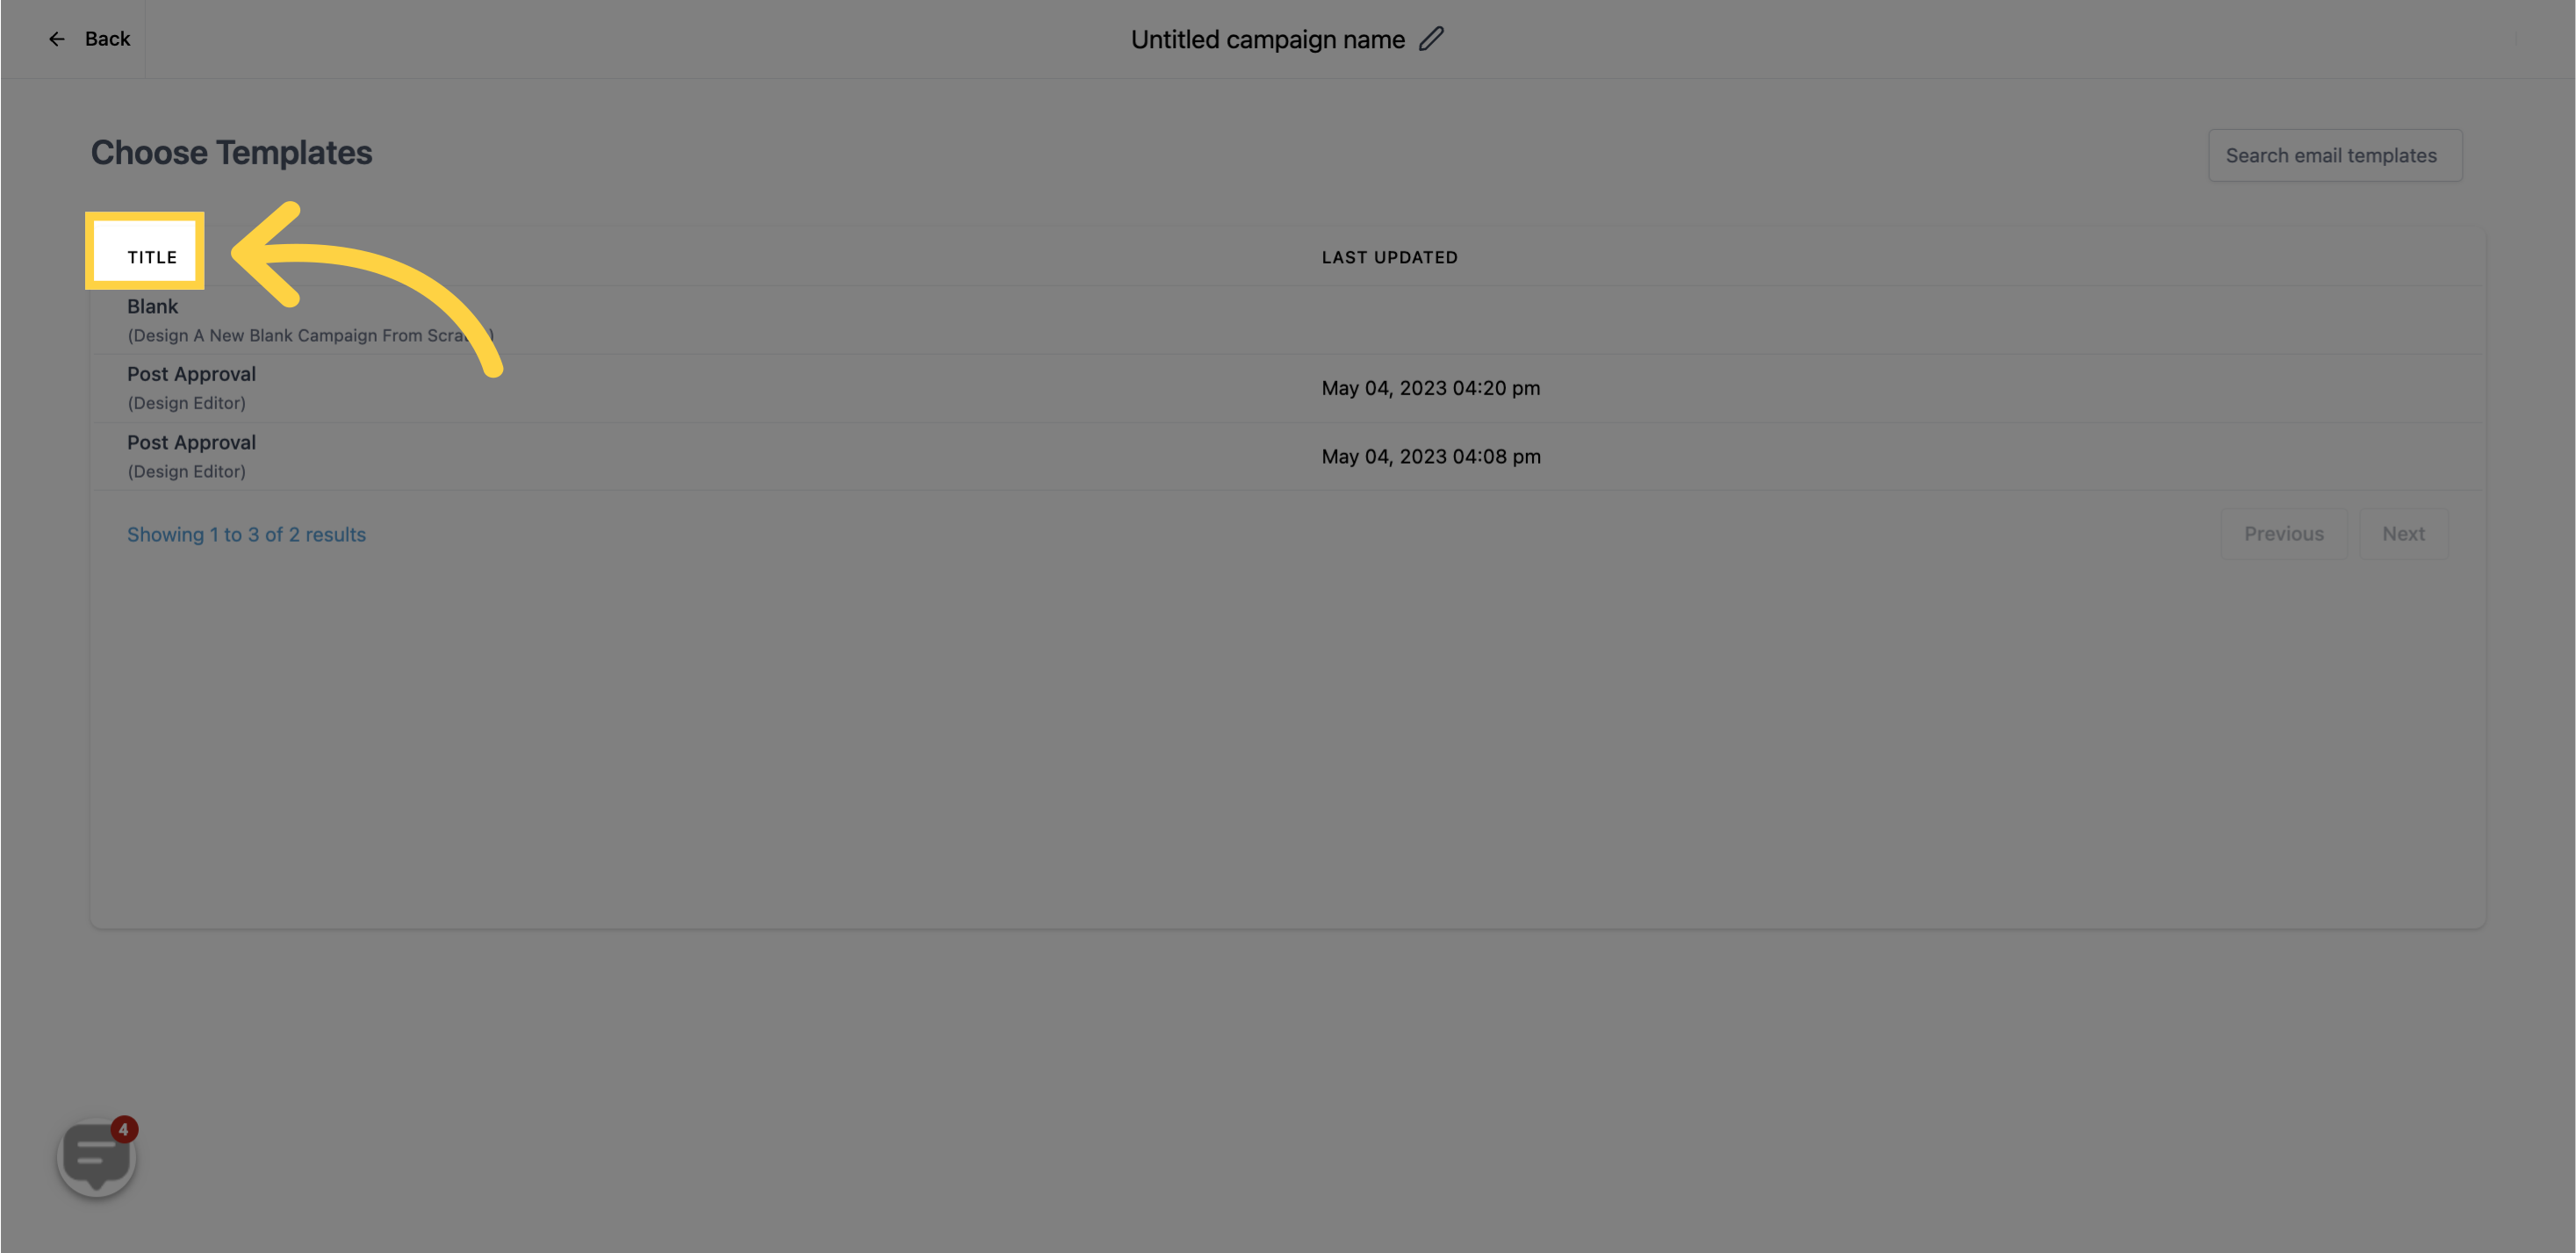
This displays the name assigned to each campaign in the list.
This displays the date when the individual campaign was last updated.

If you don't want to use any of the pre-existing templates, or if you're creating a campaign for the first time, you can select the "Blank" option (as shown below) to start building the campaign from scratch.
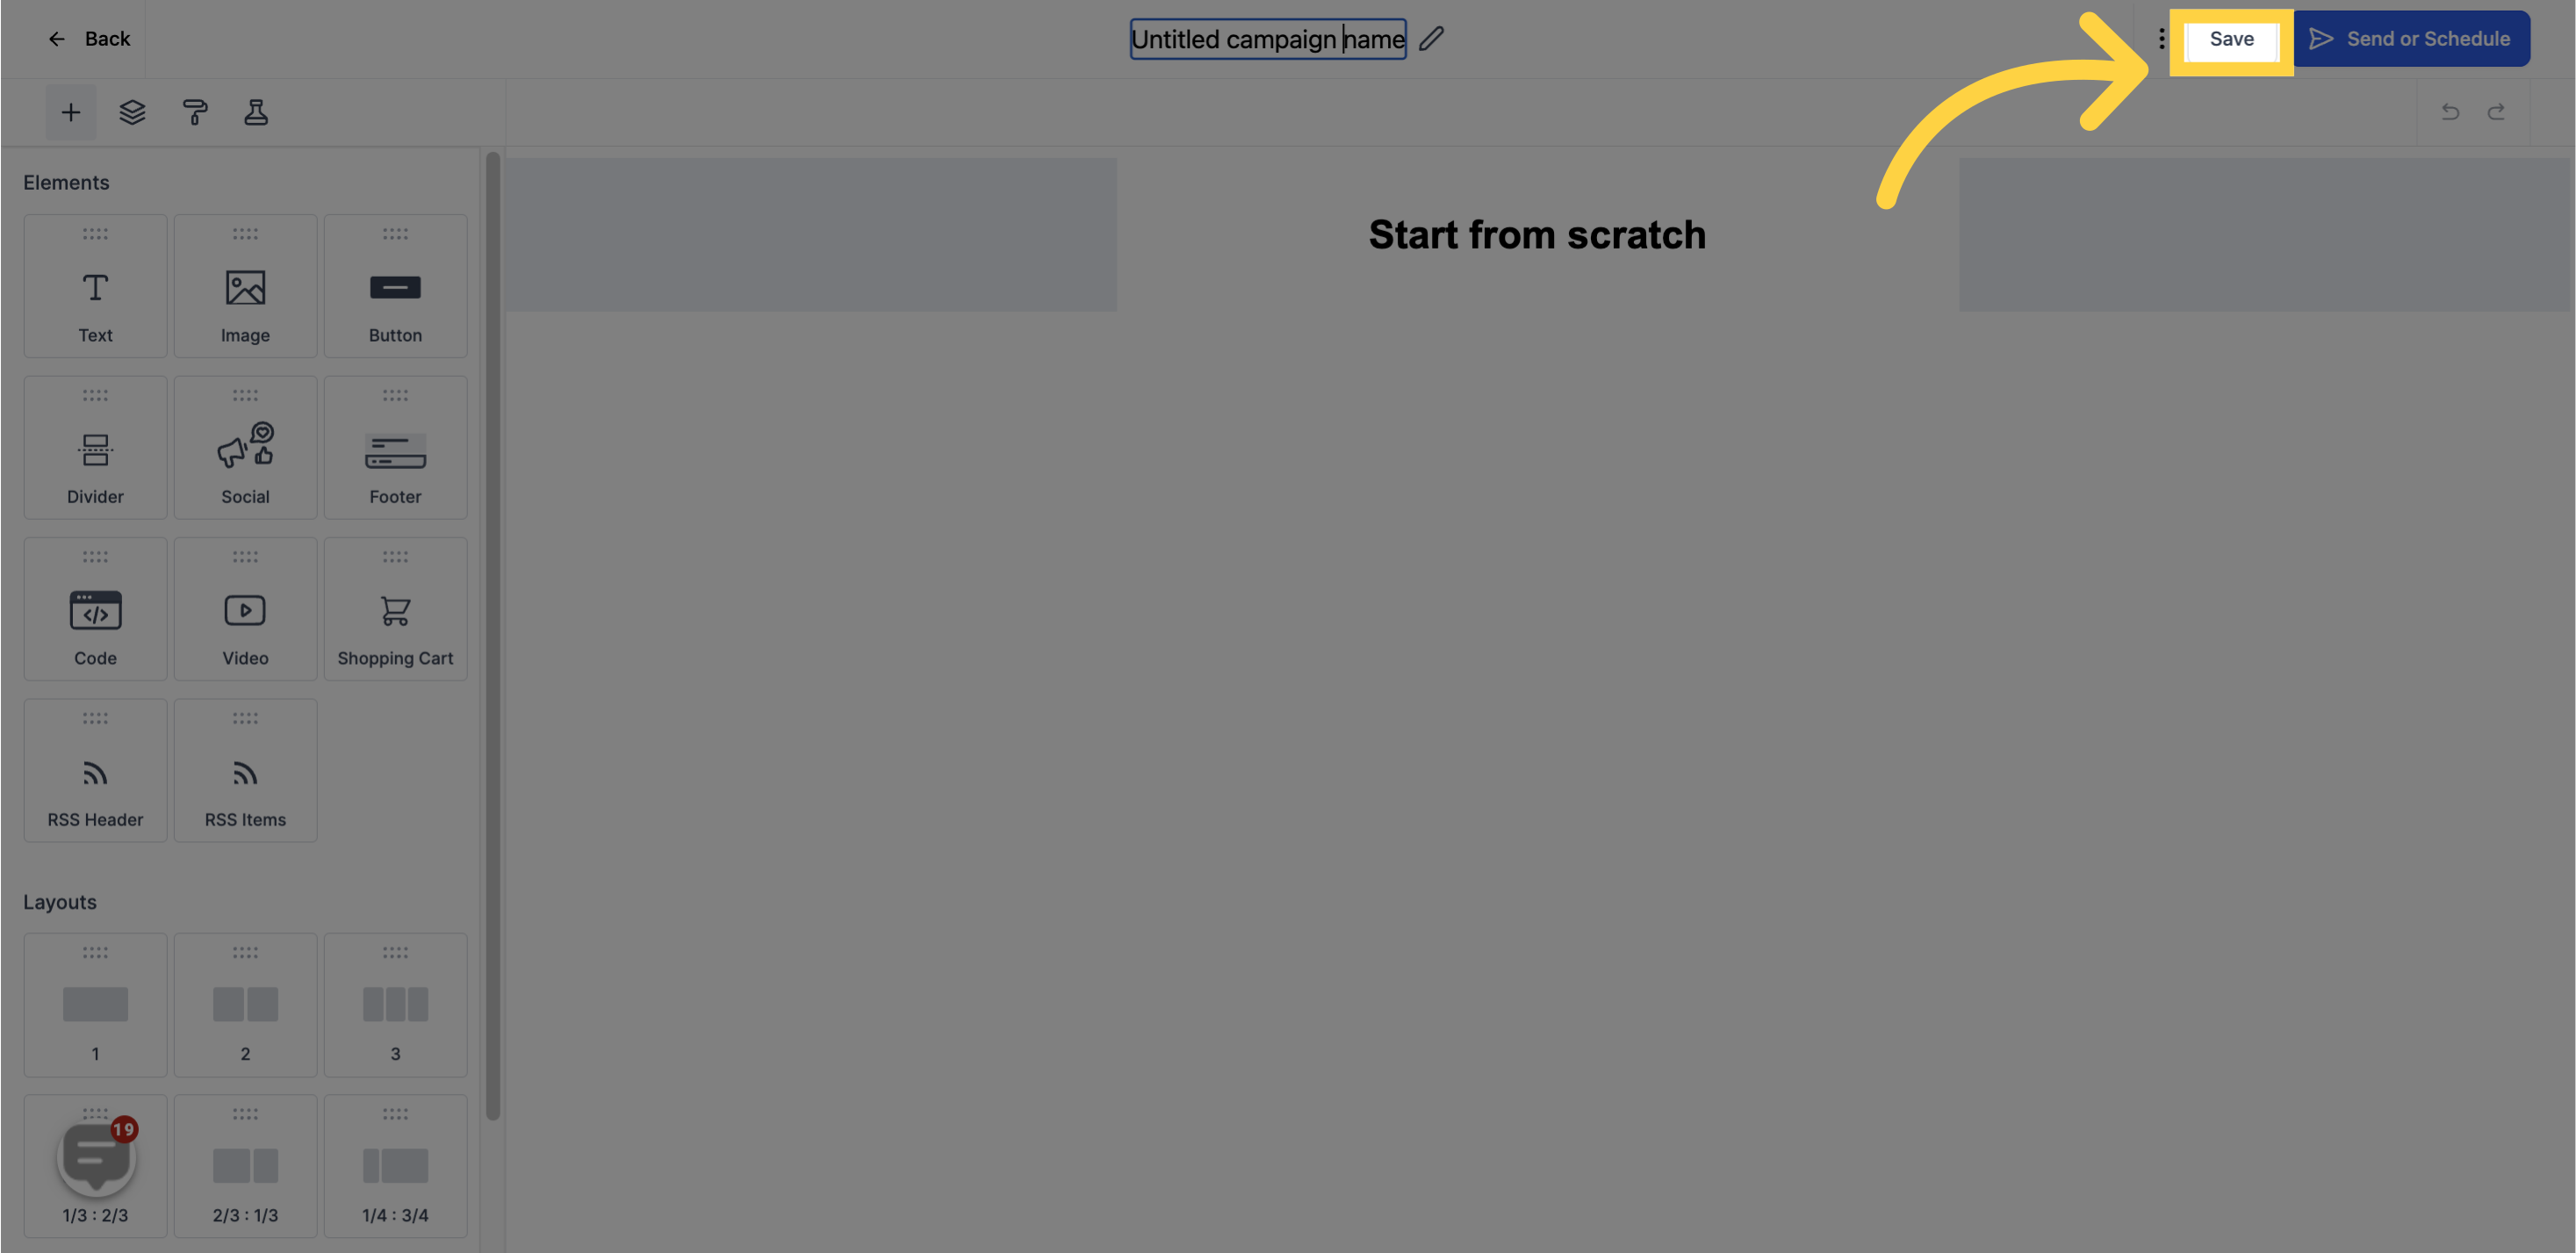
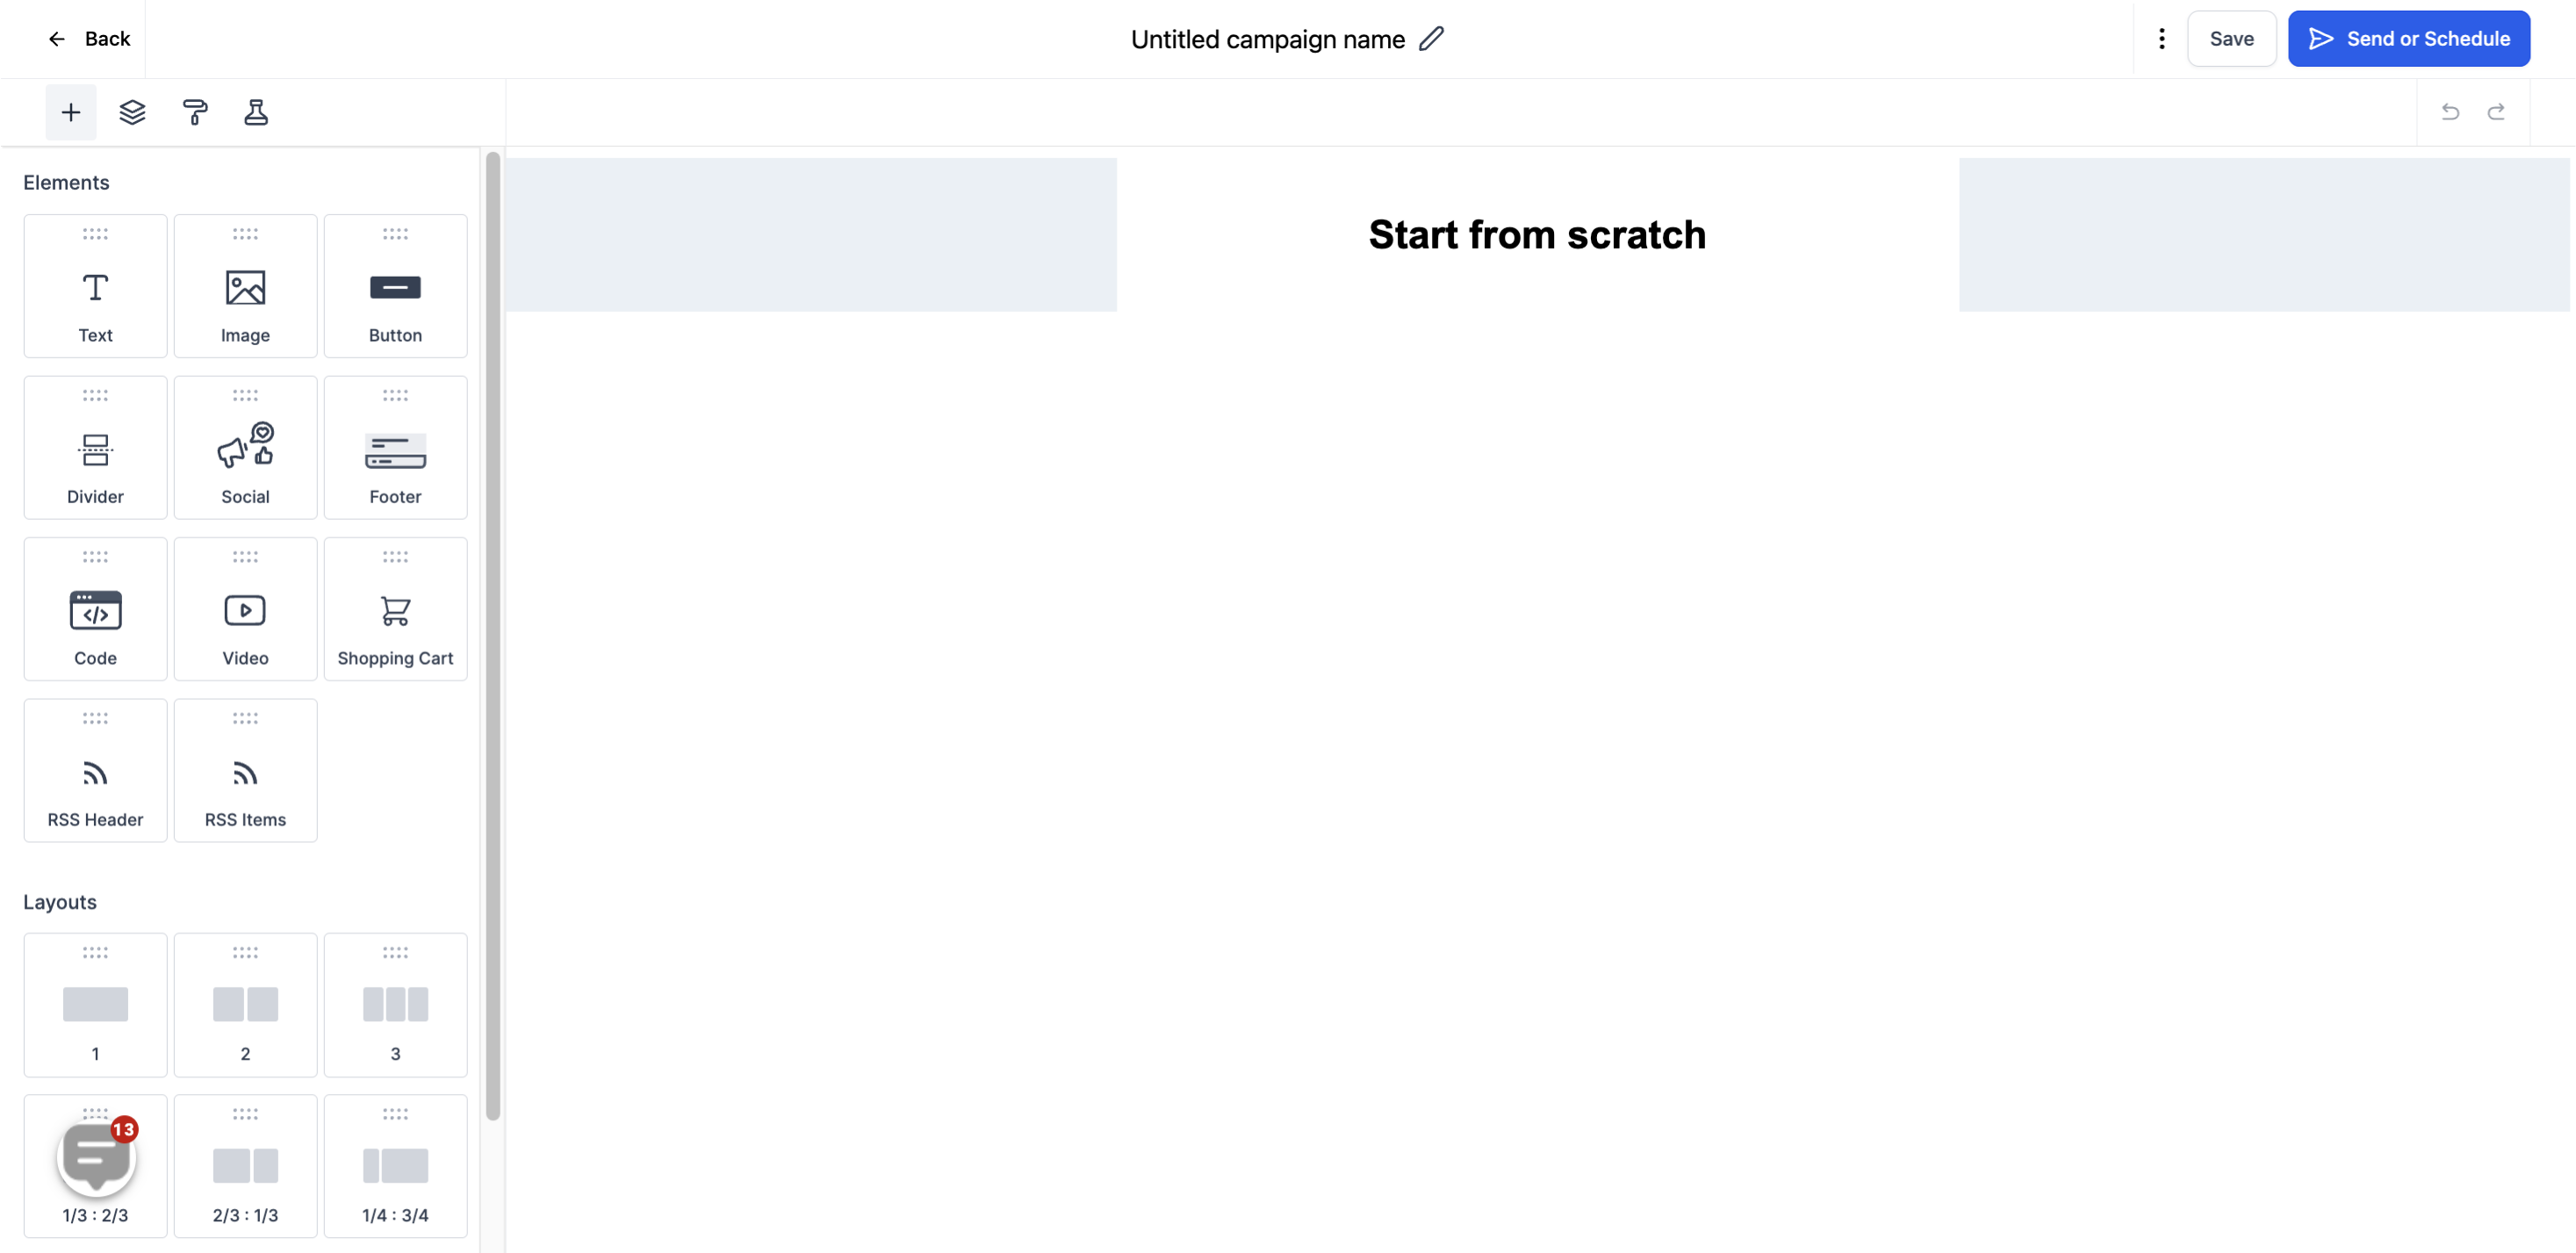
This is the section where you'll design your content and add the required elements for your campaign. The Email Campaign Builder allows you to easily duplicate, delete, and rearrange various types of element blocks.
Here are some additional options to consider before sending out your campaign
Select the option to test the email.

This option allows you to preview the template you have designed for the campaign.
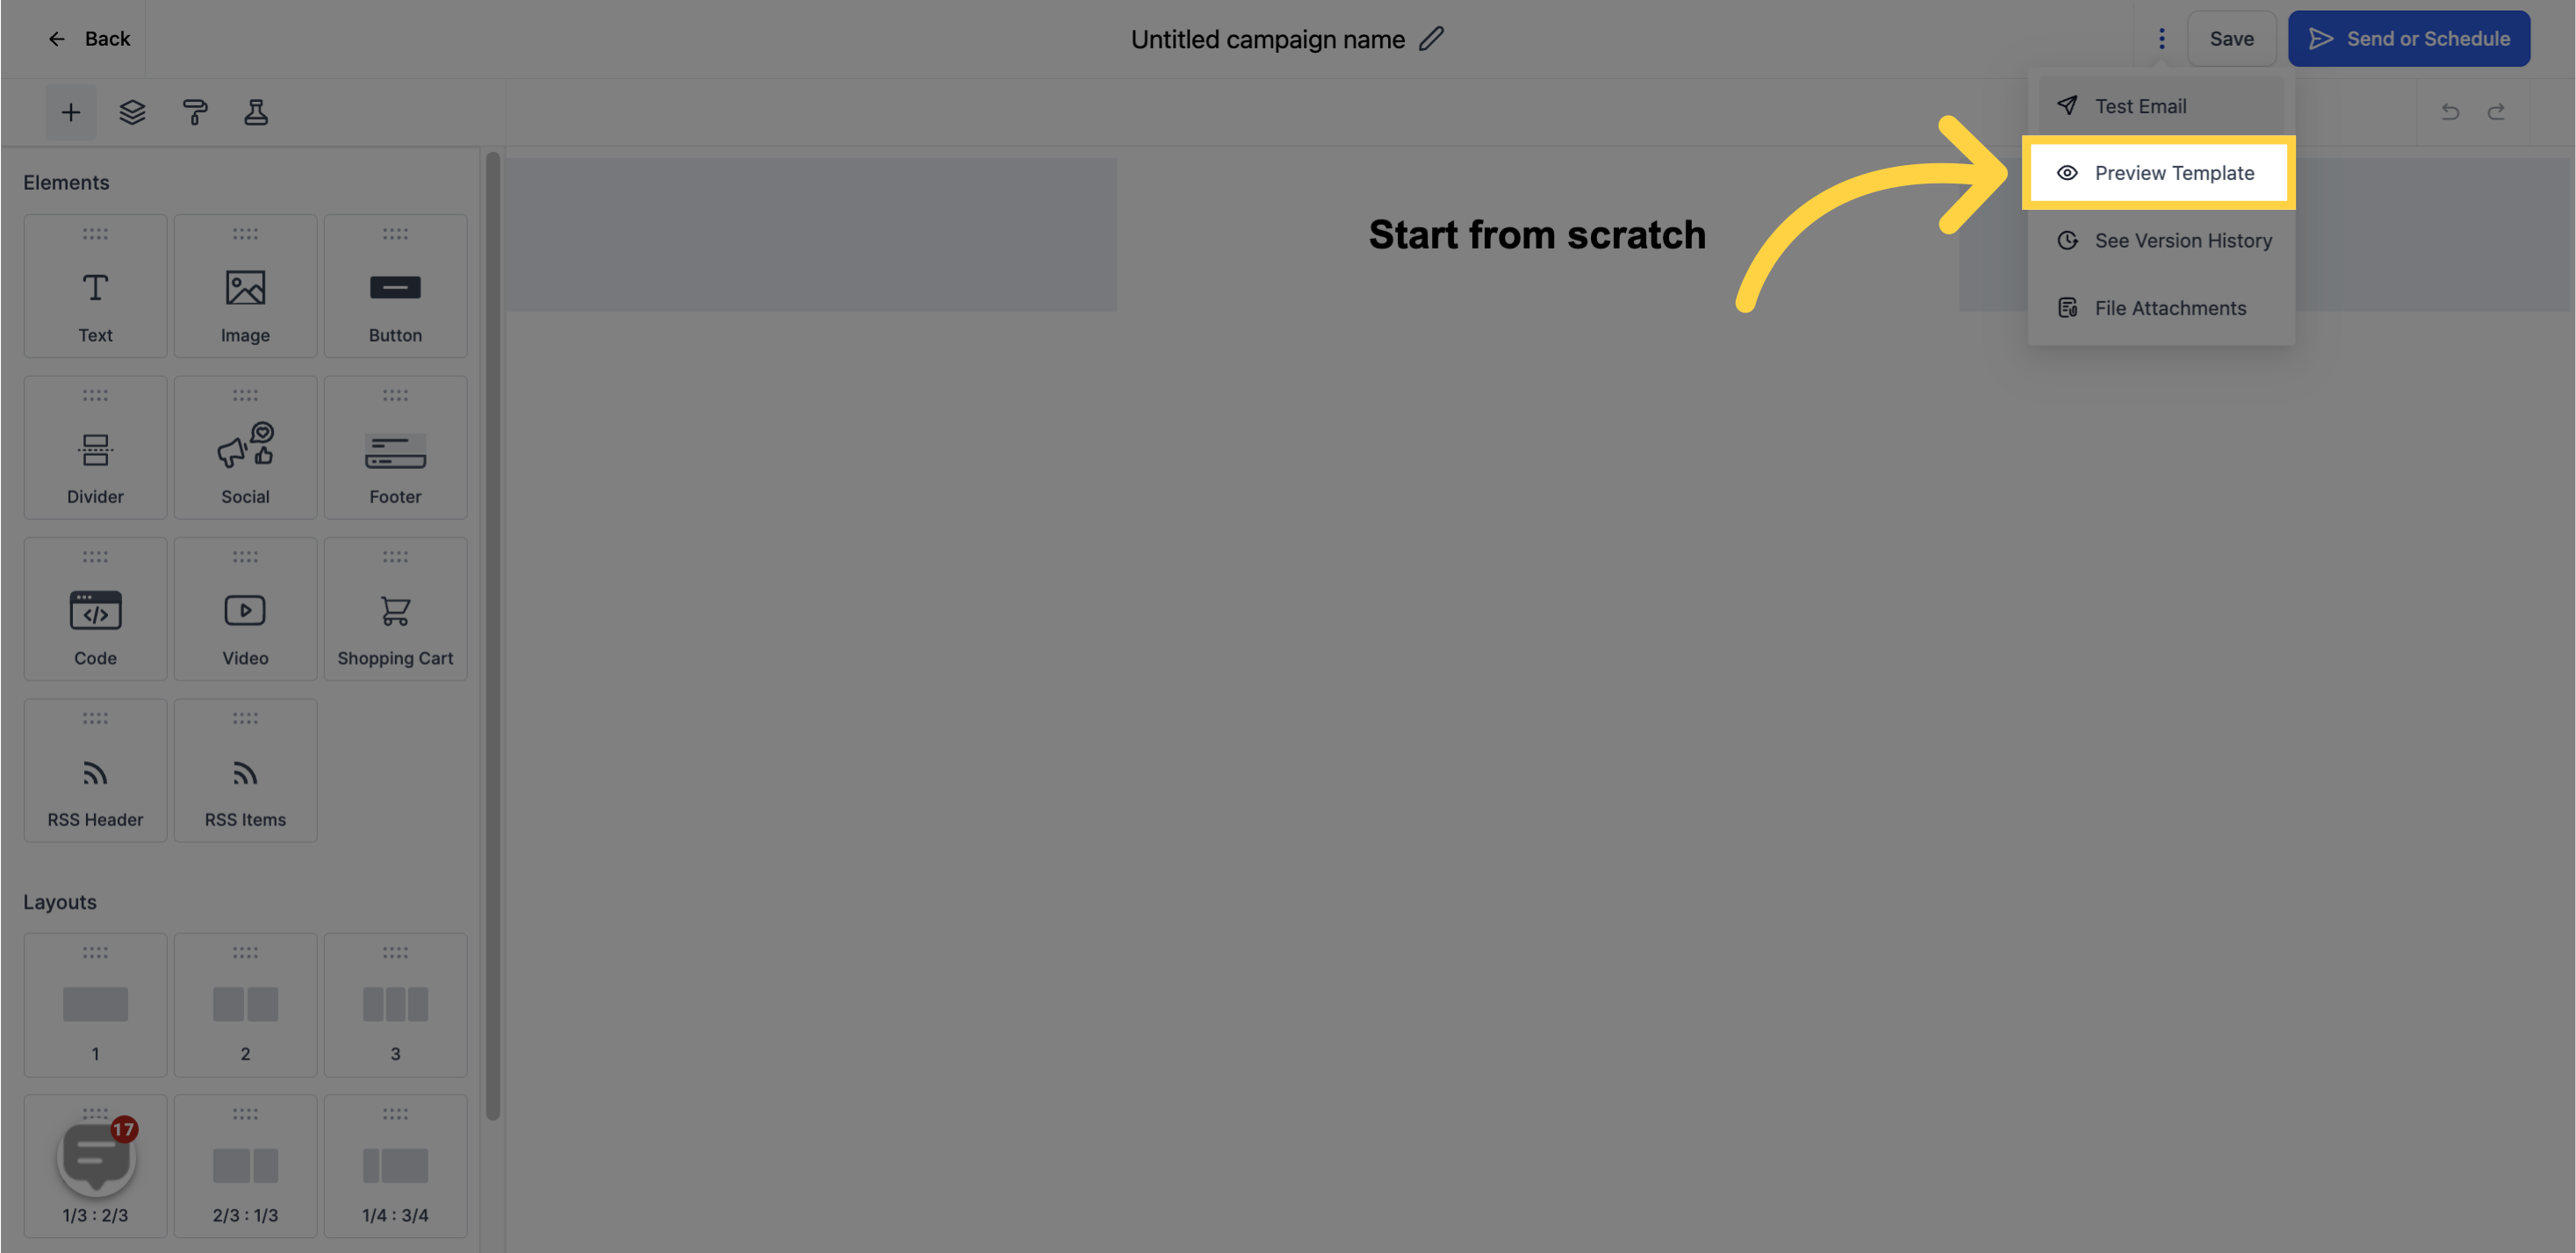
This feature lets you view the modifications you have made to your campaign.


To save the changes made in your campaign, use the save button. This ensures that you do not lose any of your work.