If you don't have any contacts, you may only have access to a partial version of this help guide.
Please note that your access to certain components may be limited based on your user permissions.
A separate table card will be assigned to every smart list created. These table cards can be rearranged for smart list organization and have quick action buttons on the right side.
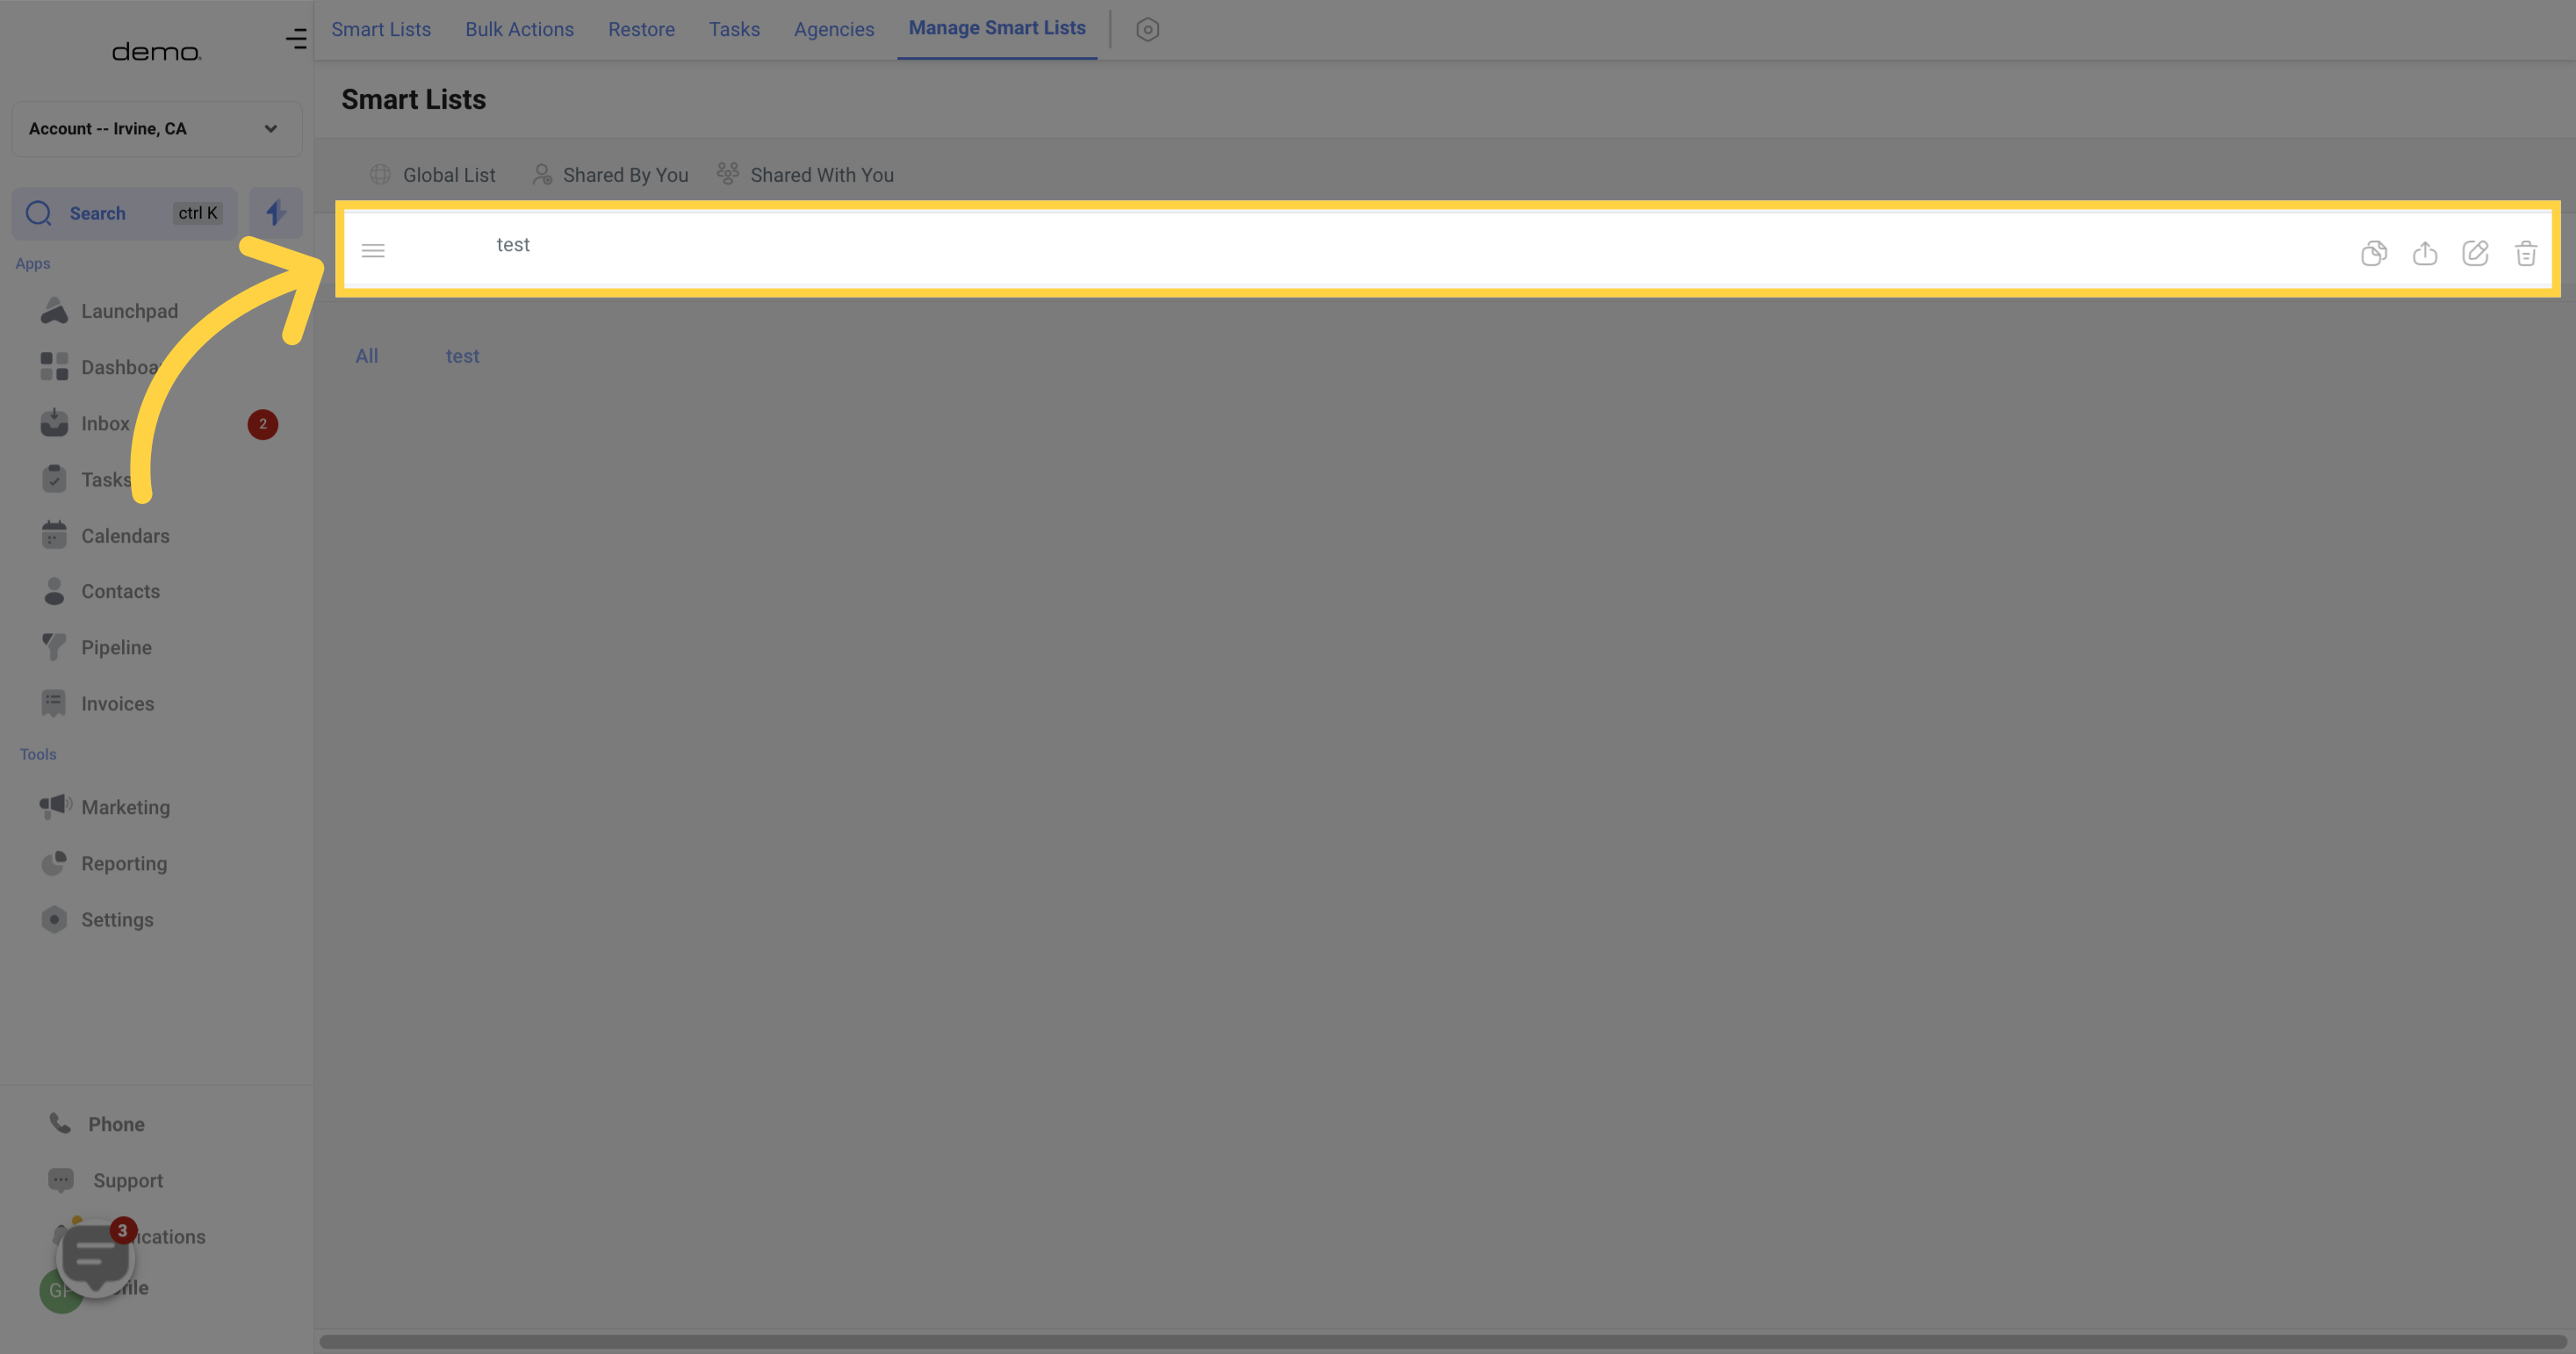
To organize your smart list table, just use the icon to drag and drop the smart list up or down.
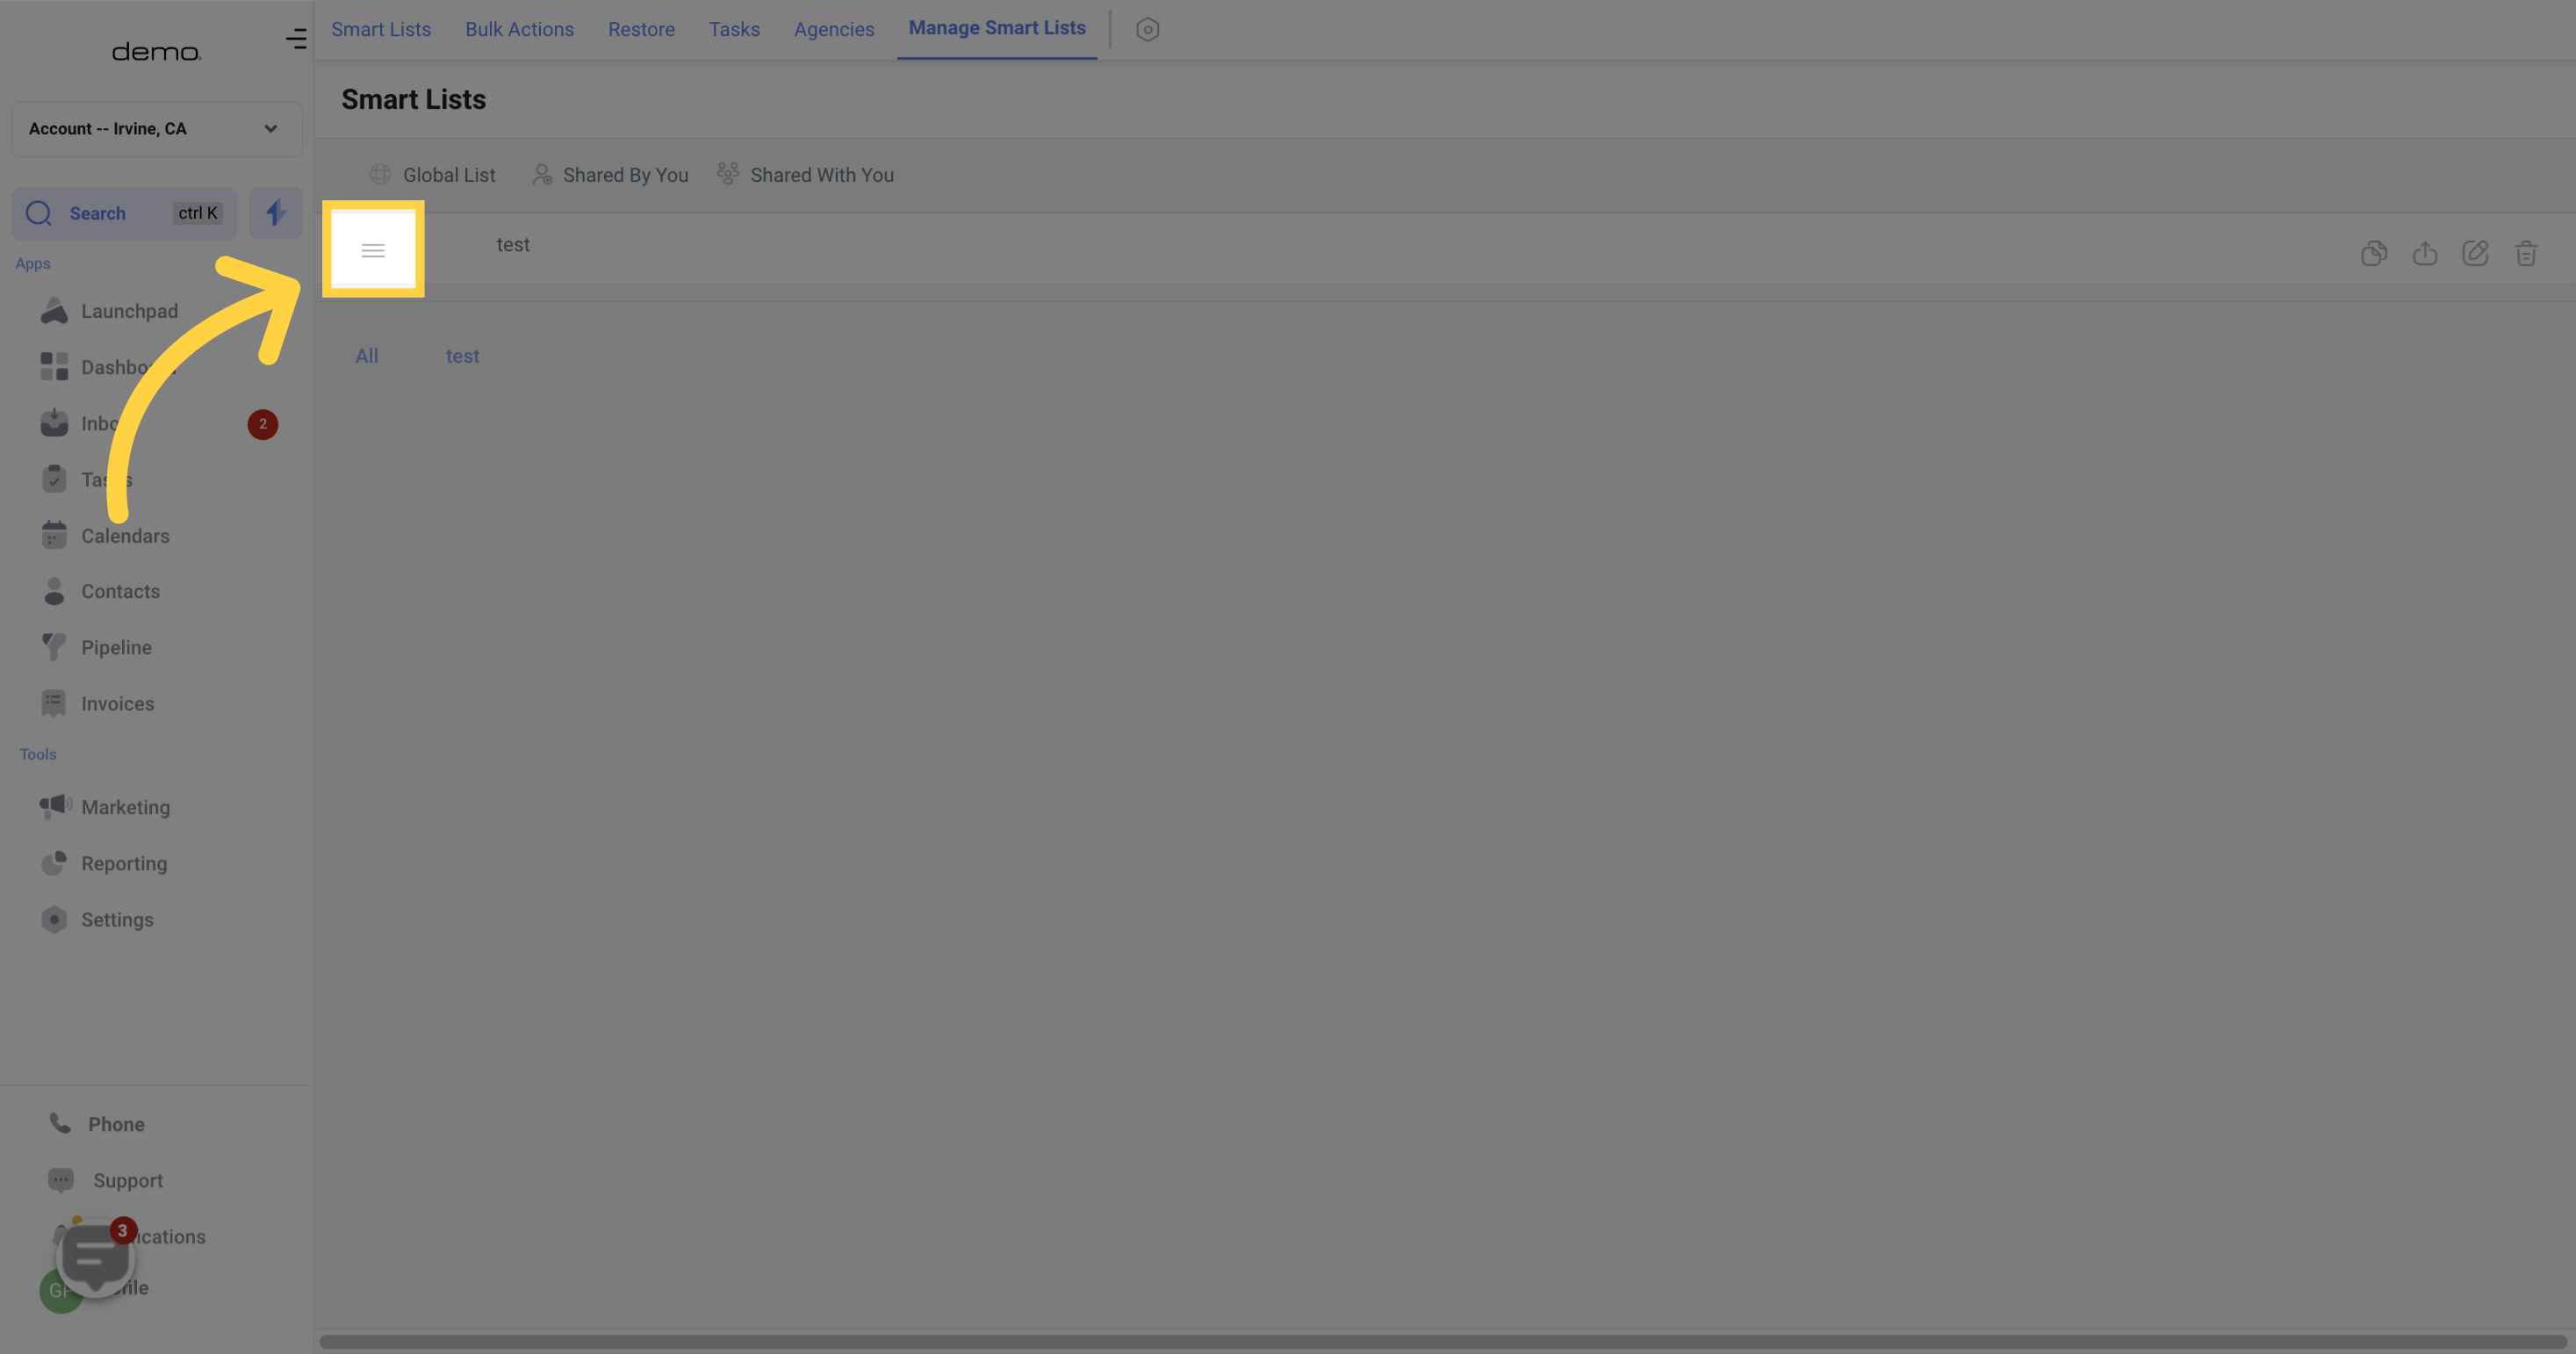
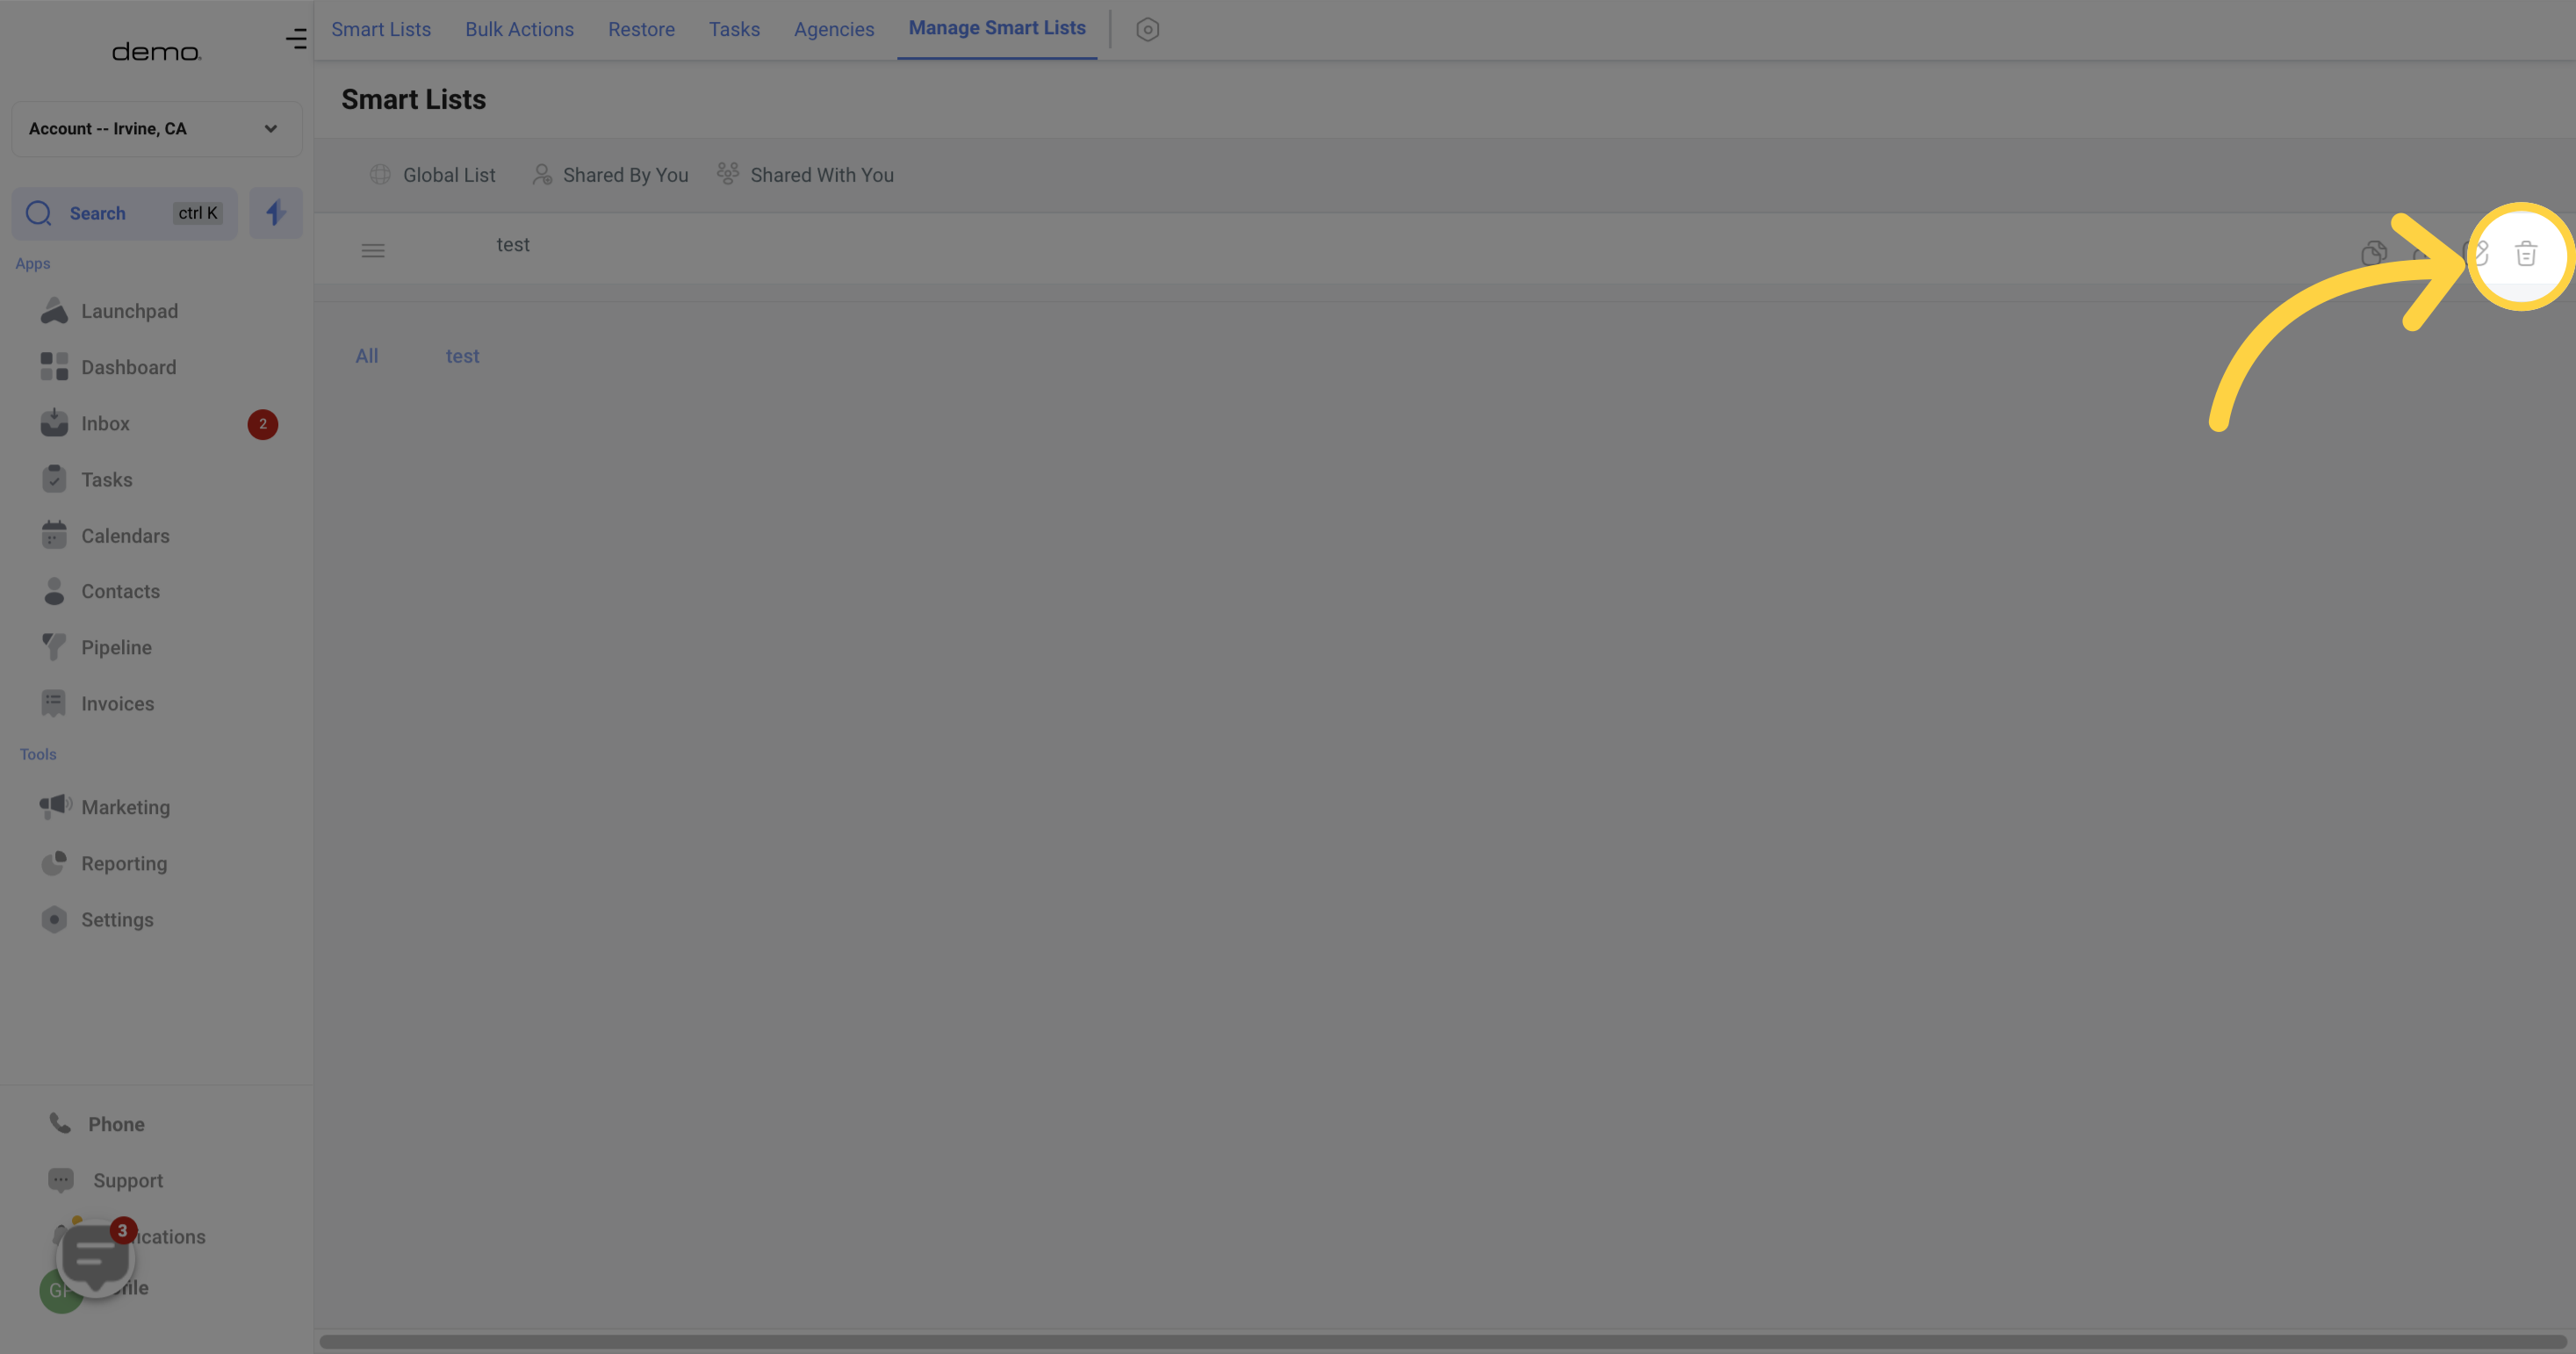
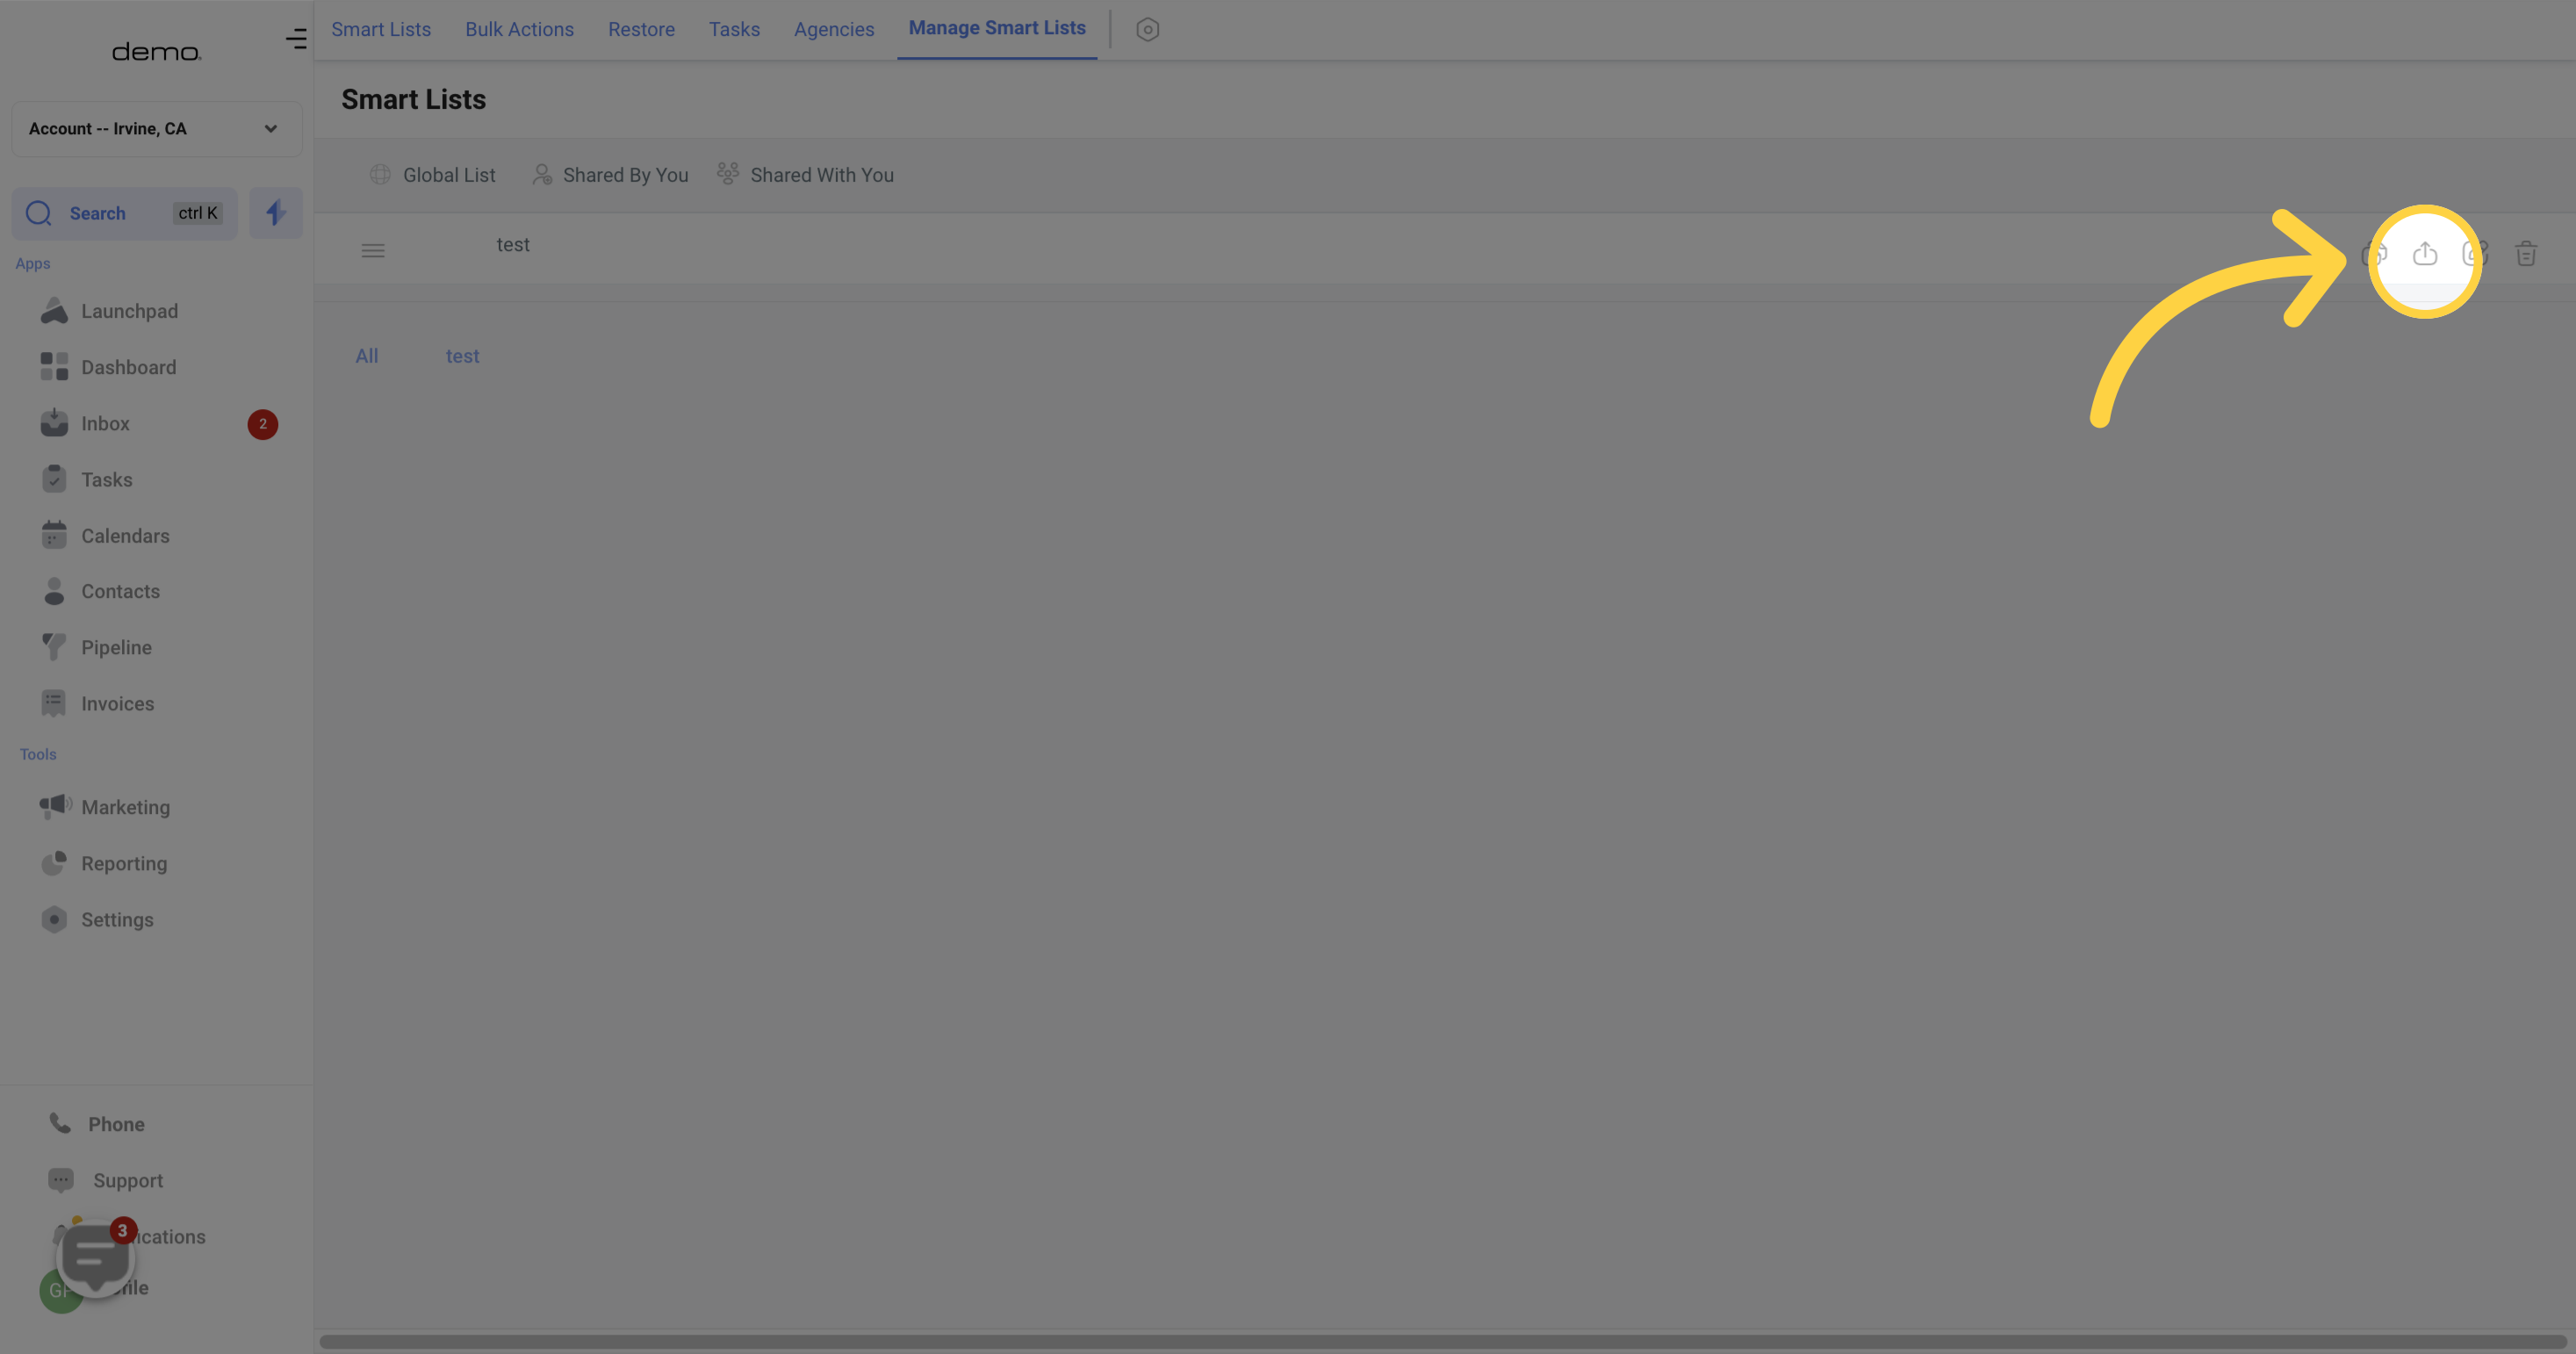
Smart list names can be edited, existing smart lists can be duplicated, and smart lists can be deleted or shared with other CRM users through the settings.

To create a copy of an existing smart list, use the "Duplicate Smart List" button. This feature is beneficial when you need to swiftly replicate a set of filters that were previously used on another smart list.

When generating smart lists, you can opt to share them with either all or some CRM users. The symbols displayed next to each smart list in the settings area indicate their sharing status:
the globe icon signifies universal sharing
the "created by you" icon denotes sharing with others
the "created by another user" icon represents sharing with you.
Click the "Edit Smart List Name" button to modify the name of your smart list.
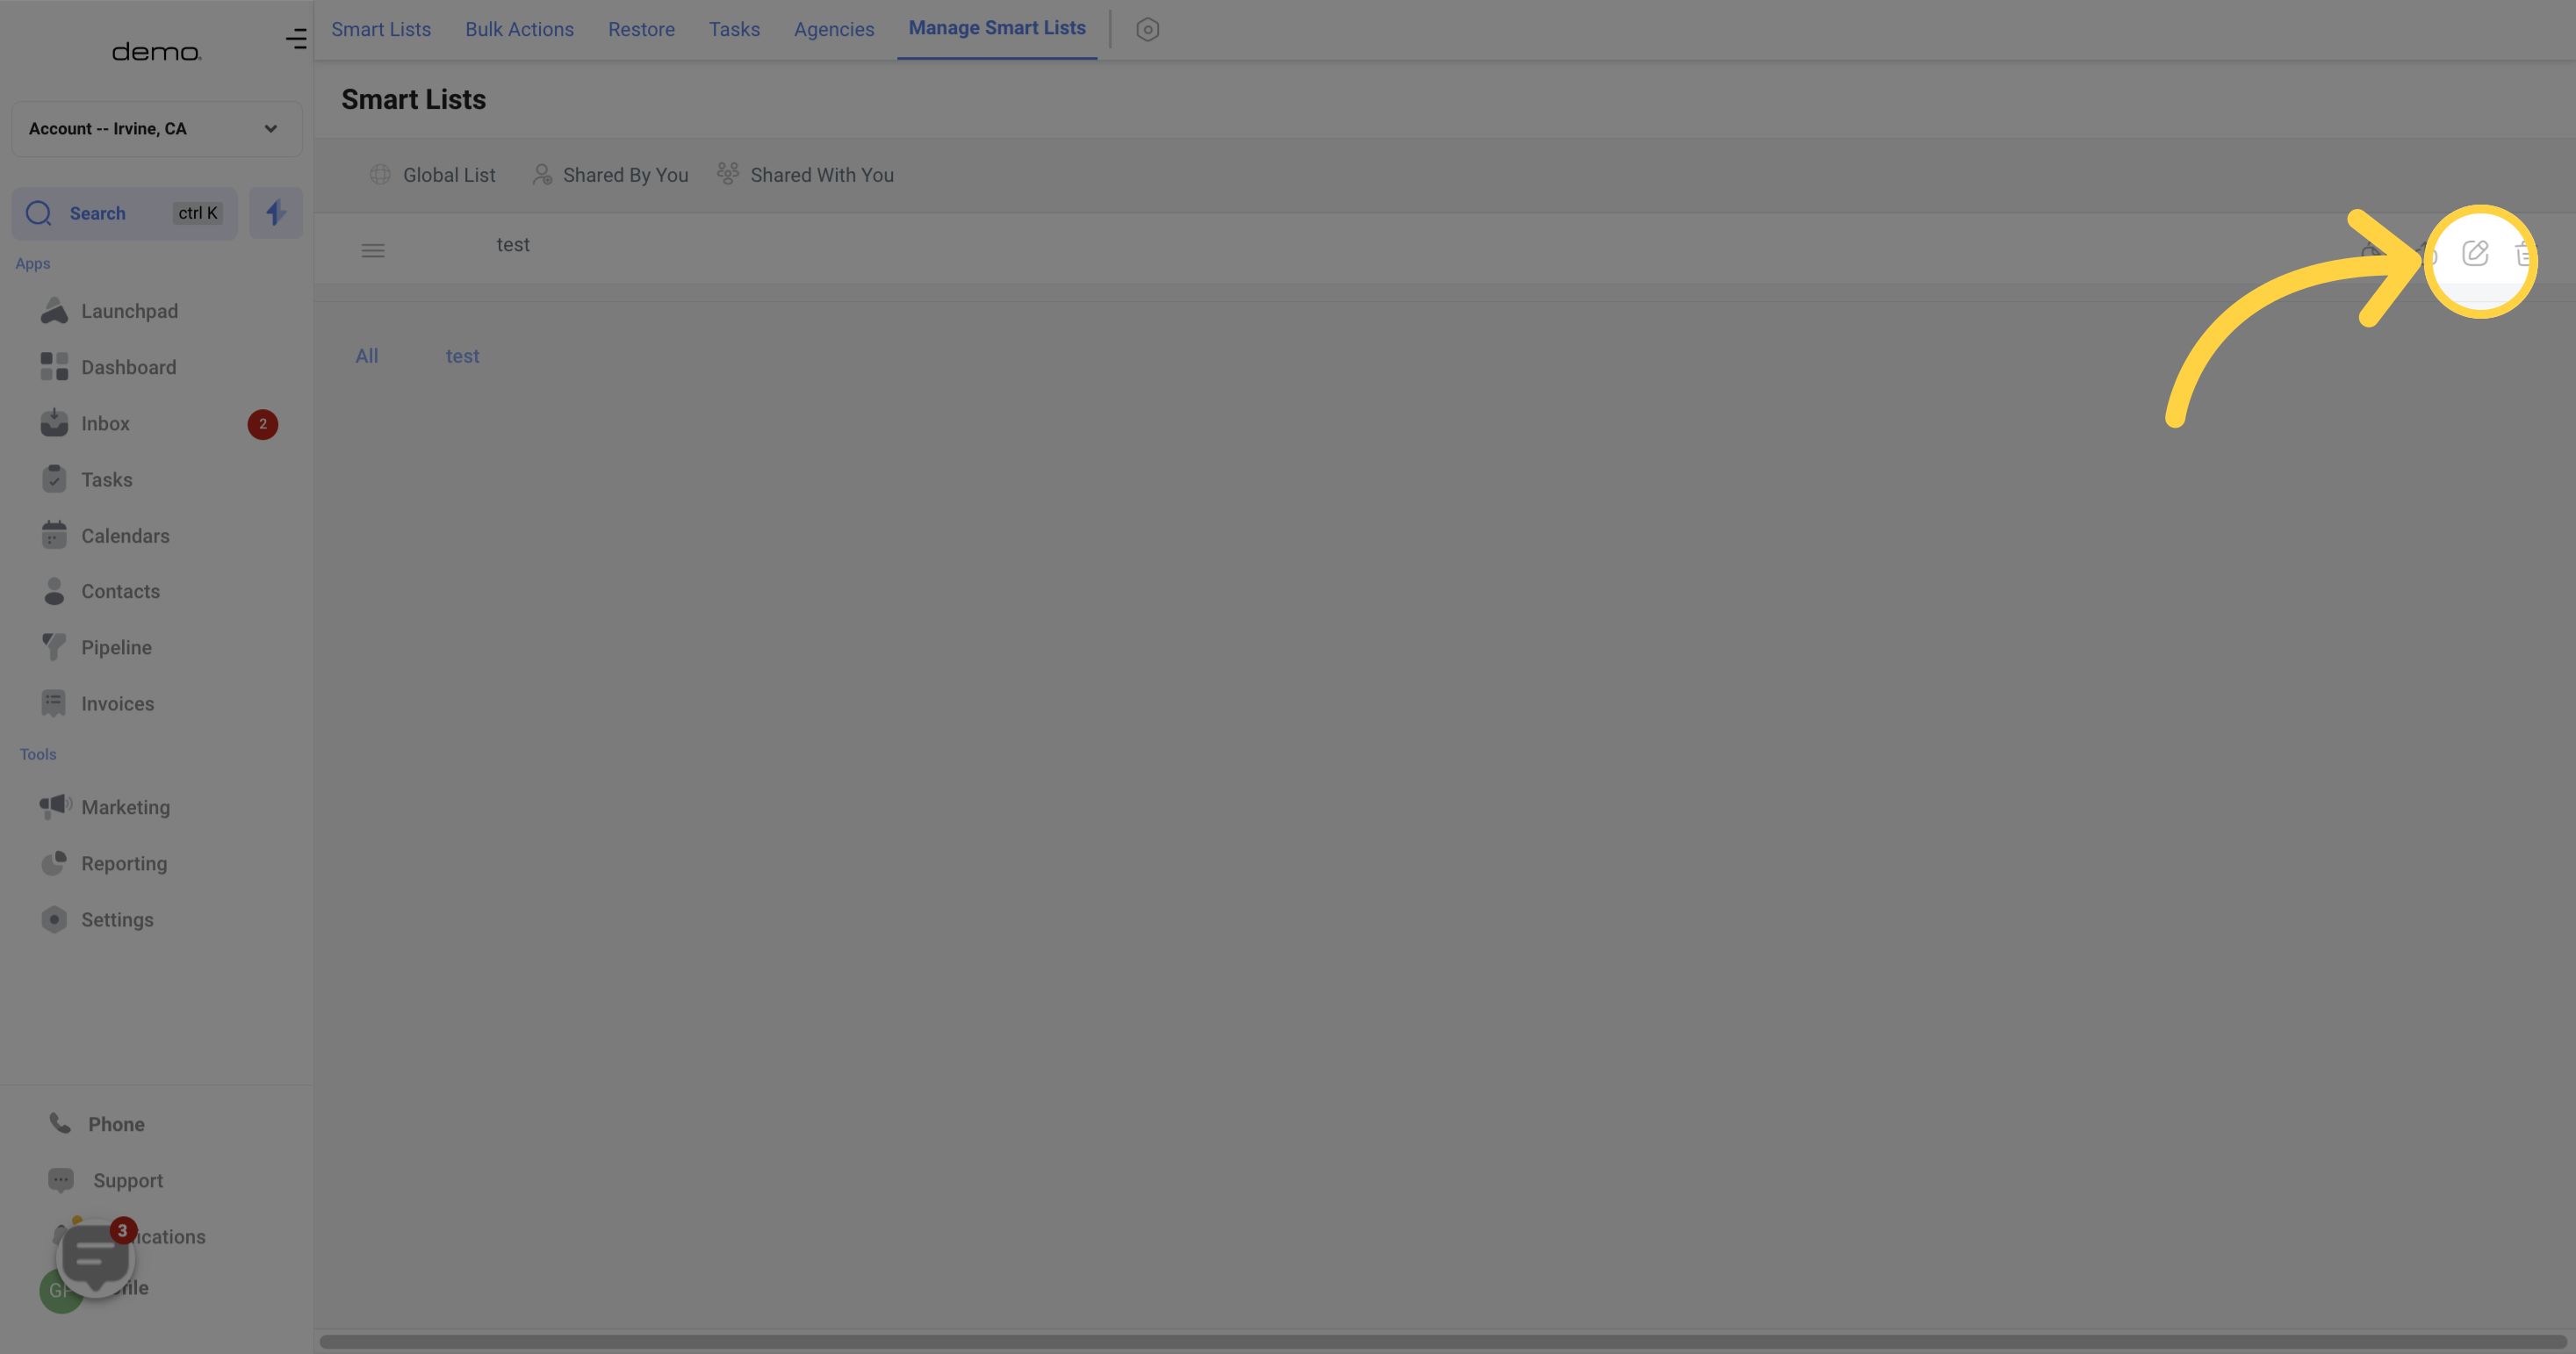
if you need to erase a smart list, click the "Delete Smart List" button.
Please note that when a smart list is deleted, the related contacts will remain in your CRM, but the smart list will no longer be visible.