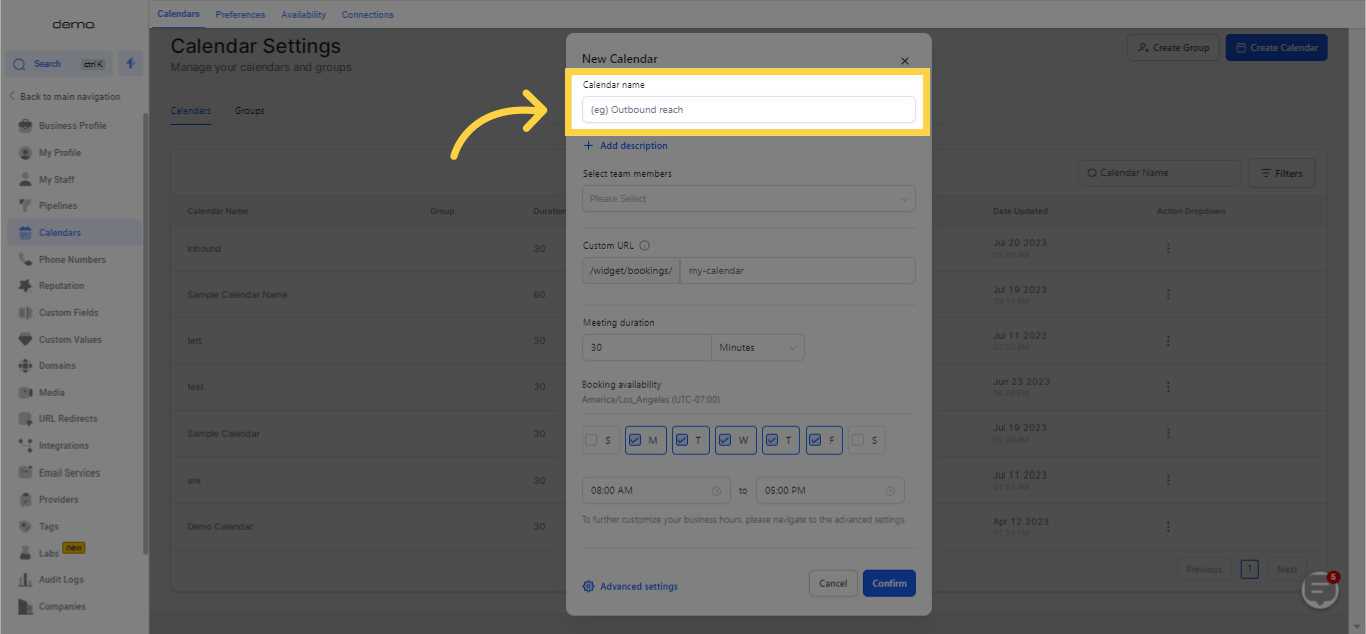
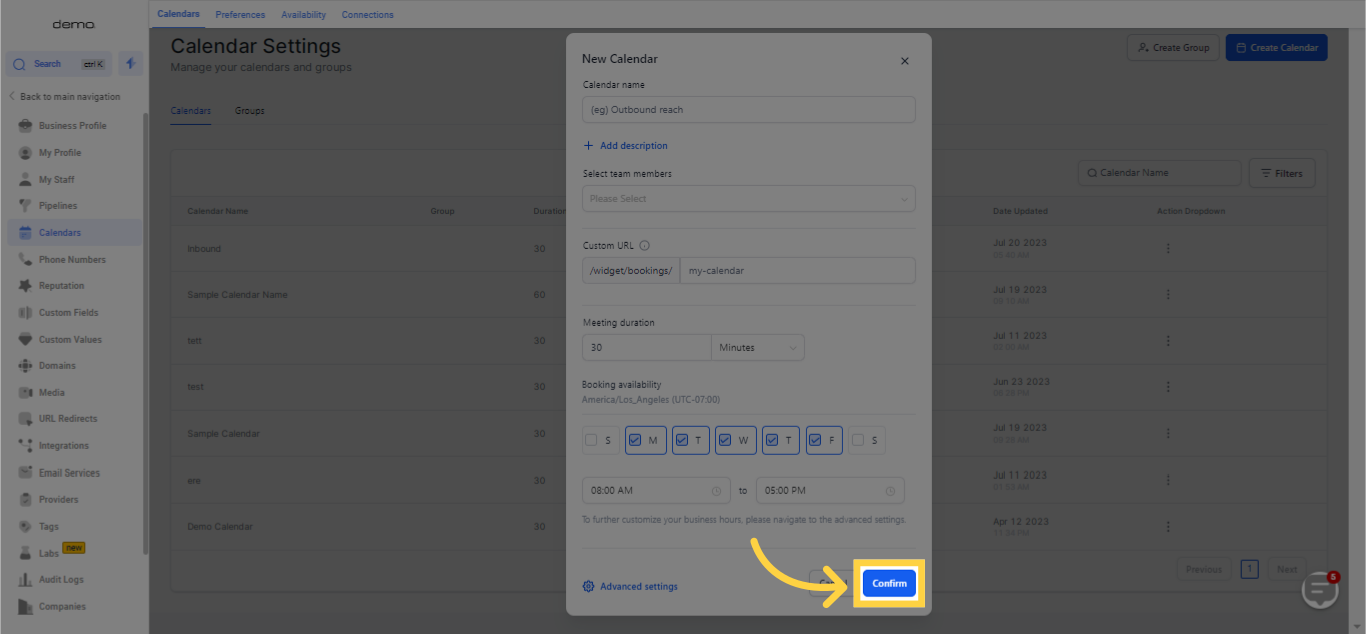
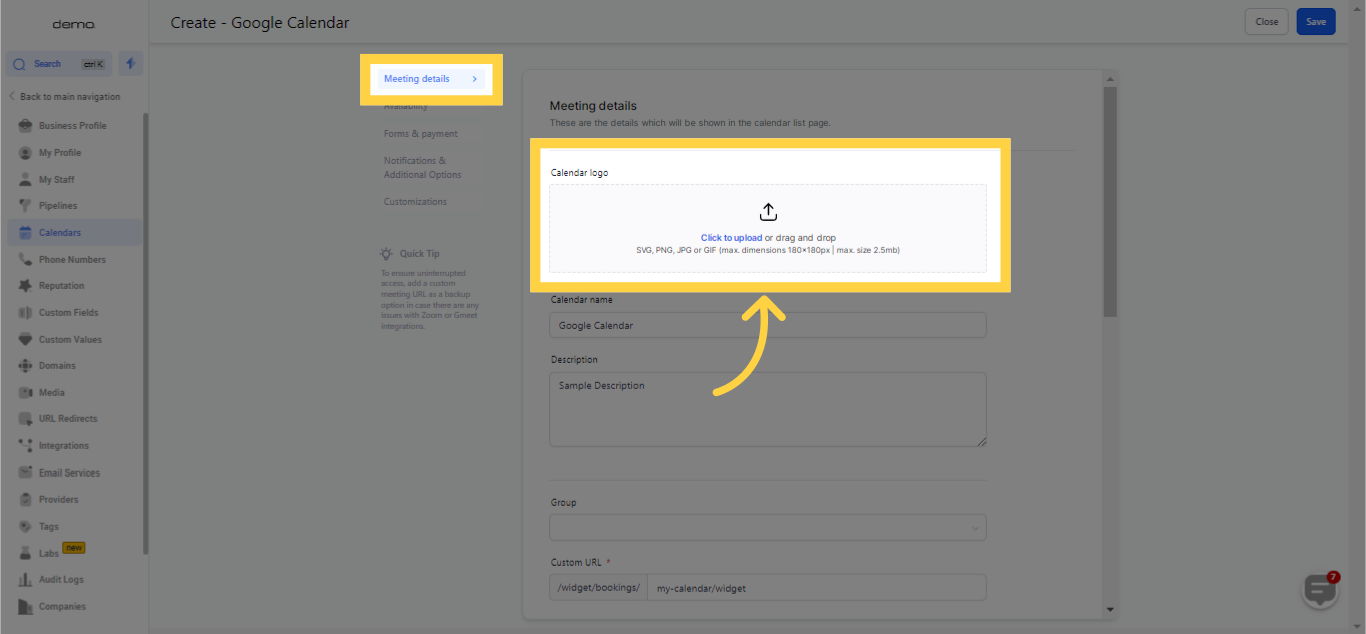
The following segment enables you to personalize the details of your calendar.
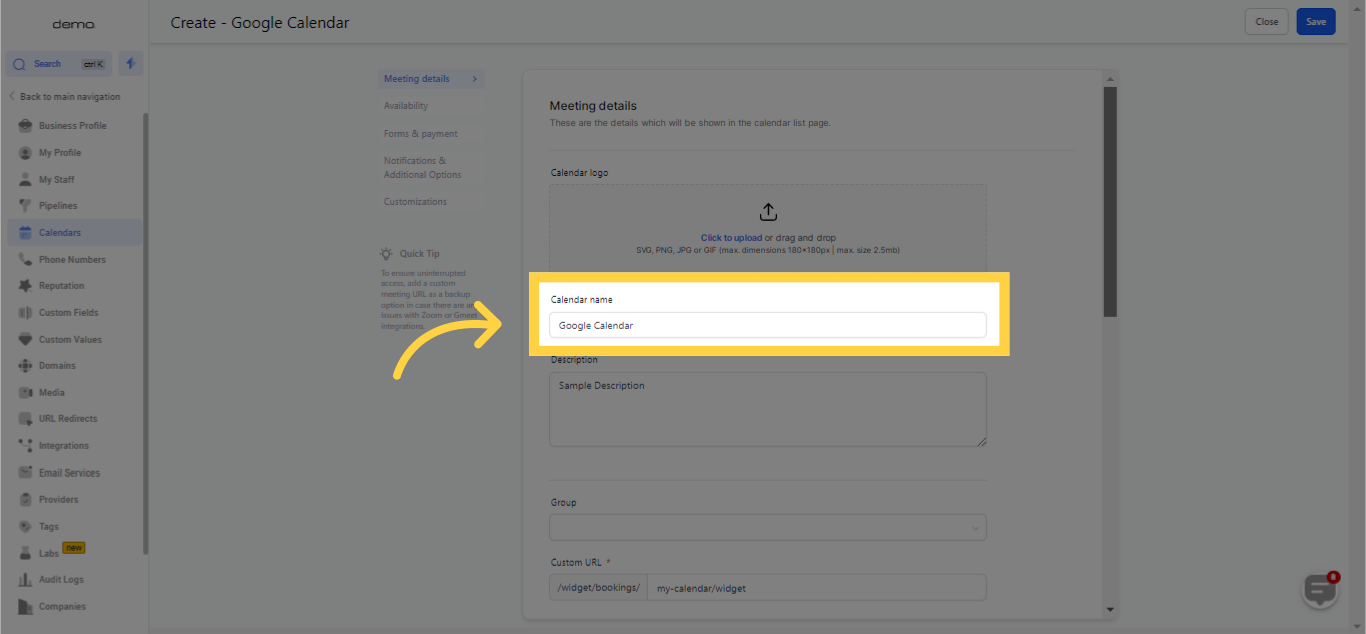
Give your calendar a name as it will offer leads and customers an understanding of the intent of booking a meeting.
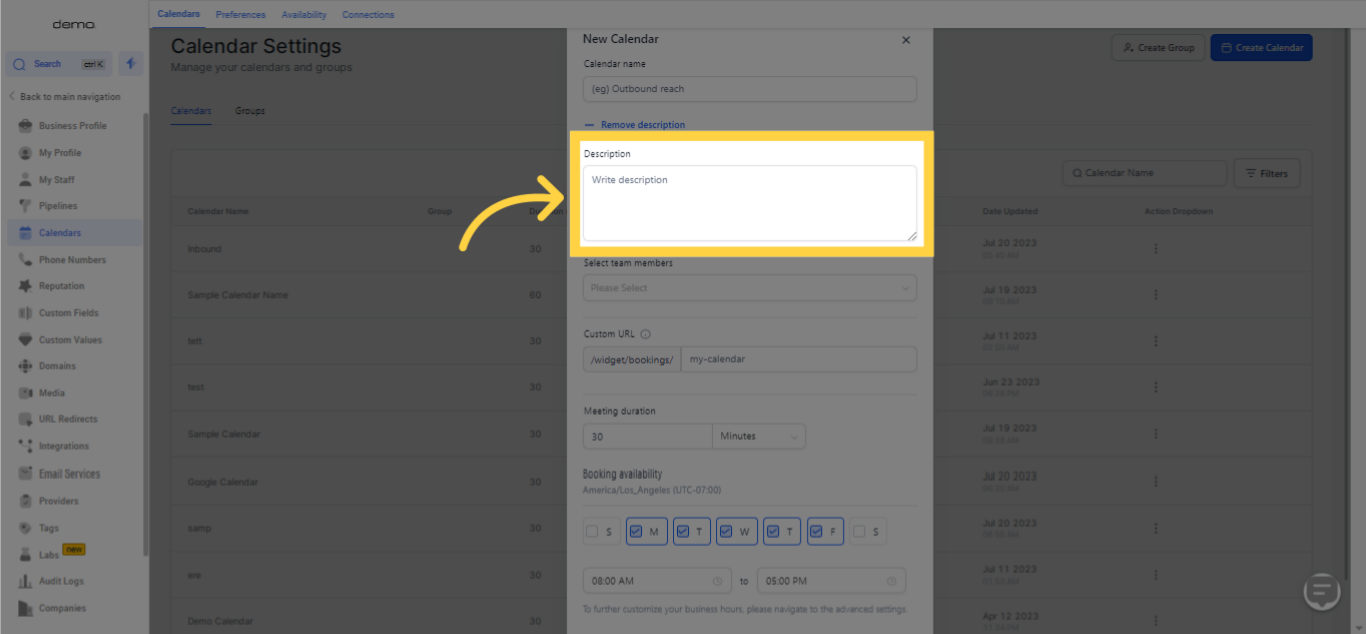
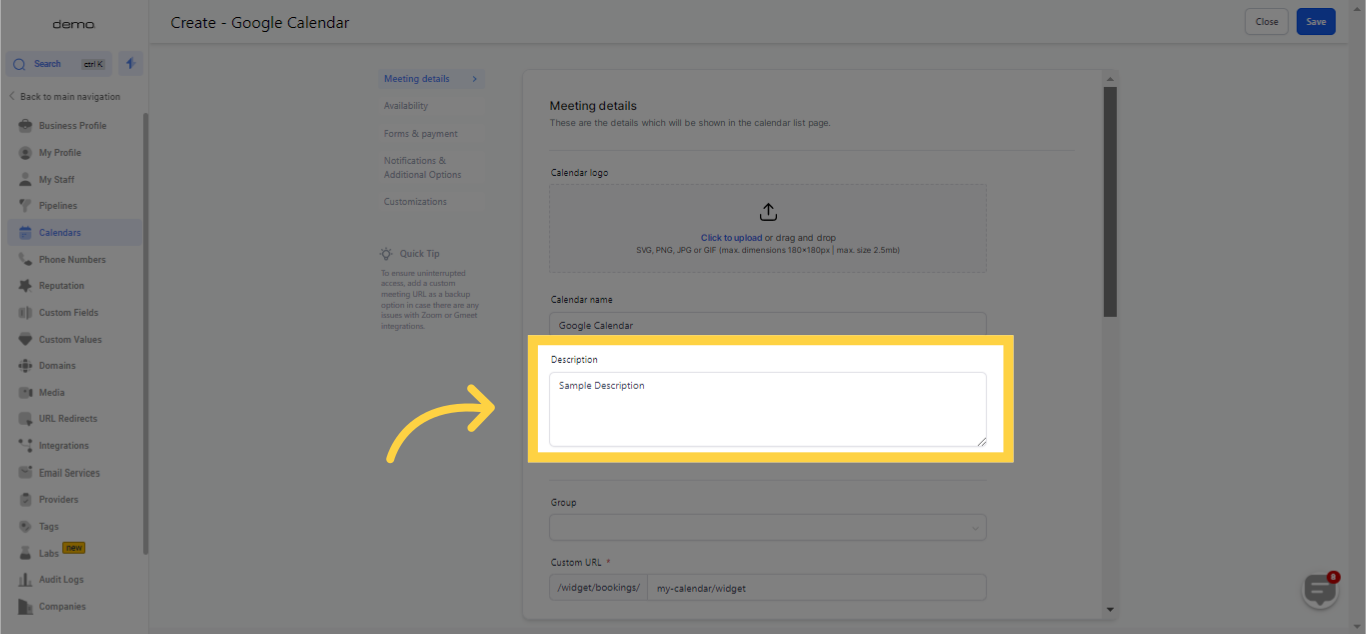
For additional clarity regarding the theme and topic of the calendar, you can include a description. It will be viewable to anyone considering scheduling a meeting.
)
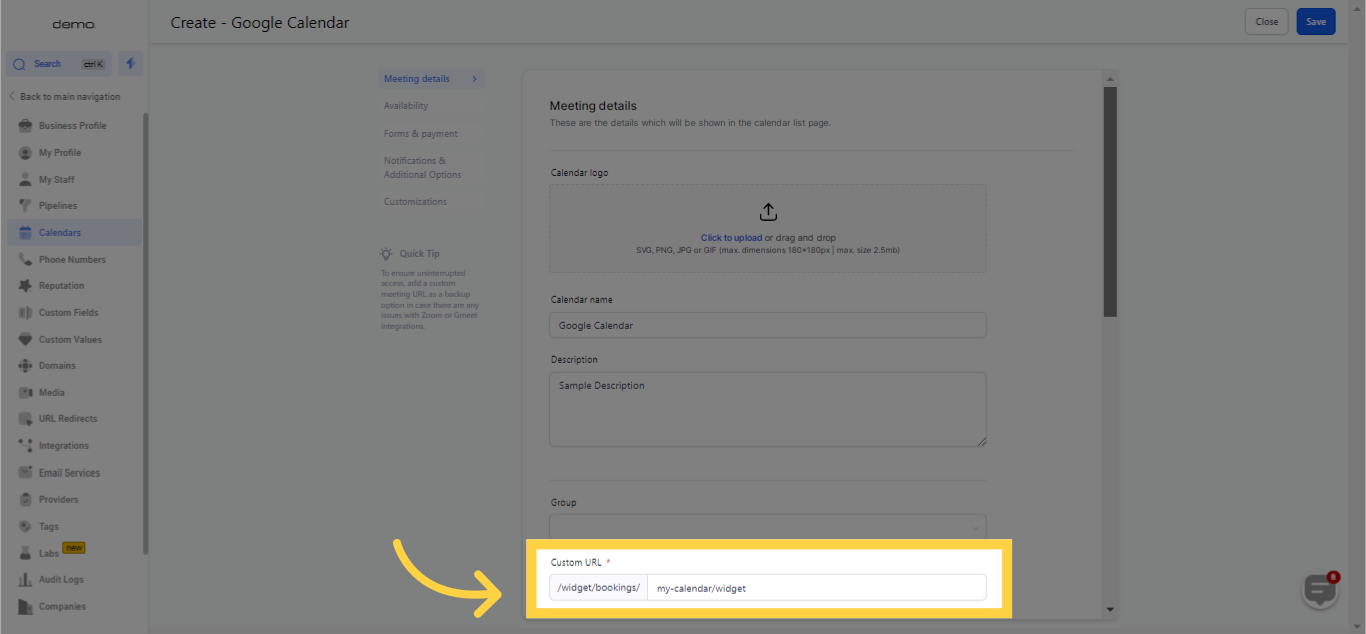
In this field, input a calendar slug name, which serves as a distinct identifier.


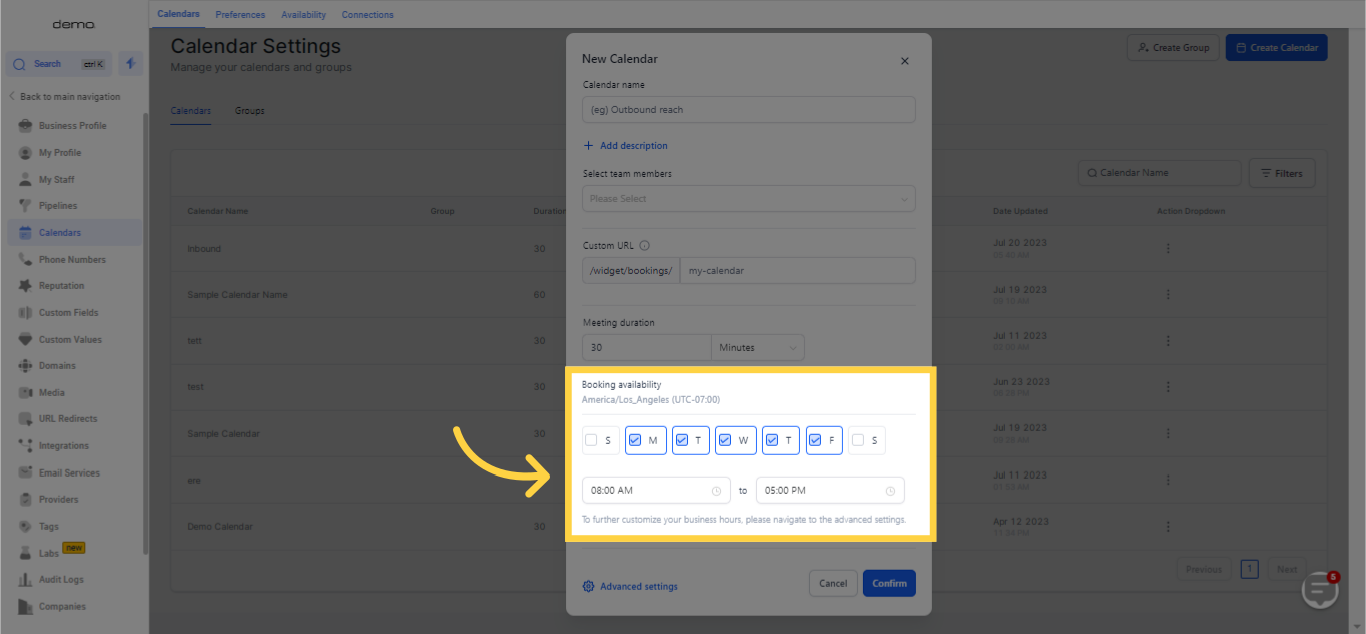
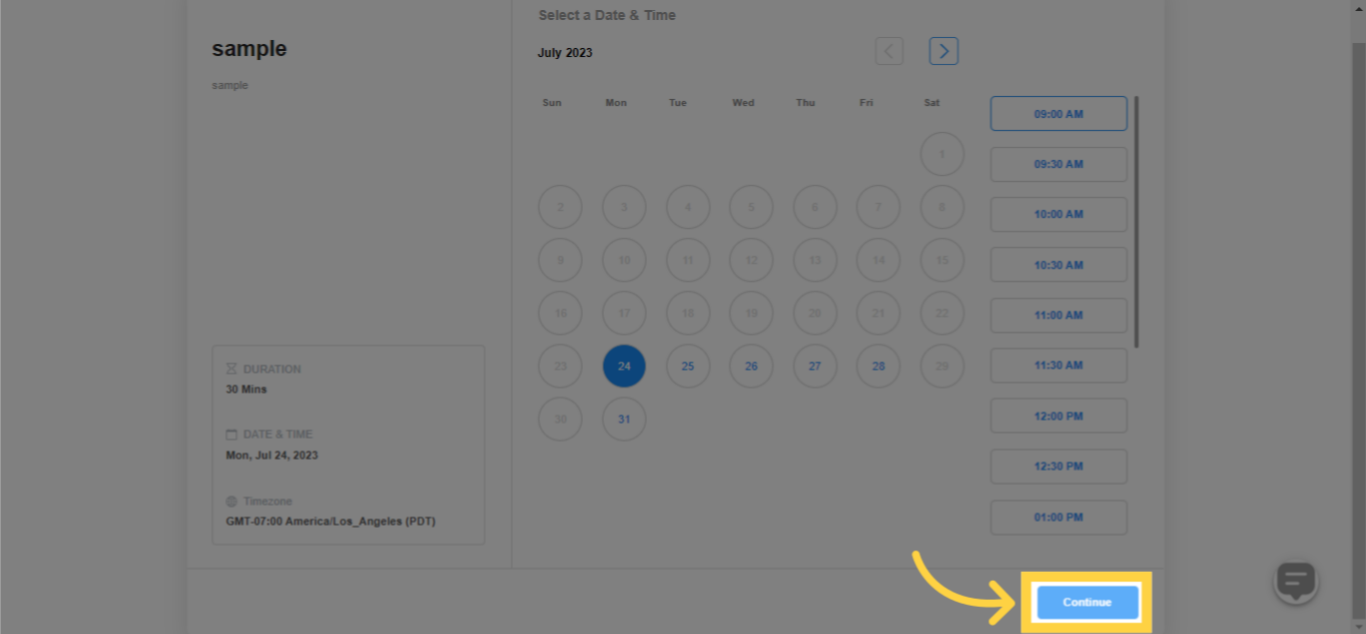
Incorporate specific dates into your calendar for scheduling appointments. Choose appropriate timings for each selected date, allocating as much duration as you deem necessary.
)
)
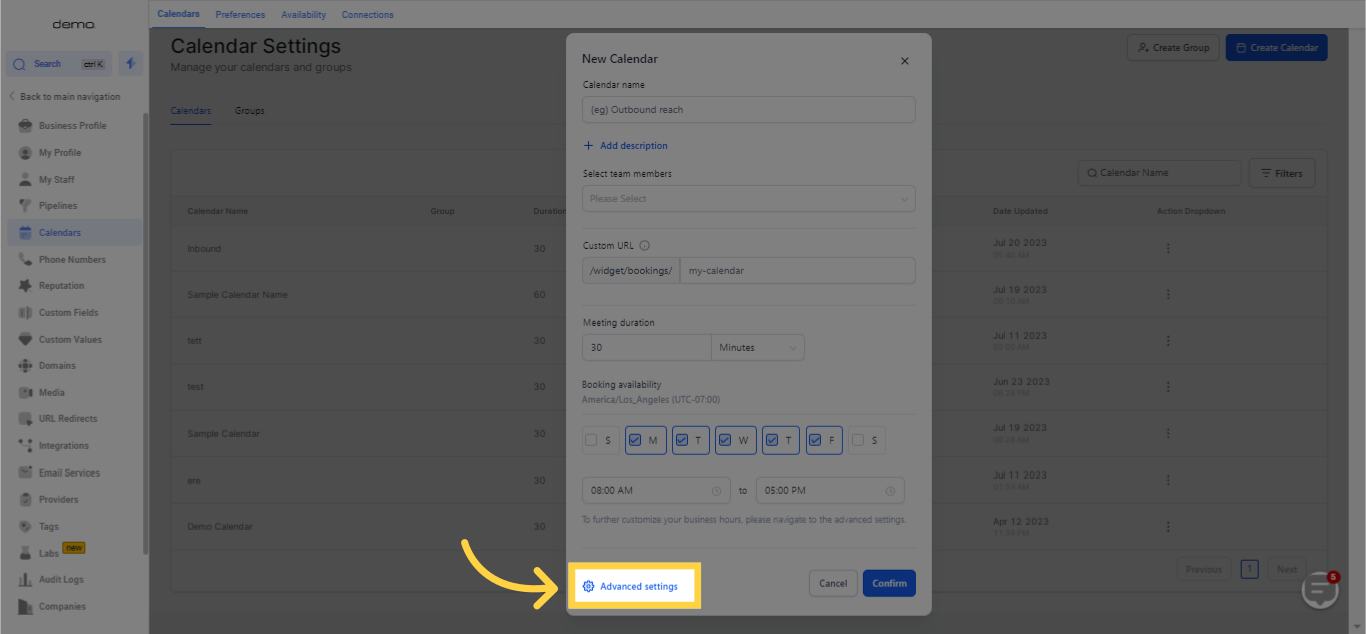
You can choose to incorporate a logo, which will be displayed on the calendar when someone expresses interest in scheduling an appointment.
Give your calendar a name as it will offer leads and customers an understanding of the intent of booking a meeting.
For additional clarity regarding the theme and topic of the calendar, you can include a description. It will be viewable to anyone considering scheduling a meeting.
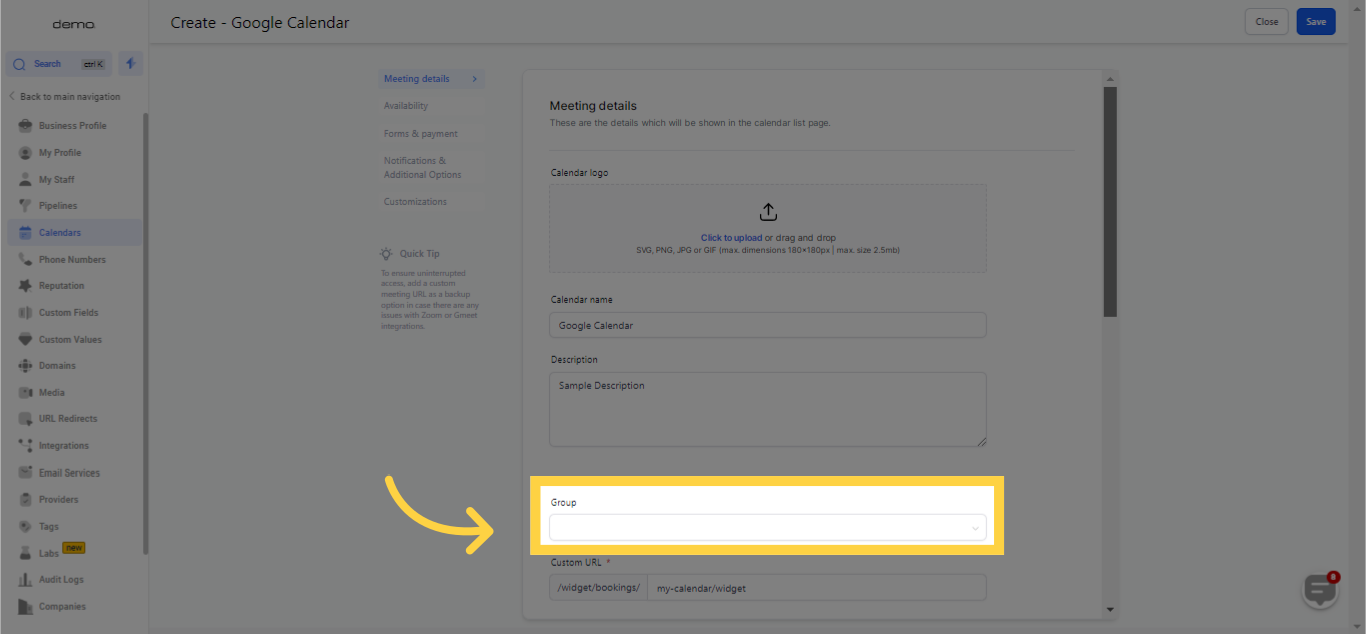
In this field, input a calendar slug name, which serves as a distinct identifier.
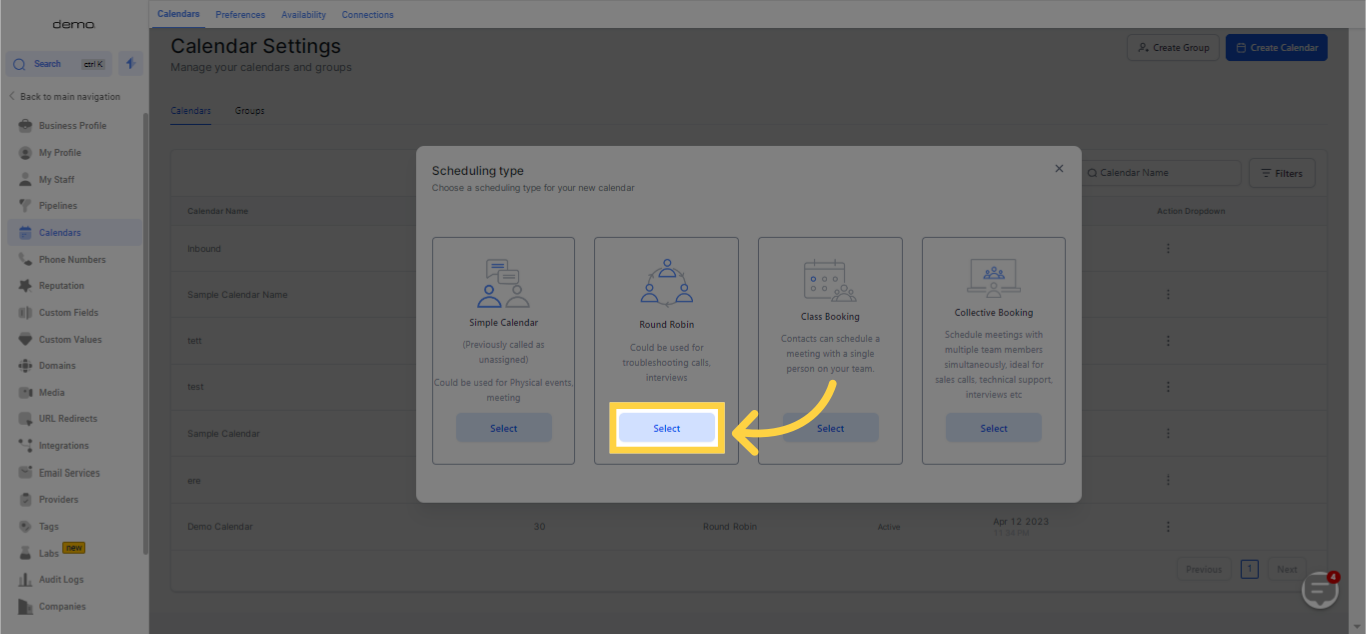
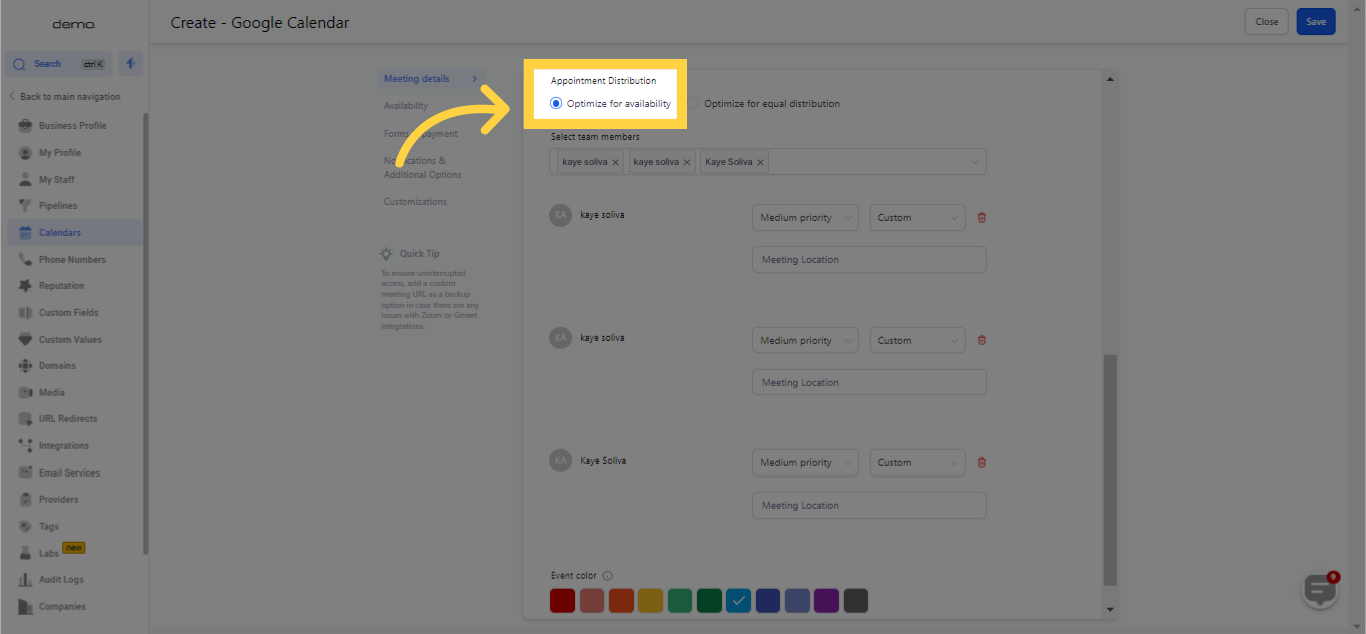
Determine your preferred method of allocating meetings to your team members utilizing your calendar.
For optimum utilization of time, you can configure your calendar to allocate meetings based on their urgency. Users marked as 'High Priority' will be assigned more meetings compared to those tagged with lower priority. For instance, a 'High Priority' tagged user will be allocated all the vacant meeting slots. But in a situation where two meetings fall in the same time period, the 'Appointment per slot' setting will aid in deciding whether the remaining meeting goes to a user designated as either 'Medium' or 'Low' priority.
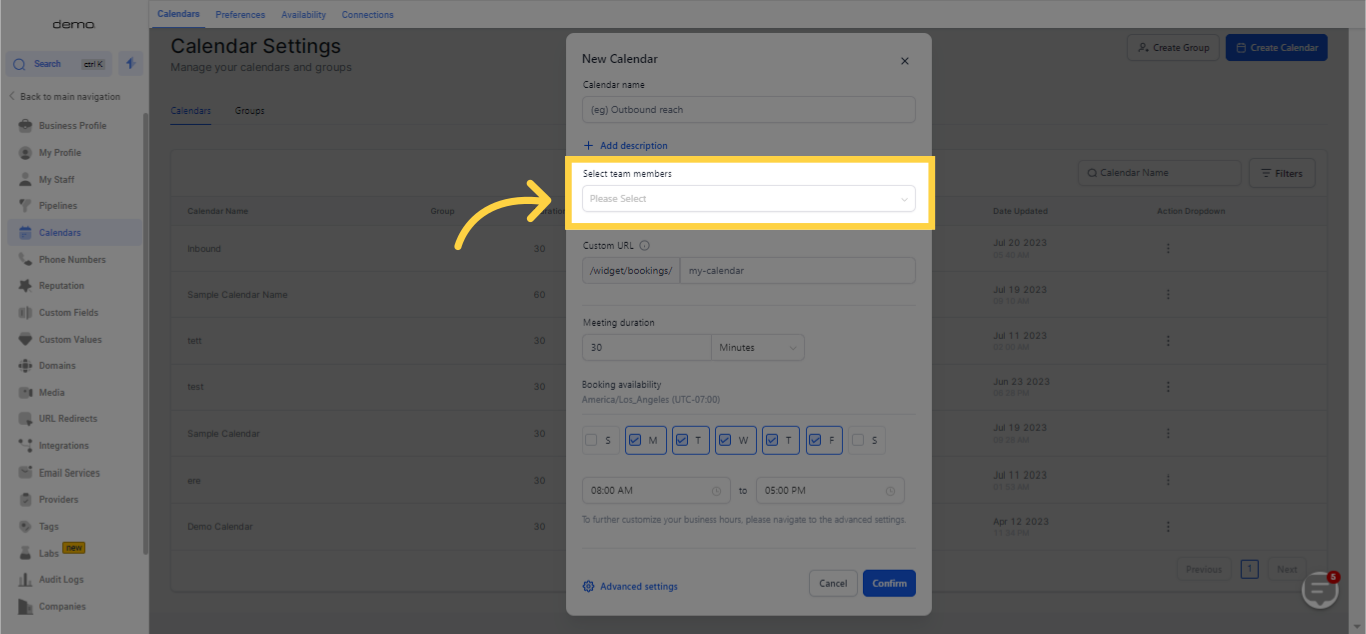
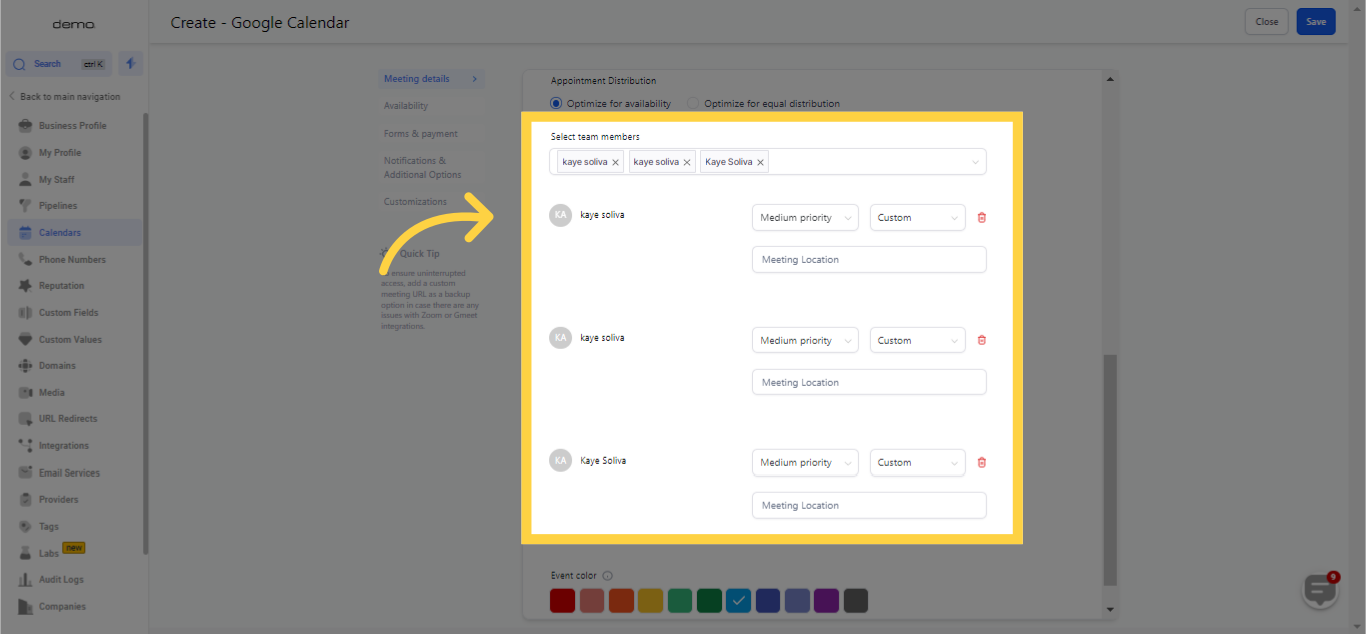
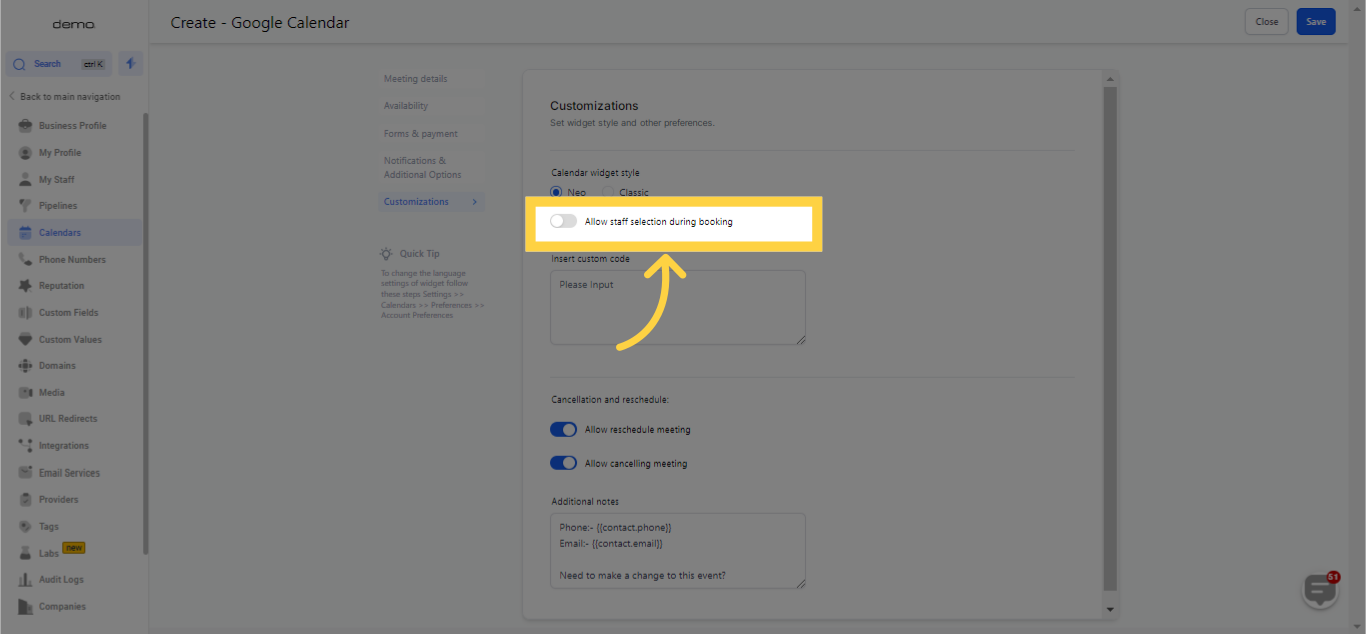
This option provides you with the ability to choose the specific user you wish to incorporate into the calendar
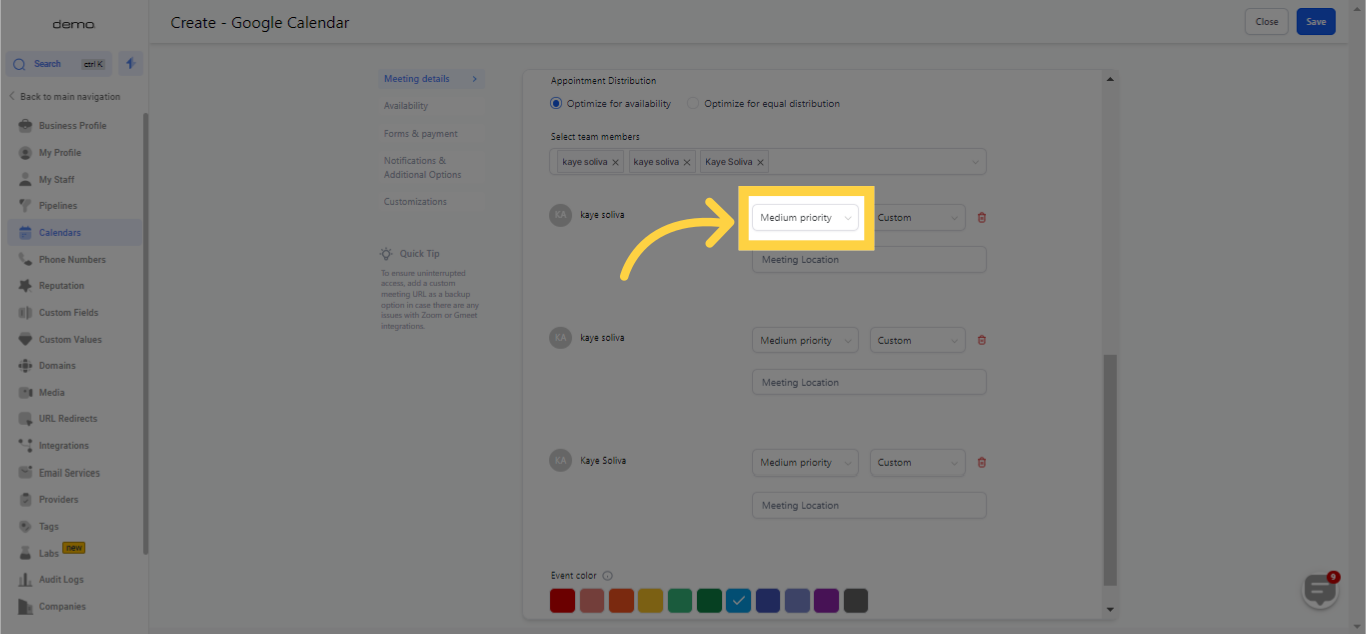
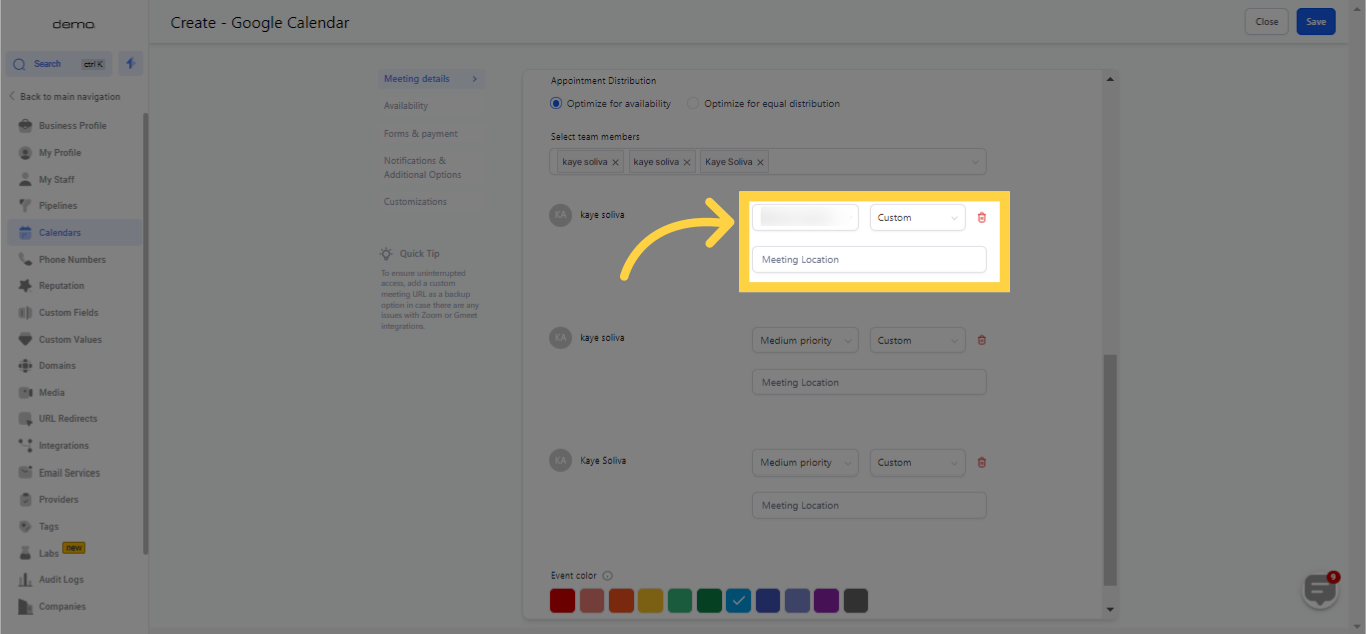
This option gives you the ability to set the priority level for scheduled appointments.
This feature enables you to insert your unique custom link or details.
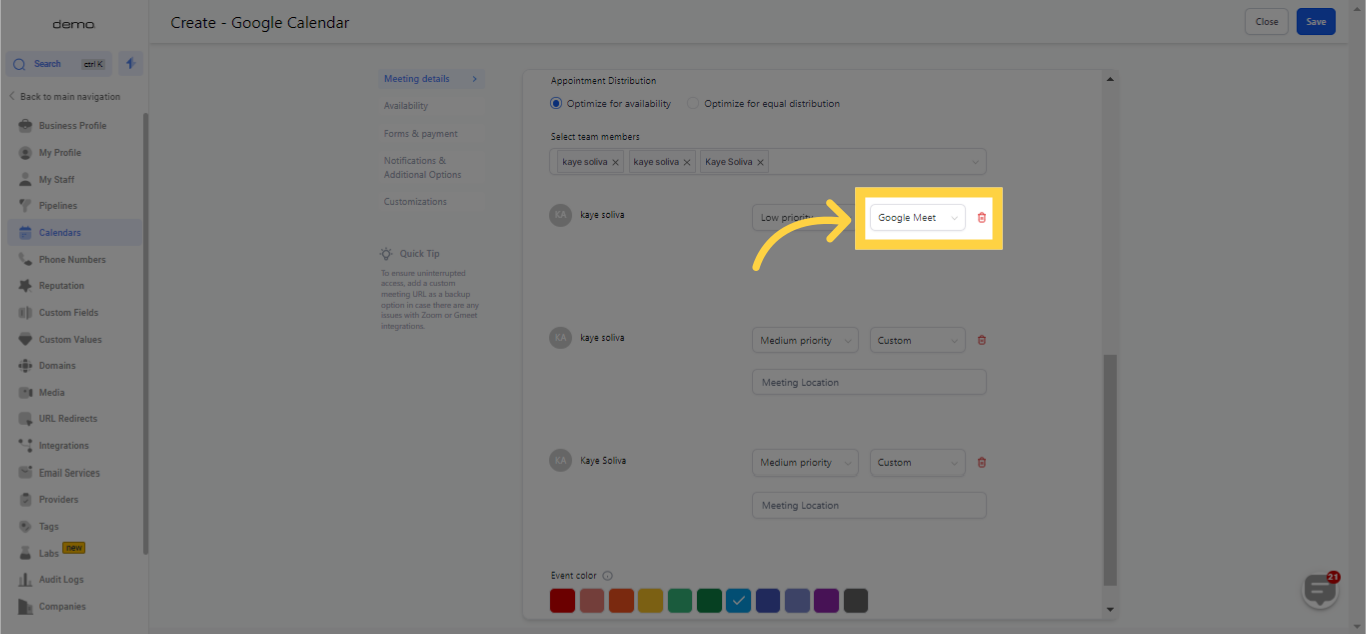
After linking your Google Account, meeting links will be automatically created and placed in the designated meeting location for your convenience.
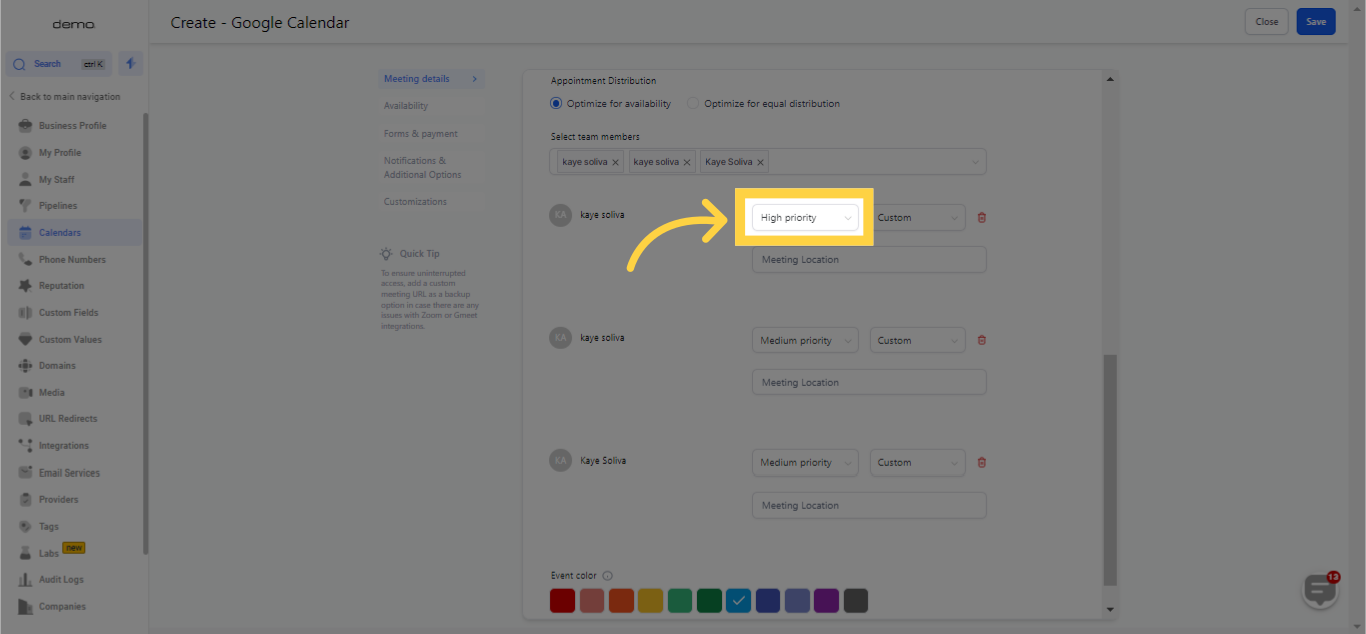
This option gives you the ability to set the priority level for scheduled appointments.
This option gives you the ability to set the priority level for scheduled appointments.

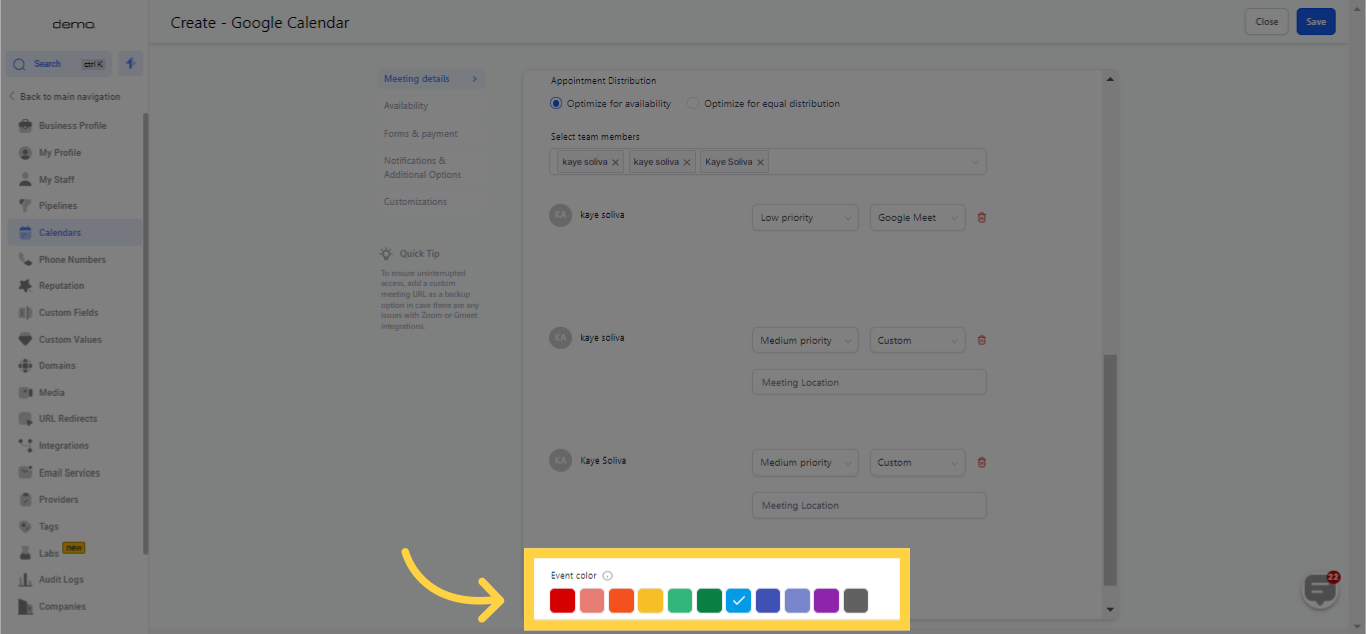
The event color feature lets you choose a color for the events in the calendar, enhancing overall organization.
By activating the 'equal distribution' feature, you can guarantee that each team member is assigned an equitable number of meetings, ensuring a balanced distribution among the team.
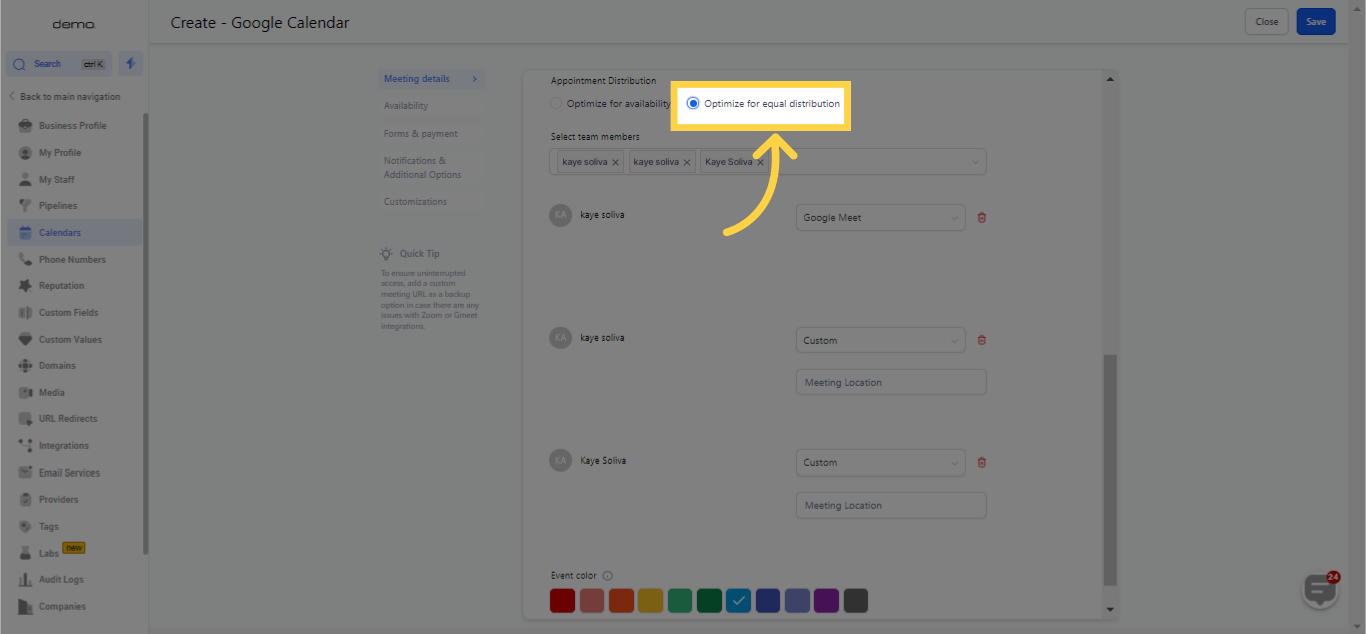
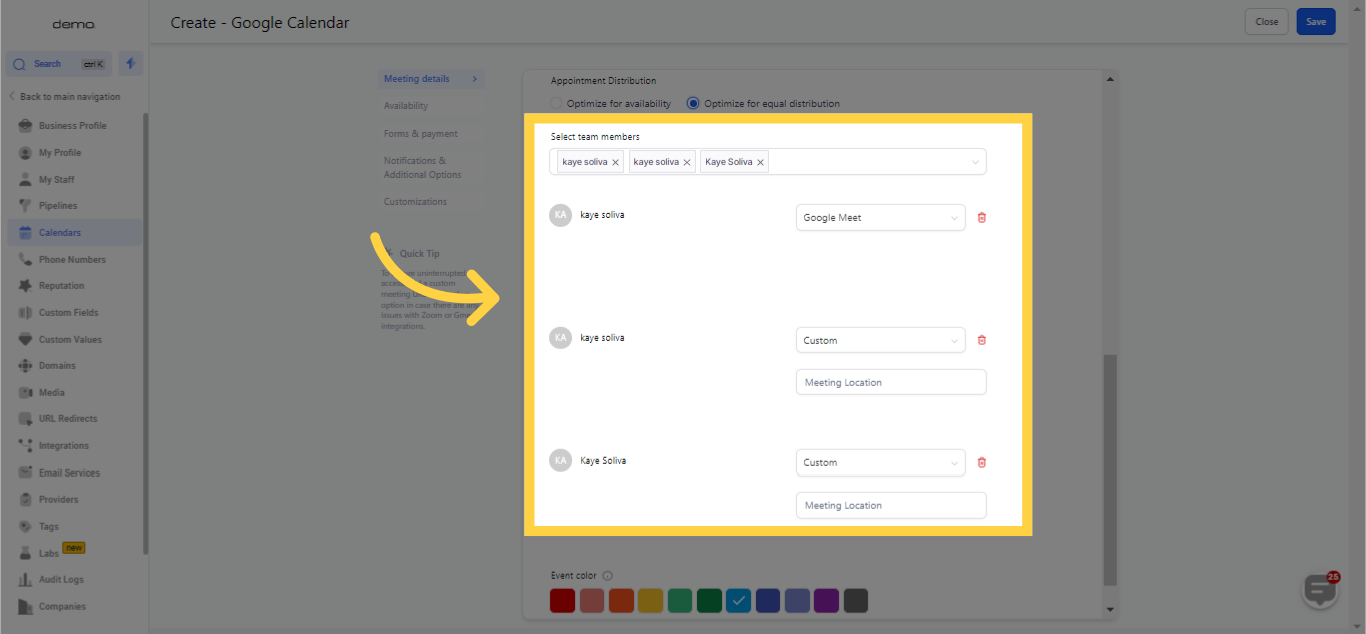
This option provides you with the ability to choose the specific user you wish to incorporate into the calendar and let you choose what platform to use as meeting location.
Next is to define the availability settings for this calendar.
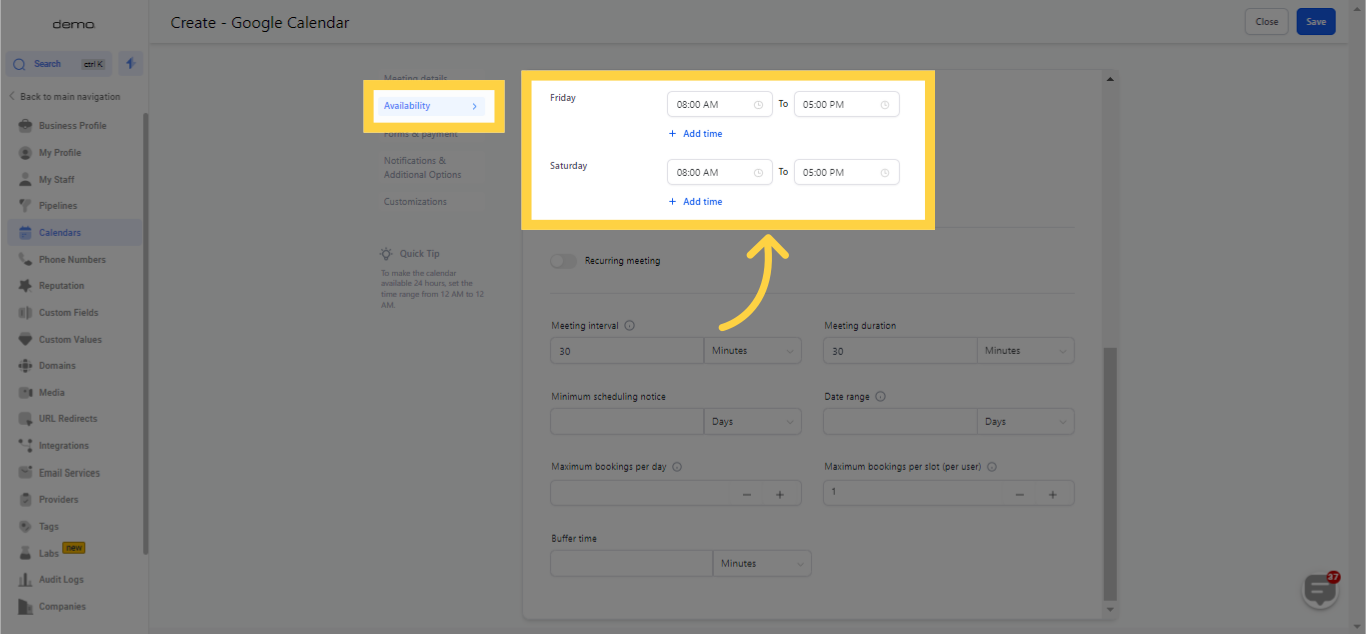
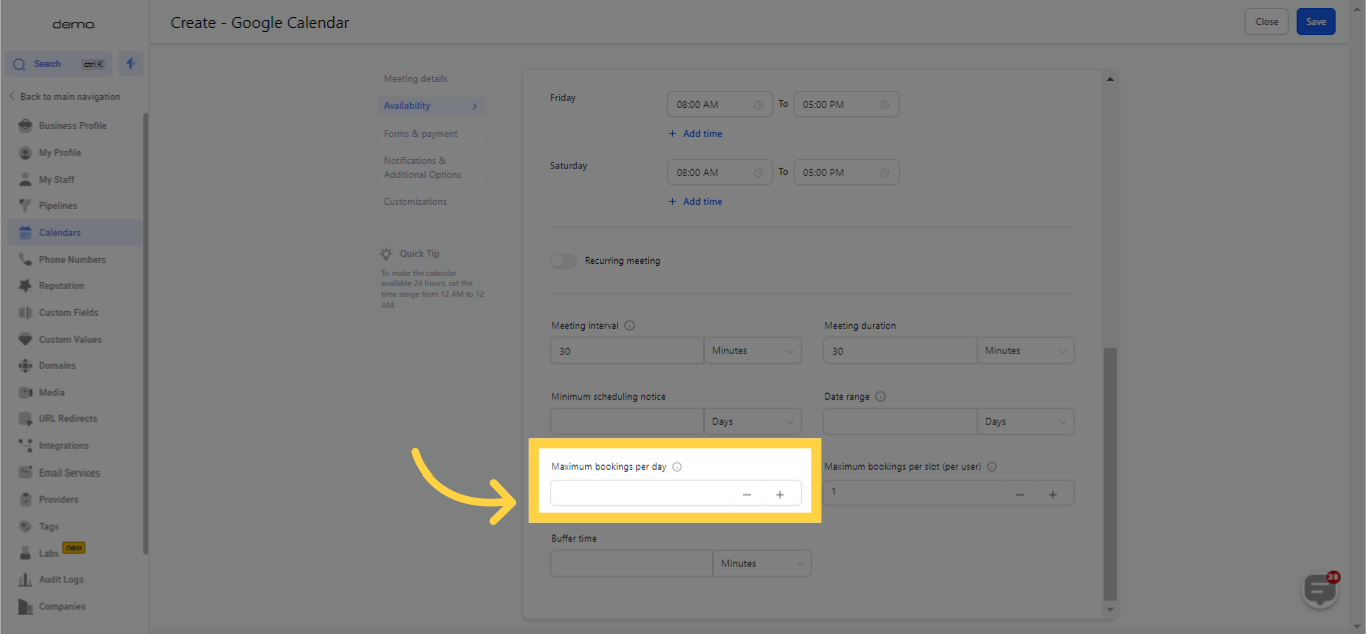
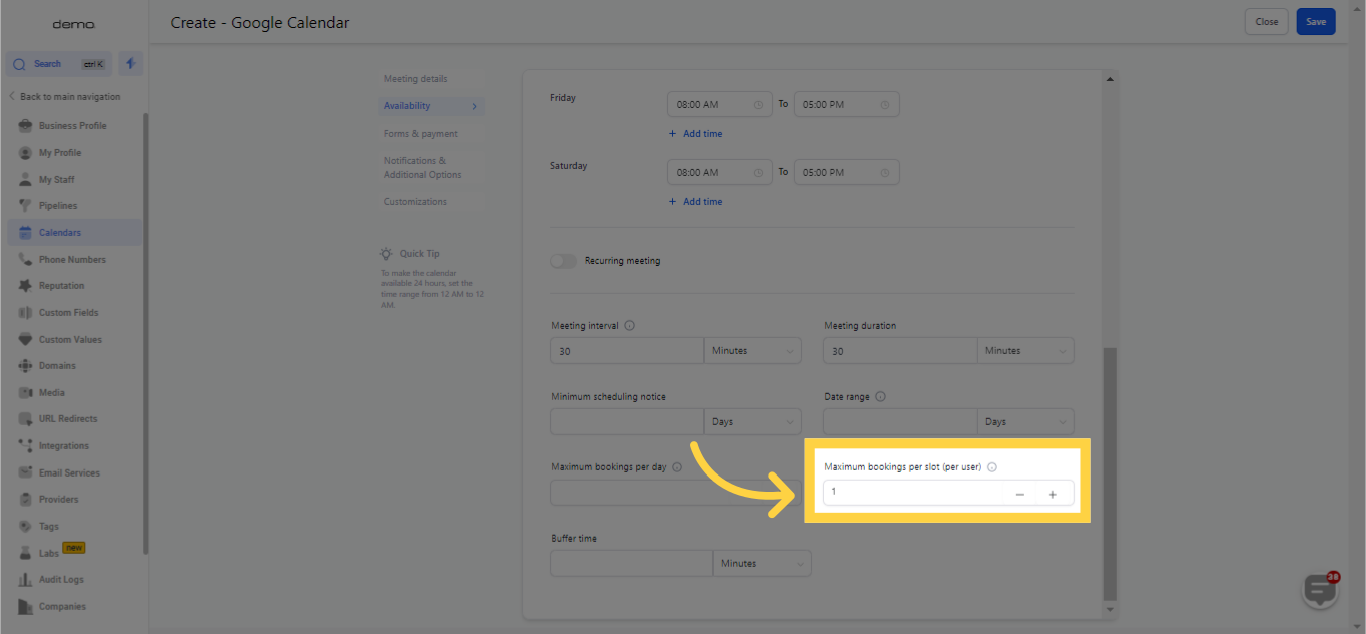
Within this segment, you can modify the availability slot and interval settings. These adjustments will grant you control over the scheduling, length, and quantity of appointments that can be booked.
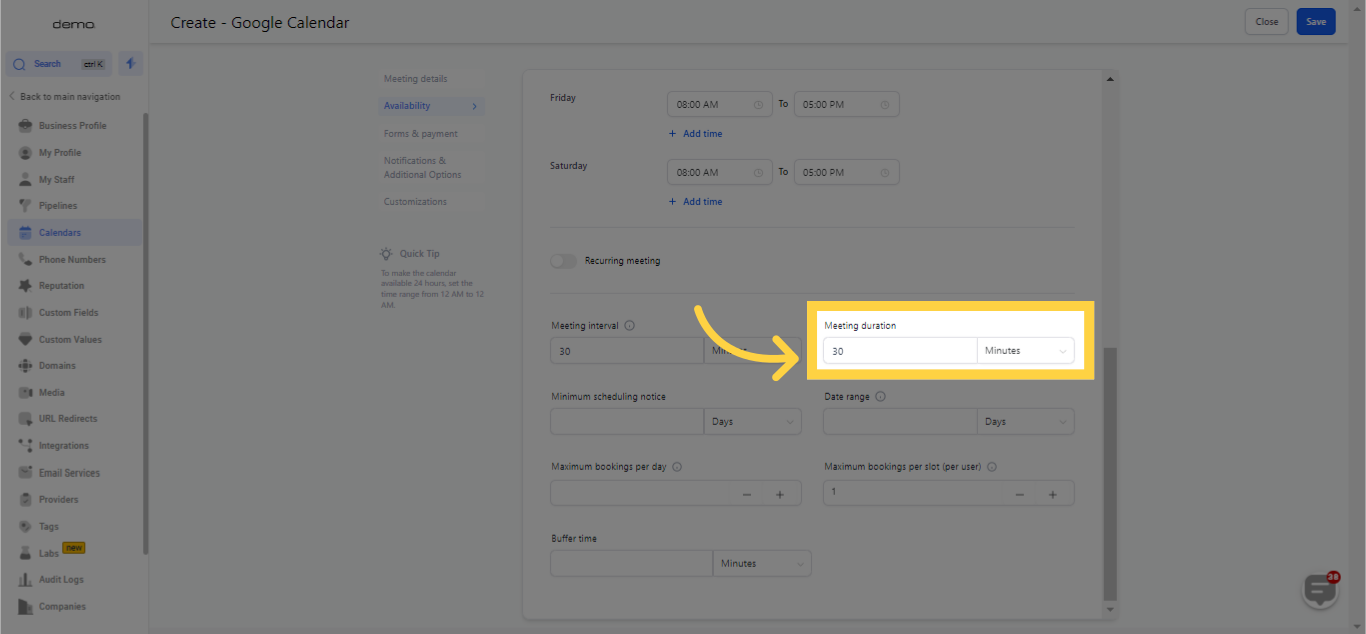
This configuration allows you to set the duration of each appointment, which is visible when someone books a slot. It assists them in understanding the amount of time they'll have available with you.
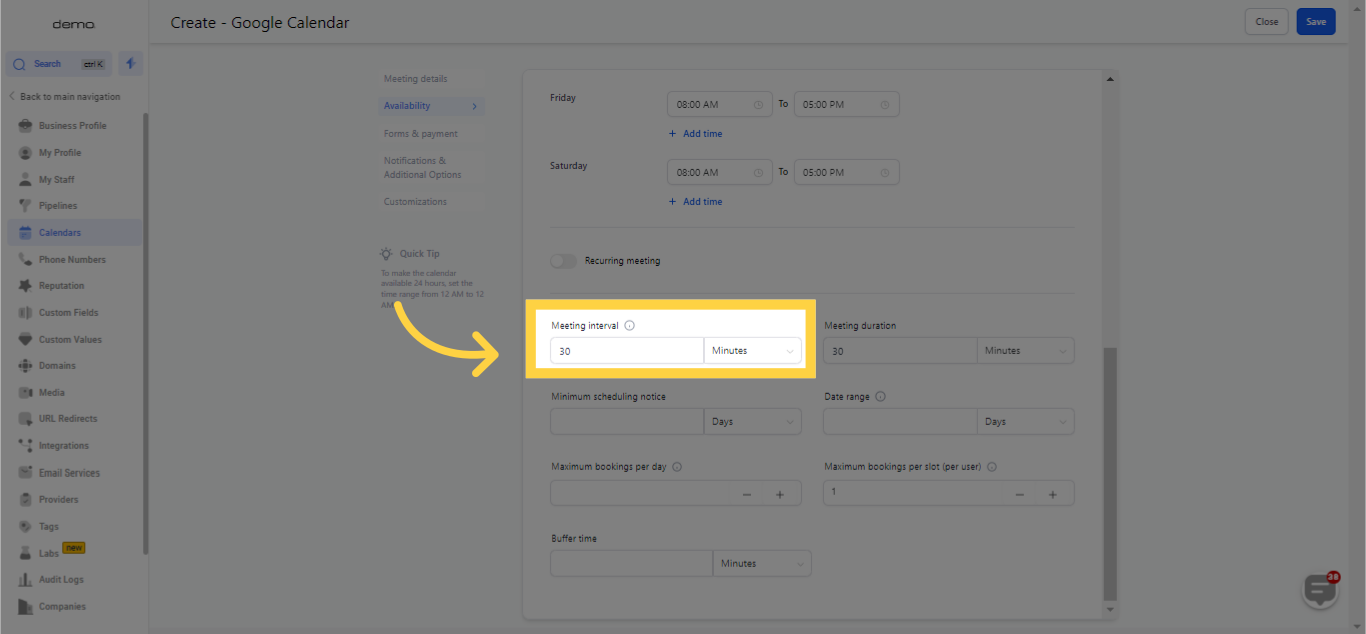
This feature lets you specify the duration of each meeting, which will show up when an individual reserves a slot. It ensures they know how much time they have allocated with you.
)
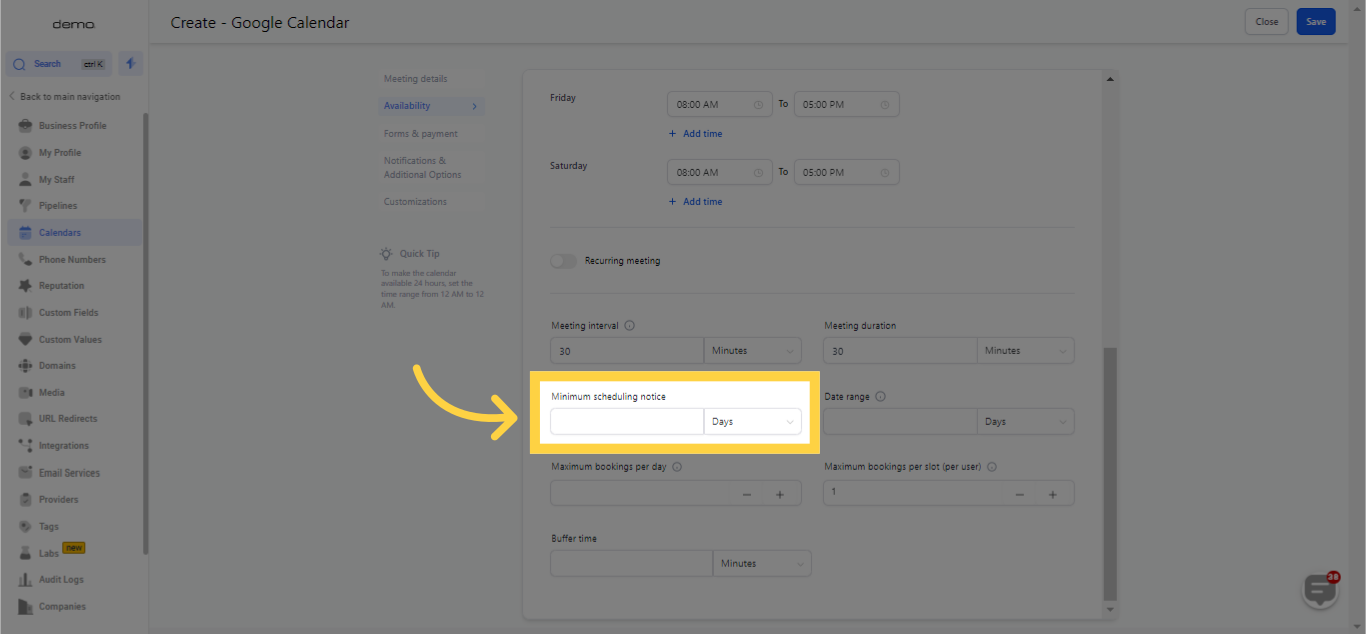
Configuring Your Scheduling Notice and Date Range
Establish the minimum notice period required prior to booking an appointment. You can select the duration to be in hours, days, weeks, or months. For instance, if a minimum notice period of 5 days is selected, it implies that no appointments can be booked within a five-day span from your upcoming appointment.
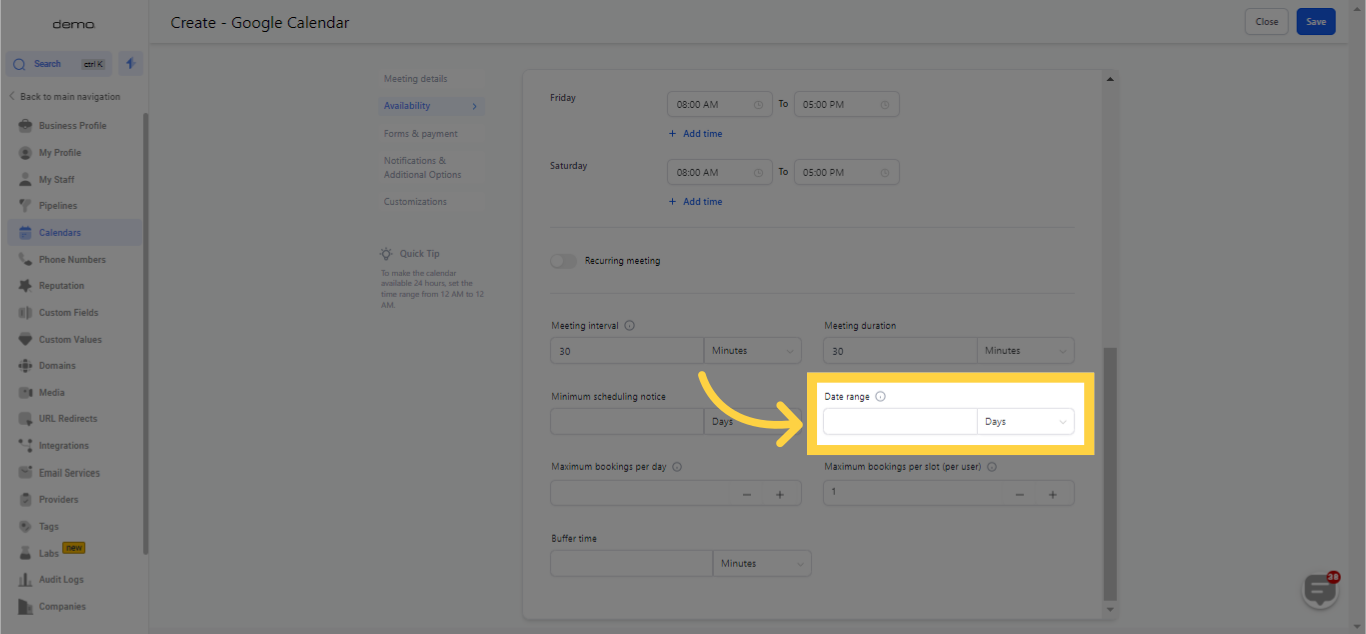
Set the duration within which appointments can be booked. You can decide from options such as the next 6 hours, 6 days, 6 weeks, or 6 months. This ensures that appointments can only be scheduled within the time frame you have specified.
)
)
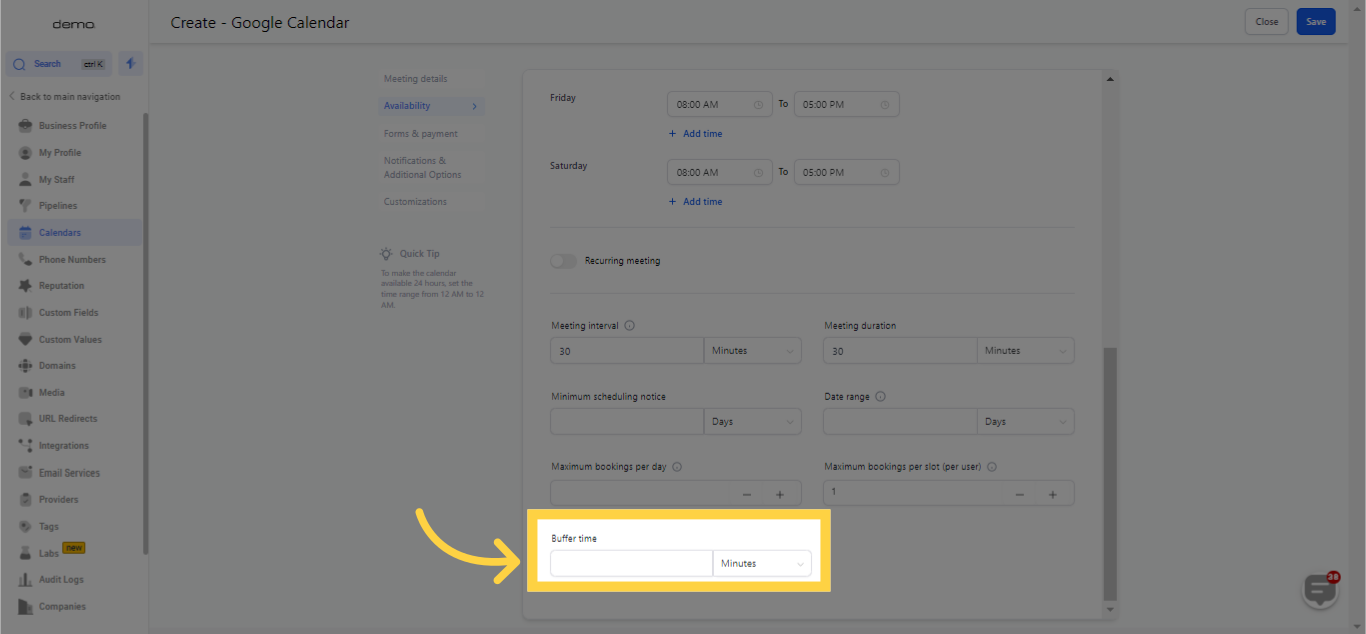
Slot intervals define the frequency of available time slots.
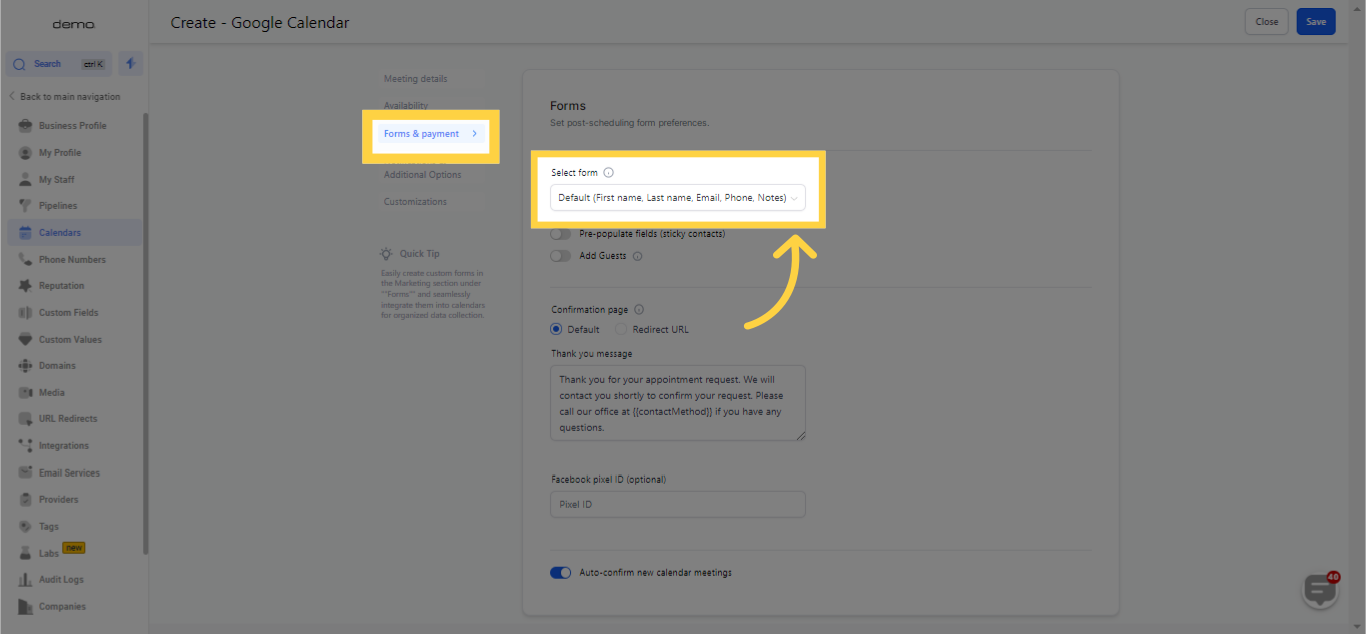
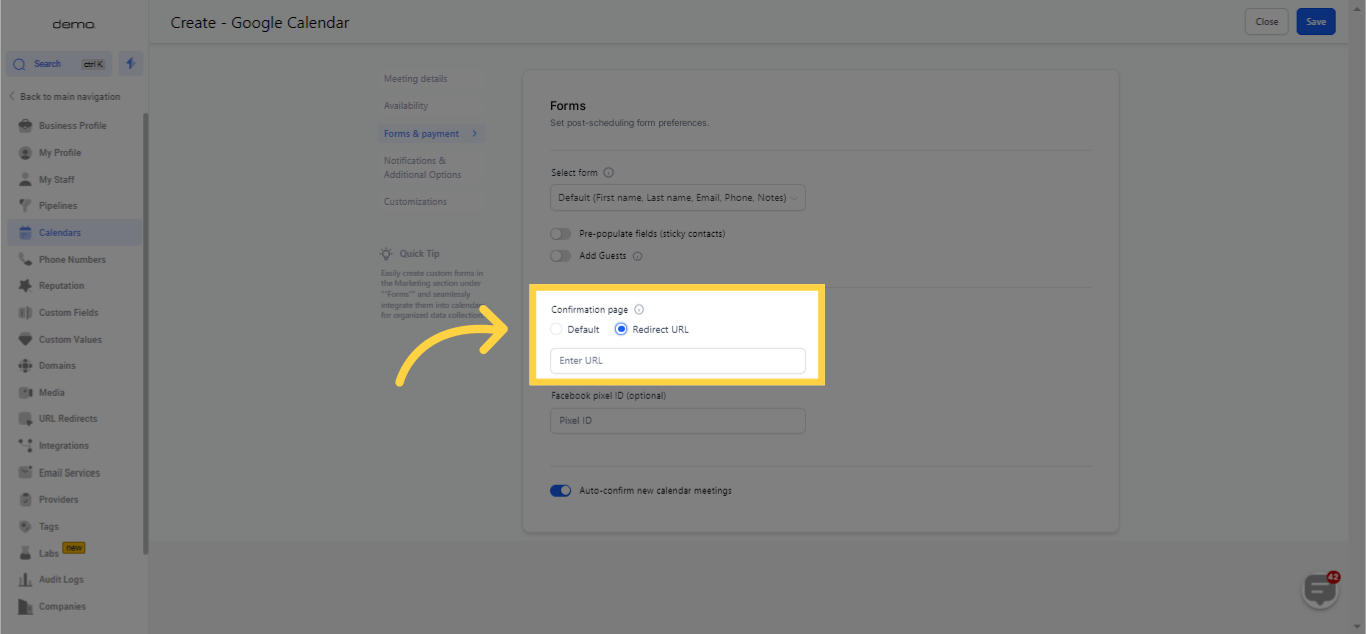
If you've designed a personalized form within your CRM and wish to utilize it within this calendar, you may choose it from the provided drop-down menu.
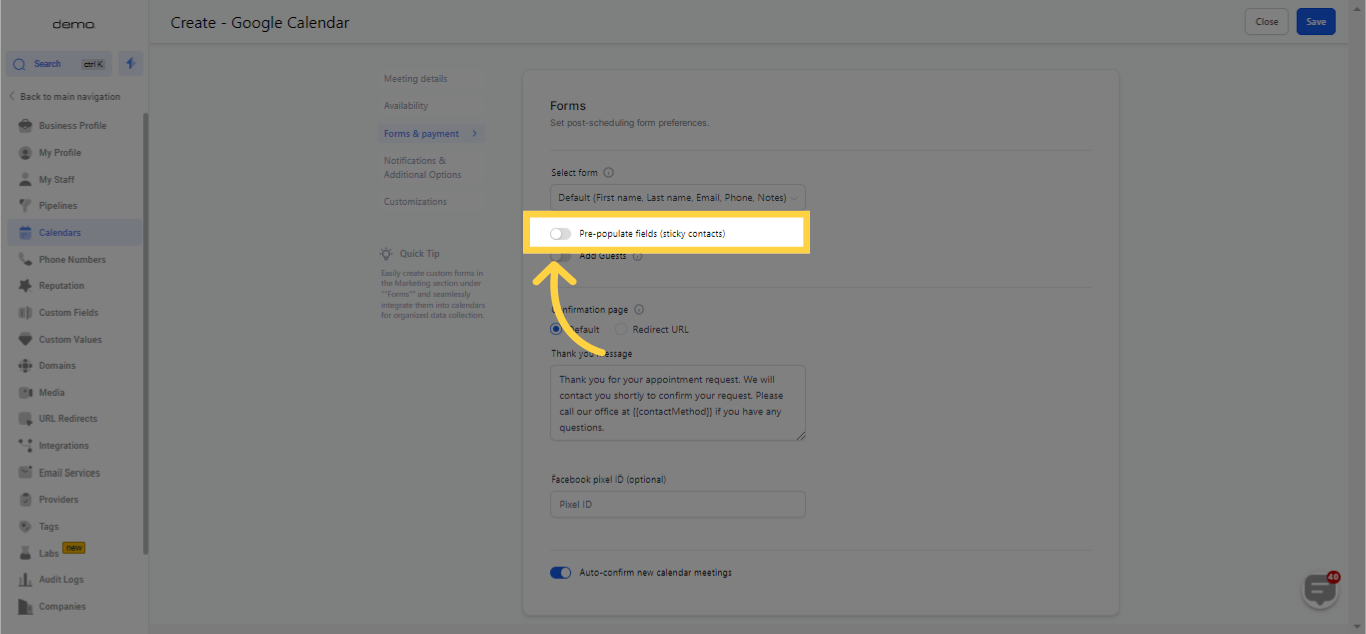
Activating the Sticky Contact feature ensures that individuals scheduling appointments won't have to repeatedly input their contact details if they've previously provided them. This procedure helps streamline the signup process.
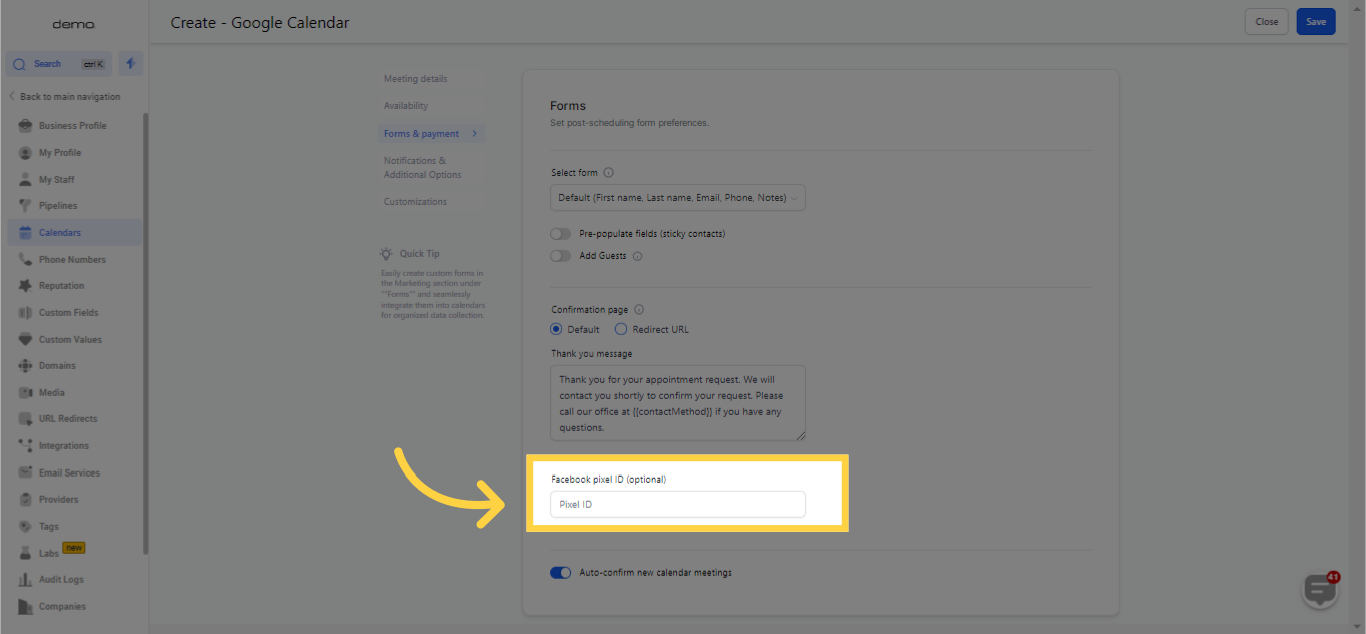
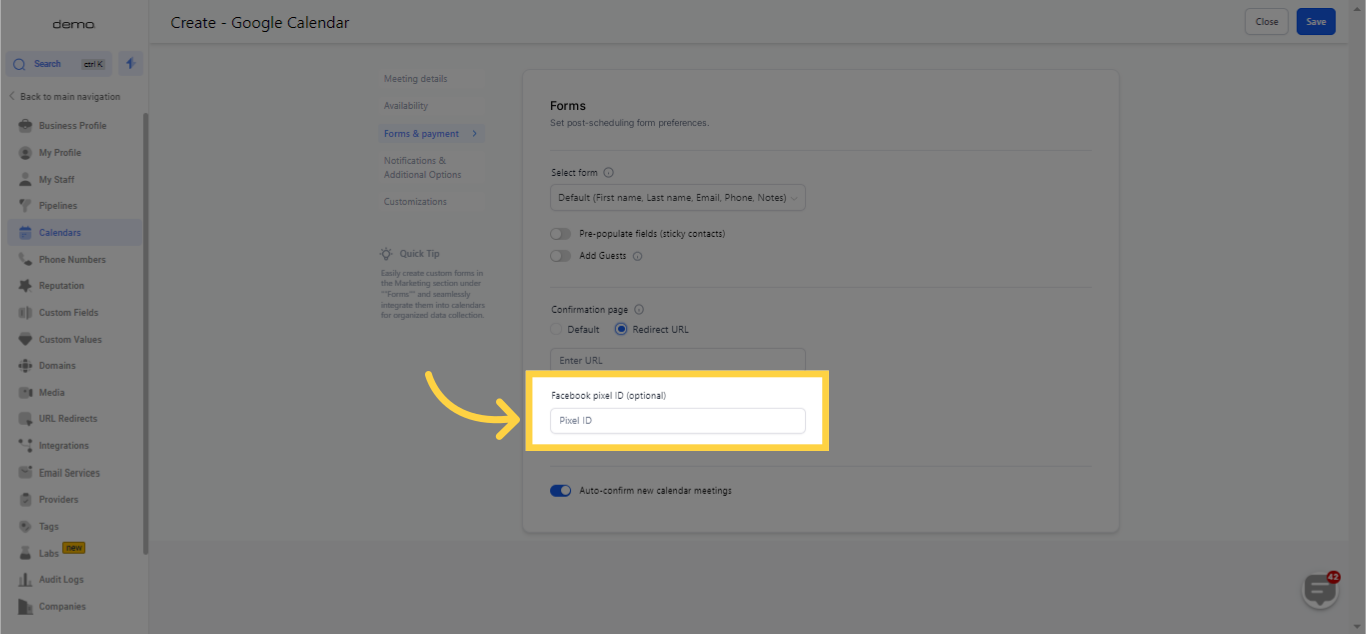
Including your Facebook Pixel in this section permits you to efficiently track the new appointment reservations made via your Facebook Ads Manager.
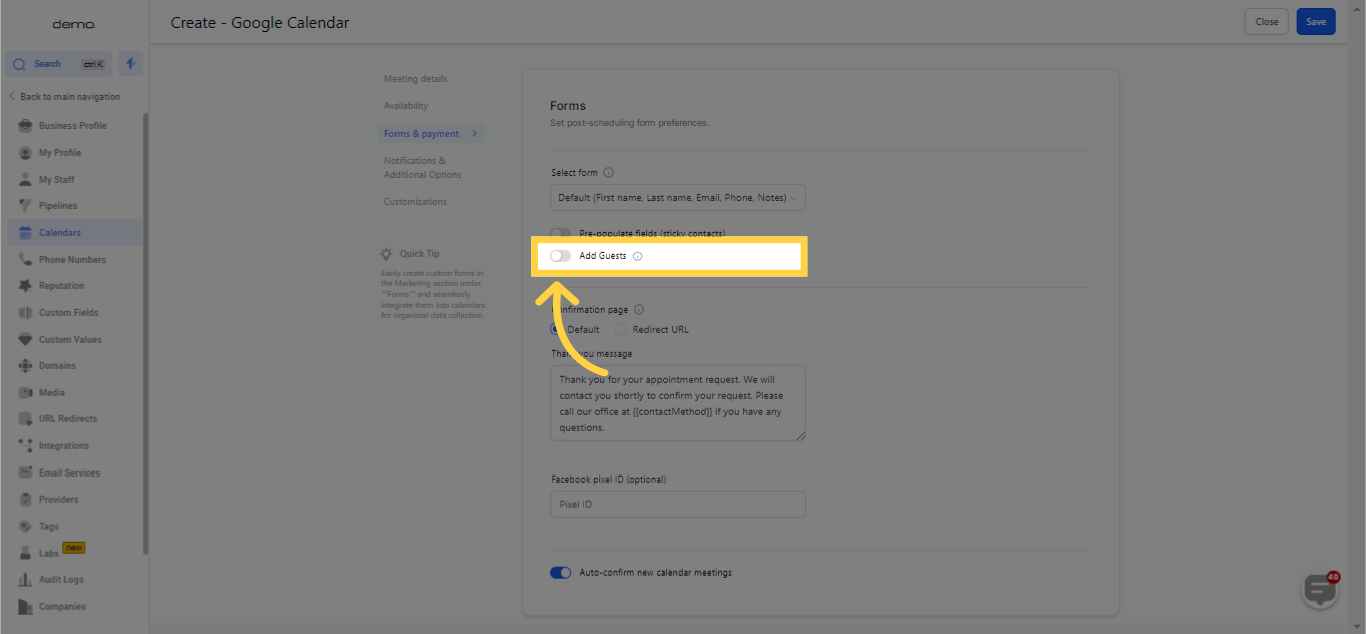
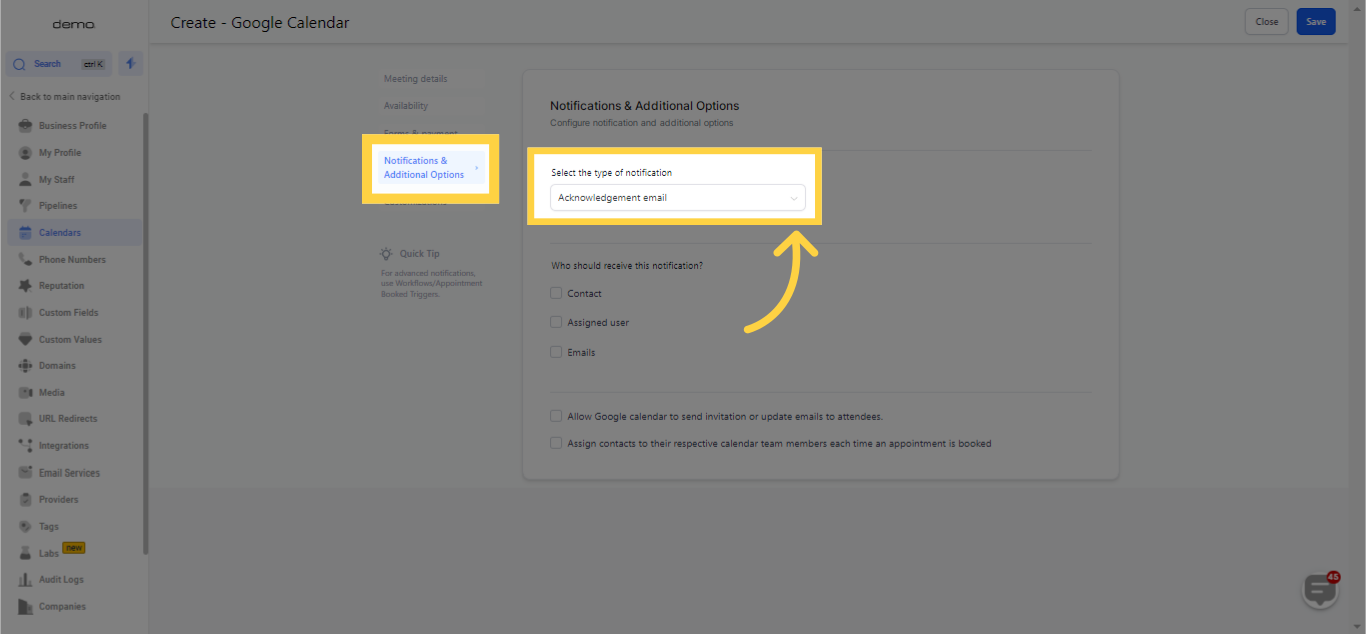
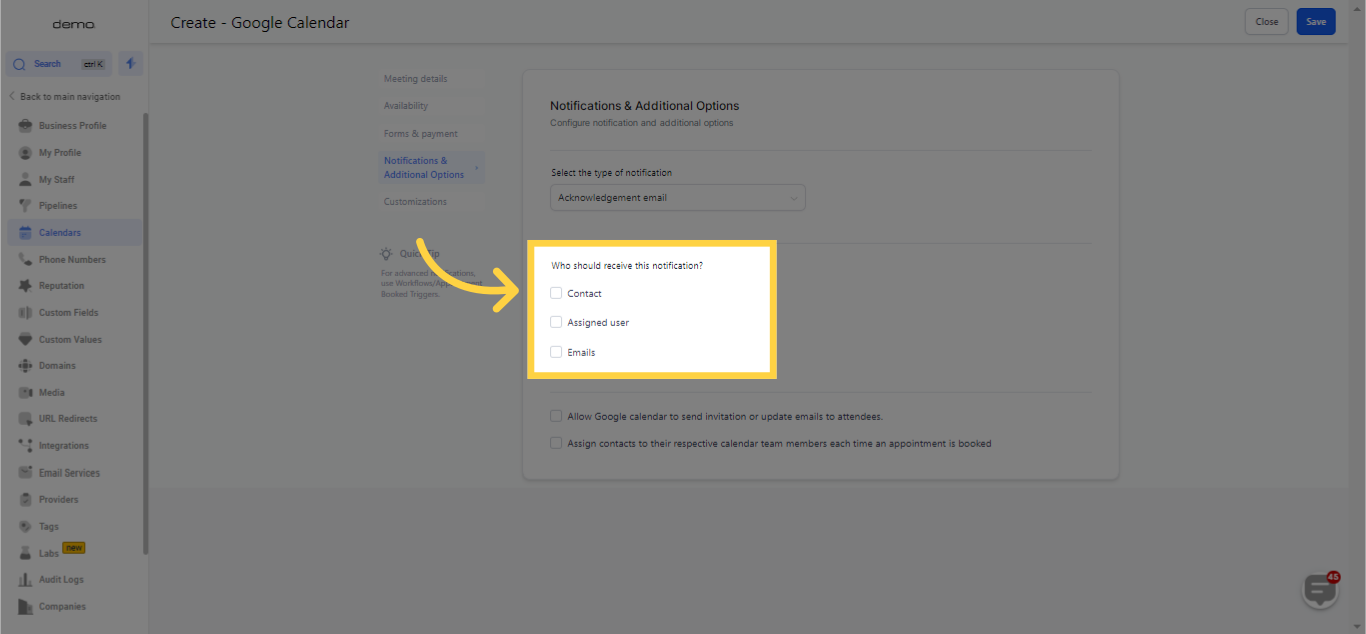
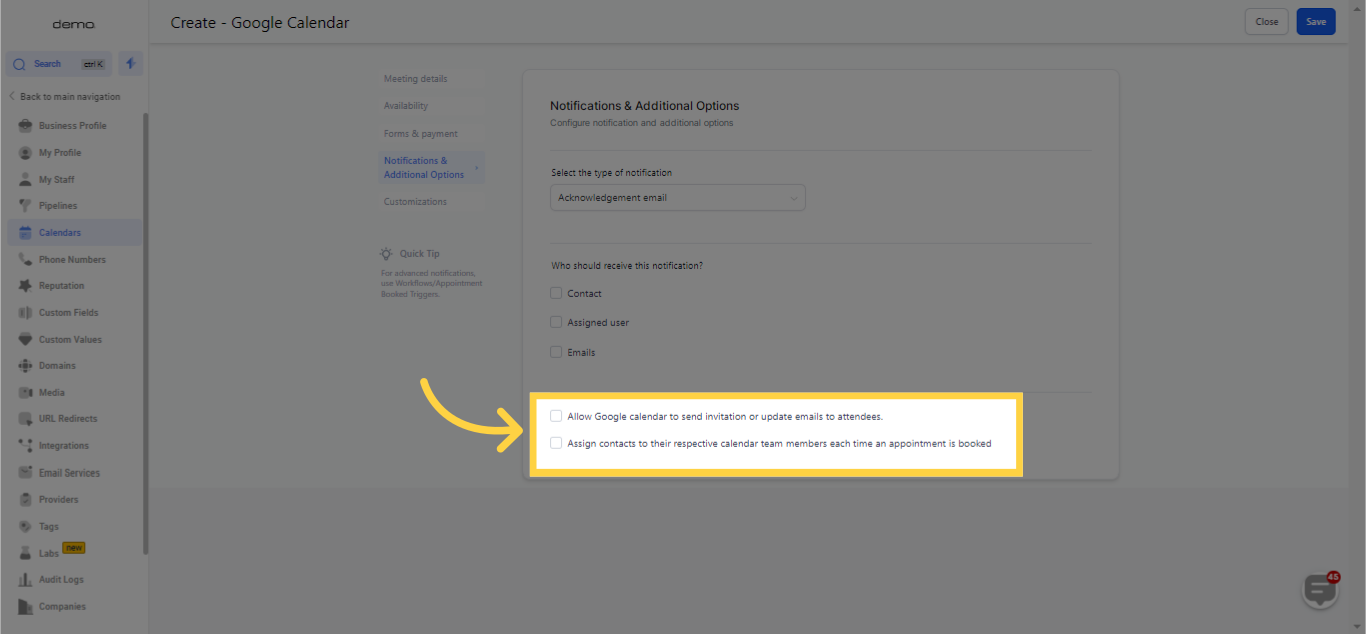
You have the option to enable a checkbox which permits Google to dispatch invitations to all concerned parties. This email is comprehensive and professionally formulated, asking the recipient to affirm their participation with a "yes", "no" or "maybe".
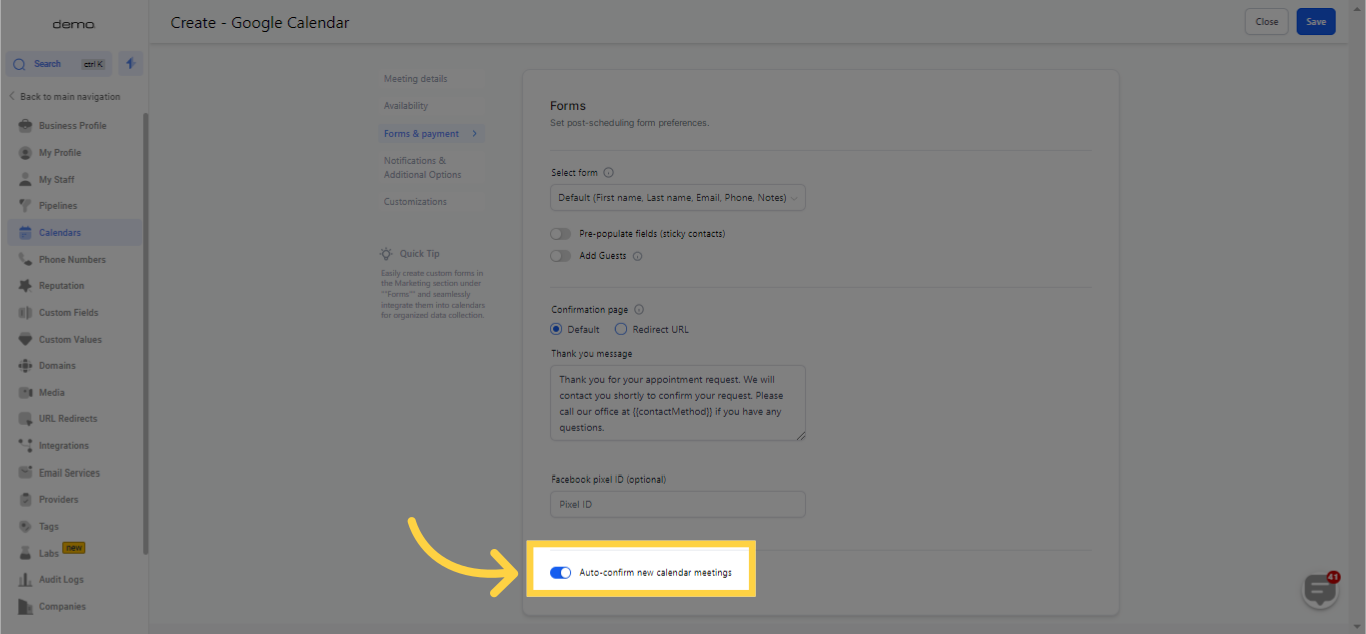
By activating the auto-confirmation feature in the CRM, all appointments booked via this calendar will be confirmed automatically. This confirmed status could initiate marketing automation processes.
)
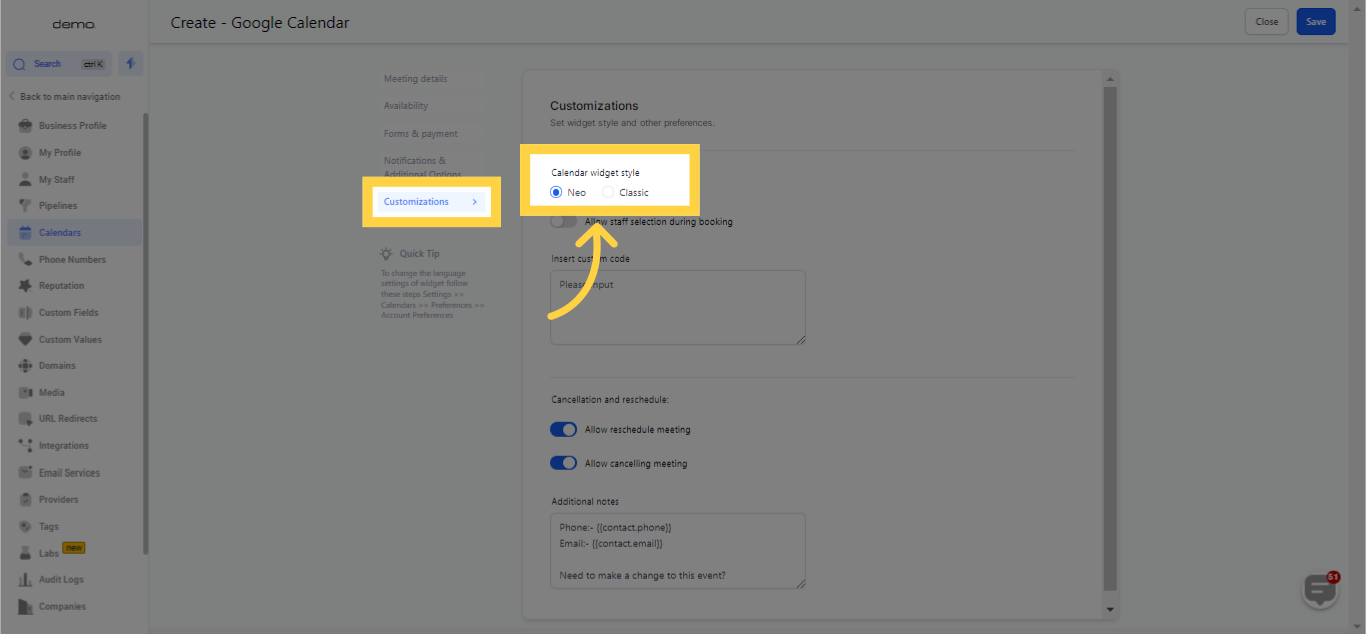
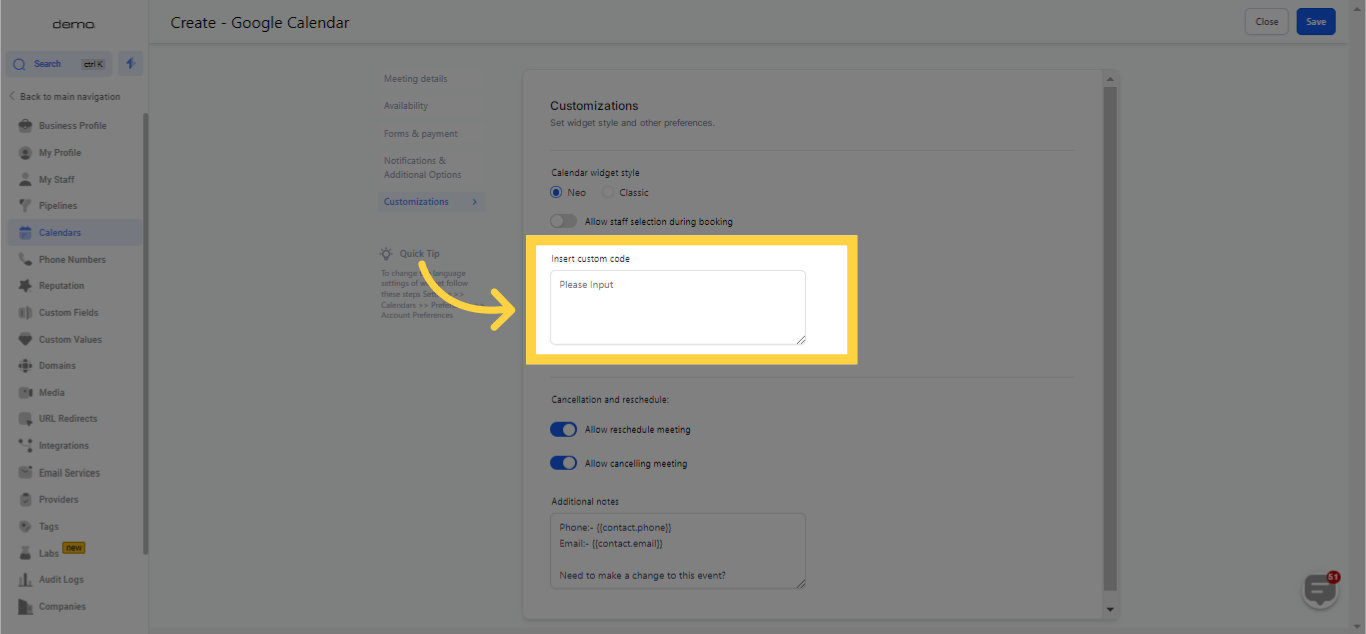
If you have a team of software developers or possess the knowledge to develop custom code, you can input it into this section. This allows you to integrate enhanced styling and design components, contingent on the implemented code.
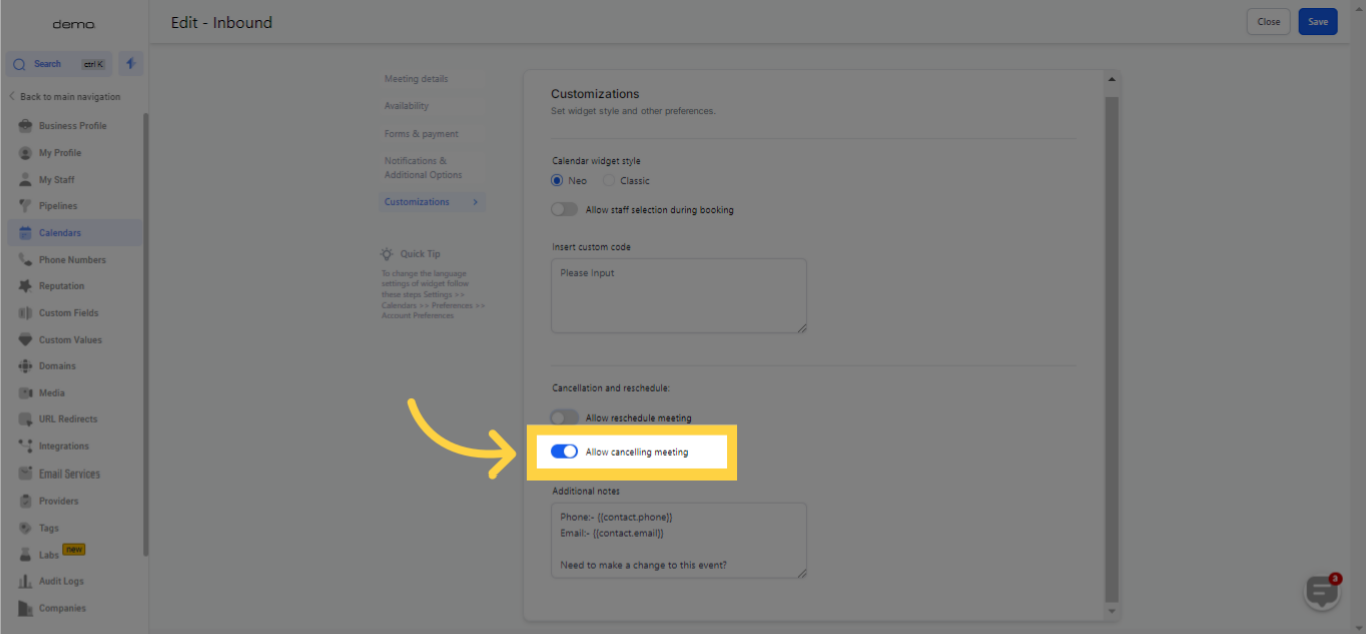
By activating this function, users are granted the ability to cancel their appointments. Alongside the confirmation email, the system will dispatch a cancellation link. This process can also be manually executed in the CRM.
)
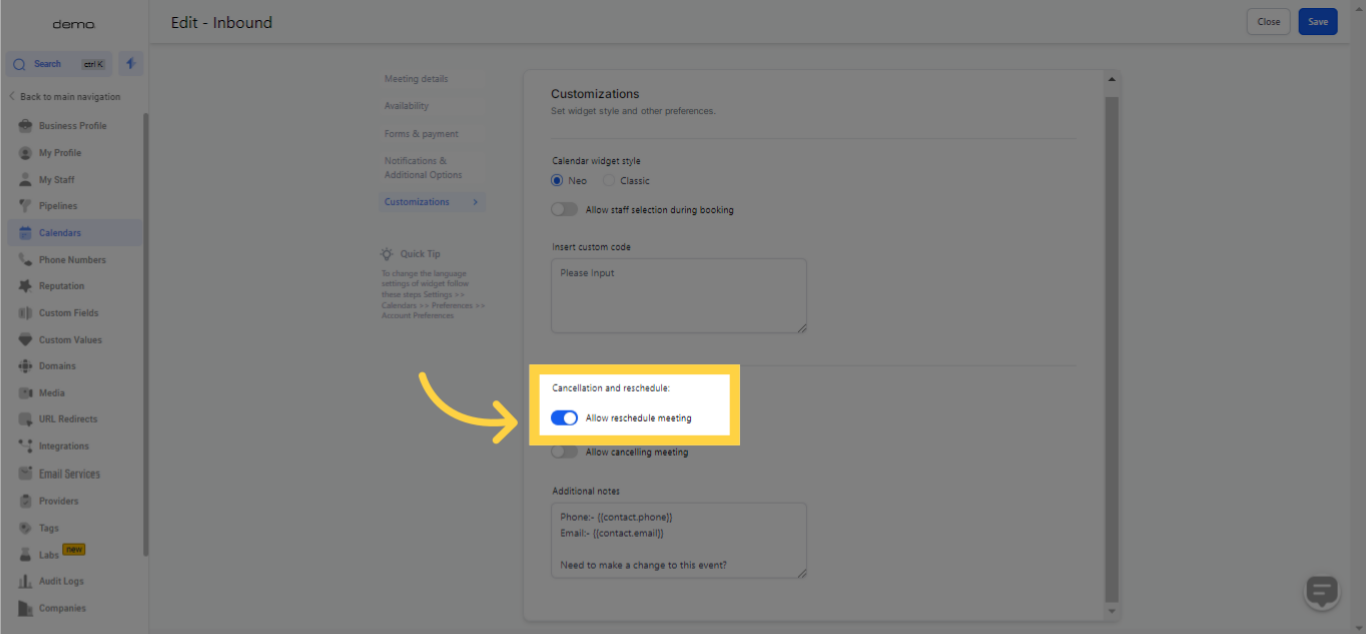
By turning on this feature, users are afforded the function to reschedule their appointments. A rescheduling link will be included in the confirmation email. This task can also be managed manually in the CRM.
)
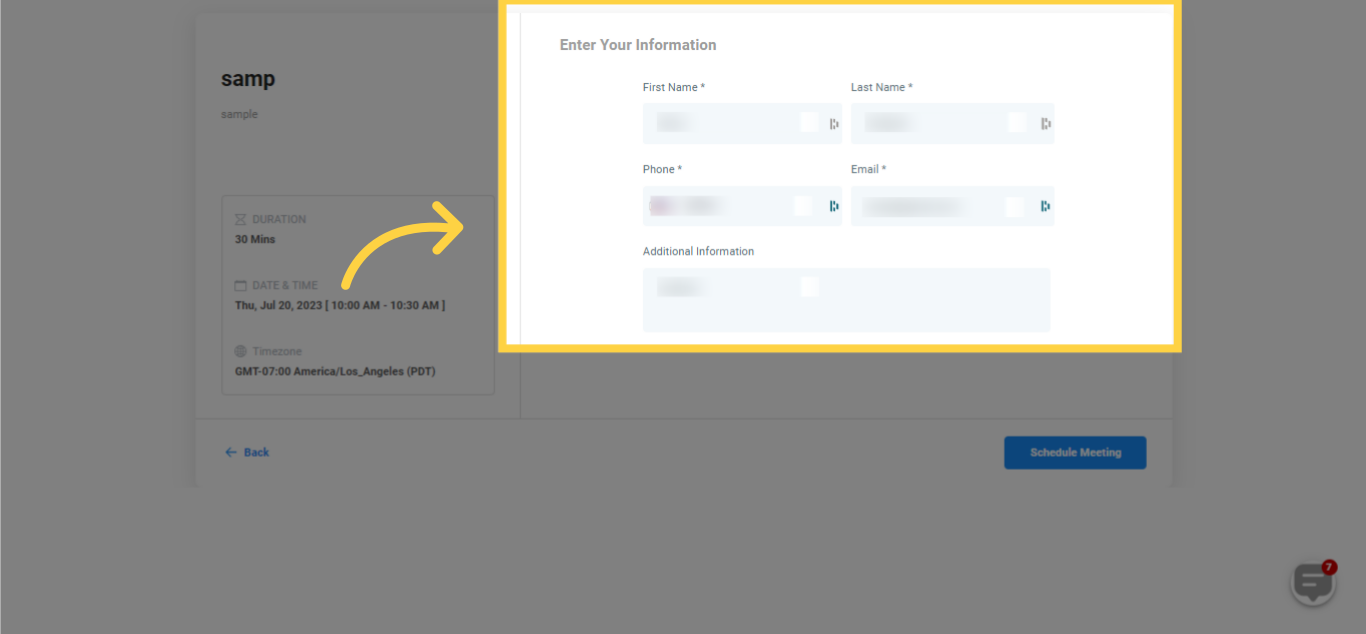
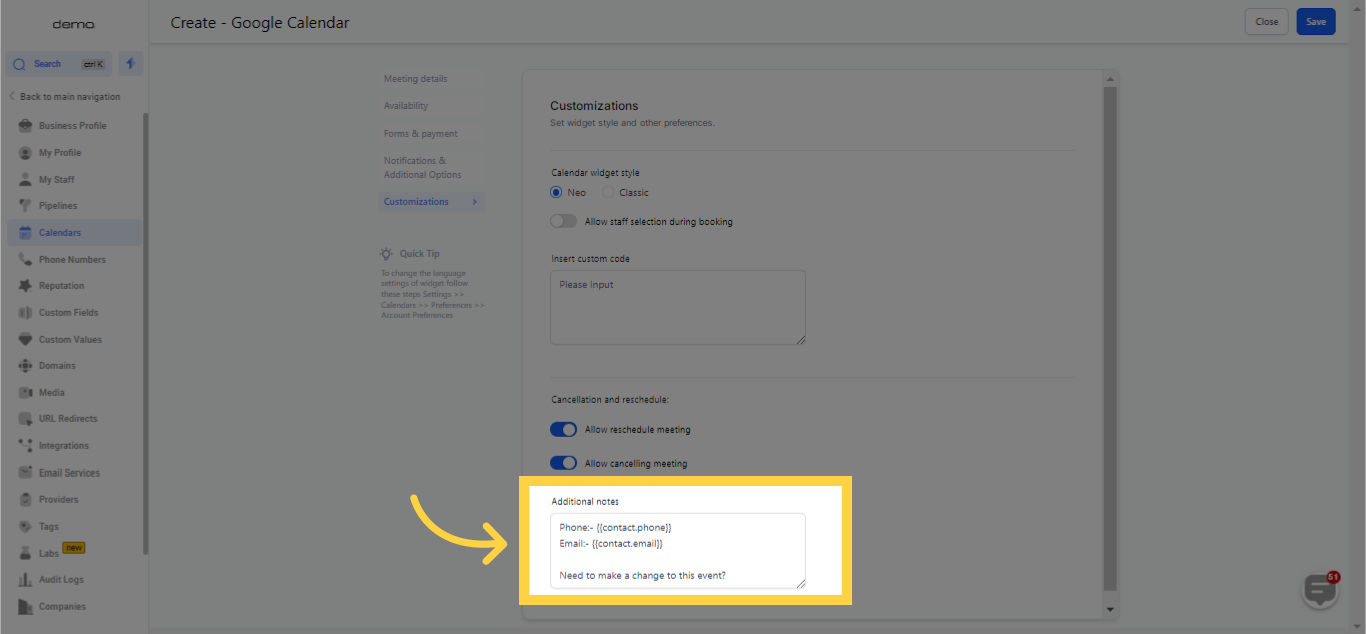
If you wish to add further details to the appointment information, you can enter them in this section. This can be helpful for giving context to the appointment, asking for additional information to be provided at the meeting, or including other pertinent details that weren't specified at the time of booking the appointment.
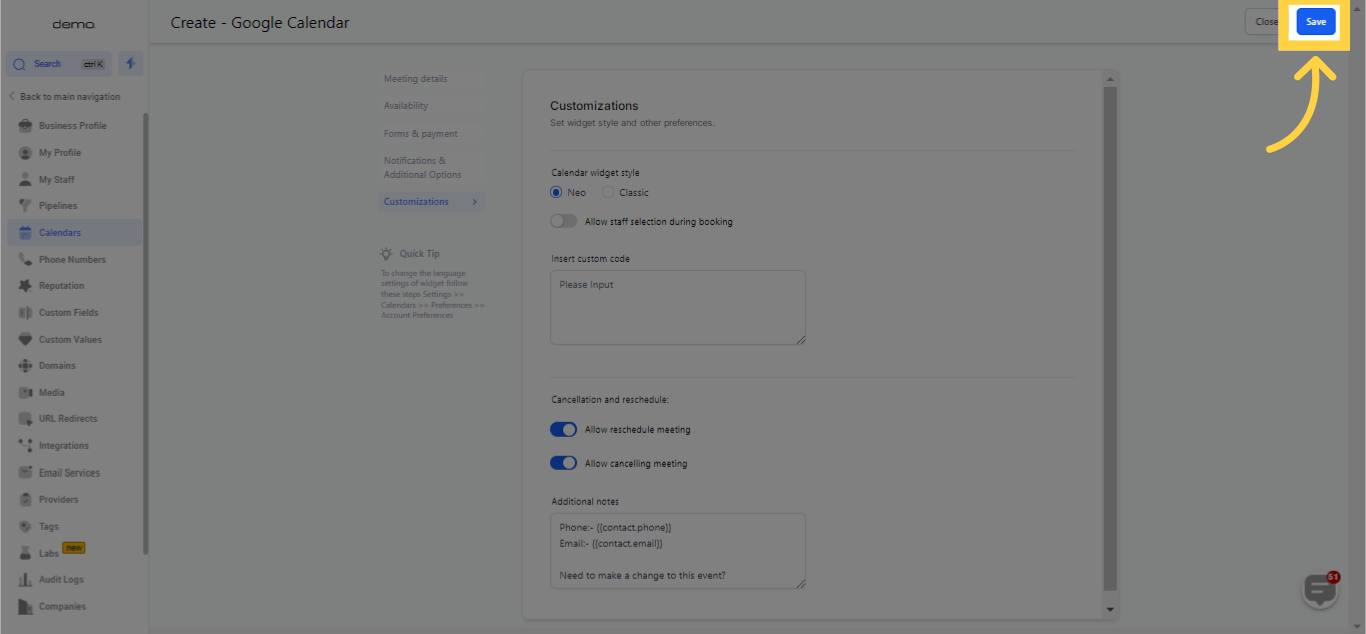
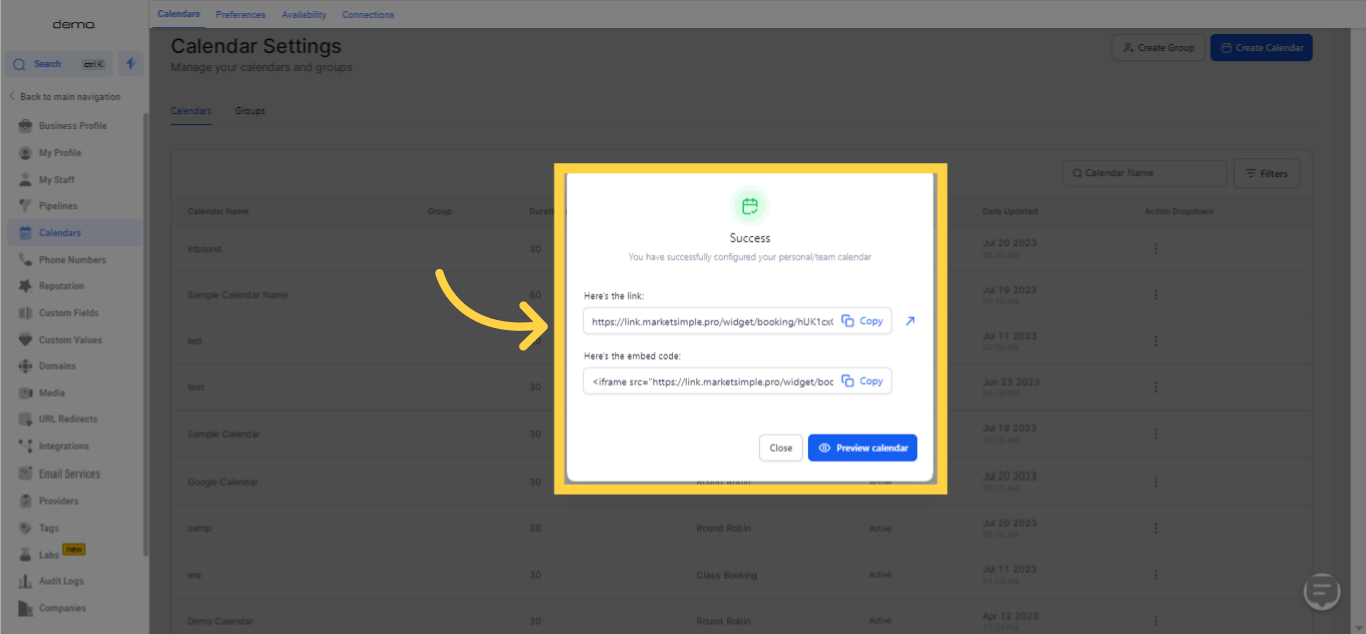
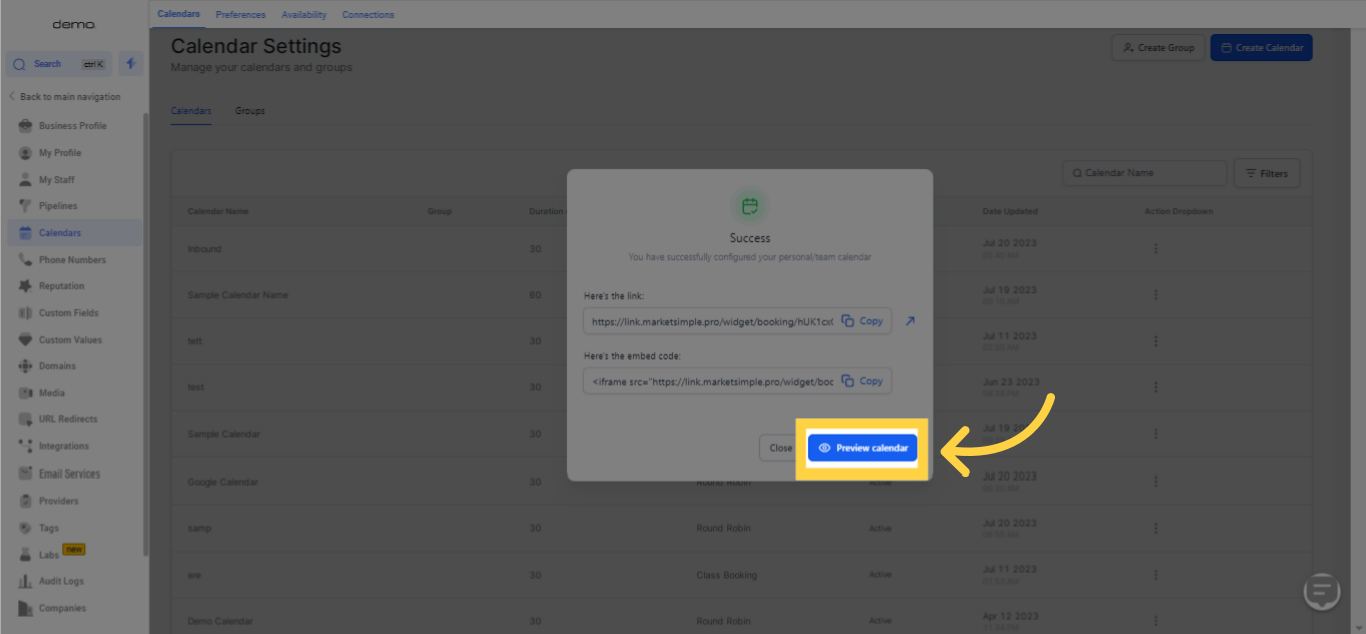
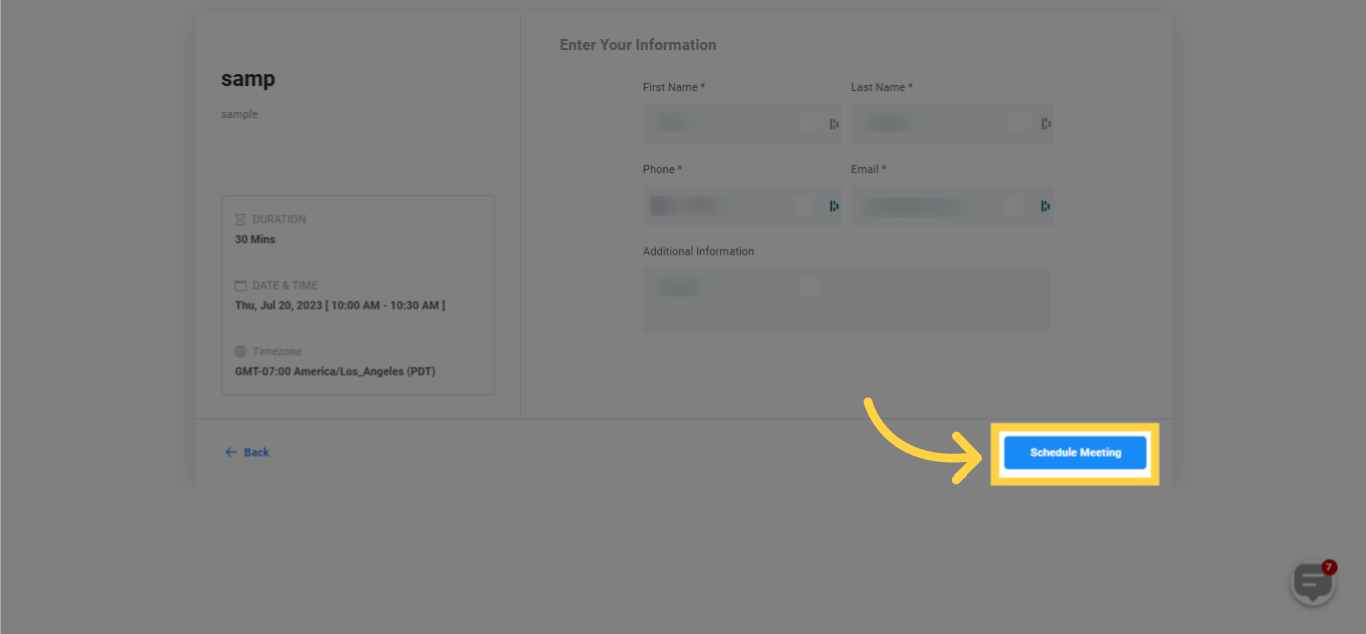
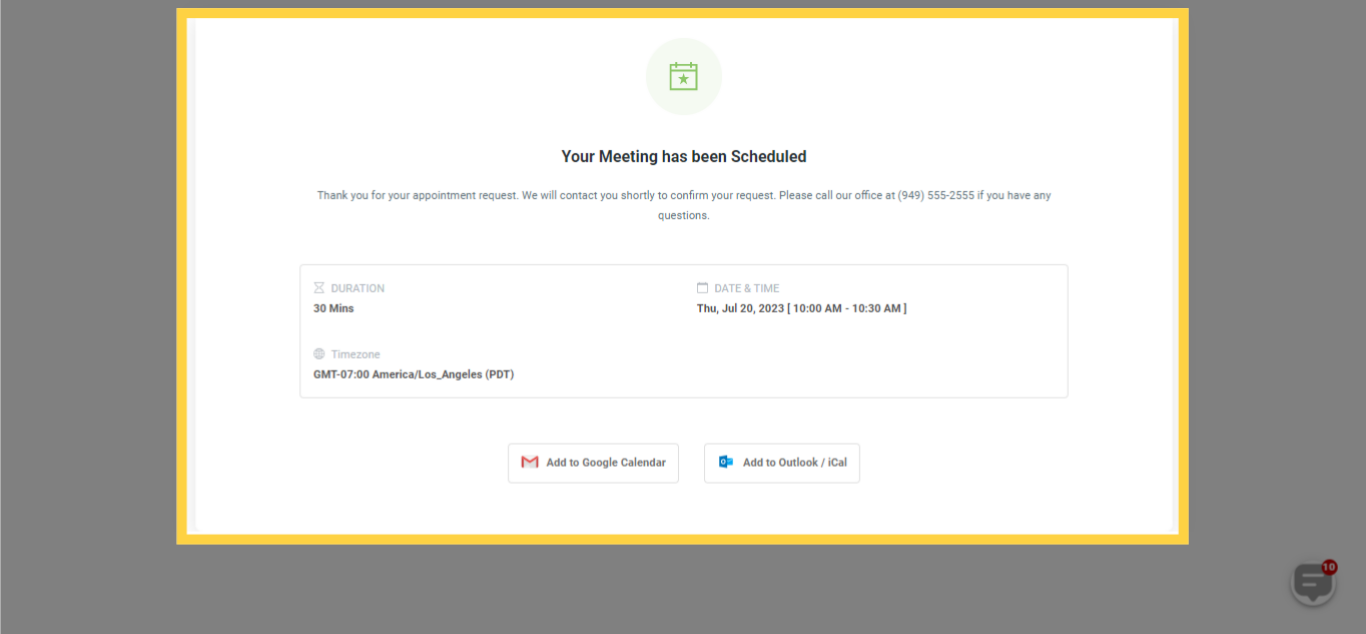
Once you click on 'Save', your calendar creation process is officially finished.
