
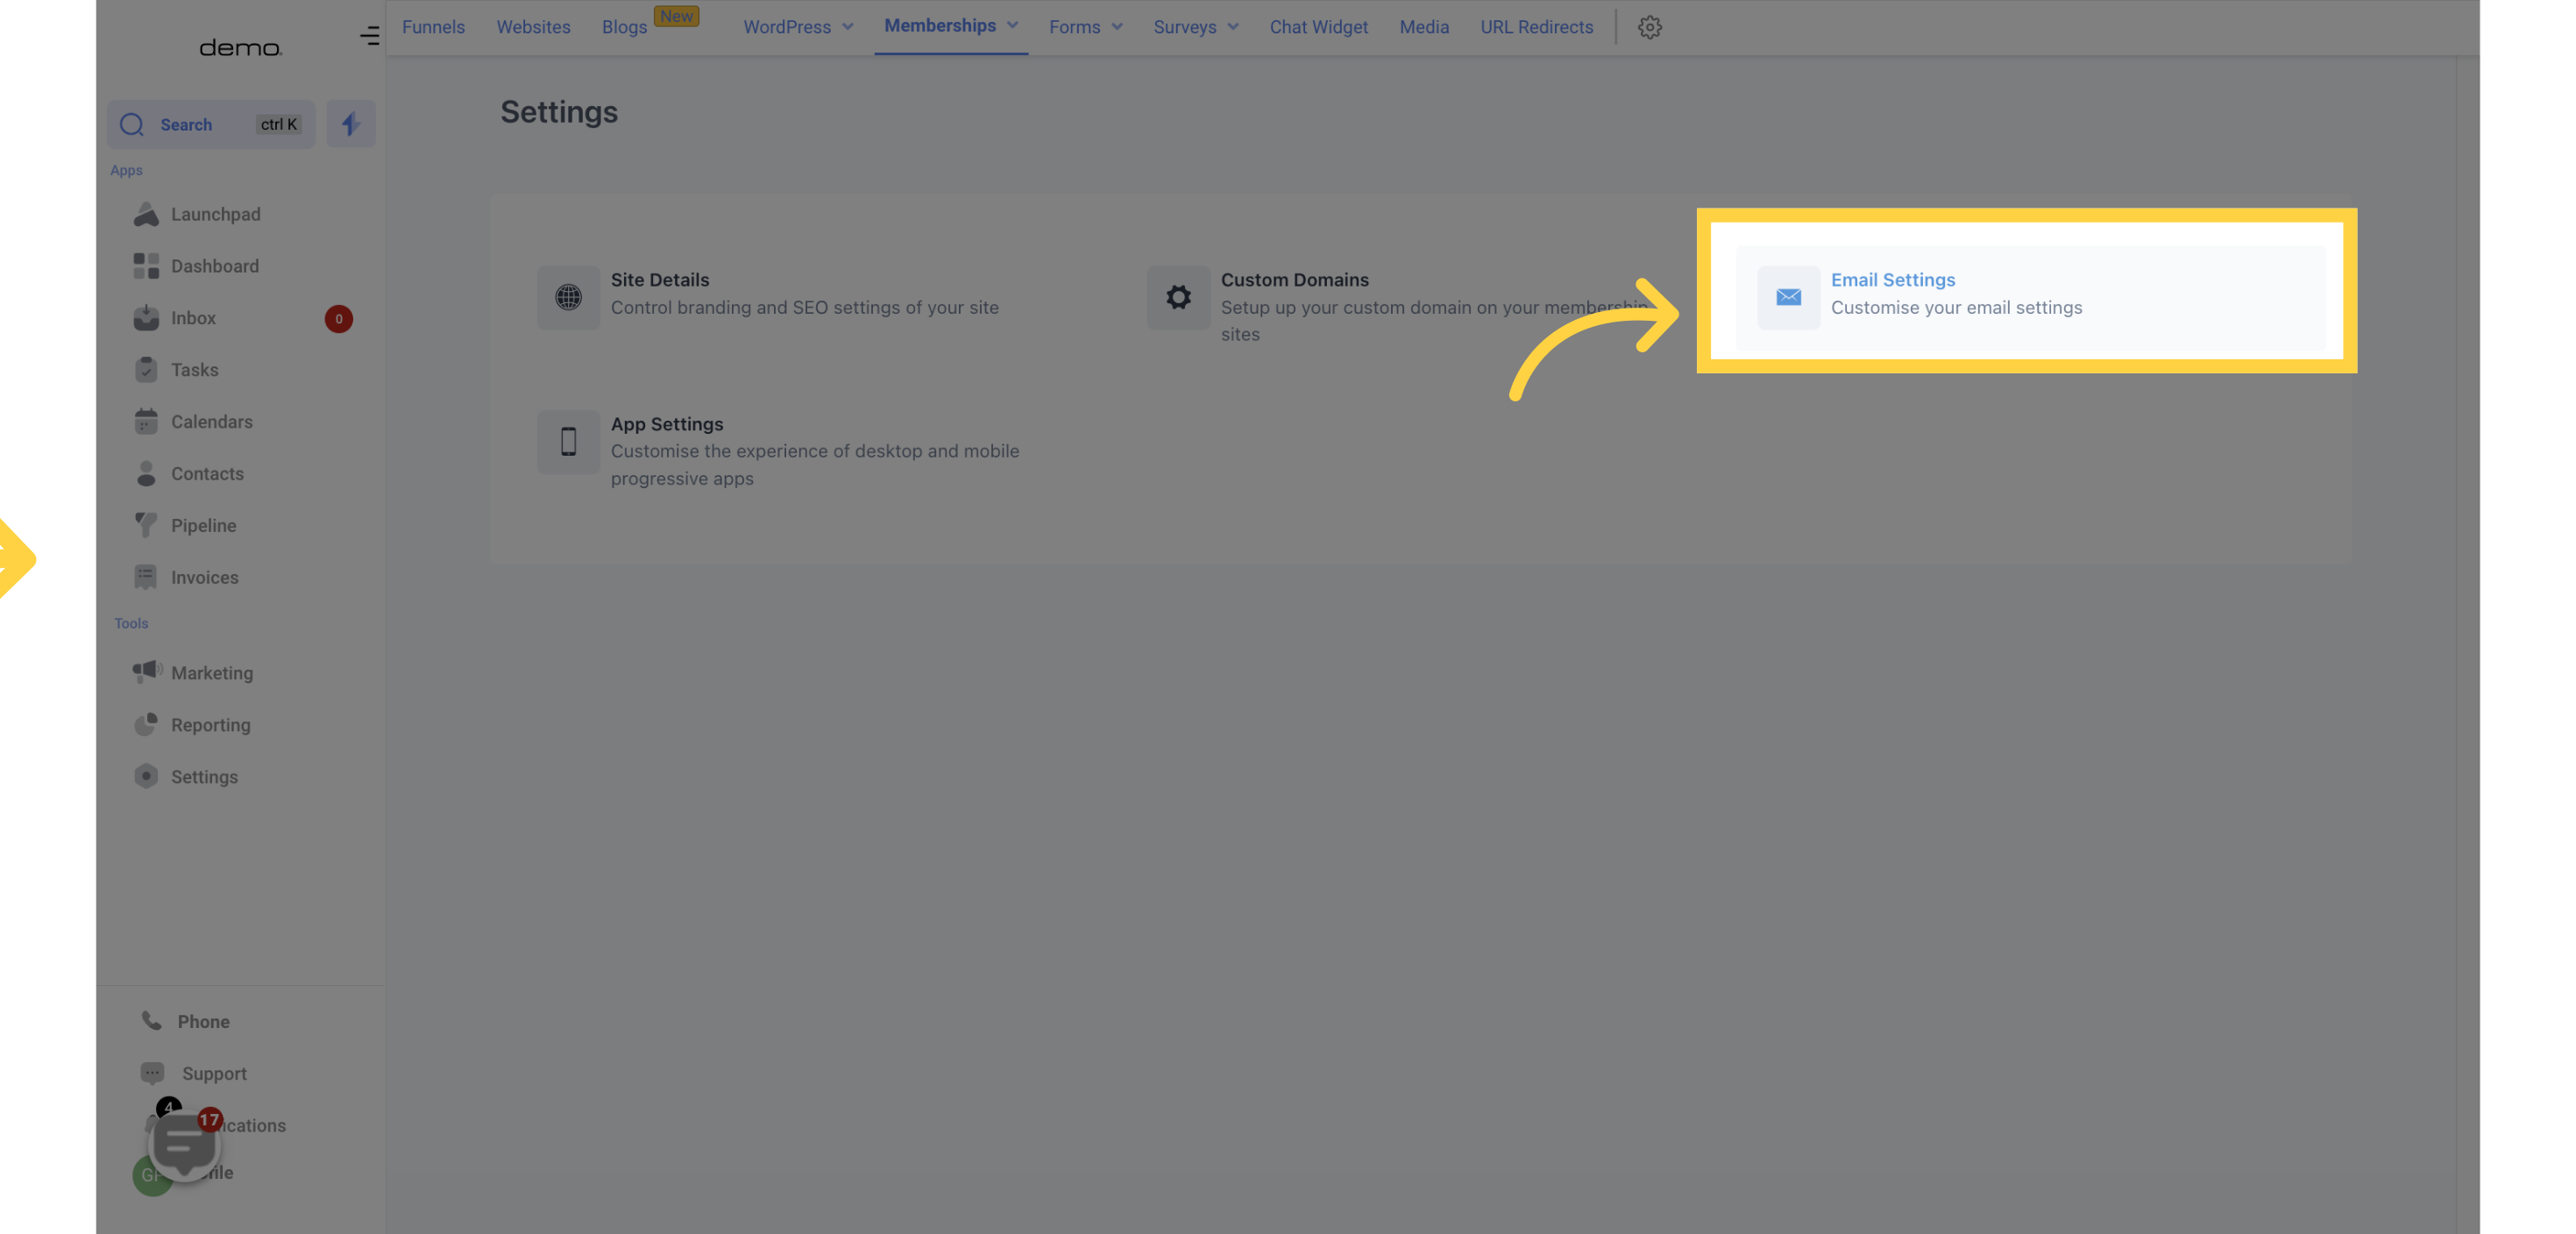
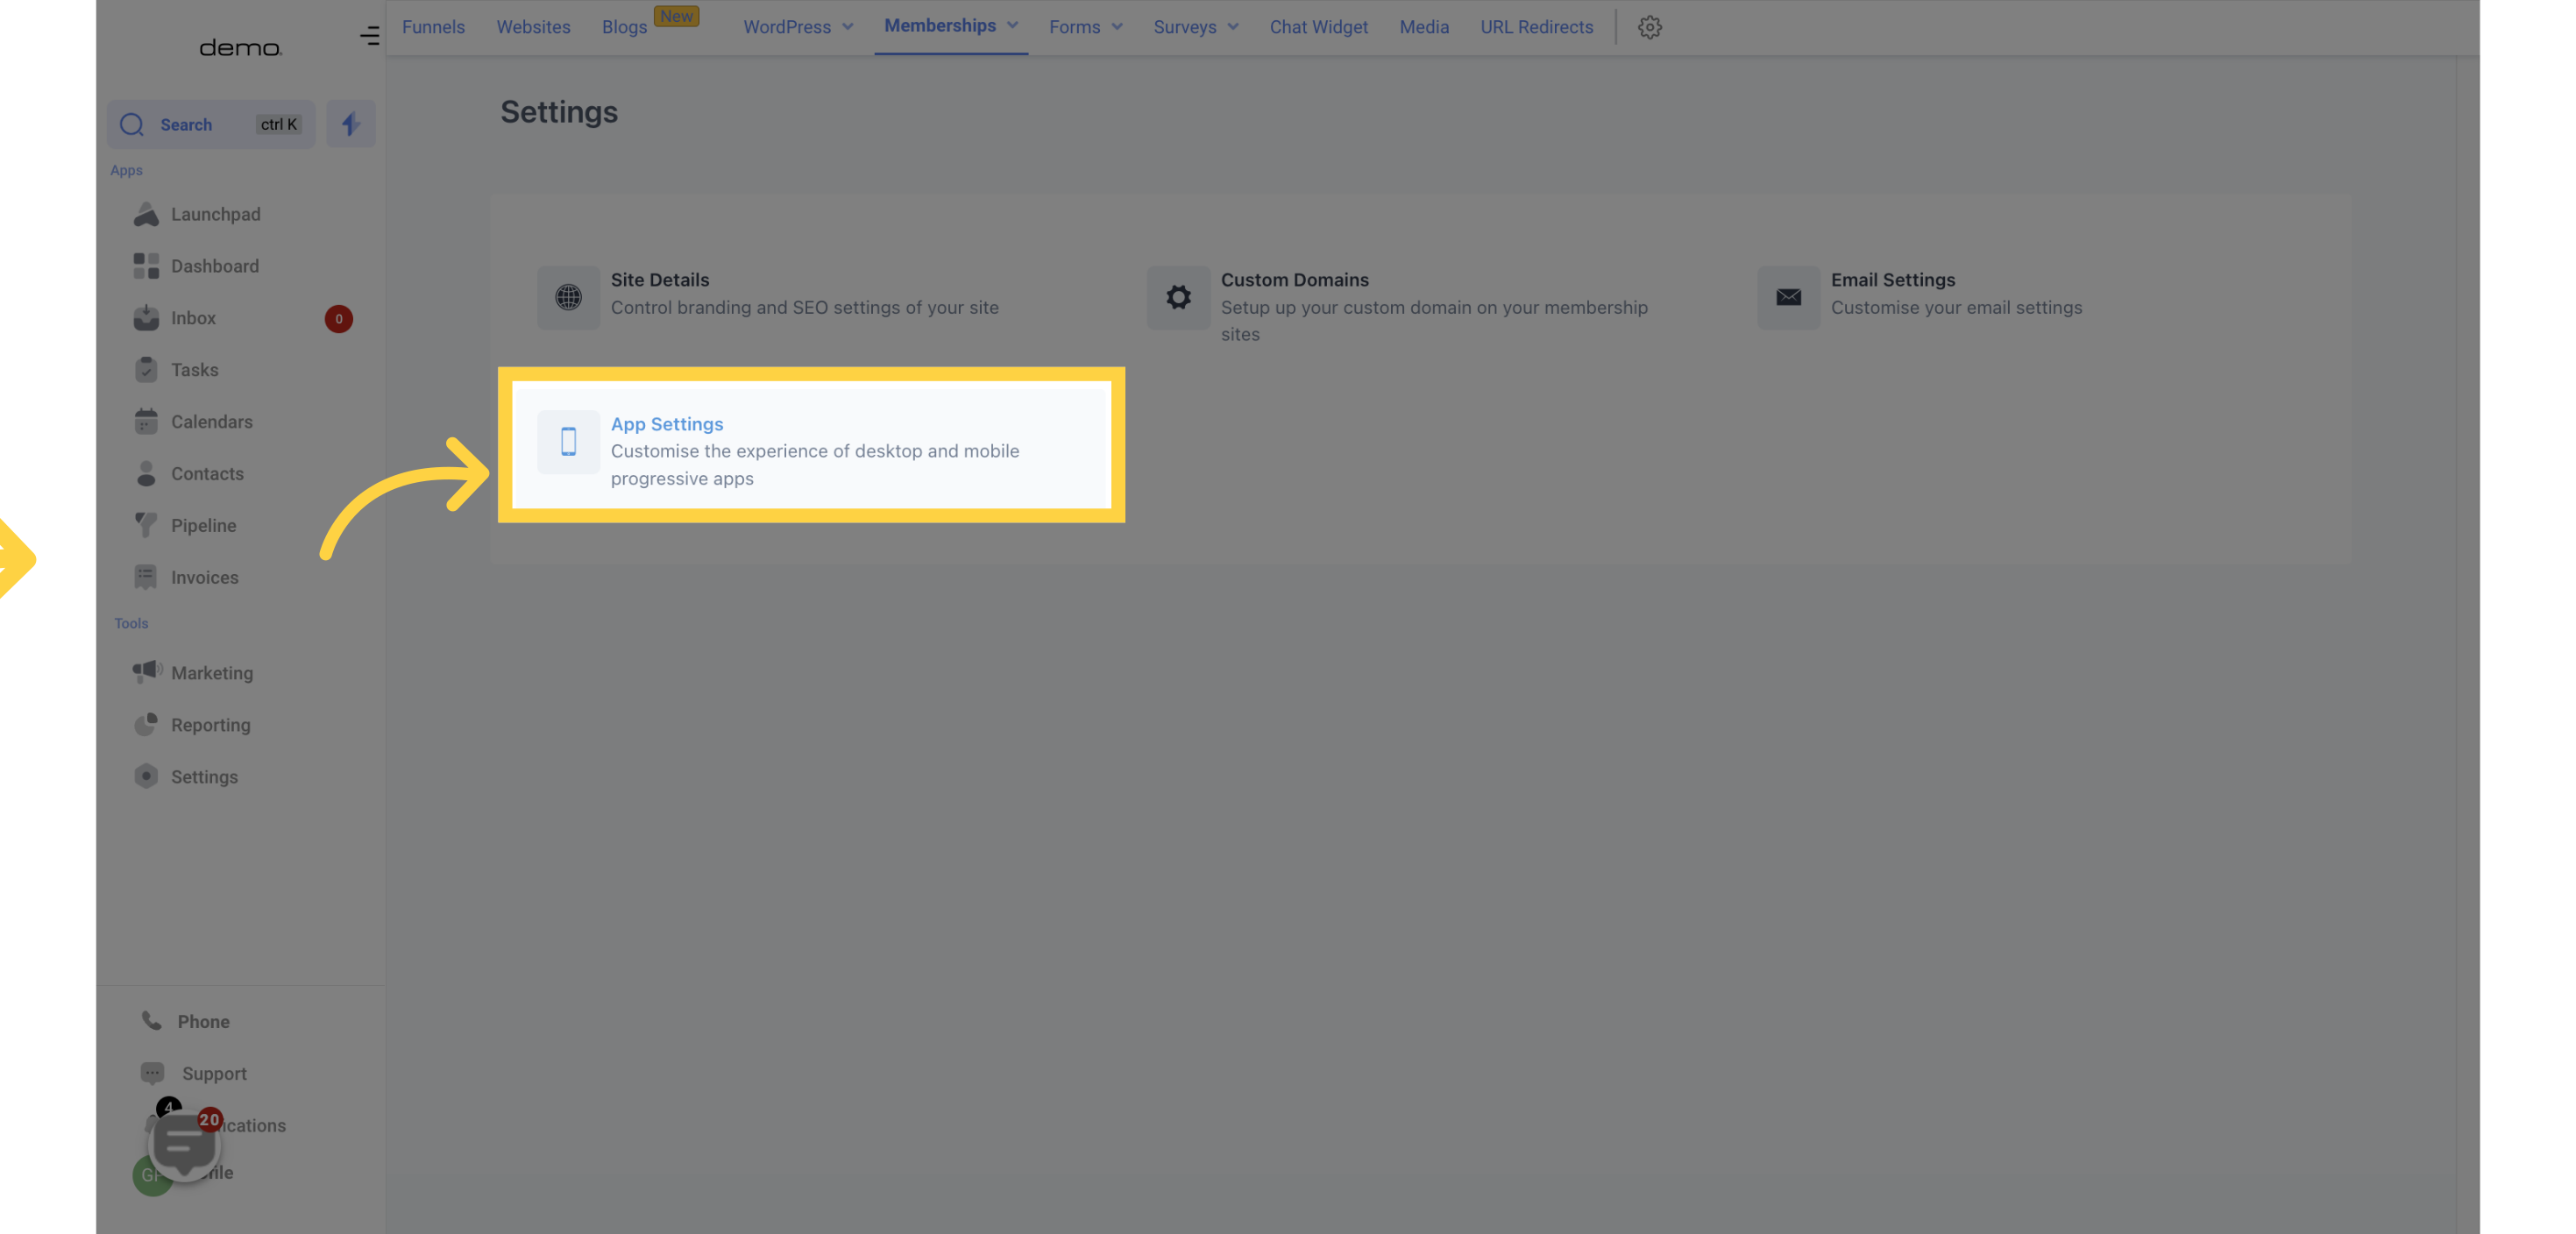
Click on Settings and choose the desired option, such as Site Details, Custom Domains, Email Settings, or App Settings.
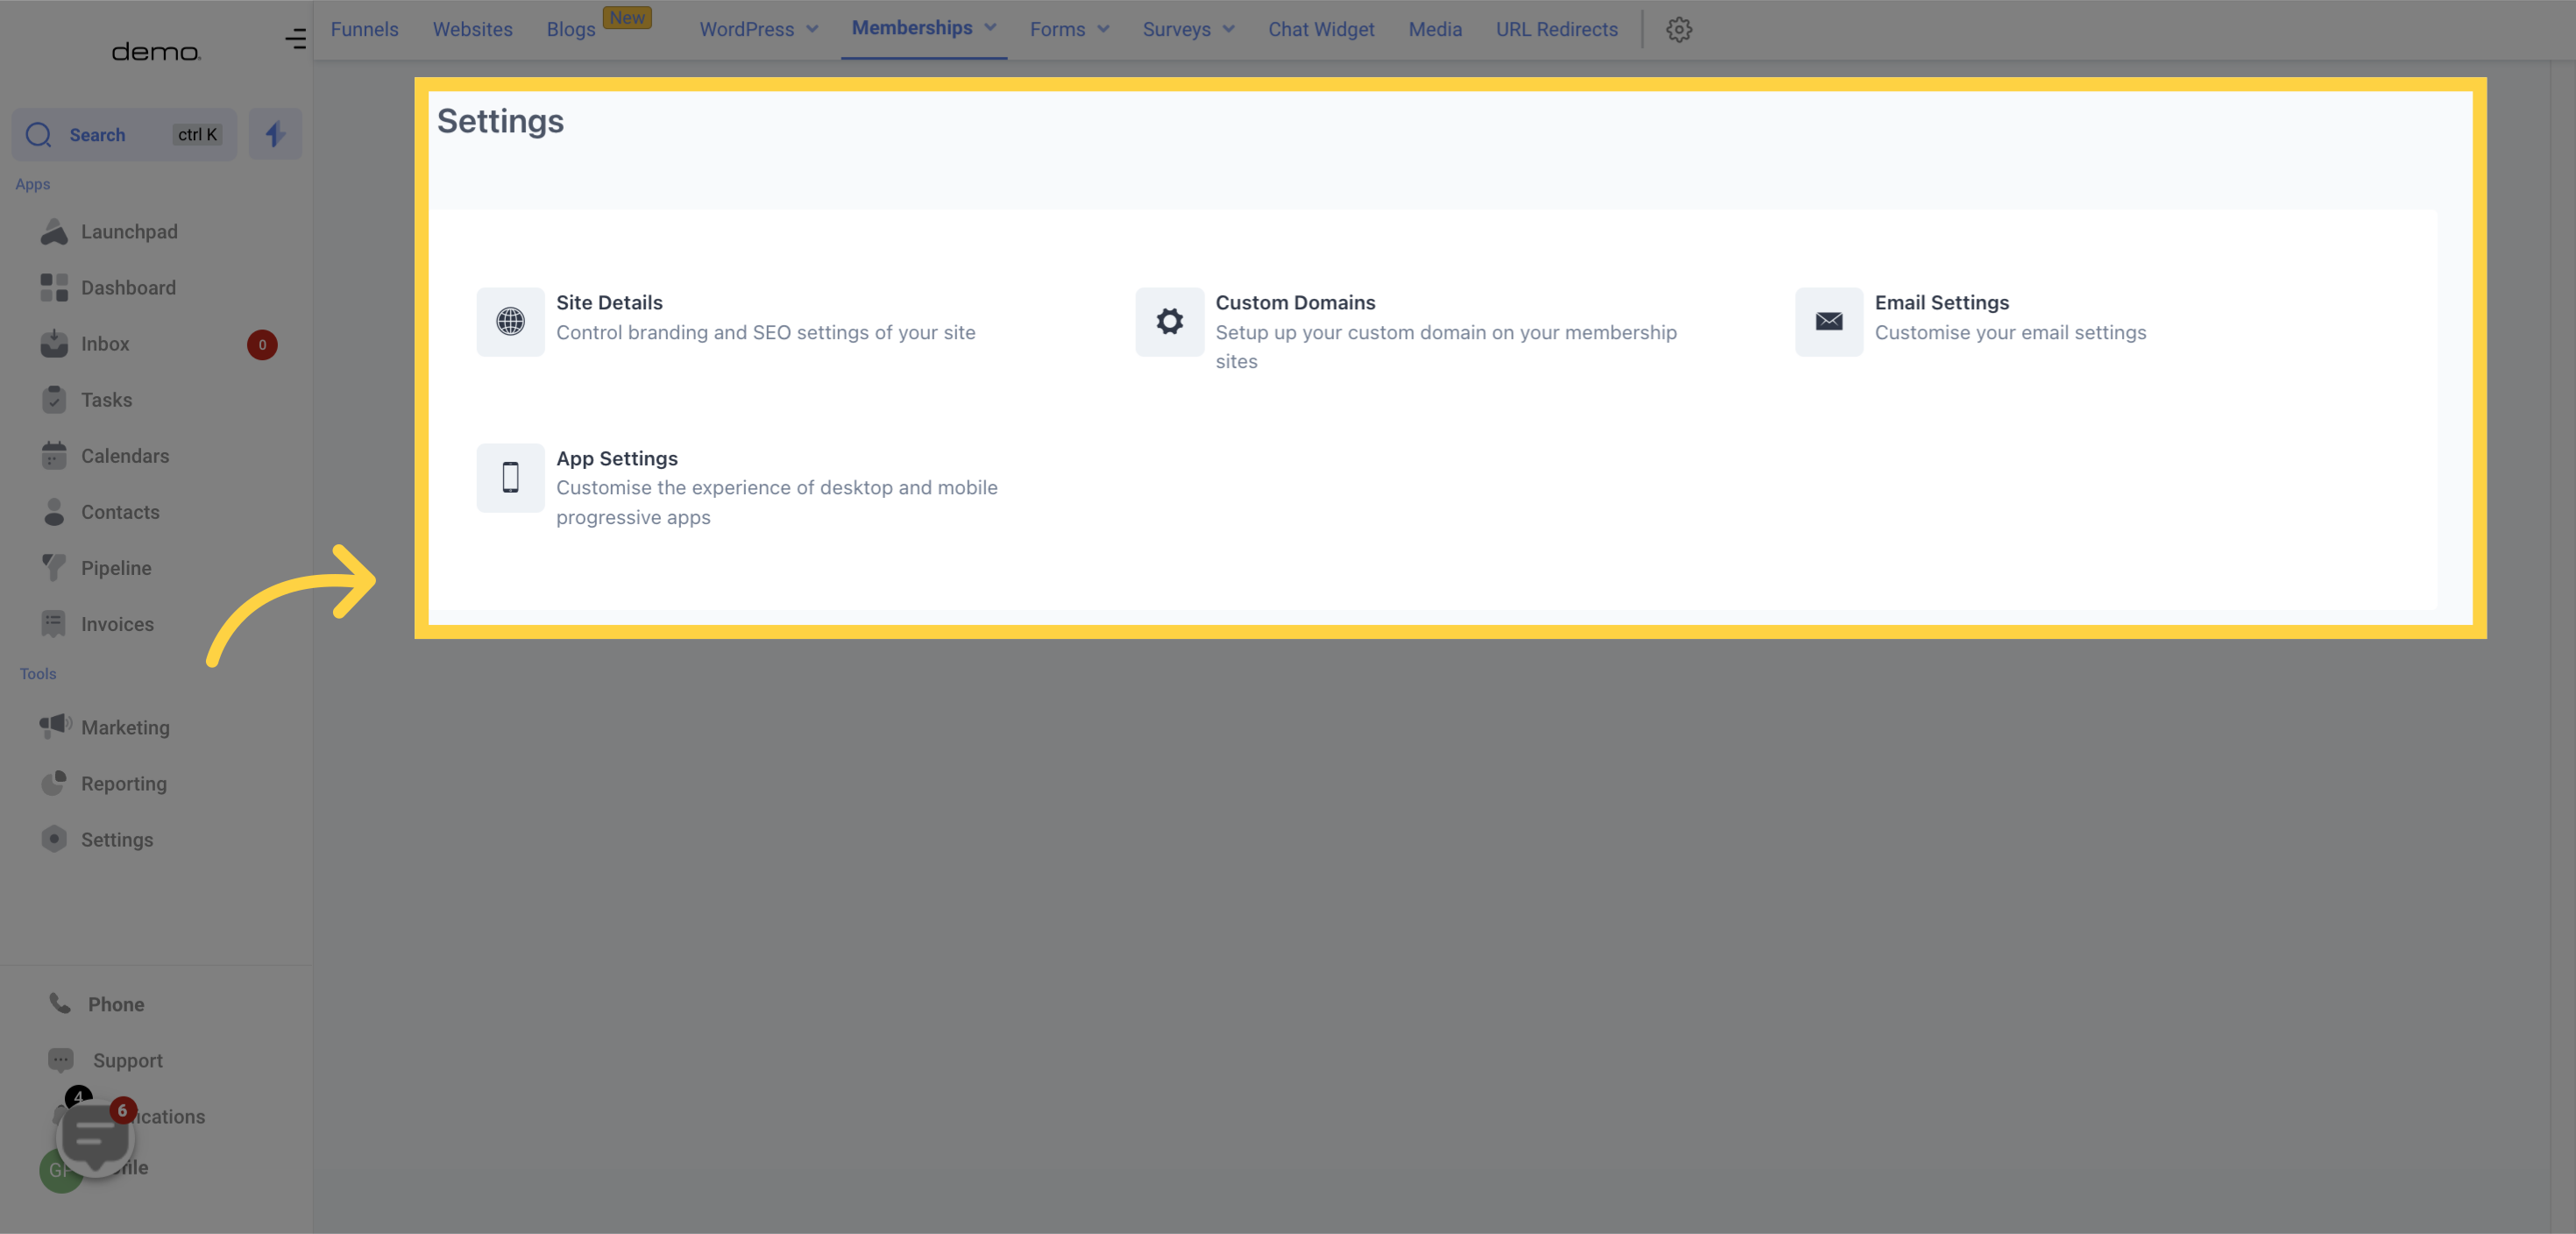
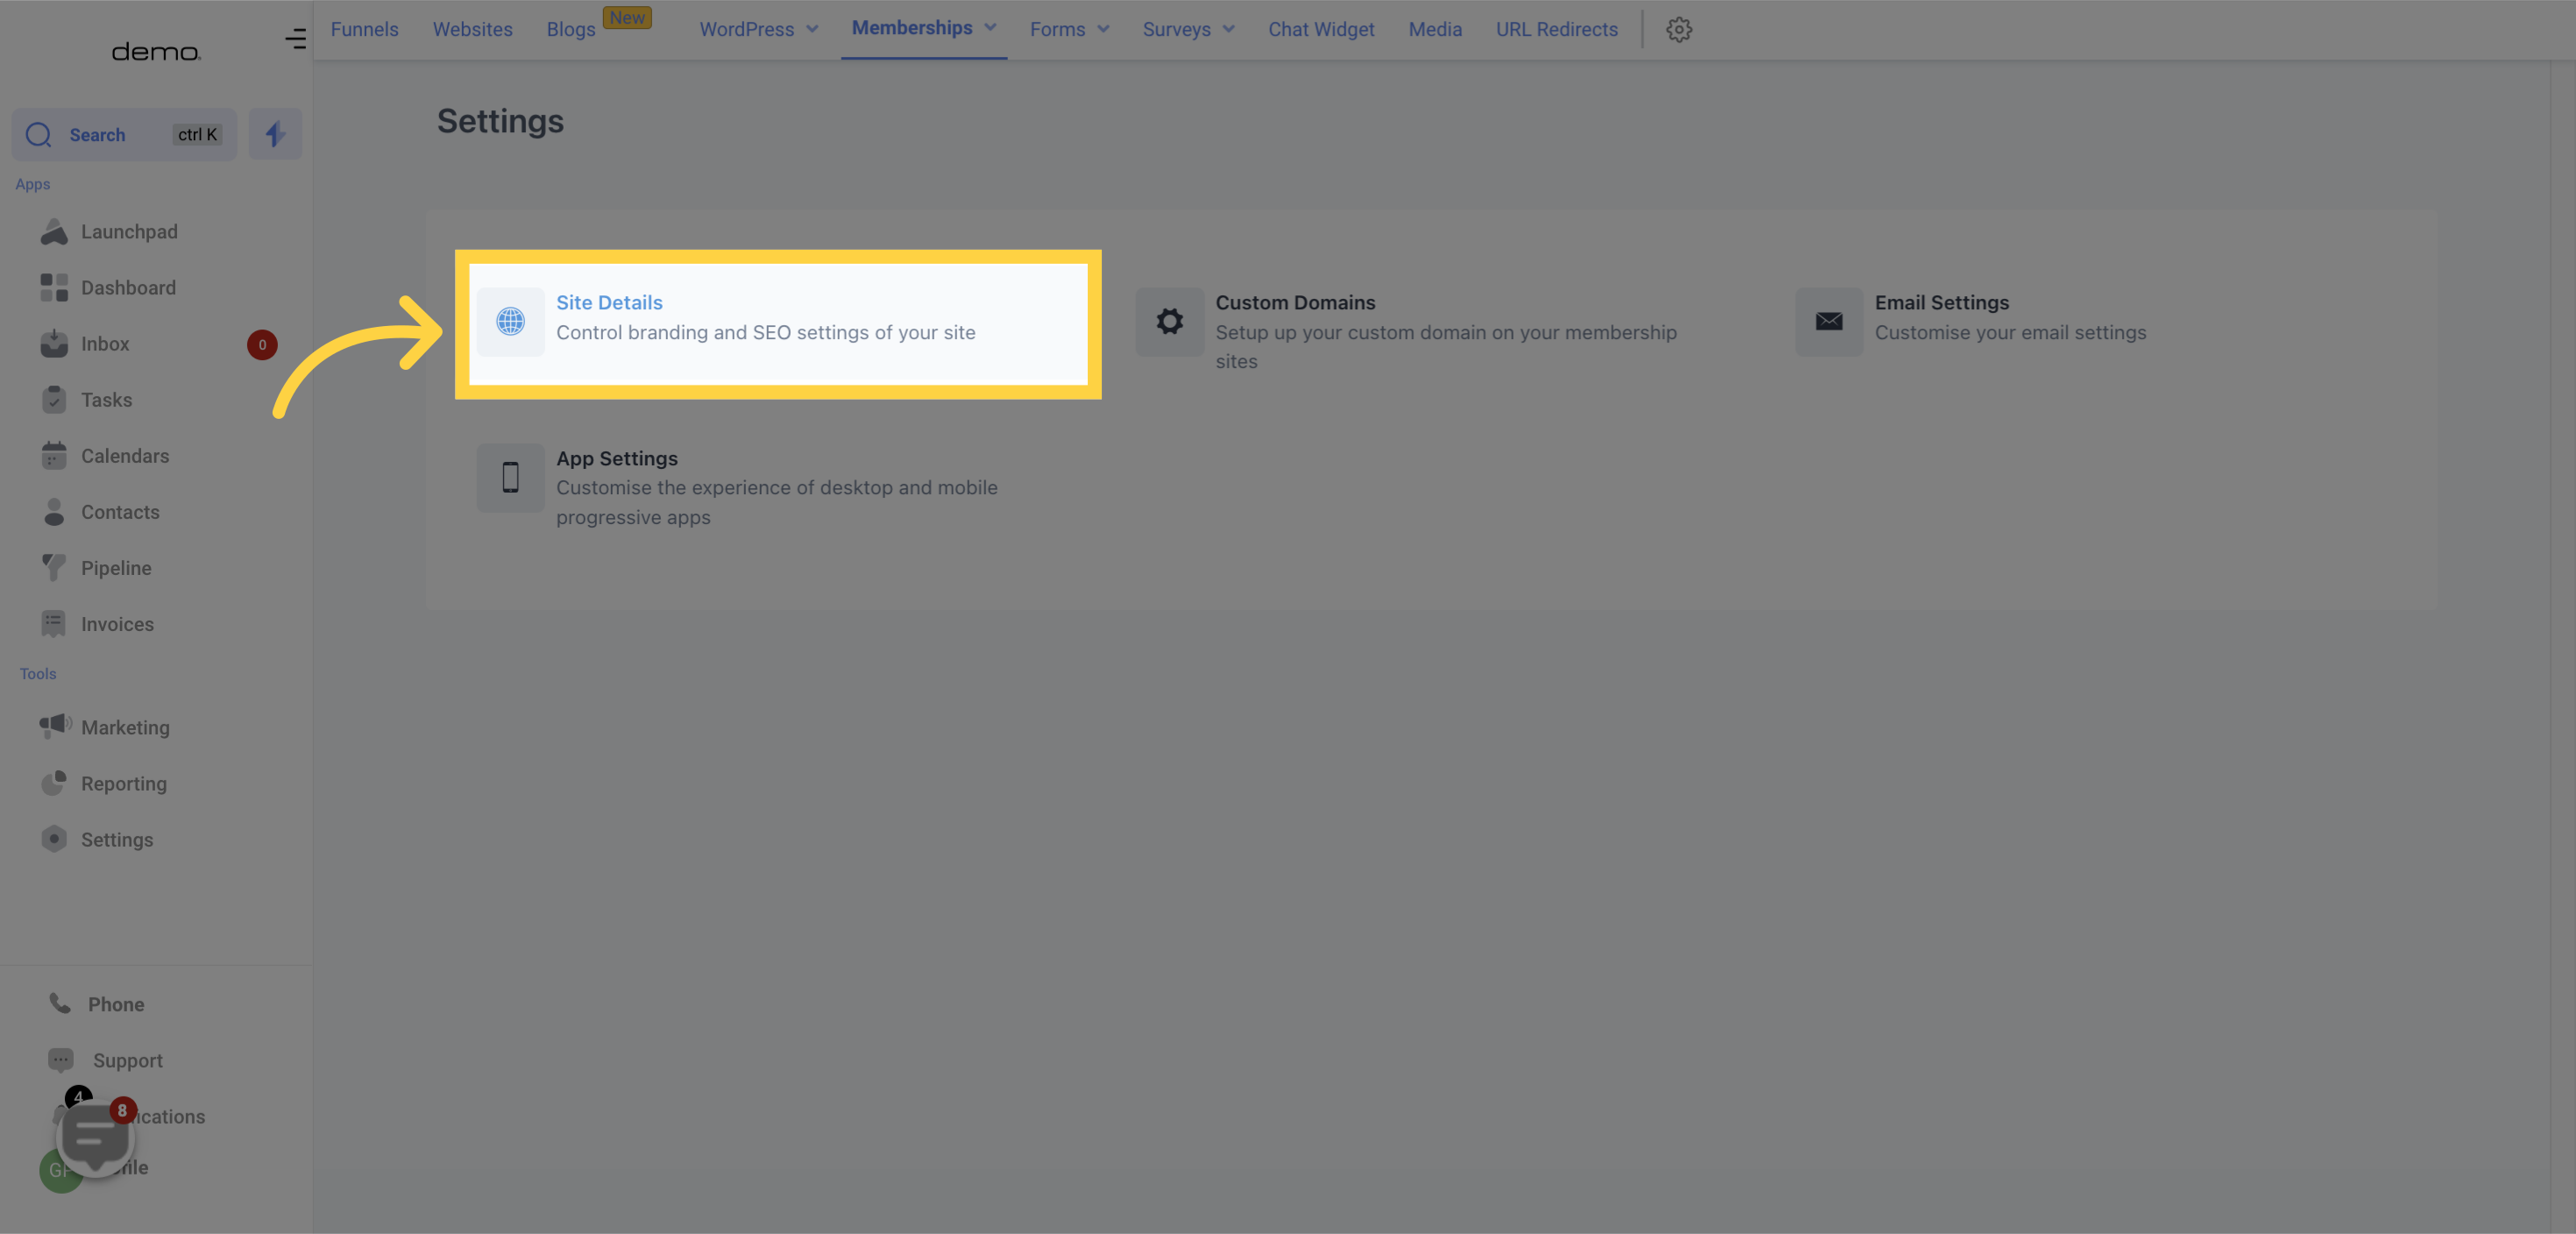
This section is where you can customize your site information and branding
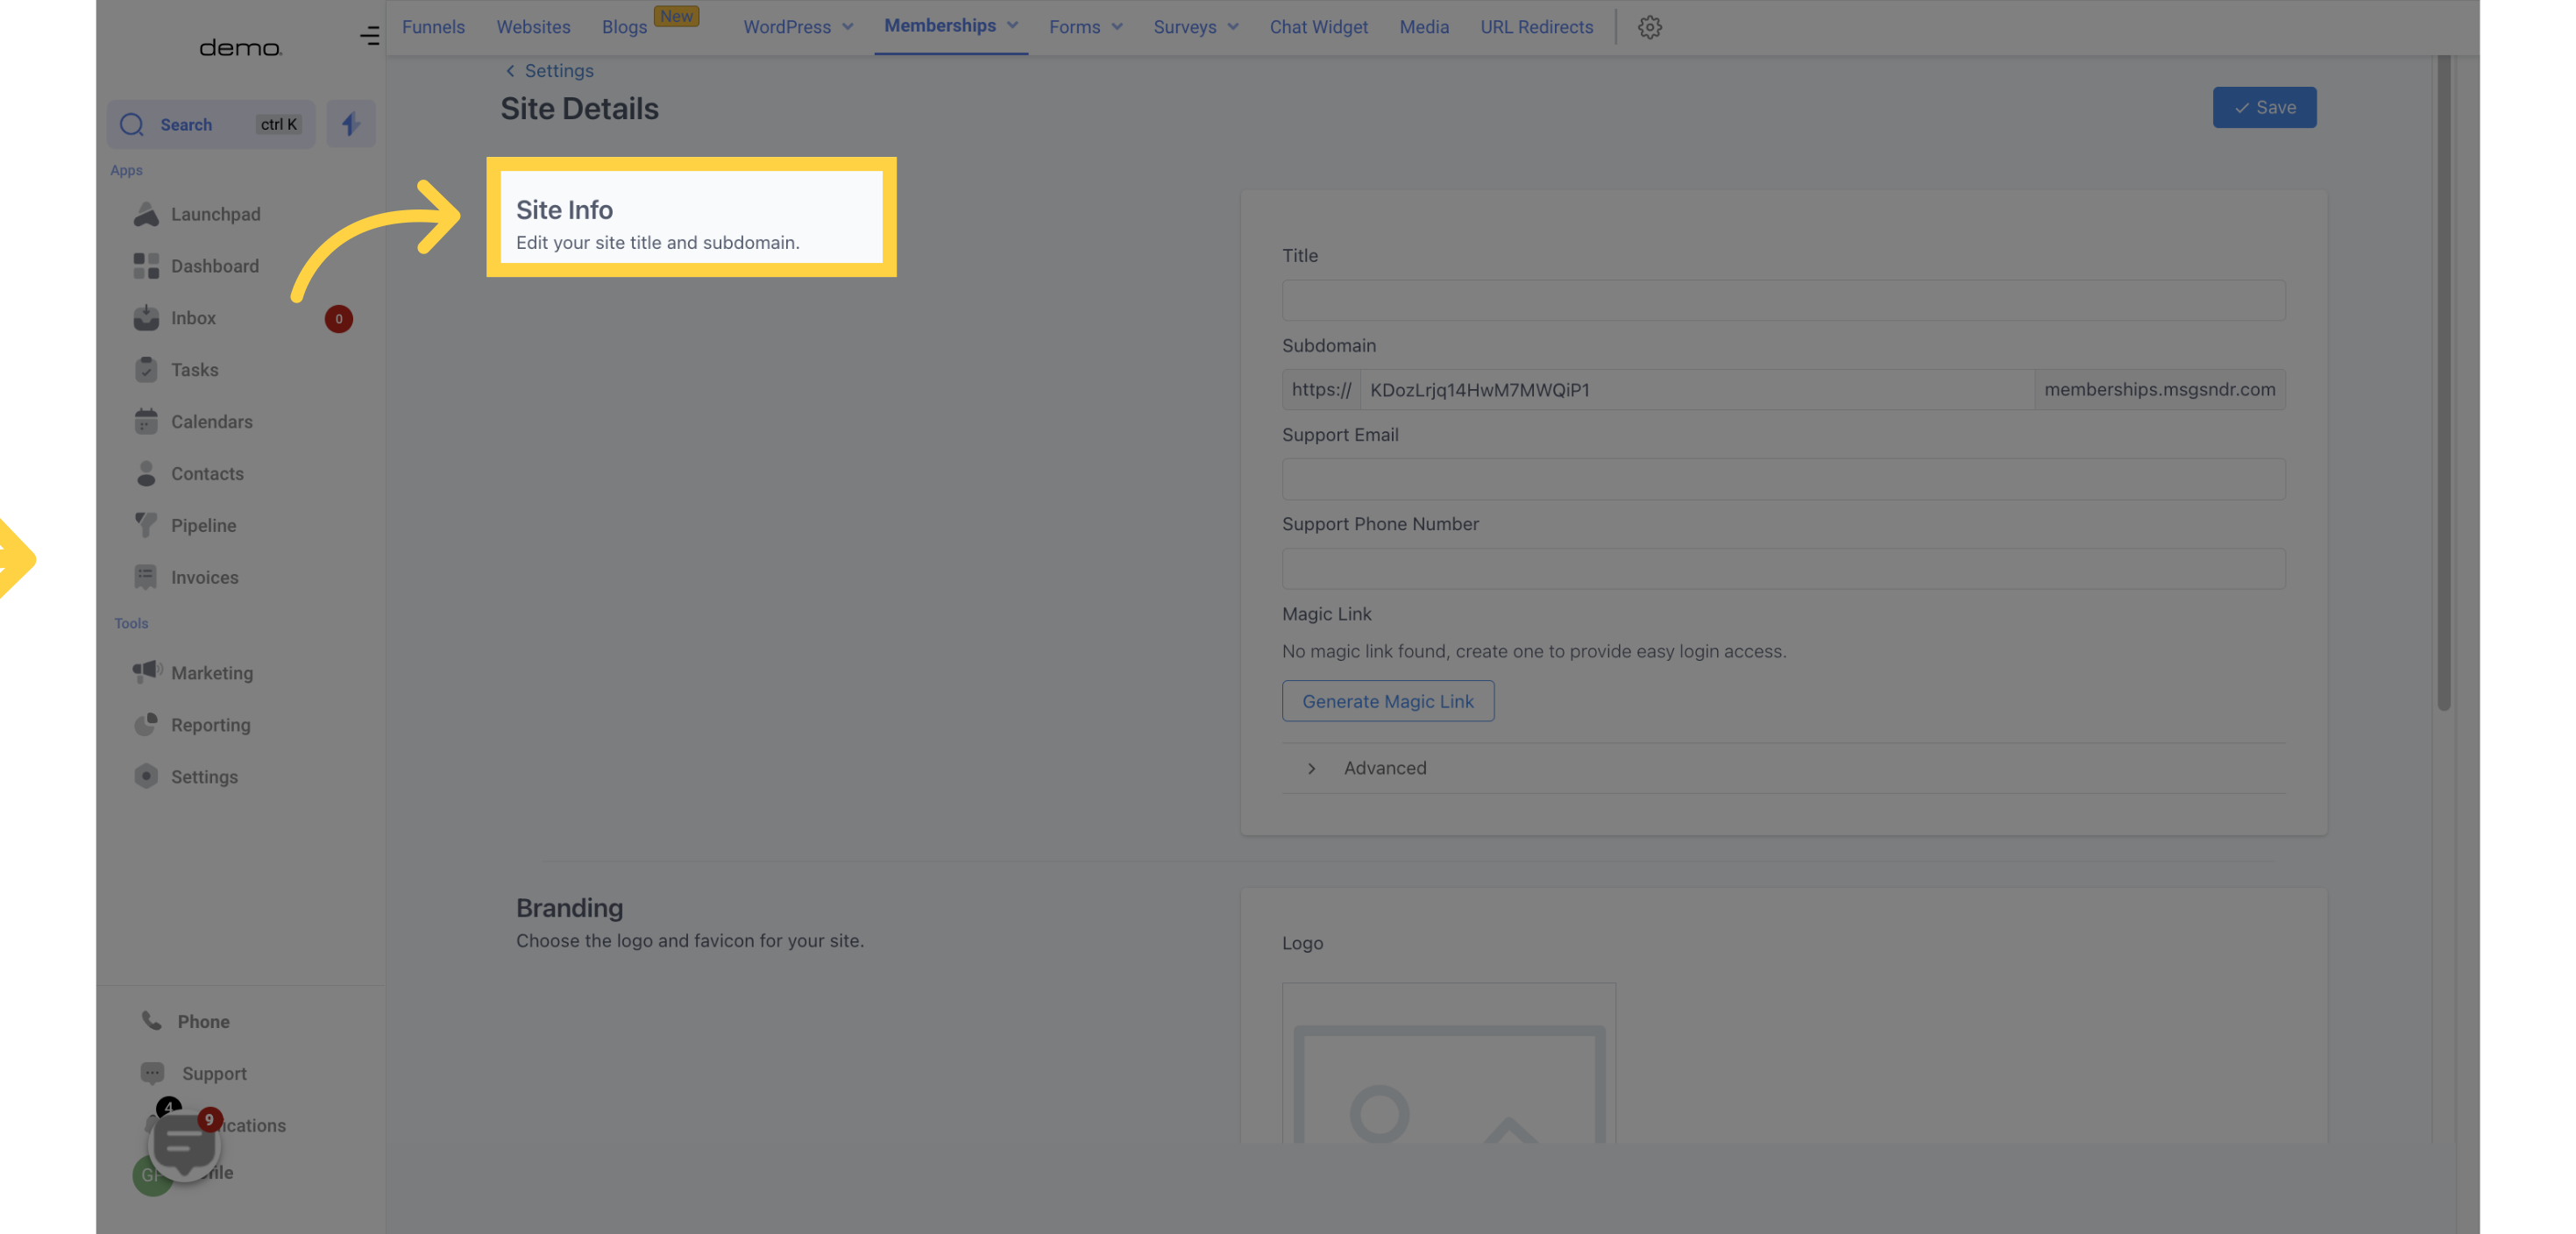
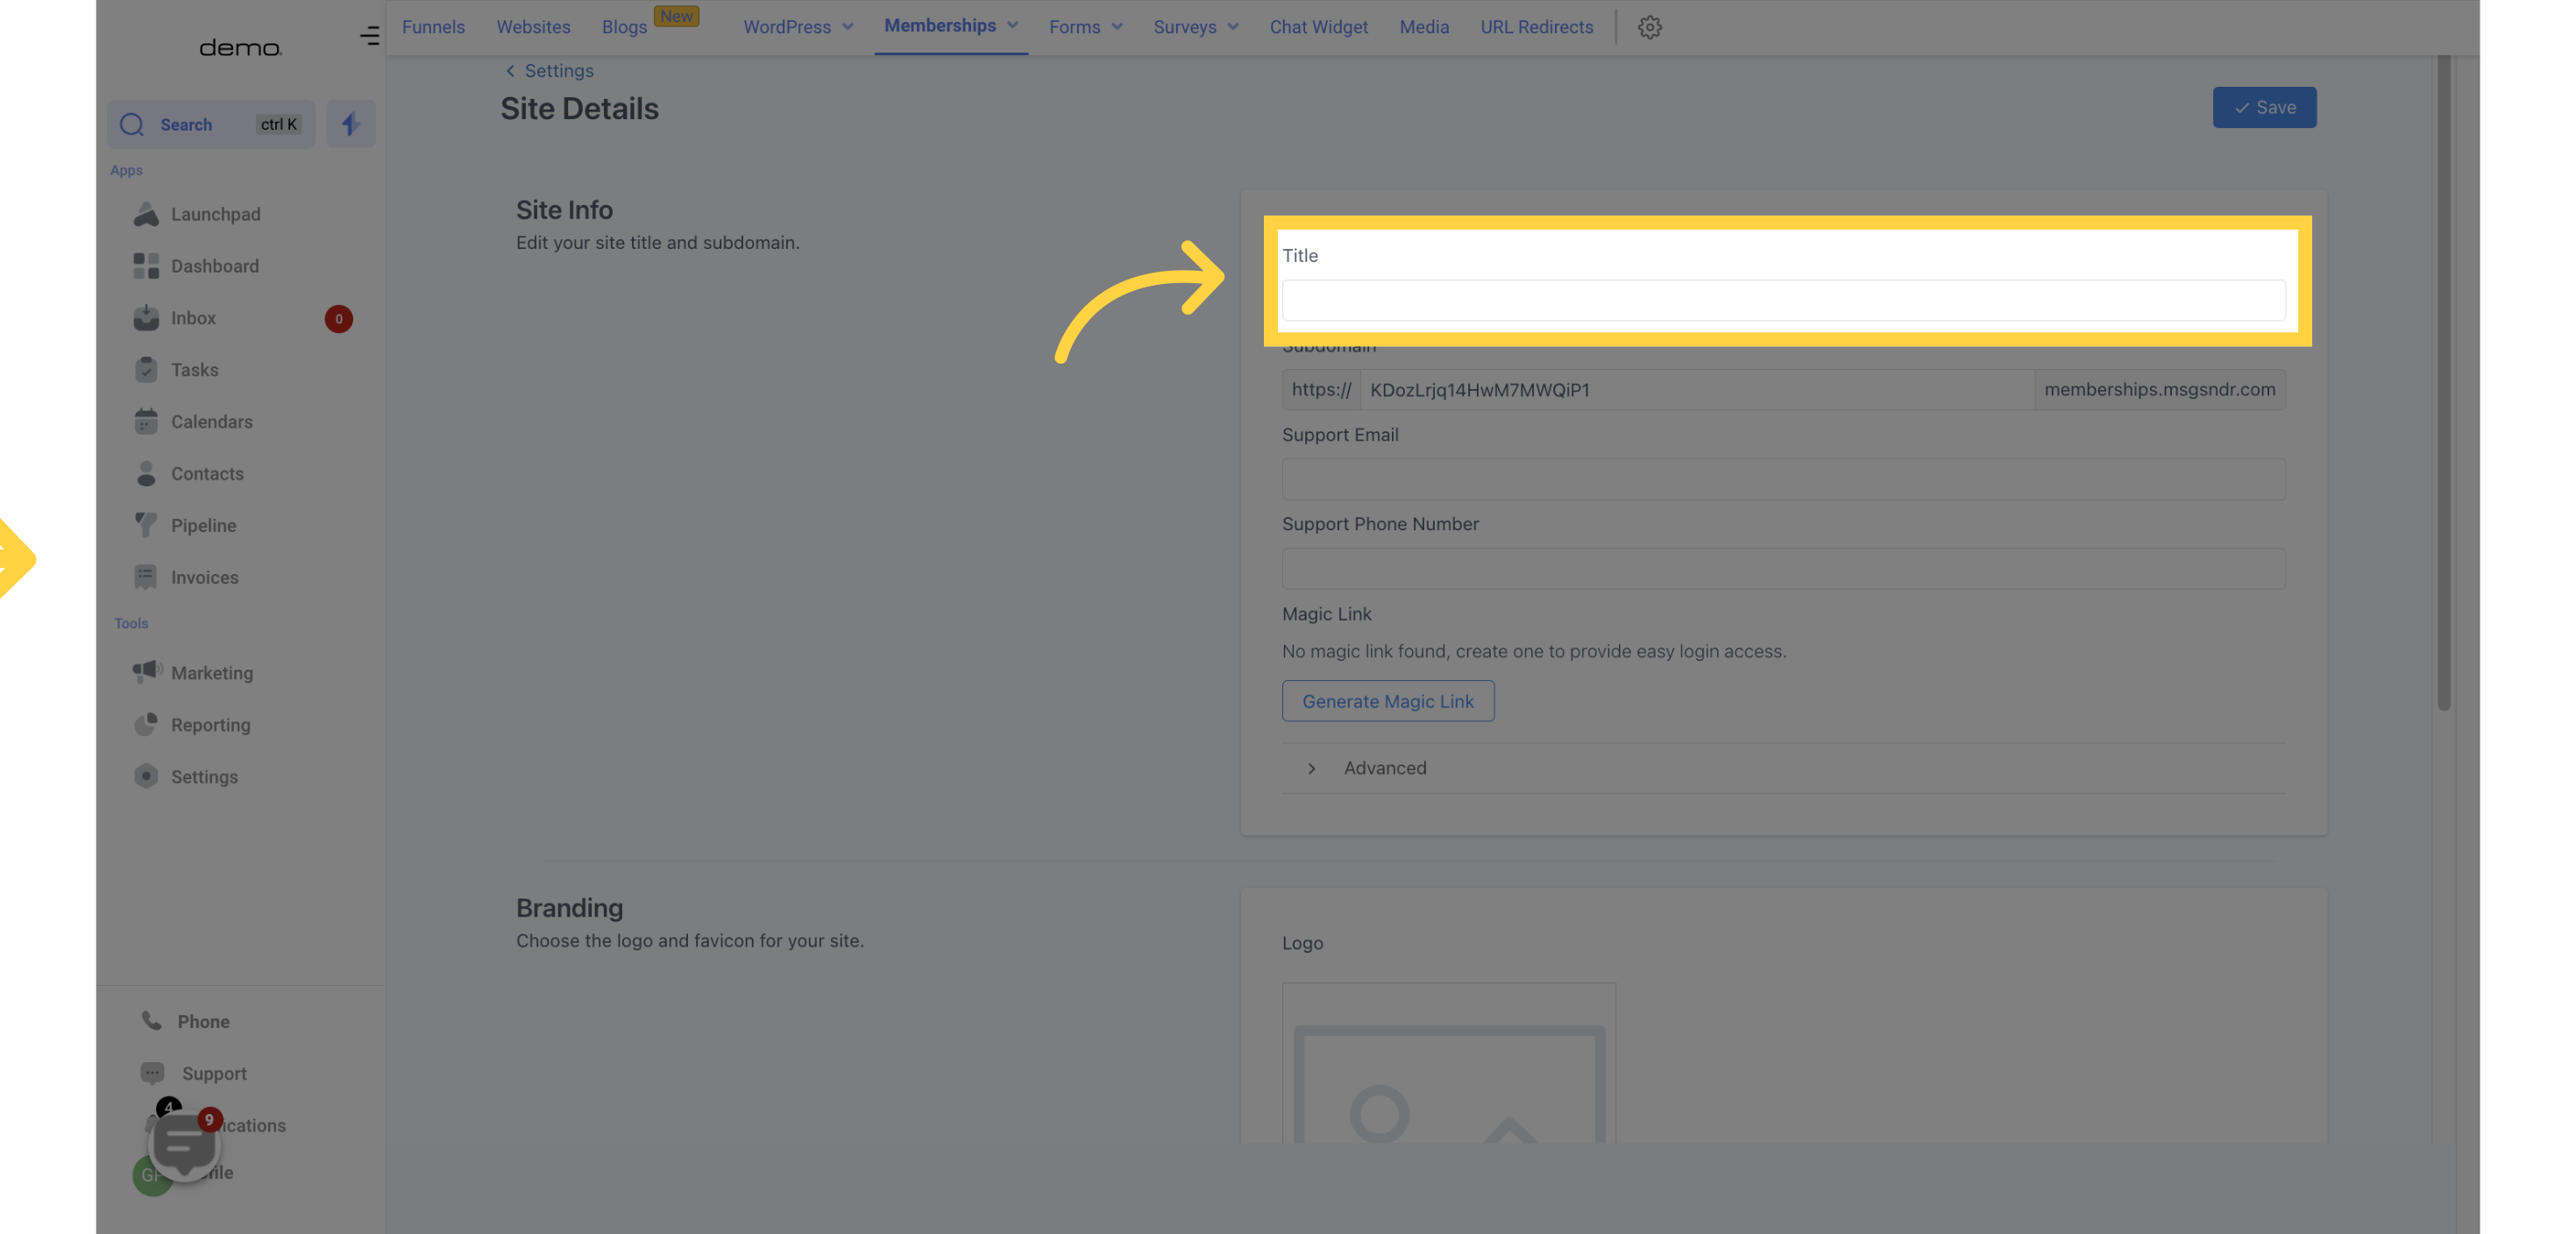
You can adjust the title of your membership portal to your liking. It is recommended to use your company's name to maintain consistency throughout the portal.
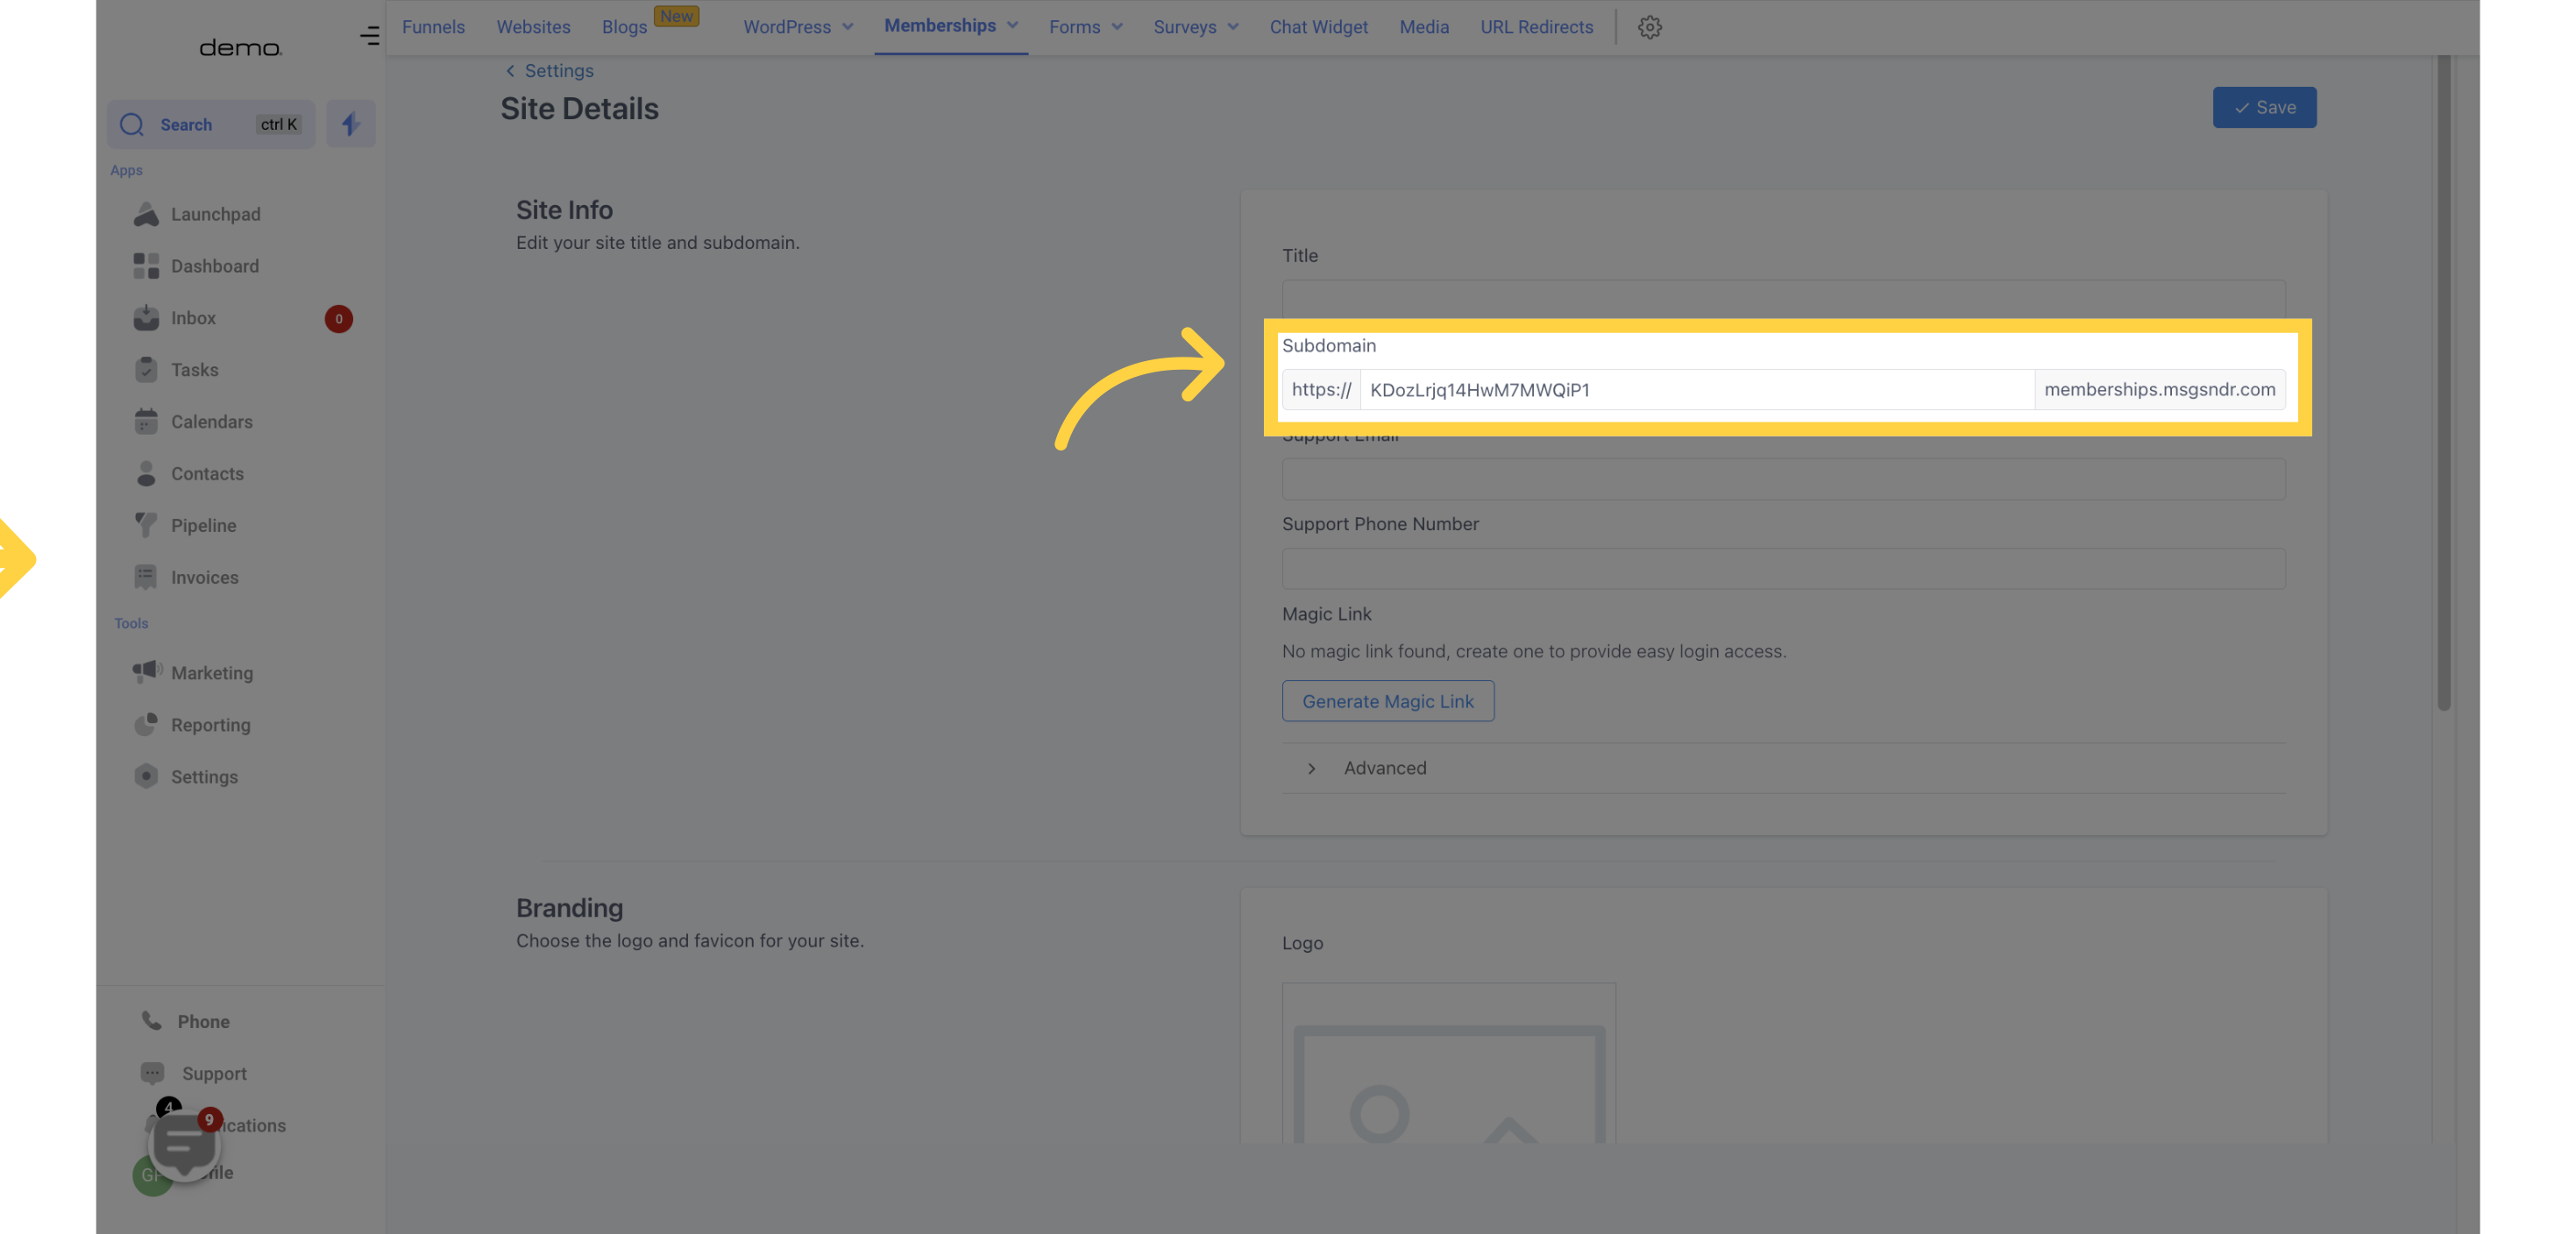
Changing your subdomain from the default to a simpler one will make it easier for visitors to remember the link to their login credentials.
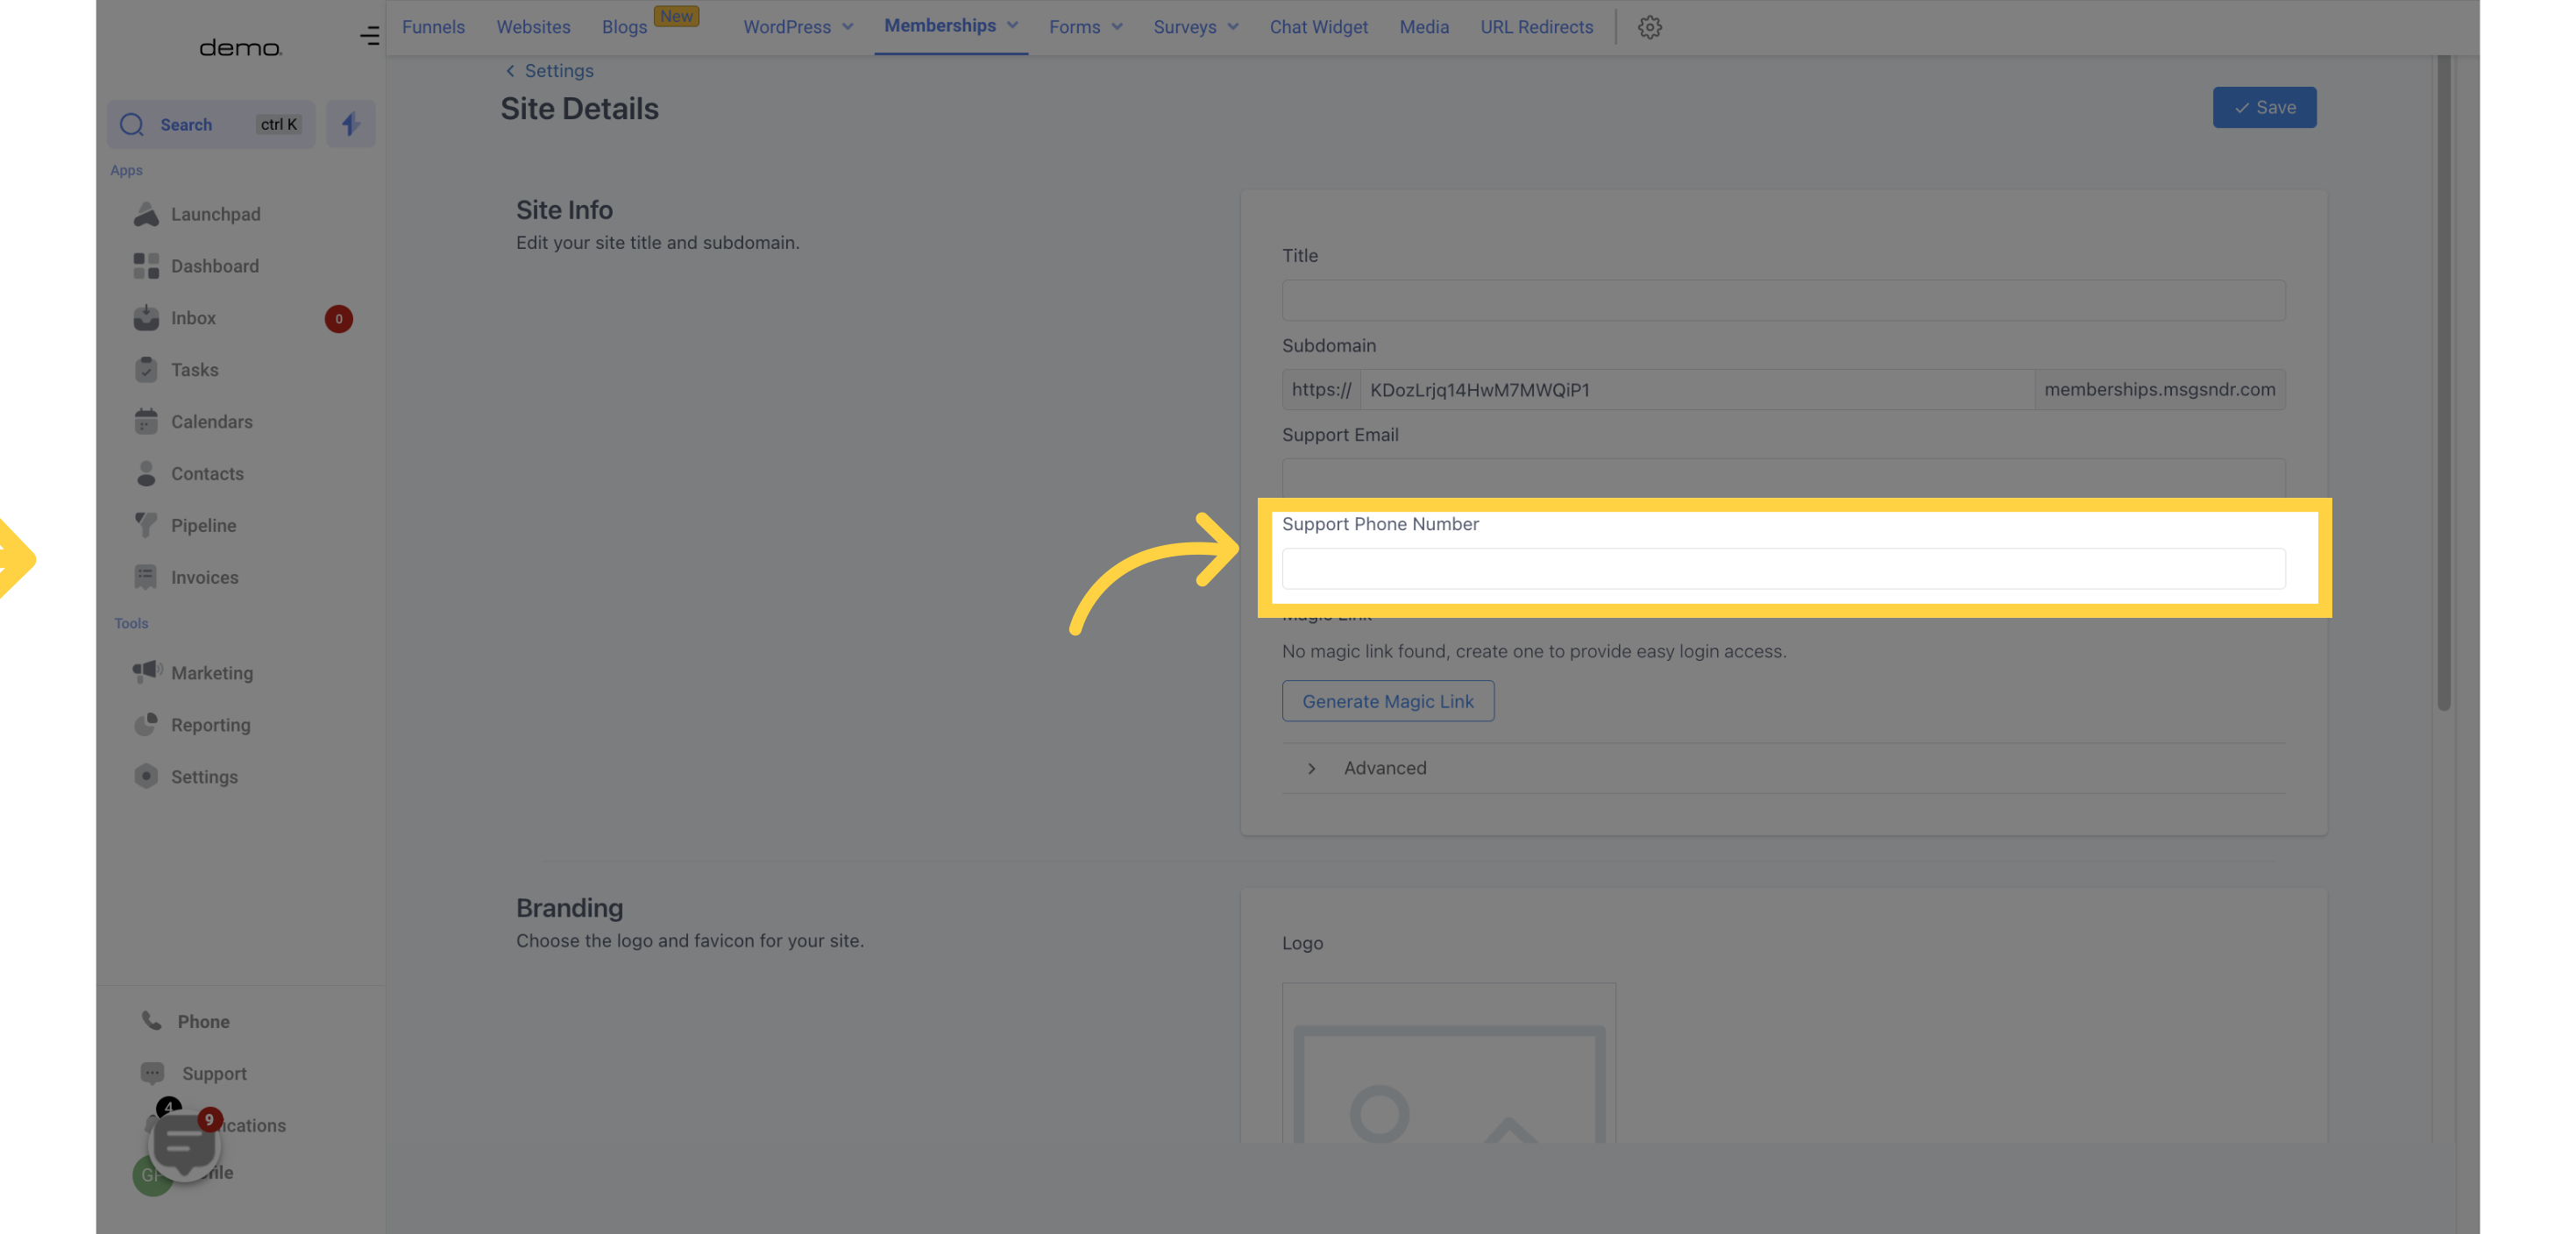
Add a support email and phone number so that visitors can easily reach out to you or your team with any inquiries they may have.

If you want to grant someone access to your course without payment or subscription, you can generate a magic link to send them.

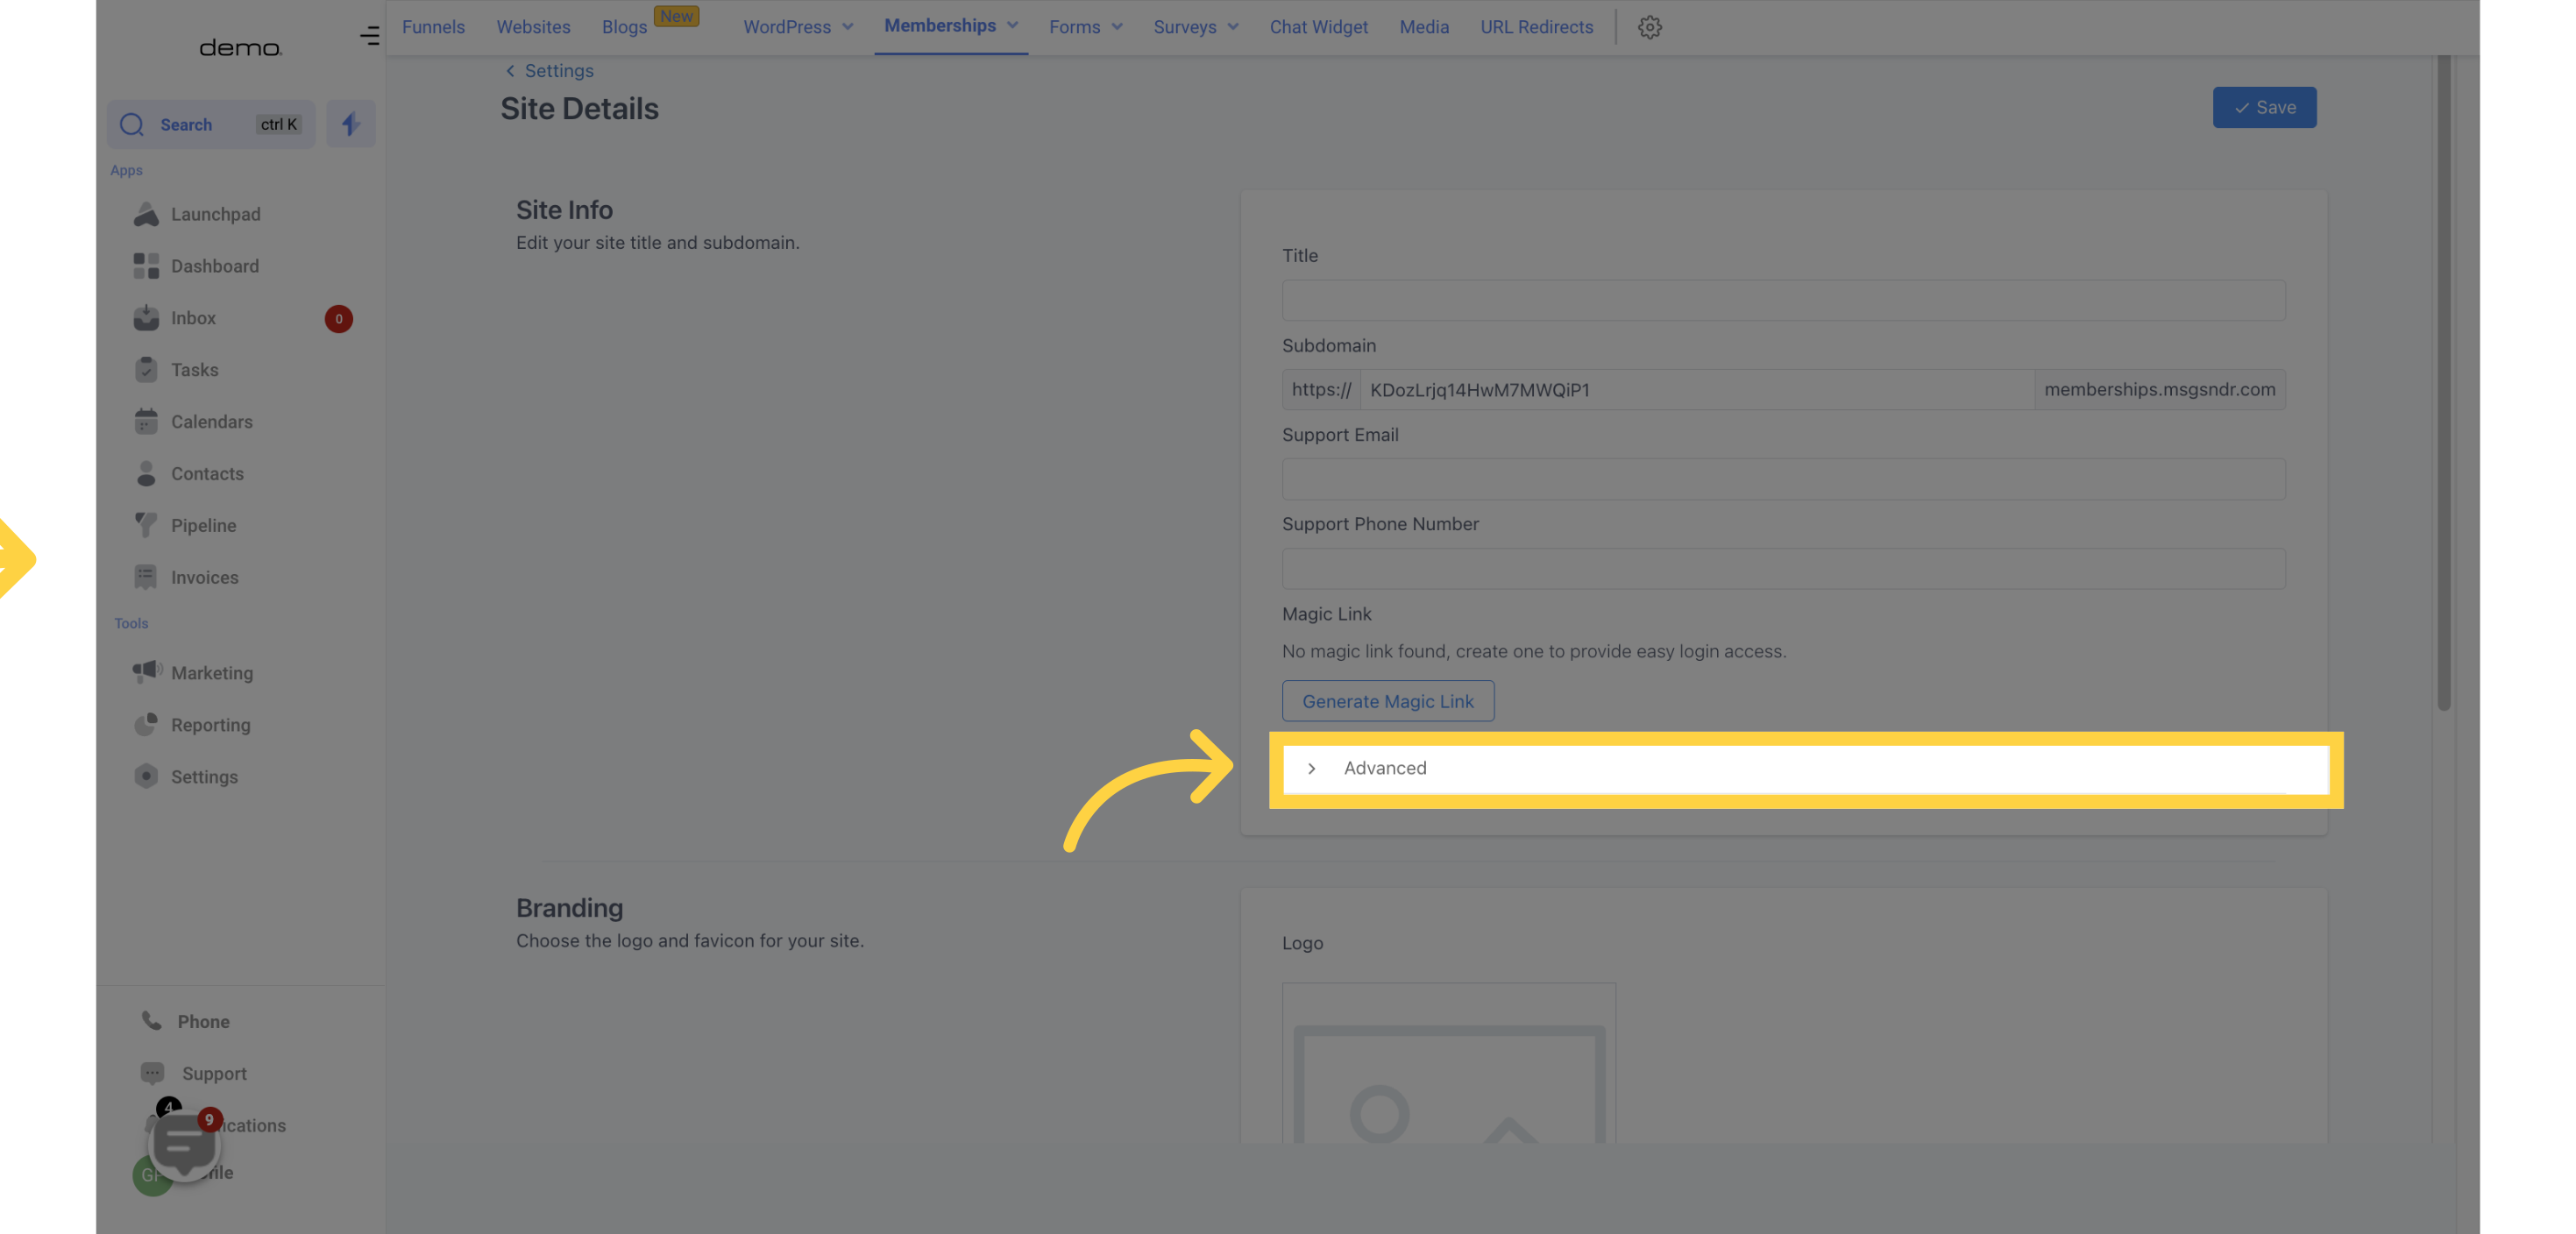
In the advanced section, you can manage your custom JS, CSS, and tracking code.
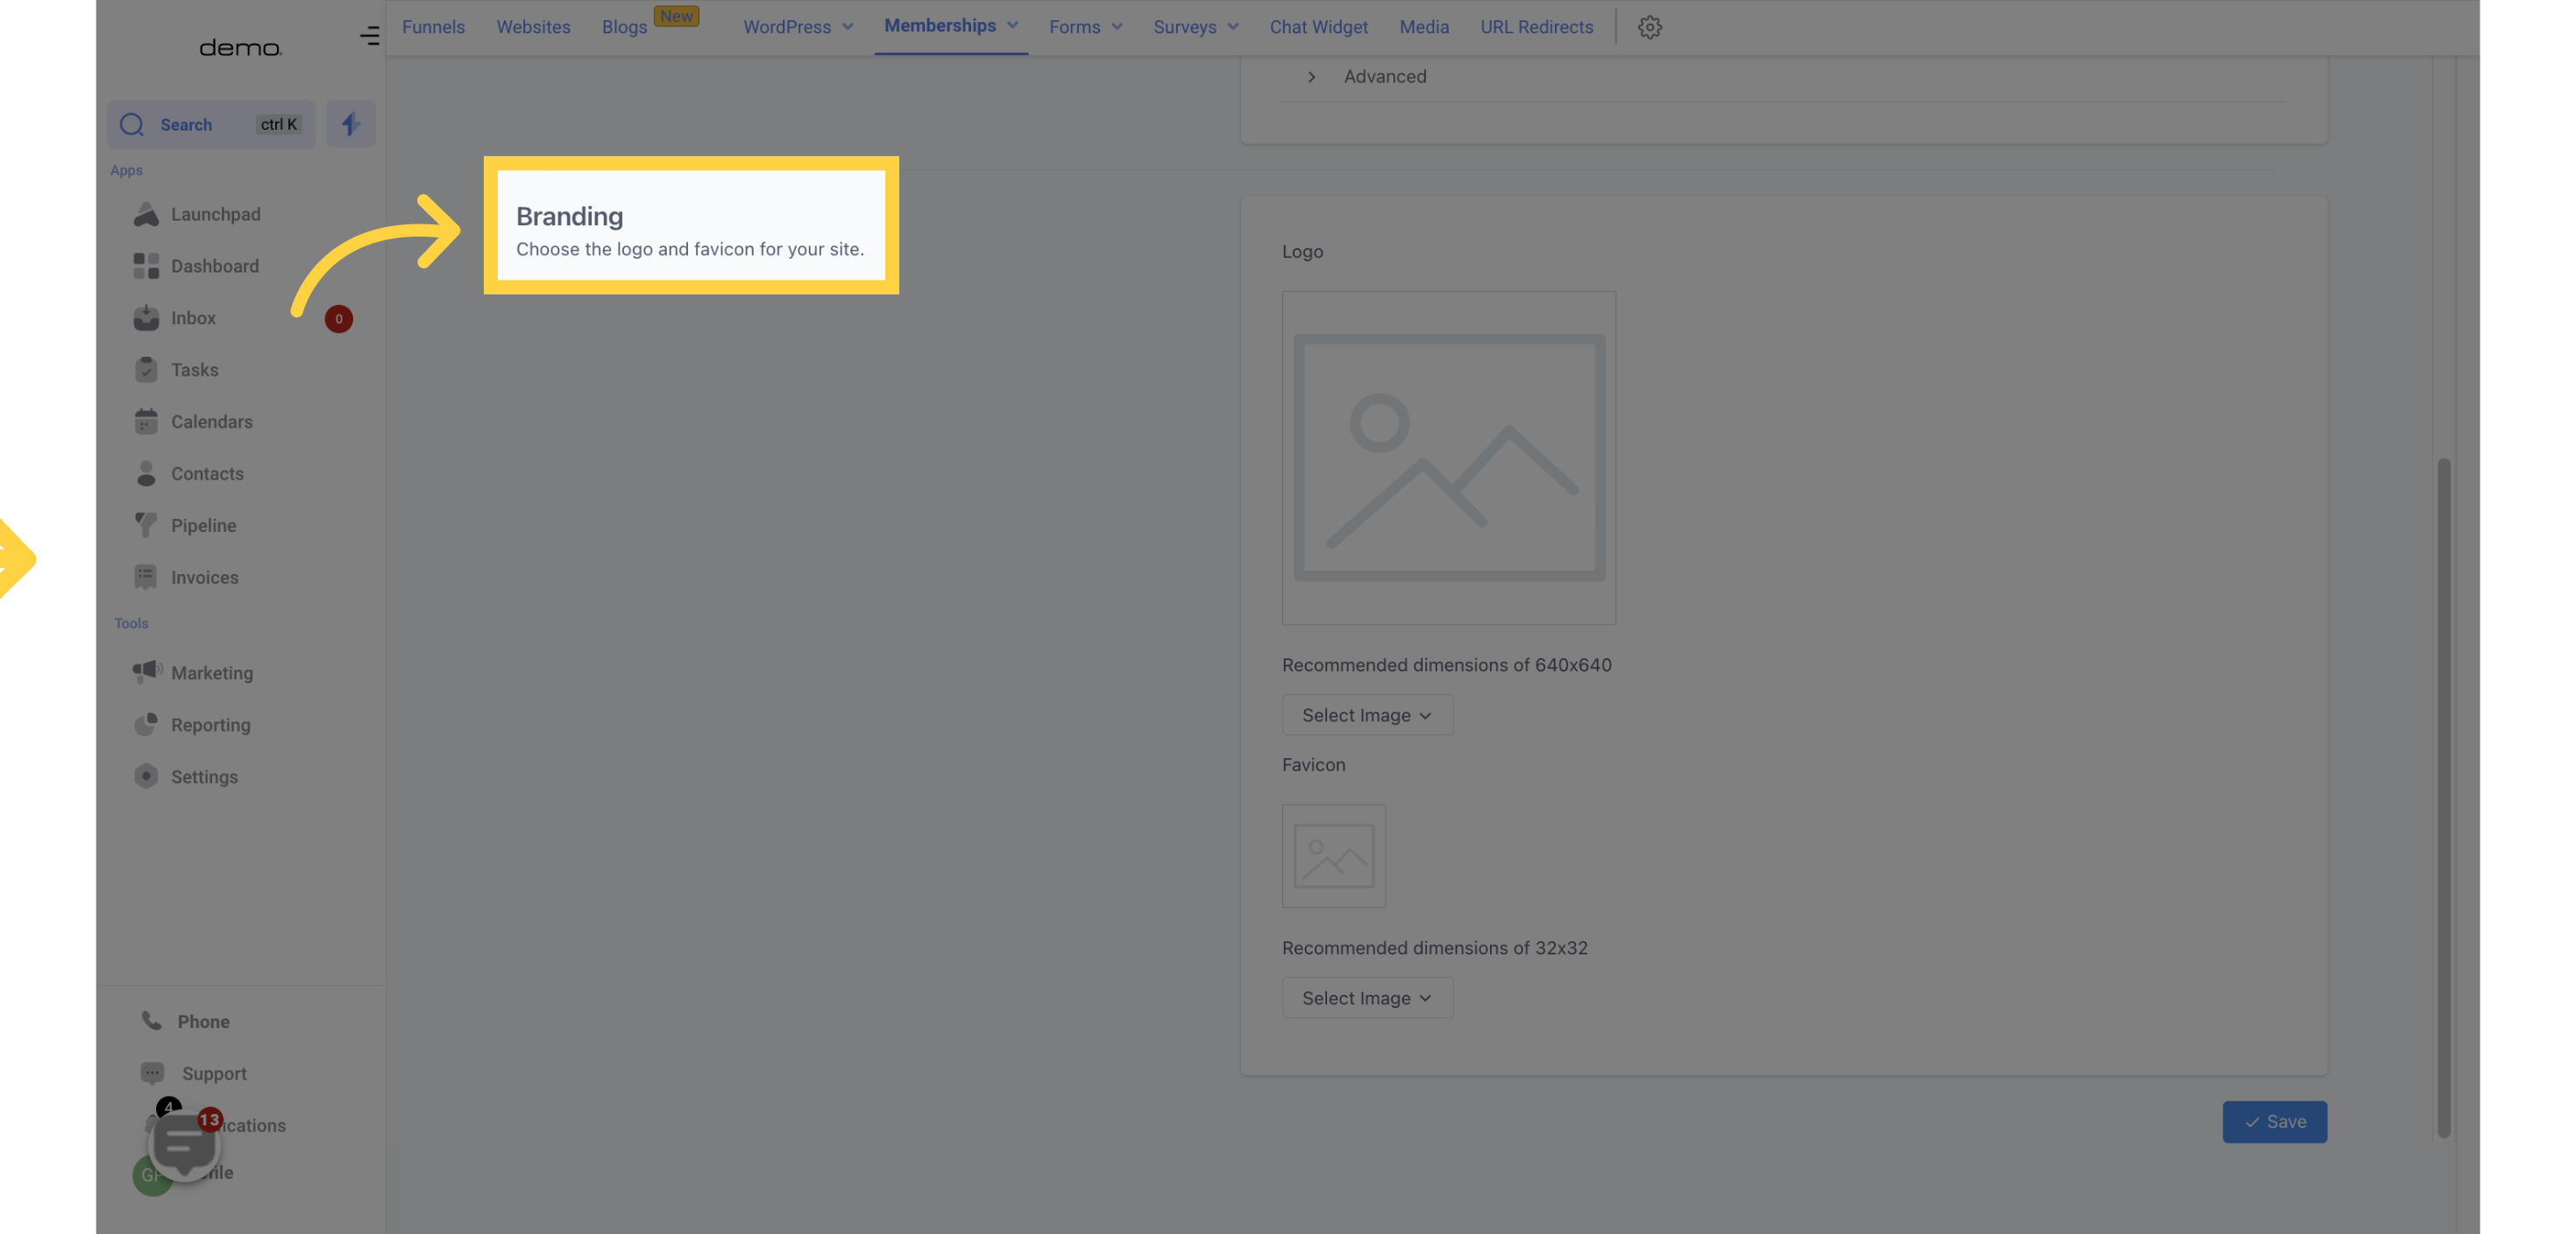
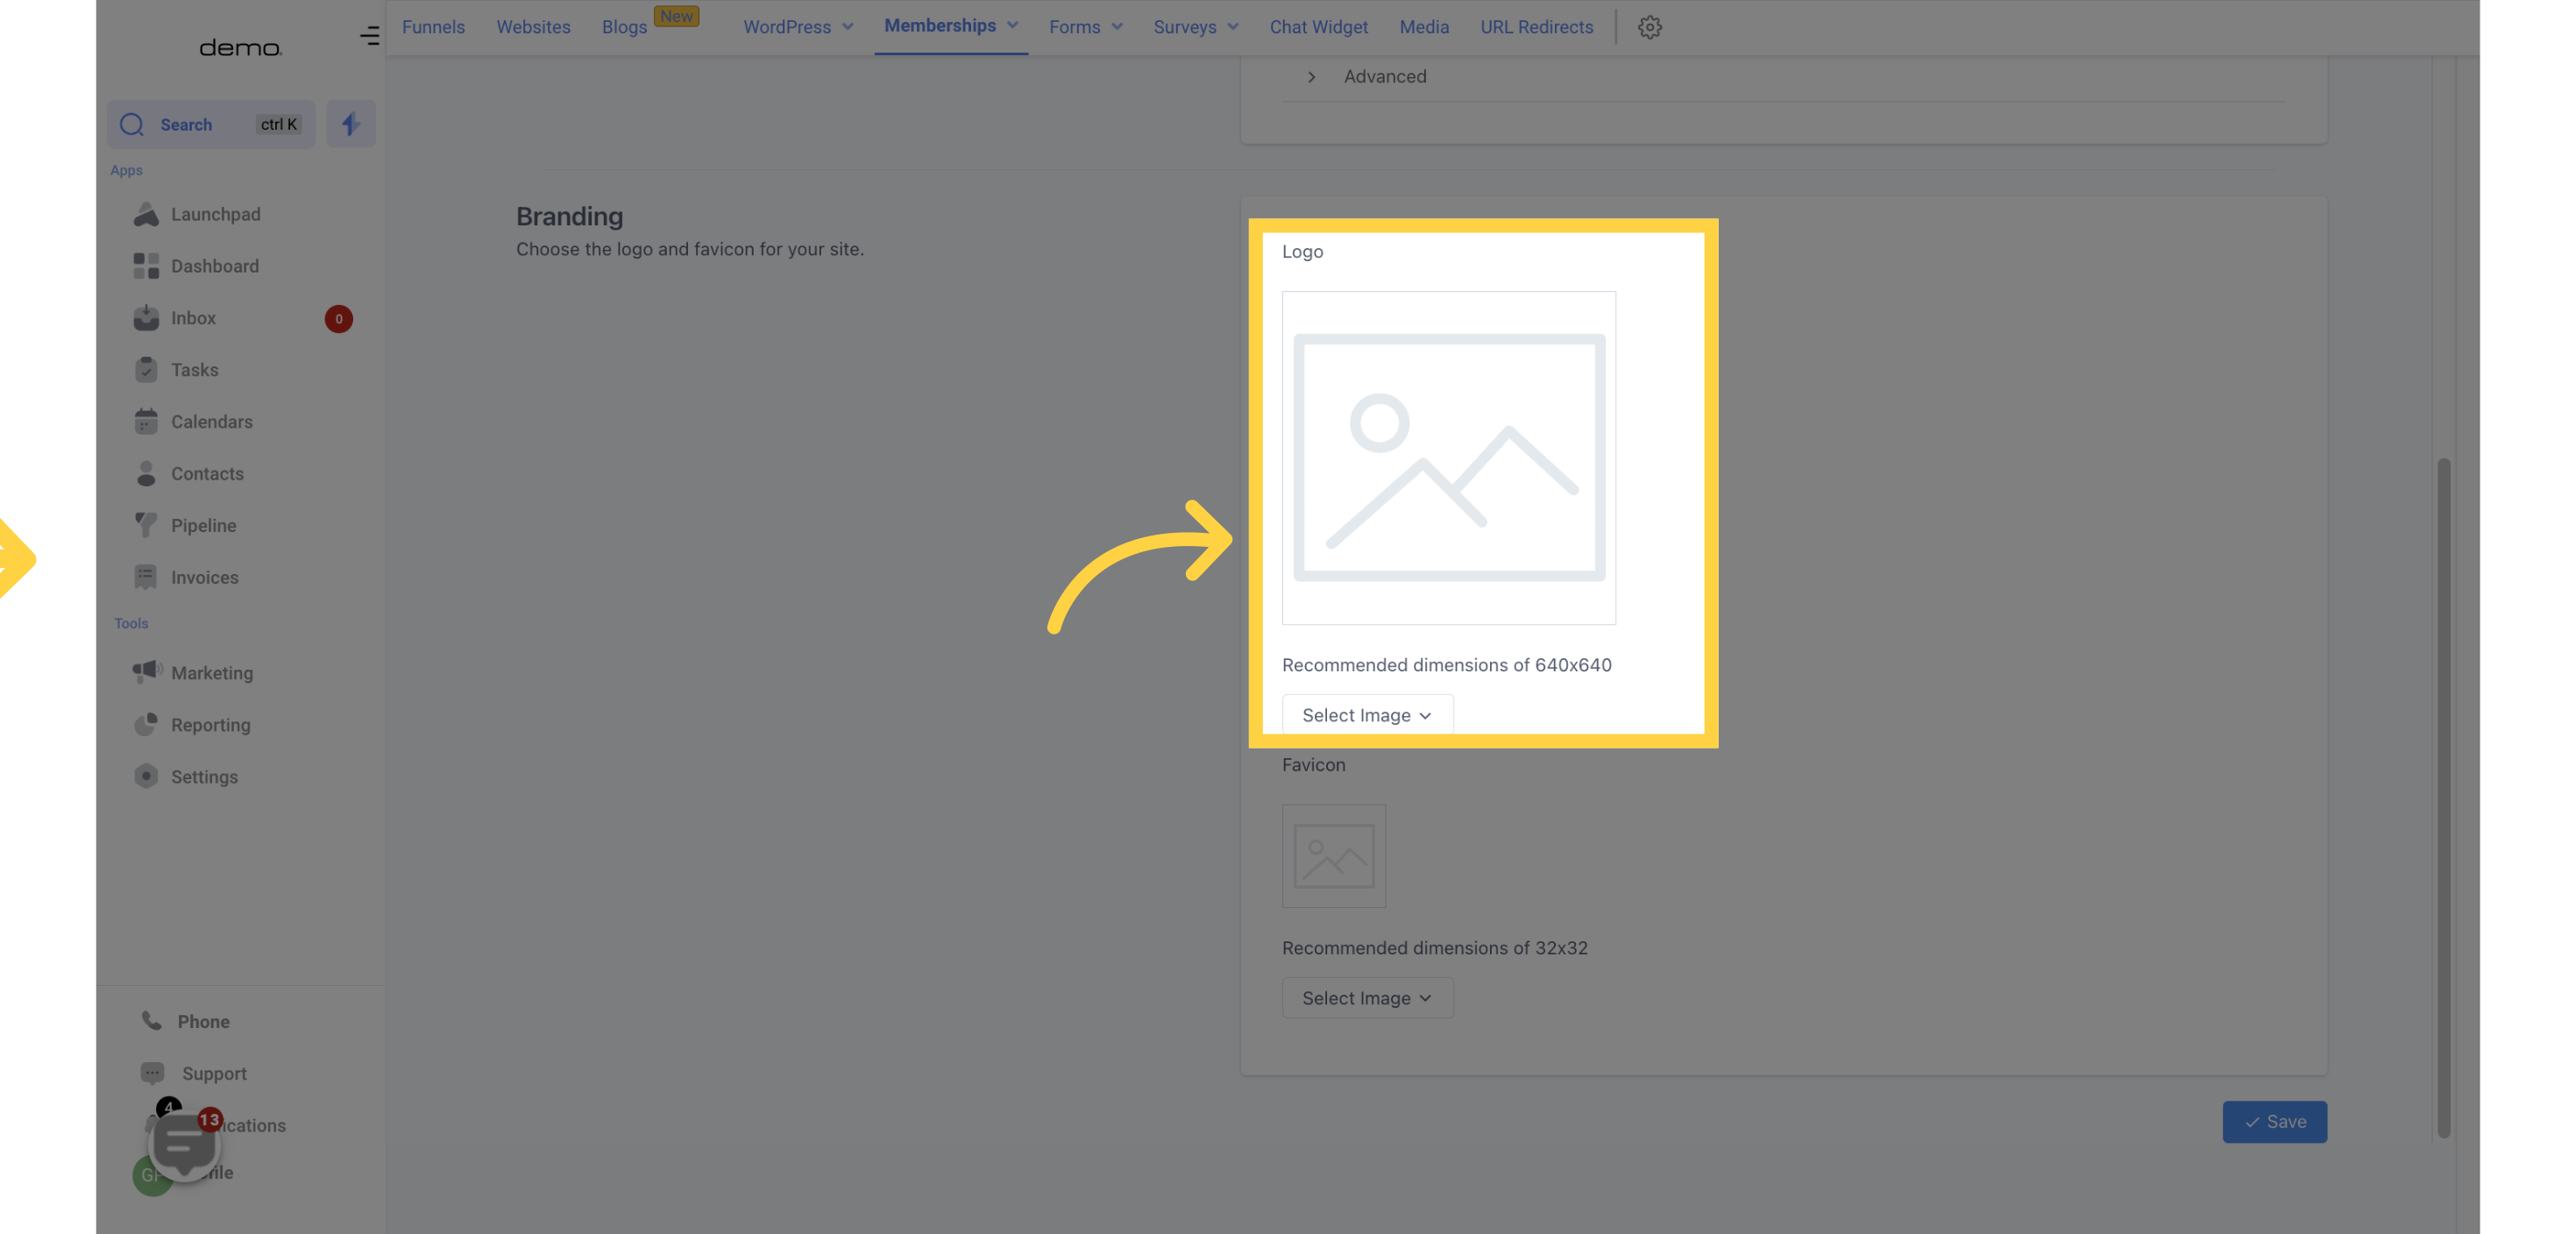
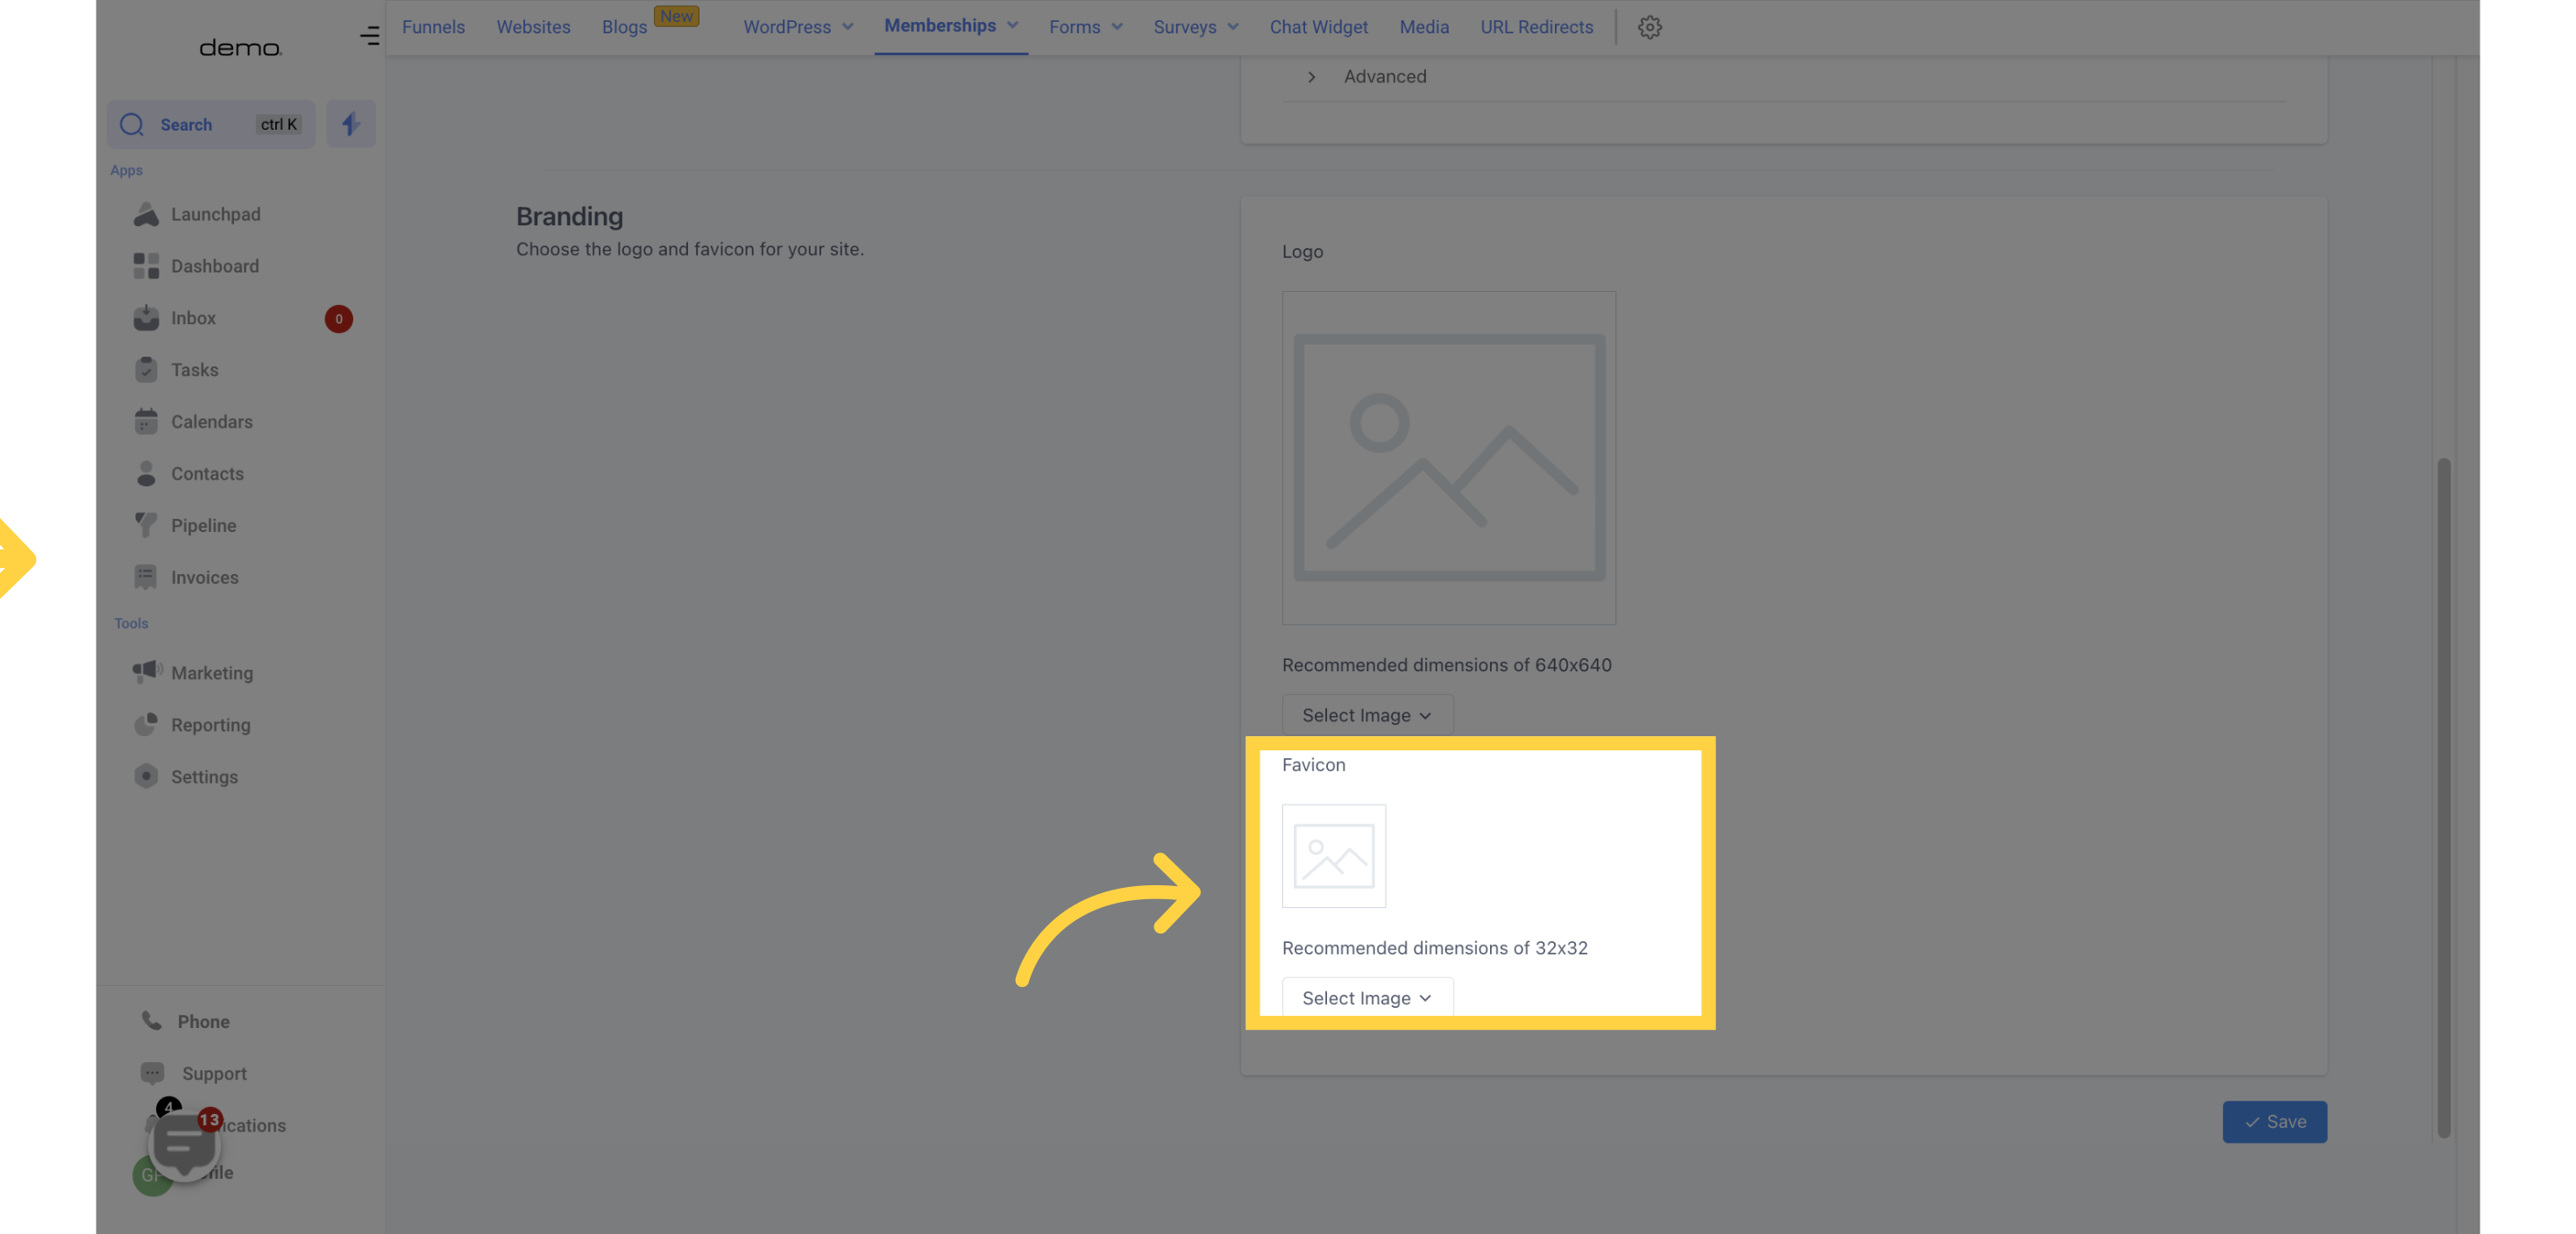
Here, you can add your brand logo and favicon to your site. Make sure to follow the recommended dimensions of 640x640 for the logo and 32x32 for the favicon.
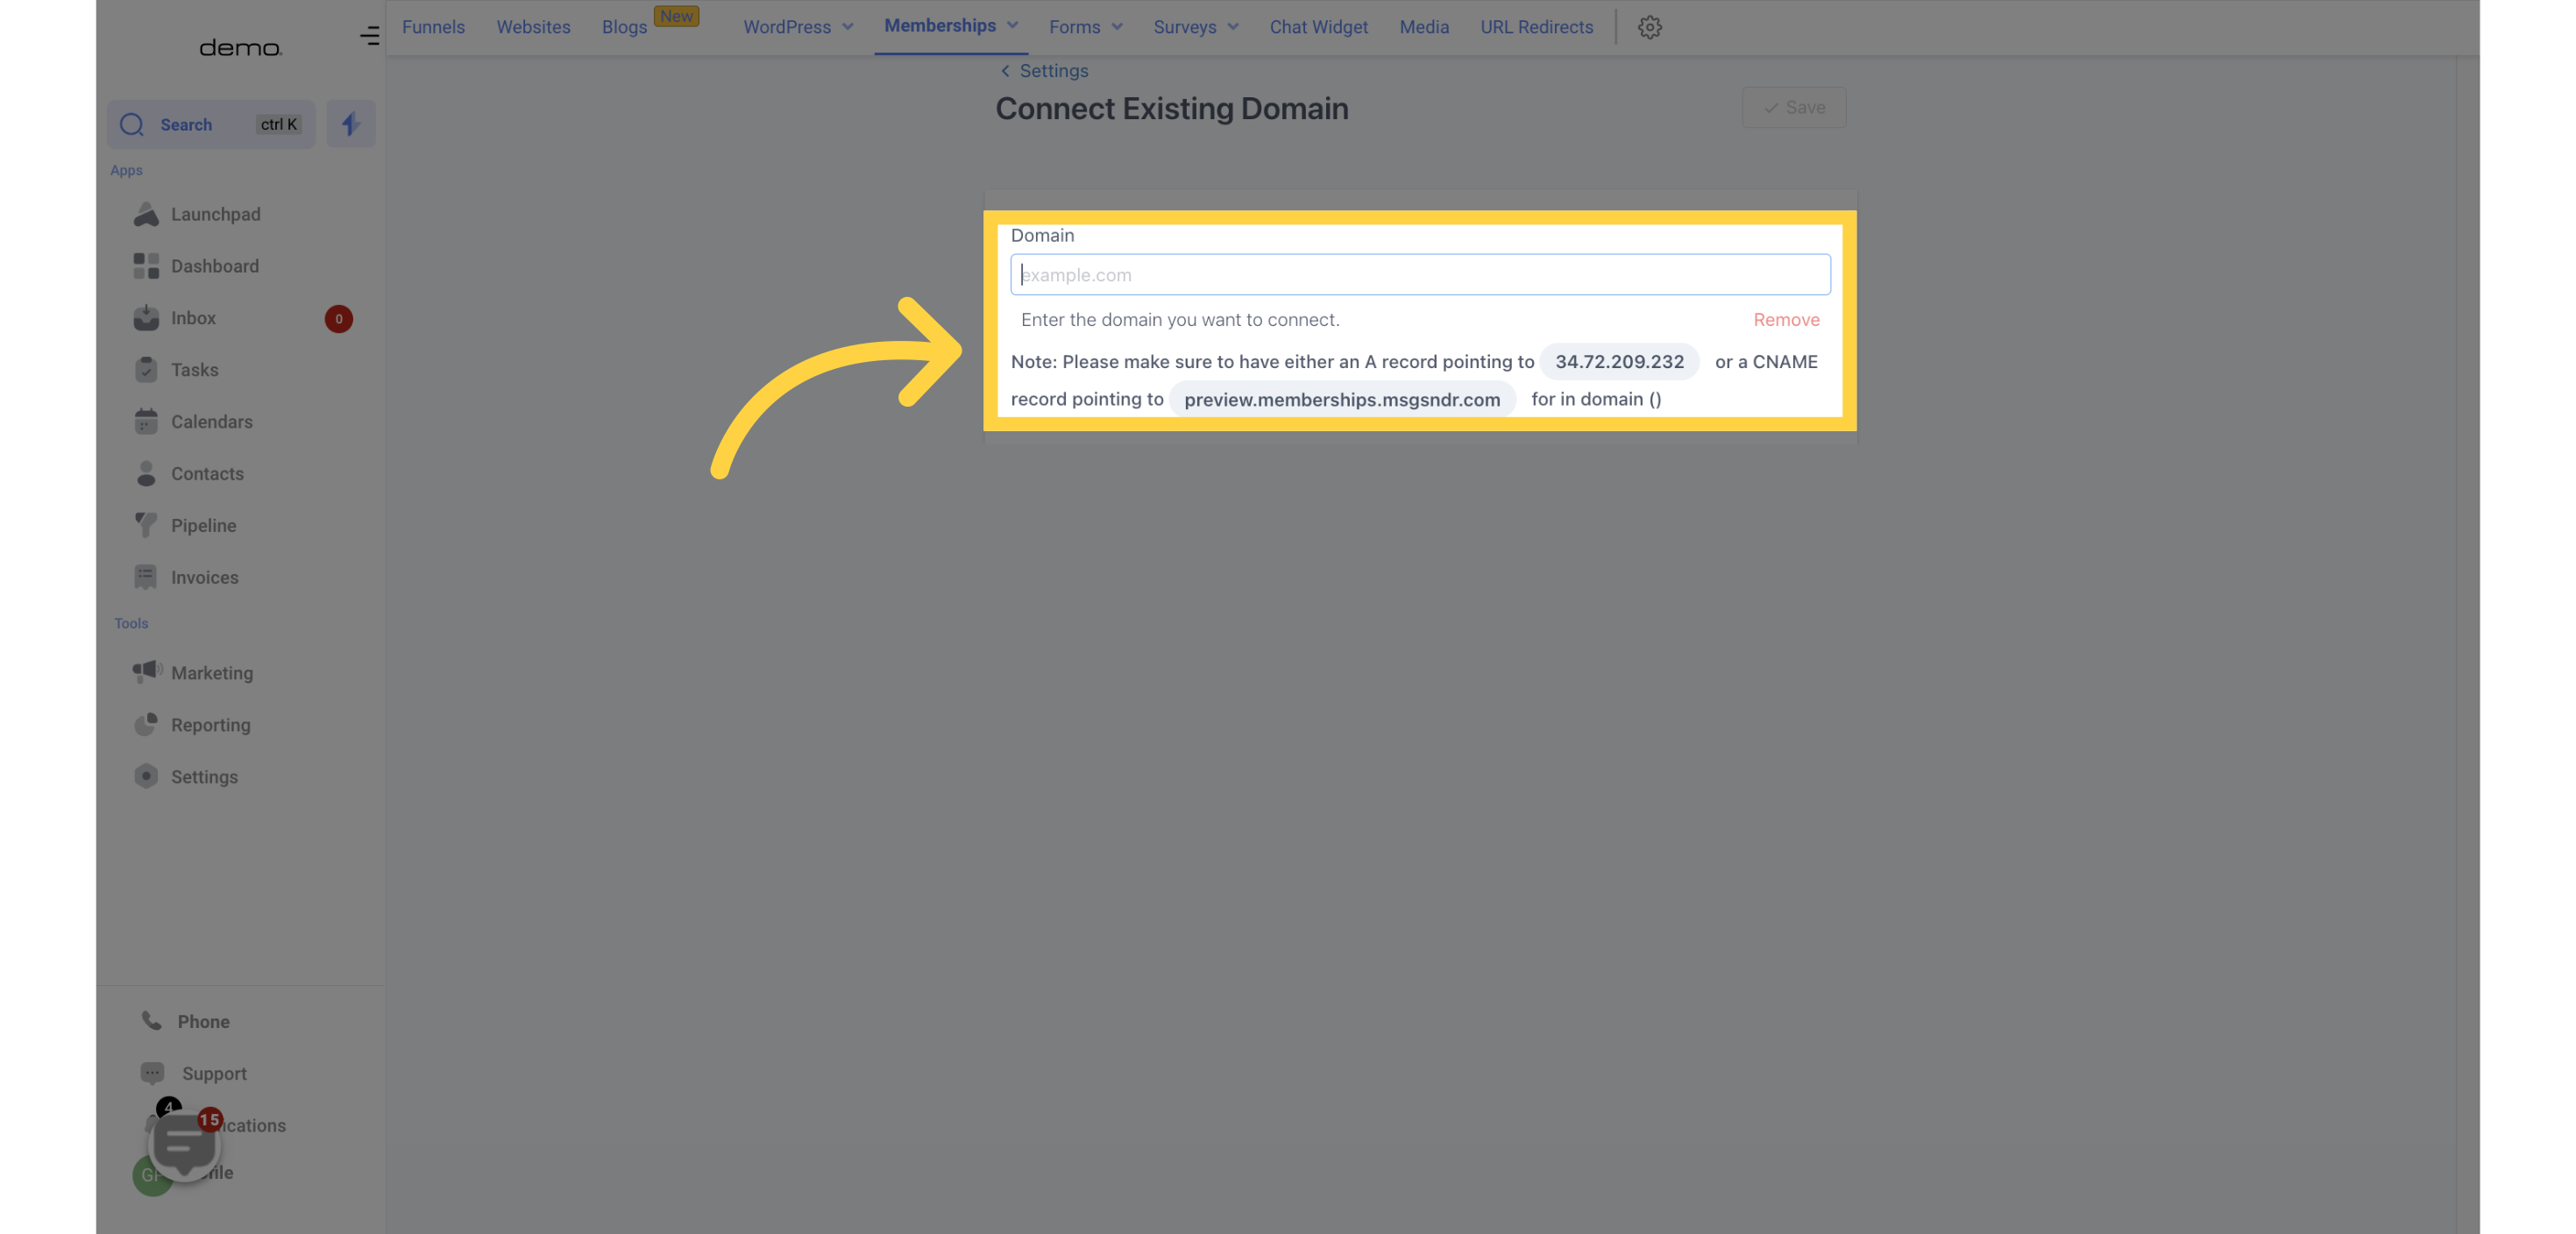
This feature allows you to connect your custom domain to your membership site.

Generate your domain and add it to the provided space, and don't forget to add a CNAME to your domain setting.
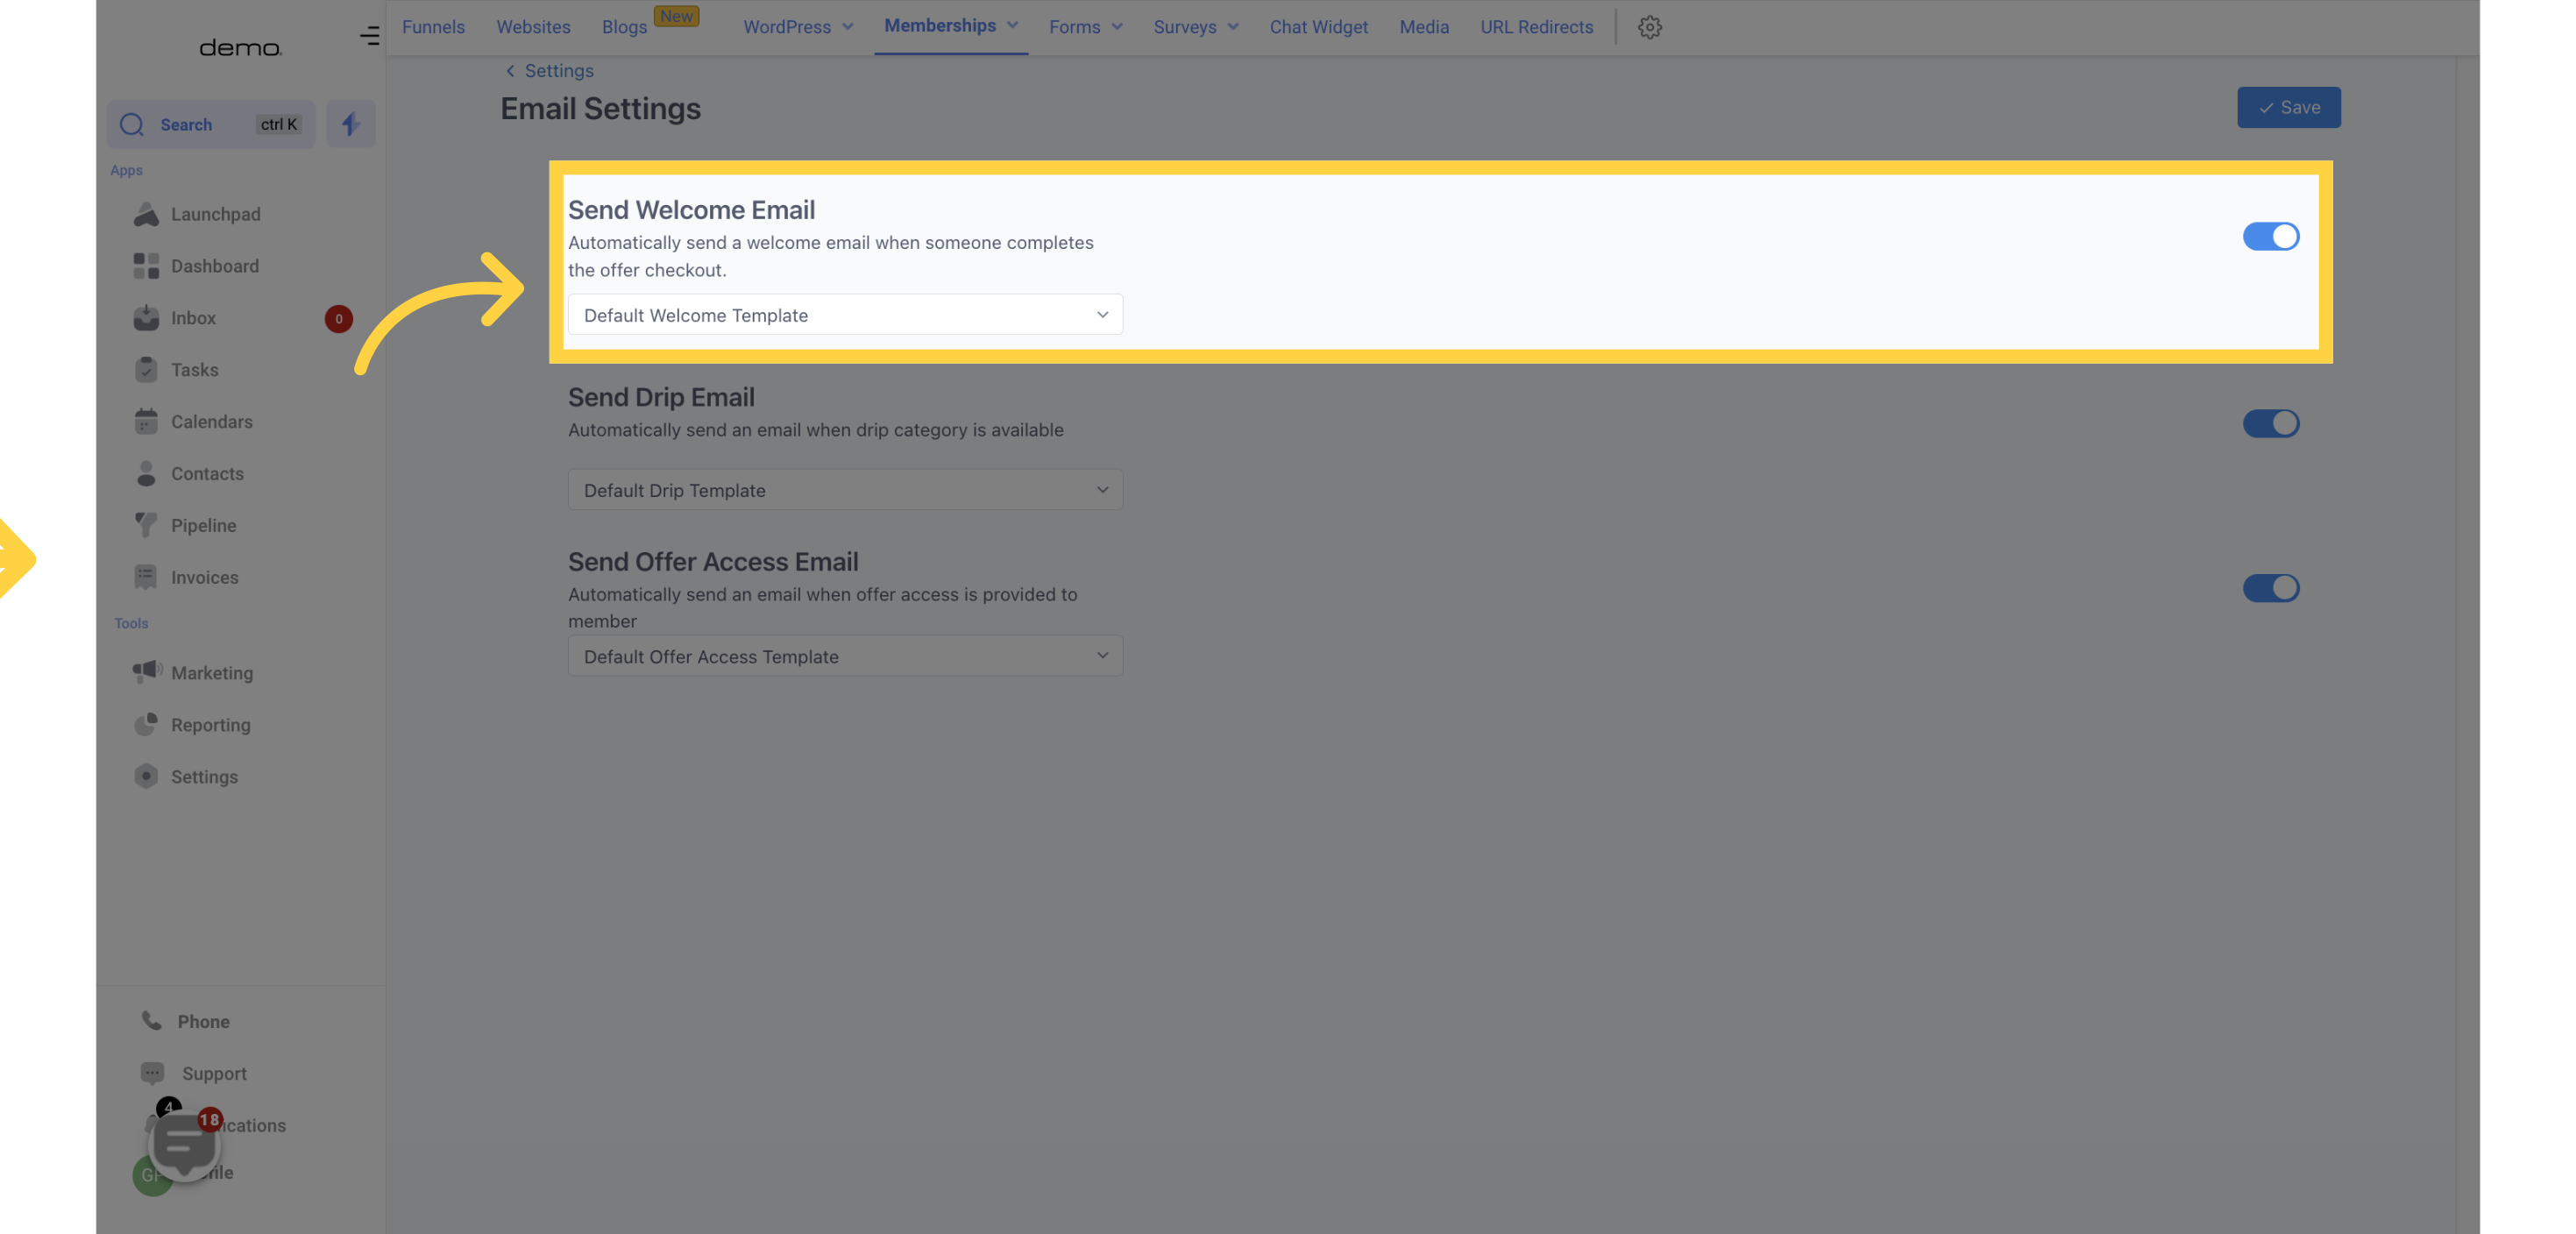
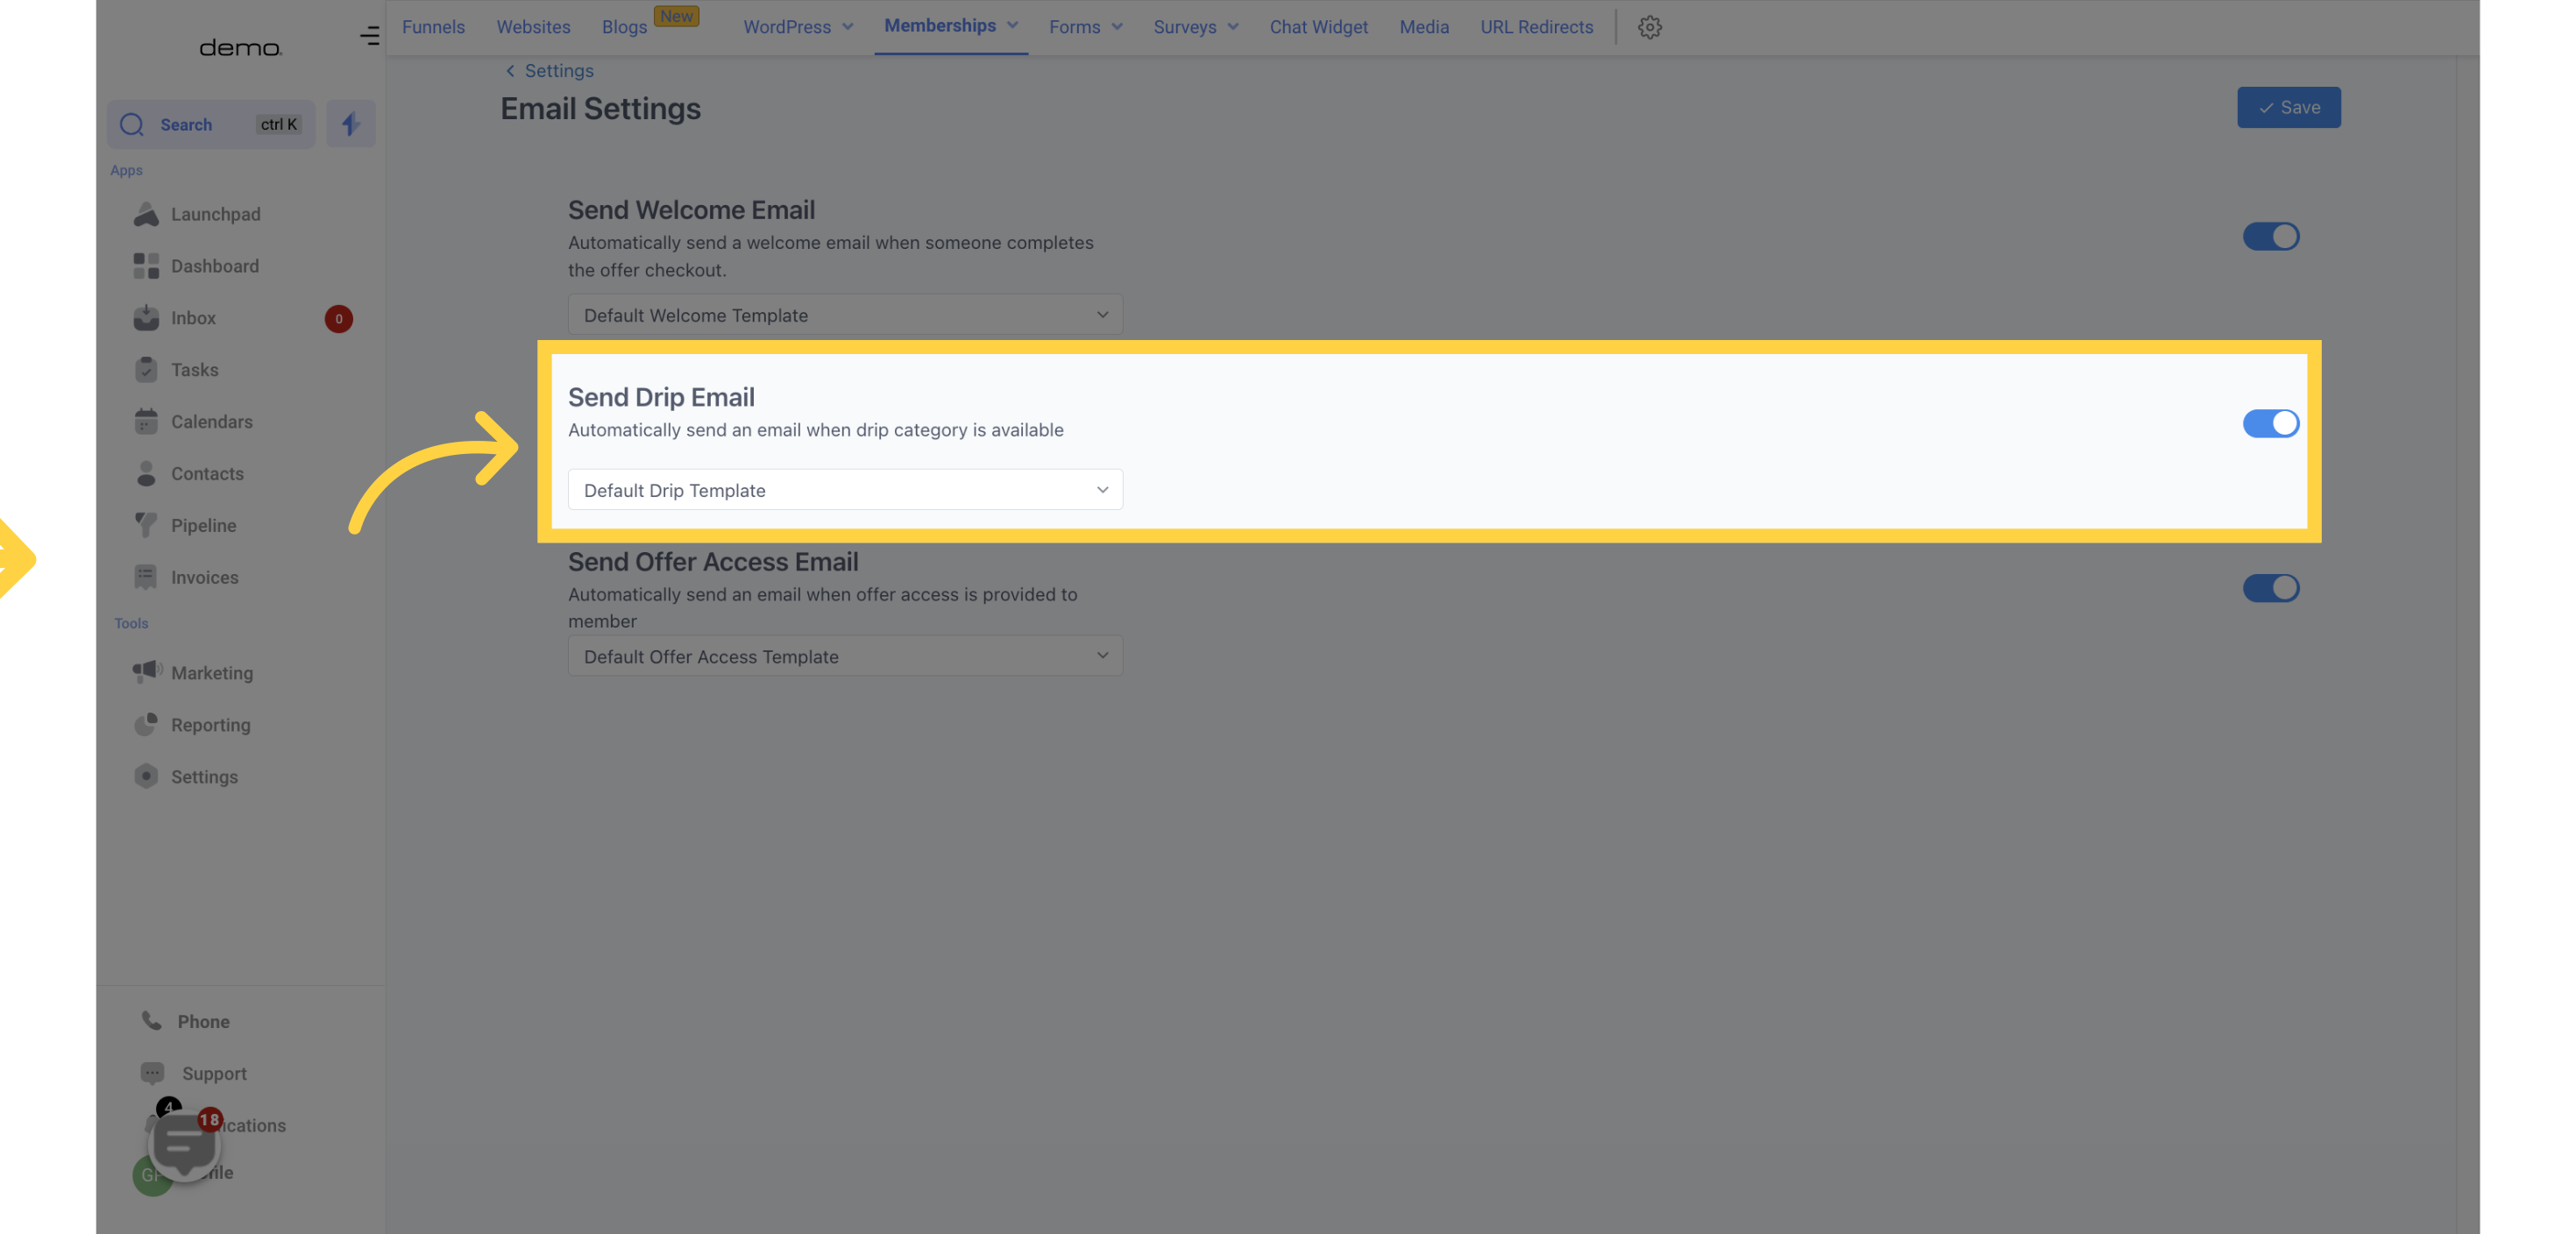
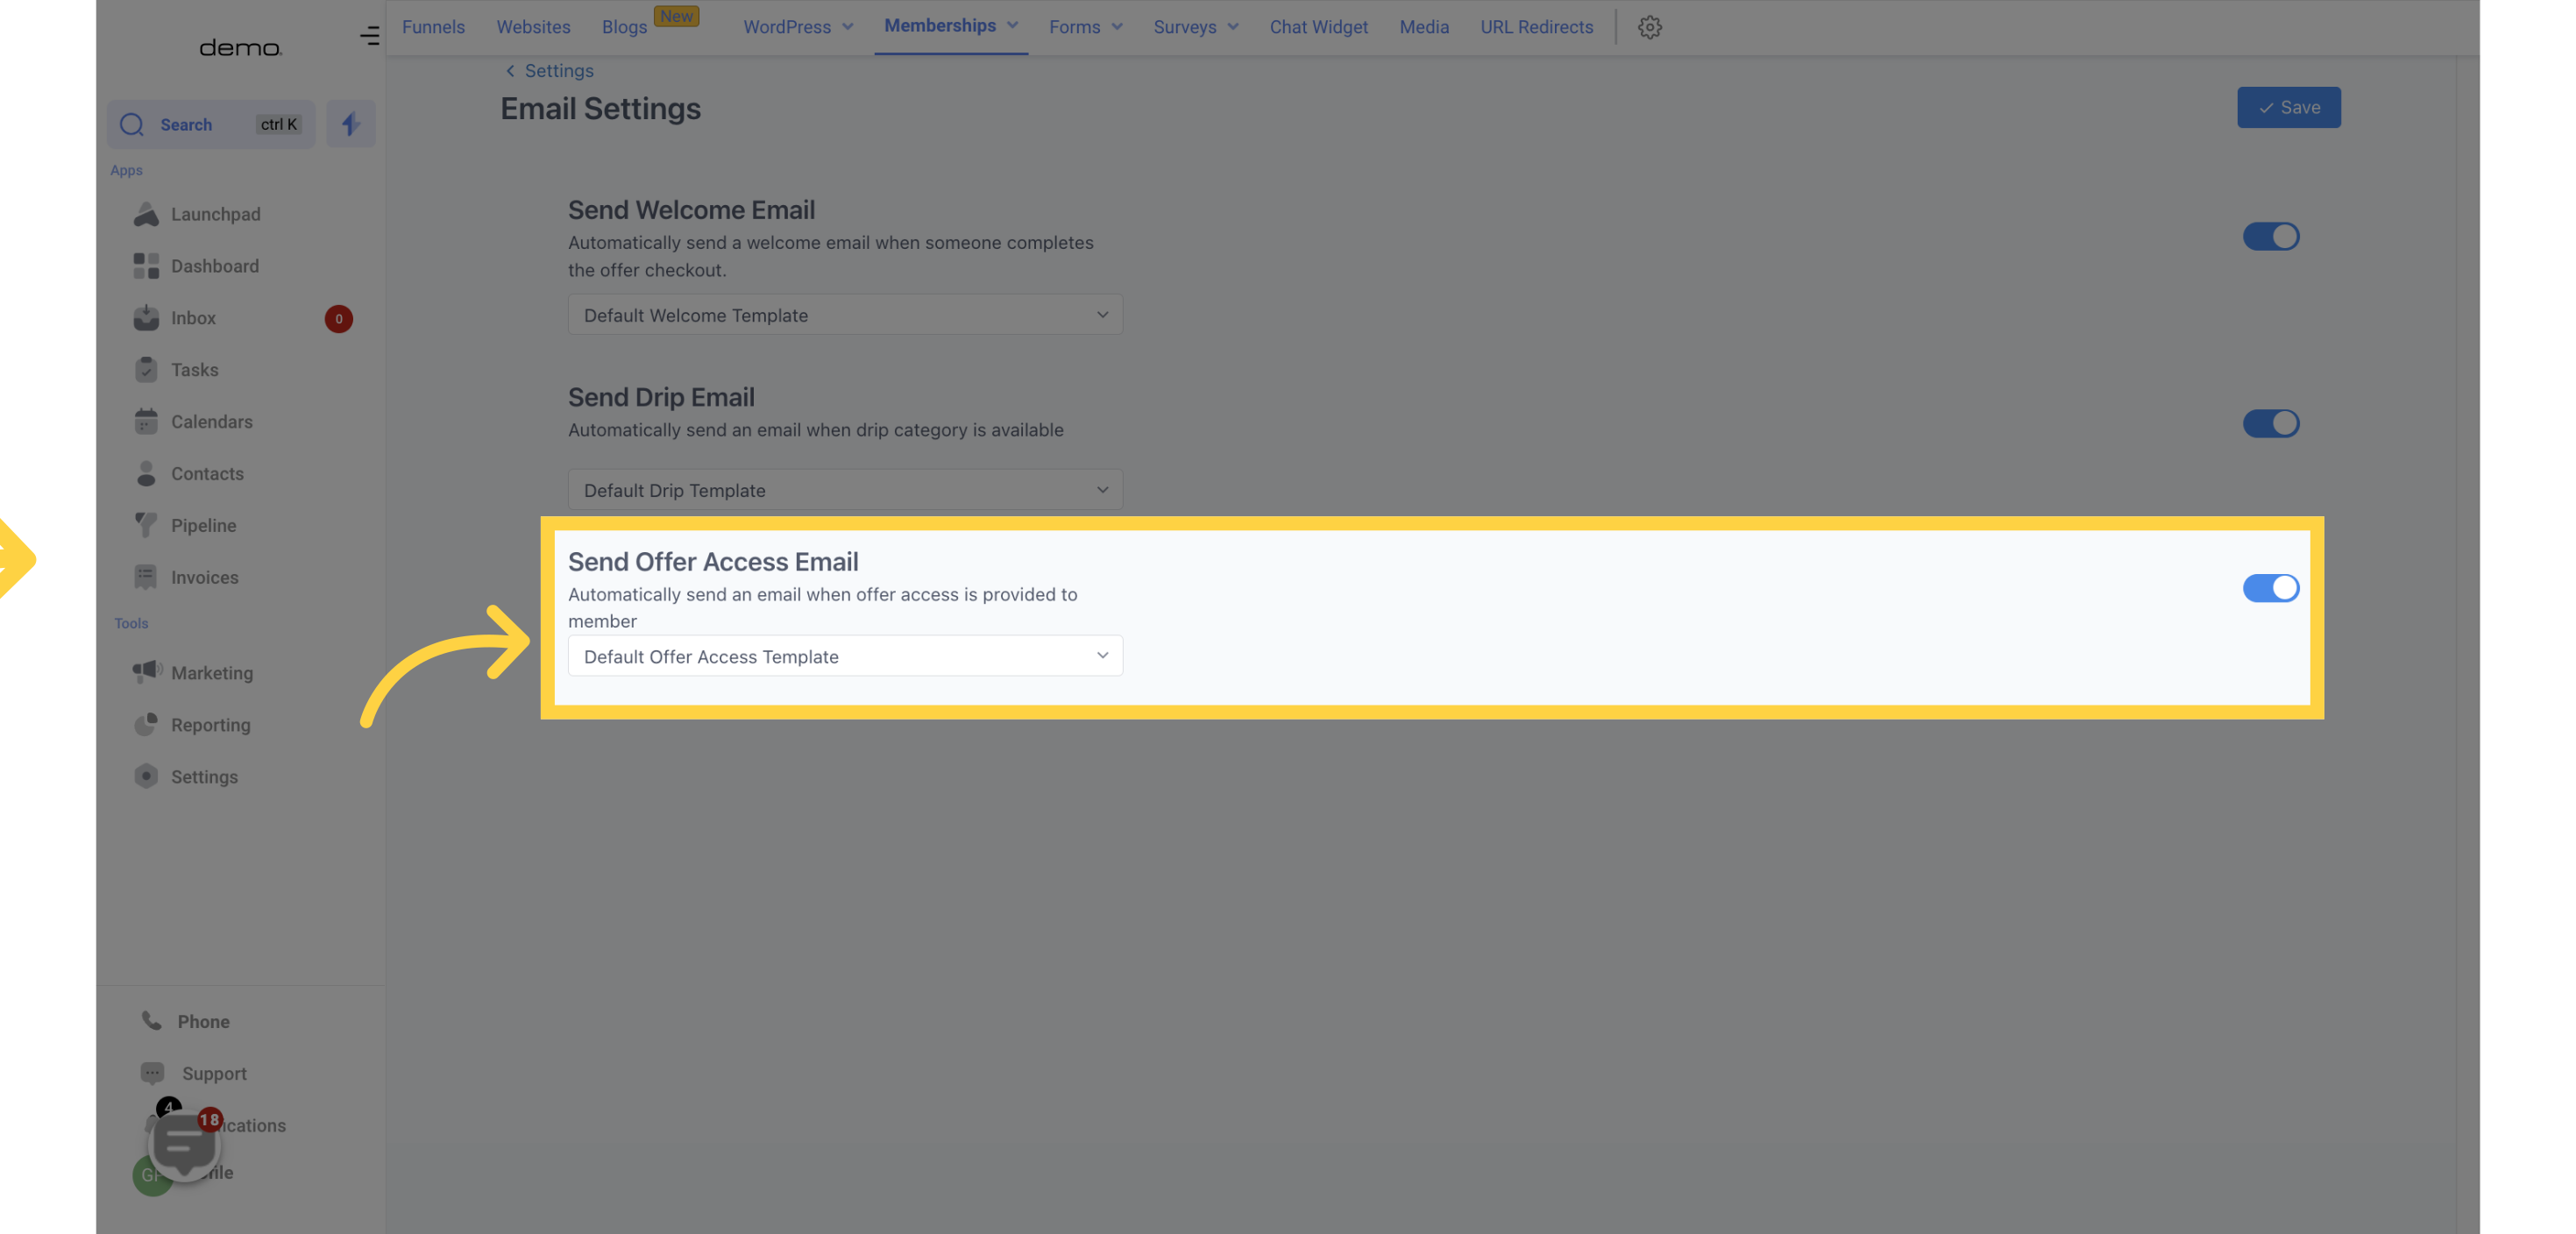
Customize your email settings, particularly for funnels/websites.
You can send welcome messages, create drip messages, and edit templates to suit your needs.
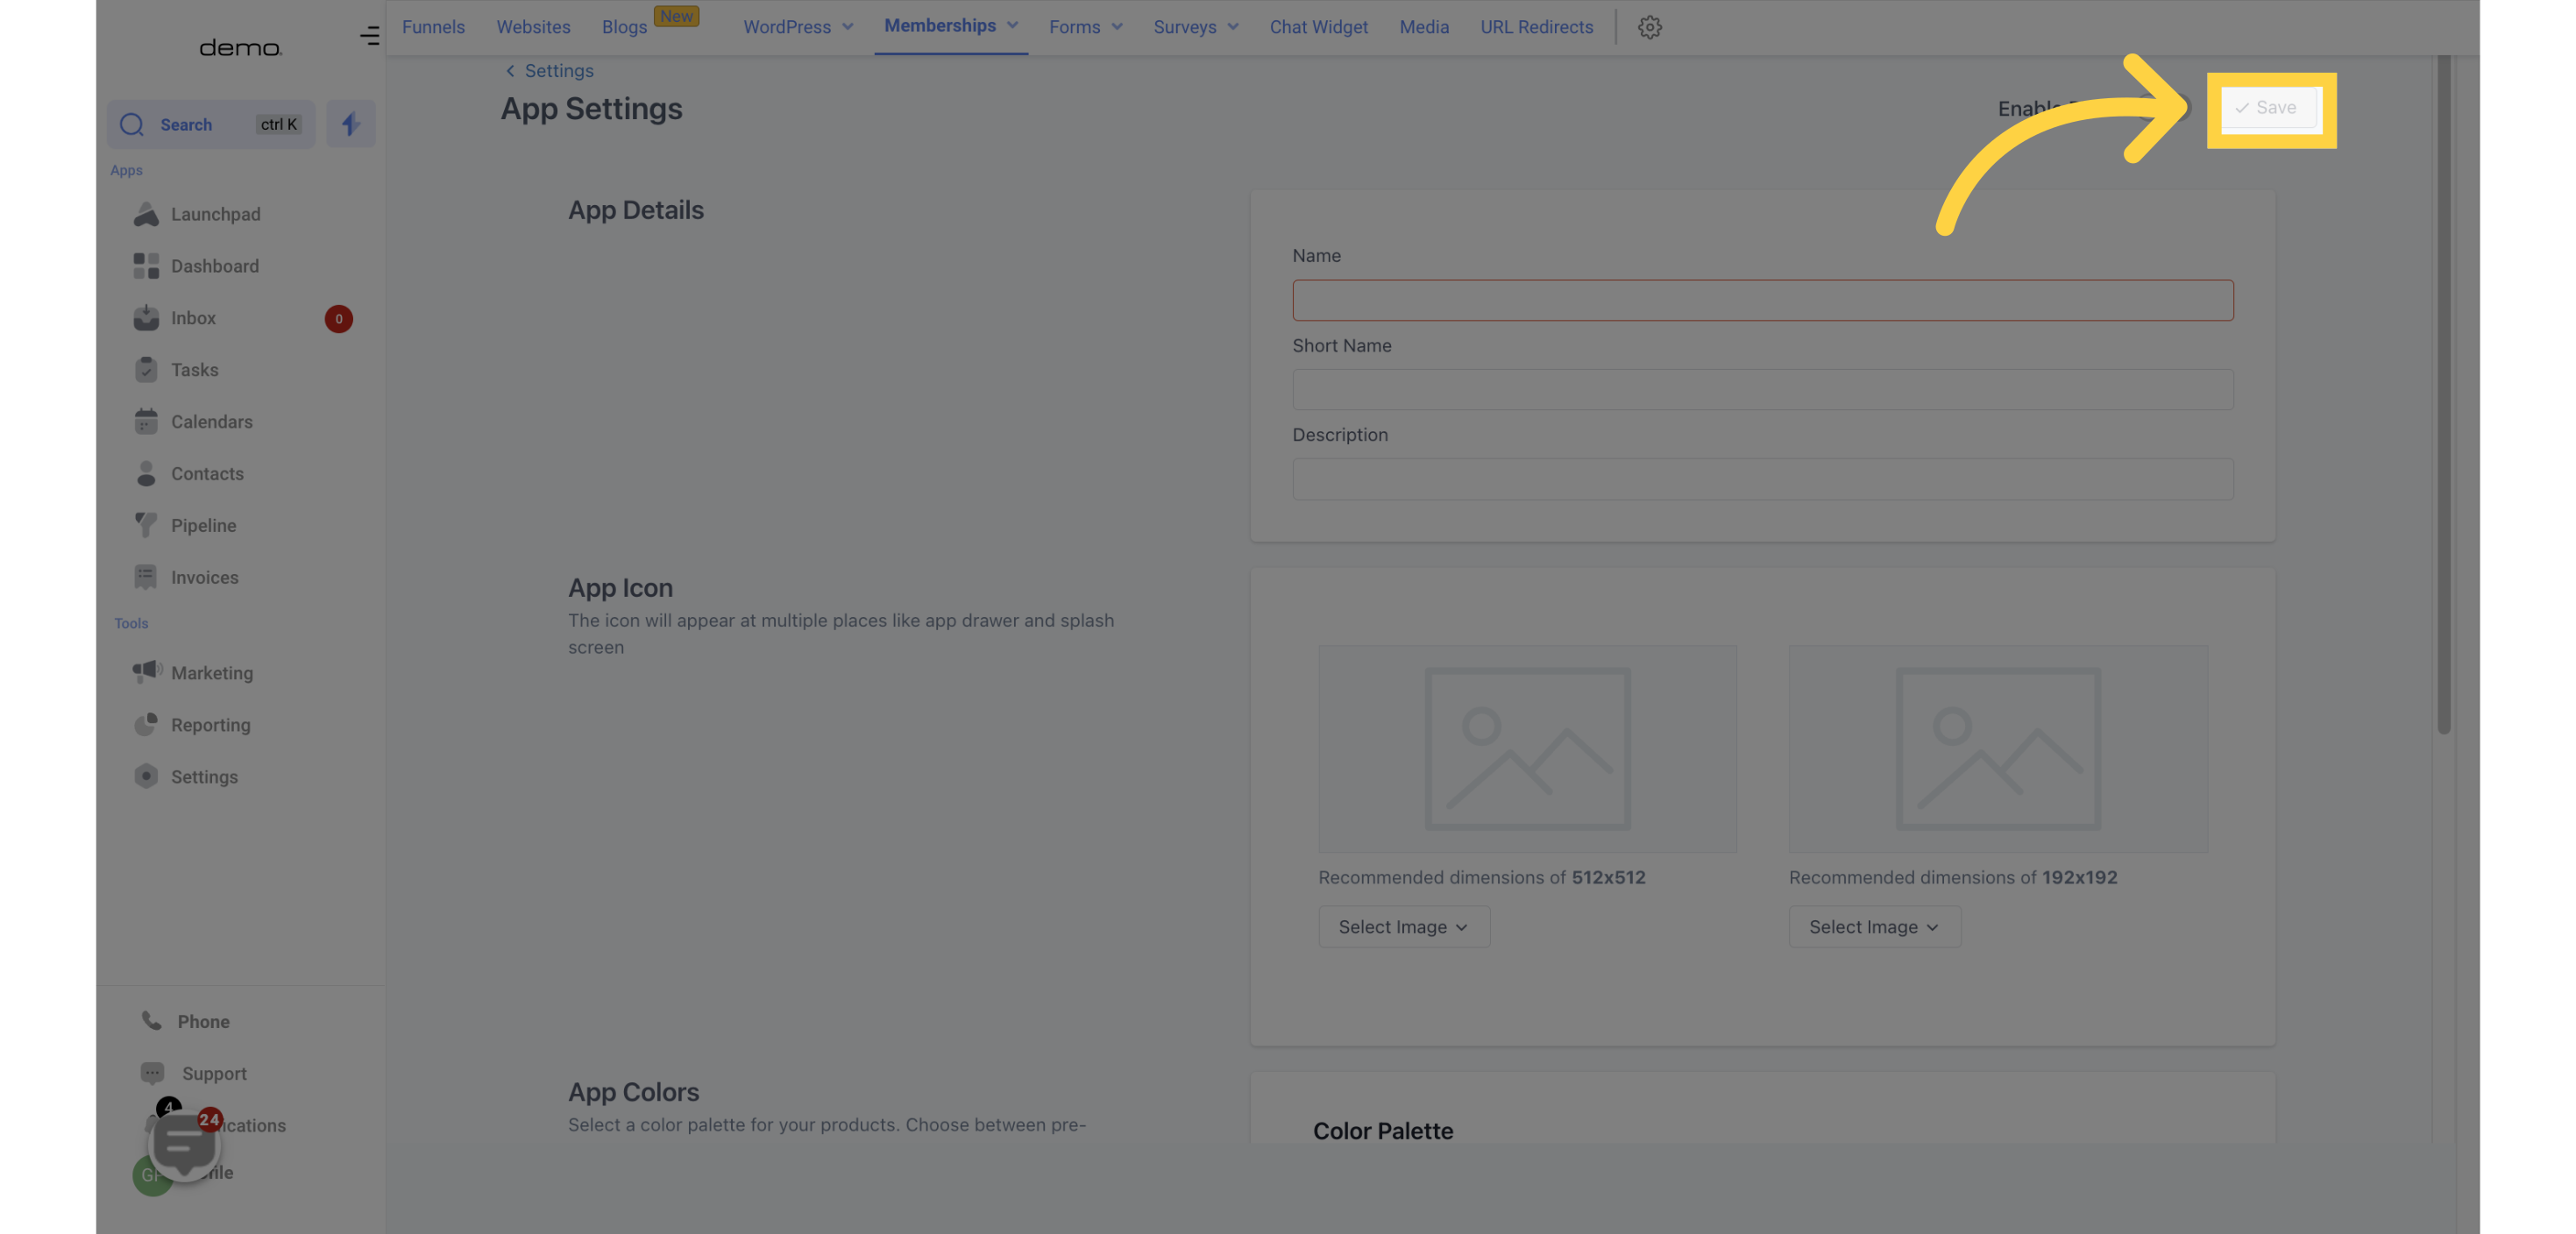
Customize the app experience for your desktop and mobile progress app. Enable PWA to operate both as a web page and mobile app on any device.
This section provides you with data analytics from your previous membership portals.
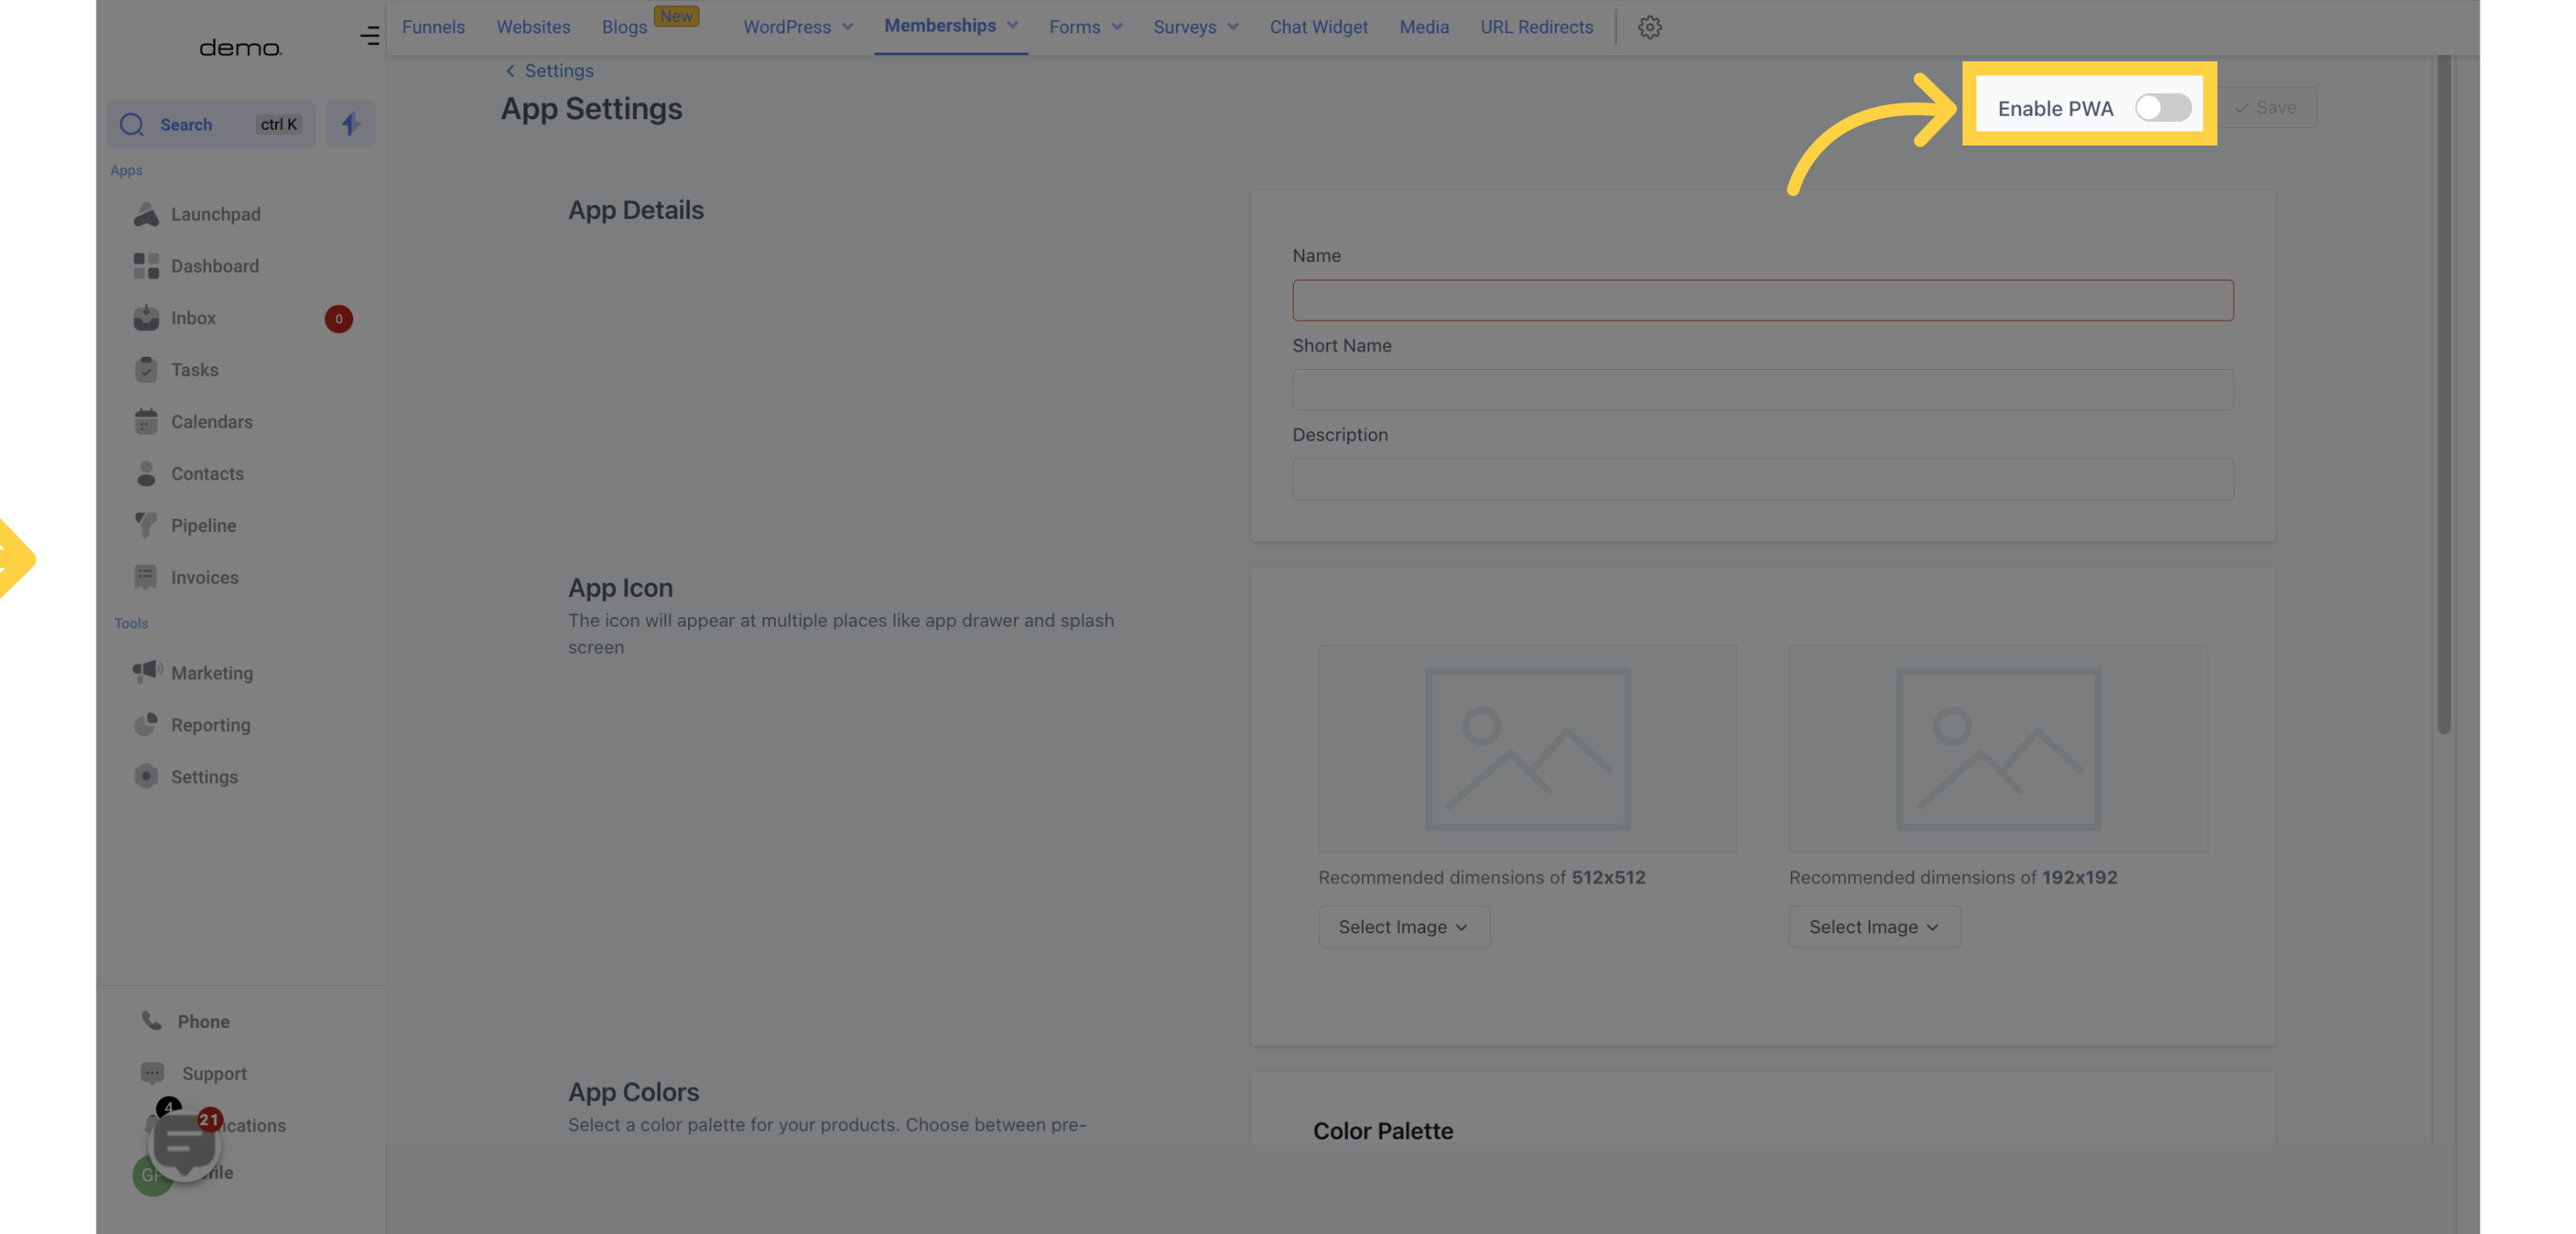
Type in your app name and provide a short description of what it does.

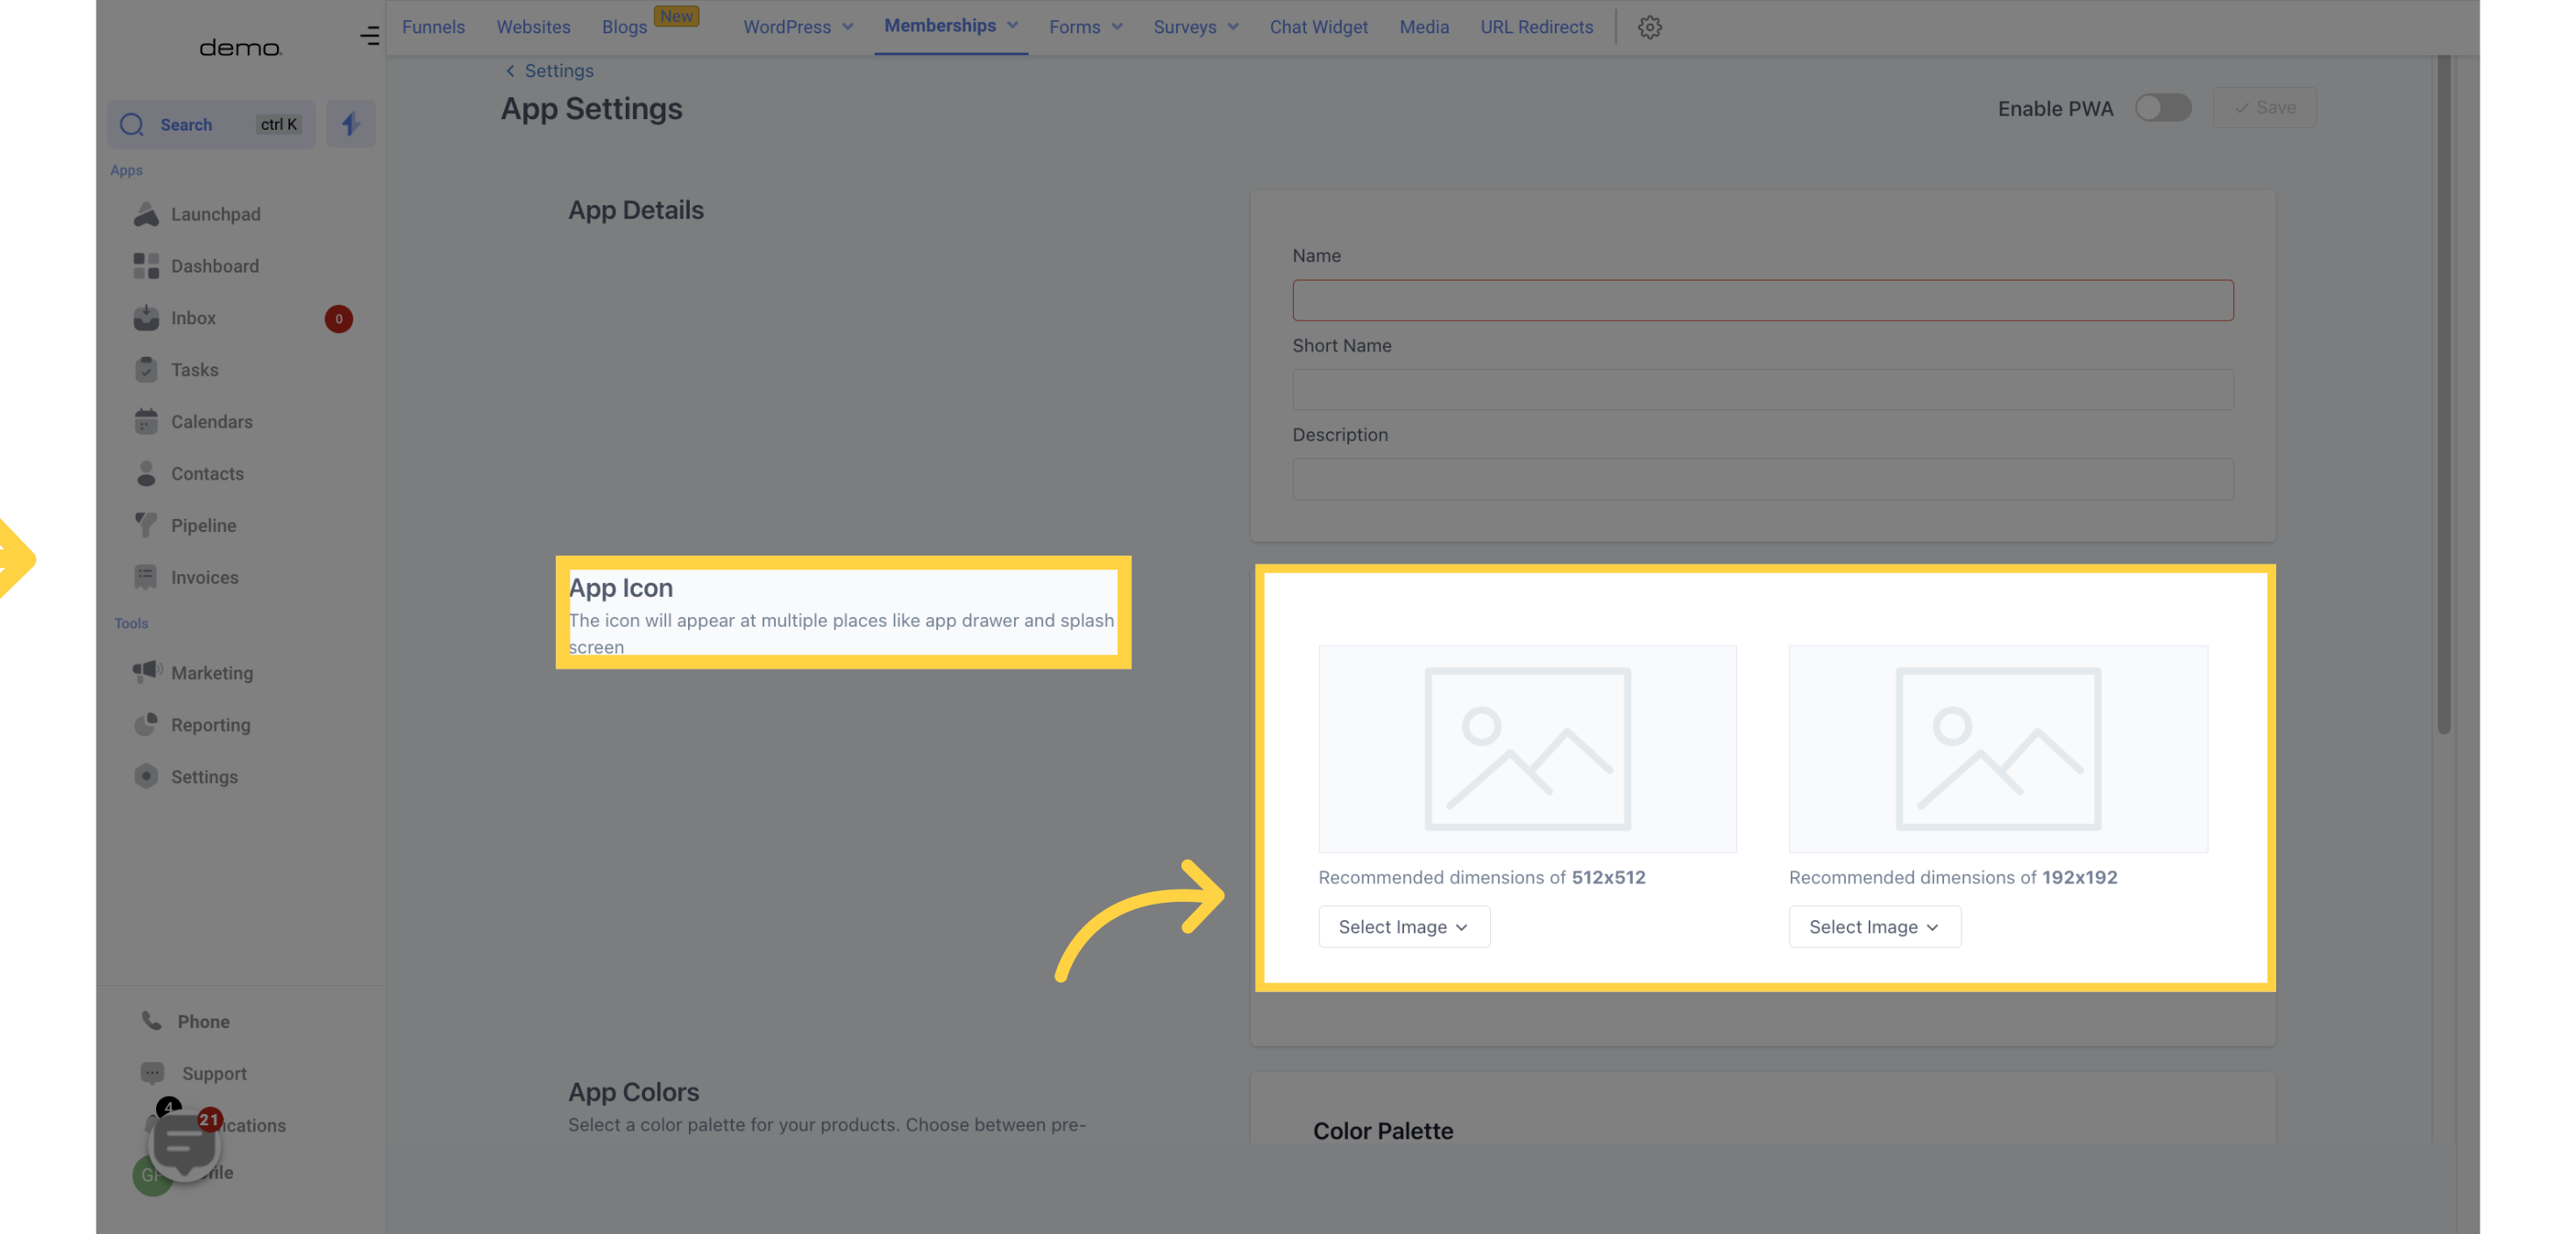
Upload icons with the recommended dimensions of 512x512 and 192x192 for various uses such as the app drawer and splash screen.
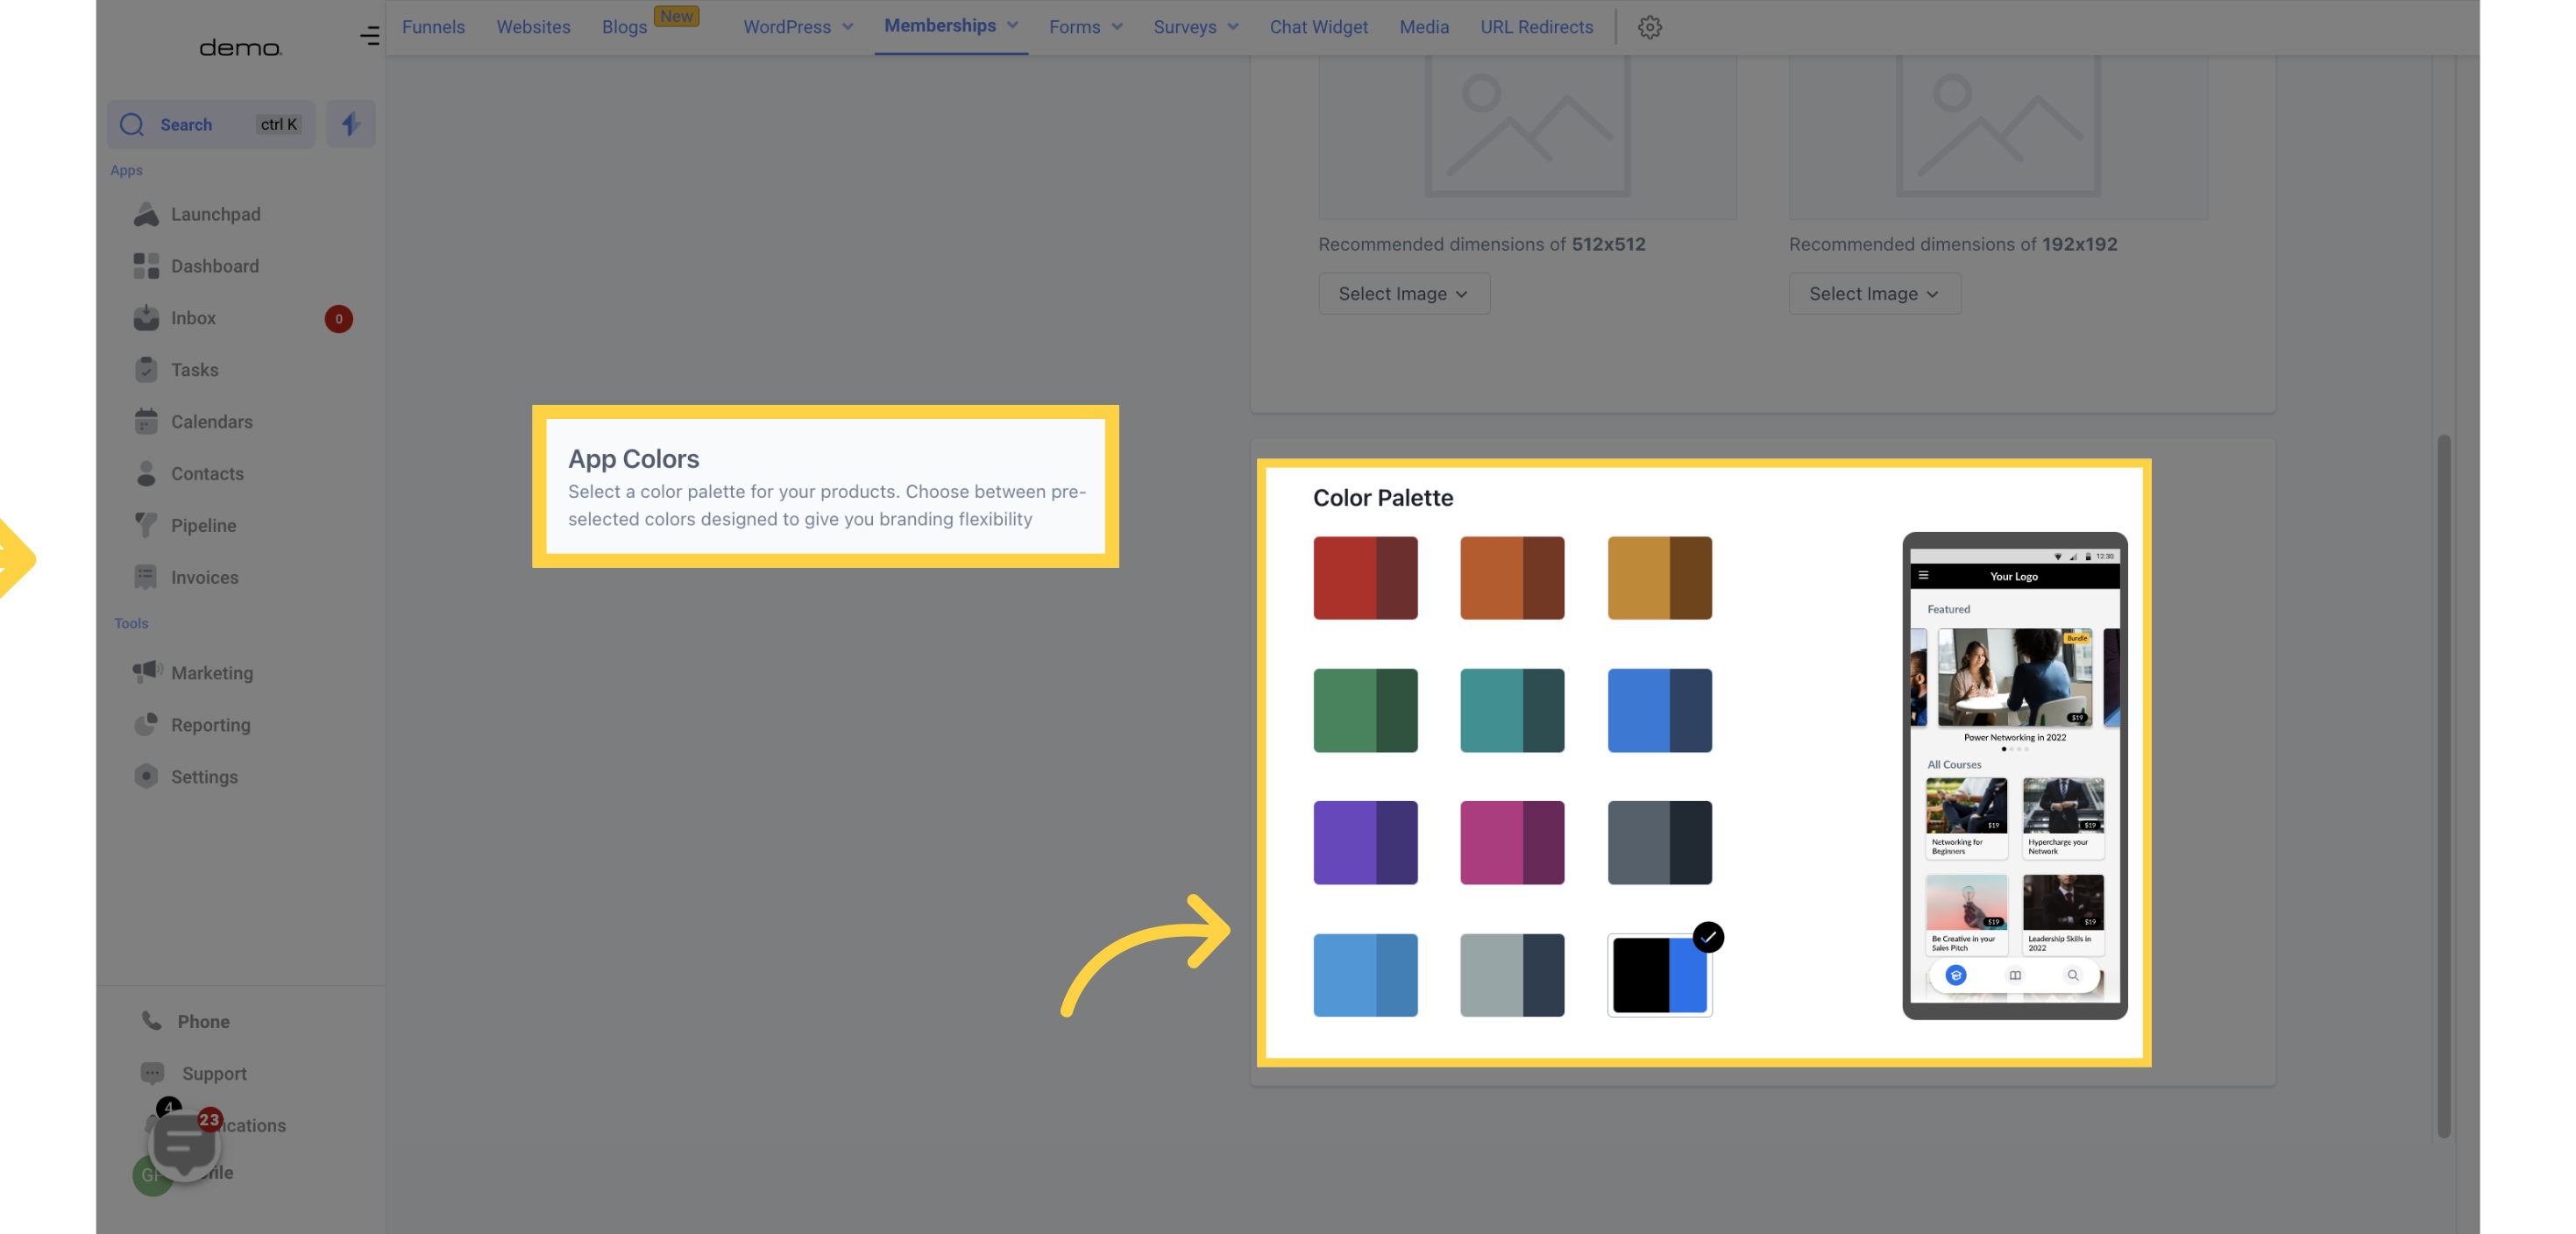
Choose from pre-selected colors to create a unique color palette for your products.
Be sure to save your changes before navigating away from the page.