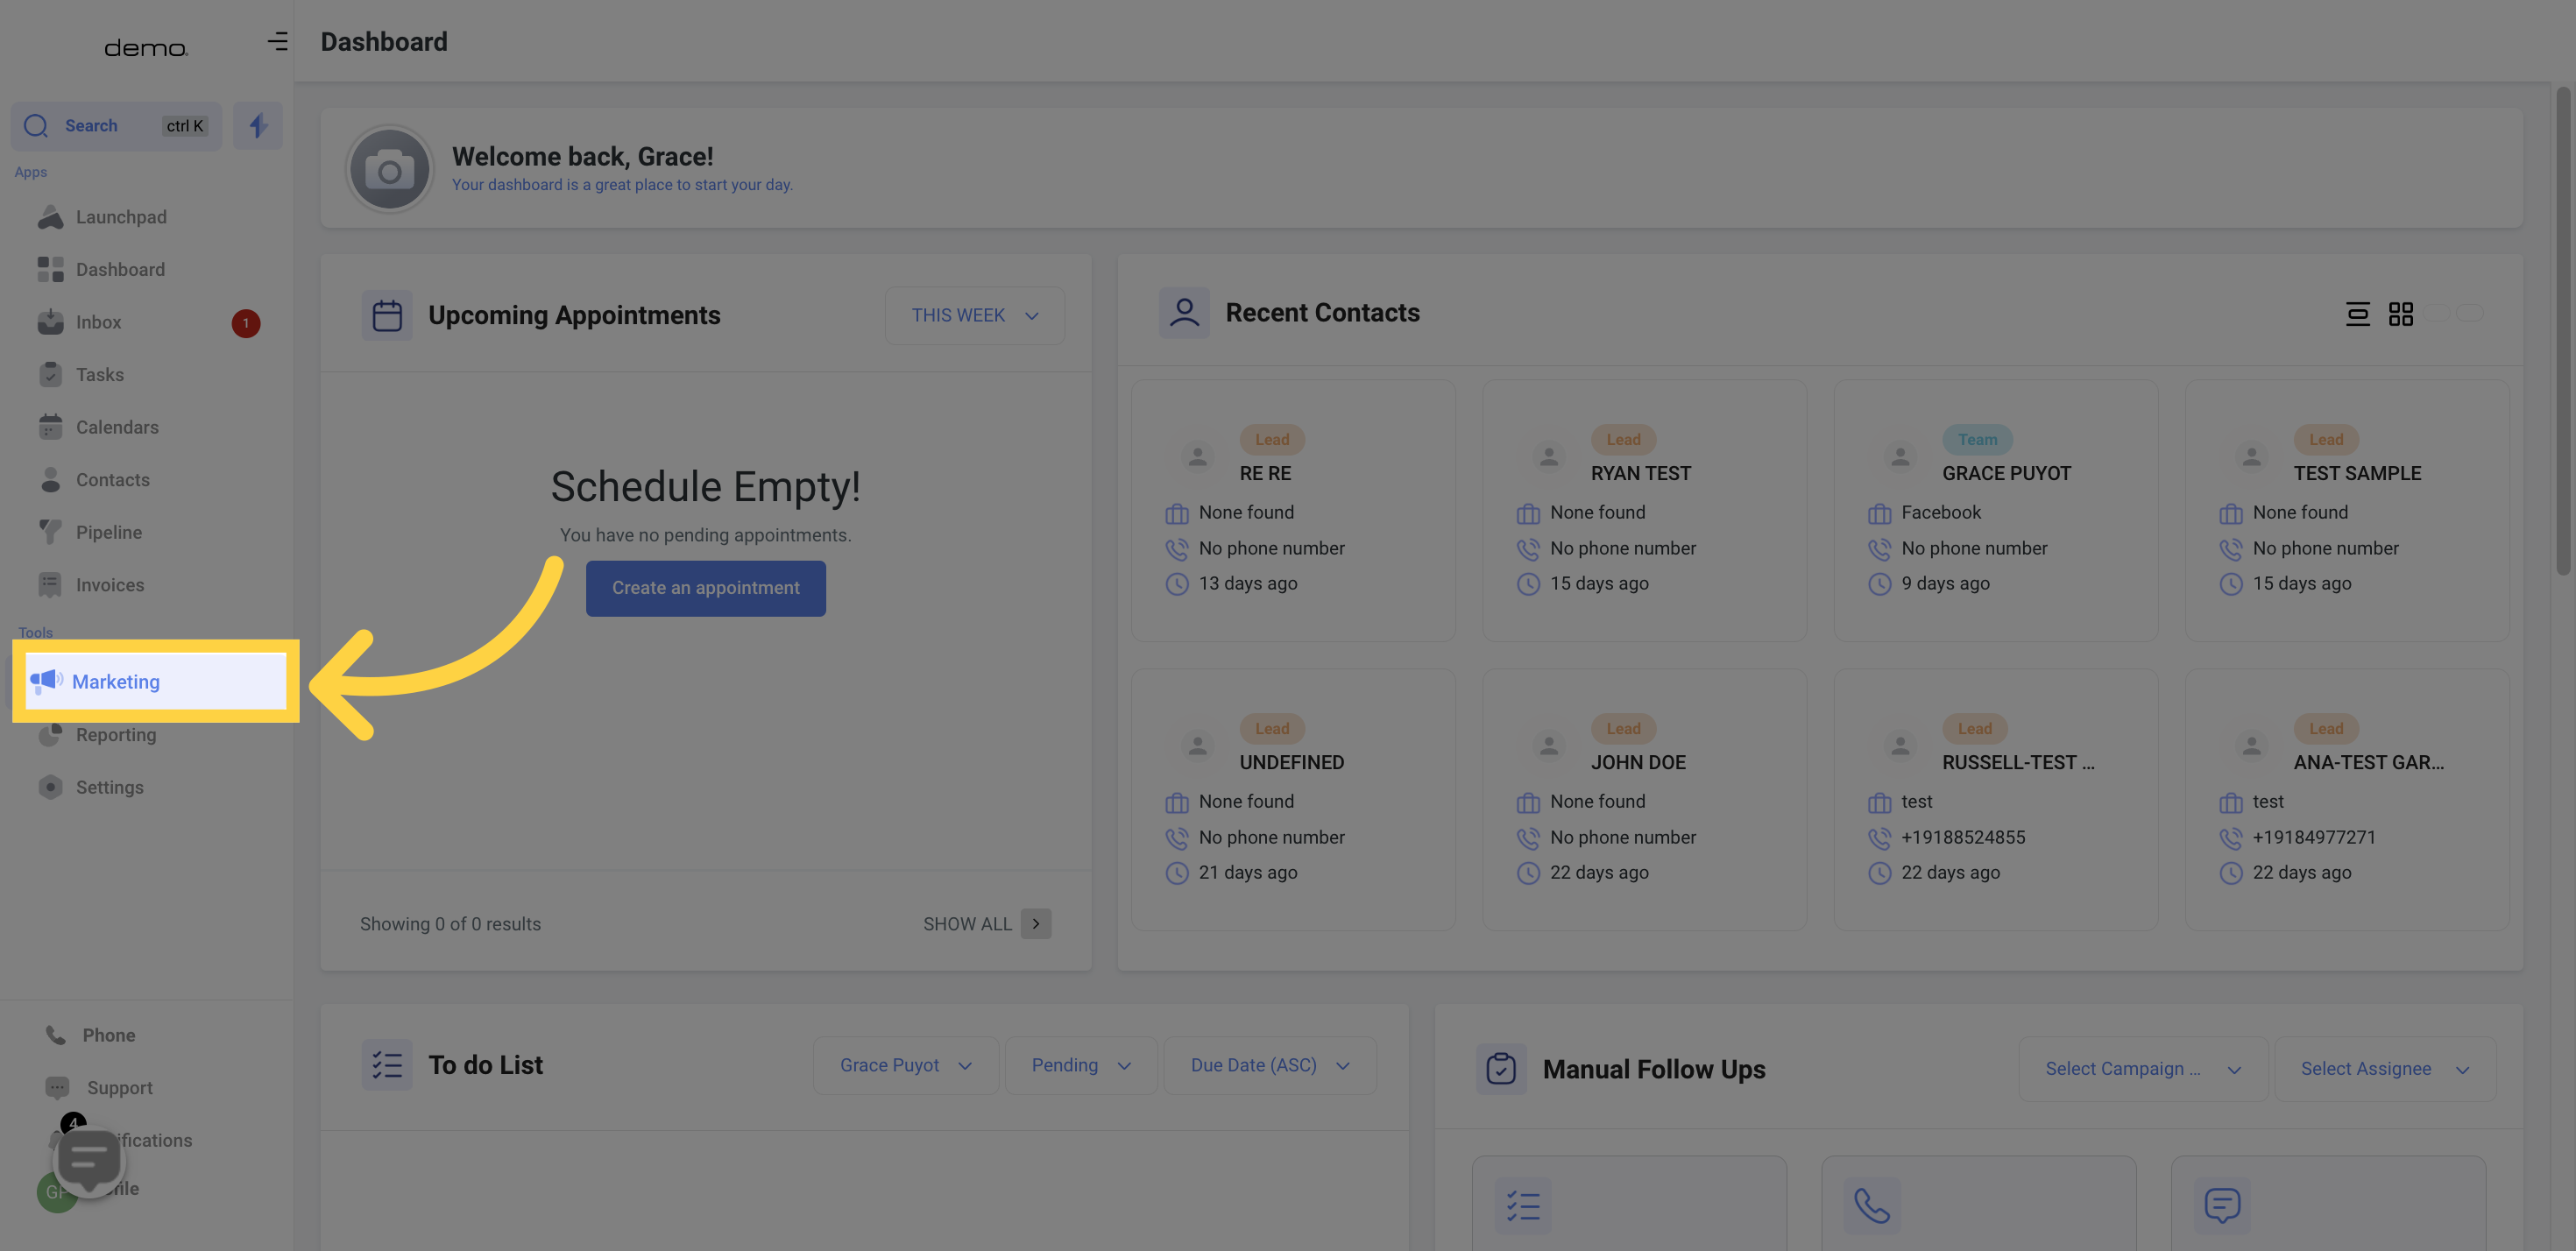
Access the Marketing section
Select the Funnels option.
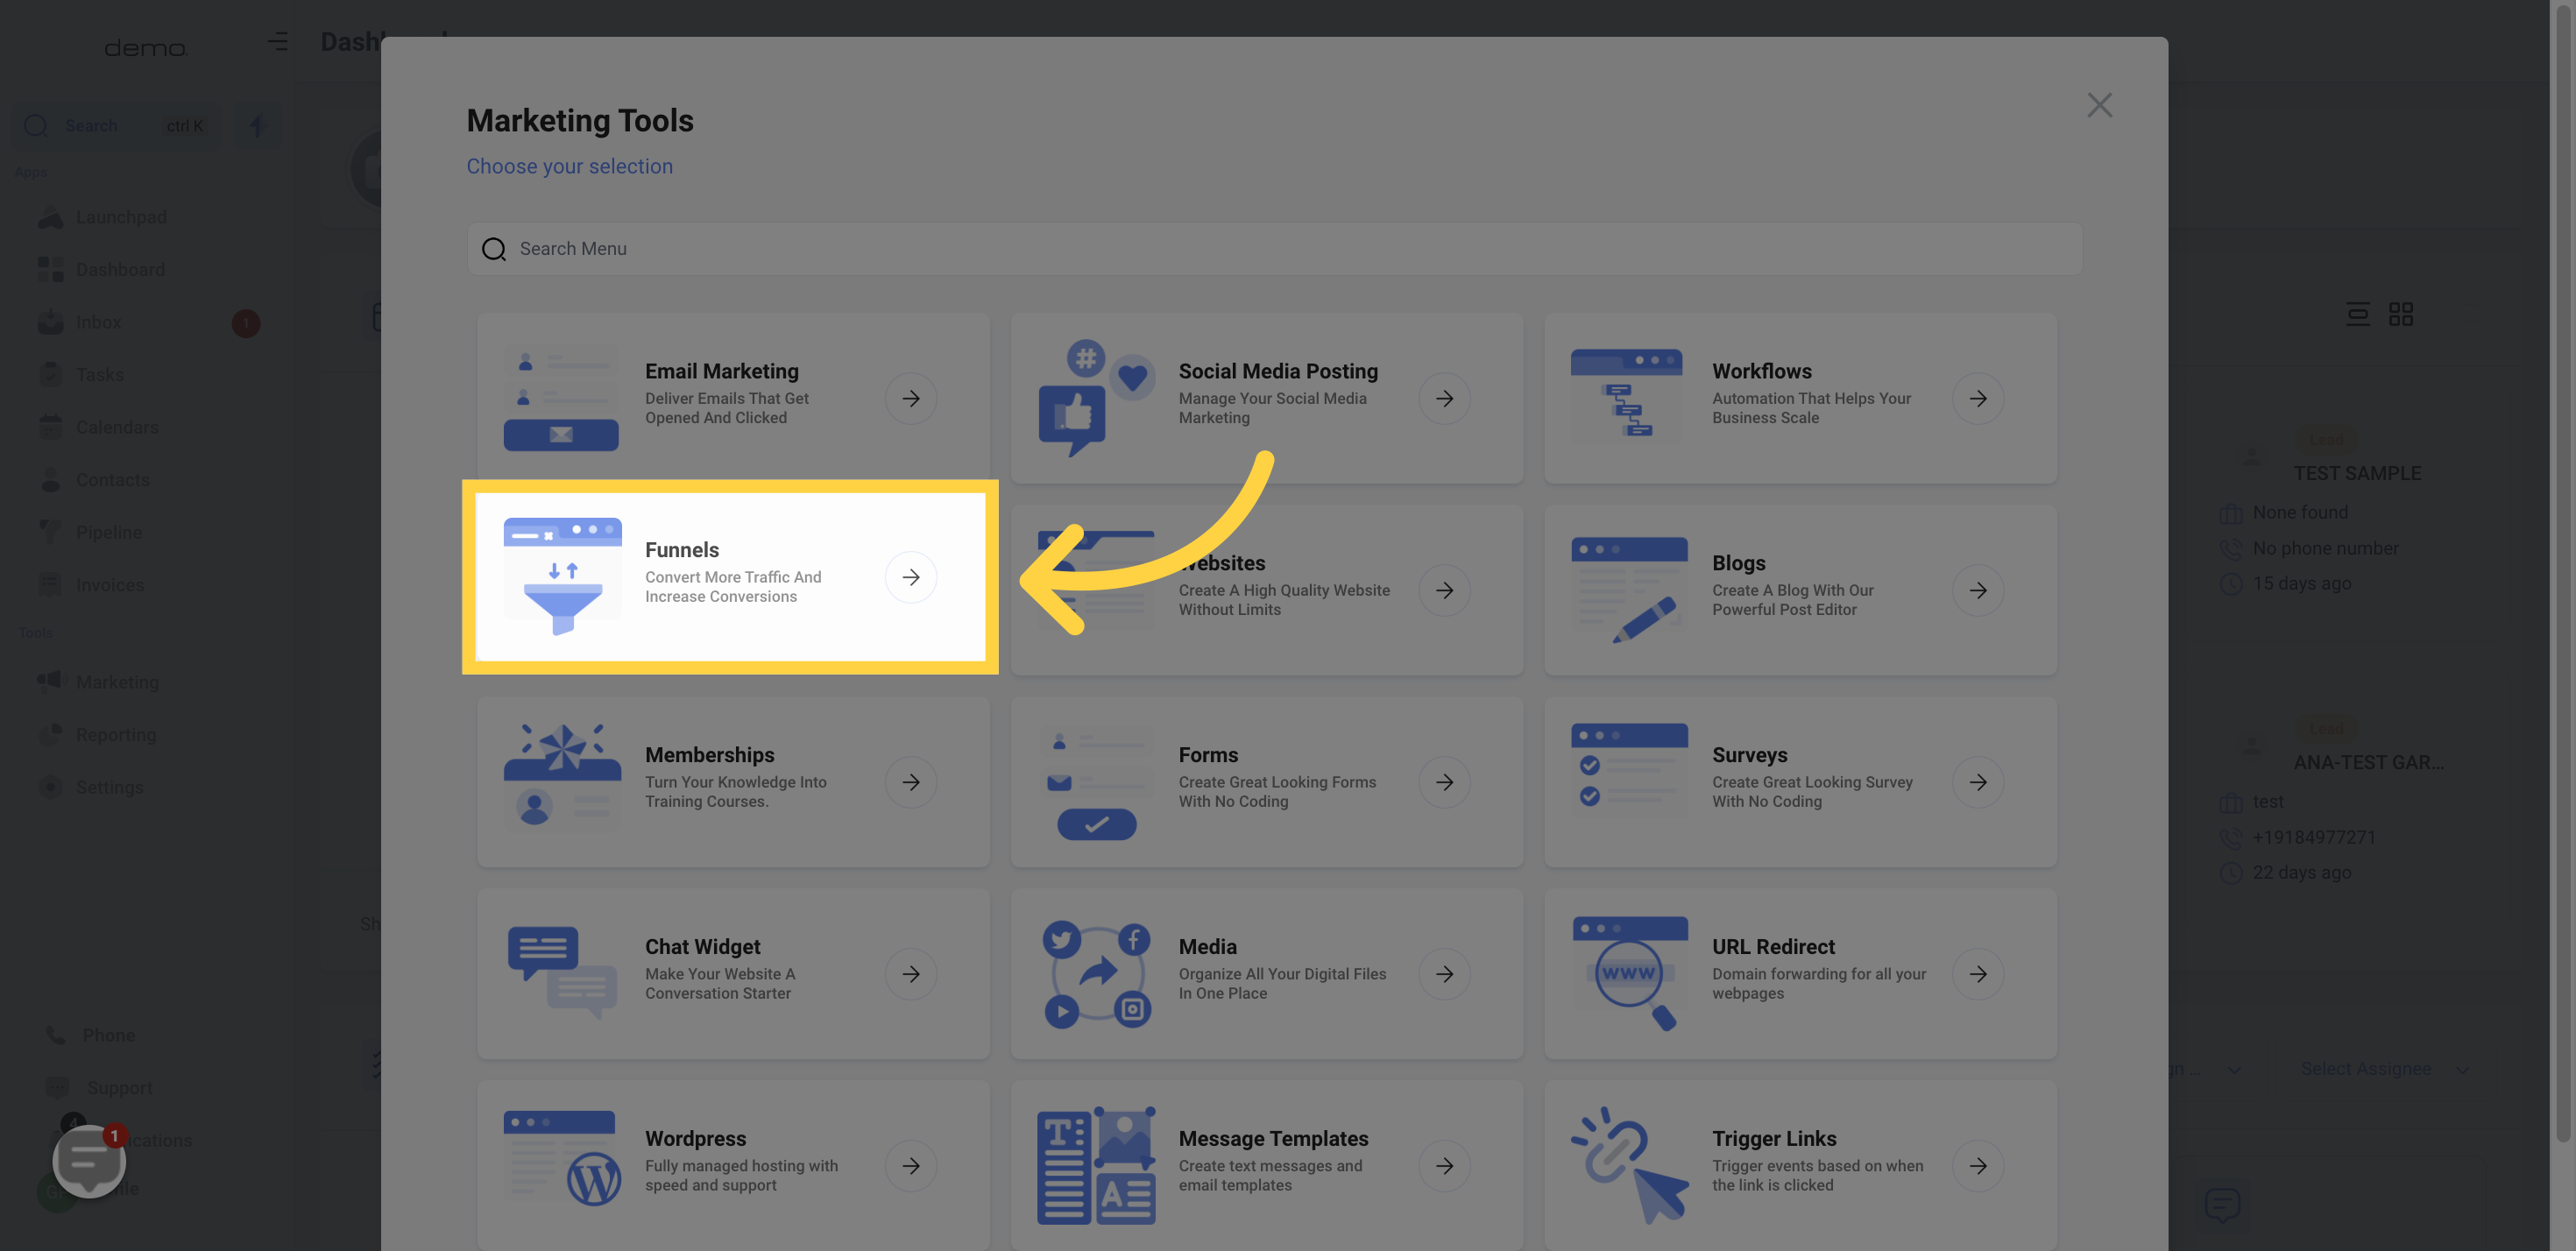
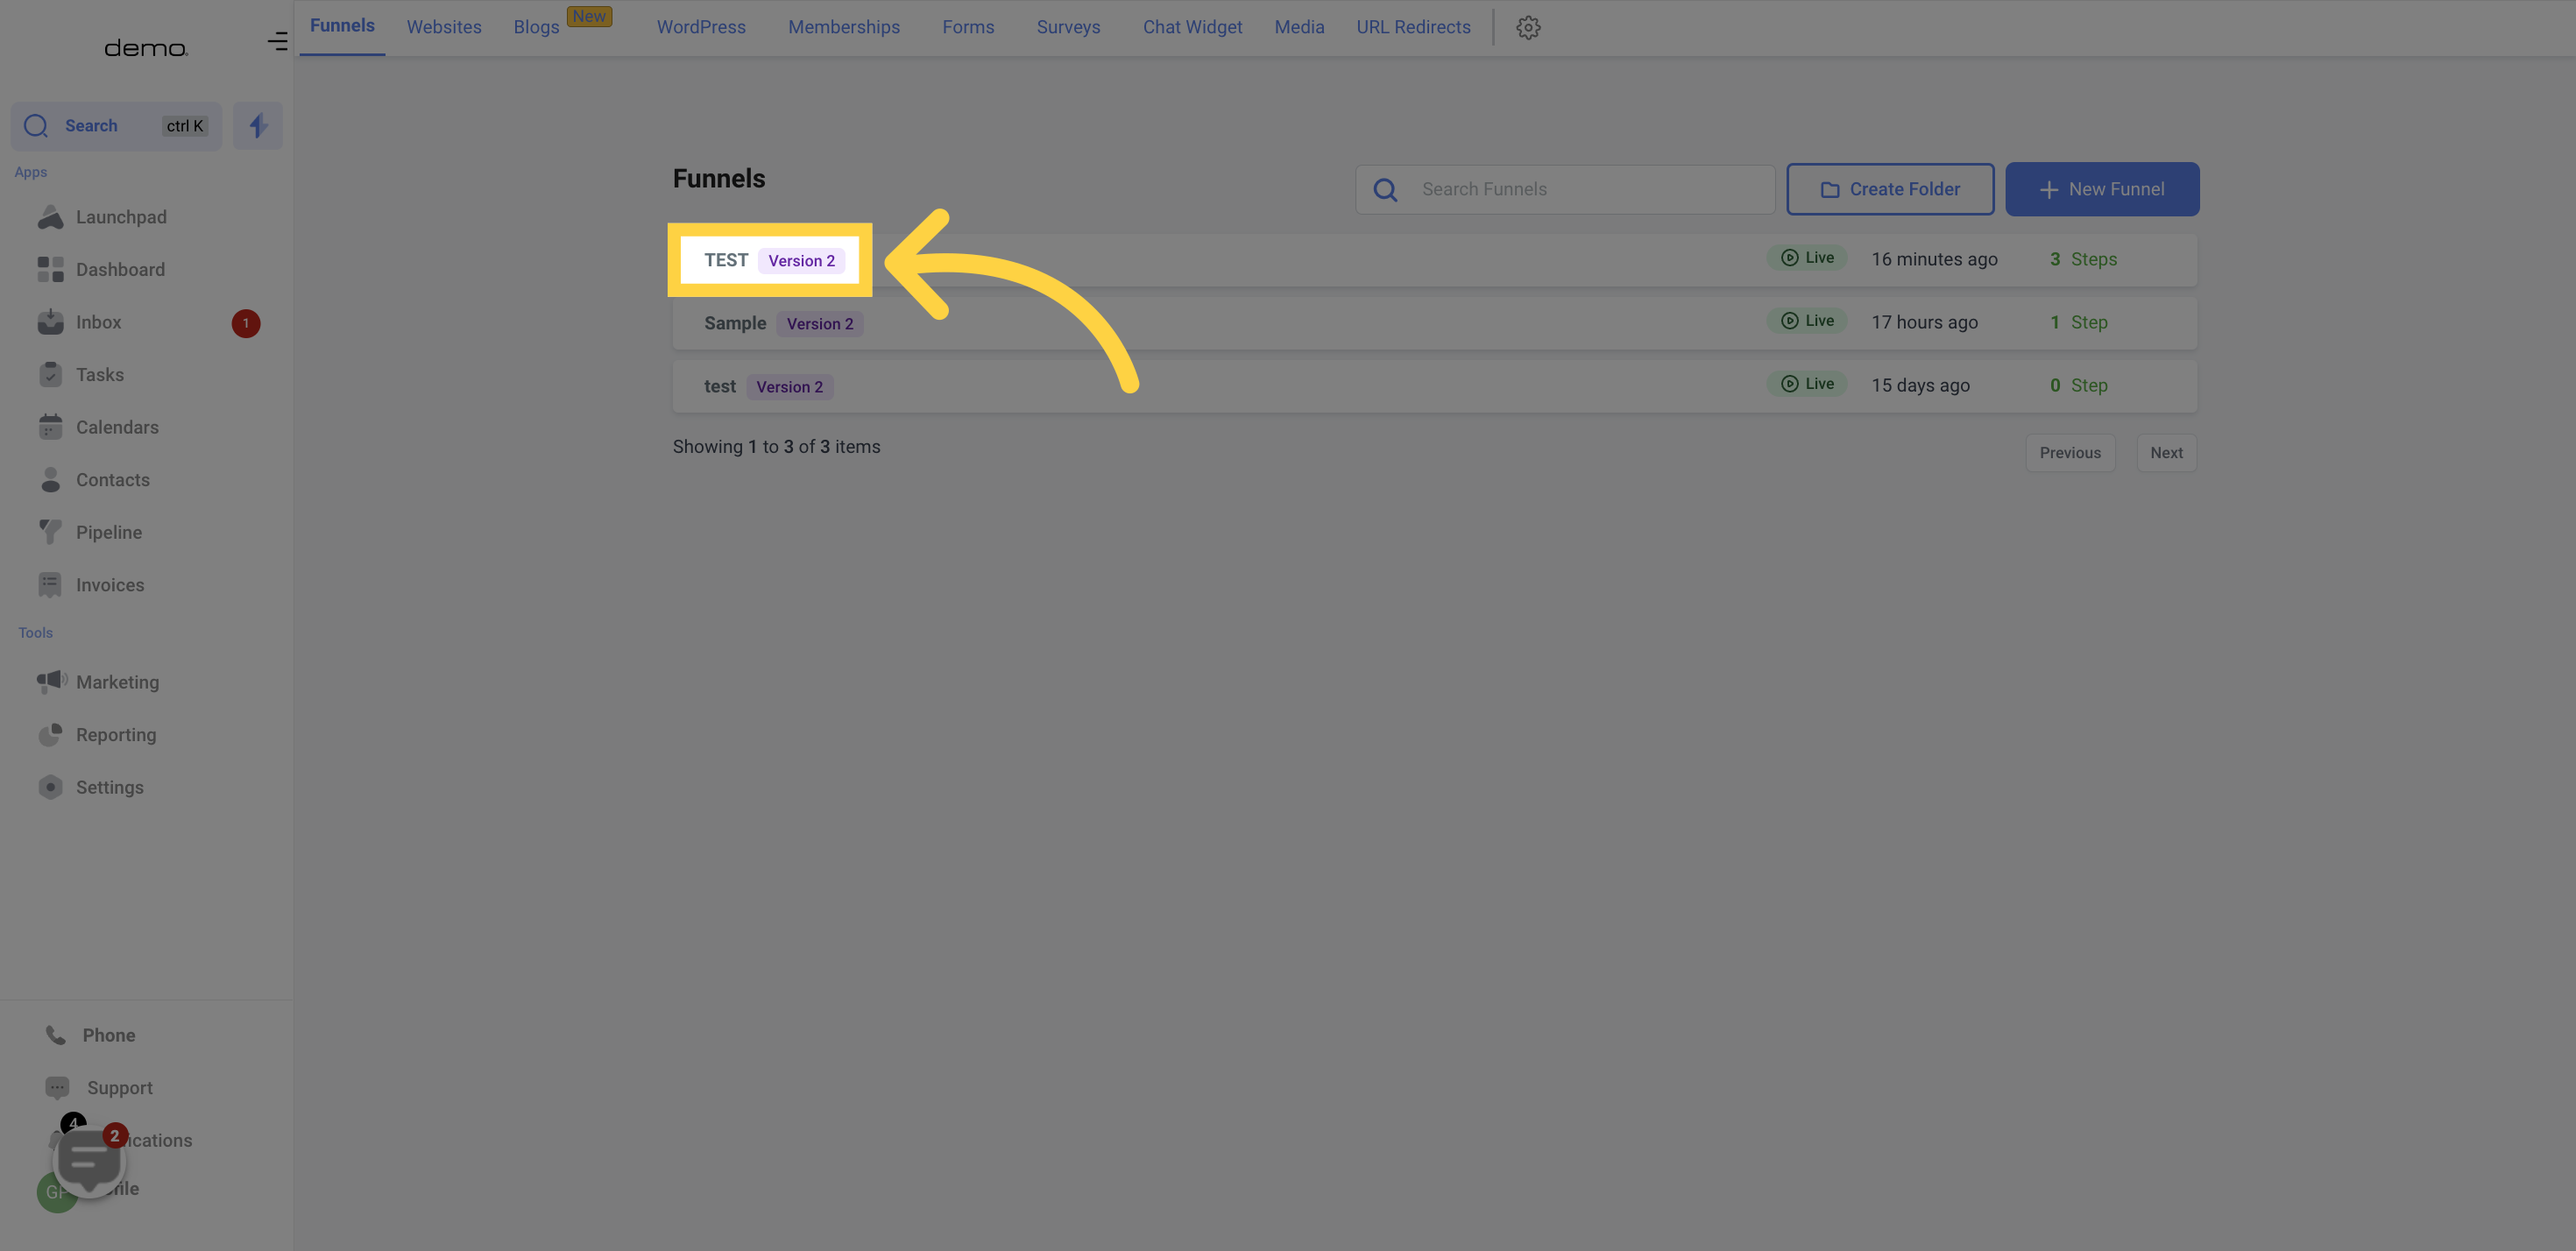
Select funnels
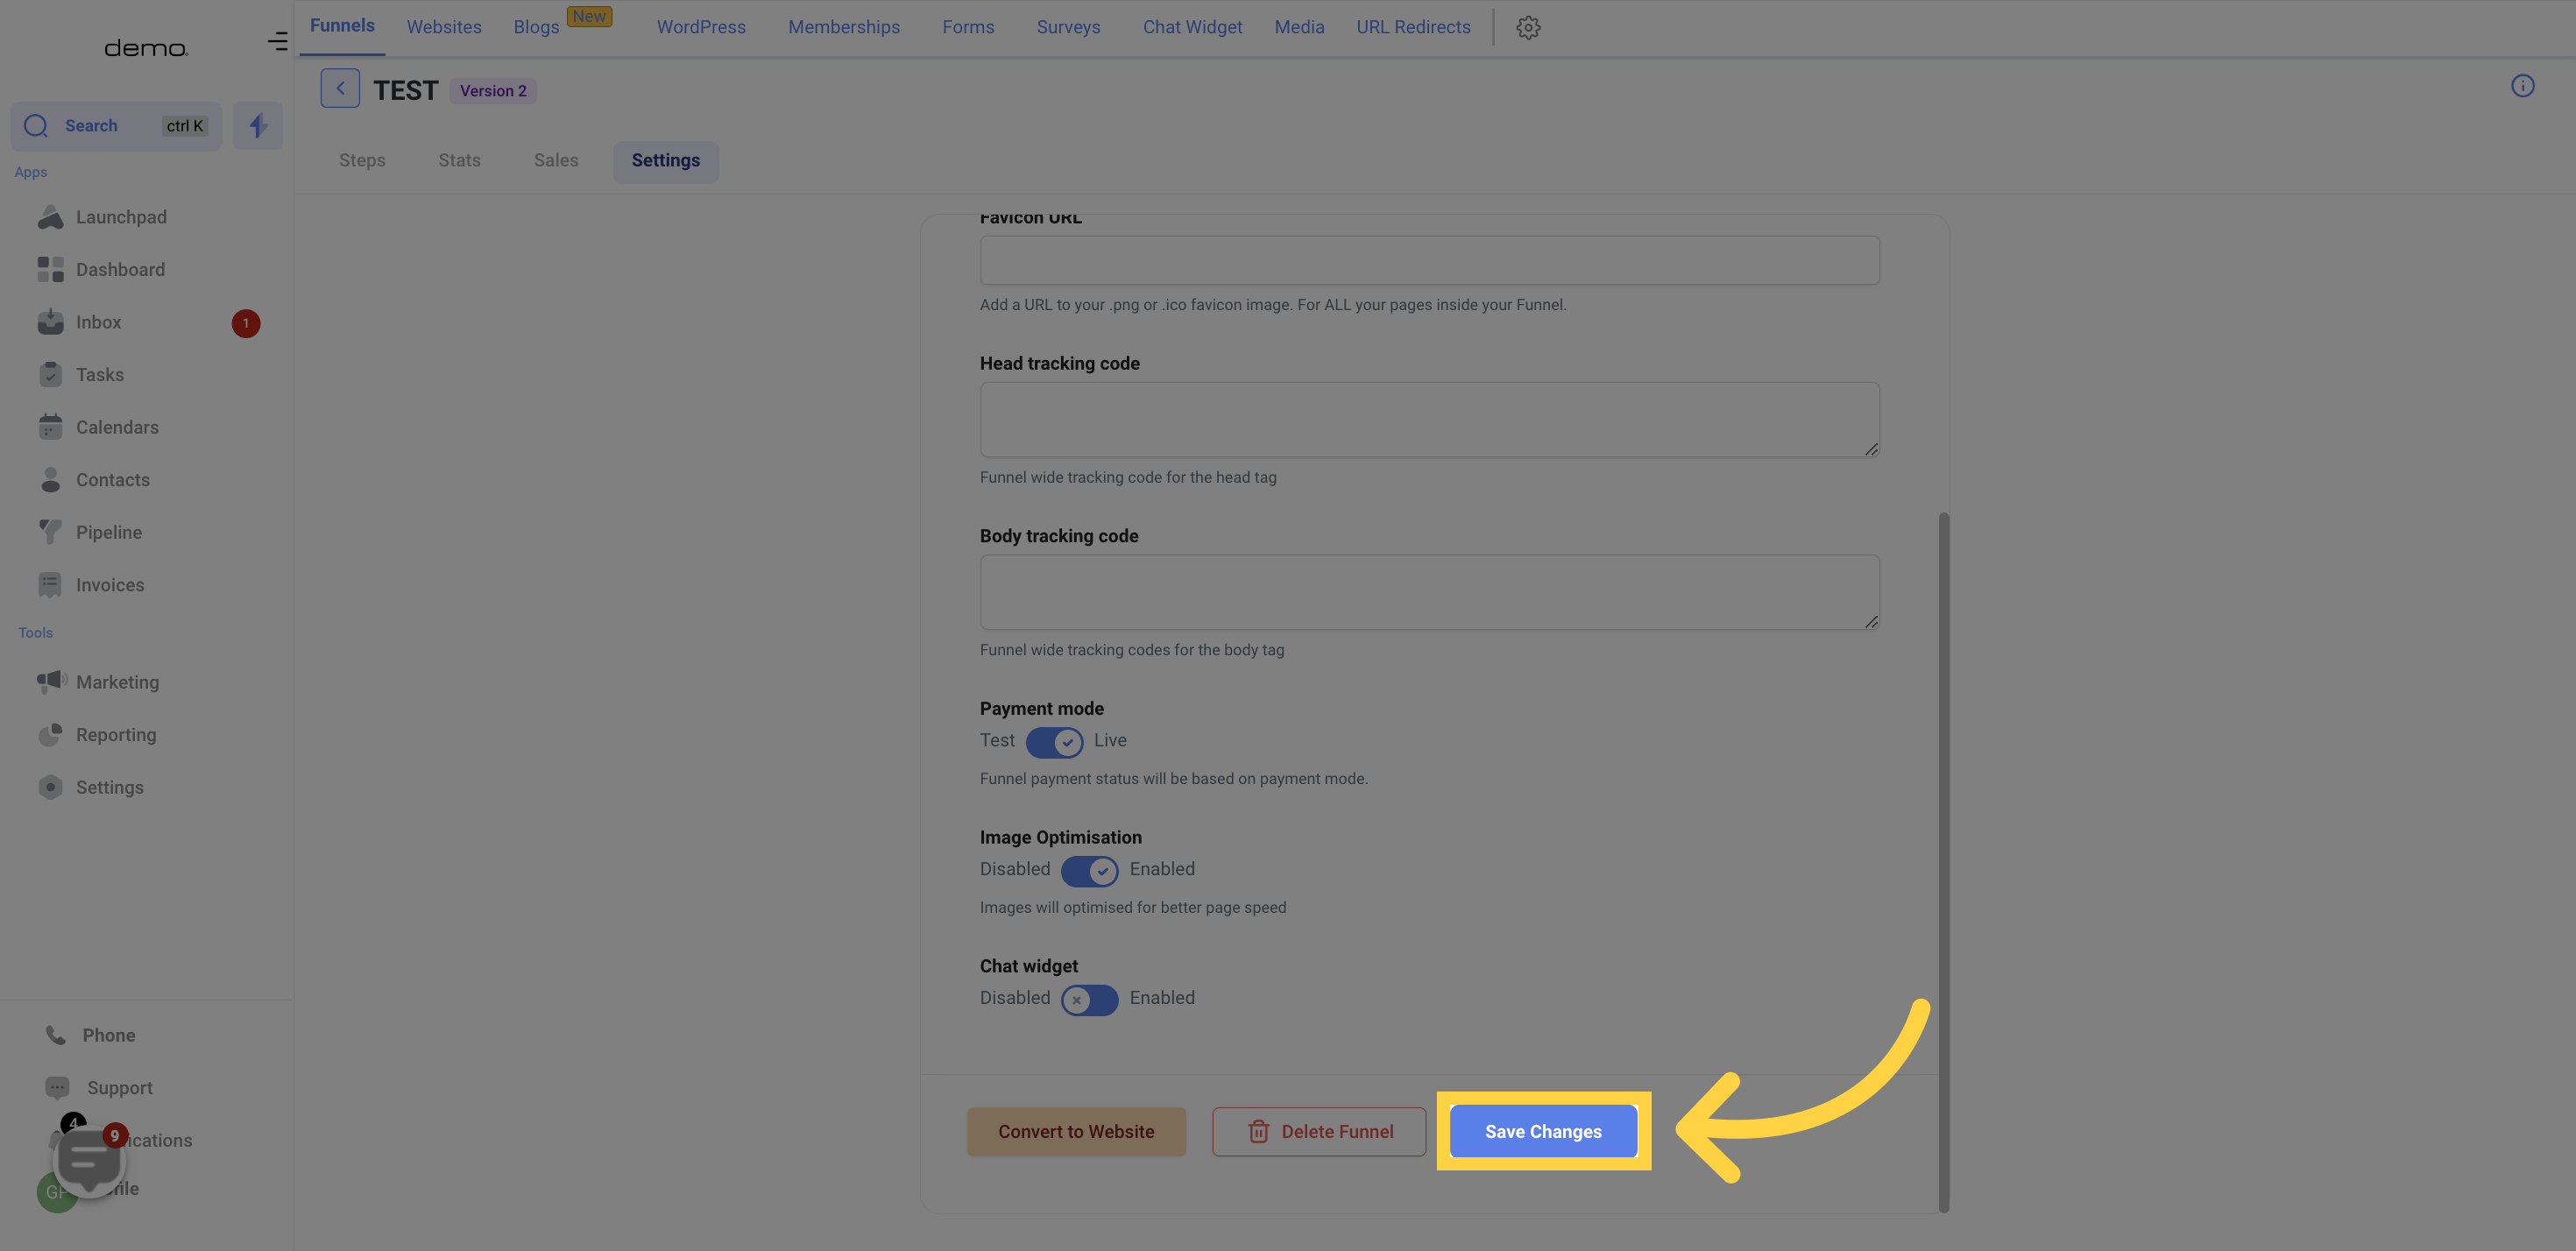
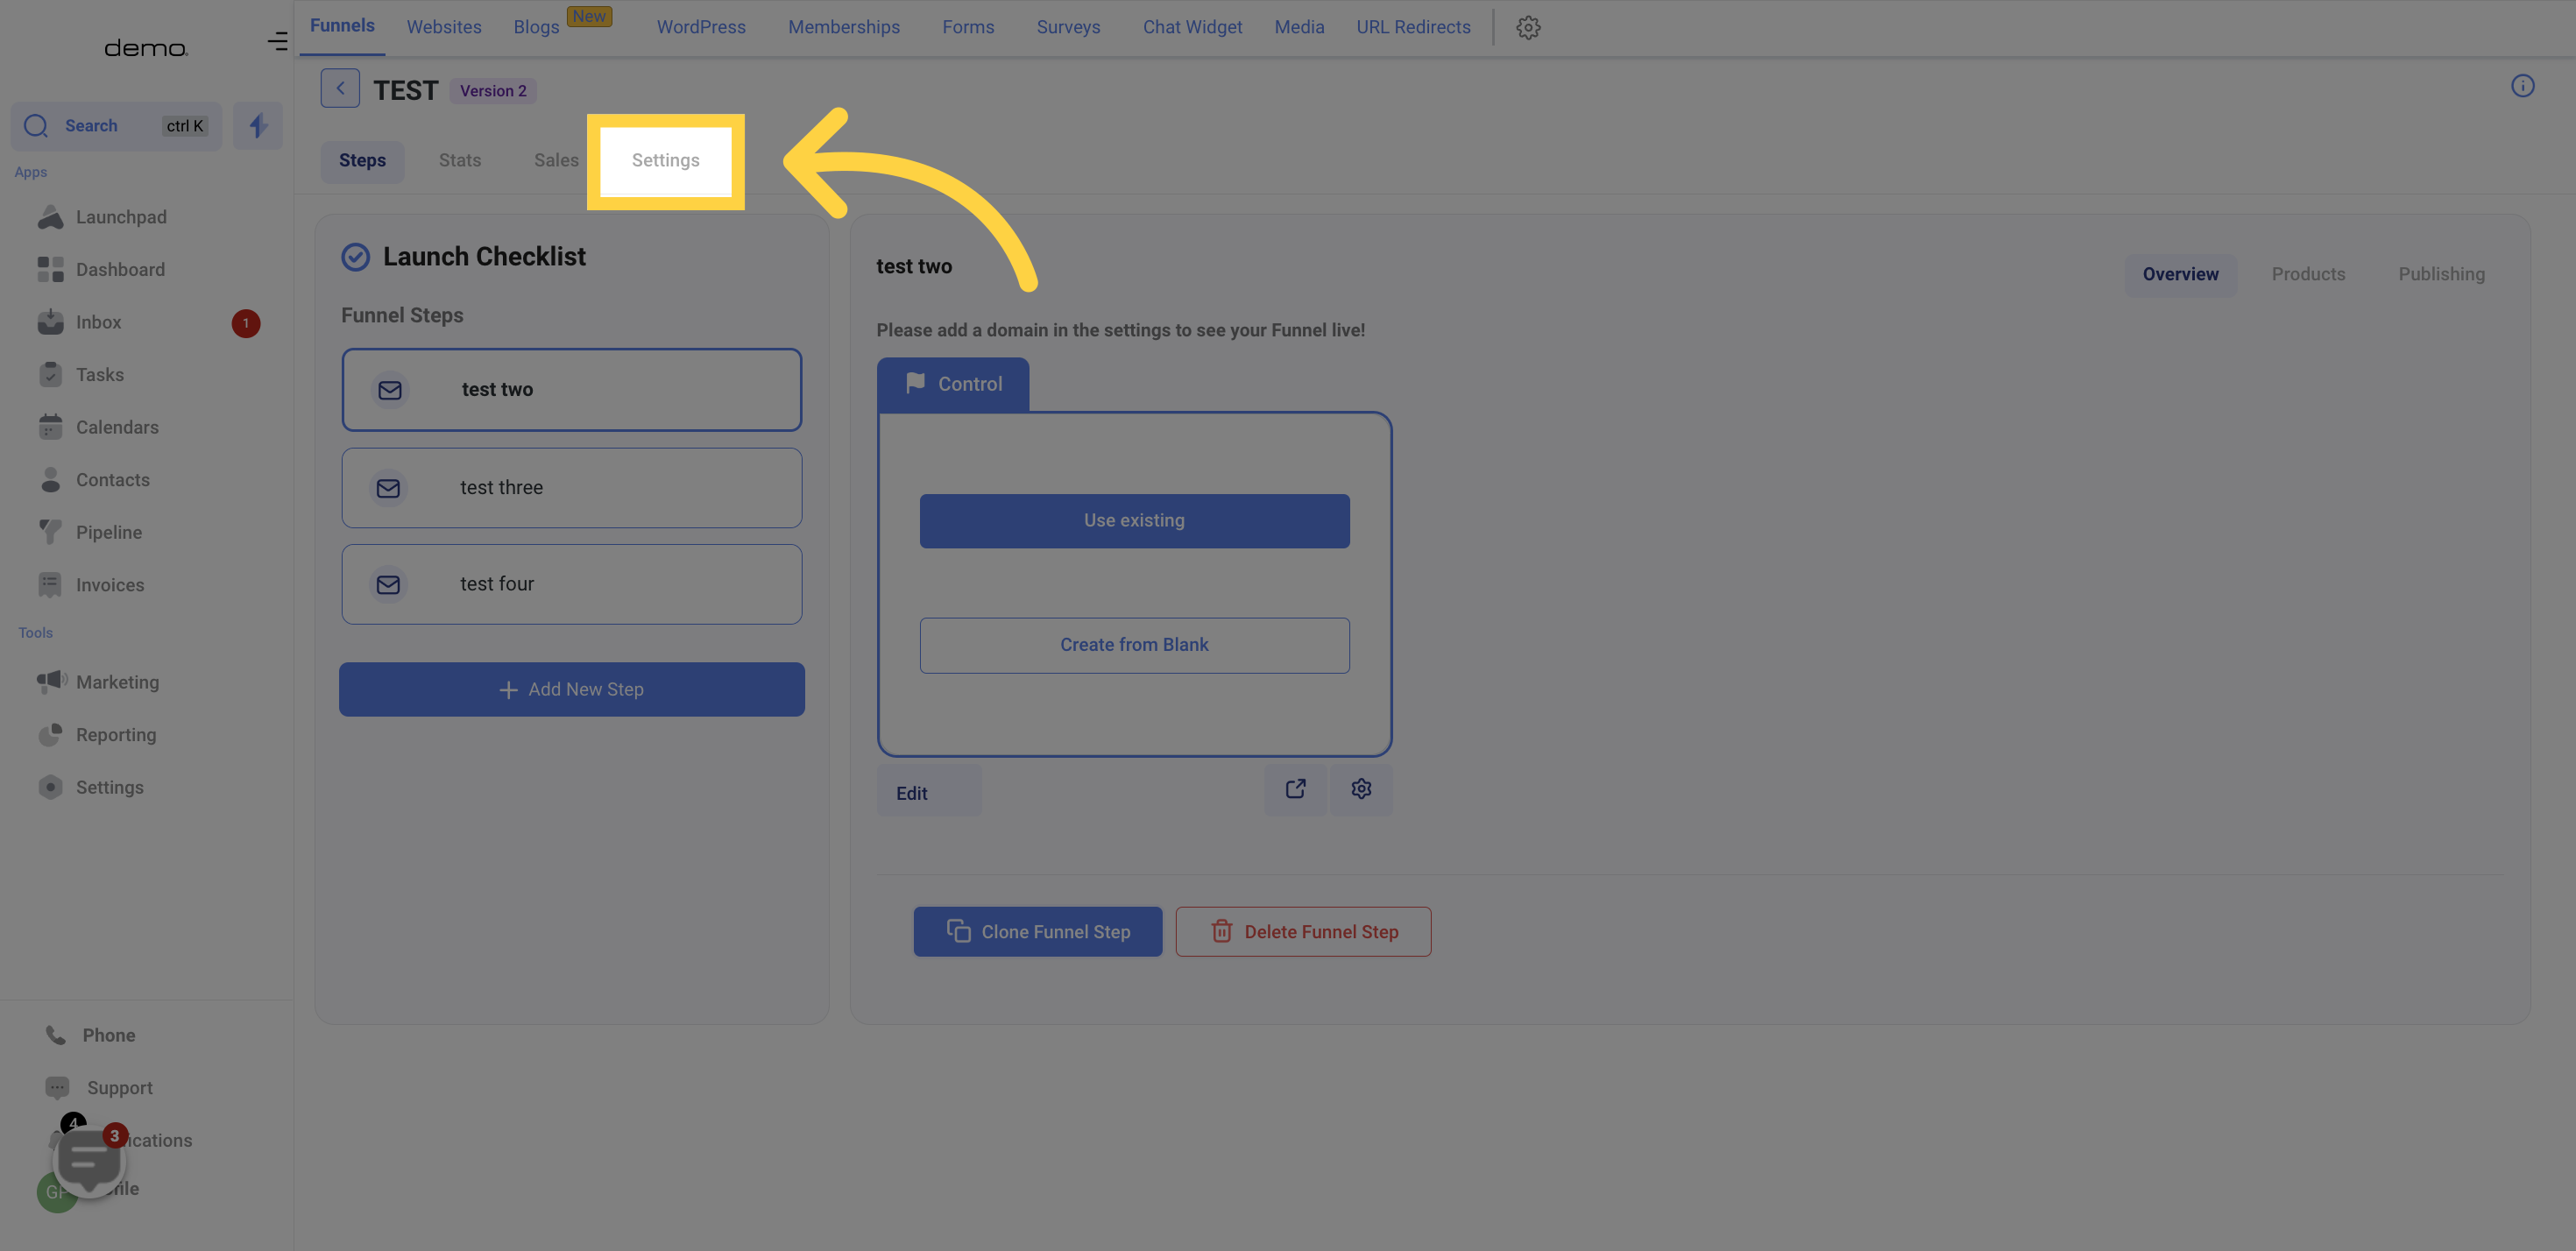
You can modify the funnel setup by accessing the settings.
To name or rename your funnel, simply enter the desired name in the designated name field box.
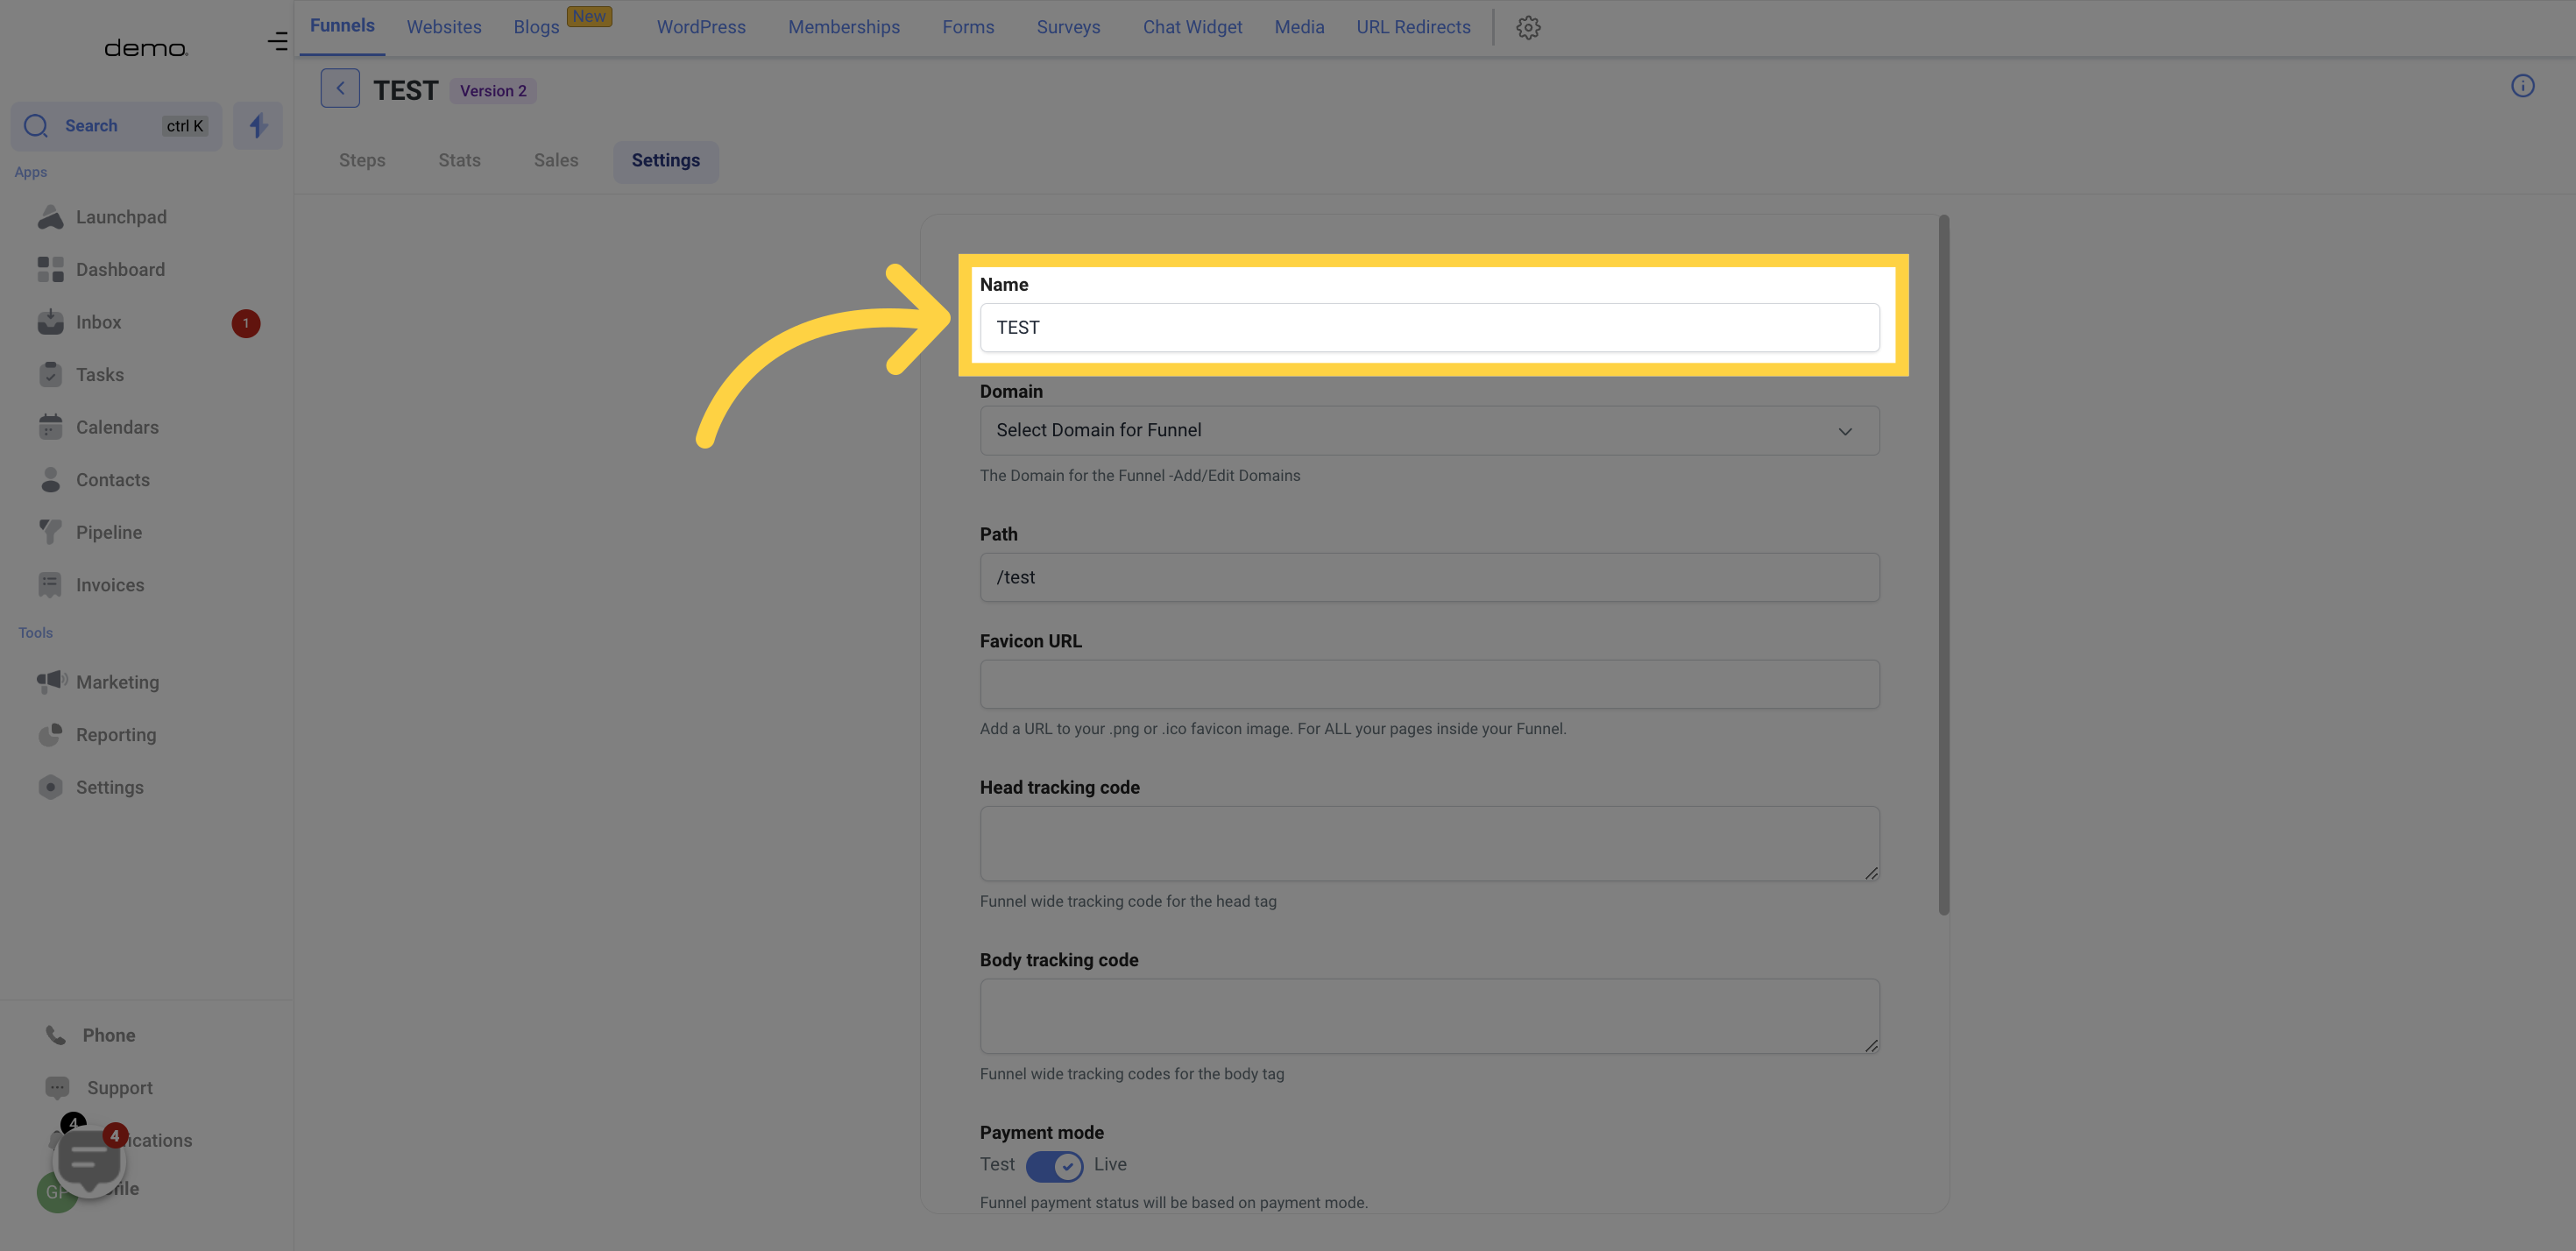
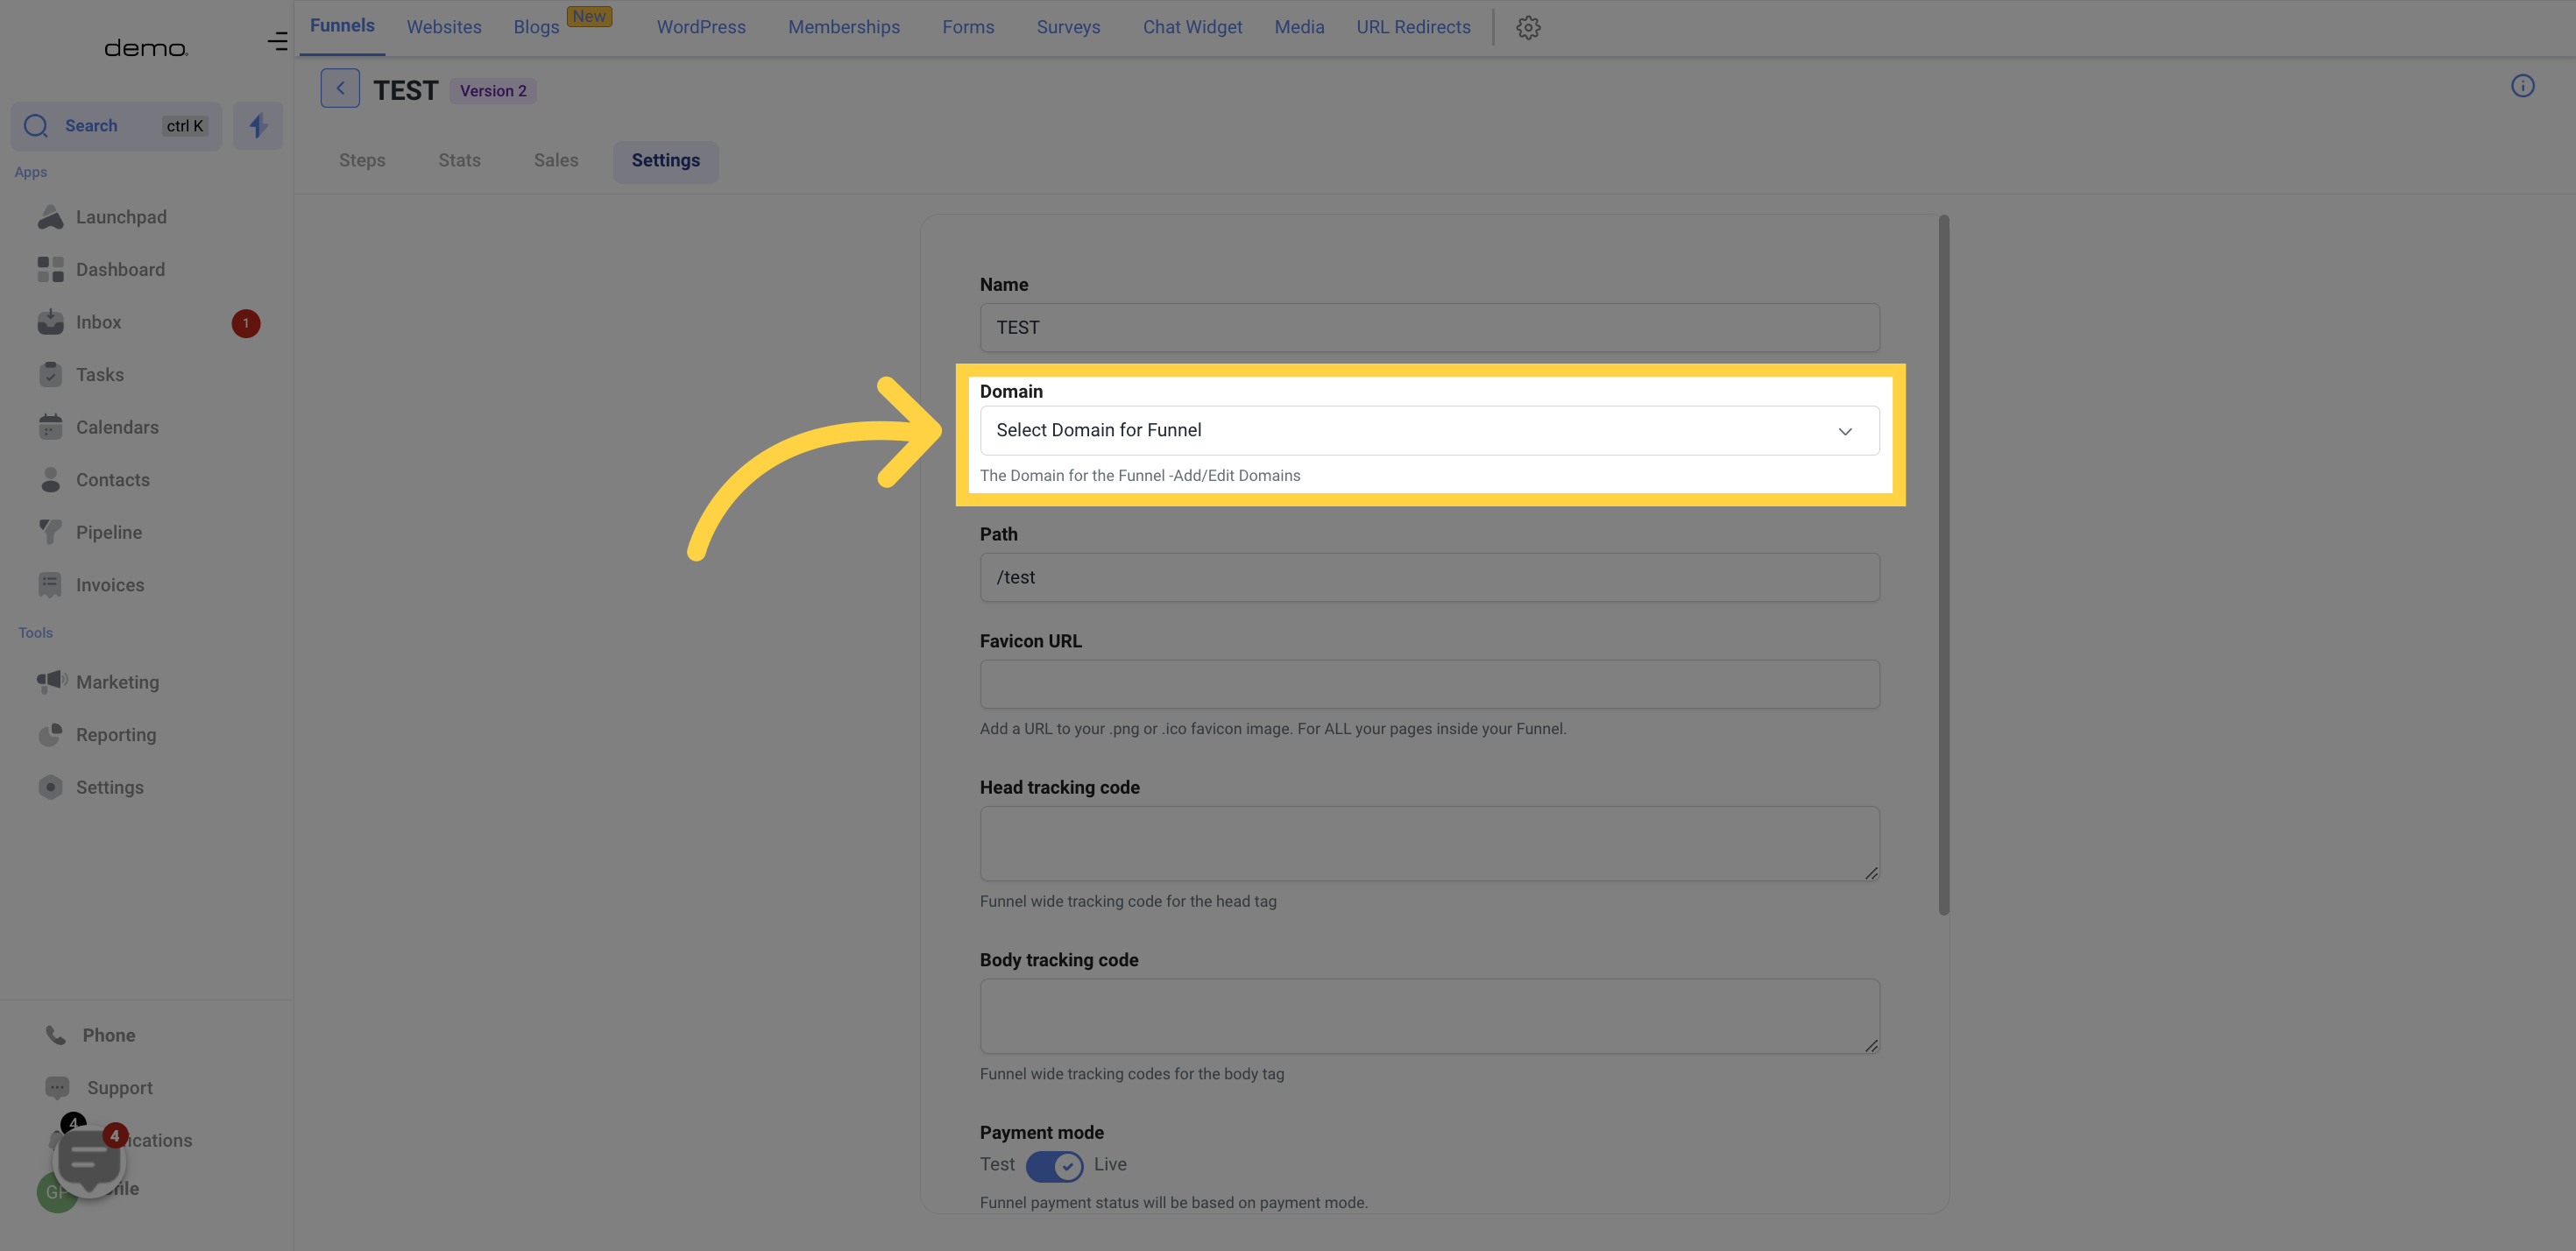
The "Domain" field is crucial for selecting the domain to be associated with your funnel. Without a domain, the funnel cannot be activated.
If you haven't created a domain in your CRM, refer to the "Setting -> Domain" section or reach out to your administrator for assistance.
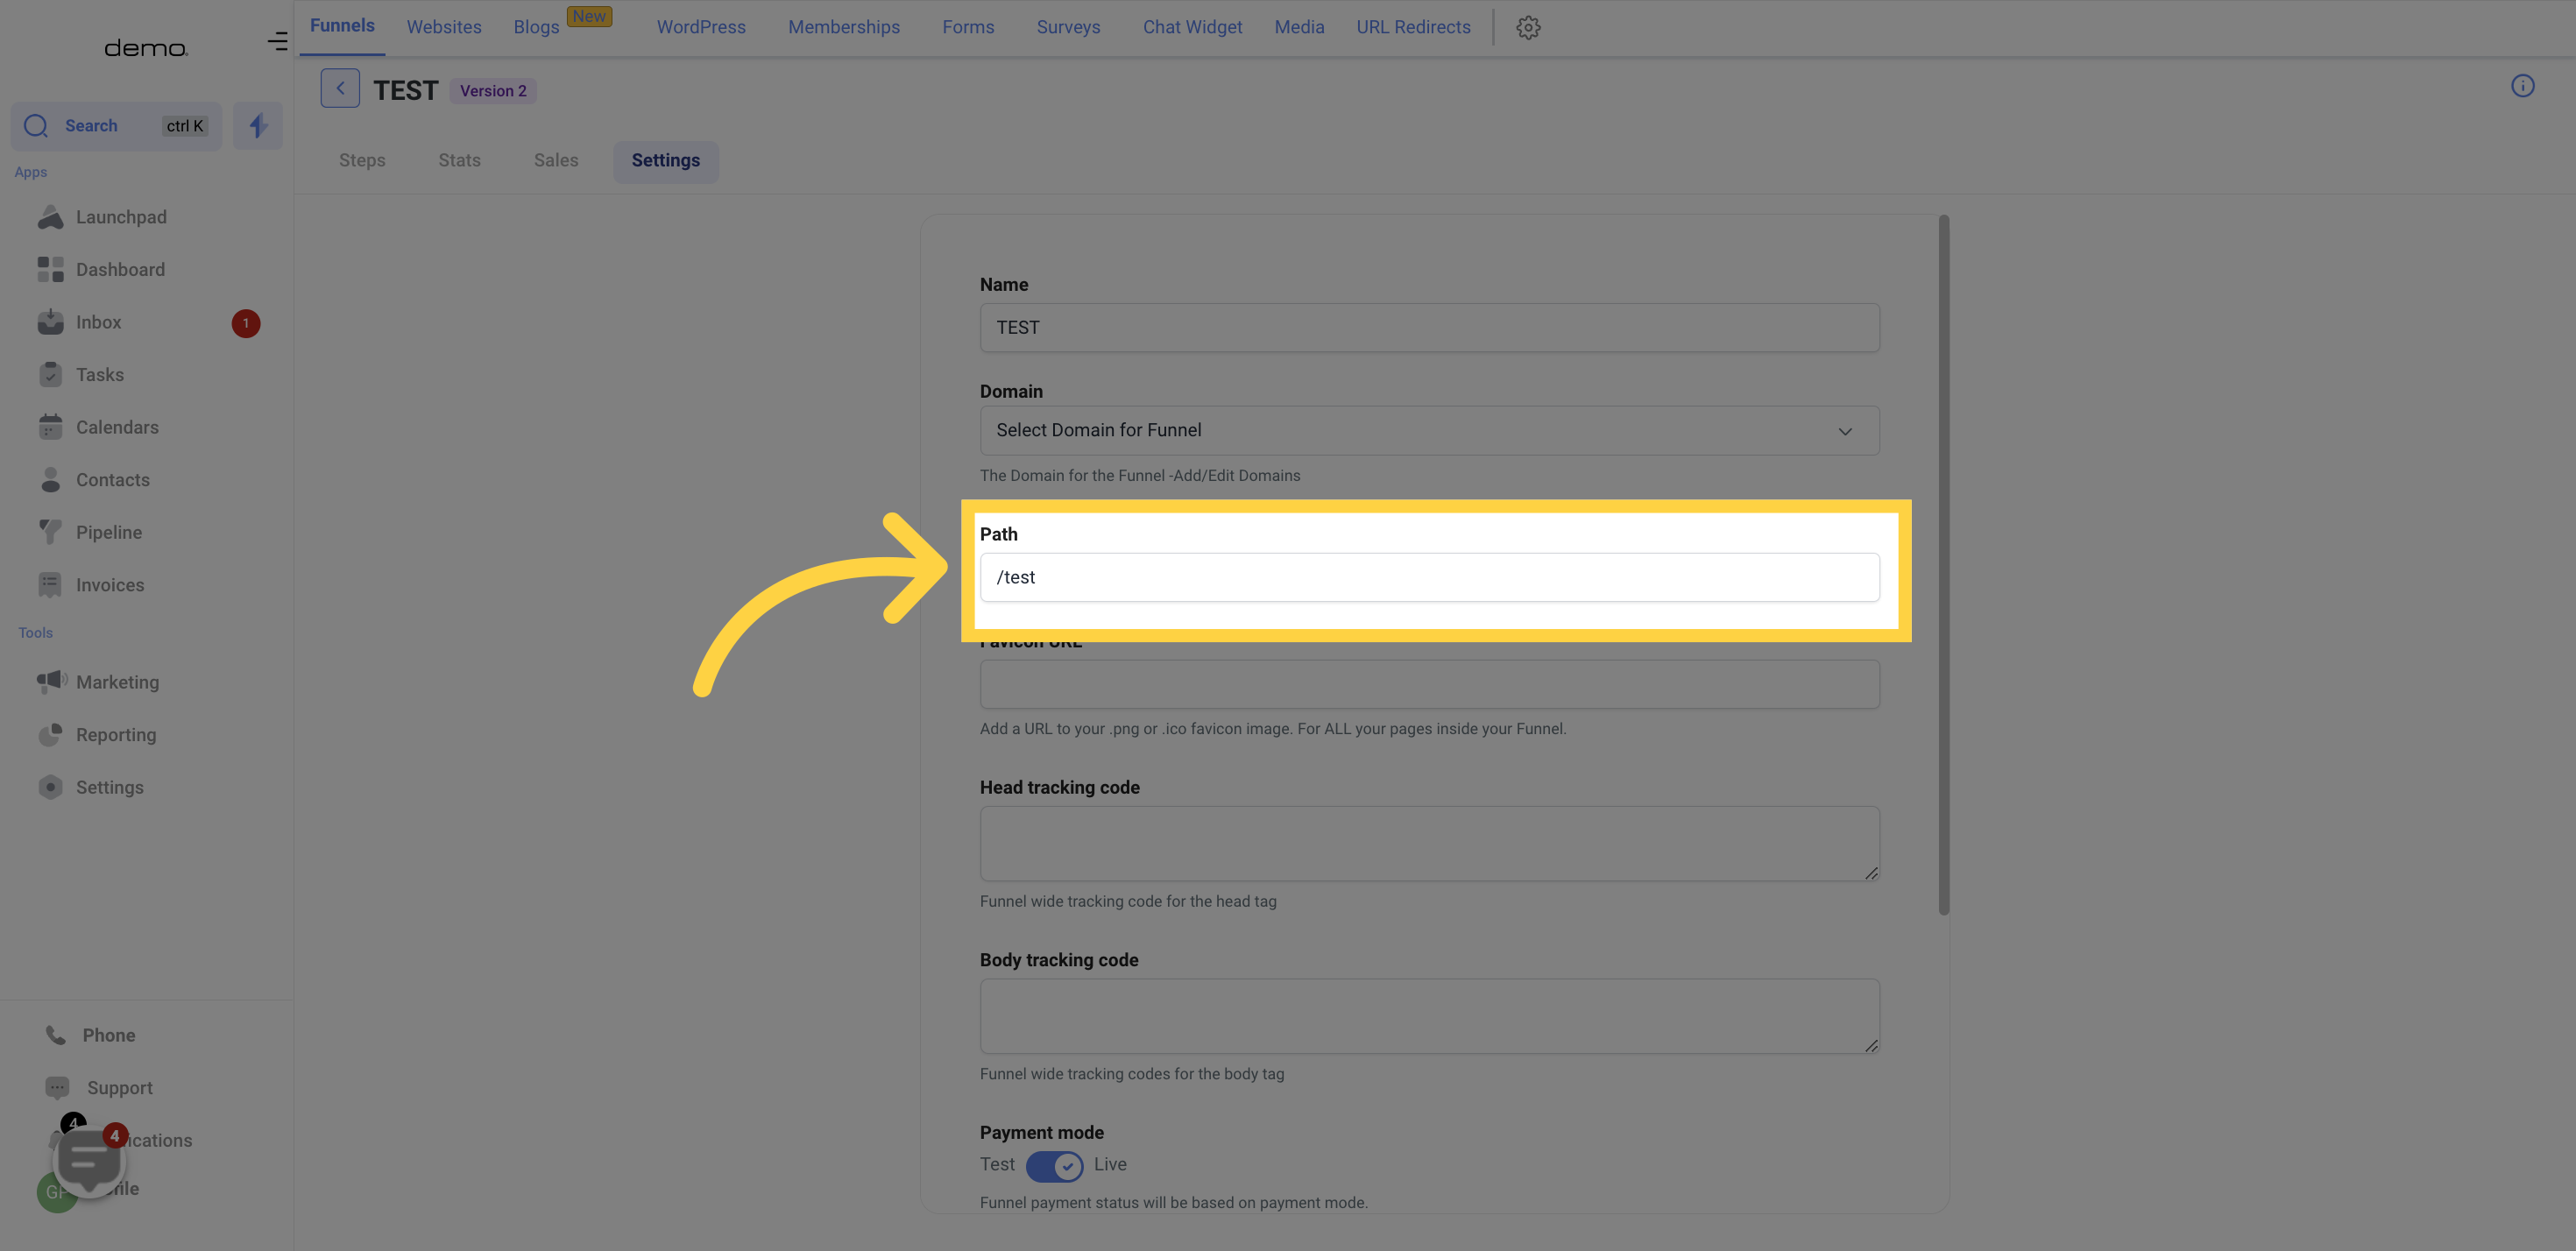
To establish a default path for your funnel, simply enter the path description in the provided field box. This can be further adjusted by accessing the "Step tab" and configuring each step's settings according to your preferences.
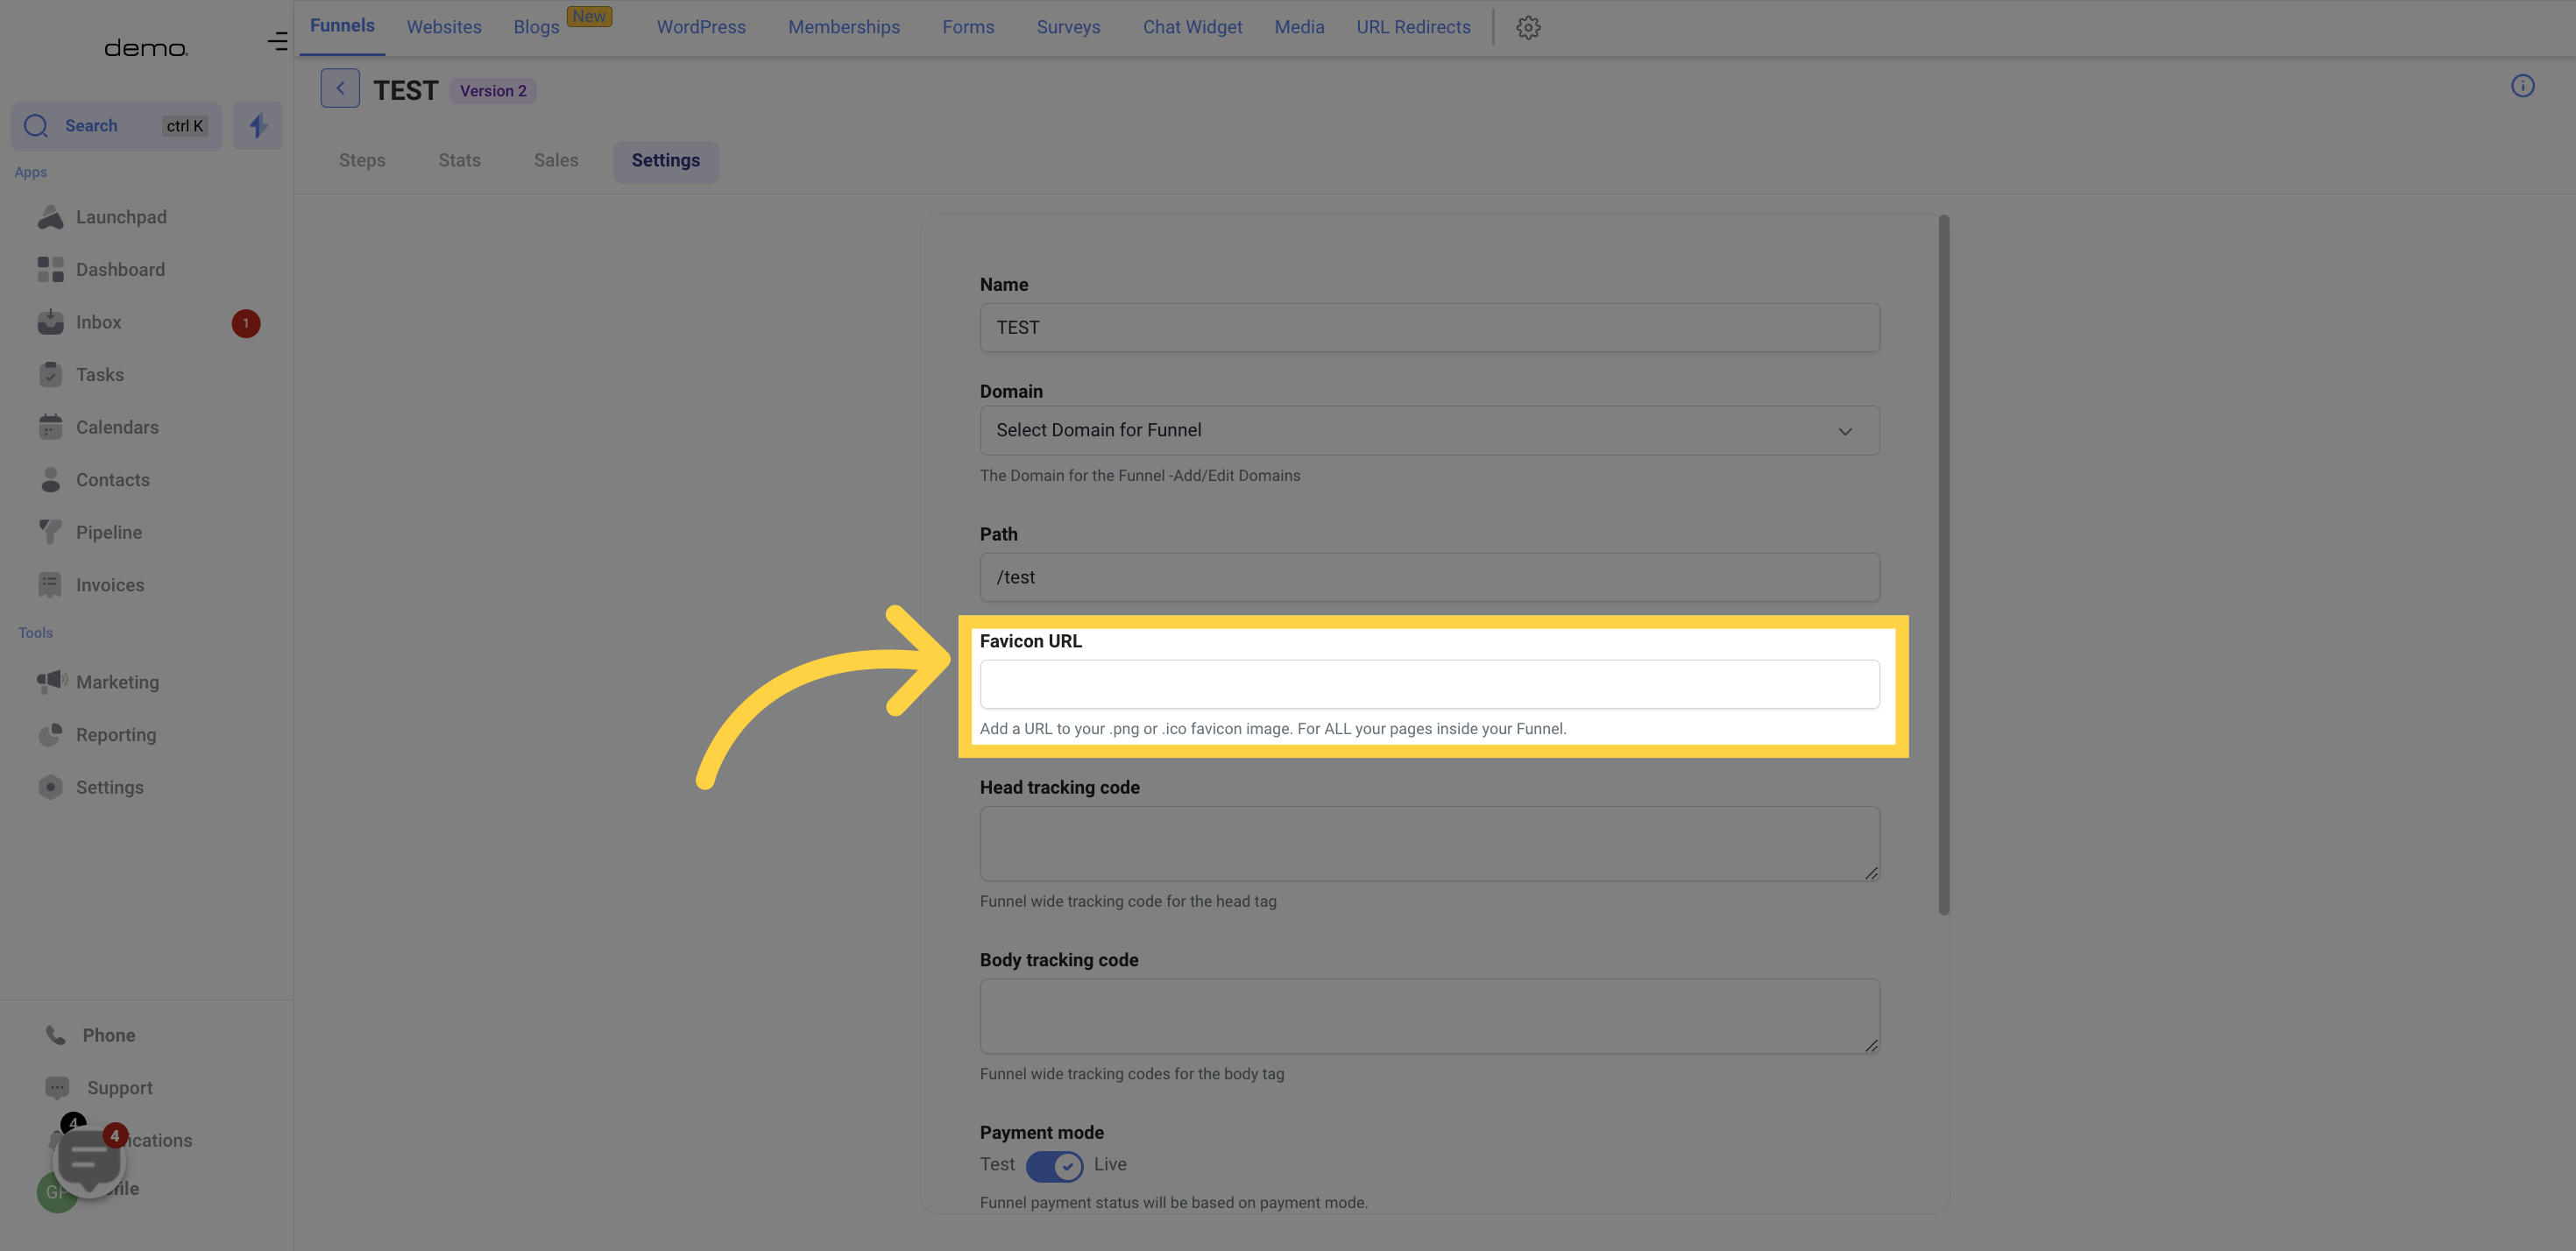
To add a favicon to your funnel, simply paste the favicon URL in the designated field box. Once added, this URL will automatically apply your .png or .ico favicon image to all pages within your funnel.
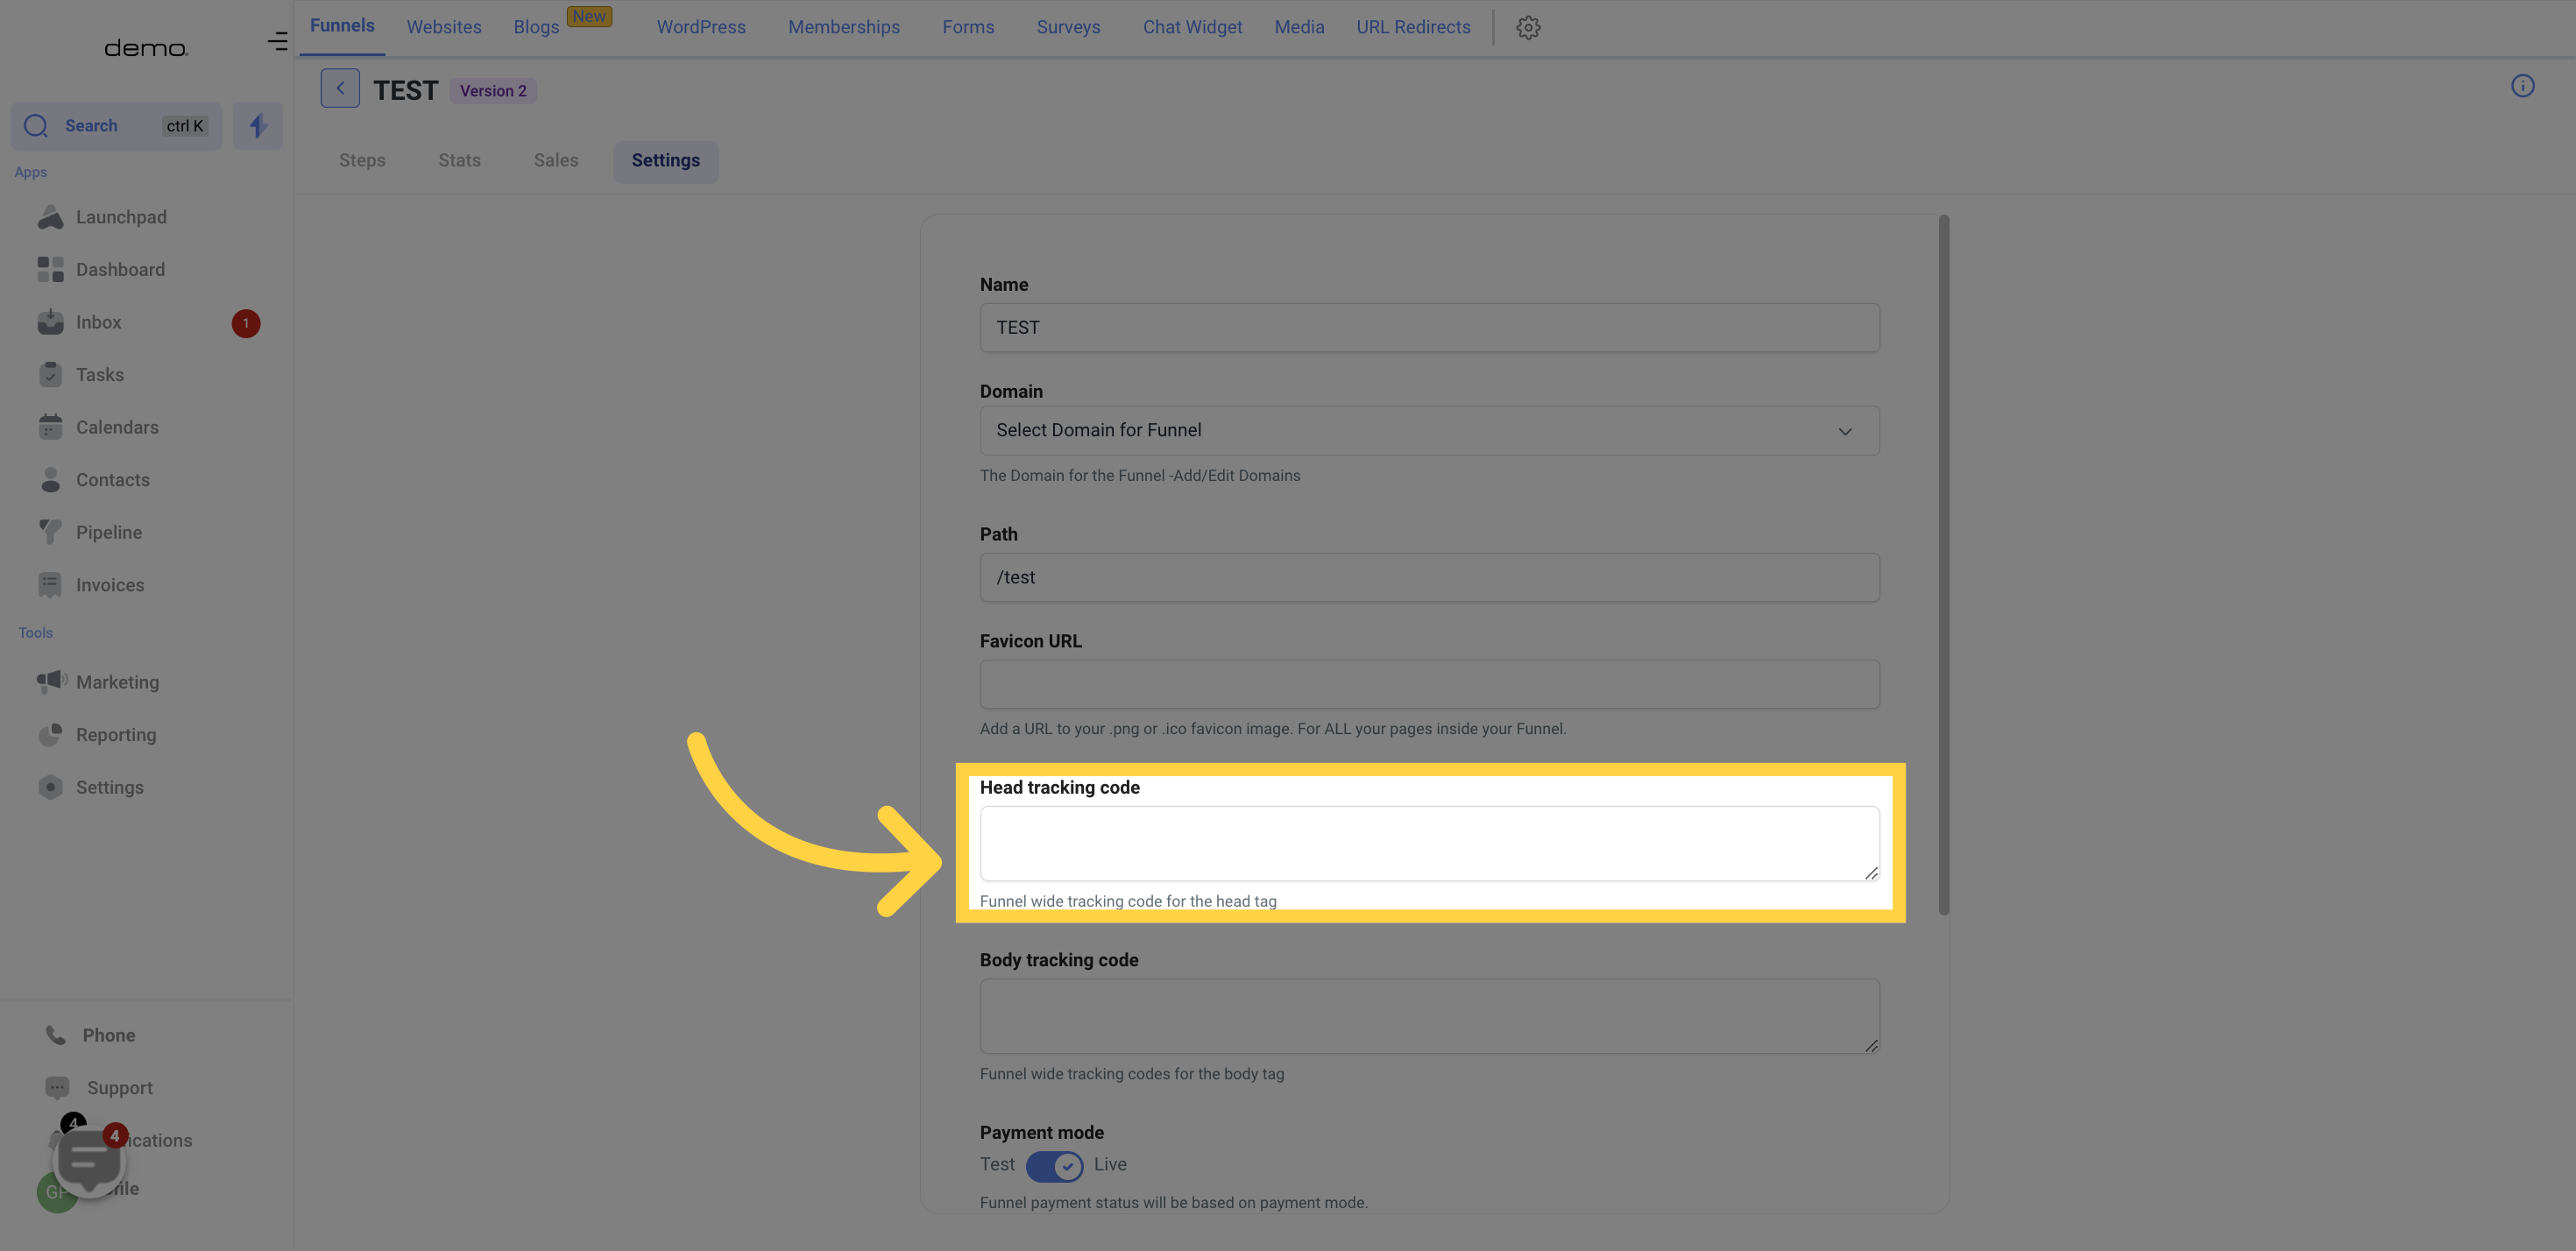
To add the head tracking code, insert the code in the designated field provided.
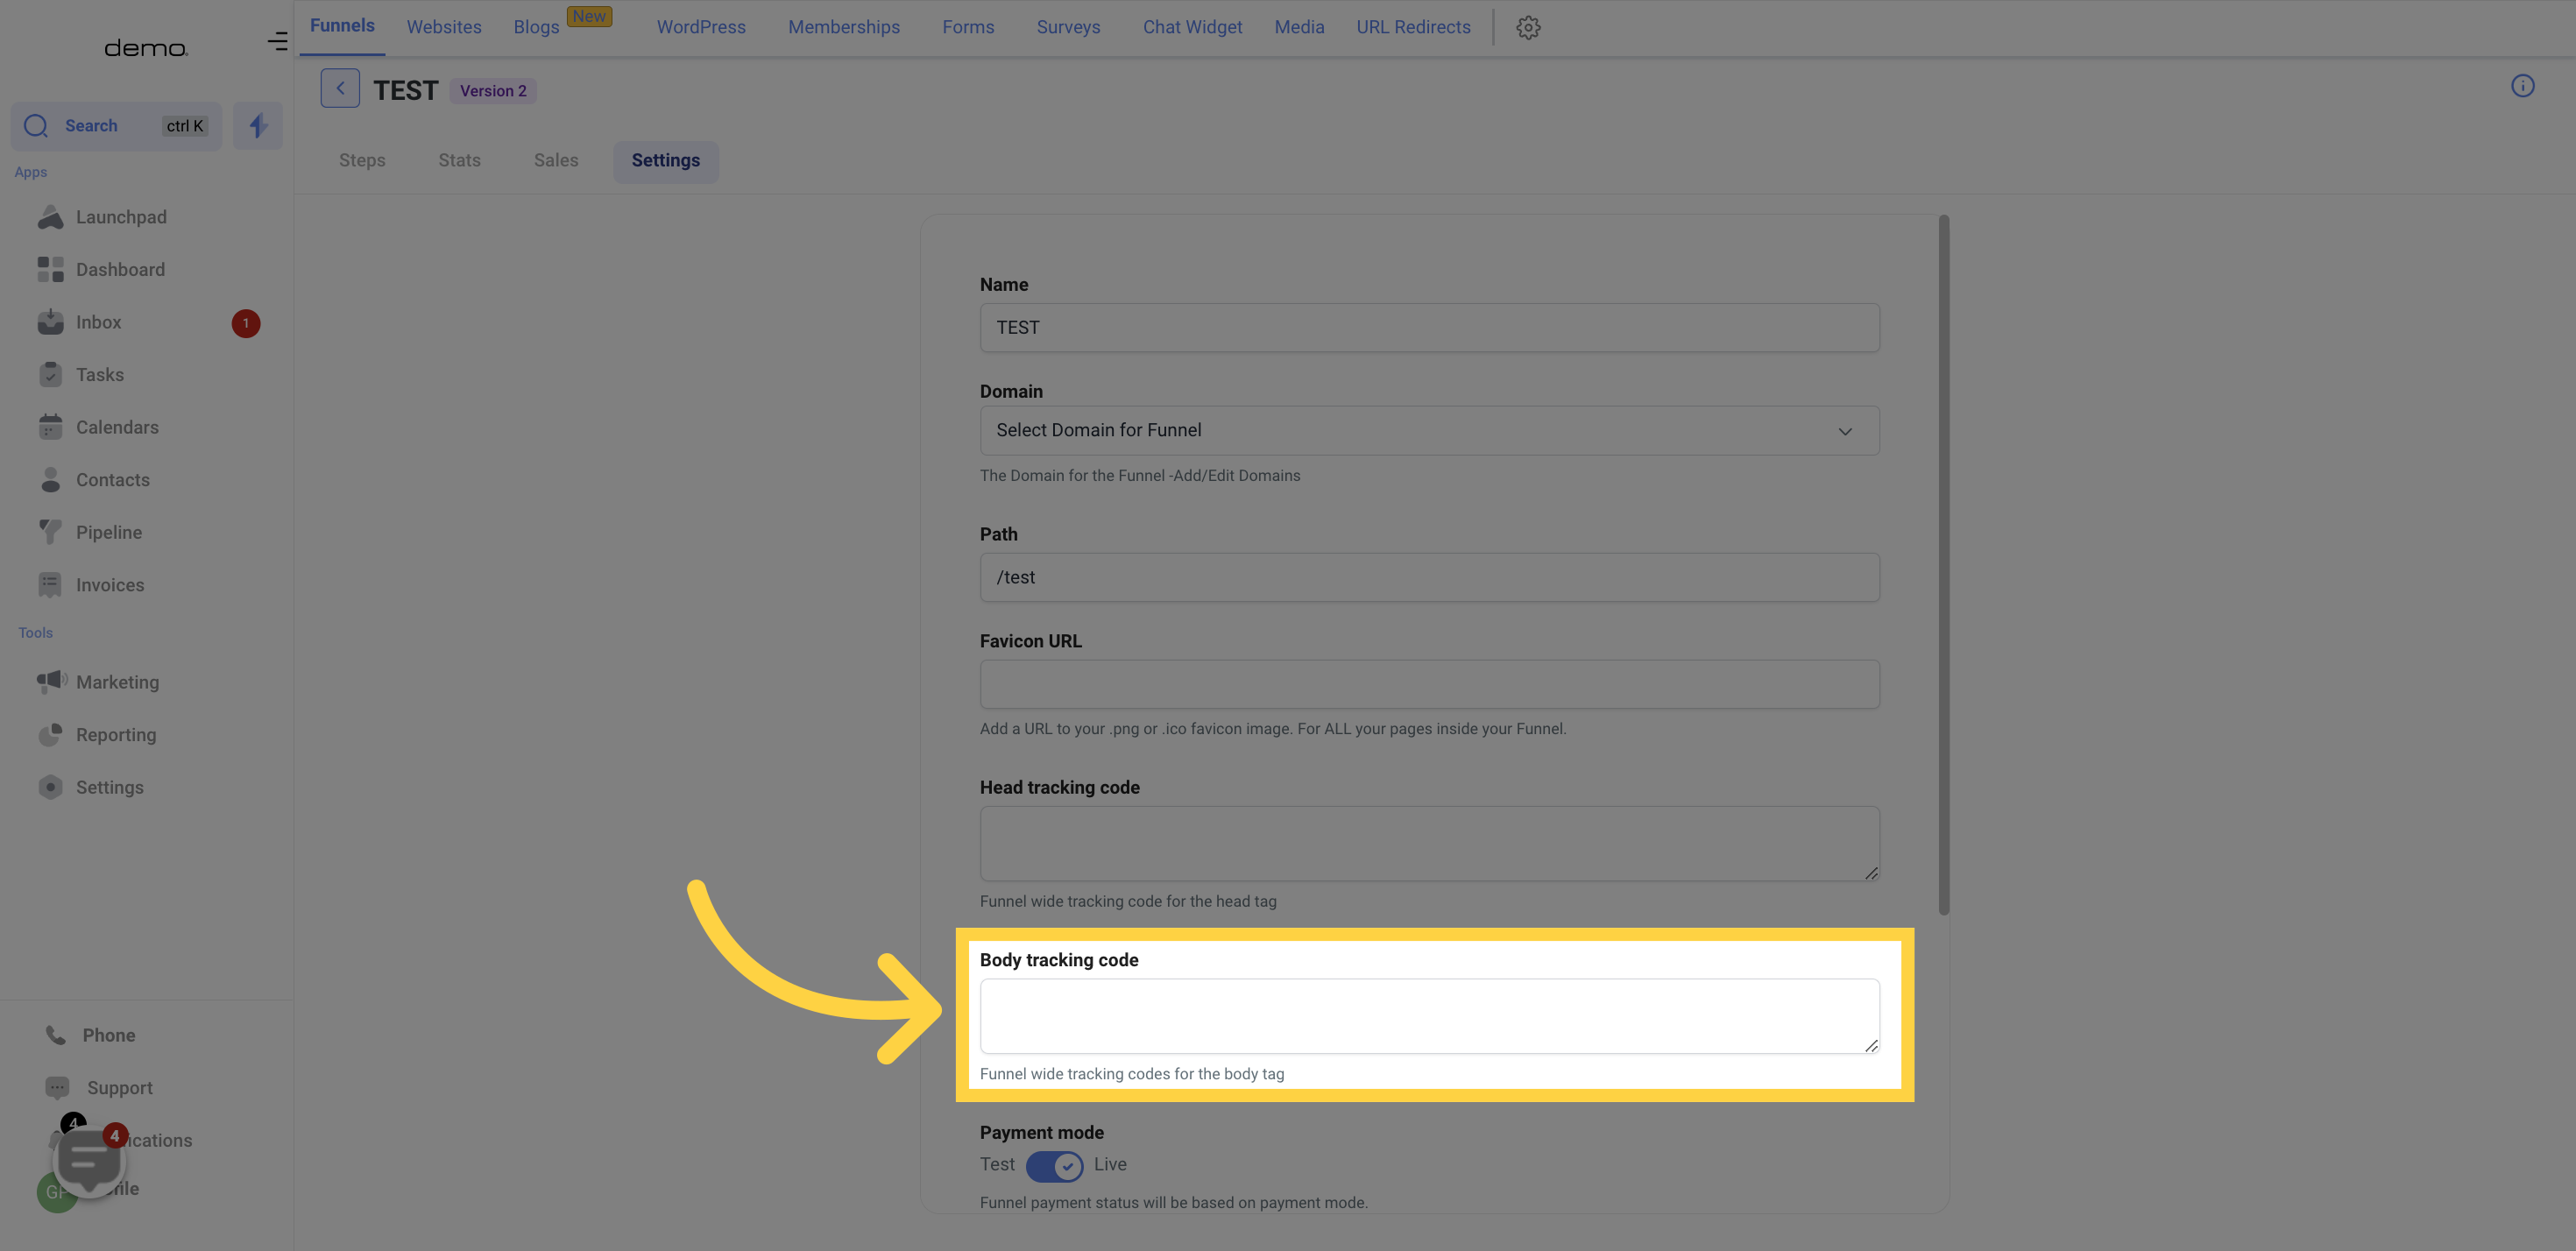
To add the body tracking code, insert the code in the designated field provided.
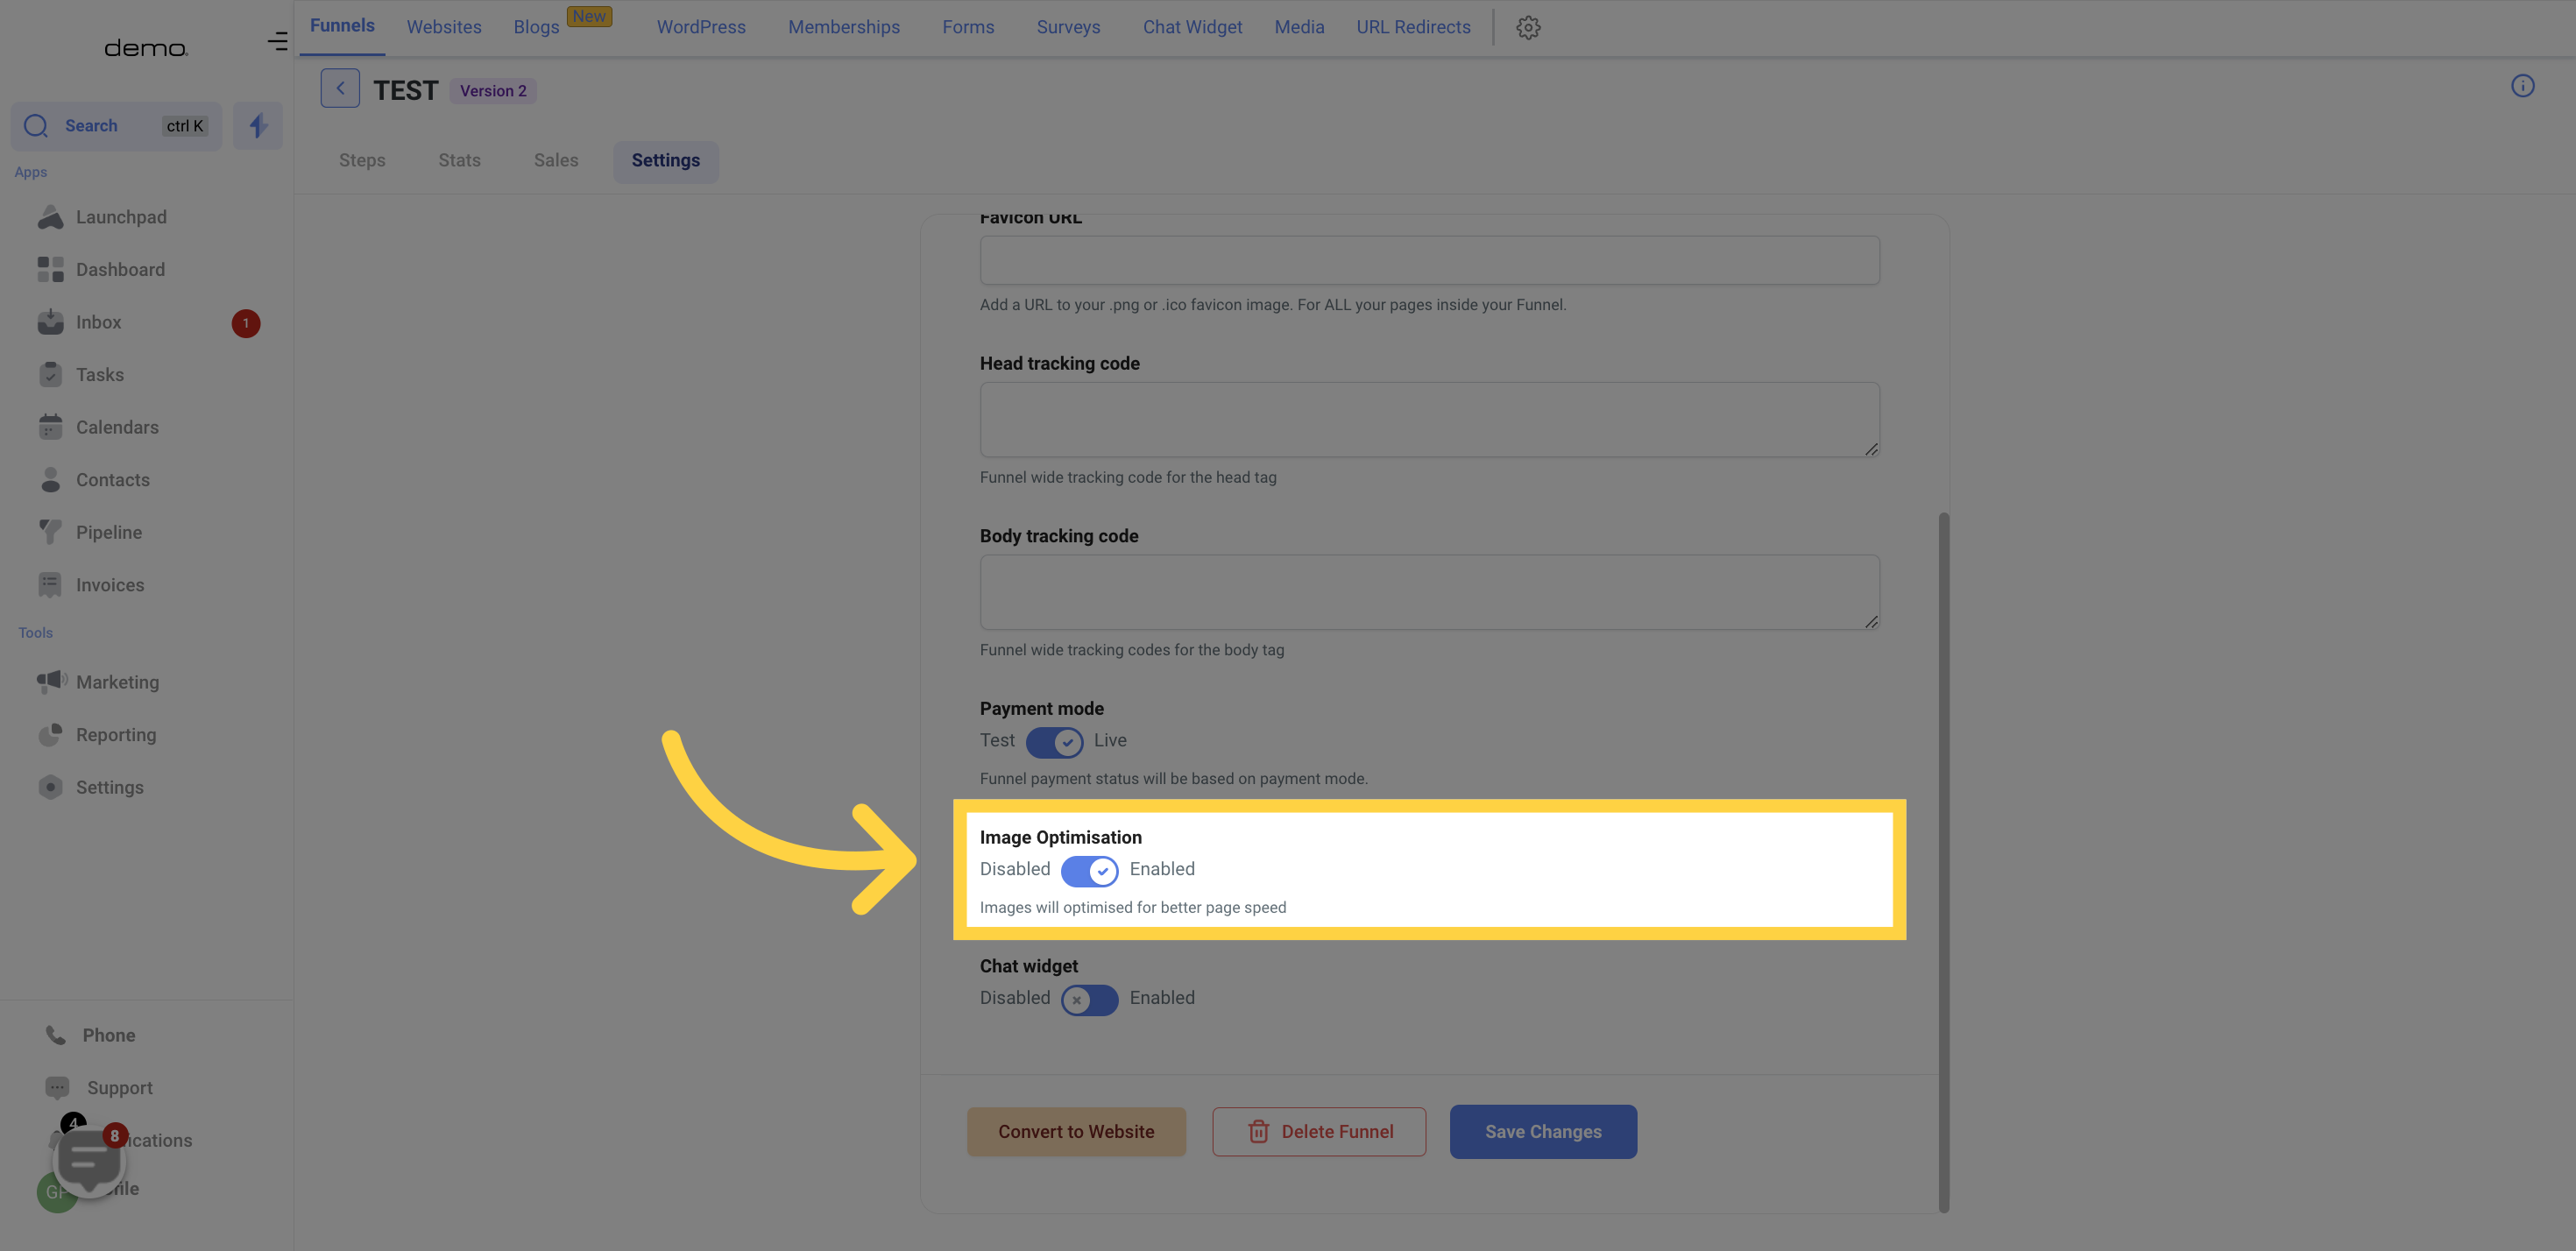
The payment status of your funnel will depend on the selected payment mode.
To test your payment or transaction, toggle the "Payment Mode" off. This will allow all transactions and payments within the funnel to be for testing purposes only and will not result in actual charges to any cards or bank accounts.
Once the "Payment Mode" is toggled on, the funnel will go live and become fully functional, with all transactions and payments being charged accordingly.

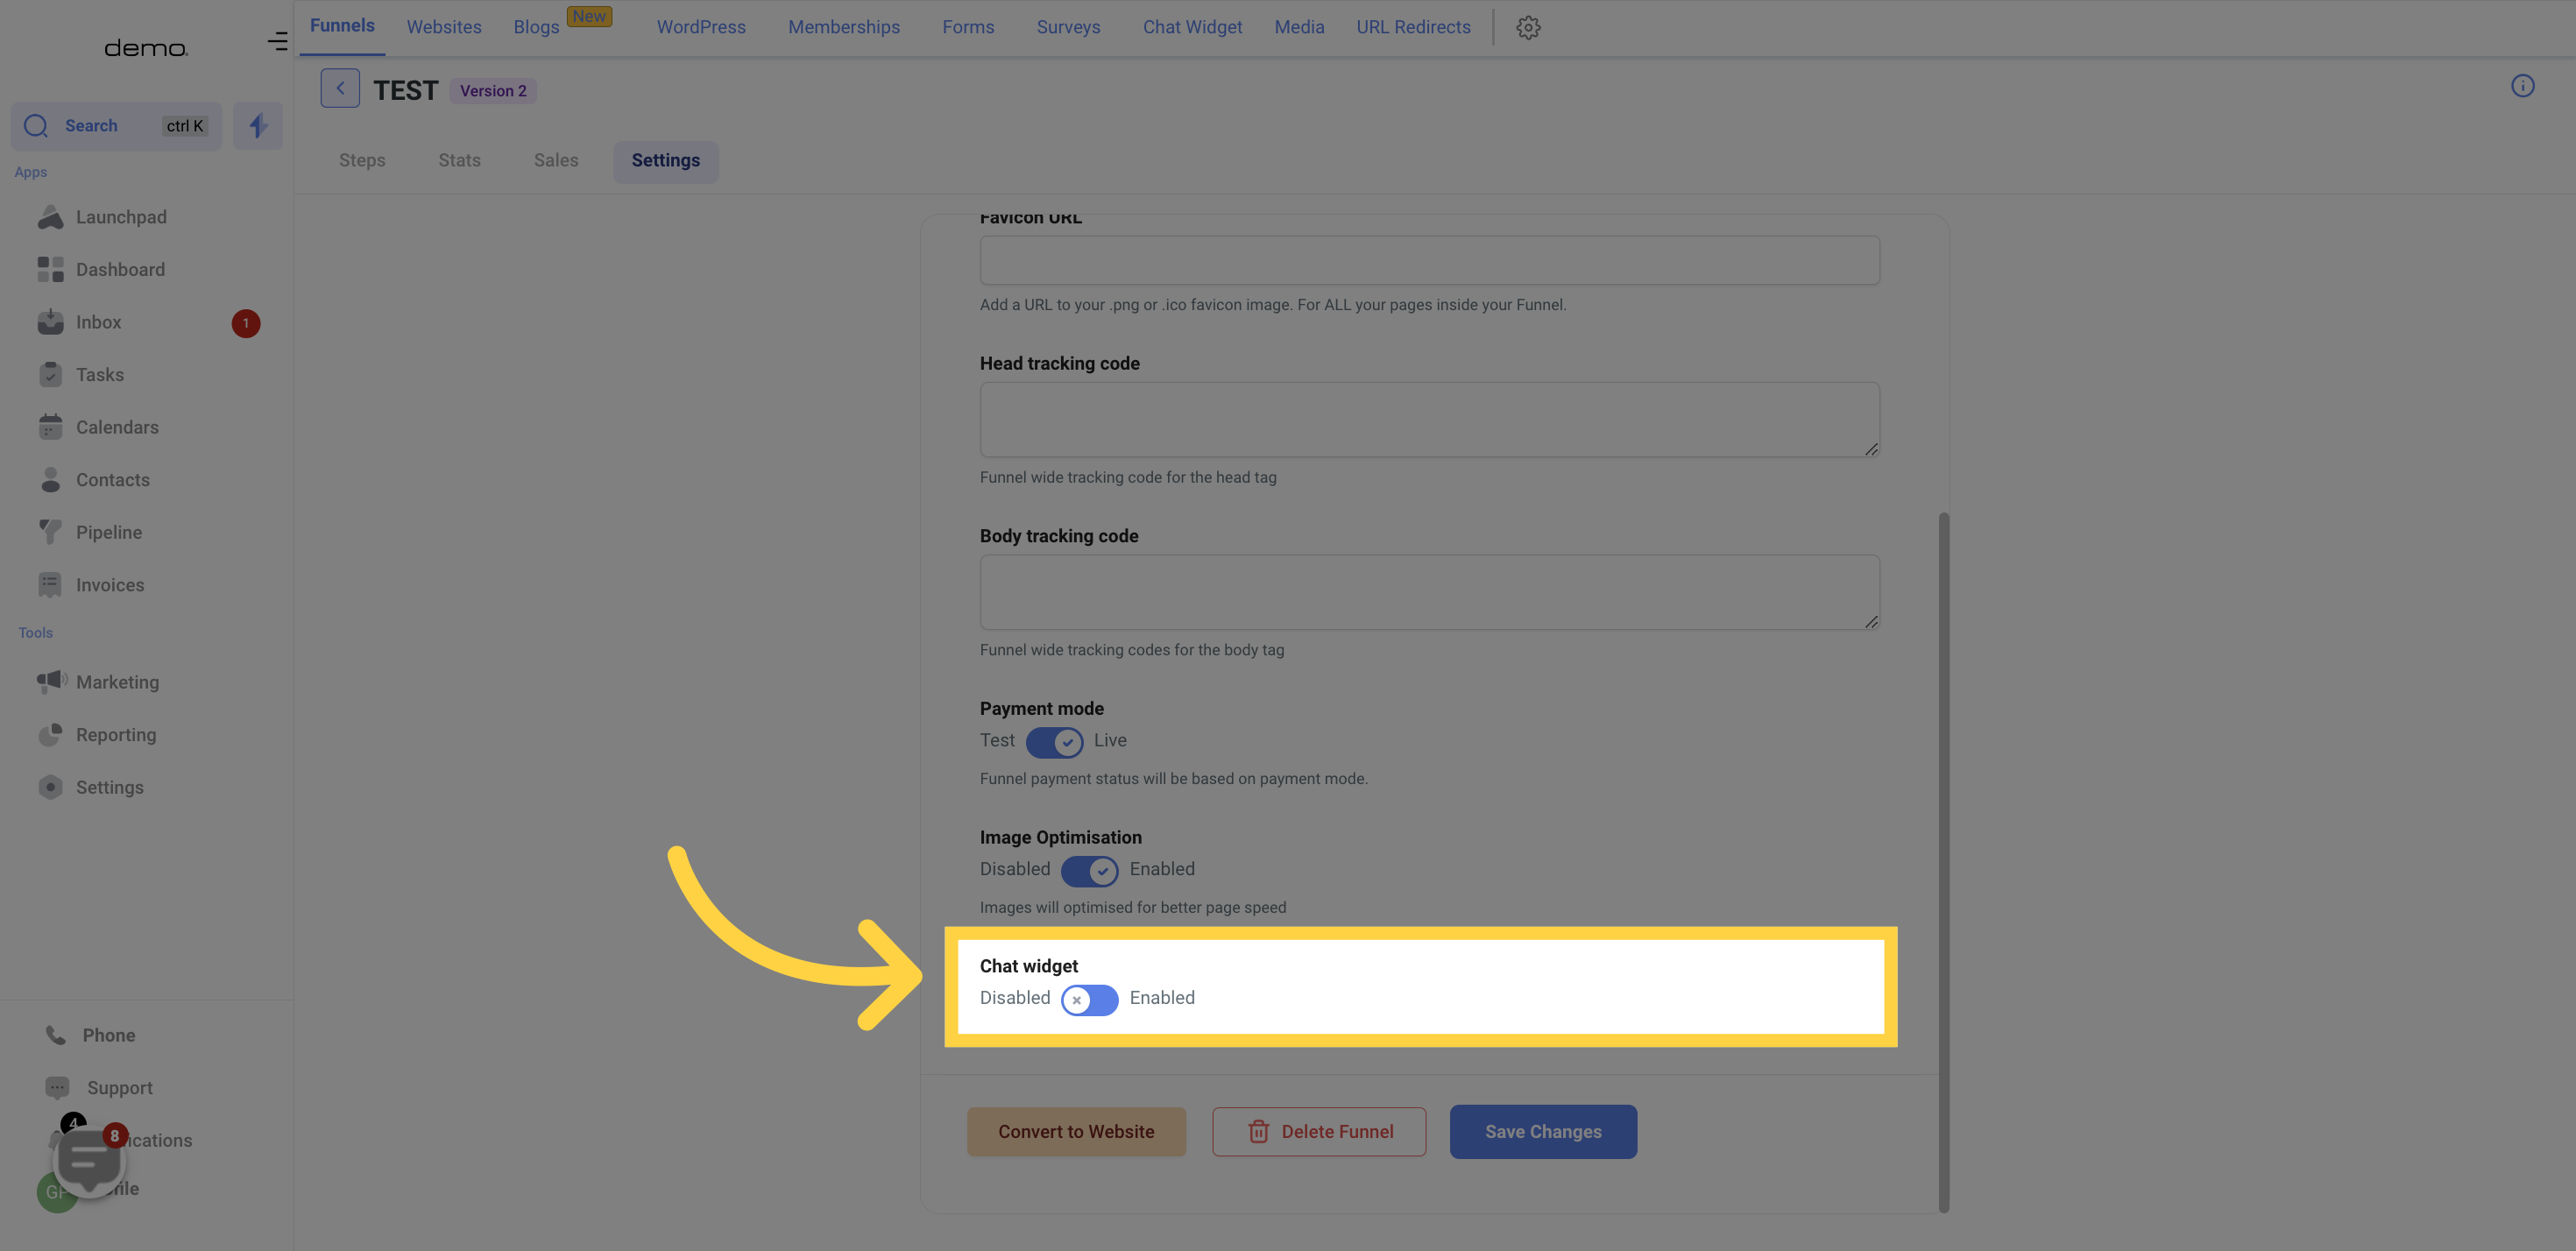
To activate the chat widget for your funnel, simply toggle it on. Conversely, if you do not want a chat widget for the funnel, toggle it off.
The chat widget can be especially helpful when working on a lead generation funnel, as it enables easy tracking of lead conversations within a single channel.