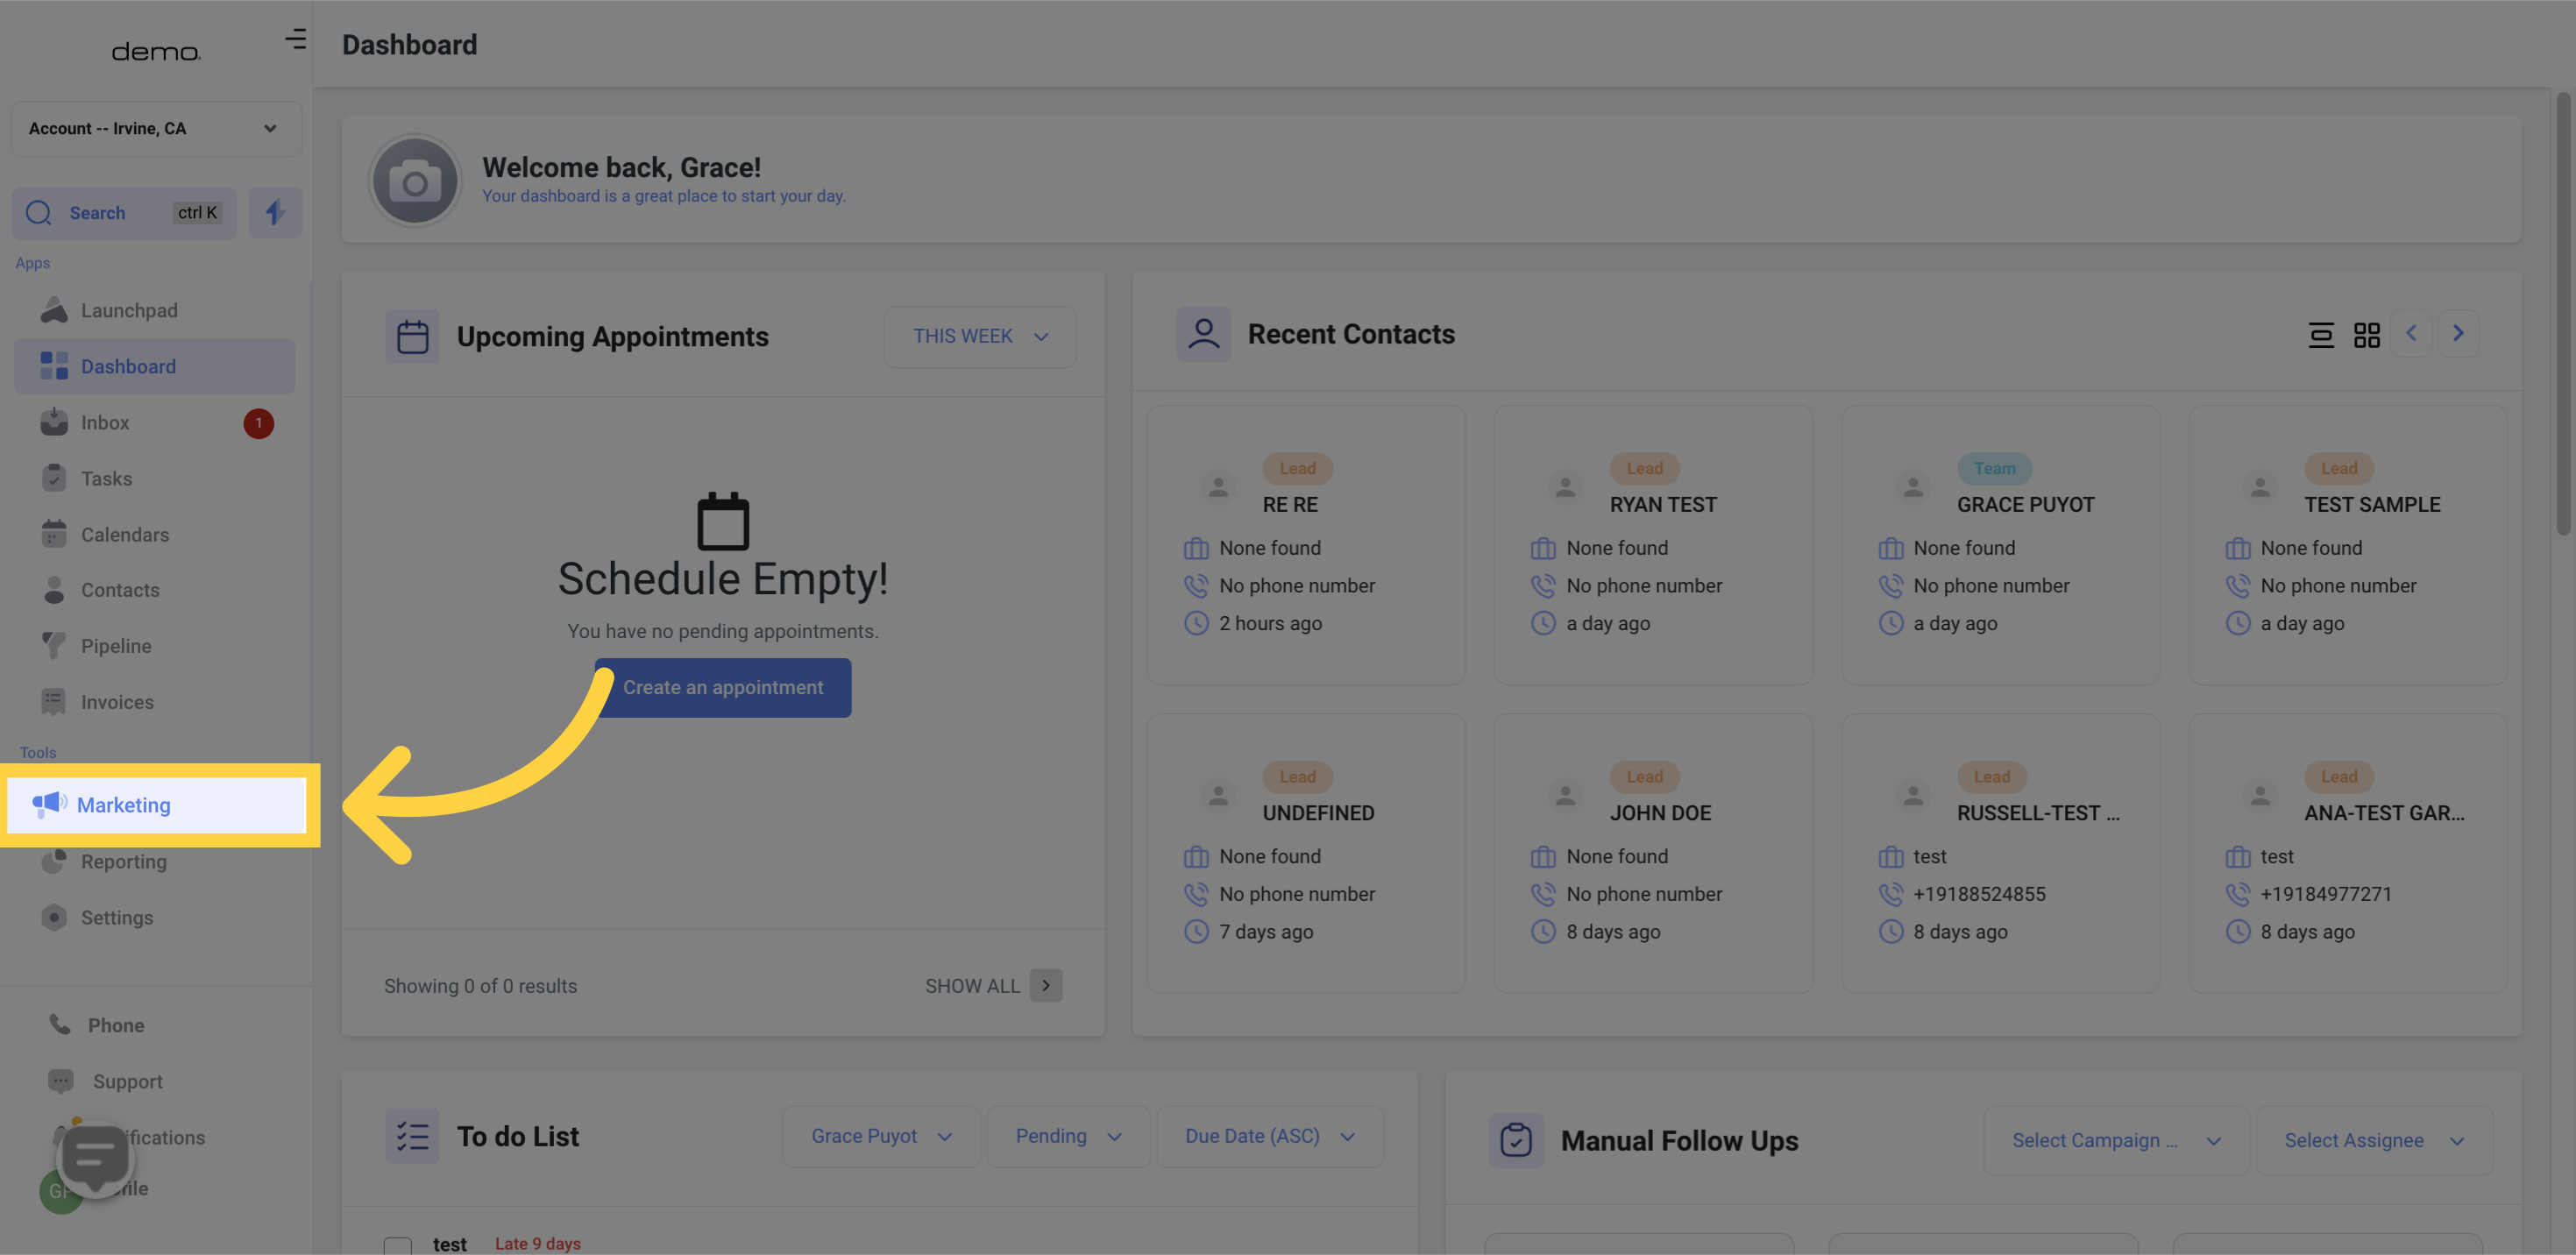
Navigate to the Marketing section of the application.
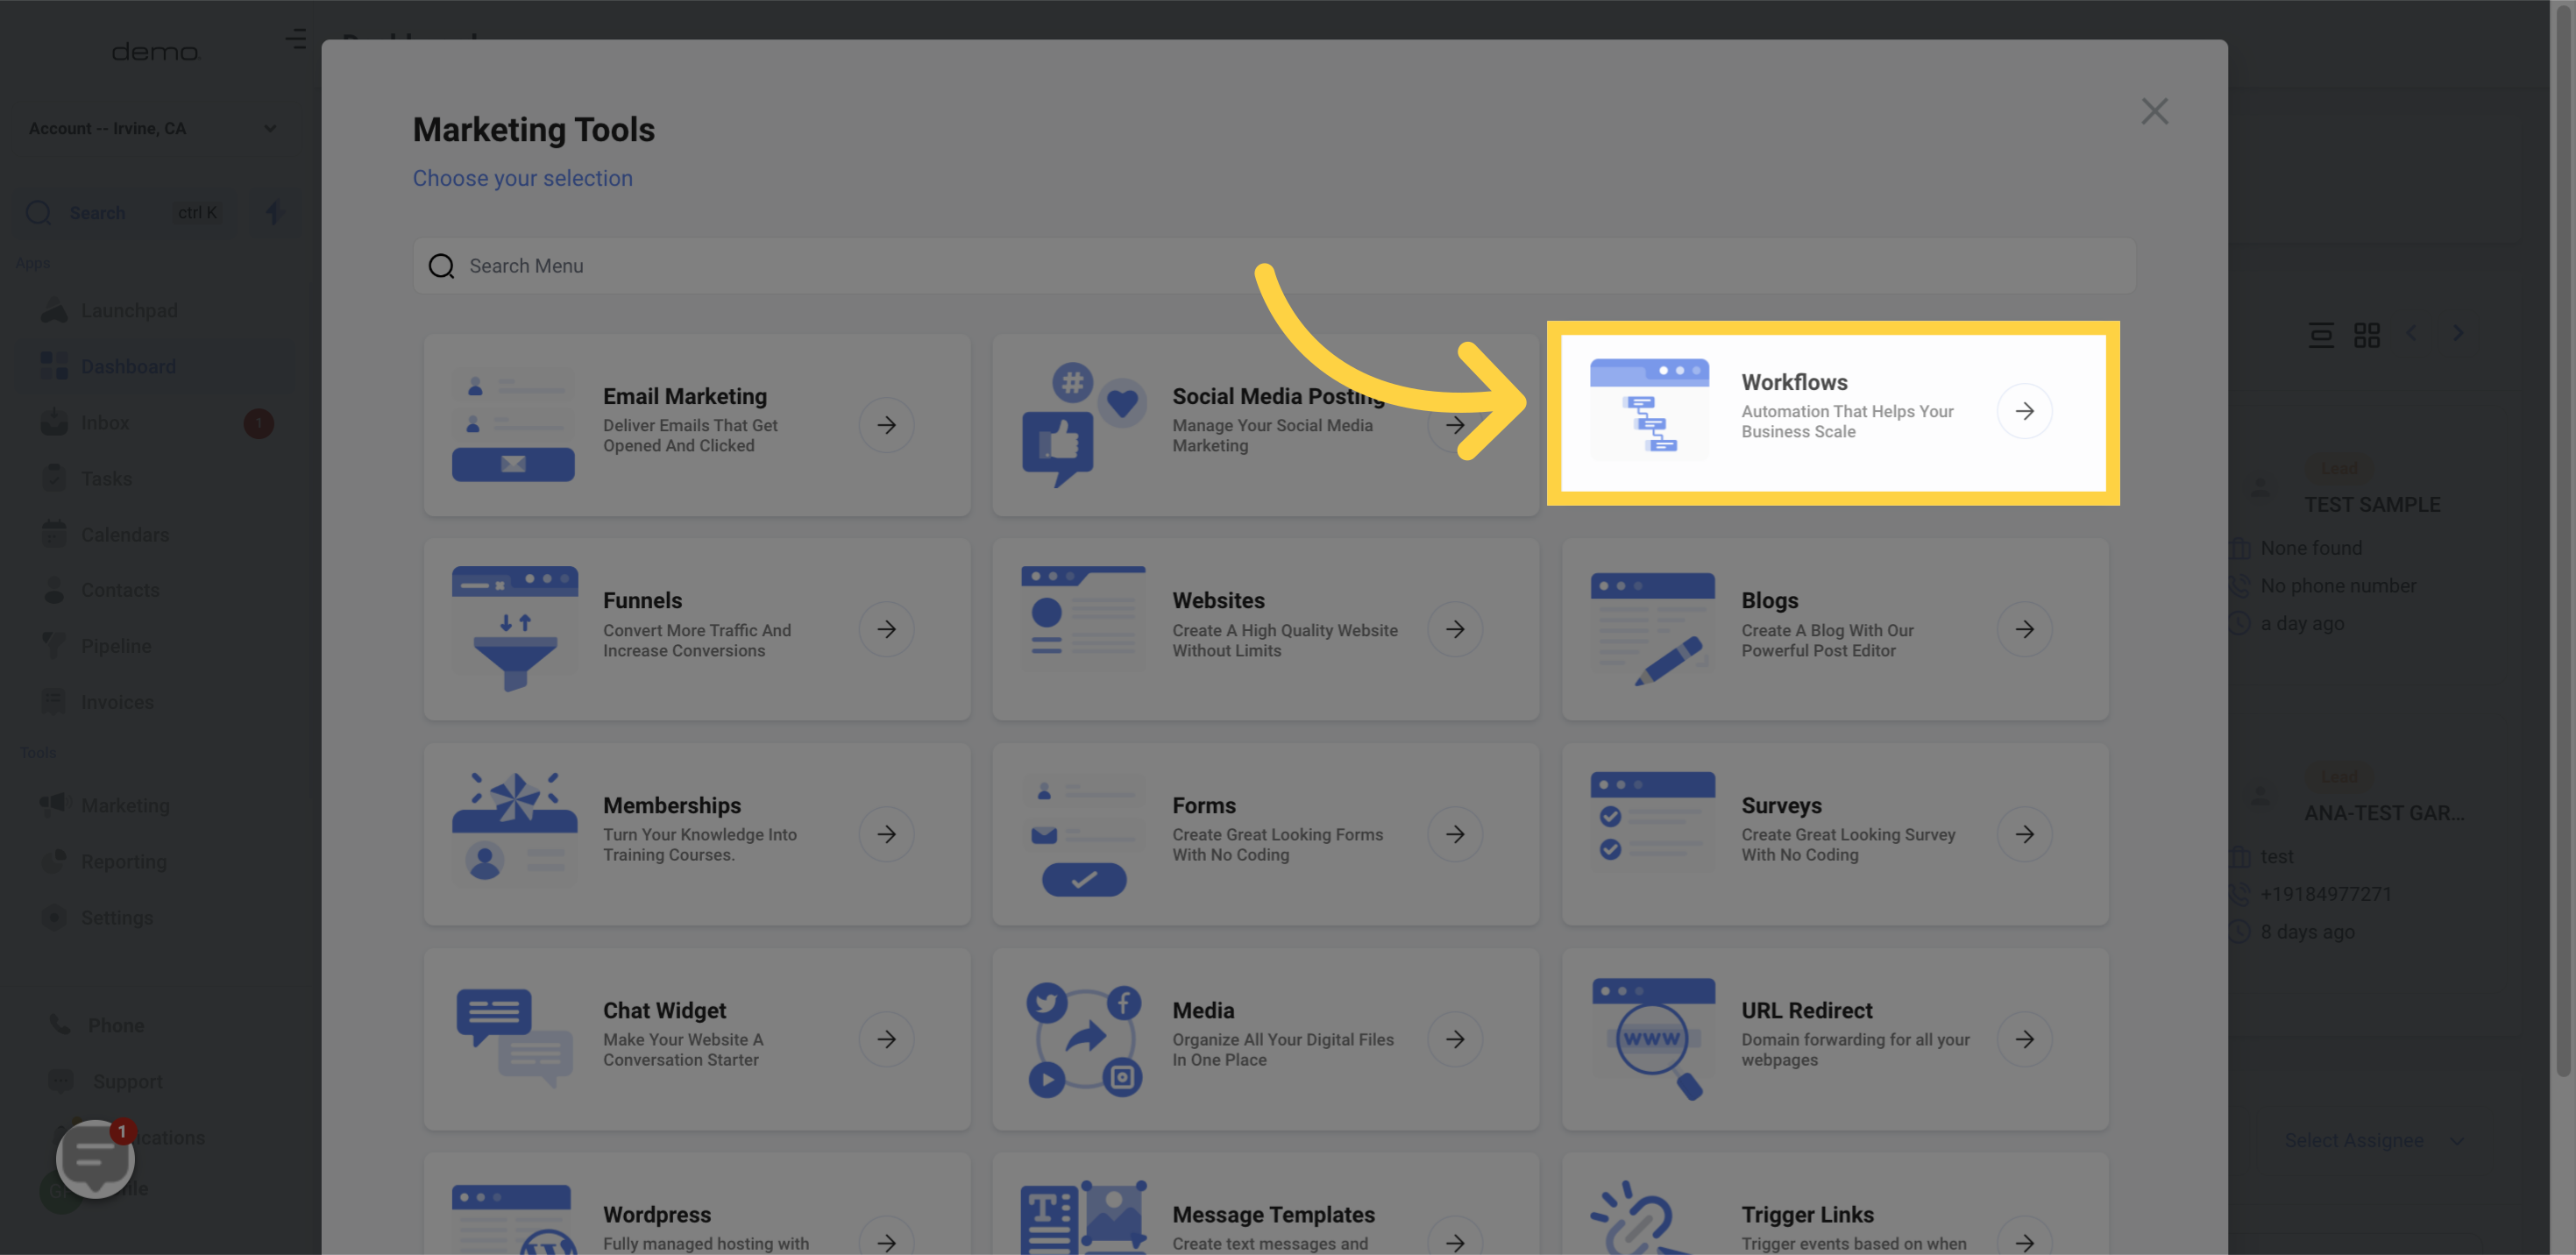
Click on the Workflows option.
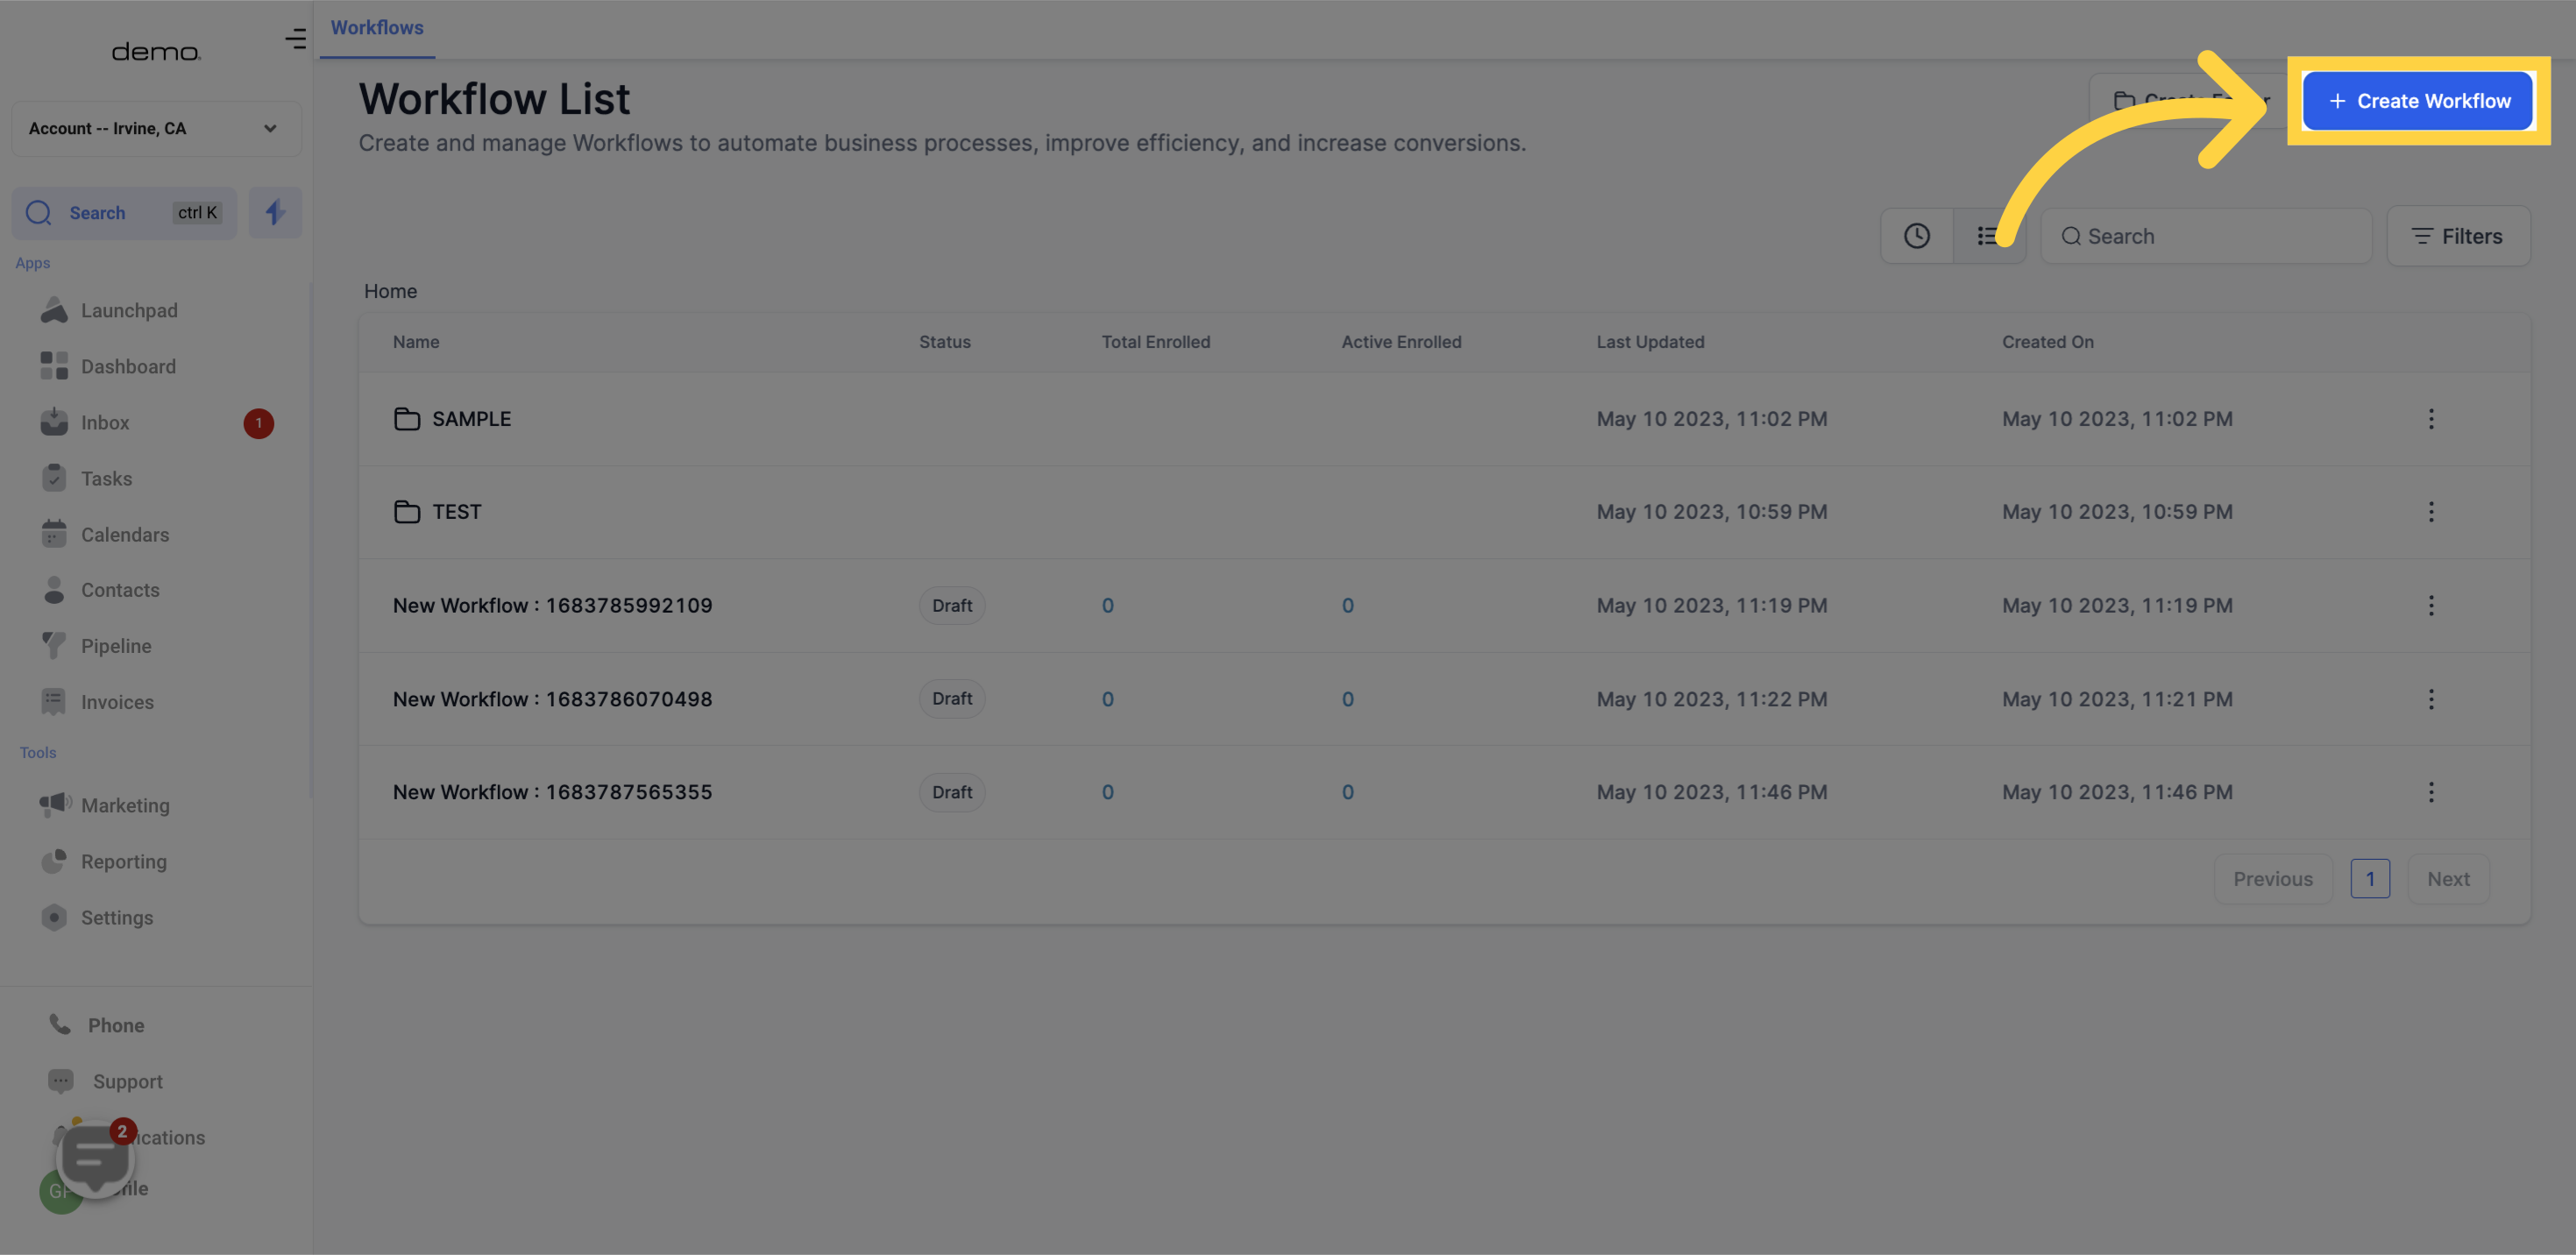
Select Continue to proceed.

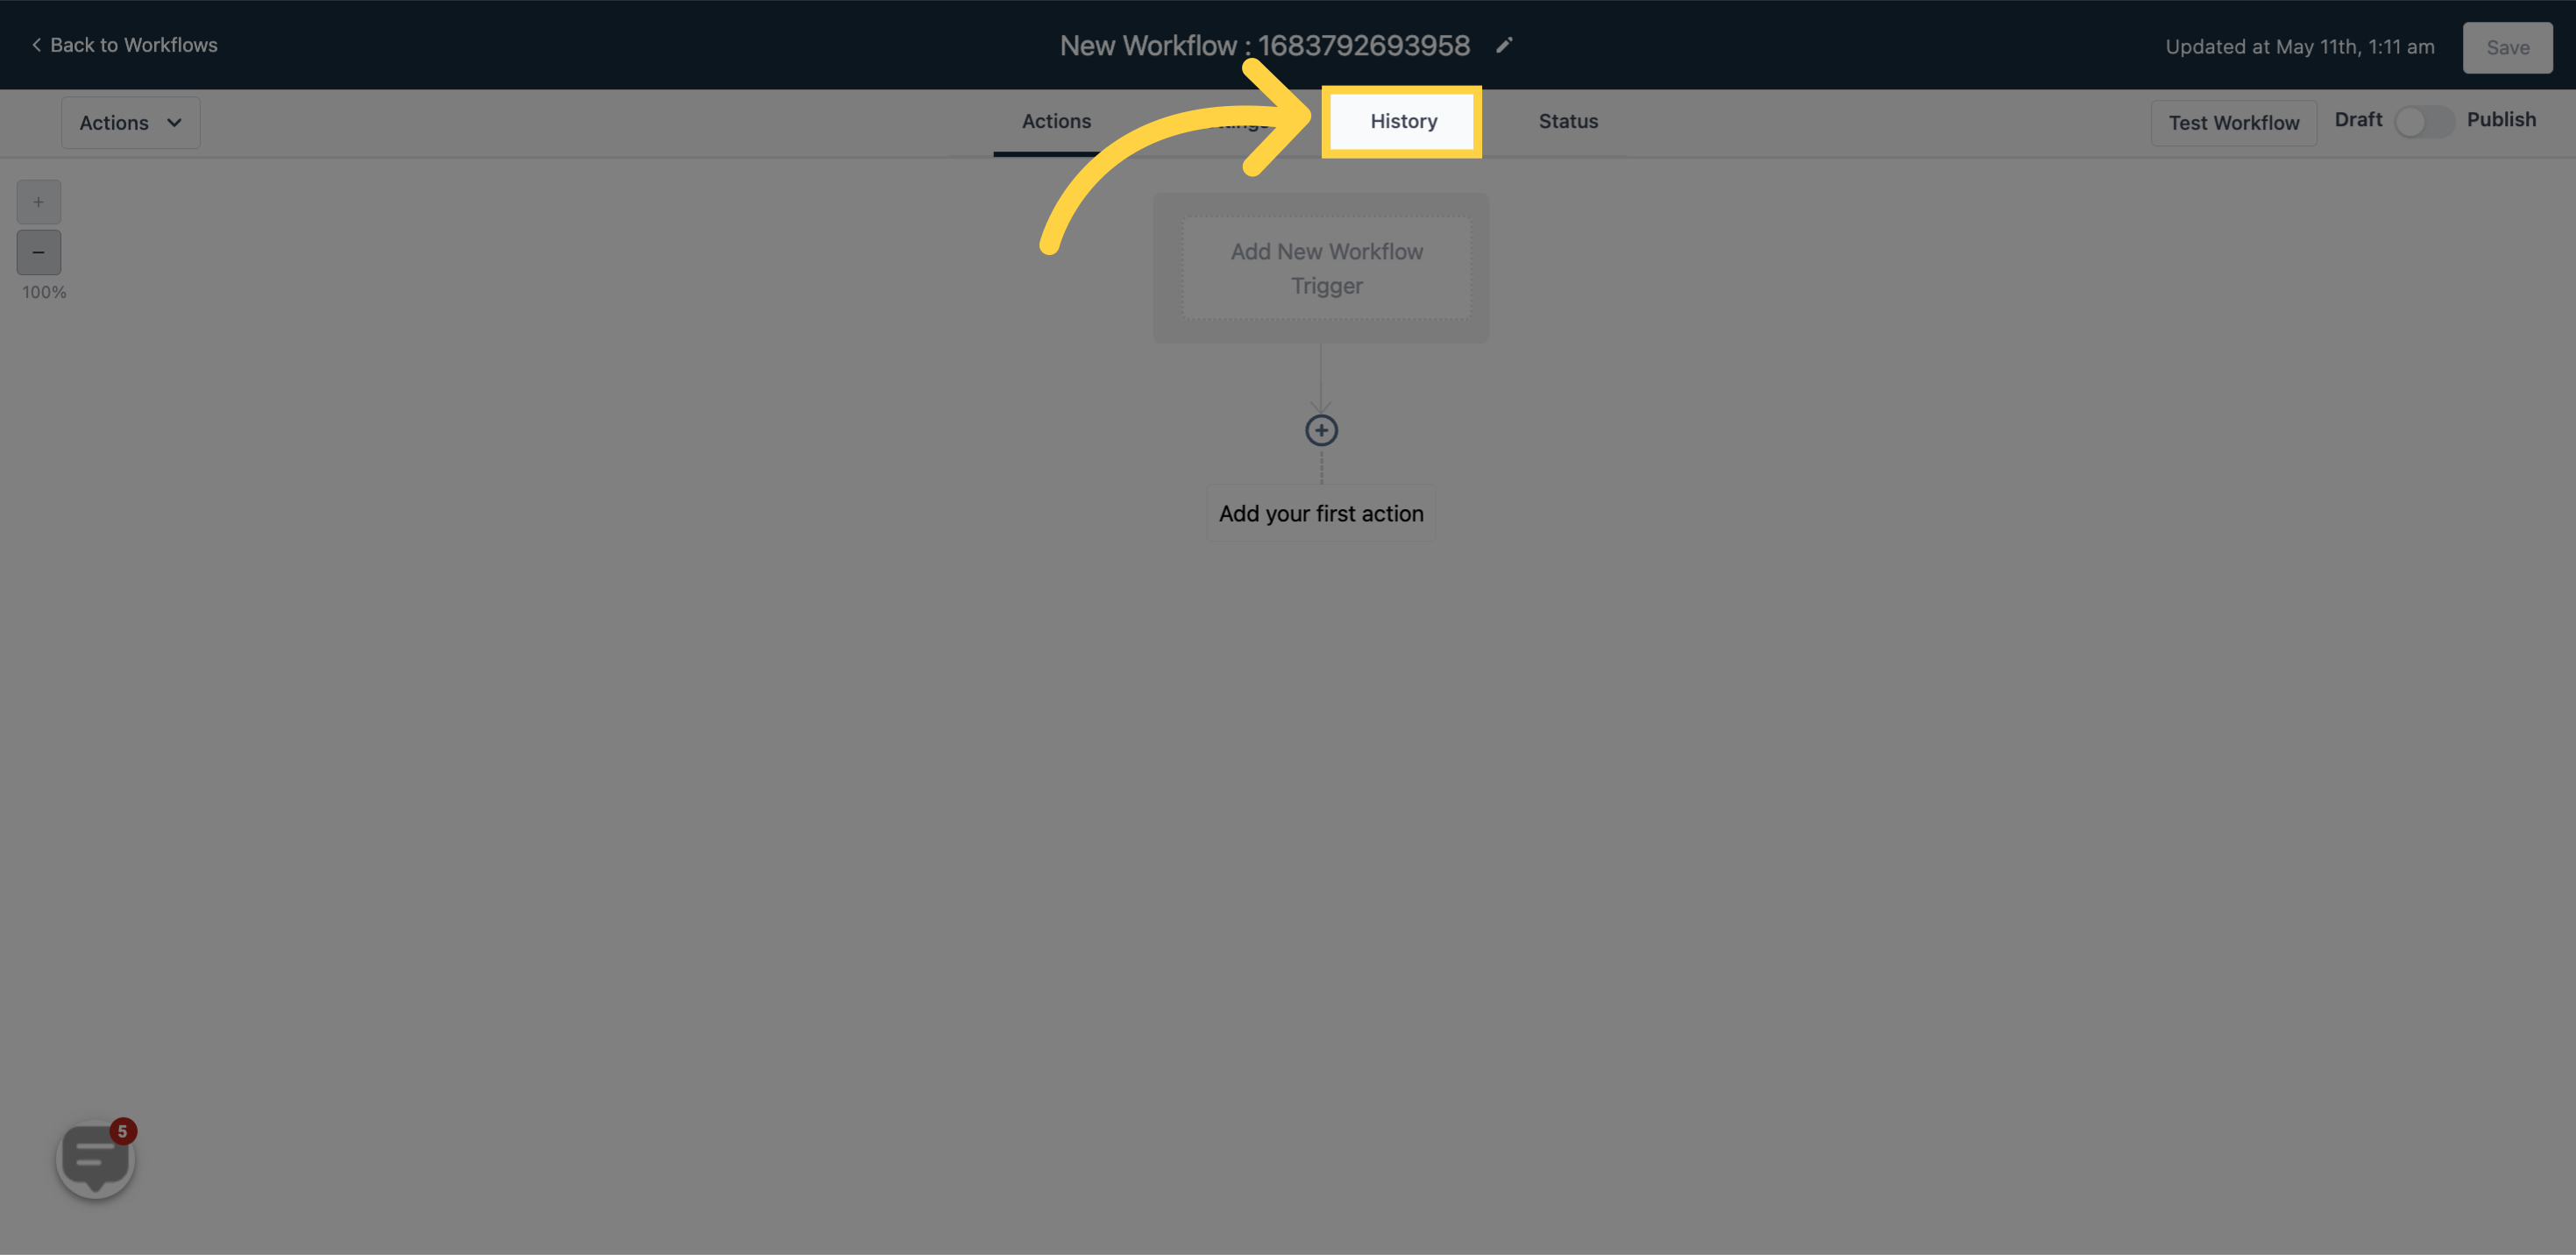
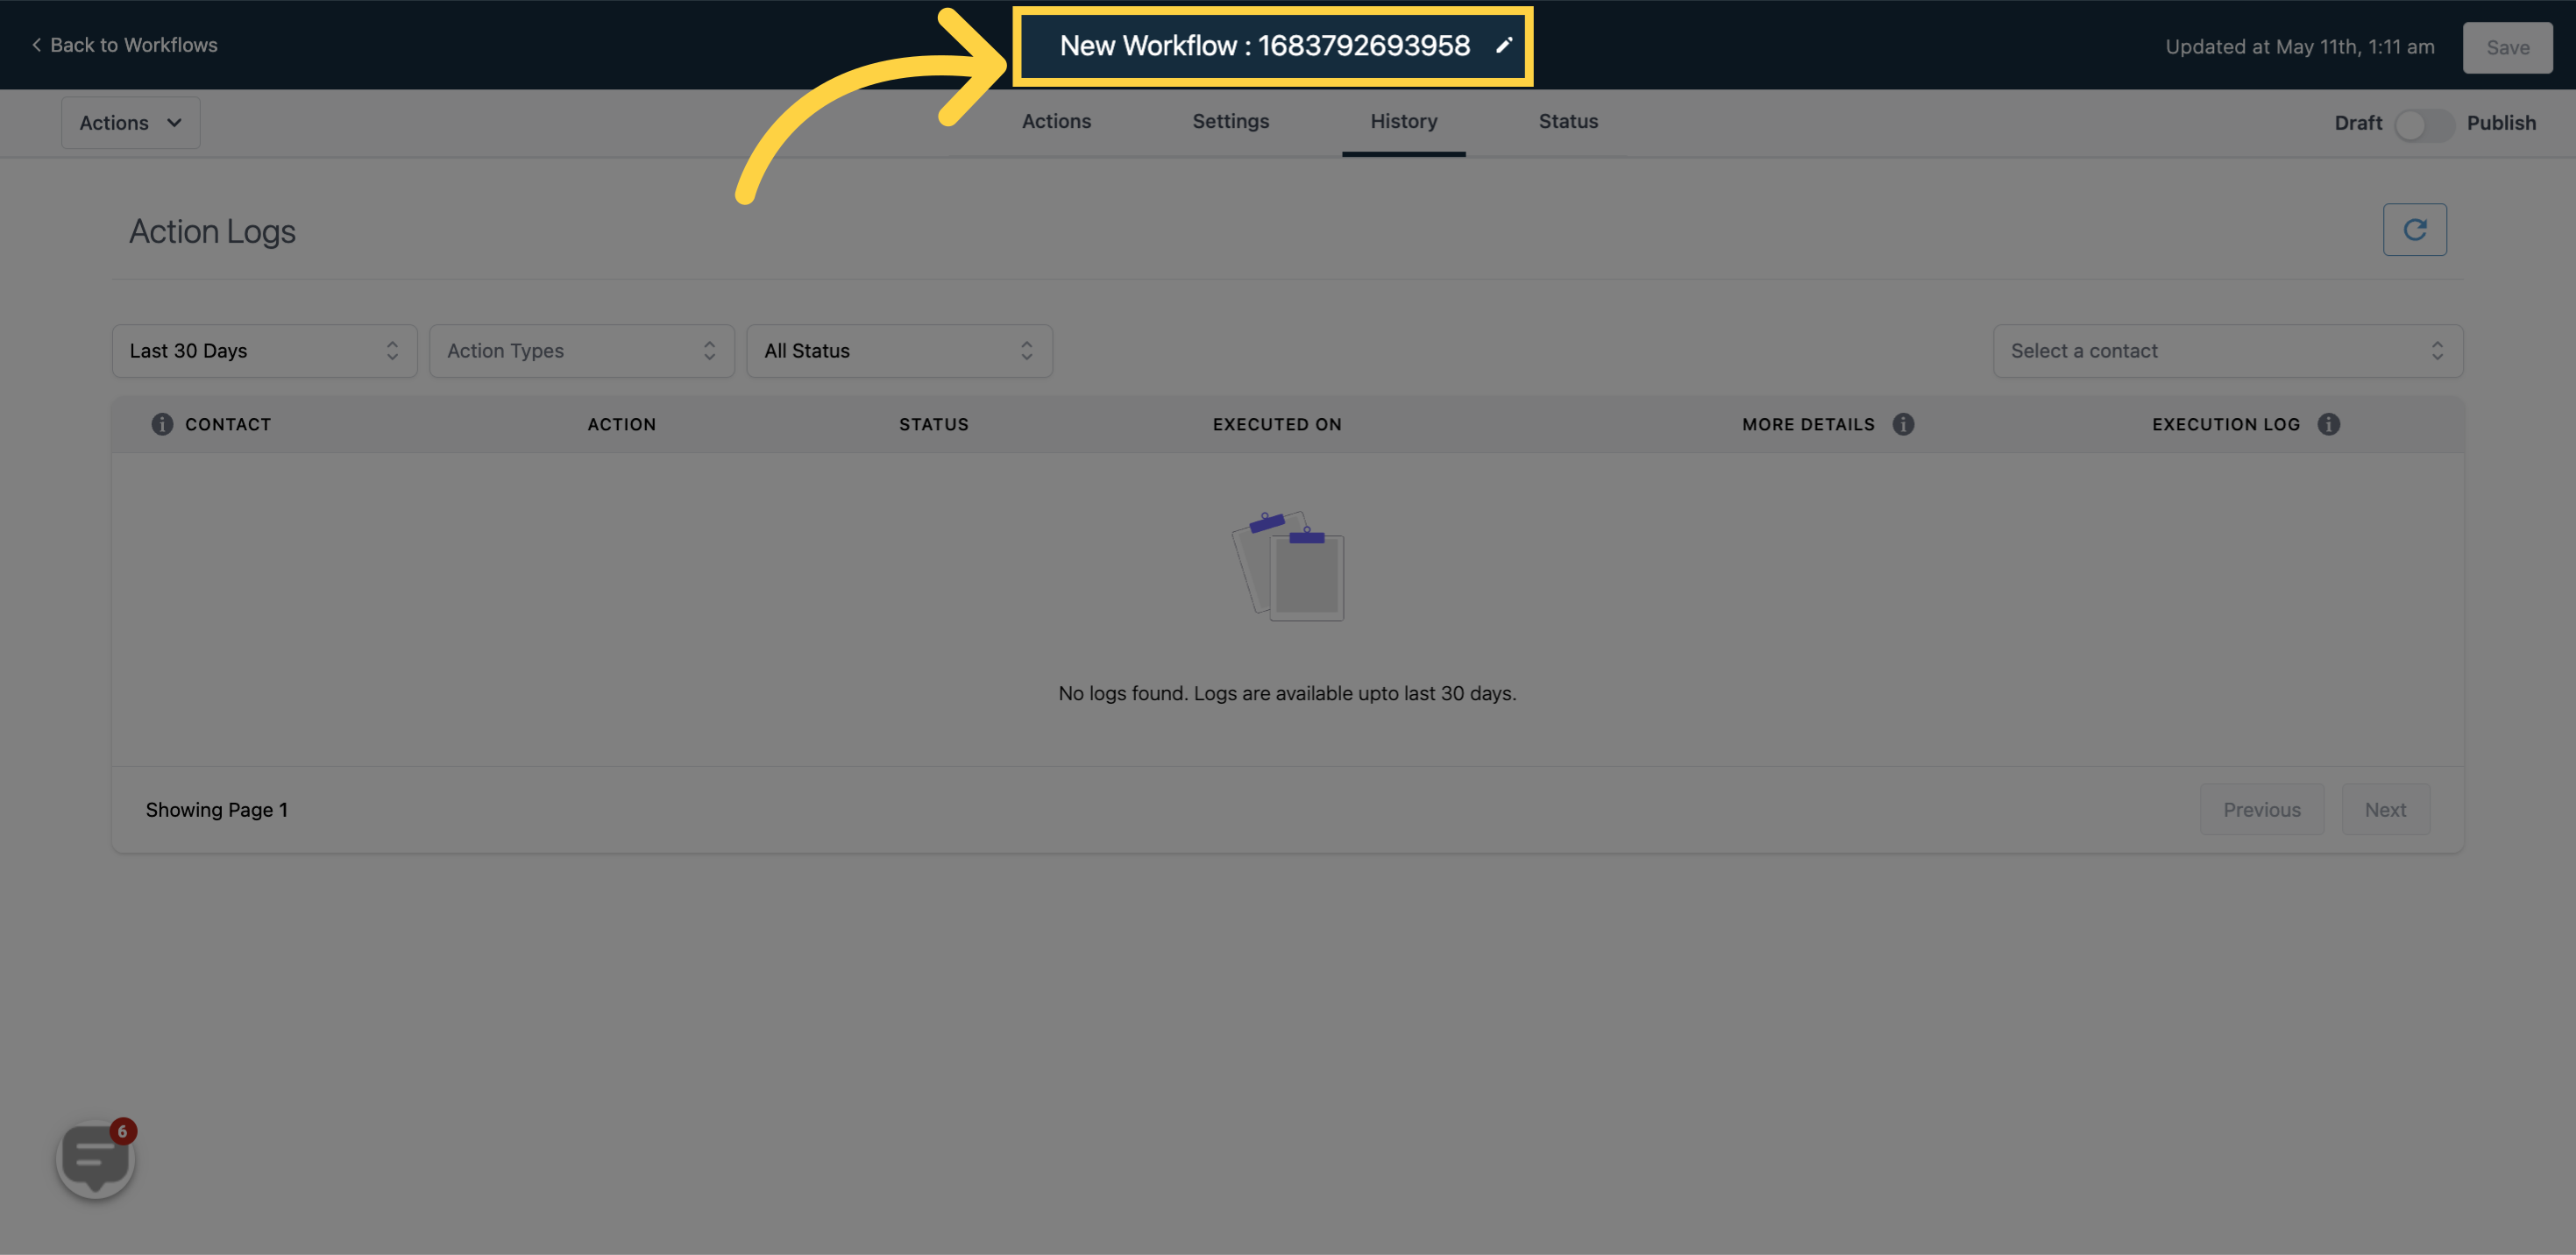
this is where you can see the title of then workflow
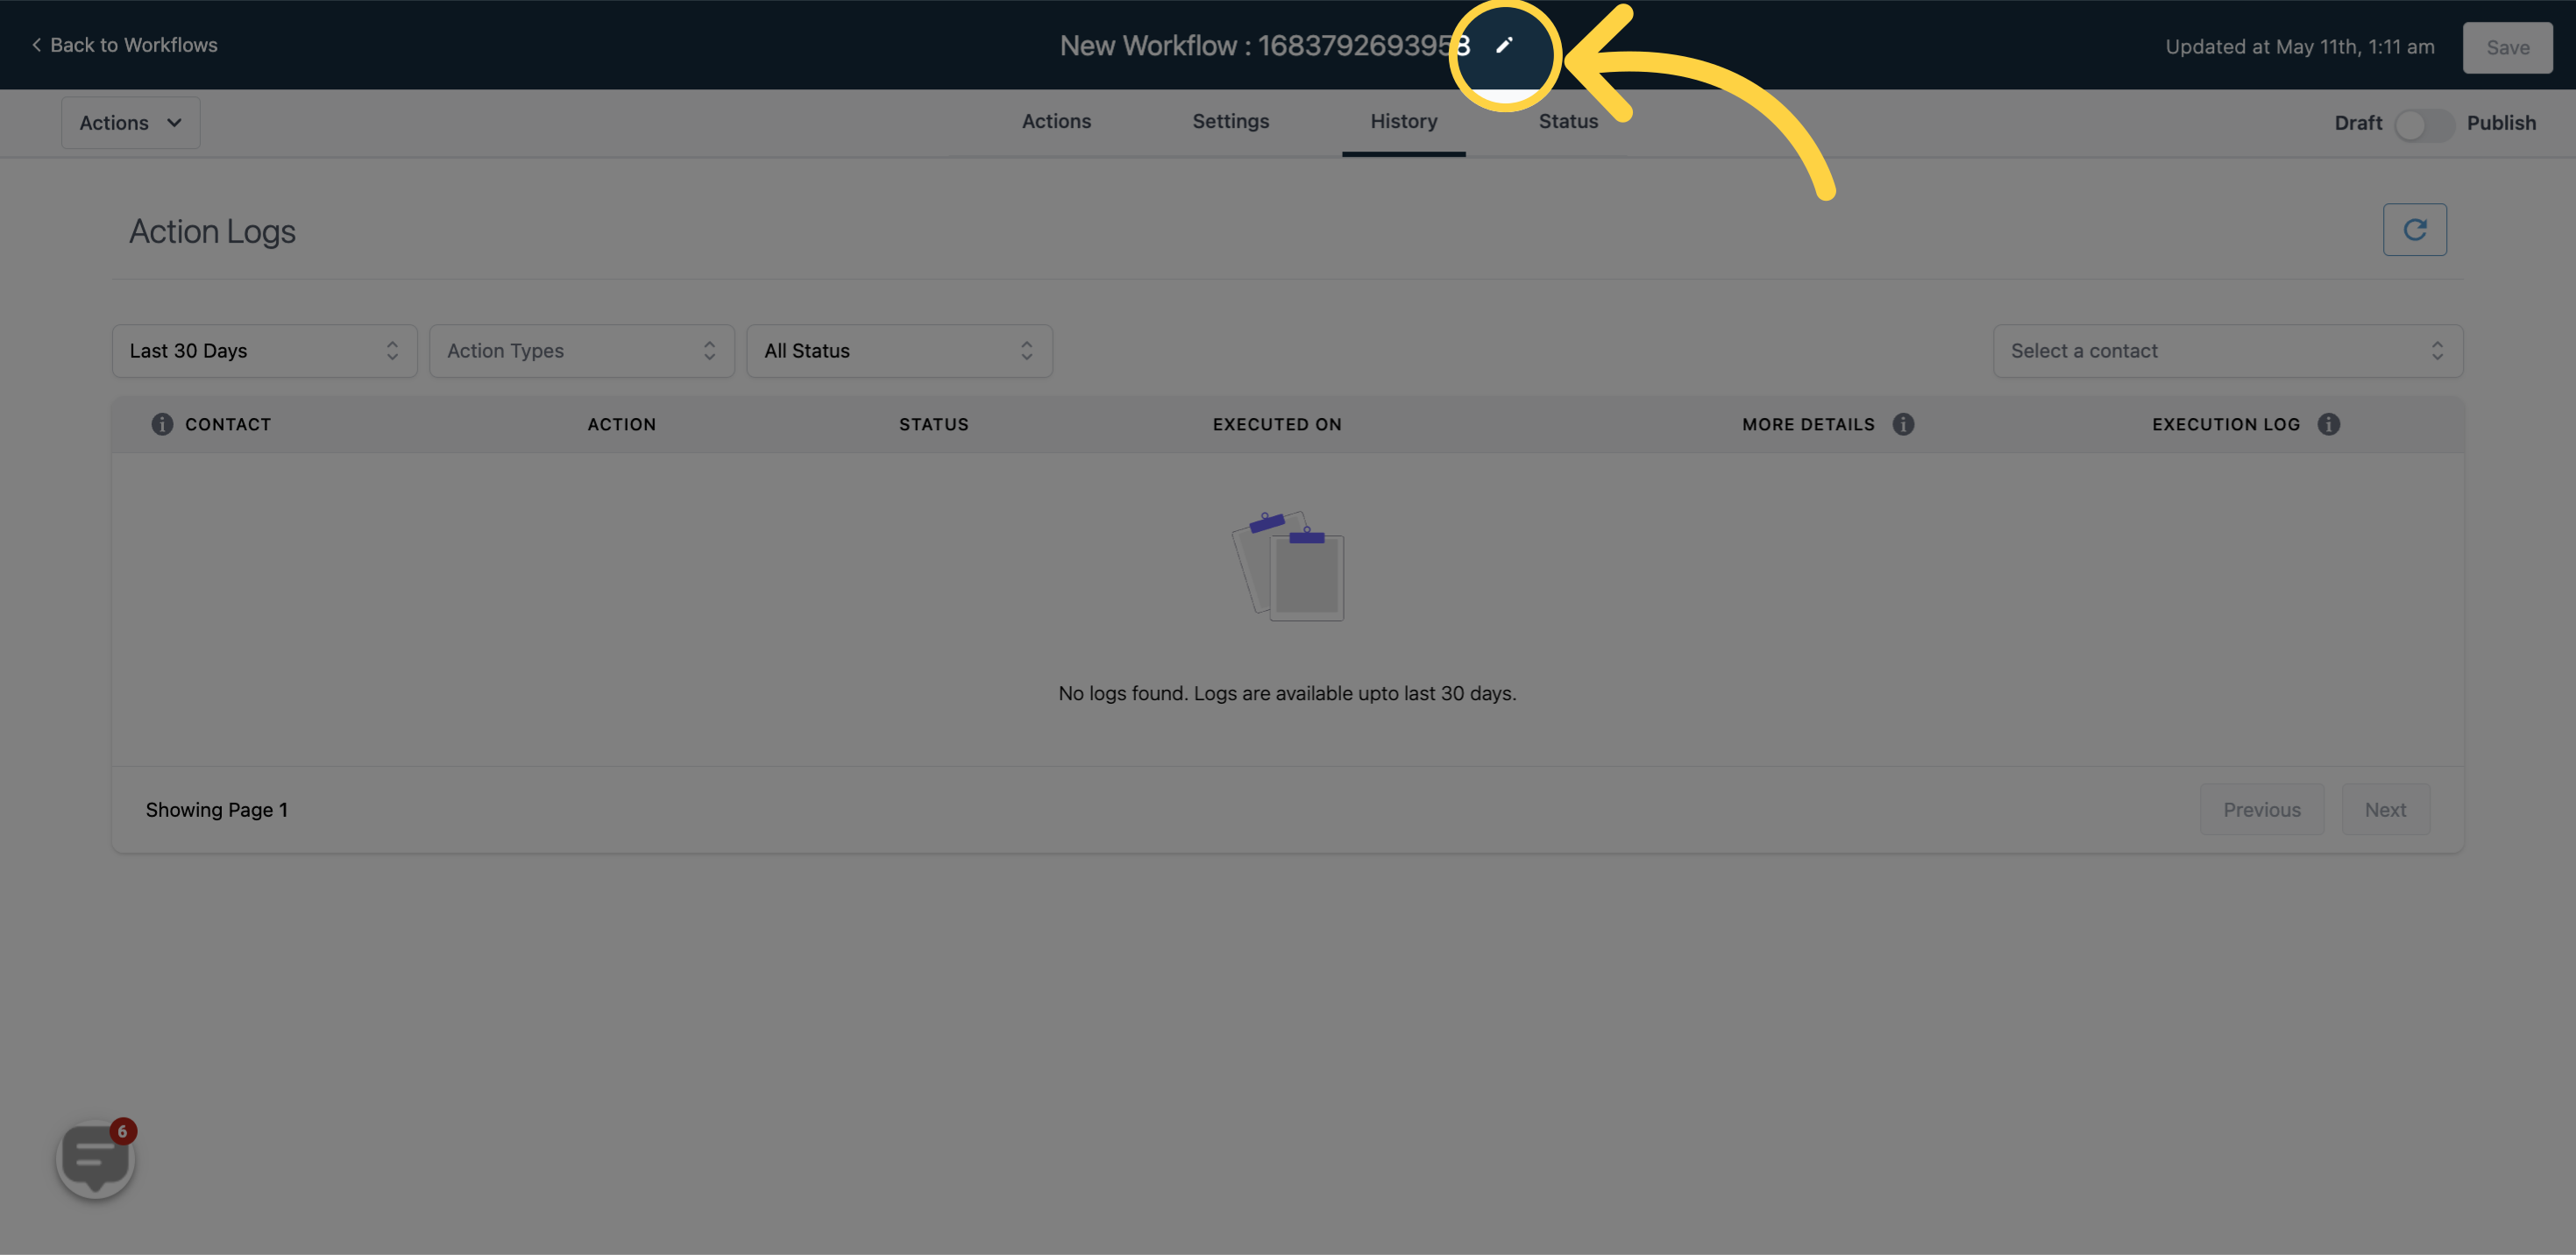
To edit the title of this workflow, please click here.
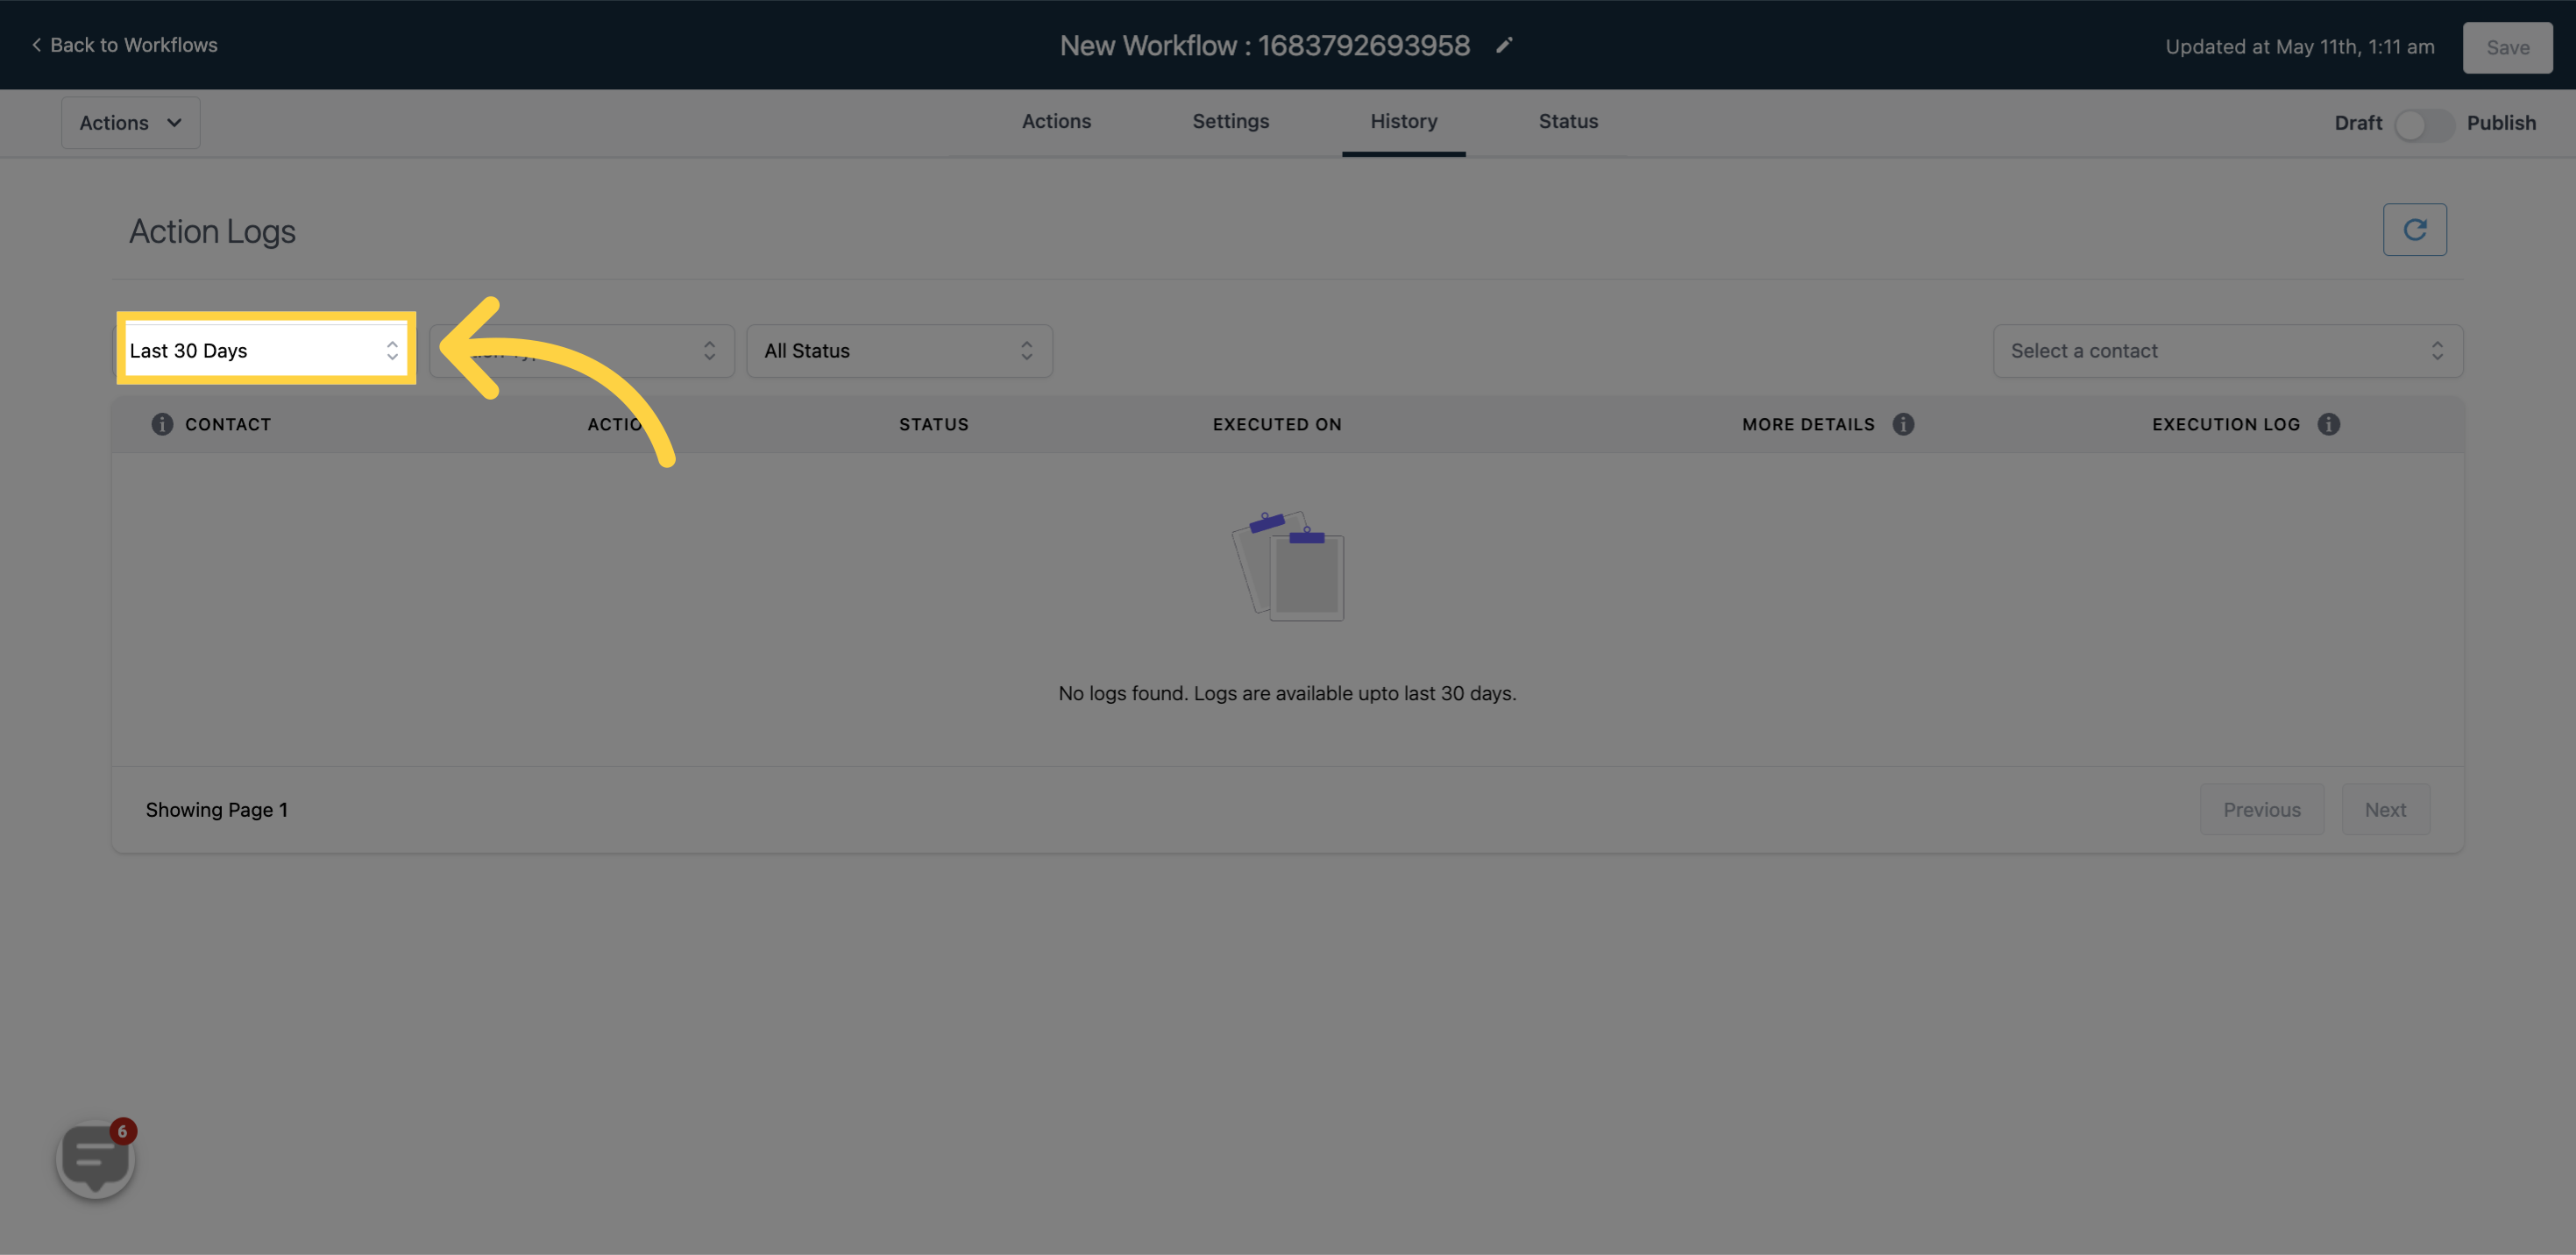
Action logs can be filtered based on their creation date.
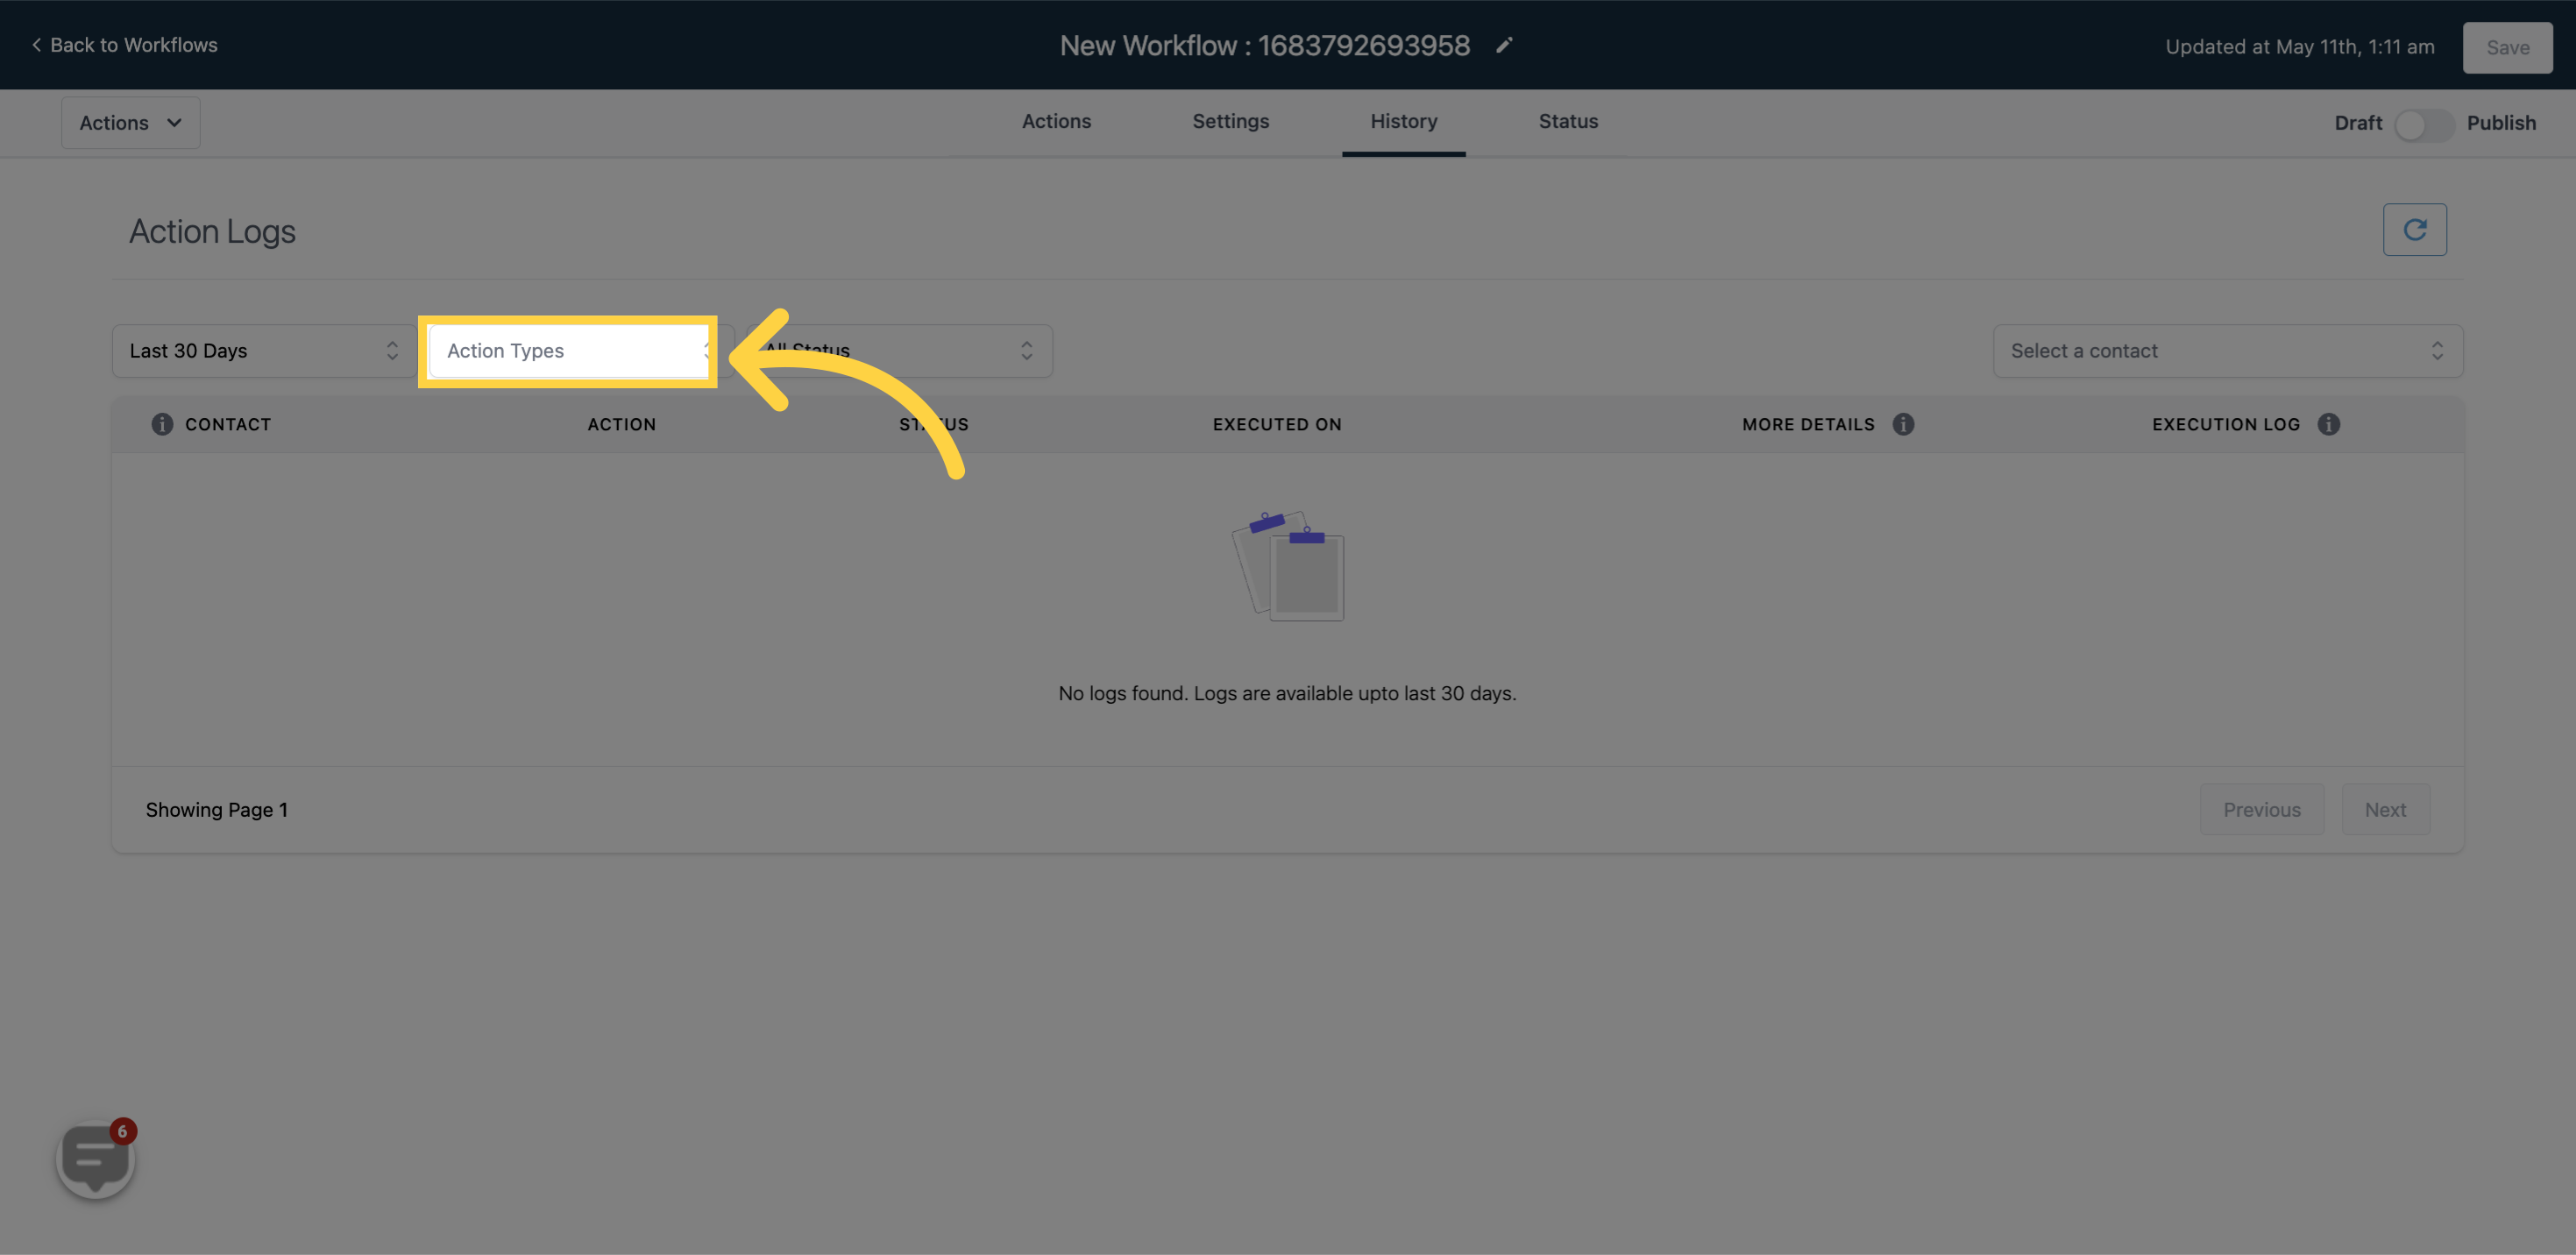
You can use this feature to filter the action logs based on the type of action.
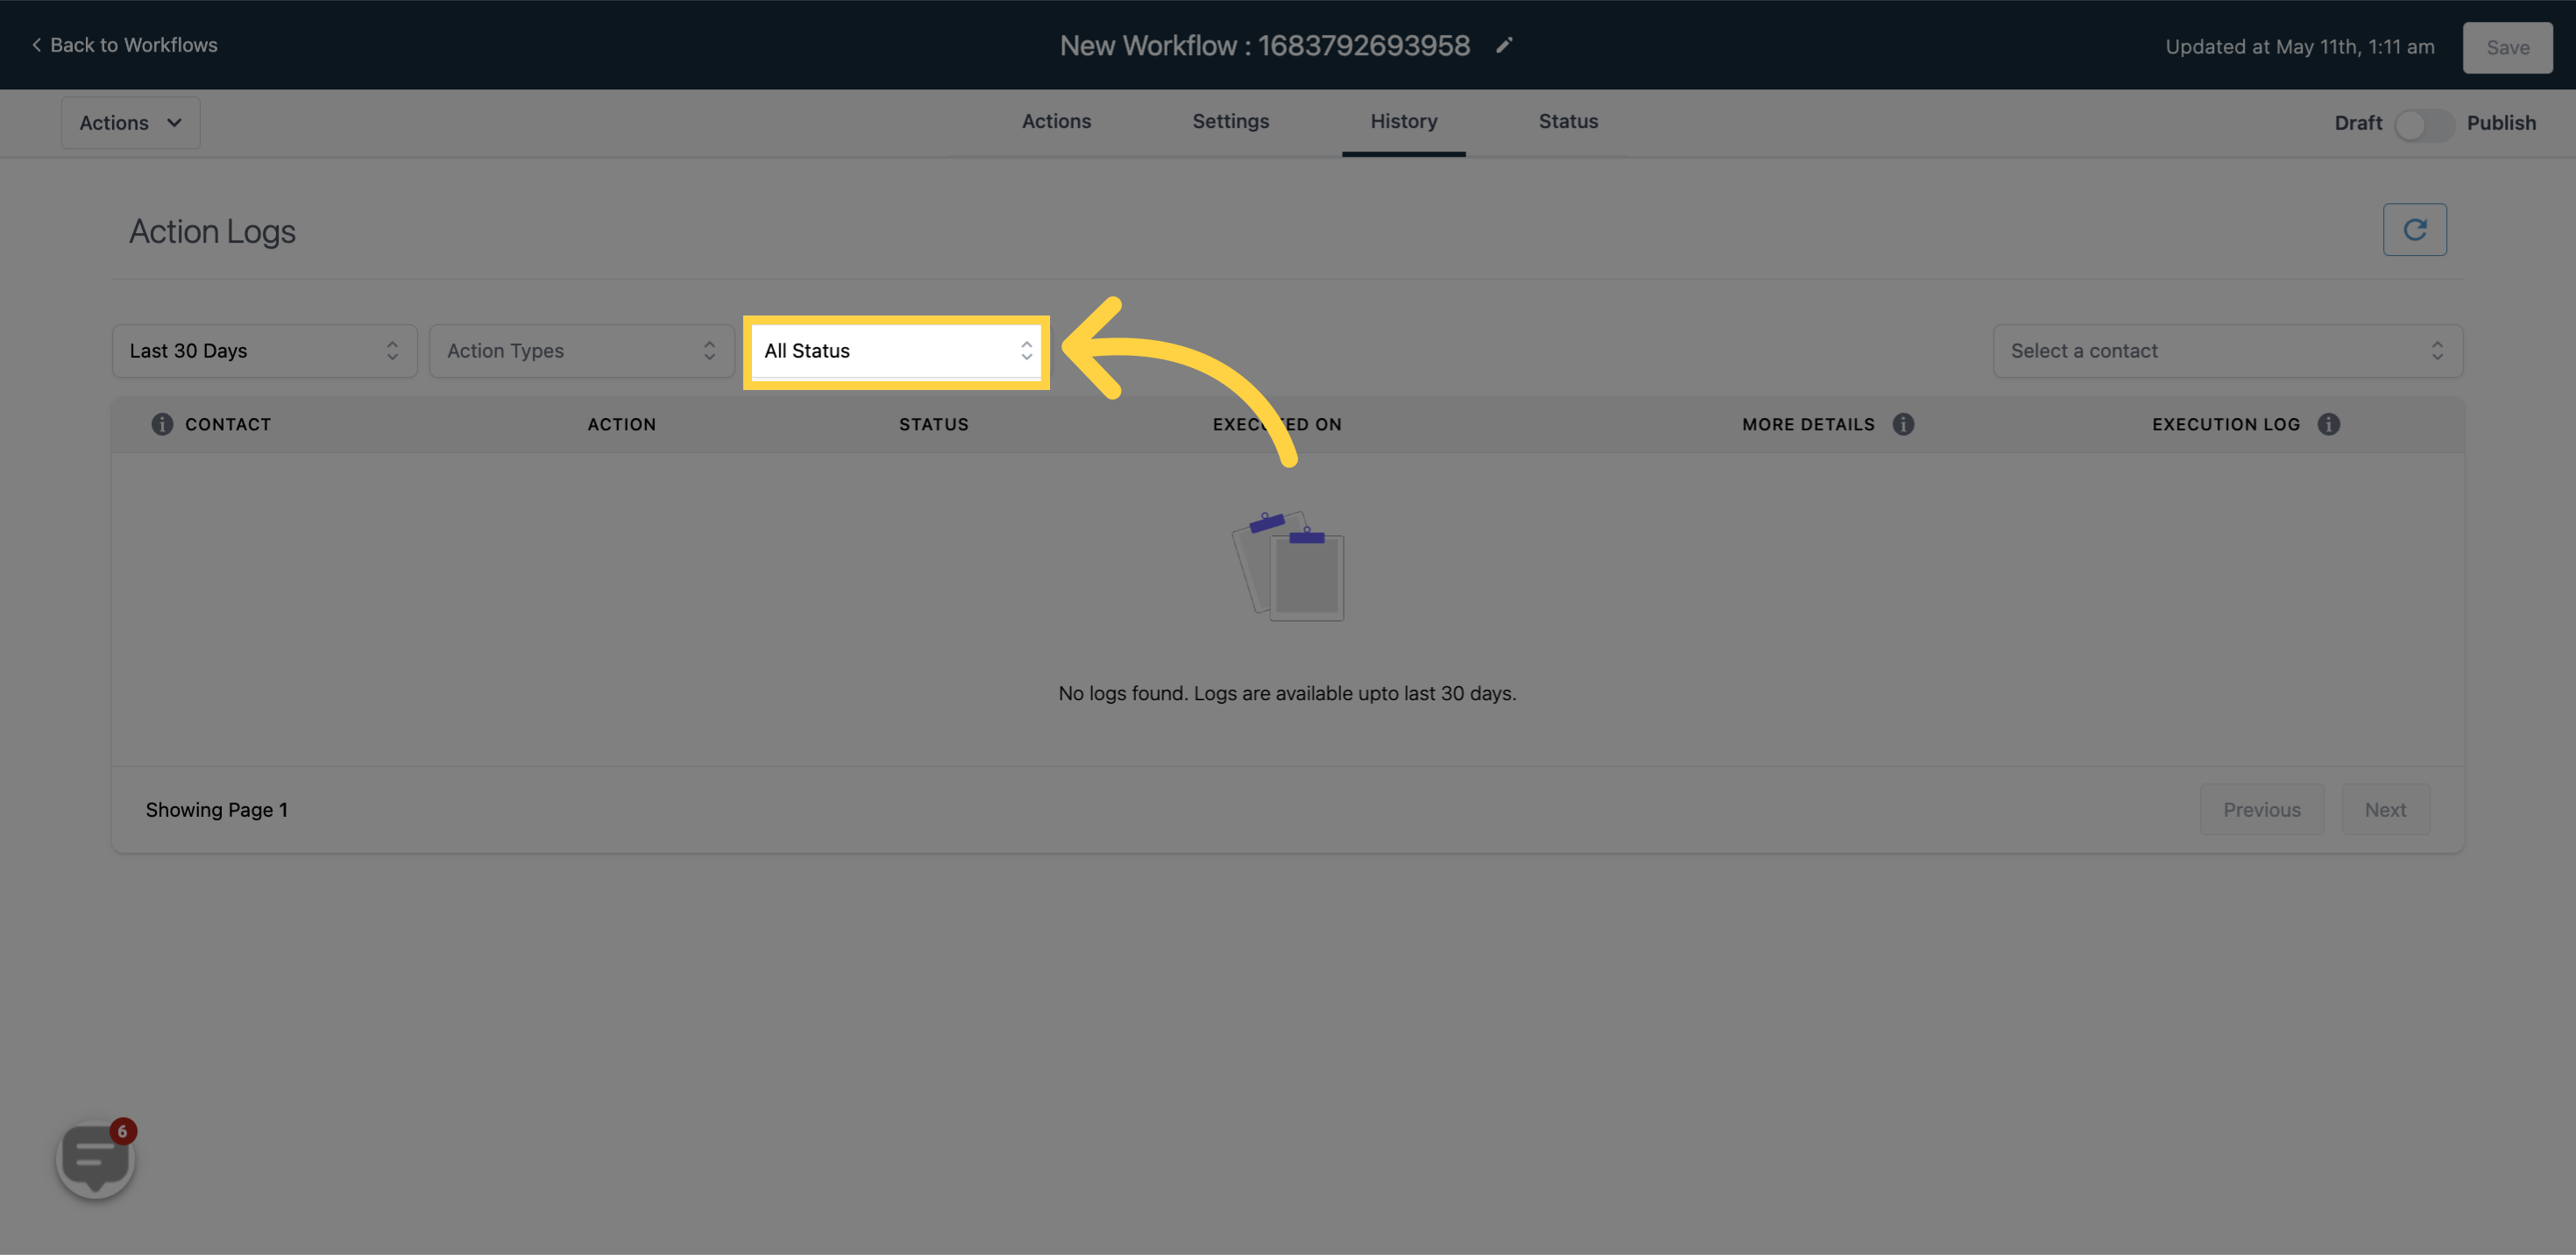
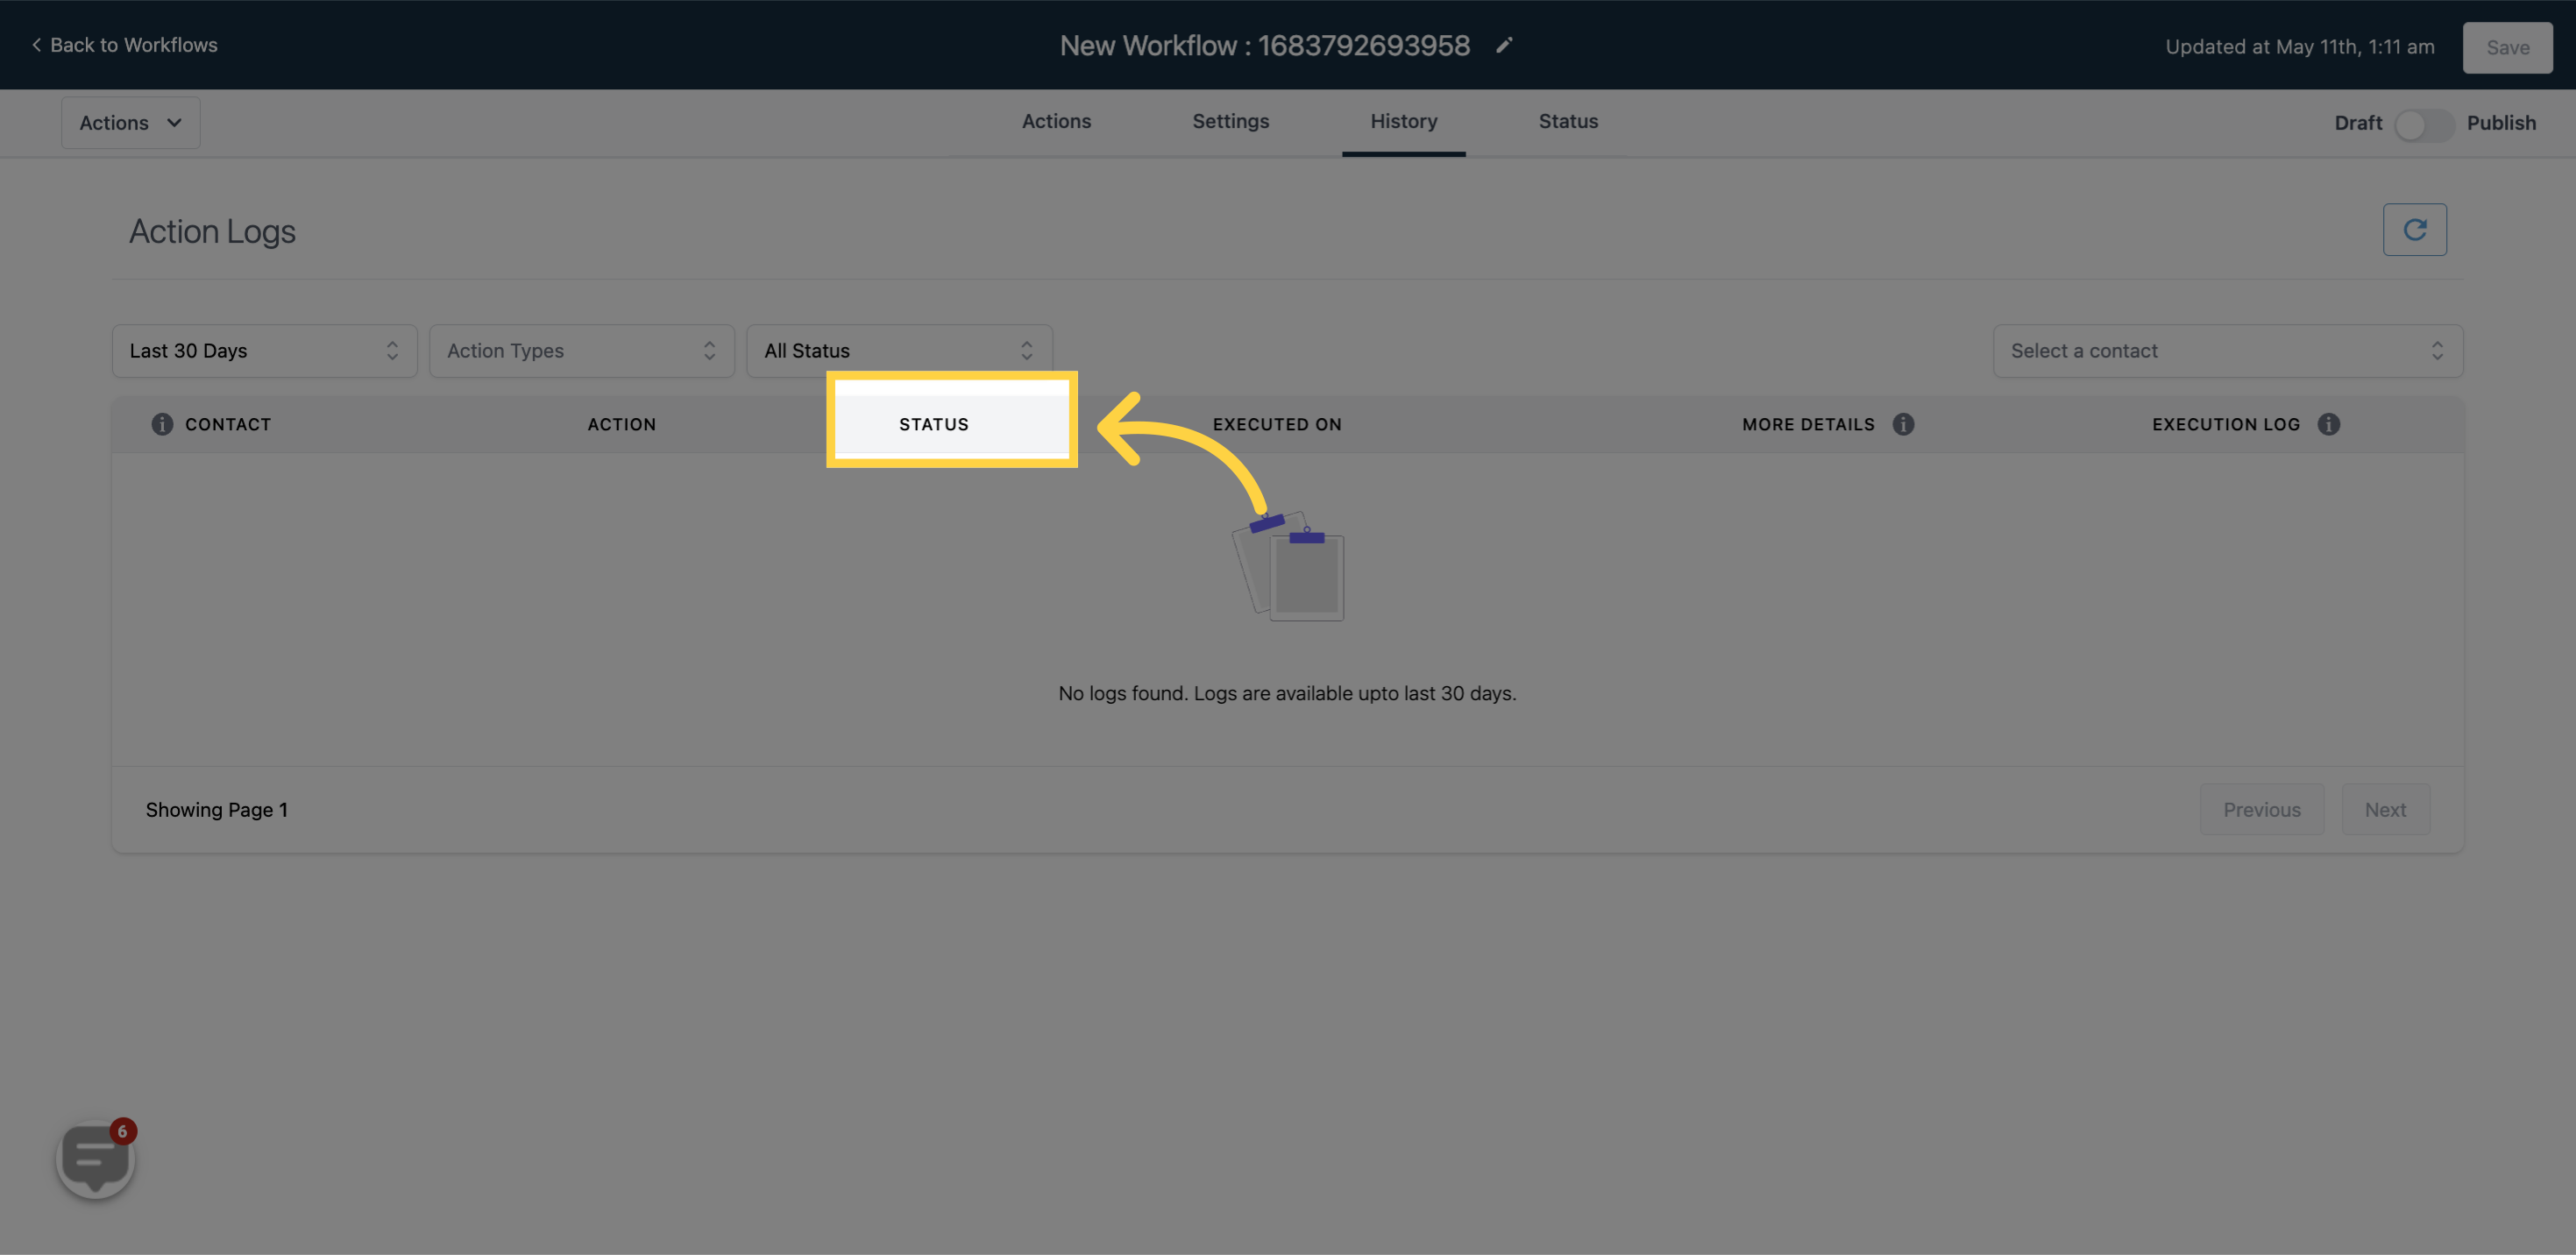
To filter your action logs list by status, click here
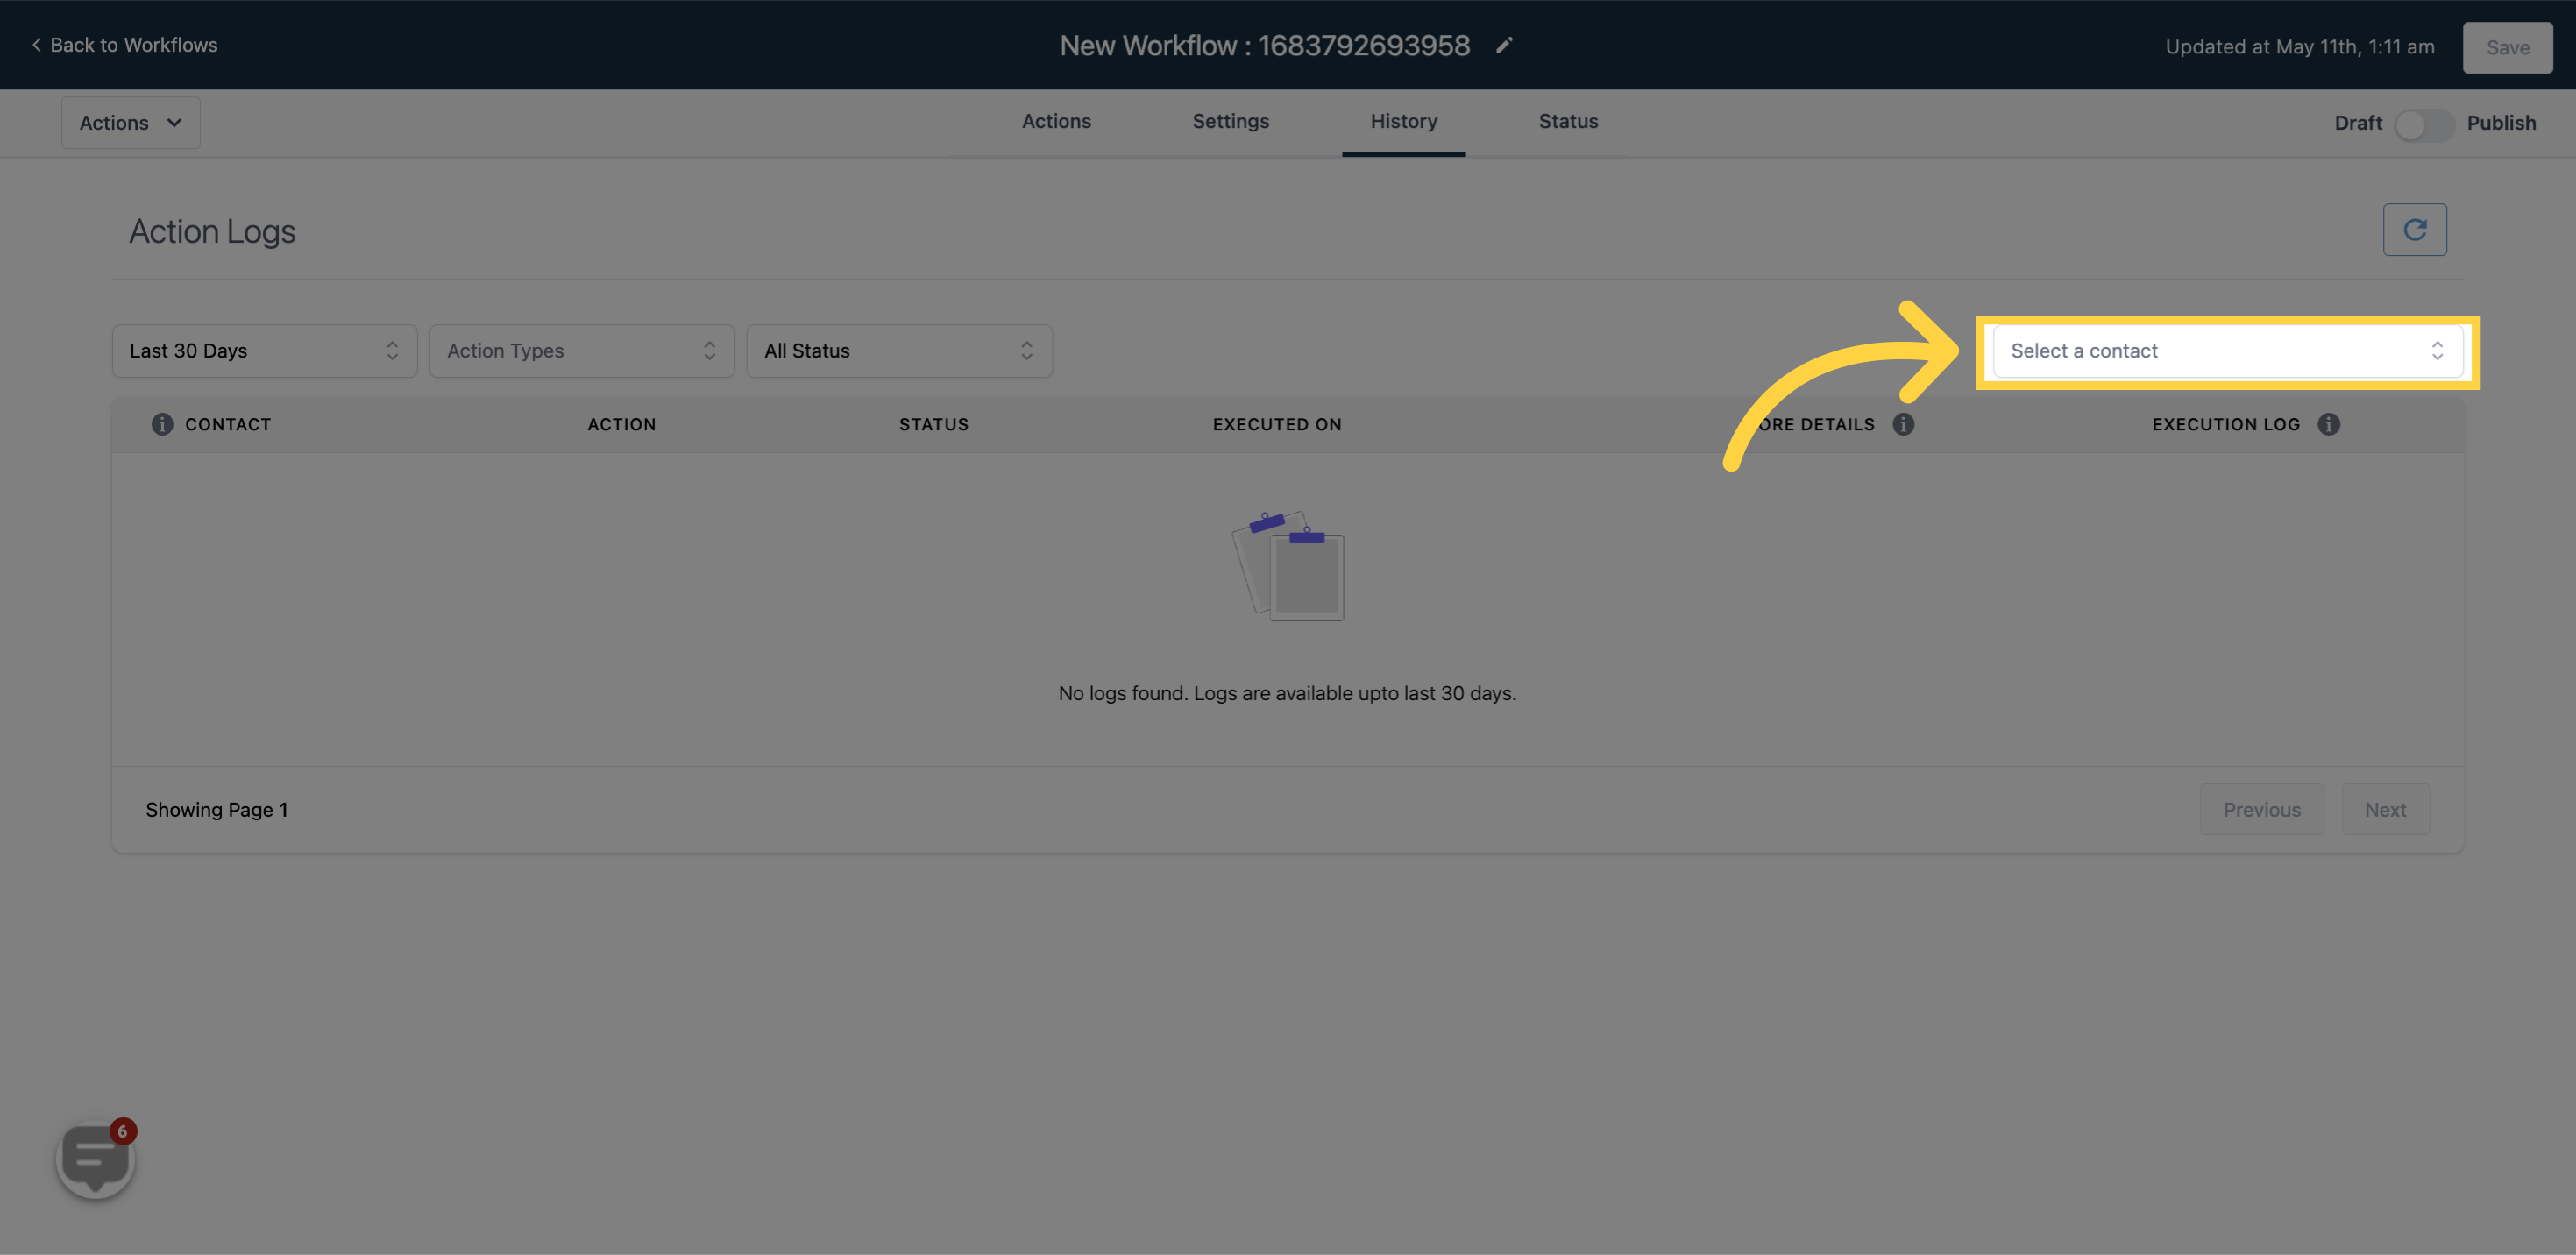
If you have a long list of action logs, searching by name can save you time instead of scrolling through the entire list to find the log you're looking for.
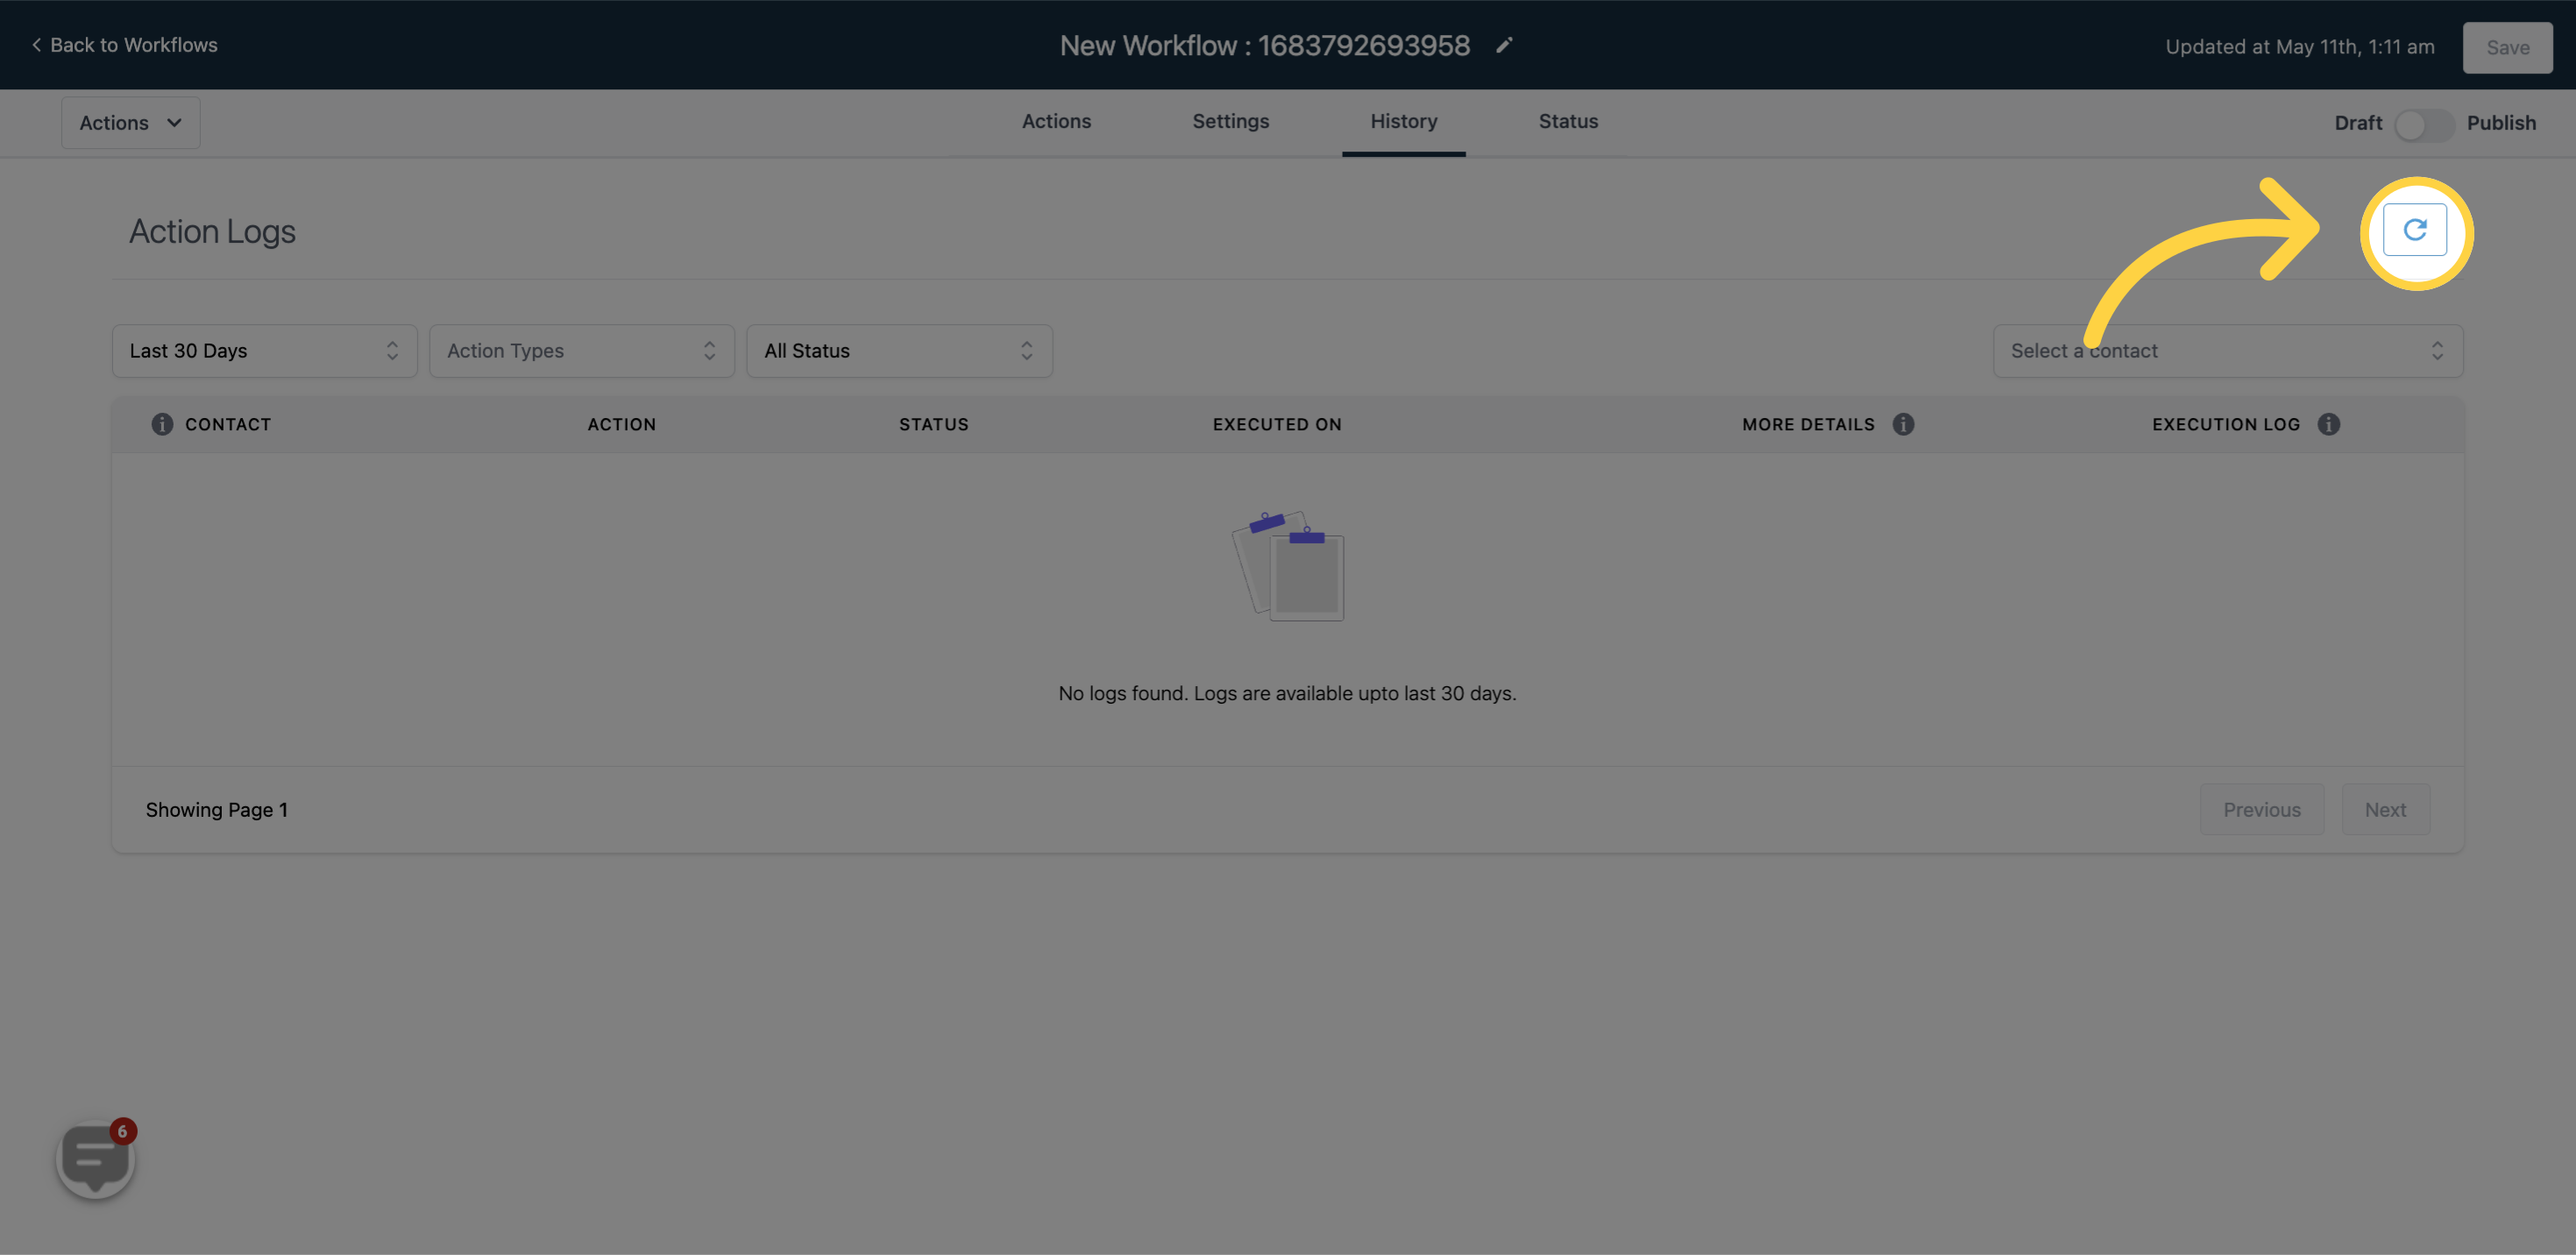
To refresh the action log at any time, please click this button.
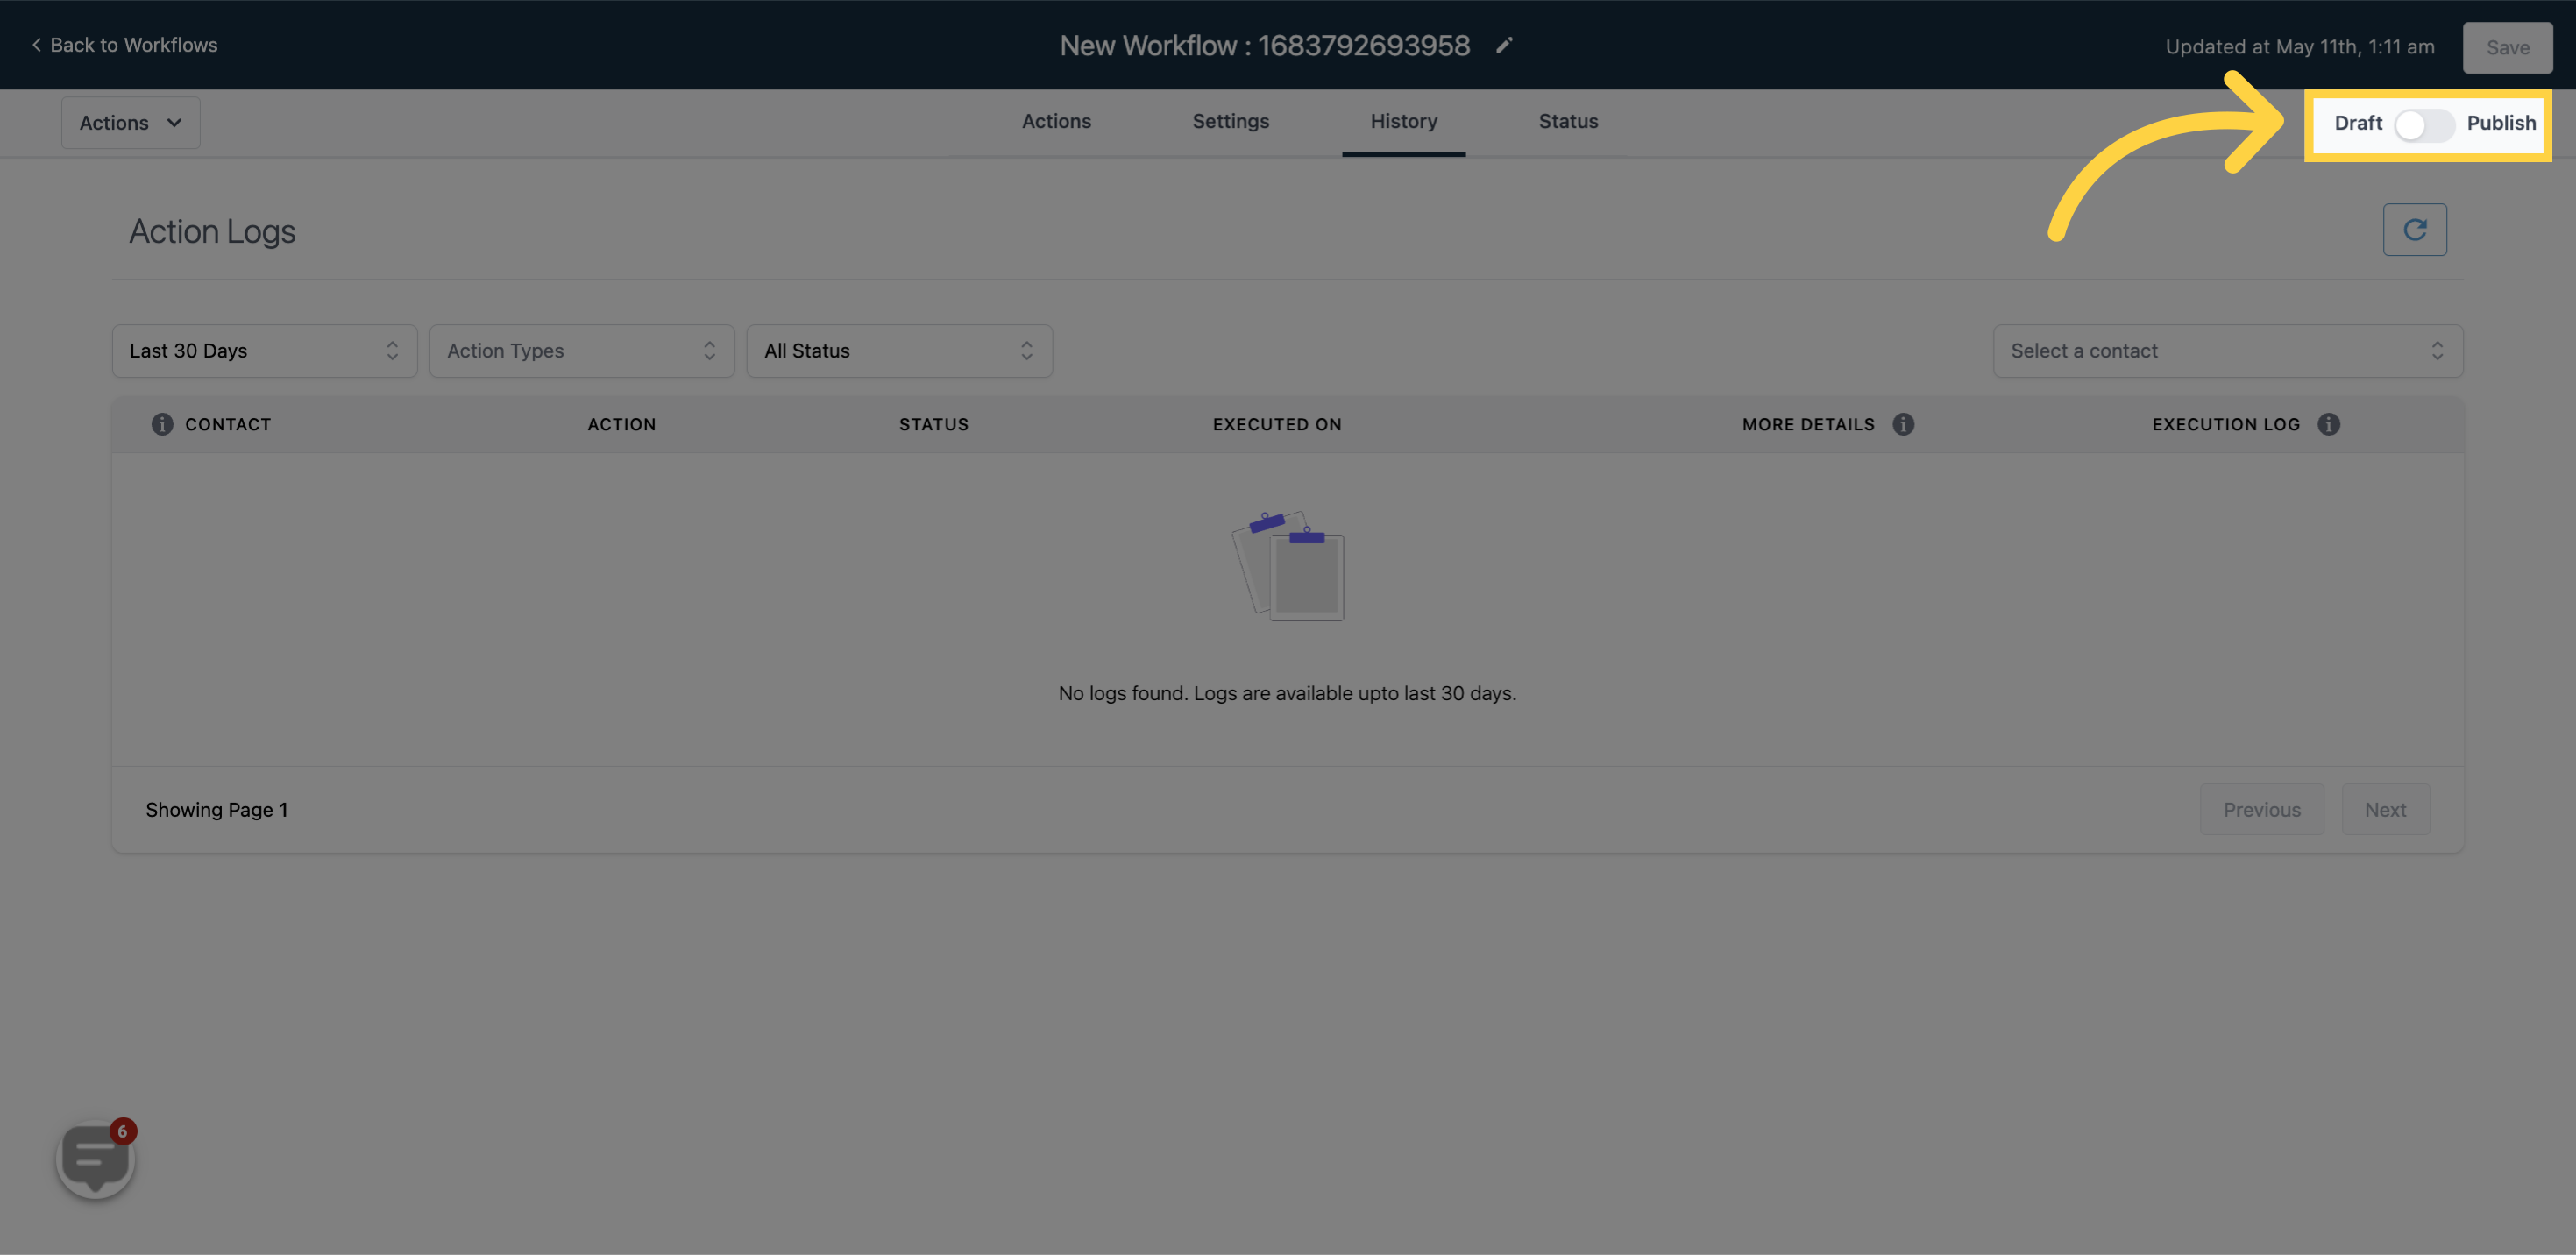
This button allows you to toggle between the draft and publish modes of the action logs.
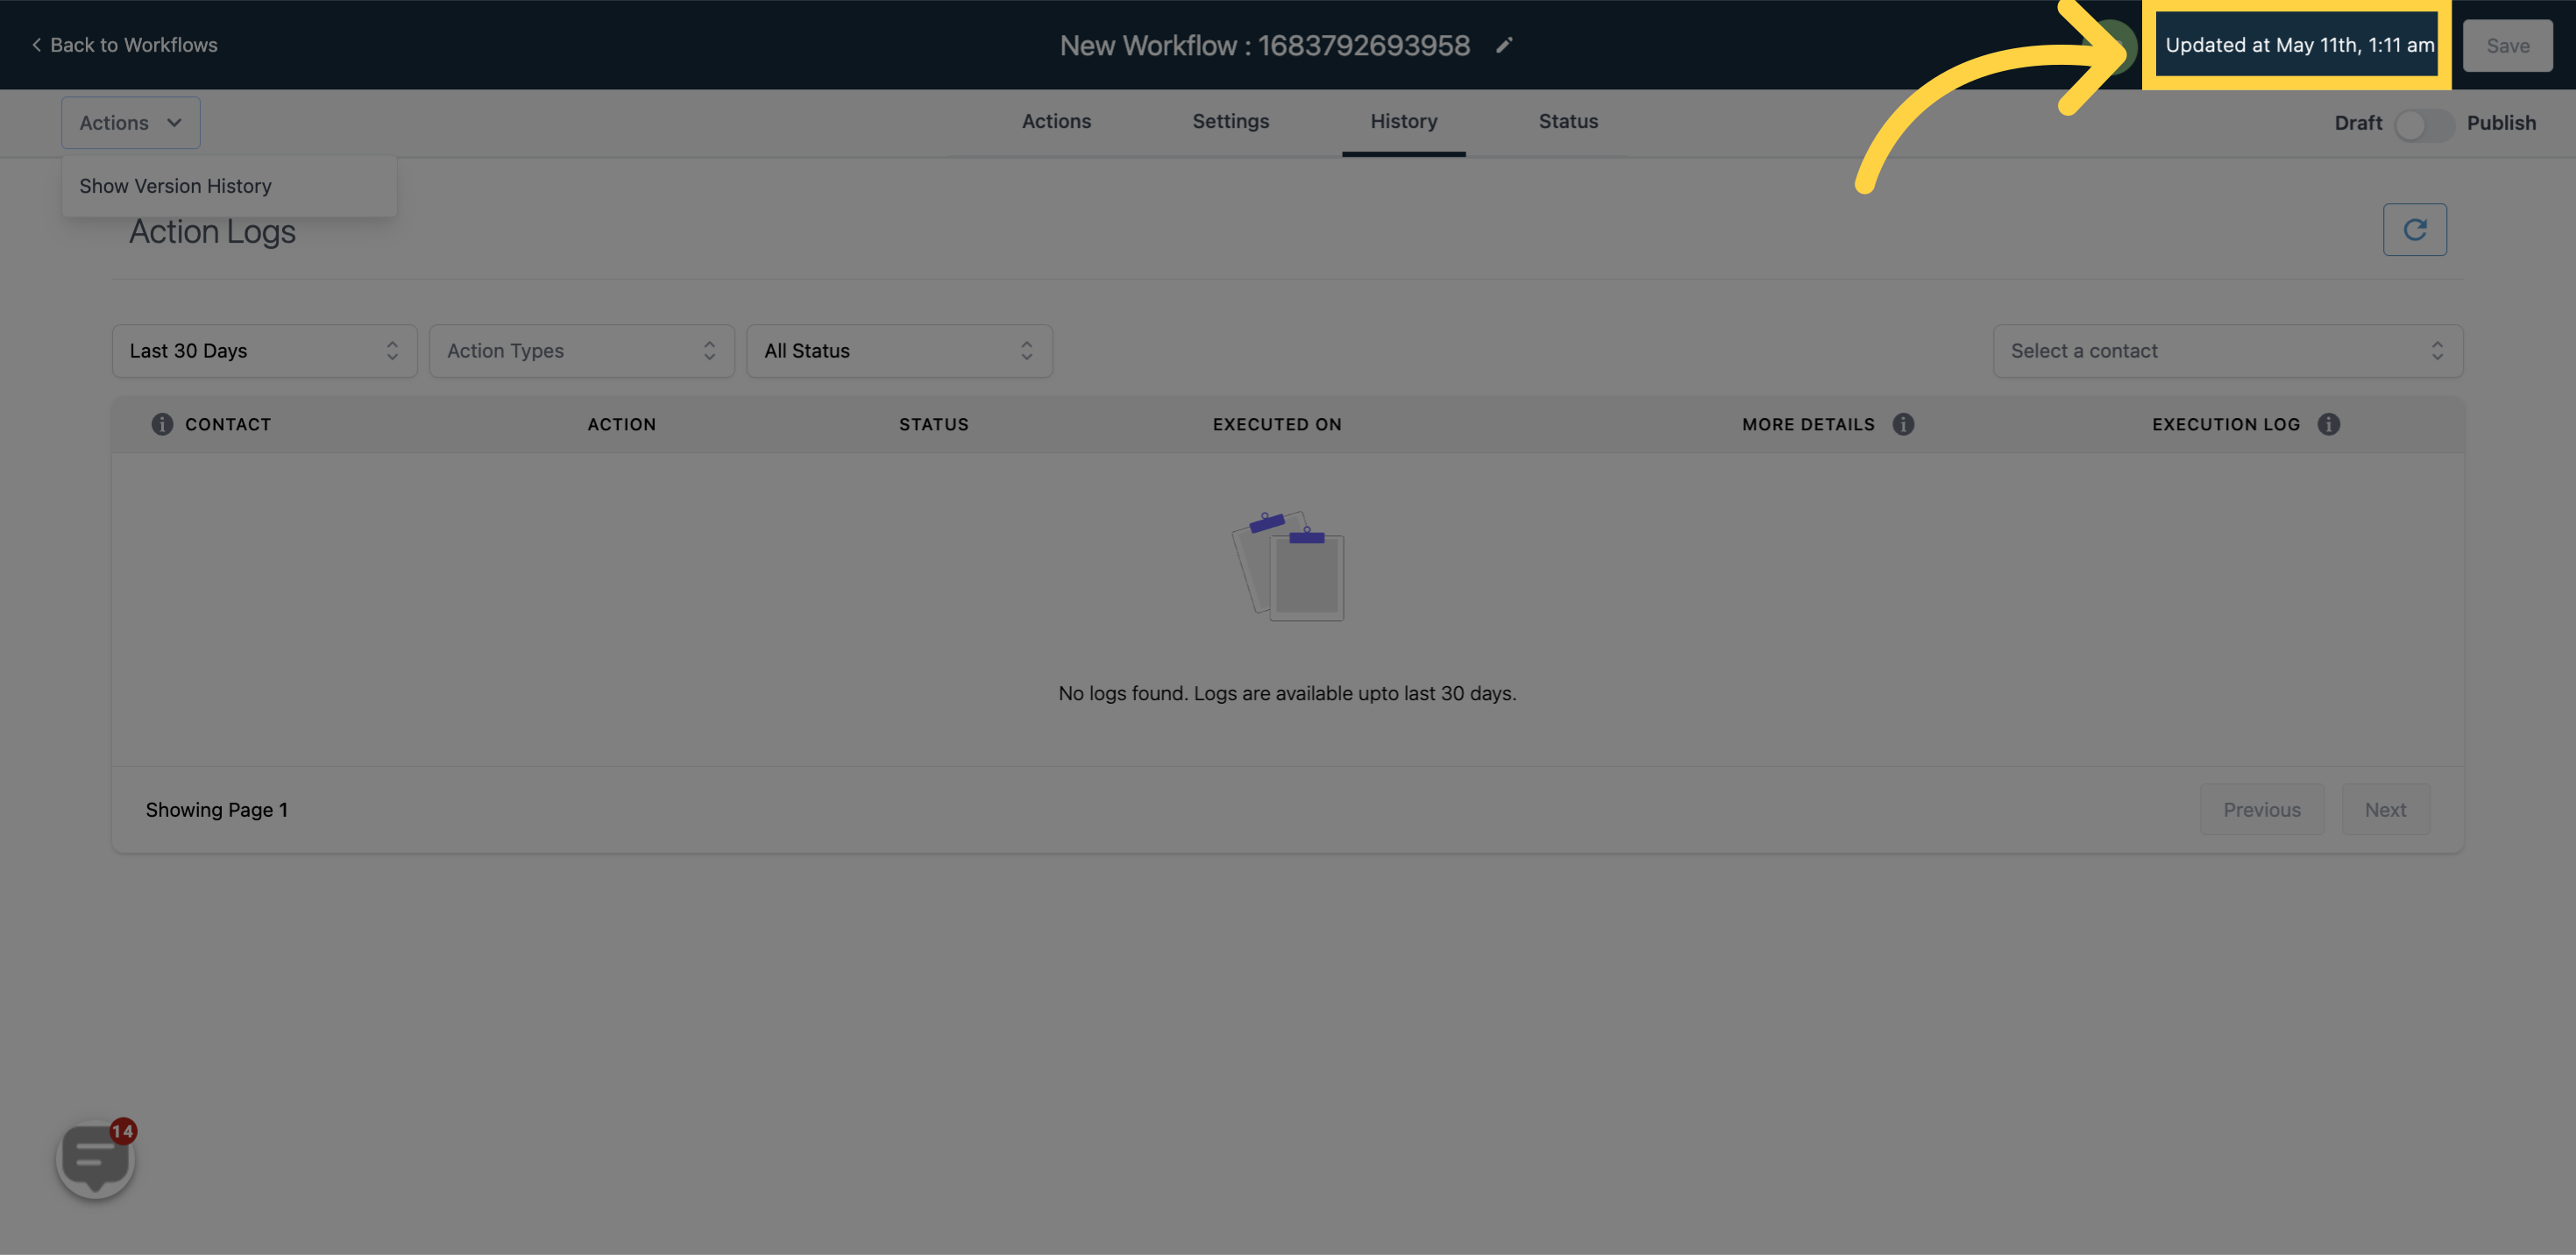
The date and time of the action will be updated once you save it.
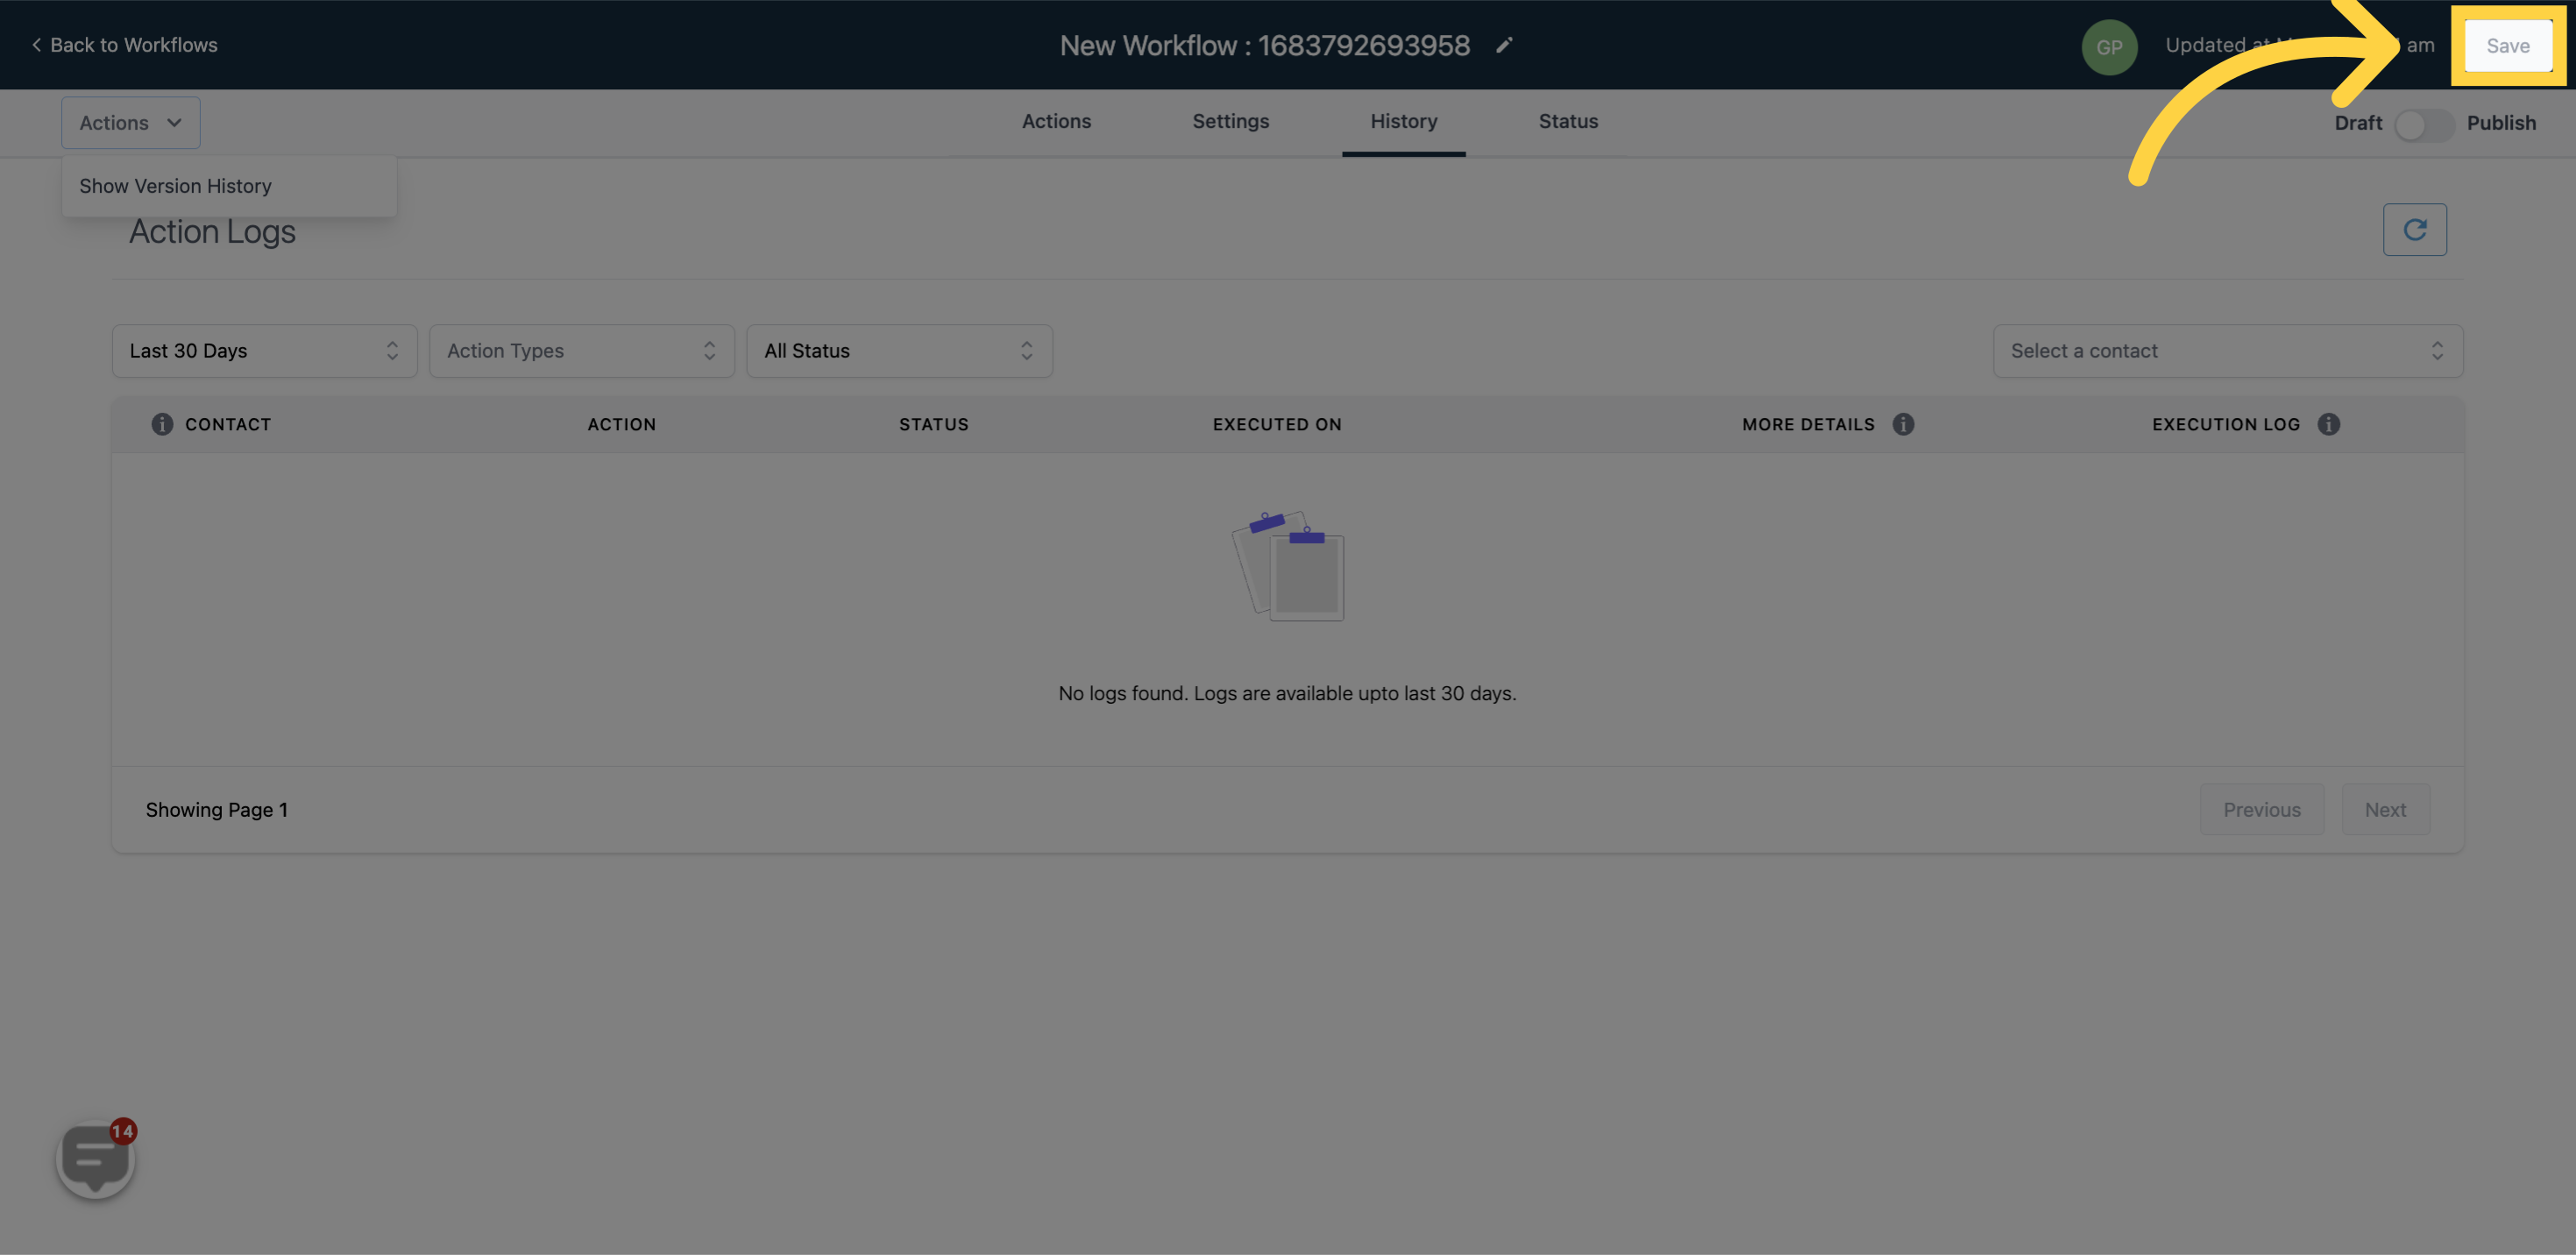
Don't forget to save all the changes after editing an action.
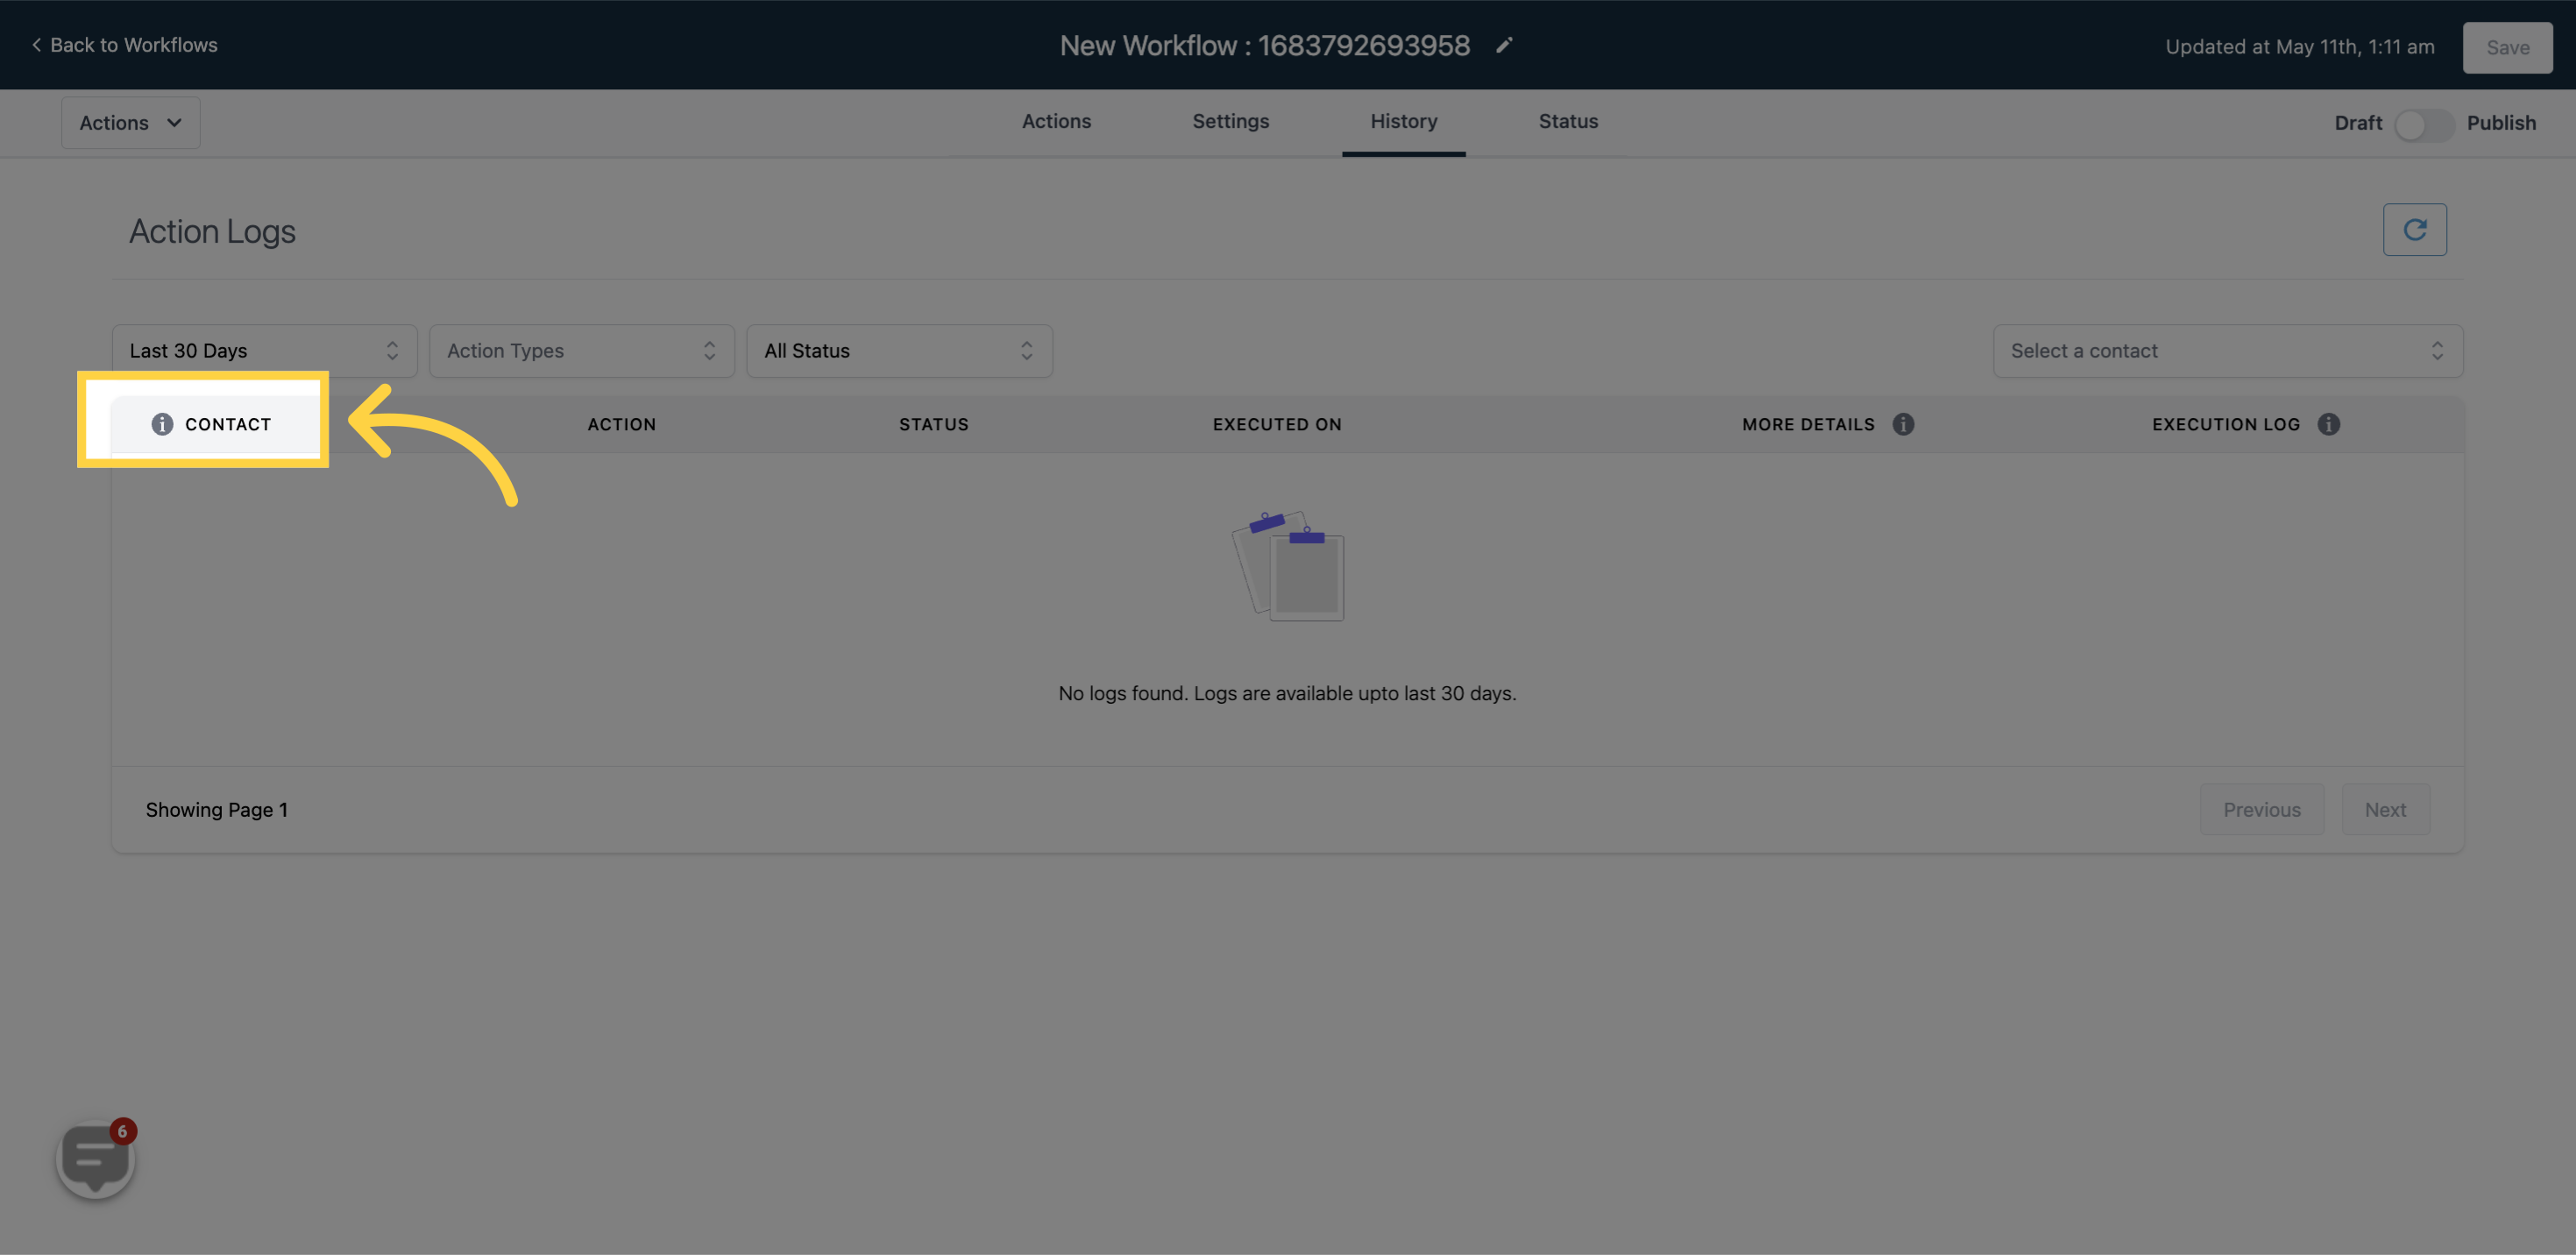
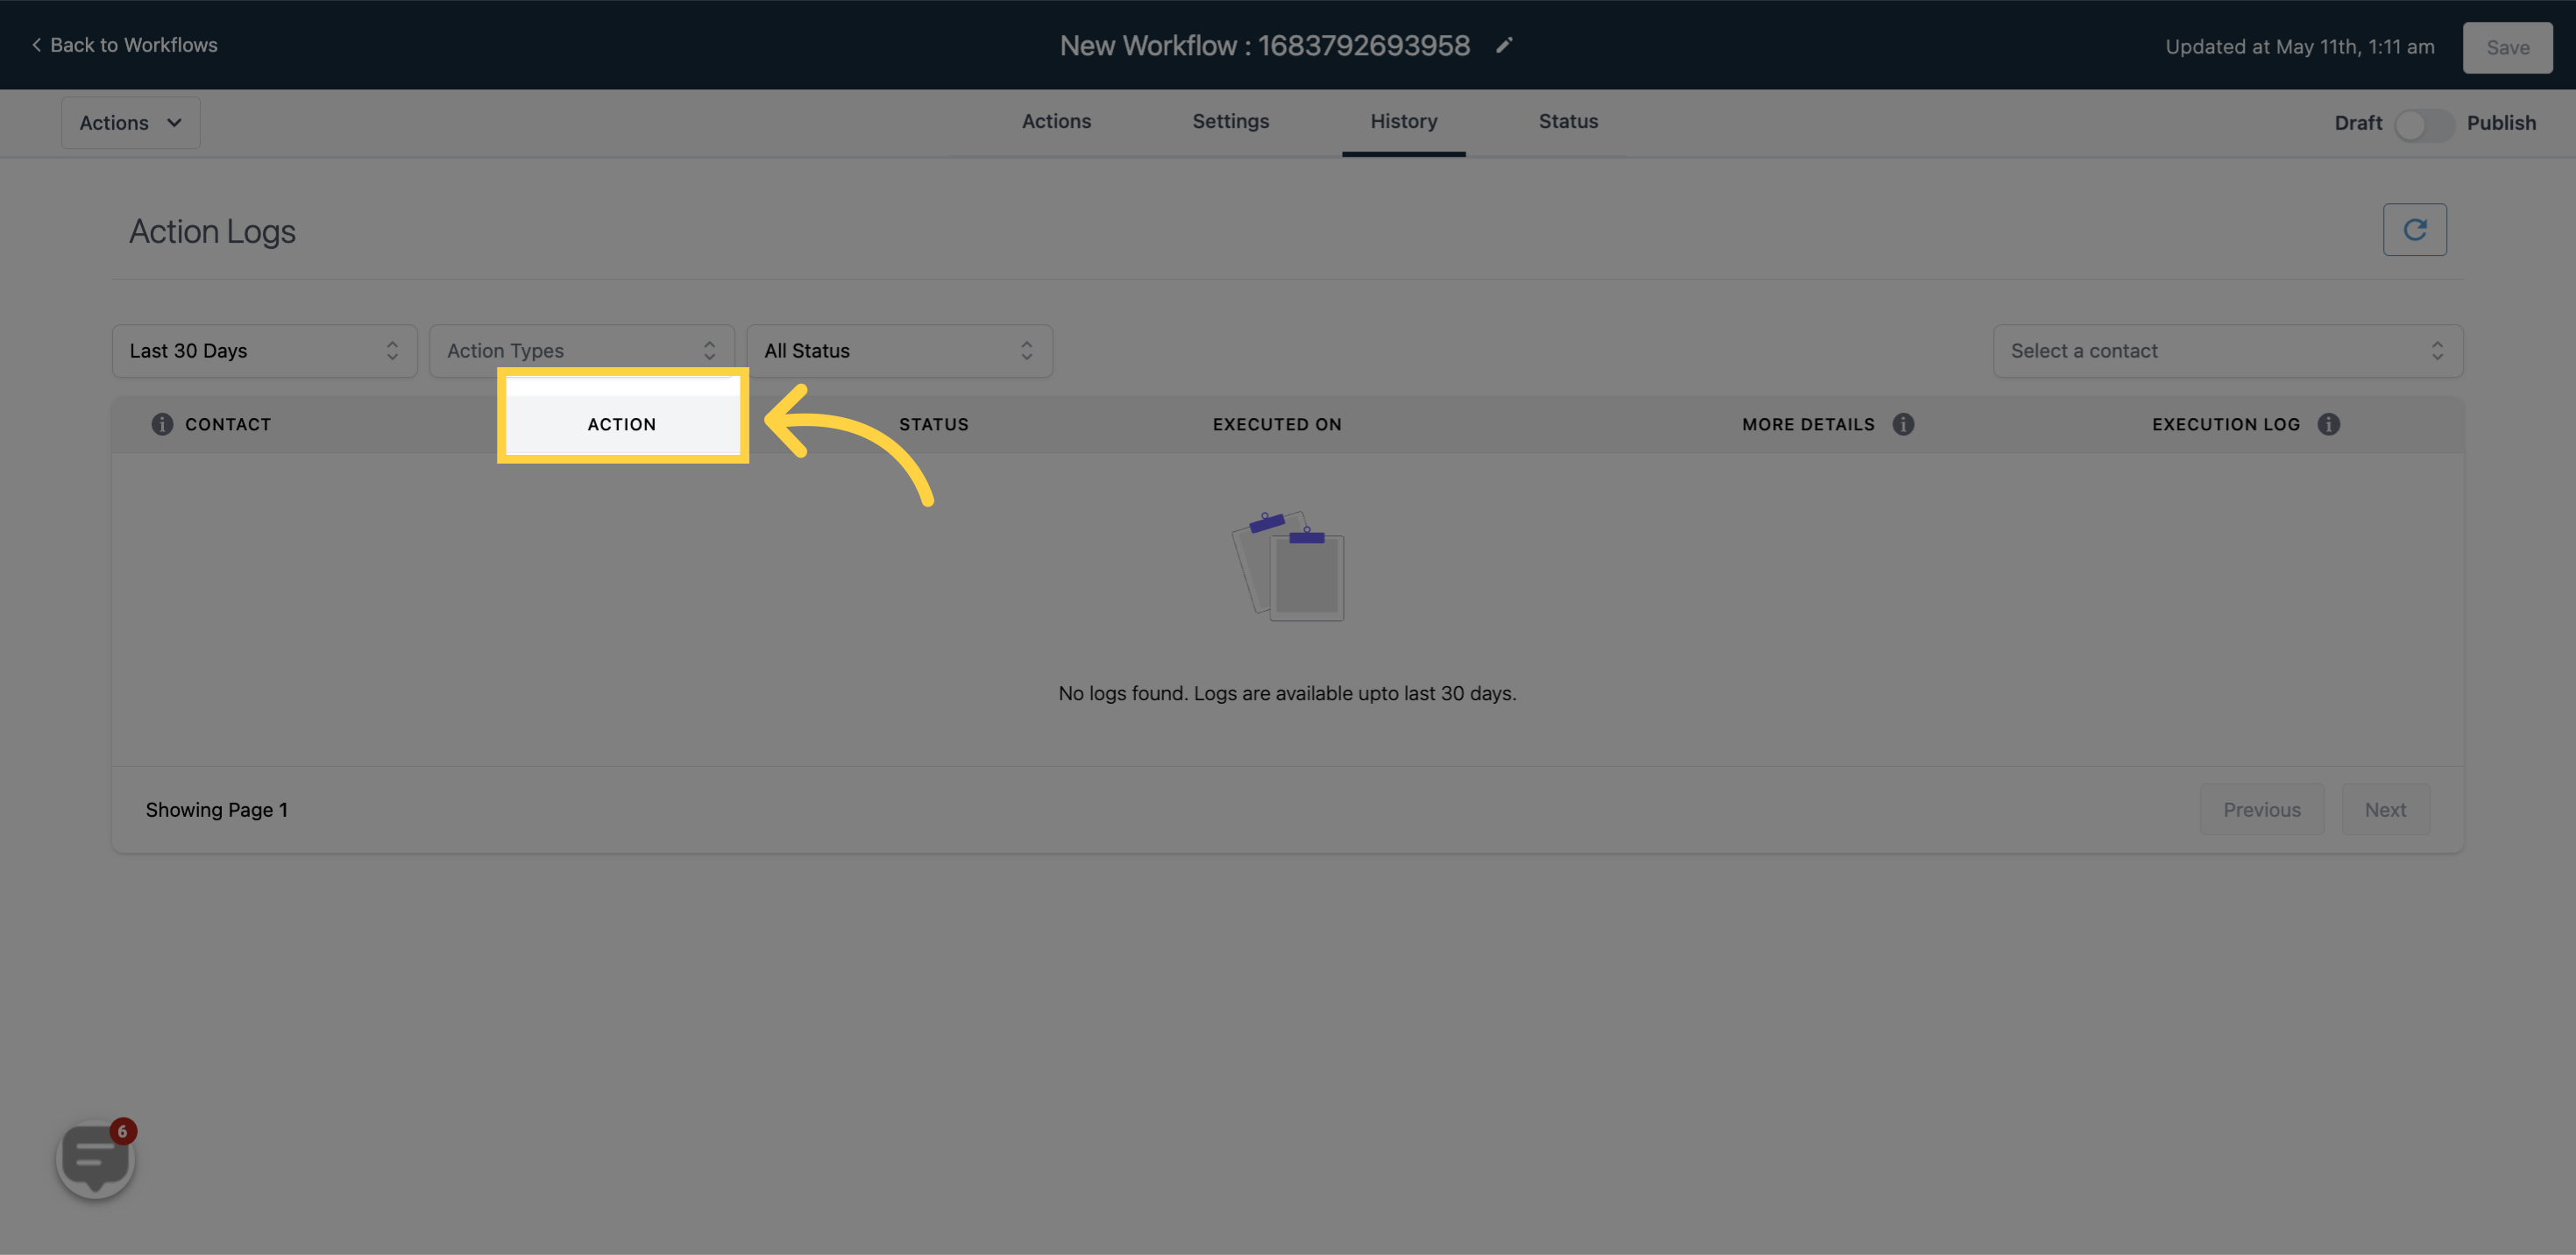
Here is a list of data associated with the action logs that is displayed in the table:
CONTACTS - Added contacts
)
ACTION - Type of actions made on the contacts
)
STATUS - Status of the contacts
)
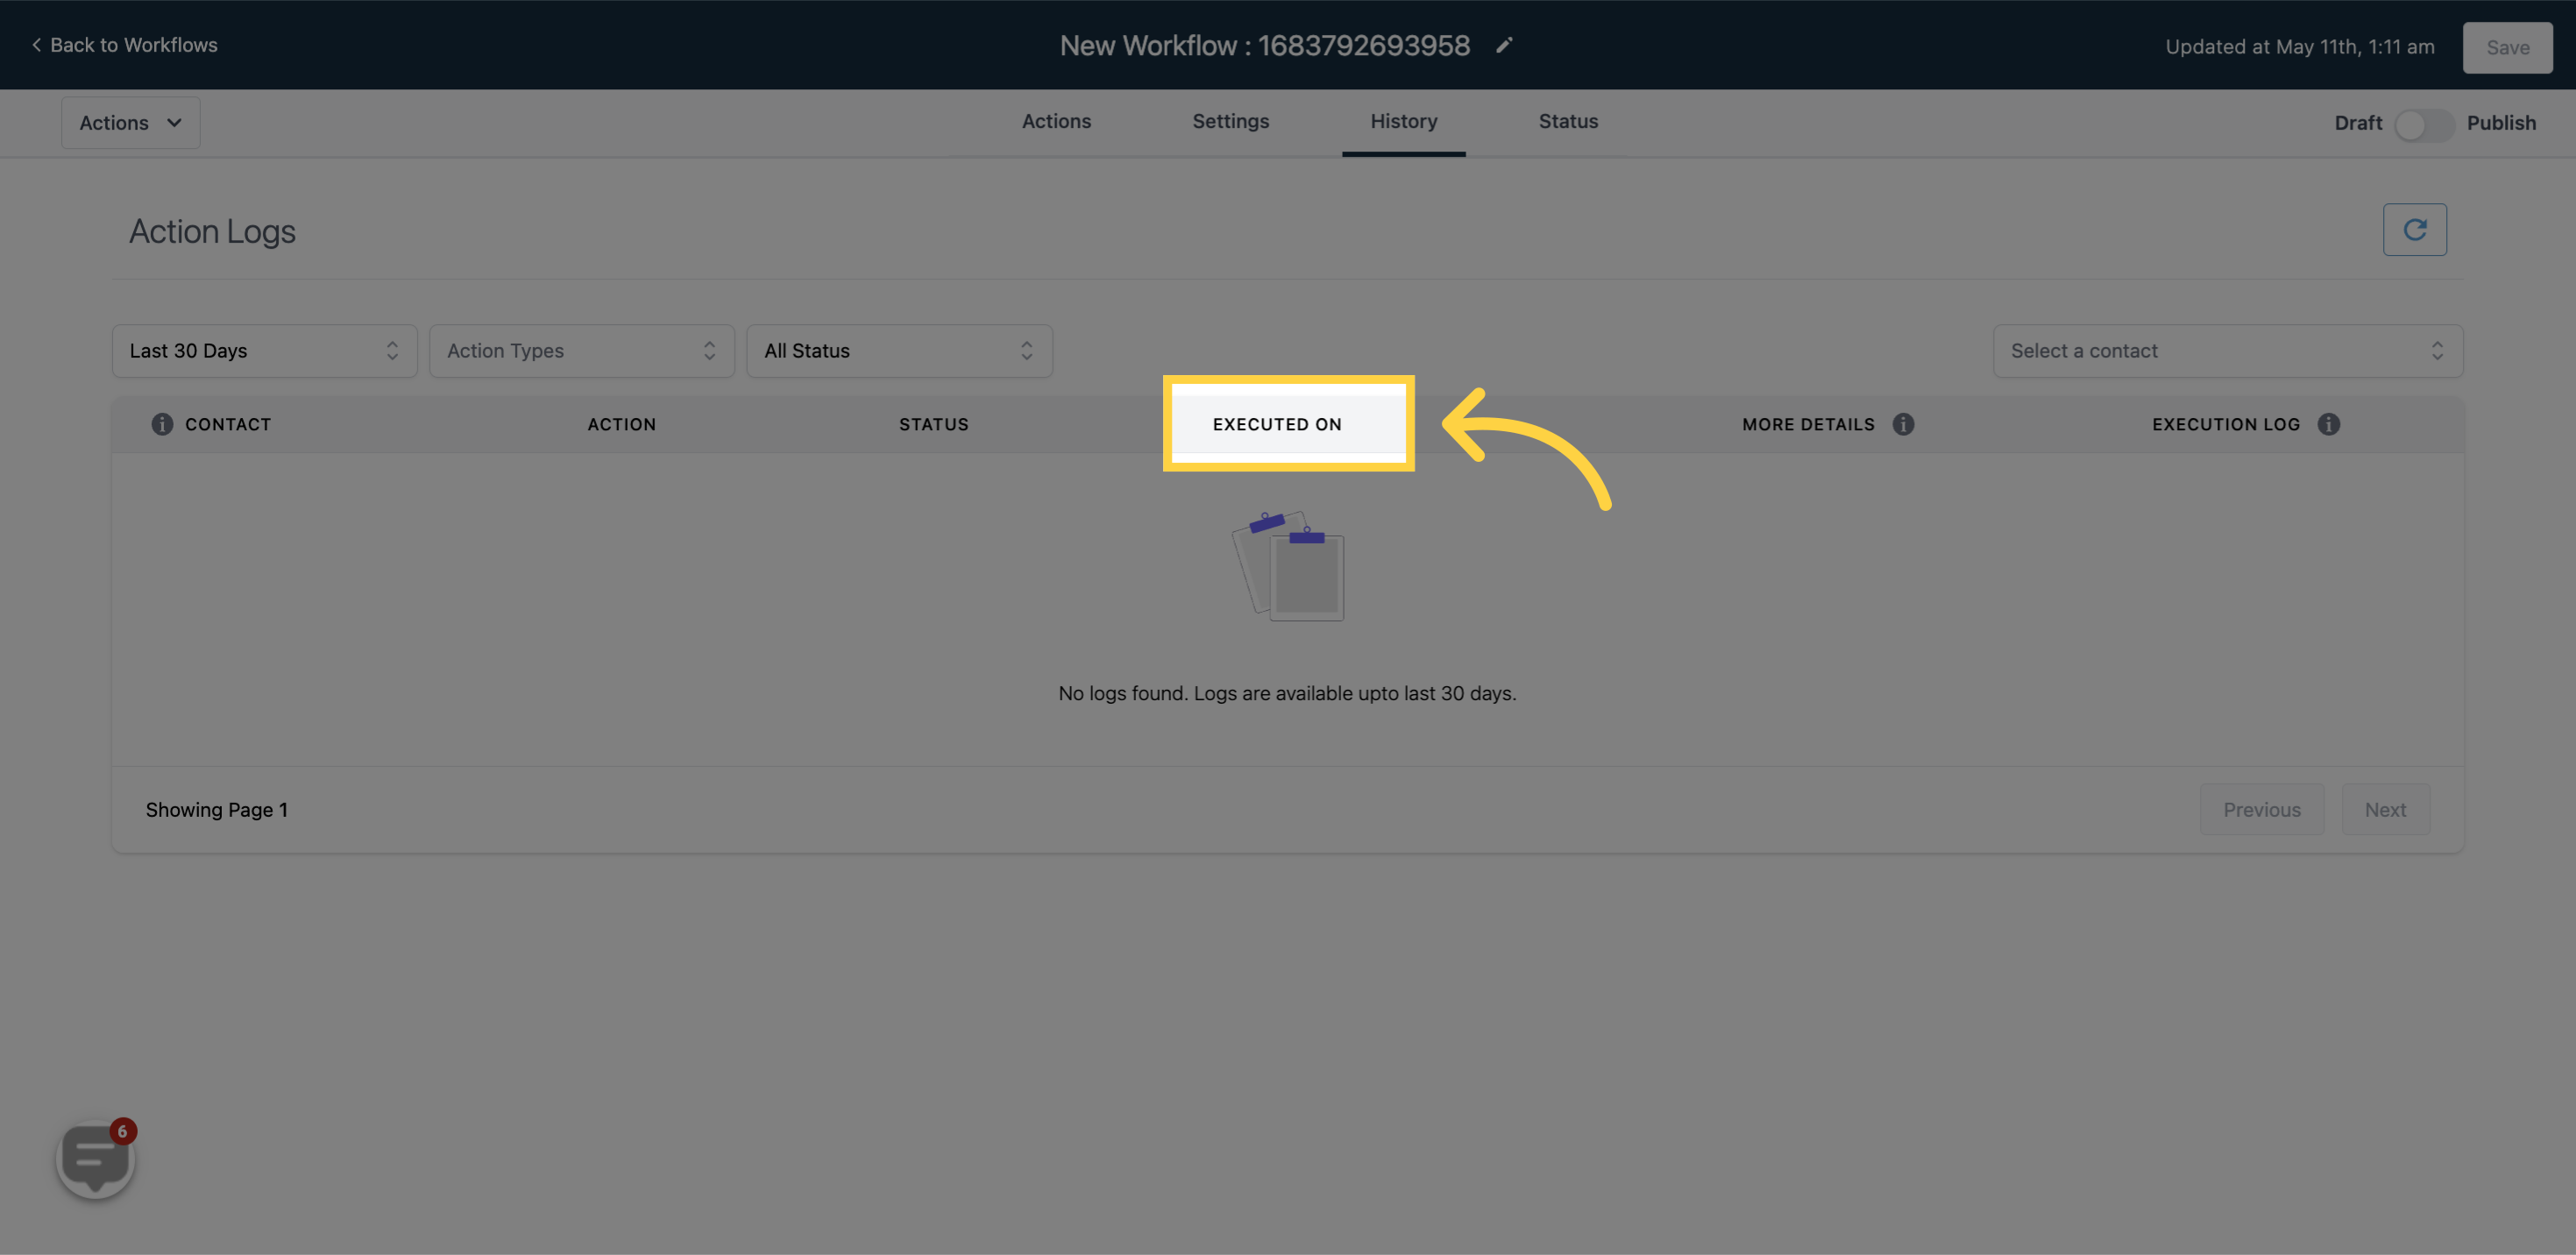
EXECUTED ON- Date and time when an action was executed on the contacts
)
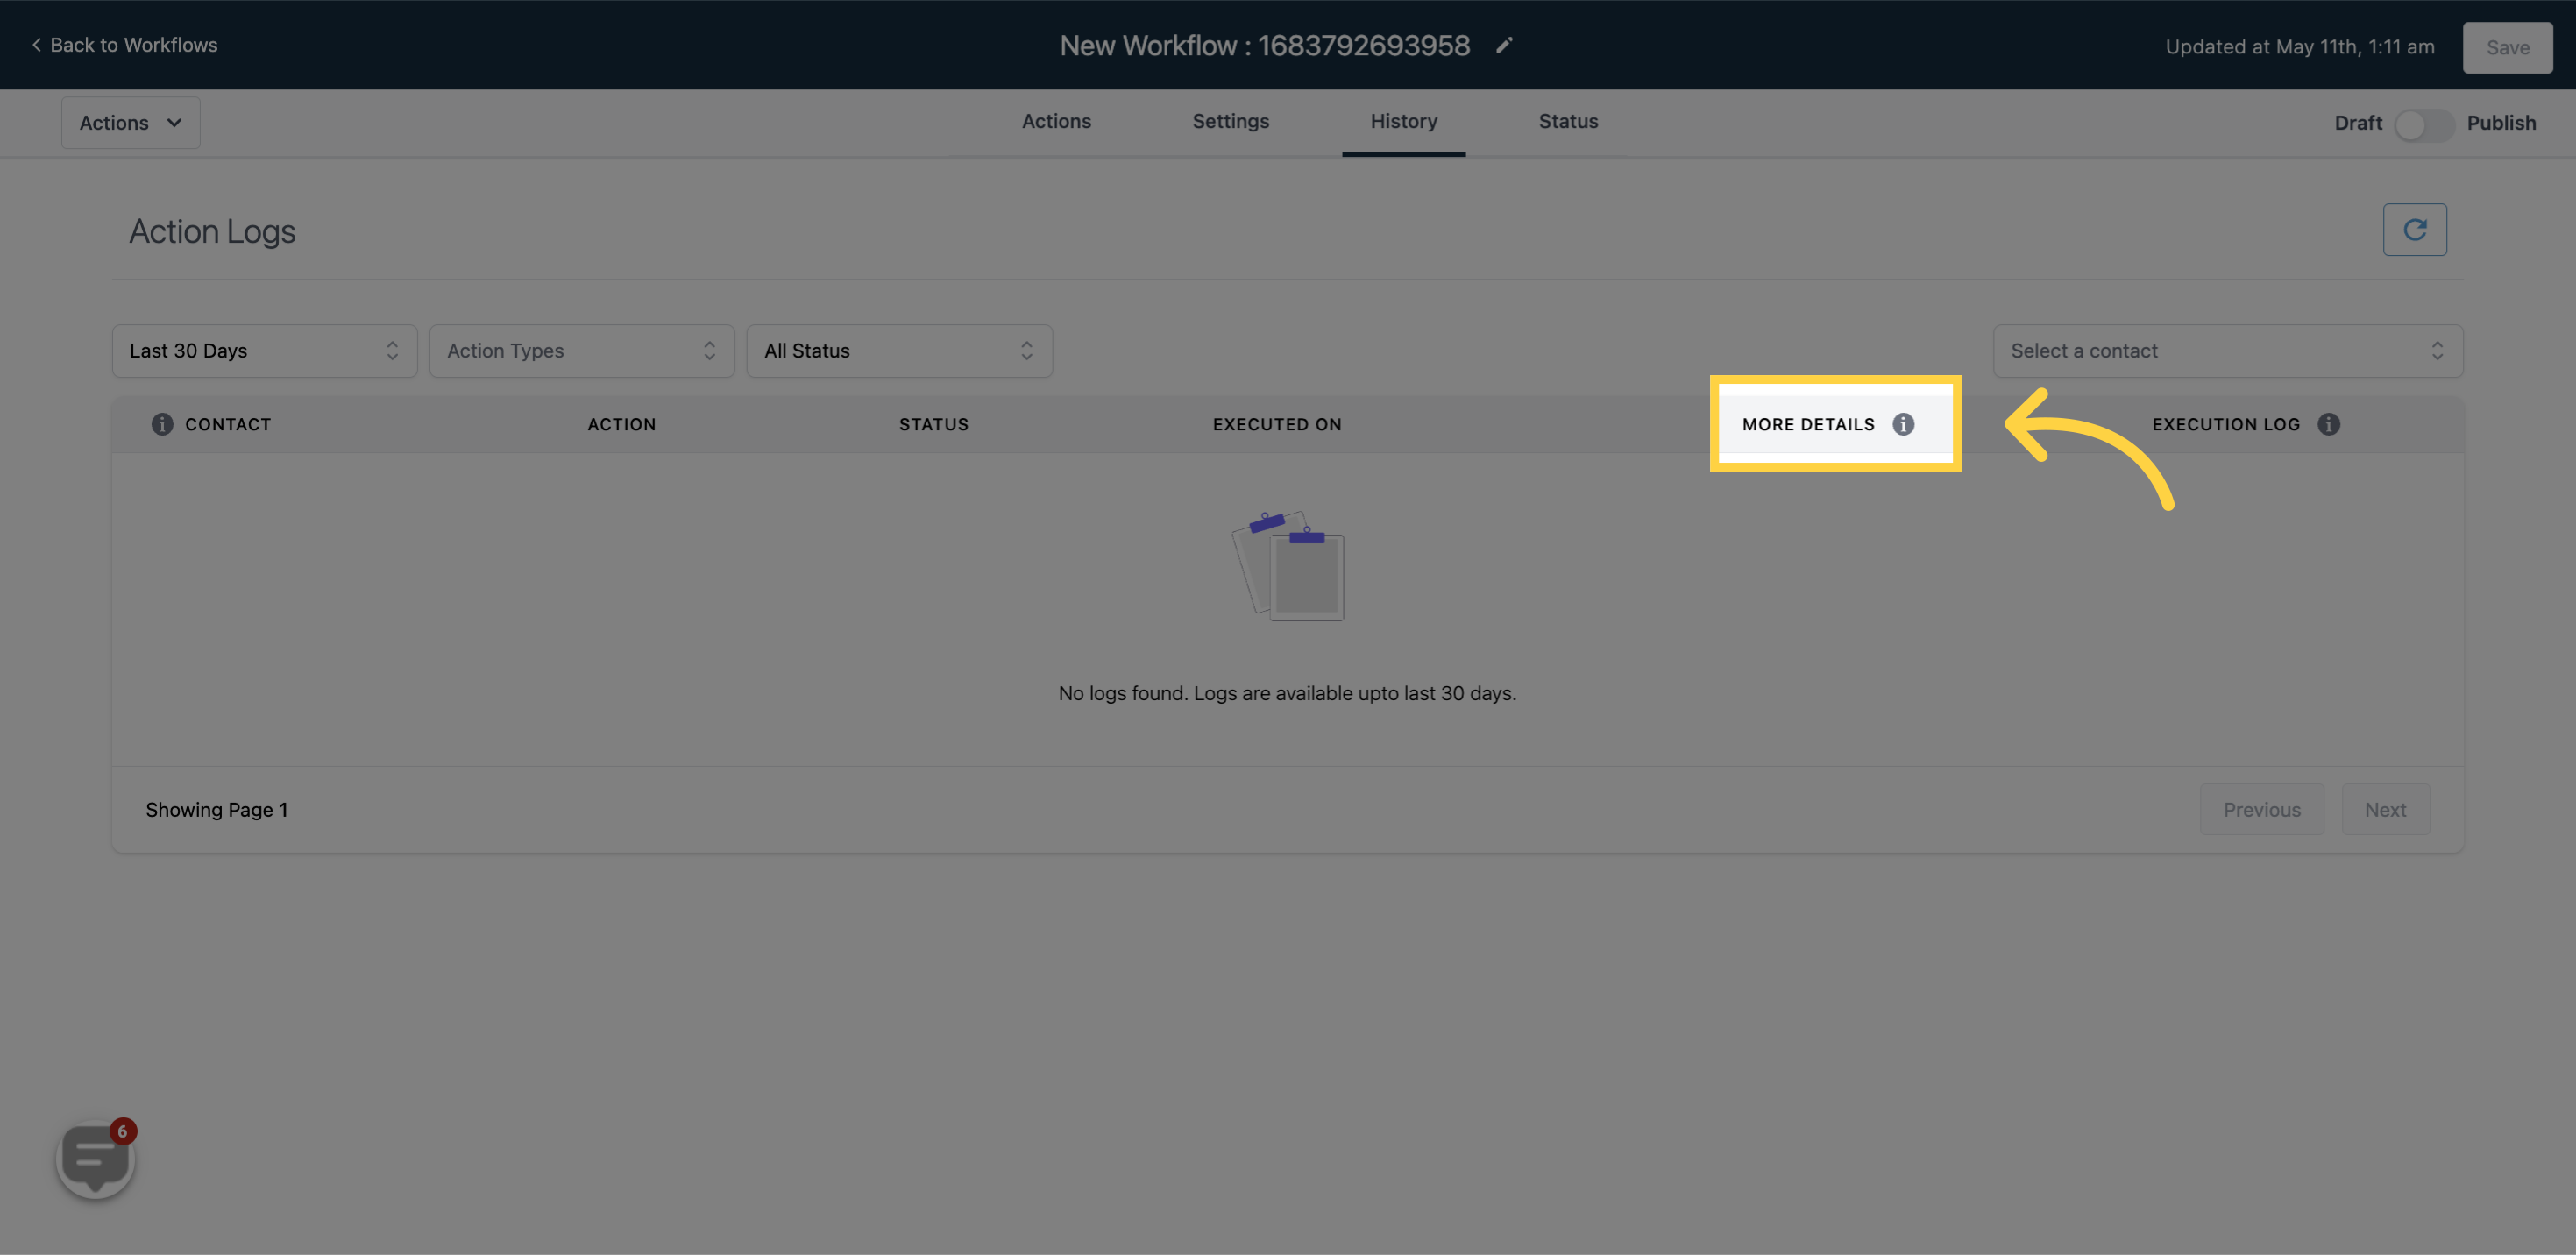
MORE DETAILS - More details about events
)
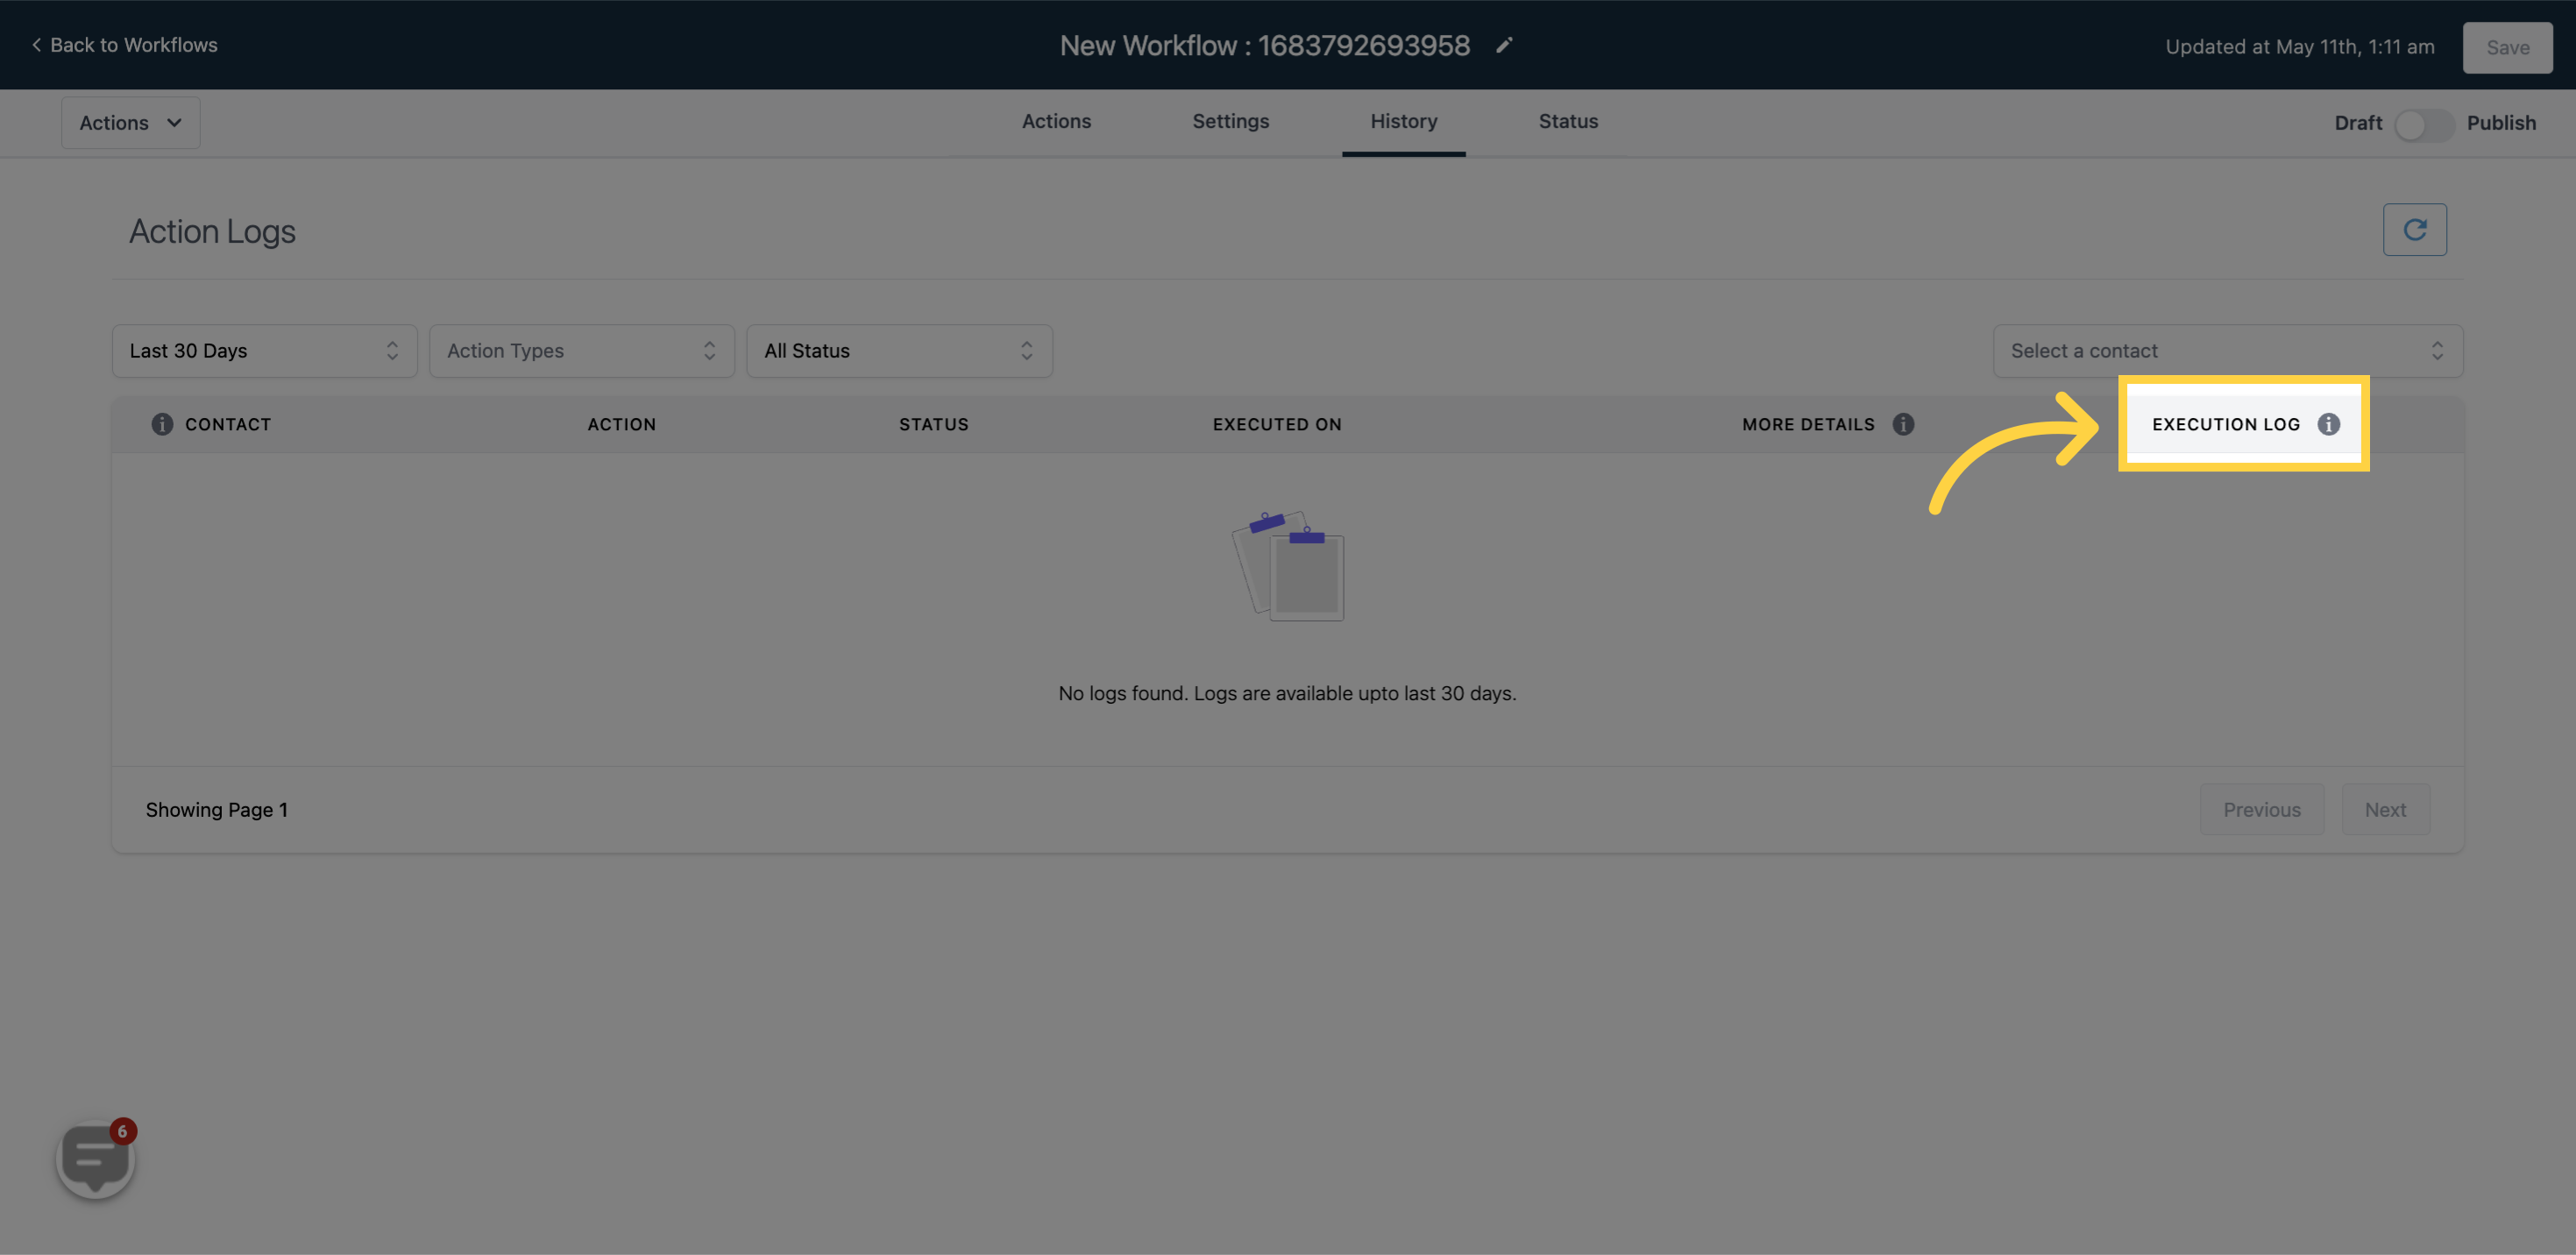
EXECUTION LOG - Execution log which lists actions executed on a specific contact.
)
