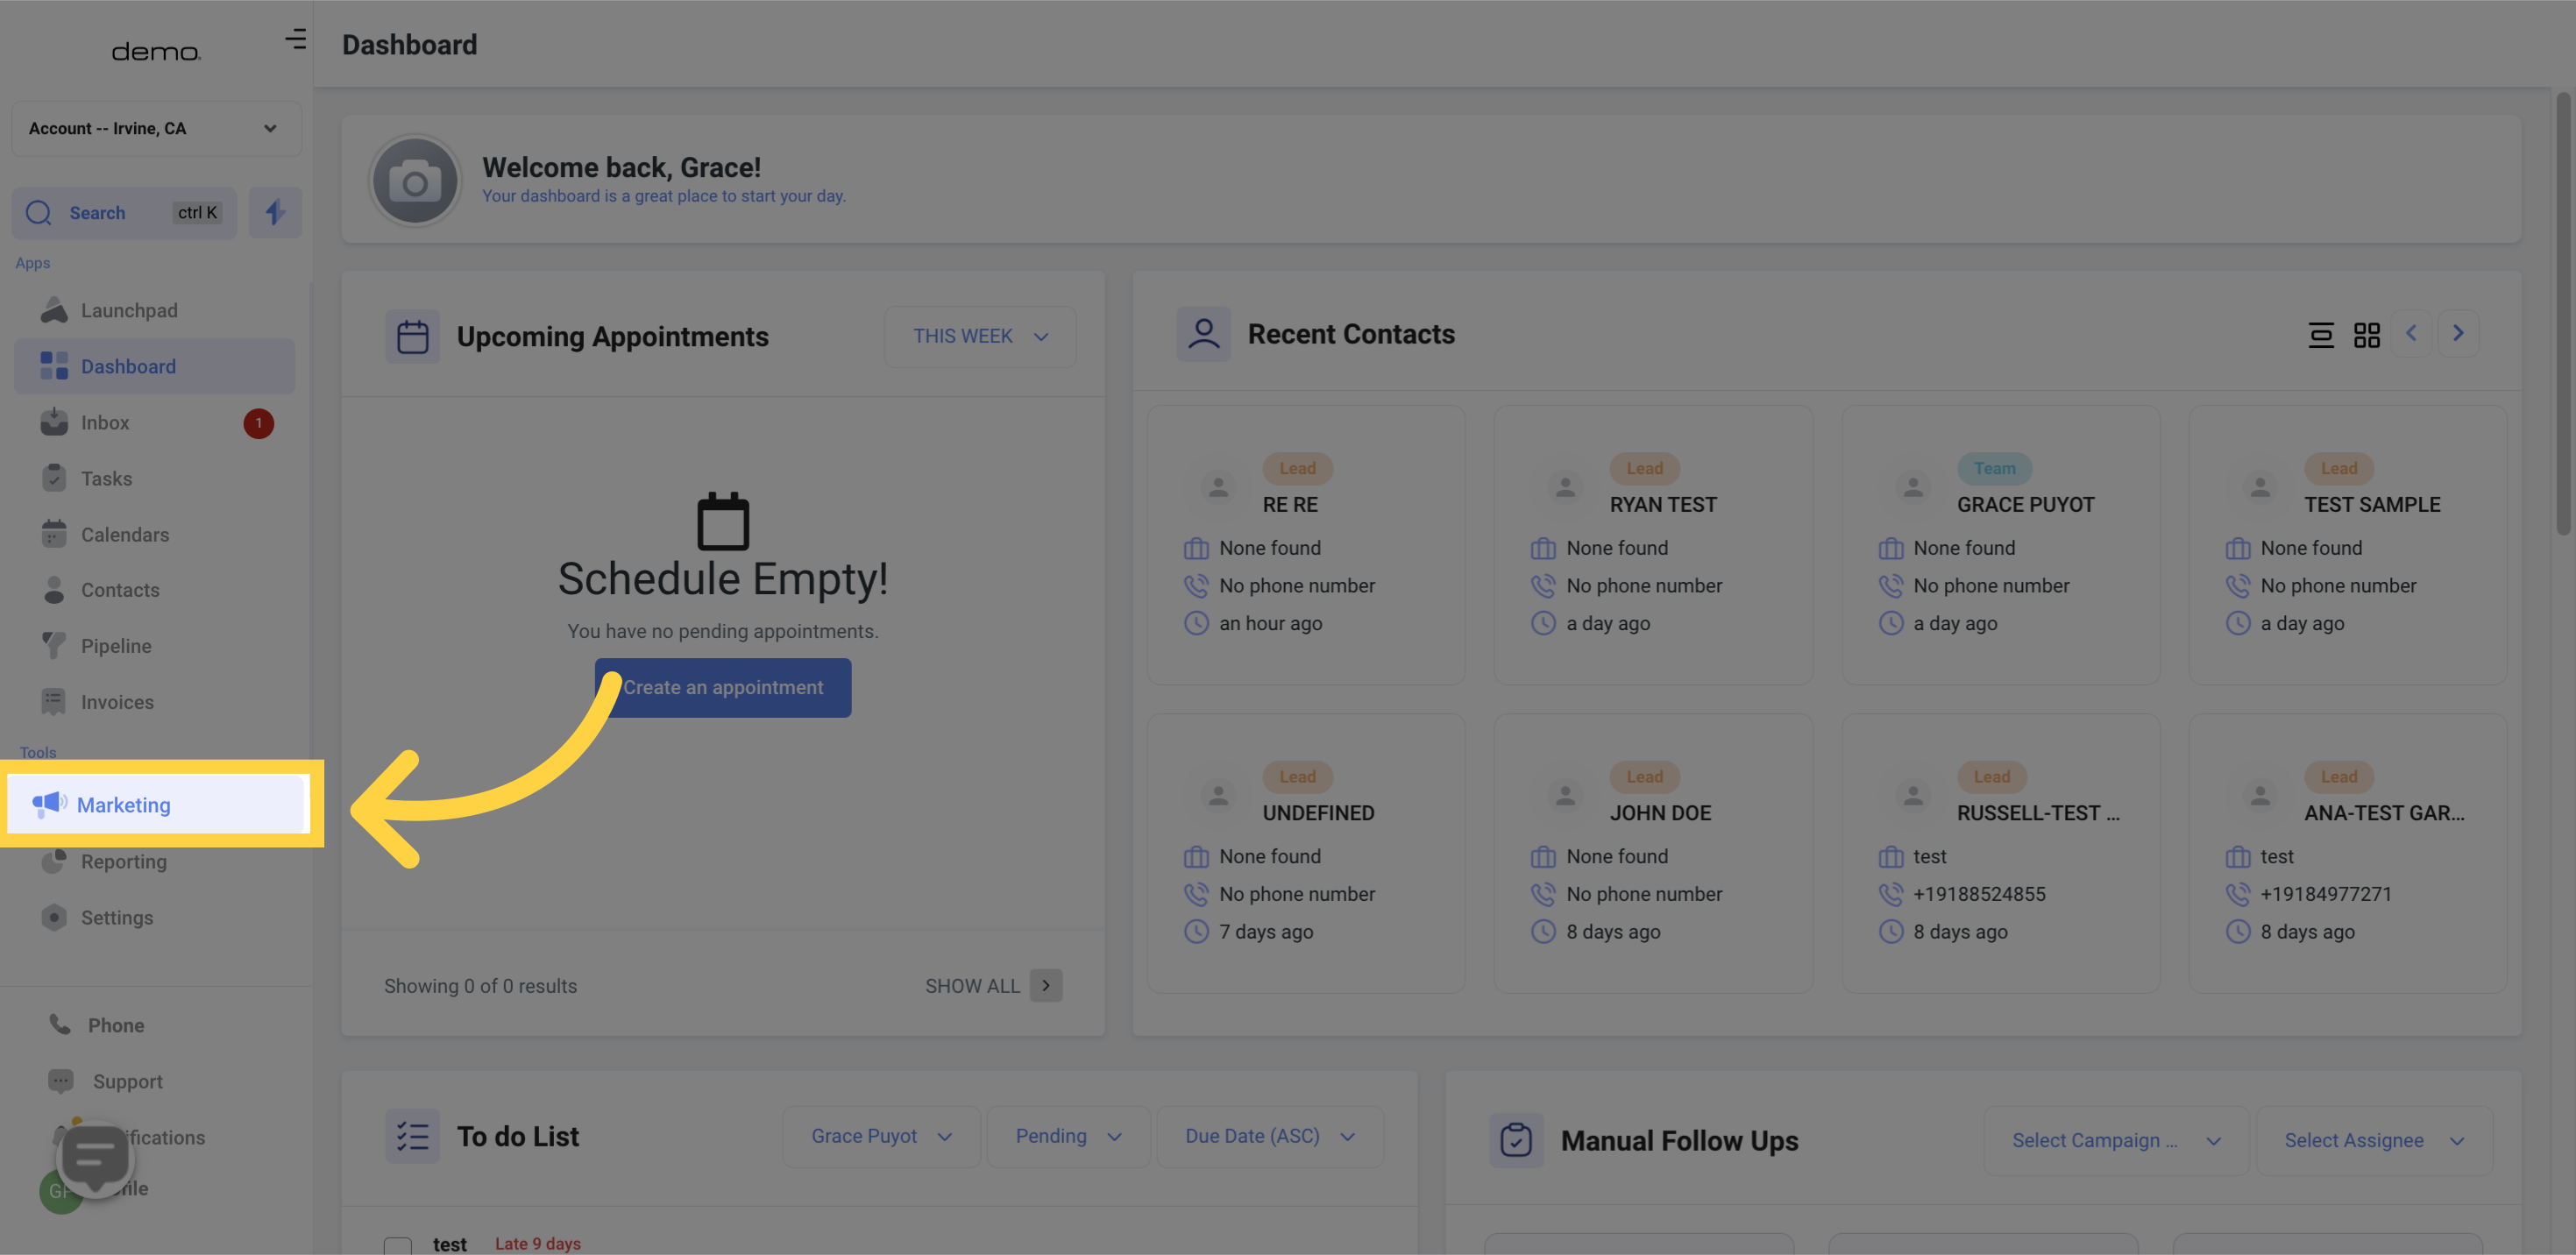
Access the marketing section.
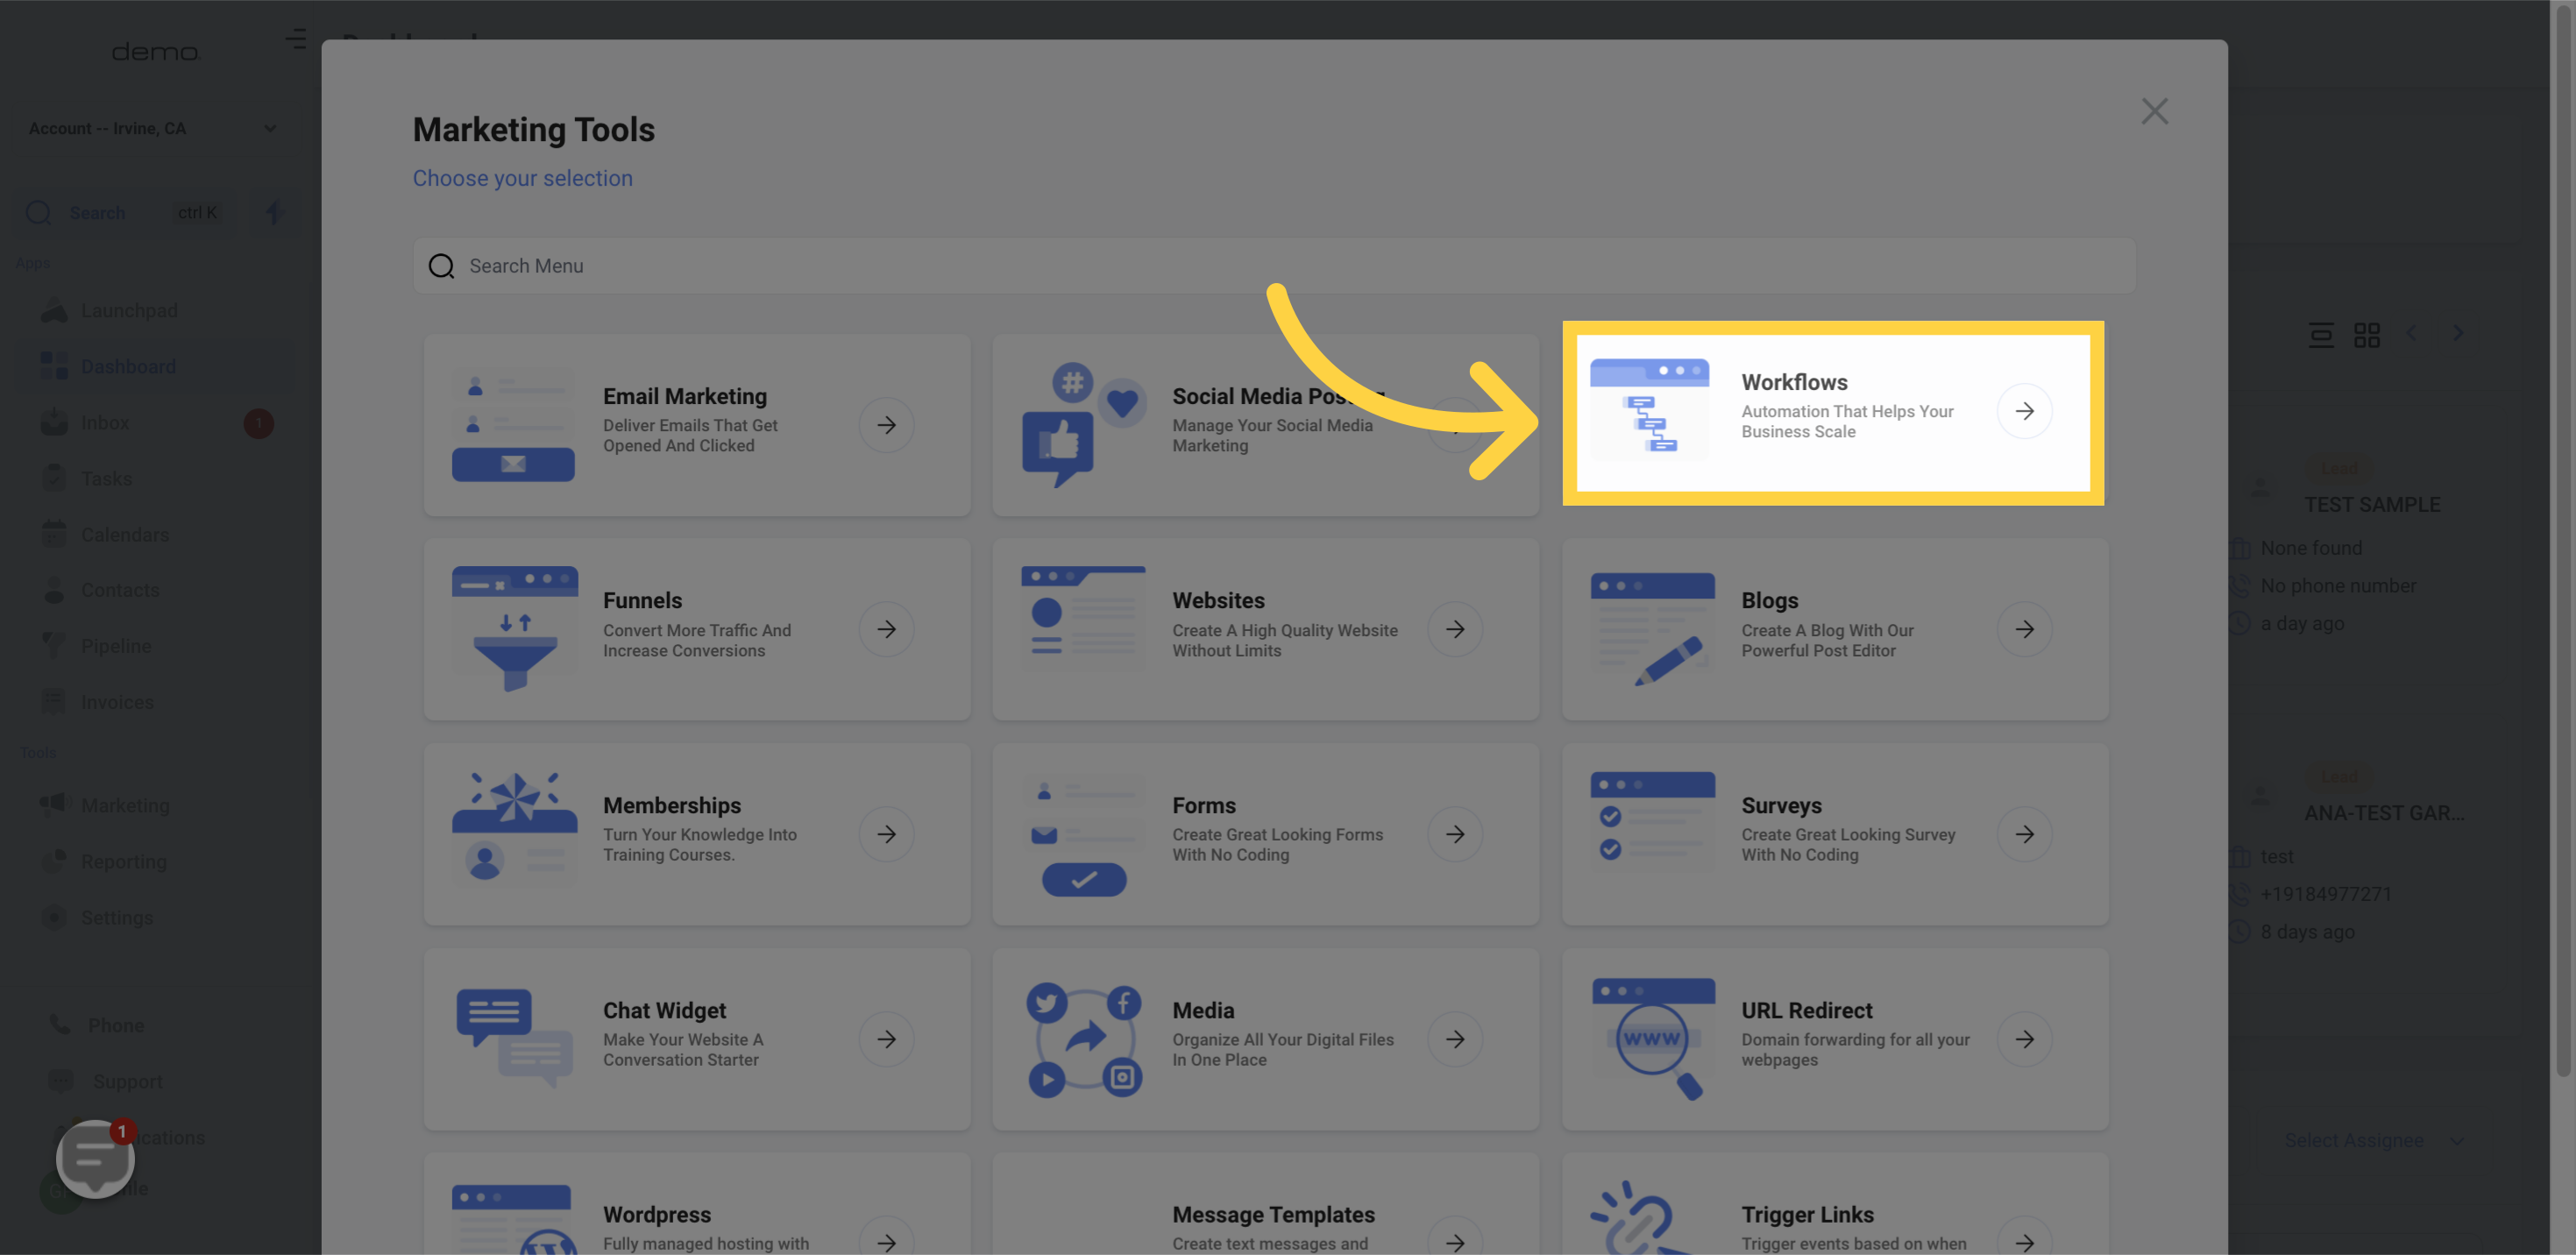
Select the "workflows" option.
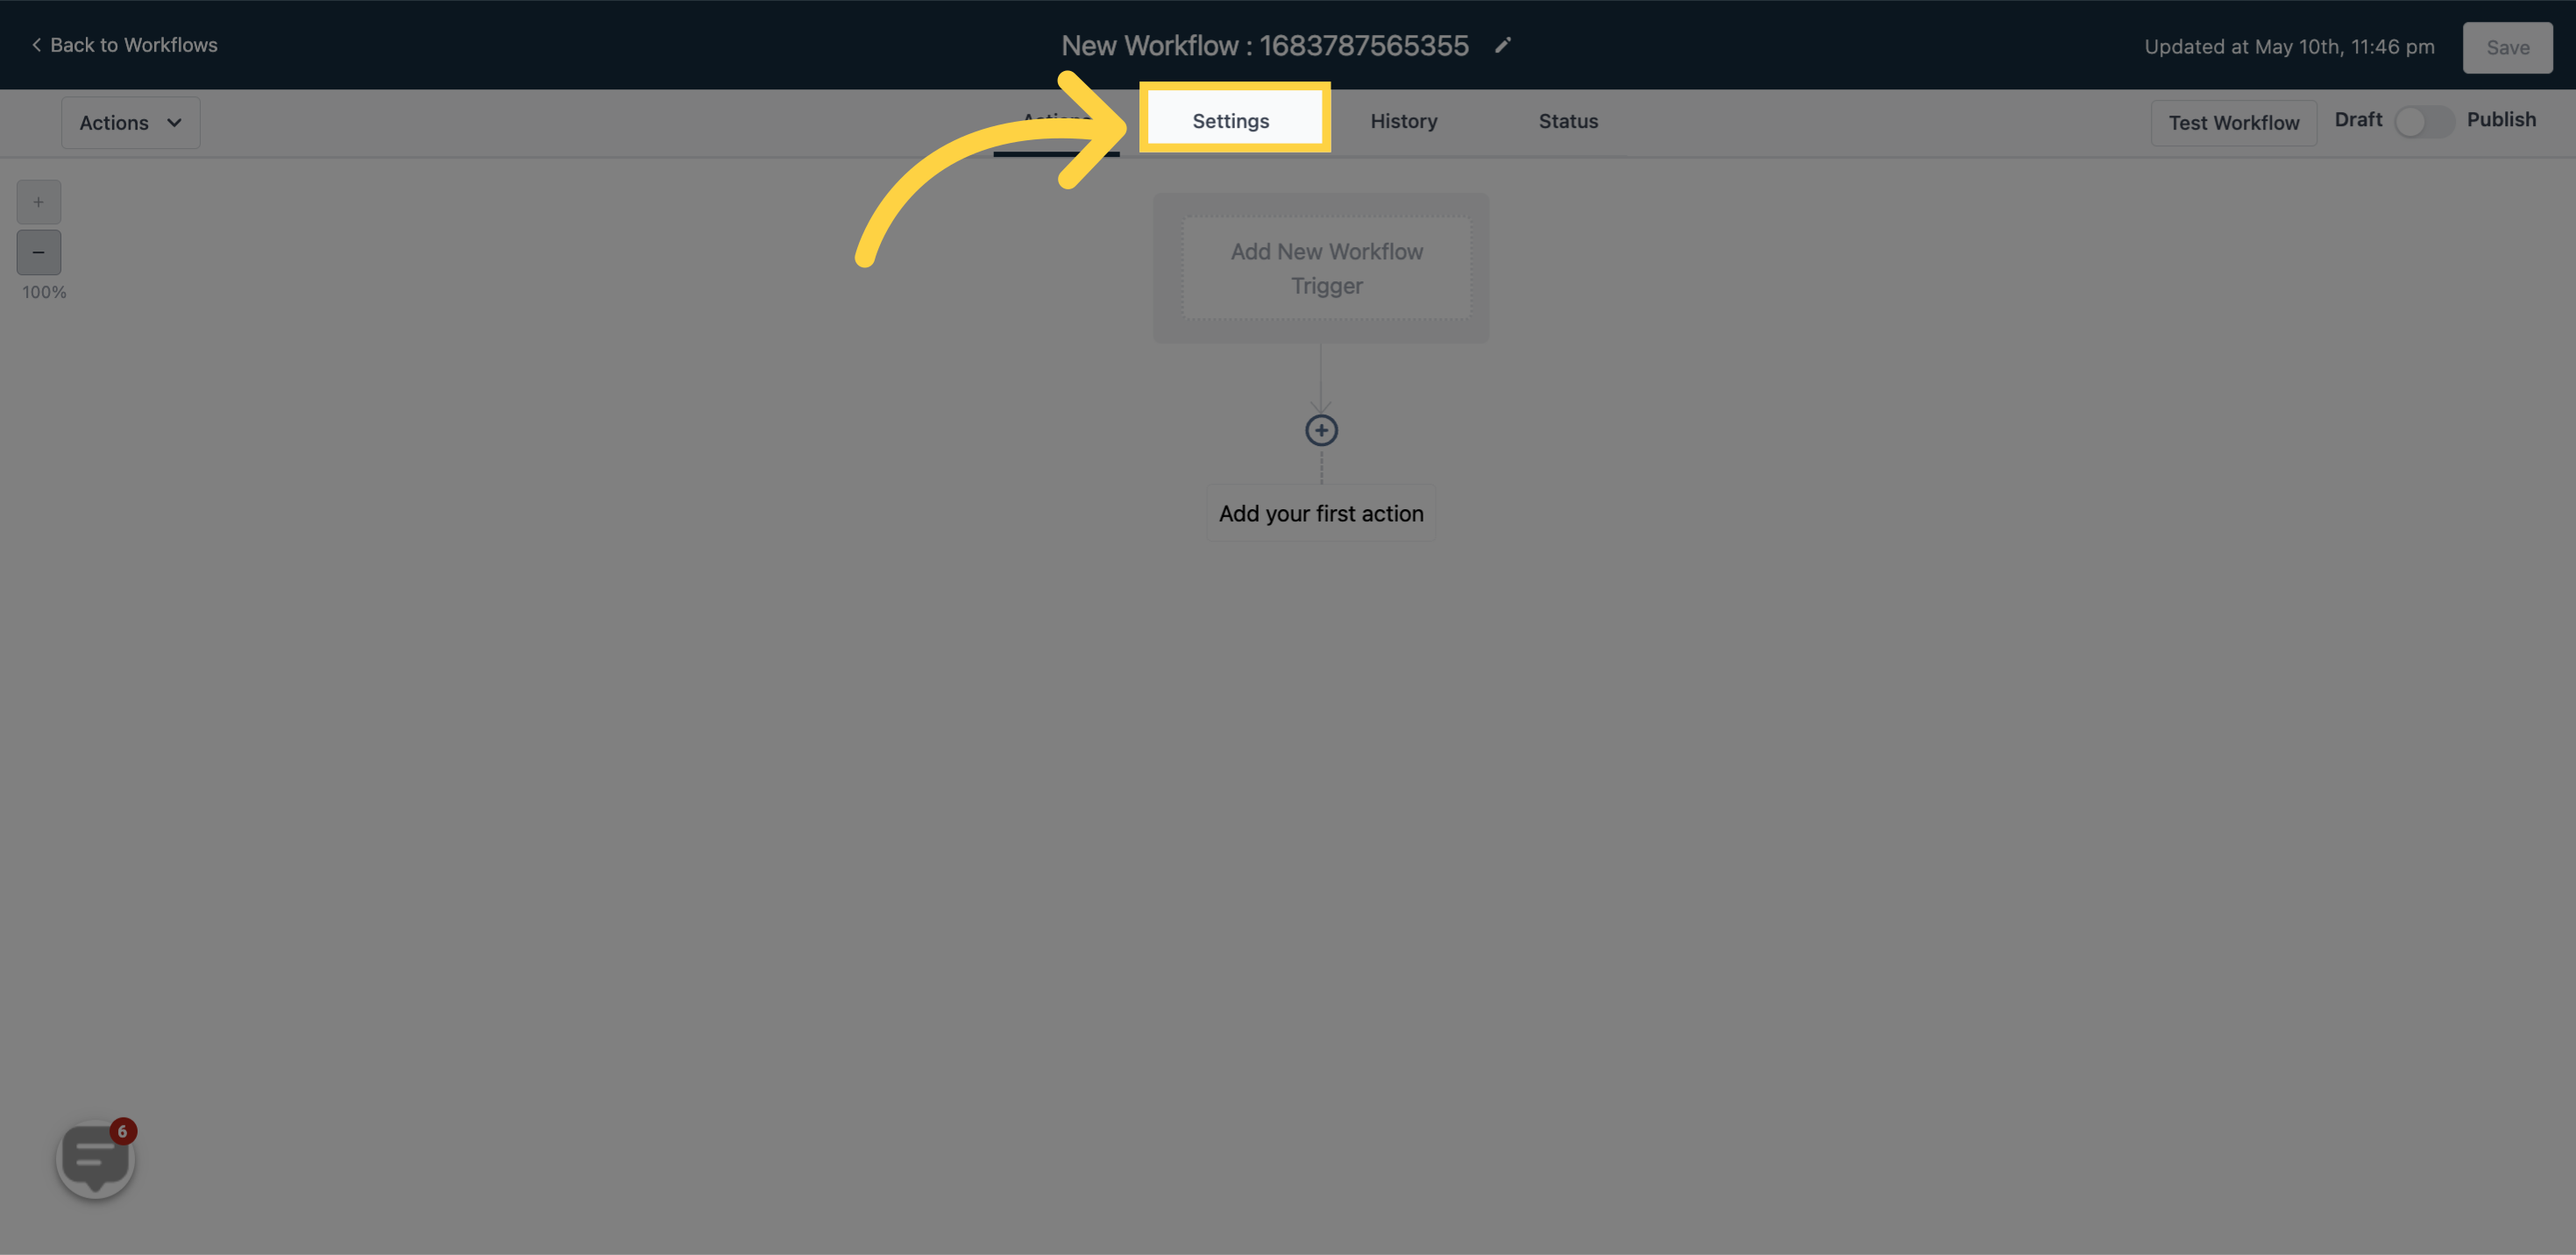
Start creating a new workflow.
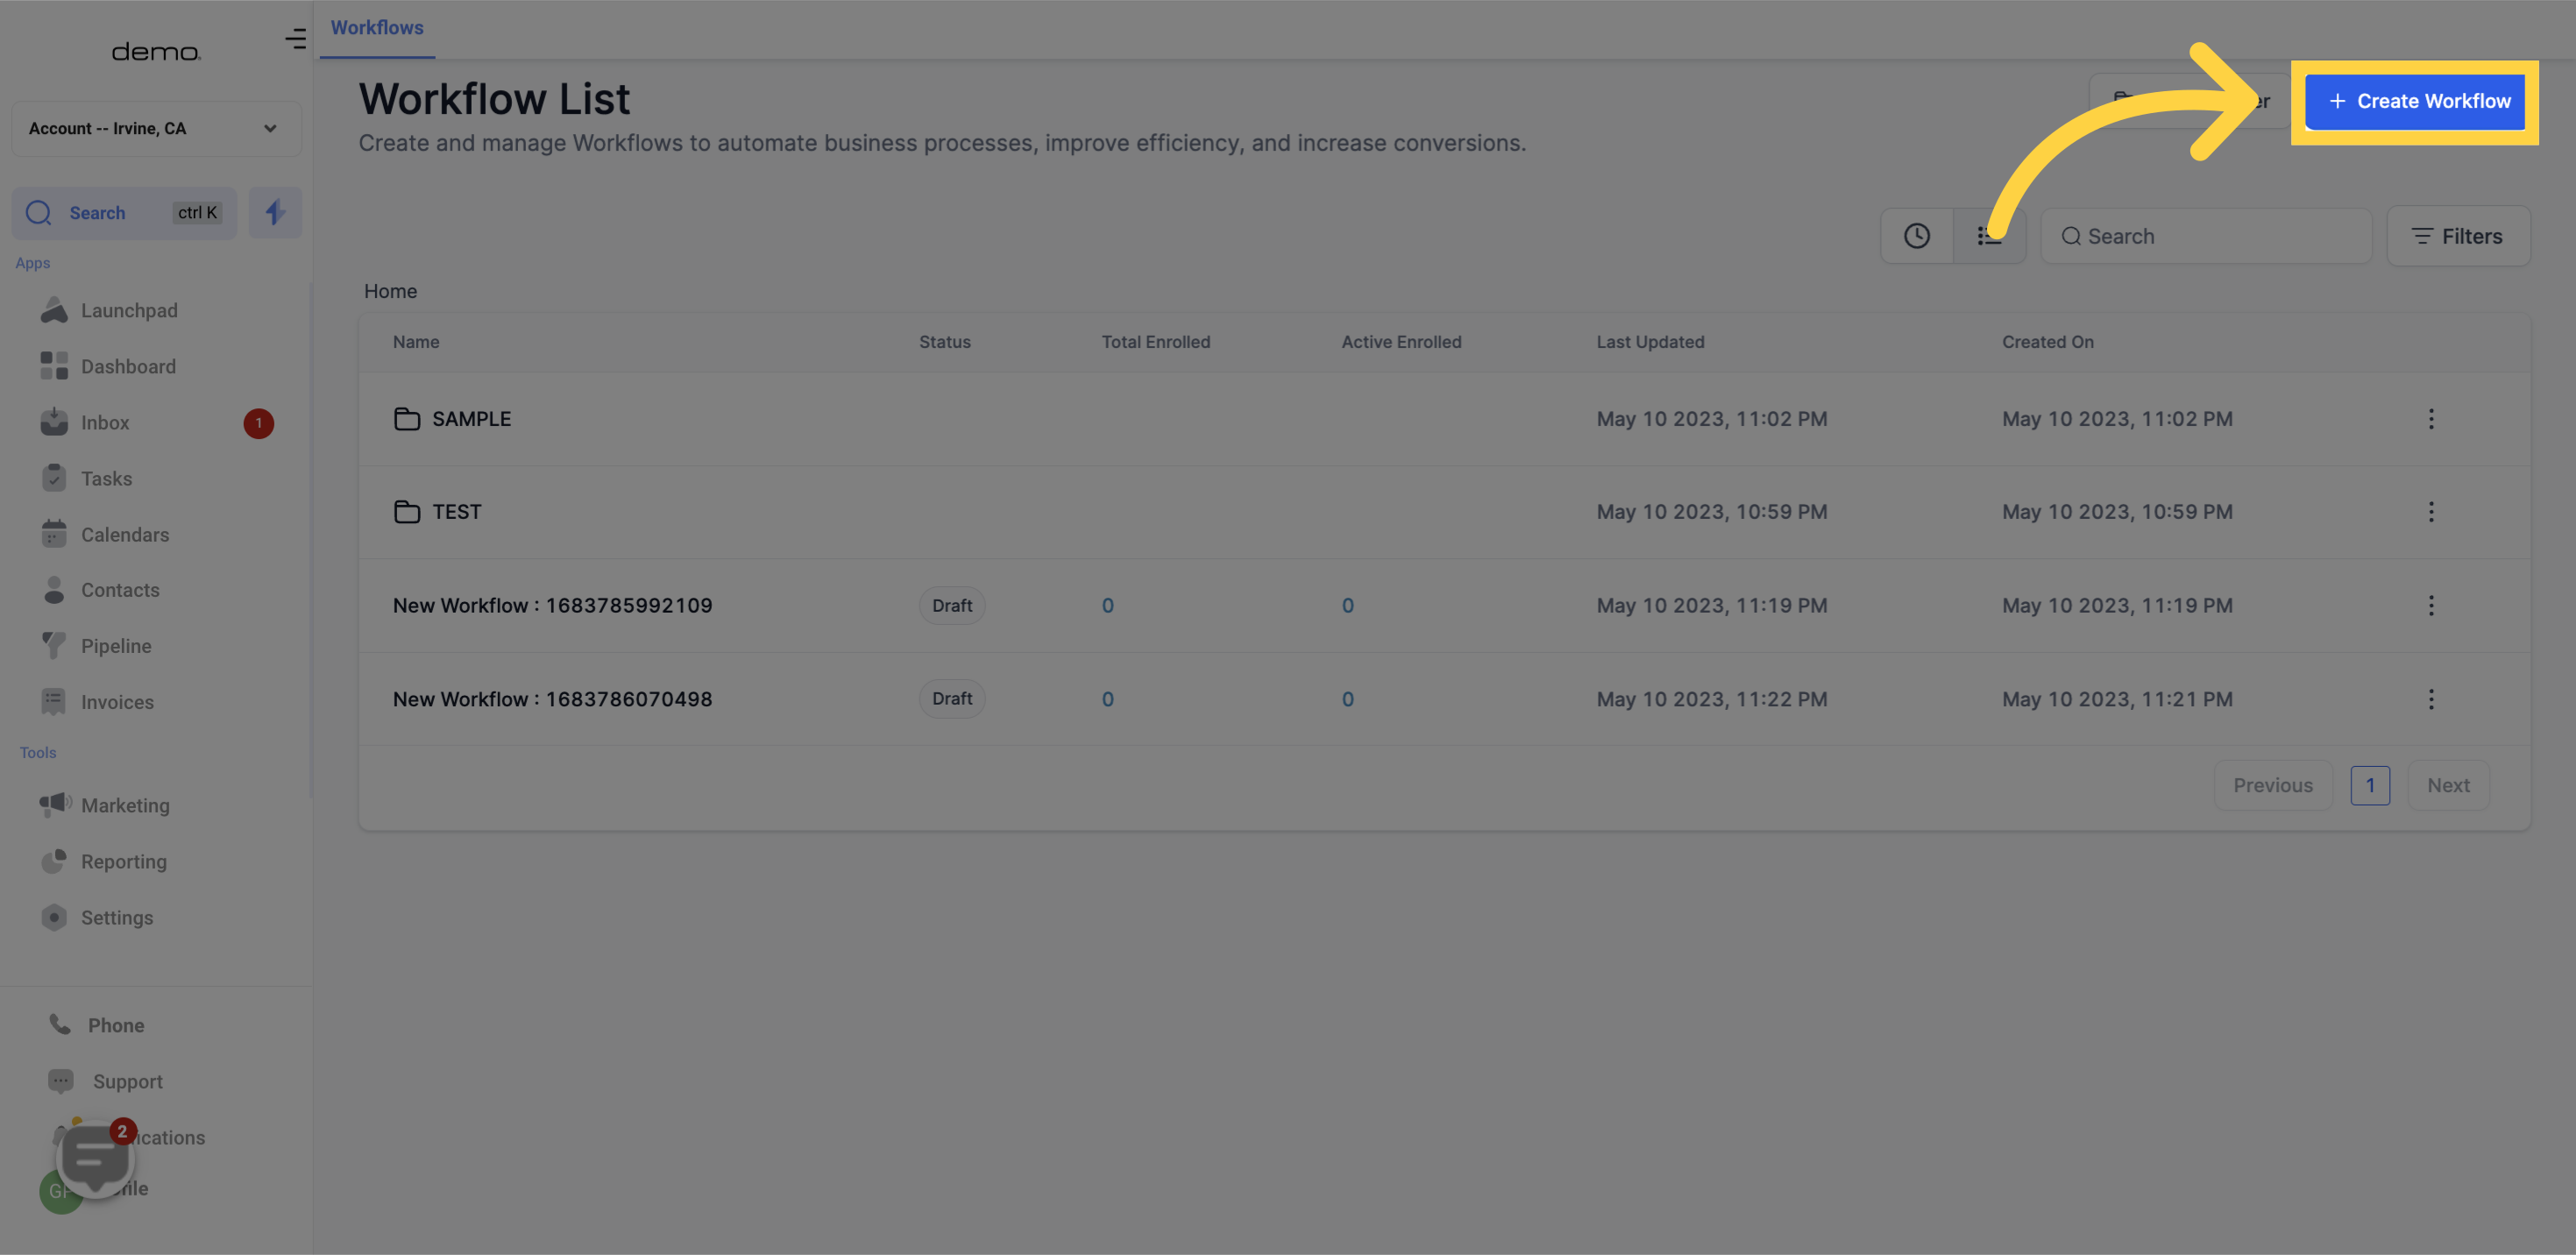
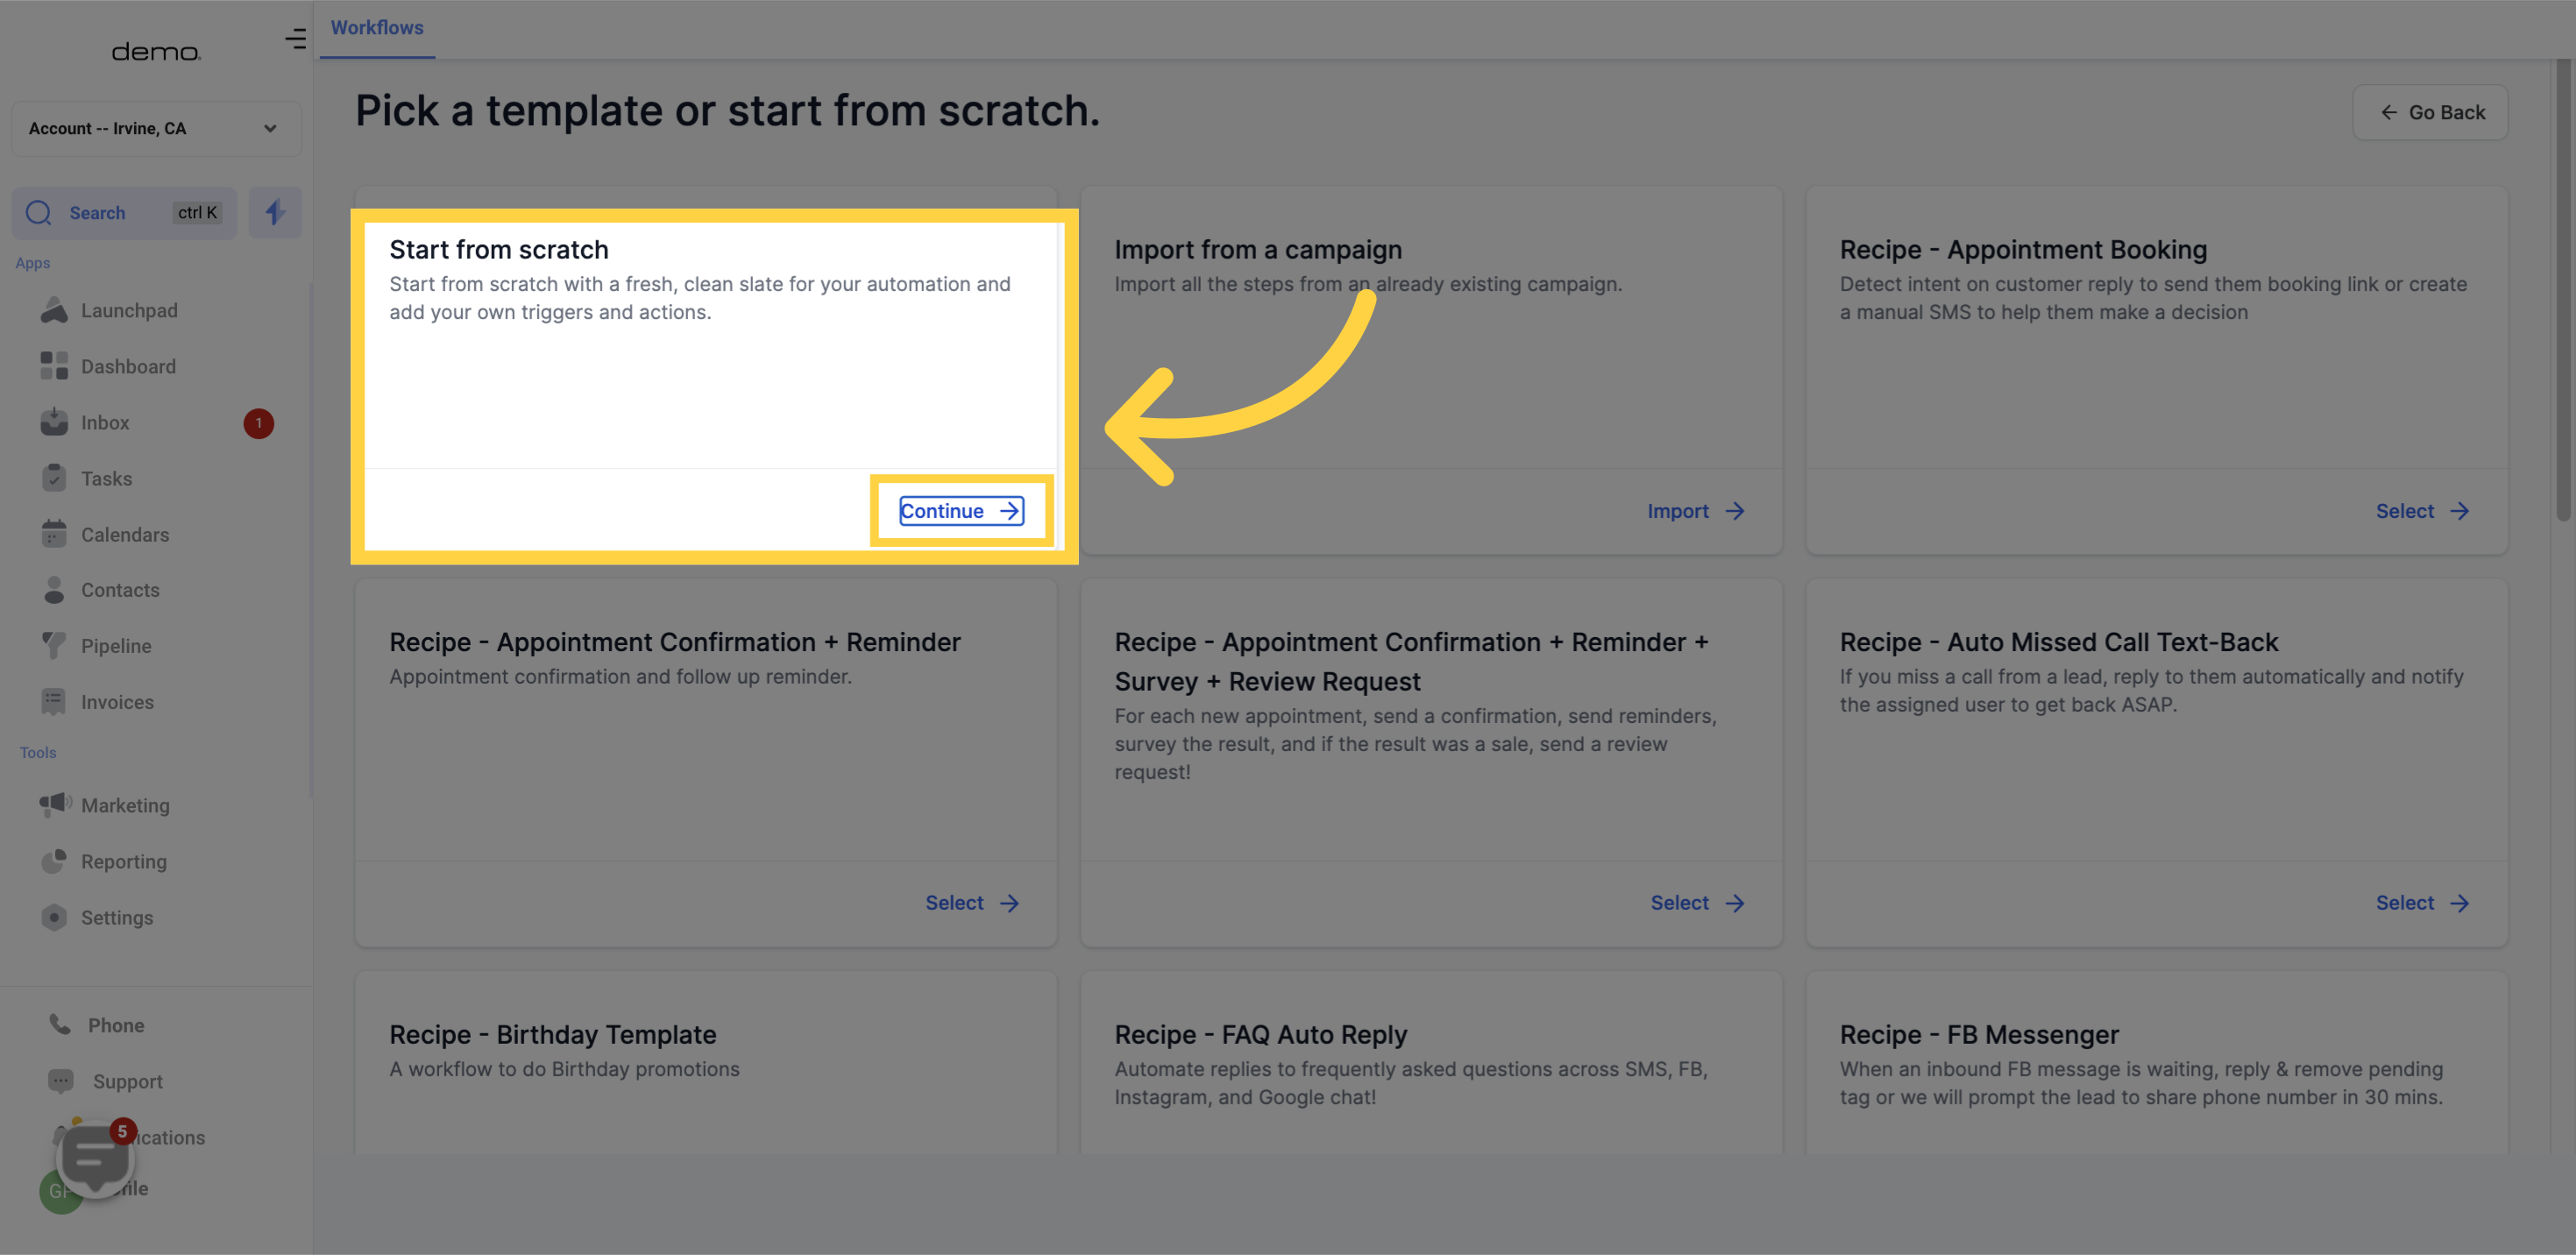
Pick a template or start from scratch, in my sample below i select "Start from scratch"
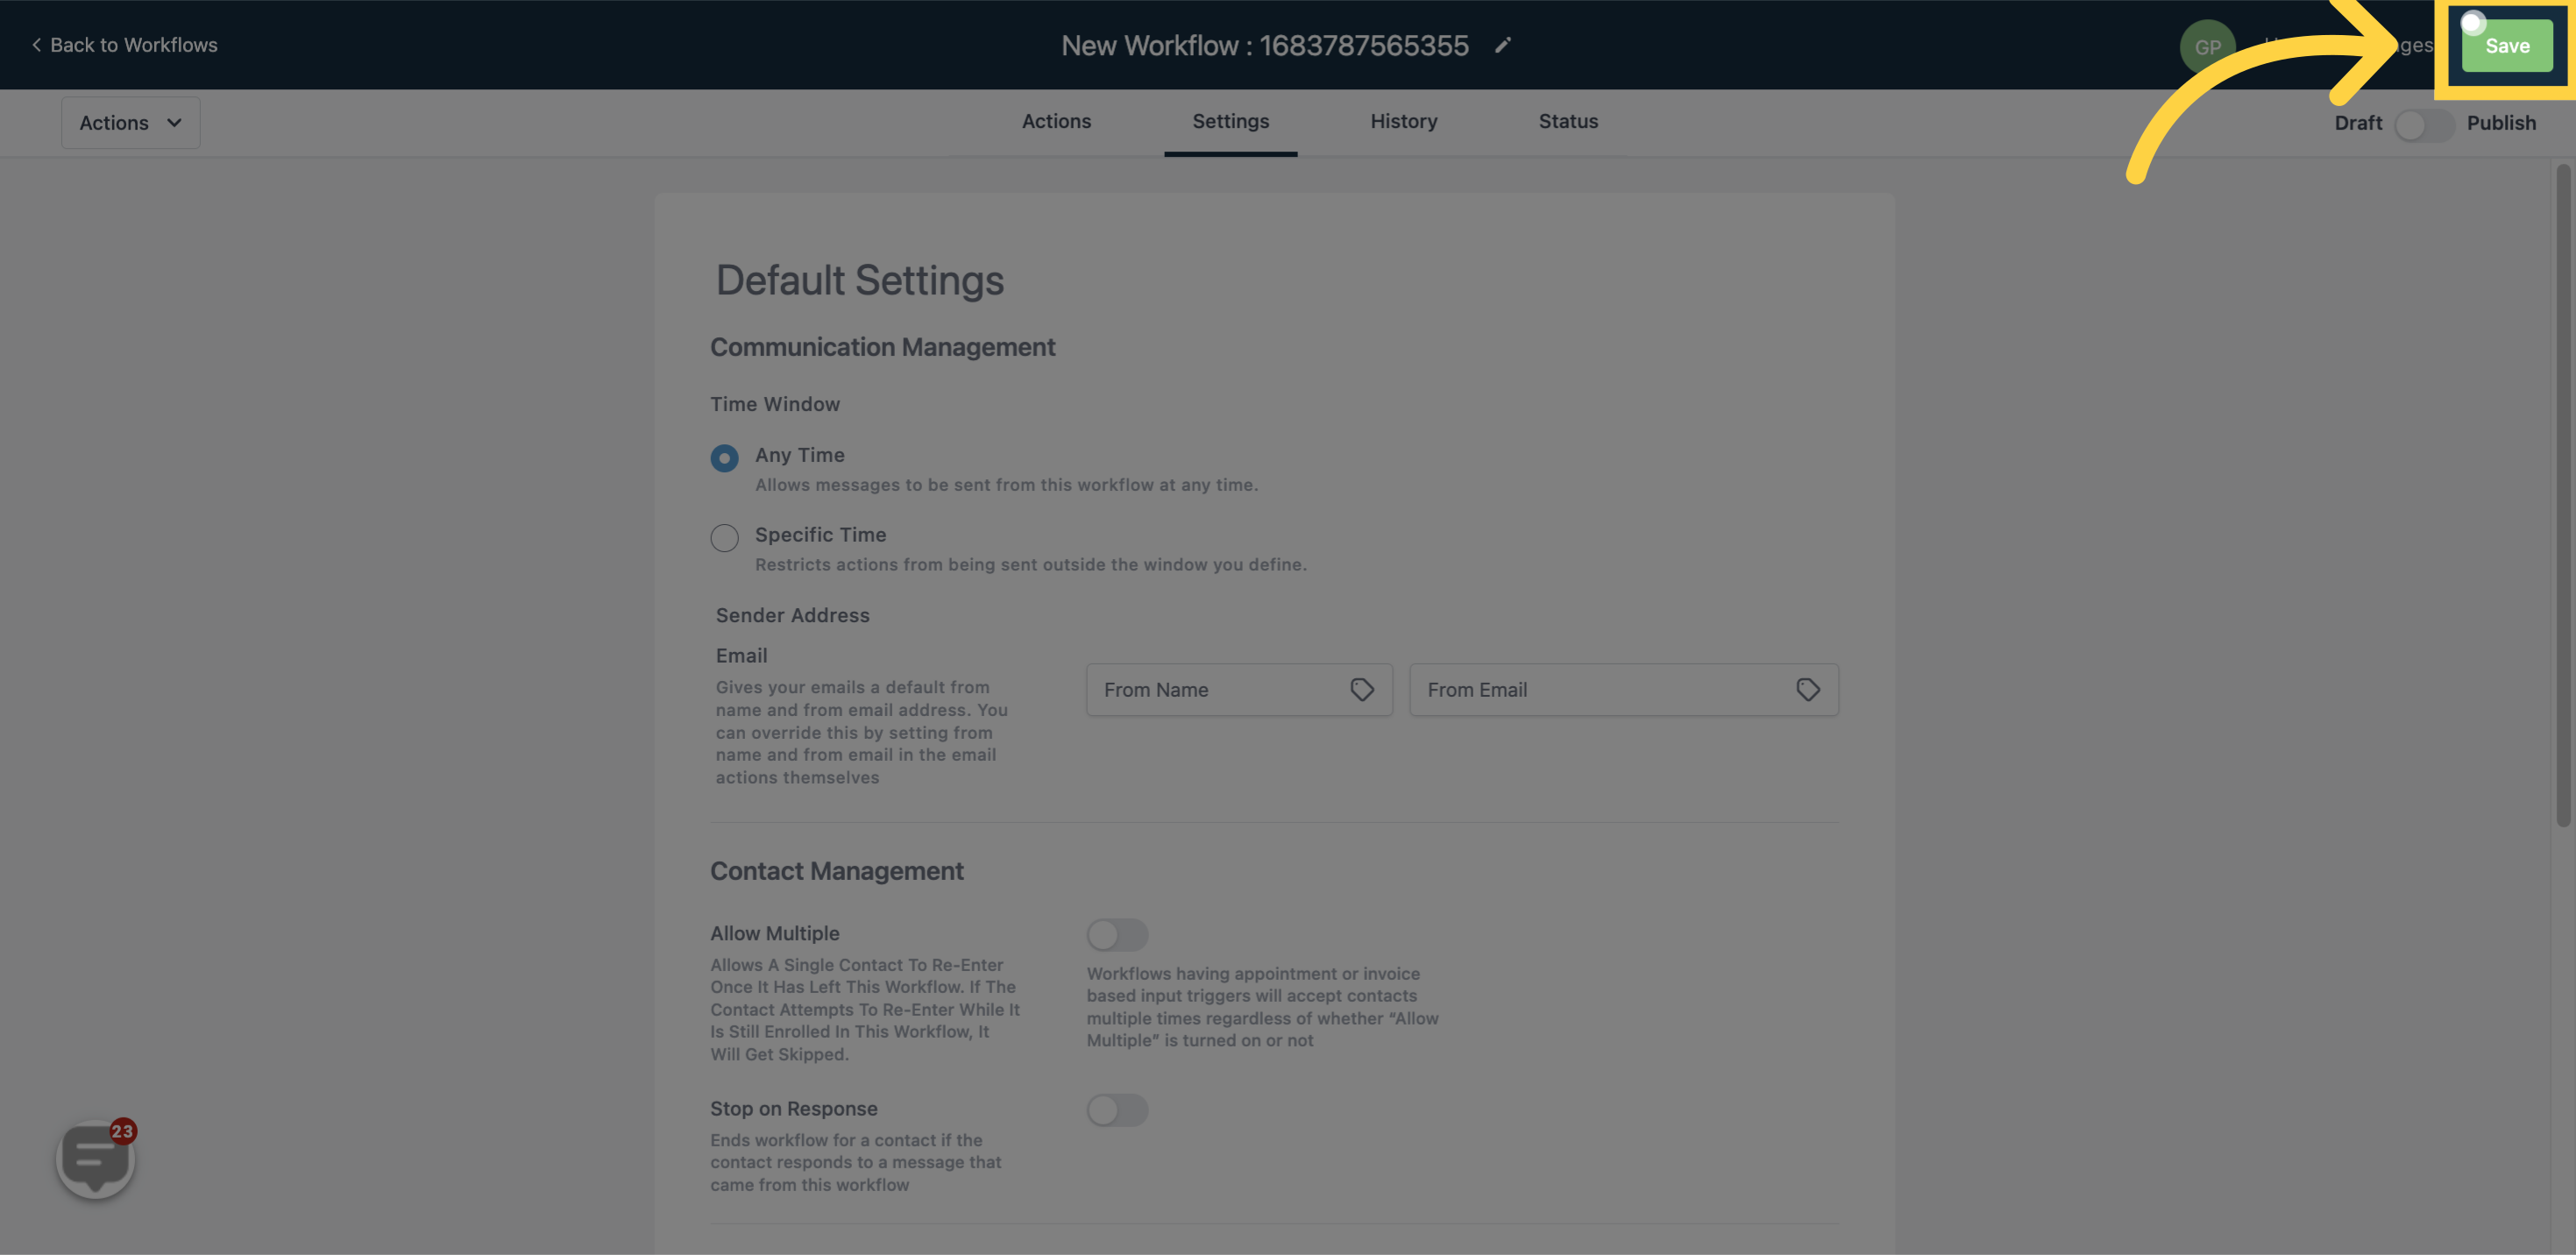
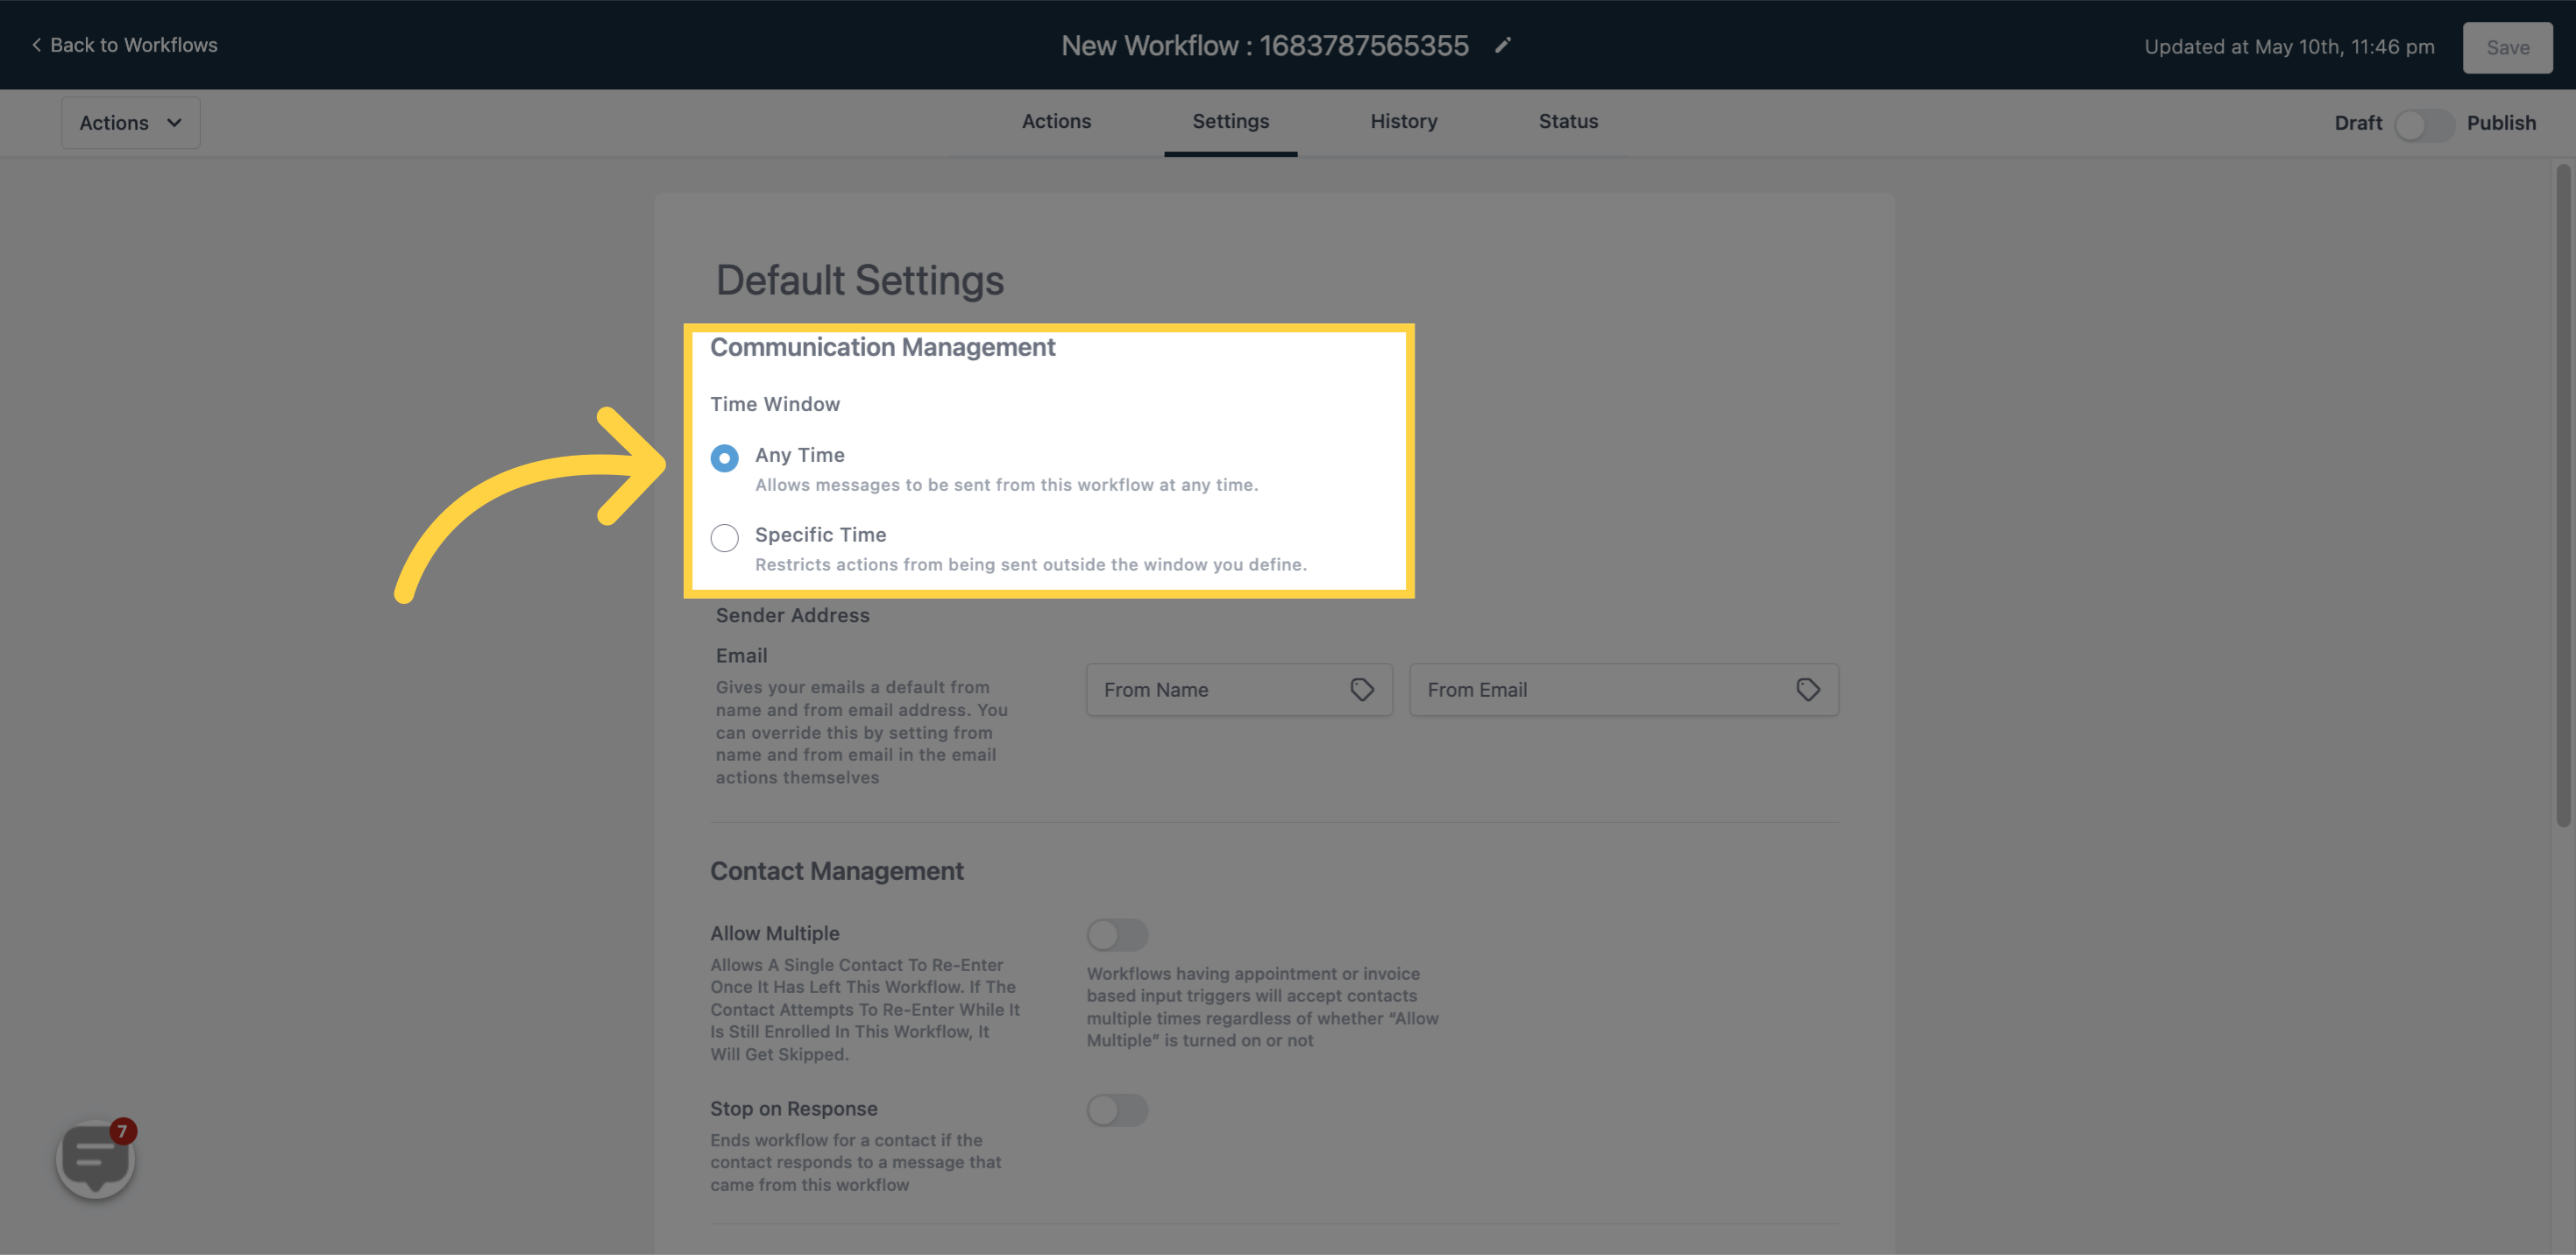
You can use the time window option to control when the workflow should be active. You have two options to choose from:
ANY TIME - This option enables the workflow to send messages at any time.
SPECIFIC TIME - With this option, you can set a time window to limit the sending of actions outside the defined window.
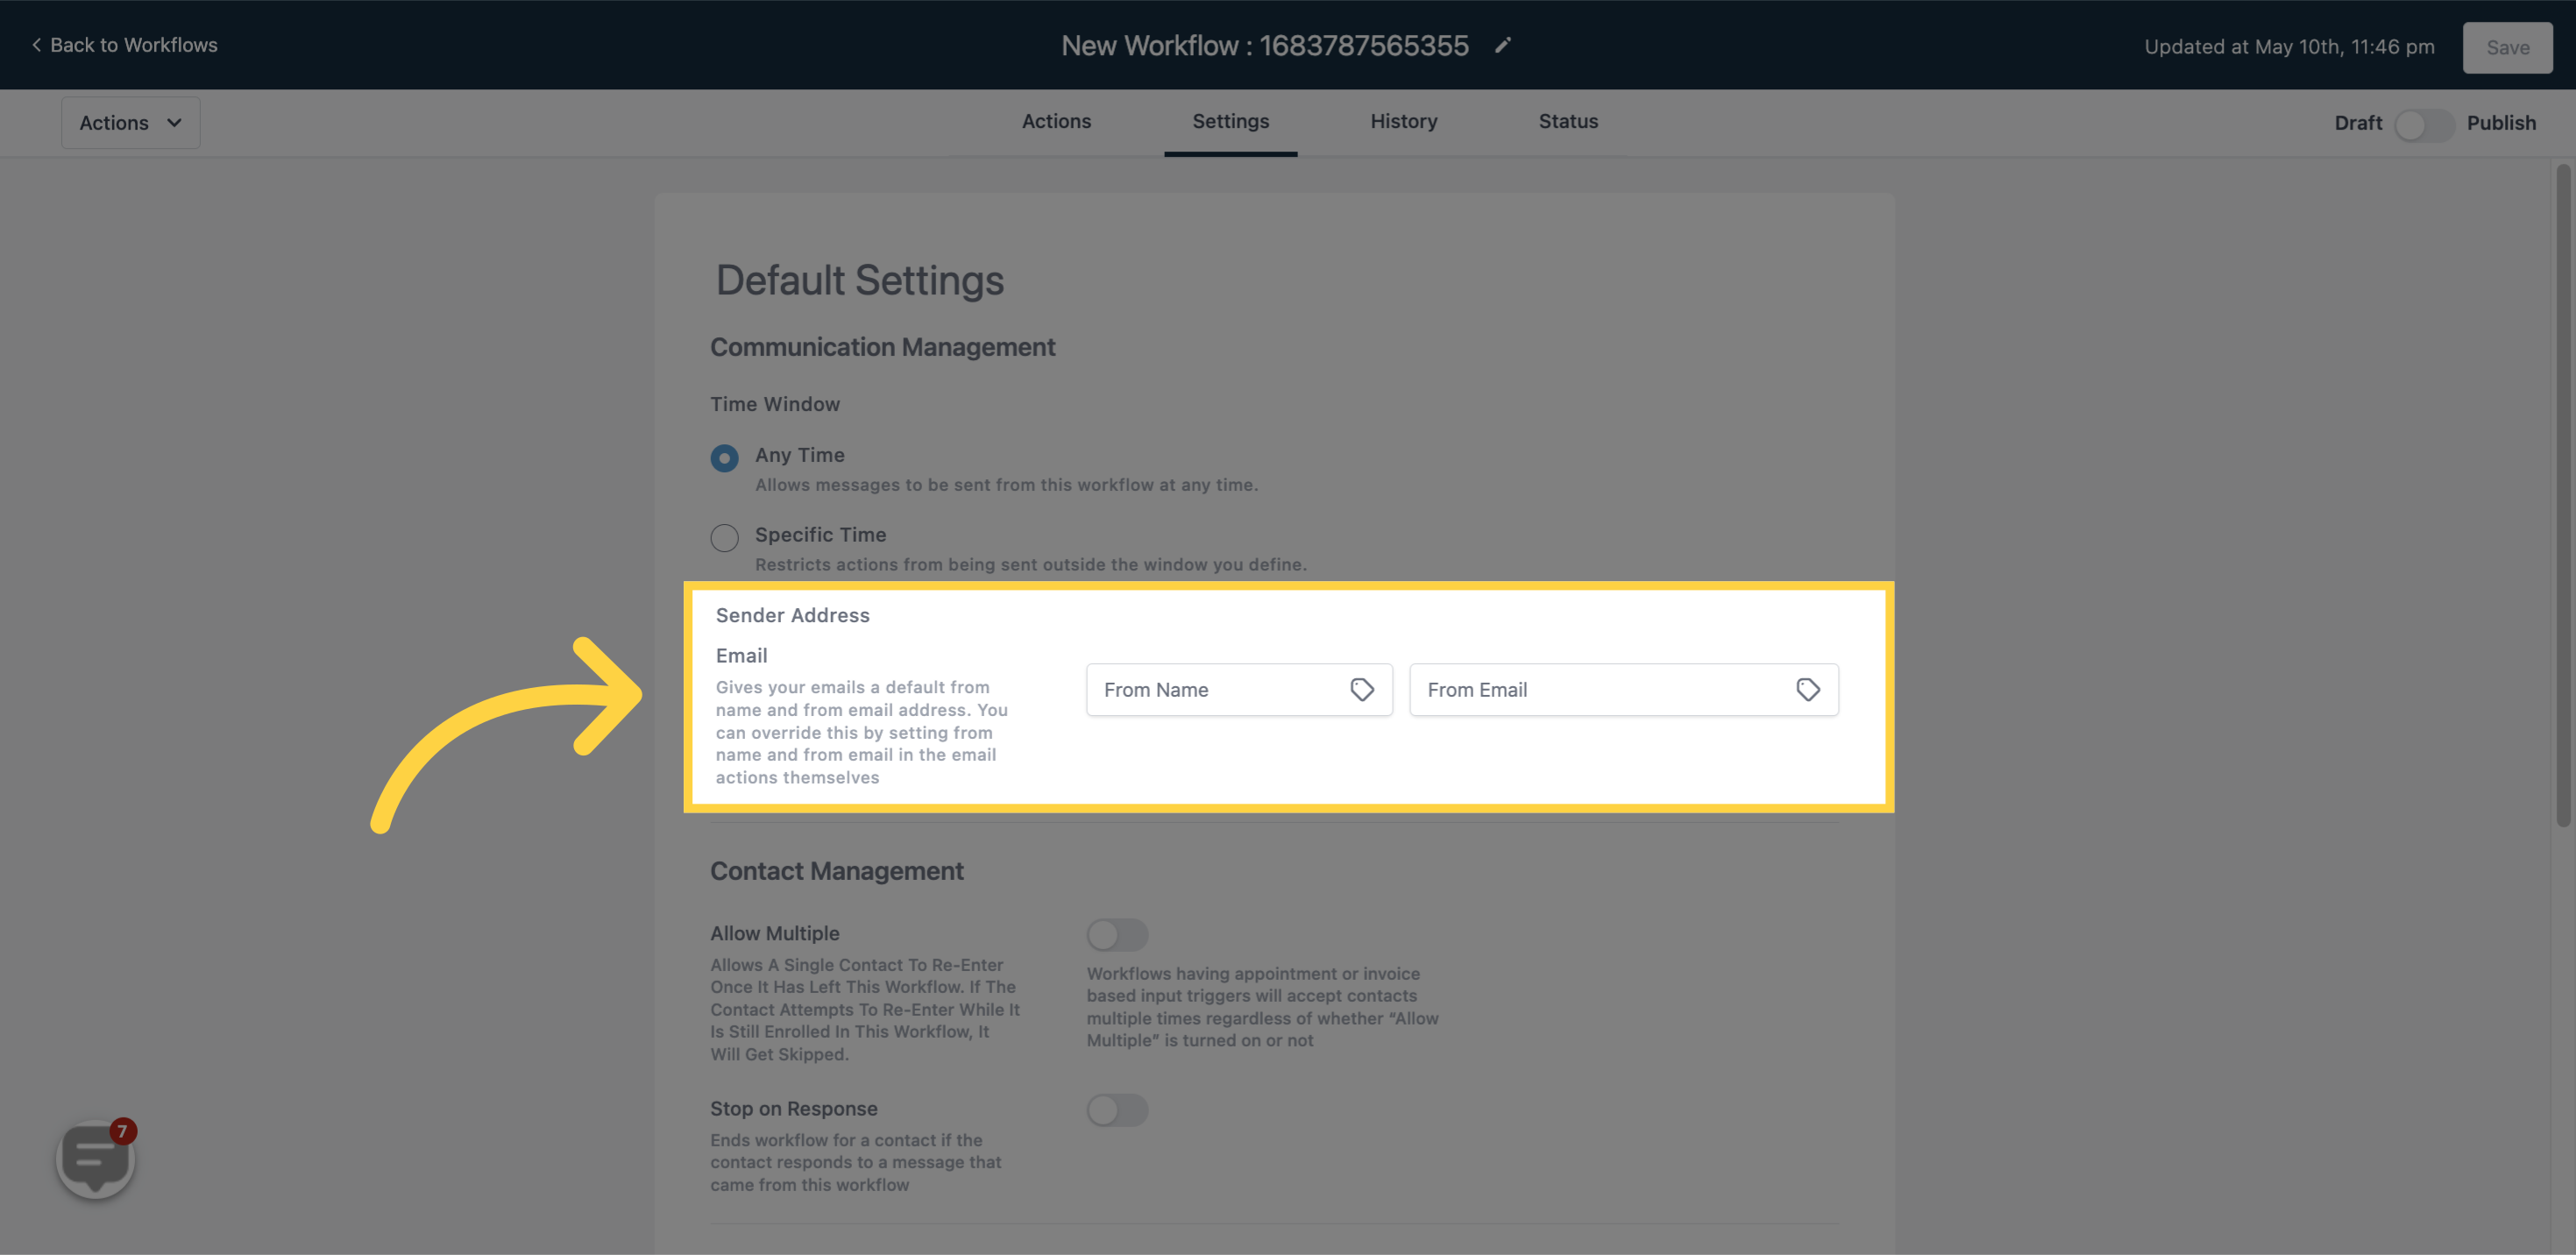
In this field, you should input the recipient's email address. By doing this, your email will have a default 'from name' and 'from email' address. If you want to change the default settings, you can do so by setting 'from name' and 'from email' in the email actions themselves.
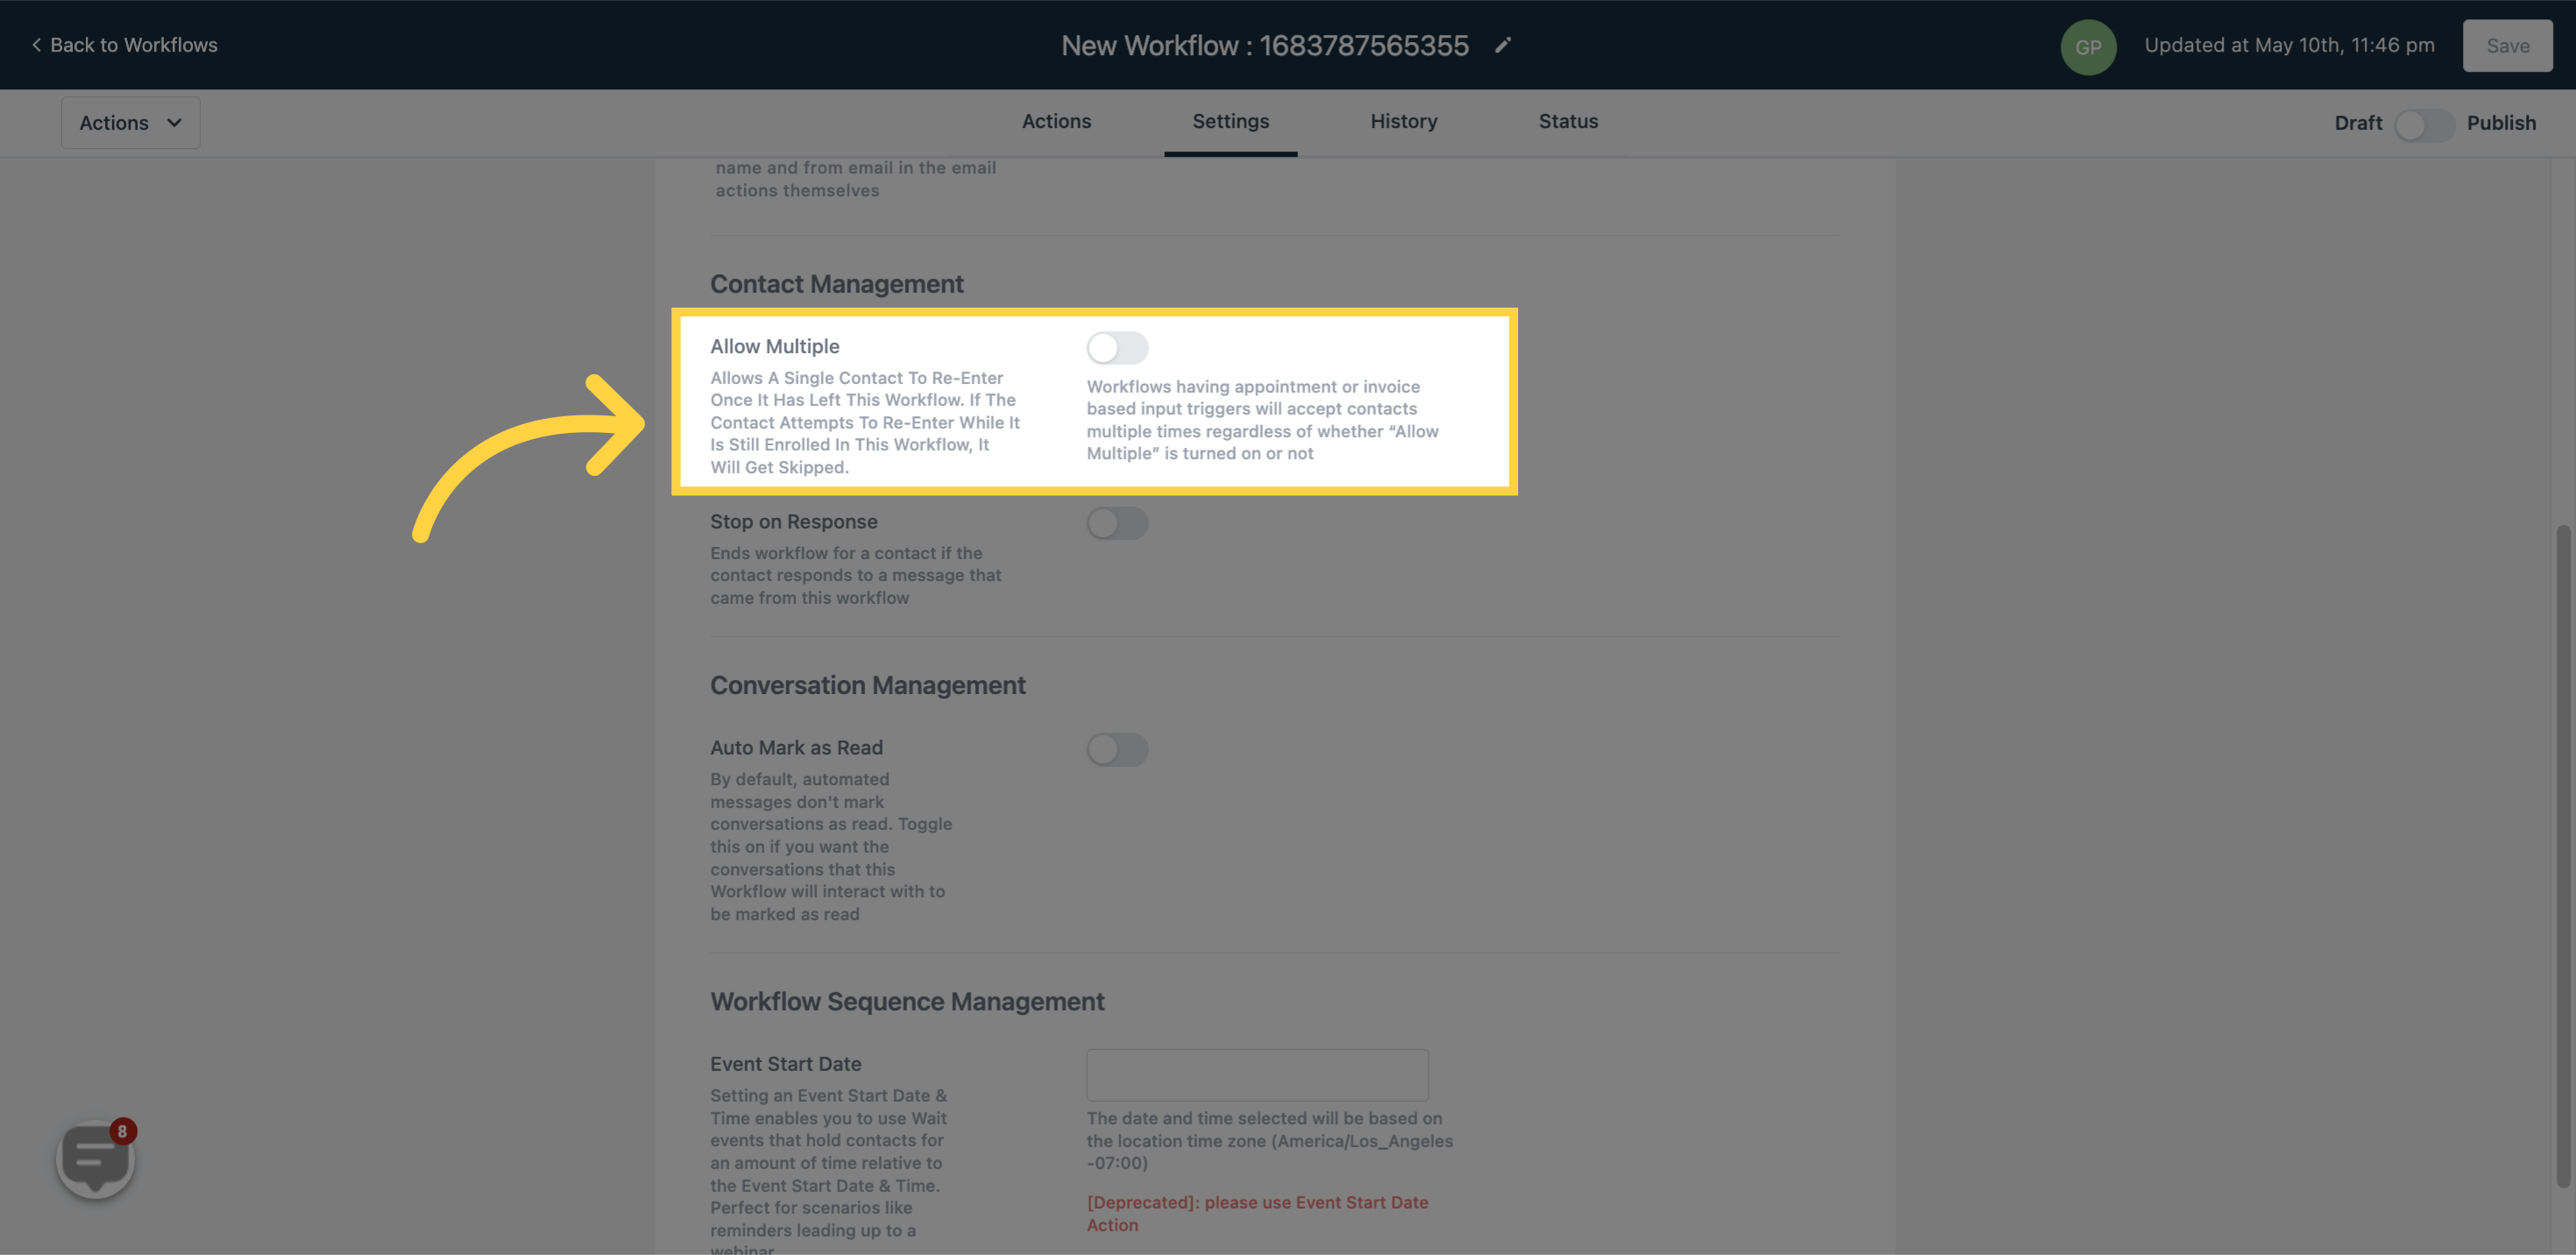
By toggling this button on/off, you can allow or disallow a single contact to enter the workflow multiple times. If you turn on the re-entry option, a contact can go through the workflow more than once.
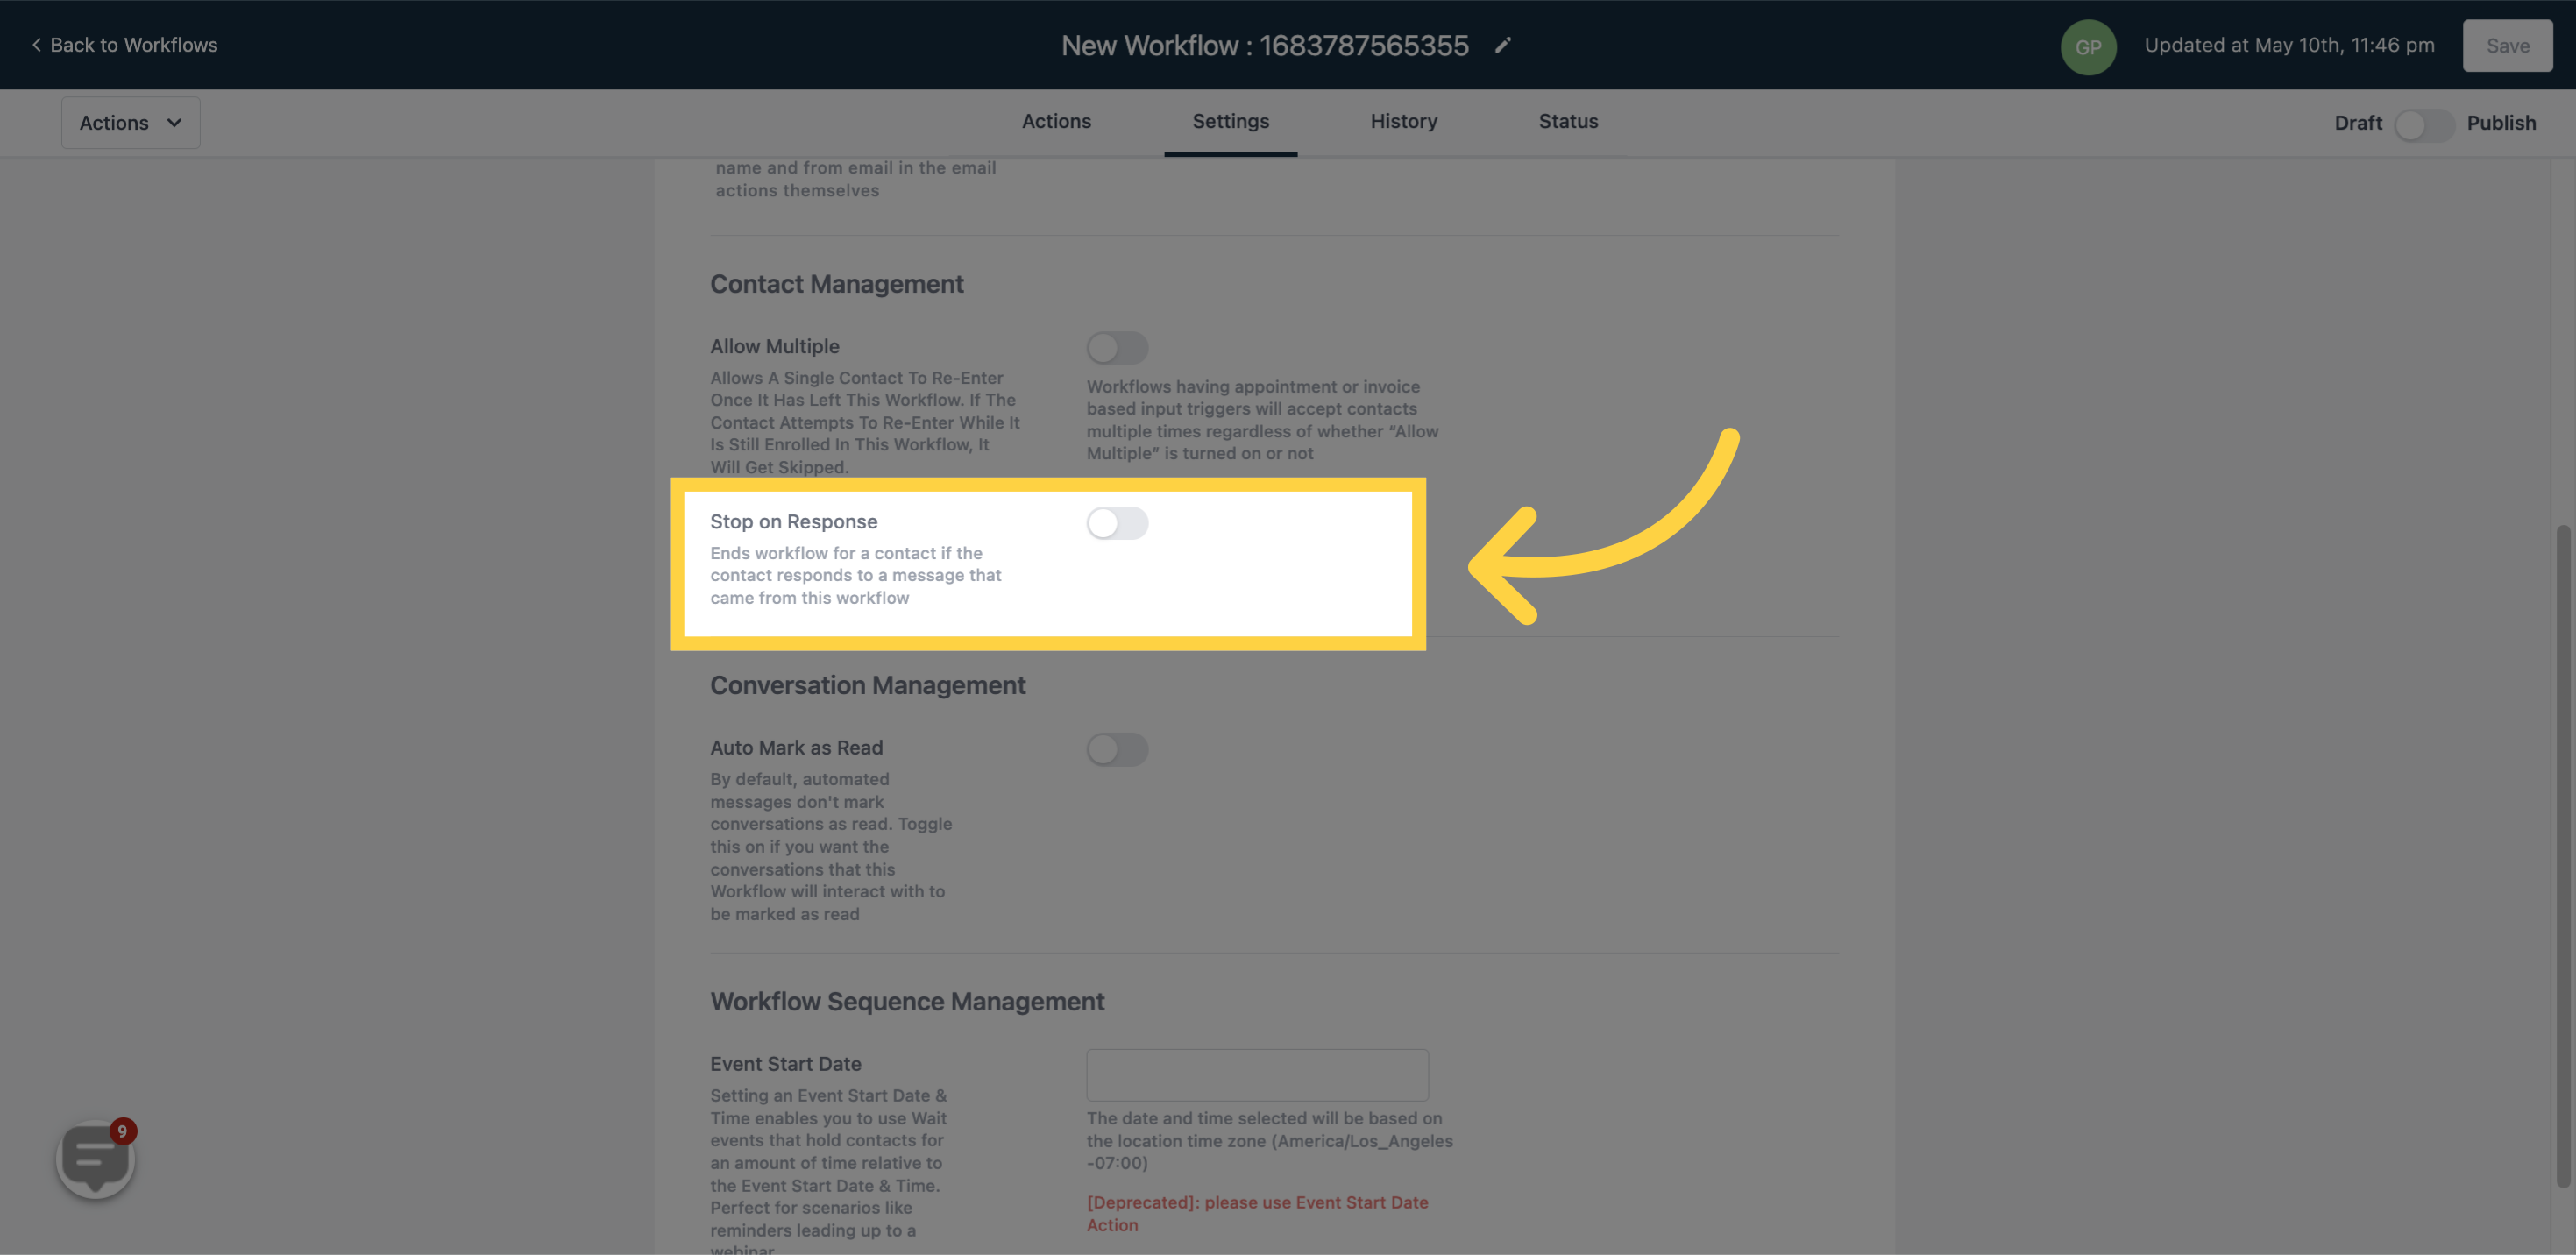
You can toggle this button on/off to end the workflow for a contact when they reply to a message that came from the workflow. By enabling the "Stop on response" option, the workflow will stop for a contact if they reply to a message sent through the workflow
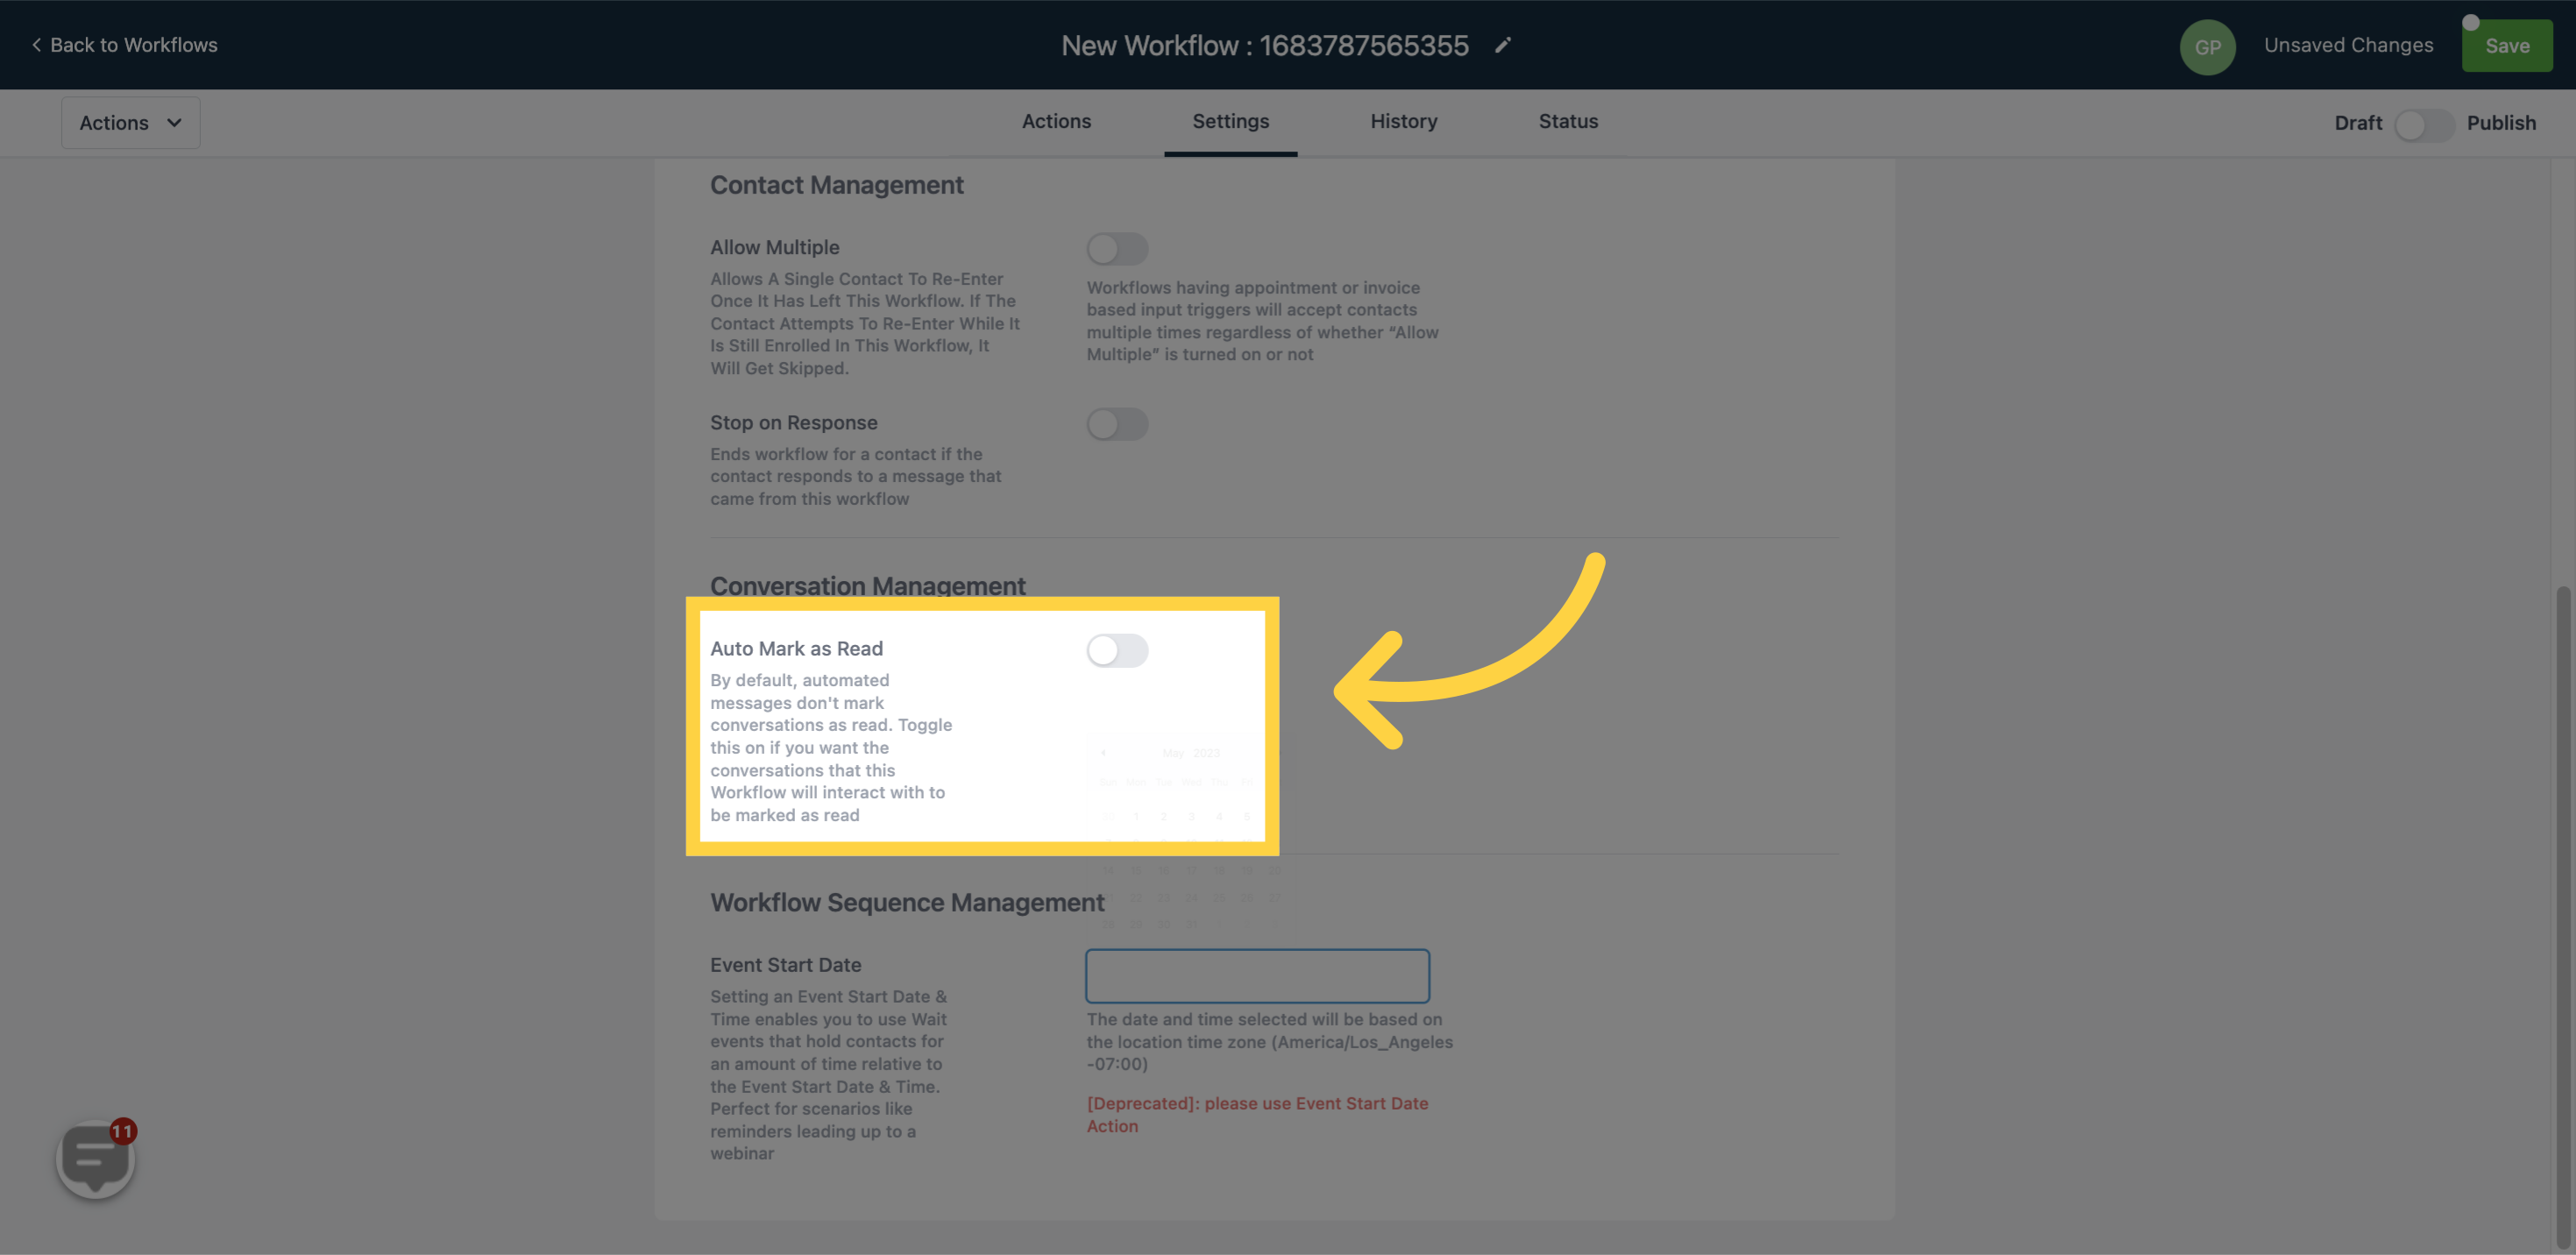
By default, automated messages don't mark conversations as read. However, you can toggle on this option if you want the conversations that this workflow will interact with to be marked as read
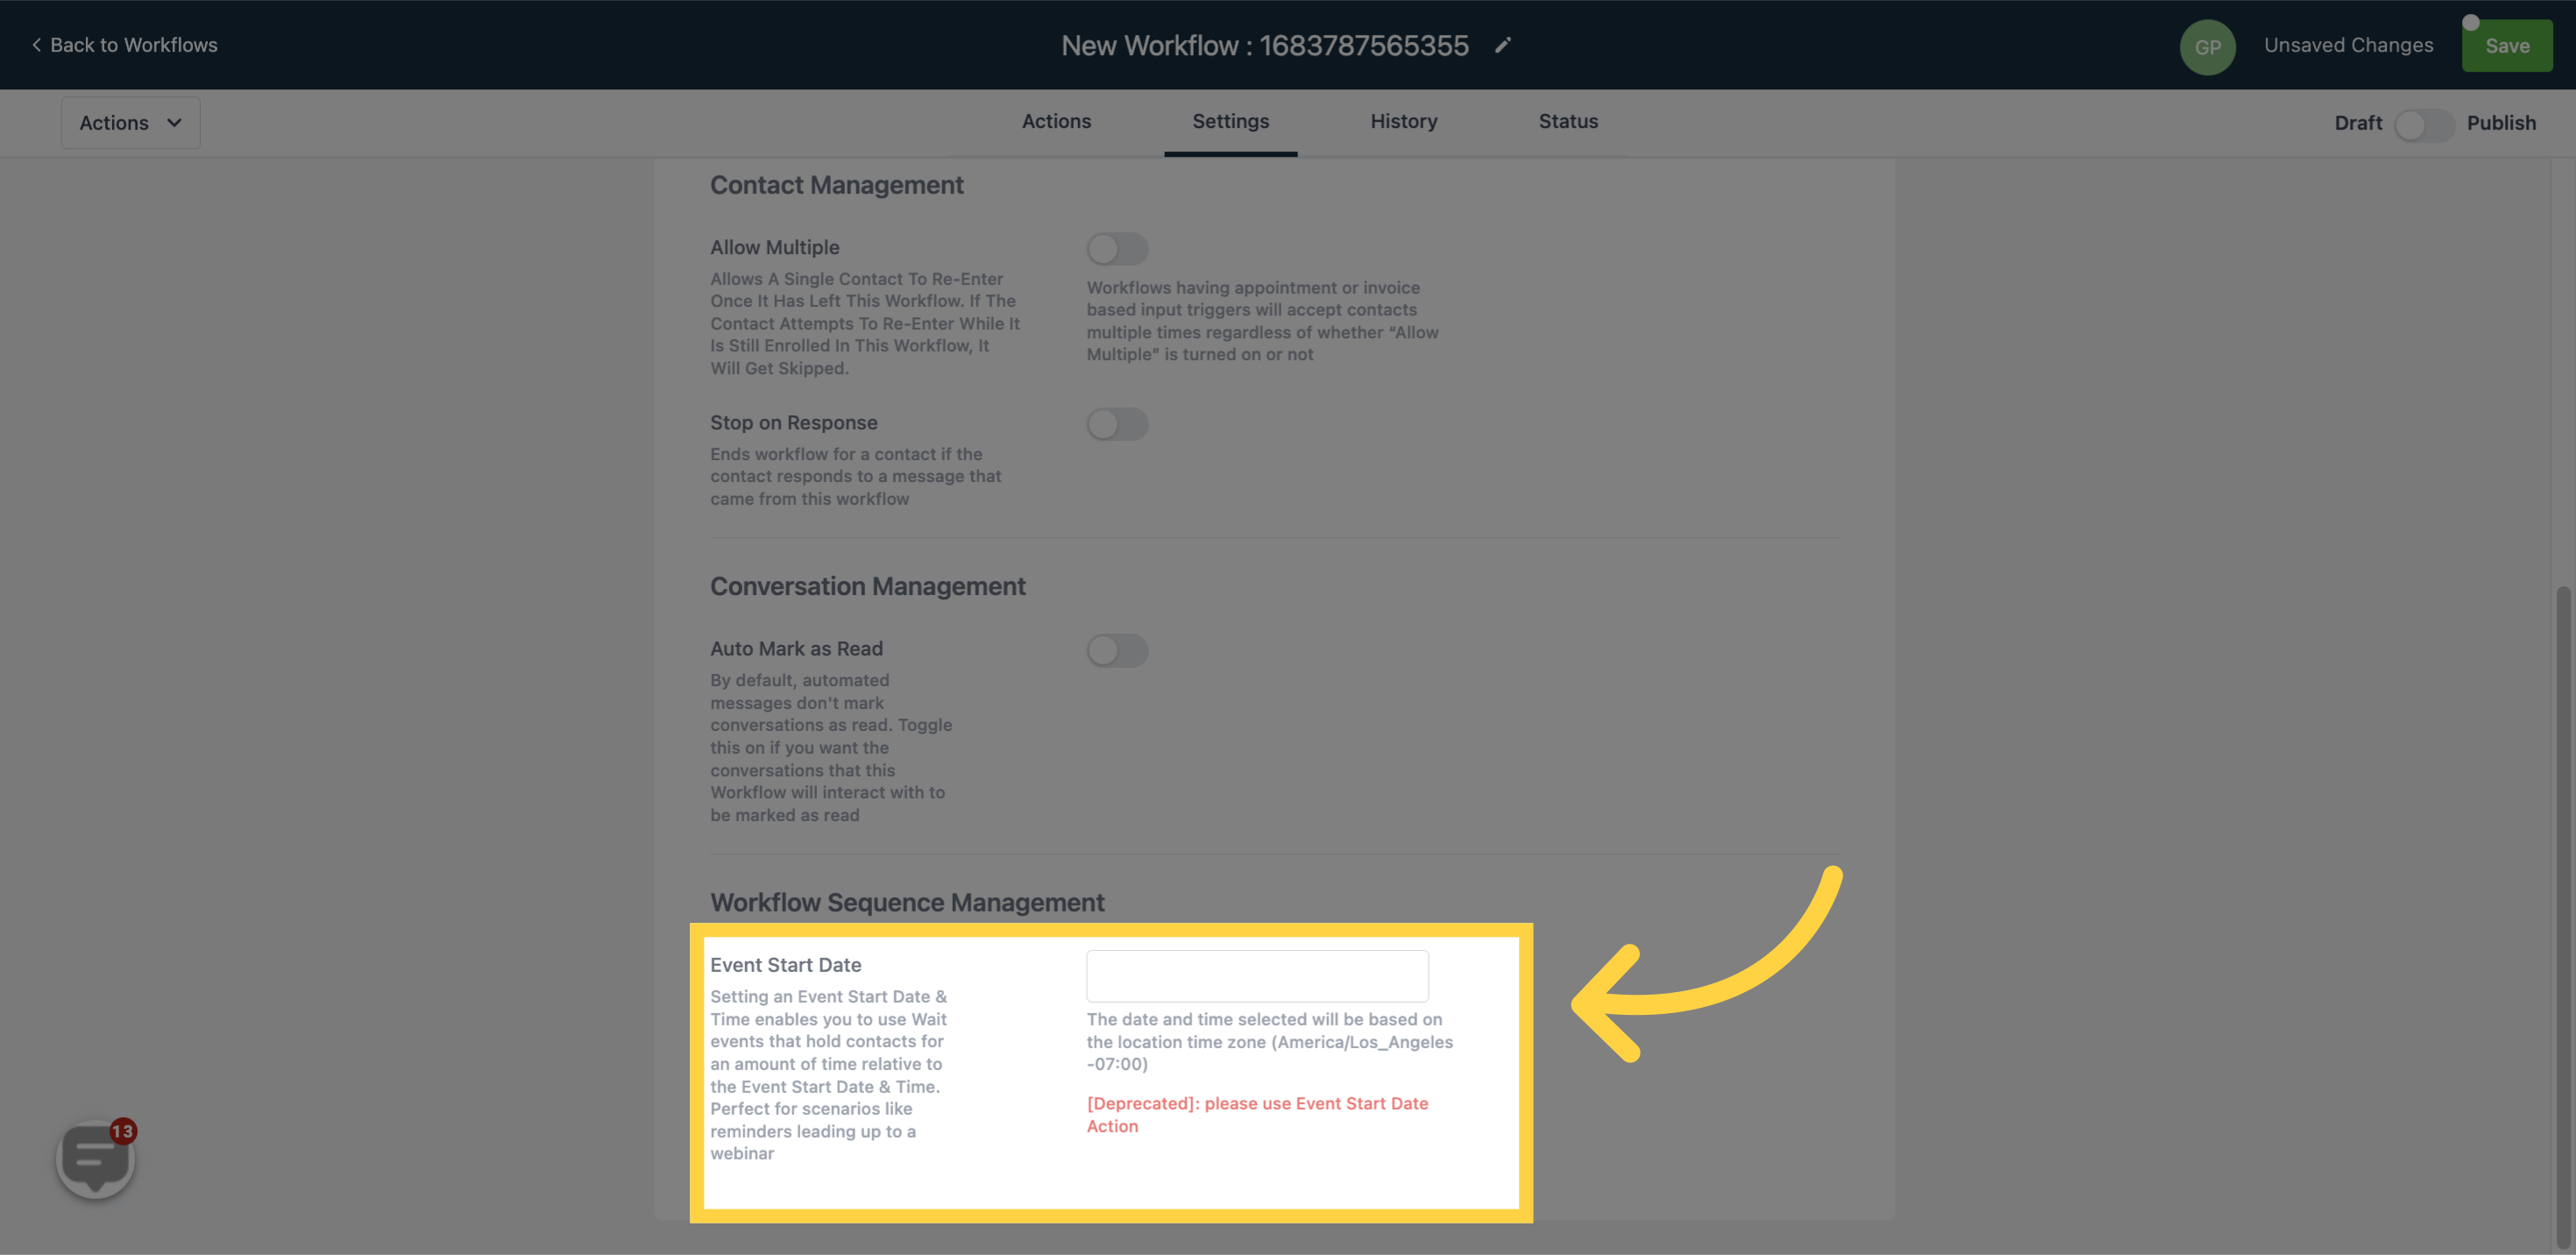
By setting an Event Start Date & Time, you can use Wait events that keep contacts paused for an amount of time relative to the Event Start Date & Time. This can be very useful for scenarios like reminders leading up to a webinar.
When you select a date and time, it will be based on the time zone of the location specified. For example, if the location is America/New_York, the time zone will be -05:00.
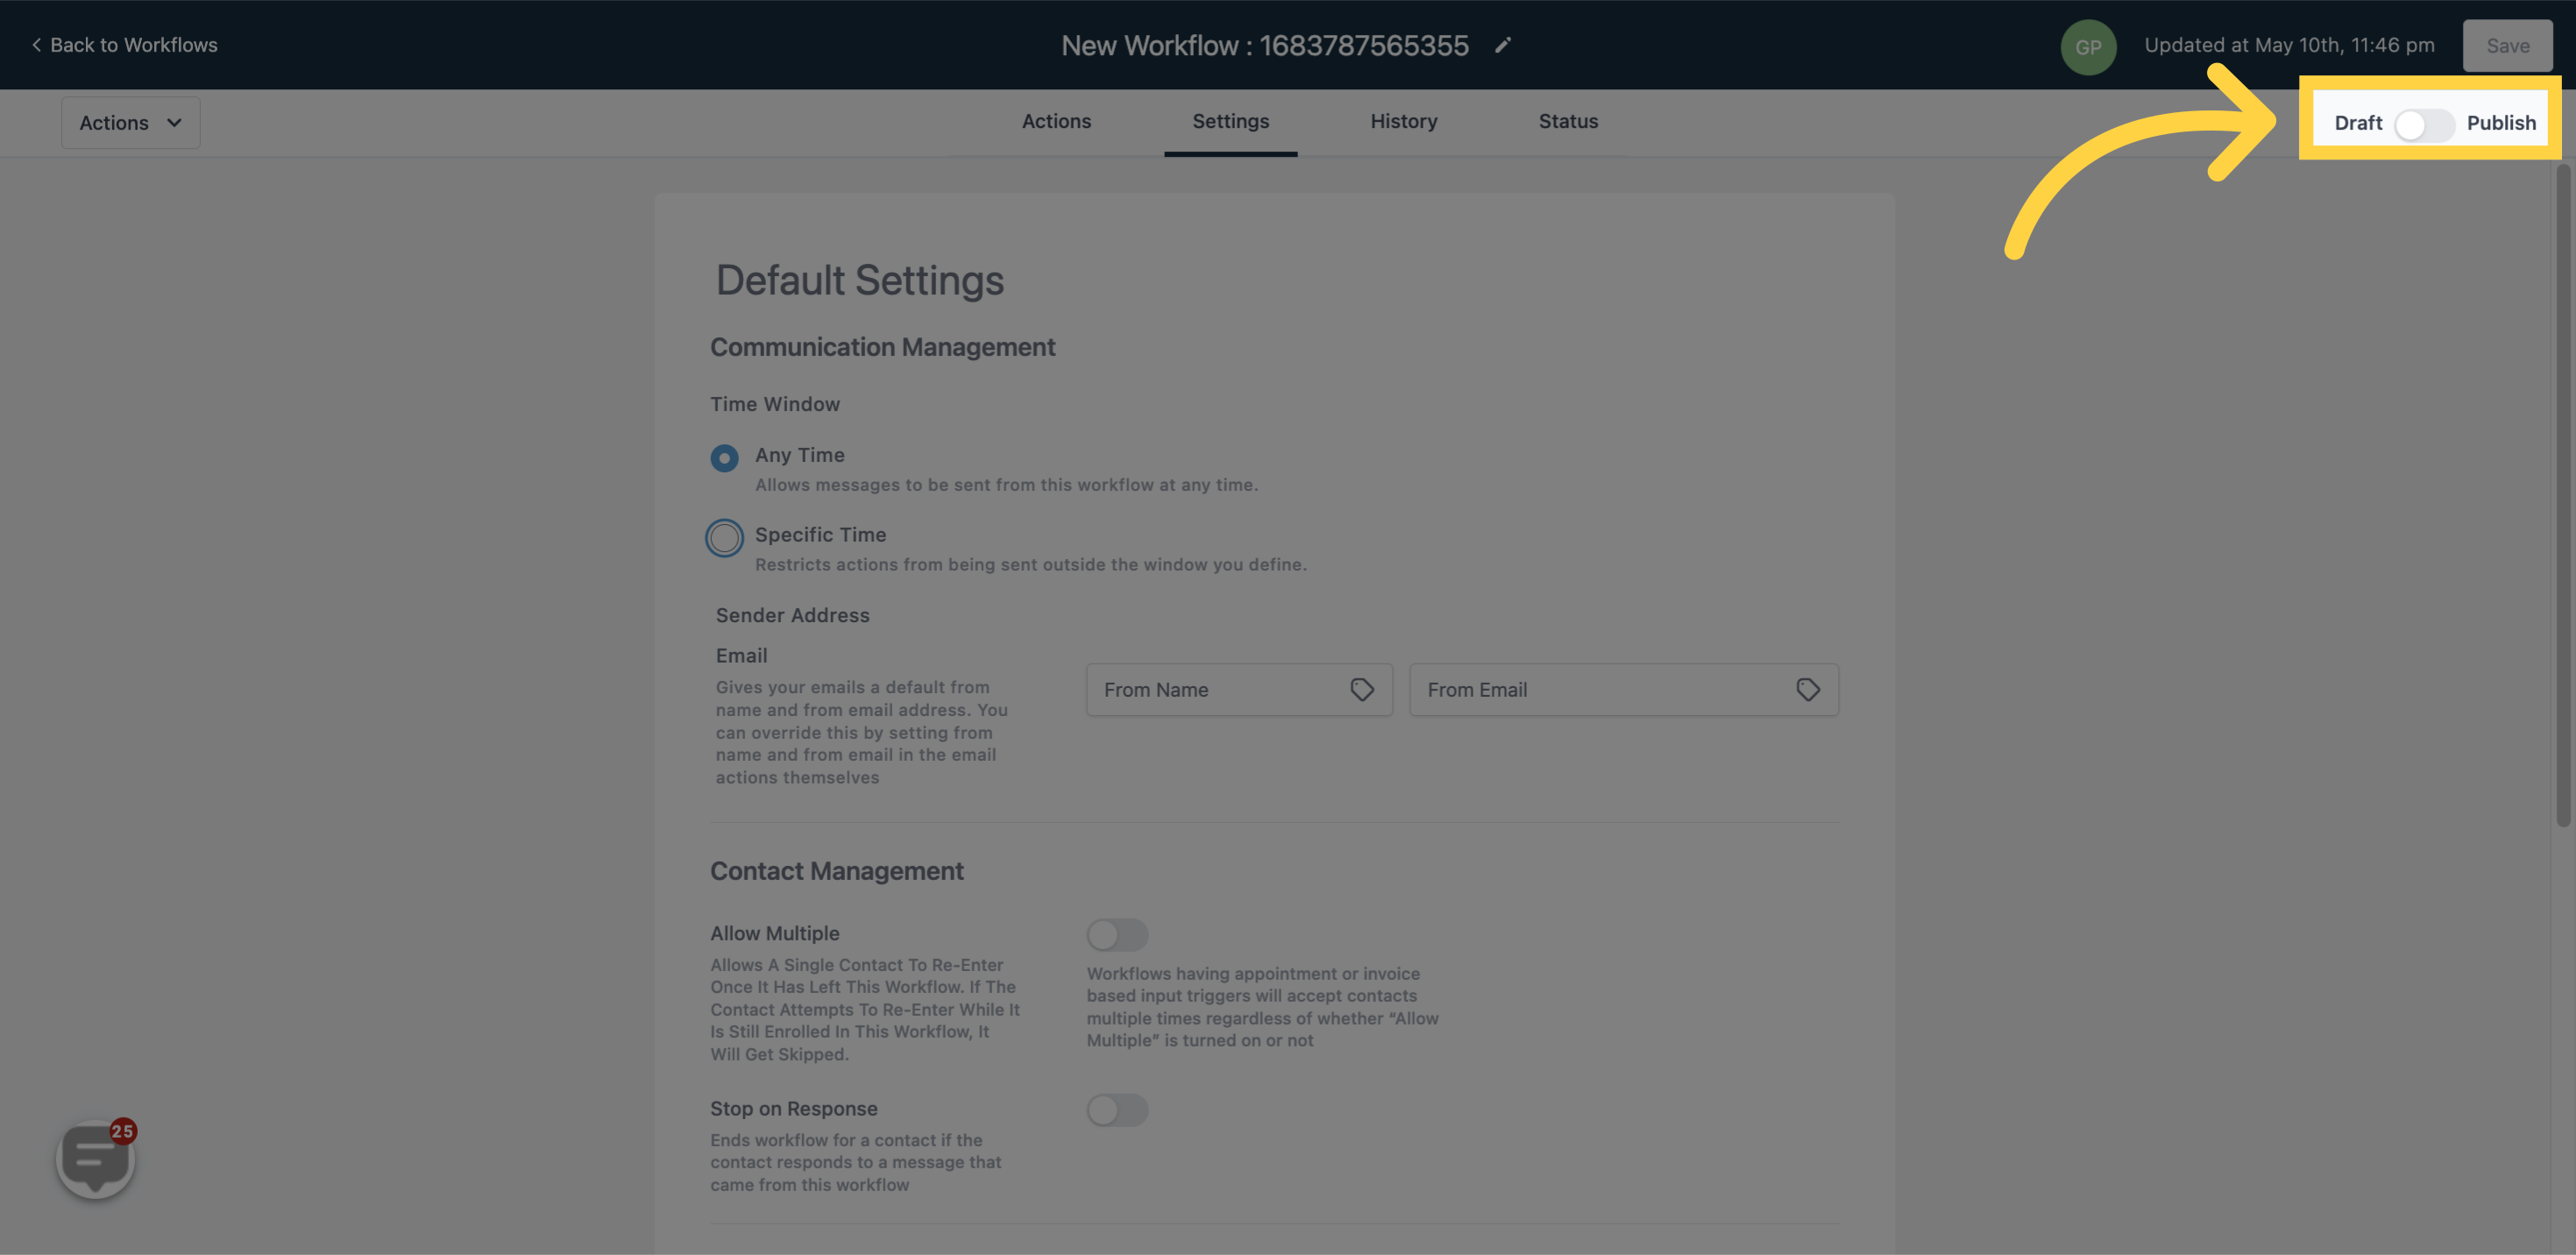
This button allows you to switch the workflow between draft and publish mode. By toggling the button on/off, you can activate or deactivate the workflow. When the button is on, the workflow is in publish mode, and when it's off, the workflow is in draft mode.
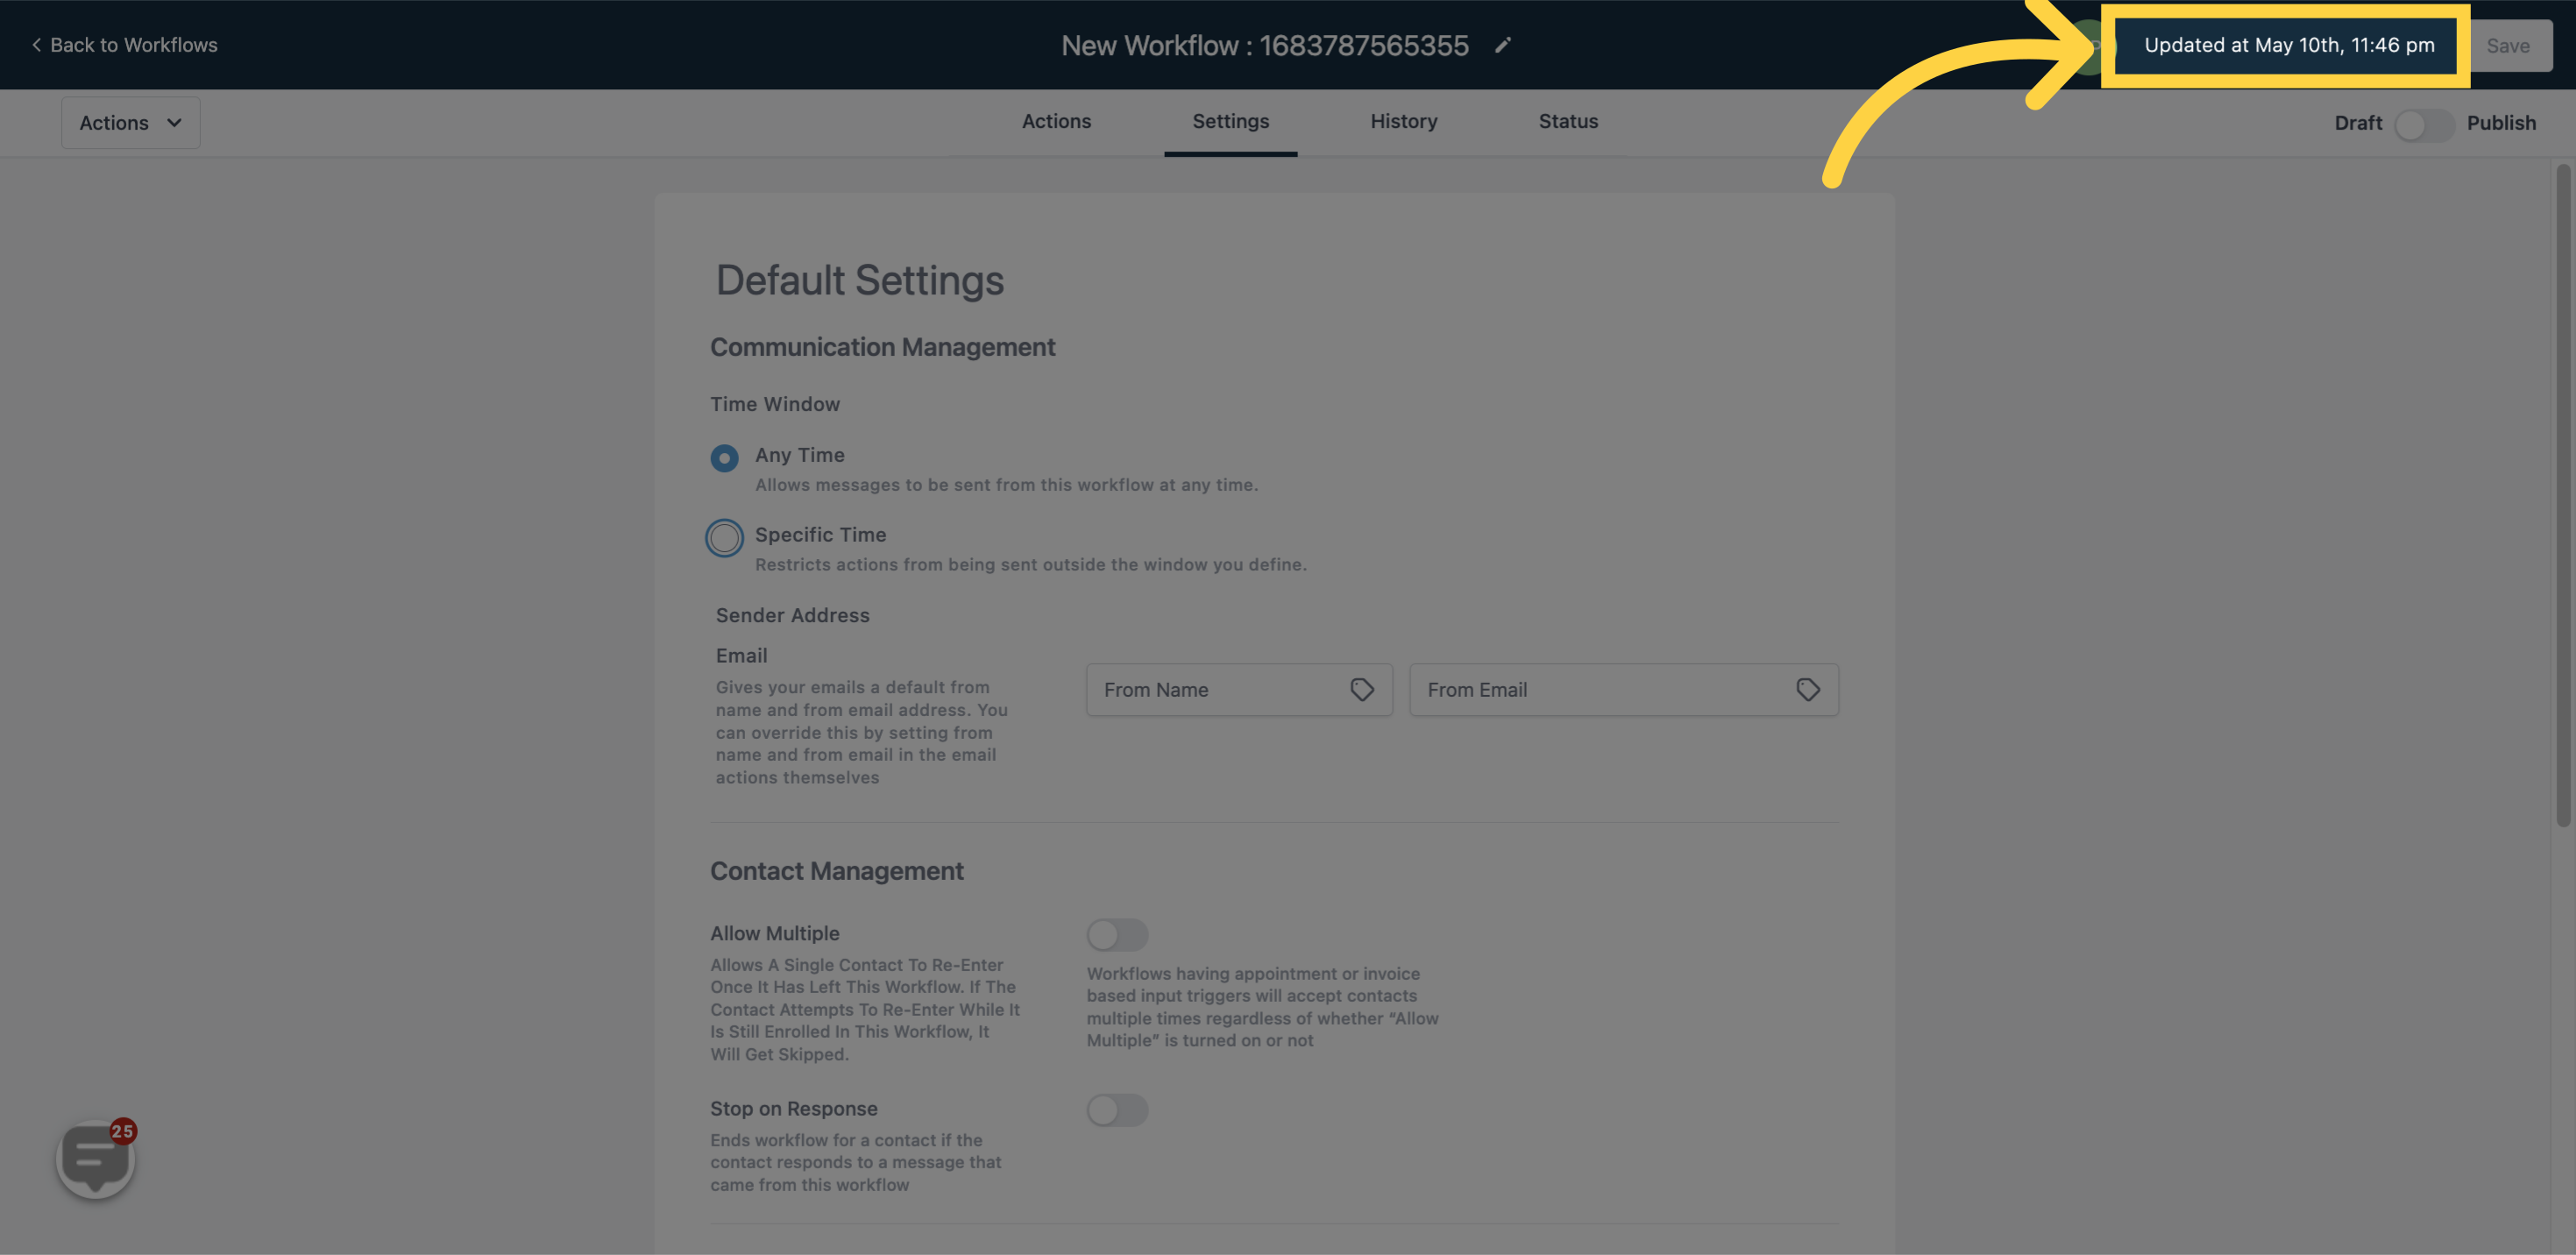
Once you click save, you can view the dates when the workflows were created or updated. This can be helpful for keeping track of all changes you make to the workflow.
Save the changes made.