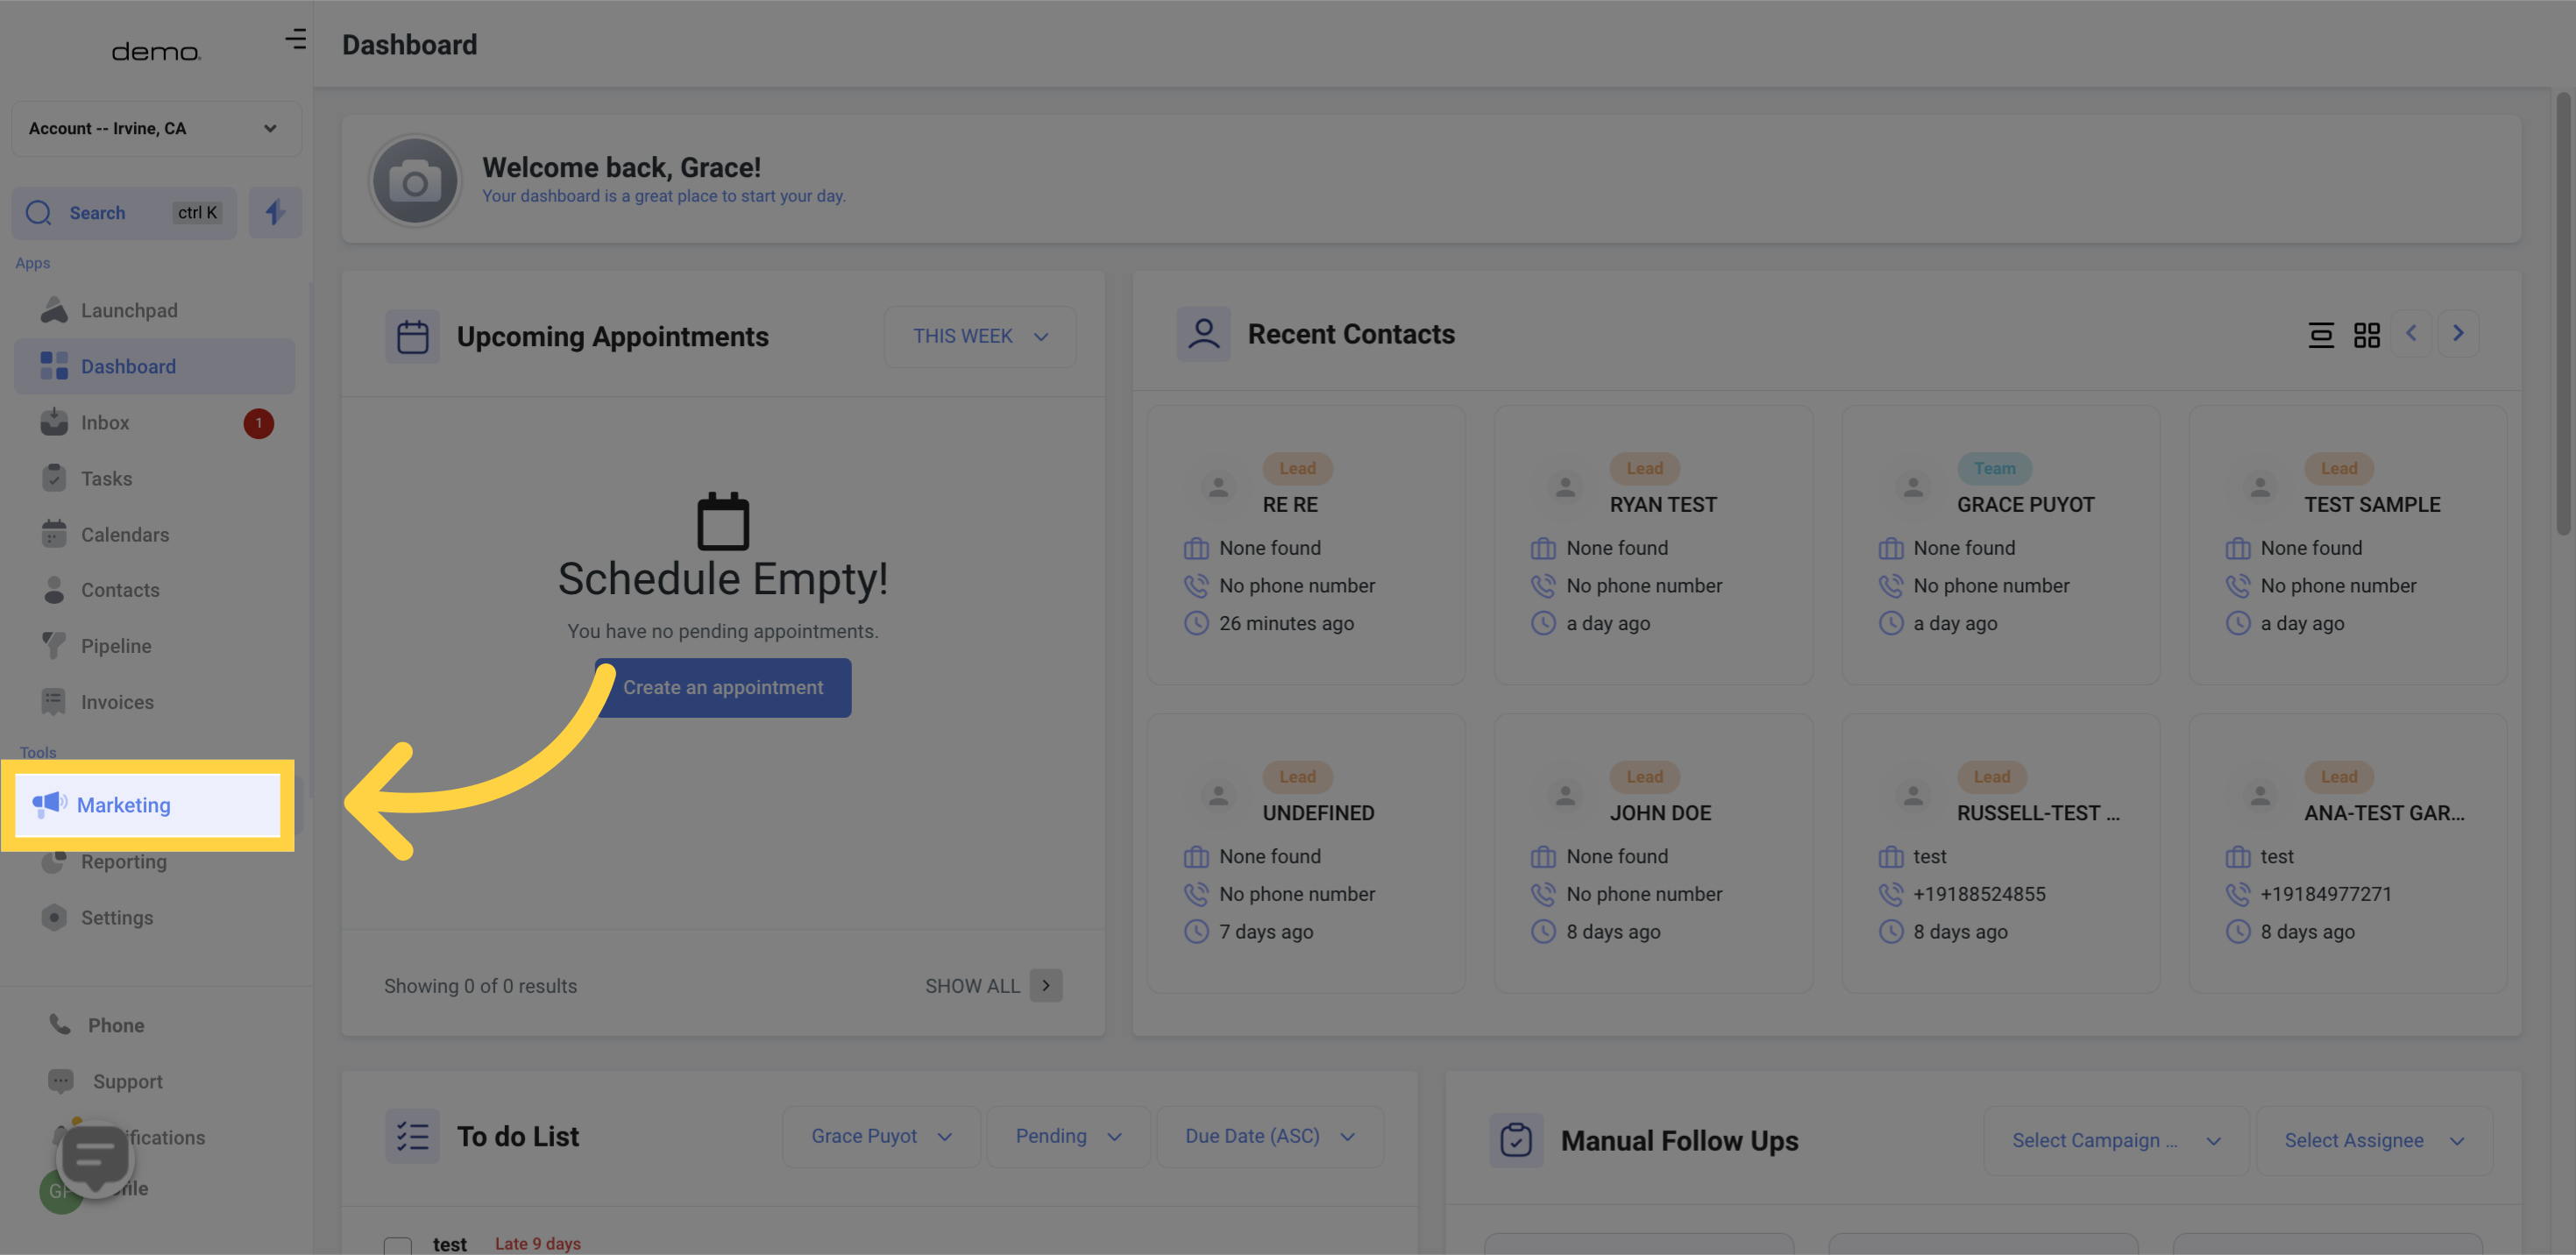
Click on the "Marketing" tab.
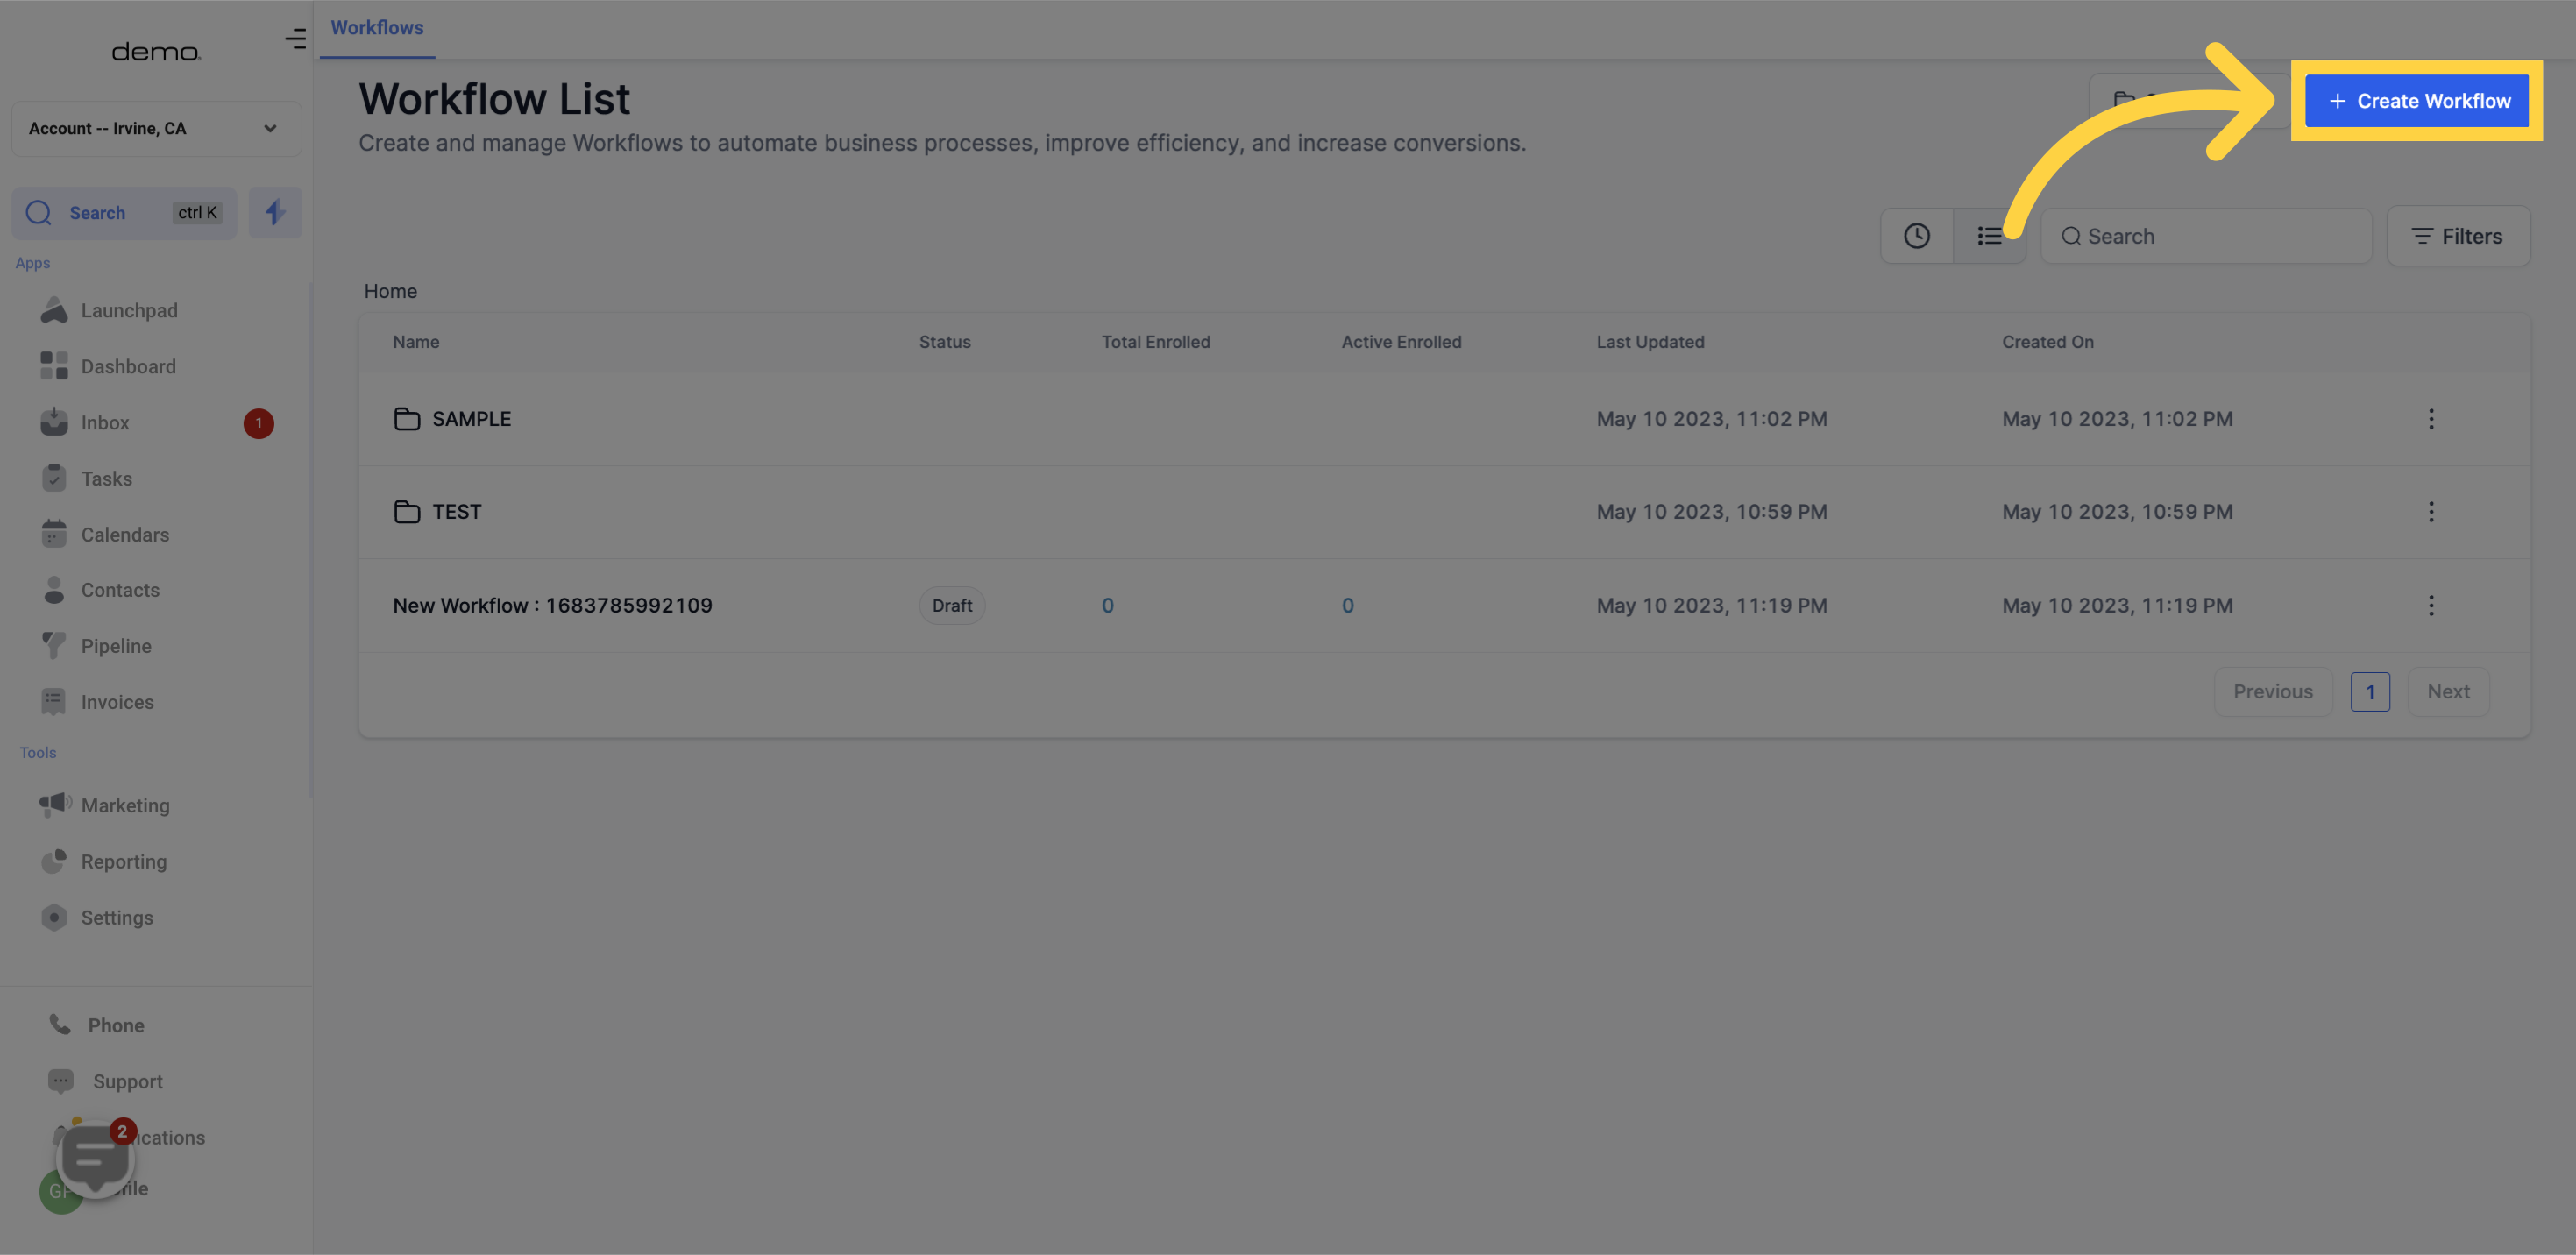
Pick a template or start from scratch, in my sample below i select "Start from scratch"

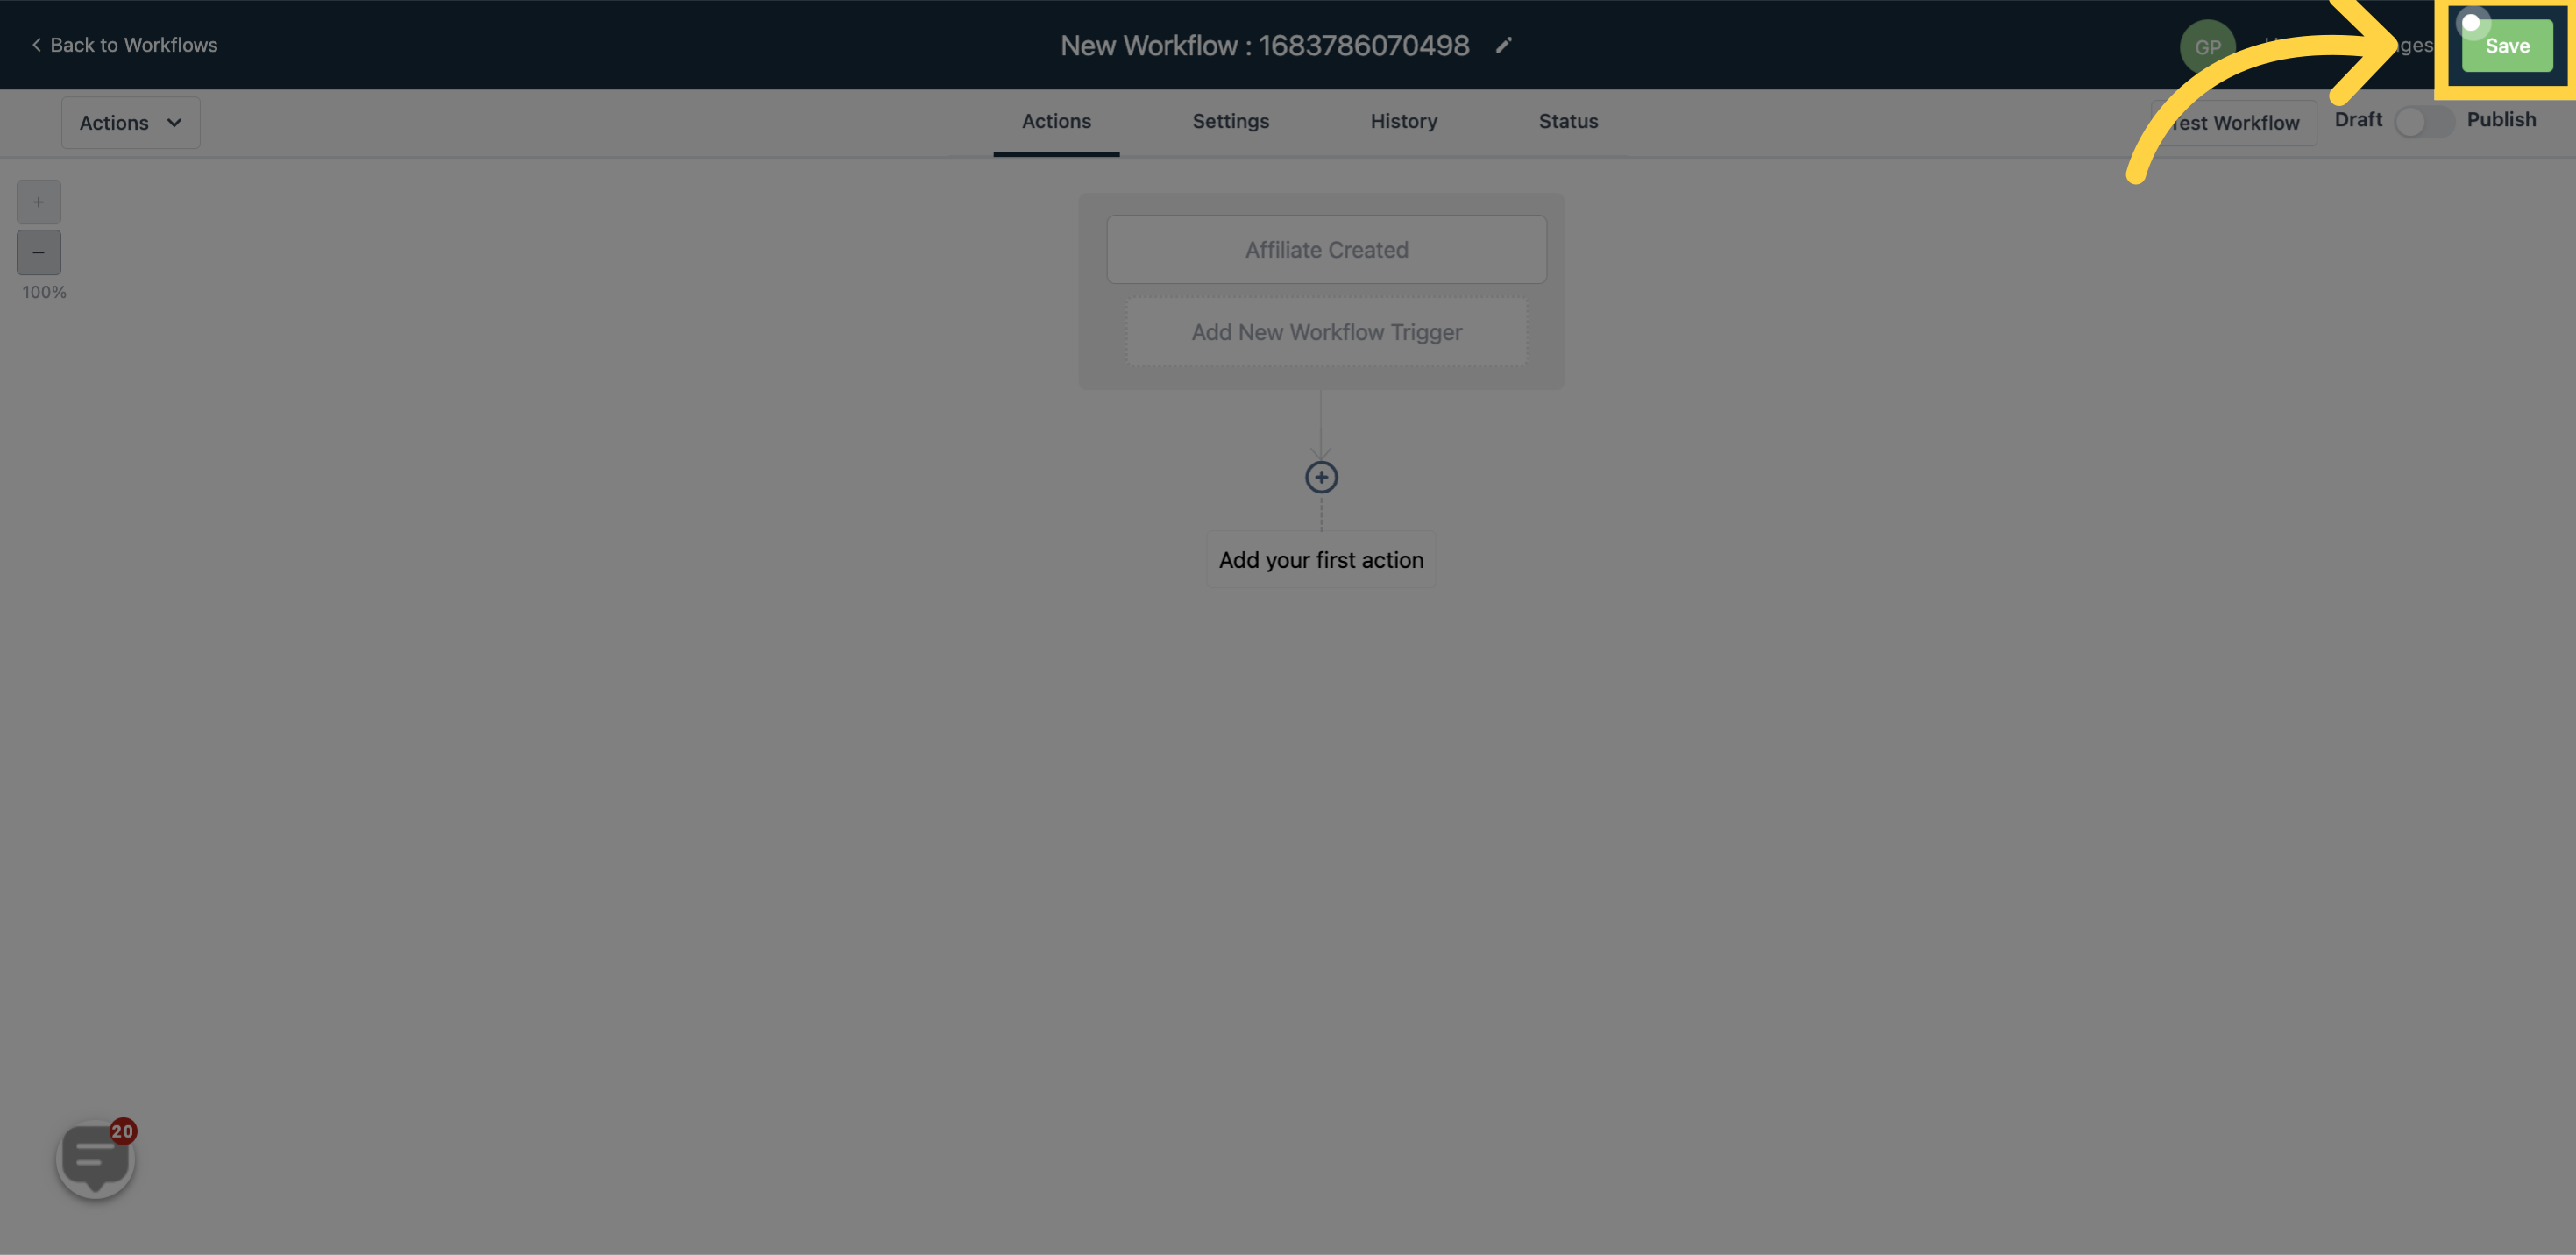
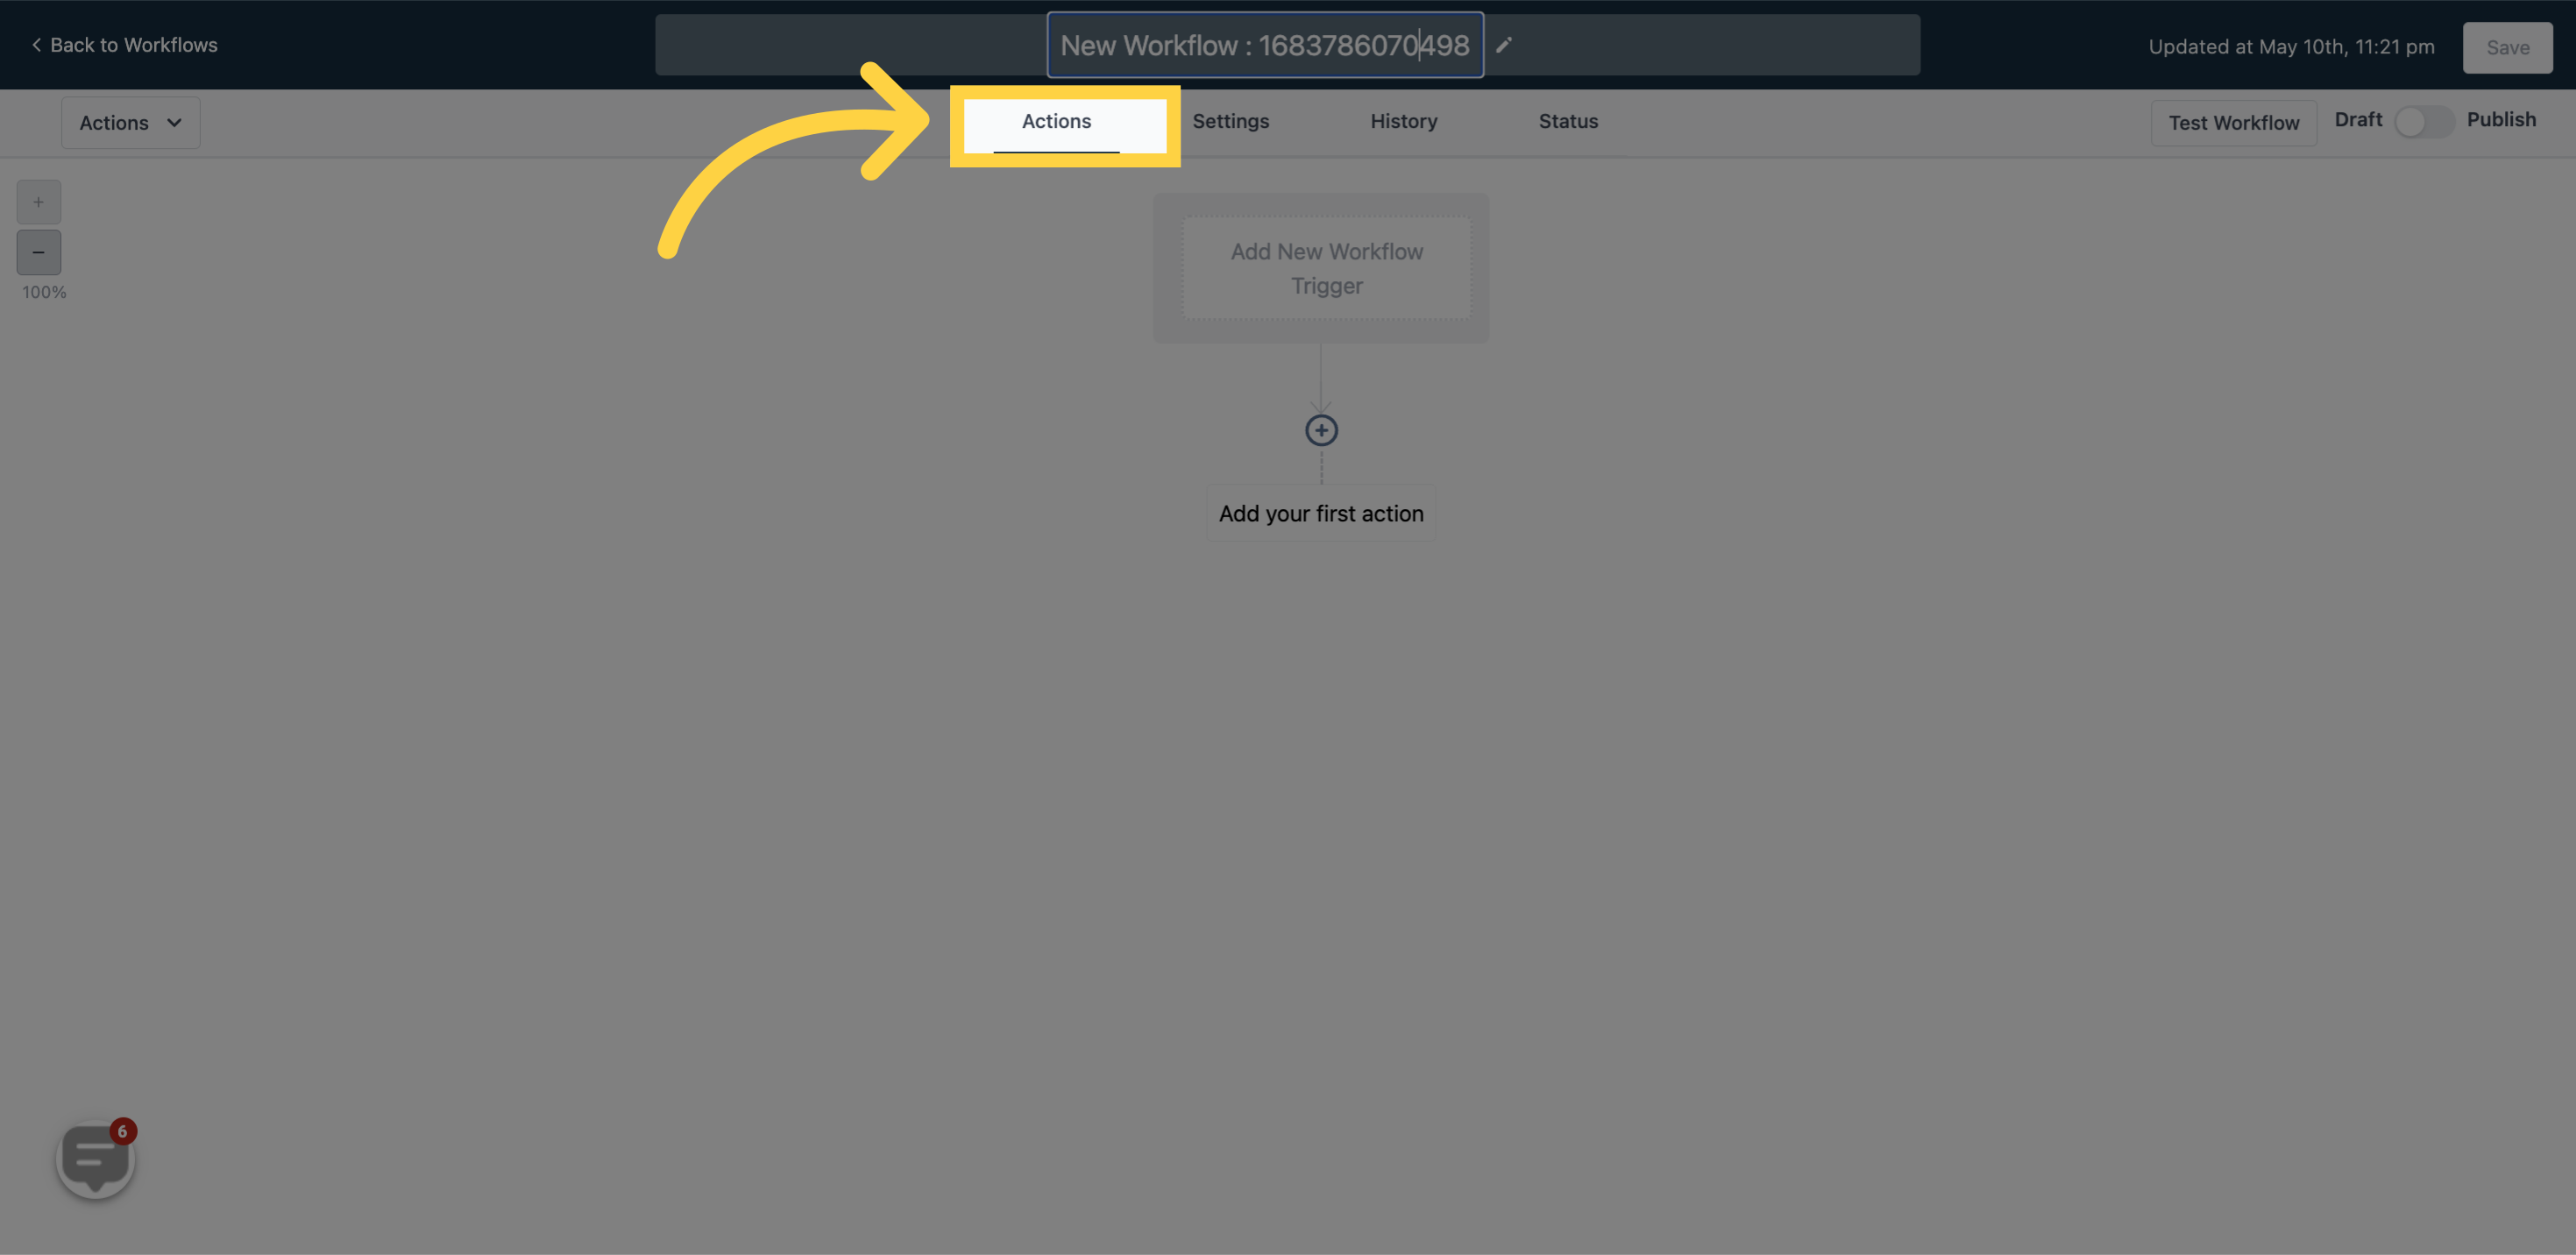
This section is dedicated to creating workflows and adding actions to trigger them.
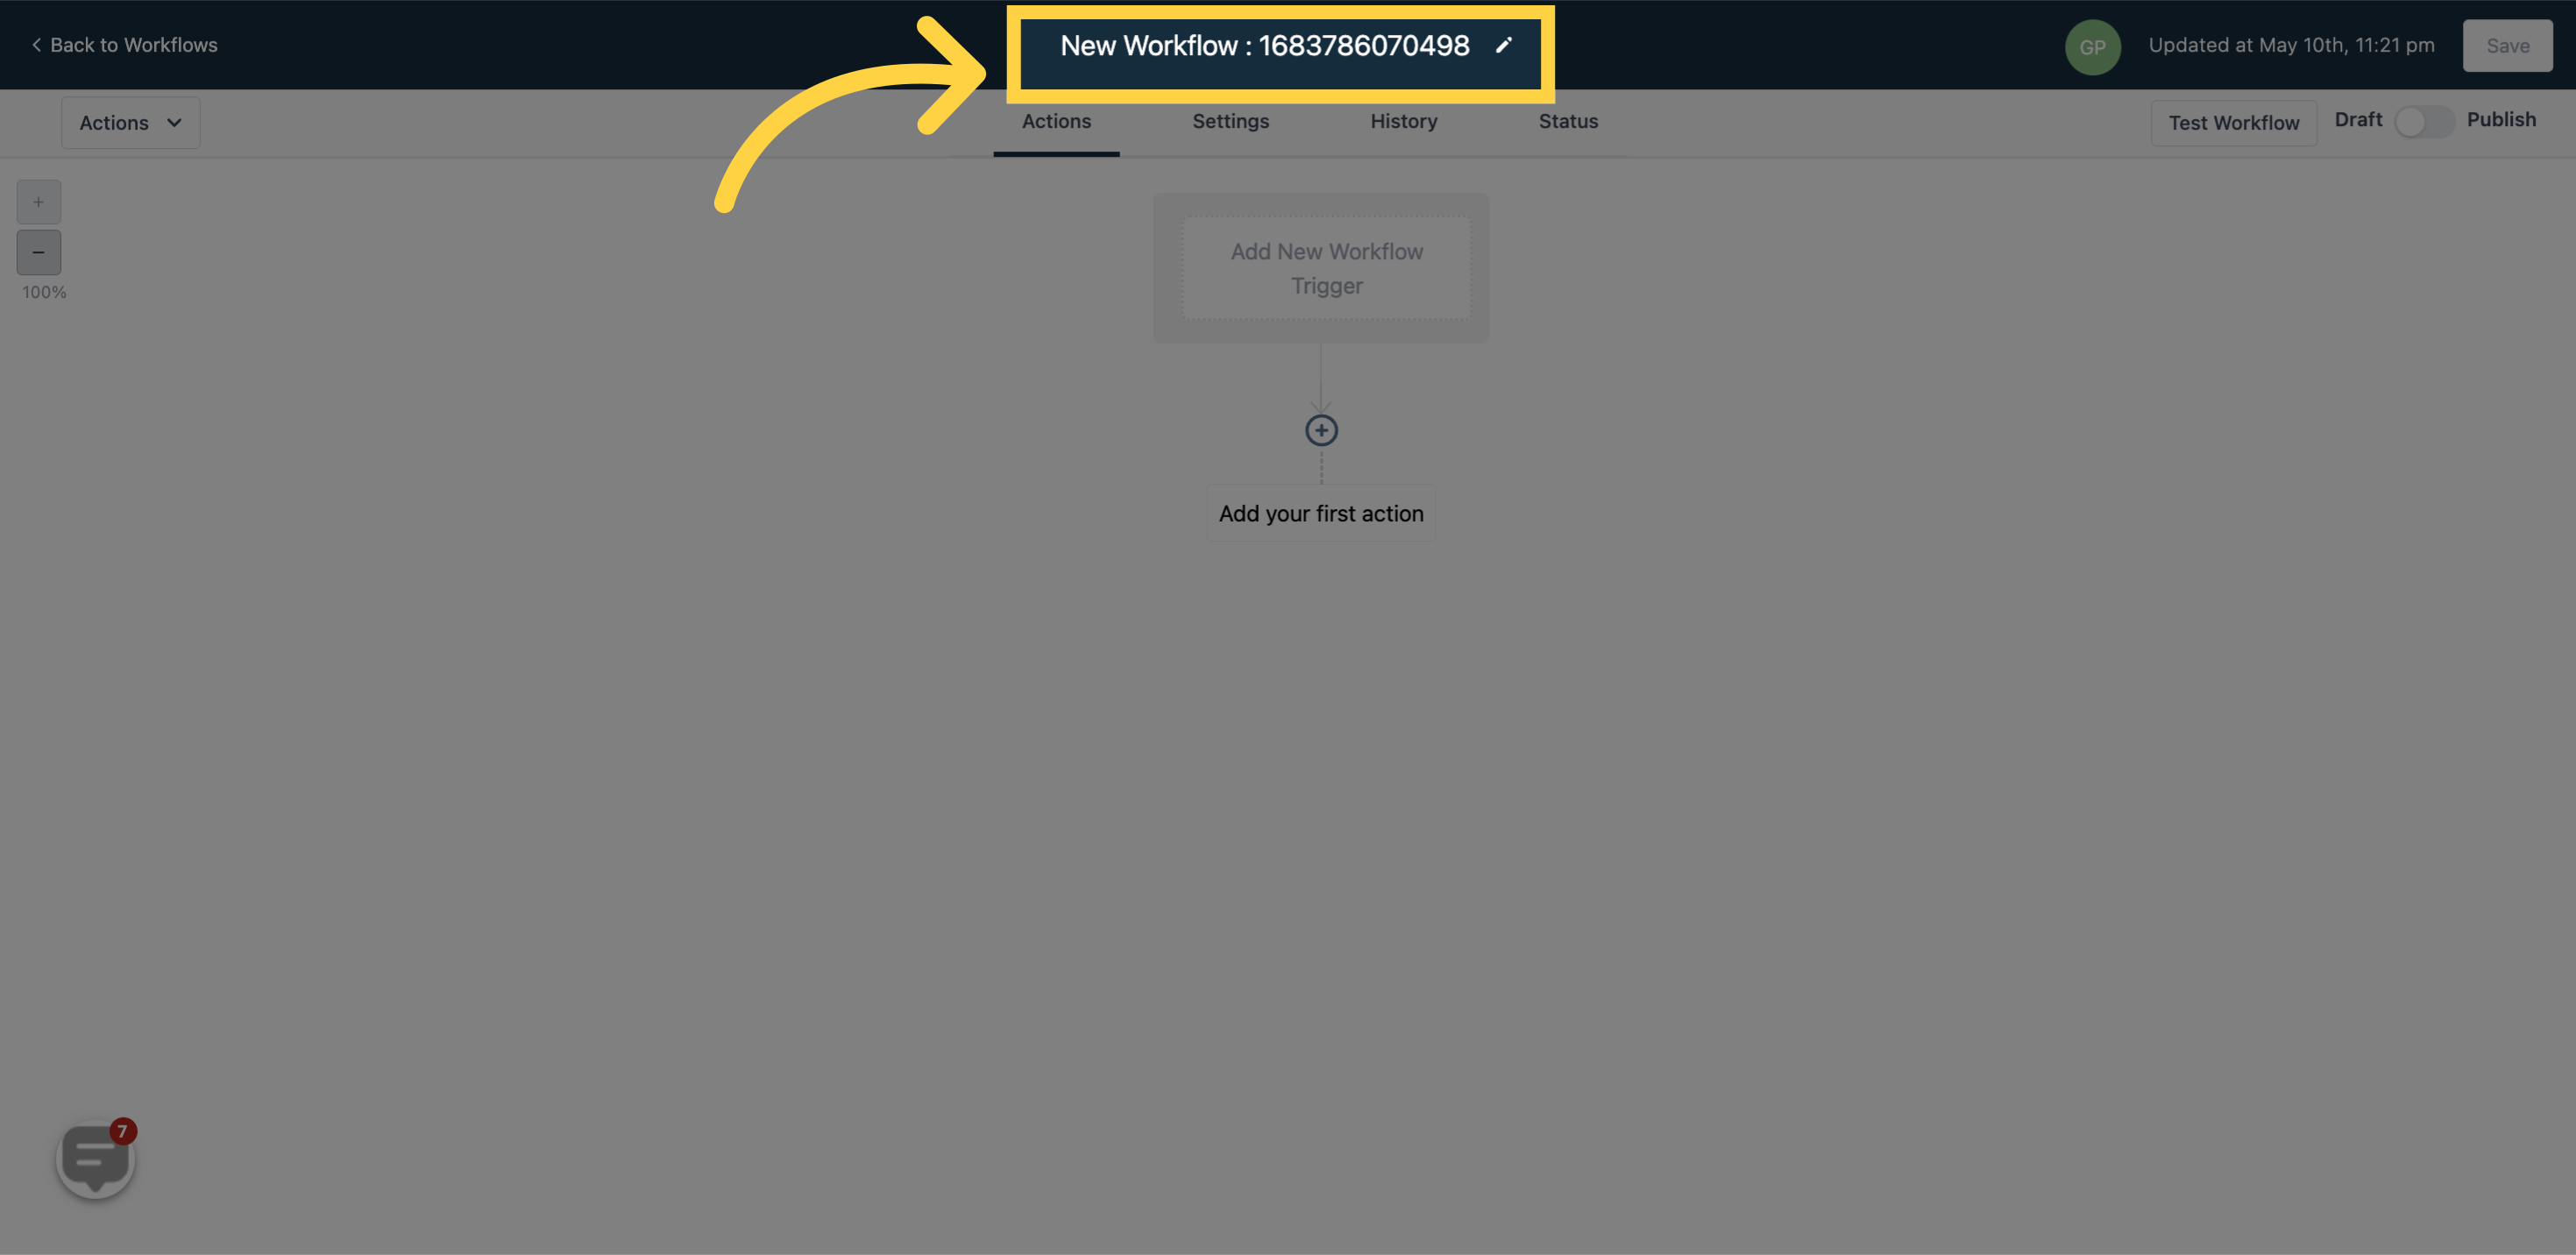
You can add Workflow name here
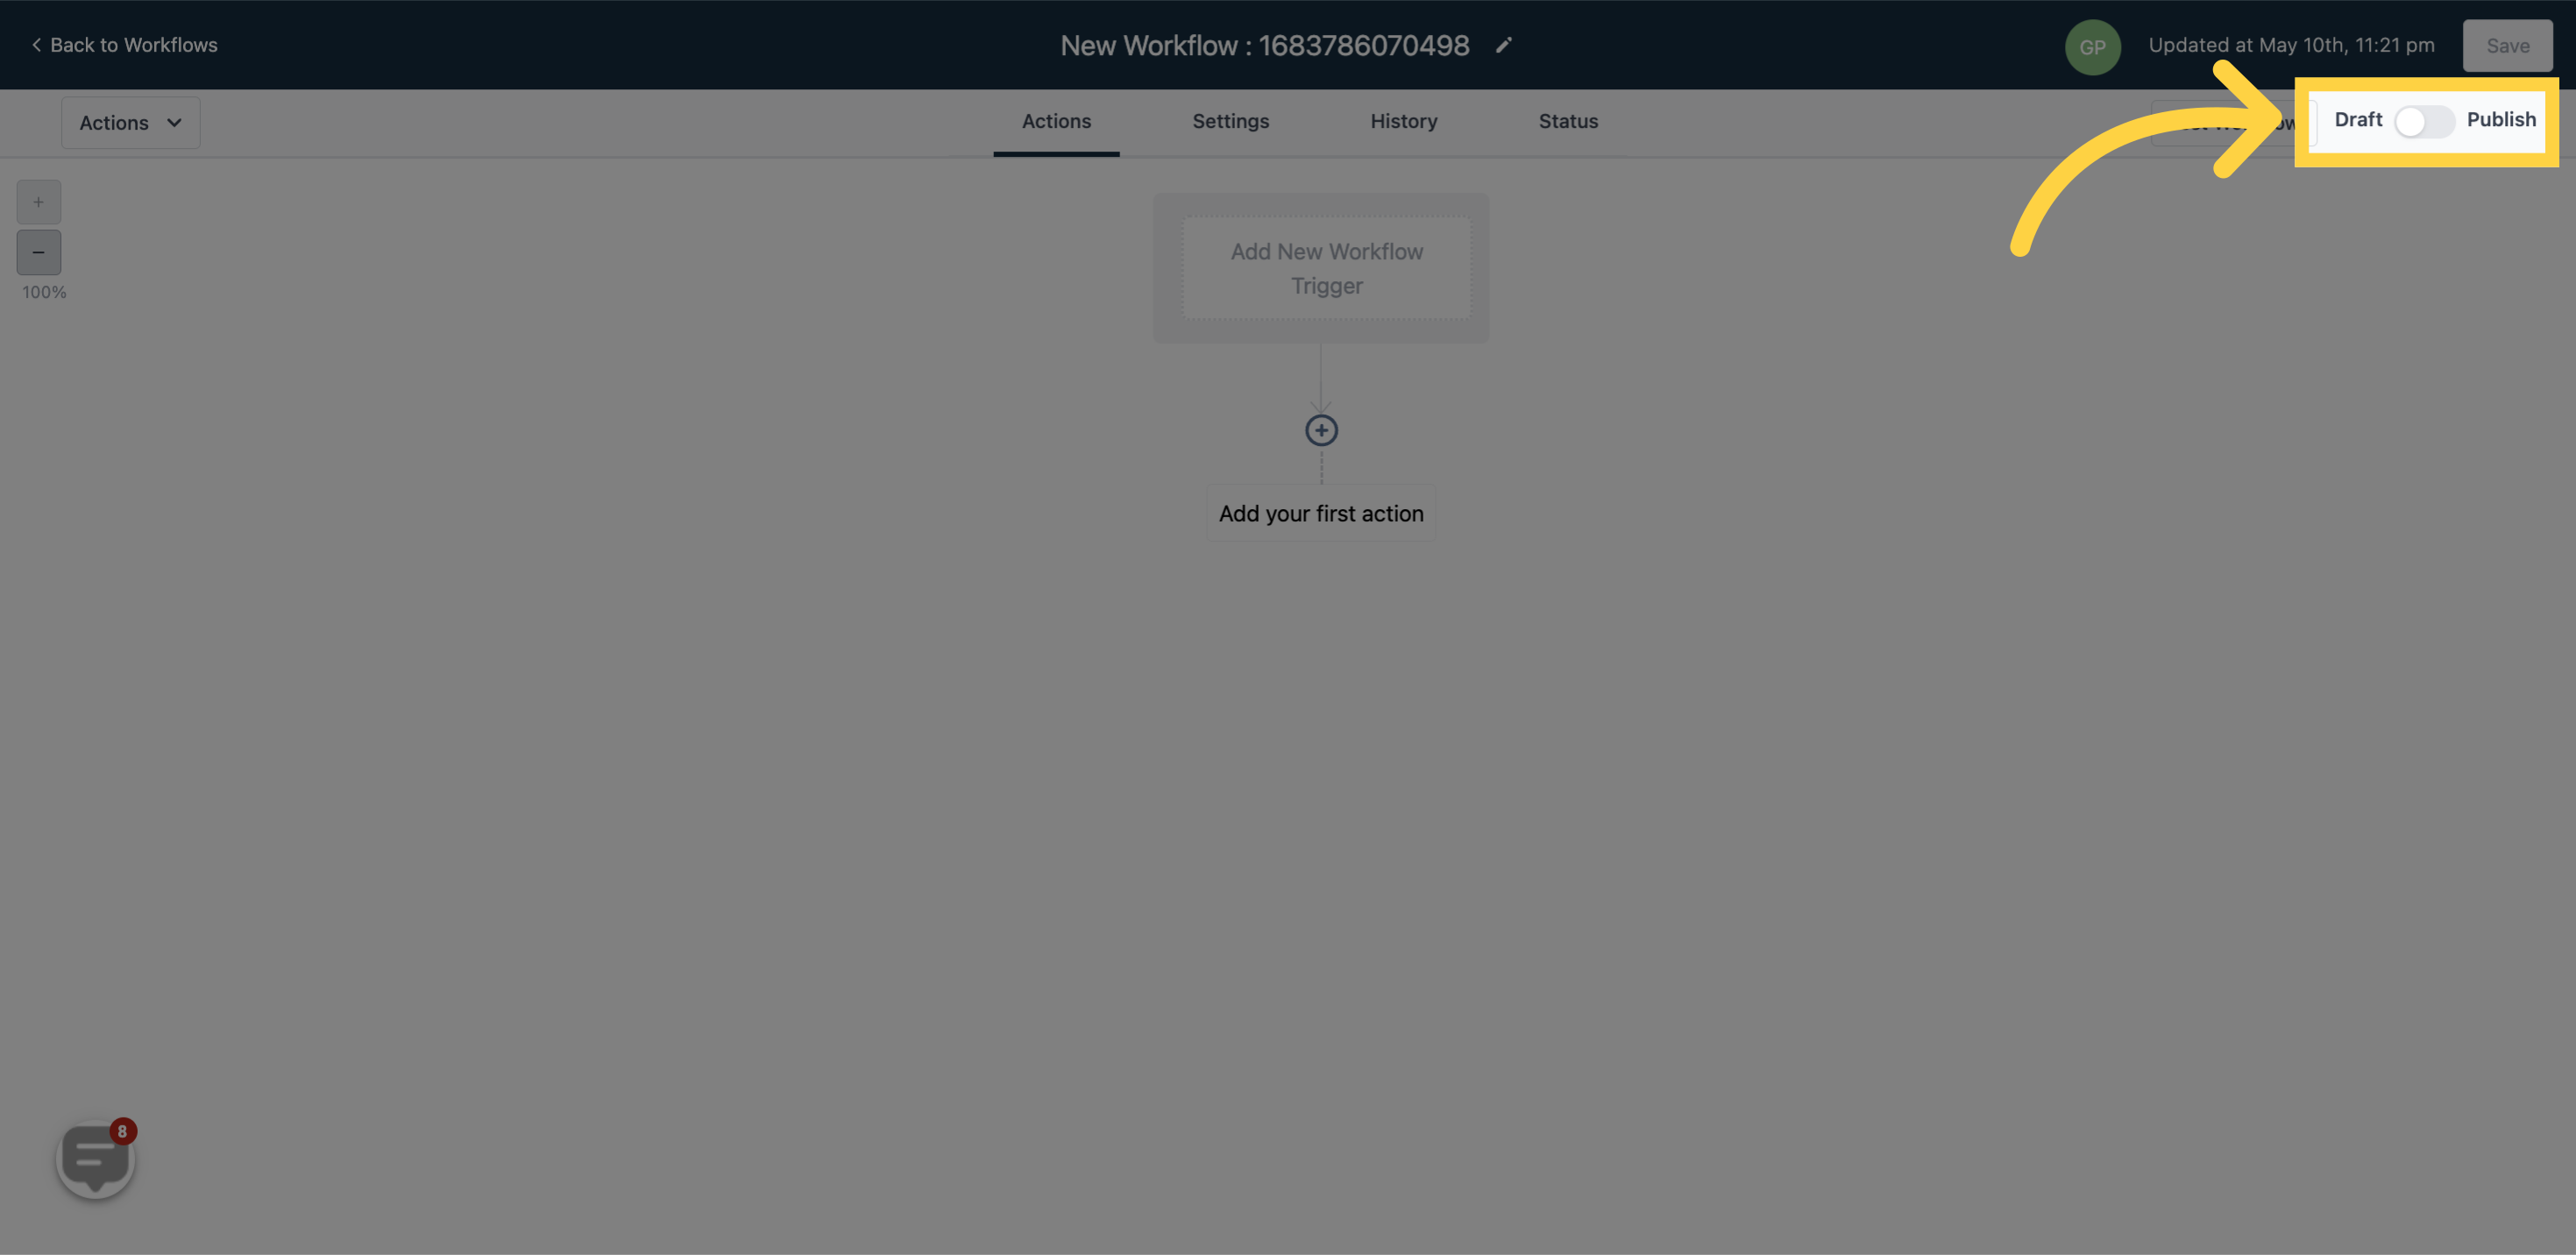
After creating a workflow, it can be in either draft or publish mode. By toggling the button, you can activate or deactivate the workflow.
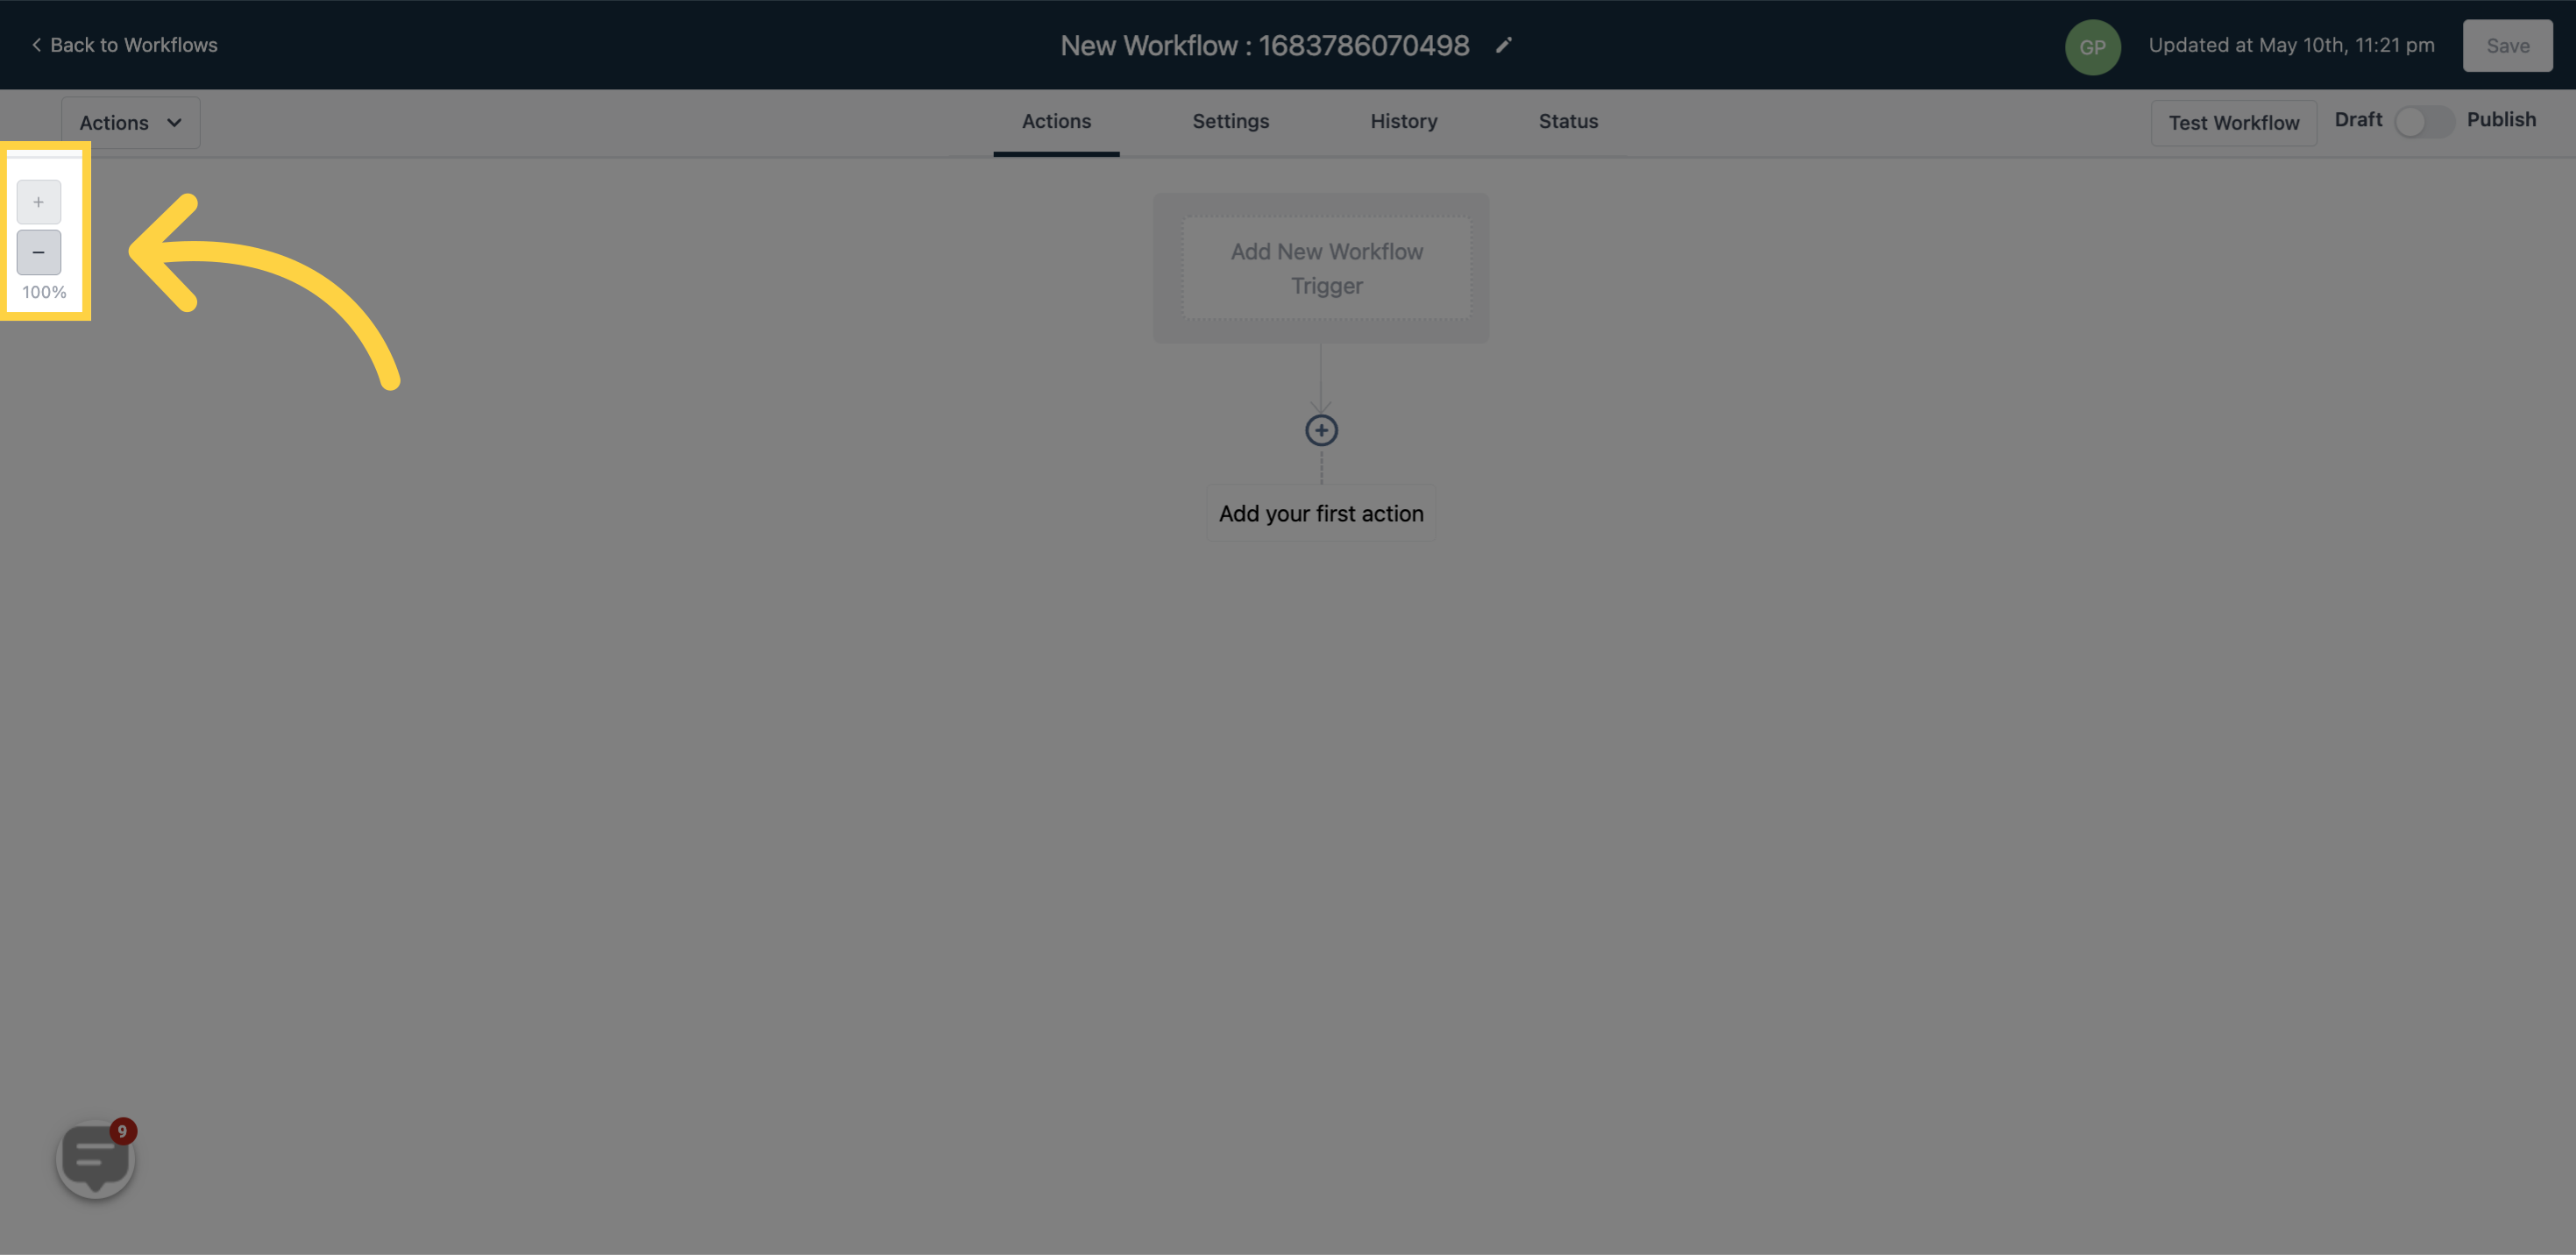
You can click on this icon to zoom in or out of the workflow or a specific area within the workflow.
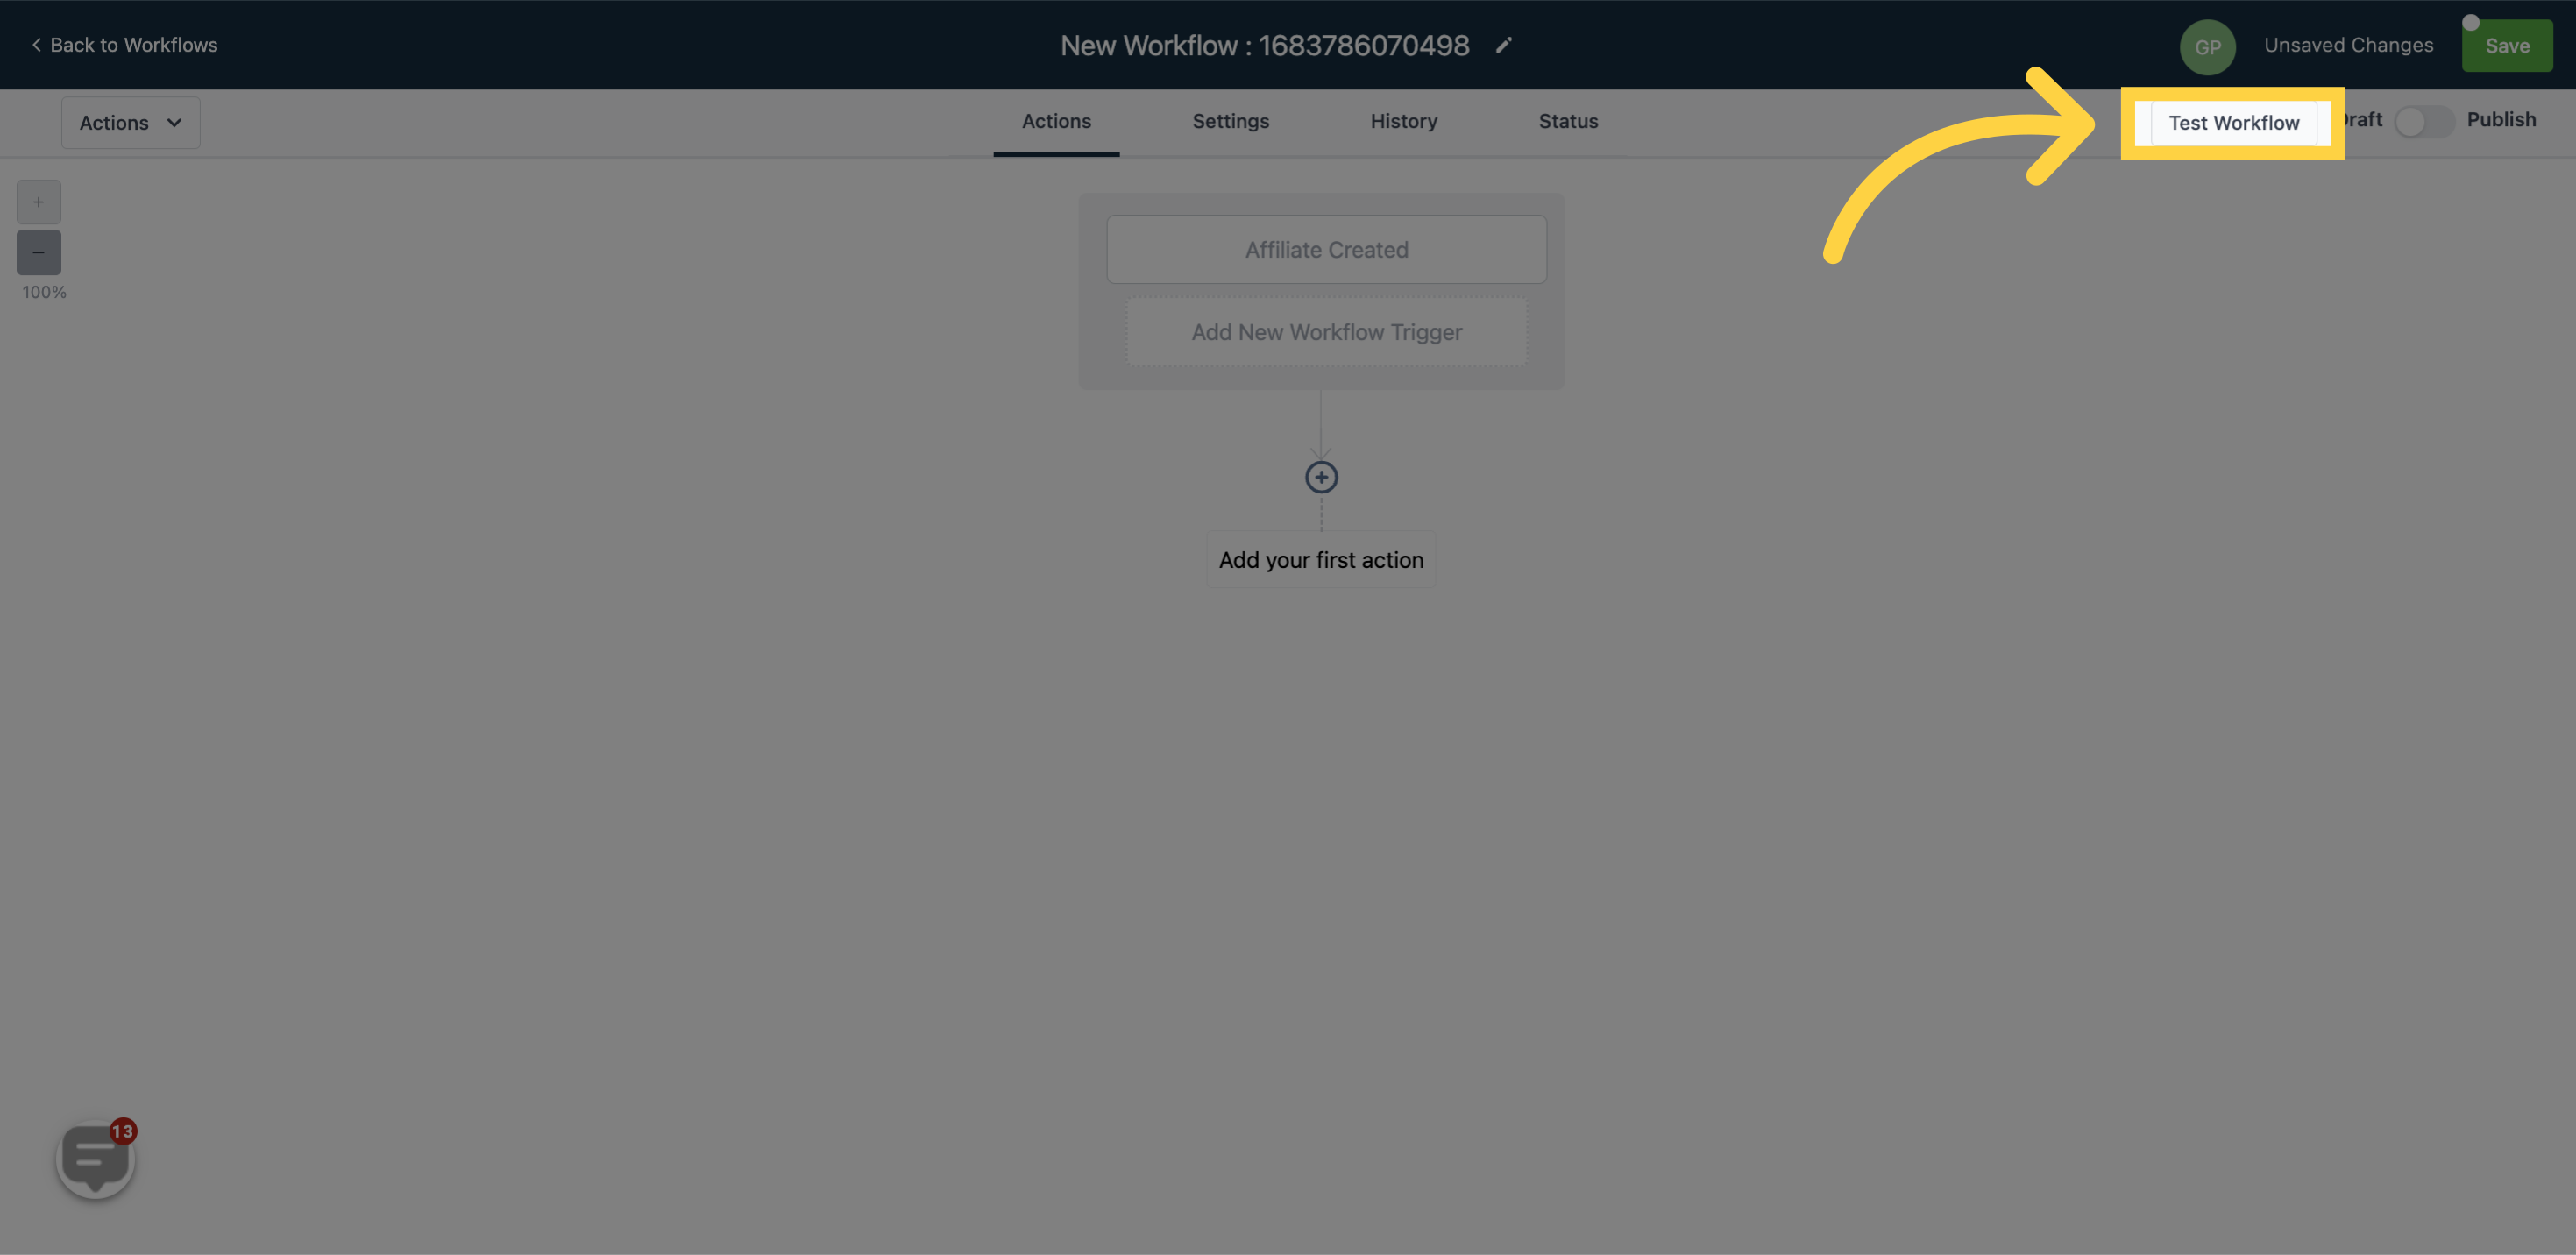
To test a newly created workflow before publishing it, select the demo contact and then click on the "Run Test" button.
Don't forget to save your changes after creating or editing your actions or triggers. The date and time of the last save will be automatically updated.