Access the Contacts feature.
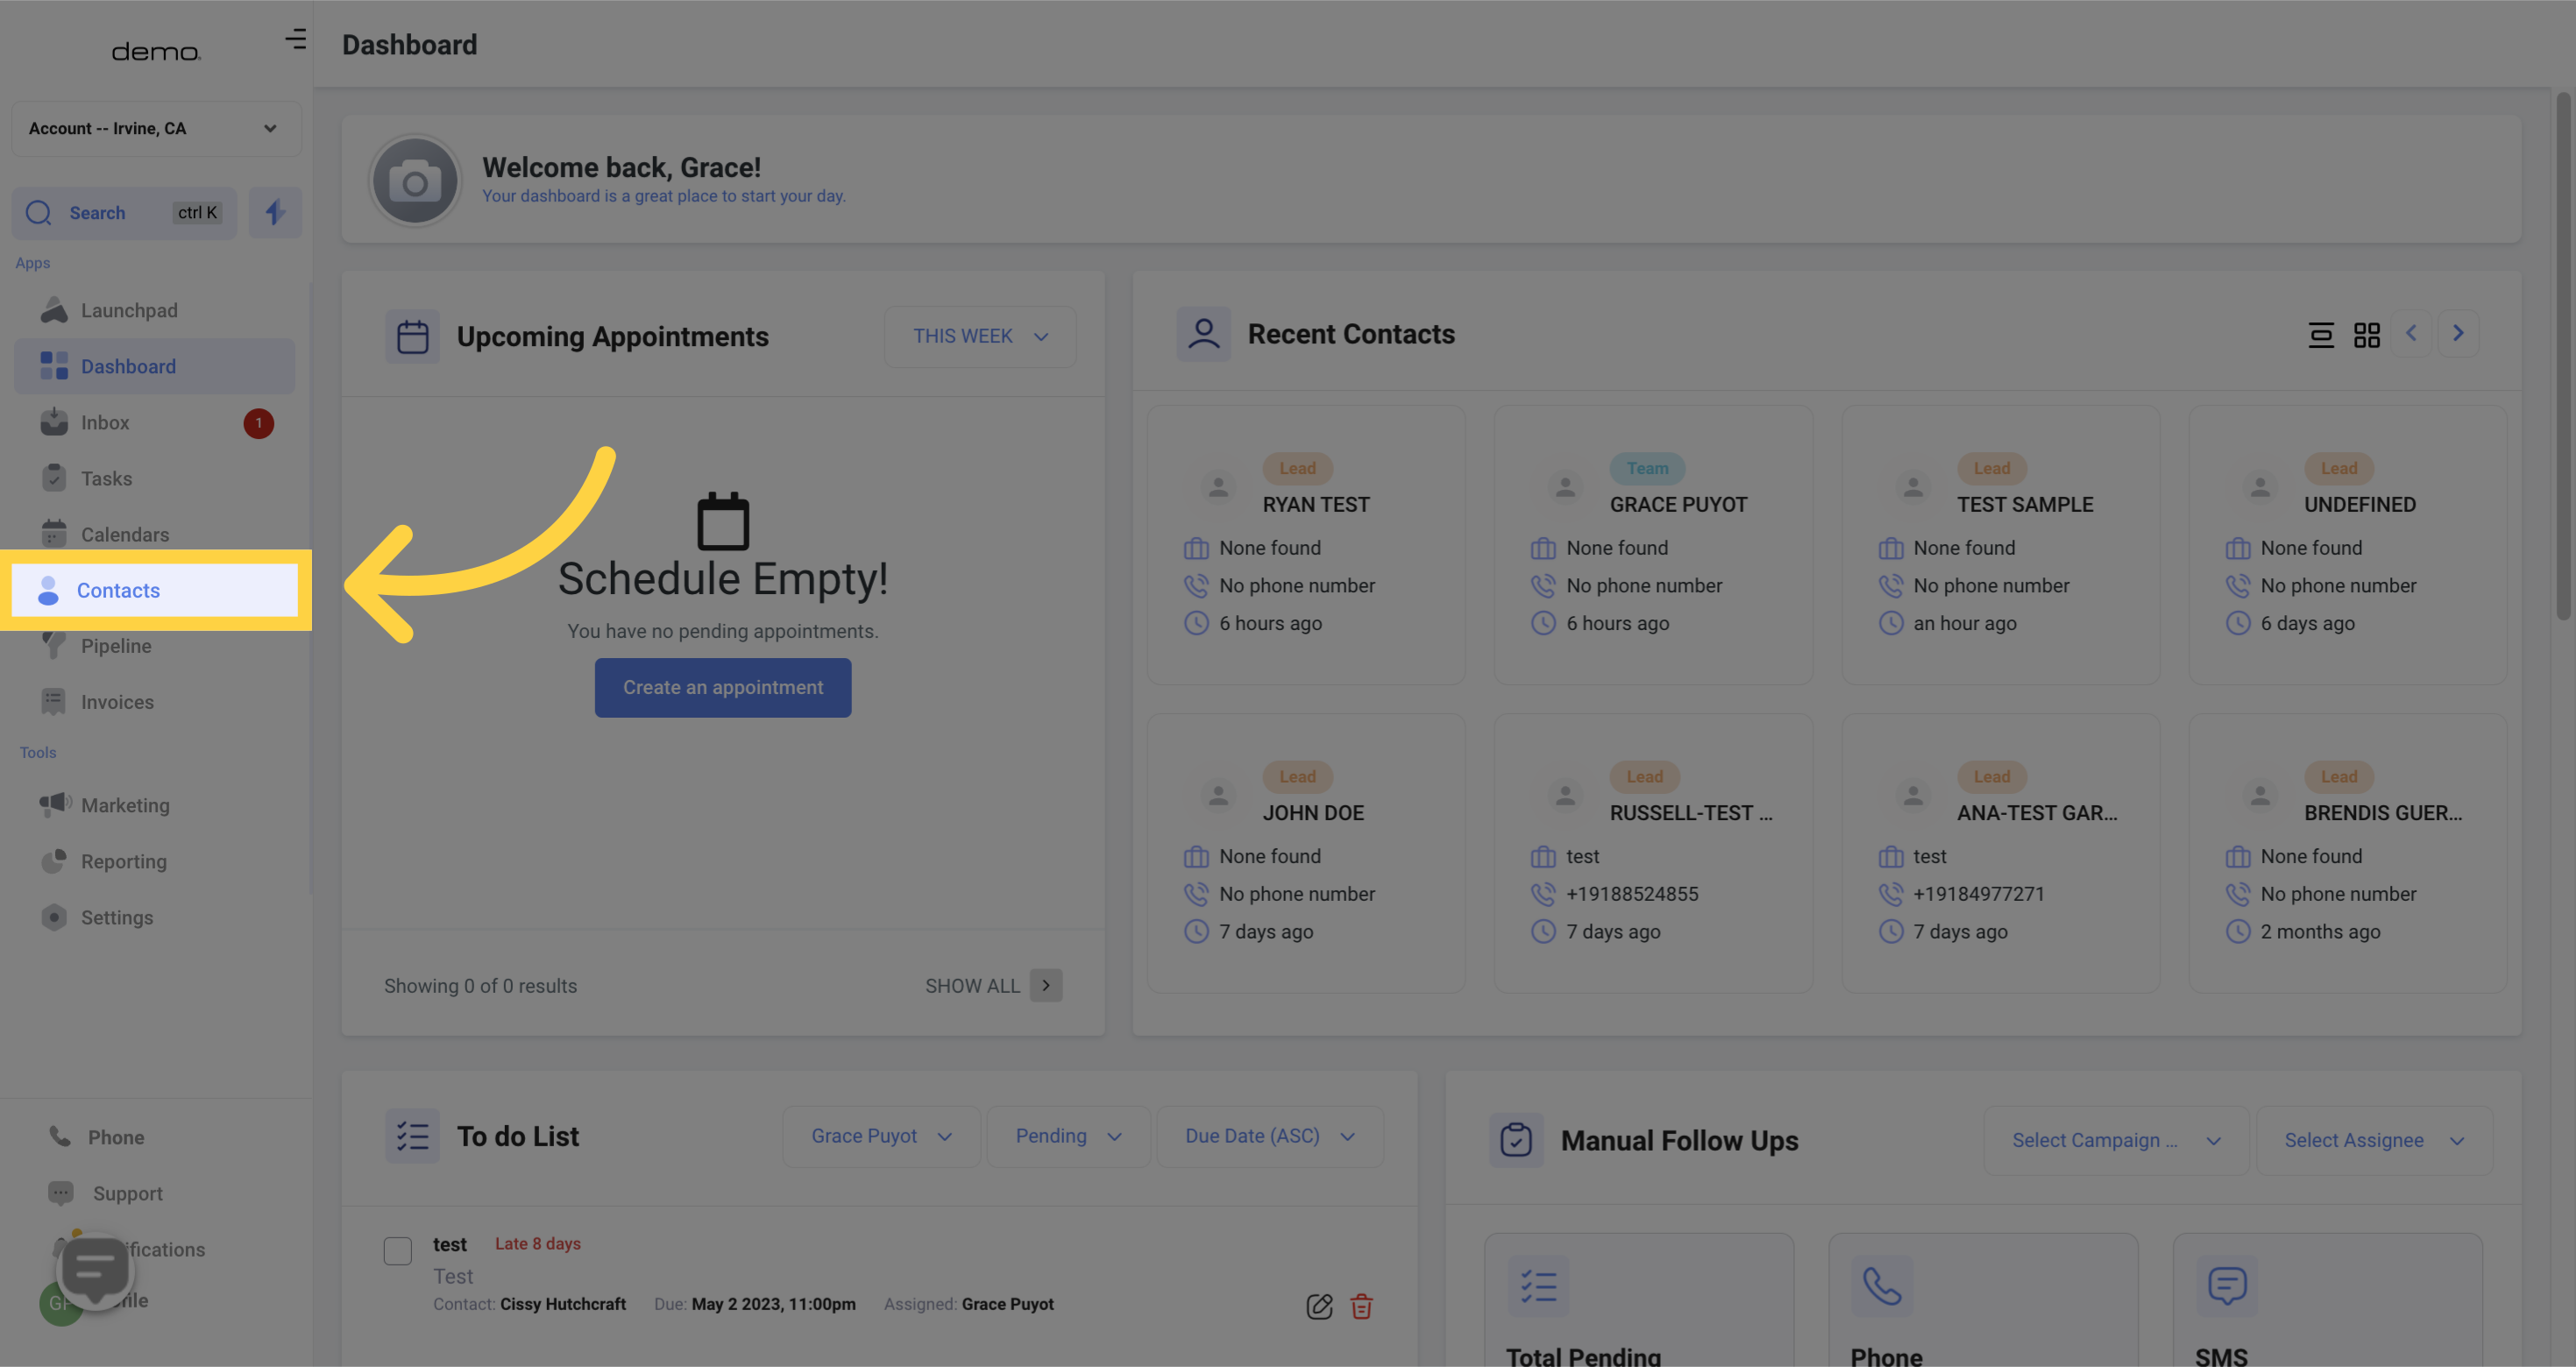
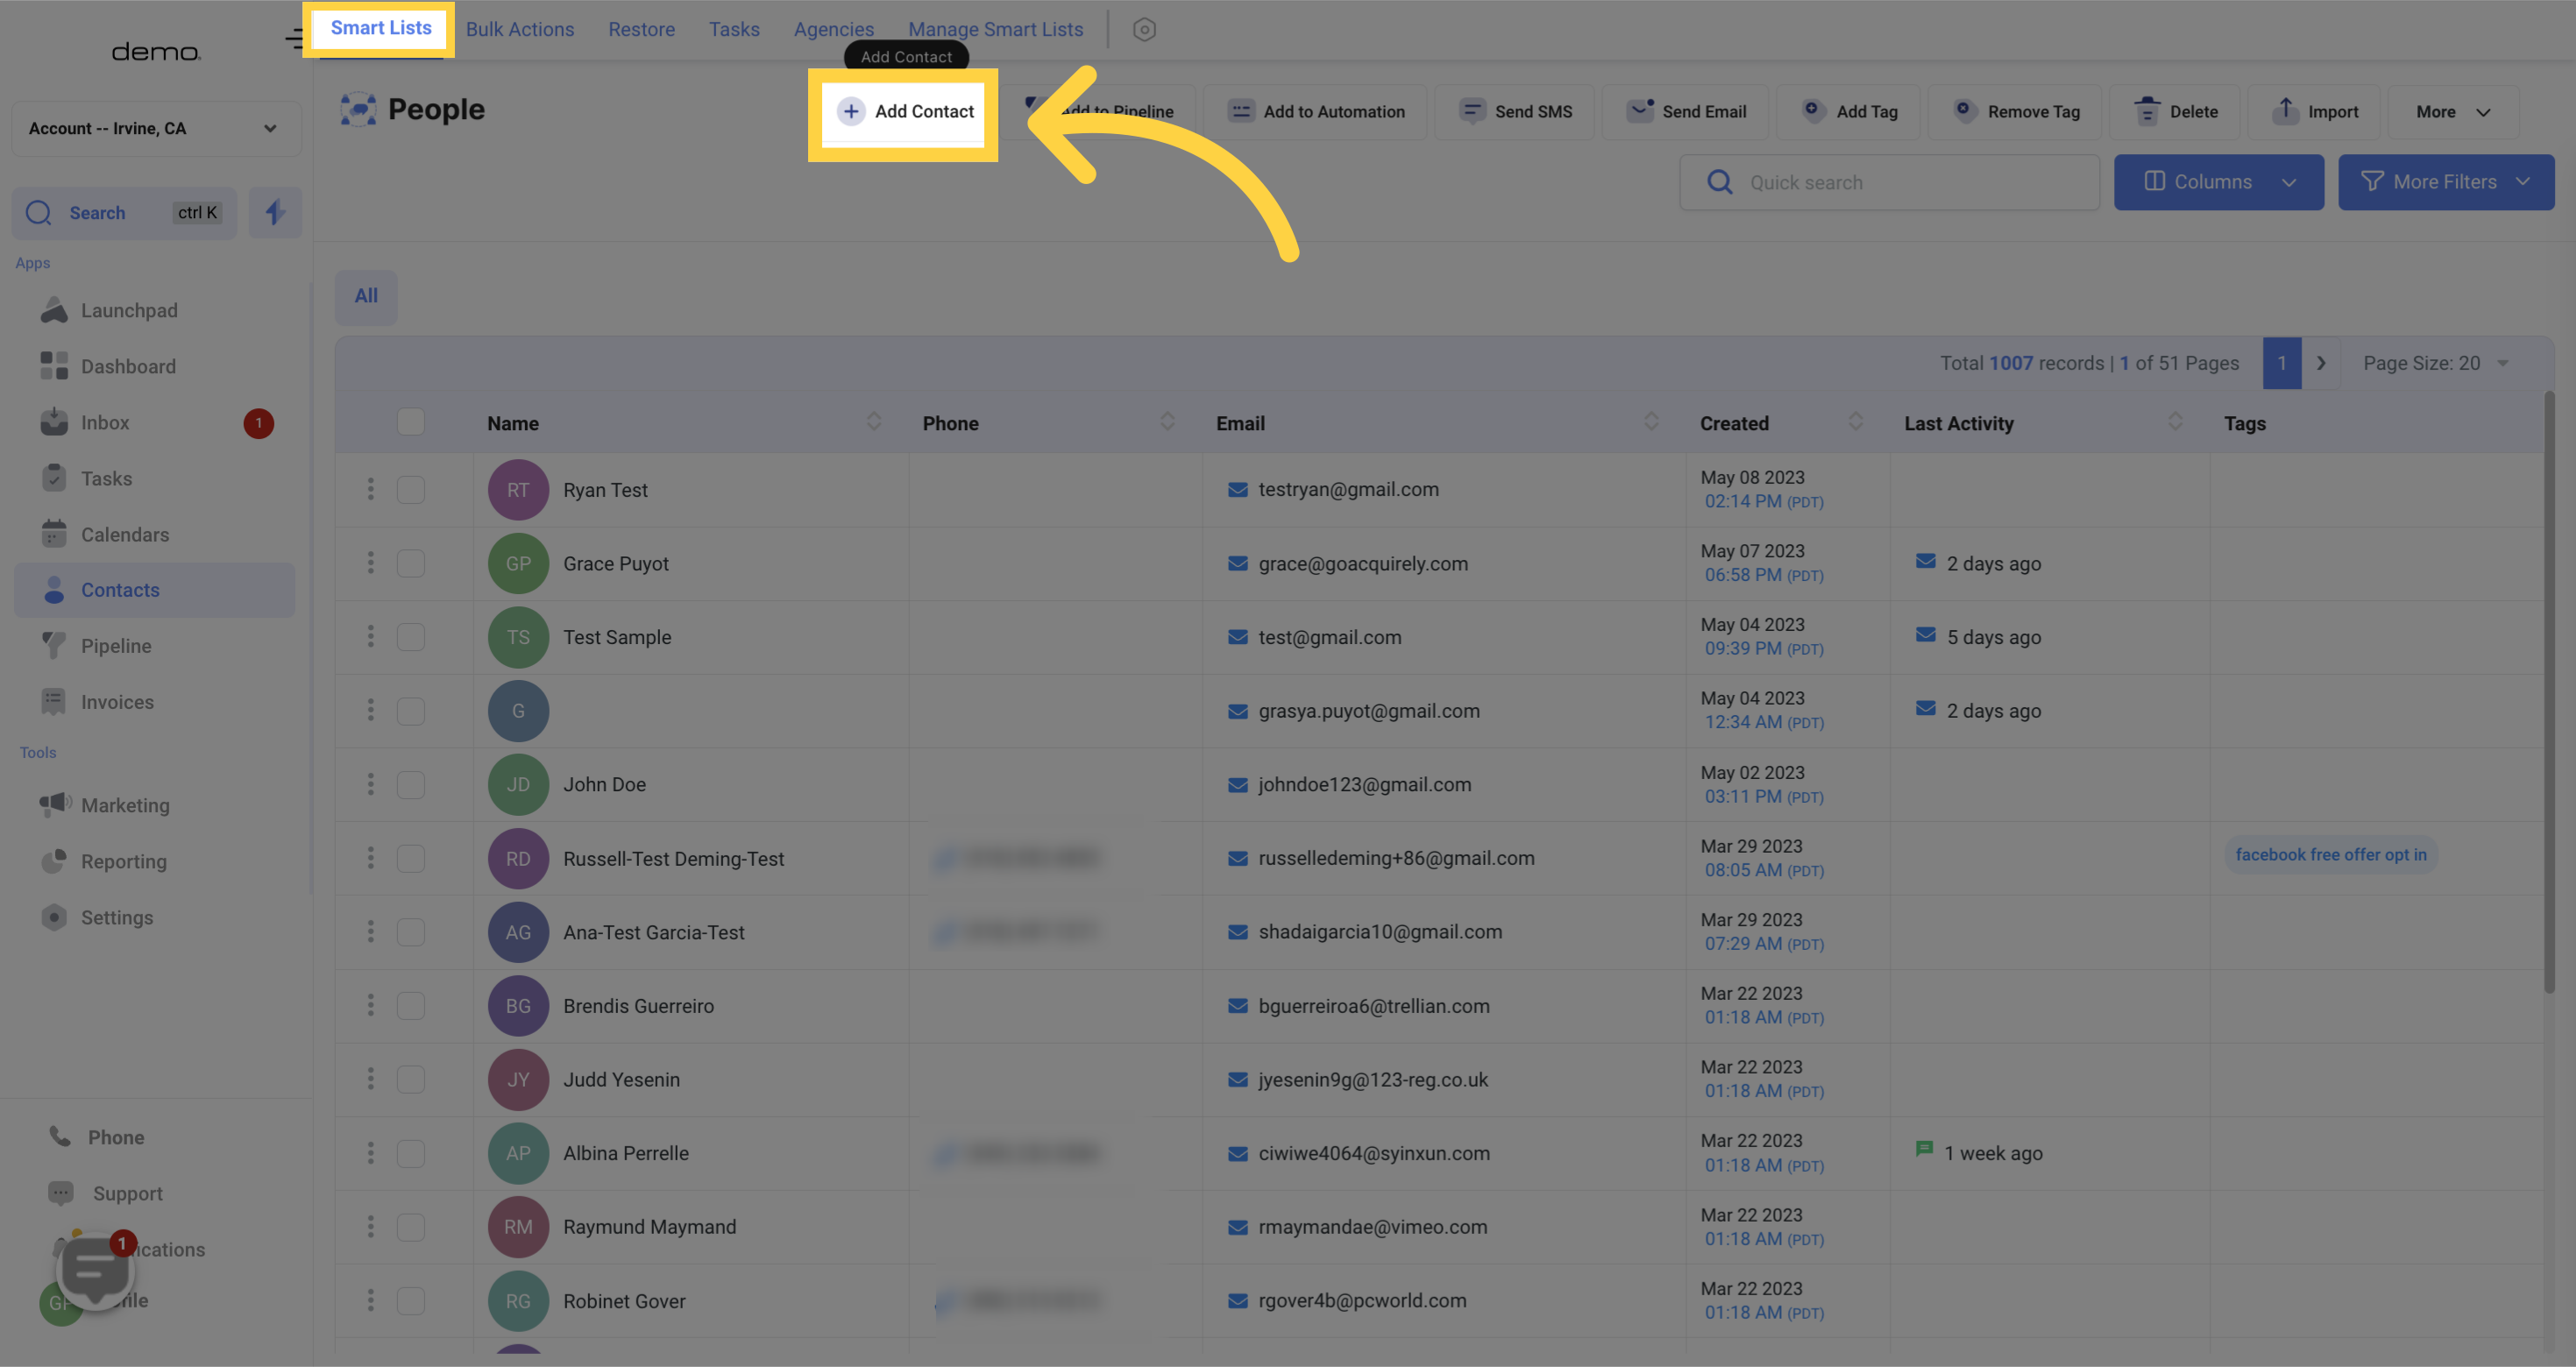
Click on the designated button to proceed.
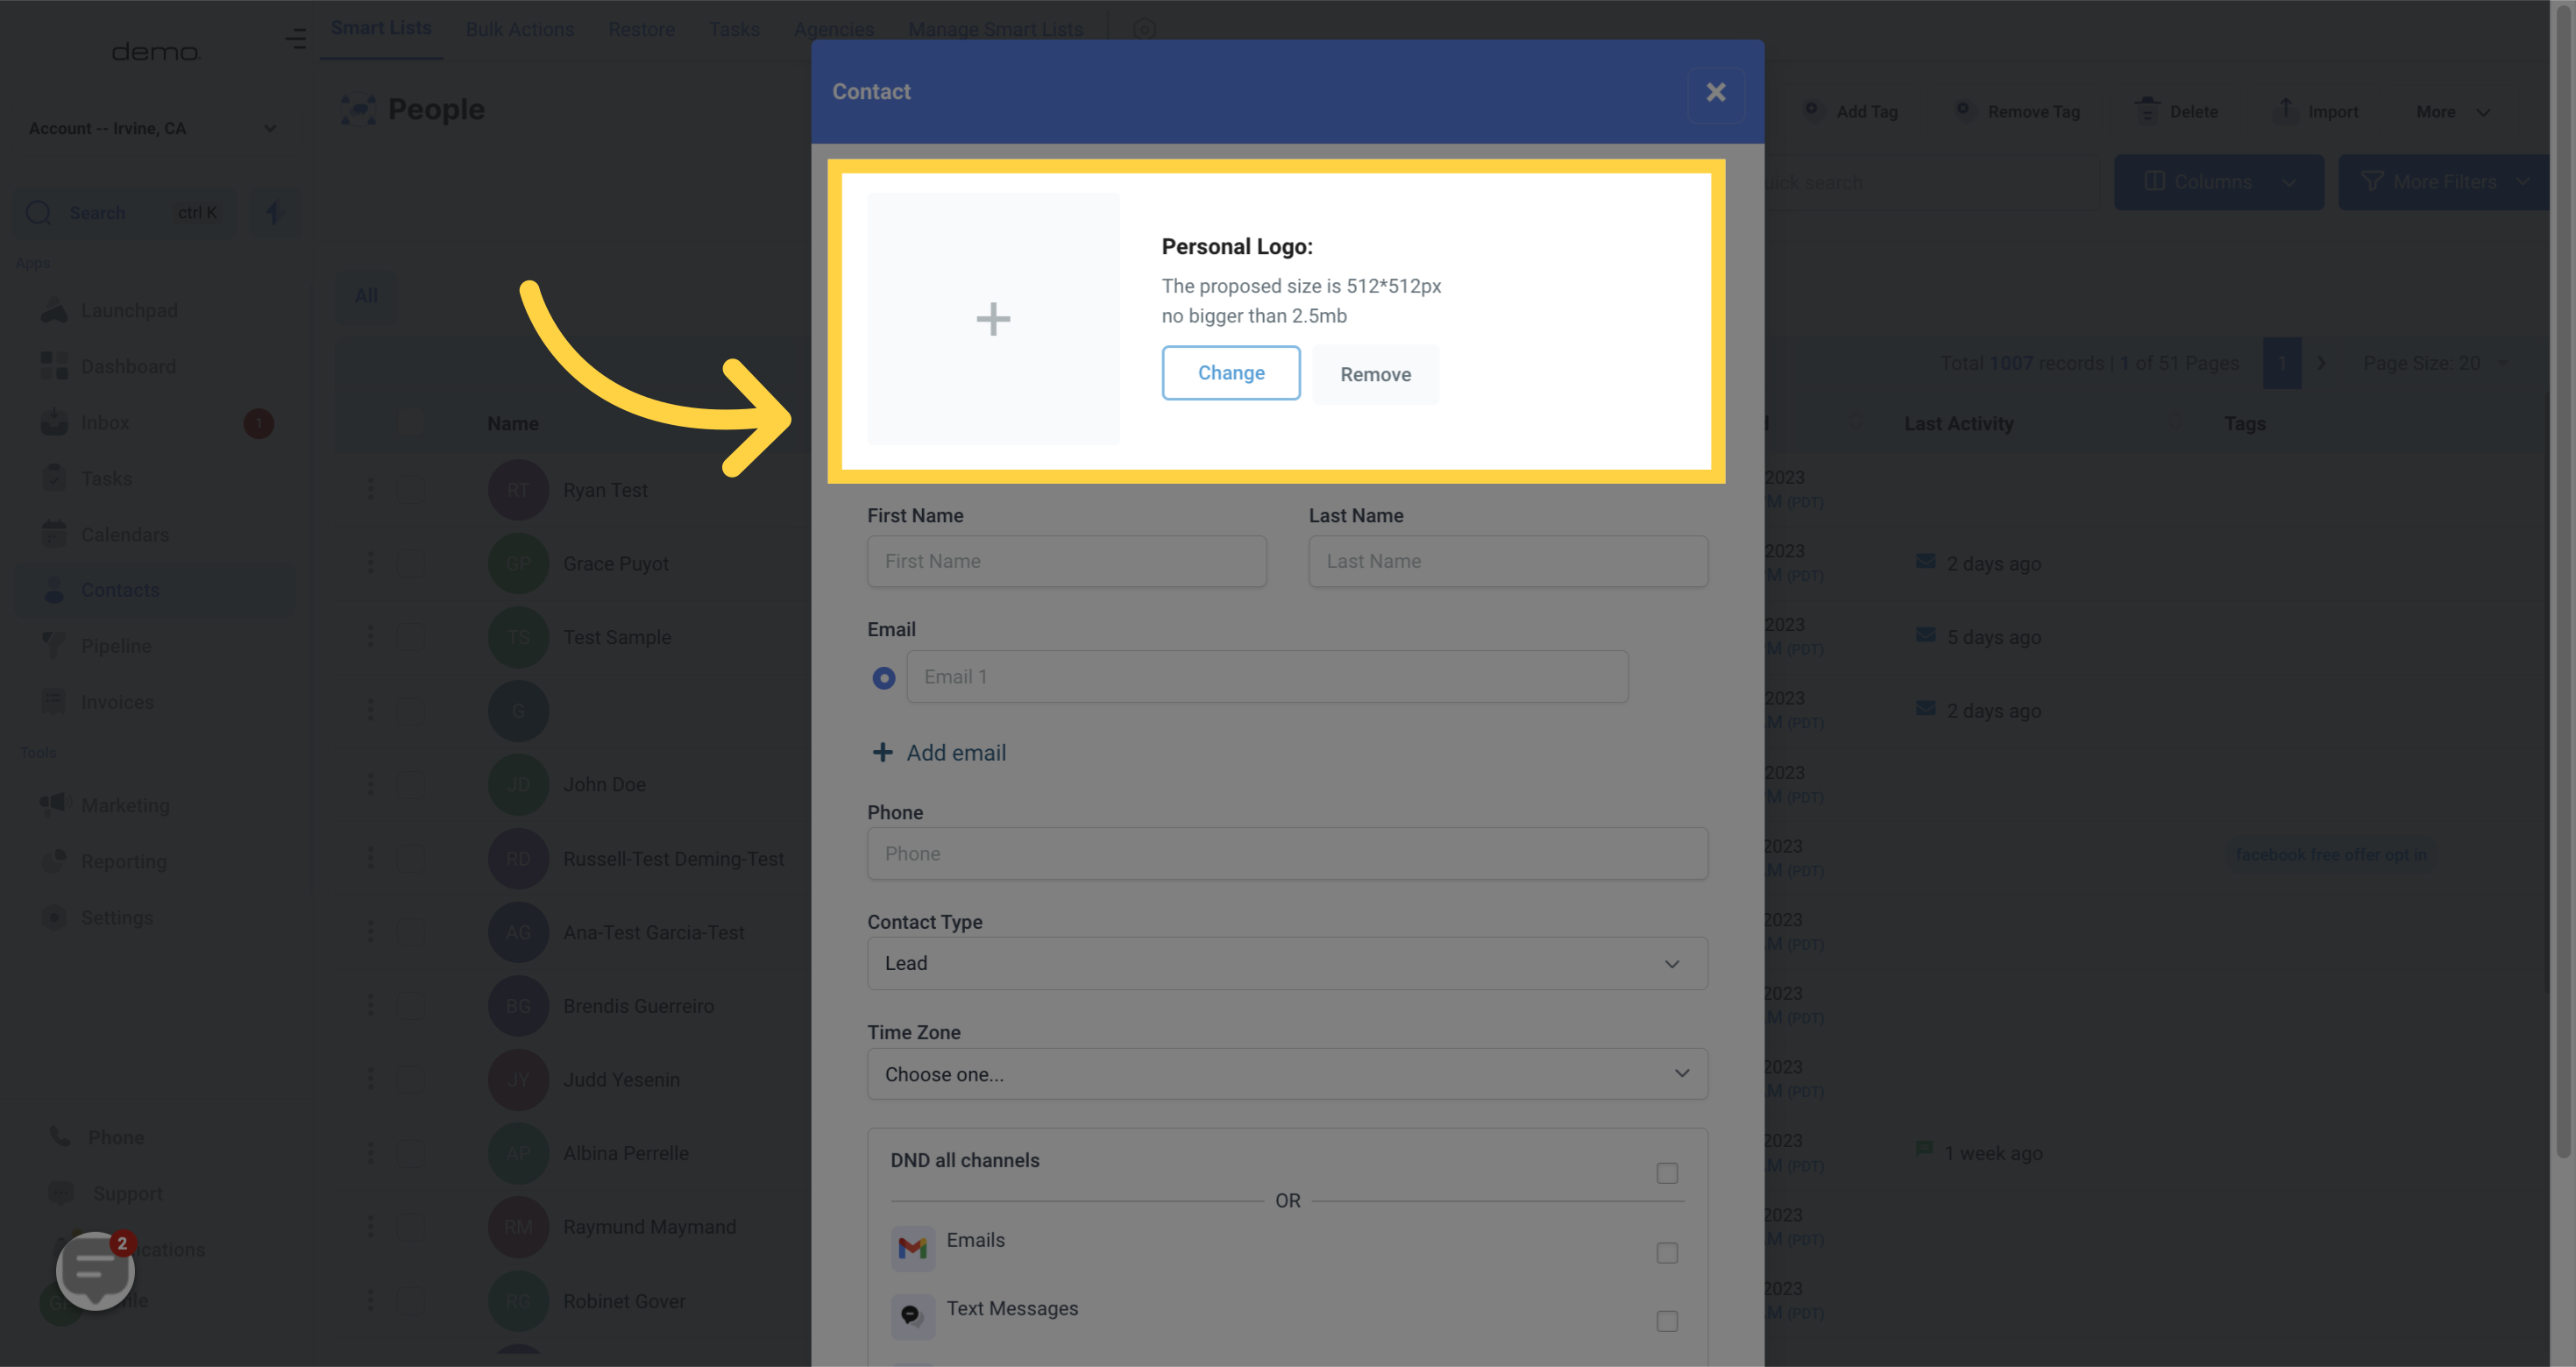
To easily distinguish between contacts, you can upload their business logo. This is especially helpful if you have multiple clients with the same name. The recommended size for the logo is 512x512 pixels and should be no larger than 2.5 MB.
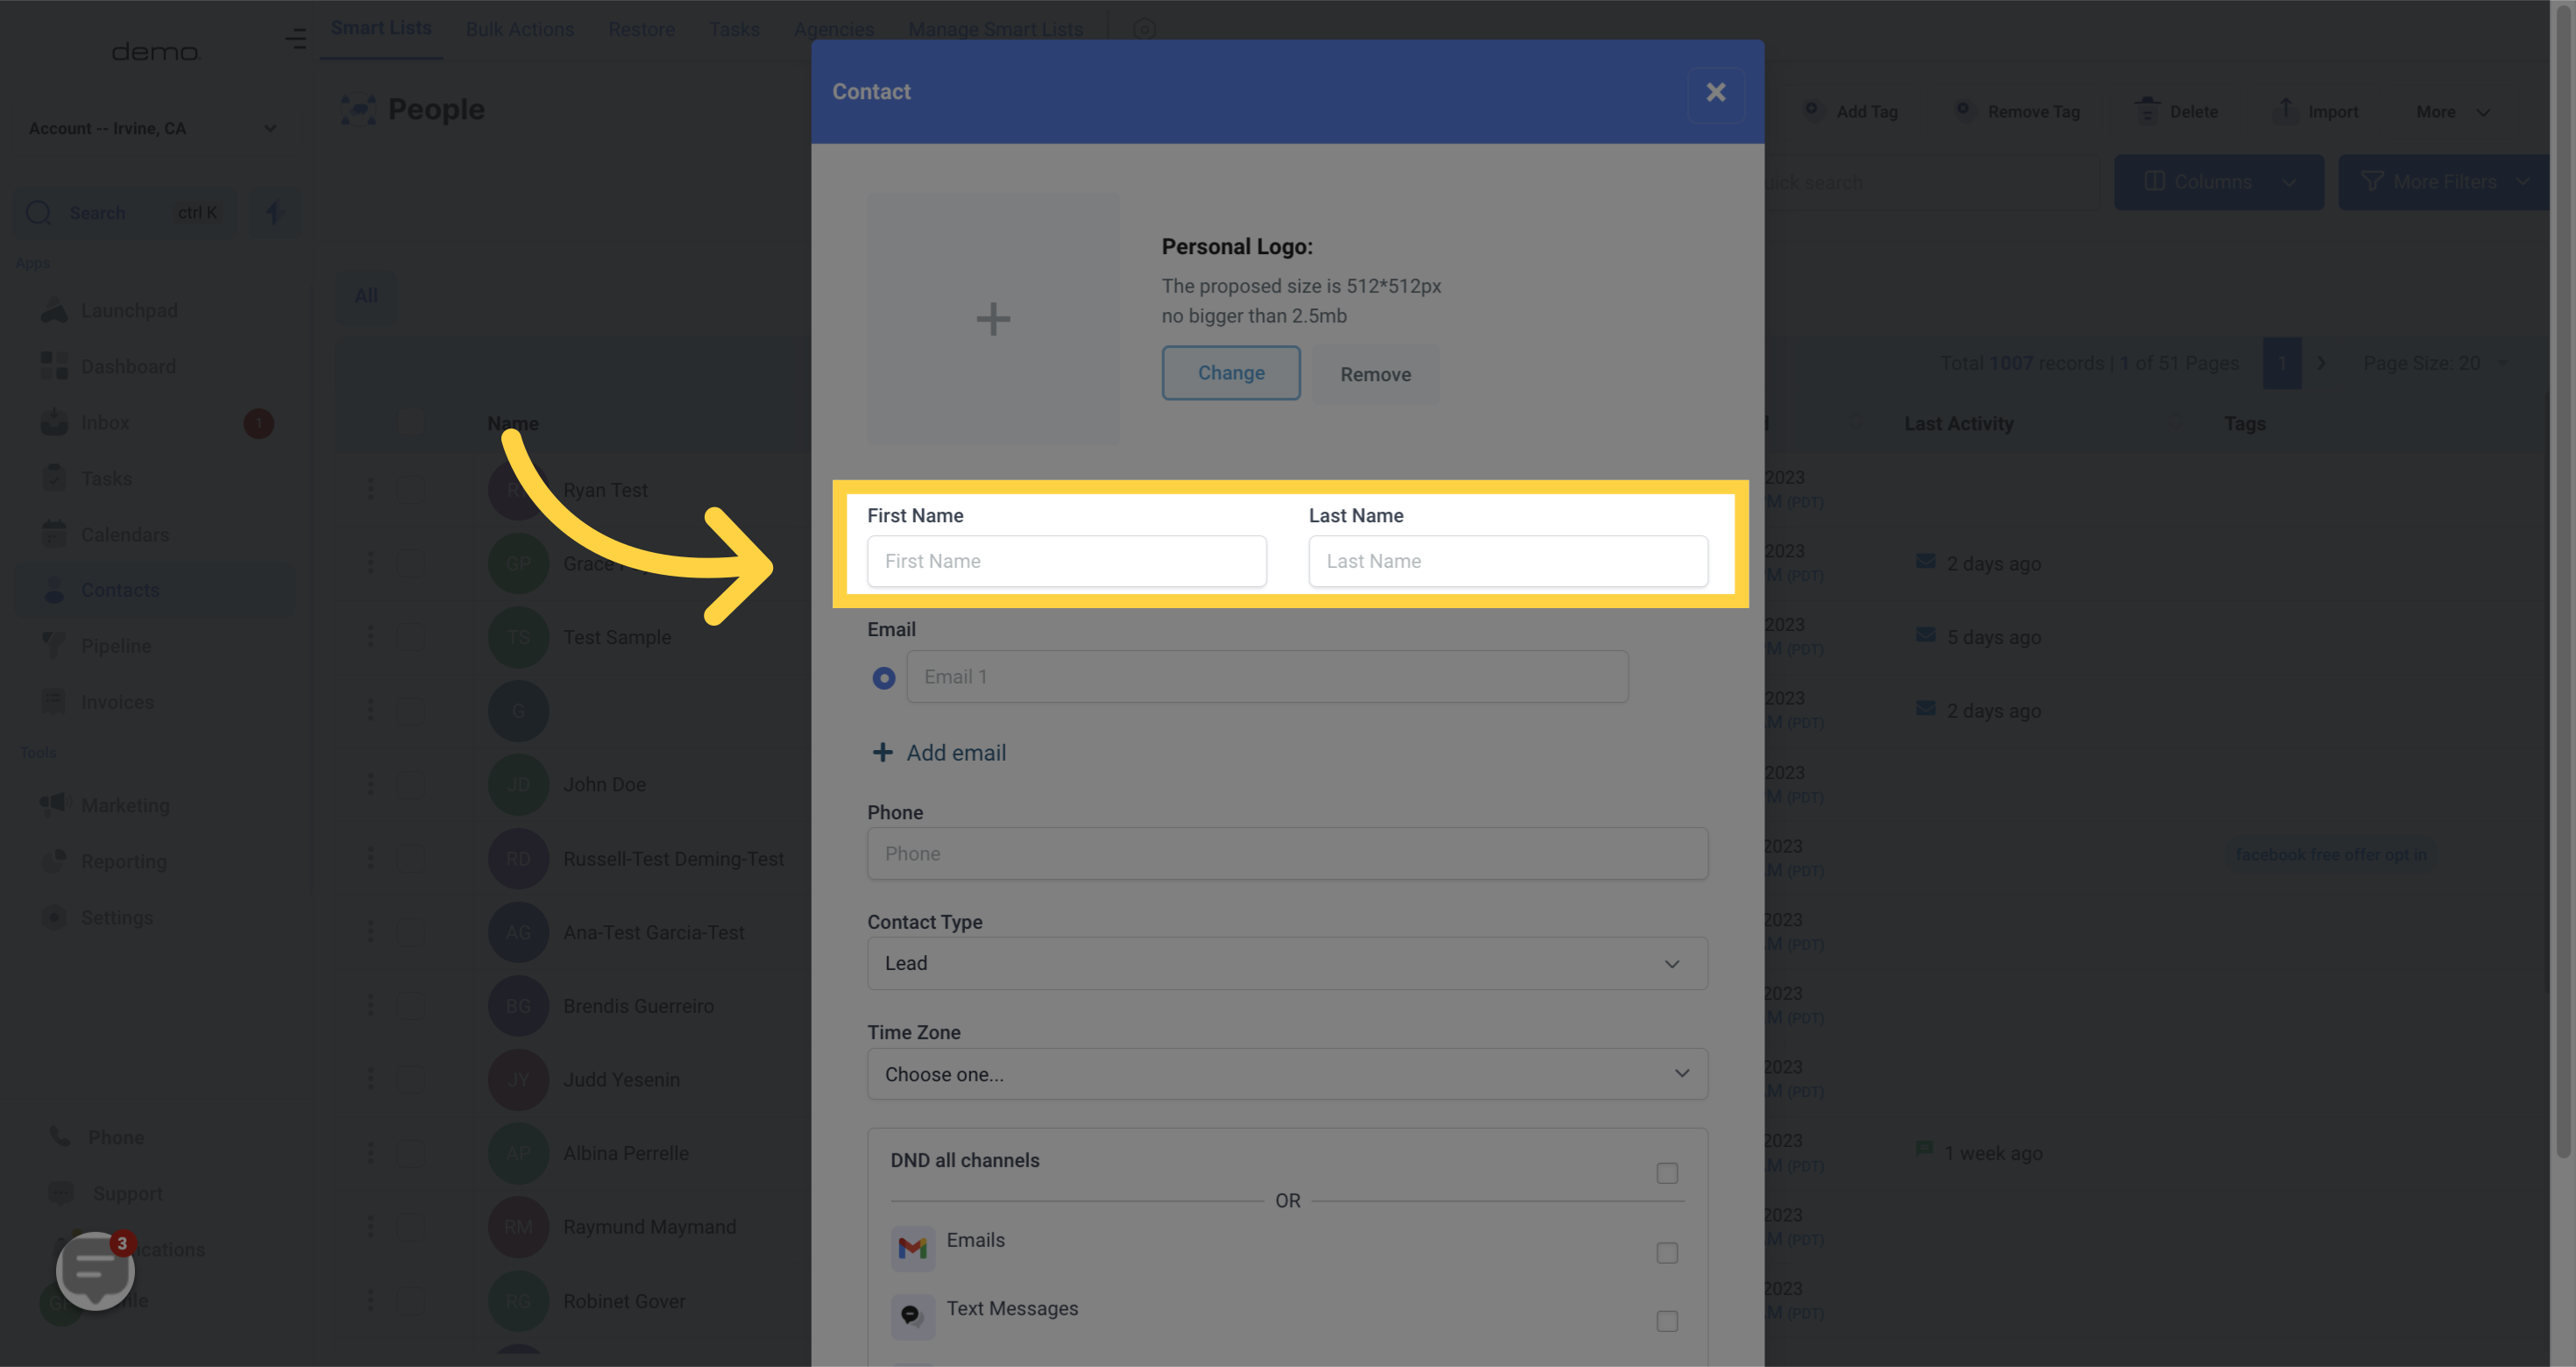
Type First name and Last name
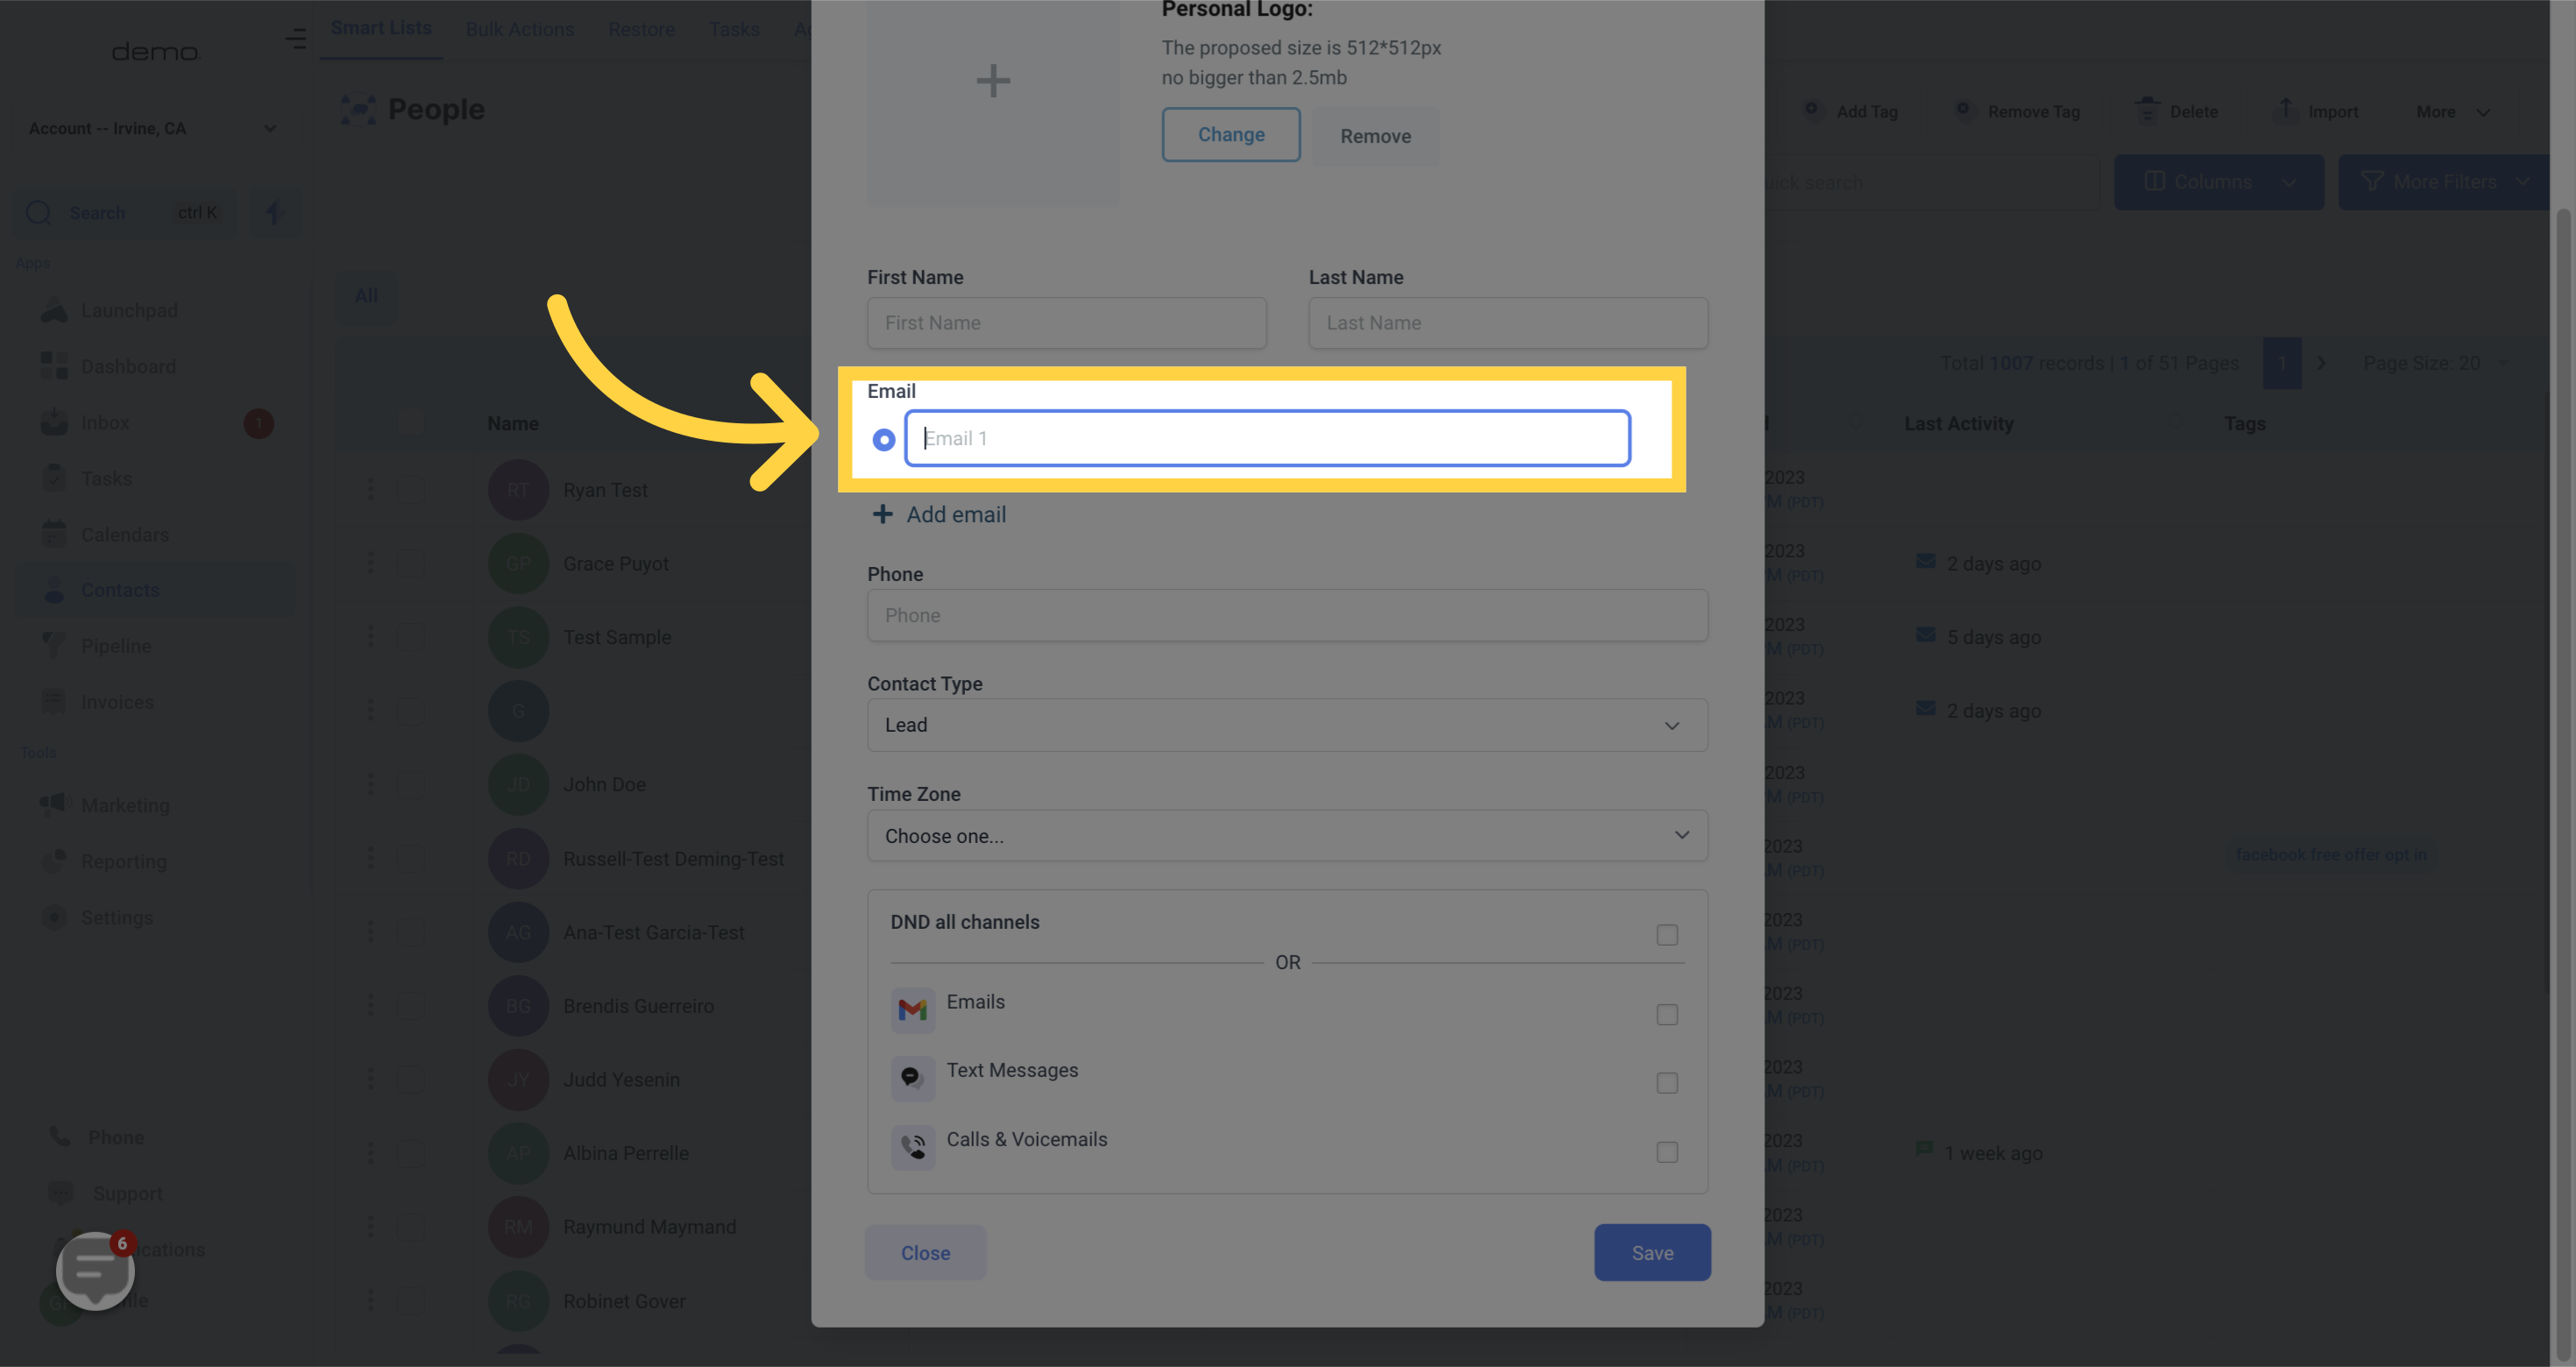
Enter the contact's email address.
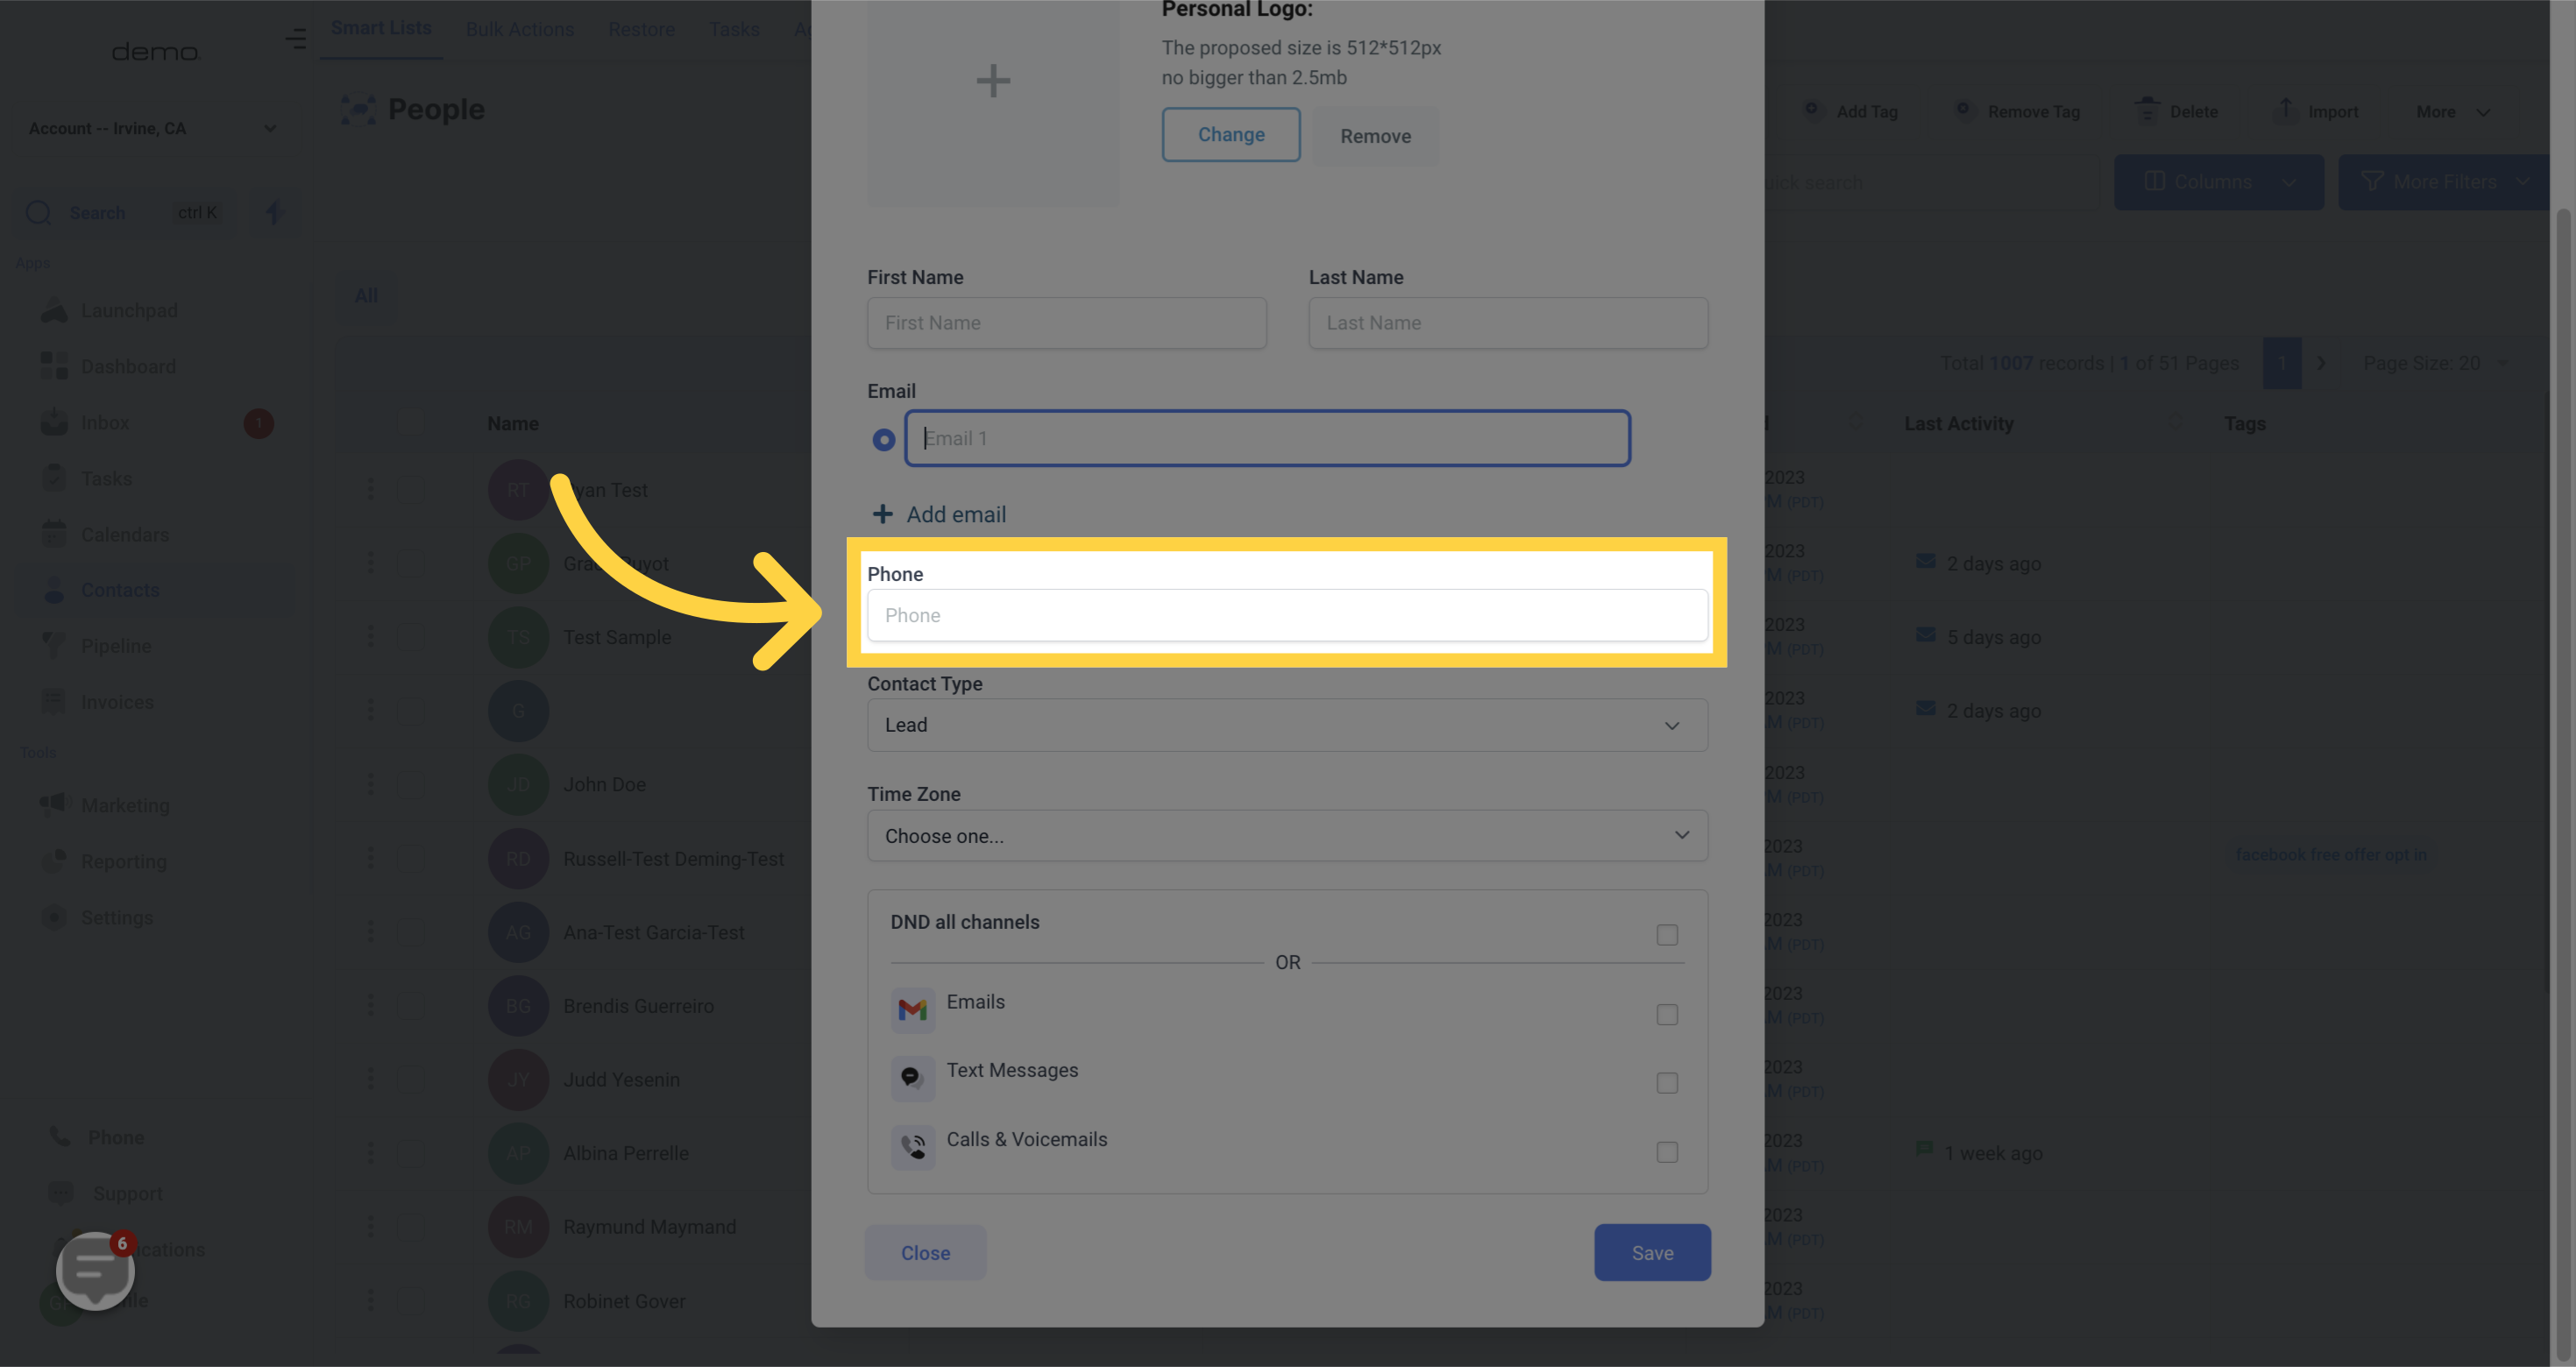
Enter the contact`s Phone number
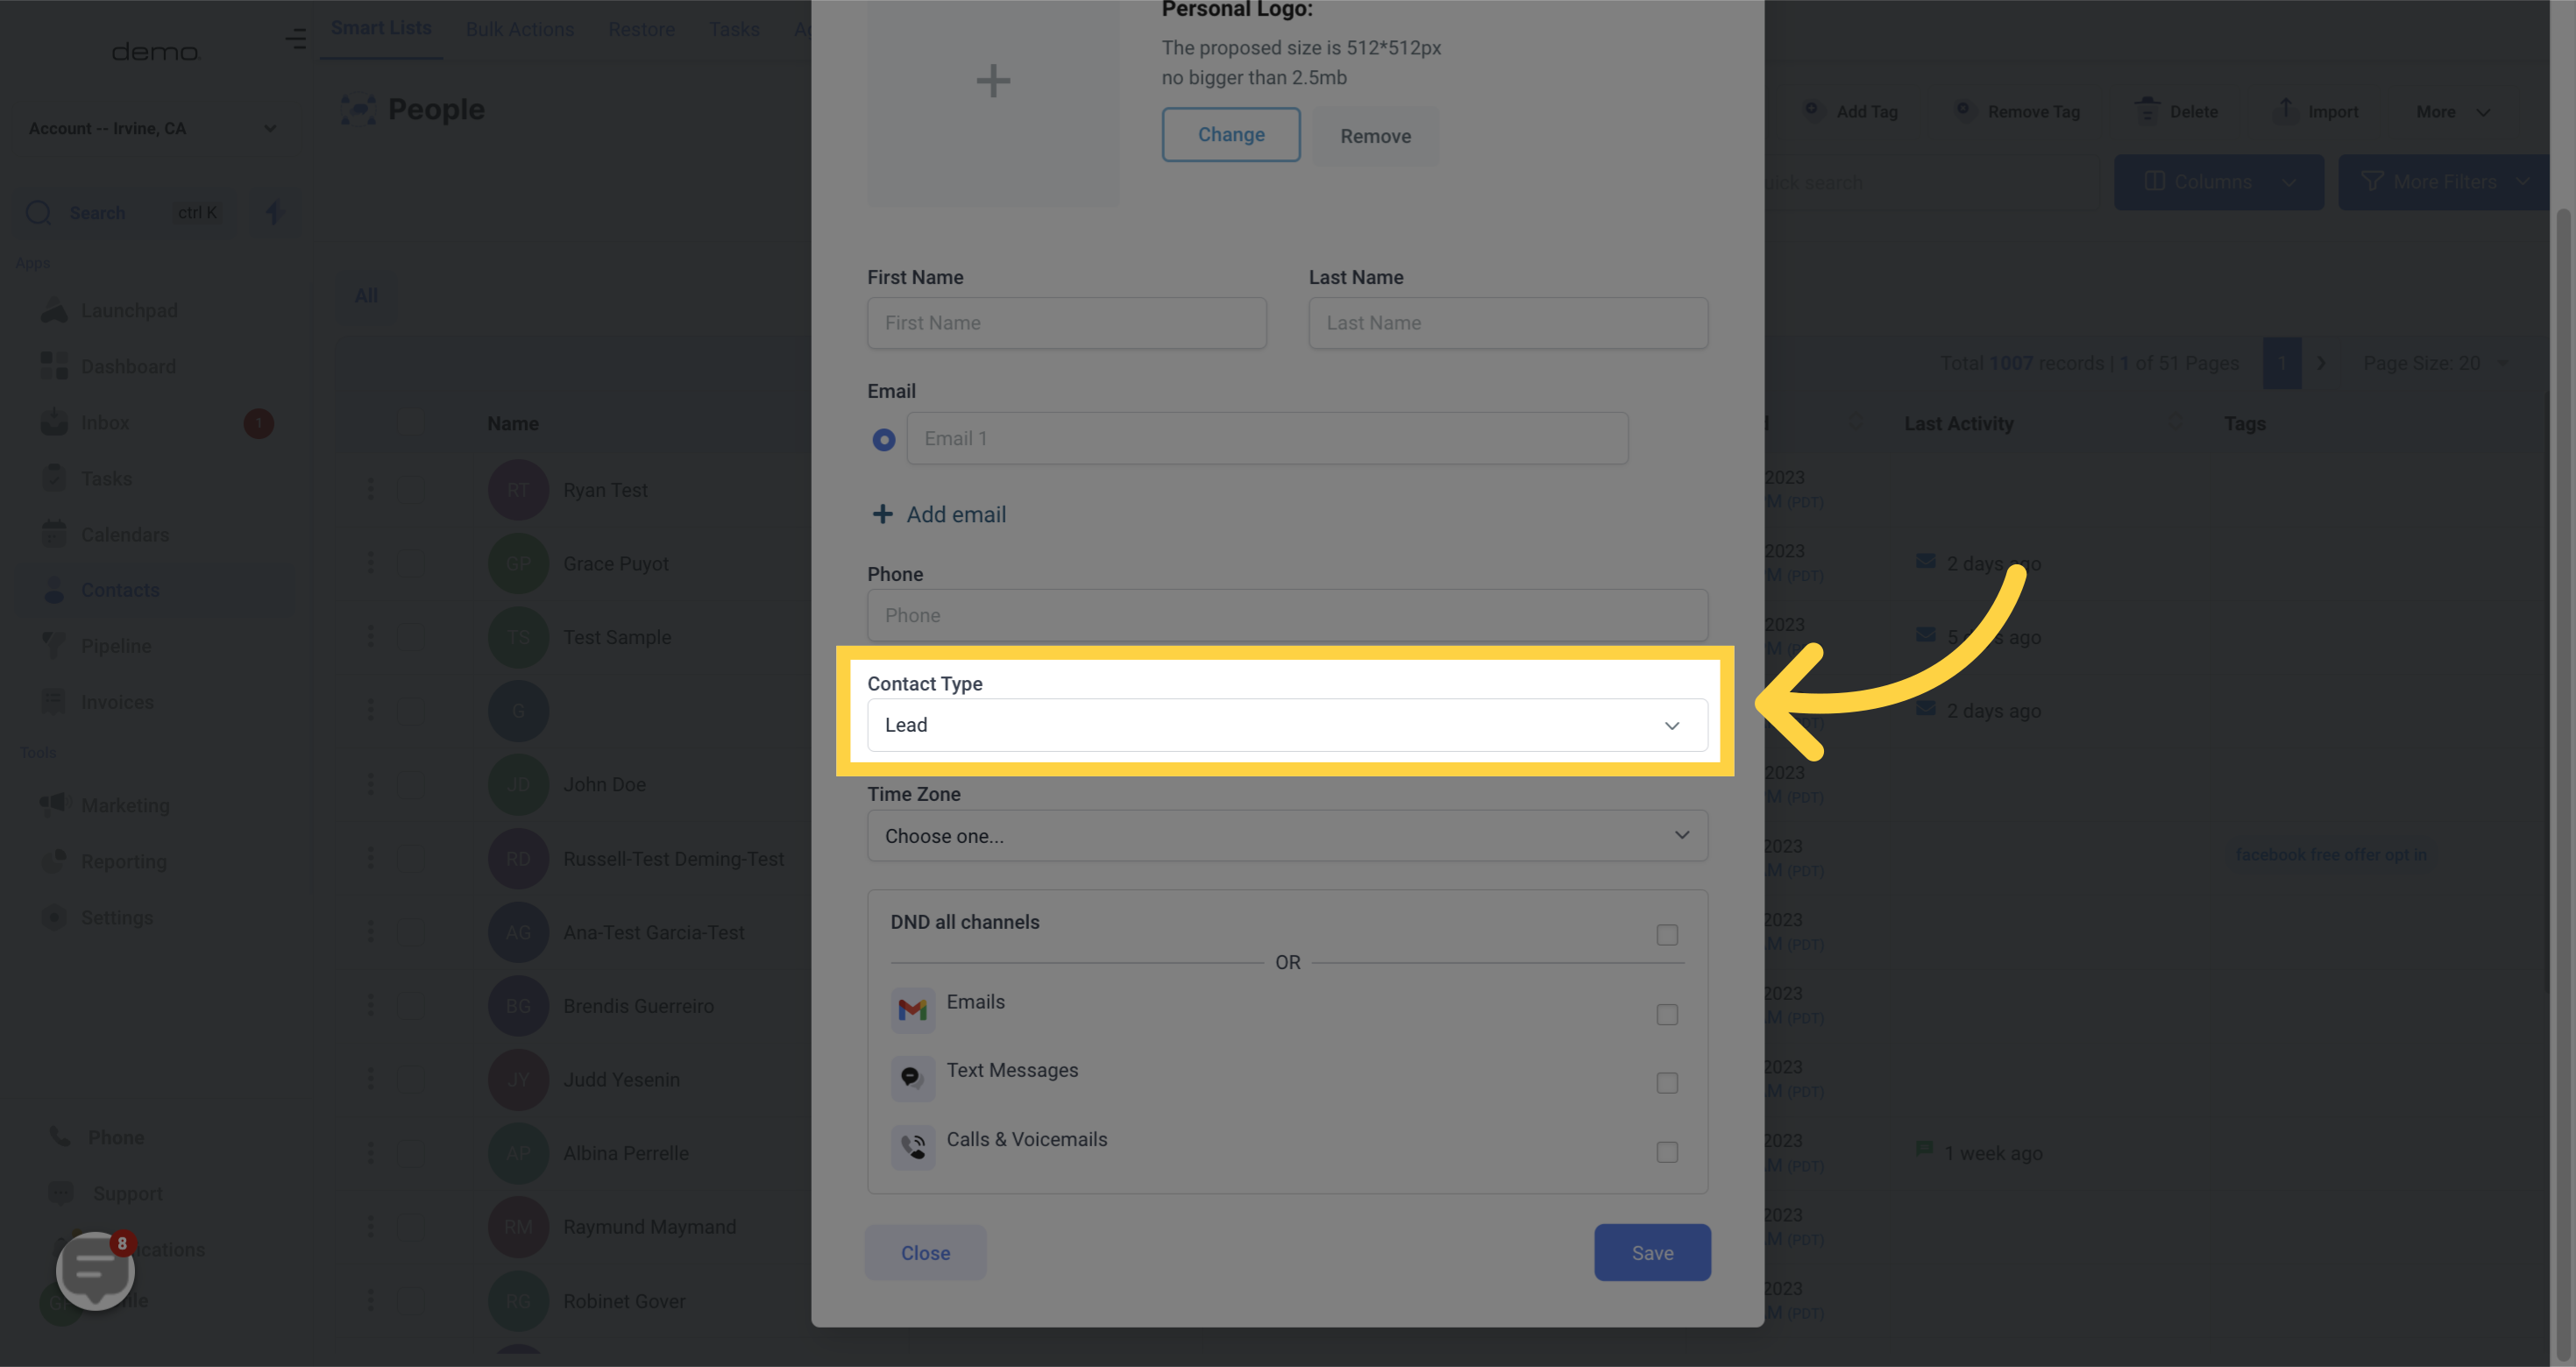
When categorizing your contacts, you have the option to move them to either the "Lead" or "Customer" category.
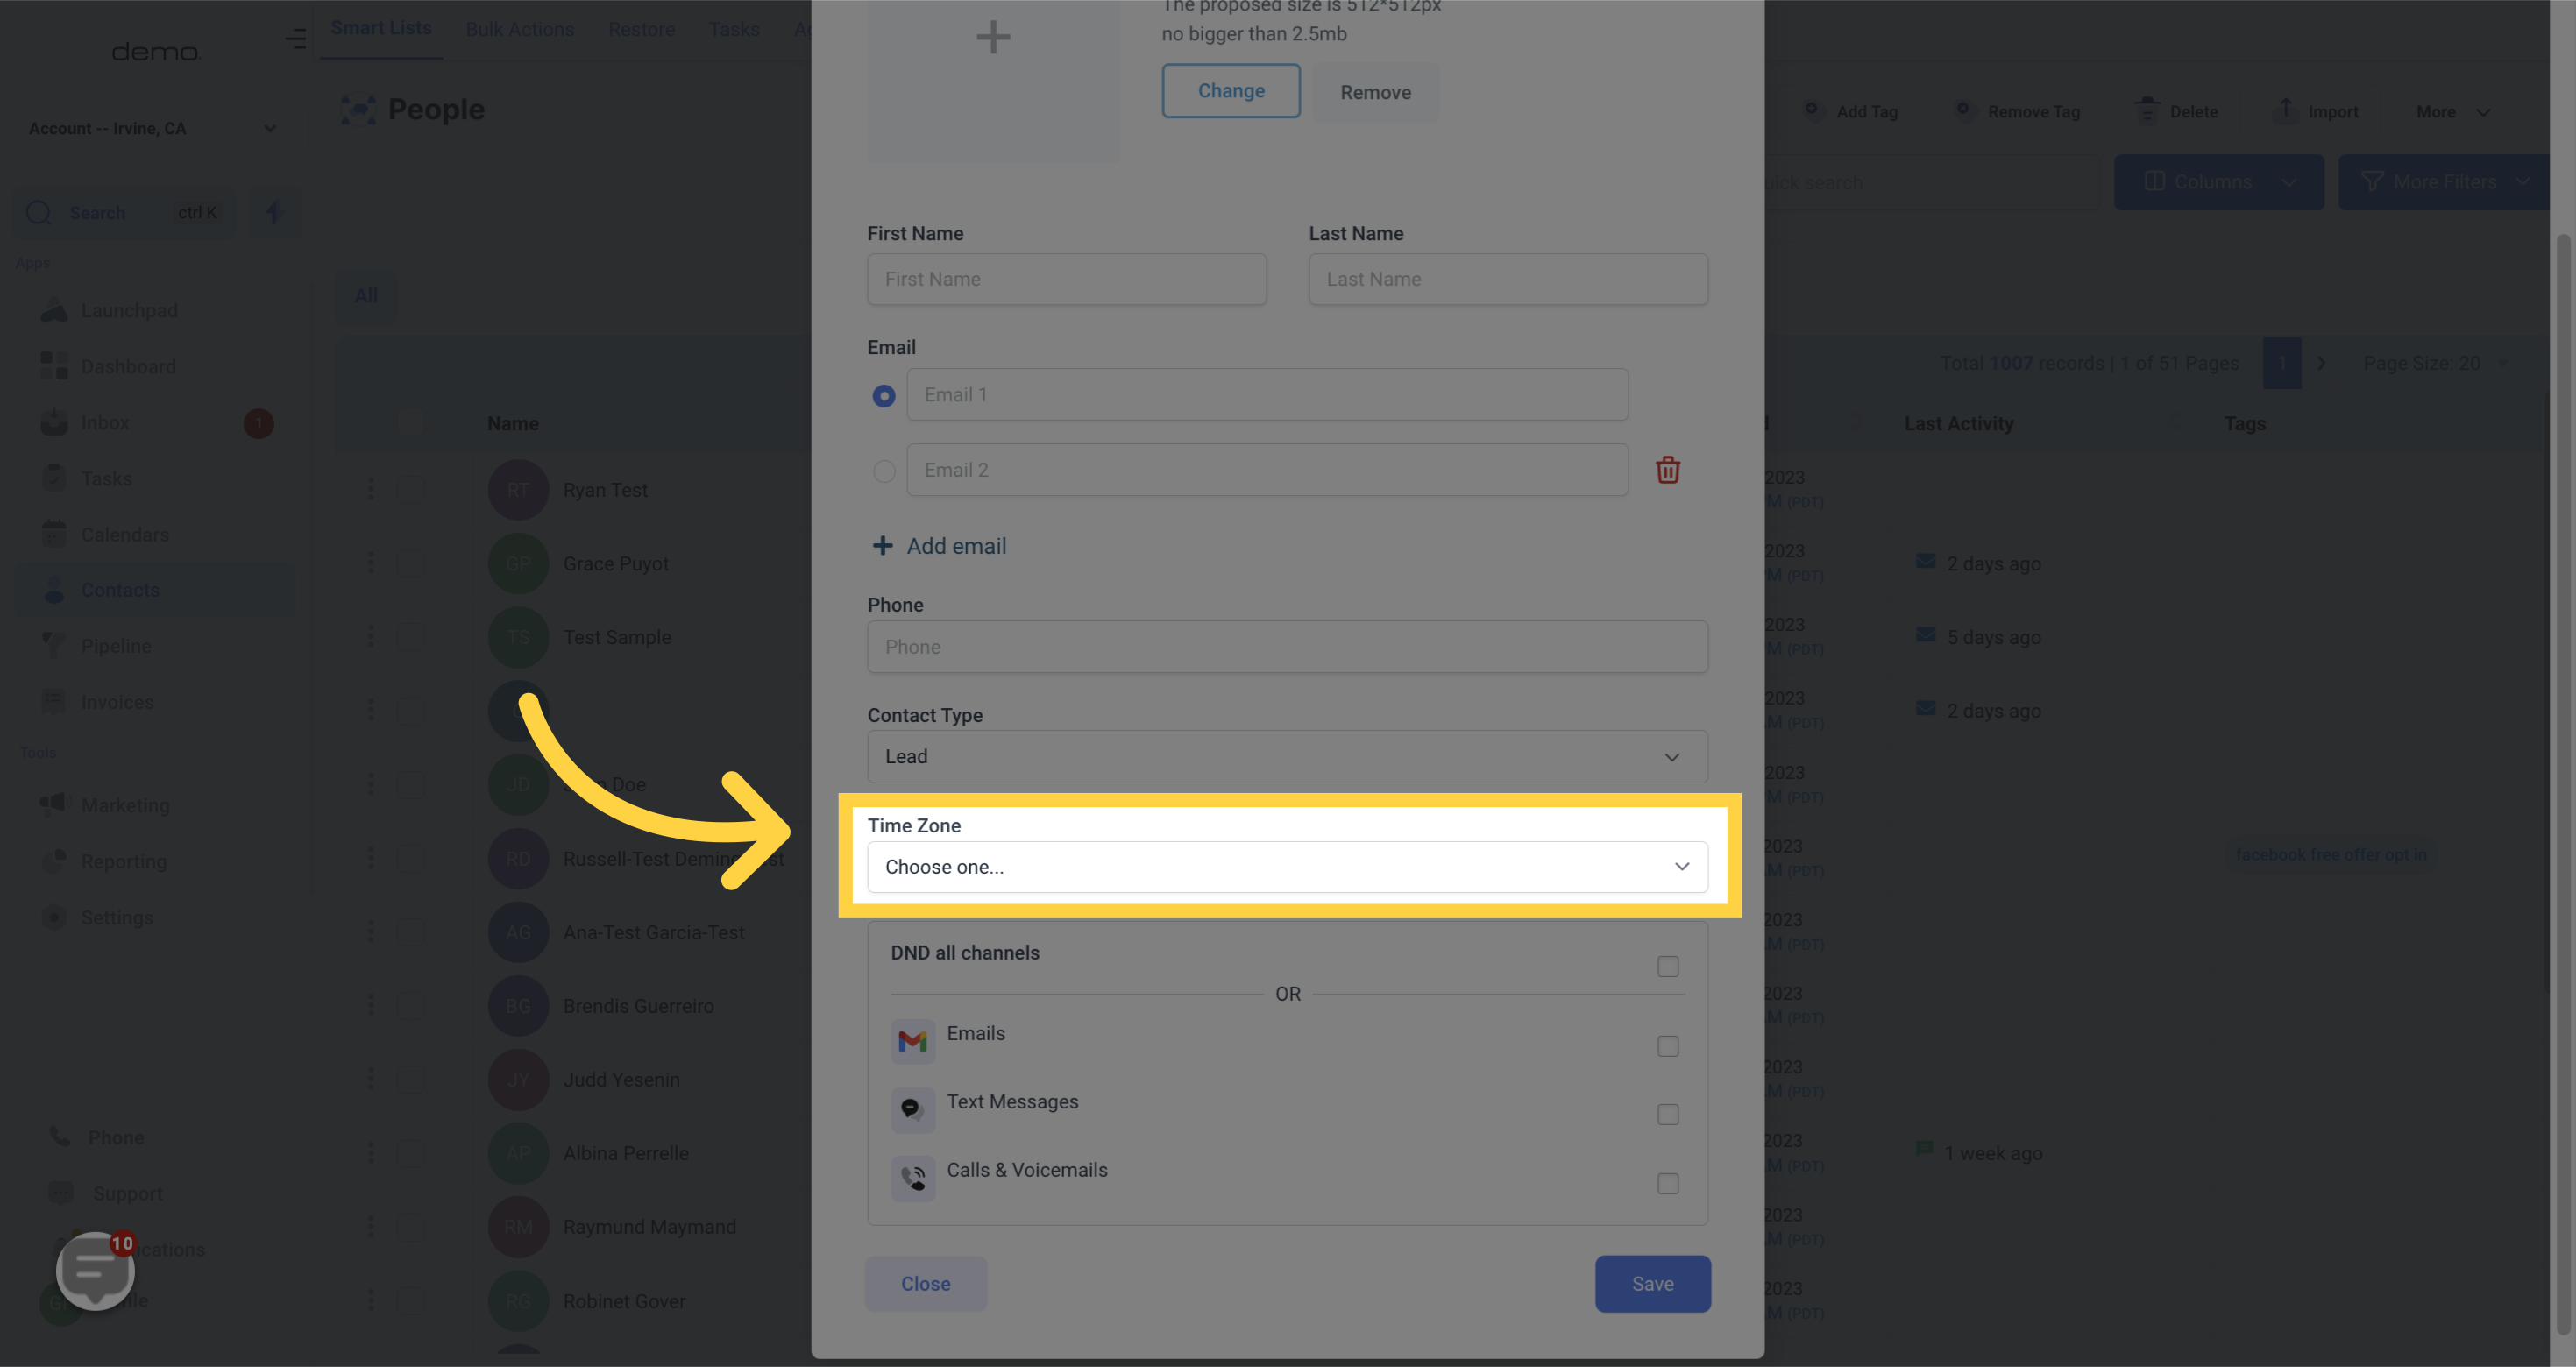
Selecting the appropriate timezone for your contact can help you and your team know the best time to reach out to them.
In order to avoid interrupting your contacts during times they may not be available, you can enable the "Do Not Disturb" notification which can be applied to all social channels or specific channels associated with the contact.

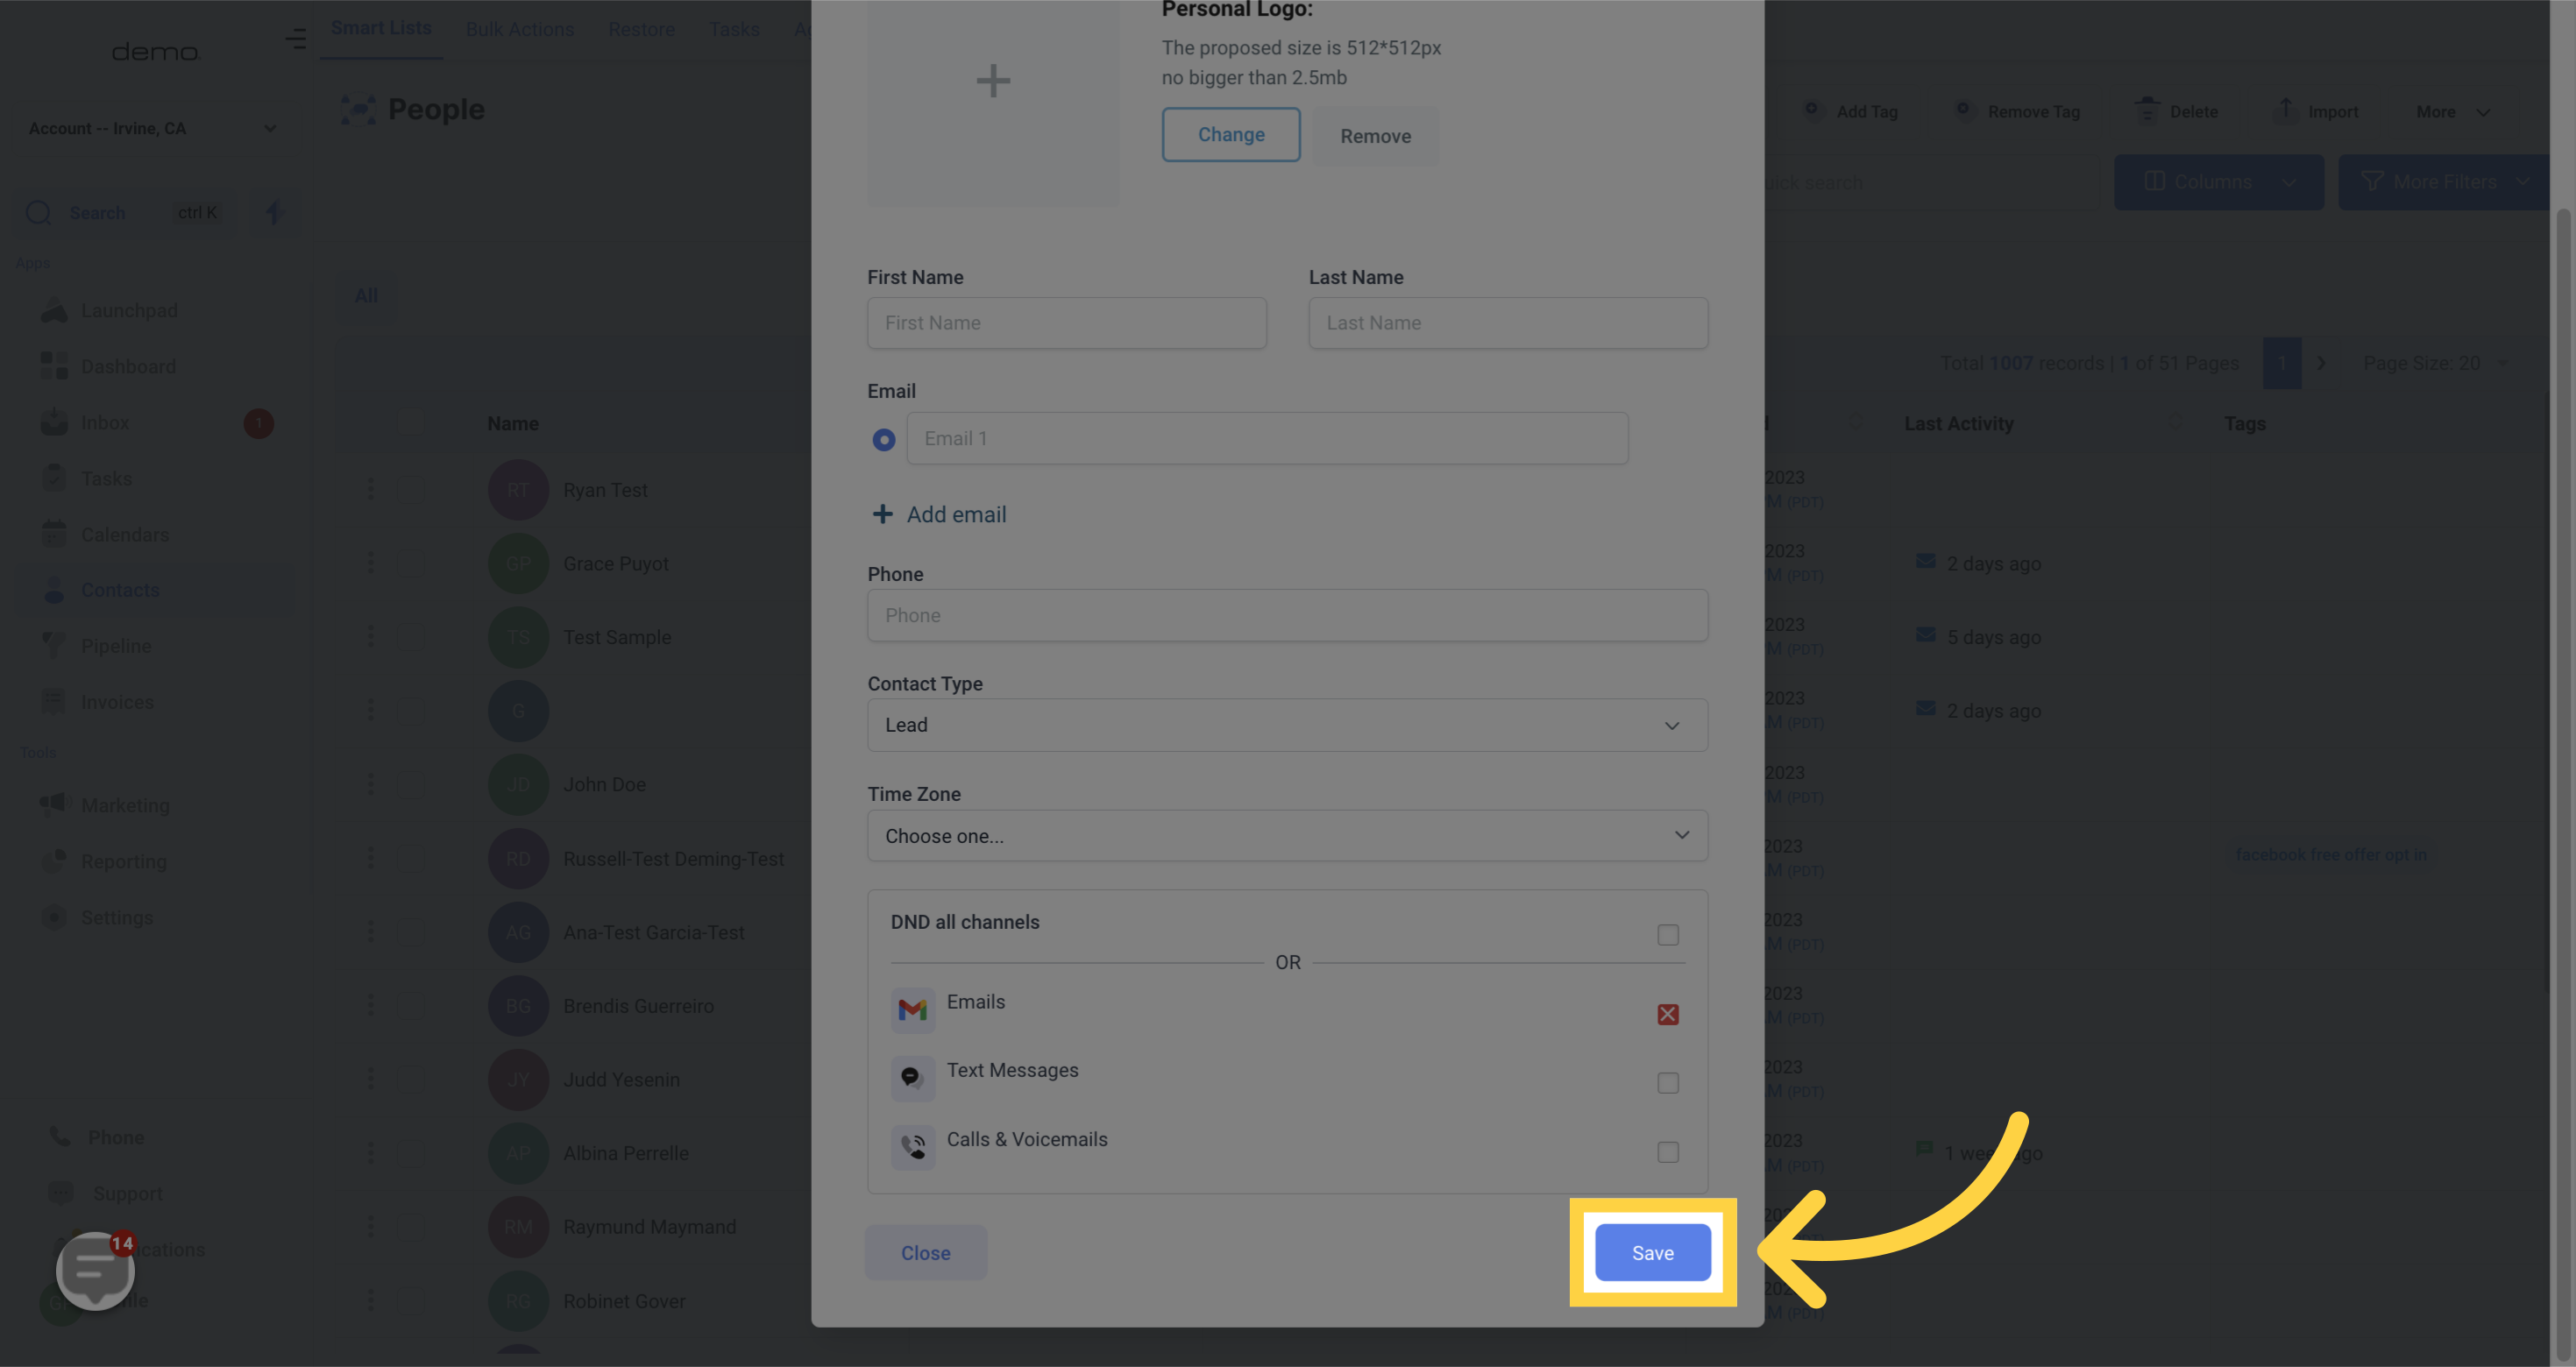
Click on the designated button to save the contact.